

God, I love this thread!!

I mean it....it's like walkin' down the aisles of a candy store......

Tread.


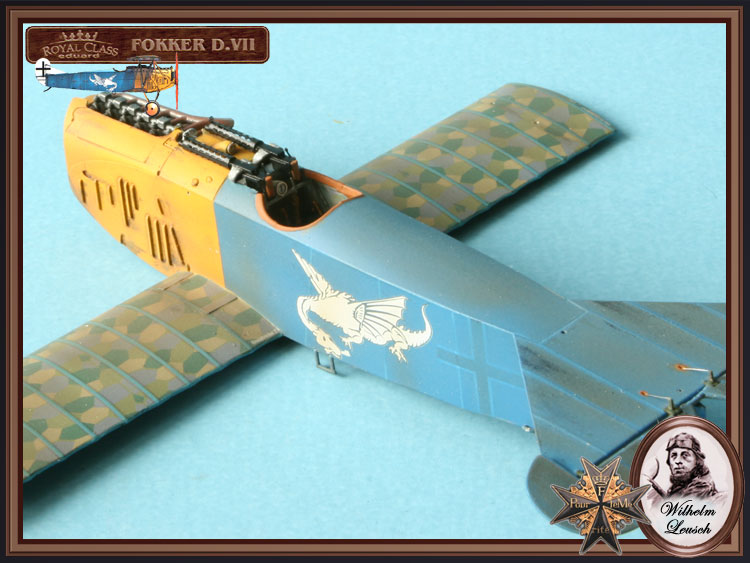
Jean-Luc, did you have any problems fitting the port side gun? The cartridge ejection shute seems to be in the way. I have trimmed it a little but I think I need to take more off.
 It was a tight fit and I had to cut and sand some plastic to get a satisfying result.

Well I have been working on it for most of the day, but I don't seem to have got anywhere. I finally gave up, for the time being, when I managed to break on of the guns. It's fixable but I took it as a sign that I should leave well alone for the moment.
Jean-Luc, did you have any problems fitting the port side gun? The cartridge ejection chute seems to be in the way. I have trimmed it a little but I think I need to take more off. The ammo can is sitting correctly in the fuselage and the starboard gun and shute seem ok, though I have only test fitted them.
Mal

Quick quiz: Anyone know who flew Dr.I 425/17 when it was brought down?


The Red Baron


/DSCN0526a.JPG)
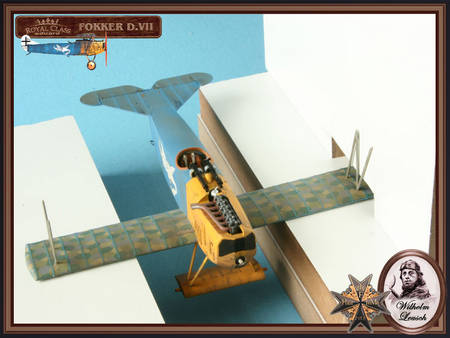
 I have also added the tail skid so I'm now ready to add wheels and wings. I must admit to feeling slightly apprehensive about adding the wing, mainly because, as Jean-Luc points out, it needs to be accurately positioned, and I have no means of, accurately, checking alignment. I will see if I can borrow a set square from work tomorrow. After all my procrastinating I bet it goes on easy peesy
Jean-Luc, I notice that you fixed the wheel struts before the cabane(?) struts (fuselage to wing).

Hi Stephen What's the significance of the different muzzles on the guns?
Stephen, I forgot to send you the spare decals!
I had a re-think after Jean-Lucs post as I did prefer the idea of attaching the wheels first. My problem was gluing the struts to the wheel wing first. As test fitted they were not quite in the correct position, I needed a glue that was sufficiently slow setting to allow me alter the position, before gluing the struts into position on the forward fuselage. Tube cement might have done it, but it's a bit messy and I don't have any, thick CA will work but still doesn't give long enough working time and once set there would be no going back. I used PVA glue, which will setsufficiantly strong and it rmaind workable long enough for me to position the struts, phew I haven't yet attached the wings, as I want to make sure that the wheel struts are well set, I have no excuses now so tomorrow should see the top wing on. Whether I will finish or not remains to be seen but I don't want to rush, now, and undo what has been done. I will take pics in the morning and try and post tomorrow evening 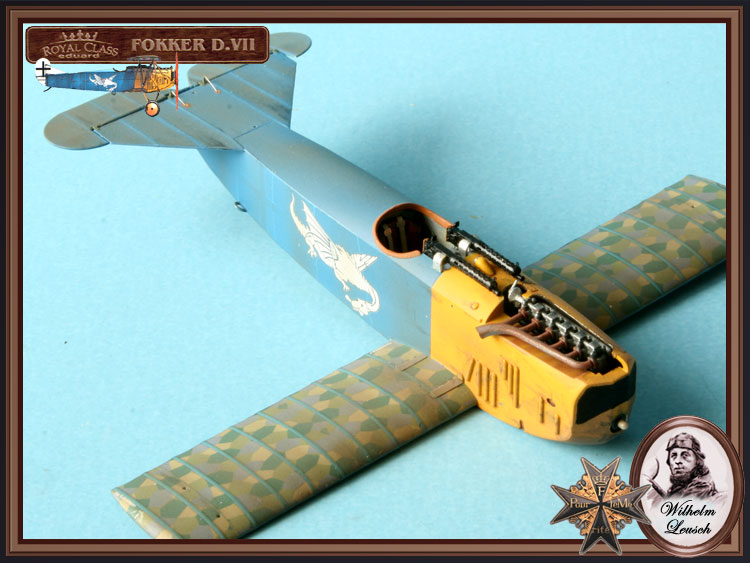


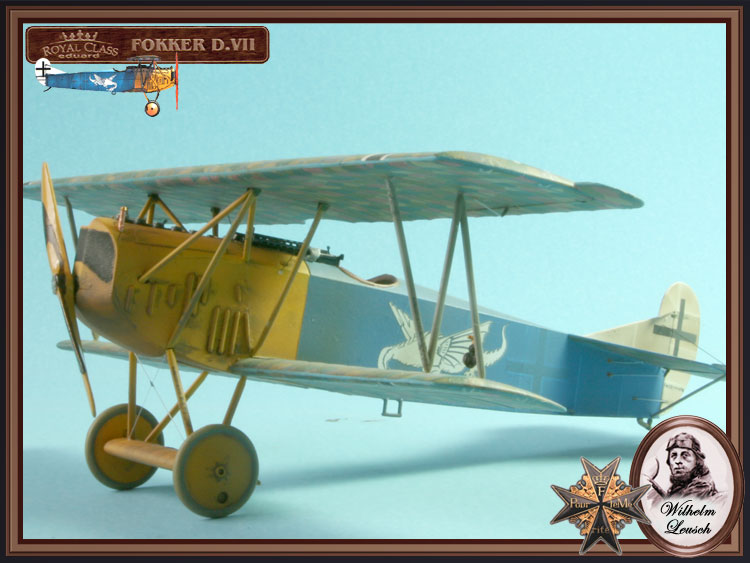
 How pleased am I. I've had the antisipation, all day, of adding the wing and finishing but, as I finish early tomorrow I am going to wait until then. I just feel that I prefer doing it then rather than work into the night. Whatever happens I should get this finished and post pics on Saturday.
Hey Mal! Yes there were cable bracings.


 |


