Quoted Text
"...Stephen, another colour question; the profile shows the undercarriage wing to be Dark Green, is this correct? It just seams odd that the wheels and struts are painted yellow and not the wing, unless just the top half was painted yellow which makes even more sense? Mal"
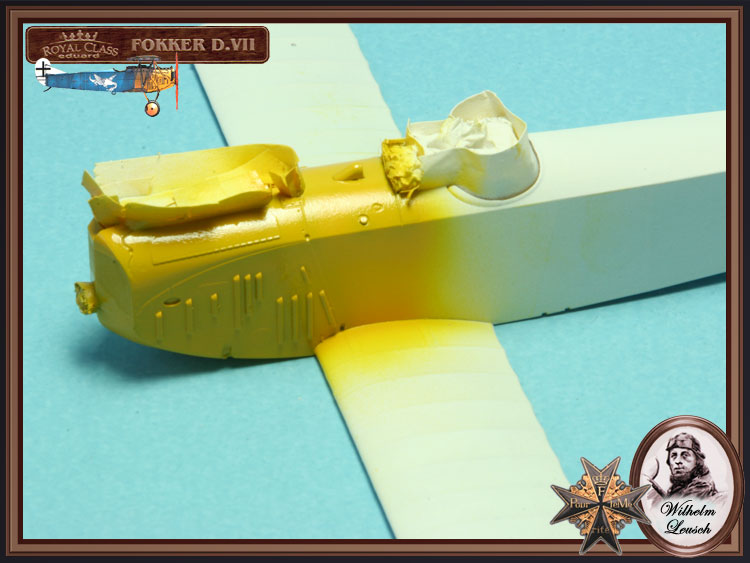
Hey Mal, a good rule of thumb is, if they painted the landing gear they would also paint the axle wing. See my OAW build in the feature on "The Spotted Nosed Thorougbred." Also as a continuatiuon of your last post I had to do some checking to be sure. The cutout for the lower wing was capped off by a section of either sheet metal or varnished and painted plywood. Usually I glue the wing inplace sand it flush and fill the seams. The I rescribe the lines slightly out board for and aft of the original divisions. You could simply glue a section of .005 thous sheet / card plastic over the area.


 Stephen