Quoted Text
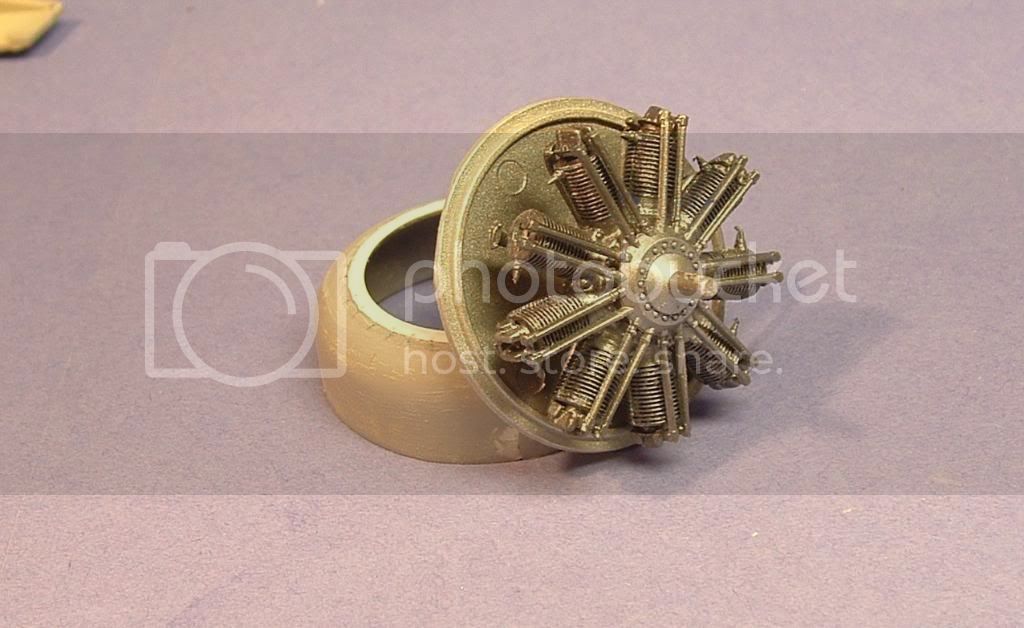
Nice to see you back in the saddle once more Lars . She is coming long well . The engine has nice detail to it . Looking forward to your next up-date 
Hi Terri, Yes I´m just lost in all flowers in my garden, so now I guess I can say that I have two hobbies
The modelling don´t give you any suntan

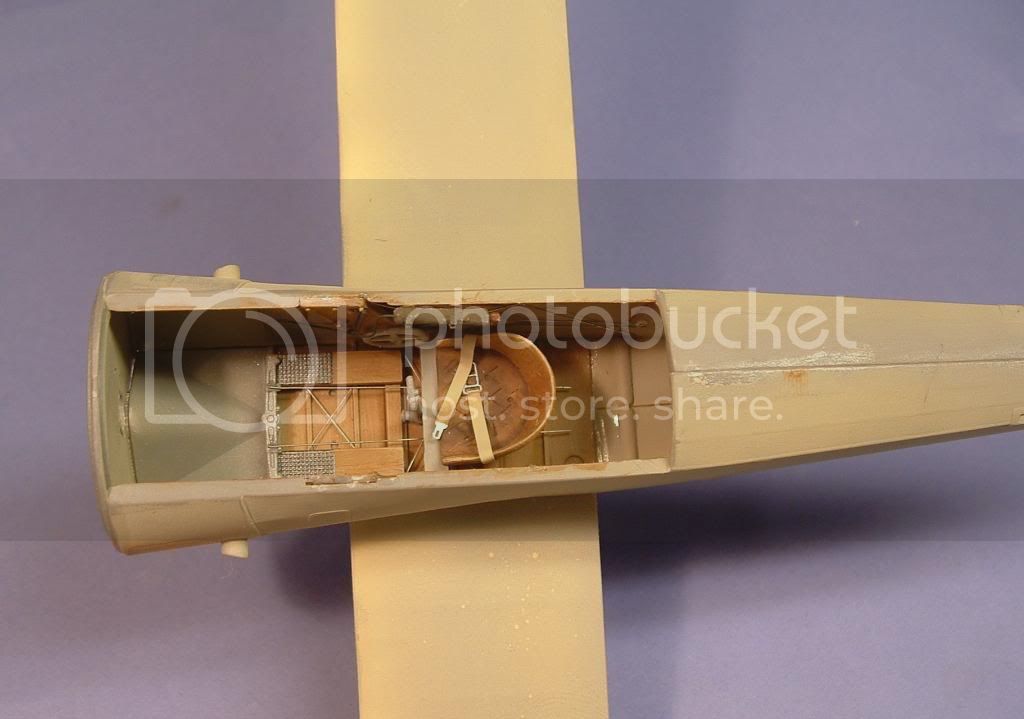
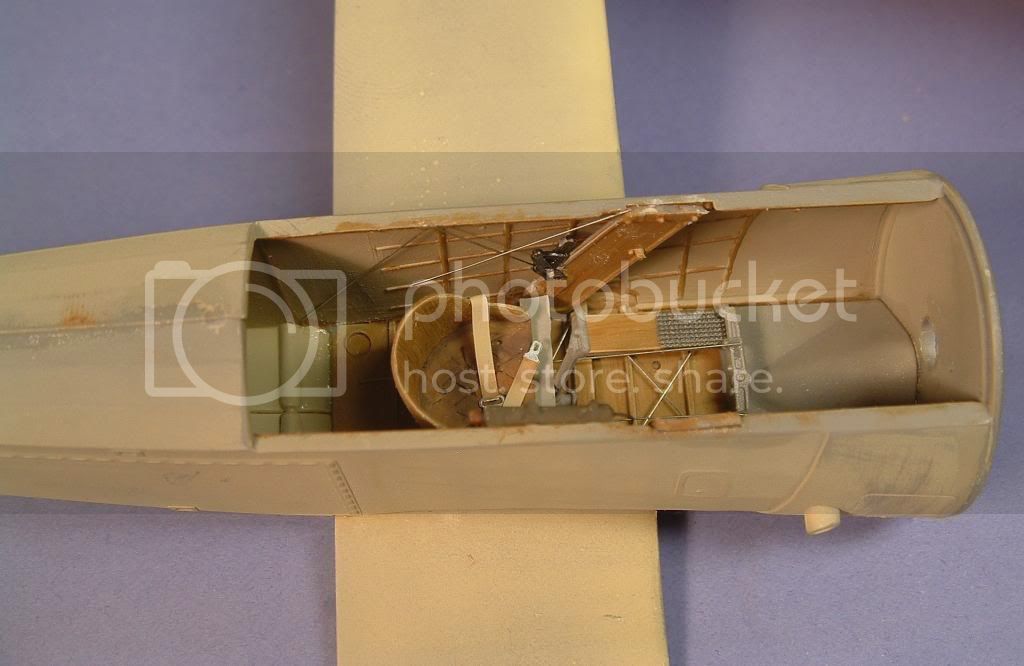
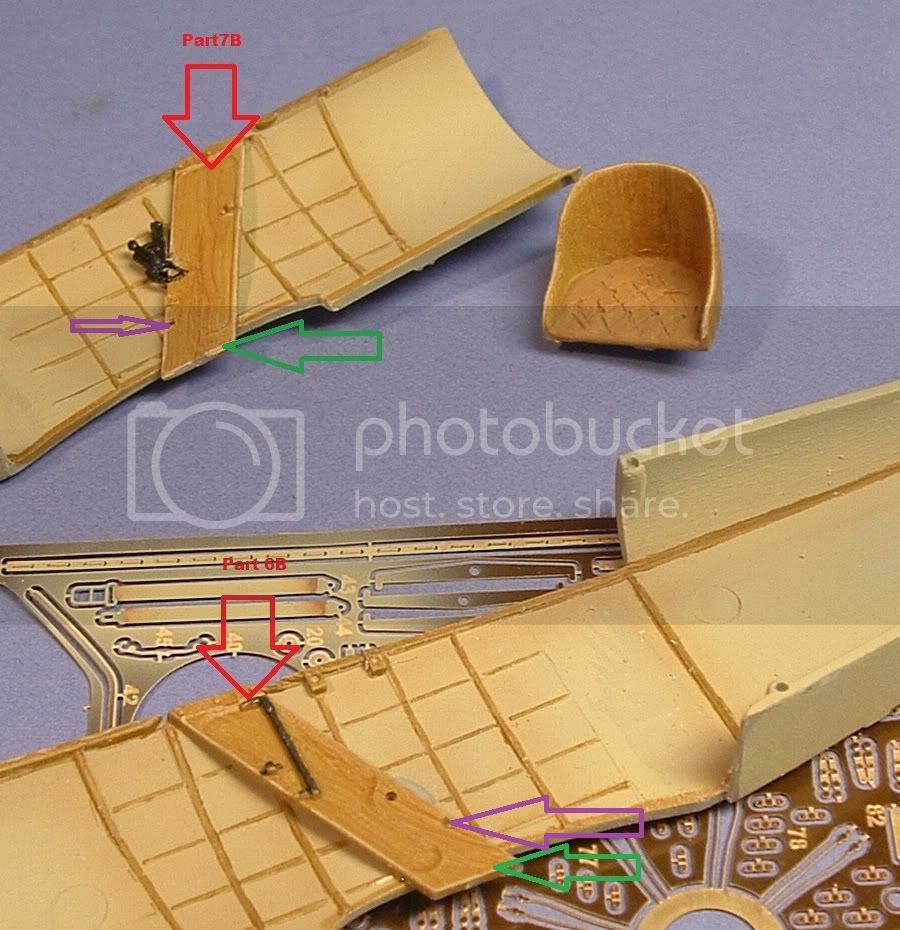
Here´s next little update on the Triphound build.
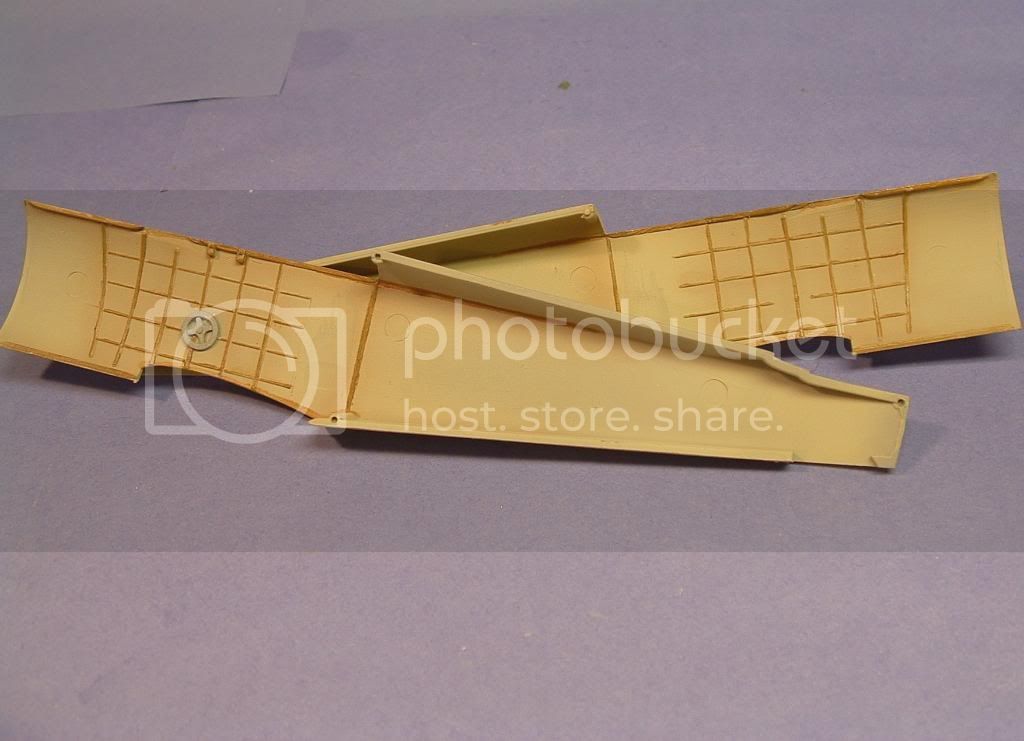
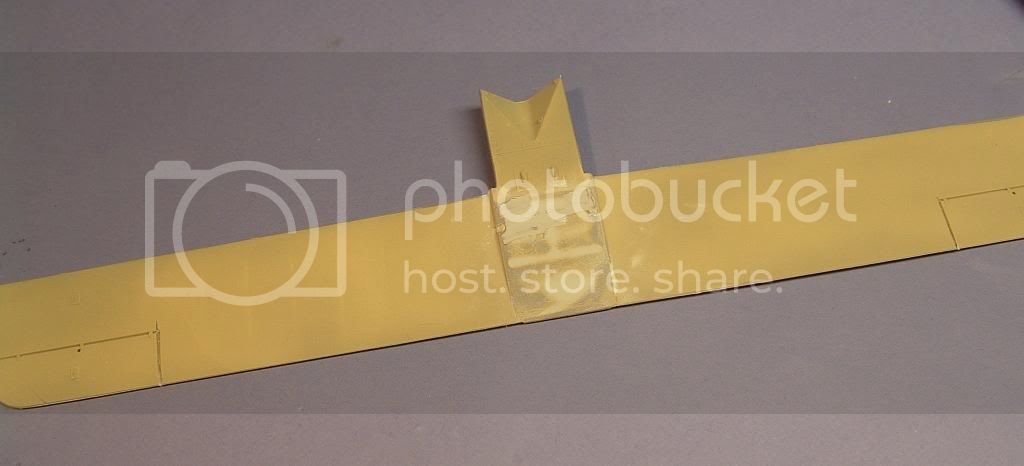
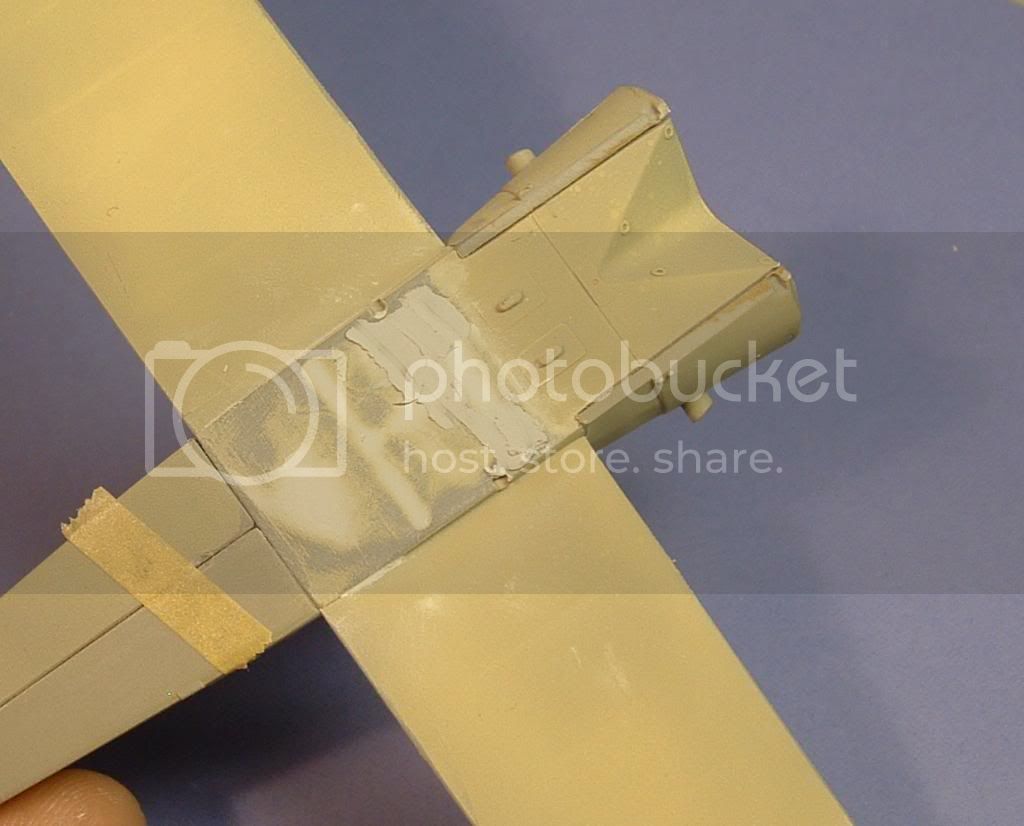
As I told you there is a zinkmark on the underside off the lower wing. I fixed this before all small part in the interior are glued in place. It a good place to have a zinkmark in then there´s no small details in that aera.
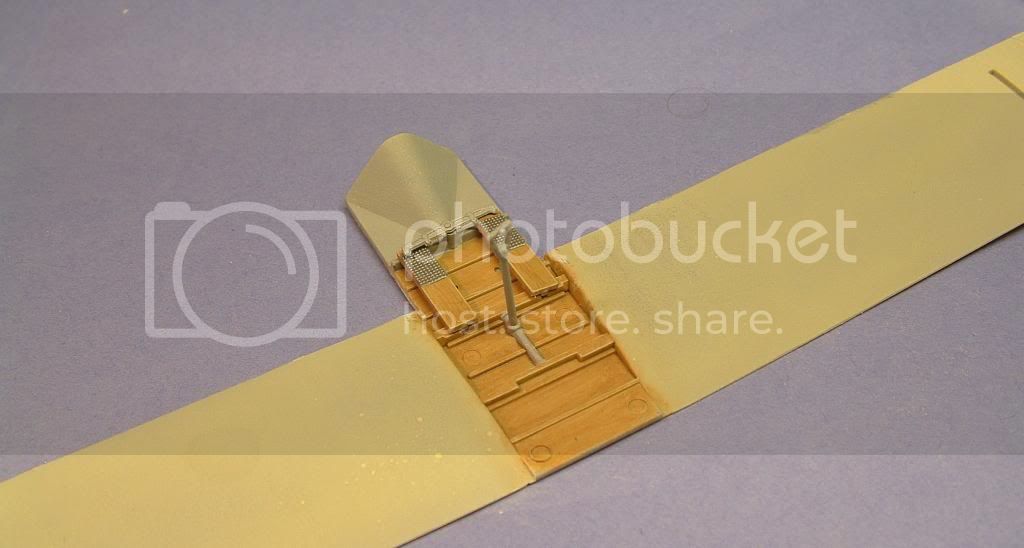
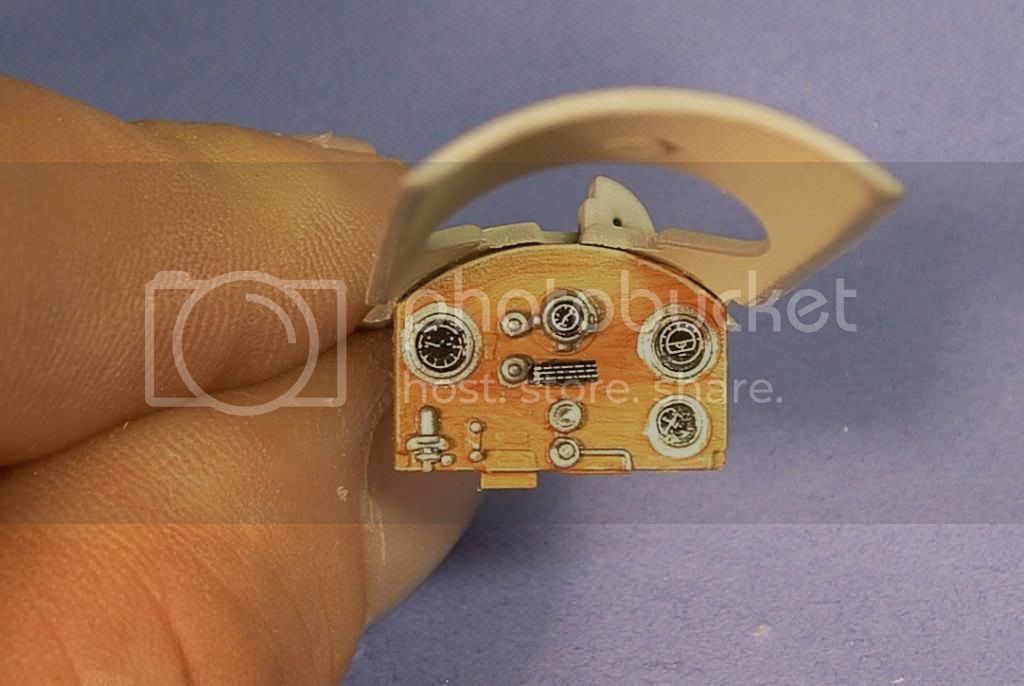
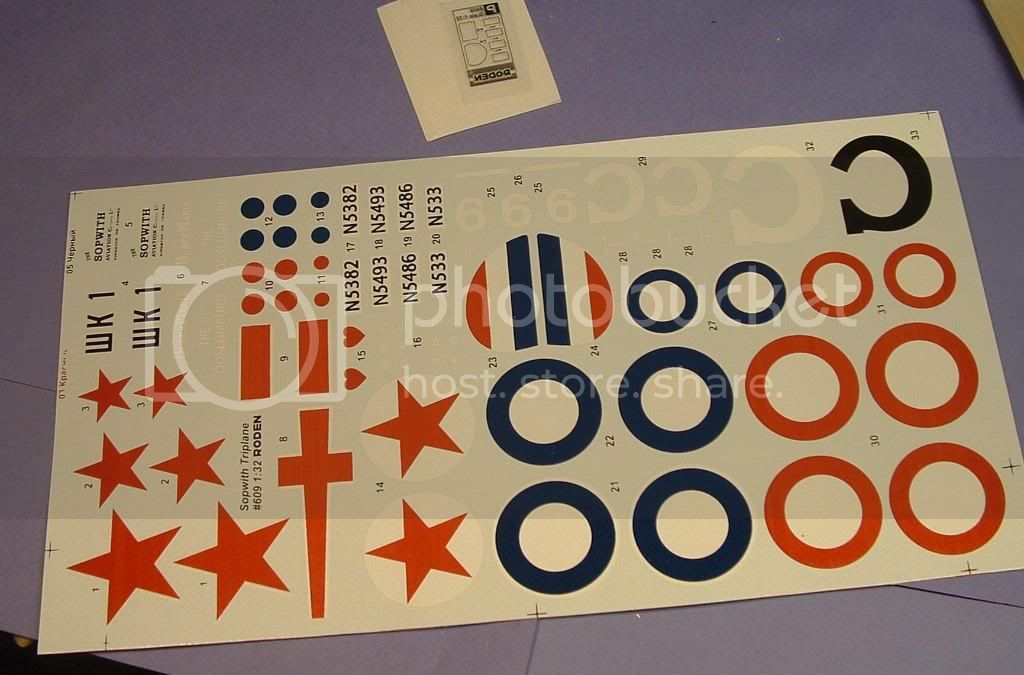
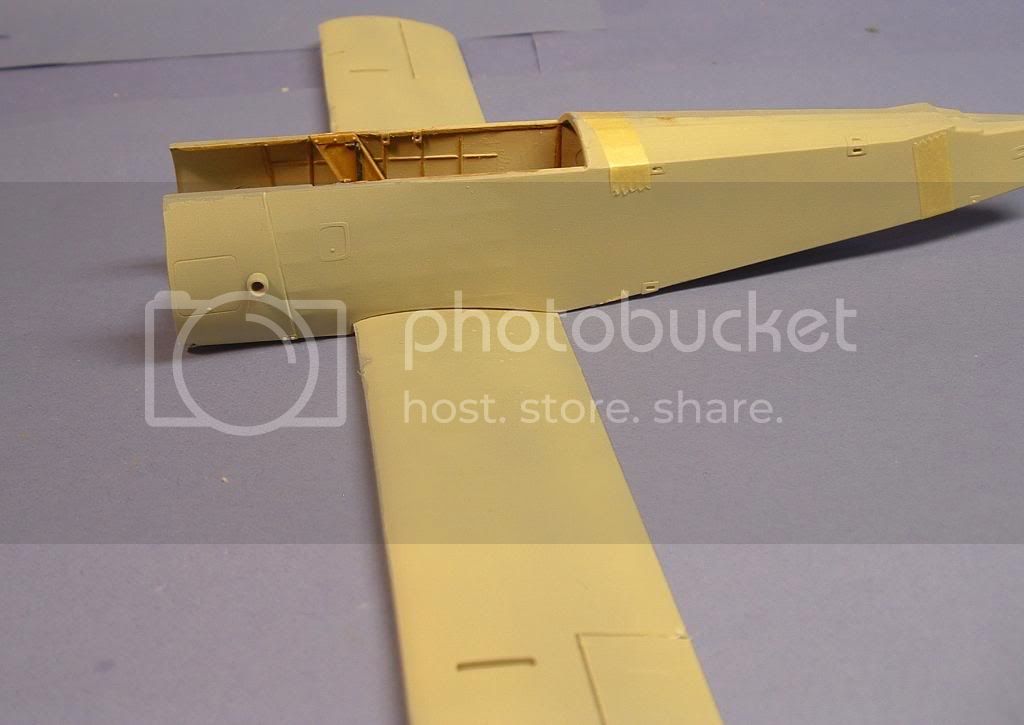
I used instrument declas from Mike Grant and will use the seatbelts from Parts Camel sheet.
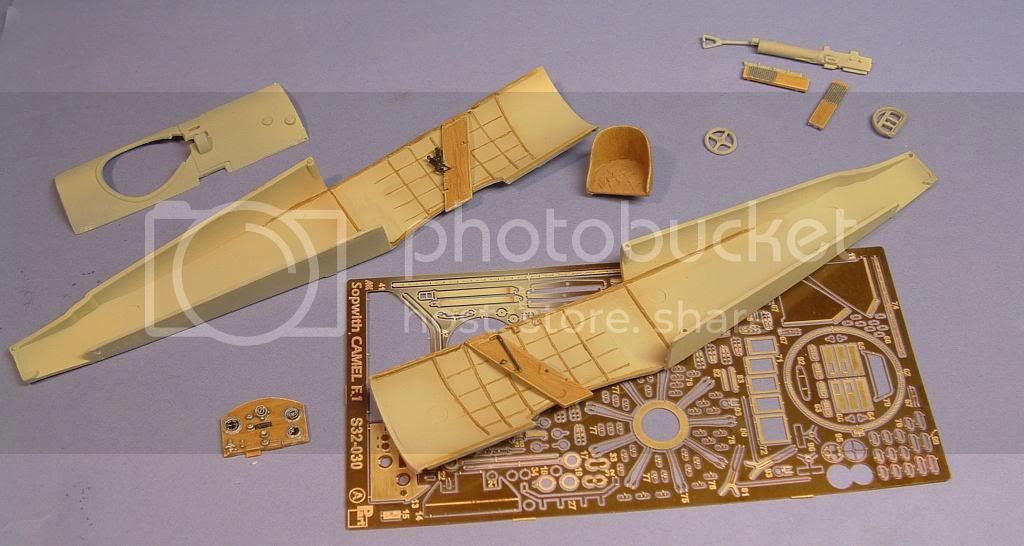
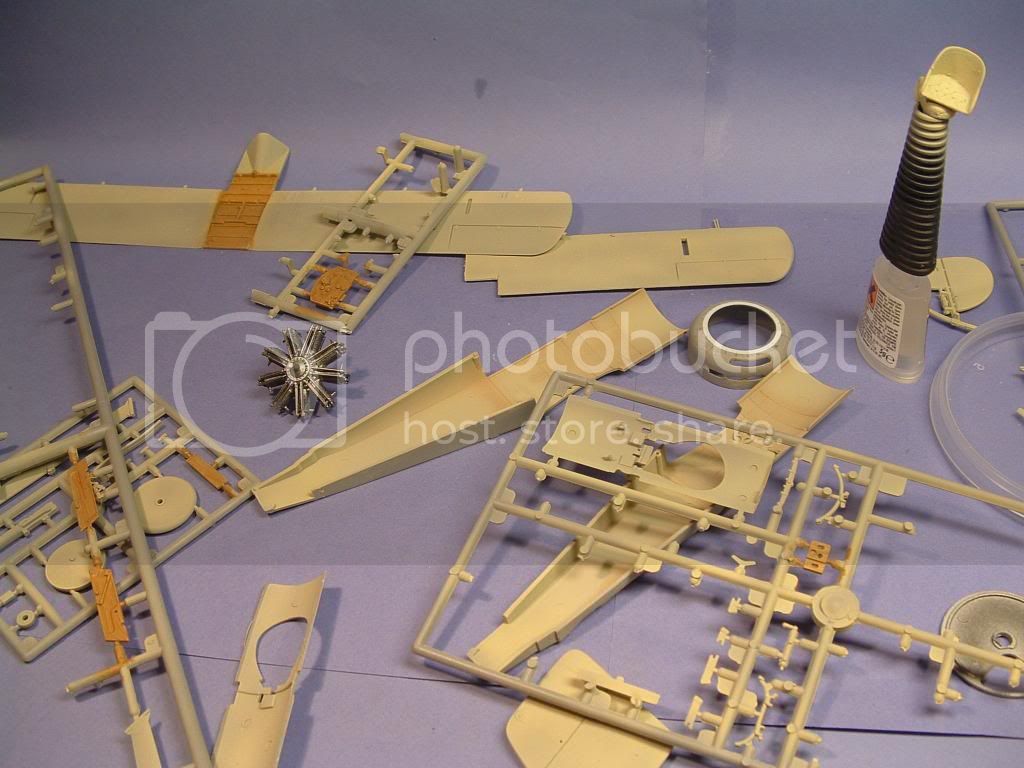
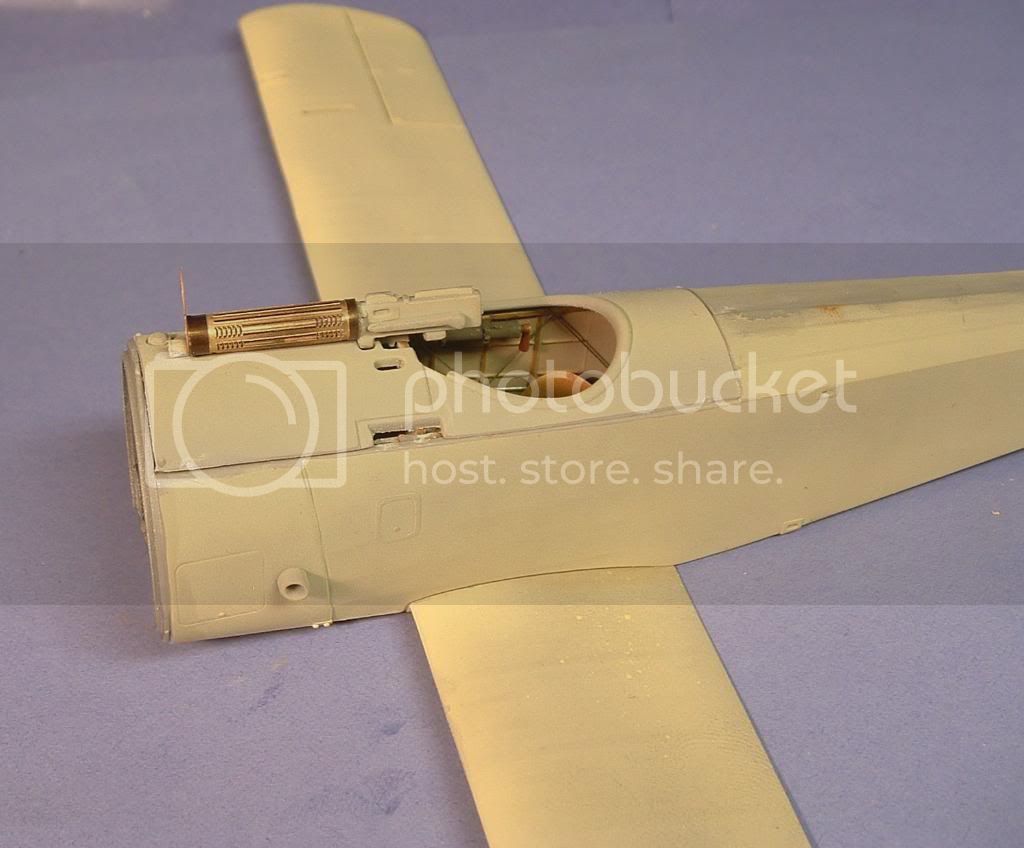
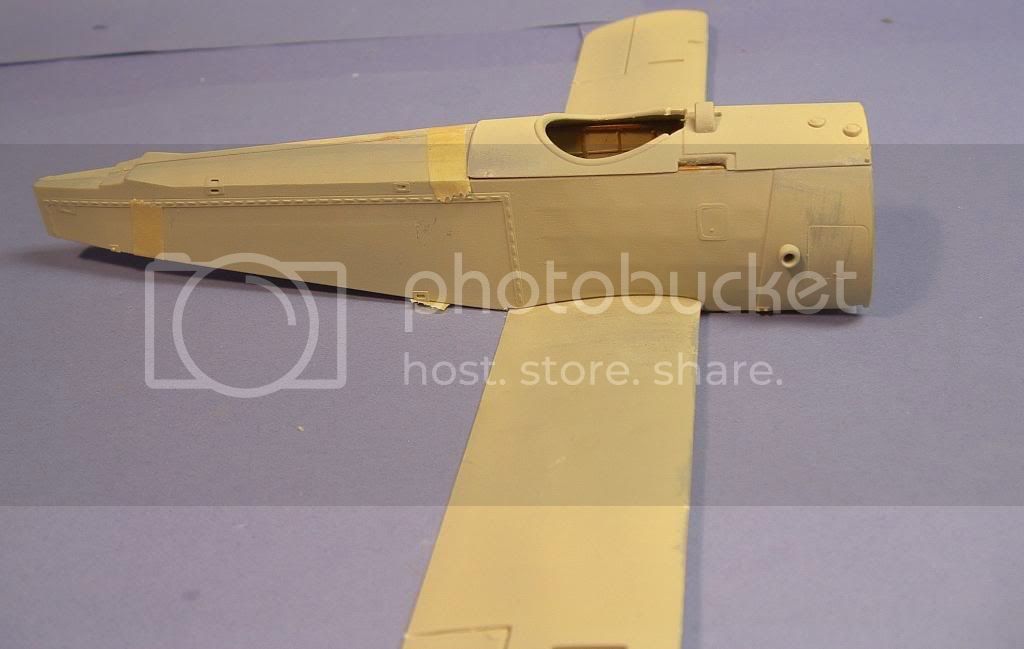
The first testfit on the fuselage and the lower wing shows there´s a really nice fit, I just sanded a little to get this fit. Well done Roden.
I can live will this gap, just a little Milliput and you can´t tell...
Other side is not bad.
So, there´s the update for this time. For the decaloptions I will use that Russian version 5486. For thatr I would liked to have the skis for the plane. Eduard had a resin skis. The Eduardskis will be reproduced in 32 scale from pc.
Cheers
Opps

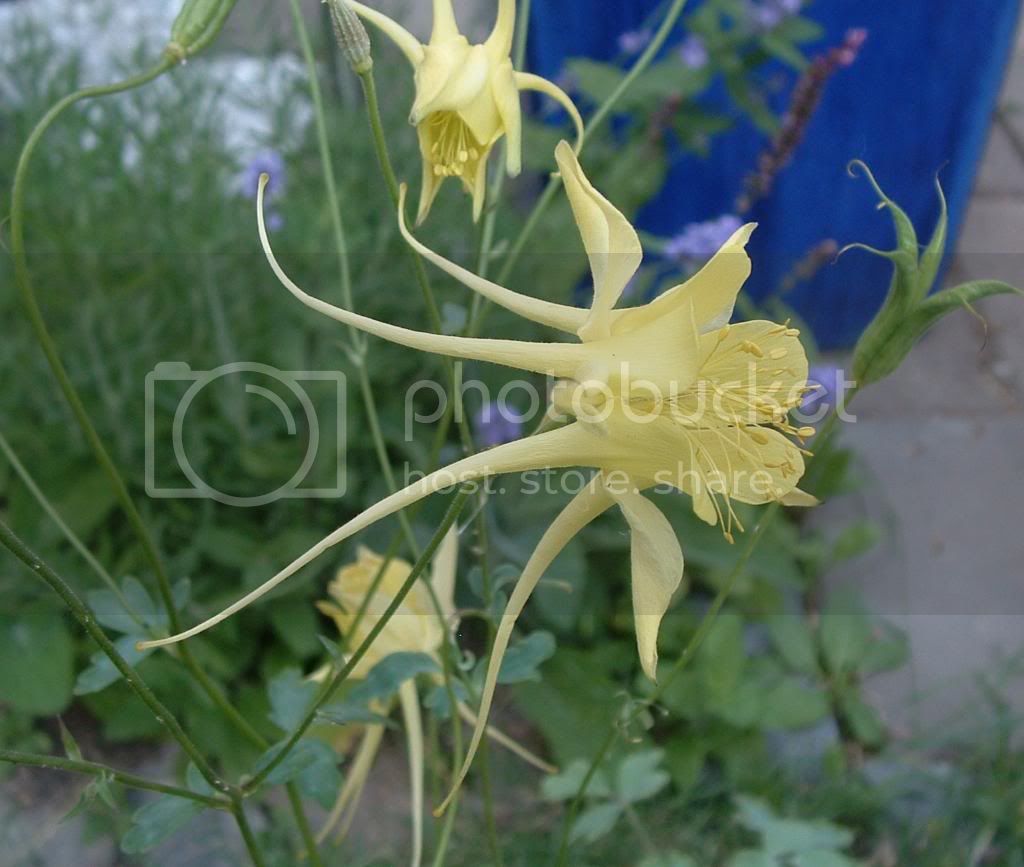
Aquilegia Chrysantha this is for u guys