I purchased this kit at my LHS for just about retail price. I found it substantially less expensive online, but I insist on giving the LHS business every month.
What's in the Box
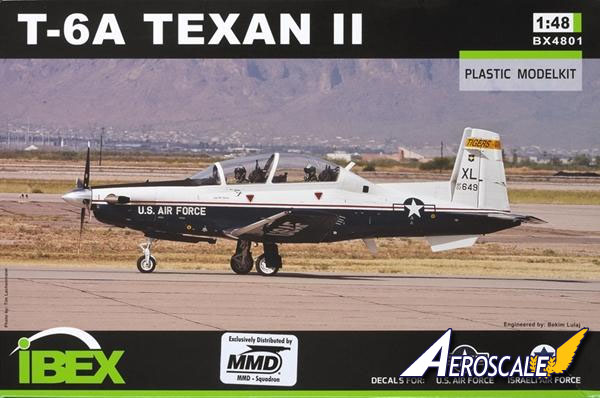
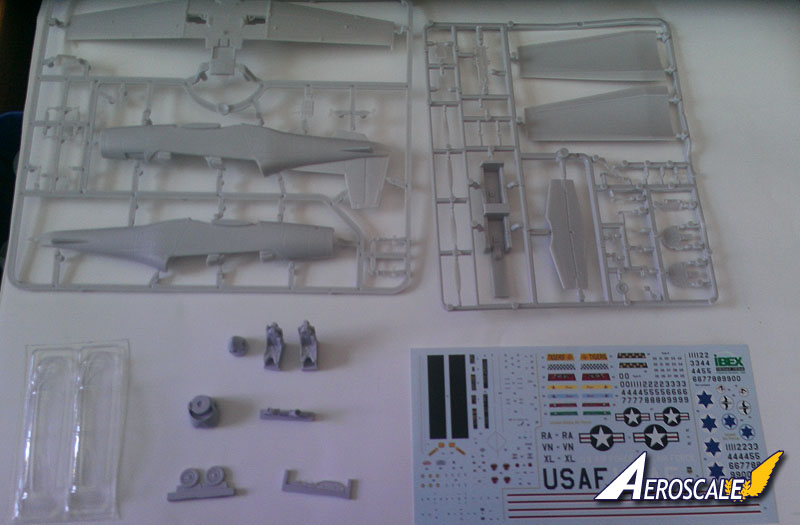
The box is not your typical top/bottom separating. The box opens on the end, which I found somewhat difficult to re-pack. Colors are black and green and there are no images of the completed kit on the box. Upon opening, the parts are all well protected in plastic sleeves or zip lock style baggies. The decals receive similar attention along with a piece of tracing paper to protect them.
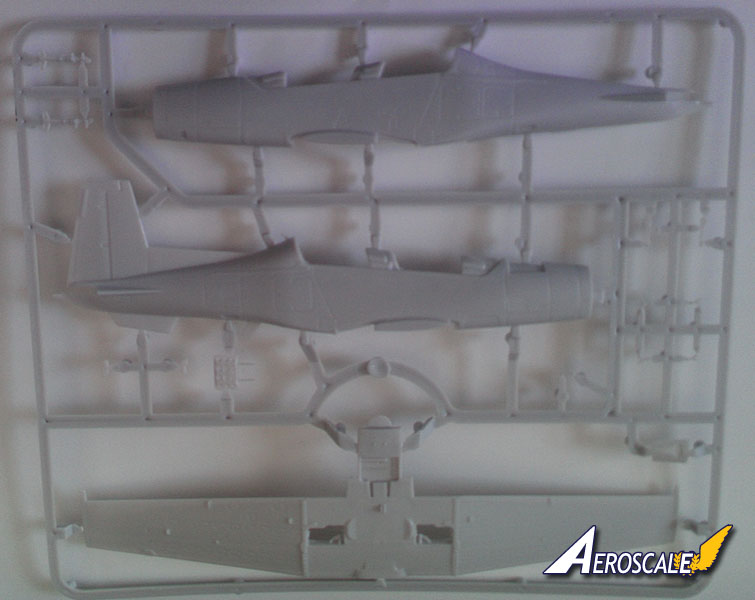
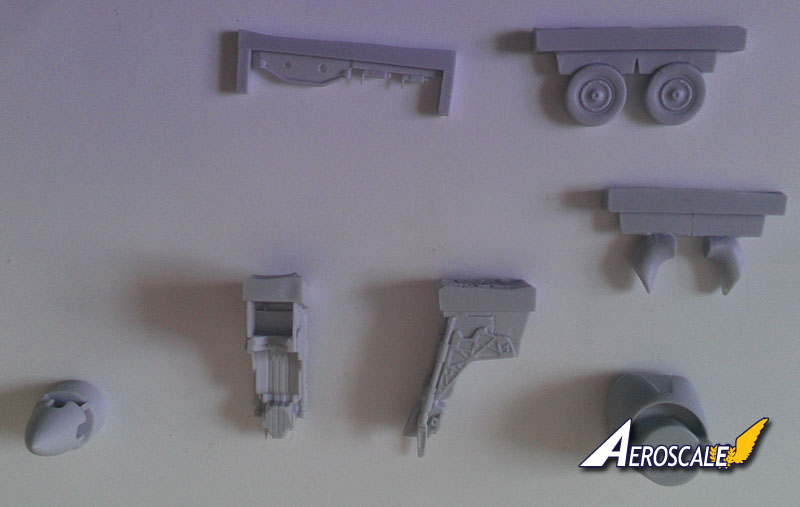
This kit is a multi-media kit featuring two plastic trees, a baggie of resin parts and two vacuum formed canopies. First looks at the frets seem to be overly thick for the kit, until you look closely at the part attachment points. IBEX did a great job of getting some really fine small parts molded here. There was virtually no flash at all on the two plastic frets or any of the resin parts. The vac formed canopies appear to be well formed as well. The recessed panel lines and details seem a little thick for the scale, but I will reserve judgment for the build log.
The decal sheet is excellent and provides two versions, a United States Air Force trainer and an Israeli trainer.
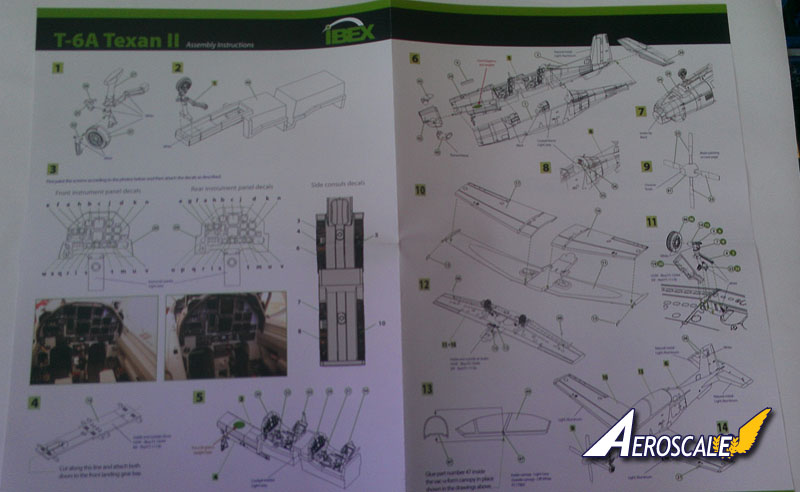
The instruction sheet is a sturdy excellent two page bi-fold design. The front is all the steps required to build the aircraft and apply some of the decals to the cockpit area. The rear is a full color representation of the paint schemes and decal placements.
An interesting note is the cockpit area itself. It features two resin ejection seats, decals for the instrument clusters on each side, and individual decals for the instruments on the face of the instrument panel! I had to use my glasses just to see the letters, and I am not quite sure how they will work out trying to apply the 20 or so decals, but I am looking forward to the results.
and in Summary
For the price of $45.99 USD, I feel it was a bit on the expensive side for the amount of parts, but If it looks as good built as the parts do now, It would be worthy addition to anyones fleet.
Please remember, when contacting retailers or manufacturers, to mention that you saw their products highlighted here - on AEROSCALE.
SUMMARY
Highs: Subject matter, decals, instruction sheet. Recessed panel lines. Resin ejection seats look great out of box.Lows: Vac formed canopies. Verdict: A great kit of an niche aircraft. It will be an interesting build especially with the multimedia and the decals.
About Brian (fhvn4d) FROM: MASSACHUSETTS, UNITED STATES
I am middle/late 40s, and have been modelling in plastics most of my life. I started around 7 years old, mostly aircraft and armor. I work full time as a Lieutenant on a career fire department. I also currently am the secretary of the organization Armor Modeling Preservation Society.
Many agree that the canopies are the weak point of this kit. I don't know why the canopy framing is so off, but have been waiting for someone in the aftermarket to pick up on this. I'm also hoping for photo-etch to detail up the cockpit, as it is wide open when the canopy is left open. Good luck on the build!
I have very little intention of using the kit supplied canopies unless I have absolutely no choice. Part of my fear is that I have never dealt with a vacuum formed piece before. I would much rather put an aftermarket canopy on, because it is such a focal point. I am also trying to think of any other kit that would share a similar canopy design that could be made to work with it
Having the very same kit, Ive been tempted to use the kit canopies as the basis for smash-moulding my own replacement. Fill the canopy with plaster of paris, then file down the horrible frame marks once it's dry, put on proper frames with foil, then thermoform a new canopy over the plaster mould. Then after you've got a good canopy finished, you can drill the plaster, glue in pins and bend a solder-wire canopy breaker cord to shape for gluing into the new canopy.
Hi
I builded one
I chosed the IAF version. Some pics of my kit
The real challenge on this kit is the instrument panel decals
I passed many times on each panel
The nose required several test fitting and must be sanding to have a smooth surface like the spinner
They are no major difficulty on this kit even for the canopy that I chosed to present open.


Comments