Bristol set up its Helicopter Division after the Allied invasion of Europe in 1944, when engineers from the Airborne Forces Experimental Establishment at Beaulieu became available. The AFEE had been working on the development of helicopter designs under helicopter pioneer Raoul Hafner, but the success of Horsa and Hamilcar gliders during Operation Overlord led to helicopter development being given a priority. Hafner was appointed by Bristol as head of this new helicopter division. The design of the Sycamore commenced in June 1944, and extended over more than two years, with especial emphasis being given to the endurance of the mechanical components. The maiden flight of the first British designed helicopter took place on 27 July 1947, with the prototype VL958 powered by a 450 hp (340 kW) Pratt & Whitney Wasp Junior (there being no suitable engine in the Bristol range). The prototype Sycamore Mk.2 was completed in the summer of 1948, powered by a 550 hp [410 kW] Alvis Leonides; this became the standard engine for all subsequent Sycamore production.
Versions of the Sycamore up to and including the Mk.3A kept to the standard two-seat aircraft layout of having the pilot in the left-hand seat and co-pilot in the right. The main production, the Mk.4, switched to the American standard practice of having the pilot's seat on the right. There were also a number of other developments from earlier versions, such as a four-door design, that were standardised for the Mk.4. This version entered RAF service as the HR14.
The Sycamore HR14 entered service with 275 Squadron of the RAF in April 1953, and went on to serve with nine squadrons in total. It was used during the Malayan Emergency (1948-1960) for deploying Army foot patrols into the jungle.
A total of 50 Sycamores were delivered to the German Federal Government, and three to the Belgian Government. The Sycamore also has the distinction of being the second helicopter type to be used by the Australian Defence Force, when seven were delivered to the Royal Australian Navy. Civil versions did not use the name Sycamore, and were known simply as Bristol Type 171.
Around 180 Sycamores of all marks were built.
Contents:
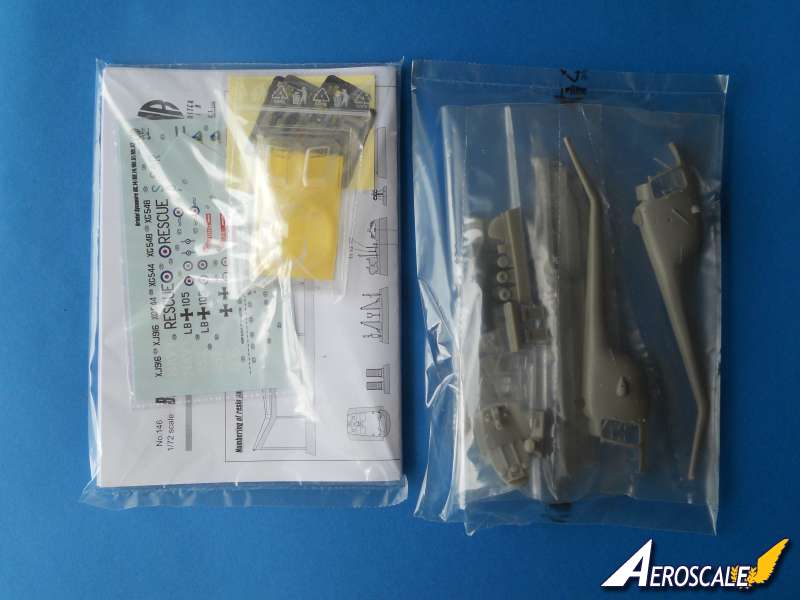
The contents are well packed in a sturdy box and are all double wrapped in bags. The resin parts are placed in individual pouches. Contents include:
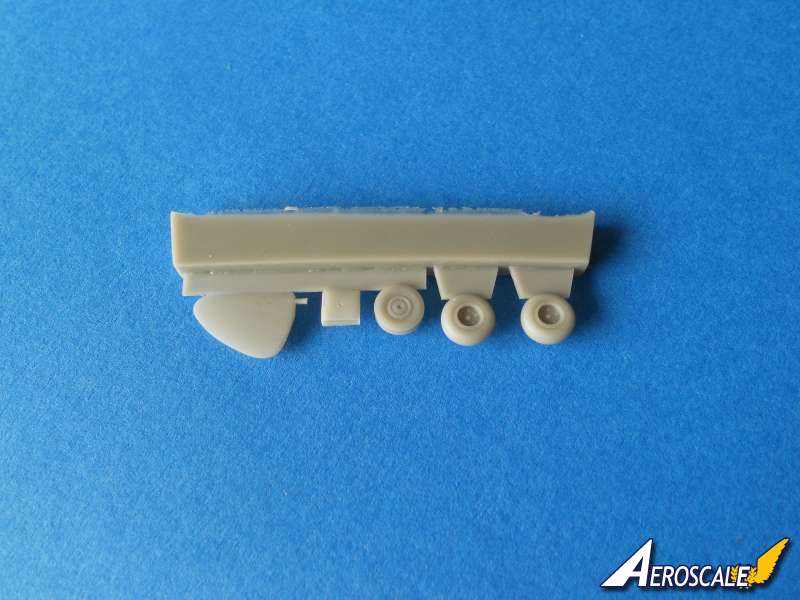
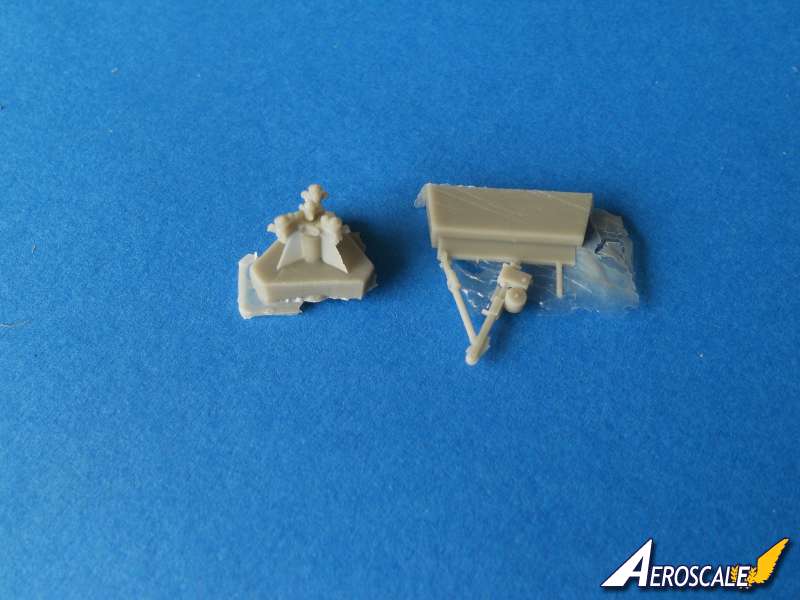
-28 x green coloured resin parts.
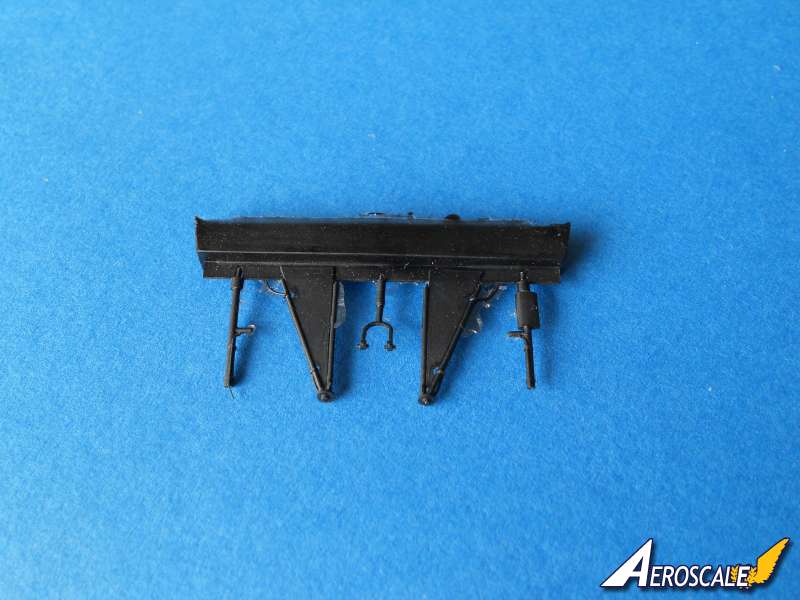
-5 x black coloured resin parts.
-4 x clear resin parts.
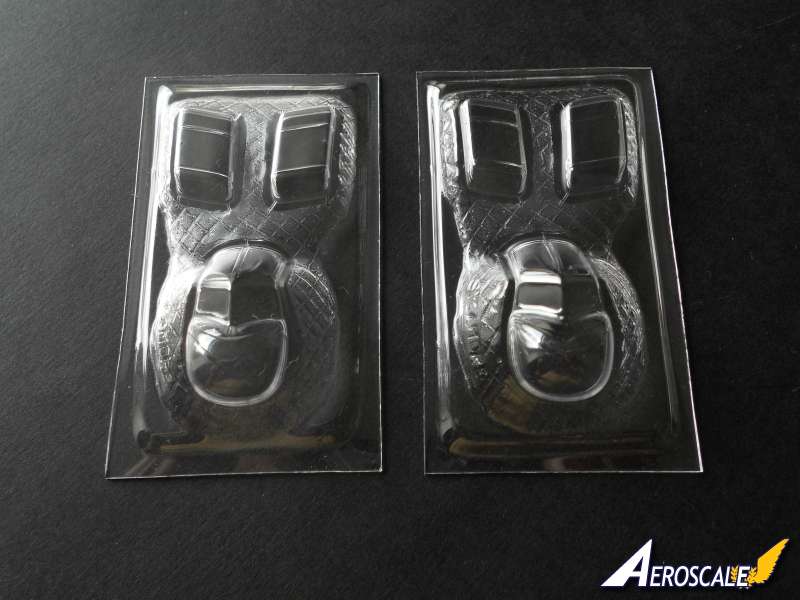
-2 x vac formed sheets.
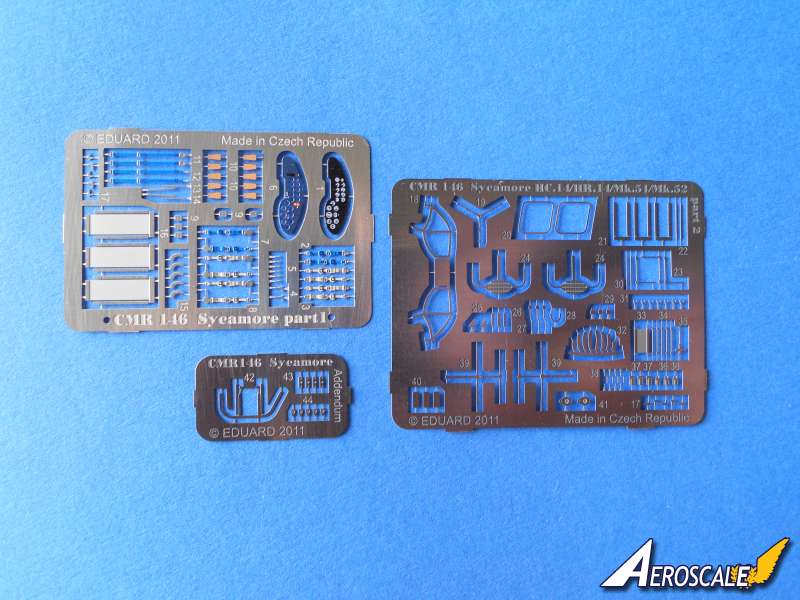
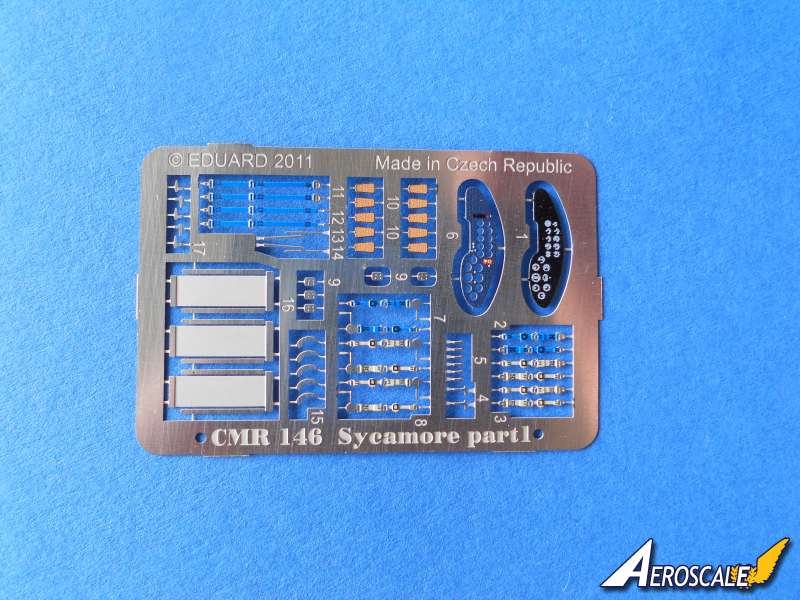
-1 x pre coloured photo etched fret produced by Eduard.
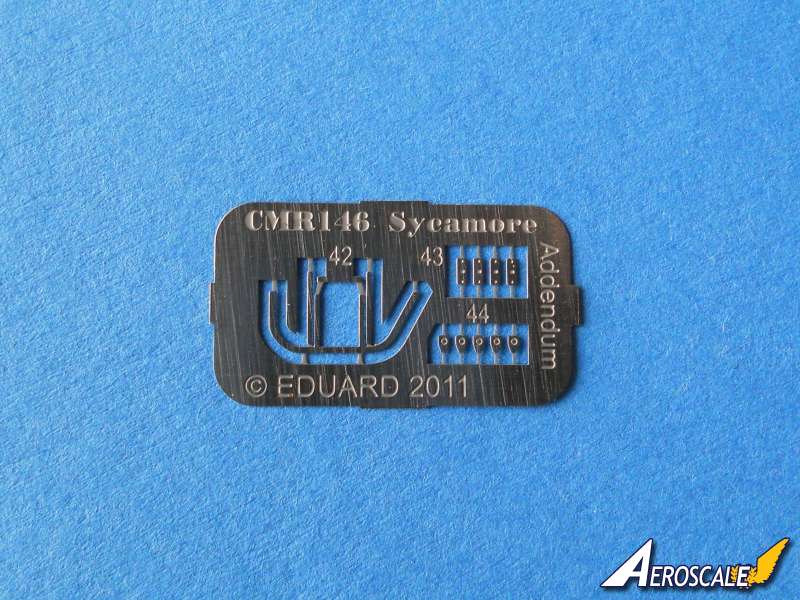
-2 x natural metal photo etched frets produced by Eduard.
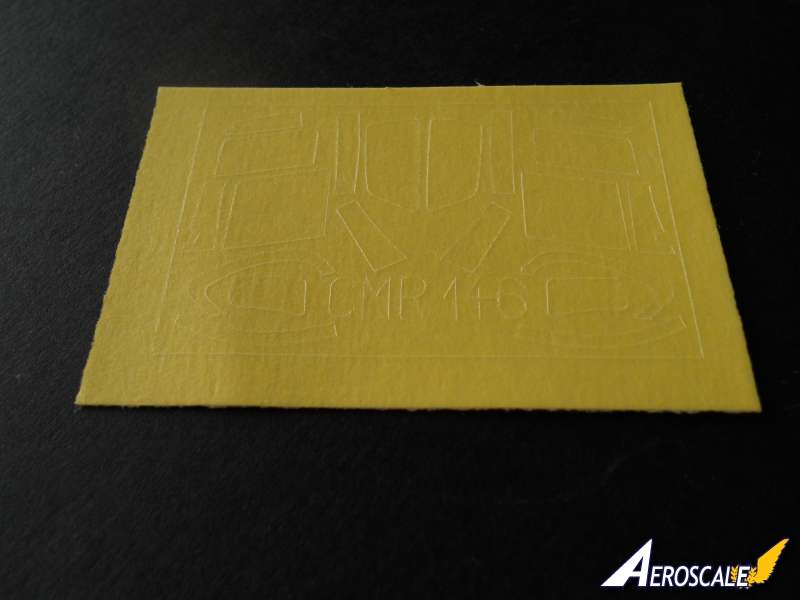
-1 x sheet of Kabuki paint masks.
-2 x decal sheet.
-10 x A4 page building and painting guide.
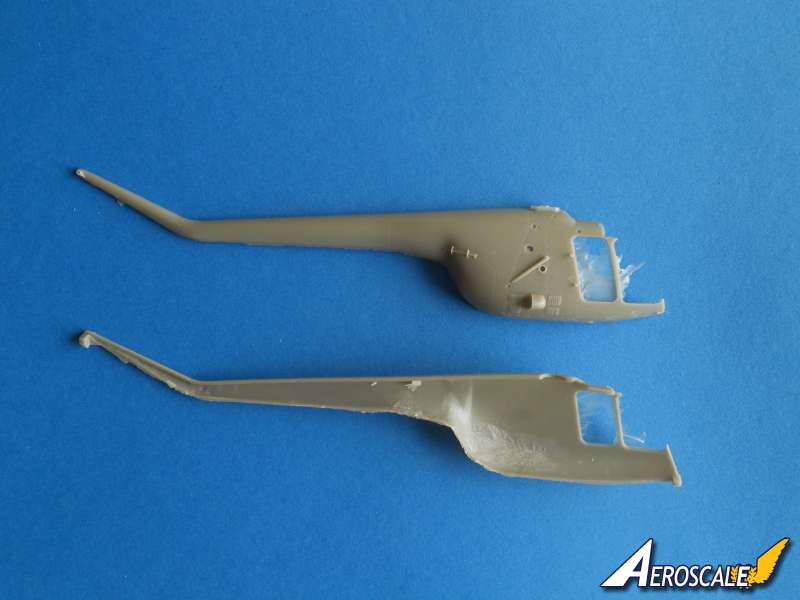
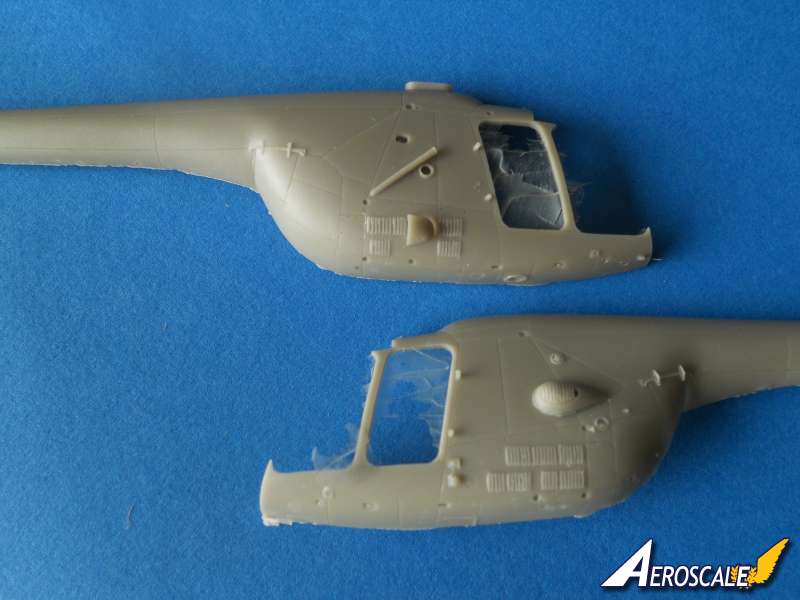
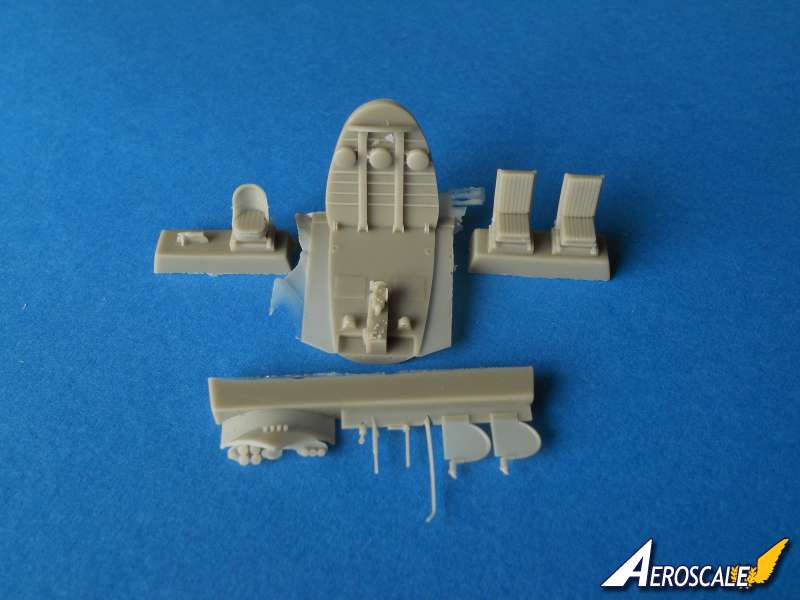
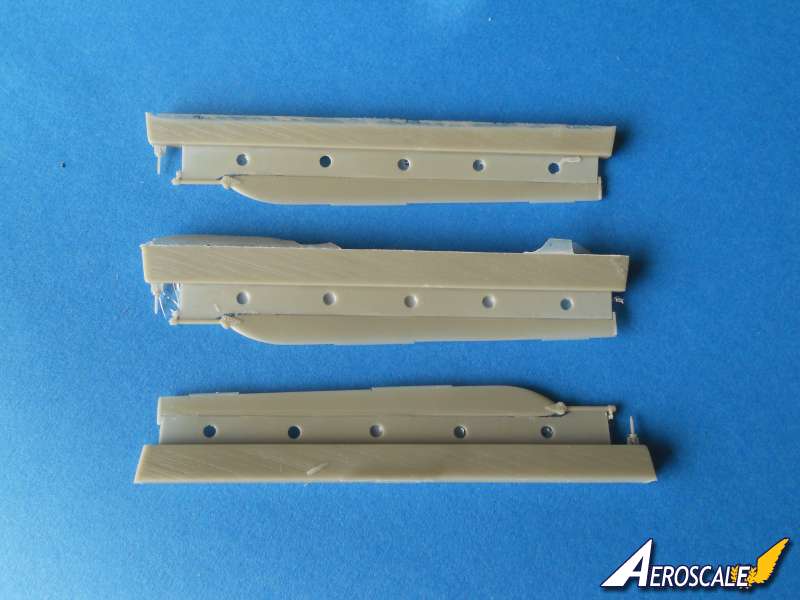
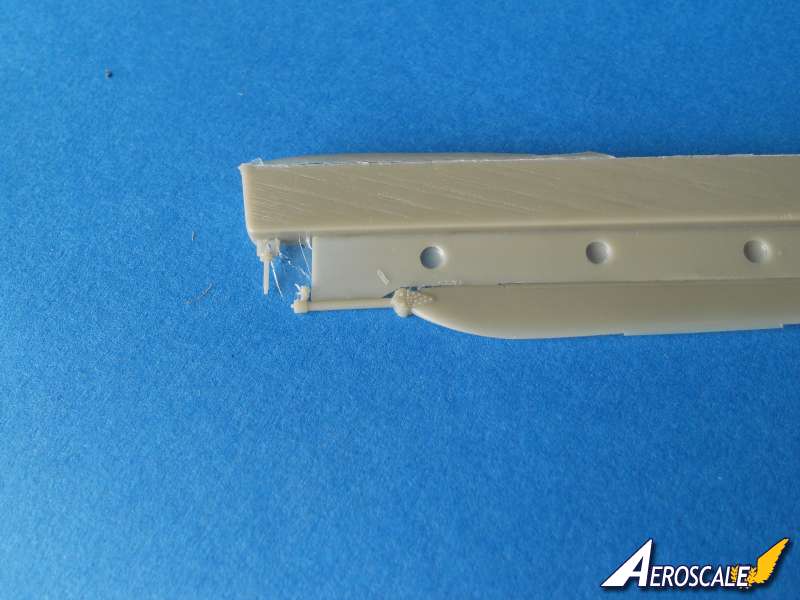
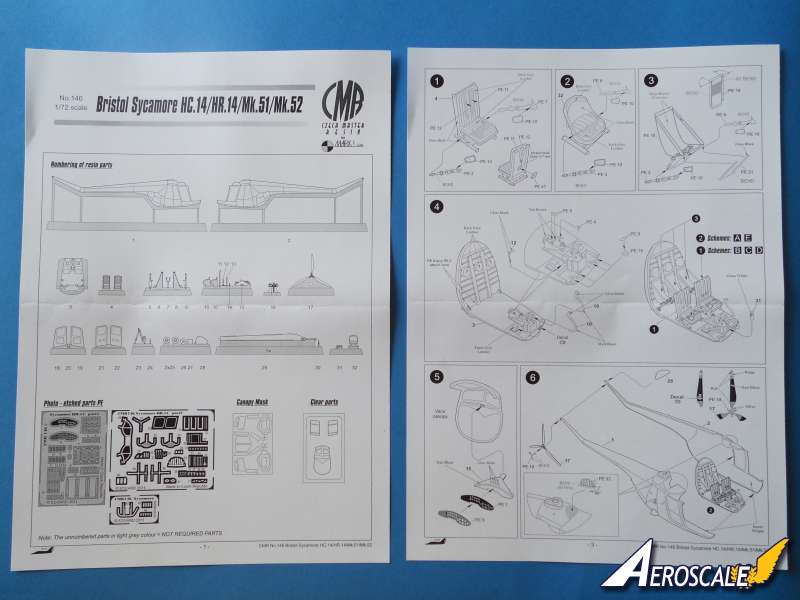
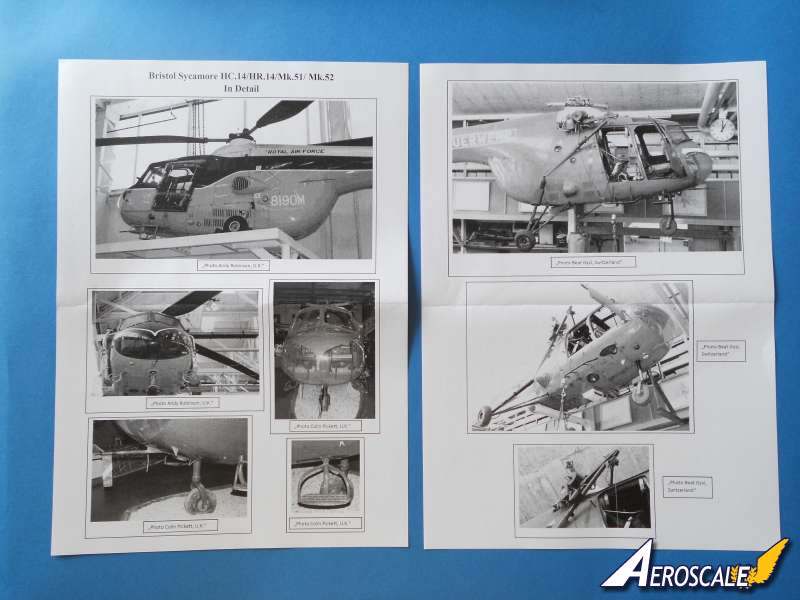
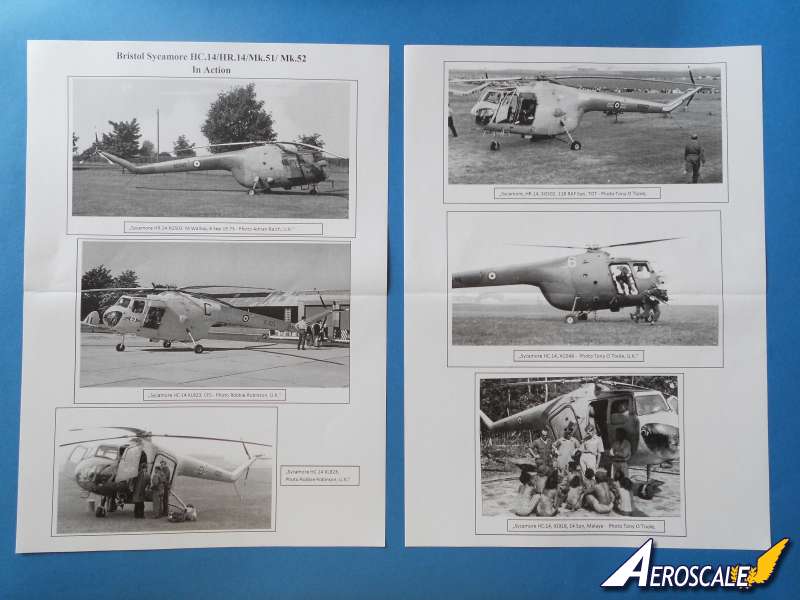
-8 x A4 page In Detail & In Action with 27 black and white images. The cockpit floor and rear bulkhead are one piece and features some excellent raised and recessed detail. The recessed rivets in the floor and the raised headrest on the bulkhead are indicative of the attention to detail CMR provide in their kits. One design feature that will be appreciated is that the casting block attached to the rear cockpit bulkhead is made smaller than the bulkhead, so it does not need to be removed. The air intake duct that is a feature just in front of the rotor head fairing is incorporated into the top of the bulkhead as well. There are two styles of resin seats for the pilots: scheme B, C and D features two pilots seats, while schemes A and E has a single seat that differs in appearance to the other seats. The three rear canvas style seats are made up from pre coloured PE parts. There are pre coloured PE parts to make up the seat harnesses for all the seats. The pre coloured PE instrument panel is built from two parts and is attached to the one piece resin instrument panel and hood. There are further PE parts for the anti-torque pedals and various levers for the central console. The cyclic control sticks for the pilots look particularly good. Colour references for all the parts are very good although there is no mention of the overall interior colour. A quick Google of images of the Sycamore reveals that the interior was probably black. The Fuselage is split vertically and is in two parts. The casting blocks for both halves have been removed which helps speed up the building process. The mix of raised and recessed detail is very well done indeed. I particularly like the look of the grilled vents on the lower fuselage. There is lots of resin and PE etched parts to add further detail, but more on that later. The shape of the fuselage looks very good and captures the look of the boom very well.
The clear parts are created from a mix of vac formed plastic and clear resin. The windscreen, nose and roof windows are all on a one piece vac formed part. The two forward doors are clear resin, while the rear doors are resin and vac formed. The rear doors come in different styles depending on which option you want to build. In fact if you go for option C there are no rear doors at all. The vac formed parts are beautifully clear and the clear resin parts are slightly hazy and will benefit with cleaning any release agent remaining on them and a bit of a polishing. Thankfully CMR provide two sheets of vac formed parts in case of accidents. A nice touch is the inclusion of PE windscreen wipers. The roof windows need to be tinted, so a wash of thinned orange paint will be necessary.
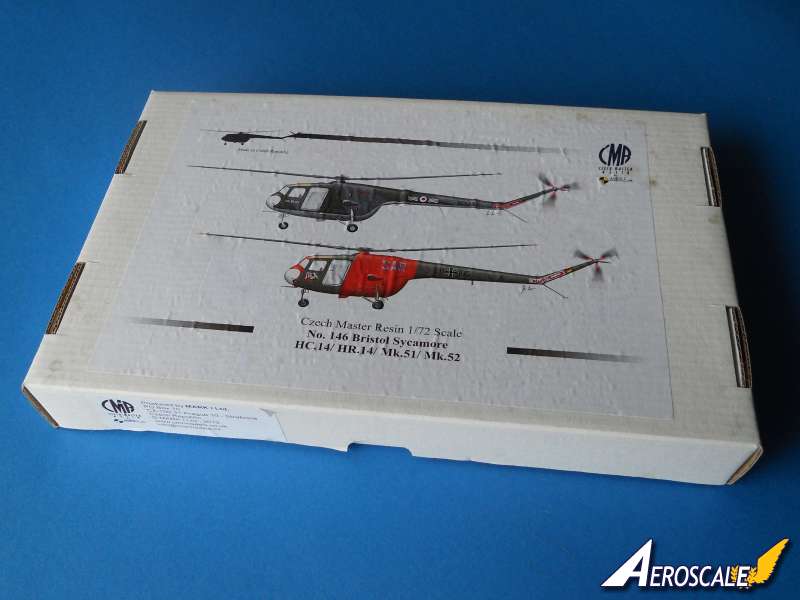
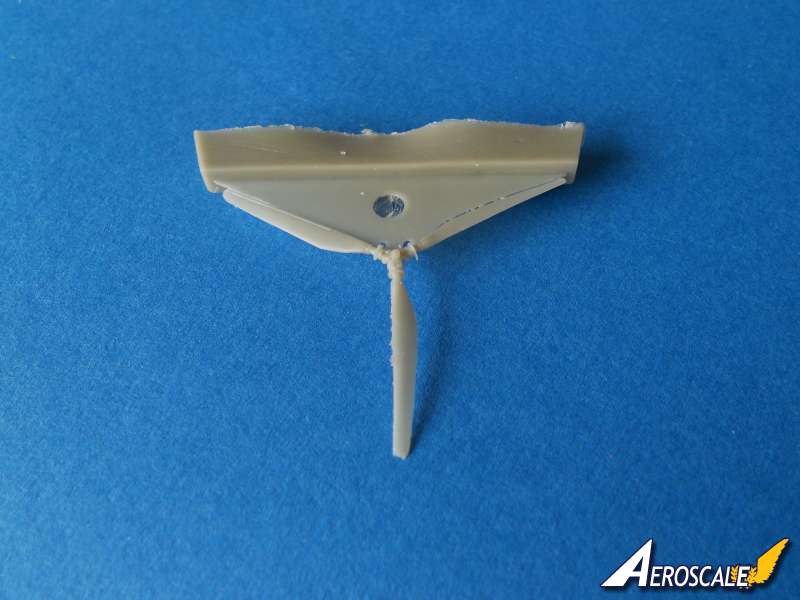
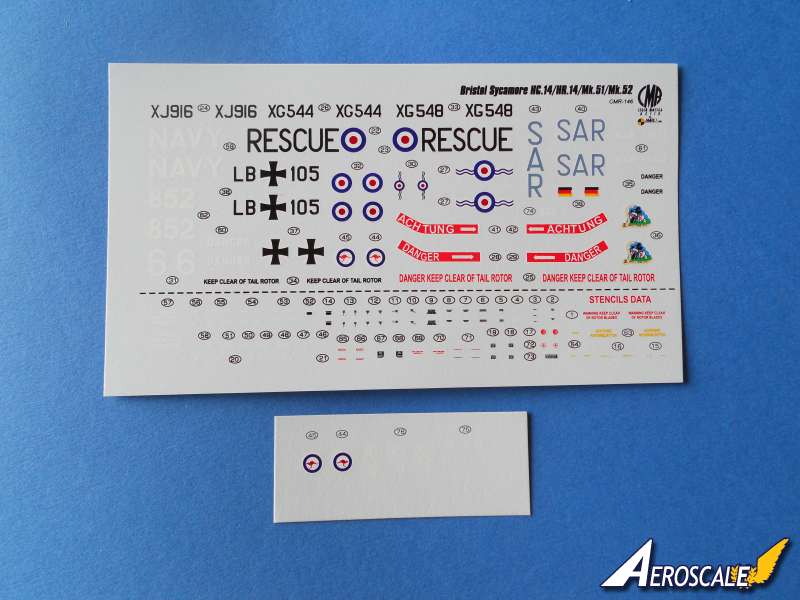
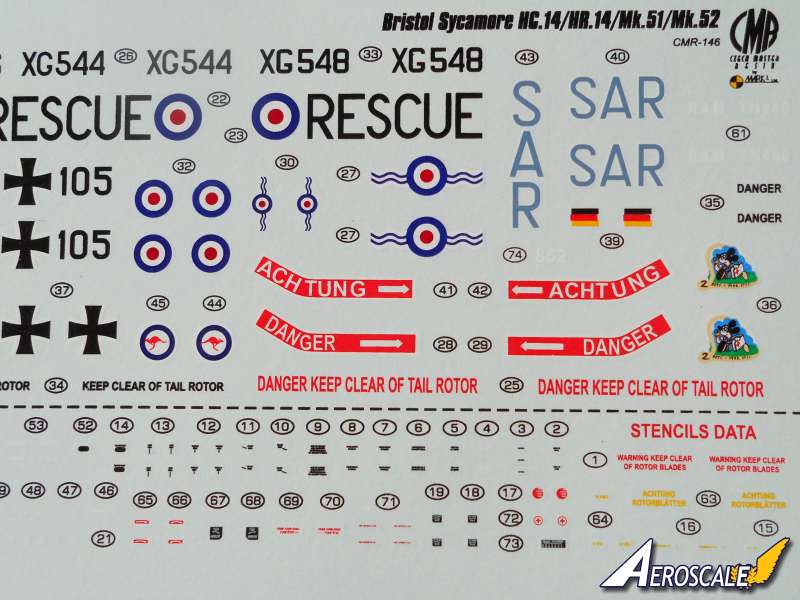
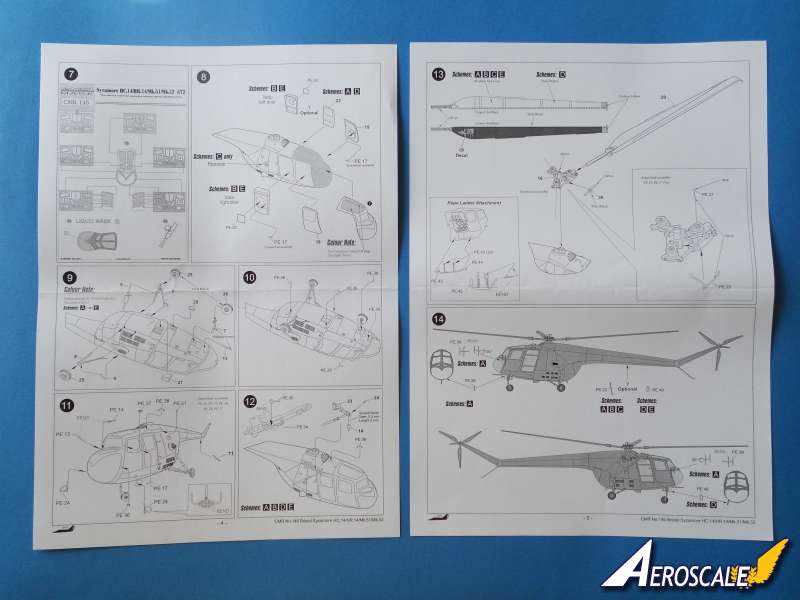
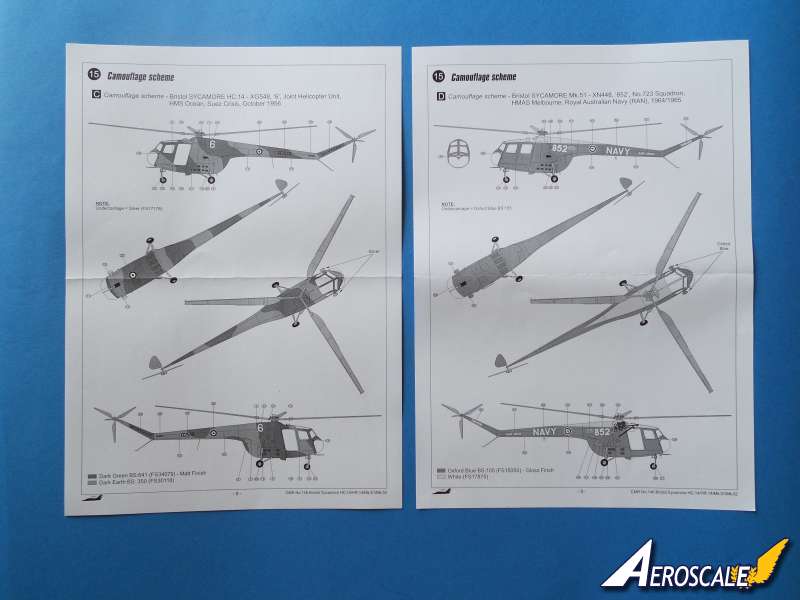
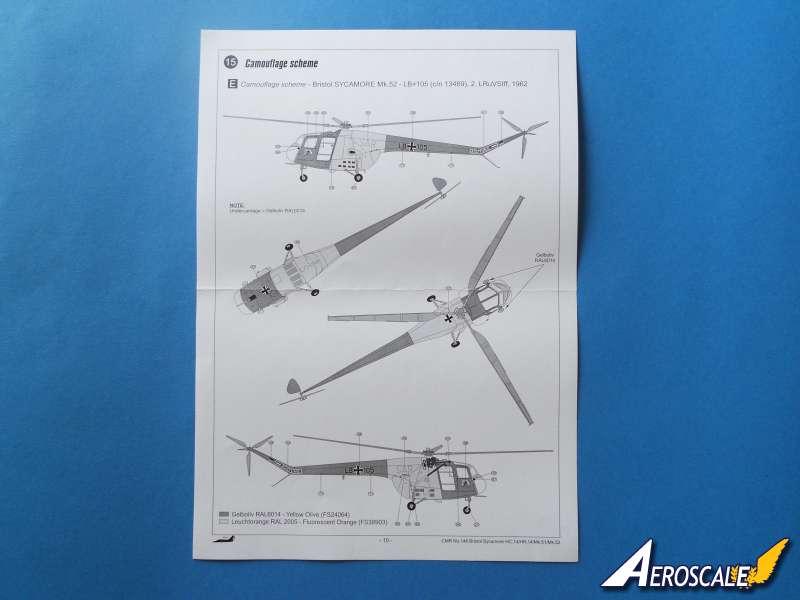
There is a fair bit to add to the outside of this beauty including PE blade aerials, engine air intake grill, handles, a rather fine looking stirrup step for the pilots cabin, rope ladder attachment frame and much more. Resin additions include air scoops, winch frame and motor, tail skid and horizontal stabiliser opposite the tail rotor. The Undercarriage struts for the undercarriage legs are made from the tougher black coloured resin that CMR employ for the load bearing parts. The wheels are each one piece and feature some fine detail. The distinctive looking front tyre is reproduced faithfully. Each of the three blade rotor is a separate part and is attached to its casting block via a thin film of resin. So there should be no problems removing them. The blades are beautifully thin and detailed. They will require some gentle bending to replicate the sag that is seen on the real thing when the blades are at rest. The rotor head is one piece and features small holes where the rotor blade fits. Again the resin detail is excellent and further detailing of the pitch control rods as PE parts will certainly create a busy look to the area. The image of the rotor head supplied in the In Detail will be off enormous help when constructing the rotor head. The tail rotor is one piece, the pitch control mechanism is a single PE part. The blades are beautifully thin. Markings CMR has provided a varied range of finishes, the five options are: [A]Bristol Sycamore HR.14 - XJ916 No.275 Squadron, RAF Thornaby, summer 1957. Painted overall golden yellow. [B]Bristol Sycamore HR.14 - XG544 No.118 Squadron, RAF Aldergrove, Northern Ireland, 1962. Painted dark sea grey and dark green upper surface disruptive camouflage. Light aircraft grey undersurfaces. See box top illustration. [C]Bristol Sycamore HC.14 - XG548 '6', Joint Helicopter Unit, HMS Ocean, Suez Crisis, October 1956. Painted dark earth and dark green wrap around disruptive camouflage. [D]Bristol Sycamore Mk.51 - XN448 '852', No.723 Squadron, HMAS Melbourne, Royal Australian Navy (RAN), 1964/65. Painted white on the extreme upper surface otherwise painted Oxford blue overall. [C]Bristol Sycamore Mk.52 - LB 105 2. Luftrettungs- und Verbindungsstaffel, (2nd SAR Unit), Luftwaffe, West Germany, 1962. Painted olive green [RAL6014] with fluorescent orange windscreen frame and mid-section [see box top illustration].
CMR provide all the Federal Standard [FS] paint numbers to make it easier to track down the correct colours.
The decals are silk screen printed. The colour density and the definition look very good indeed. Many stencils are included on the sheet. The paint masks the small Kubaki sheet has masks for the area around the windscreen. The masks are produced by Eduard. The instructions has some fine black line diagrams and the written instructions are in English. They certainly leave you in no doubt where things go or what colour they are painted. The painting instructions and decal guide provide multi view drawings of the aircraft. Federal Standard numbers are provided for the paint references. I do like the inclusion by CMR of the black and white photo references.
The In Detail & In Action pages provide a wealth of visual information in the way of photographs to help you get the most out of your building experience with this kit. The quality of the reproductions is superb.
Conclusions:
This is a delightful release from CMR and a must by for any rotary winged fans out there. The quality of the resin and photo etched parts and decals are superb. Also the inclusion of the paint masks and the numerous images provided by CMR is a very welcome bonus. A great all round kit and its highly recommended.
SUMMARY
Highs: Far too many to mention.Lows: Nothing significant.Verdict: An excellent release: accurate, detailed and it does not look hugely difficult to put together. There are some great choices for the colour schemes too. Nicely done CMR.
Our Thanks to Czech Master Resin! This item was provided by them for the purpose of having it reviewed on this KitMaker Network site. If you would like your kit, book, or product reviewed, please contact us.


Comments