history
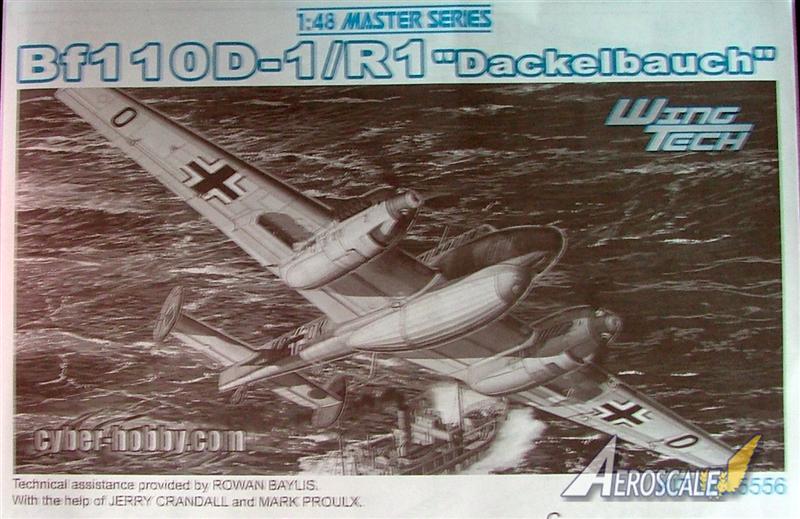
The original Bf 110 aircraft built by Messerschmitt was a twin-engine heavy fighter, a type the Germans referred to as Zerstorer (Destroyer). This aircrafts greatest success was early on in WWII, but its innate weakness of a lack of aerial agility was dangerously exposed during the Battle of Britain.
The Bf 110D, based on the preceding C model, was a Zerstörer specially designed for long-range missions. It came about at the time of the Norwegian campaign, where the need for a long-range anti-shipping aircraft became apparent.
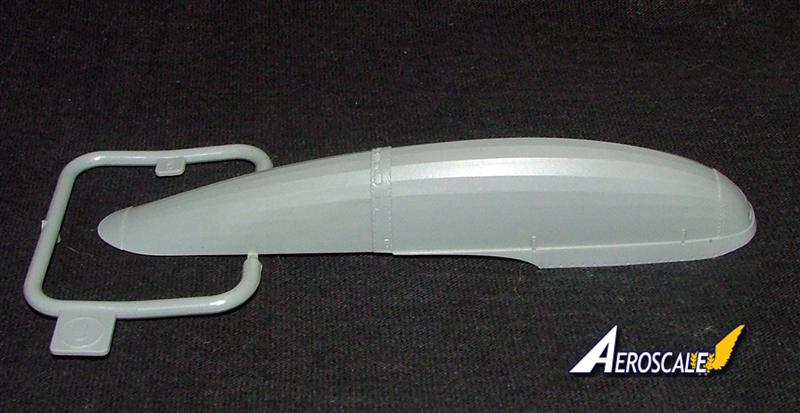
The Bf 110D-1/R-1 was the first attempt at creating a long-range shipping patrol aircraft, and its key characteristic was the addition of a huge 1,200-liter external belly tank. First appearing in May 1940, the performance of the Bf 110D-1/R-1 was adversely affected by the weight of this Dackelbauch (Daschund belly) fuel tank. Only the poor quality of Allied aircraft during the Norwegian campaign staved off disaster for this version, although later variants incorporated improvements.
In the box
Rowan (Merlin) has already reviewed the
Bf 110D-3, which has some more images of the kit. The only addition to this boxing is the inclusion of the Dackelbauch.
Those of us, who have tackled a Dragon armour kit, will not be surprised by the amount of plastic packed into the top opening box.
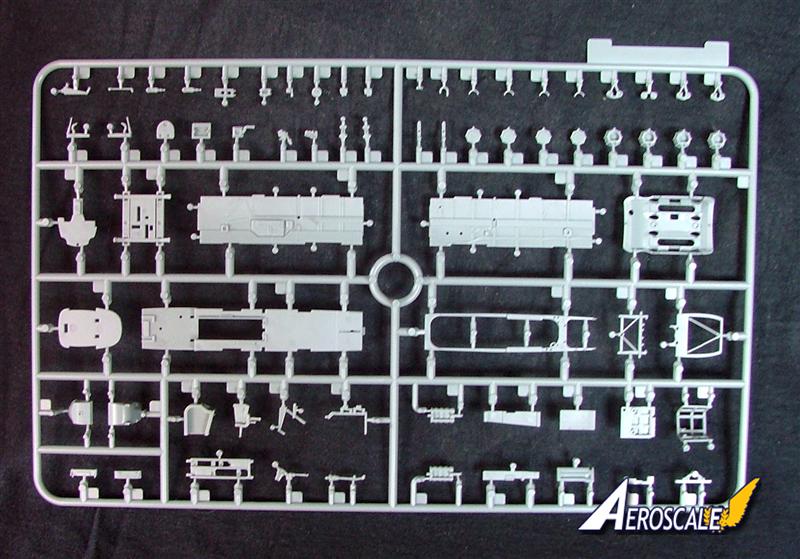
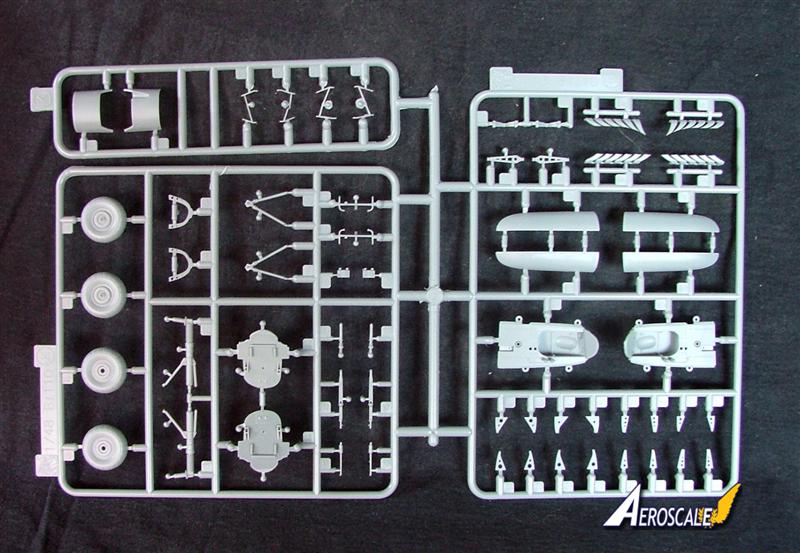
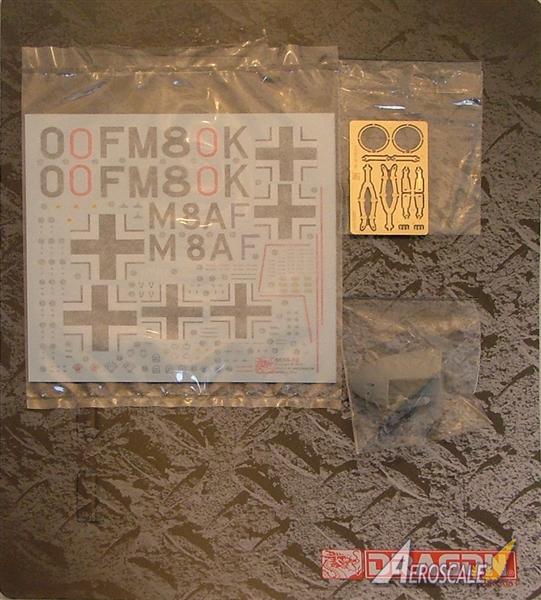
Inside the box you will find ten light grey sprues, one clear sprue, a set of Photo Etch the instructions, decals, and a separately bagged plastic nose section. Also with the first production batch available in the U.S and Japan, you also get two DB 601 engines, which add another two sprues. Total number of parts (according to the box) is over 280, which is actually less then the Eduard kit, but looking at all these parts you wouldnt have thought so lol.
The Kit
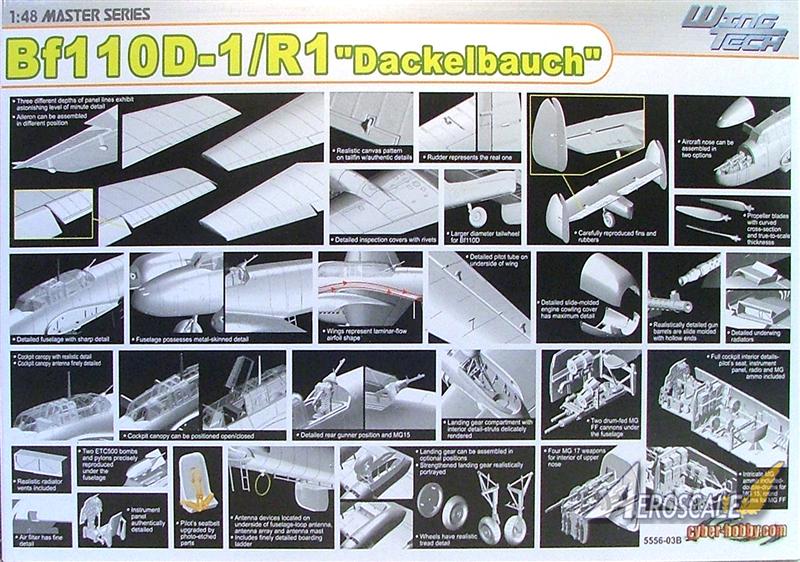
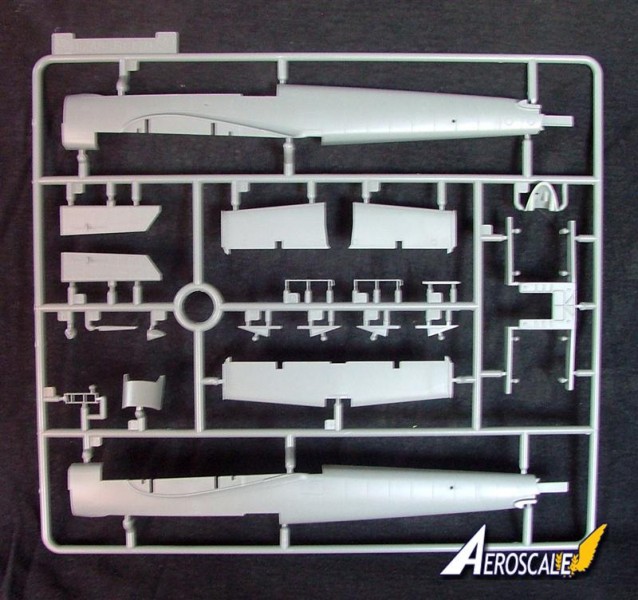
Exterior detail comprises of some fine recessed panel lines, recessed inspection covers with rivets, some raised detail in places and a fabric effect for the control surfaces.
The parts are free from flash, and injector marks seem to be few and far between.
On the whole the moulding for the exterior is extremely well done.
All the control surfaces are positional, but you do have to perform a little bit of surgery to add the optional kit parts.
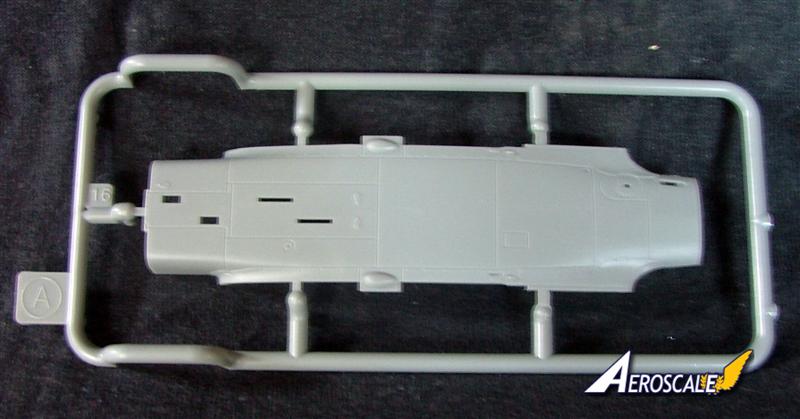
The exterior fuel tank, the Dackelbauch, has a nice ribbed effect, with the fuselage connection points well moulded, with some very fine rivet detail.
The detail for the cockpit, unsurprisingly is no where as near as complicated as the Eduard kit, but does seem very detailed nether the less. Photo Etched harnesses for the pilot and gunners seats are included, and although they are not great are better then nothing. The rest of the office has some extremely detailed parts, with the instrument panels having some impressive detail moulded onto them.
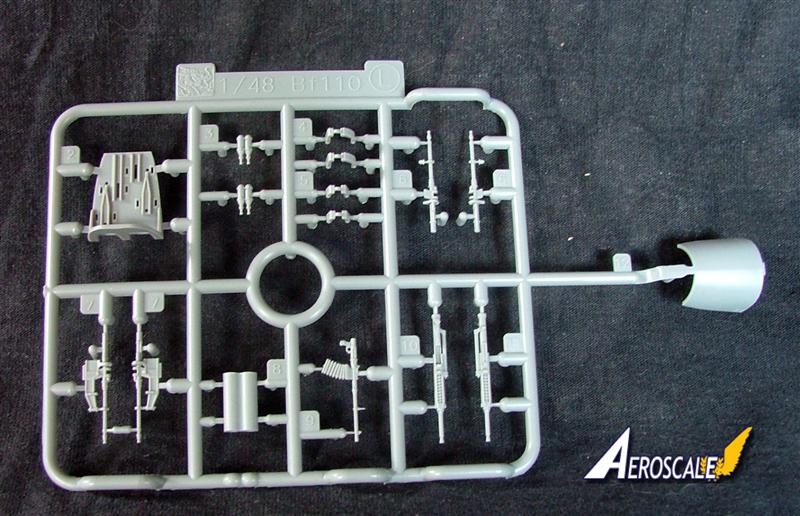
The gun bays are equally as detailed with the machine guns being slide moulded, so the barrels have hollowed muzzles. The rest of the bays have the compressed air bottles, and ammunition feeds. The nose gun bay can be modelled in the open or closed position, with cutting the upper nose section off and replacing it with a different but exact same part for the open position. It seems strange, but it does make sense and should work quite well.
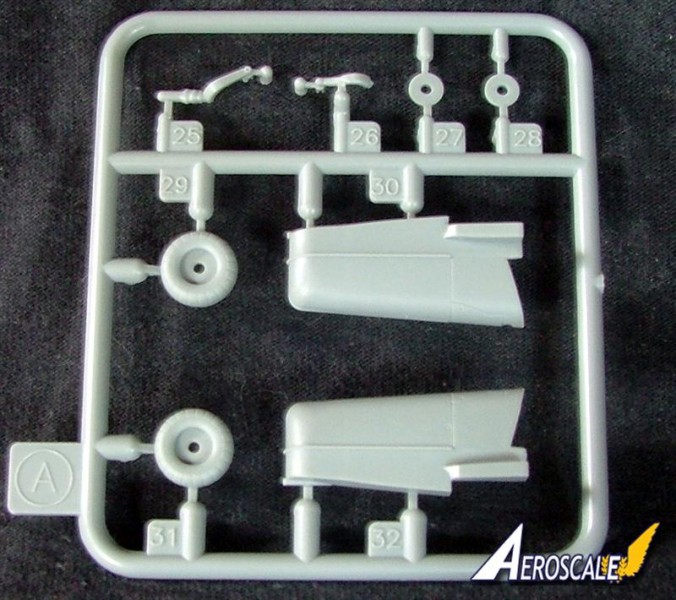
The undercarriage legs are pretty well detailed and the bays have some very fine recessed and raised detail moulded into them. The wheels have a basic tread pattern on them and the hubs are just as basic.
The tail wheel has the larger diameter that was used on the D version.
The tail section is separate from the fuselage build as it incorporates the lengthened tail section that holds the dinghy on the real aircraft.
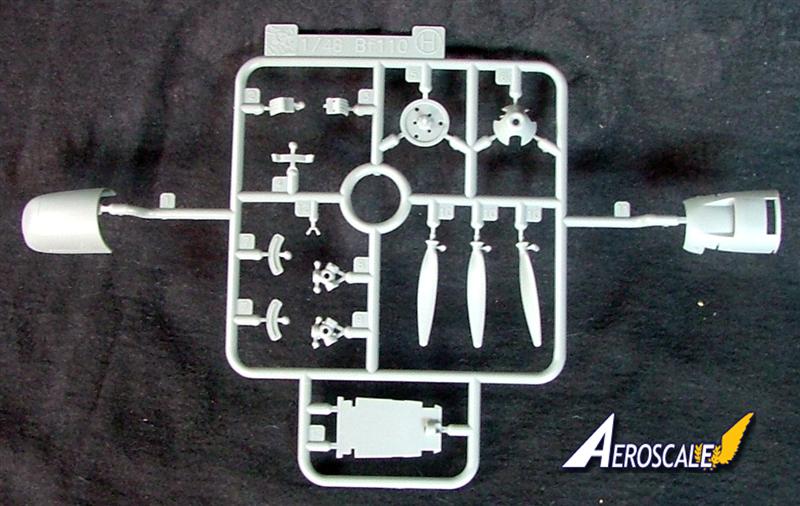
The engines that are supplied as an extra bonus are well detailed, and should fit into the empty engine bays, along with the engine mounting spars. Unfortunately the engines wont be seen unless you cut the access panels open. The one area that I feel Cyber Hobby (Dragon) has really fell down is with the exhaust stacks. Although these are well moulded they are not hollowed out, the machine guns have been slide moulded, so why couldnt the exhausts have been?
The propeller blades are separate from each other so some careful lining up looks to be required to have them all at the same angle.
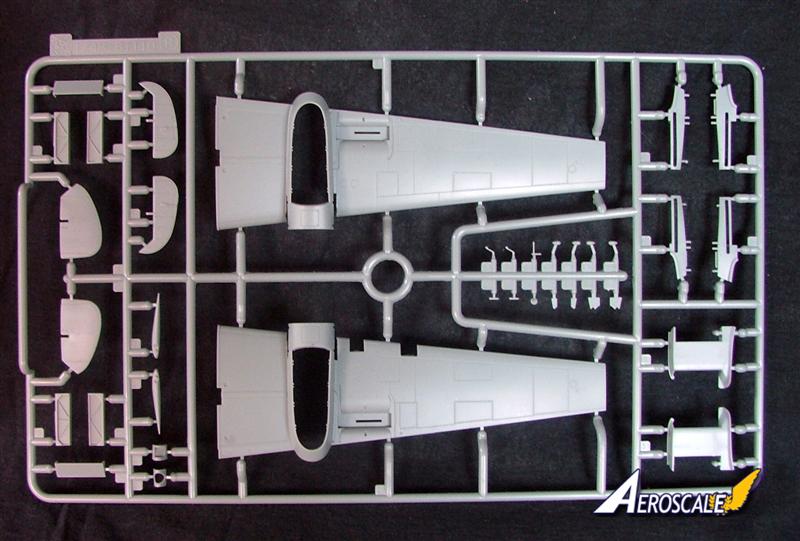
The clear parts are thin and well moulded. The canopy comes either as closed, and is in one piece or can be modelled open where it is in numerous pieces.
Instructions and decals
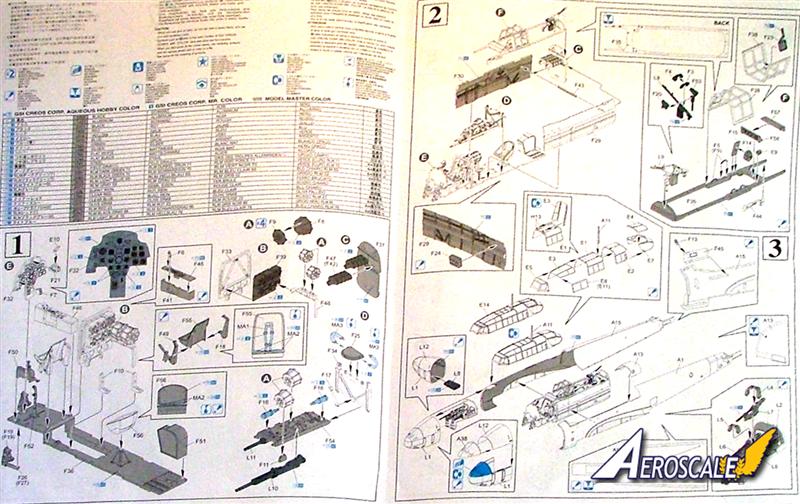
The 4 x A4 size instructions are concertinaed down to an A4 size sheet. The instructions then fold out so you can follow the build sequence, where you then wont be able to build anything, because the instructions have now taken over your bench lol.
The build takes place over 10 steps, with internal colours given along the way.
The build sequence is typical Dragon style, i.e. confusing, with multiple boxes in every step.
I have never really been a fan of Dragon instructions, as they just seem to complicate the build. I almost always disregard the preferred build sequence with Dragon kits and go it alone, only using the instructions as a loose guide.
A separate sheet for the assembly of the bonus engines are present, and this part of the build inserts into step 6 of the instructions.
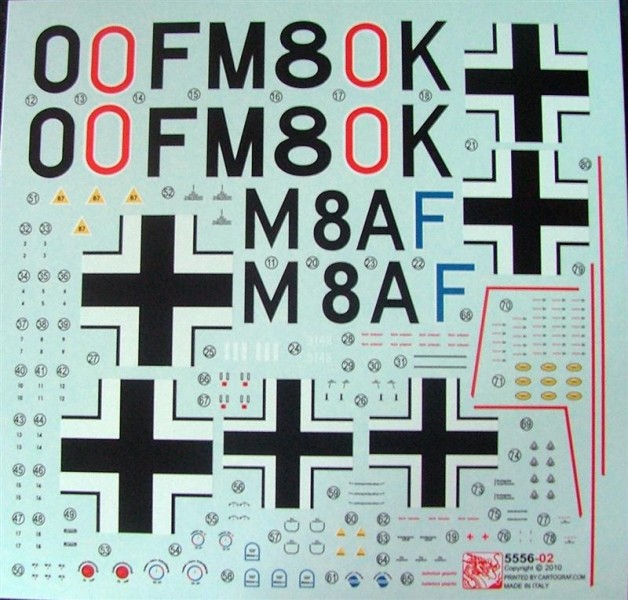
The painting and decal guide is done with the help of a couple of profile shots with the paint numbers calling out for the Gunze Sangyo and Model Master range of paints.
The profiles for the aircraft are top, port and front views of the aircraft, with the schemes in a three tone blue for the camouflage markings.
Both machines are I believe from ZG 76, North Sea, 1941, and have RLM 70/71 upper splinter camouflage, with RLM 65 lower surfaces.
The decals are printed by Cartograph and are of the usual high standard. Stencil decals are included, so hours of fun can be had applying them lol.
Dragon as usual doesnt include any Swastikas, so sourcing your own is required.
Well done Rowan
Our own managing editor Rowan is credited with technical assistance on the front page of the instructions, so well done that man. We now know who to blame if its wrong lol.
Please remember, when contacting retailers or manufacturers, to mention that you saw their products highlighted here - on
AEROSCALE.


Comments