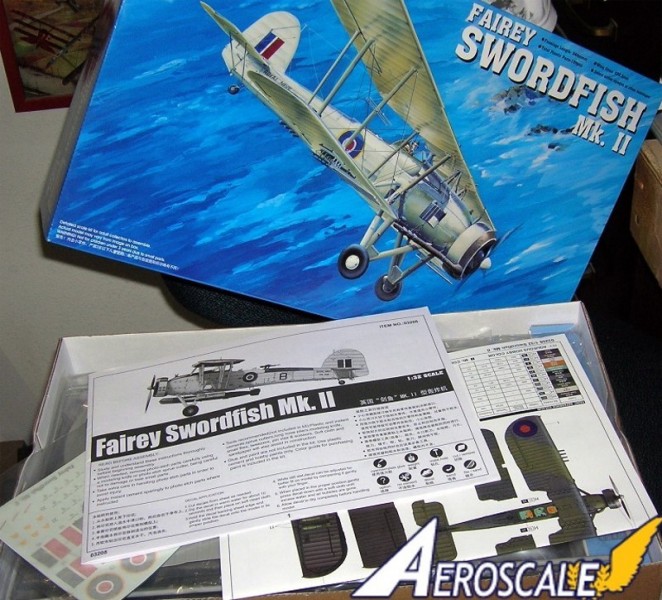
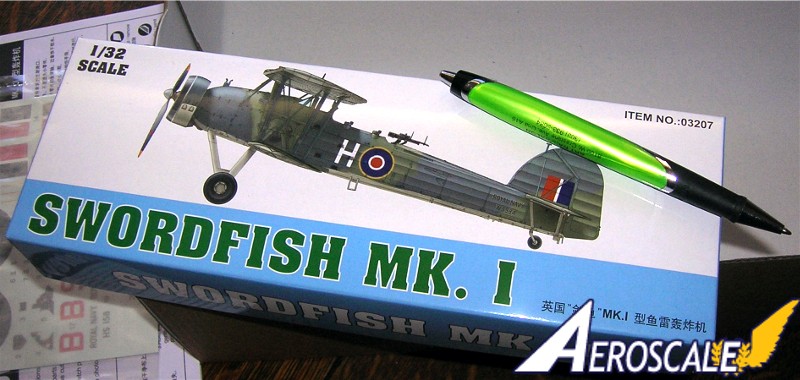
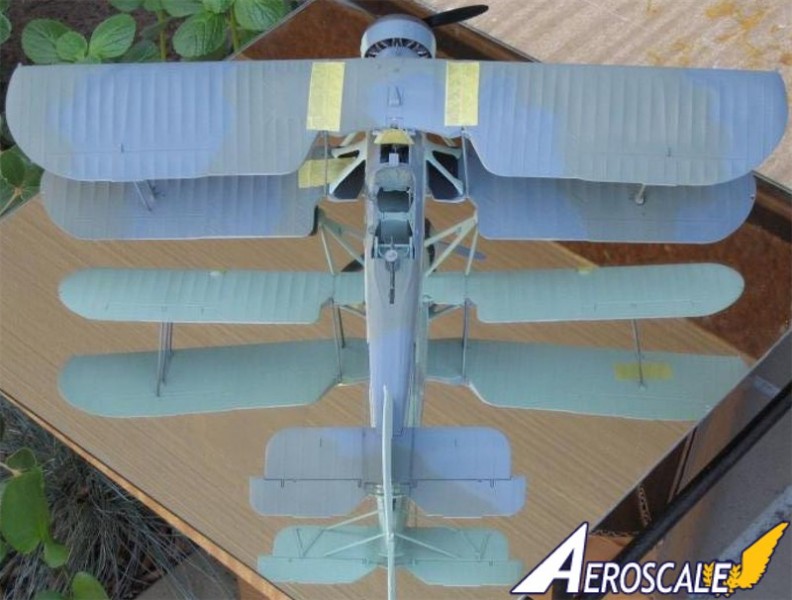
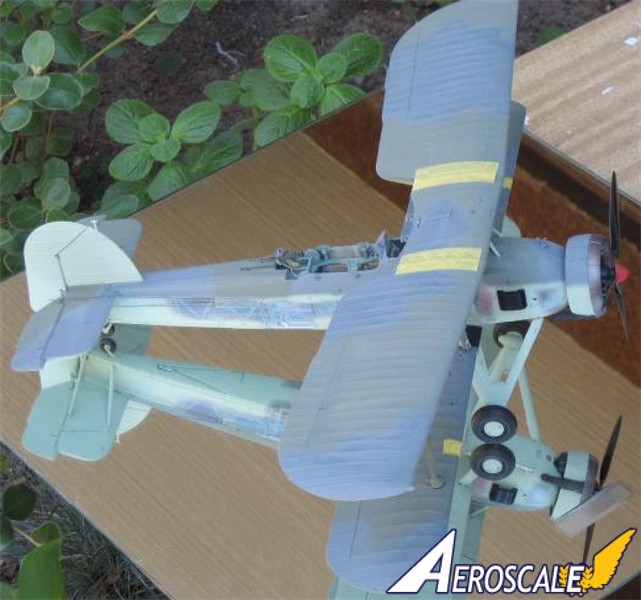
The Fairey Swordfish was originally designed as a torpedo bomber and built by the Fairey Aviation Company. It was used by the Fleet Air Arm of the Royal Navy during the Second World War. Affectionately known as the "Stringbag" by its crews, it was outdated by 1939. Though it achieved some spectacular successes during the war, notably the sinking of one and damaging of two other battleships of the Italian Navy in the Battle of Taranto and the famous crippling of the German Battleship Bismarck. It was operated primarily as a fleet attack aircraft; however, during its later years, it was also used as an anti-submarine and training craft. Designed in the 1930s, the Swordfish outlived several types intended to replace it, and remained in front-line service through the end of the war in Europe. It has been said that the small Swordfish action against the gigantic Bismarck was a pinprick to the heart of the enemy.
The Myth
In the ancient white painted stone castle under the upturned corners of a red capped pagoda towers in modern China, the faithful minions of the Emperor move swiftly across blue and green jade floors. Their mission is to pry the newest kit sprue from its cradling folded steel mold. As the cherry blossoms bloom it is discovered that they are all perfect. Even the plastic trees when fully cured are carved and fit together like the petals of the Lotus flower. The Emperor waves his hand and as his six- inch long polished fingernails glint in the mornings sunlight and the dragons breath curls and billows. Then with a last effort the sprue is freed and another scale wonder is born.
Kit History
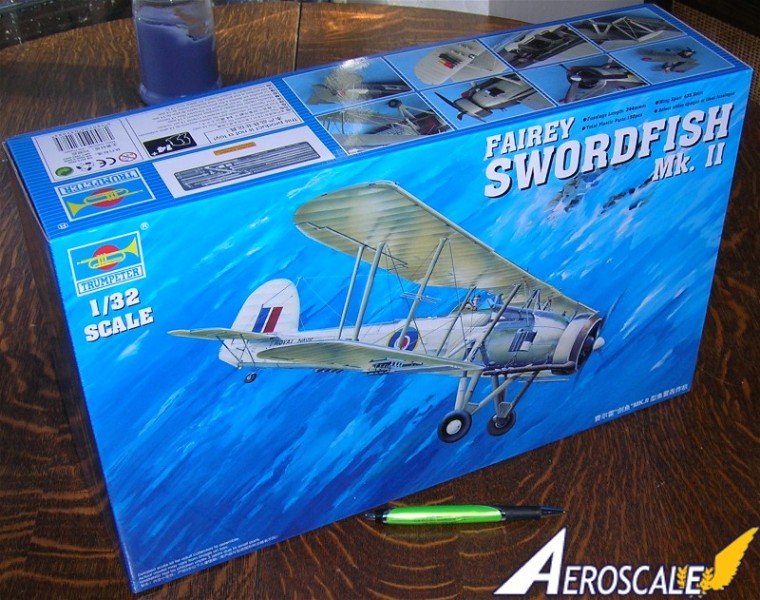
The first mention I heard of this kit from Trumpeter was in the late months of 2008. They had decided to do the Fairey Swordfish Mk.I & II in the mammoth scale of 1:32 two years previous. Recently with a bit more digging I found that this kit had been under the envious eye of Trumpeter since 2002. With the advent of newly purchased machinery it was decided that it was time to press forward with the Swordfish in earnest. Some have said that another oriental based company has claimed that it was a direct copy of their smaller scale Swordfish kit. You can read a more detailed comparison at the end of this article and be surprised that this is not the case. Begin with a light scrub with arm soapy water of all parts. Then pre-drill all strut locator and rigging holes. Check your references. In the course of writing this review I called on Aeroscale member Rob Storey for his input.
Page 1 Basic Modeling applications. in English and Chinese.
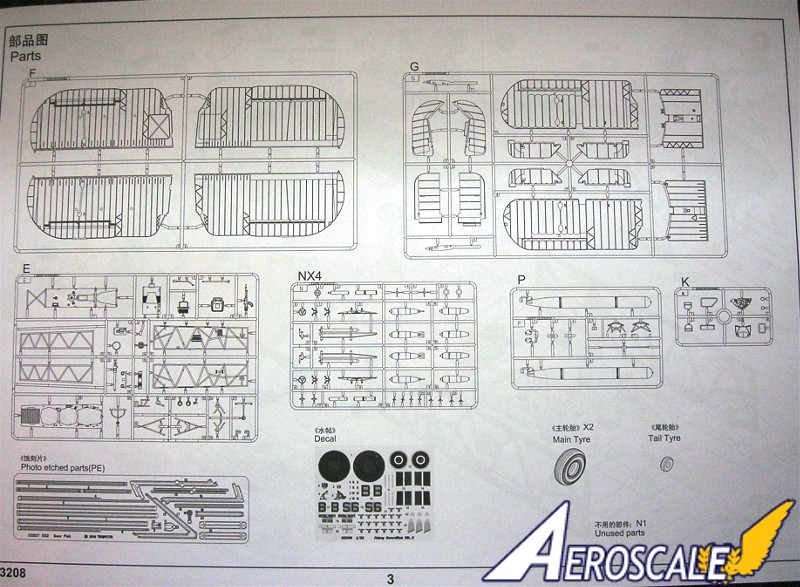
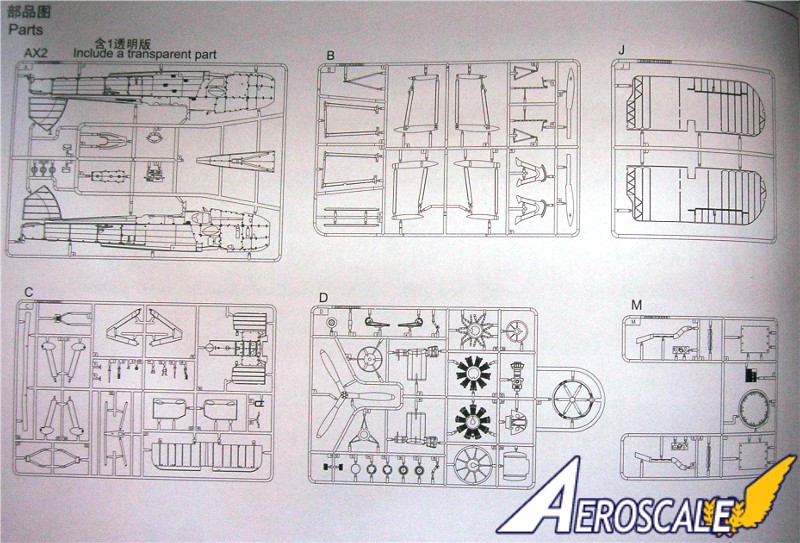
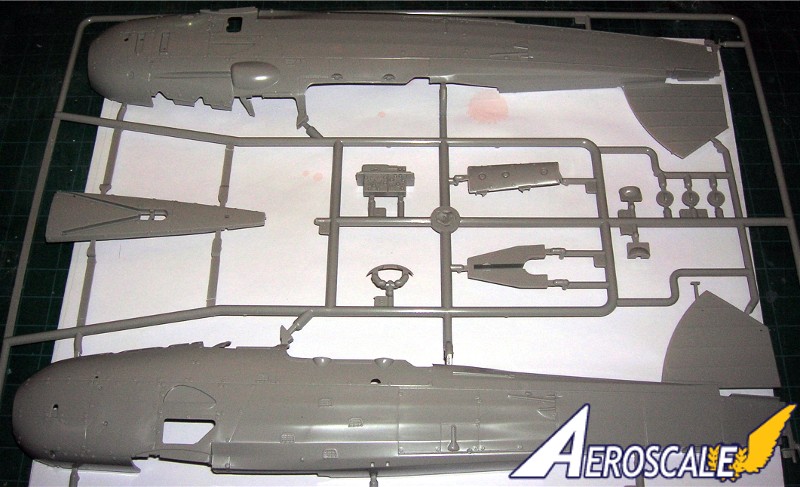
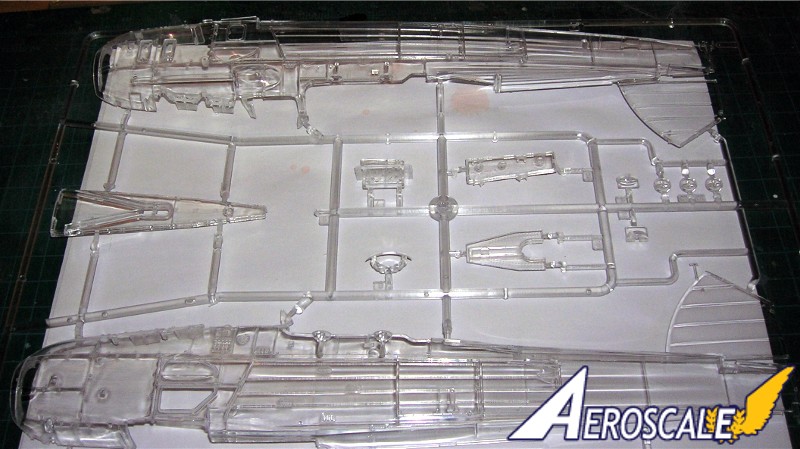
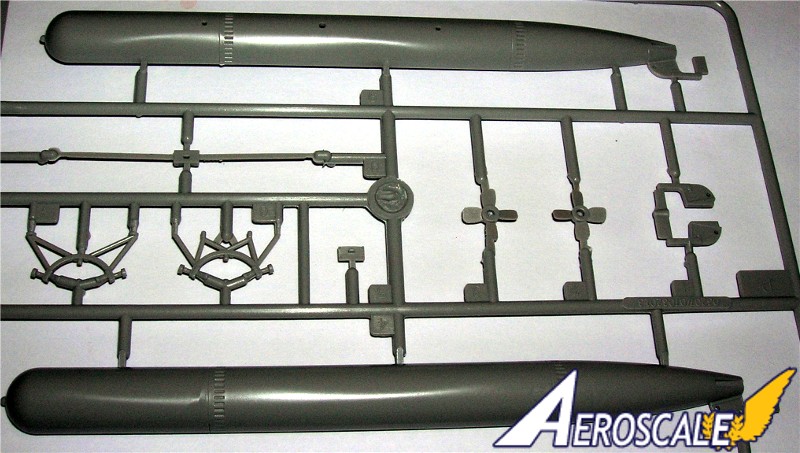
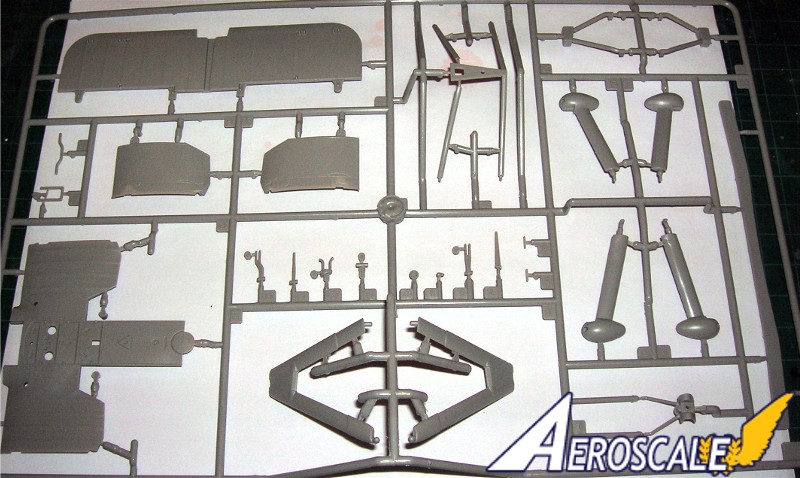
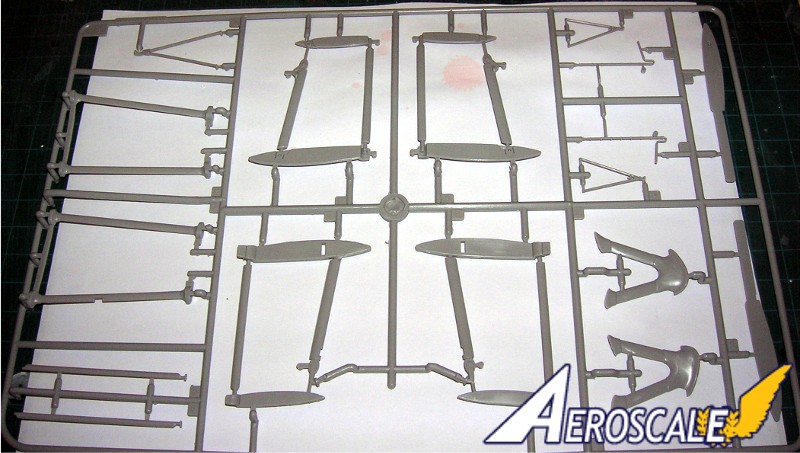
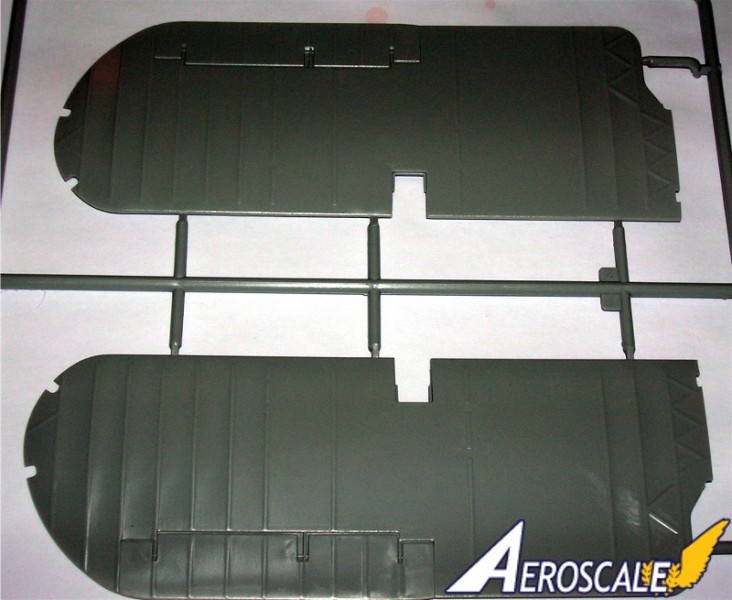
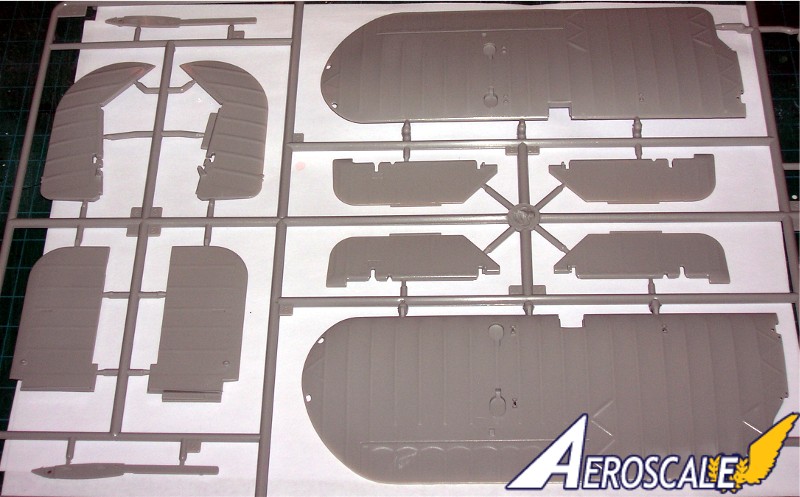
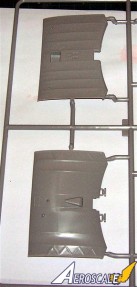
Pages 2 - 3 Parts Maps.
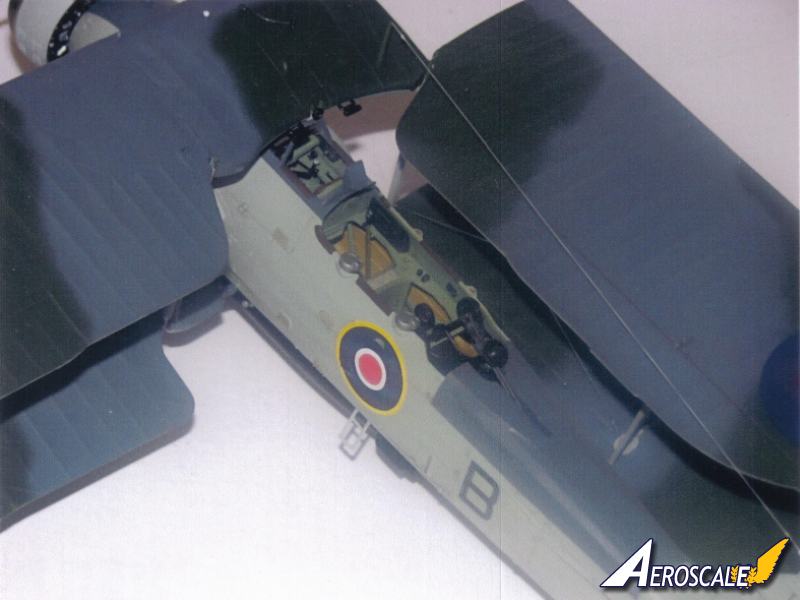
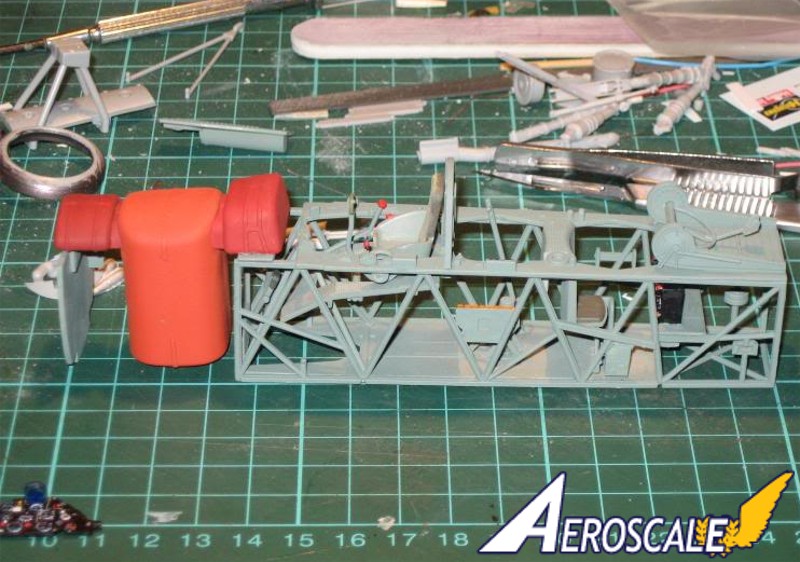
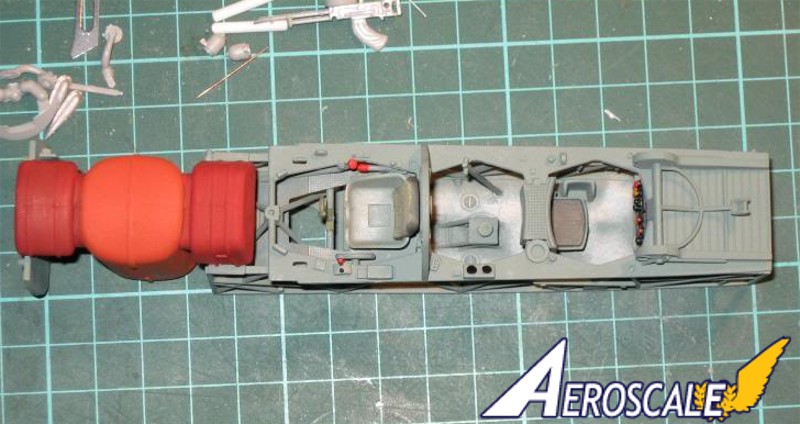
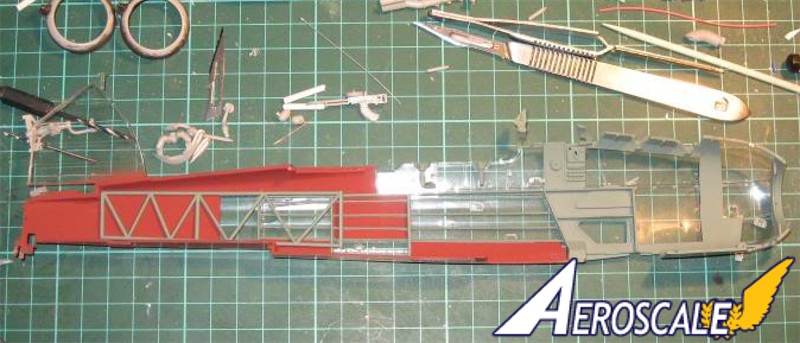
Page 4 step 1. Pilots flooring( PP E 4 ), seat, harness ( PE 11) 2 right side controls ( PP E 6 & 23 ) bombs and torpedo, Control column ( PP E 27 ). Quad pod flooring legs ( PP E 22 & 28 ) and rudder bar ( PP E 19 ). #2 seat ( PP E 11, 26 & 29 ) and main floor ( PP E 1 ). Short bulkhead ( PP D 24 ) on shoulder deck, #3 seat ( PP E 5 & 21) and rear gun mounts ( PP D 23 & 24 , E 20).
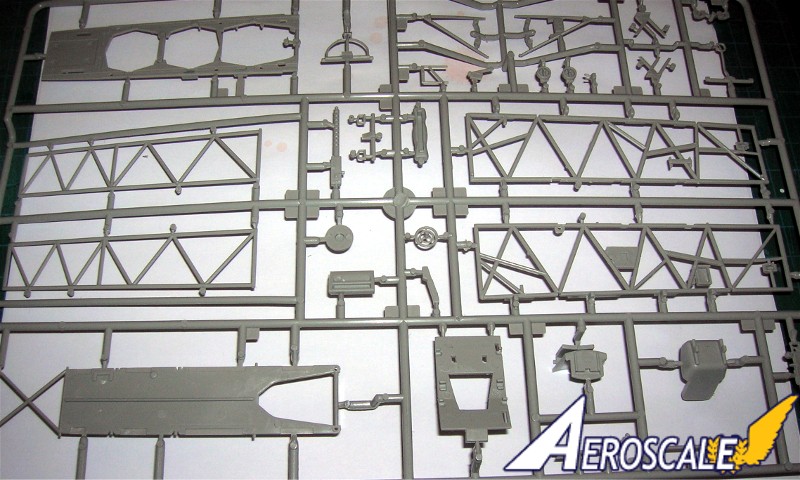
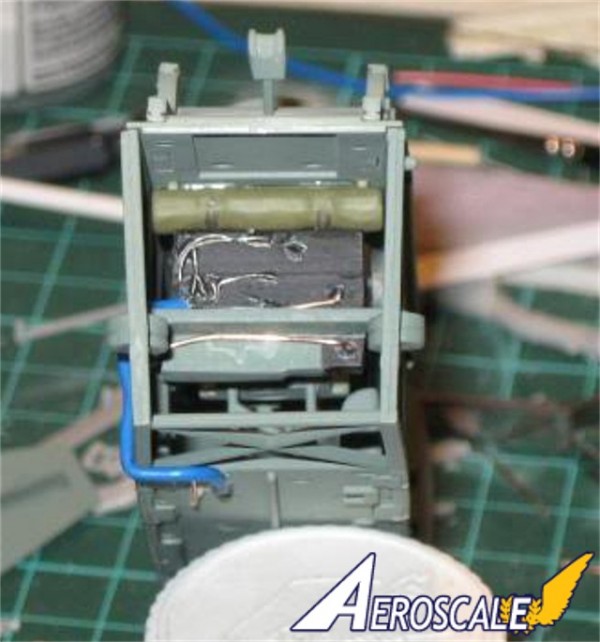
Interior frame works ( PP E 15 & 17 ) Ammunition drums ( PP A 10 X 2 ). Radio ( PP A &) and Ariel reel halves ( PP E 30 & 31 ). Twin rear machine guns (PP A 10, E 9, PE 9 & 10 X 2 ).
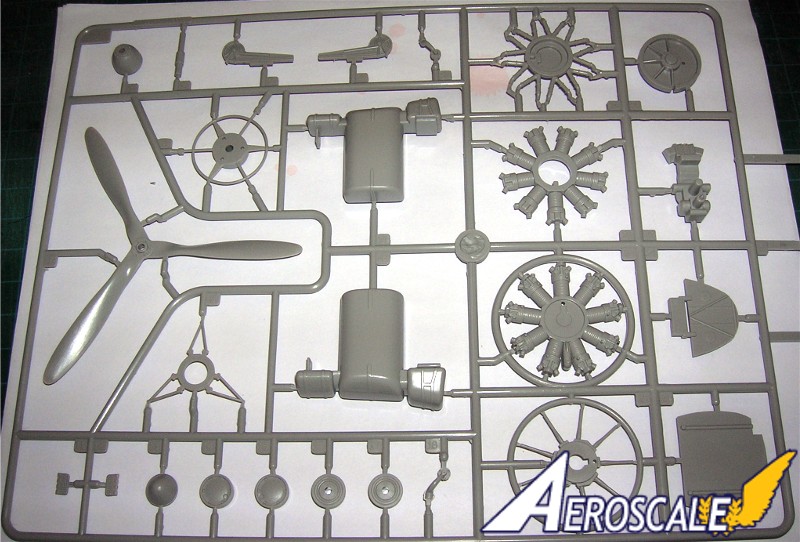
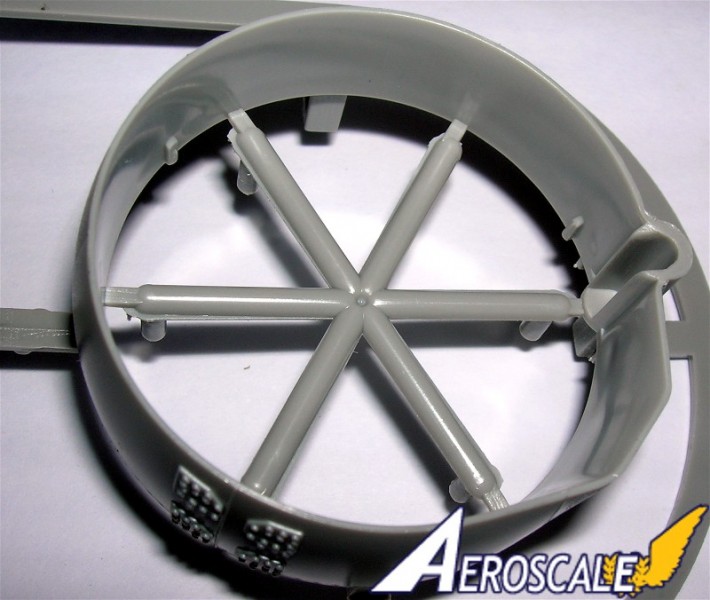
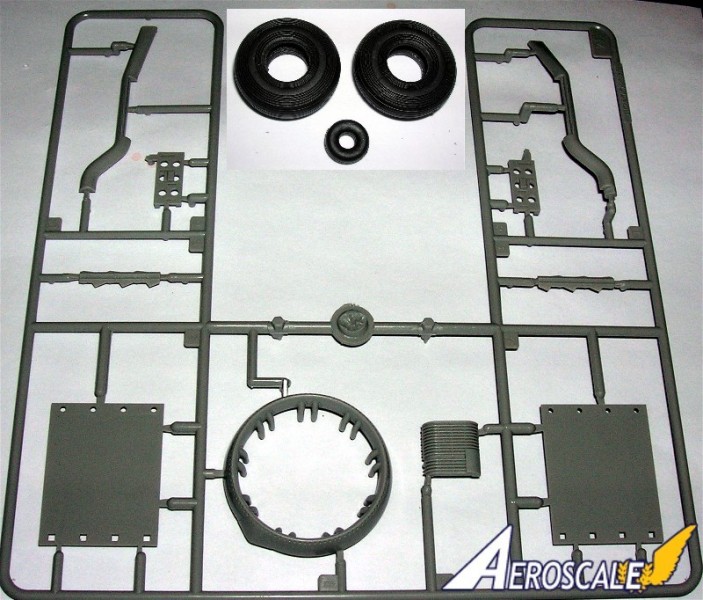
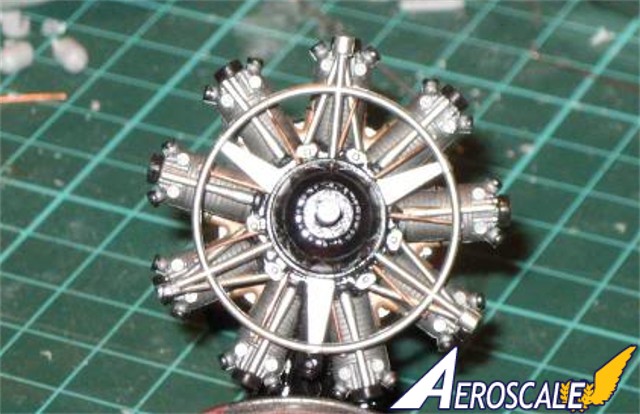
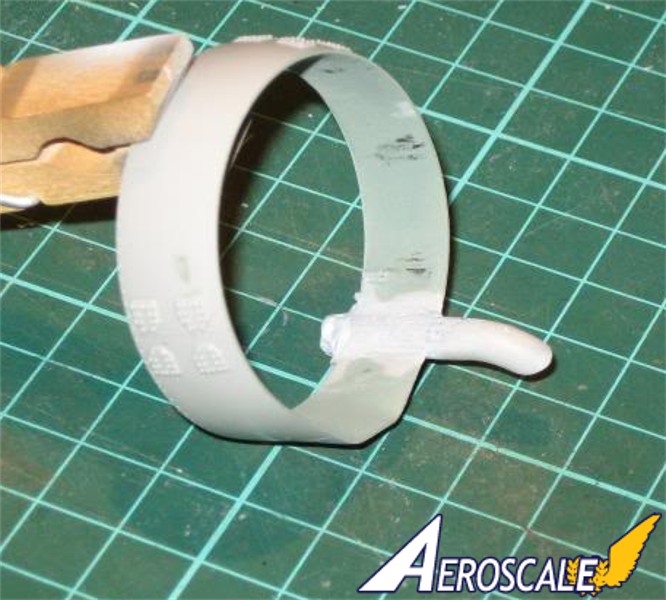
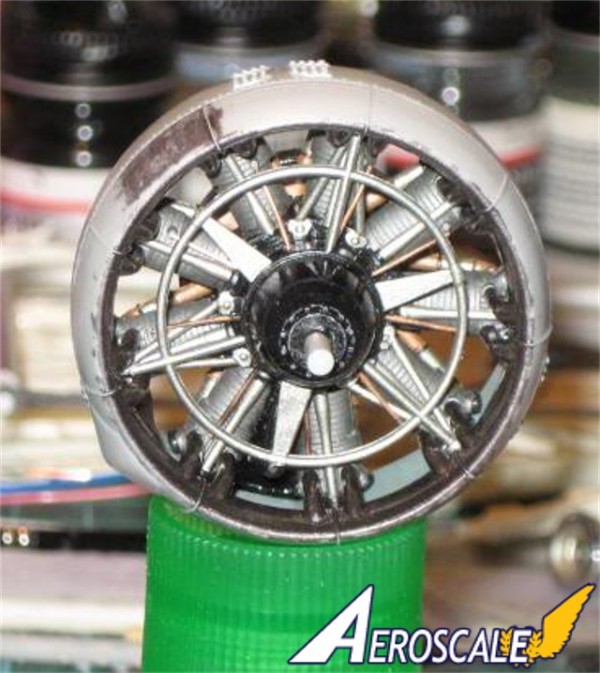
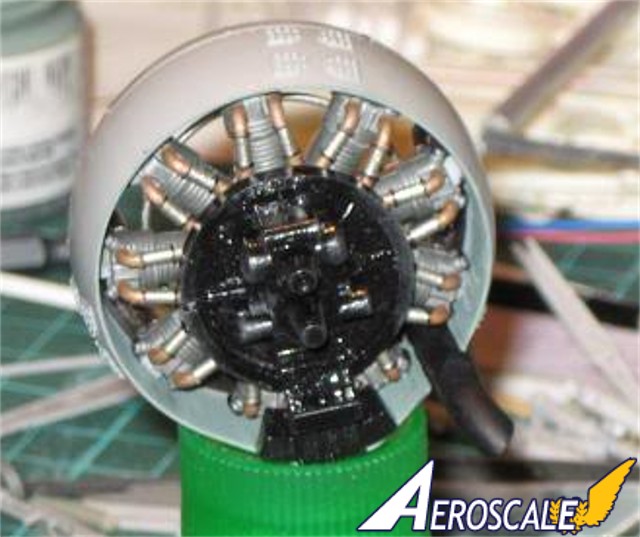
Page 5 step 2. Radial motor assembly PP D 1,2, 6, 8, 19 - 23, 25 ) cowling (PP D 27, M 6 ) , (PP M 1, 3, 8 & 10 ) exhaust damper.
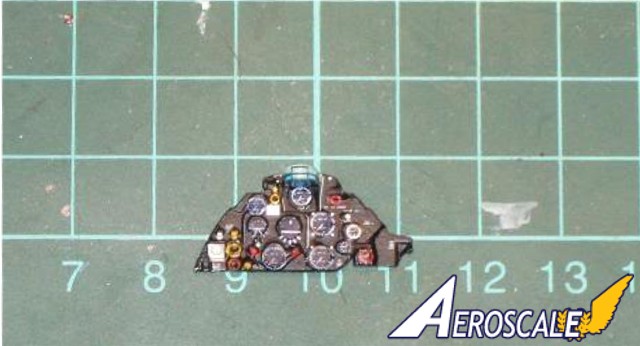
Page 5 step 3. Pilots instrument panel (PP K 5 ) and machine gun (PP E 3 & 13 ). Horizontal tail plane assembly (PP C 18 & 21, G 4, 11 X 2 & 12 ).
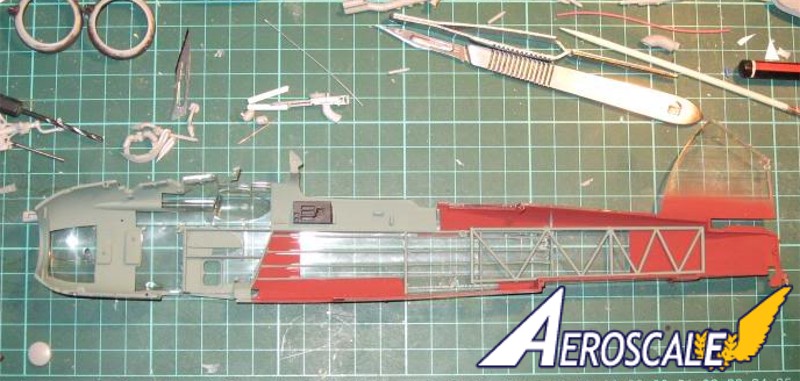
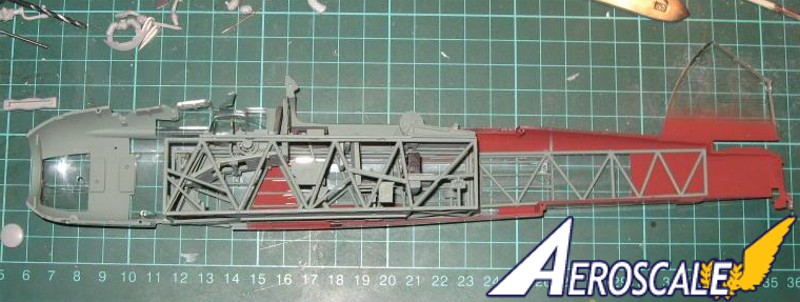
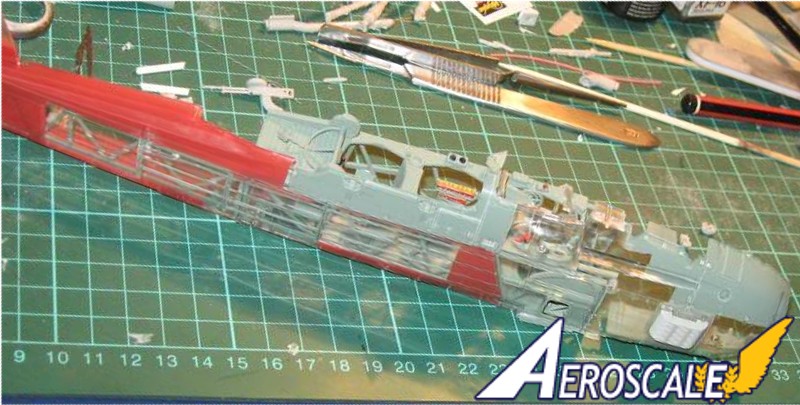
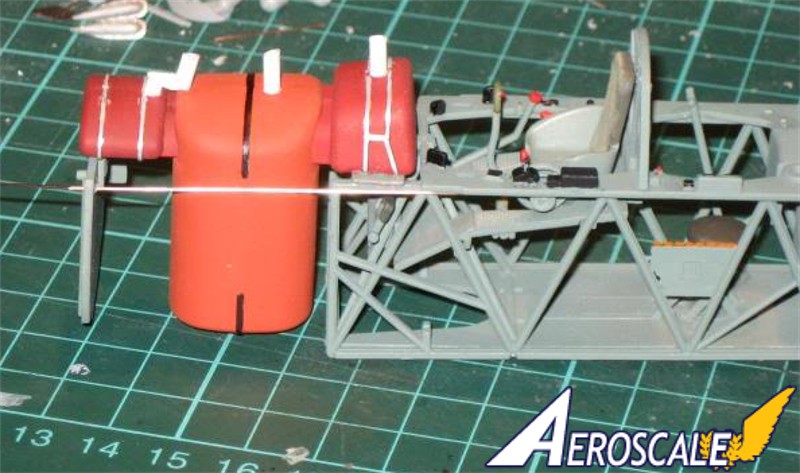
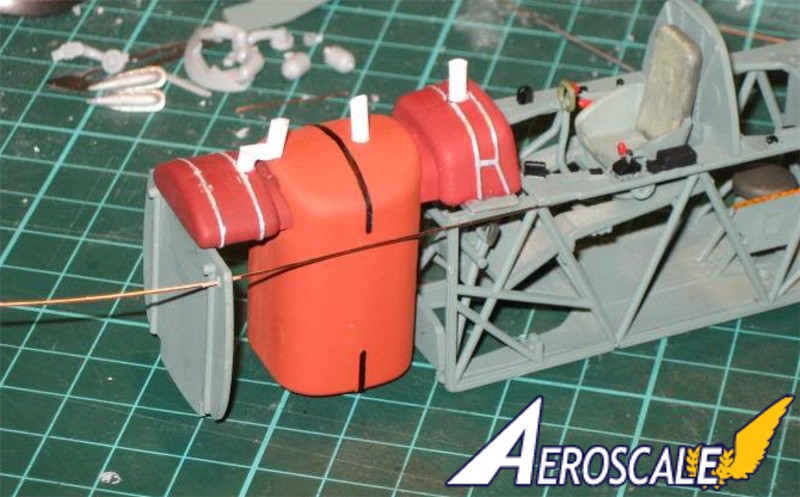
Page 6 step 4. Fuel and oil tanks ( PP D 9 & 10 ) , firewall ( PP D 26 ). Rear deck addition ( PP A 5 ), rear interior structures ( PP E 10 & 12 ) and fuselage assembly ( PP A 1 & 4, K 3 & 8 ).
Page 9 step 9. Lower wing roots ( PP C 16, 19, 20 & K 4 ) and stabilizing struts ( PP B 15 & 17 ). Also the end caps ( PP G 1 & 6 ) of the wing roots for the folded wing profile.
Page 10, step 10. Top wing center section (PP C 7, 26, G 13 =- 14) assembly for the extended wing build. Or the optional top wing center section (PP B 12 & 16, C 7, G 13 =- 14) assembly for the folded wing build.. The gun sight (PE 18 ) is attached under the wing section in a hanging position.
Page 10, step 11. Adding top wing center section assembly from step 10 and The rear cabane struts (PP C 1 ) and compass ( PP C 10 ). Auxiliary tank fuel lines ( PPB 11 & 13 ) and forward auxiliary cabane struts (PE 19 & 20 ).
Page 11, step 12. Pilots left upper and lower wing panel assembly.( PP F 1 & 2, G 8, J 2 ) Check pre-drilled holes. Rigging wires ( PE 1 B 3, 4, 6, 9 & PE 1 - 9 & 13 - 16 ). PE RAFwire connections have corresponding key holes in the plastic wing surfaces. The outer wing struts ( PP B 3 ) need a little sanding / filing down at top and bottom ends.
Page 12, step 13. Pilots right upper and lower wing panel assembly. ( PP F 3 & 4, G 7, J 1 ) Check pre-drilled holes. Rigging wires ( PE 1 B 2, 5, 7, 8 & PE 1 - 9 & 13 - 16 ). PE RAFwire connections have corresponding key holes in the plastic wing surfaces. The outer wing struts ( PP B 2 ) need a little sanding / filing down at top and bottom ends
Rob Storey adds, ". . .Sprue Parts J: #'s 1 and 2 The outer lower wing halves, the metal covering is not the entire wing, but replaces the wing ribs #'d 4,5,6,8,9,10 and 11 [difference between the Mk I outer lower wing section]. . ."
Page 13, step 14. Pilots left wing panel smoke bombs and armaments assembly ( PP M 9 & N 2, 3, 5 - 9, 11, 12, 14, 16, 17, 18, 20 -23).
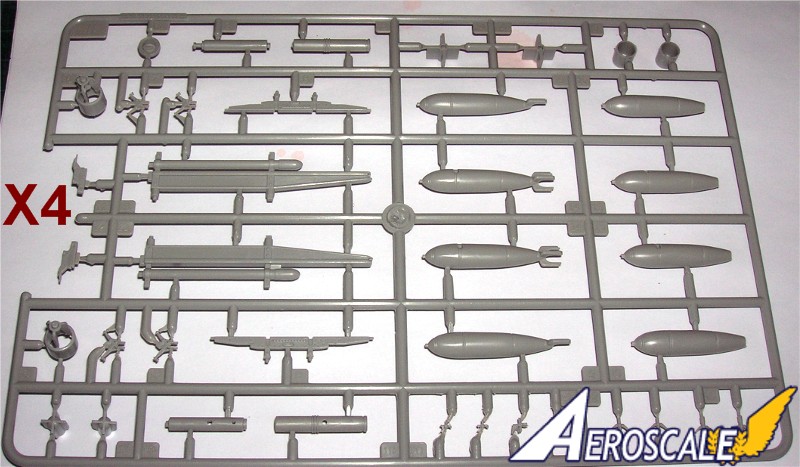
Page 13, step 15. Pilots right wing panel smoke bombs and armaments assembly ( PP M 9 & N 2, 3, 5 - 9, 11, 12, 14, 16, 17, 18, 20 -23). Rob Storey adds, ". . .The weapons options of the kit contain either 8 x rockets, 6 x 250lb bombs, together with the 2 x smoke bombs and 2 x flares. . ."
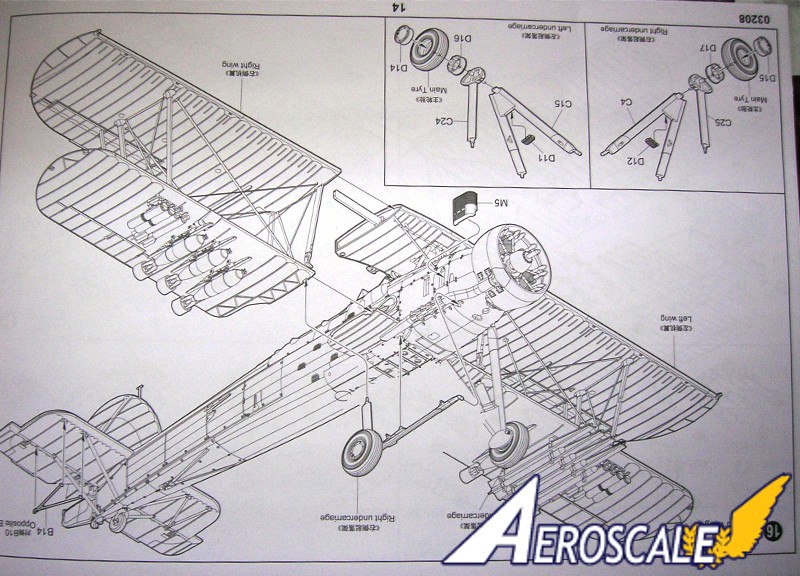
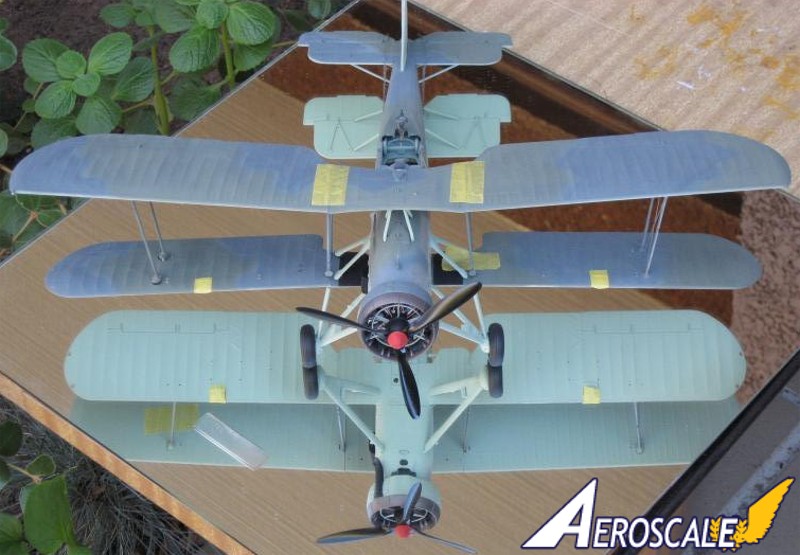
Page 14, step 16. Uniting the fuselage and wing assemblies (steps 9 - 15) - open. Landing gear (PP C 4, 15, 24, 25 & D 11, 12, 14 - 17 & 2 Main tires) assembly. Oil Cooler (PP M 5 ) and smaller tail hooks (PP B 10 & 14 ) in stored position .
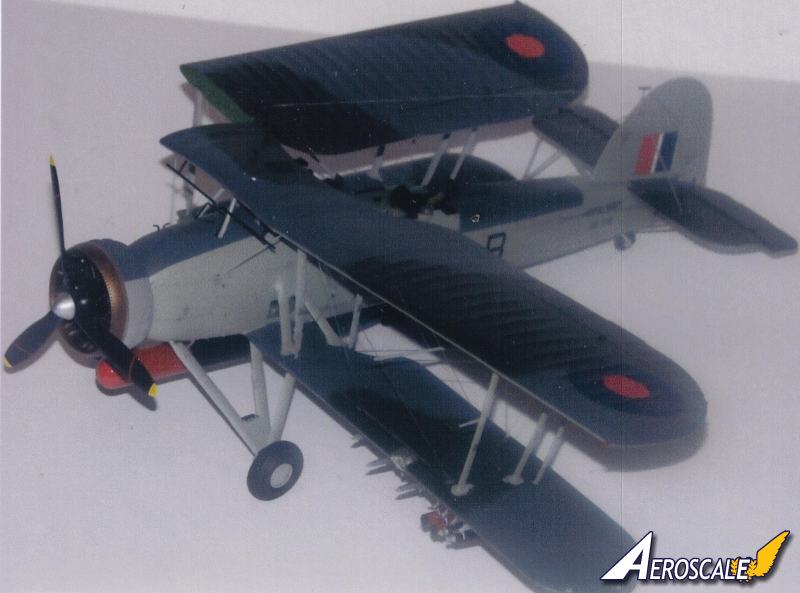
Rob Storey comments ". . .Pages 14 - 16, Showing the option of either spread or folded wings with the Port wing armament of 1 x 250lb bomb, 4 x rockets, 2 x smoke bombs and 2 x flares as against the Starboard wing, armament of 3 x 250lb bombs, 2 x smoke bombs and 2 x flares as well as the torpedo. . ."
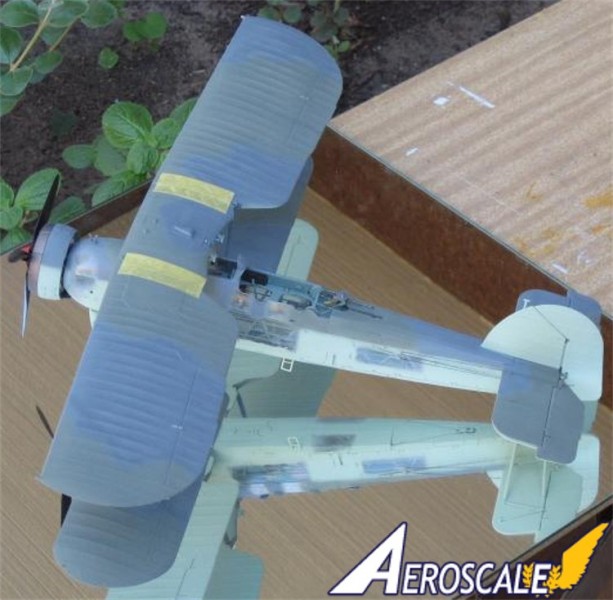
Page 15, step 17. Uniting the fuselage and wing assemblies (steps 9 - 15) - folded. Landing gear (PP C 4, 15, 24, 25 & D 11, 12, 14 - 17 & 2 Main tires) assembly. Oil Cooler (PP M 5 ) and smaller tail hooks (PP B 10 & 14 ) in stayed position.
Page 16, step 18. Uniting the torpedo ( step 8 ) spinner (PP D 13 ) & propeller (PP D 7 ) to the fuselage. Various type of air speed indicator or pitot tubes. ( PP C 8, 13 & 14). Fuselage step ( PP C 17 ).
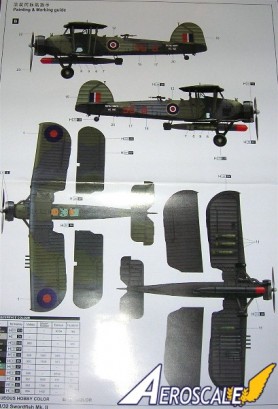
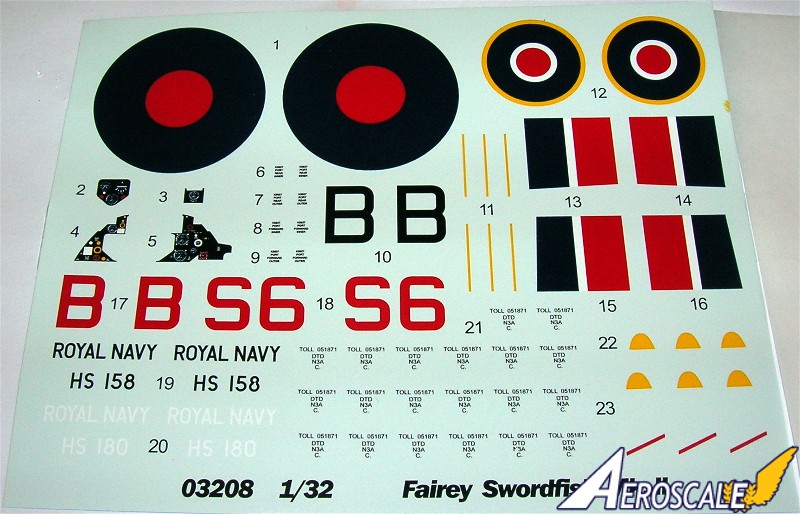
decals
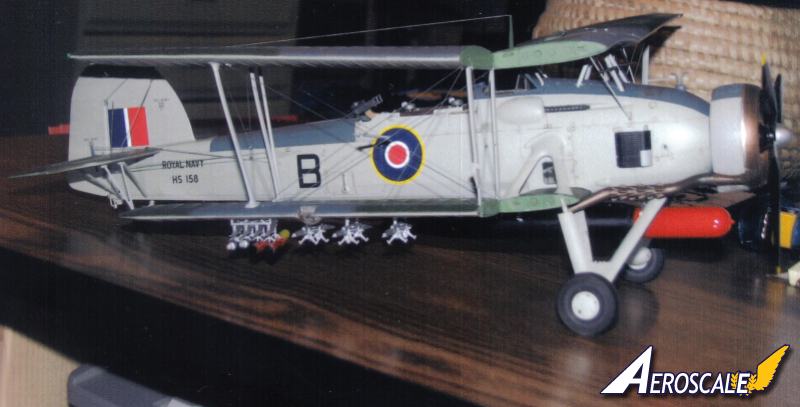
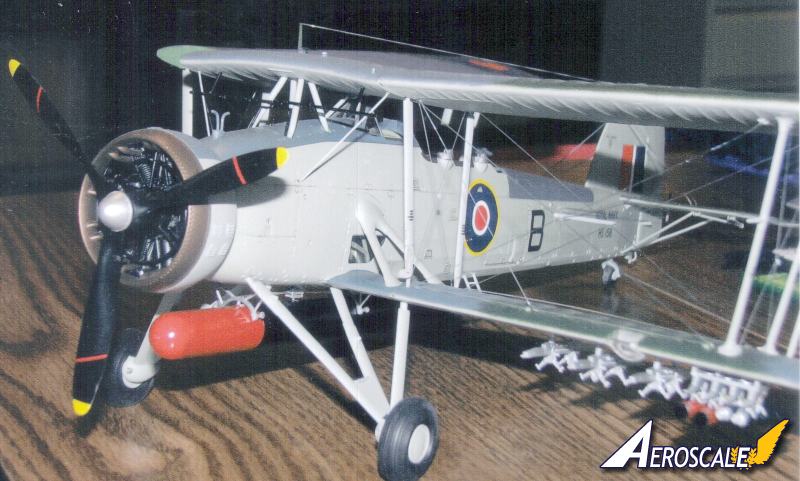
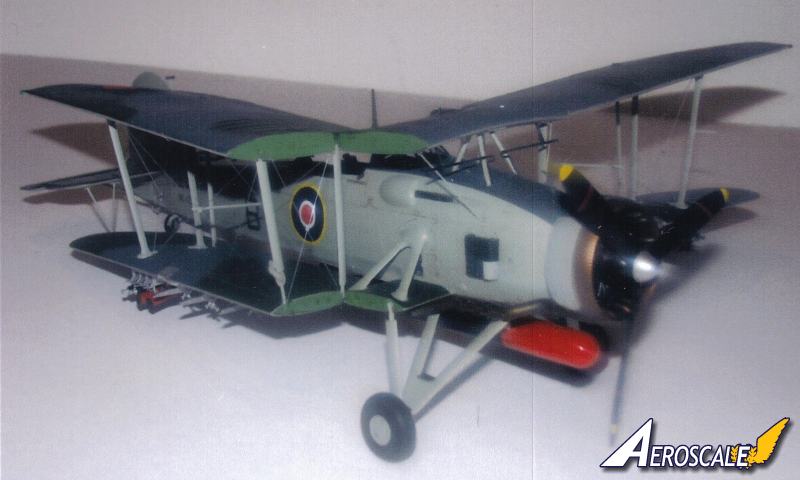
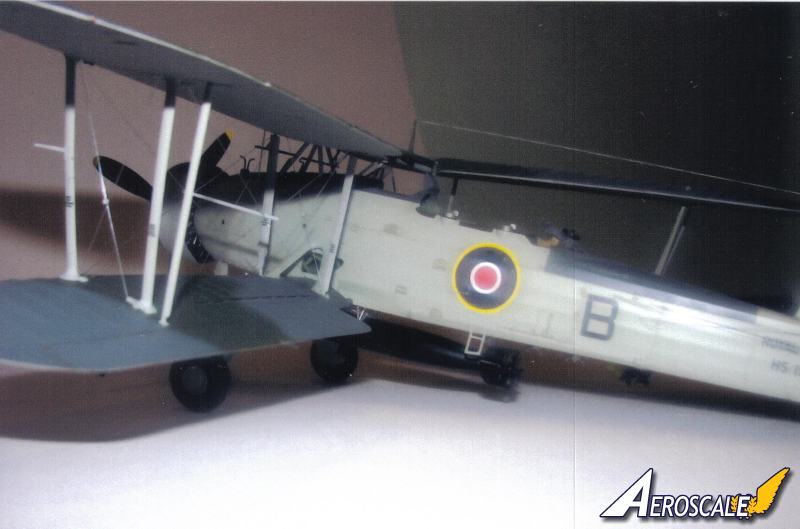
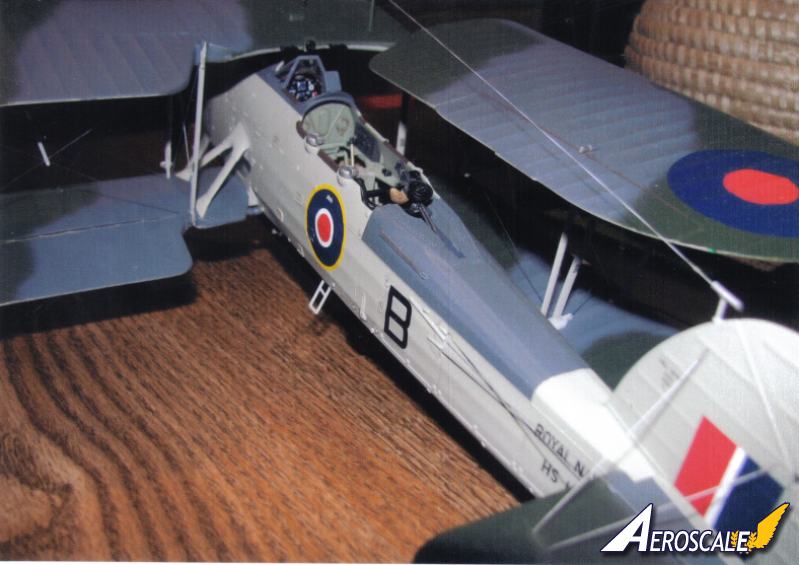
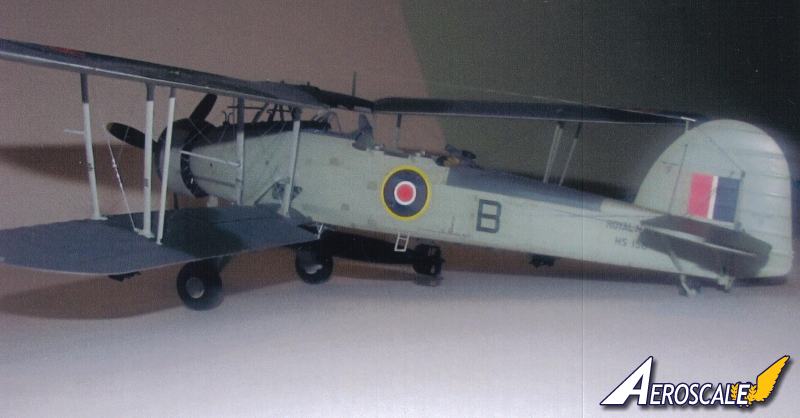
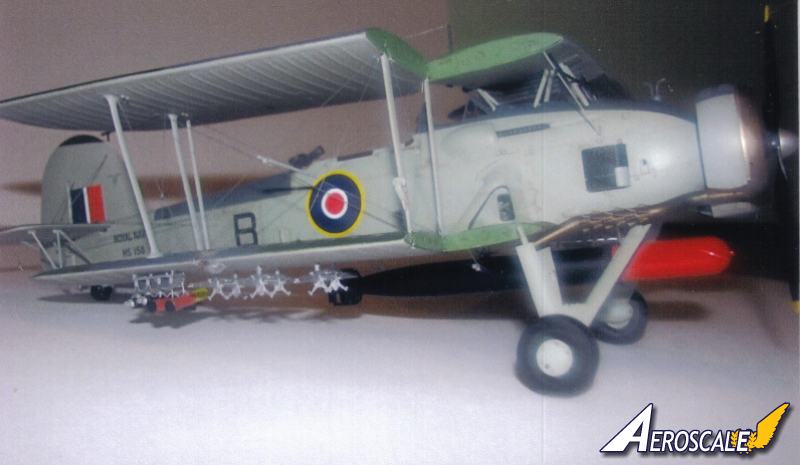
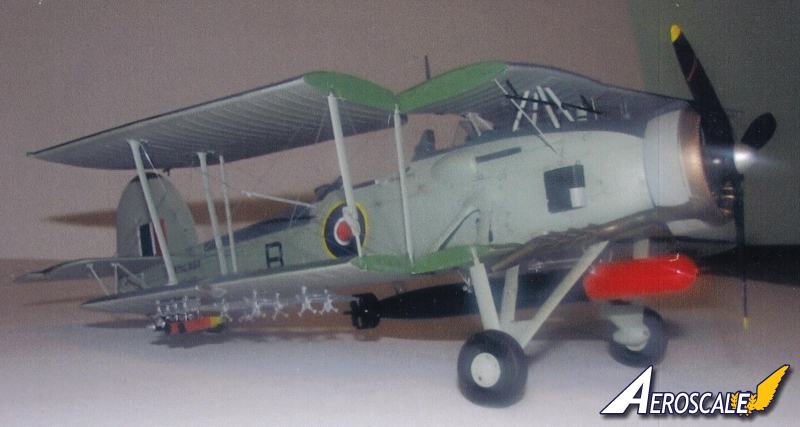
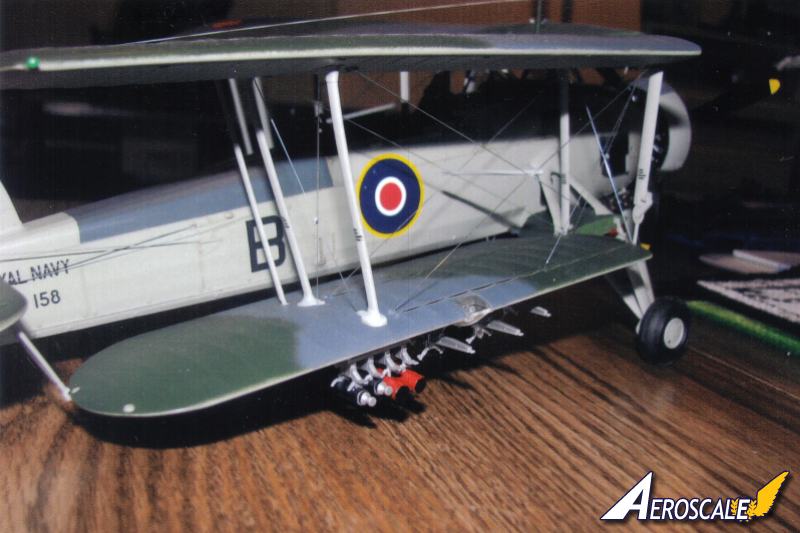
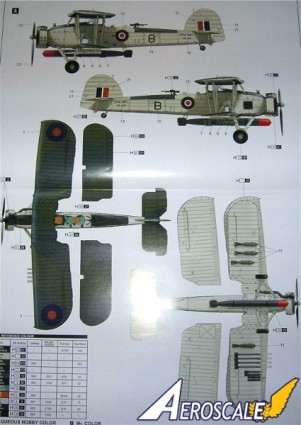
A. HS 158 "Code B" of No. 816 sqdn, RNFAA 1943 Western Desert in D.S.Grey / Slate Grey over 'Night'
B. HS 180 "Code 56 B" No.815 Sqdn Western Desert, NFAA 1943 in D.S.Grey / Slate Grey over Sky.
I wish to thank Aeroscale member Rob Storey for his permission to publish his inprogress shots and allowing me to bend his ear with questions.
I would also like to thank Trumpeter's distributor Stevens International! one more time for the review kit!
One modeler's Comments
. . .as for it being a duplicate of the 1:48 scale Tamiya. . .
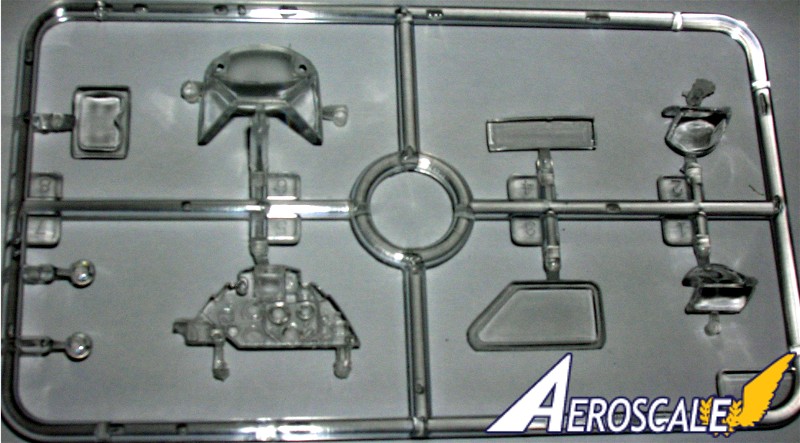
In the Trumpeter kit only the fuselage halves, the center wing mounting section, rear gun cover plate, radio box are clear plastic, {whereas Tamiya had several other clear parts in their 48 offering}.
The Trumpeter engine details are totally different from the Tamiya kit design in as much as the cylinder head section is 2 piece (and different to the Tamiya kit in) the valve push rods 'spider' is at the front of the cylinder heads, with the exhaust collector ring mounting frames are 2 piece with the crankshaft mounting fixed by a keyed center section to the engine.
In the Trumpeter kit, there is minimal flash on all parts of the interior frame work, but there are a few ribs and stringers that are missing from the interior fuselage (if using the clear molded pieces) the lower wing center section has 3 small circular 'window' holes bit they are not supplied in the kit, only the forward clear rectangle part is supplied.
In the Trumpeter kit, the wings are cut allowing the modeler the option of folded or in flight fitting, as the inner wing struts are molded for the folded or flight in mountings.
In the Trumpeter Mk.I kit, the outer lower wing halves have the mounting points of the ordinance holes covered over, but the ordinance is not supplied in the Mk I kit, ( edit note -but are available in the Mk.II kit).
"There are a few minor issues, with the Swordfish kit, following the manufacturer's instructions of the build, in stage 13 of the instructions - the wing assembly. As these are cut to allow the modeler the alternative of either open or folded positions,
1. If the model is built with the wings folded the lower wing half has a spar to keep it in alignment, (some care is needed to maintain the alignment during this step).
2. If the wings are spread open for flight as there is no lower wing spar provided to keep them aligned as the rib and strut is only about 1/8 of an inch to fix the lower wing joint, which is also part of the undercarriage leg mounting.
. . .Typically there are some very fine plastic parts that need a little care when removing from the sprue. . ."
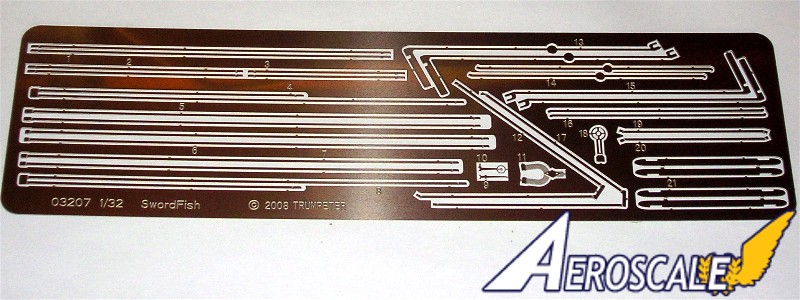
Highs: Excellent details , minimum flash, great subject matter. The Mk. II has enough stores for a couple of options. RAFwires supplied have tabs at the ends and key holes in the wing surfaces for them. Lows: a couple of ribs and stringer details are not as prominent as others. Minor fit problems reported with some of the internal framework parts, but nothing major.Verdict: Very decent kit. This is not a scaled up duplicate of the Tamiya kit. It proves to have its own fine points and issues. But the good news is that the good design far out weighs any minor fit issues.
Our Thanks to Stevens International! This item was provided by them for the purpose of having it reviewed on this KitMaker Network site. If you would like your kit, book, or product reviewed, please contact us.
About Stephen T. Lawson (JackFlash) FROM: COLORADO, UNITED STATES
I was building Off topic jet age kits at the age of 7. I remember building my first WWI kit way back in 1964-5 at the age of 8-9. Hundreds of 1/72 scale Revell and Airfix kits later my eyes started to change and I wanted to do more detail. With the advent of DML / Dragon and Eduard I sold off my ...
Perhaps I can point out one small item; Trumpeter "left out" the seatbelts, for the navigator and gunner because they didn't have any. There was a ringbolt set into the middle of the floor, and the crew member had a lanyard attached to his waist, which was clipped (rather like a dog's lead) into the bolt. Apparently it was known as the "anti-cavorting chain."
Although not strictly correct, the supply of only shoulder straps, for the pilot, makes some sort of sense, since, contrary to what is seen in most models, the lap belts were allowed to fall beneath the seat, largely out of sight, otherwise, when the pilot got in, he was liable to sit on them, and have a mammoth struggle to pull them free.
Also the gunner's "seat" was a bucket-style, set right down on the floor, against the starboard wall of his compartment.
Edgar


Comments