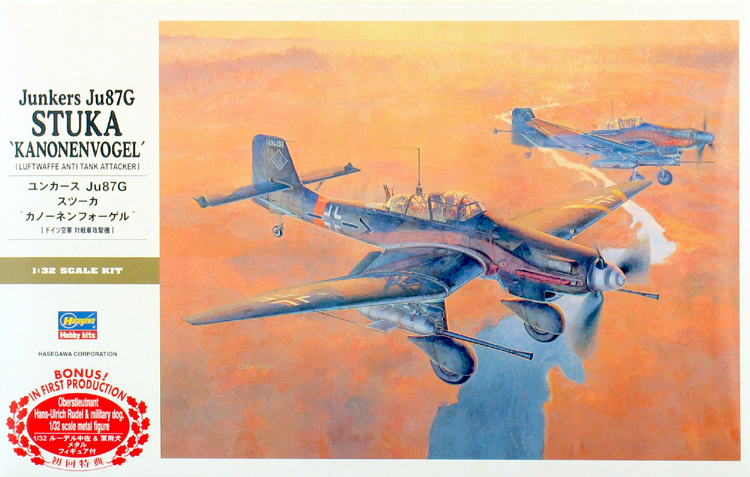
Brief History
The Ju 87G was based on the 'D model - modified for the tank busting role by removing the dive bombing equipment and slinging a pair of Flak 18 37mm light anti-aircraft cannons under the wings. Thus equipped, the 'G was considerably heavier than the earlier models, reducing its performance and making it even more vulnerable to enemy fighters - just at the time when the Soviet Air Force was becoming a growing threat. The 'G was also much more prone to accidents, since the extra weight also increased the stalling speed.
The Flak 18s carried just 2 strips of 6 rounds per gun, so accuracy in the attack was imperative. The extra weight precluded a steep dive so, instead, the pilot would line up the target and attack in a shallow run. The ammunition had a wolfram core to punch through steel plate and explode inside an armoured vehicle. Ironically, this also meant that attacks against "soft" targets such as transport columns were less effective - because the shells could pass straight through the bodywork without exploding.
the kit
I was already familiar with Hasegawa's fine 1/48 scale series of Ju 87s and the pre-release reports of the new kit had promised significant improvements. Once I got the model home, I had two almost simultaneous reactions; firstly, I was very impressed by the overall quality - make no mistake, this kit really is beautifully produced. Secondly came a certain sense of déjà vu (of which more of later).
The box is packed to bursting - it's one of those where you know you'll never re-pack it the way it arrives! The kit consists of:
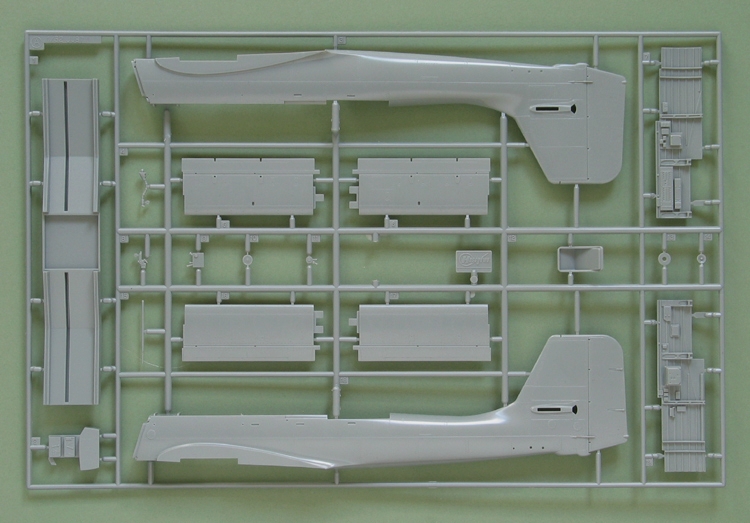
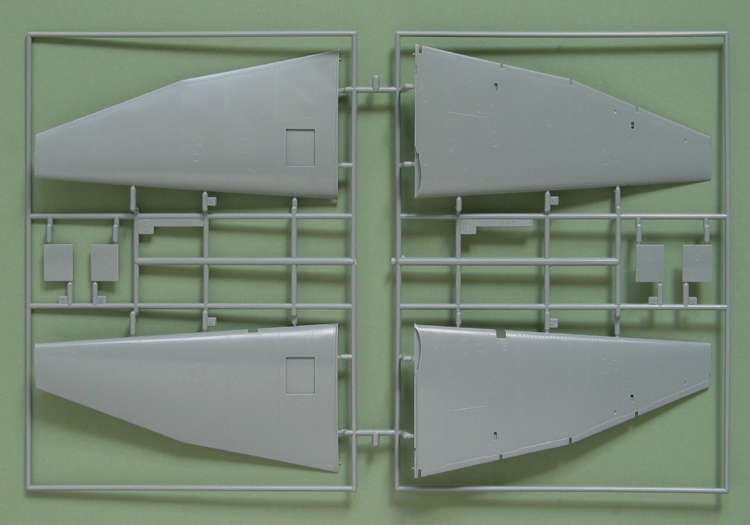
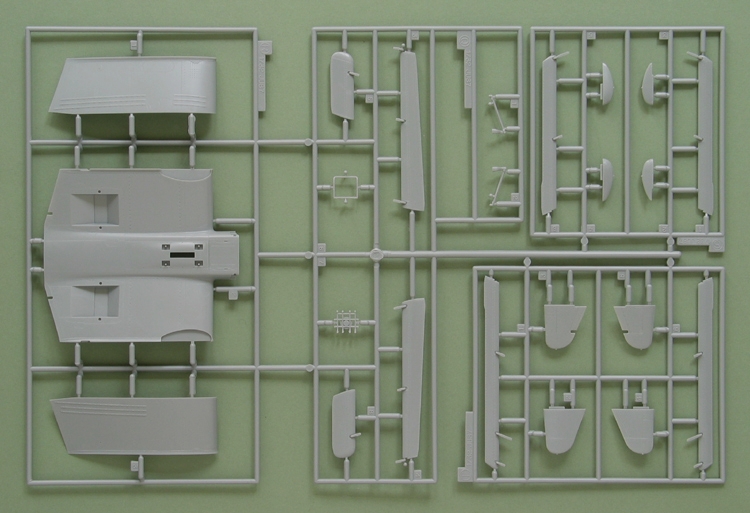
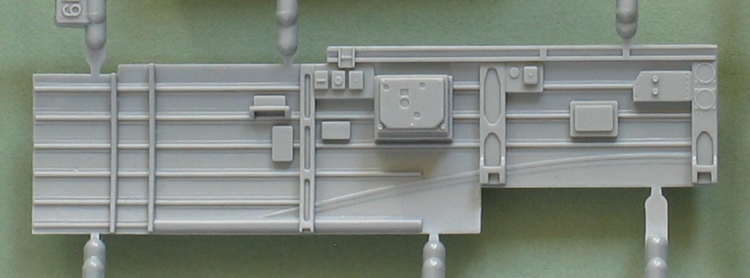
16 x grey styrene sprues with 208 parts
1 x Clear Sprue with 8 parts
4 x poly caps
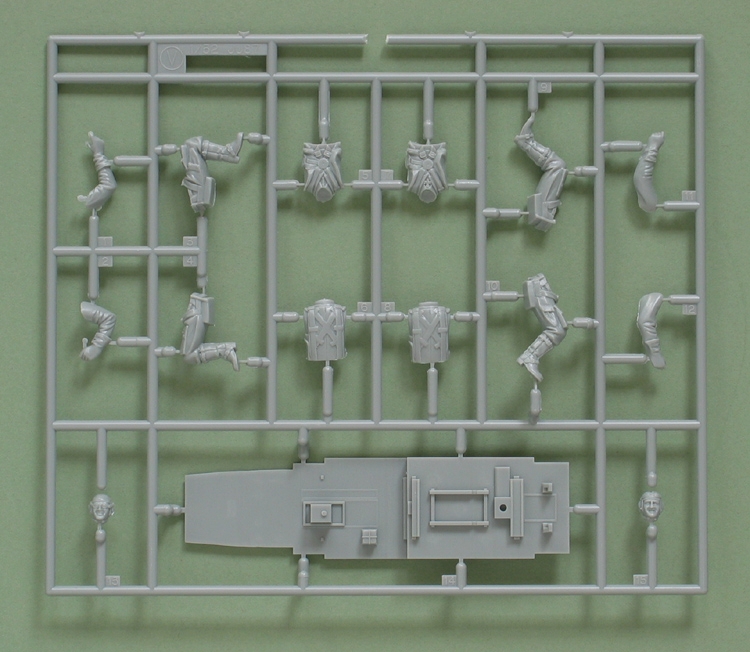
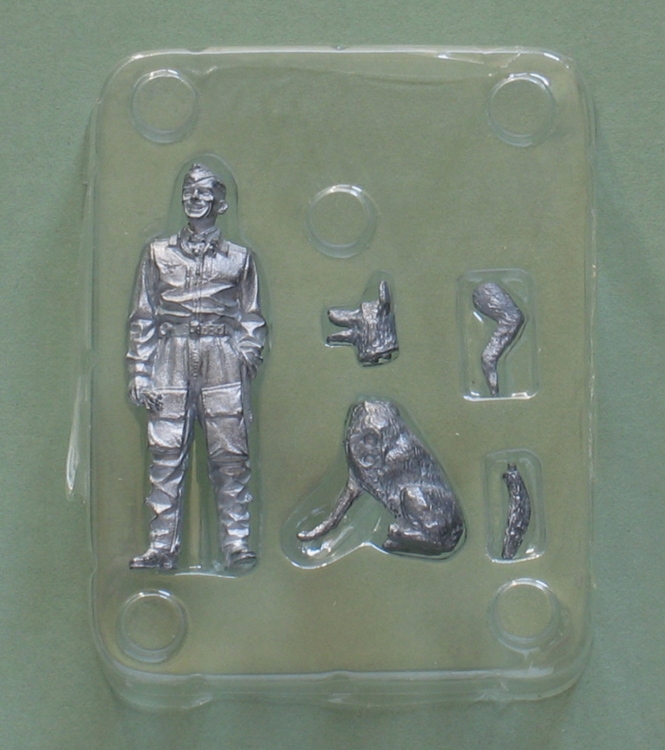
The first production run also includes a "bonus" in the form of white metal figures of Hans-Ulrich Rudel and his dog.
The moulding quality is excellent and, as you'd expect from a new Hasegawa kit, there's not a trace of flash. The breakdown of the parts makes it obvious that more versions are planned for the future. The parts are already there for a Ju 87D, but it looks like Hasegawa have taken an identical approach to their 1/48 scale kits, so we can look forward to 'Bs and 'Rs at some stage too.
Surface Detail
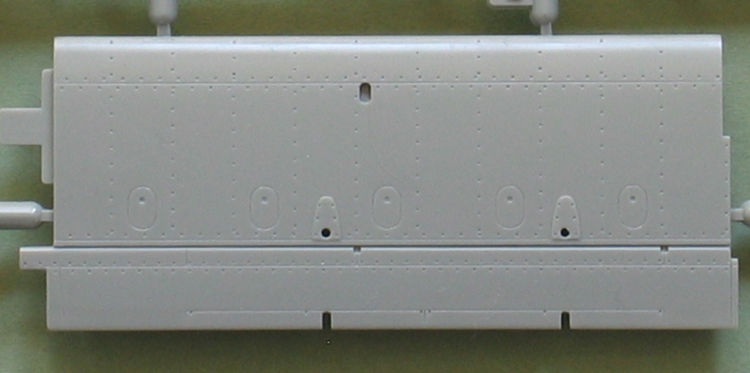
The kit's surface detail consists of excellent scribed lines. These are beautifully done - they seem finer than usual and are a really optimistic sign of what we can expect from future Hasegawa releases. On top of this, Hasegawa have taken the chance to include screws and some neat indented "rivets" along the major panel lines (admittedly, there aren't nearly enough of them - but it's a nice try). So far so good, but the actual aircraft wasn't flush-riveted in many areas, and the surface also featured a number of overlapping panels. The access panel on the right fuselage side has sharper corners than the original and some small inspection plates are missing. Overall, the surface looks rather too clean when compared to the real aircraft.
Déjà Vu
The similarity rang so many bells, I ran off to get the 1/48 scale 'G from the stash. Sure enough - the construction is almost identical in places. Despite earlier claims about the kit, you can't help but feel that this is almost a scaled-up version of the earlier kit - in fact you could pretty much build the new model using its smaller brother's instructions...
But surely Hasegawa have taken the opportunity to cram a lot of extra detail into the 1/32 Ju 87? Well, not really. The parts aren't identical but, bewilderingly, the cockpit is slightly LESS detailed than the old kit in a couple of areas. There really is vast scope for improvement here - and it's really rather disappointing.
Test Fit
Taping together the main parts shows how good the design is. The parts are warp-free and fit together perfectly. The wing is built up of seven parts, which sounds like a recipe for trouble, but the assembly is supported by a massive spar with the wing-crank built in, ensuring everything lines up properly. Despite its size, this actually looks like it's going to be a really simple kit to build. There are a few ejector pin marks to deal with - but most need nothing more than a swipe with "wet or dry".
Construction
The instructions are well up to Hasegawa's usual standard - clearly illustrated, with bi-lingual Japanese/English notes dotted throughout. Construction breaks down into the following sections:
1. Figures Assembly.
Not the white metal "Rudel", but a seated pilot and gunner. Both consist of 7 parts and show some nice detail on their flight suits. Hasegawa have made an effort to give each figure some "character" - the facial features are individual and both seem to be wearing broad grins...
2. Cockpit Assembly.
16 parts sounds quite impressive, but this is one area of the kit that rather disappointed me. Detail is broadly on a par with Hasegawa's 1/48 scale Ju 87. The radio rack is pretty basic and the pilot's seat is rather heavily represented. The gunner's framework seat is made up of two parts and should look fine, but Hasegawa obviously intend you to use the crew figures because there is no seat harness provided for either the pilot or gunner (even as a decal), nor any straps for the rudder pedals. In general, the detail looks rather simplified for this scale; there is massive scope for including more, but careful painting and highlighting should help bring things to life a little.
3. Cockpit installation.
Pretty straightforward - the fuselage halves are joined around previous stages. At this point the cockpit sidewalls are added. The biggest surprise is how much they differ from their smaller counterparts in the 1/48 scale kit - the new breaker panel is much nicer (it's excellent!), but in a couple of other areas, the old sidewalls actually have more detail.
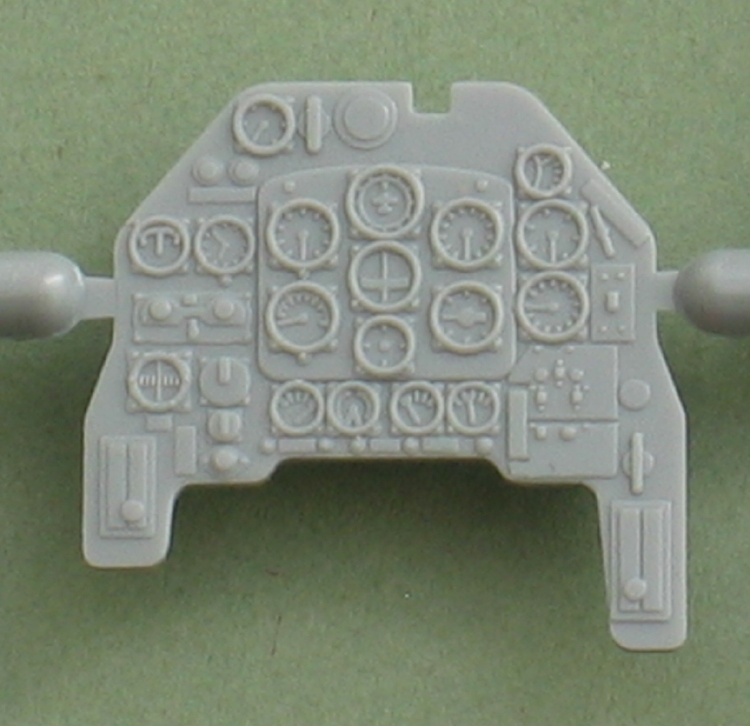
4. Instrument Panel Installation.
A small stage adds the forward fuselage coaming and the instrument panel and gunsight. The panel itself is beautifully detailed with finely moulded bezels and the layout matches references well. Items such as the fuel tank selector and oil flap lever could do with replacing with more "3D" substitutes, but the overall effect should really repay some careful painting. There is a decal alternative provided, but it doesn't include the colour-coding on the bezels, so I'd definitely go with the moulded version.
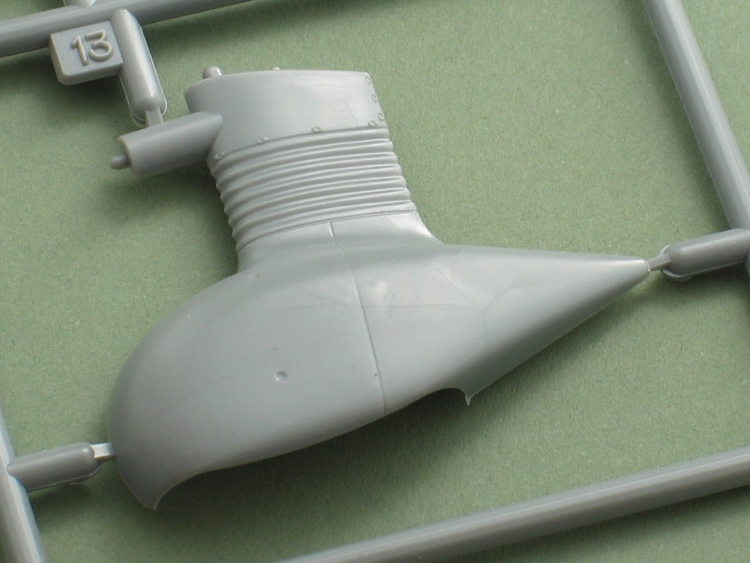
5, 6 & 7. Exhaust Manifold, Propeller and Nose Installation.
The kit's nose is separate, which is a sure indicator that more versions are planned for the future. The oil cooler and exhausts are a bit basic for this scale and the radiator face differs in detail from some reference photos.
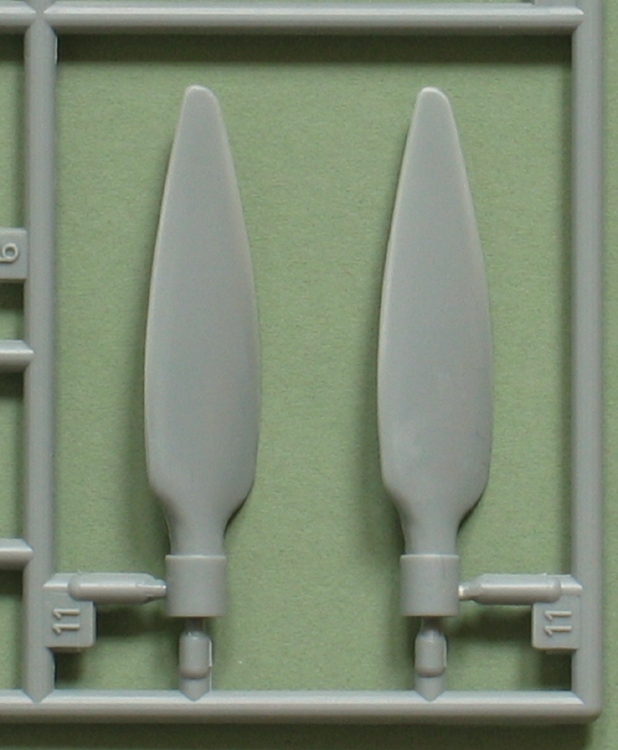
I've read of some modellers' concerns about the propeller blades and, with the parts in front of me, it's easy to see why; they do seem very pointed. The blades on the RAF Museum aircraft are fuller towards the tip and generally more "paddle bladed". Most modellers probably won't want to attach the propeller at this stage, preferring to leave it off until after major painting, but the assembly attaches with a vinyl cap so it's removable.
Lastly in these stages, the nose and fuselage are joined and Hasegawa include exterior cockpit armour plates - something they missed in the 1/48 scale kit.
8, 9 & 10. Main Wing Assembly and Fuselage Installation.
Unlike it smaller predecessor, Hasegawa's new Ju 87 doesn't feature a full-span lower wing piece. This is probably to to keep the size of the mould down, but it necessarily means a more complicated assembly.
Work begins with the outer panels which are split into upper and lower halves and feature alternative wingtips and gun access panels for the 'G-1 and 'G-2 versions. The big change from the 1/48 scale kit is that Hasegawa now include the ailerons and flaps as separate pieces. This is a huge improvement, as the old parts never looked very convincing to me and were a real pain to clean up. Although Hasegawa model them raised, the chance to display the flaps lowered without resorting to major surgery is a definite plus. I'm not convinced of the wisdom of adding the flaps etc at this stage, as they necessarily have quite small attachment points and the model is still going to receive a lot of handling before it's finished. I'd leave them off until much later.
Moving to the centre section, the impressive spar comes into play. This provides wide tongues onto which the outer panels slide, ensuring a solid assembly. The wing radiators are fitted at this stage and they are quite simple affairs - the doors are firmly closed.
Stage 10 sees the fuselage and wing joined. The test fit showed no problems here, but the upper wing panels are quite thin which means a limited glueing area - careful application of liquid cement and ample curing time is the order of the day. Finally, the fuselage receives its rear-decking, complete with a direction finder, which has a decal to apply inside the clear cover. This is in addition to the moulded detail - so I'm not quite sure how well the decal will sit or whether the carrier film will be too prominent.
11. Tail Assembly.
The stabilizers feature neat interlocking taps and the trim-tab actuators are separate.
12 & 13. Landing Gear Assembly & Other Details.
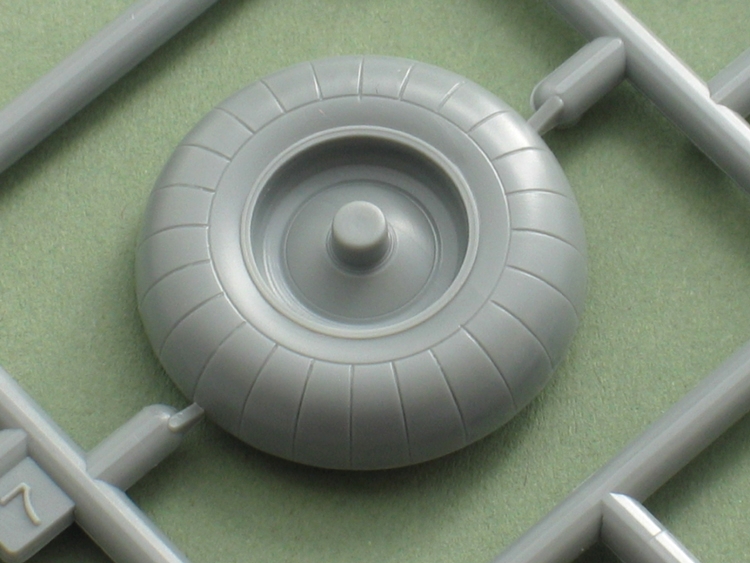
The mainwheels feature some nice tread detail, but the hubs are entirely blank, because Hasegawa haven't included any option to model the undercarriage without its spats. This is rather disappointing because the full-sized aircraft often operated with the fairings removed to allow easier maintenance is rough field conditions. The tyres are unweighted, which looks a little incongruous on an aircraft of this size and weight.
The tailwheel is nicely detailed, but there are a couple of small ejector pins to tackle on the leg. Ironically, much of this detail was often hidden by a canvas cover (as on the RAF Museum example).
The main undercarriage plugs into separate underwing fairings which show some very crisp detail. The assembly should be solid enough, but I'd definitely allow plenty of curing time before risking standing the model on its wheels.
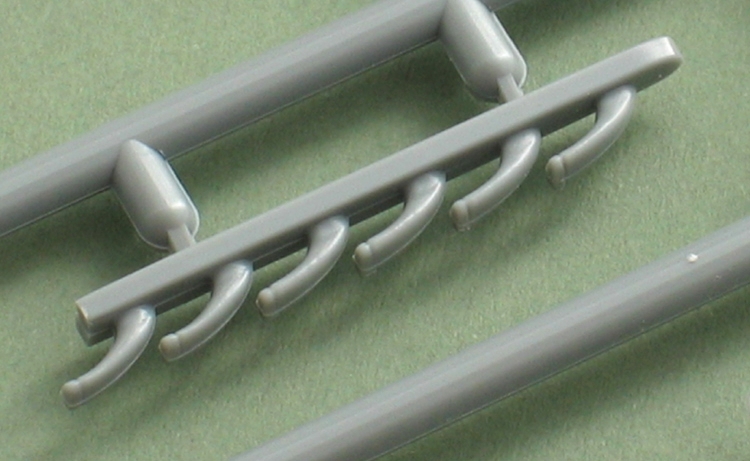
Small items like aileron and flap actuators, mass-balances, the attachment points for the deleted dive-brakes complete this stage.
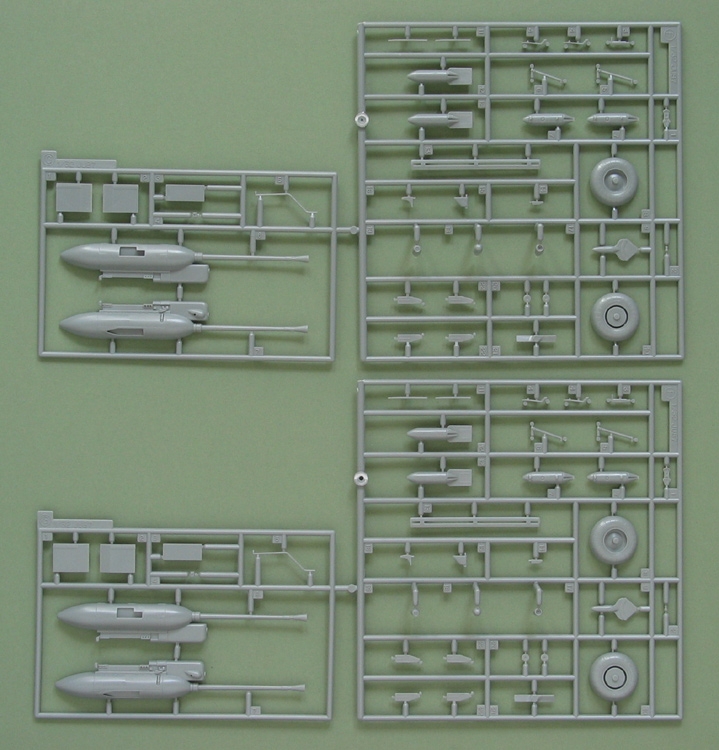
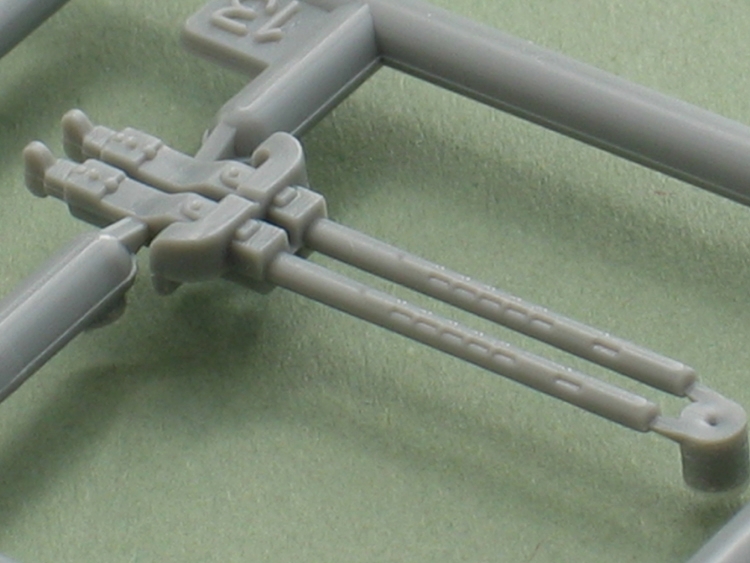
14 & 15 Armament Assembly & Installation.
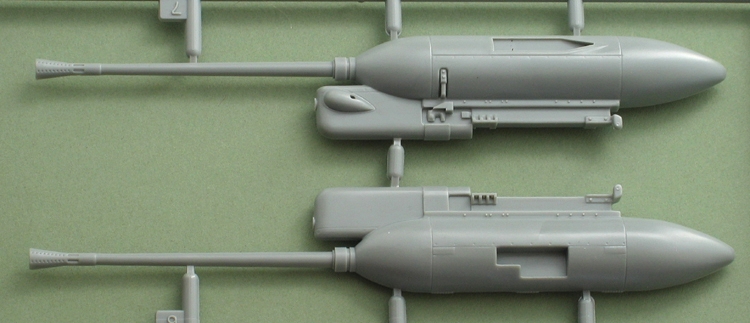
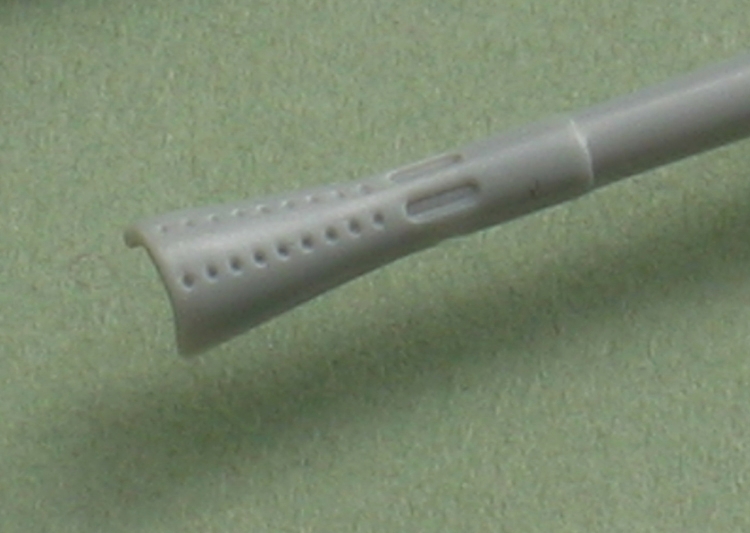
At last we get to the 37mm cannon and, considering that they are likely to be a focus of attention on the completed model, they are surprisingly simple. The main unit consists of just two parts, split vertically, with the body and barrel moulded together. This means an annoying seam down the length of the barrel and into the barely hollowed-out flash suppressor. The holes in the suppressor are merely represented by shallow indentations and, while some refs show 6 rows and others 8, Hasegawa have included just 4 - because of the seams, the rows at the top and bottom are missing. Aftermarket alternatives are already available and would certainly improve the appearance.
The mounting brackets are quite heavily moulded and the holes (more holes!) in the rear bracket could do with opening up. Hasegawa haven't included the prominent strengthening plates under the wings or any of the external wiring for the guns.
16. Canopy Installation.
The clear parts are beautifully thin with a lot of the framework correctly moulded on the inside. Despite their being separately bagged, there were some scuff marks on the parts in my kit. Hasegawa provide decals as an alternative to tricky masking for the interior framing. This is a nice idea in principle, but the decals have quite noticeable carrier film which will ruin the appearance. Some of the shapes are quite intricate, so trimming the decals could actually be just as tedious as masking the canopy...
The gunner's mount is fixed dead astern and ring sights are included. They are moulded as delicately as can probably be done, but etched replacements would be a better option.
Painting and decals
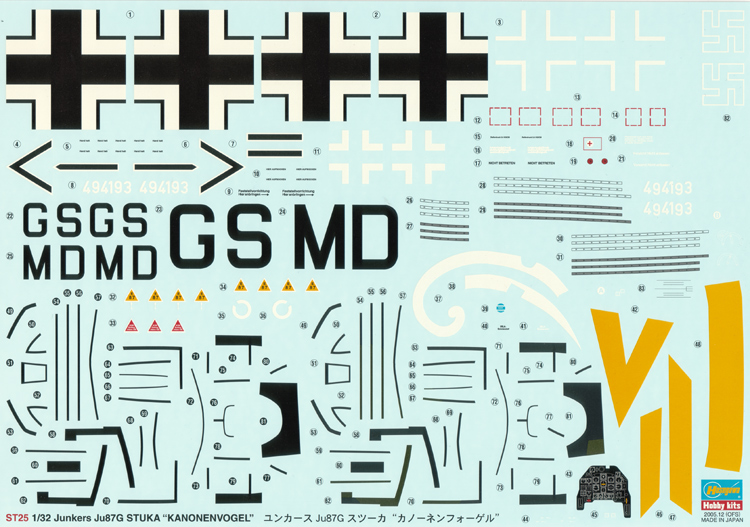
Hasegawa provide markings for 2 aircraft:
Ju 87G-2 - W.Nr 494192 - Stab/SG2 Kommodore Oberstleutnant Hans-Ulrich Rudel, Autumn 1944
Ju 87G-1 - GS+MD, Versuchsverband für Panzerkämpfung
Both aircraft are splinter-camouflaged and the instructions usefully include full-sized templates for the pattern.
The decal sheet is enormous and printed in perfect register. The sheet includes a number of stencils. There is a choice of non-slip strips for the wingroots - which seems a little odd, because the moulded items are superior and the decals may struggle to sit over them neatly. In common with most Hasegawa sheets, the decals are quite thick, so setting solution is probably advised. The Eastern Front tactical chevrons and fuselage band are provided as an alternative to painting and a pair of Swastikas are supplied.
Conclusion
For me, Hasegawa's 1/32 scale Ju 87 is something of a curate's egg; it's undoubtedly a beautifully produced kit, but I can't help but feel a little disappointed that the manufacturer hasn't taken the opportunity to provide more detail - particularly in the cockpit. It does feel rather "produced to cost" - and, from that point of view, it represents excellent value for money. You get a lot of kit here and it will certainly impress due to its sheer size alone. Thanks to Hasegawa's excellent design and production, modellers of average ability upwards should have few problems.
Useful References
Aircraft Airchive - Bombers of WW2 - Argus Books, 1988
Armorama
Walkaround
Cockpit - Donald Nijboer & Dan Patterson - Airlife, 1998
German Aircraft Cockpits 1911-1970 - Peter W. Cohausz - Schiffer, 2003
German Aircraft of the Second World War - JR Smith & Anthony Kay - Putnam, 1972
Ju 87 Stuka - Classic Aircraft #5. Bruce Robertson & Gerald Scarborough - Airfix/PSL, 1977
Stuka - Ju 87 - Lt-Col A.J. Barker - Bison Books, 1981
Stuka Squadron - Peter C. Smith - PSL, 1990
Warplanes of the Third Reich - William Green - Galahad Books,1970
Wings of the Luftwaffe - Capt. Eric Brown - Airlife, 1987 (Janes 1977)