Introduction
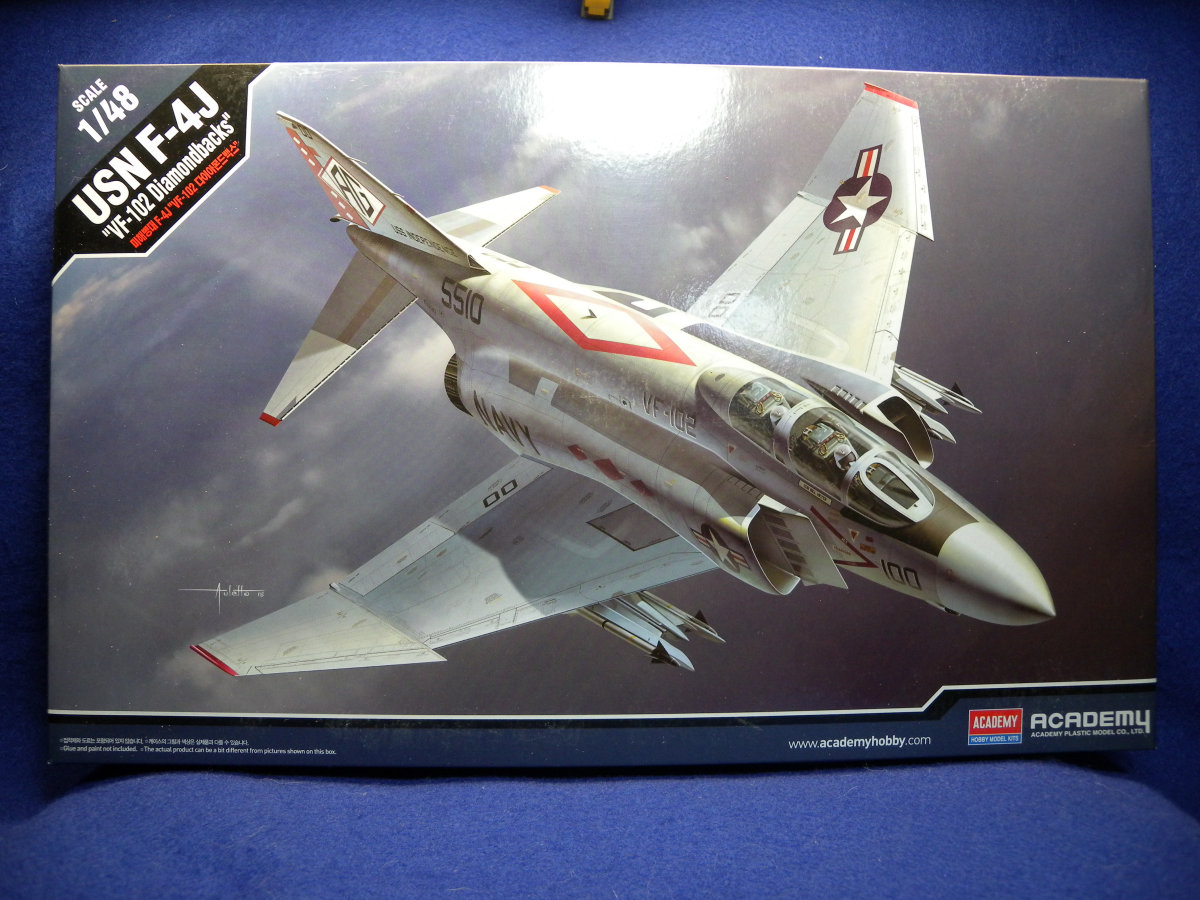
The F-4 Phantom II, built by McDonnell Douglas, entered service with the United States Navy in the early 1960s. The twin engine, twin crewed aircraft showed it was very versatile as it served until 1996 in multiple roles. The Phantom was tested early in its career, being used extensively during the Vietnam War, where it served as an air superiority fighter, ground attack aircraft, and in aerial reconnaissance.
In order to improve air to air capabilities, the Phantom went through upgrades to the engines and electronics, resulting in the F-4J which was first delivered in 1966 for the US Navy and US Marines.
The US Navy Strike Fighter Squadron 102, Diamondbacks, used the F-4Js during the Vietnam War, flying off the carrier USS Enterprise before being moved to the USS Independence during the 1970s. VF-102 continued use of the Phantoms till 1981, when they traded them in for F-14 Tomcats.
A newer release from
Academy provides a representation of US Navy VF-102 F-4J as it served in the early to mid 1970s.
Contents
13 Plastic Sprues
1 Clear Plastic Sprue
Instruction Sheet
Large foldout Painting and Marking Guide
Two Page Armament Layout Diagrams
1 Large Decal Sheet
Review
This F-4J kit from
Academy, while a new release, is not a newer model, but is still an excellent model. And I can say this as I have built the previously released F-4C variant. It should also be noted that the plastic in this kit is the same plastic that is used for Eduard releases. For this release basically, the kit contains new decals, specifically for the VF-102 Diamondbacks.
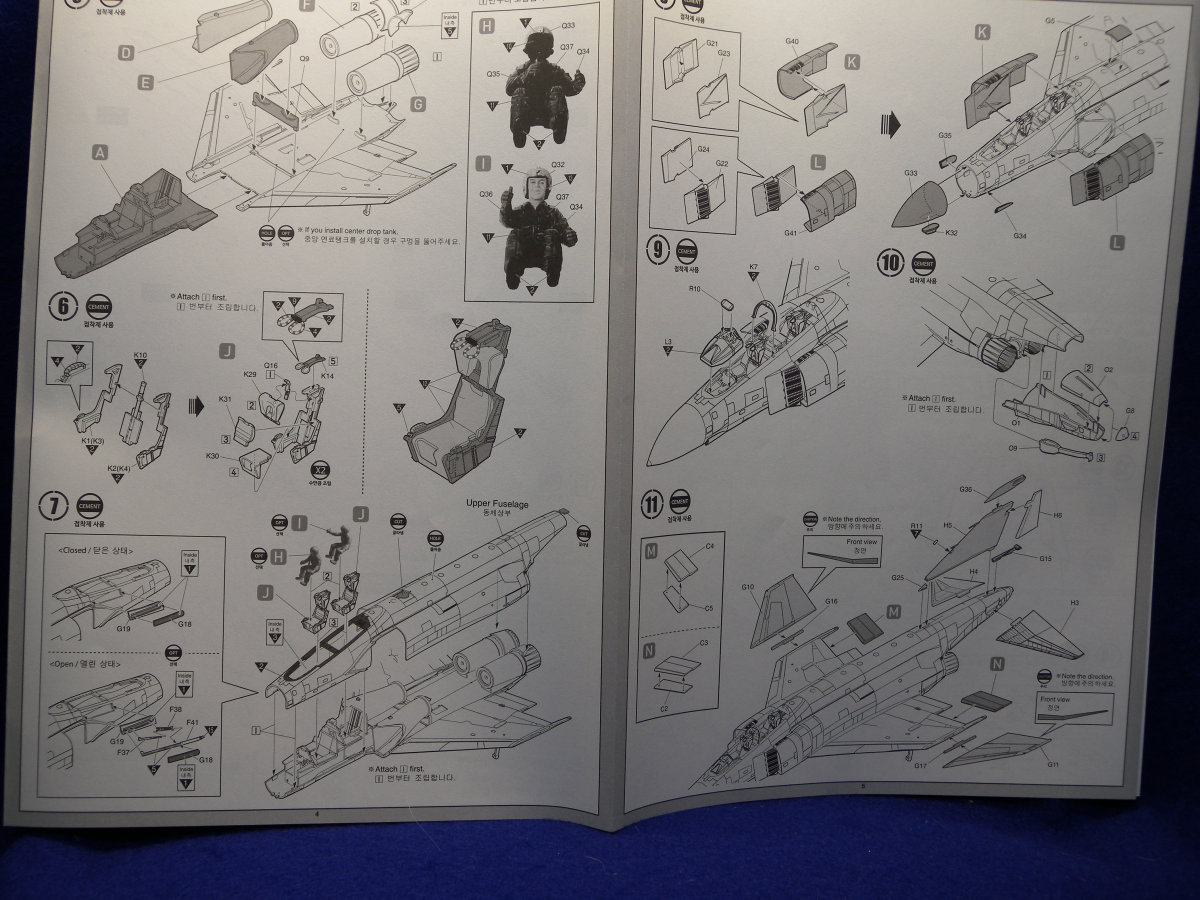
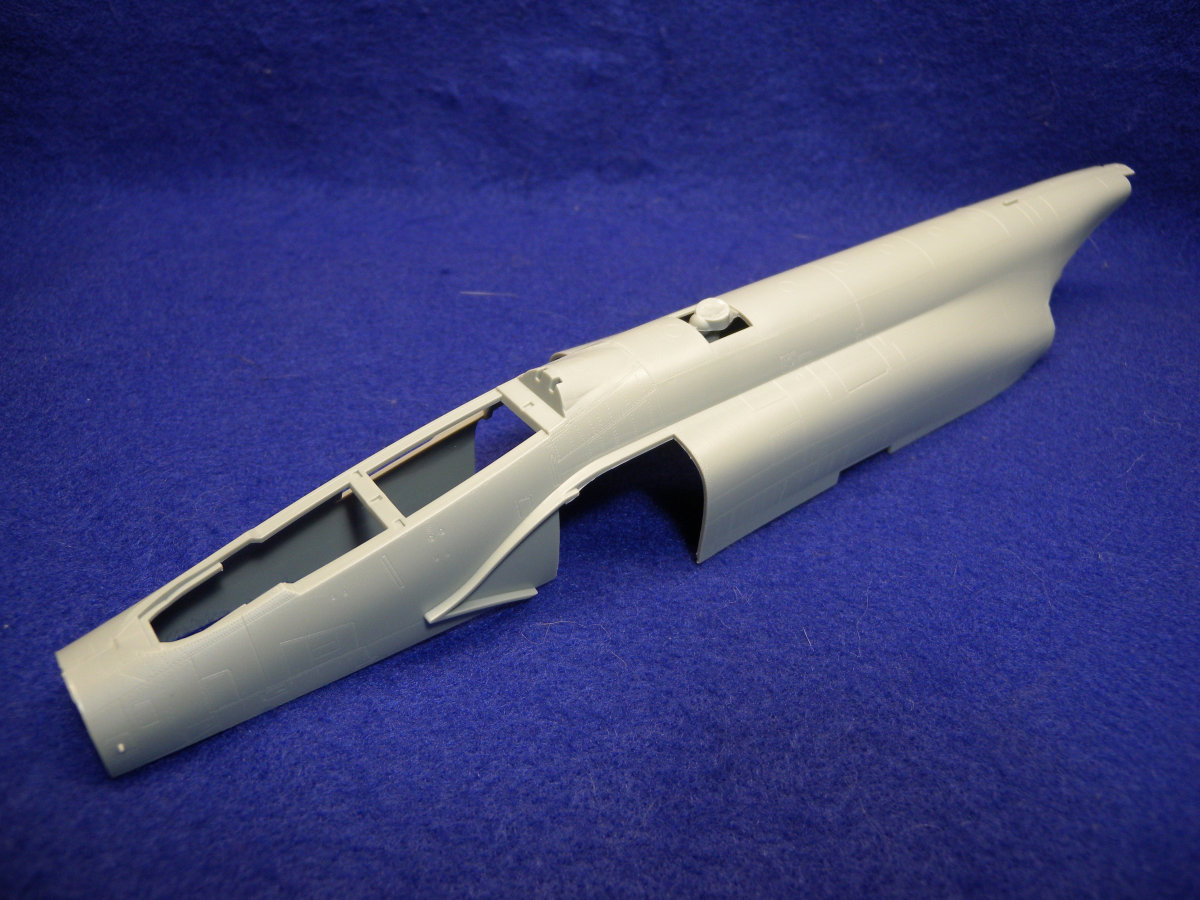
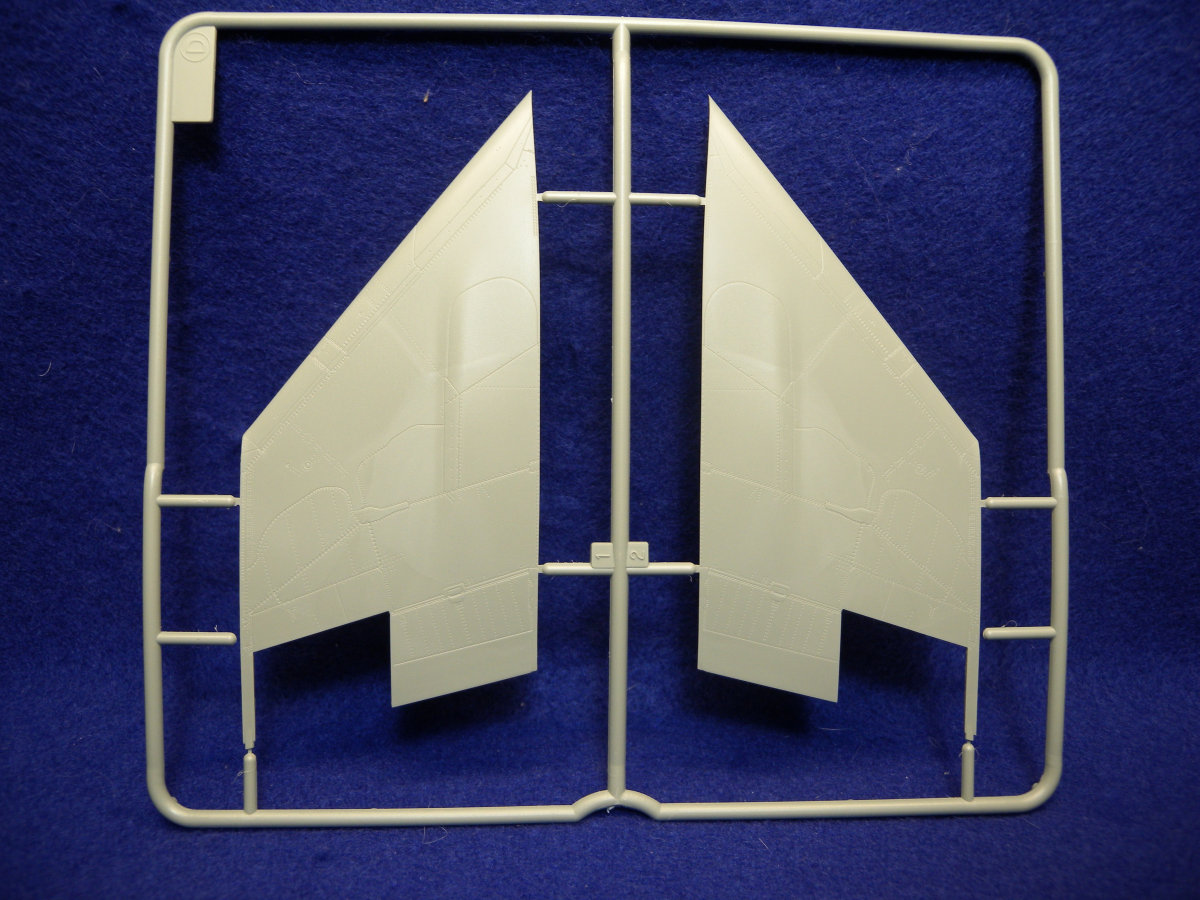
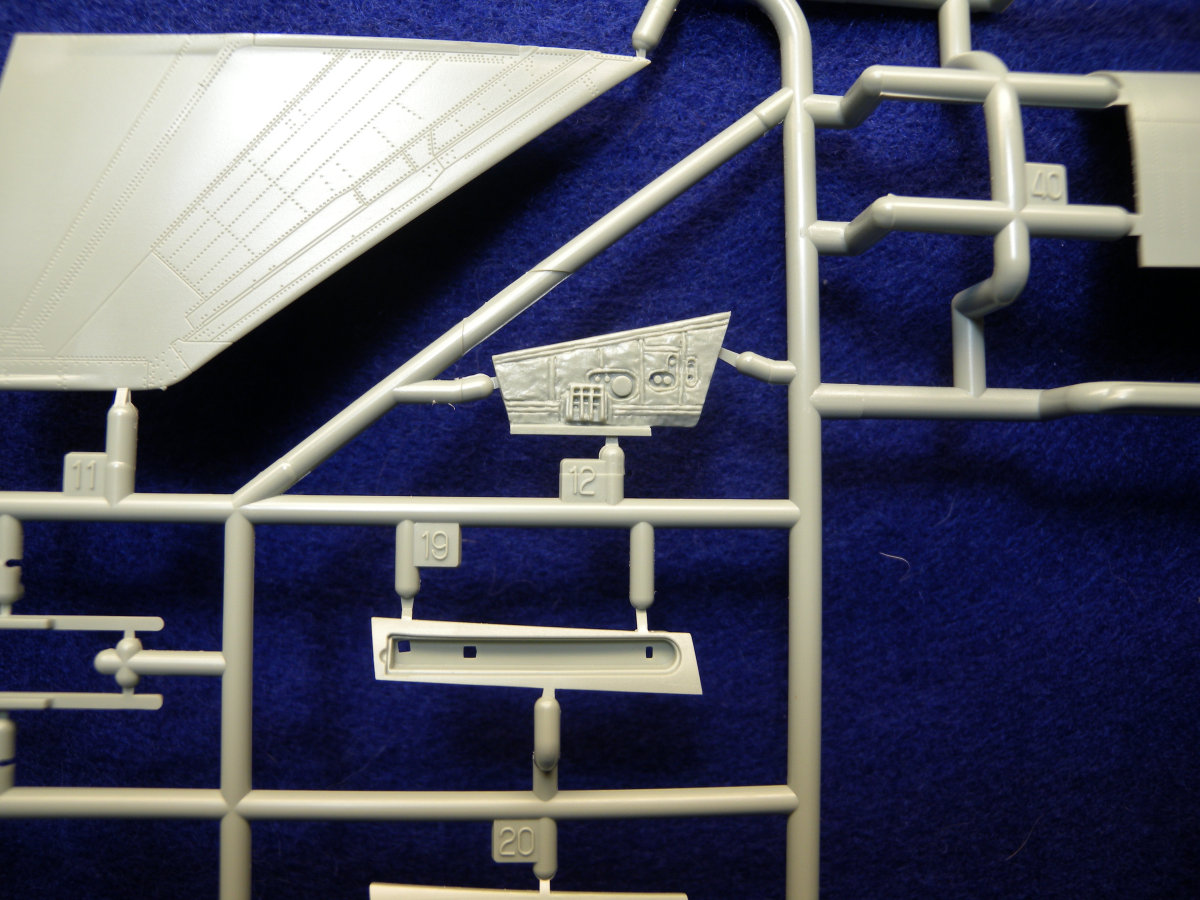
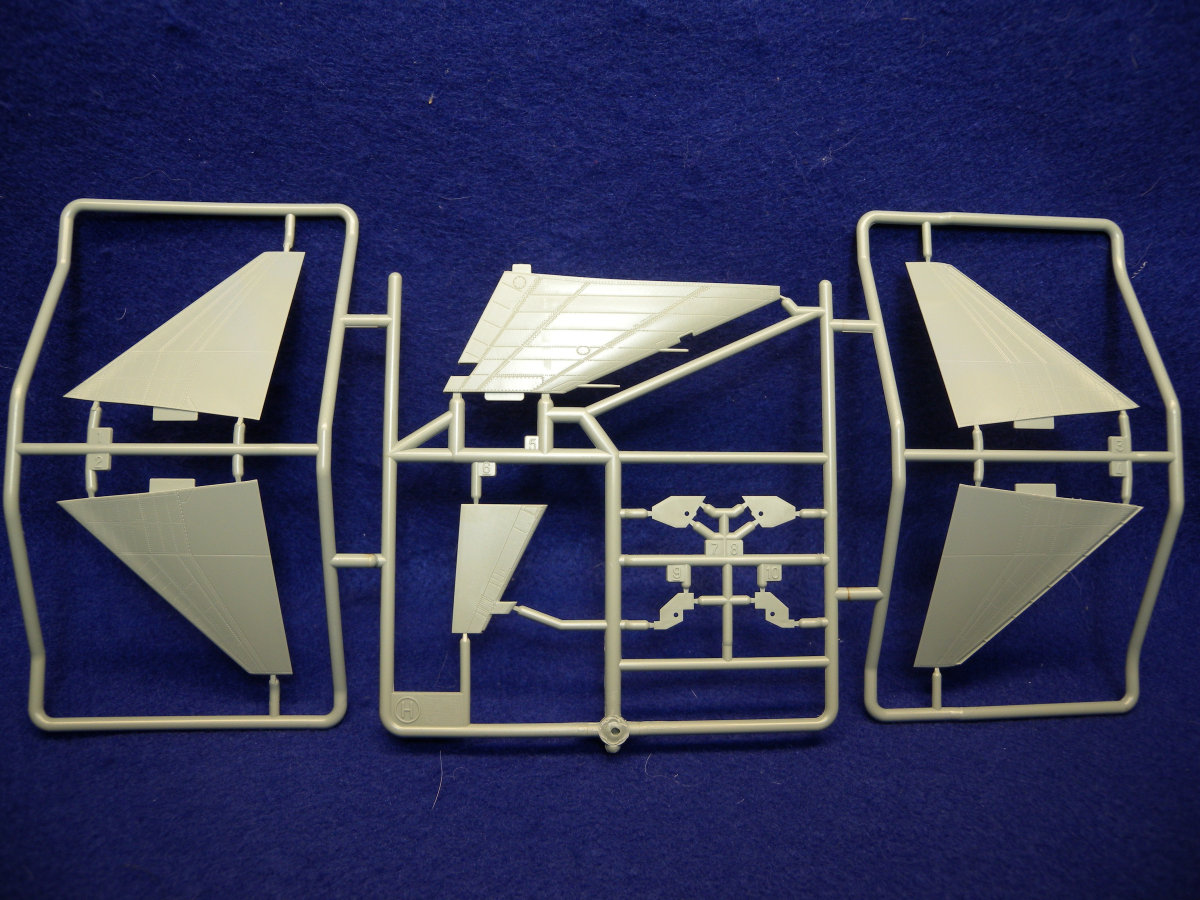
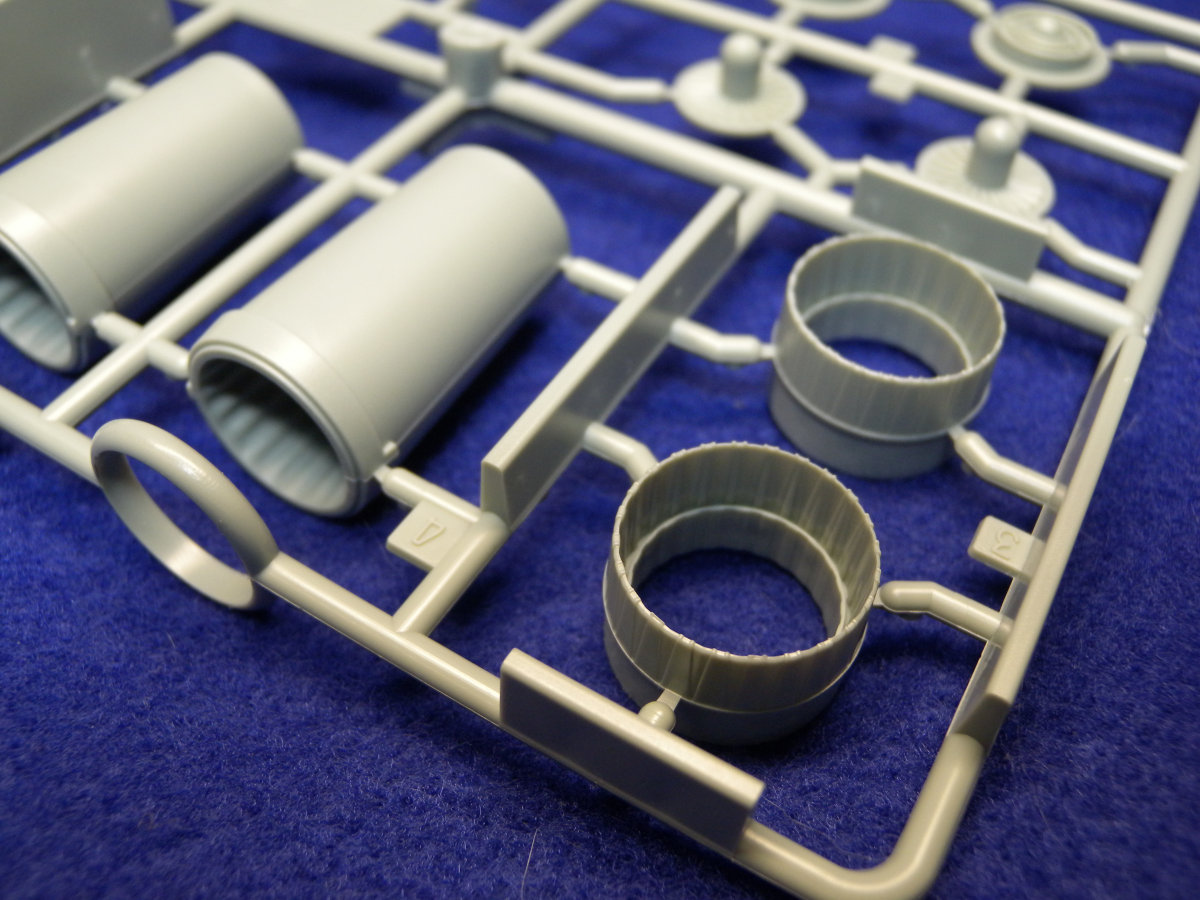
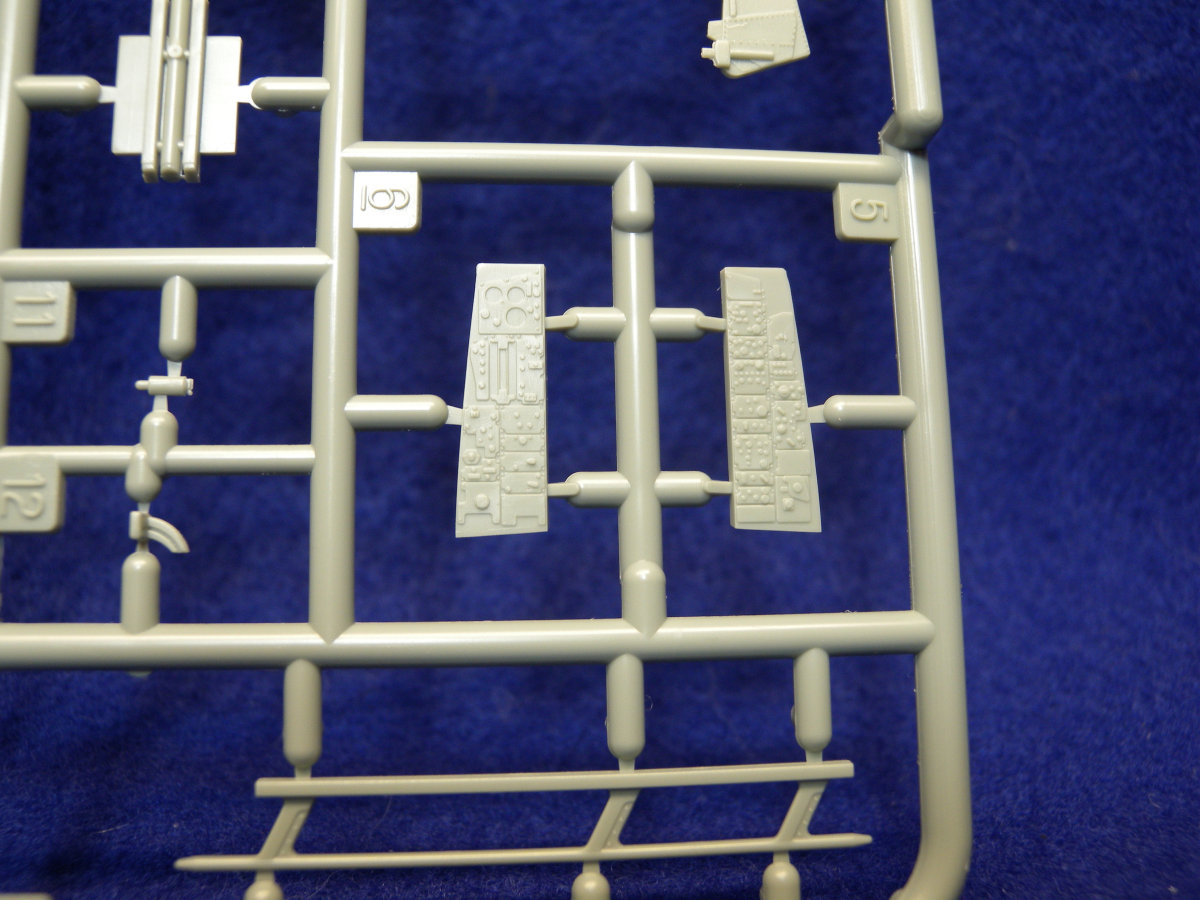
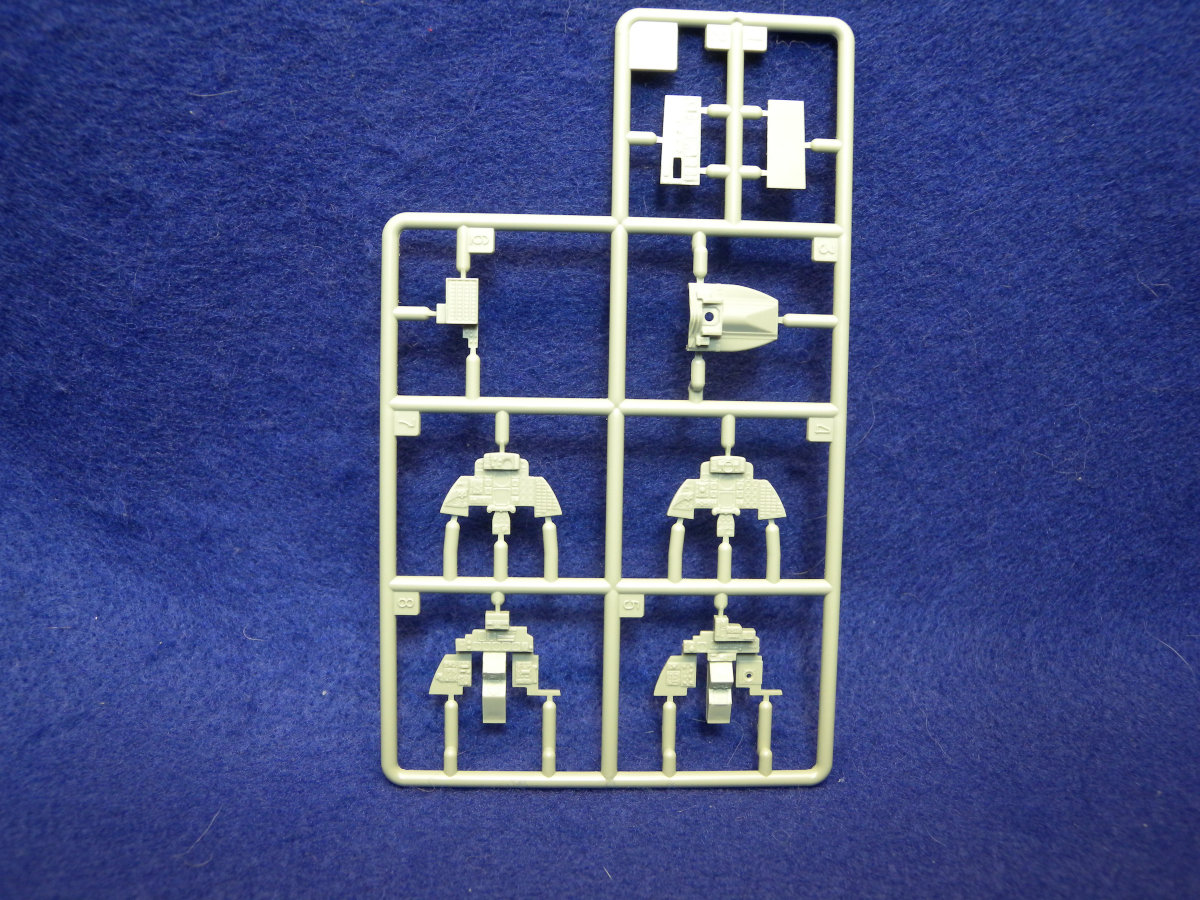
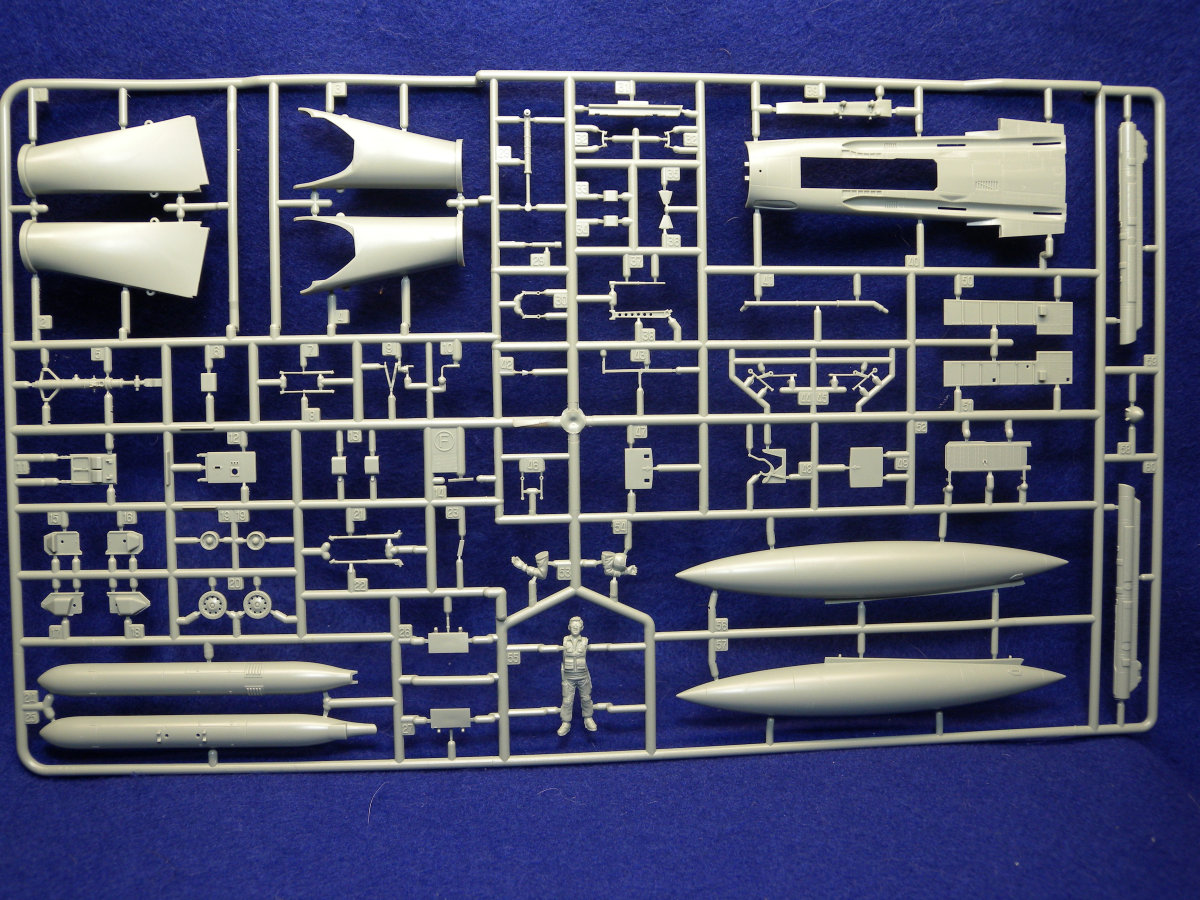
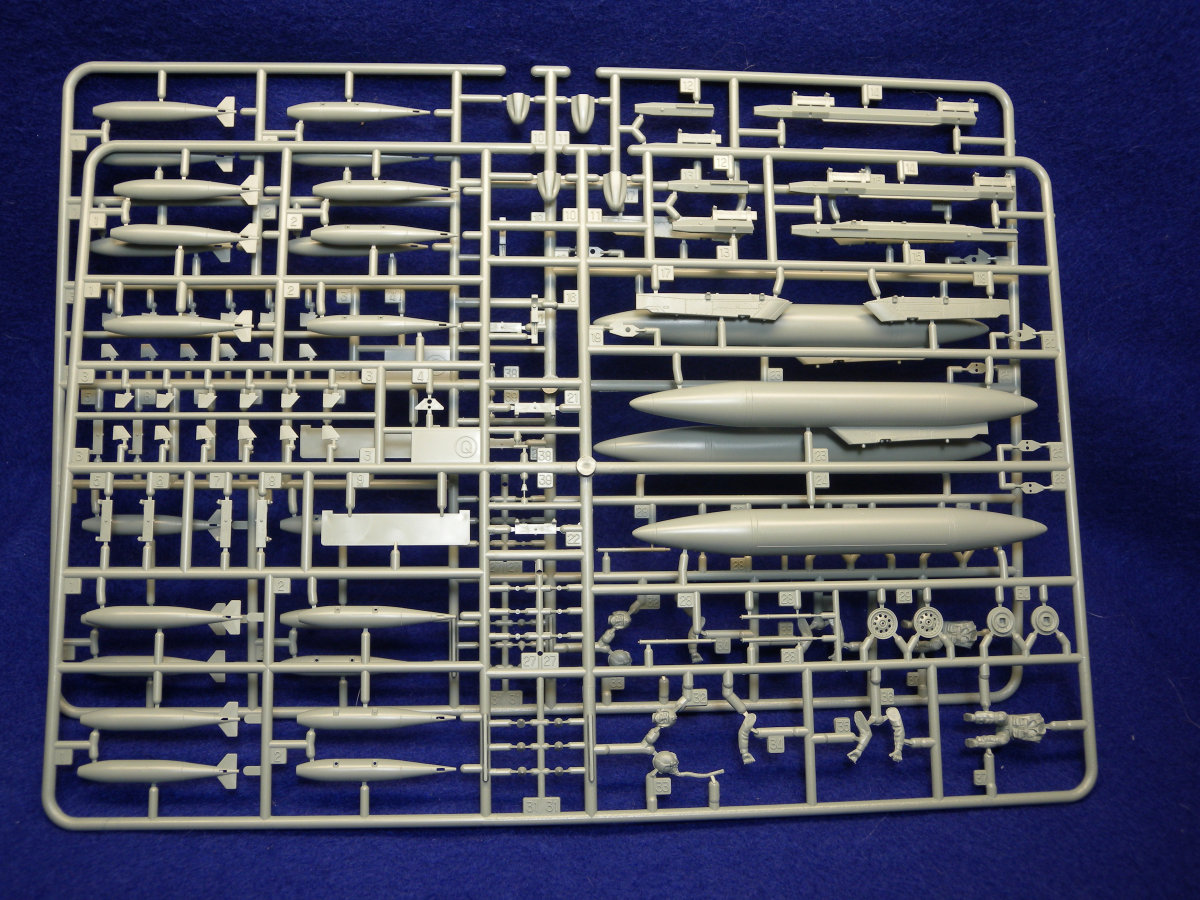
Now onto the kit itself, opening the box to inspect the sprues, they just kept coming. And to no surprise, the moldings were crisp, clean, and very well done. The kit has nicely done engraved panel lines and surface details. As for interior details, the cockpit parts are molded nicely, including raised surface details on the instrument panels. The wheel wells are nicely done but can still use a little help with bits of wires. The engine intake tunnels are molded in two pieces, so there may be a little concern for seams. The engine nacelles are very nicely done, being slide molded, with some great looking surface details.
A closer look at details, starting with the cockpit, show some nice details in the multi-part assembly. The kit seats from
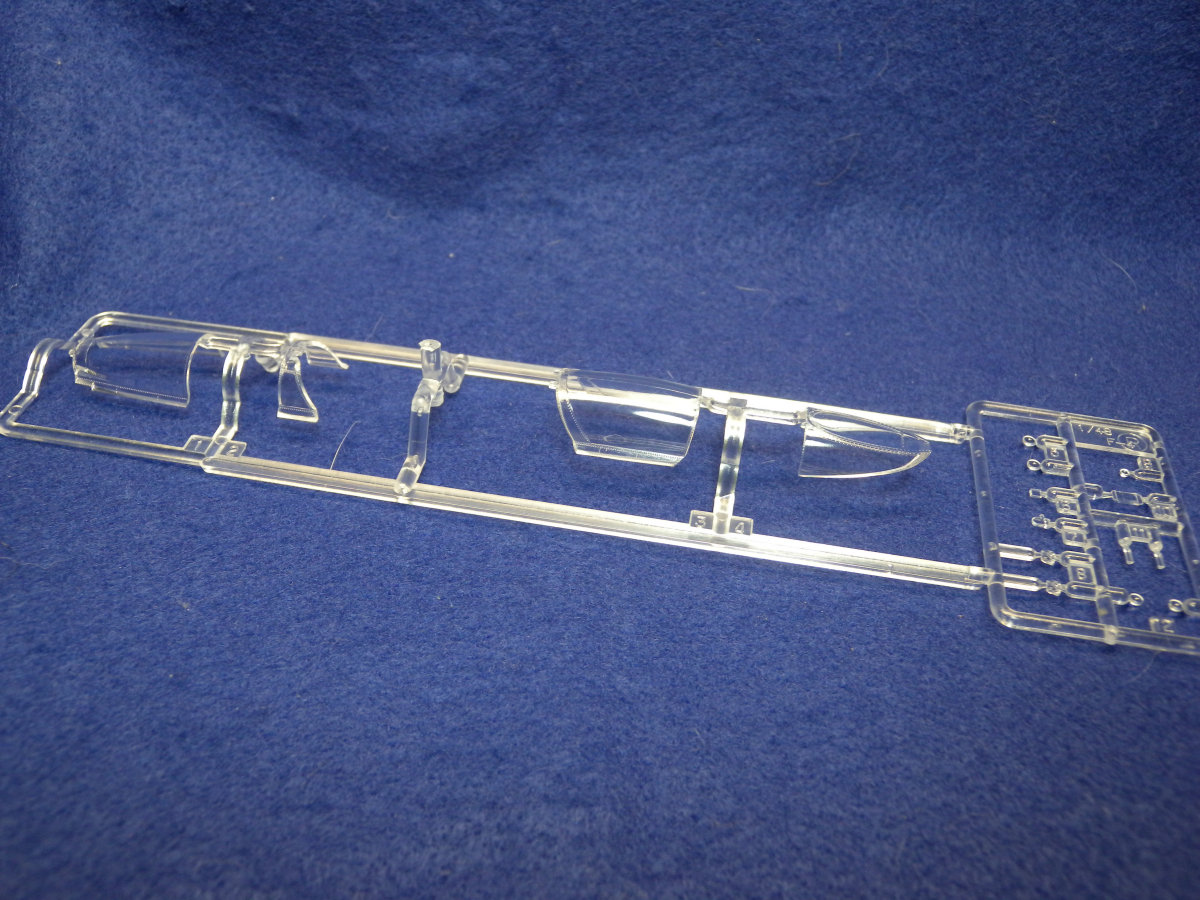
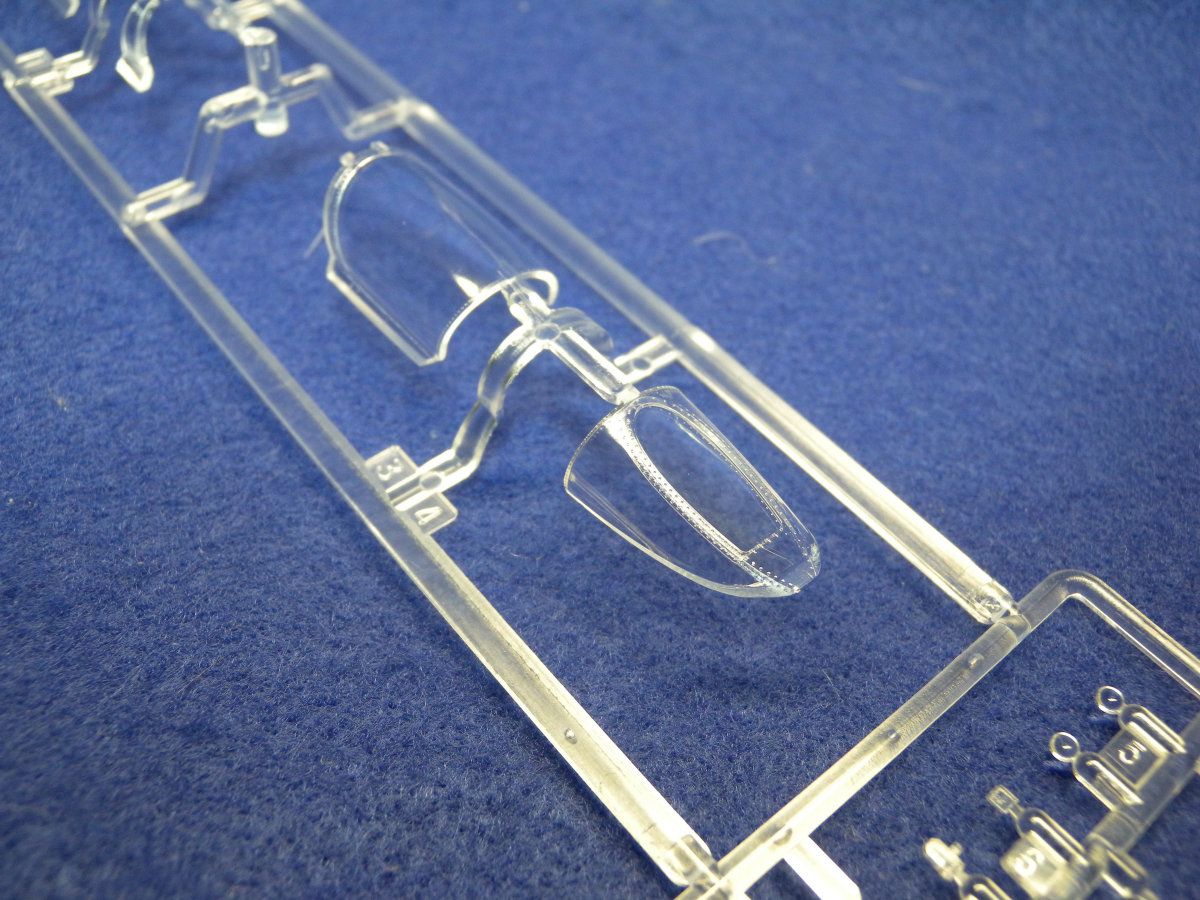
Academy are rather well done but does lack seat belt detail. Now the kit does include two seated pilot figures for those who wish to include them. The figures are nicely done molded with optional arms to differentiate them and optional heads, one with just helmet on, and the other with helmet and oxygen mask on, including the hose to the mask. Unfortunately for the instrumentation, decals are not included for the extra detail, so it is the paint brush or look for aftermarket. The clear plastic canopy is well molded in clear plastic, and in my example I saw no marks or issues.
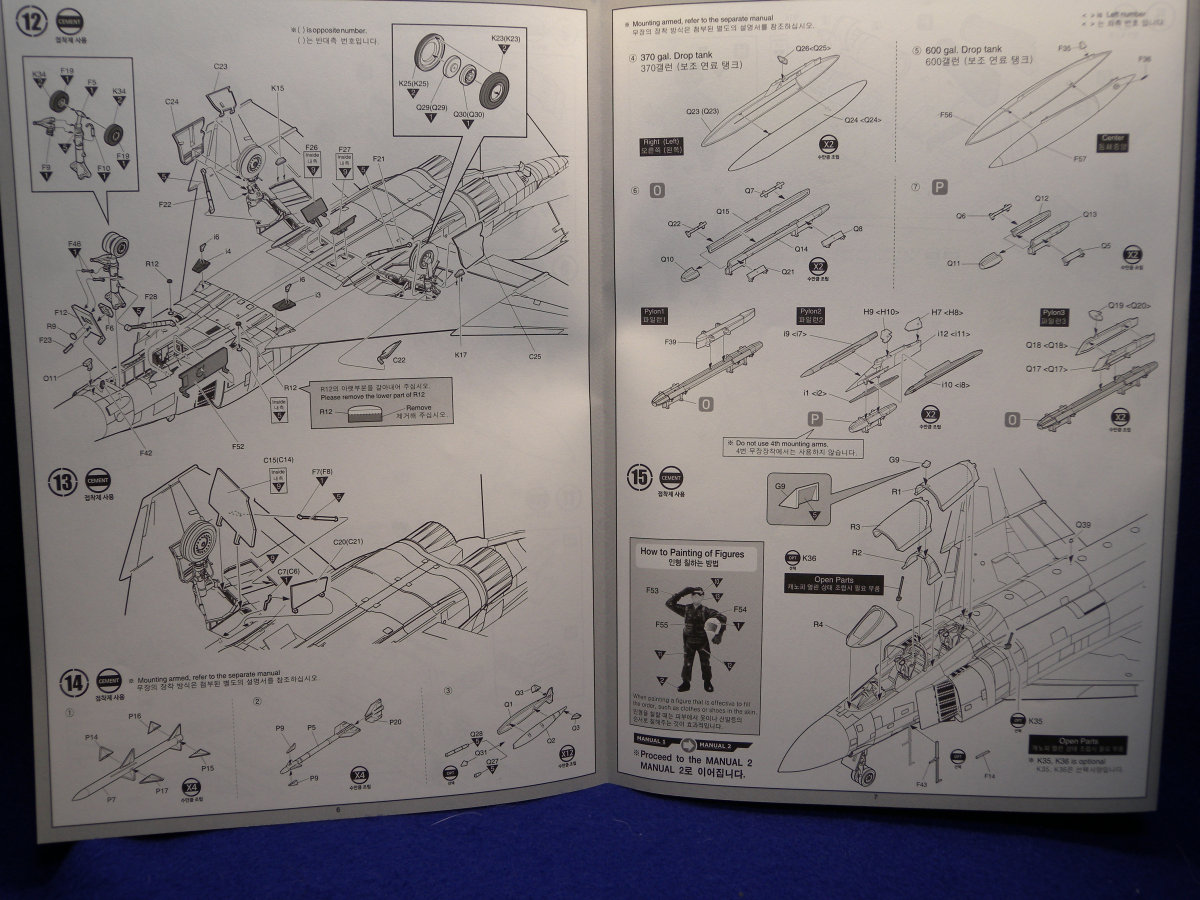
The wheel wells and landing gear struts are also very nicely molded. The surface details on the inner surfaces looks good, as do the struts. A few small bits of wire can be added for some extra details for those who wish a little more.
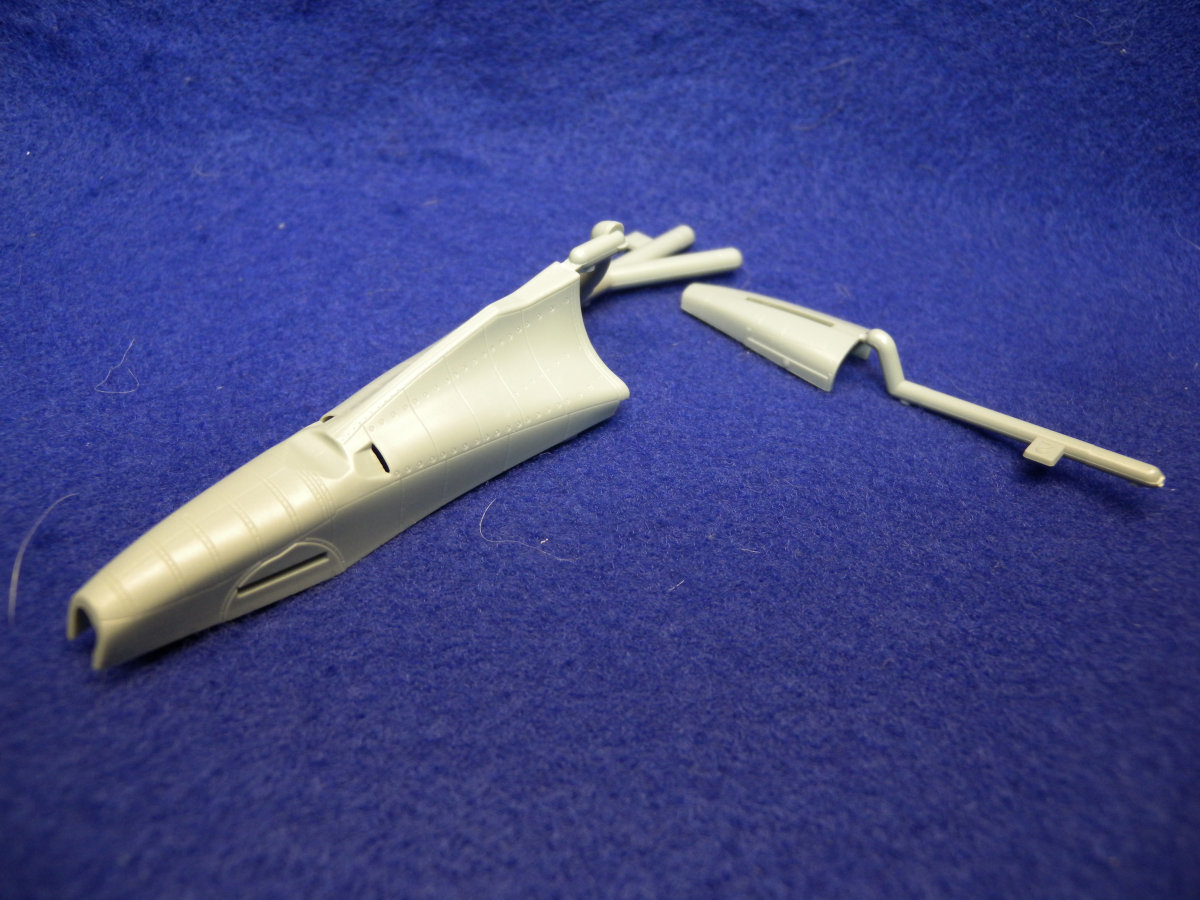
As for the engine parts, as mentioned the intake tunnels are side by side halves, so there is the risk of the seam line on the interior after assembly. The intake fans are nicely molded, as well as the exhaust. The engine exhausts are slide molded, meaning no interior seam, and include some great looking surface details.
Assembly of the fuselage is a top-bottom clam, meaning no seam on along the top to deal with. Now a little issue here that I encountered when I built the C variant, is the fuselage tends to not fully meet the upper surface of the wings. I resolved this by measuring and cutting a couple pieces of the sprue runners and glued them to the interior of the fuselage to spread fuselage to better meet the wings. This did require a little bit of trial and error, but when done improved the fit.
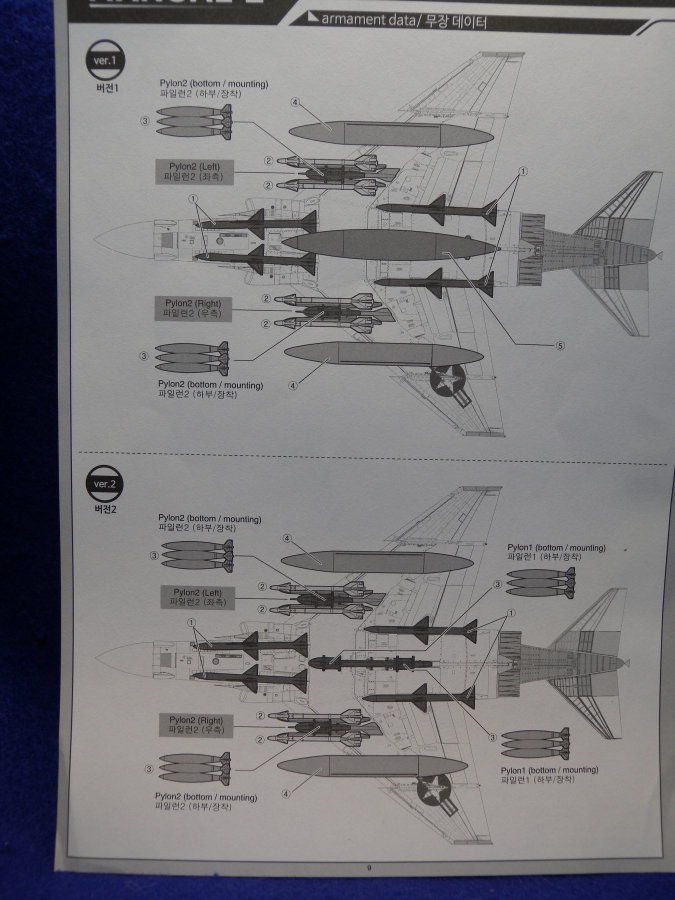
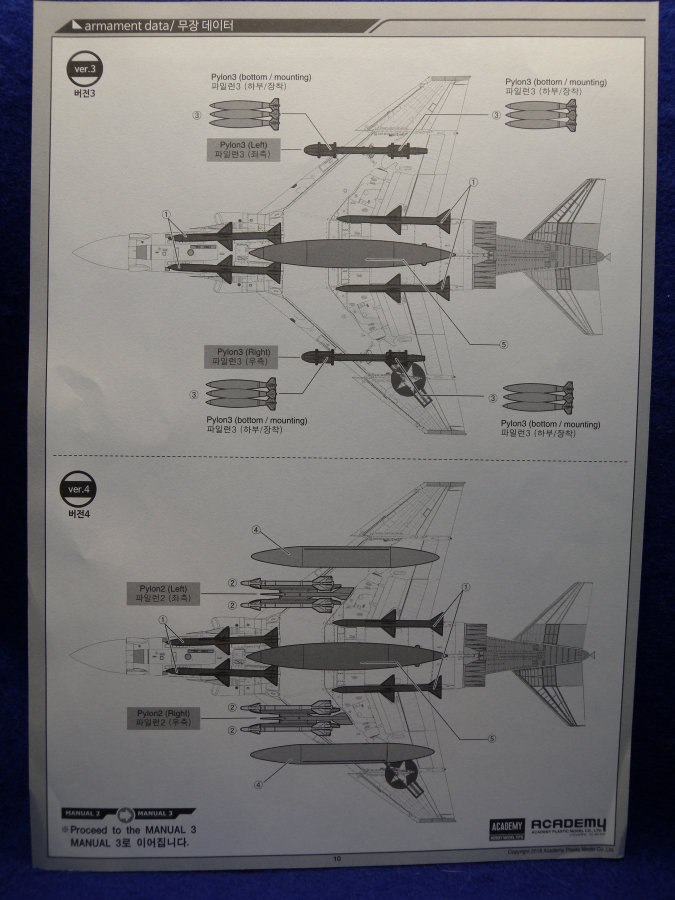
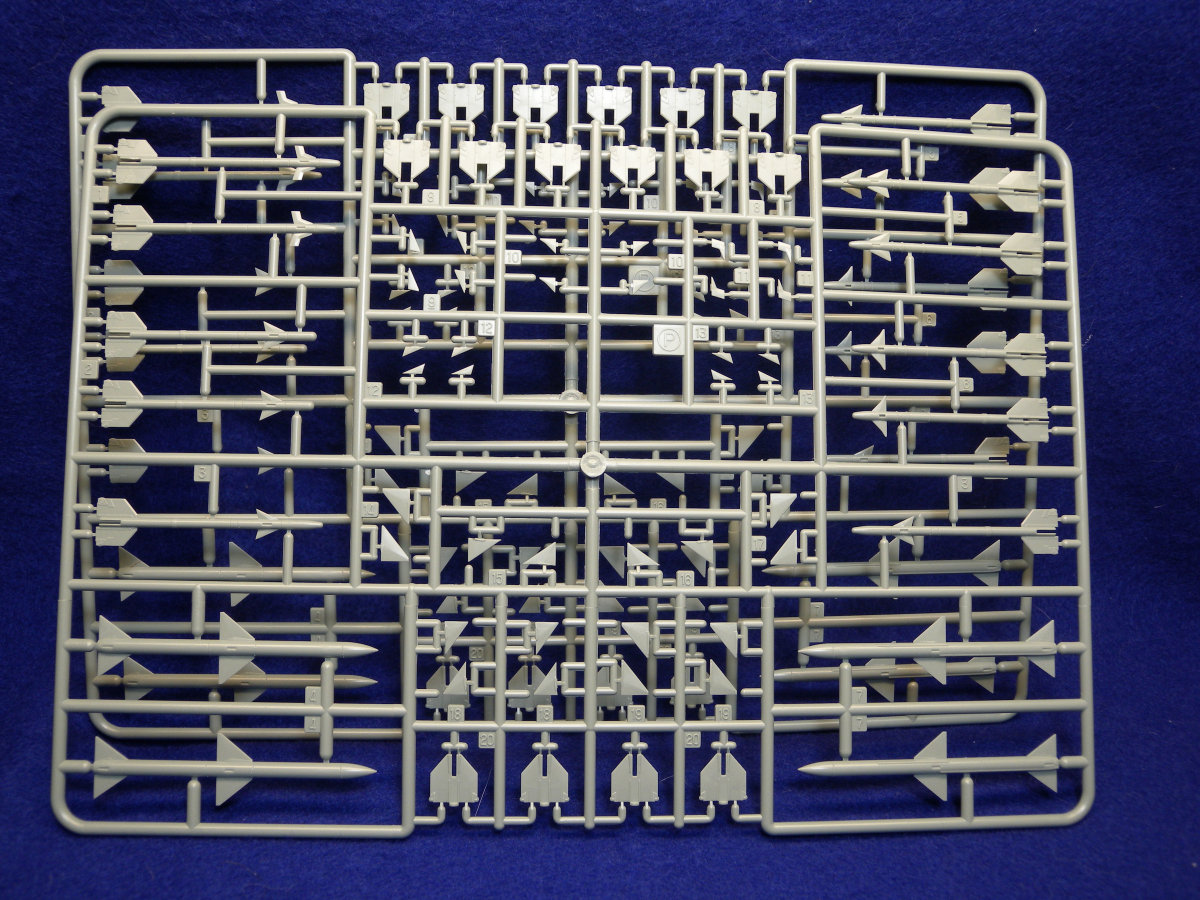
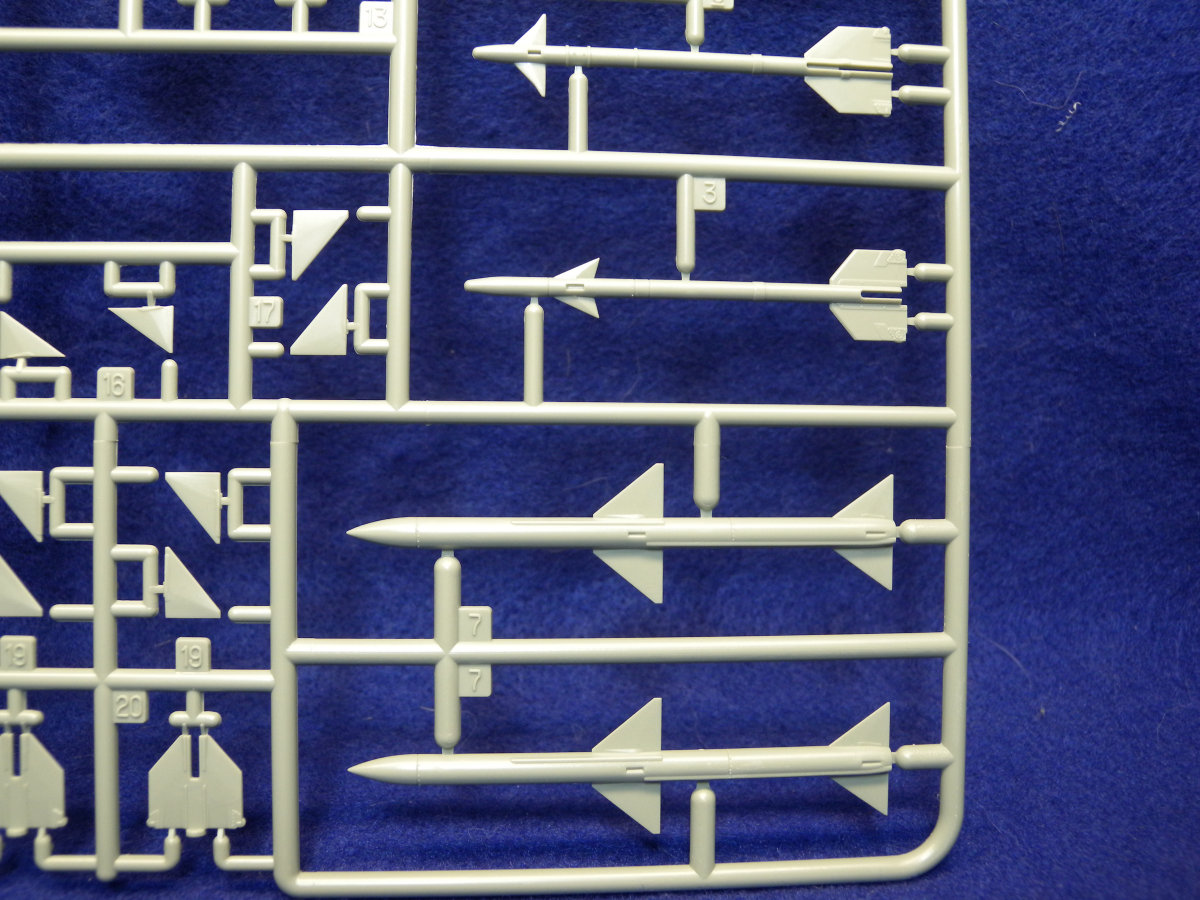
On the wings, the kit does provide separate ailerons, but does not include positionable flaps, nor does the kit include a positionable air brake. Under the wings, the kit does include some great options for underwing stores. There are four sprues containing different options, to include fuel tanks, Sidewinders, Sparrows, and bombs. A two-sided sheet is included to show different configuration options. Also, there are decals included for marking them all up accordingly.
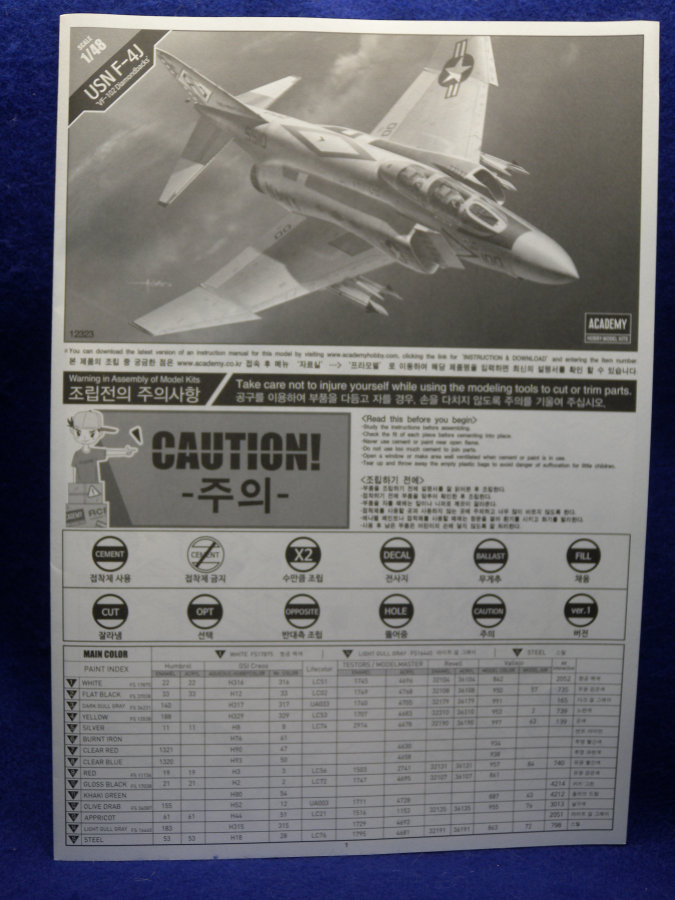
The instruction pamphlet is a large multi-folded sheet, with assembly over 15 steps. It is relatively straight forward looking, and when I built the C variant, I found no issue with it. Just watch for some optional assembly, for example, there is an option to build the refueling arm in the open or closed position.
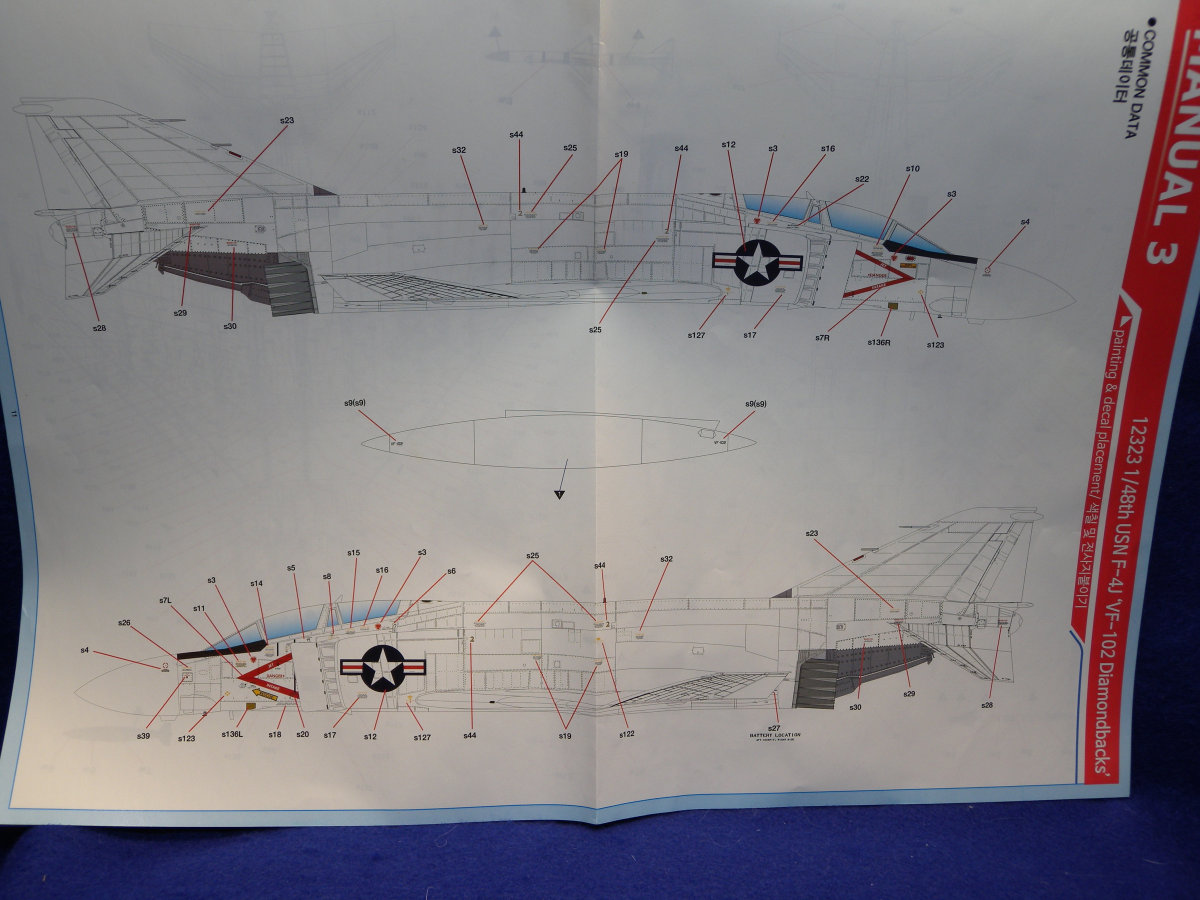
As for the Painting and Marking guide, it is a large sheet, printed in color. One half of the large double sided sheet contains placement of the common data, and this can look very daunting as there is a lot of stencilling on the Phantom. The other half contains the marking options for:
- 155510, AG100 VF-102, Diamondbacks, USS Independence, 1973
- 155510, AG100 VF-102, Diamondbacks, USS Independence, 1976
And not really a big difference between the two, the only difference that stands out is the use of red on the wing tips for the 1973 option.
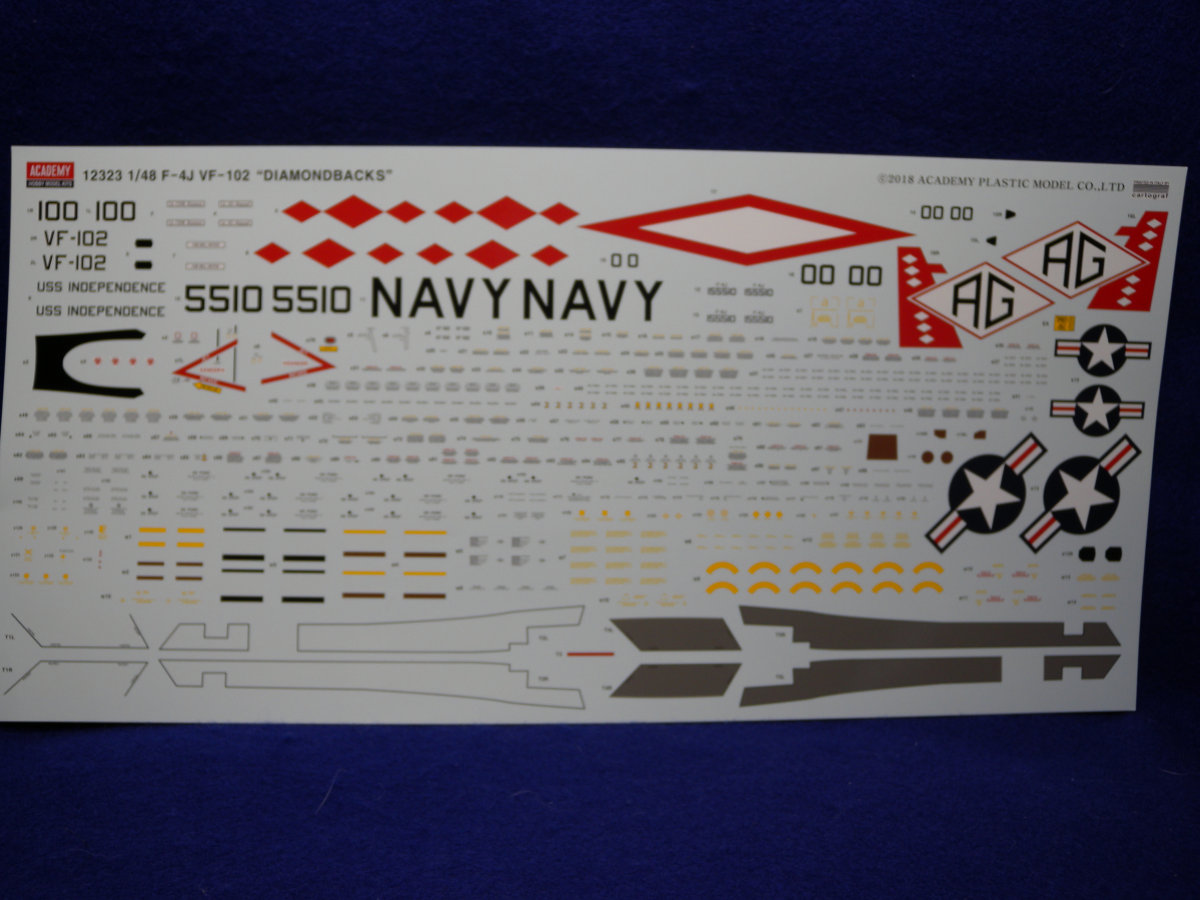
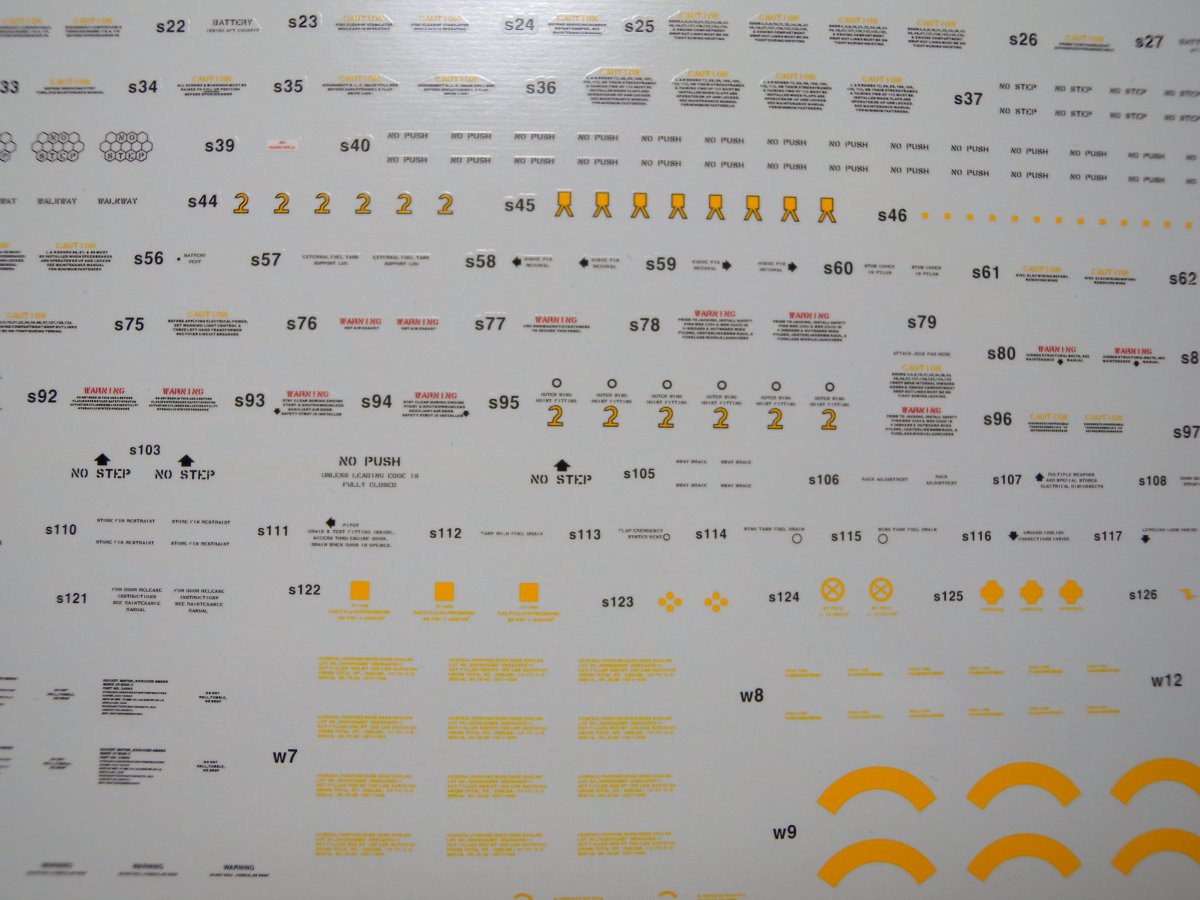
Now with the big painting and marking guide come a BIG sheet of decals. And this is not due to big decals, but LOTS of decals. While the sheet contains the normal markings, it also includes ALL of the stenciling. My estimation is there are well over a hundred little stenciling markings with all the No Step and other warnings. A fellow modeller, while visiting a museum, want to validate if the Phantom actually had all of this stenciling, and it was confirmed. Now with all that said, the decal are printed very well by Cartograf, and most, if not all, the stenciling is legible.
Summary
Overall this kit of the F-4J Phantom II from
Academy is well done, and from previous experience with an earlier variant, is a very nice kit to build. There are some great details around, and over assembly and fit is good. Where the kit lacks are in the extra details, there are no seat belt details nor decals for the cockpit interior. The inclusion of the two seated and one standing pilot figures is a nice touch and could easily be used to add some life to the build. There is a great set of options for the underwing stores, and this kit could be built to be a great shelf display. I would highly recommend this kit, as matter of fact once my bench clears of other builds, the C variant will have a partner on the display shelf.


Comments