Eduard's original 1:48 Hawker Tempest signaled the company's move into the mainstream kit market over 20 years ago. It was a very decent kit - certainly a massive improvement over the earlier AMT offering - but it was marred by a short rear fuselage (fixable, but not a job for beginners or the fainthearted).
So, there was a good deal of excitement at Eduard's announcement of an all-new kit produced to their latest standards. Finally, we might have the definitive 1:48 kit of the Tempest, Sidney Camm's successor to the more famous Hawker Typhoon.
Brief Background
The Hawker Tempest was initially planned as a new mark of the Typhoon, but such were the changes, a new name was adopted. The Tempest featured an elegant new elliptical wing that was much thinner than the drag-producing thick wing of the Typhoon, thus overcoming a serious limiting factor. Generally cleaned up and refined, the Tempest is often cited as the finest low/medium level fighter in the Western Allies' European arsenal during the final year of the war.
Like many aviation-minded kids of my era, my first introduction to the Tempest came through reading Pierre Clostermann's autobiography "The Big Show". Inspired by his famous mount "Le Grand Charles", the mighty Hawker Tempest has been a favourite subject ever since.
The Kit
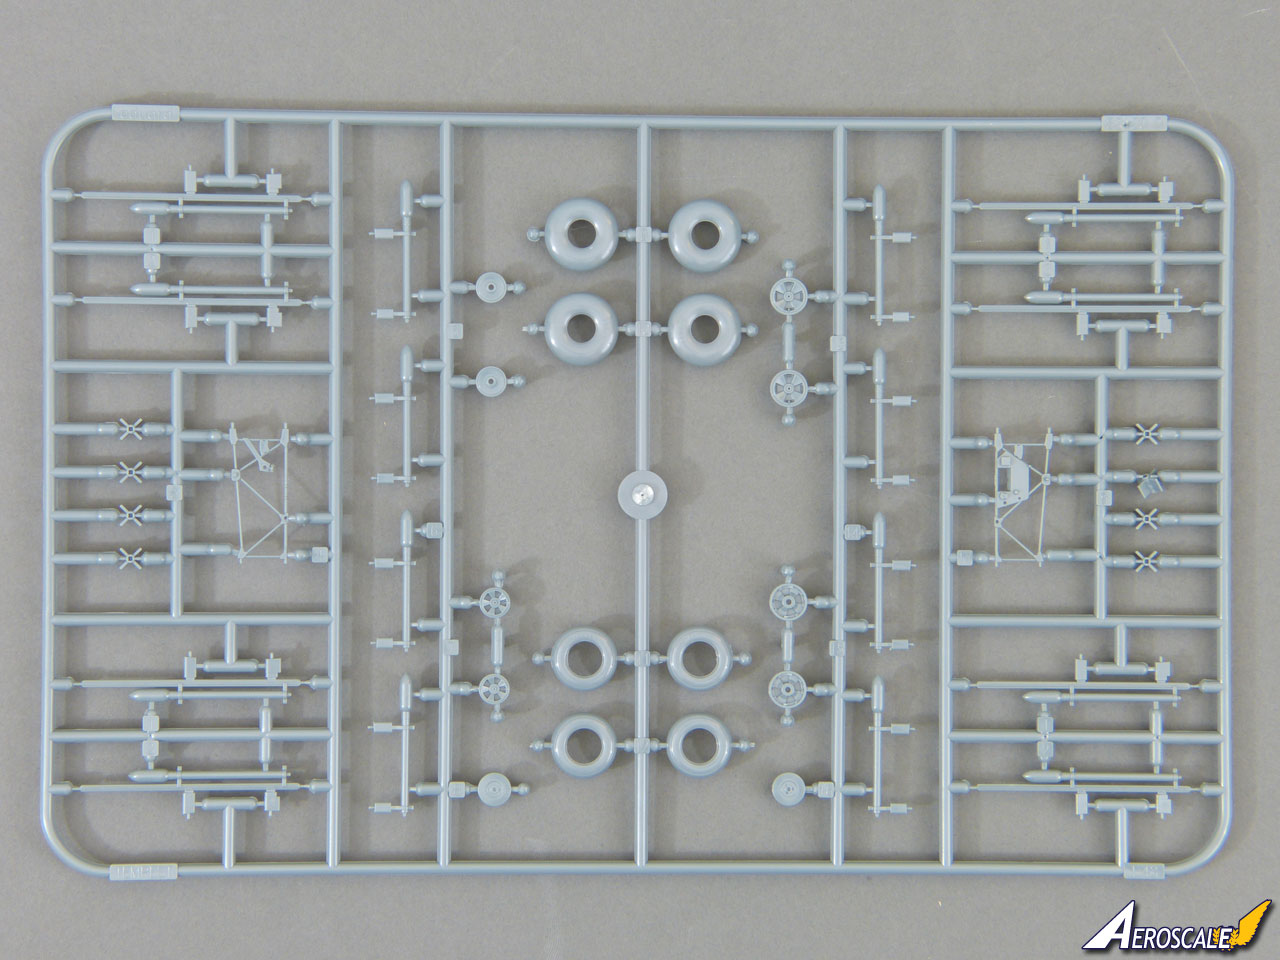
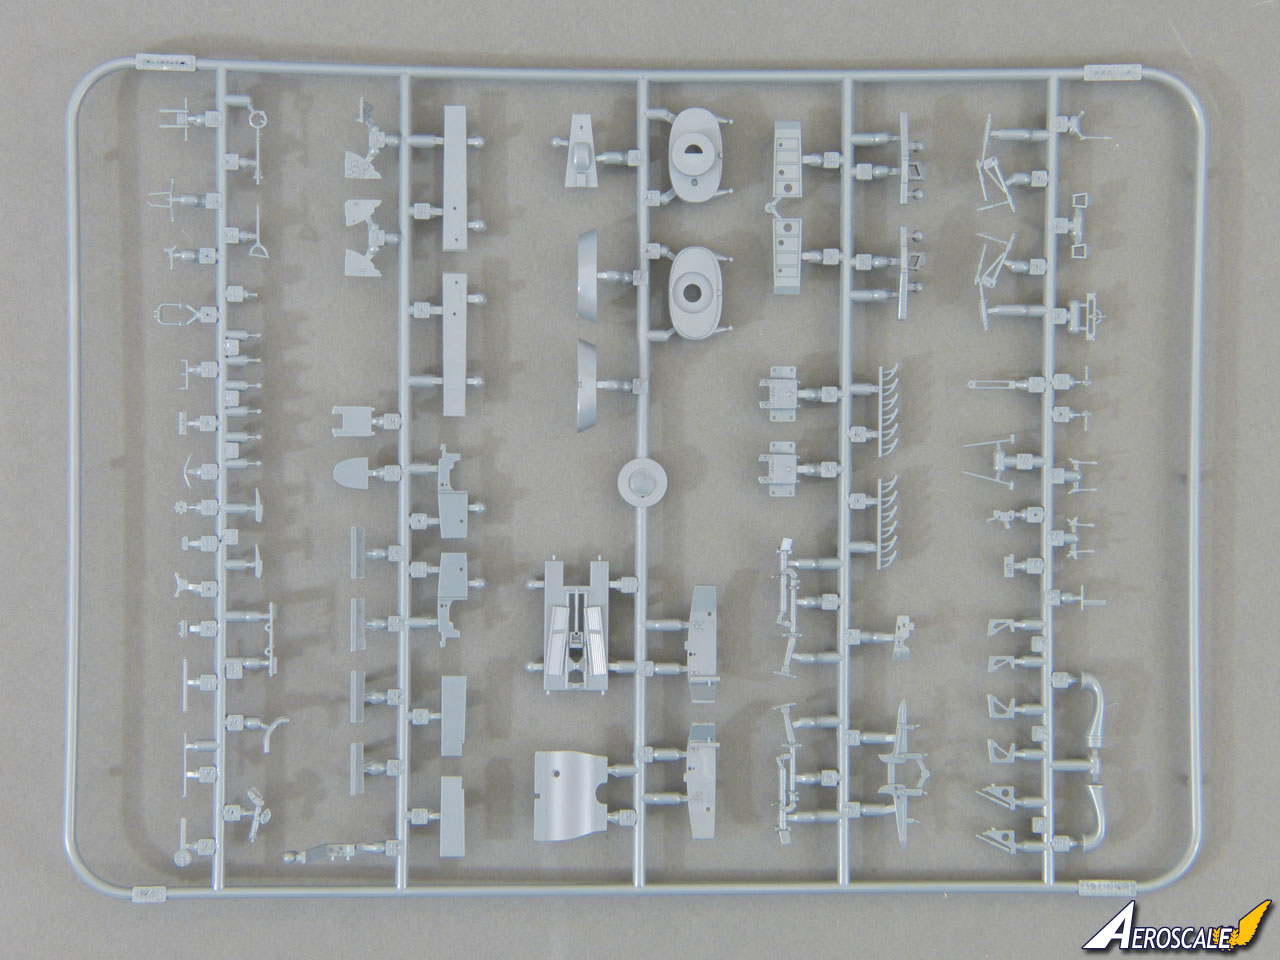
Eduard's new Tempest arrives in a sturdy and attractive conventional box, with the main sprues bagged together and the accessories packed separately. The first release is a Profi-Pack model, featuring added photo-etched details and painting masks and comprises:
129 x grey styrene parts (plus 40 spare)
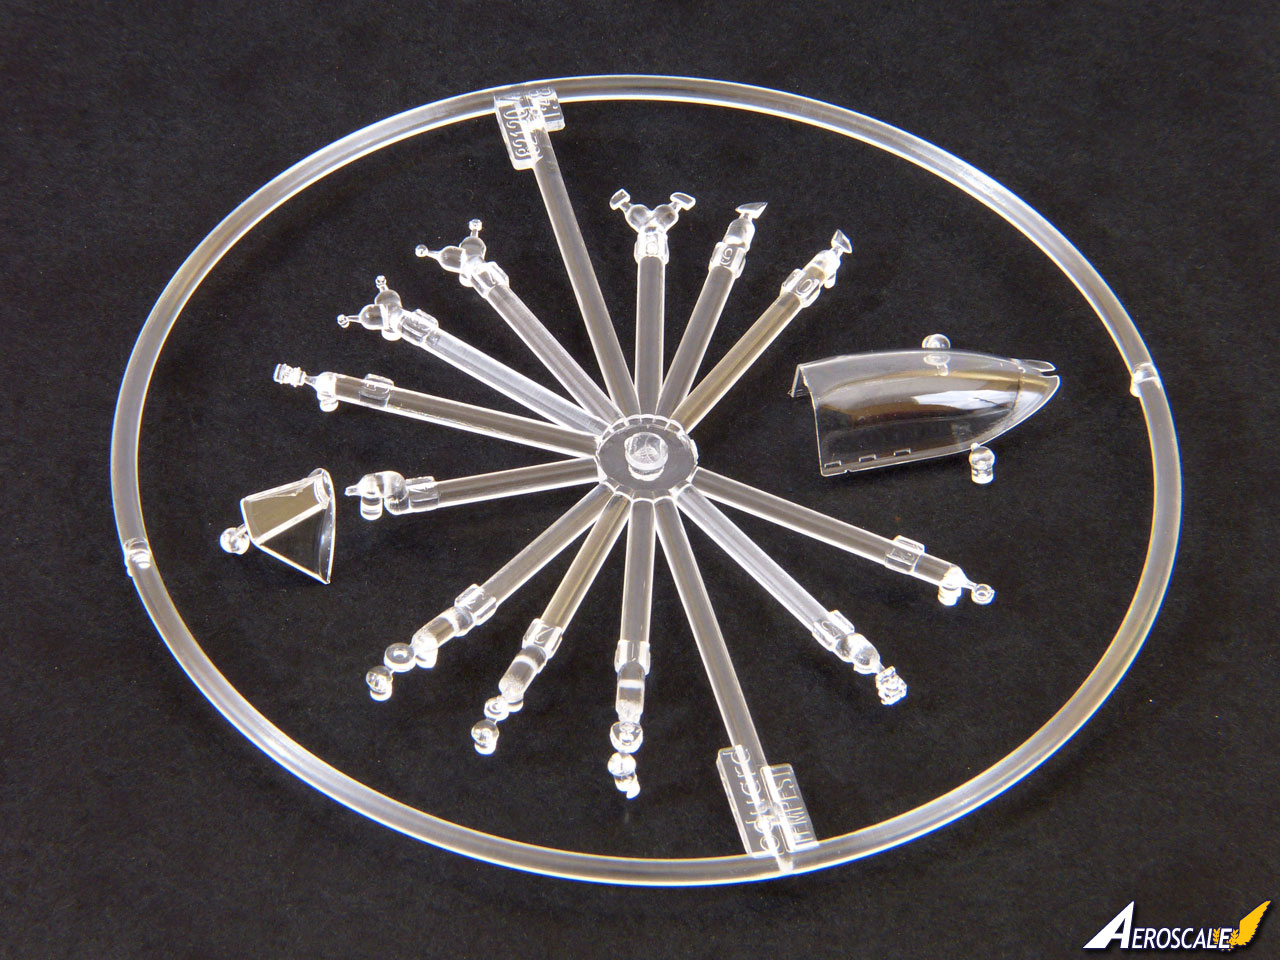
15 x clear styrene parts (plus 1 unused)
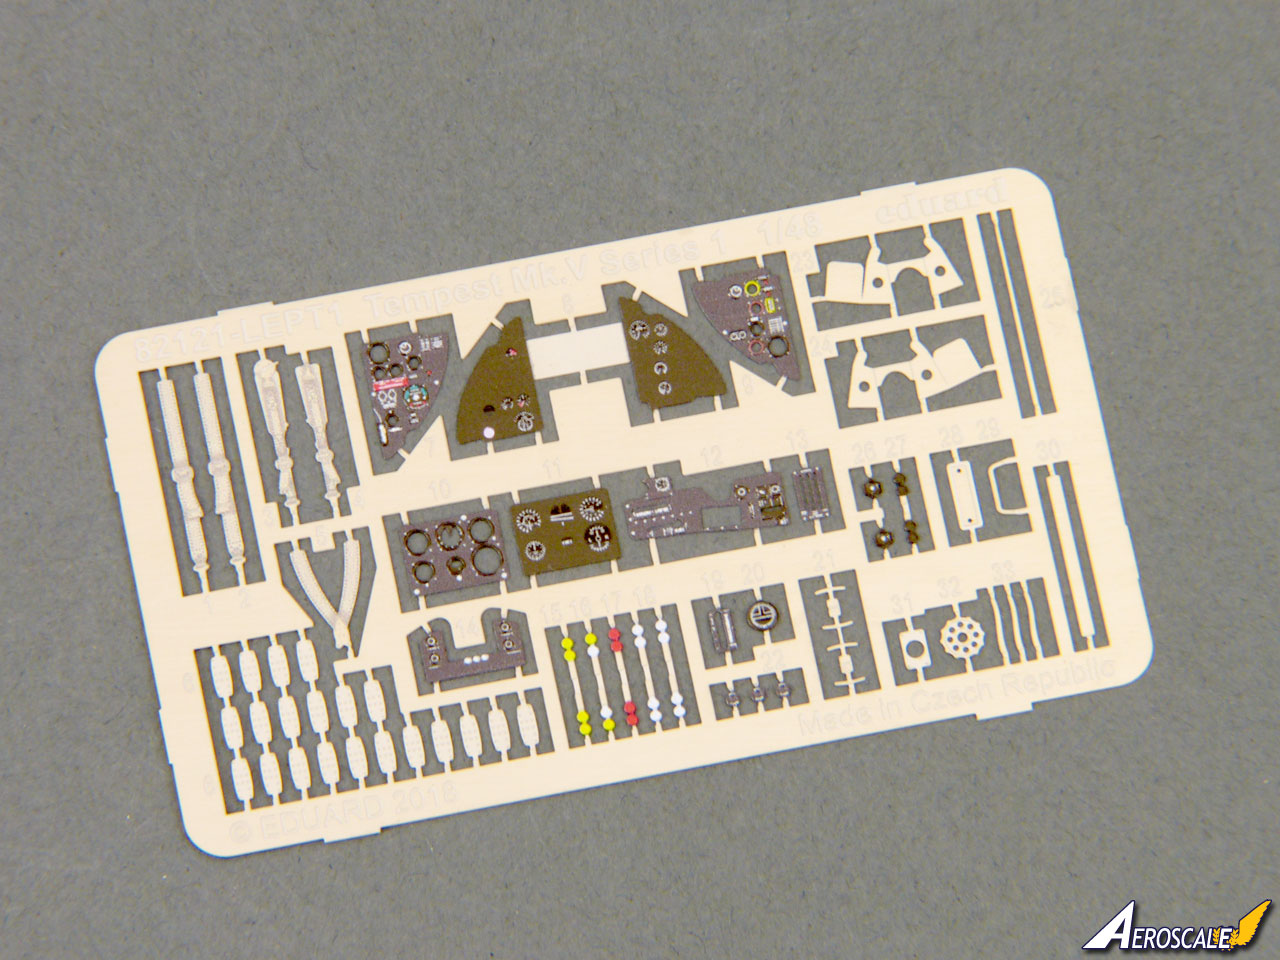
60 x photo-etched parts (some pre-coloured)
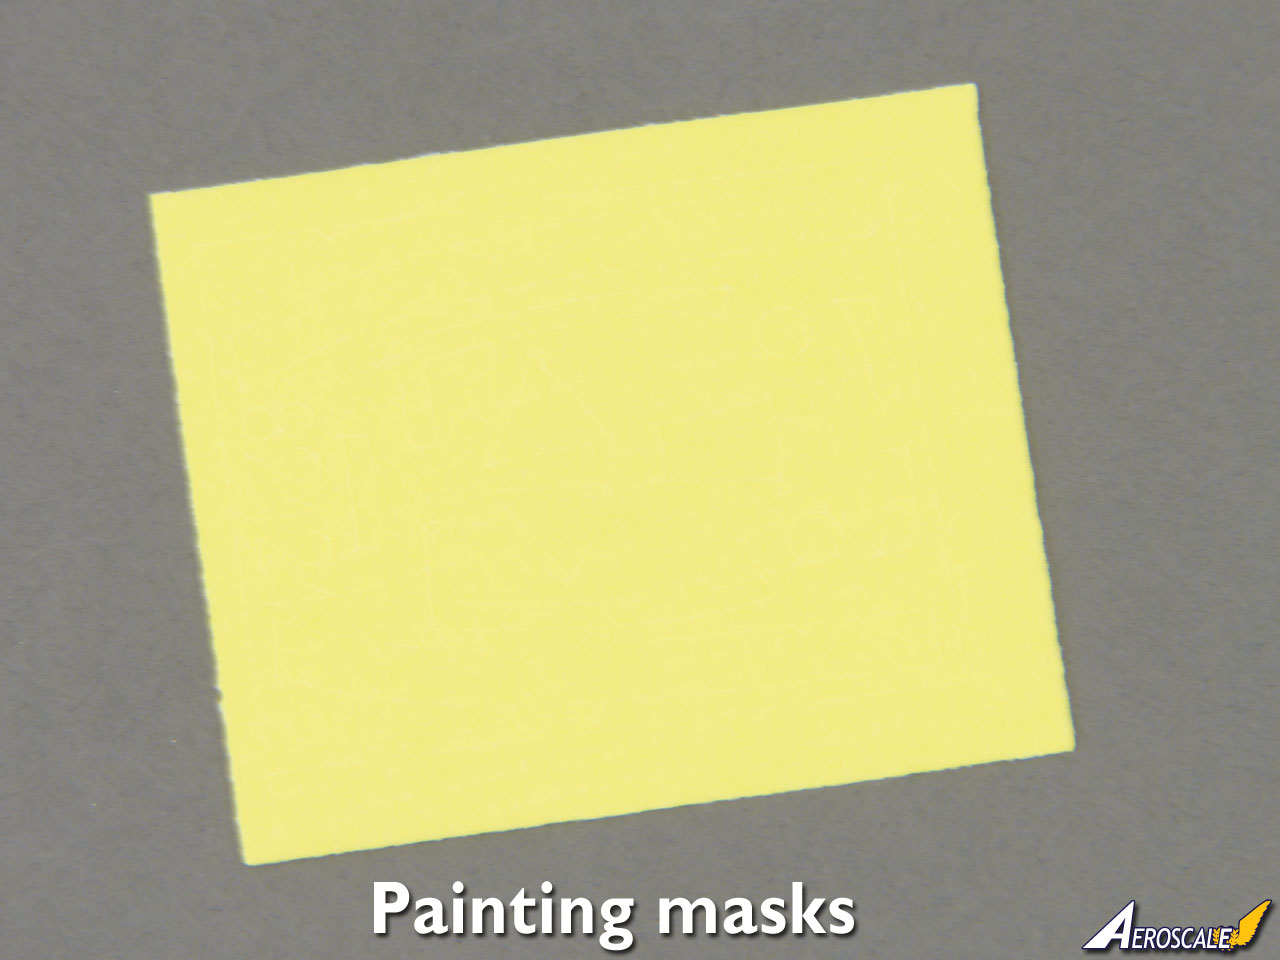
A sheet of 12 x die-cut kabuki tape painting masks
Decals for 6 x colour schemes
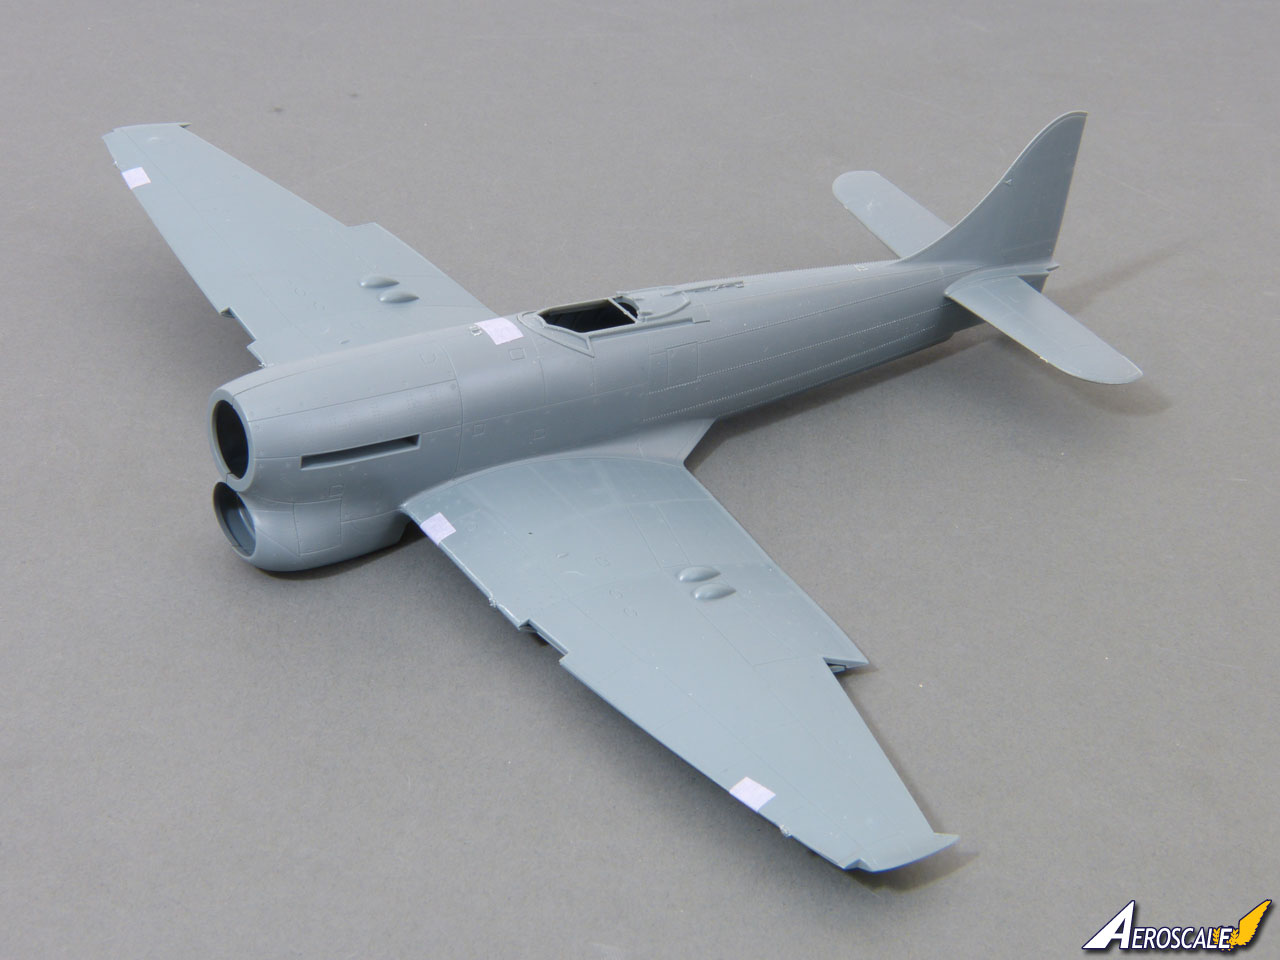
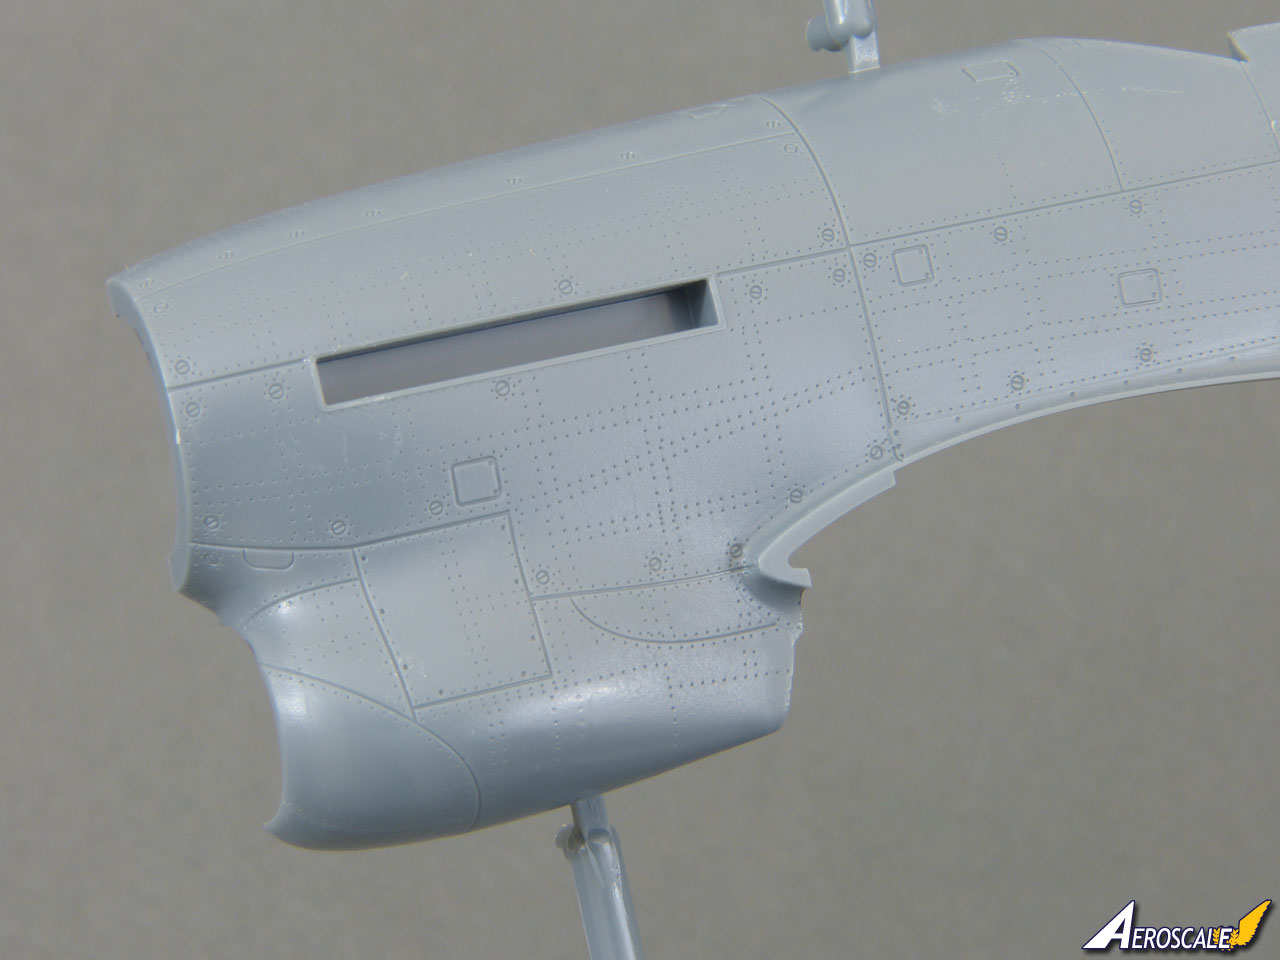
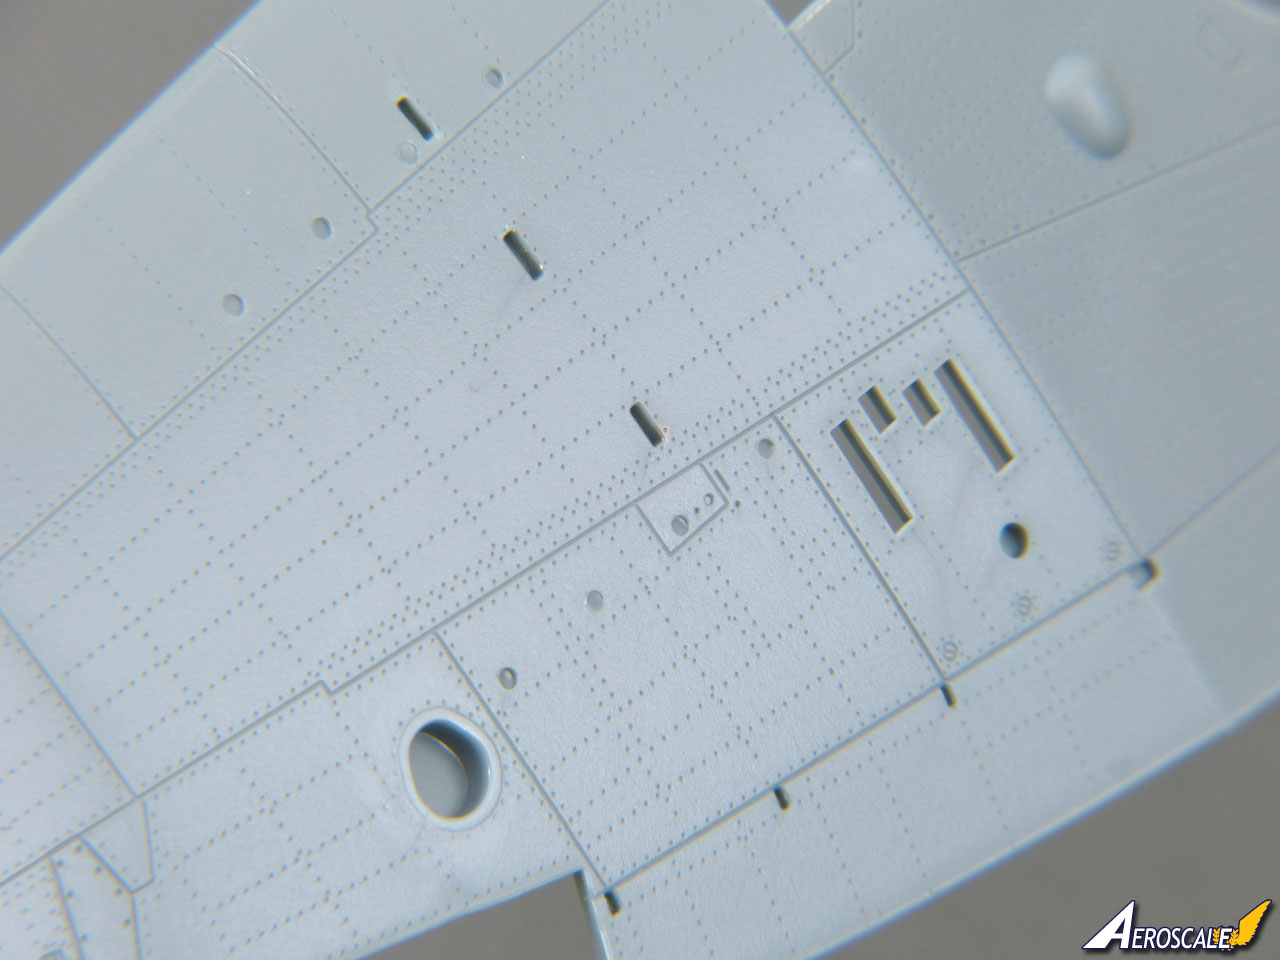
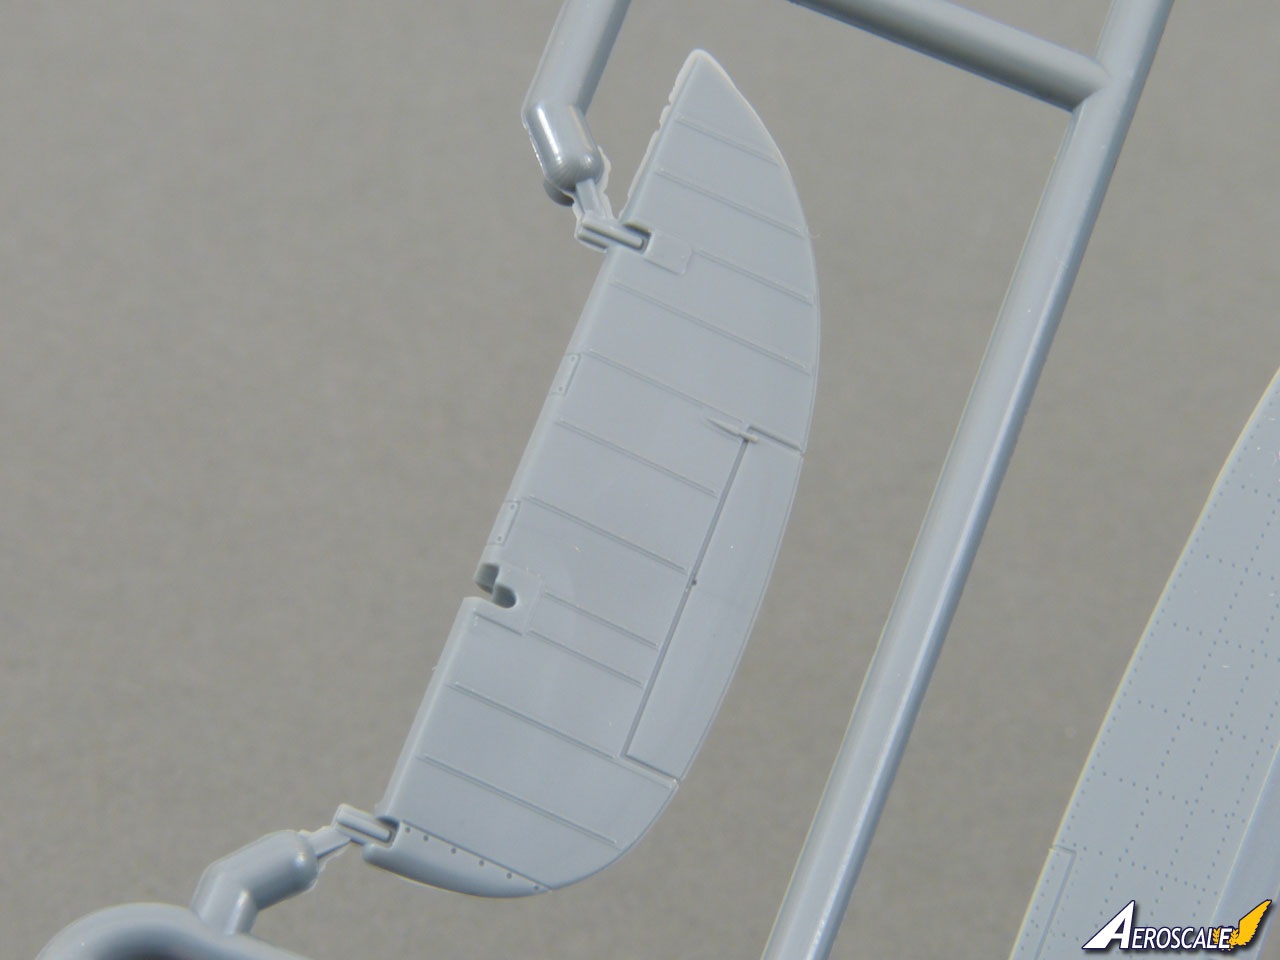
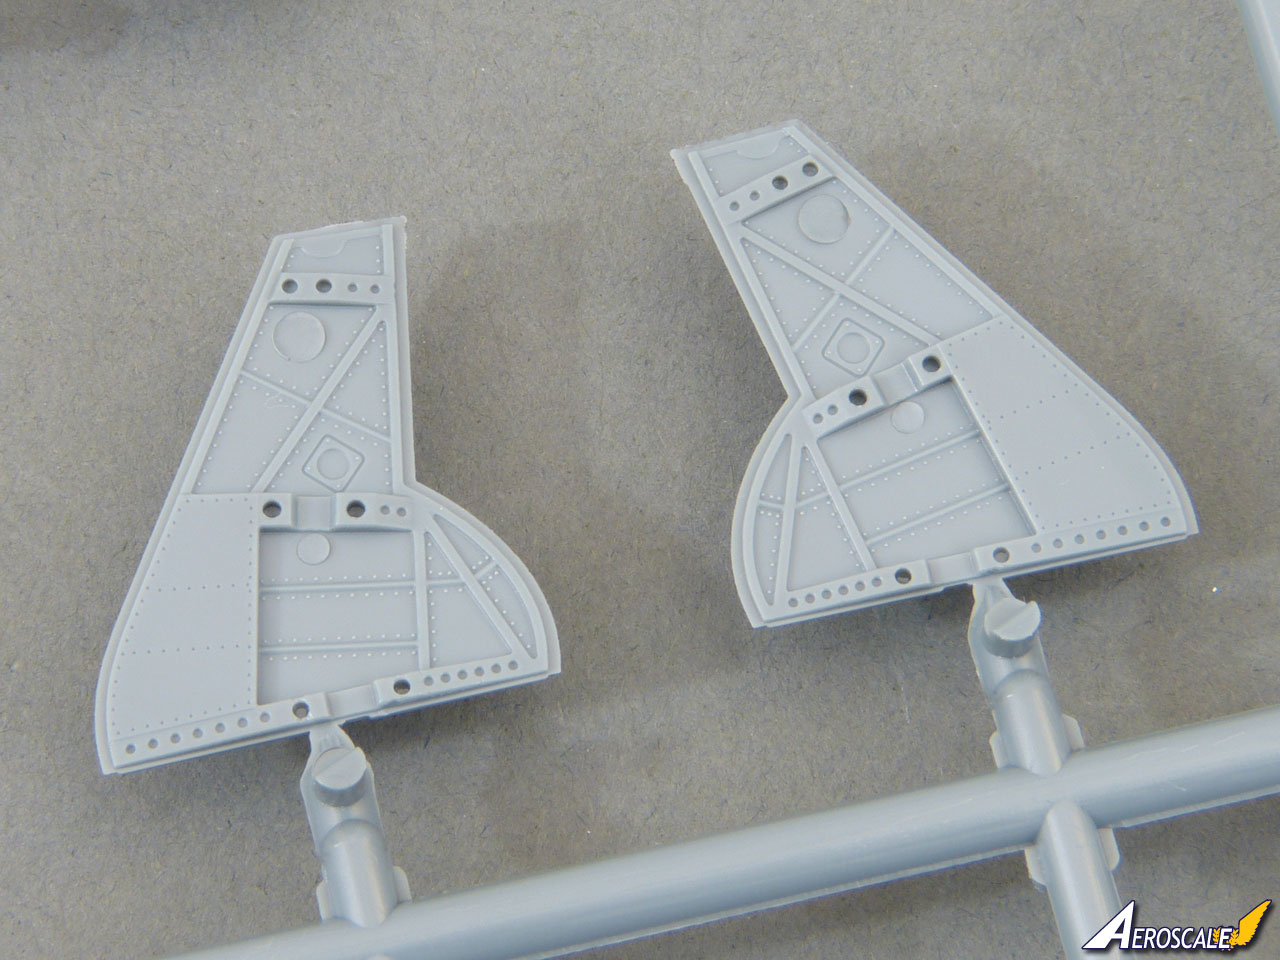
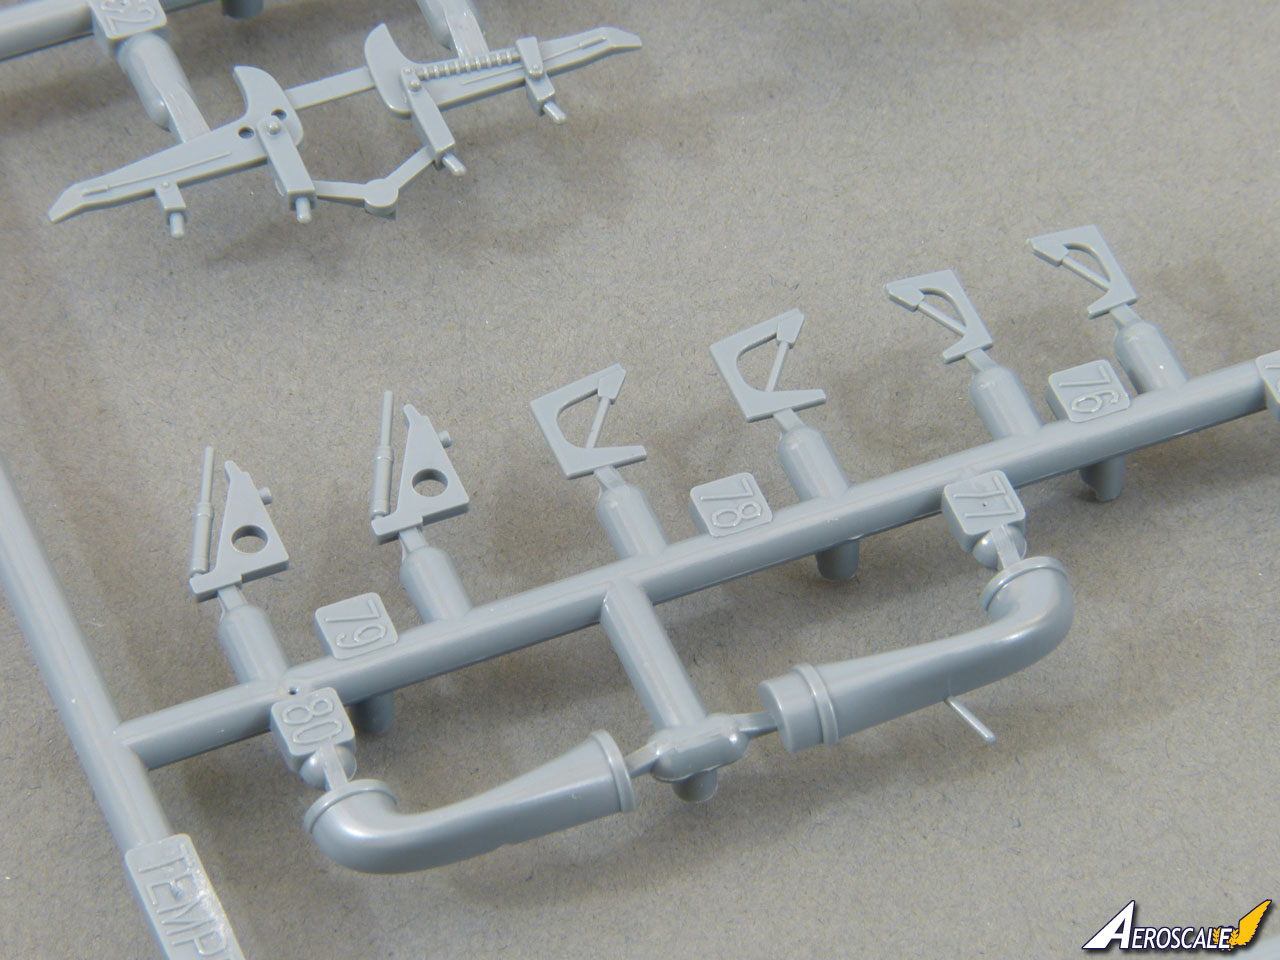
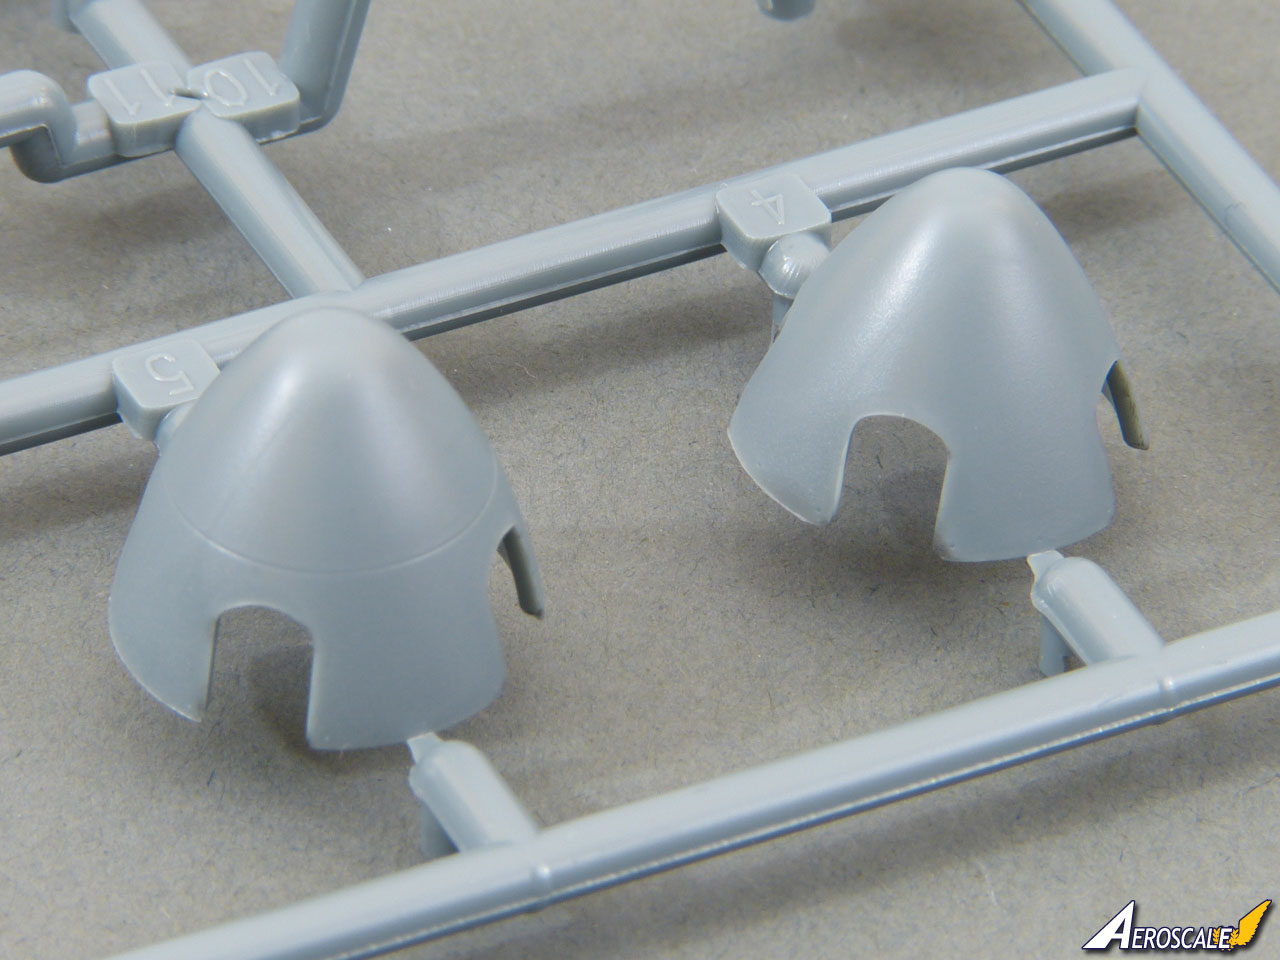
The moulding is excellent, basically devoid of flash (there's just a hint around the tips of the propeller blades) or other flaws, and fully up to the standard we've seen on Eduard's recent new-tool 1:48 Bf 109s and Fw 190s, with multiple depths/strengths of surface engraving. This means an exterior finish that features precise panel lines and fasteners, a very delicate embossed rivet effect in most areas, plus raised rivets where they were used on the real aircraft. While many manufacturers ruin kits in my opinion with a heavy-handed rivet effect, Eduard apply them so lightly, they look excellent to my eyes under a coat of paint. The rudder features a rib tapes to depict the fabric surface. As with most kits, you could knock these back a little if you desire, but they massively better than some of the "cast-in-concrete" absurdities we've seen over the years.
Test Fit
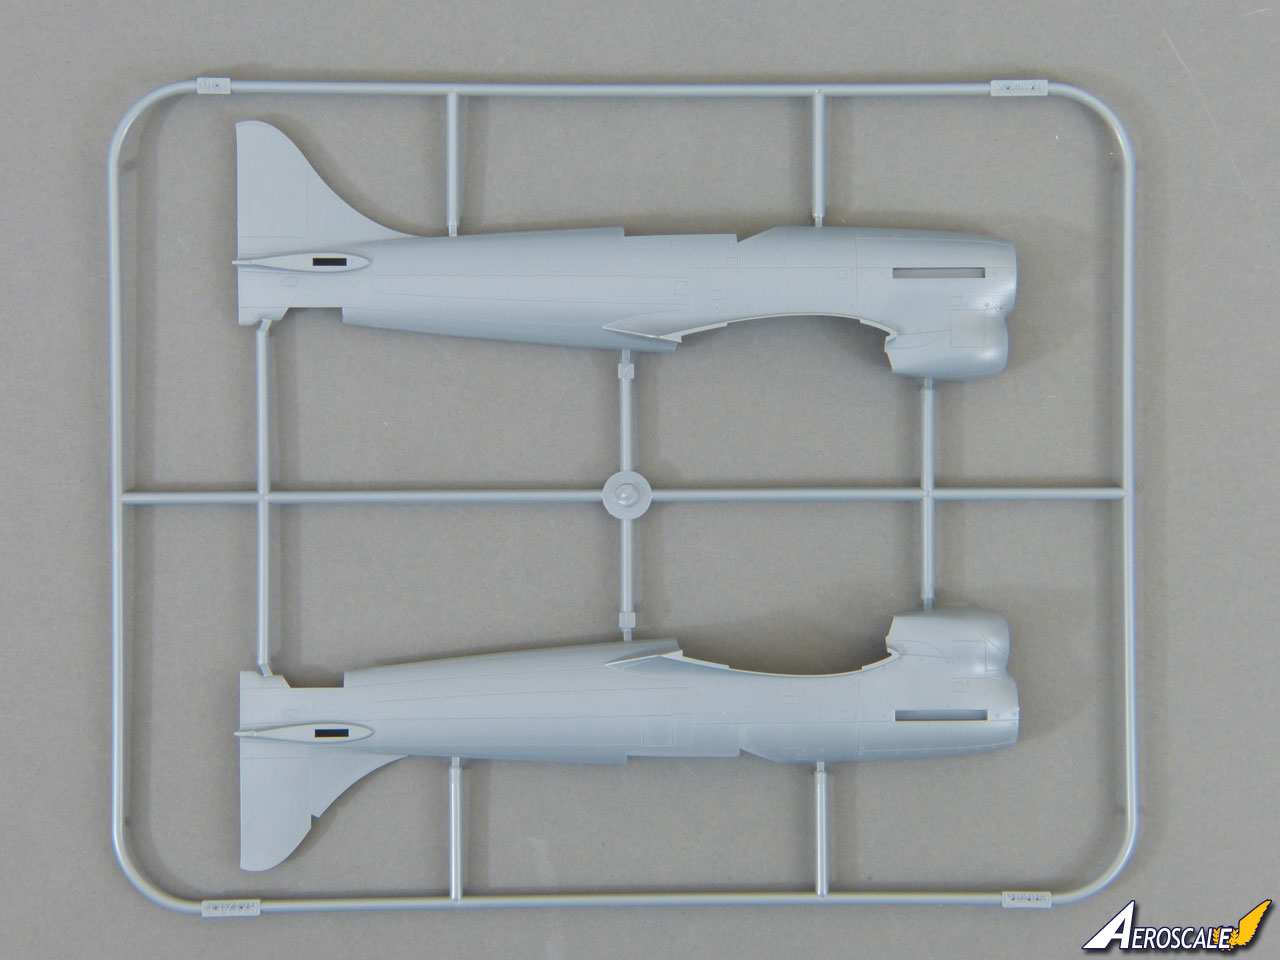
The fuselage halves fit together without a hitch. One unusual feature in the design is that there's a notch in the leading edge of the vertical tail where both sides are moulded onto the starboard half. It follows a panel line and the fit is spot on, but I can't really see why Eduard bothered to do it that way. Perhaps it serves as an extra locator to keep everything lined up?
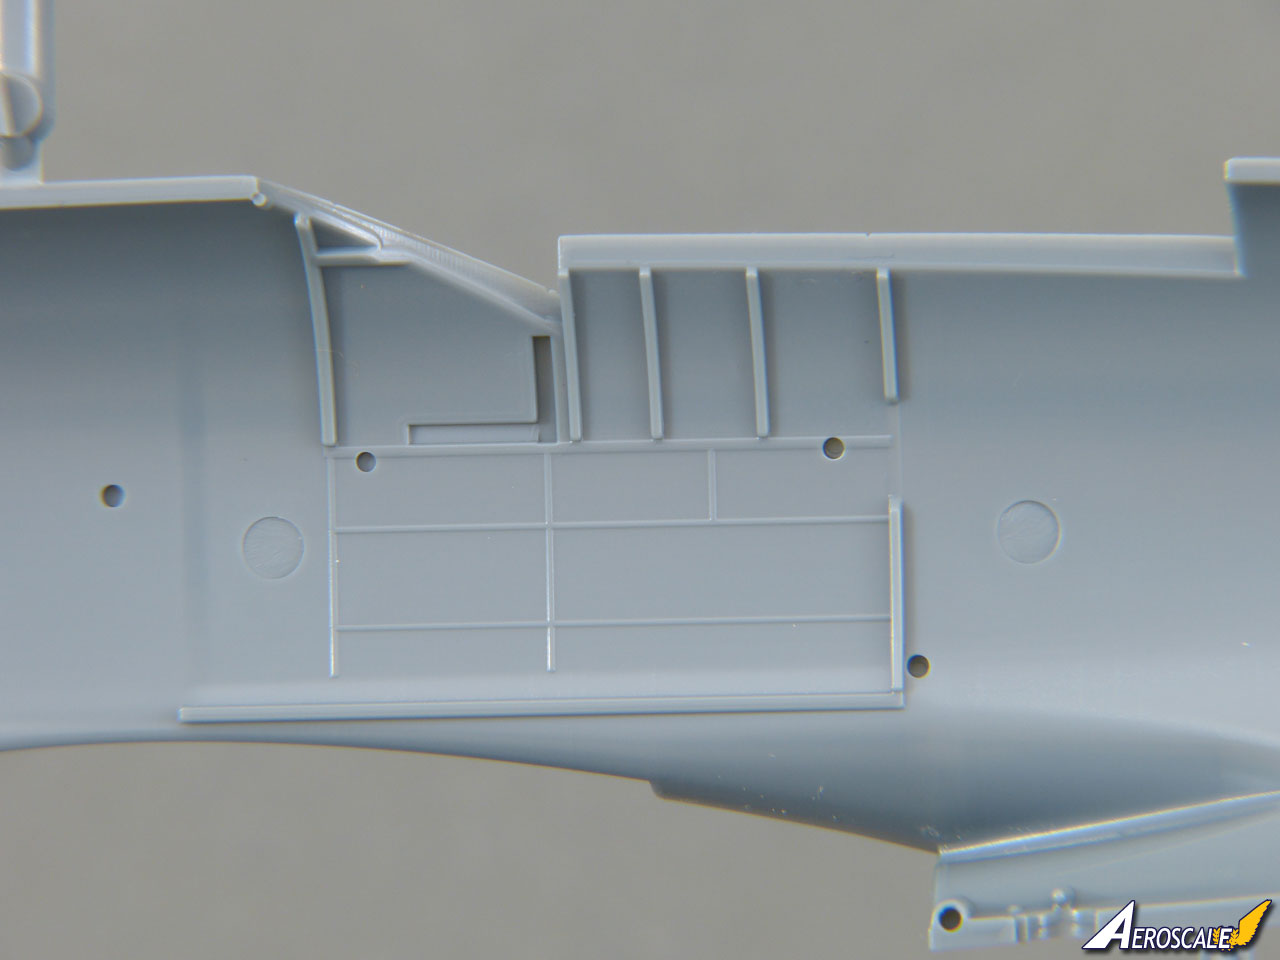
Another novel feature is that the area around the cockpit is a separate part. This makes perfect sense and works neatly, because it avoids centre seam lines running up to the cockpit opening and also allows the slots for the sliding canopy rails to be moulded deeply. The price is a seam either side behind the cockpit, but the fit is excellent so it'll be easy to hide - plus, it's covered by the rear canopy section.
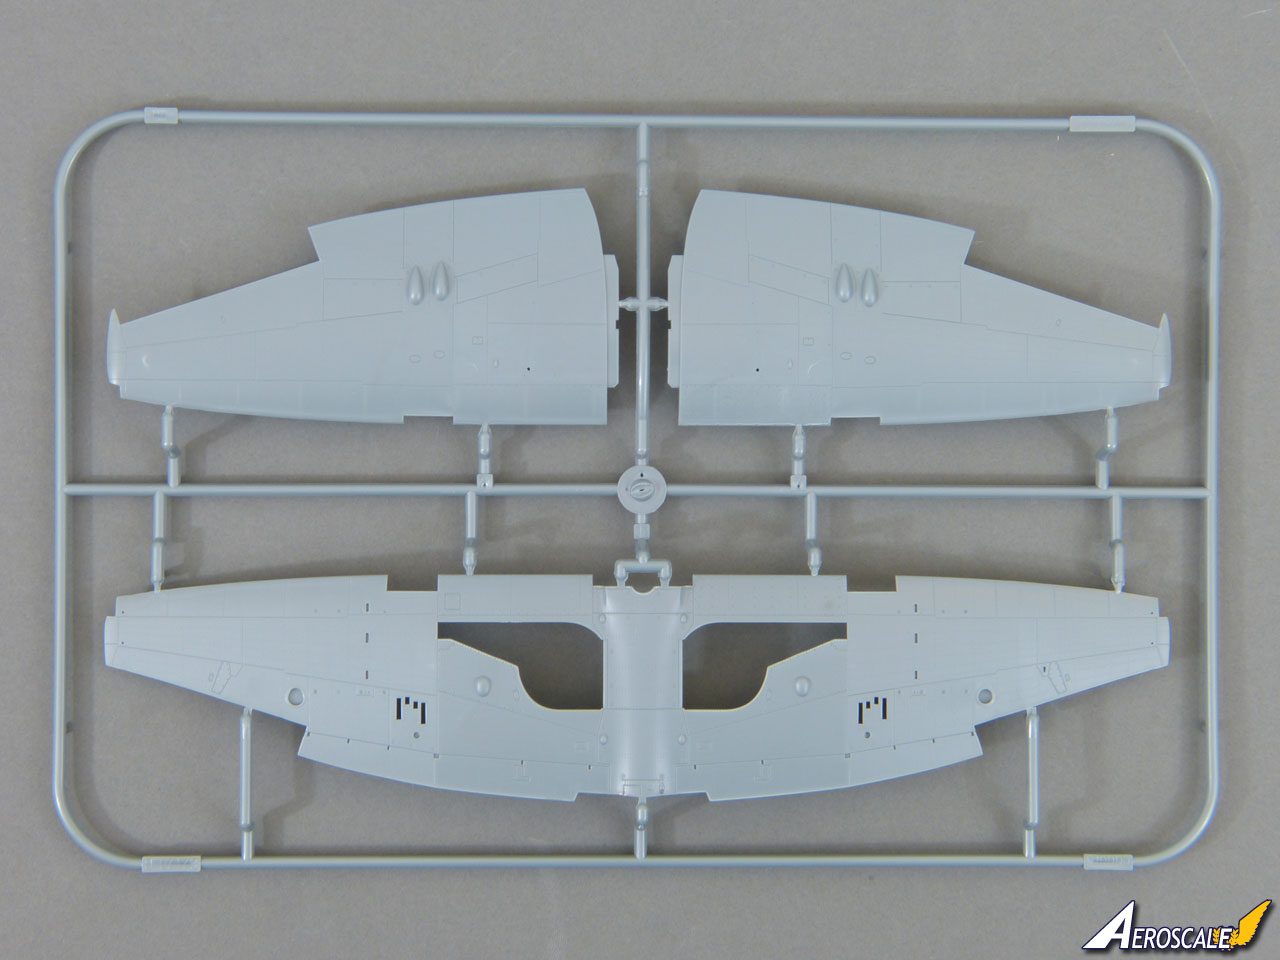
Something I noticed on both the wings and the horizontal tail parts in the sample kit is a slight lip behind the leading edges on the gluing surface. This causes a noticeable gap, but even describing it makes it sound more of a problem than it is, because it takes just moments to sort out with a sander.
With that done, the wings and fuselage slot together beautifully, with a very close fit at the roots and under the fuselage. The section of the lower wing surface behind the landing flaps is moulded integrally with the top surface, ensuring a nice sharp trailing edge.
A Few Details
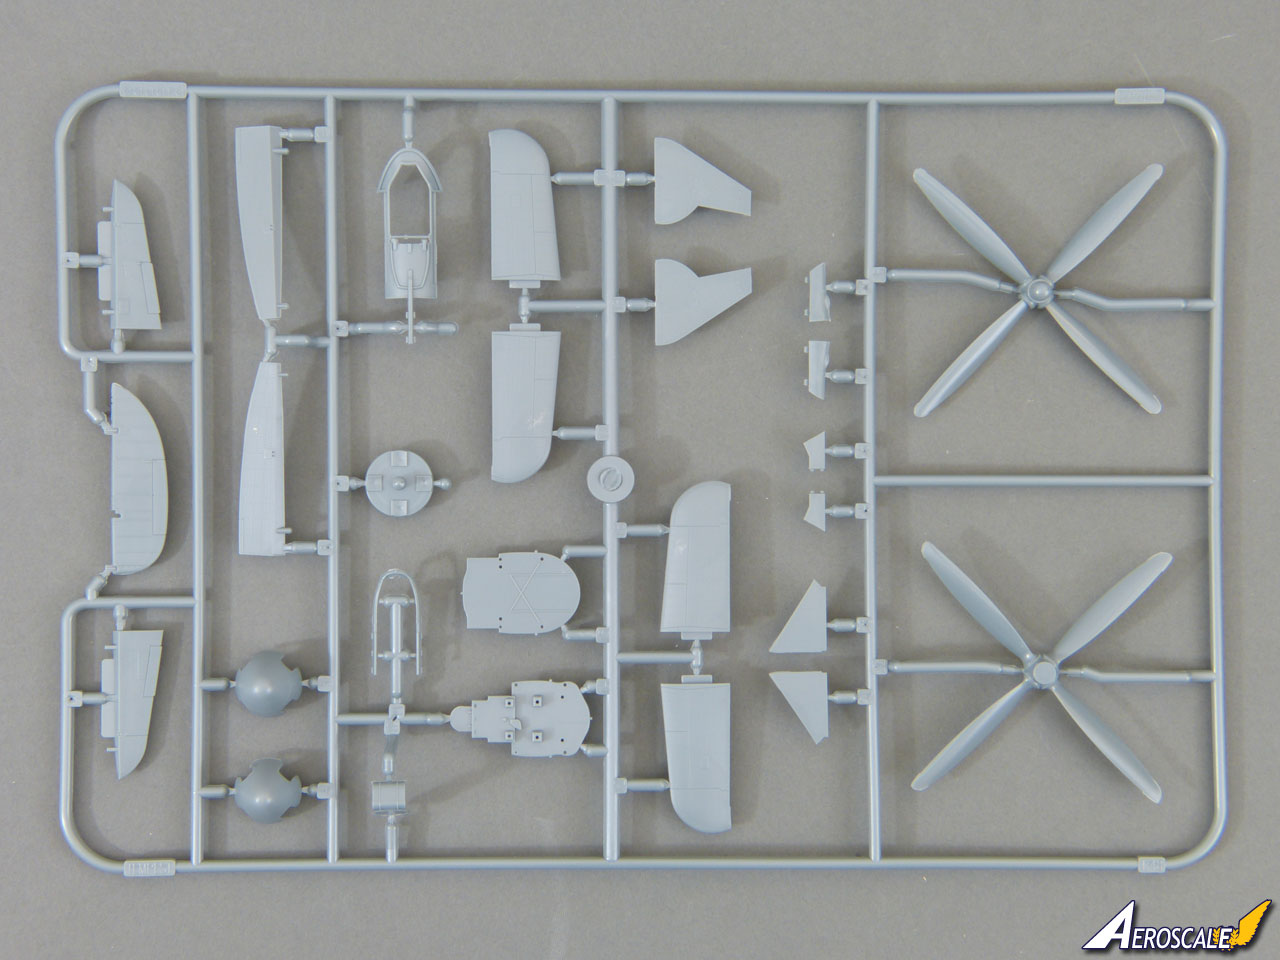
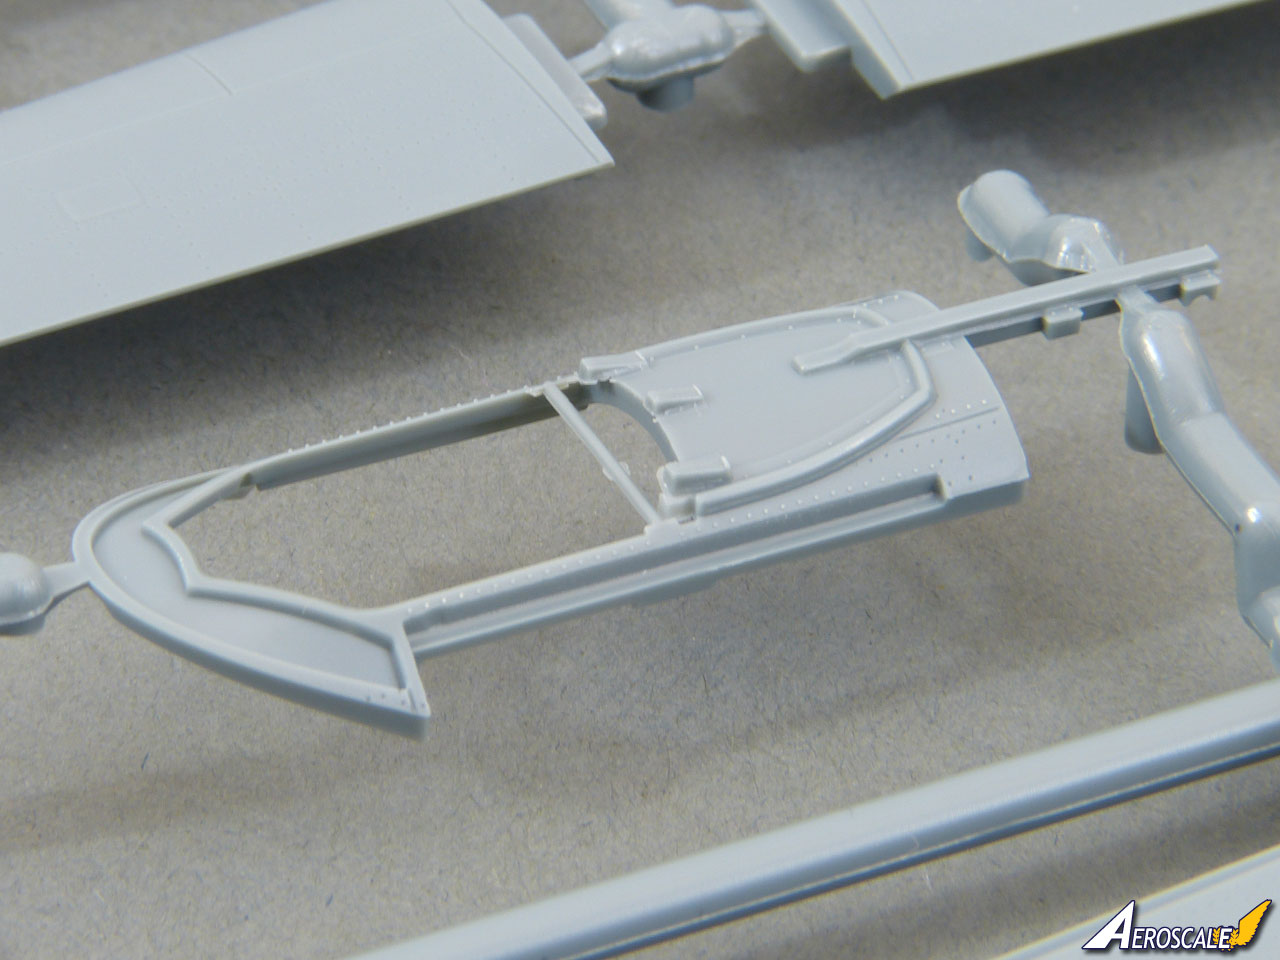
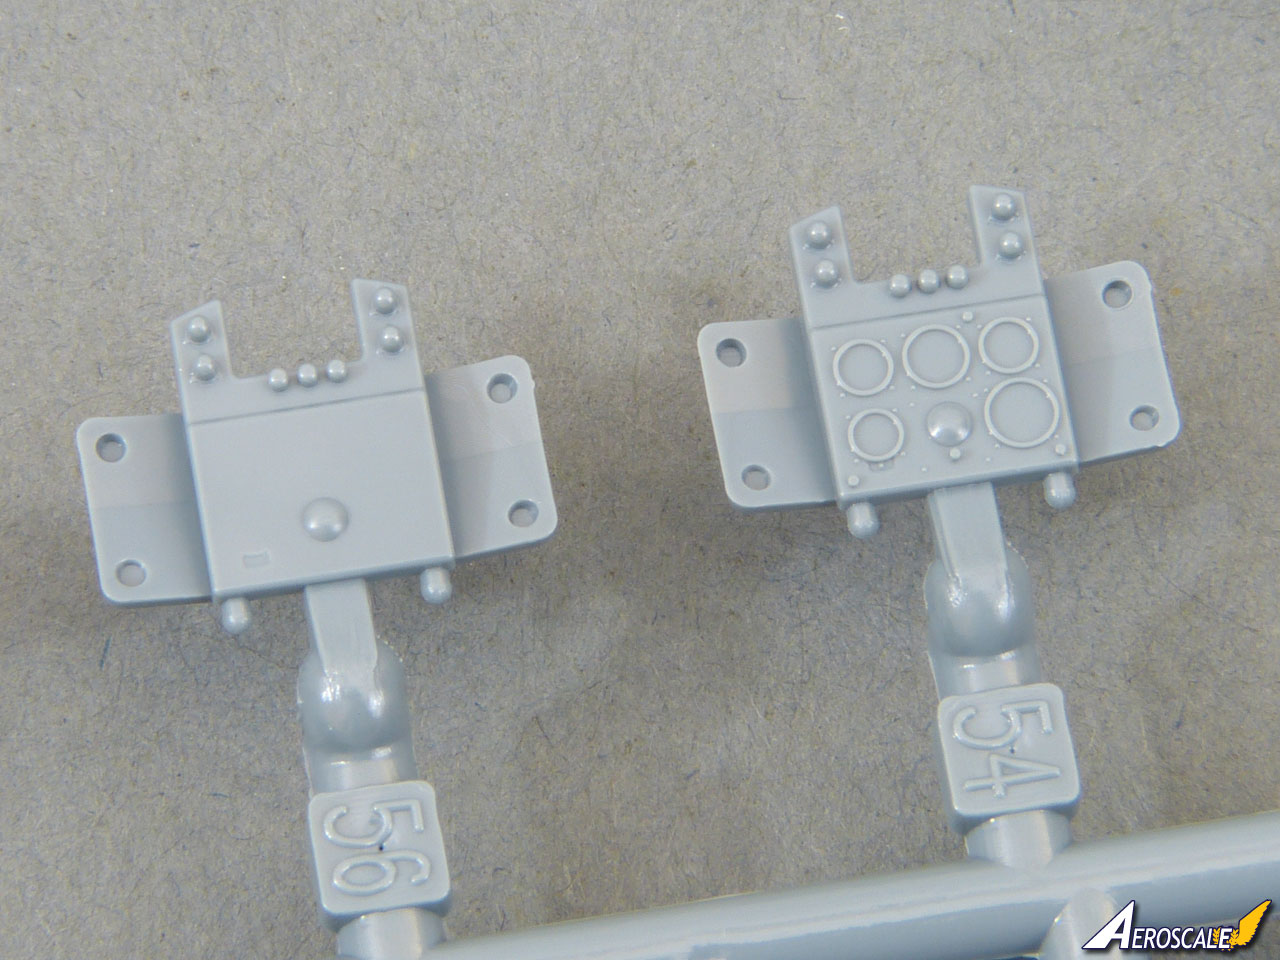
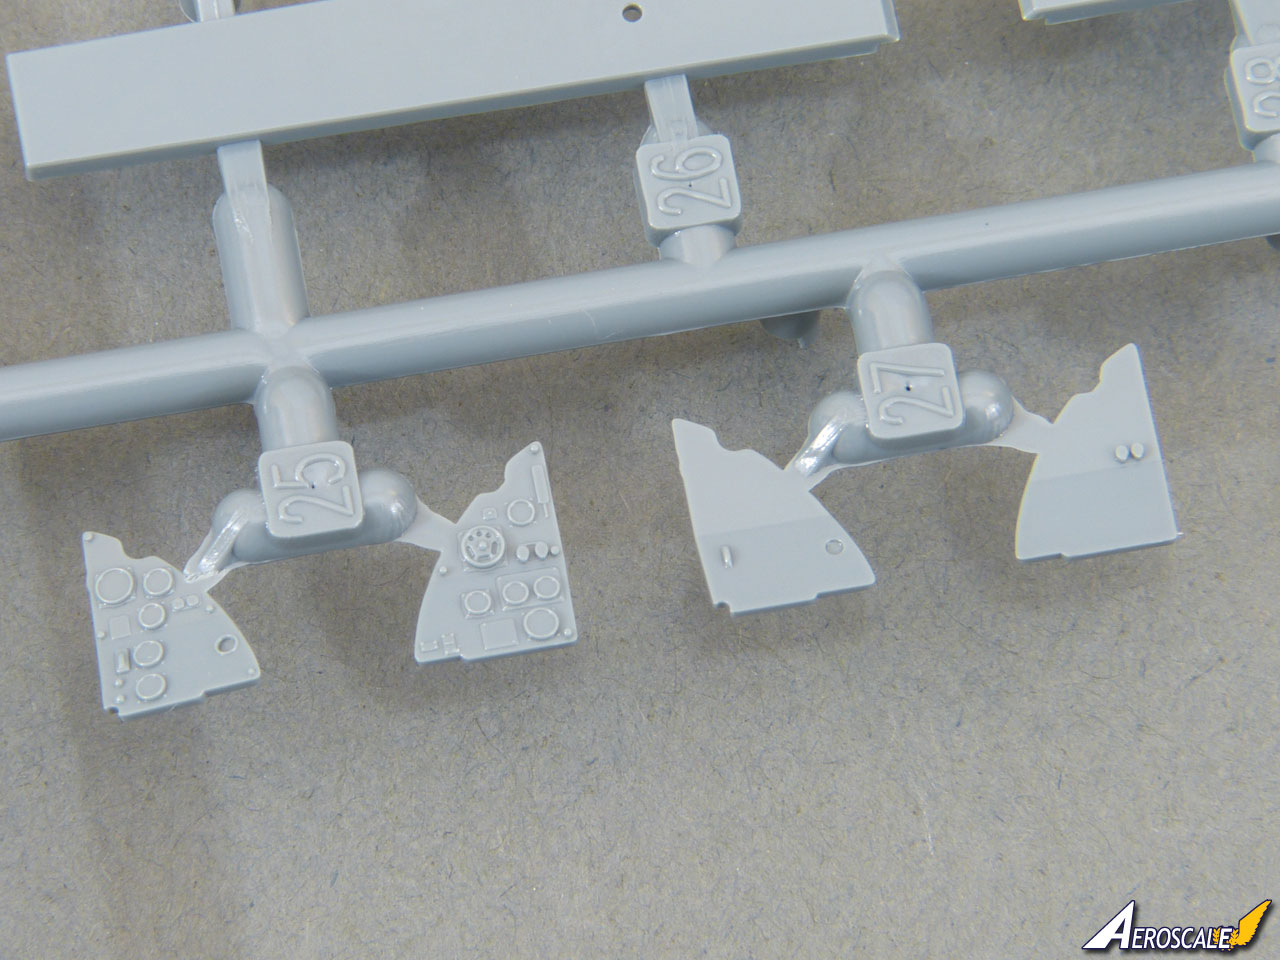
Construction begins with the cockpit, which is comprehensively detailed and made up of around 50 parts. Three alternative ways of tackling the instrument panel are offered; a detailed styrene version, a plain styrene "blank" for decals, or a multi-layered colour photo-etched "sandwich". Each method should look great, with the photo-etched panel just having the edge for me - although you could also use a punch and die to apply the pin-sharp decal instruments separately to the moulded panel as a fourth option.
There's a colour photo-etched seat harness and etched rudder pedals (styrene alternatives are included on the sprues, but aren't mentioned in the instructions), plus tiny etched levers for the throttles and side consoles. Straight from the box, the "office" should look excellent.
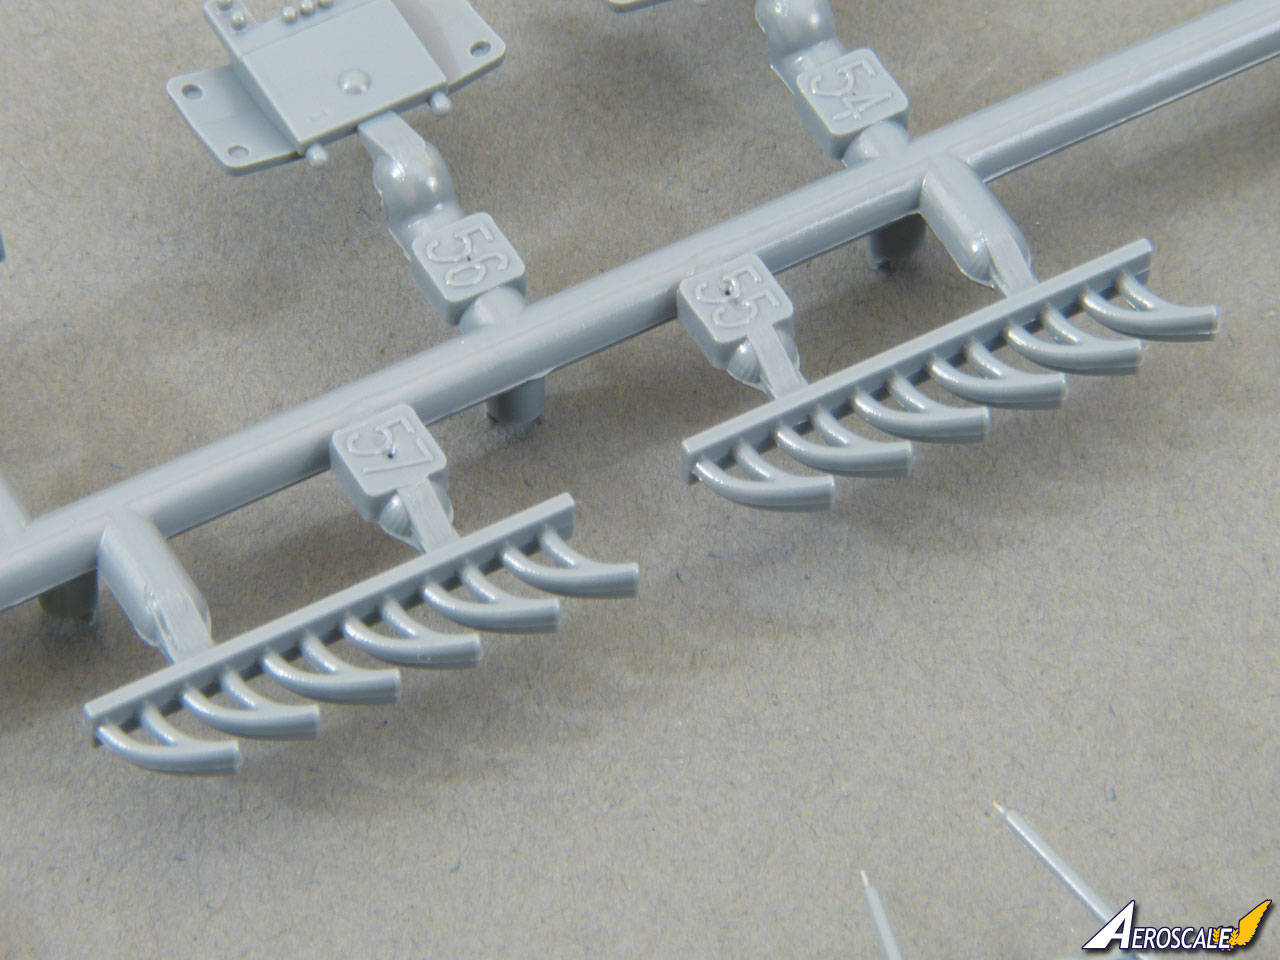
The prominent chin radiator is built up from 8 parts and features a hyper-fine mesh pattern that careful dry-brushing will highlight.
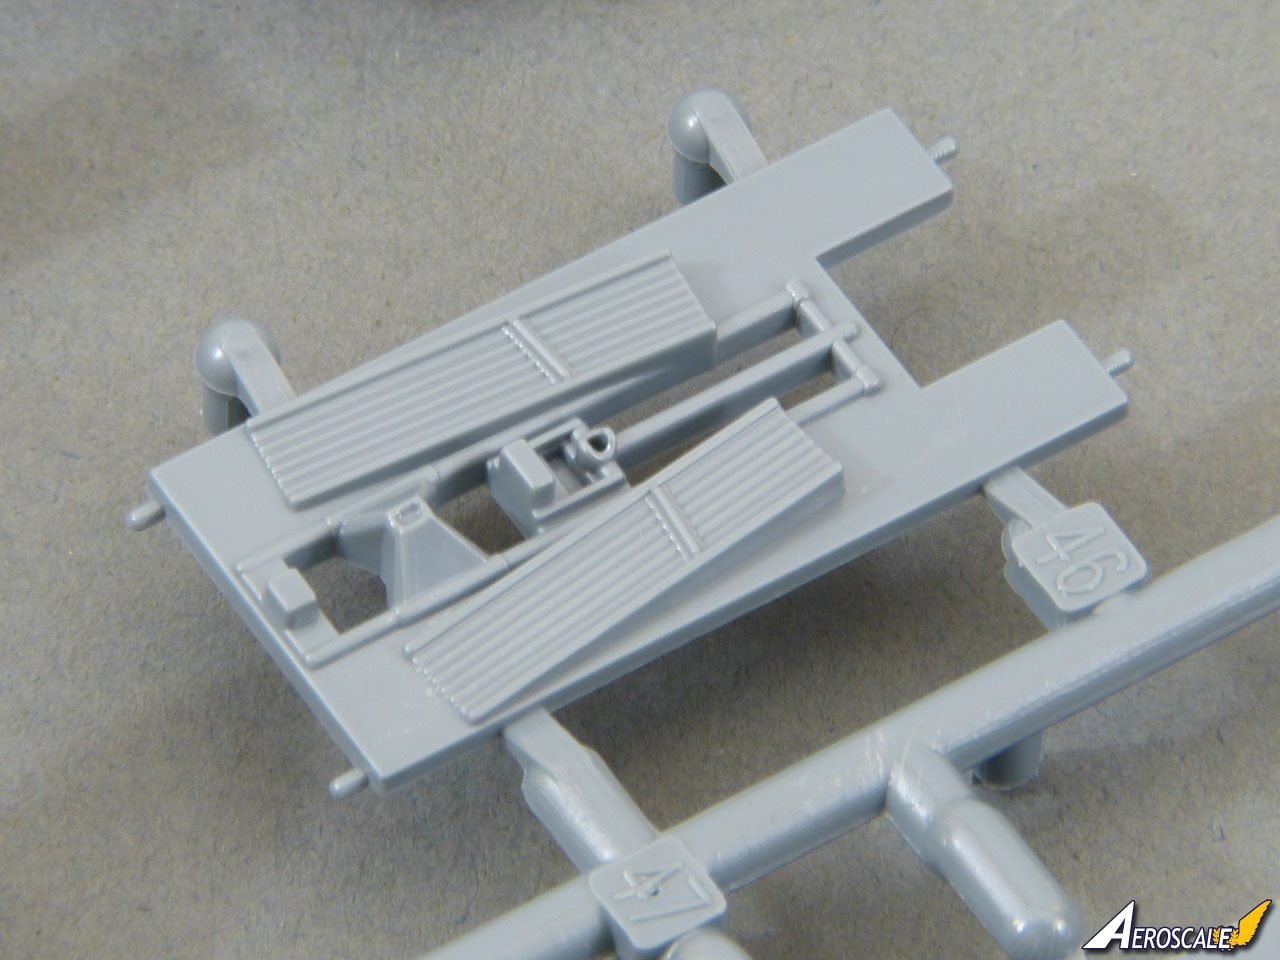
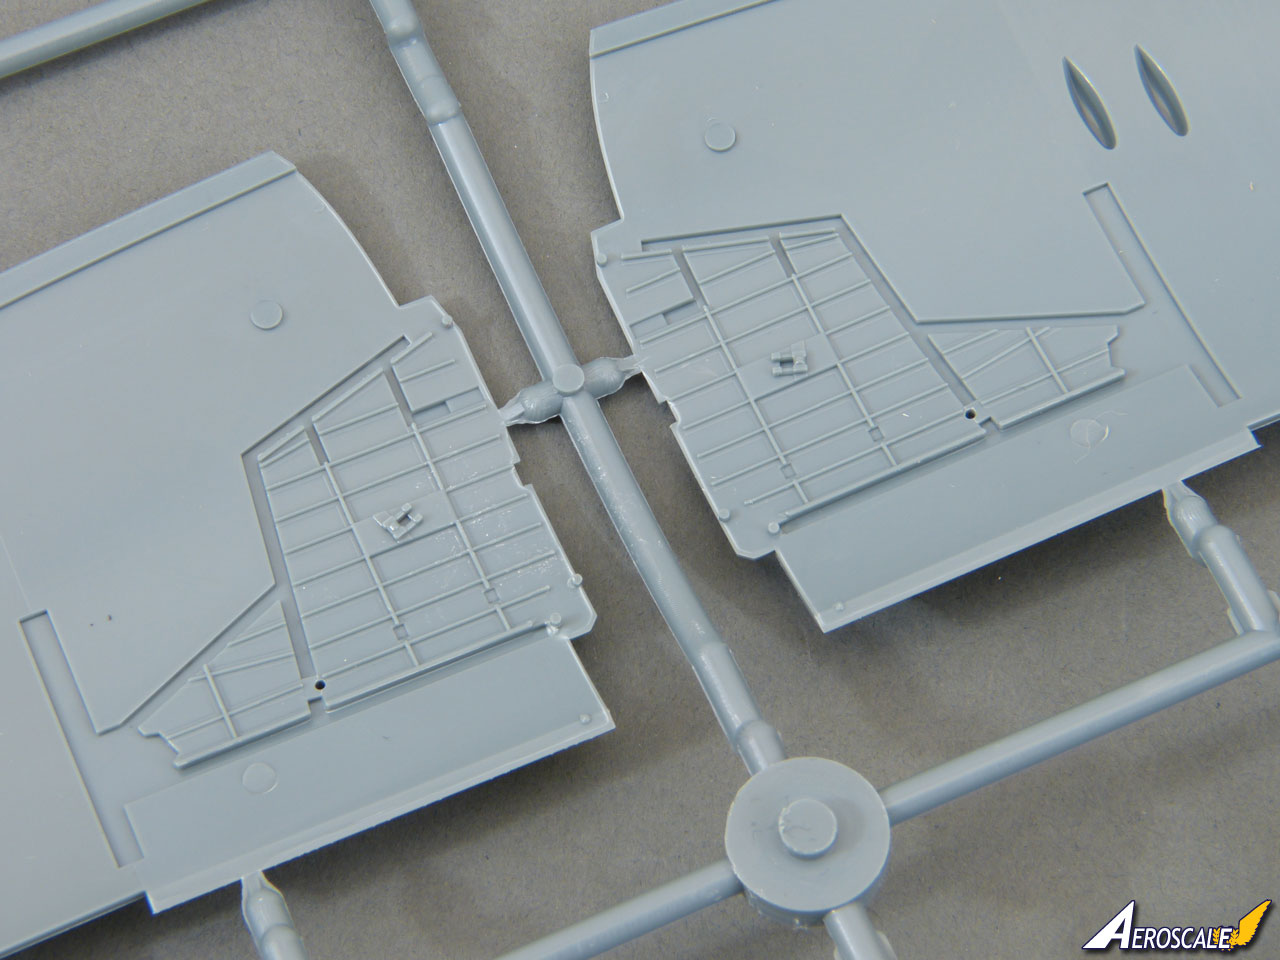
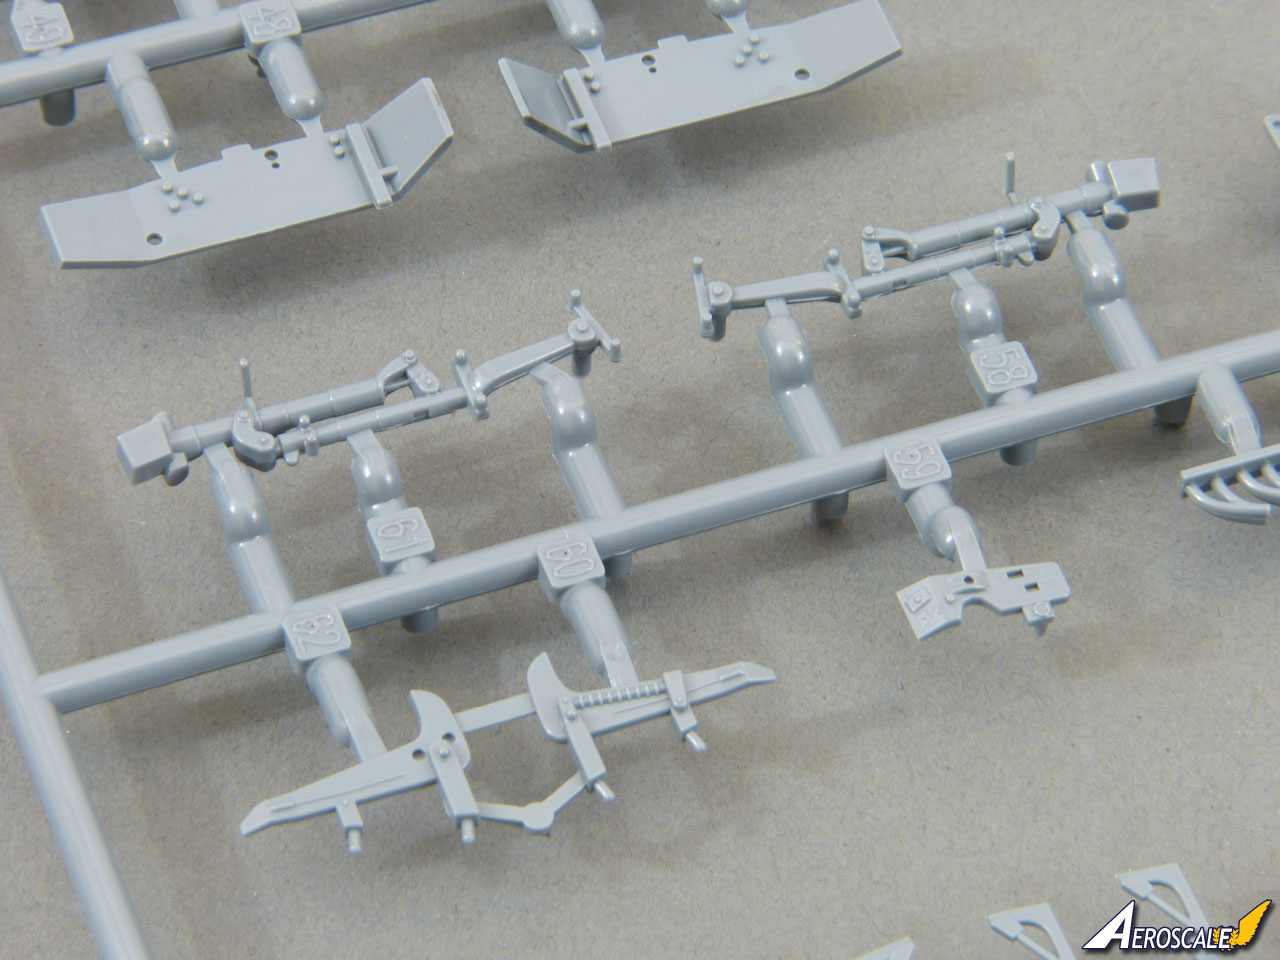
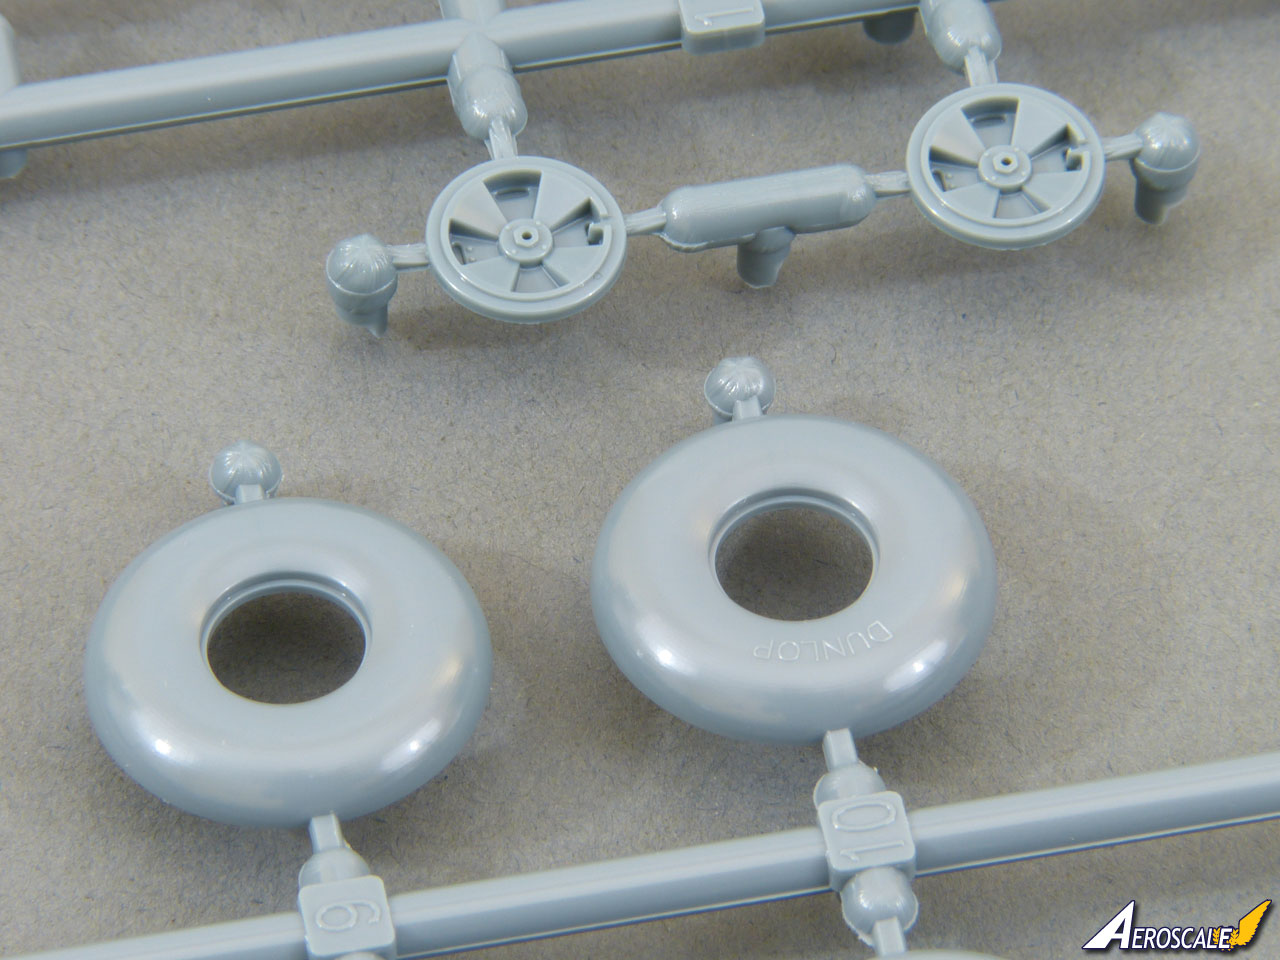
The undercarriage is very impressive, with a dozen or so parts forming each mainwheel well and excellent moulding on the gear legs. The mainwheels feature Dunlop logos on the sidewalls, plus crisply detailed hubs. The tyres are moulded "unweighted", so I'll sand small flats to give a sense of the sheer physicality of the full-sized Tempest - it's an awesome beast that certainly doesn't stand on tip-toe.
The wheel doors feature crisp detail on their inner faces and are also moulded suitably thin.
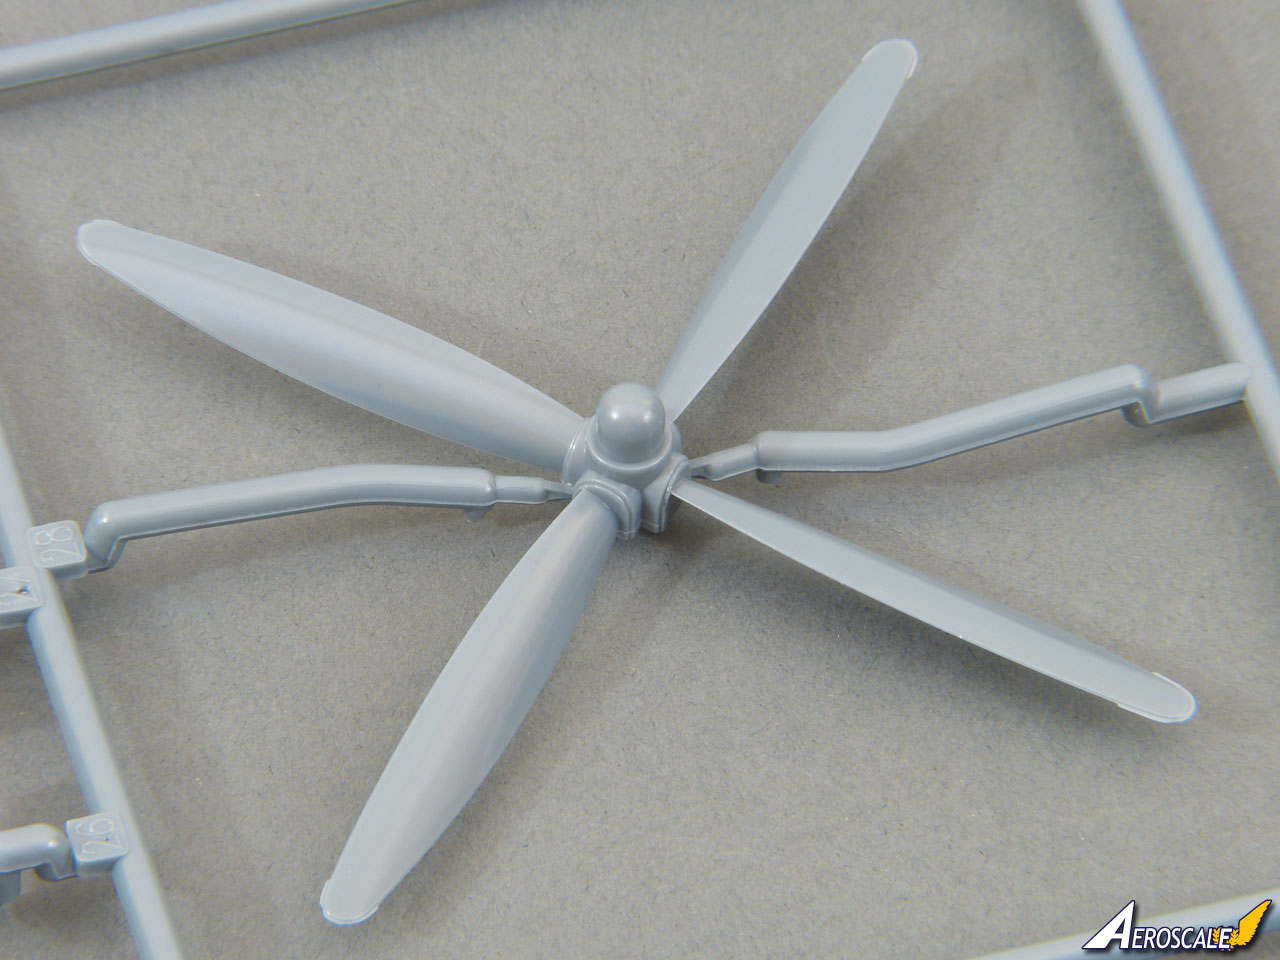
The propeller is very straightforward, with nice thin blades, and the blunt "Tiffie" spinner for this early version Tempest.
The transparent parts are excellent - crystal clear, with thin mouldings for the windscreen and canopy. Both those parts had come off their sprue in transit in the sample kit (it had been bumped around during an extended journey to reach me), but luckily neither had been damaged. The sliding canopy is designed to accept an inner frame, so it will be advisable to attach this with PVA or similar to avoid fogging the clear part.
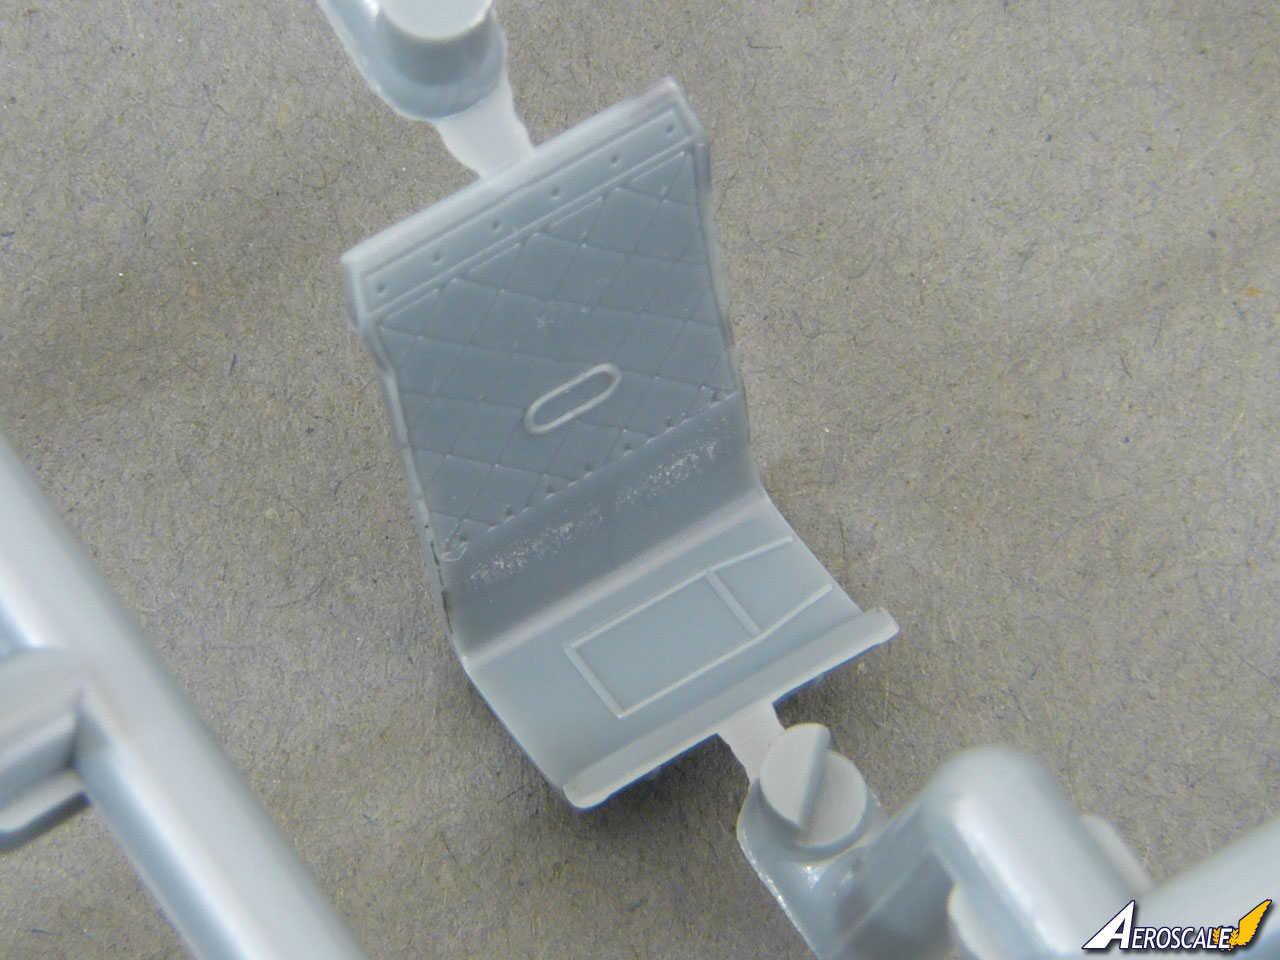
Over the years, Eduard have gained a reputation for producing completely new moulds for each major variant of an aircraft. Perhaps it's an acknowledgement that the Tempest is still a slightly "niche" subject, but one slight surprise is that the rear fuselage strengthening fishplates for this early version are supplied as separate photo-etched parts. Sadly (says he as a Tempest fan!), I imagine this simply didn't warrant the expense of a different tool.
For experienced modellers this solution should present no problem, but it could trip up anyone who hasn't applied photo-etched surface parts before. So, be aware before you plump for this boxing. The alternative would have been to mould them in place and instruct modellers to sand them away for later airframes, but I imagine the kit's designers decided that re-scibing the panel lines would be harder than applying the etched fishplates.
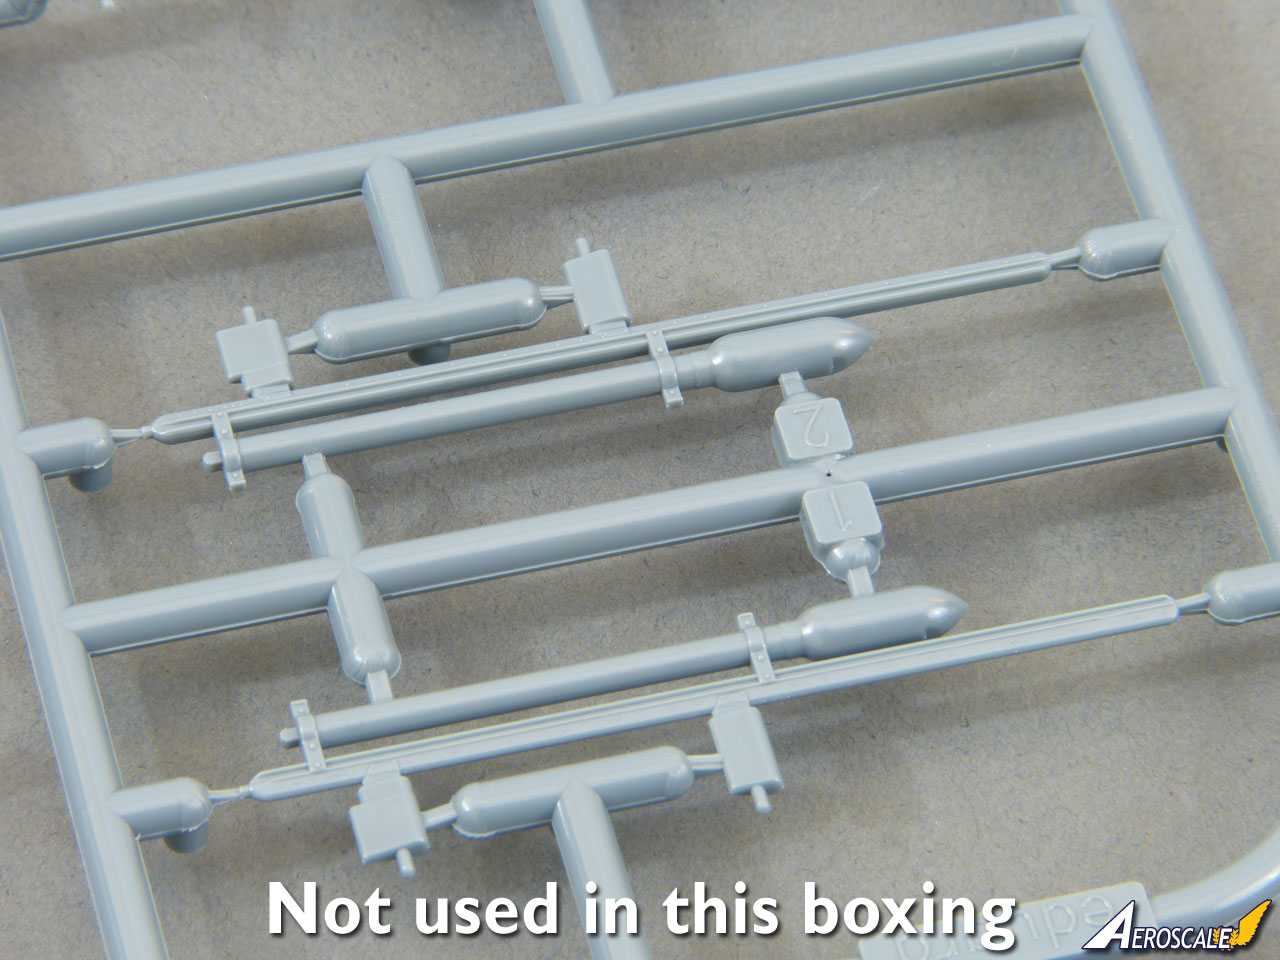
This being the first series of Tempest, the excellent set of underwing rockets in the kit will sadly be heading to the spares box. The only armament for this version is the quartet of 20mm Hispano cannons featuring the original long barrels.
Instructions & Decals
The instructions are printed as a glossy 20 page A4 colour booklet. The construction diagrams are excellent and the sequence appears very logical. Colour call-outs for Gunze Sangyo paints are given throughout.
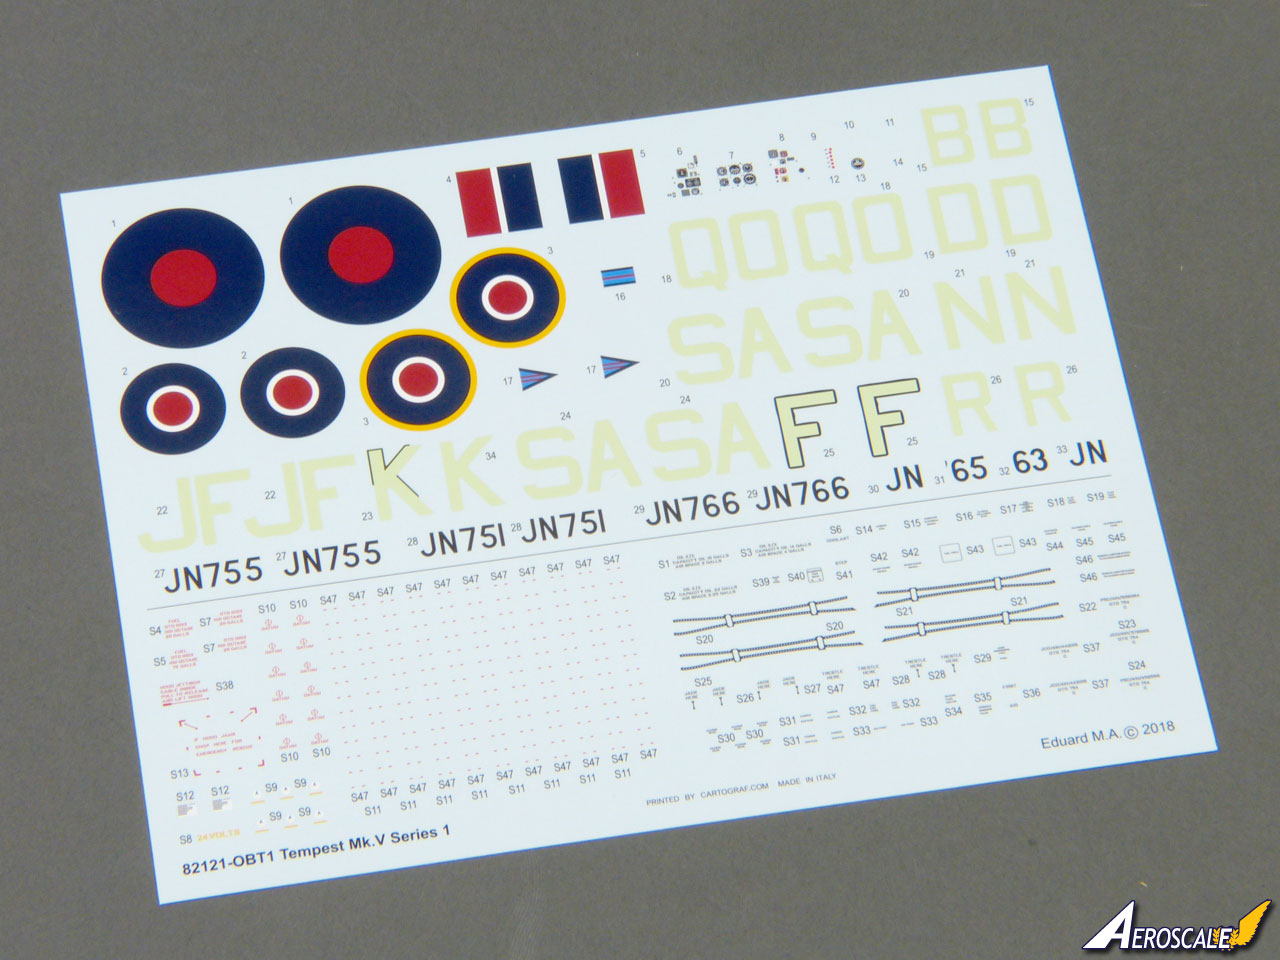
Decals are provided for six colour schemes (although two are for the same airframe at different stages in its career):
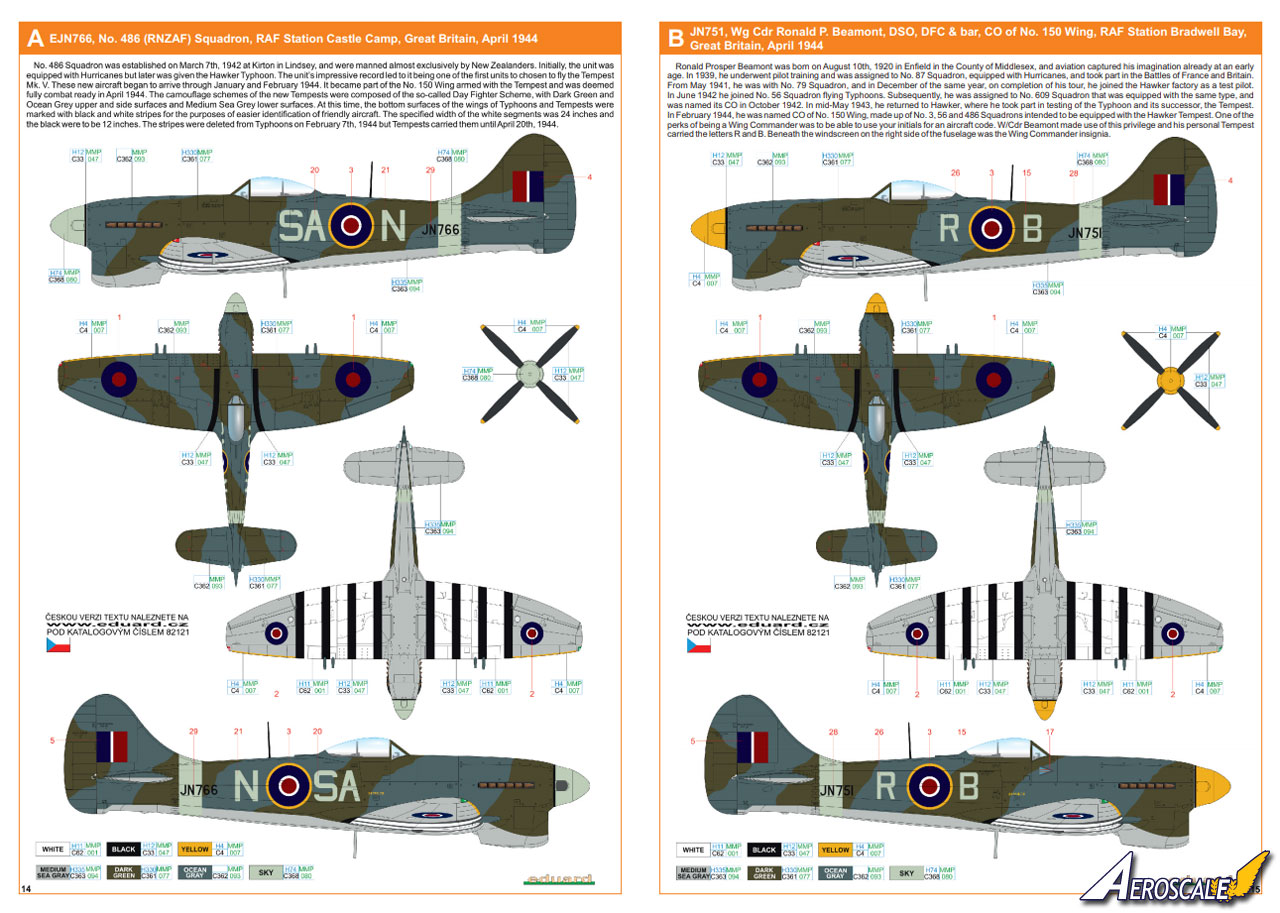
A. Tempest Mk. V, s/n JN766, "SA-N", No. 486 Sqn., Castle Camp, April 1944
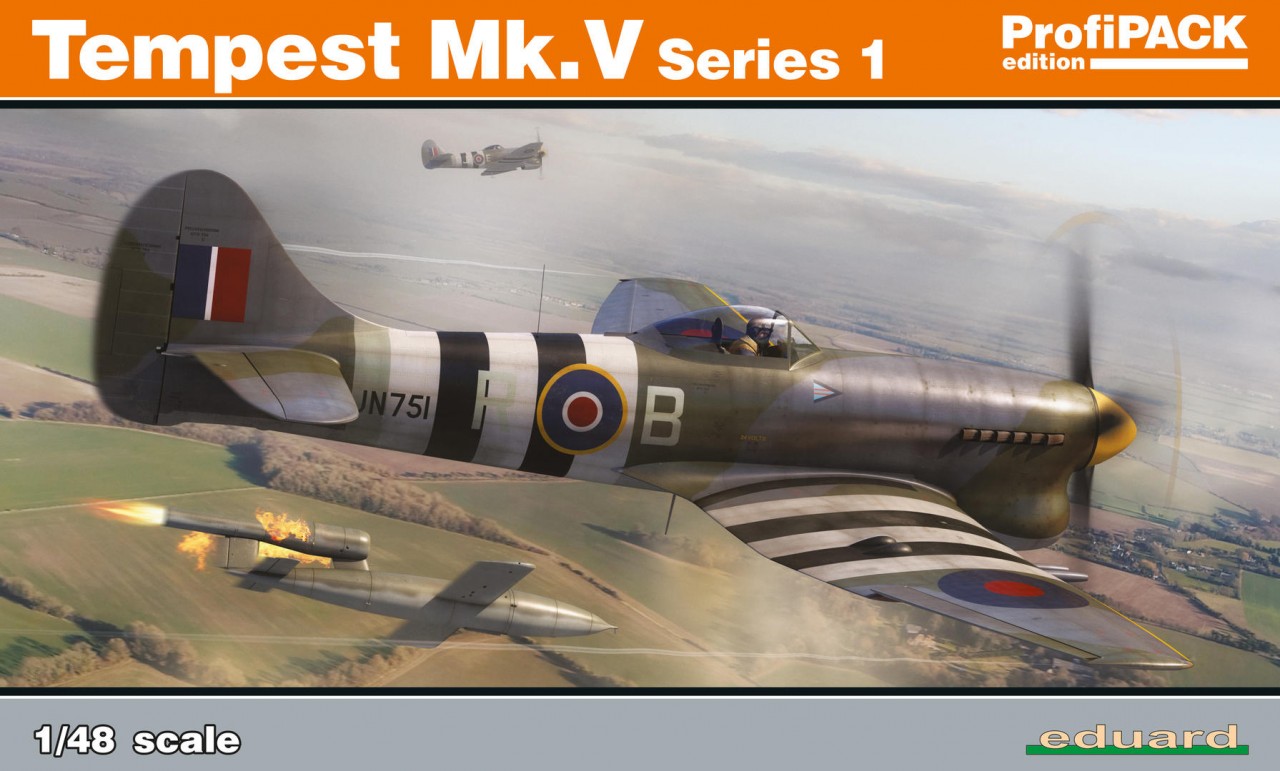
B. Tempest Mk. V, s/n JN751, "R-B", flown by Roland Beamont, C.O. 151 Wing, Bradwell Bay, April 1944
C. Tempest Mk. V, s/n JN755, "QO-D", No. 3 Sqn., Newchurch, June 1944
D. Tempest Mk. V, s/n JN751, "R-B", flown by Roland Beamont, C.O. 151 Wing, Newchurch, June 1944
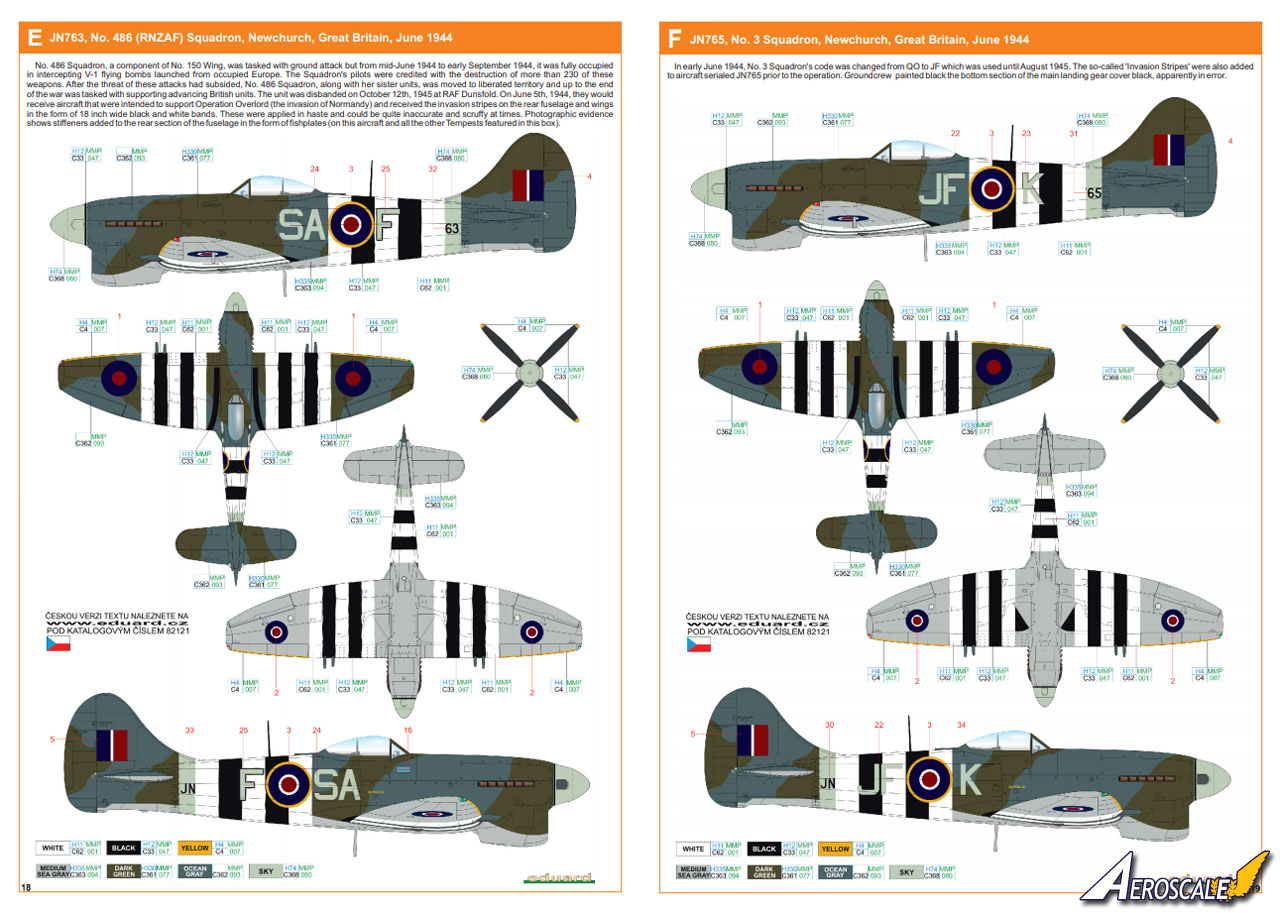
E. Tempest Mk. V, s/n JN763, "SA-F", No. 486 Sqn., Newchurch, June 1944
F. Tempest Mk. V s/n JN765, "JF-K", No. 3 Sqn., Newchurch, June 1944
The decals are custom-printed by Cartograf and are excellent quality as youd expect from this producer. The items are thin and glossy, with the bare minimum excess carrier film in most cases. The registration is spot-on, and the definition is superb - the detail on the decals for the instrument panel is pretty amazing. The red of the roundels looks rather bright in the accompanying photos, but much better to the naked eye, and the ever elusive RAF Sky looks very acceptable on the sheet. Eduard have included a comprehensive set of servicing stencils along with a full page set of placement diagrams.
Conclusion
Eduard's new Tempest is a simply superb kit and has set the bar very high for future releases to match this year. This Profi-Pack boxing is obviously aimed at more experienced modellers, but a simpler Weekend Edition version will undoubtedly follow soon which will be ideal for those who don't want the photo-etched extras.
I think it's safe to say we now have the definitive 1/48 kit of the Hawker Tempest, as it's hard to see any manufacturer bettering Eduard's offering. Highly recommended.
Please remember, when contacting retailers or manufacturers, to mention that you saw their products highlighted here - on AEROSCALE
SUMMARY
Highs: Excellent moulding and detail. Photo-etched extras, plus painting masks. Cartograf decals.Lows: The rear fuselage fishplates are separate photo-etched parts, which may trip up newcomers.Verdict: I've got to say I simply love this kit - but then I am a sucker for the Tempest! It's not a beginner's kit (wait for the Weekend Edition), but it is gorgeous.
Our Thanks to Eduard! This item was provided by them for the purpose of having it reviewed on this KitMaker Network site. If you would like your kit, book, or product reviewed, please contact us.
About Rowan Baylis (Merlin) FROM: NO REGIONAL SELECTED, UNITED KINGDOM
I've been modelling for about 40 years, on and off. While I'm happy to build anything, my interests lie primarily in 1/48 scale aircraft. I mostly concentrate on WW2 subjects, although I'm also interested in WW1, Golden Age aviation and the early Jet Age - and have even been known to build the occas...


Comments