Revell(America) has released a 1/48th scale F-15 C Eagle with the decals for the 173rd Fighter wing. This release can trace its heritage back to 1979, so what can we expect to find here? Lets take a look and build this kit.
Review
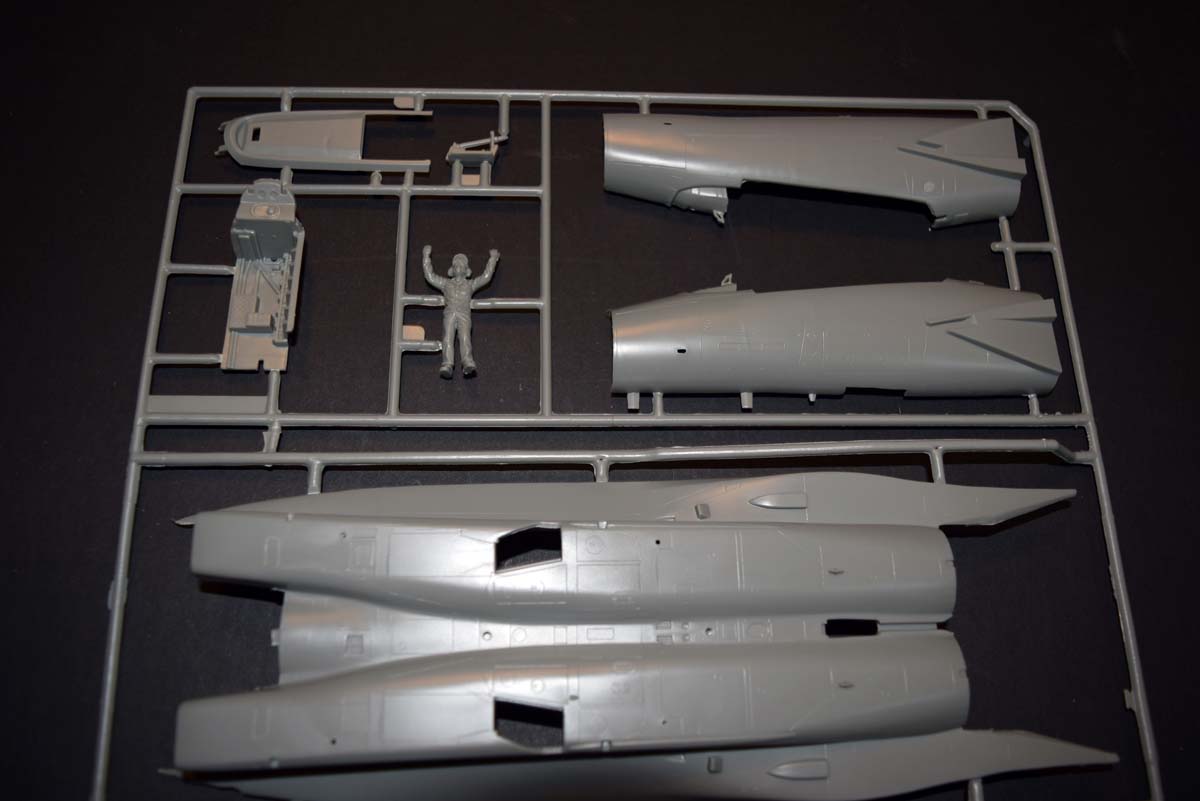
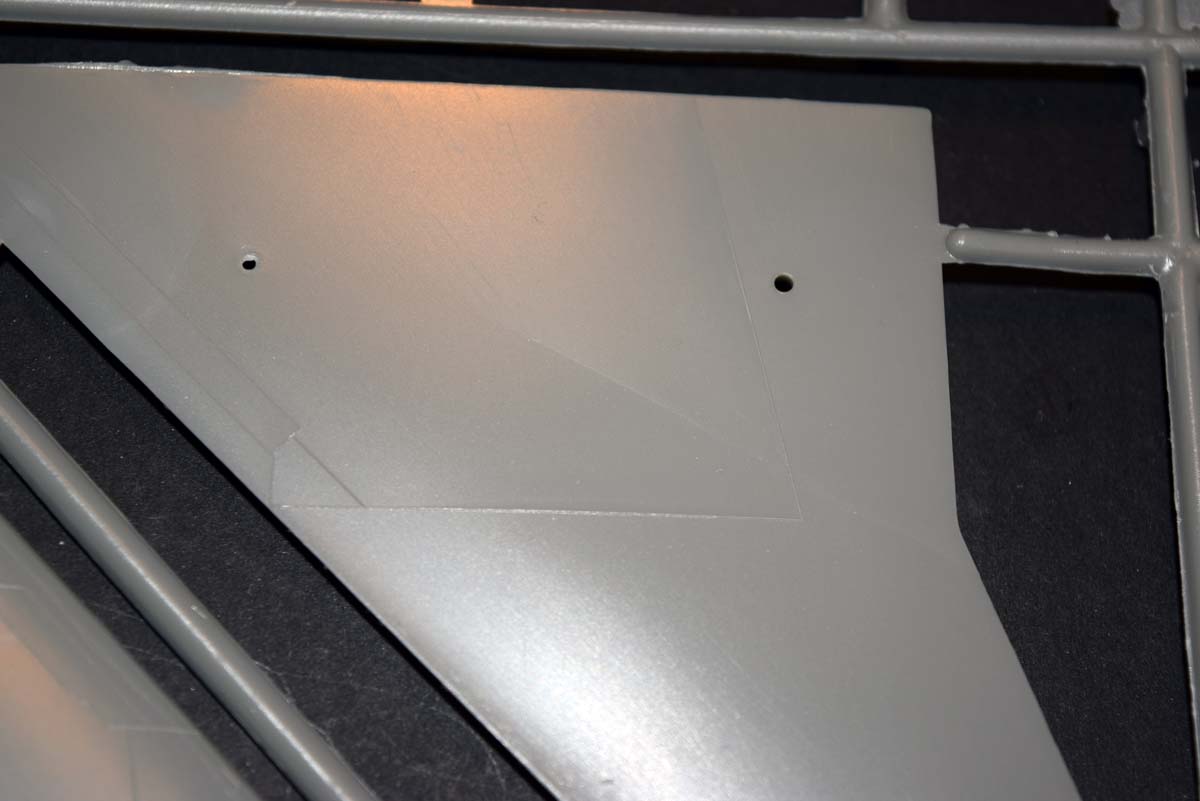
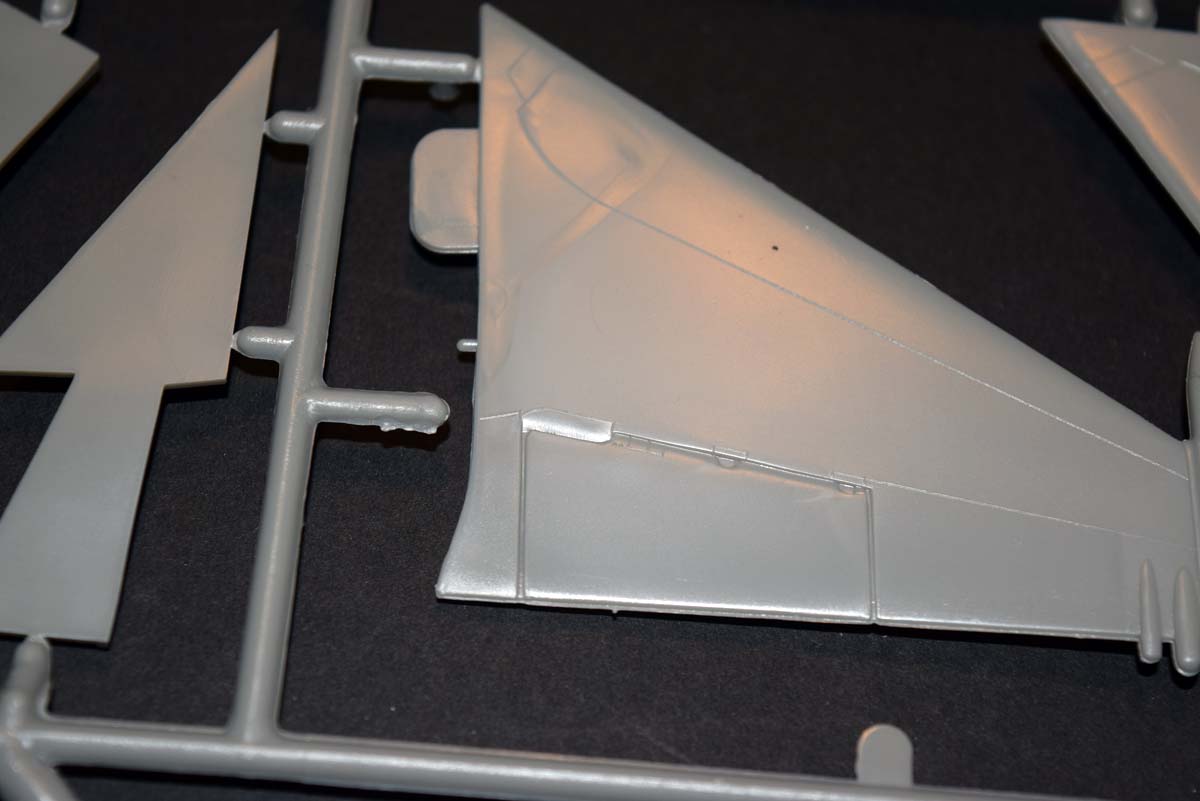
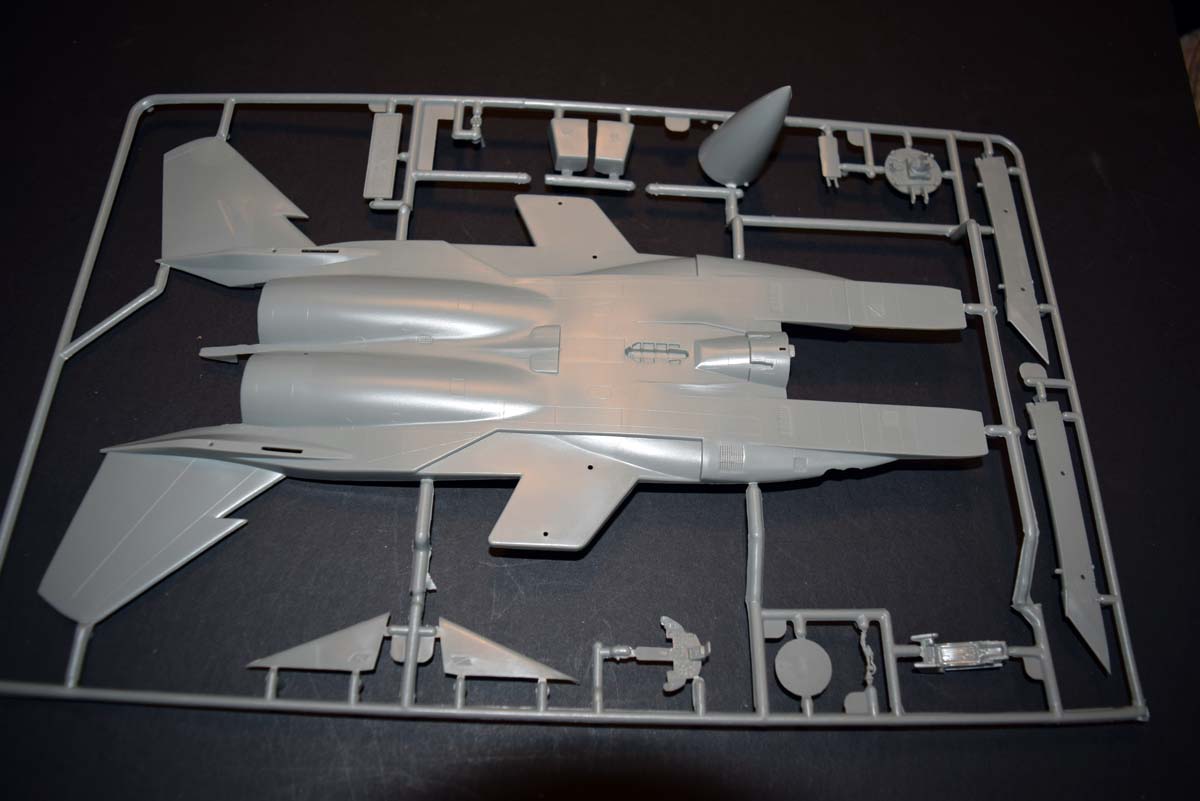
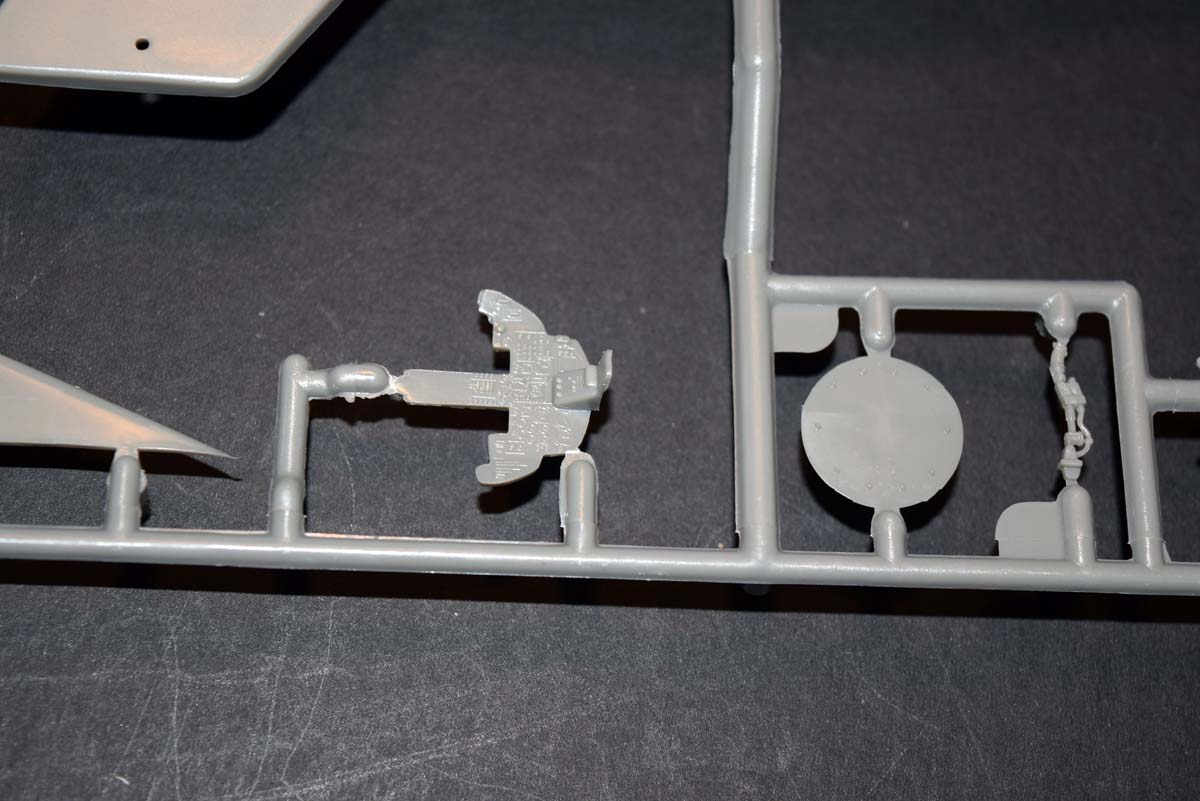
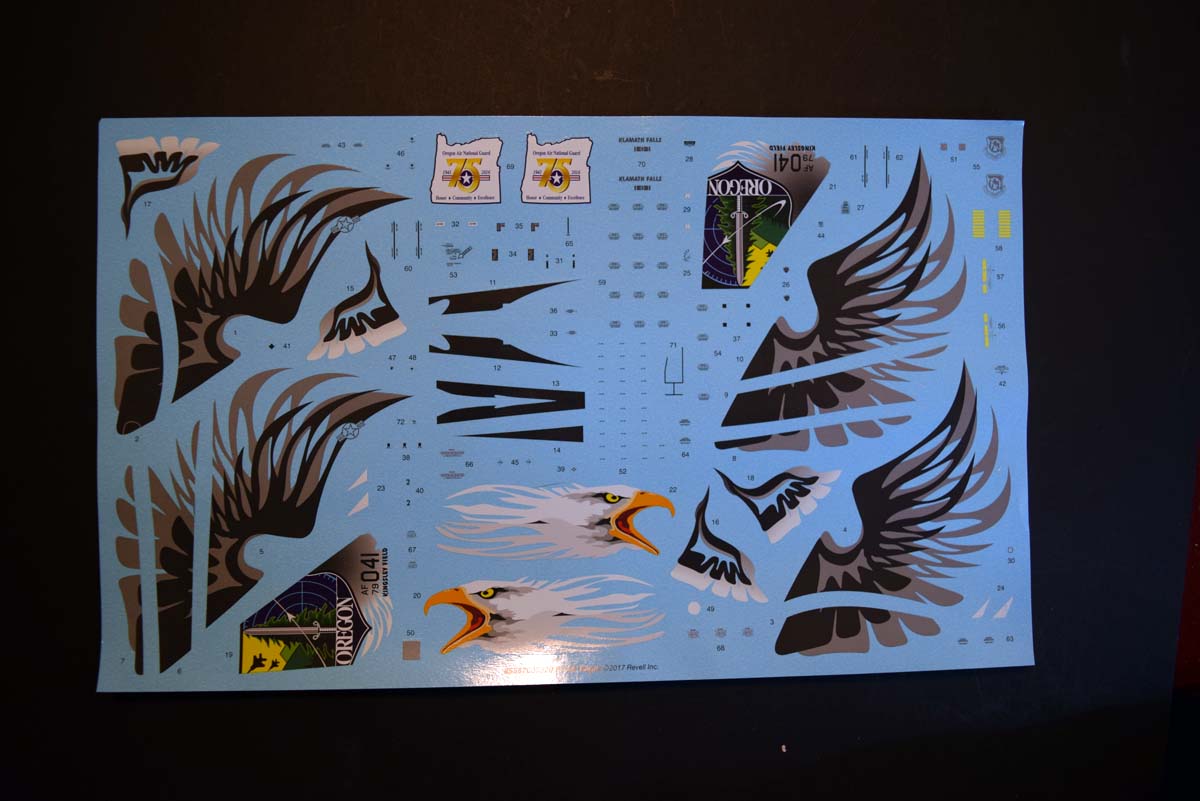
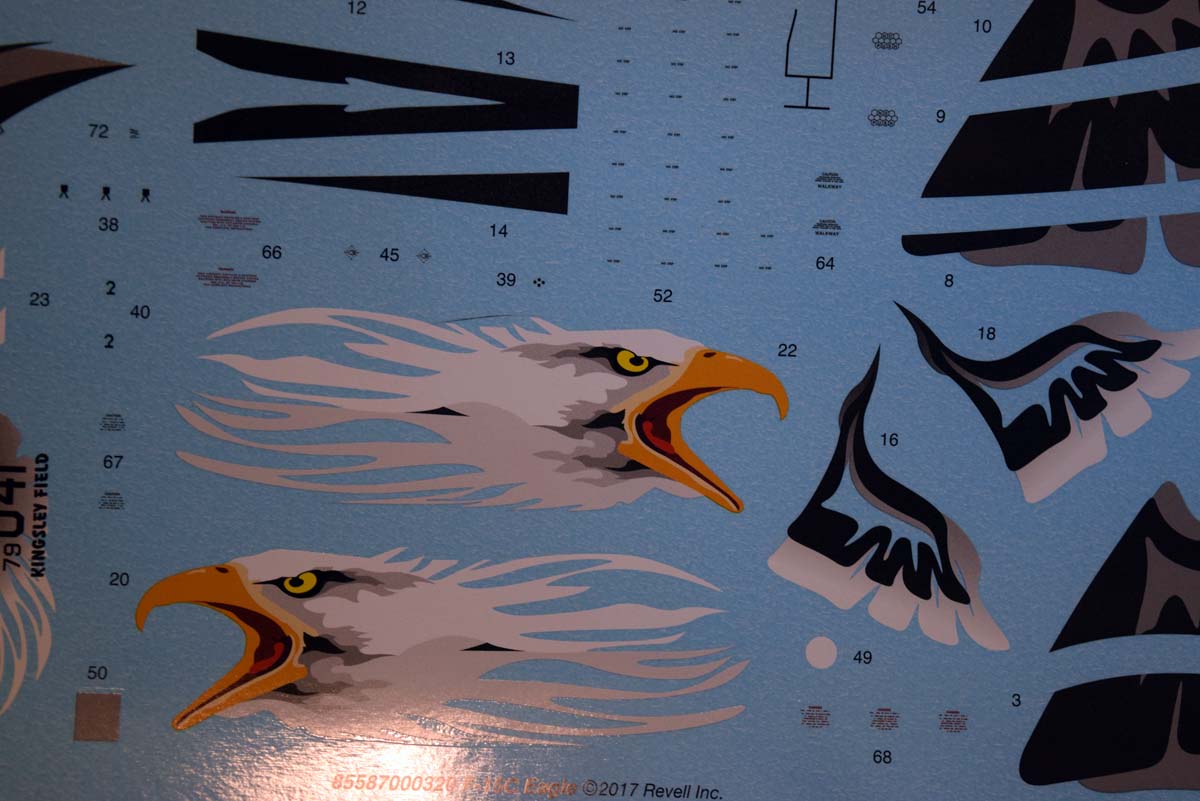
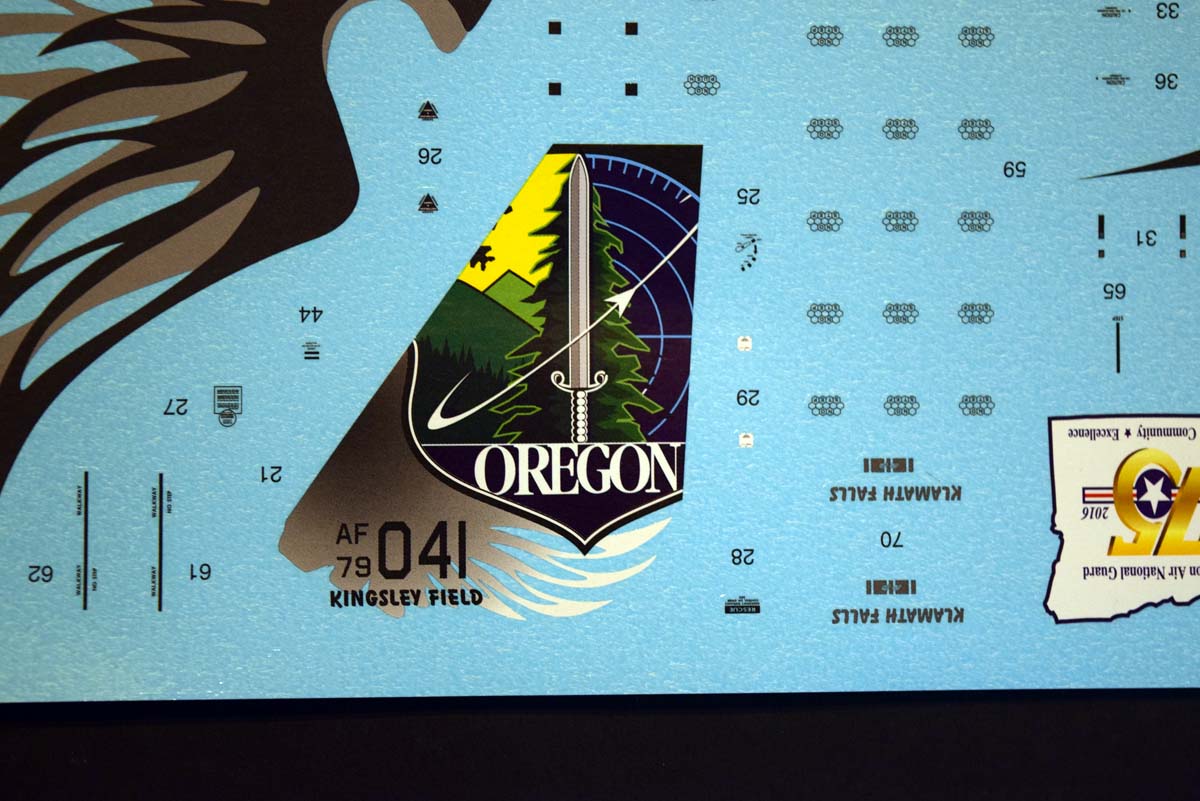
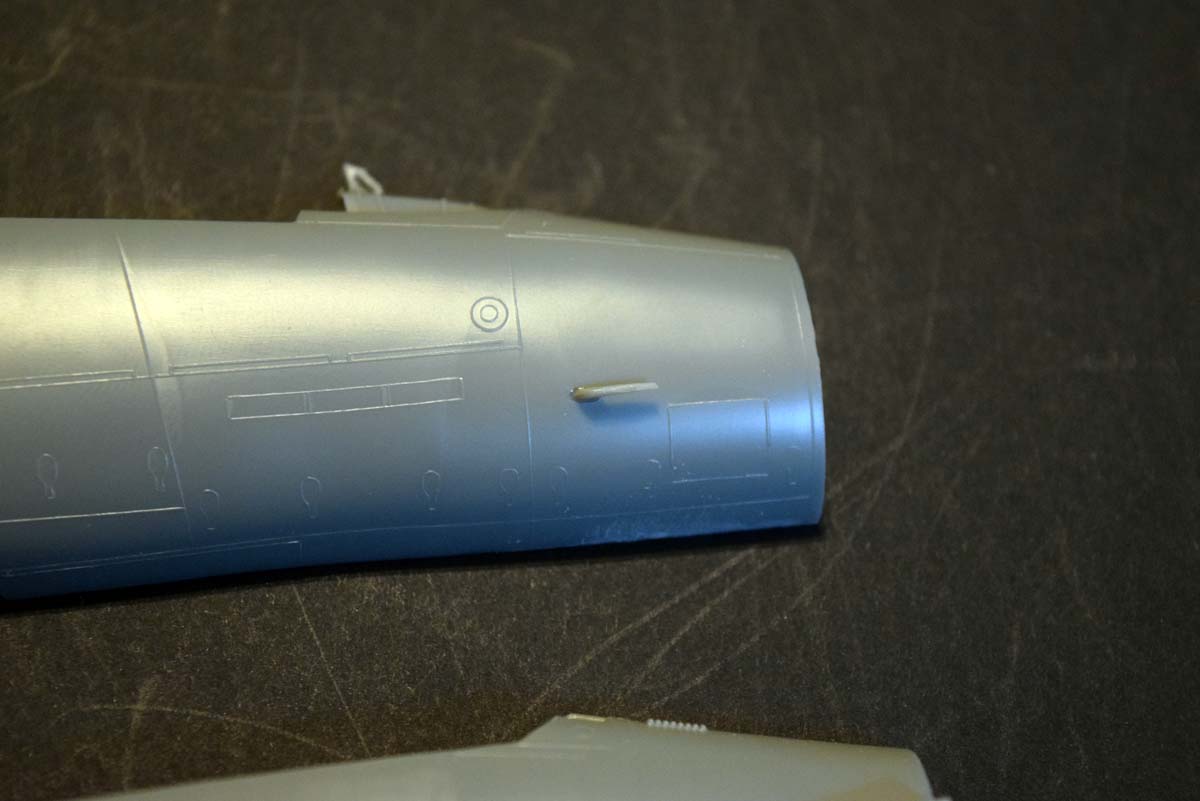
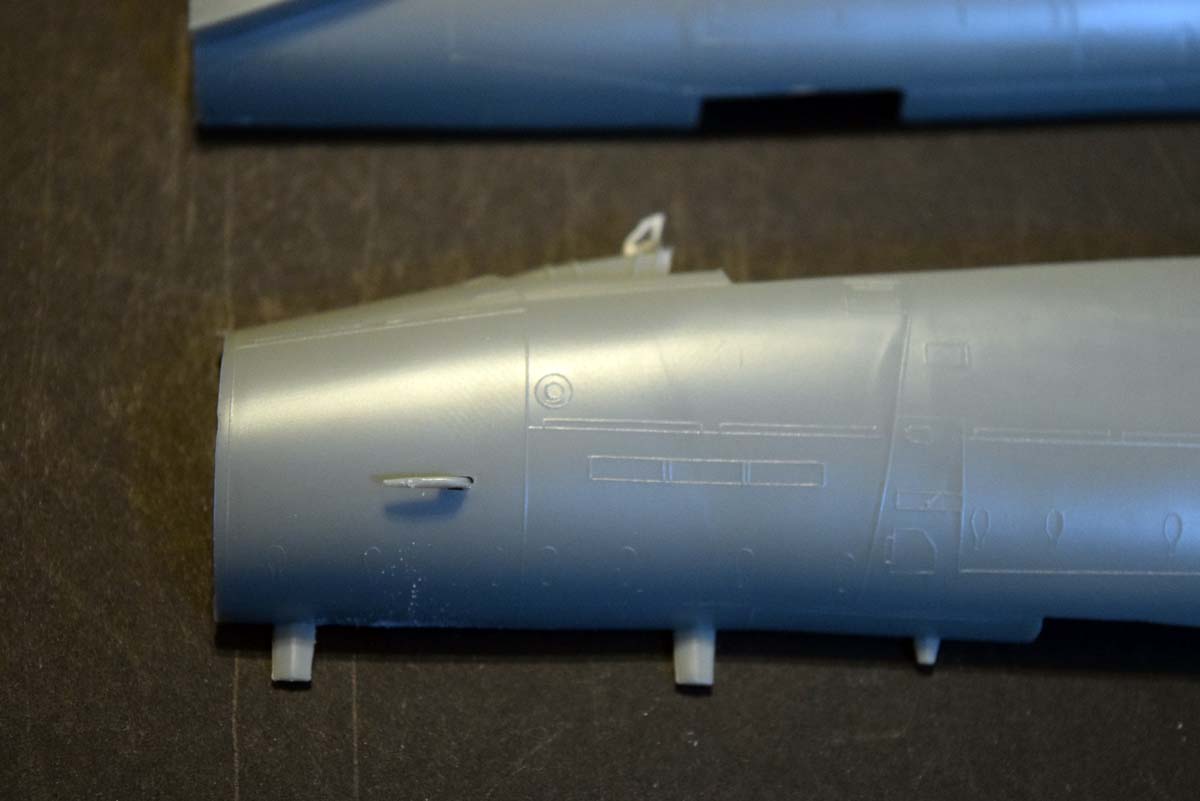
An examination of the sprues shows me some issues that may deter many who only go for the latest and greatest offerings available. I have noted that the panel lines are raised and will need to be sanded and re-scribed to lift this to modern standards, but then again I have found a copyright 1979 on the underside of the upper fuselage? On the plus side the decals are fantastic, thin, good colour and will really make any F-15 eye catching. So as I am going to build this for you I will stop the review of what is an old kit and move on.
The Build
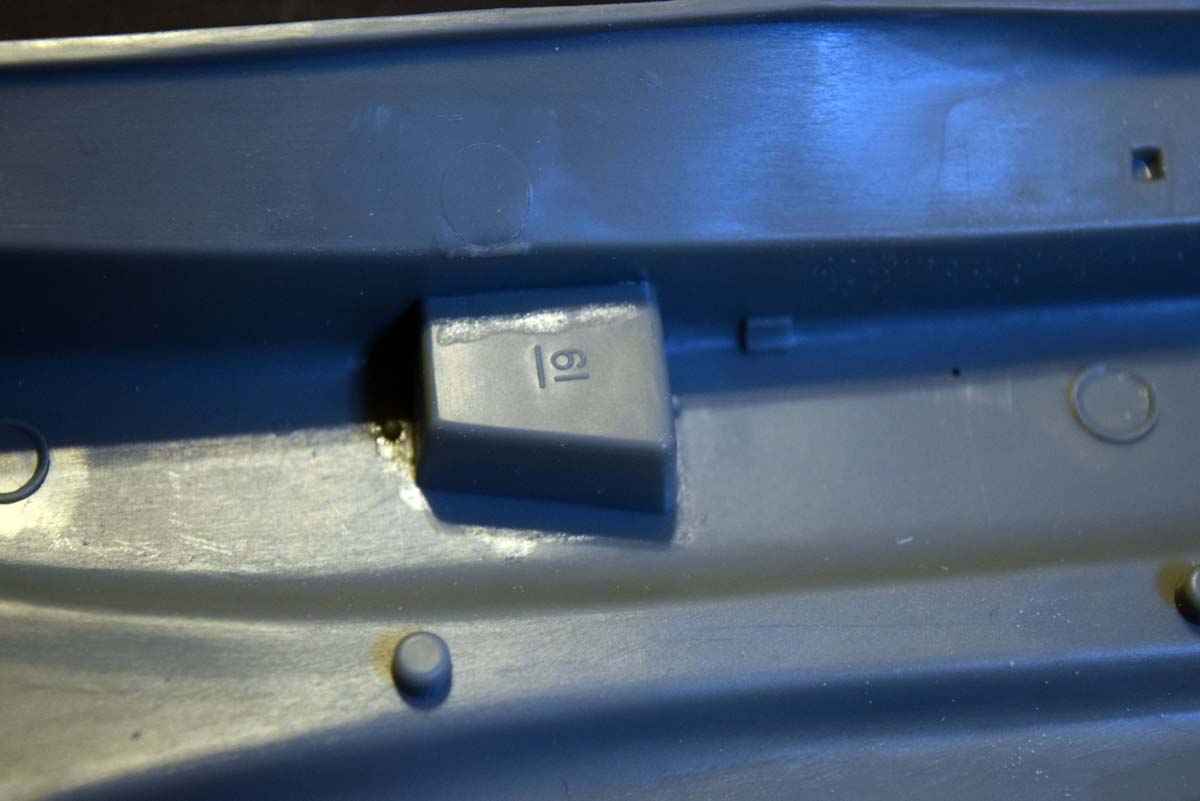
From bang to bullets this kit is complete in 12 stages and that includes painting and decals. Modellers under 40 will get a rude introduction into what a model kit used to be and will likely make you realize why older models dont shout so loudly about modern kit issues. The model is pretty free of flash and so that is a good thing, but there is a very liberal sprinkling of ejector pin marks to make you happy; some of these will have us asking for the Little People as I see no other way of getting rid of the marks. The other issue you will encounter with older kits such as this are the large gates between the sprue and the part; some are placed in such a way that getting the smallest sprue cutters at it will be difficult.
Page 1
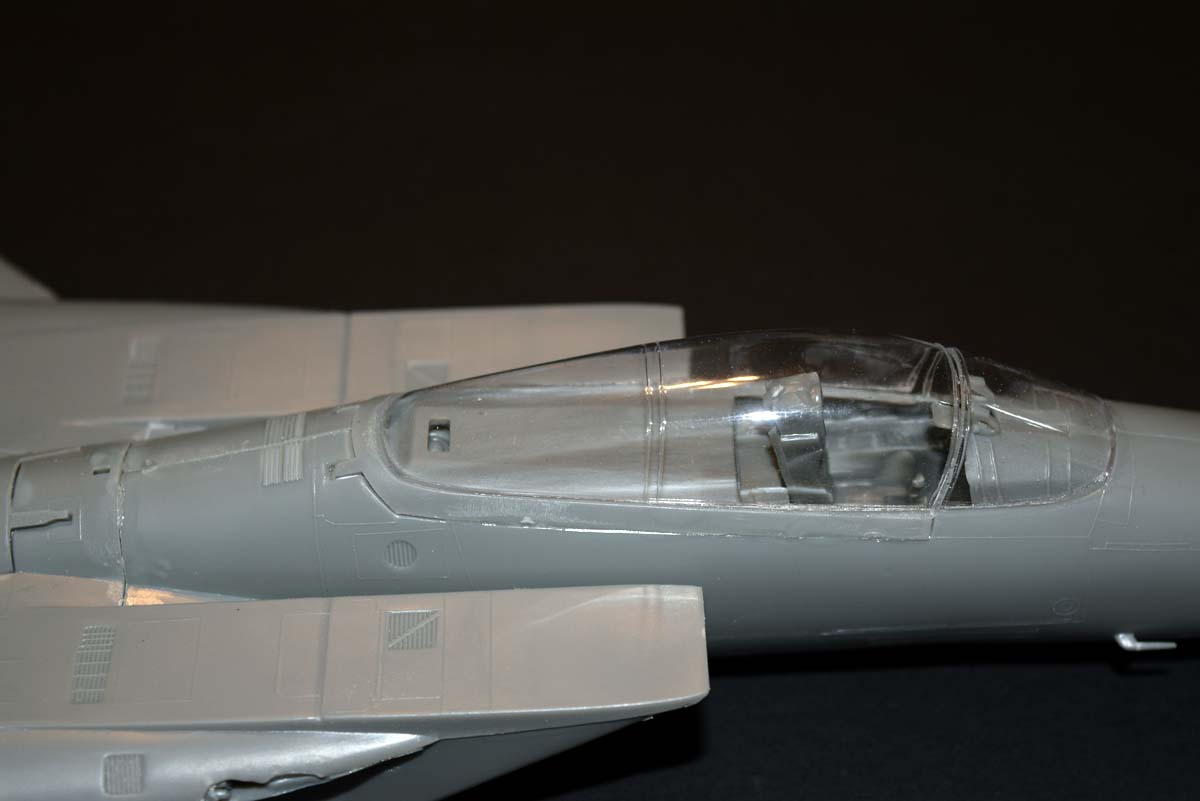
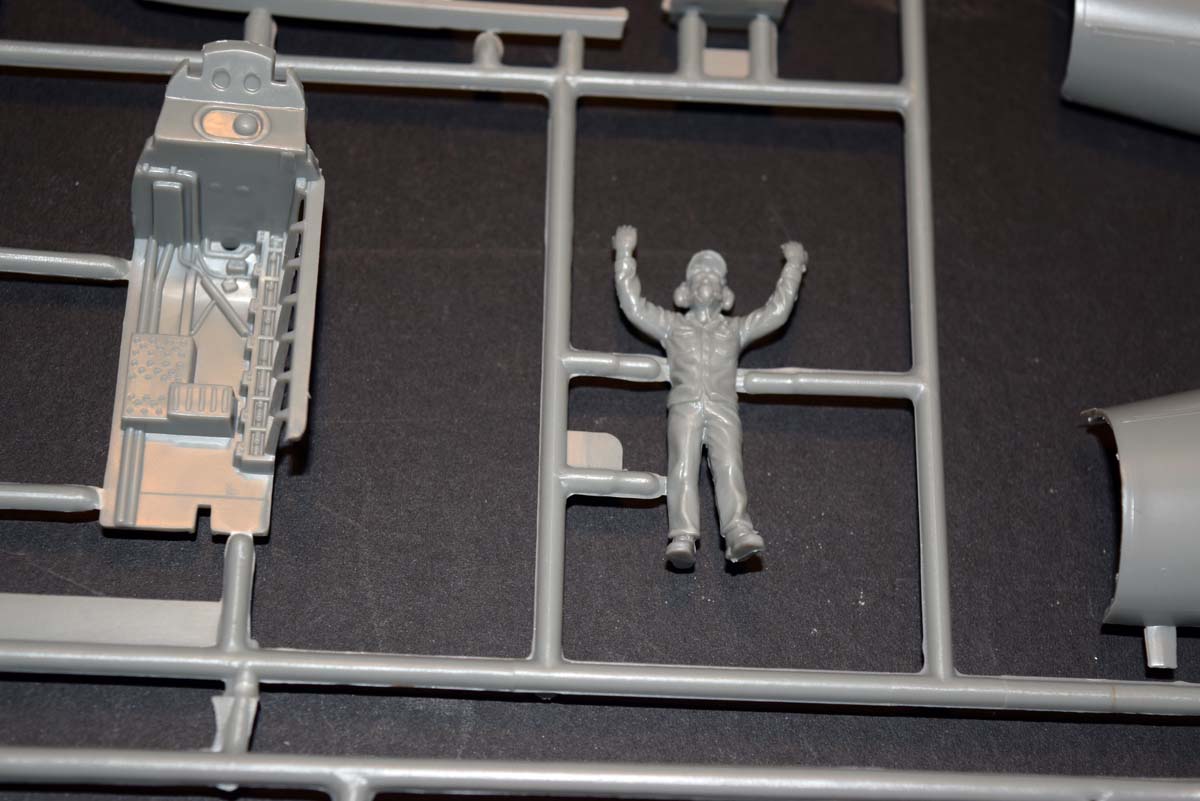
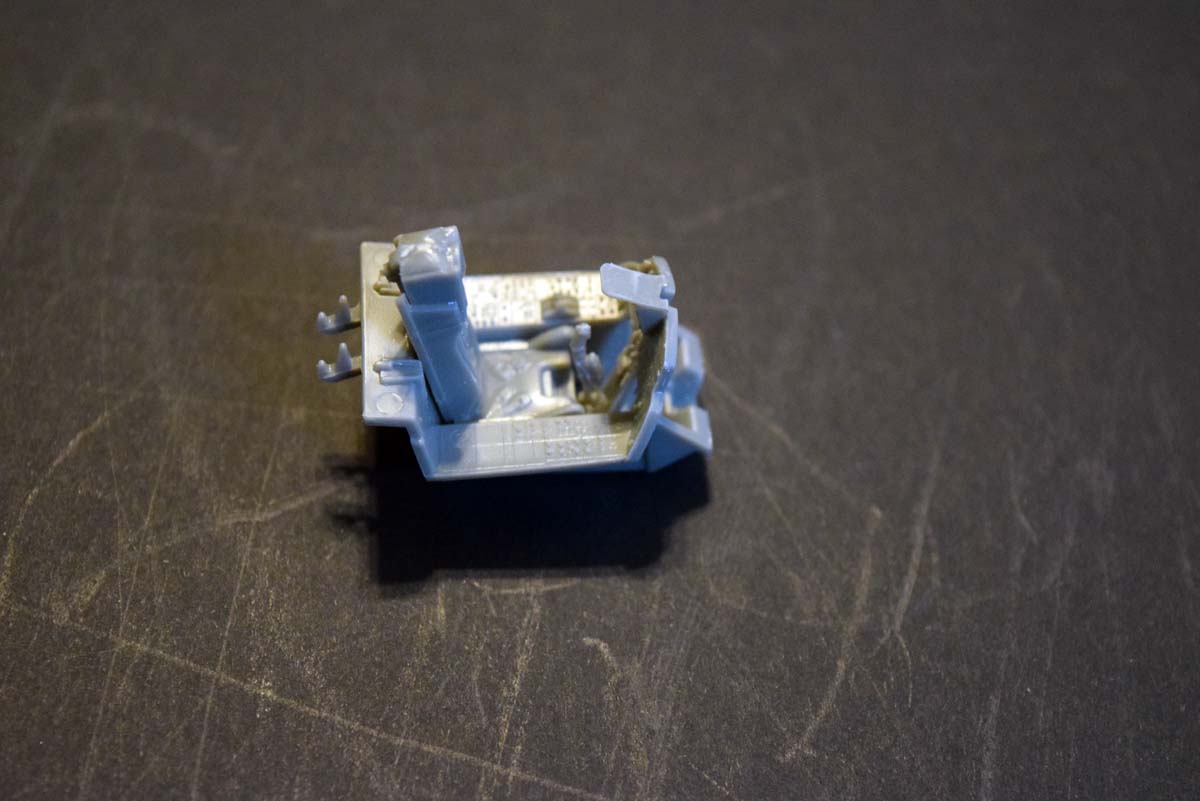
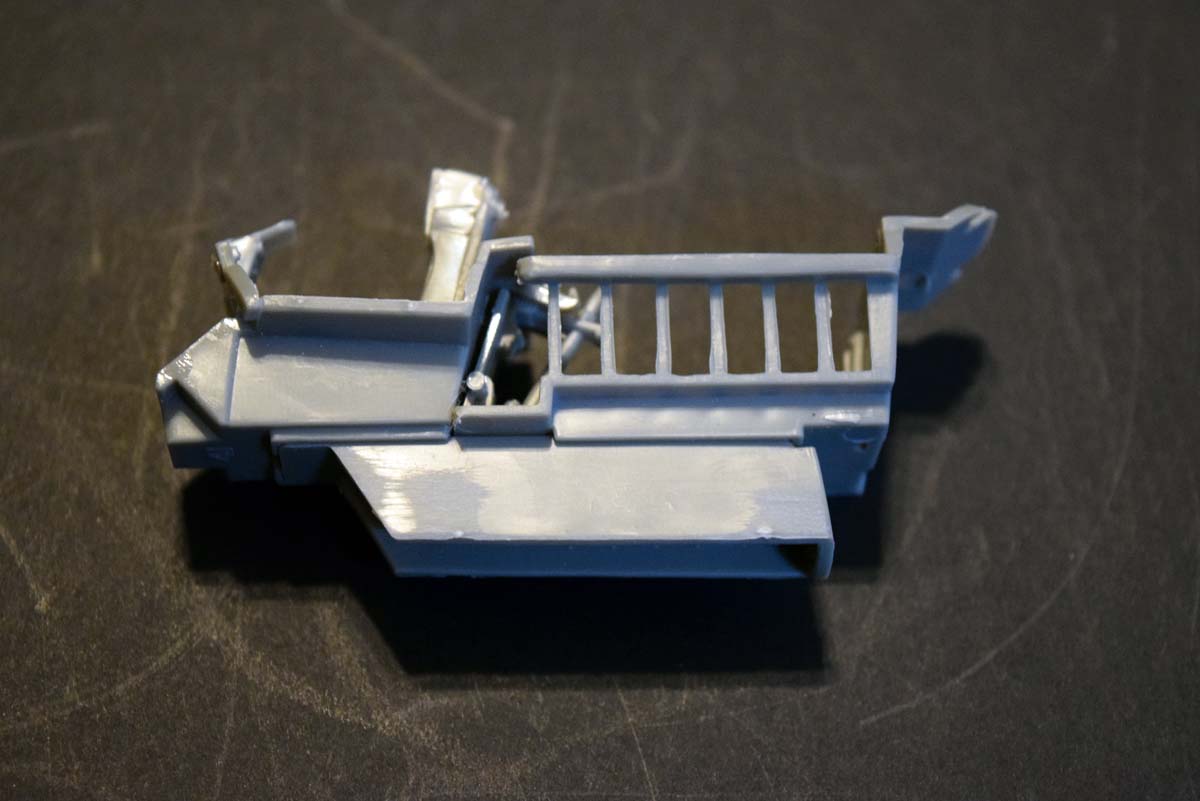
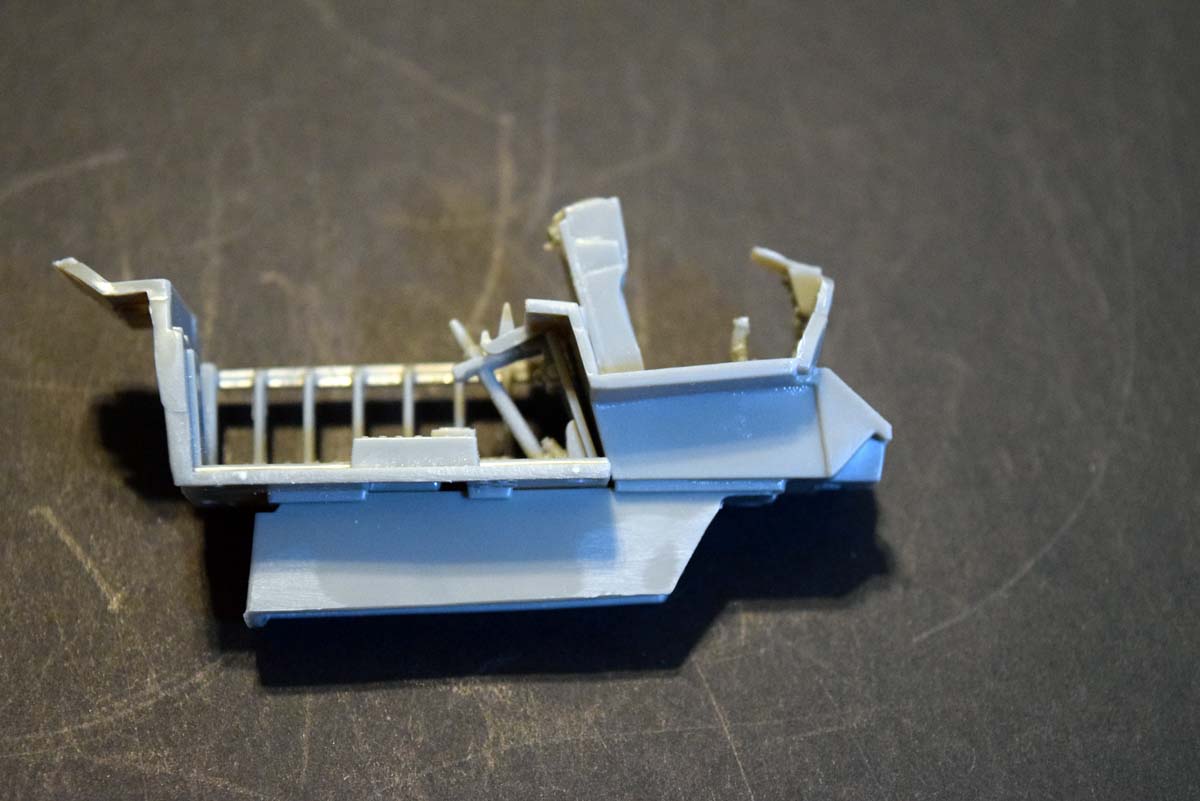
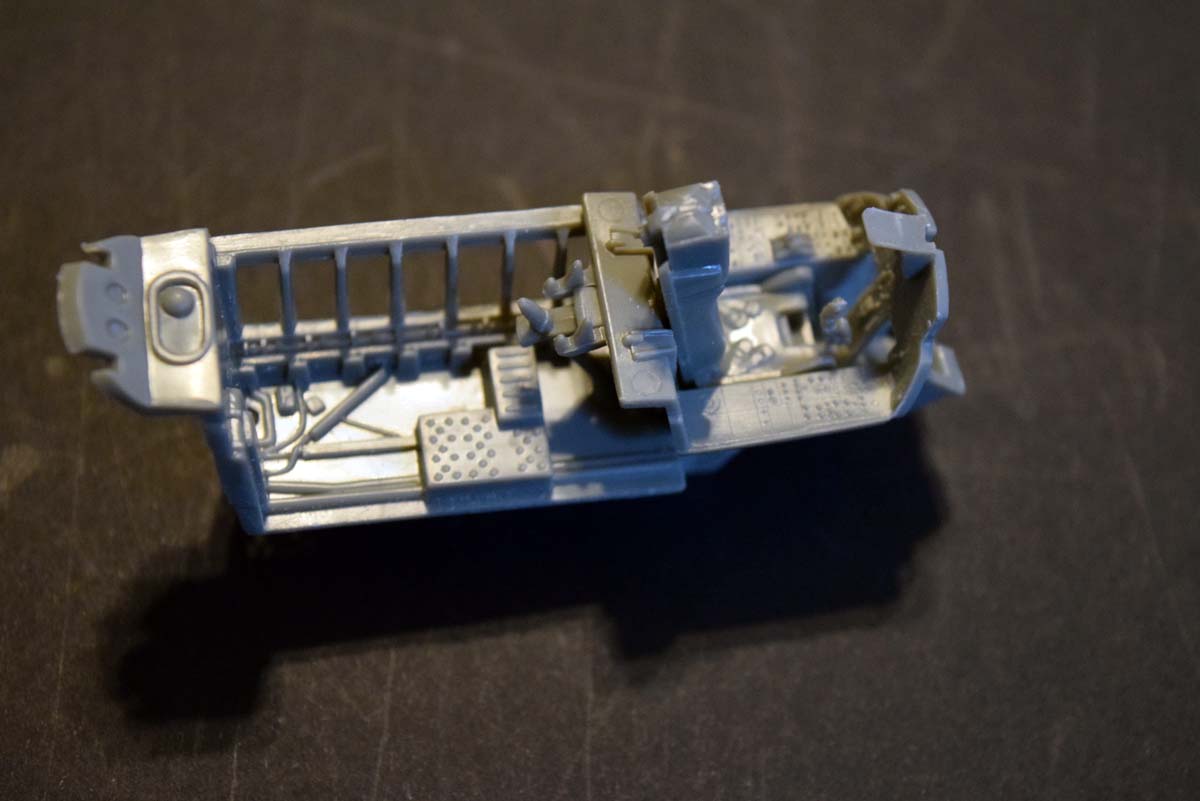
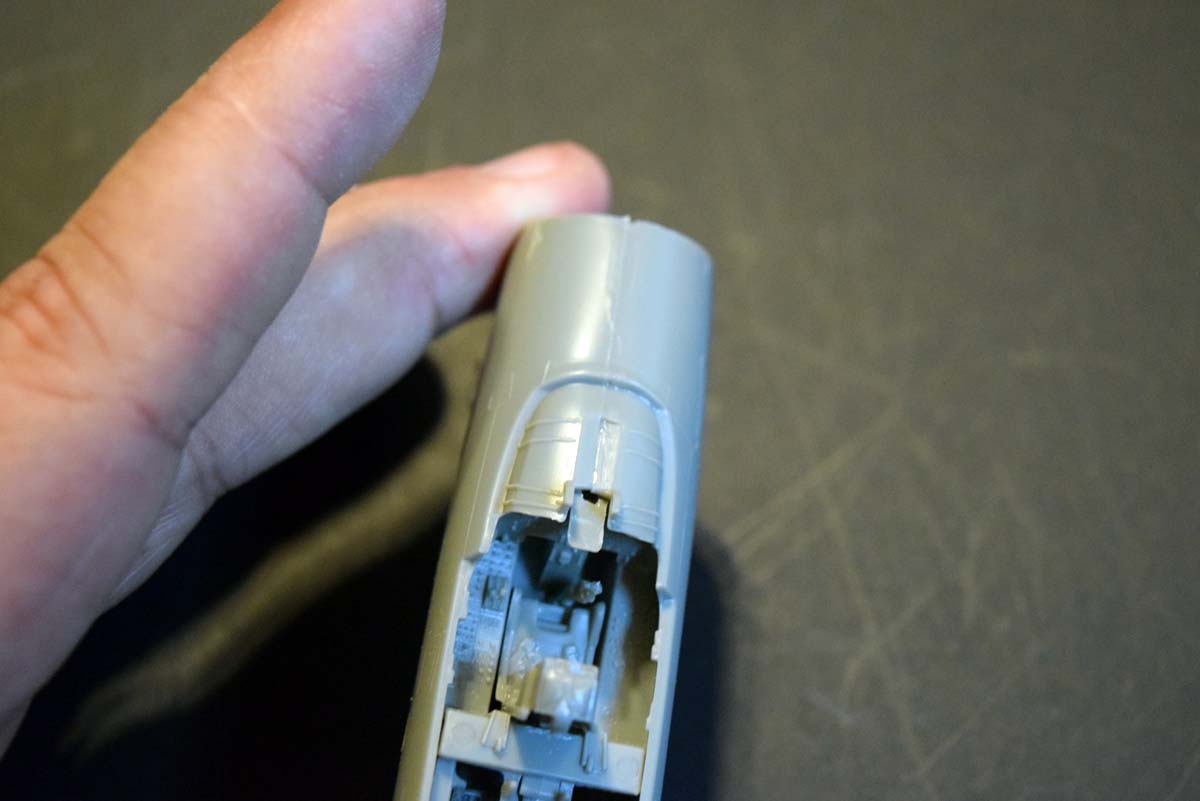
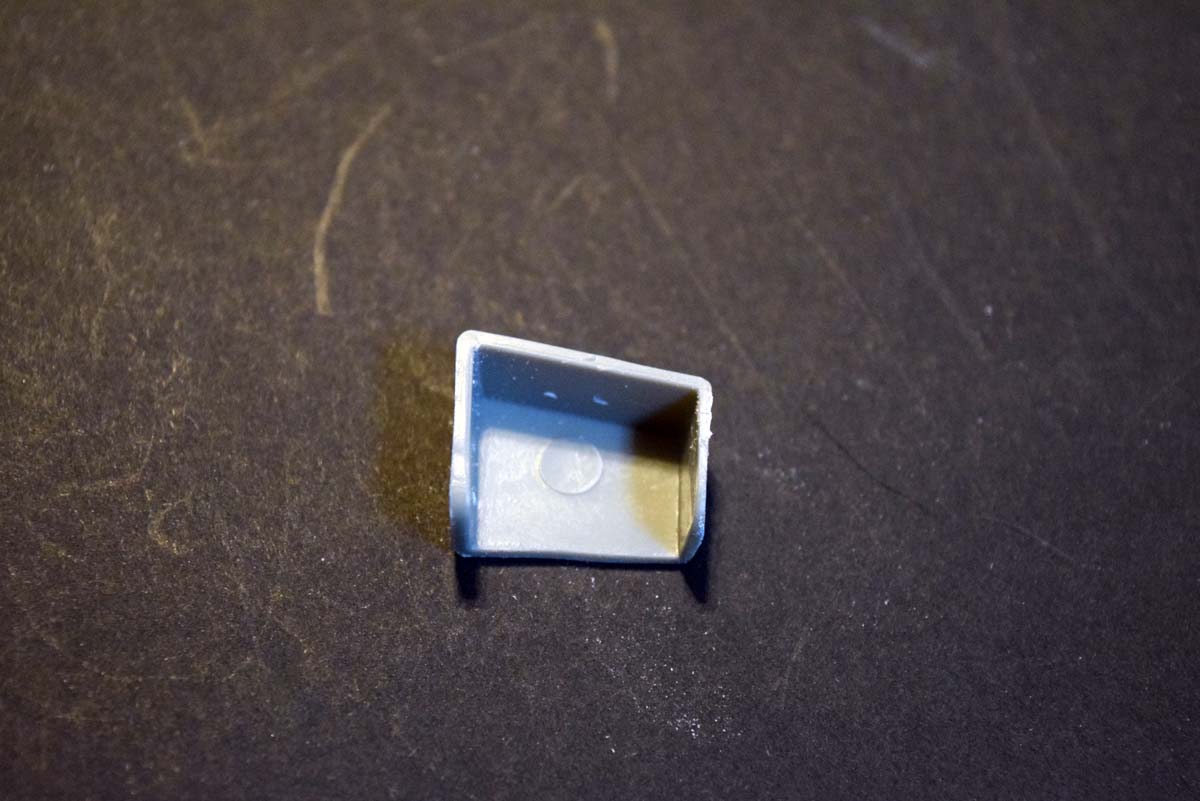
This covers the rear air crew station in the two seat version of the F-15 and I believe was used as an avionics bay in this version. Detail here is scant but there is some details present to give the eye something to look at. A rod is supplied as an option for having the canopy open, I have omitted this part. Next up the cockpit and it could not be easier with just a seat, stick and console added to the tub. Looking at the painting instructions for this area reminds me of a Rolling Stones song, yep you guessed it Paint it Black. We now get to join the front and rear together using the front wheel bay.
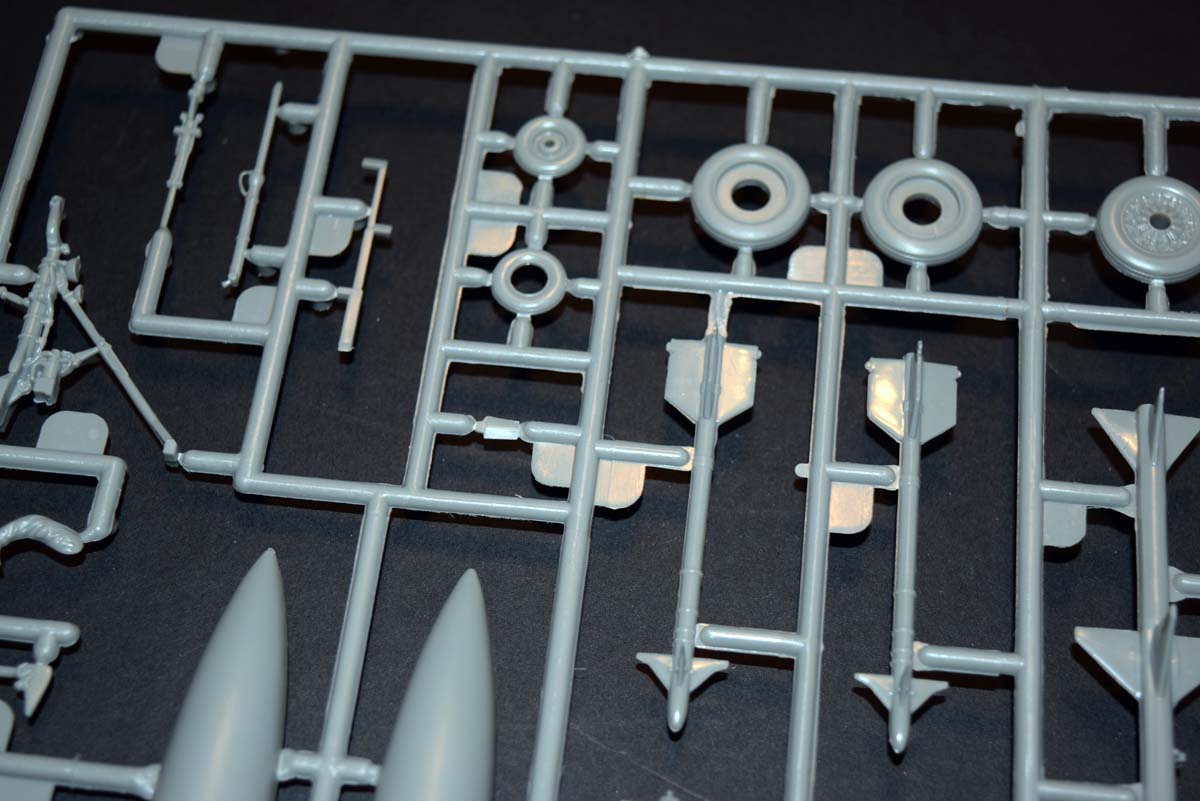
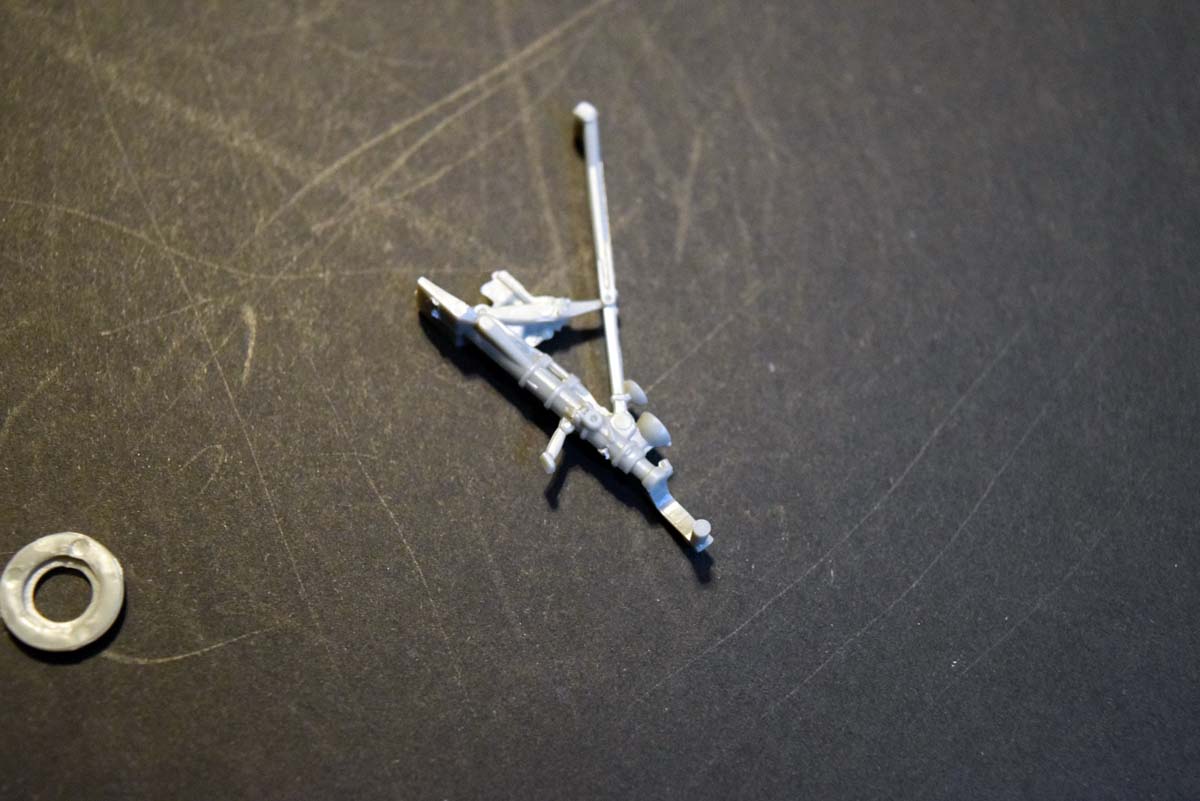
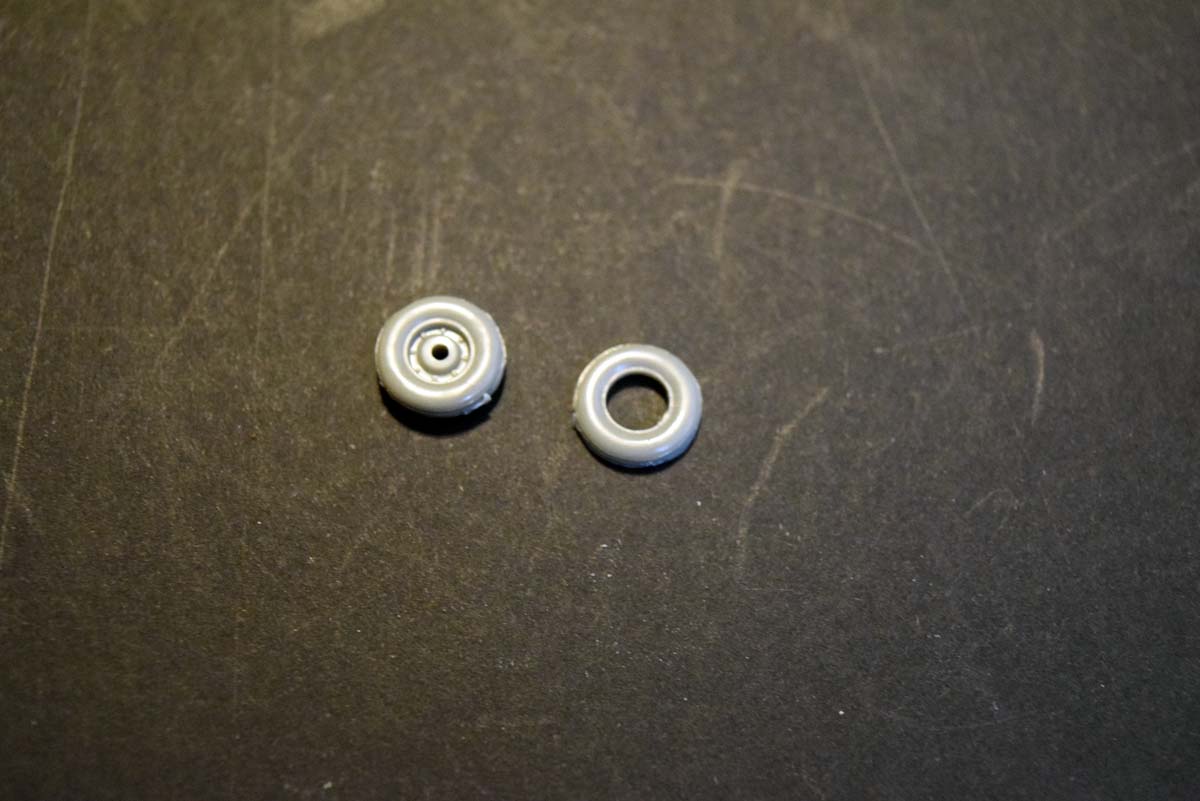
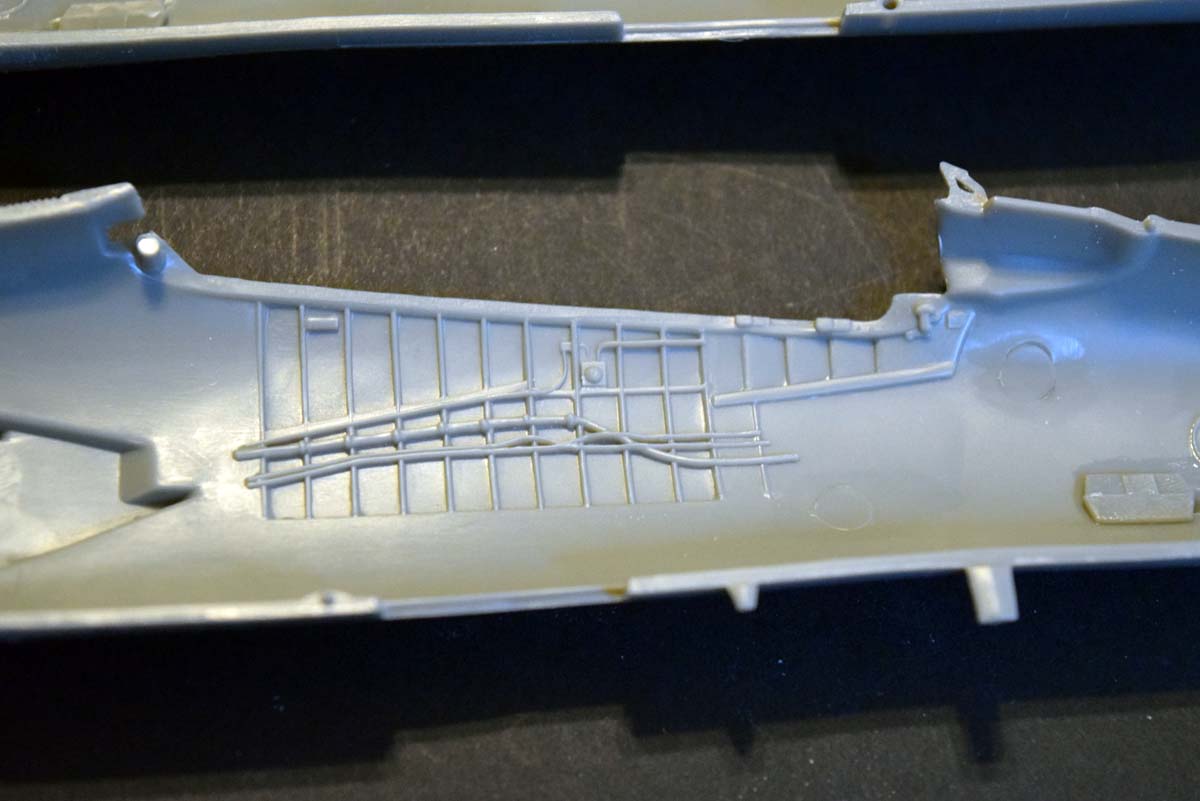
A look inside the front wheel bay reveals minimal detail and four large raised ejector pin marks with only the first one being easy to get at. The front wheel strut is quite good for a model of this age, but the wheel itself is just horrid, this is the reason I have elected to close up the wheel bays. Moving back to the cockpit and the fuselage portion that encompasses it; I am quite pleased with this as clean up is fairly easy and the joint between the two halves is very good. There is some nice moulded detail on the inner faces of the cockpit.
Page 2
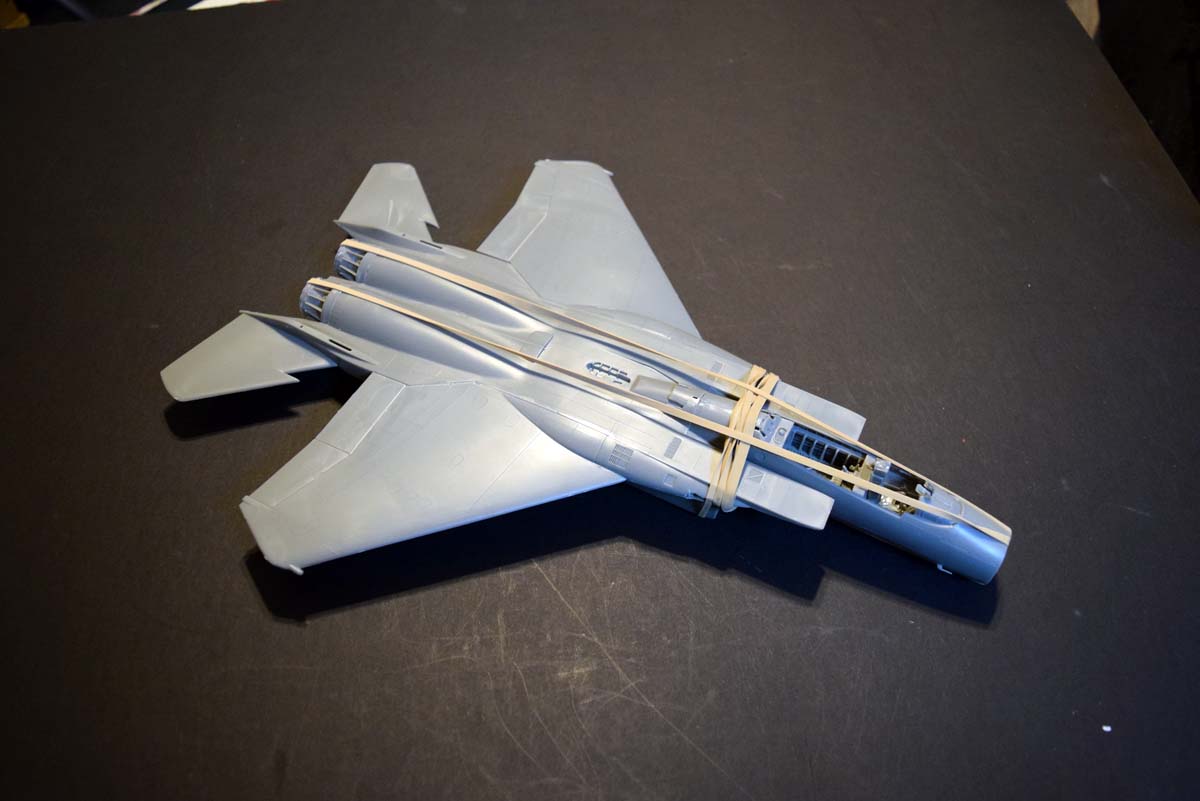
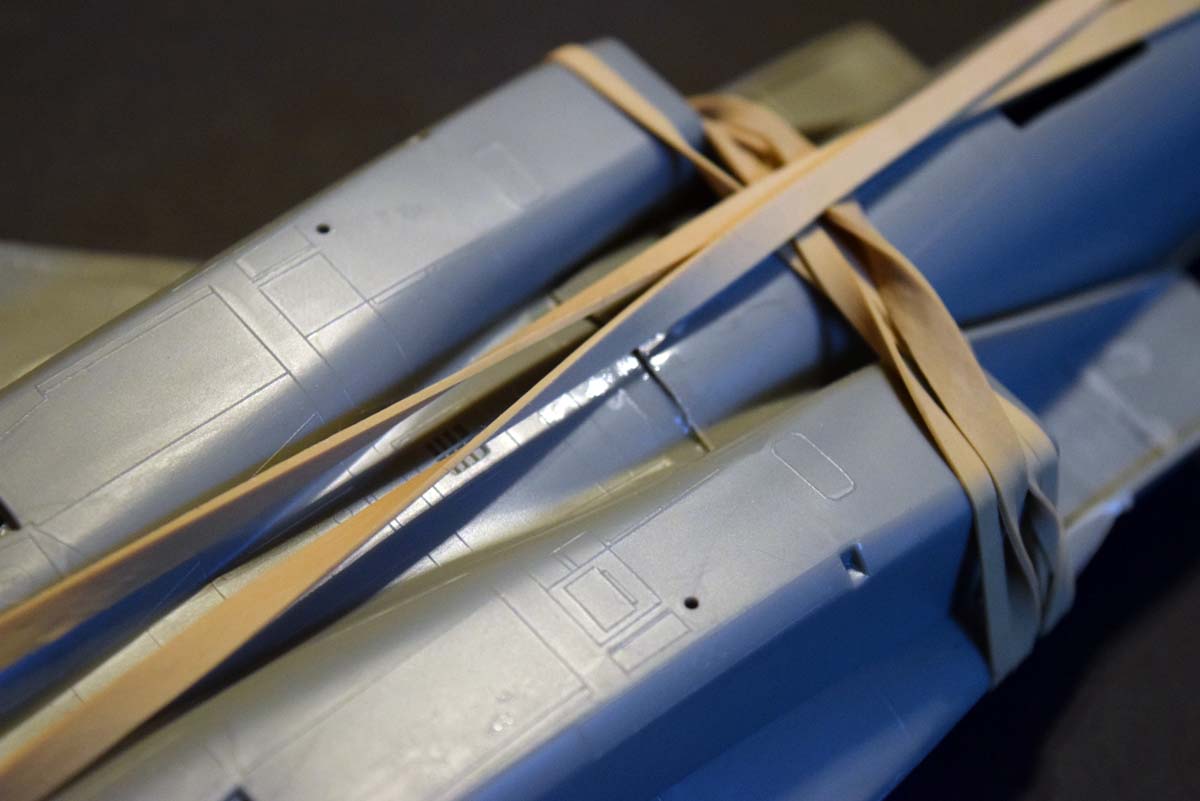
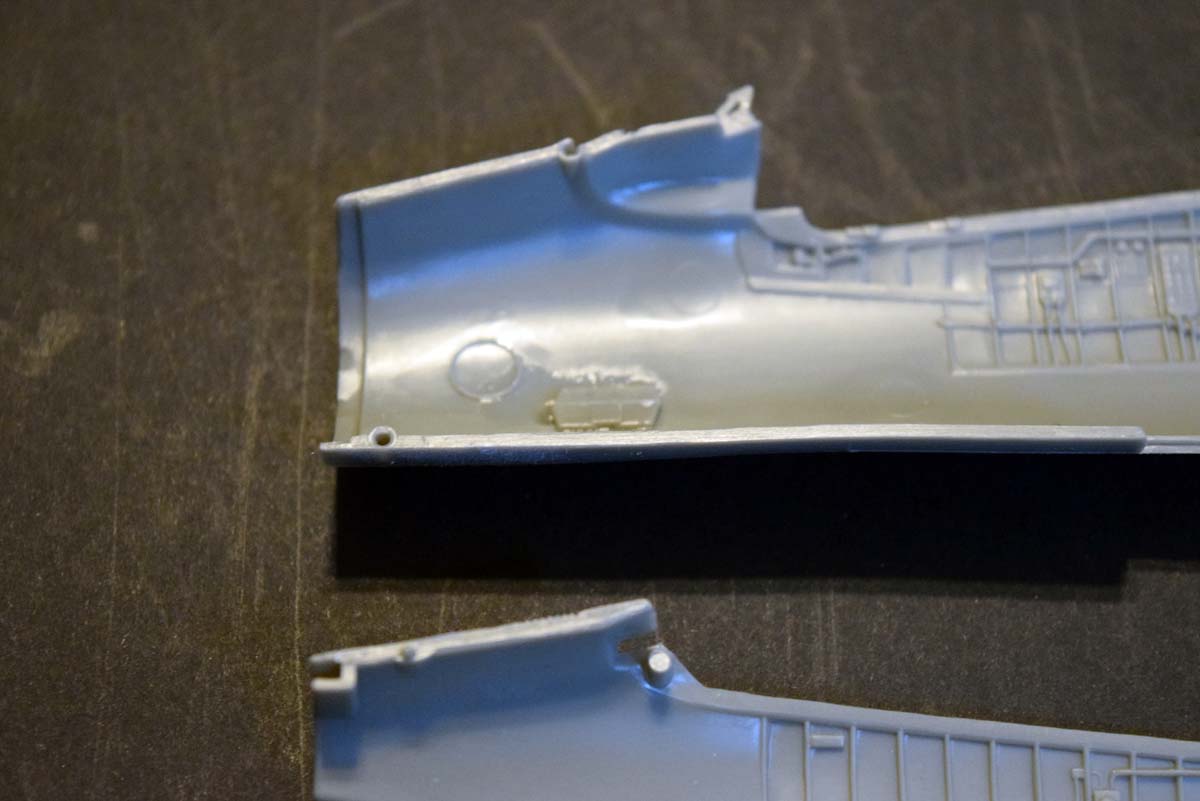
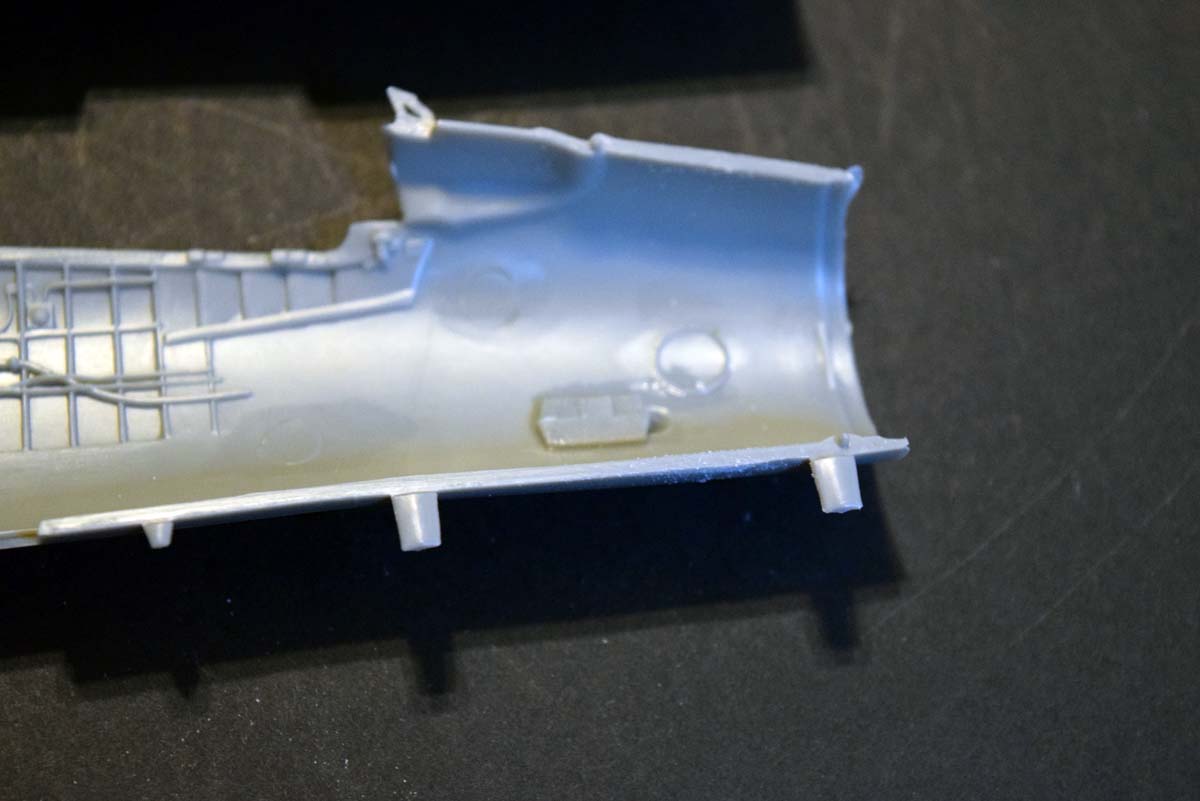
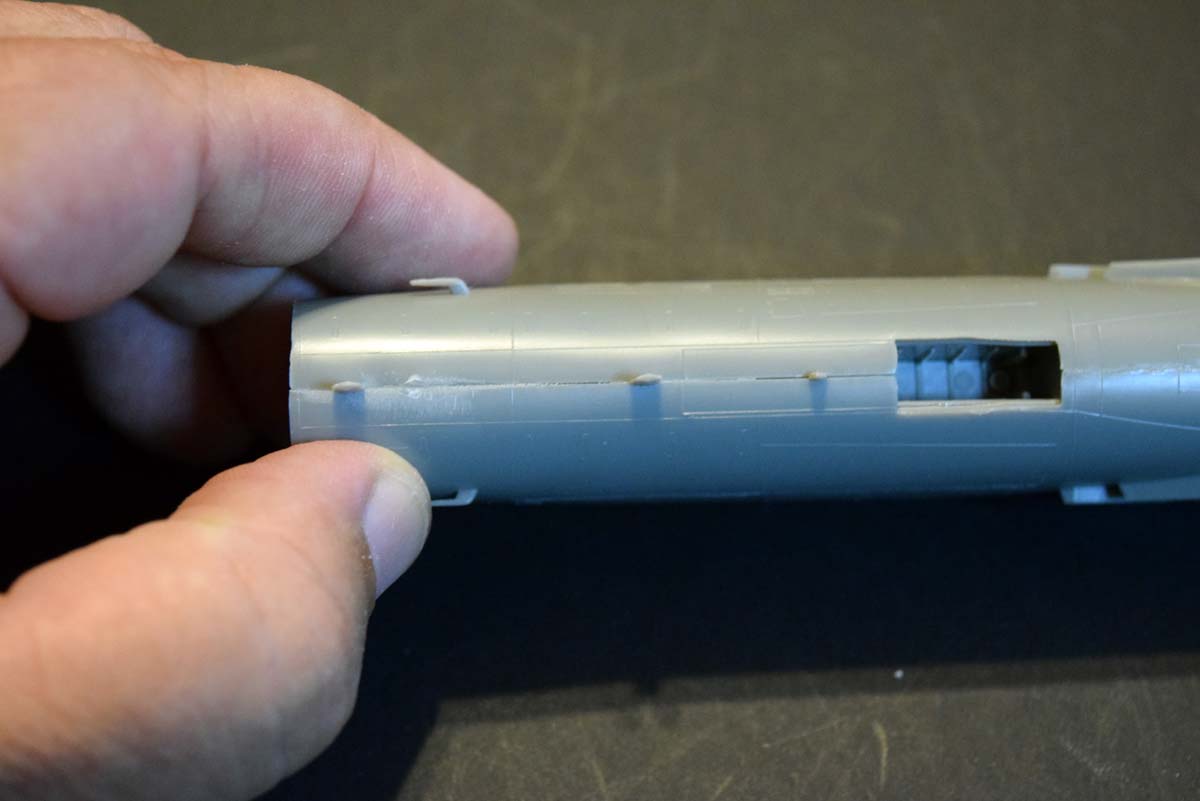
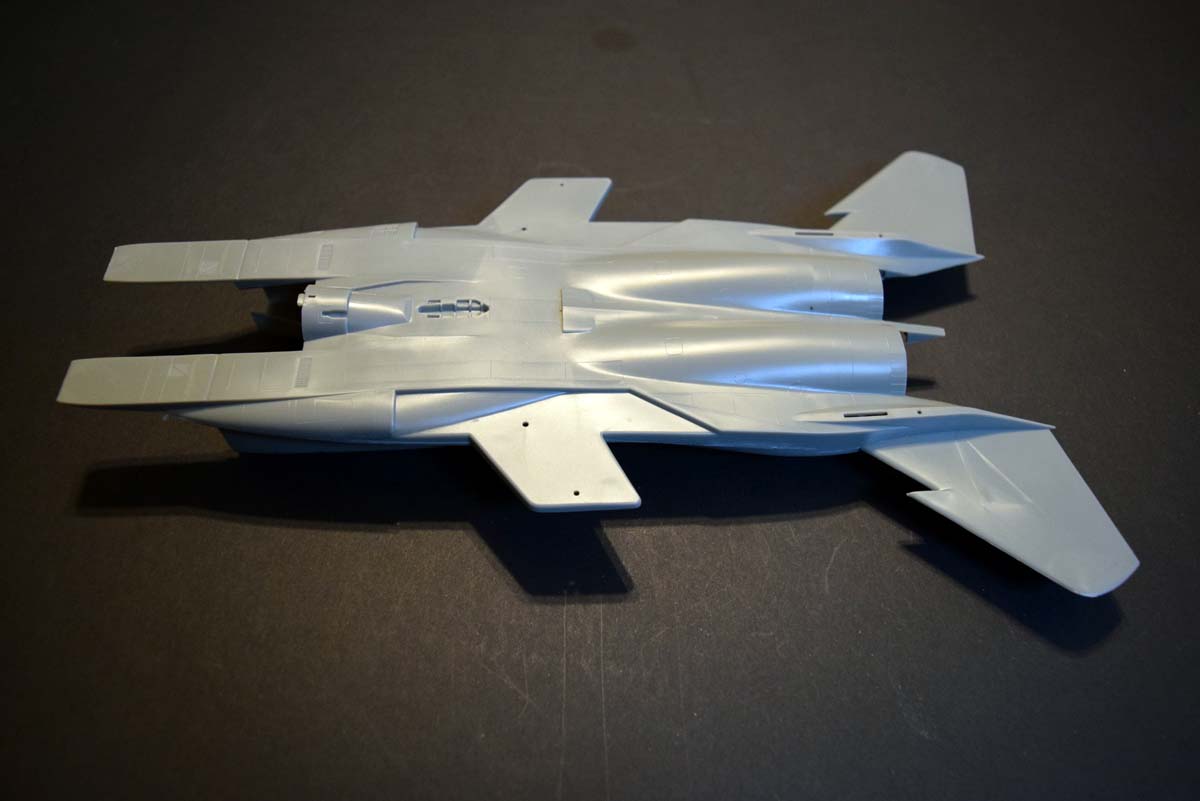
On this page we have already reached closure of the fuselage both front and rear. The cockpit area of the fuselage joints very well, but as always a small amount of filler will be needed to hide the joint fully. The main fuselage fits together well in most areas with the exception of the left tail area which will need some sanding and filling to get to look right; I believe this is more due to a distortion in the kit rather than a bad moulding and so may not always be present to the same extent if at all. The right cannon has been provided and is suitable for the task. The rear wheel bays have no detail except a large ejector pin mark and so another good reason to omit the undercarriage.
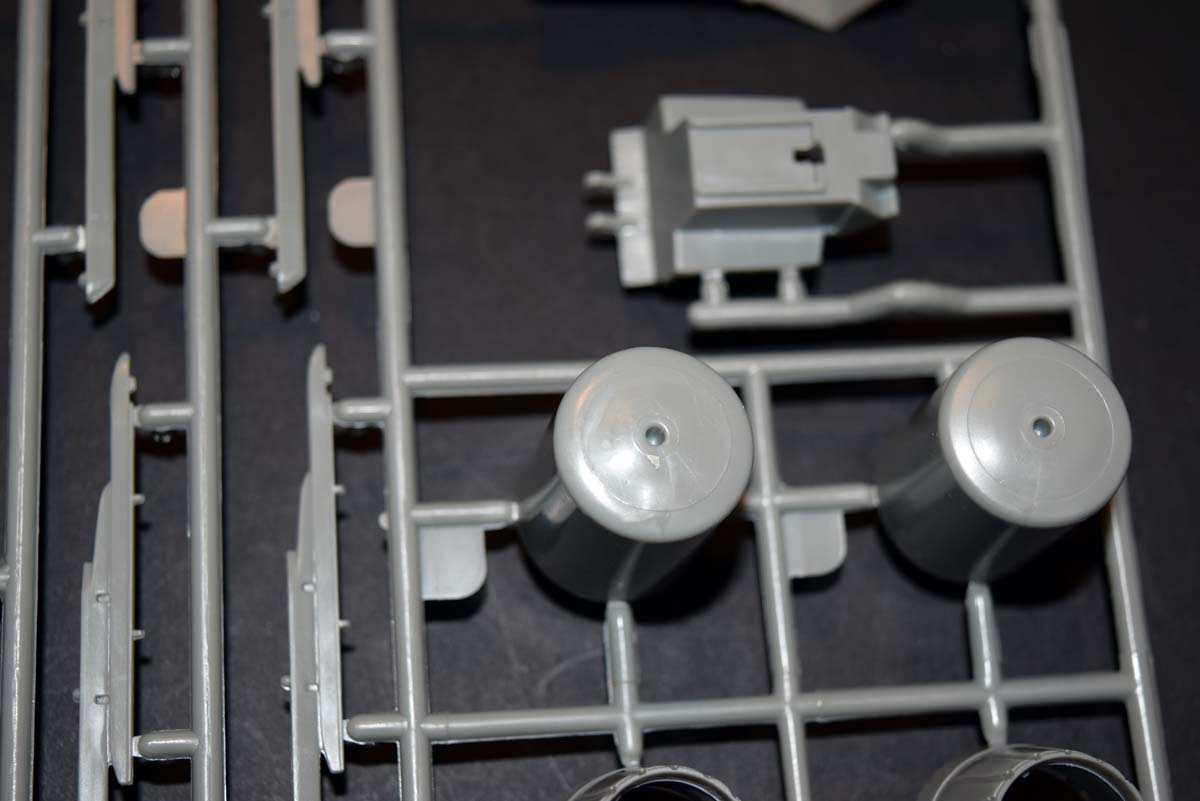
Page 3
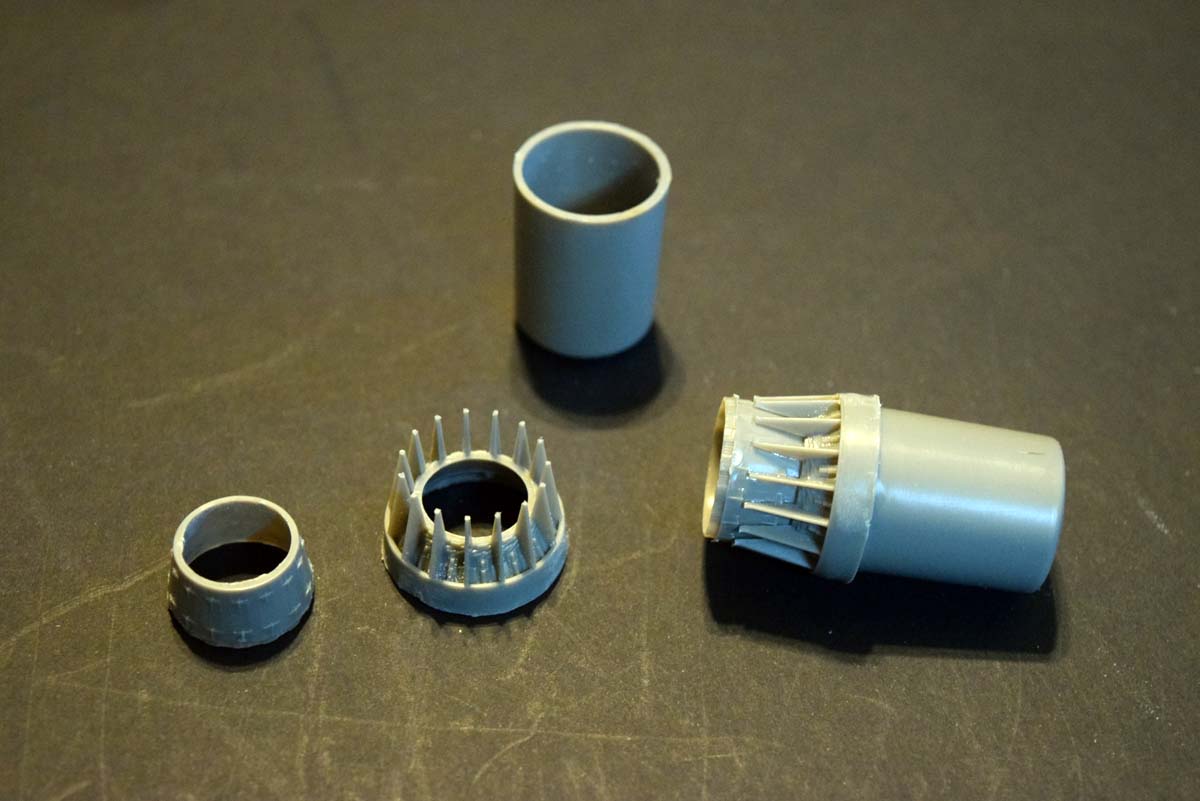
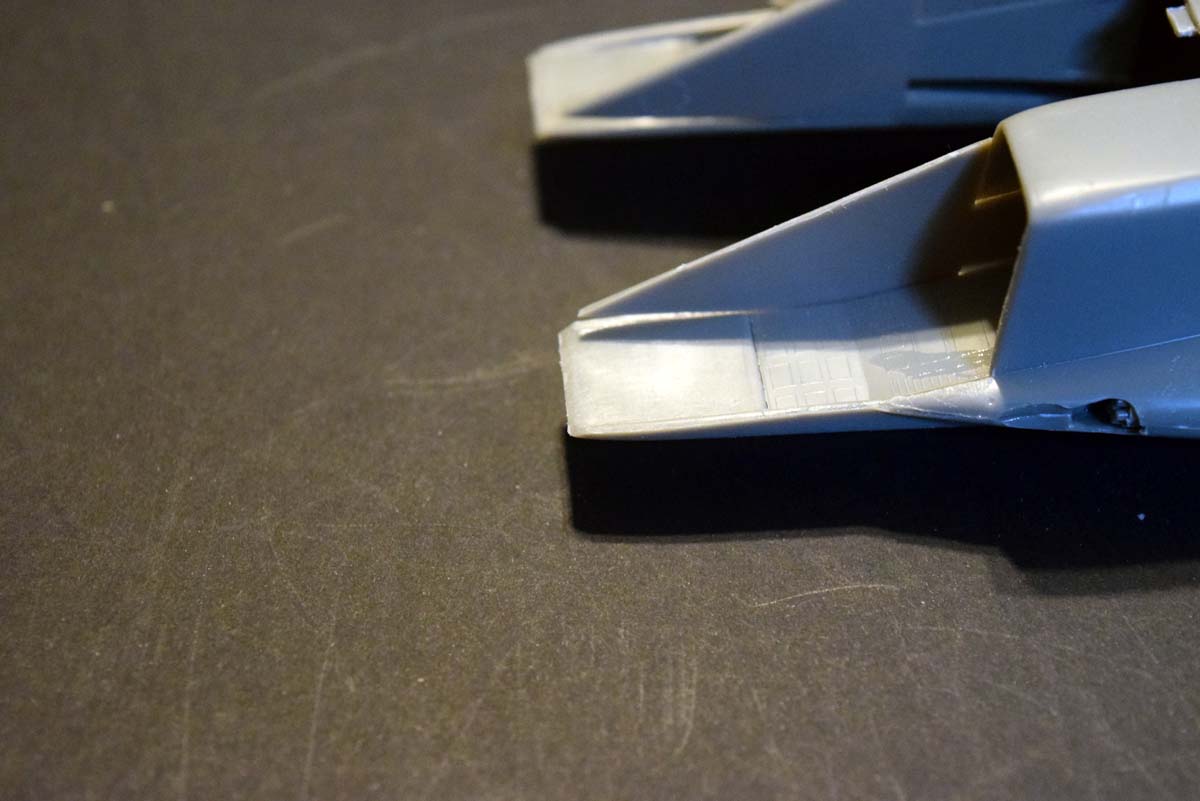
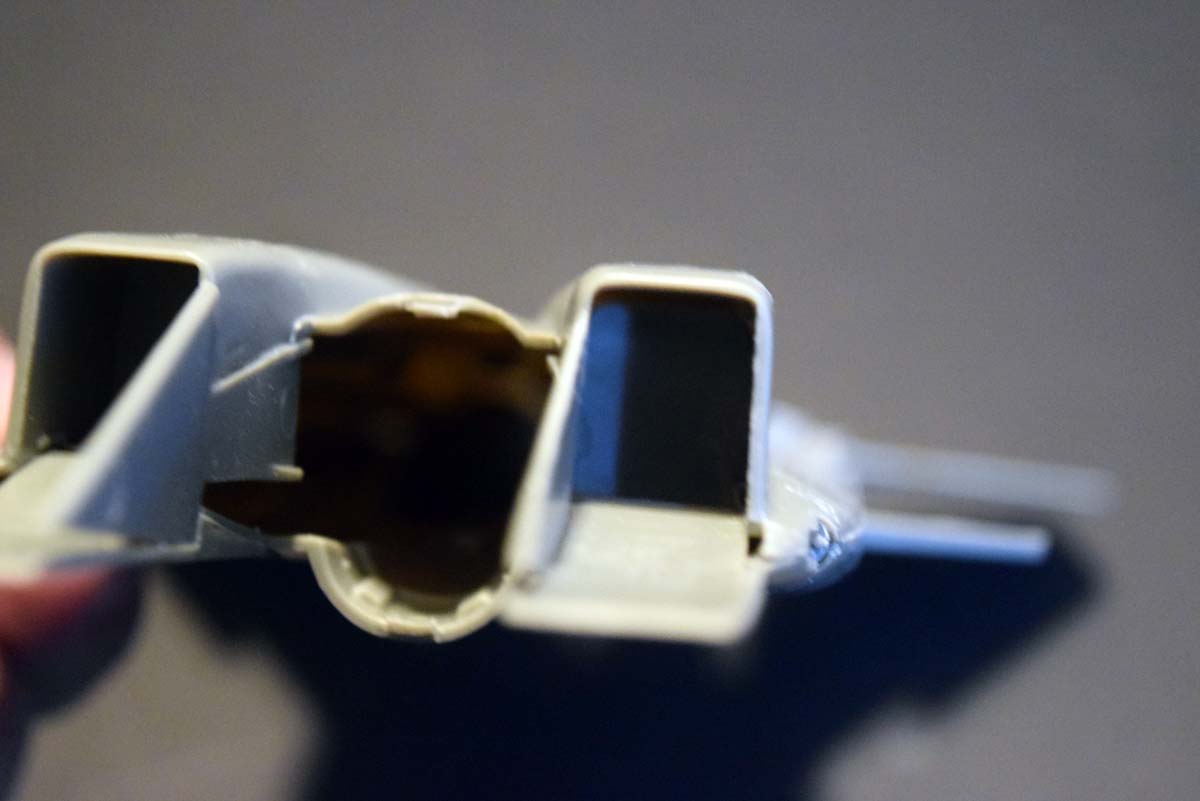
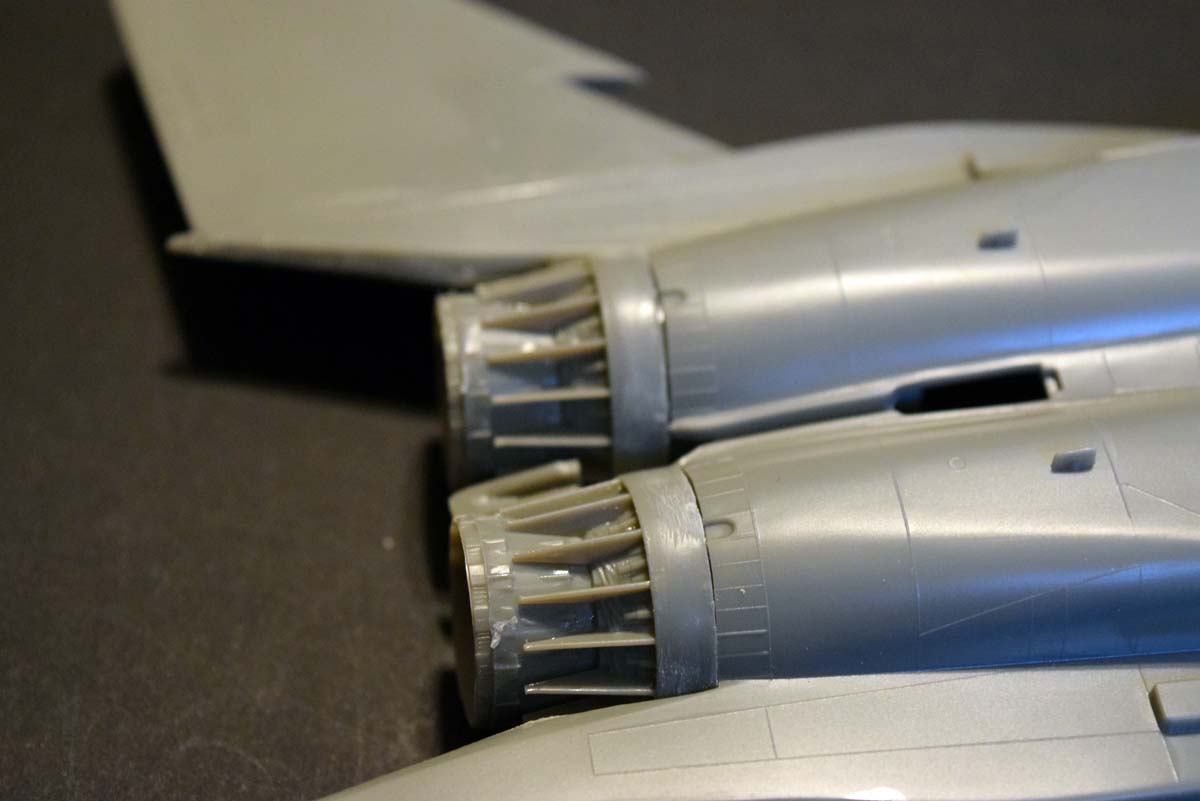
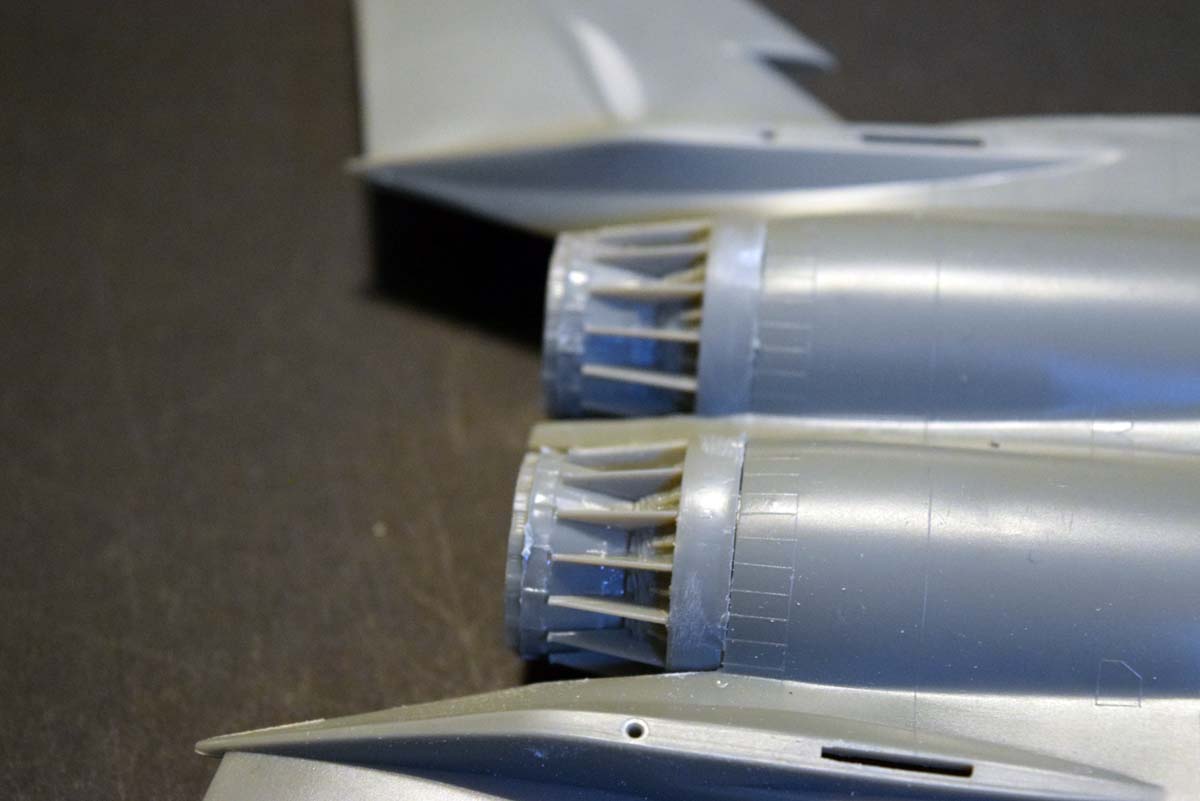
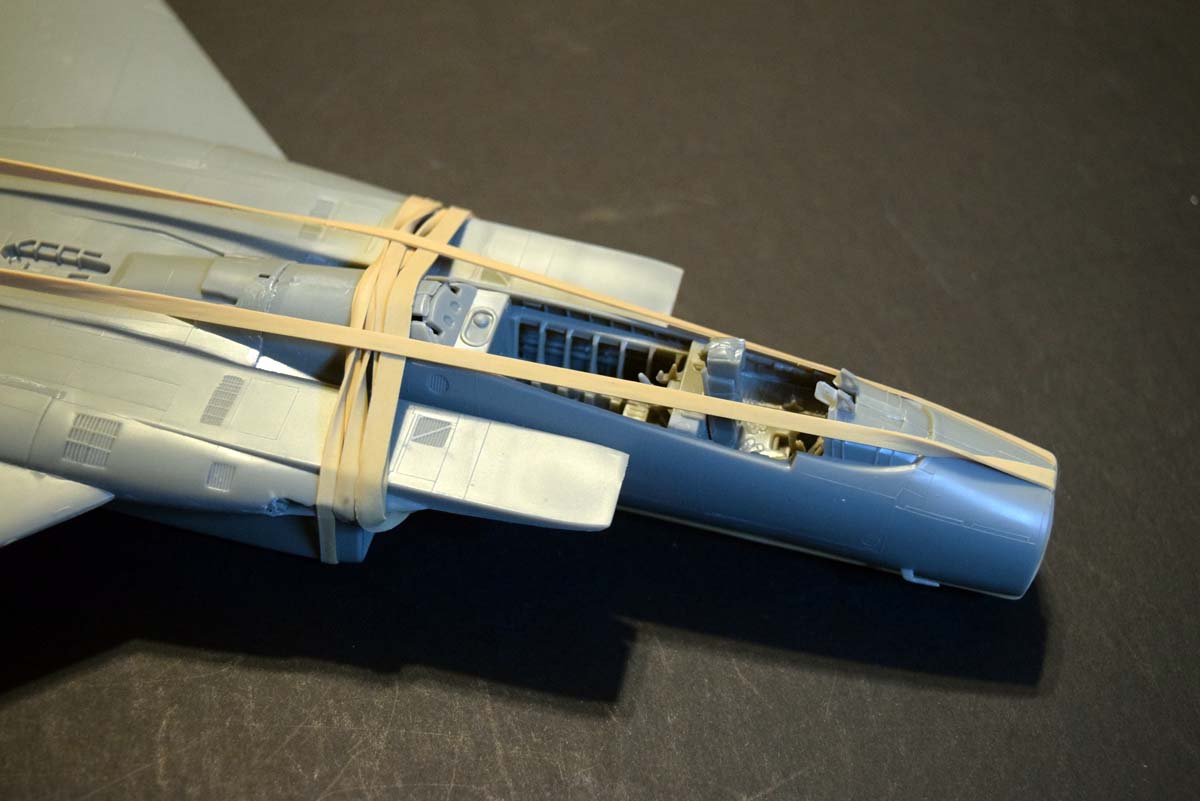
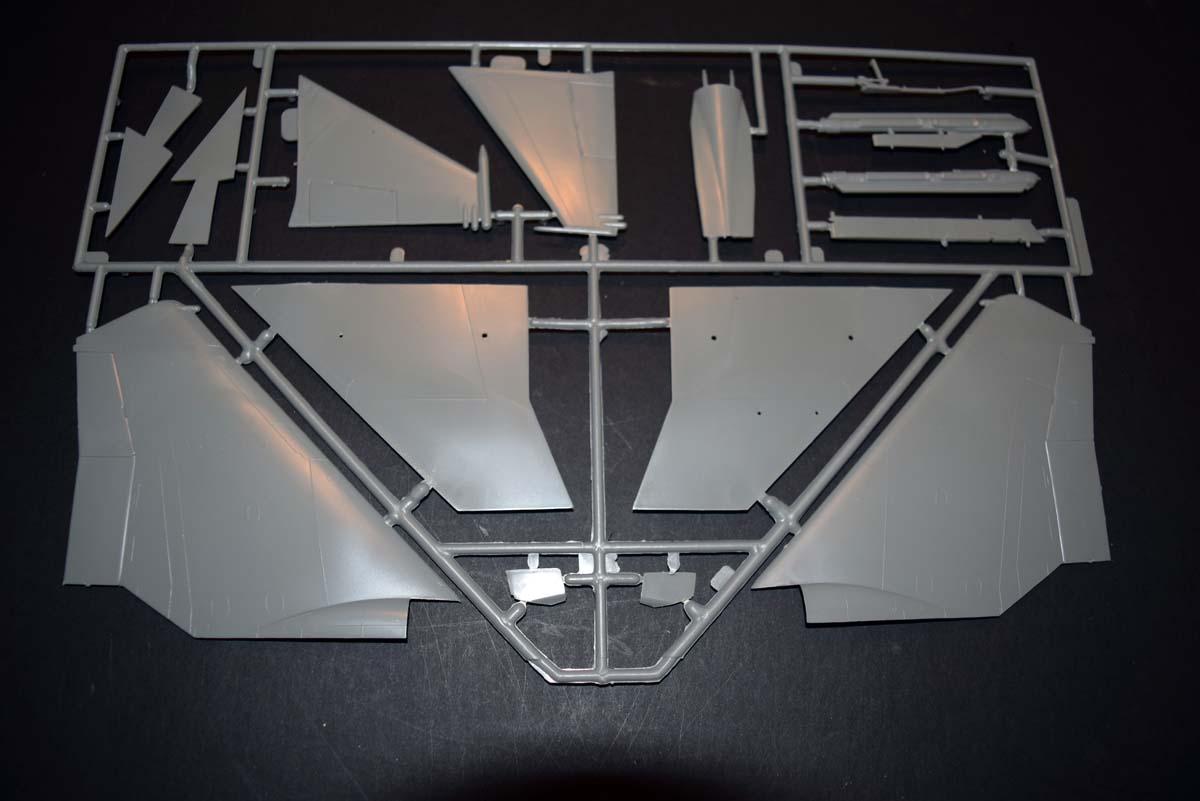
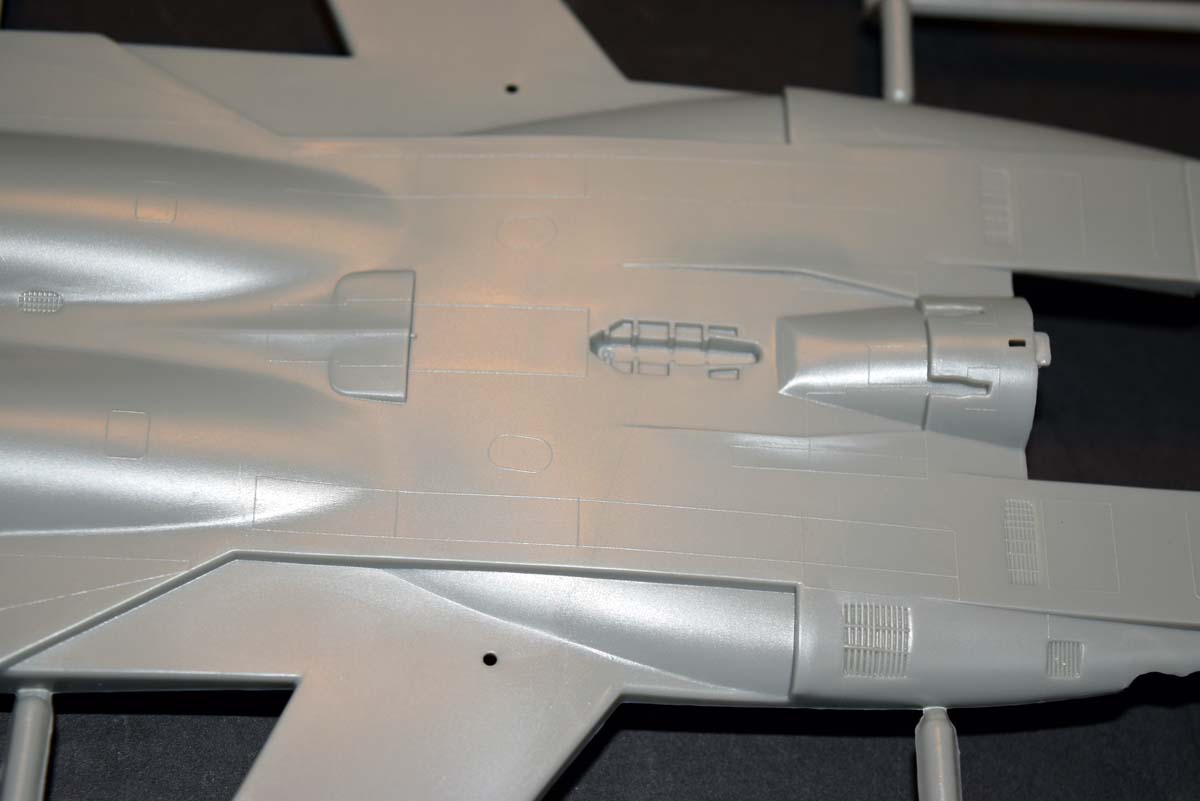
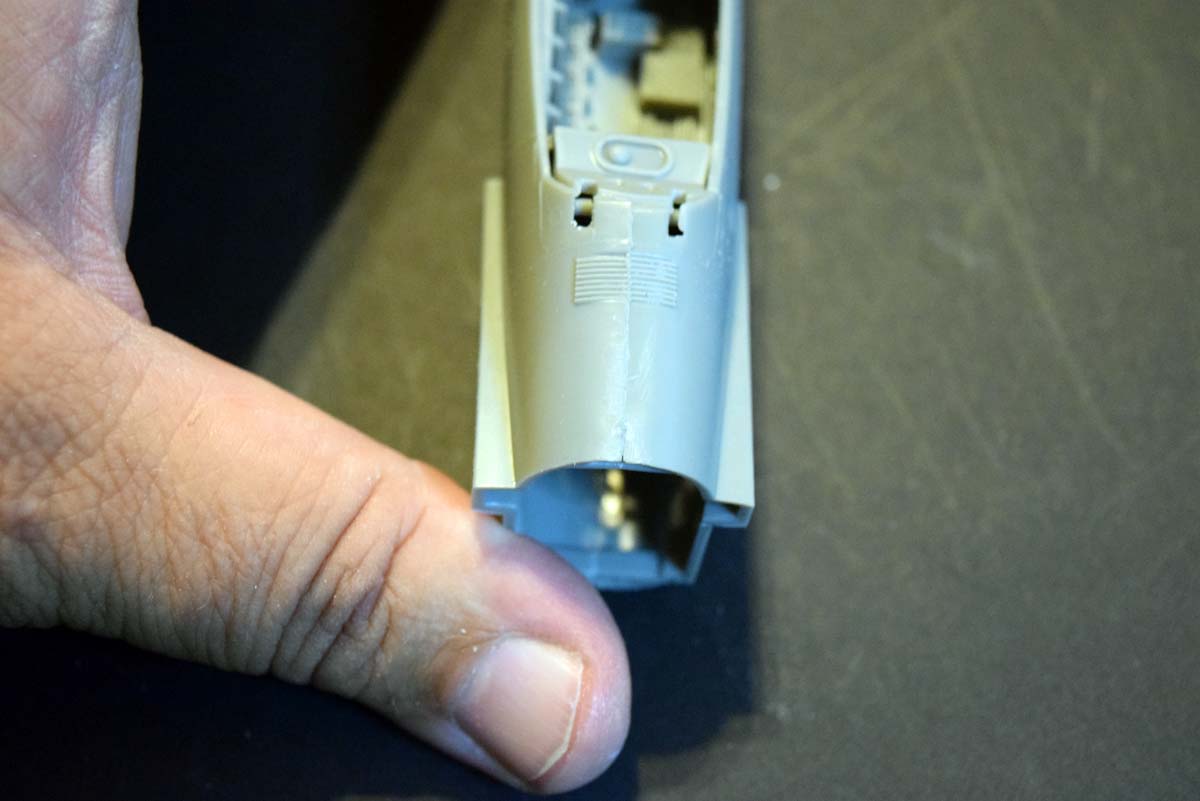
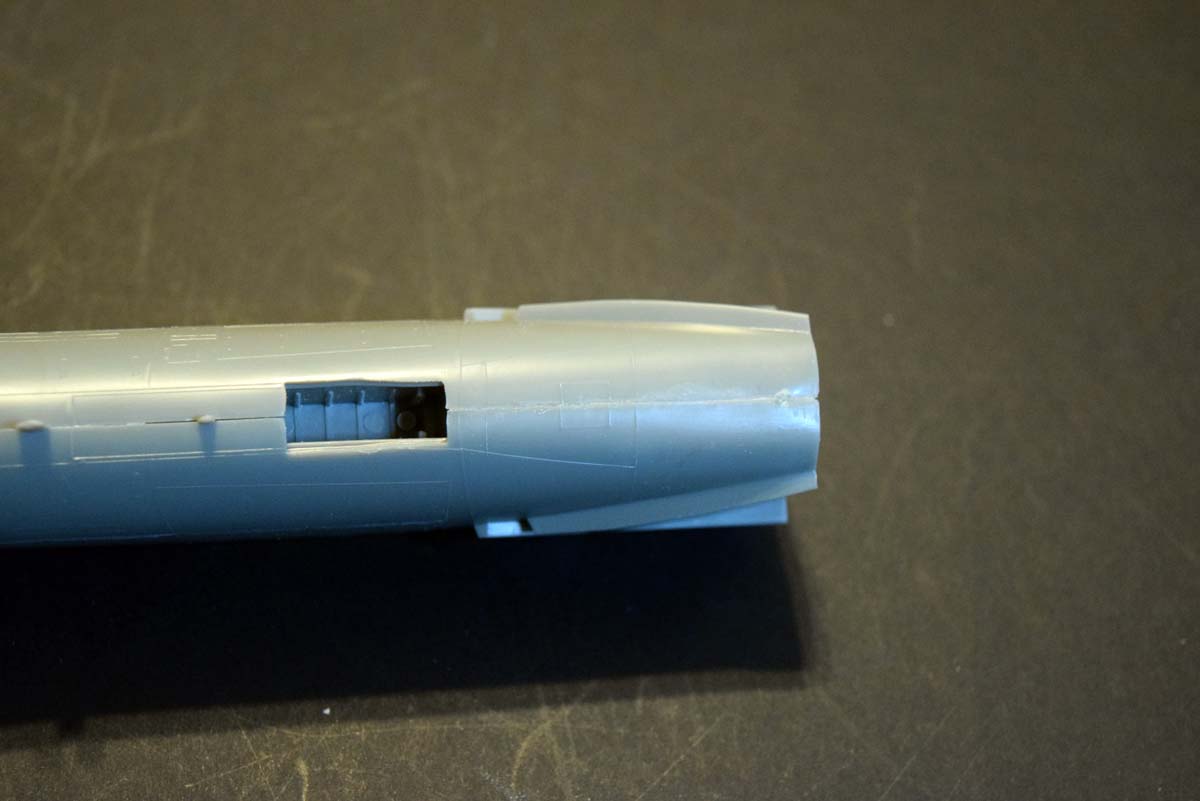
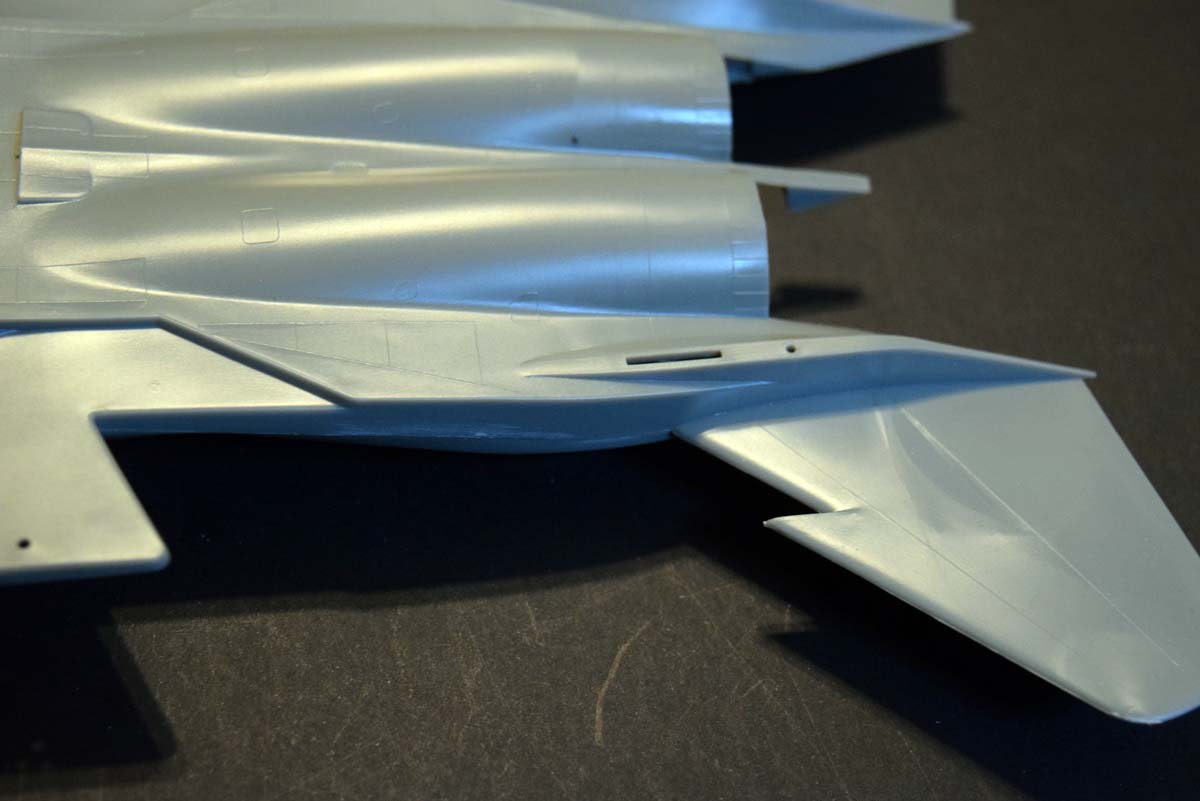
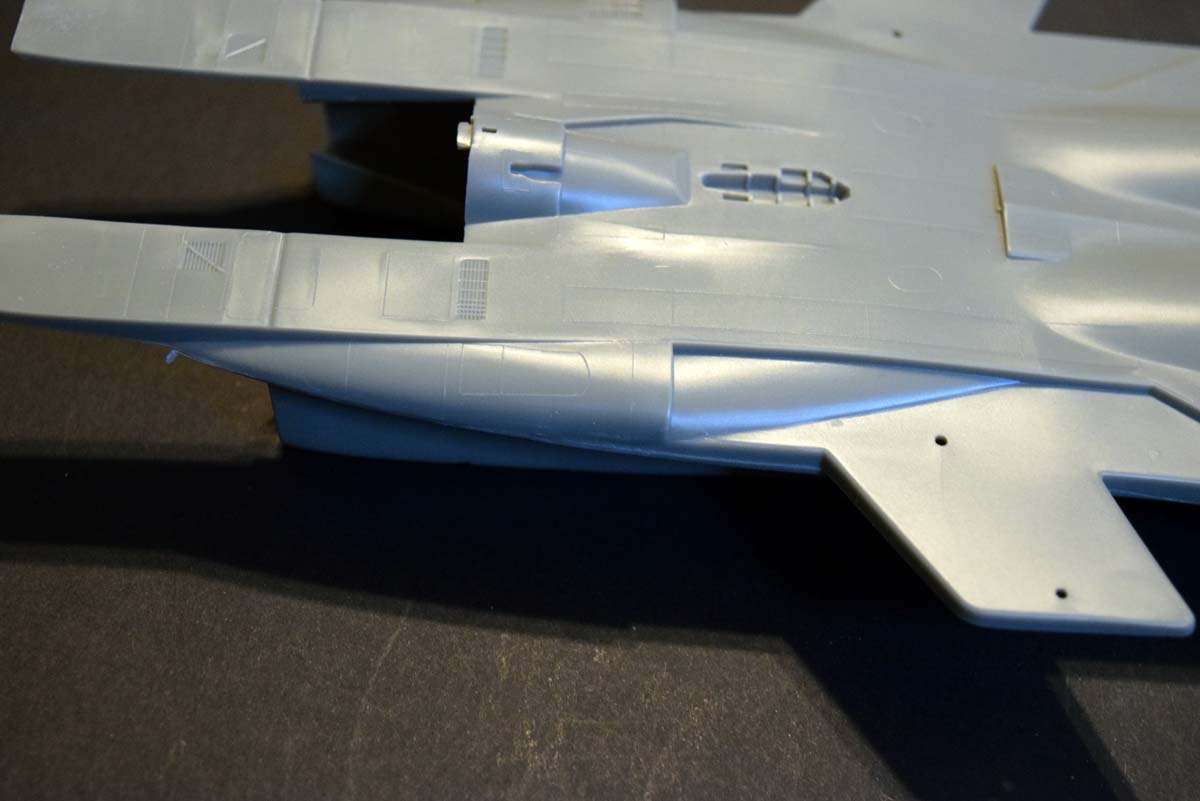
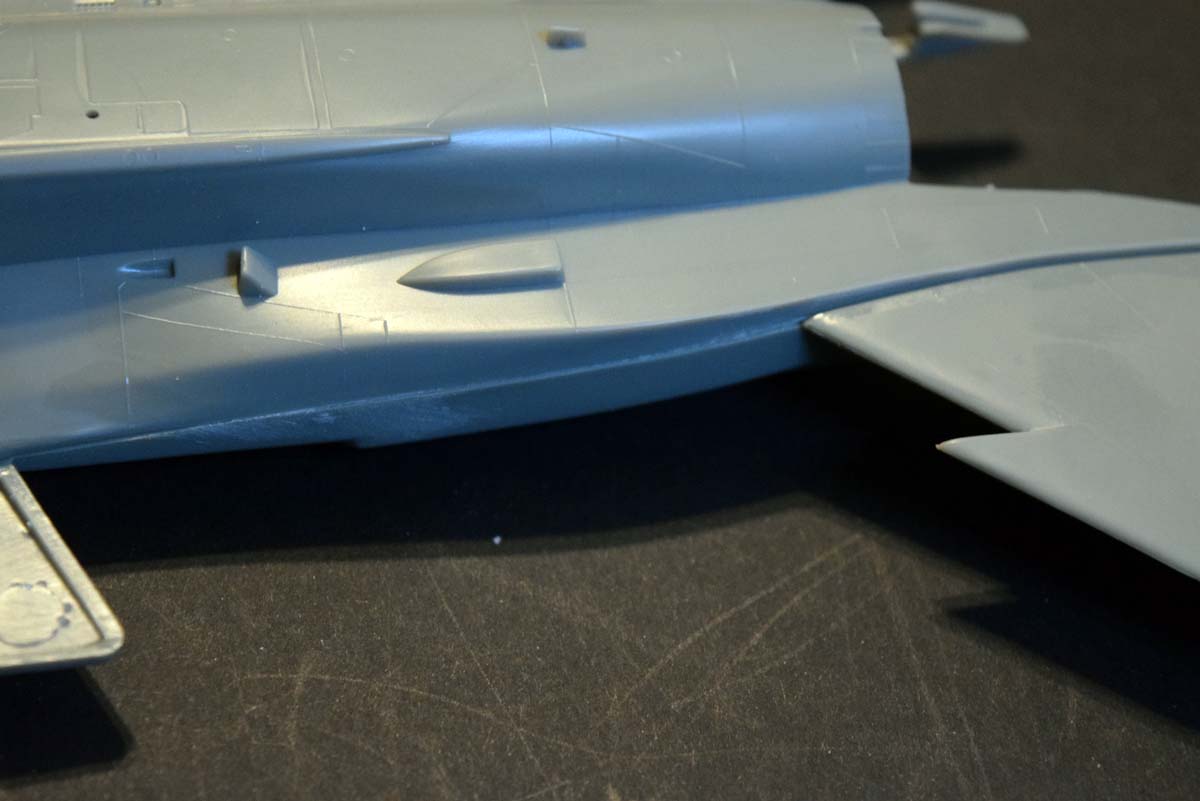
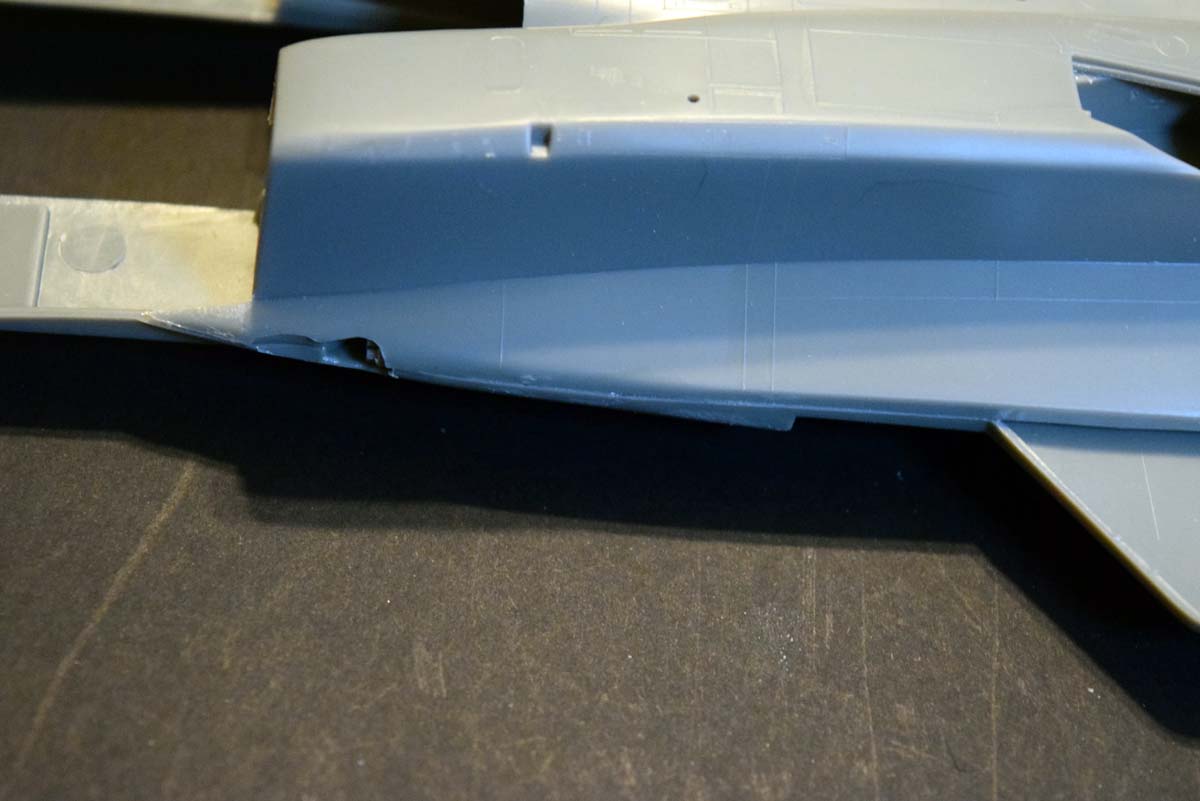
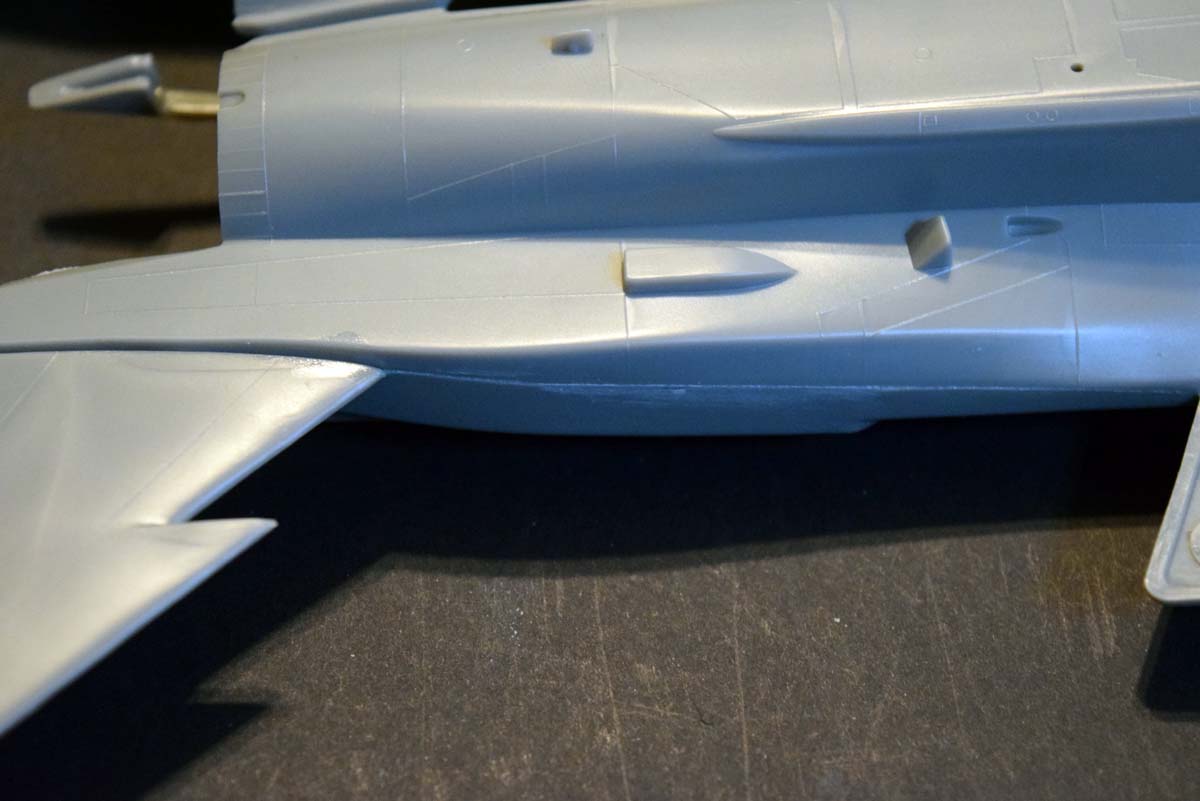
Here we start with a high point considering the age of the model, the jet exhausts. The way these have been tackled provides a reasonable representation of the feathers that control the jet nozzles. On the down side the inside rear of the exhaust is completely bare, the only detail there being the back end of the engines. The engine intakes are a letdown with the variable vane having no detail at the back at all. The inner fence of both intakes requires some work to make it fit, but it is not the end of the world. The real downer is the very poor fit of the cockpit portion of the fuselage to the rest of the fuselage, the height of the main body is quite a bit shallow which I could not correct even by placing pressure at the side in order to raise the height. After getting really frustrated with the joint I moved to the wings and these were a much more enjoyable element of the build.
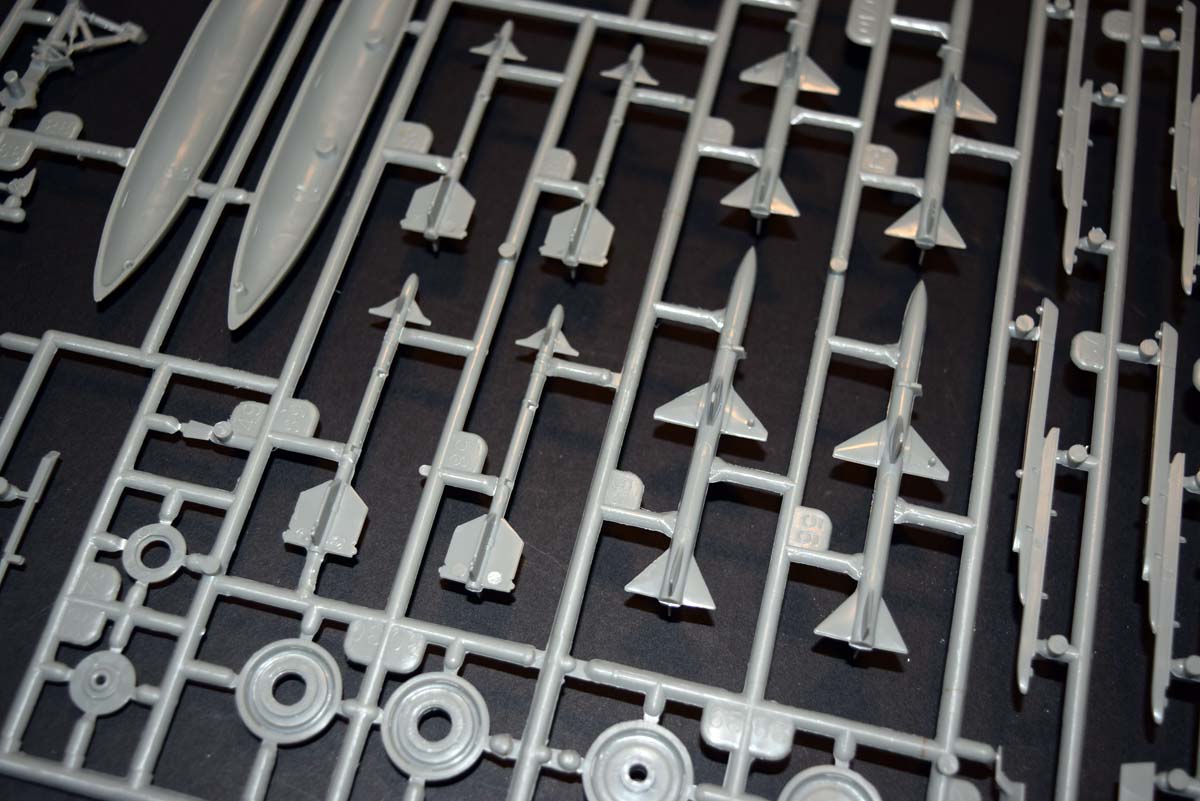
Page 4
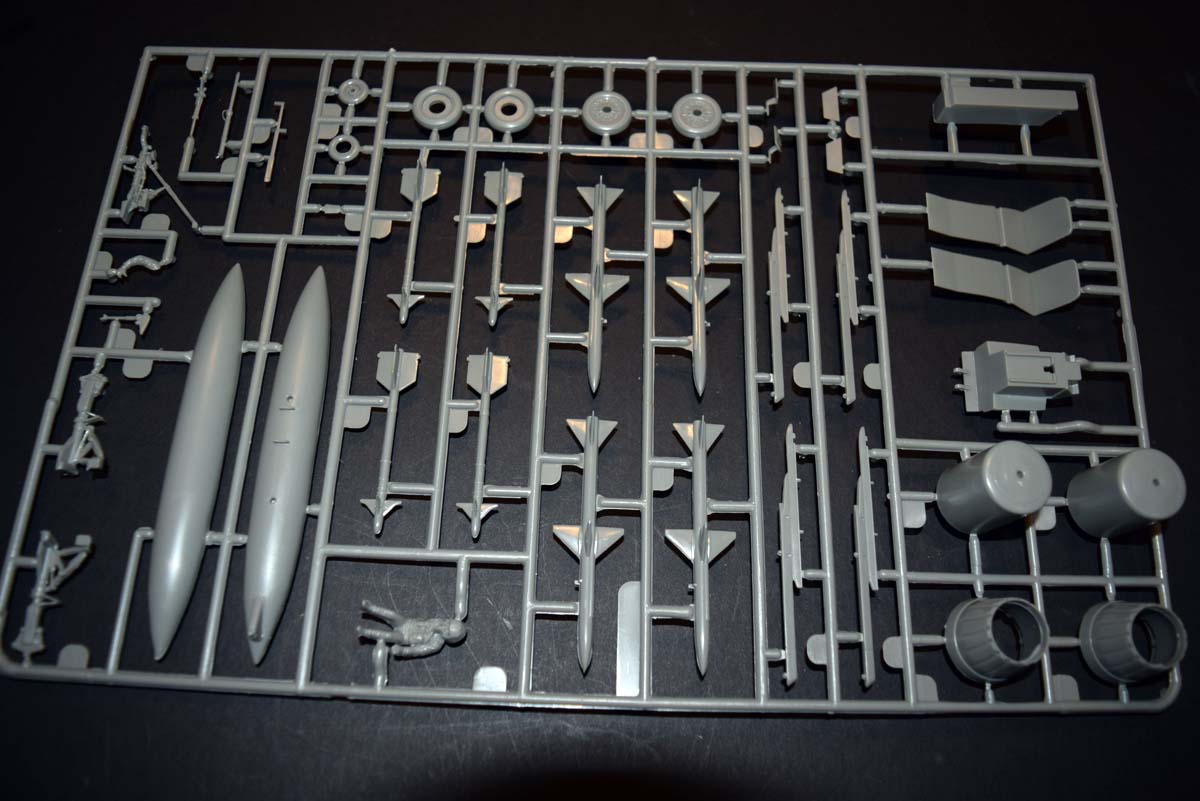
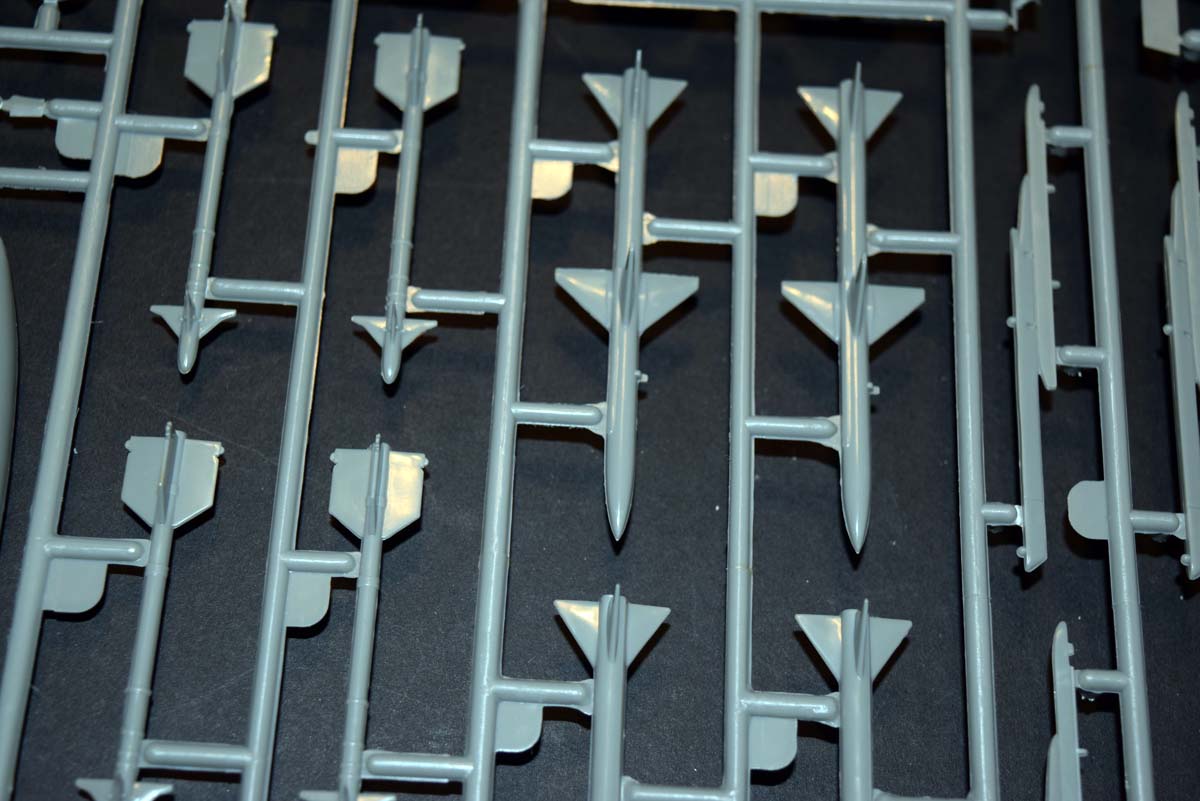
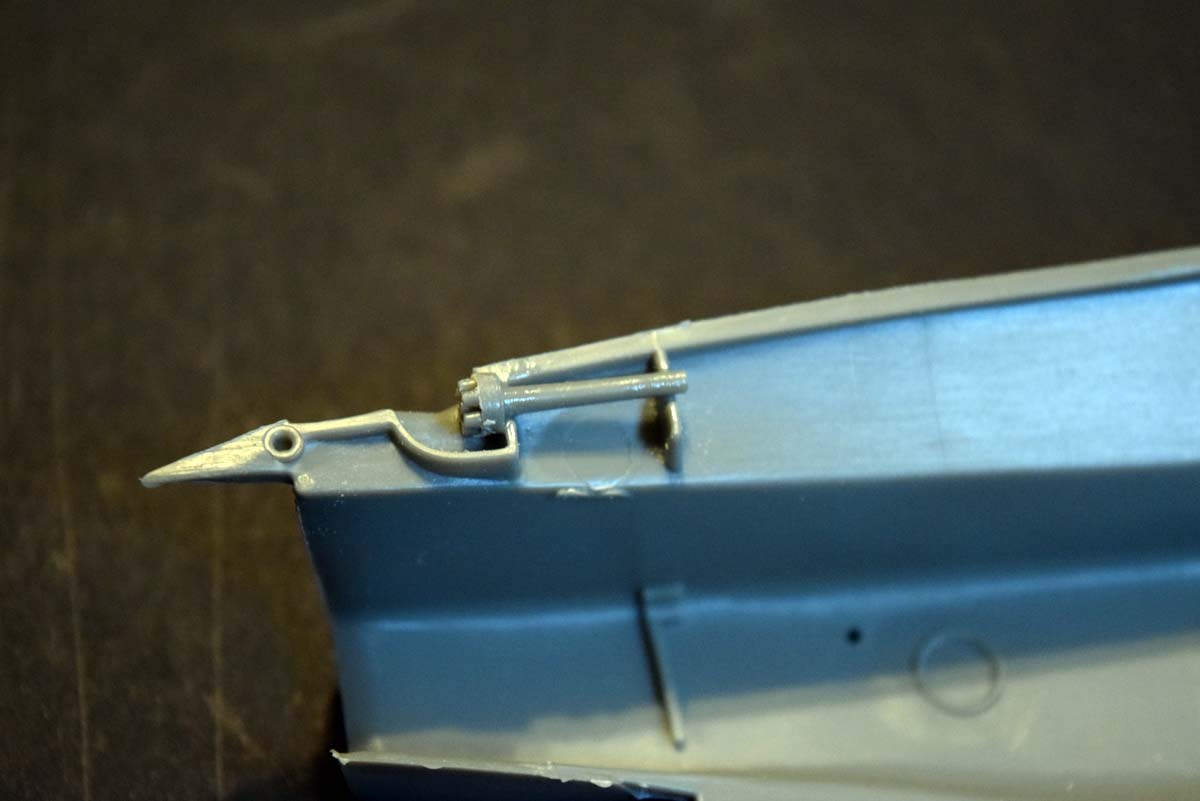
This area does not represent much work for me as I am not placing the model on its undercarriage and so is restricted to closing the rear wheel wells and adding the arrester hook. Pages 5 and 6 also represent very little work for me due to it covering the addition of the firepower; if I was going to add firepower to this model I would use them from a Hasegawa weapons set, but what is in the kit is ok for the younger modeller who is just starting out. The only addition I have to make is the front wheel bay door.
Page 7
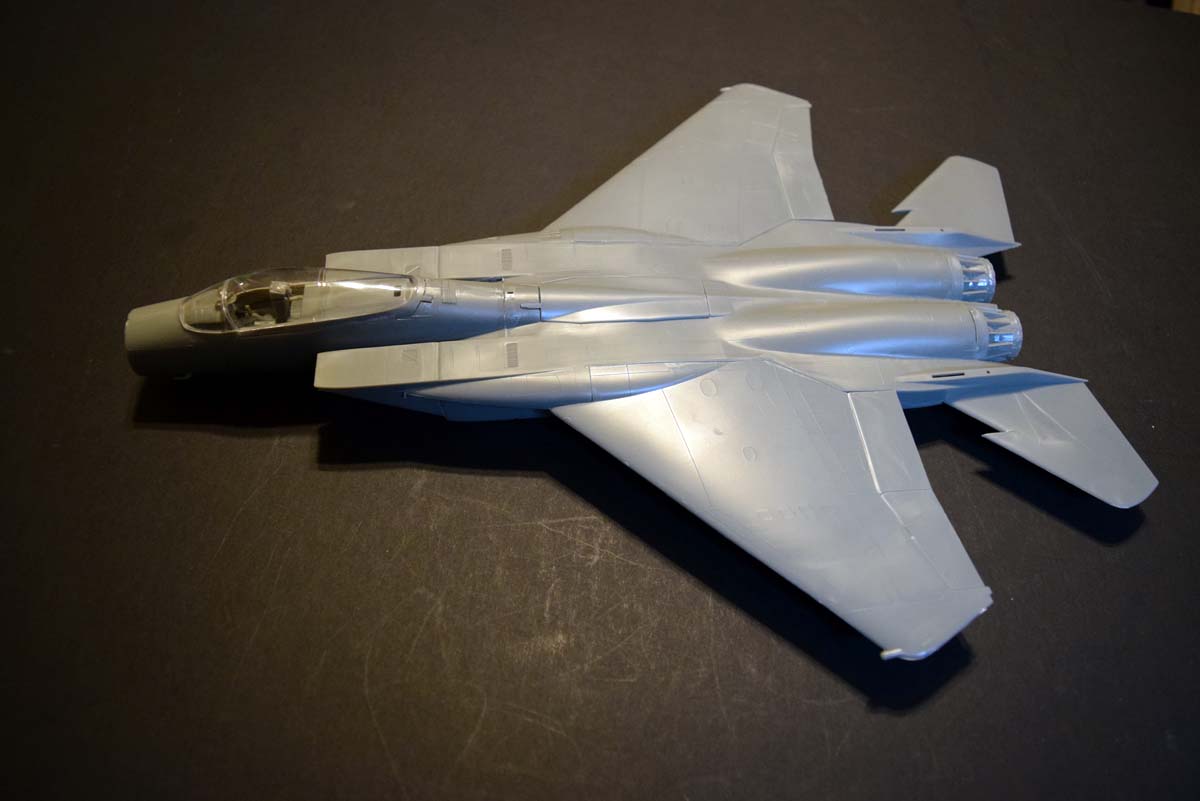
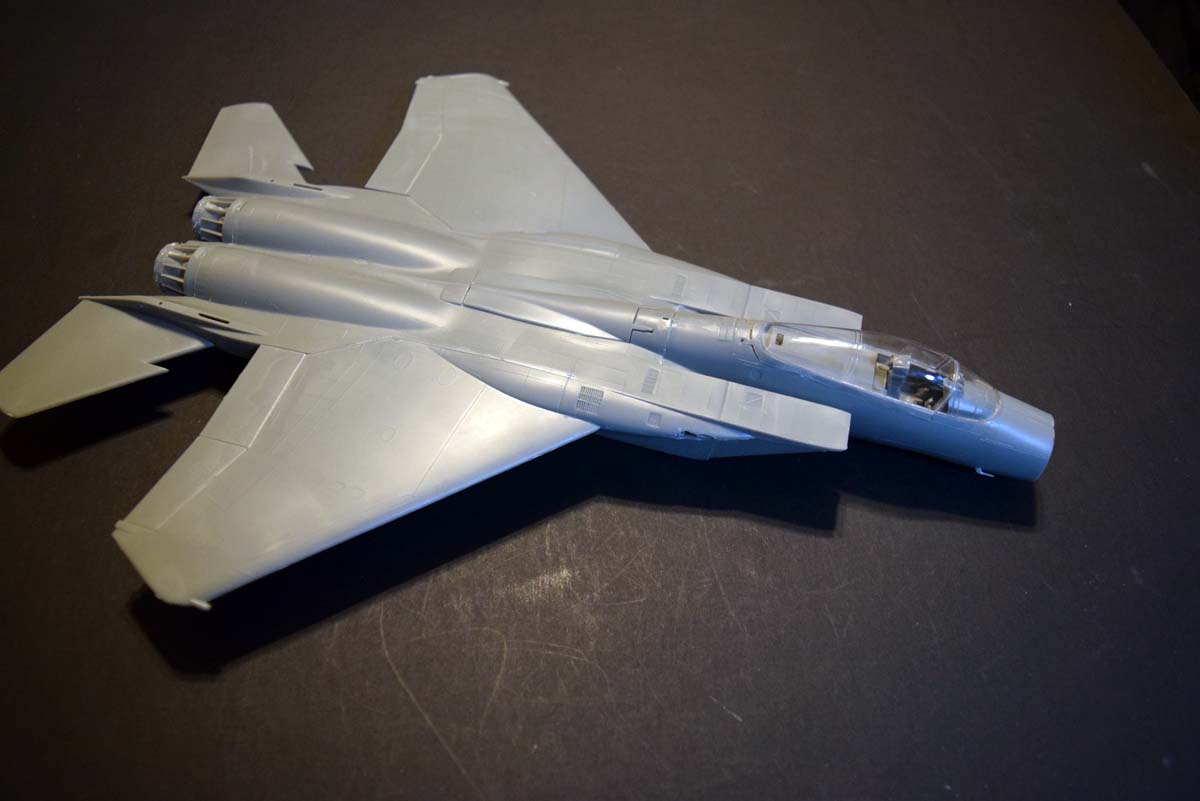
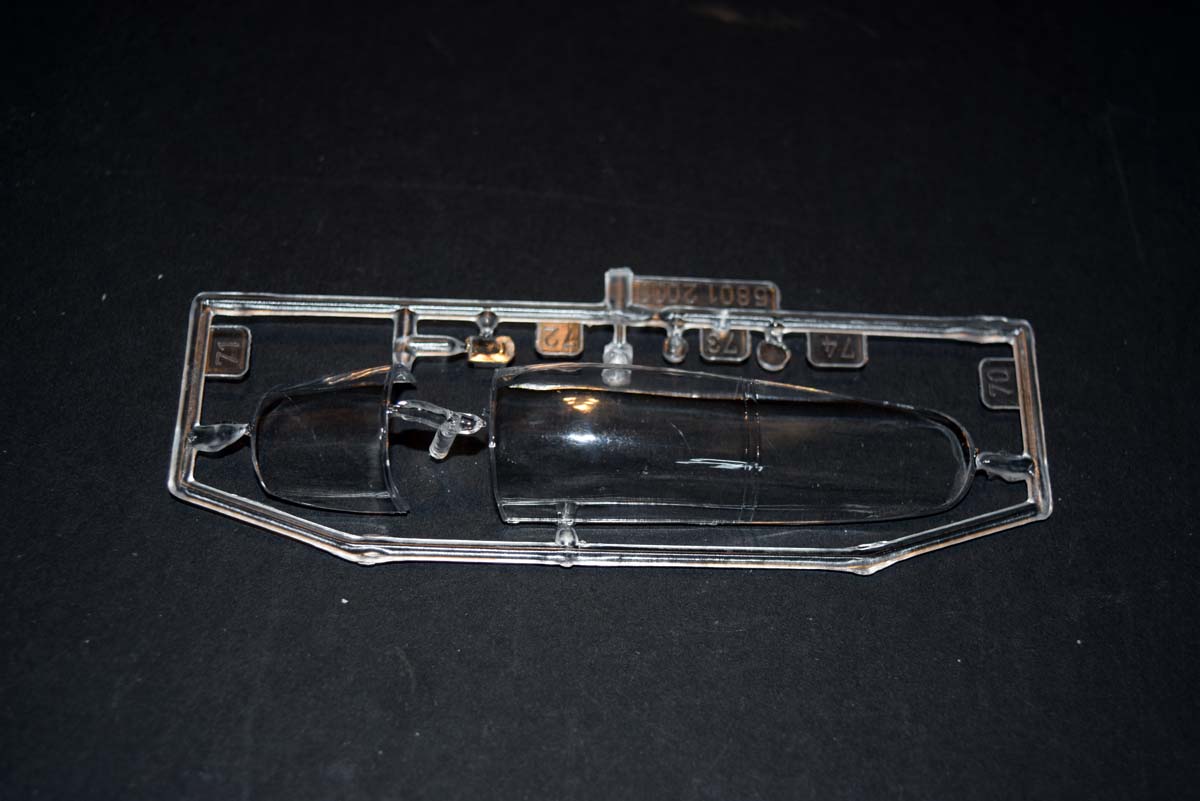
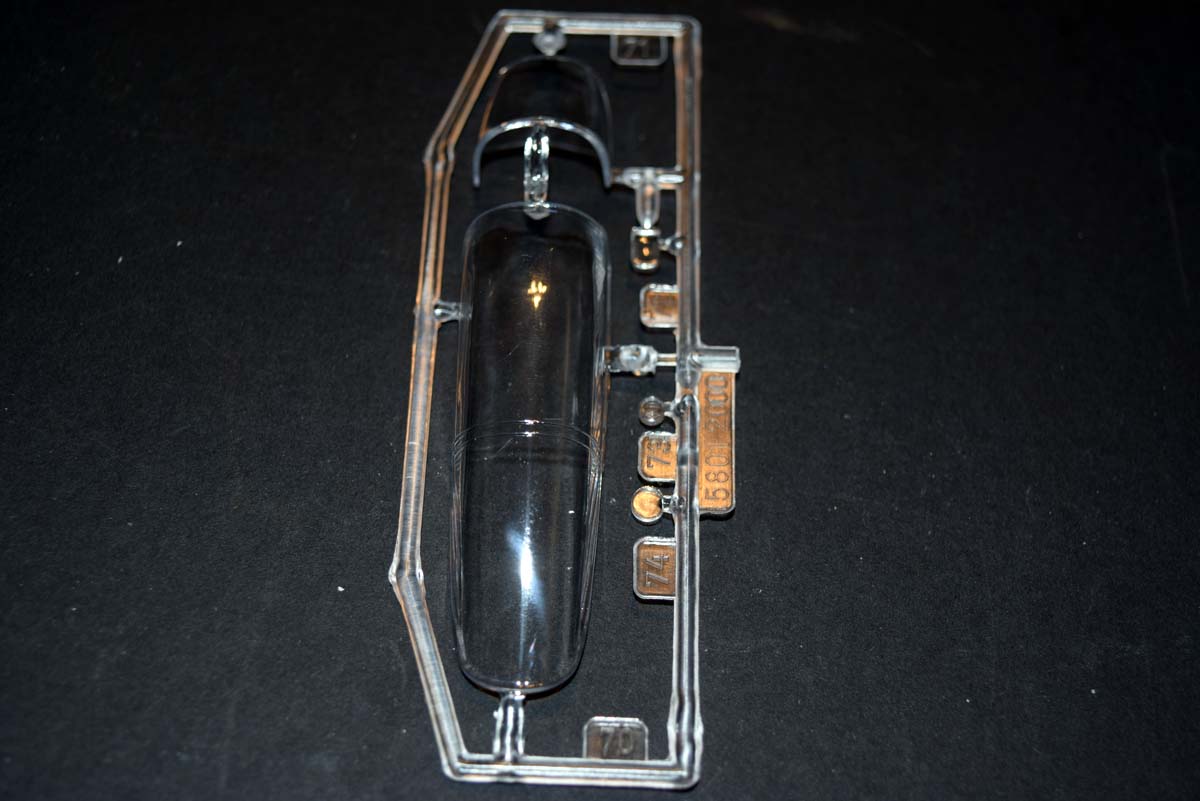
Here is where I found a real high point with the model, the canopy. The mouldings are thin and very clear; best of all there is no seam line down the centre of the canopy, an issue that many other providers seem to struggle to avoid for some reason.
Page 8
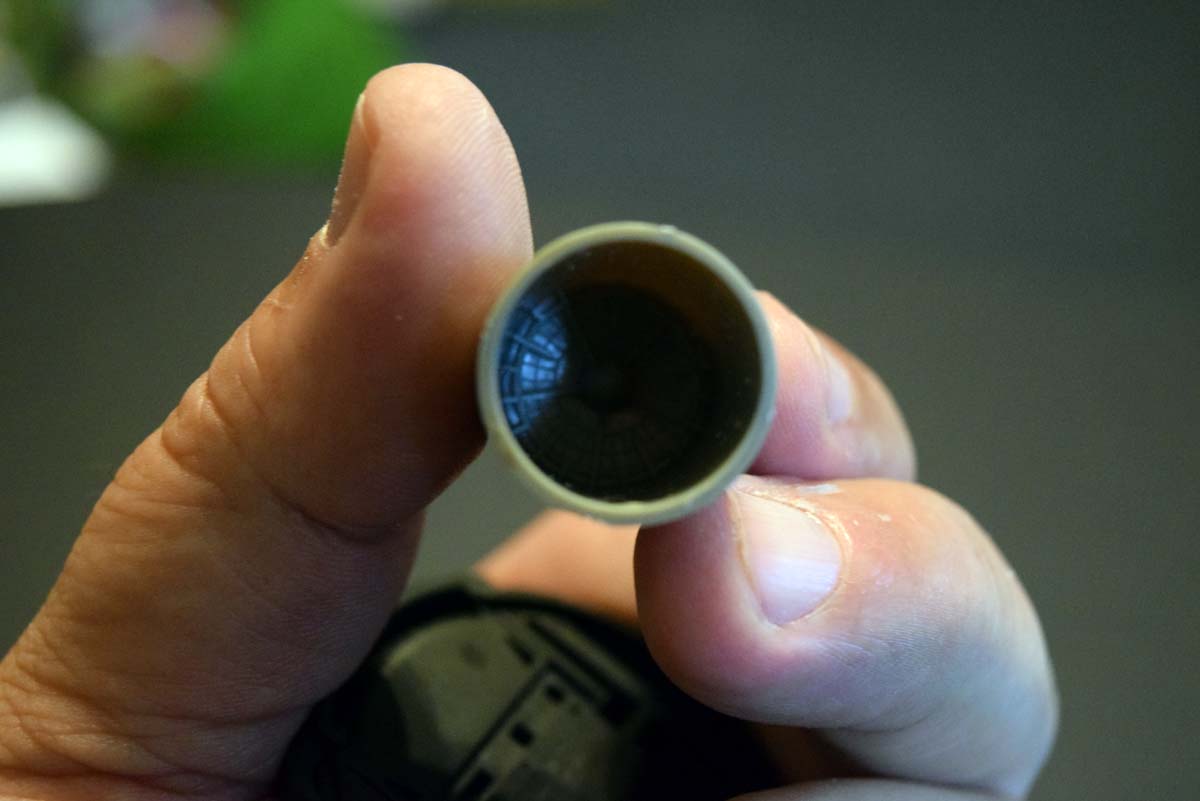
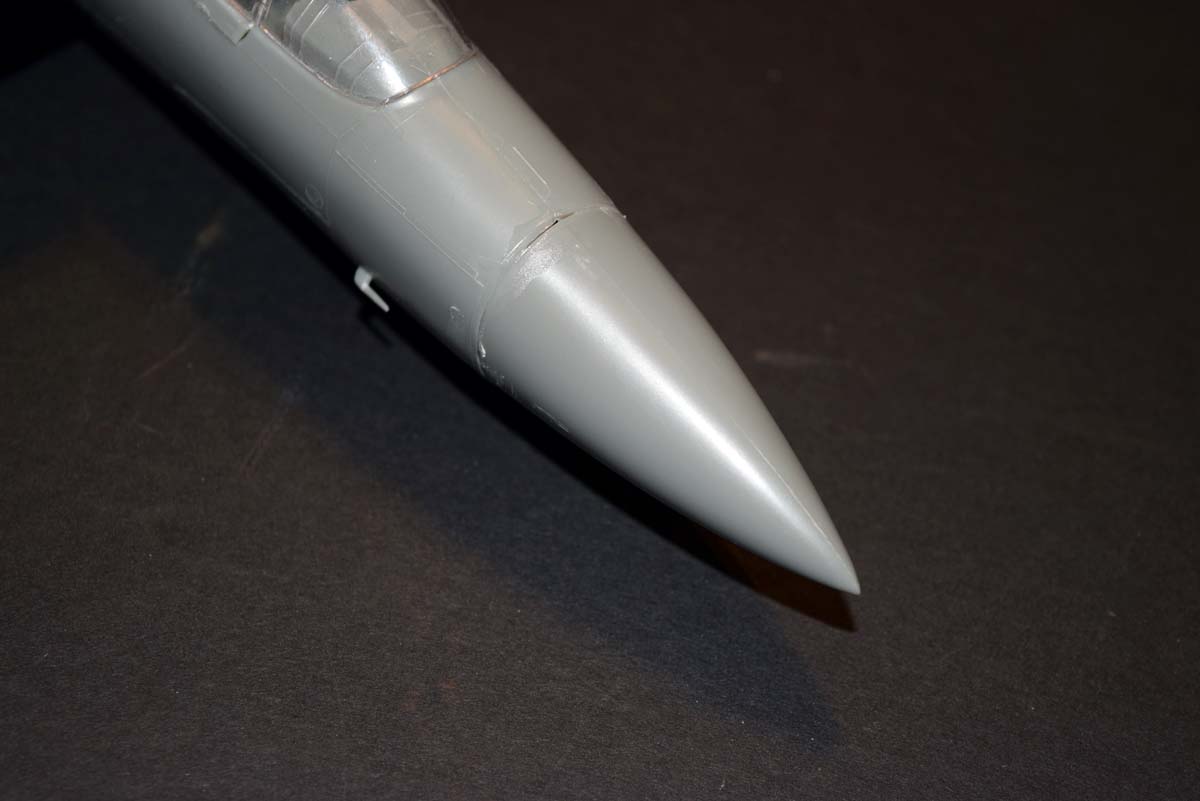
This is the last of the stages I will be covering here. The air brake needs some nasty ejector pin marks removed, but even then due to a recess not been moulded the fit leaves a lip. The tail fins fit well and look the part with the minimum of fuss. The nose cone is designed to be left open revealing a rudimentary radar dish, but I really would not bother taking that route.
Conclusion
So with what I have seen here it is hard to be positive about this offering, mostly due to the age of the moulds. It has fit issues that are a real pain, the biggest of these is the cockpit section of the fuselage to the rest of the fuselage, I could not get the difference smaller than 3mm and that despite putting a lot of pressure on the fuselage. The only way I can think of overcoming this issue is via a wedge cut to shape and size to obtain the required height, but that is not a task for a new modeller. I was thinking that this would be a great model to introduce a youngster to hobby with, its large and sleek sleep that teaches the basics of building a model and has a great decal sheet; alas I cannot do that due to this fit issue. I will say that I would consider buying this kit depending on price due to the great decal sheet and the very well done canopy that is of course if it will fit other offerings.
SUMMARY
Highs: Fantastic decals in all respects and the canopy mouldings are of a good quality.Lows: The fit of the front and rear fuselage has really disappointed me.Verdict: I would pick this up for the decal sheet depending on price.
About Darren Baker (CMOT) FROM: ENGLAND - SOUTH WEST, UNITED KINGDOM
I have been building model kits since the early 70s starting with Airfix kits of mostly aircraft, then progressing to the point I am at now building predominantly armour kits from all countries and time periods. Living in the middle of Salisbury plain since the 70s, I have had lots of opportunitie...


Comments