The history of the fighter aircraft is full of examples of different ideas that just didnt quite work out, such as parasite fighters and flying-boat jet fighters. Another example is the turret fighter.
The idea behind the turret fighter was to take a fighters armament and, rather than concentrate it in the front of the wing, put it in a turret on the planes back. That way, you didnt have to point the entire plane at a target, and a fighters traditional vulnerable spot (the 6 oclock position) could be defended.
To this end, the British armed forces put two turret fighters into operation. The Royal Navy had the ungainly and poor-performing Roc turret fighter, while the RAF purchased the Boulton Paul Defiant. While the Roc looked like it flew (and that was none-too-pretty), the Defiant looked every inch a fighter. With a Merlin engine and lines somewhere between a Hurricane and Spitfire, the Defiant certainly had the right visual cues for a fighter/interceptor.
However, the weight of the turret and extra crewman slowed the Defiant down considerably. It did much better at night, and was perfect for second-line duties like target towing, where many ended their days.
The Box
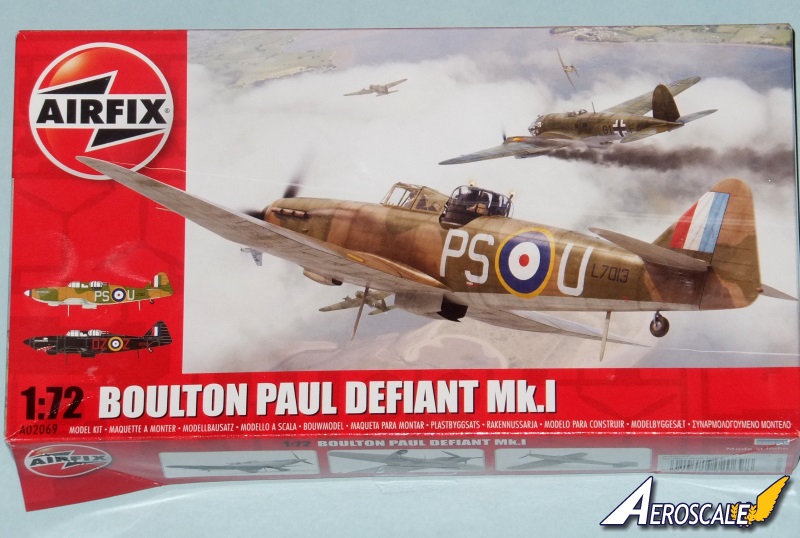
The Defiants box is typical New Airfix. Its a glossy, red, top-opening affair that is full colour on all sides. The front of the box shows a Defiant day fighter slugging it out with the Luftwaffe in the middle of a heated air battle. Already the valiant crew has made its presence felt, as an He-111 is in the middle of going up in flames. The art is done in the hyper-realistic CG that the most recent Airfix boxes use, and it looks good.
Beside the image are two small profiles, showing that this kit can be built as a day or a night fighter, and on the side of the box these two schemes are called out in more detail.
The Kit
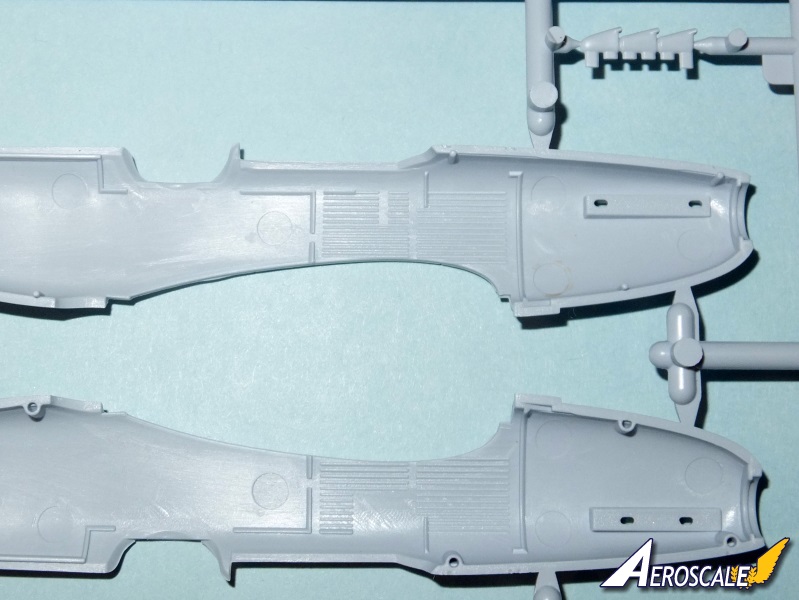
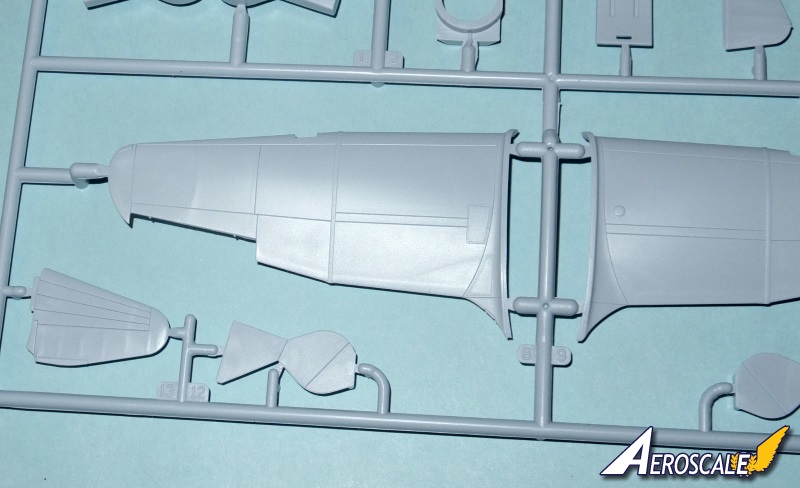
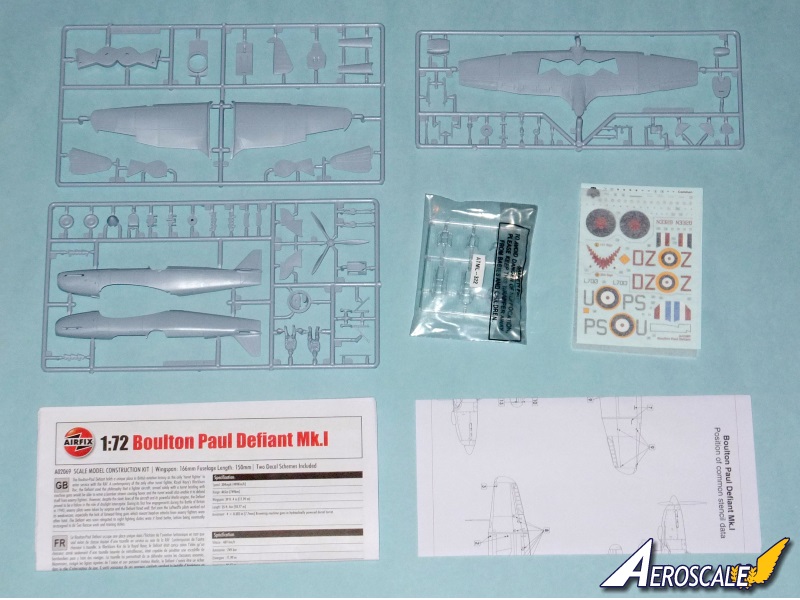
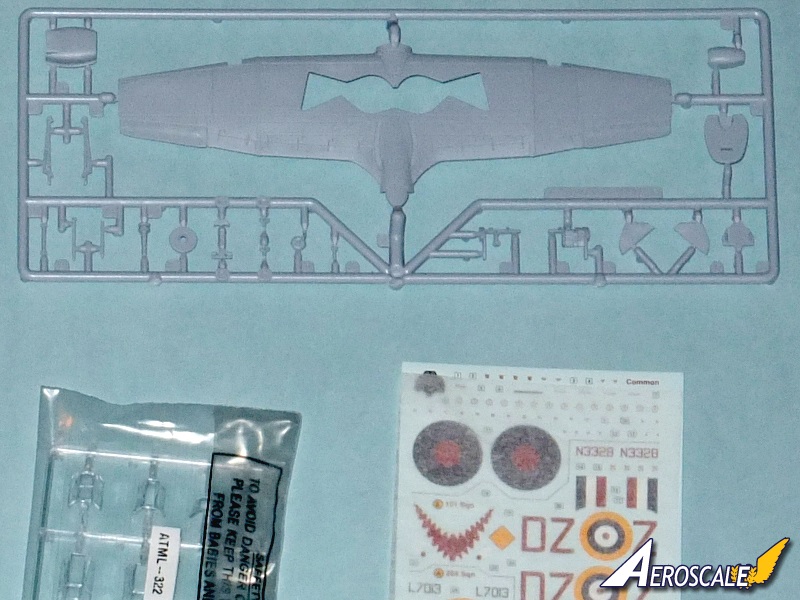
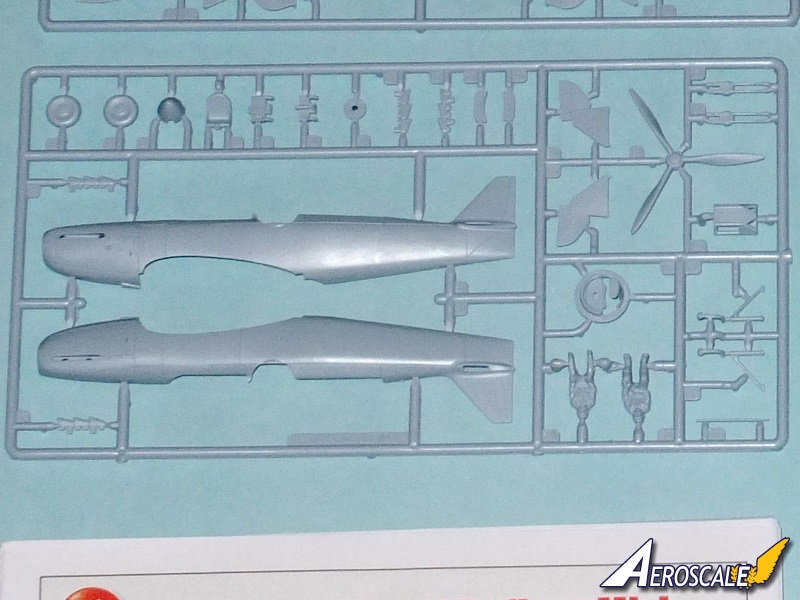
The Defiant is, I will admit, a very, very nice looking model. There are three sprues of plastic in the box, and one of clear parts for the canopy and the turret. The plastic is the typical bluish-grey, soft-as-cheese plastic that all of the new Airfix kits seem to be made from. This is both good and bad; its easy to sand and shape, which is nice, but the plastic makes it harder to cut small components off of the main sprues.
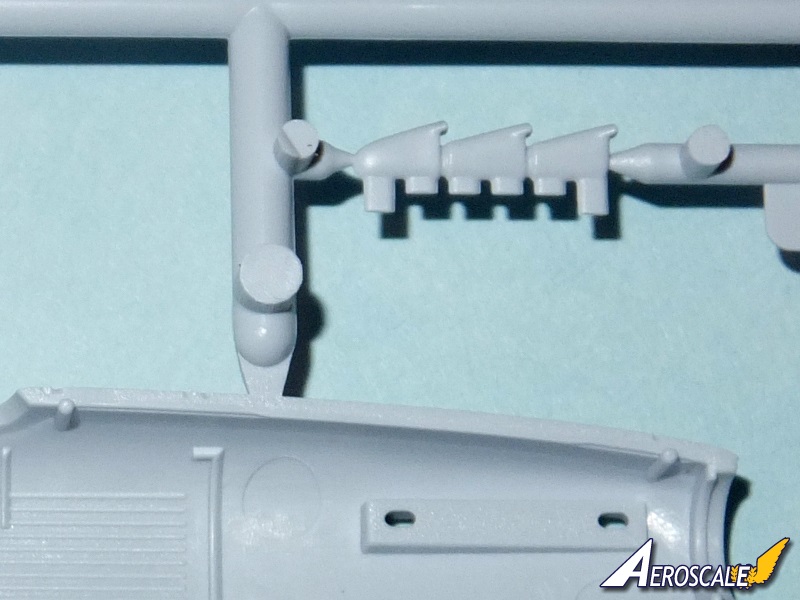
Unlike the Spitfire F.22, but more like the Swift FR. 5, the gates on the Defiant kit seem to be much more under control. They are not so large and clunky, and they do not completely dwarf the finer parts. Also, there arent the same phantom gates just randomly stuck on, and thats definitely a good thing. This makes it much easier to clean parts up, and reduces the chances of breaking a small or delicate part.
One thing I do like is the canopy/turret options. This kit gives you almost every possible combination! There are separate parts for the aft-of-turret panel to be built up or down, and the same goes for the aft-of-canopy panel. This is particularly important, as the aft-of-canopy one is moulded in one piece with the canopy! This makes life much easier, but it does mean you can only have a closed canopy, because the piece is a single unit. However, Airfix comes through and gives you a three-piece canopy too; the middle section can be positioned open in one of the iterations. The only variation you cant do is an open cockpit with the aft-of-cockpit panel down; the open canopys rear section is only given with it up.
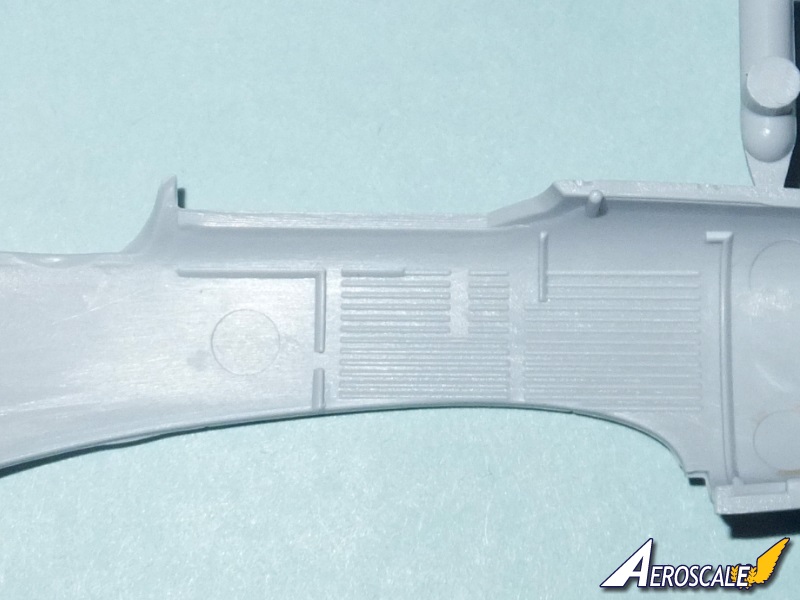
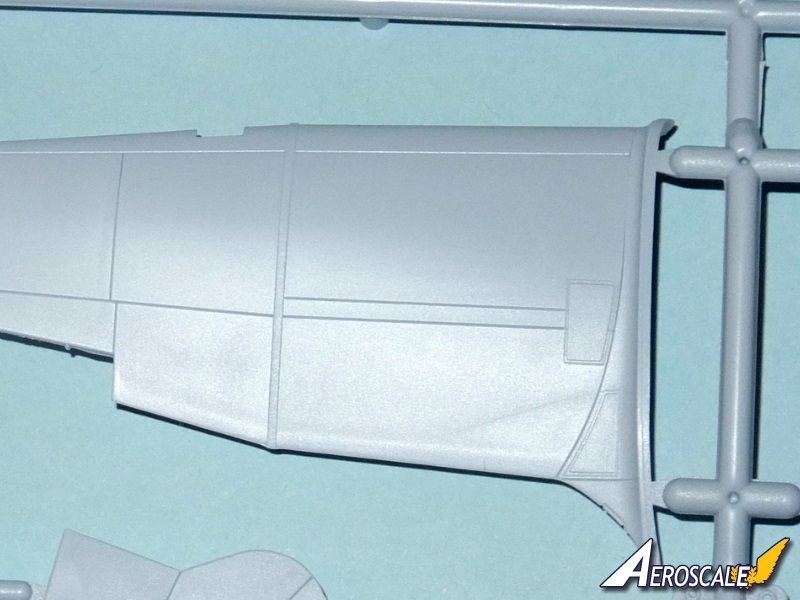
The detail is excellent. Sure, its not as fine as on some much higher-priced kits, but it will survive a bit of painting, and thats a plus in my book. The interior detailing on the cockpit walls looks nice as does the cockpit itself. Theres good detail in the gear bays as well, and the fabric covering on the control surfaces looks amazing, especially the ailerons. The kit looks detailed without looking manic, and it gives an impression of quality at least at, if not above, its price.
That last point is important. The impression of the kit is that it will go together nicely and will be fairly painless to build. However, Ive seen the new Airfixes bite me on that before. My guess is that the fuselage halves will round in and require some putty; thats the way its been on the couple of New Airfixes Ive built so far. So I dont think its a good idea to expect it to be a pure shake-n-bake build. Go into this wary, and you wont be caught off guard!
Instructions and Decals
The instructions are like those in the newest new Airfix kits. They are masterpieces, plain and simple. They are black and white, but shaded like 3D CAD models (which they likely are). This gives a depth that is remarkably handy and helps with figuring out exactly what goes where. New things or points of interest are highlighted in light red in most steps, so theres little opportunity to mess something up.
One thing I dont like though is the colour callouts. There is just a number given, and these are for Humbrol colours. In some cases, the colours are shown on the paint plan, but some of the interior colours are not shown on the plan, and simply telling me that the cockpit interior is 78 is of absolutely no use. If there was a list of the colours somewhere, thatd be fine, but there isnt. That means I have to look up the colours on the internet and write them down first. That may not sound like a hardship, but it cheeses me off.
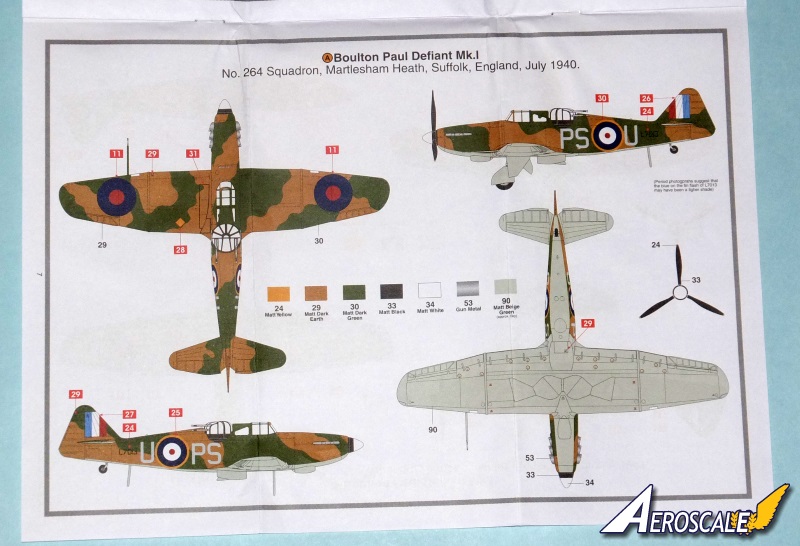
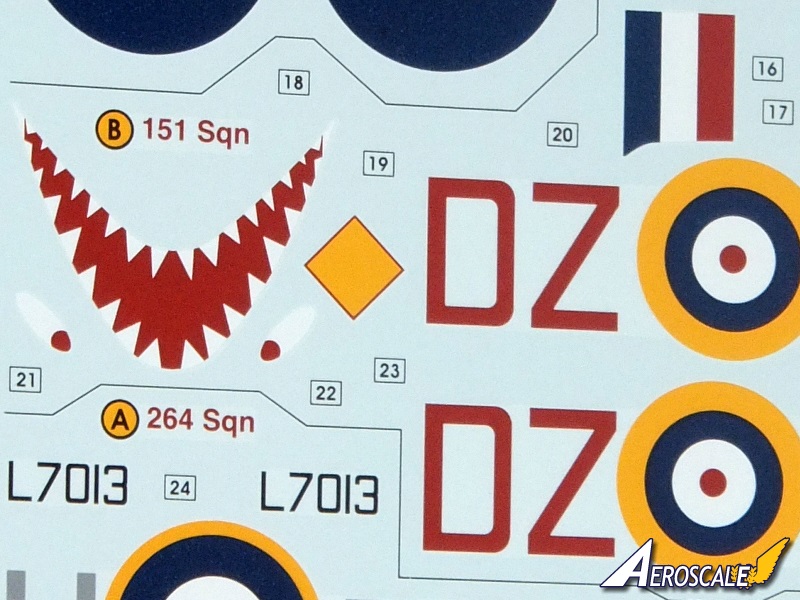
As for painting the finished plane, there are two very nice colour painting plans. These have the colours called out and an example of each, and thats very nice. There is a night fighting scheme for a No. 151 Squadron machine that is all black and has a distinctive and unusual shark mouth on it. The second scheme is for a day fighter from No. 264 Squadron in July of 1940. I like this one because my grandfather was in England with the 1st RCR at the time.
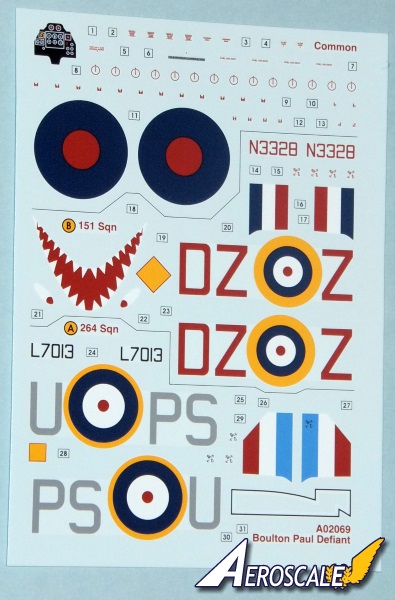
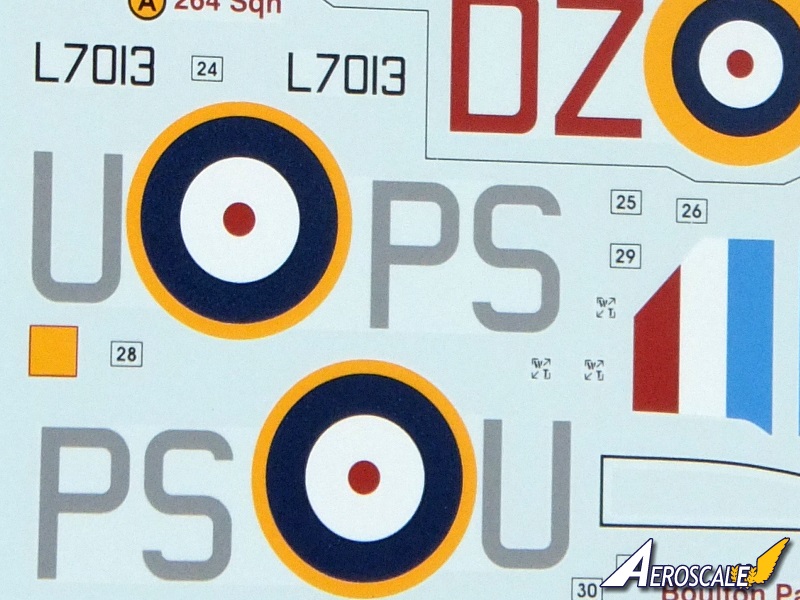
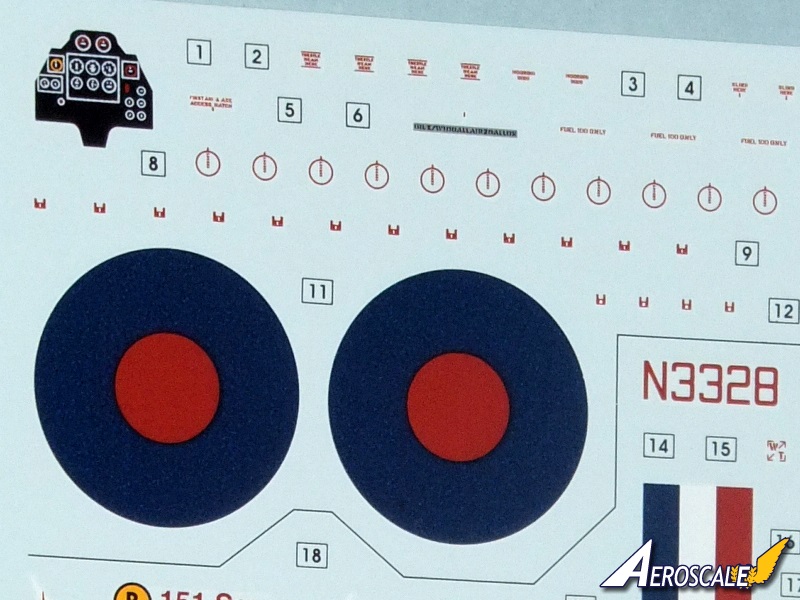
The decals are very nice, as Ive noticed on all the New Airfix kits. Full markings are provided for both machines, and there is a good selection of stencils. I dont use most of the stencils anyway, but a few are nice to have, and theyre always good for the spares box. The instrument panel is a decal, and it looks good; it better be since theres no moulding on the instrument panel if you want to go that way. The standard separate line artwork for the stencilling plan comes as a separate sheet. I really like this approach and applaud Airfix for coming up with this method to make stencilling easier.
Please remember, when contacting retailers or manufacturers, to mention that you saw their products highlighted here - on AEROSCALE.
SUMMARY
Highs: - Moulding is crisp and parts look very clean.
- Shape looks good.
- Transparencies look excellent.
- Lots of build options for gear and canopy positions.
- Good level of detail for the size of the plane.
- Great looking instructions and decal sheetLows: - Soft plastic, so care is needed for removing small parts.
- Only a decal is provided for the instrument panel. I prefer to have an actual moulded piece.Verdict: The kit looks simple enough for most builders, but there are some fiddly bits to be aware of. The extra complexity of the turret is something fighter-builders arent really used to, and Id caution those who are relatively inexperienced to consider buildi
About Adam Rehorn (Mechworker) FROM: ONTARIO, CANADA
I'm a Professional Engineer with a Ph.D. on Electrical Engineering. I have been a modeller since I was twelve, when I built the old Monogram 1/48 P-40 with my Uncle. My first "solo" kit was the 1/72 Monogram A-10A, and I've been going strong ever since. I have a personal love for the weird and obscu...
This is very nice kit indeed: here's mine that i just finished. (shameless plug)
I agree with the comment about the instrument panel though. If you're going to provide parts so that the modeller can display the aircraft with the canopy open, then a molded instrument panel is a must.


Comments