

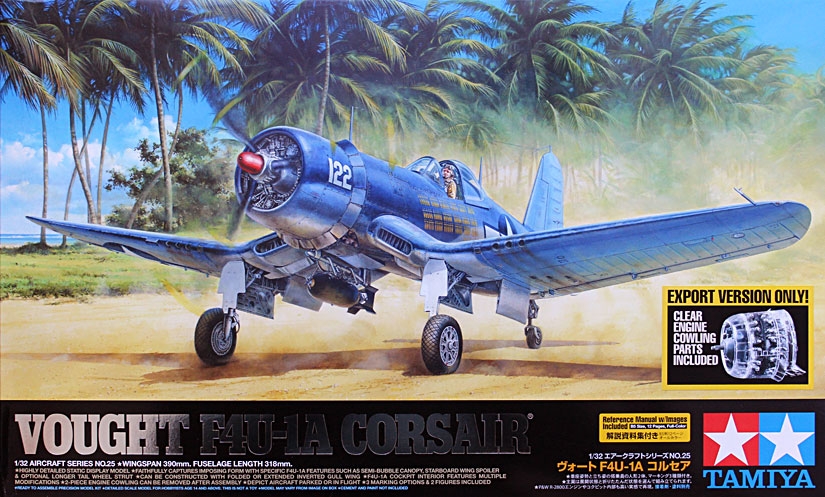
1⁄32Tamiya 1/32 Vought F4U-1A Corsair
Introduction
What is there to be said about this kit? (Insert ten minutes of enthusing here) Right, now thats out of the way, heres the rest.
As with their recent 1/32 releases, Tamiya are really giving you several kits in one. Should you wish, you could easily discard the fuselage and wings and have a perfectly acceptable rendition of the Corsairs cockpit and the Pratt & Whitney R2800 engine as stand-alone displays, such is their quality and accuracy. Typically, the aftermarket crowd have been quick off their marks to provide you with like-for-like replicas of those sub-assemblies, but frankly, with the levels of detail that are on show here, I really dont see the need as the kits injection moulded pieces are not far enough behind to merit the additional expense on top of what is not the cheapest kit on your model stores shelves.
Cockpit Details
Starting with the 58 parts that make up the pilots office, you will find yourself smiling like a giddy schoolboy with their precision fit as well as the thoughtful way Tamiya have engineered them to go together. Spread over 18 build steps, the cockpit is a sheer delight and although many will chose to add their own plumbing and wiring to add further clutter, I decided to keep it from the box as, once painted, there is more than enough going on in there to keep most inspections busy for a while. A decal behind clear styrene provides as realistic instrument panel youll find anywhere and with careful paintwork, the multitude of switchgear, knobs and levers will make the pit bristle with interest. I did consider using the exquisitely sculpted seated pilot figure, but felt he might obscure an interior that was screaming to be visible, so I opted for the standing figure instead and got the best of both worlds.
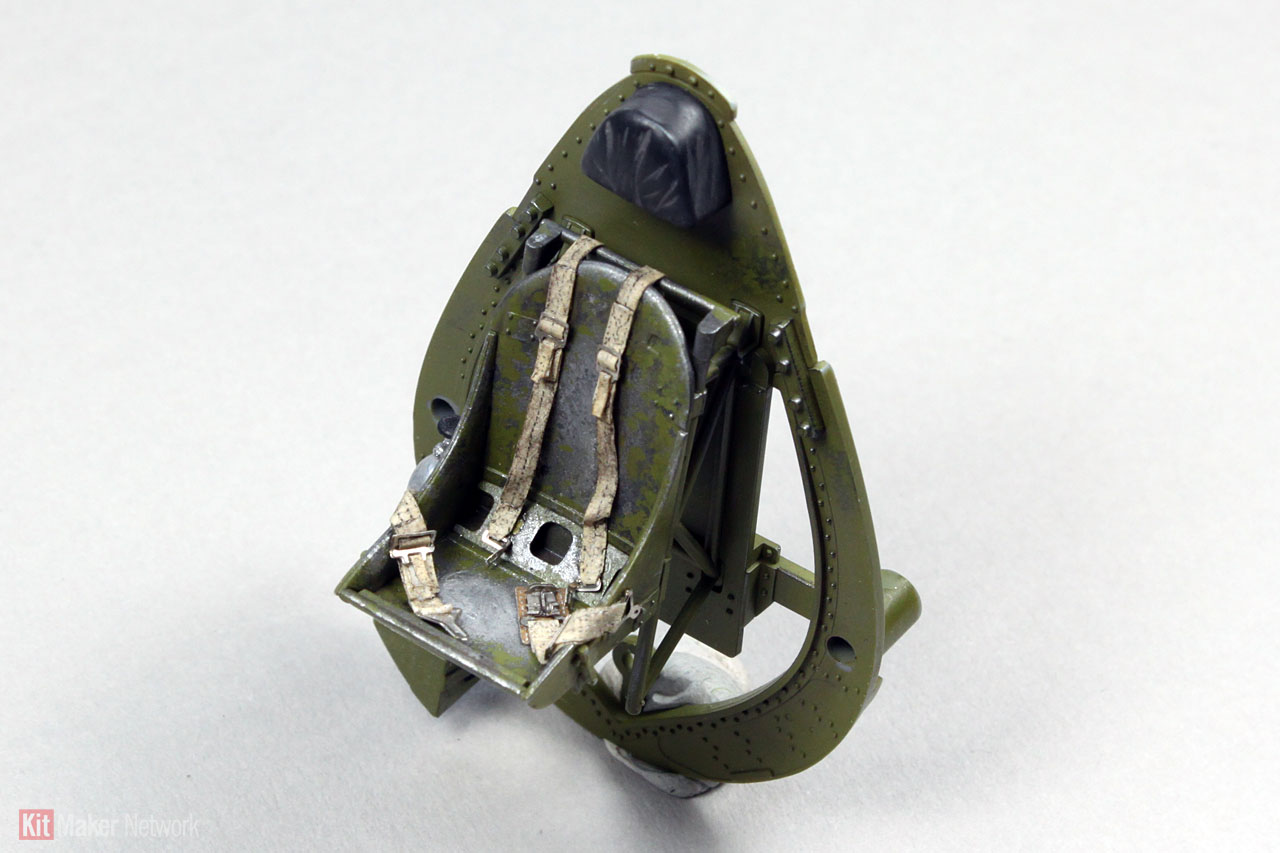
I do find it odd that in todays world of comprehensive, super-detailed model kits, that for the most part, manufacturers still seem to omit the one key detail that will add that quintessential finishing touch to the cockpit the seat harness. Thankfully, Tamiya have included a set of photo-etched belts on one of the two metal frets. That being said, Tamiya being synonymous with quality is reflected in their frets being more akin to deck steel where you might find an angle grinder more appropriate at liberating the parts from the fret than your usual weapon of choice a quality that is beneficial where grills and other filigree parts are the ones being handled but as for replicating a flimsy strip of webbing, no amount of annealing was going to make sculpting the etch into a realistic pose. As a result I chose the Eduard Super Fabric option which provides a pre-coloured set made from actual fabric as its name suggests, that is complemented with a photo-etch fret for the buckles. Being fabric makes it easy to position it in a crumpled fashion as if cast aside by the pilot and left in a haphazard mess, rather than the rigid side-by-side configuration that the metal sets often produce.
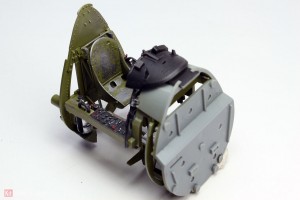 Cockpit painted.
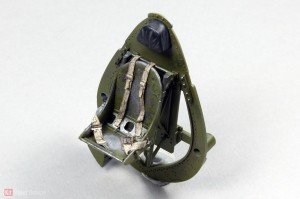 The harness.
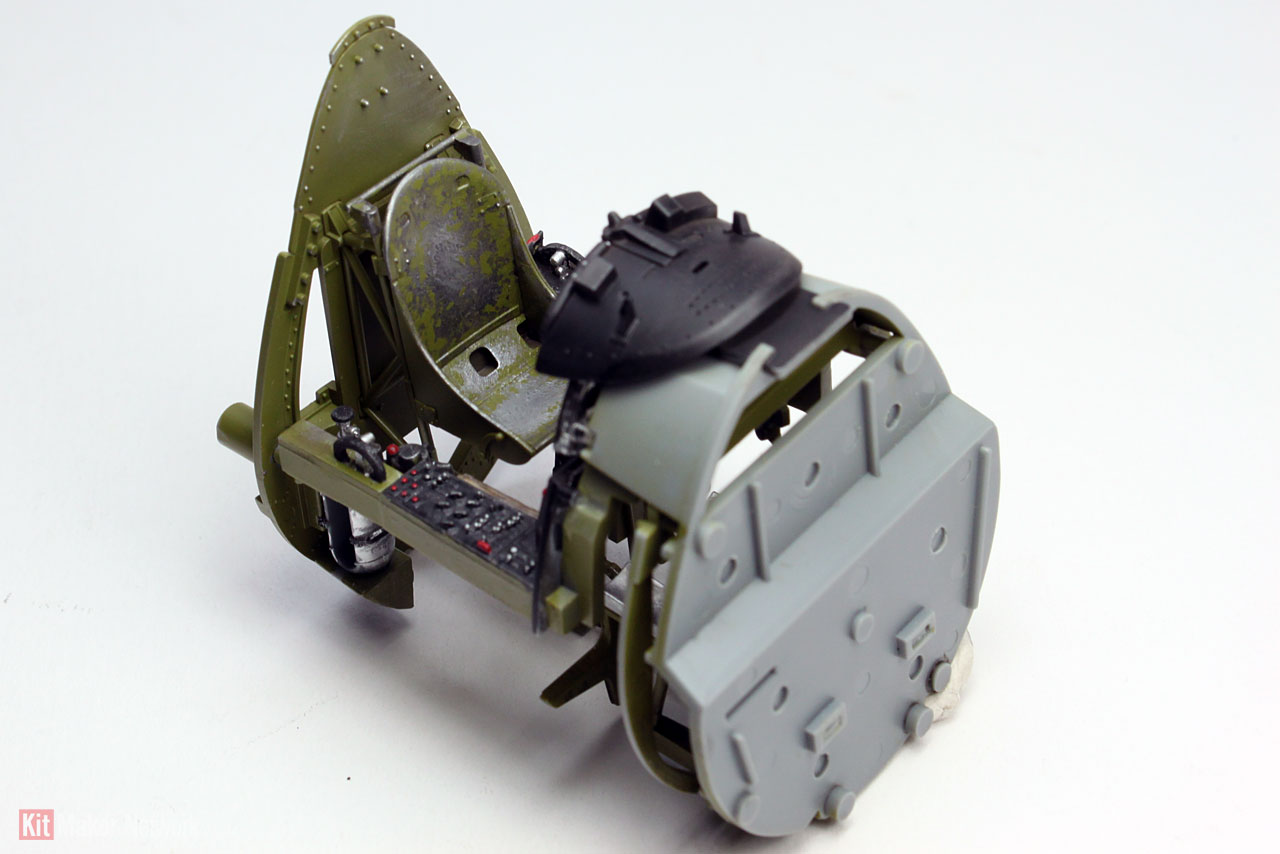
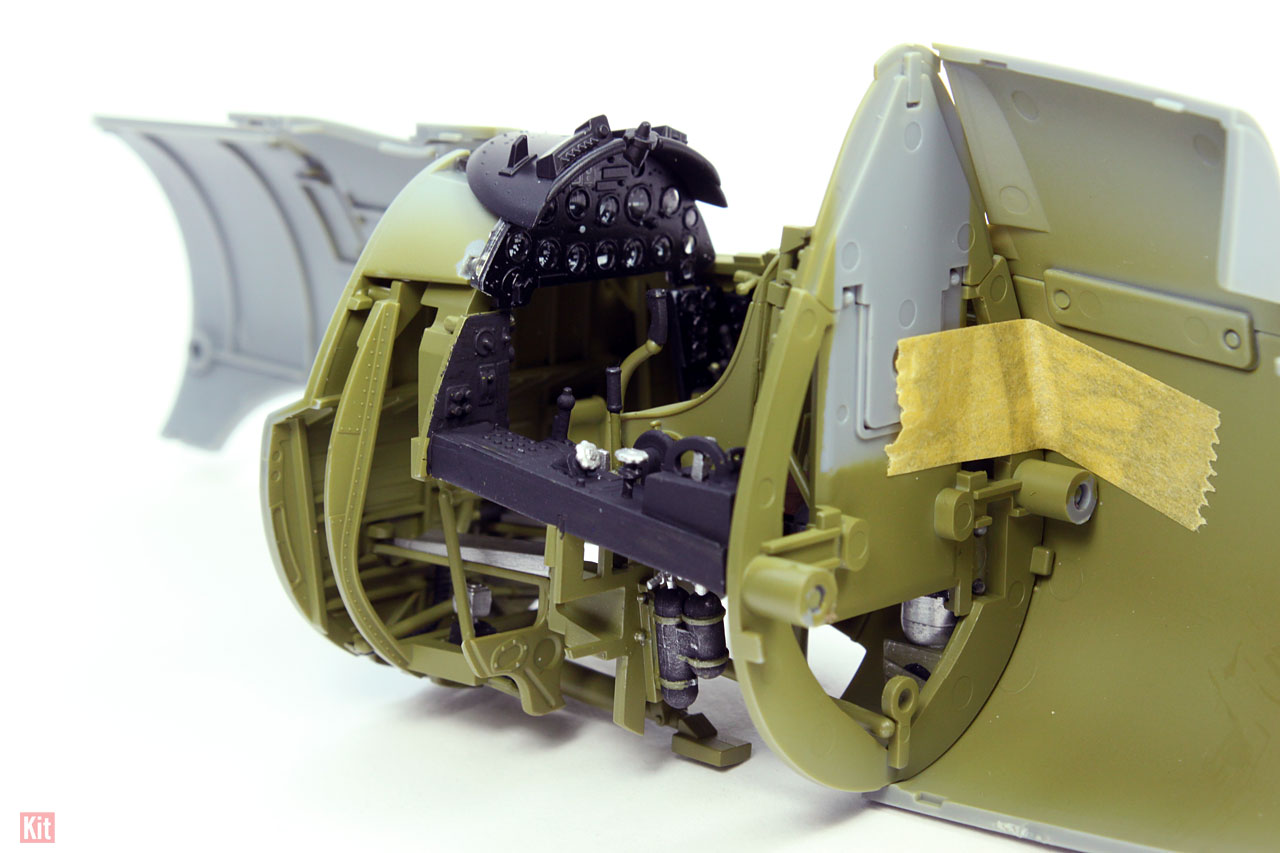
 Cockpit going into the fuselage.
About the Author


Comments


All Rights Reserved. Please read our Conditions of Use and Privacy Policy.