

1⁄32Hannover CL-2
...
Post a Comment
history
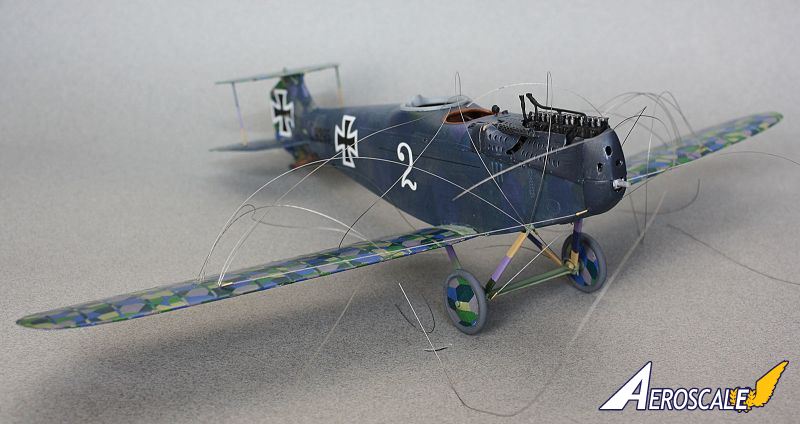
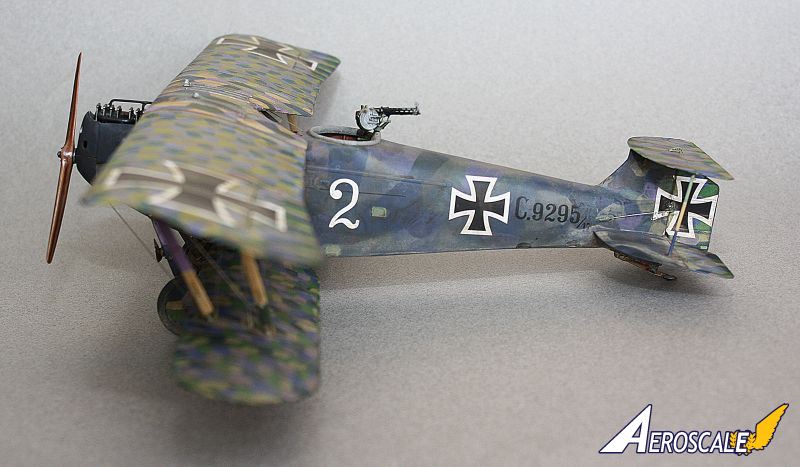
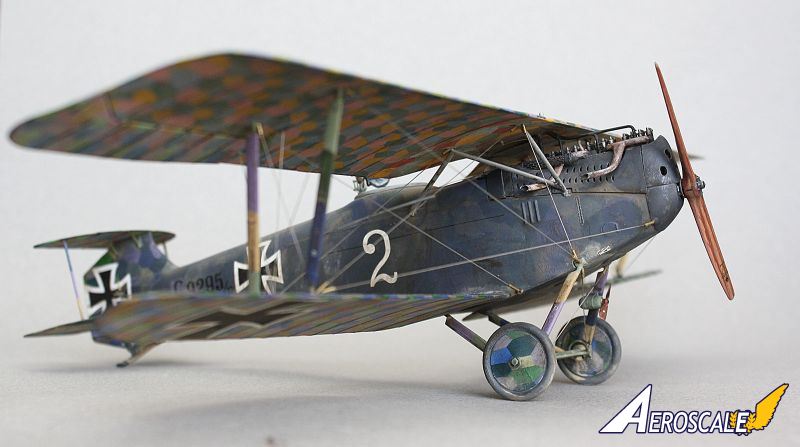
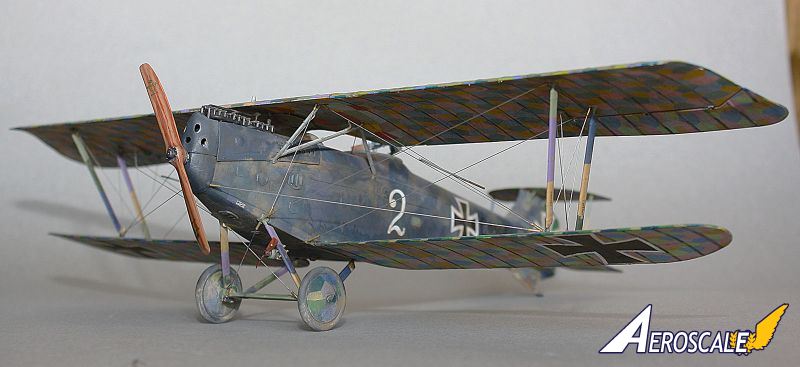
Manufactured by Hannoversch Waggonfabrik AG (Hawa), Hannover CL.II was a light two-seater aircraft that served in reconnaissance, escort fighter and ground attack roles - it was well received by its crews, was strong, fast and at times could outmanoeuvre Allied fighters. Test flown in the summer of 1917, it entered service towards the end of the 1917 and saw 646 of these aircraft built until superseded by CL.III and CL.IIIa's in 1918, with the latter soldiering on until the War's end and some continuing service in Foreign Service for years after.Most unique feature of this aircraft was its biplane tailplane, which allowed a narrower gap in observer's field of fire to the rear and below the aircraft. The fuselage was deep and gave the crew high position, benefiting the field of vision and offering less obstructed view by the top wing; the aircraft was rather compact and could be mistaken for a single-seater due to its relatively short wingspan (made even narrower in CL.III and CL.IIIa).
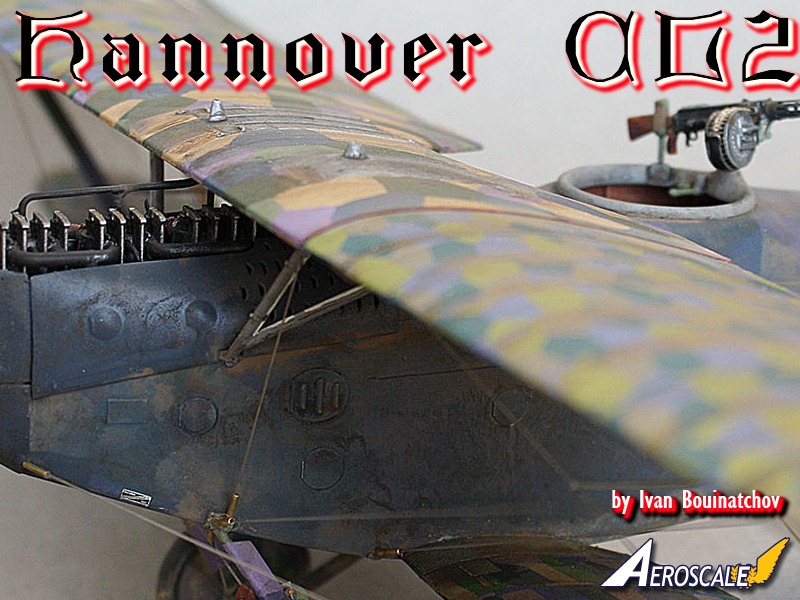
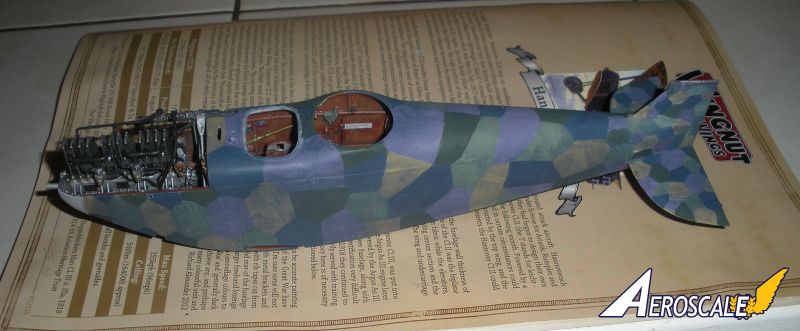
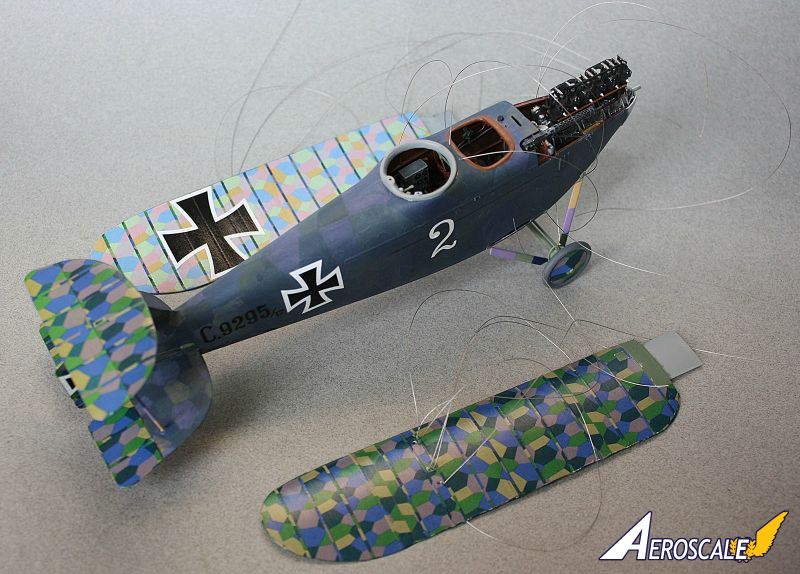
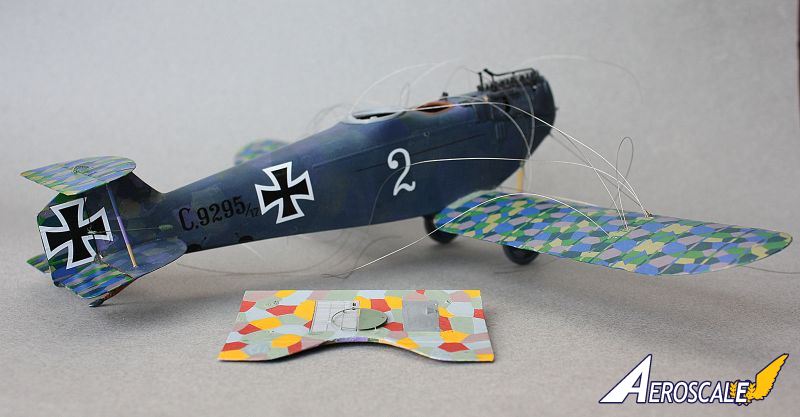
All Hawa produced CL.II received rather wild camouflage patterns - wing planes were covered in either 4 or 5 colour lozenge (sometimes mixture of both, as a result of repairs) and fuselage, centre section of the top wing and struts were painted in approximated lozenge styled geometry and colour. Most crews sought to alter the factory paint schemes by applications of glazes, own camouflage patterns or completely overpainting the wood surfaces.
All in all, this subject is not spoiled by choices in scale, produced in large numbers, variations and wore a variety of war paint to choose from. It's uniquely distinct and some may even find beauty in its purpose built construction.
The Kit
WingNut Wings offers an excellent rendition of this aircraft in 1/32 scale - the modeller is presented with 5 distinct variants, each varying from camouflage scheme / personal markings to early to late variations and even one license built by Roland. The latter possibly being the easiest scheme to tackle for the modeller shy of applying copious amounts lozenge and hand painting camouflage patterns - Roland built aircraft looks just as striking in its white and light blue factory paint, in my opinion.But lozenge fanatic says, "Lozenge, lozenge, lozenge - this kit has it in spades!" There are two full sized decal sheets dedicated to covering all of aircraft fabric surfaces in sized templates of 4 or 5 colour lozenge, with ribtapes pre-applied. While this speeds up and simplifies the build process on already complex subject, it may take away some originality that comes from hand applying lozenge fabric and rib tapes.
The painted lozenge on the wooden surfaces is not provided (except for the fuselage tail end), leaving modeller of with interesting choice of either hand painting all of lozenge over wood surfaces or matching paint colours to that of decal applied to fuselage tail end... I chose to create my own decals for wooden surfaces - more on that experiment below.
Photoetch details represent seatbelts, and barrel shrouds for both forward firing Spandau and observer's Parabellum LMG as well as few other small details. Sharp cast styrene in 1/32 scale allows for a lot of small details to be cast in plastic and still appear correct in scale and representation.
Value of this kit is further extended by addition of "Optional Accessories" sprue - wheel chocks, ladders, cameras, trestle, cameras and loads of other diorama worthy details. There is certainly a lot to add to your scratch box or finally get started on that airfield diorama!
The Build
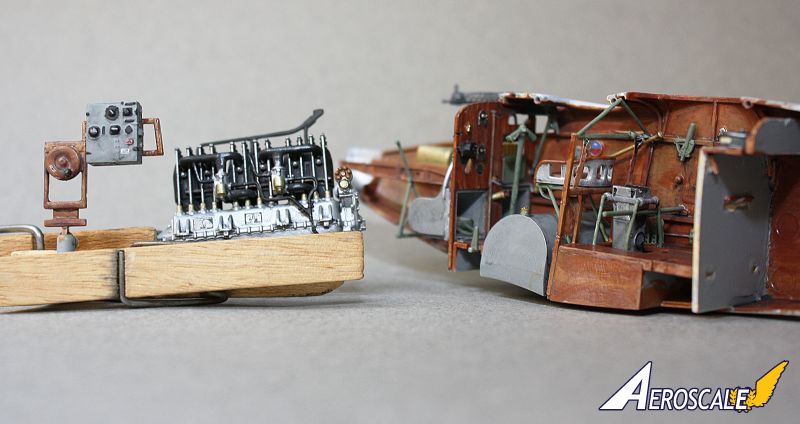
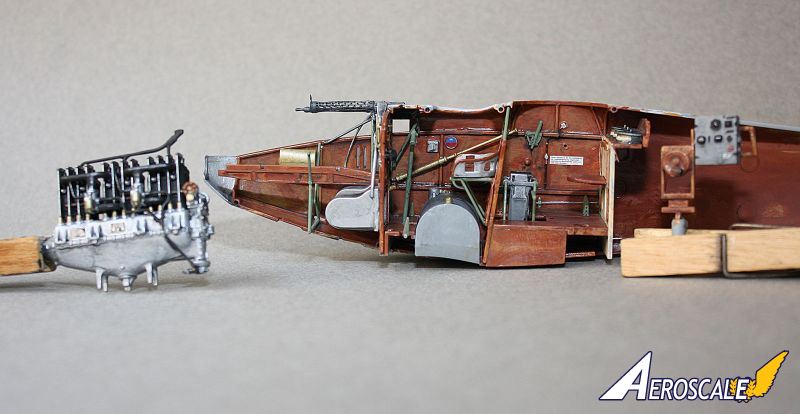
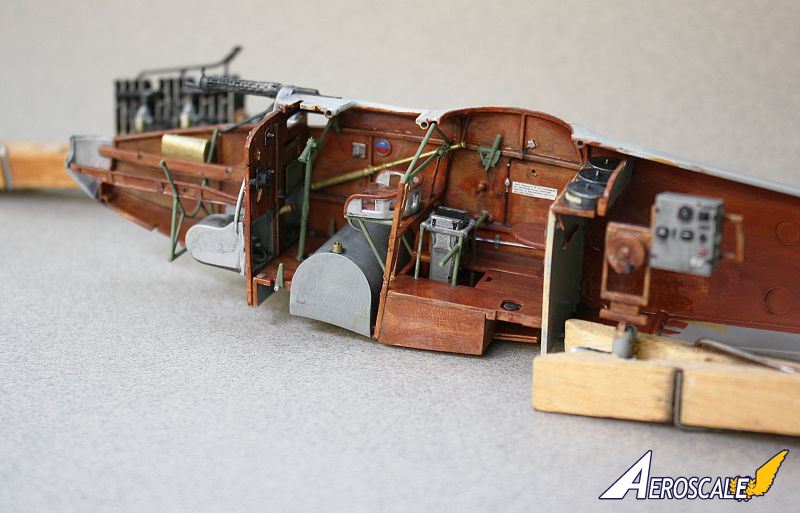
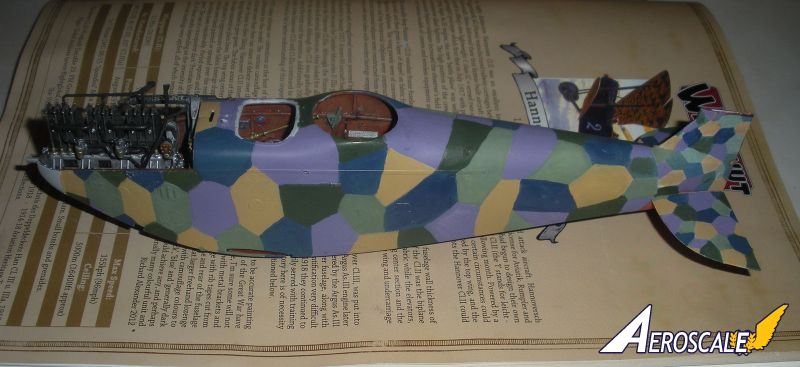
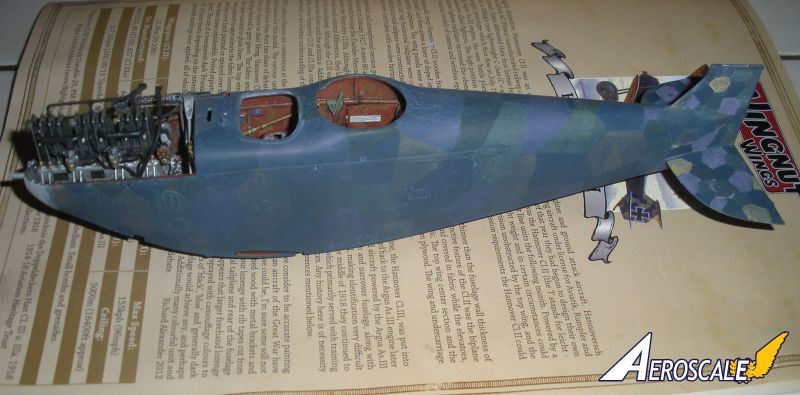
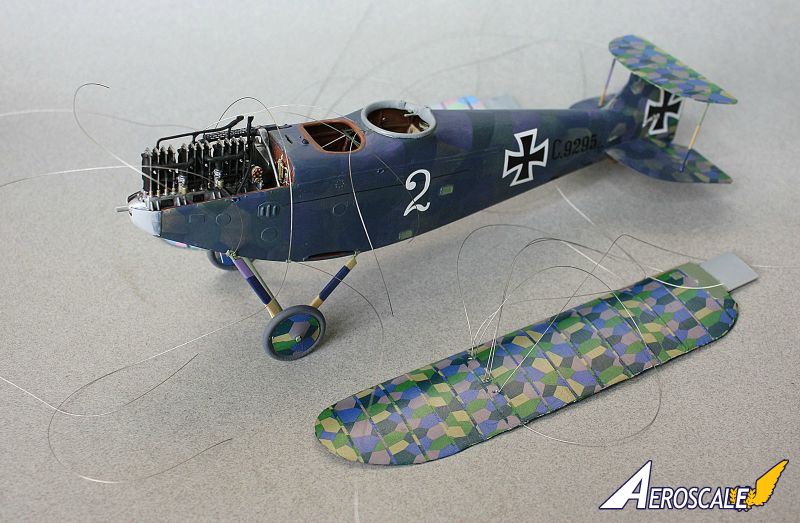
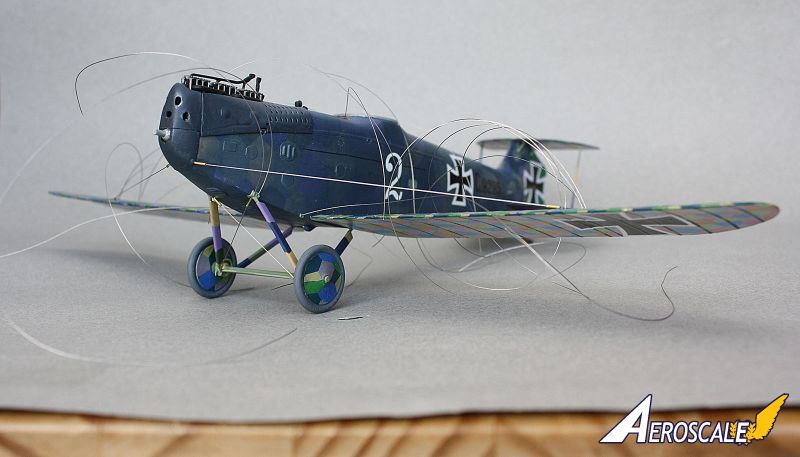
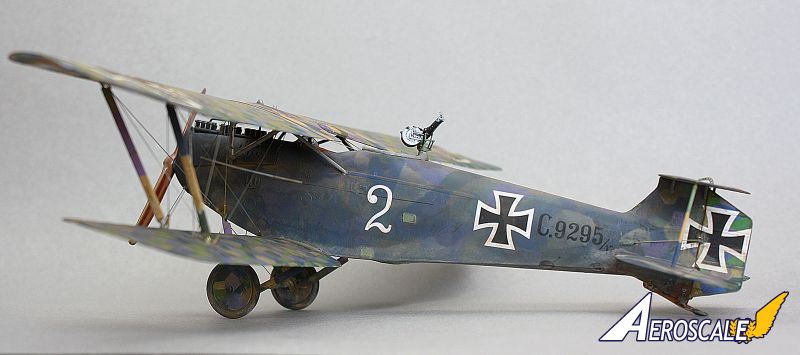
Everything is and was very straightforward - follow the manual, pay extra attention to build differences marked for your chosen scheme and get started! Everything but protective gloss / dull finishes were painted by brush (aka the Hairy Stick) applied Model Master Acryl. Beadalon jeweller's wire and Alliance Modelworks brass tubing was utilized for rigging / turnbuckles - everything else just came out of the box.The fuselage halves were prepped and painted as dark varnished wood on the interior - I have chosen one of the halves to act as base for all of interior and engine bay detail, with second half to act as a lid to close up everything within. All the pieces were pre-painted the correct colour and material quality (wood, type of metal, fabric etc) and added onto the model - some pieces were pre-assembled in naked styrene into sub-assemblies of roughly similar material qualities and later painted as a whole. I have chosen the aircraft represented for reconnaissance mission - the Fk.II camera is installed, floor hatch is open to reveal the lens from exterior belly view, the Wireless radio is ready to transmit (I have chosen to omit flimsy antennae as they tend to break in handling), yet the observer is still protecting the aircraft with LMG and full stock of spare ammunition (unlikely on a real recon mission, but function follows the look when modelling, at times)
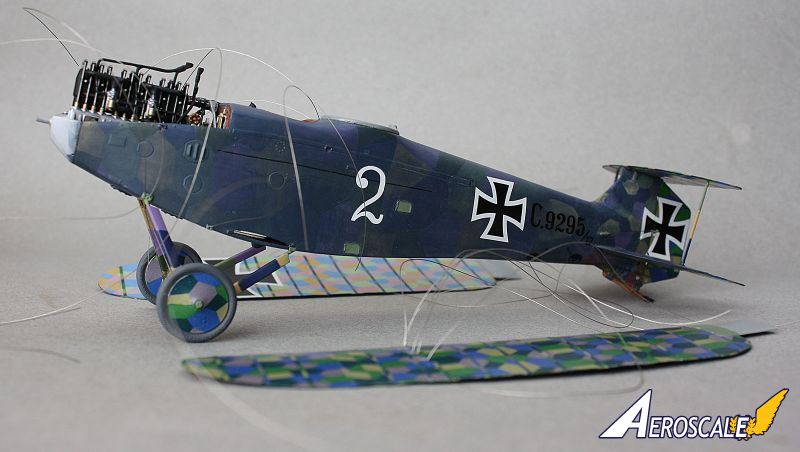
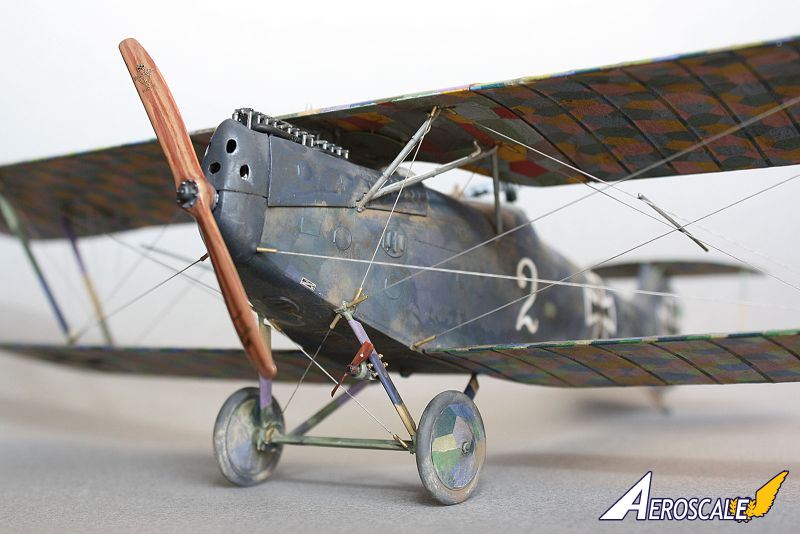
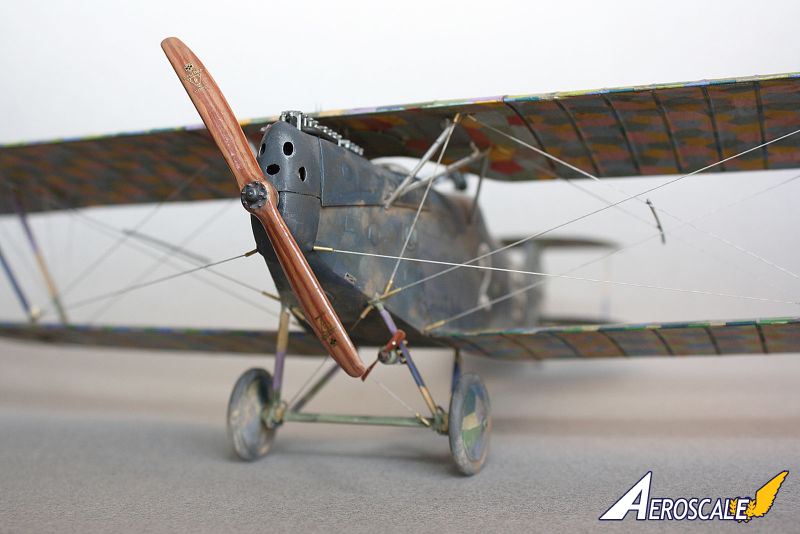
180 hp Argus As.III is an interesting engine and provides a unique silhouette where it counts - over the cowling. Engine support frame is relatively flimsy, when compared to other WWI designs, so I waited to pop the engine in until after the fuselage was closed up and I could make sure that the corners of the frame were correctly meshed with the fuselage. I have chosen to install all of the cowling, as it looks just aggressive and distinct enough to cover up most of the engine.
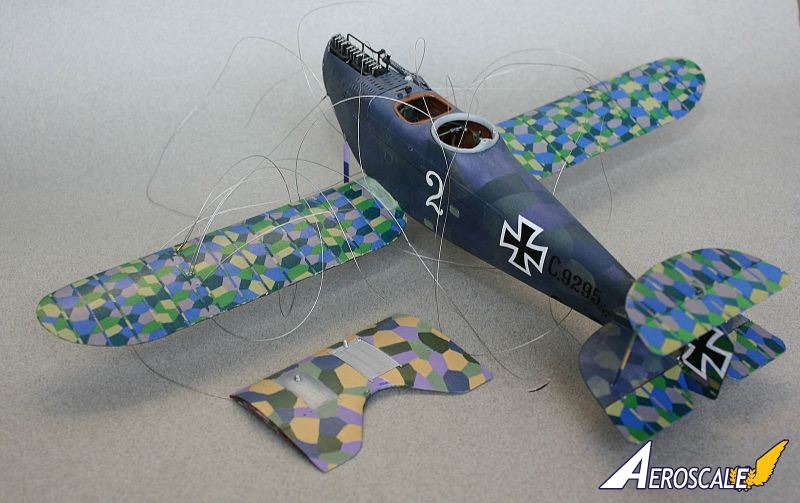
Wings and fuselage are pre-drilled for rigging while the fuselage was being assembled - I prefer to get started on wings well in advance - lozenge decals take forever to cure and it's easy to get burnt out/mess up if applying lozenge all at once. All surfaces that were to receive kit provided lozenge fabric decals were painted with white primer and then given a thin coat of gloss finish. With surfaces mopped with MicroSet, decals were loosened off the backing paper in warm water and slid onto appropriate areas - once aligned and given enough time to settle, MicroSol was applied to still damp decals to melt them into all the nooks and crannies. Rigging lines were pre-installed in the midst of lozenge installation - I apply lozenge on surface through which rigging line will be fed through, then install the rigging line using the "through the wing" method, then apply lozenge on the other side. This way any clean up of this method of rigging can be done without the worry of ruining lozenge as I slop glue and swipe with a sanding stick.
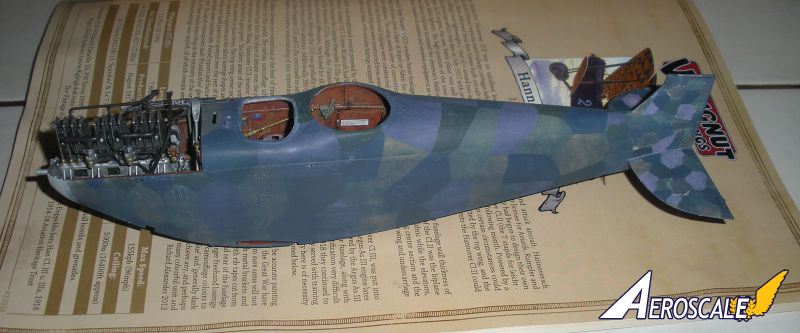
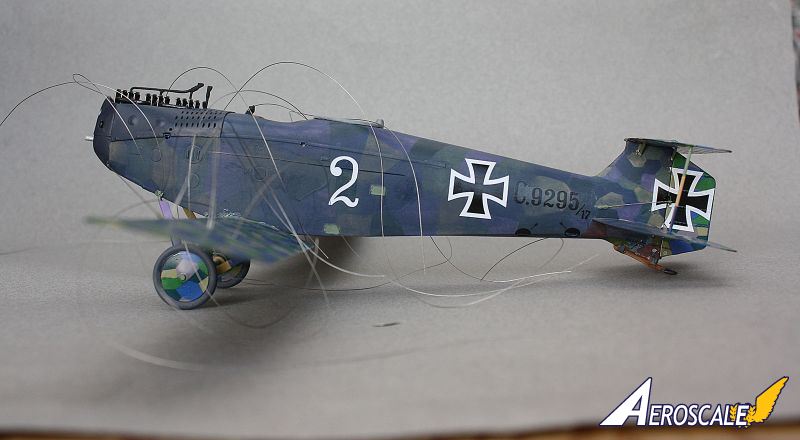
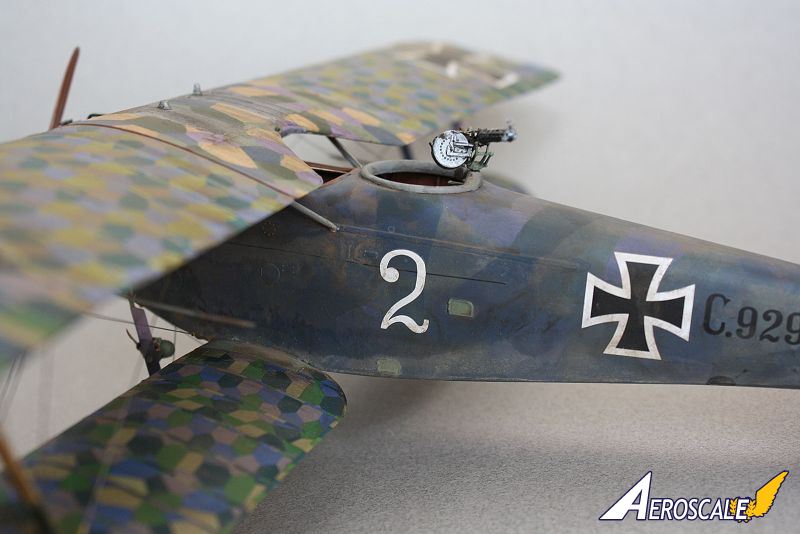
Fuselage was primed, hand painted with approximated lozenge shades and glazed with dark blue-black watered down acrylics - it took about 5 passes until the right level of glaze was achieved - very dark, but just enough camouflage showing through. I saved some of the mixture in case of touch up, but Murphy was fortunately taking a day off. centre wing section gave the most trouble as self-printed decal deteriorated and had to be hand painted over - even where it failed, the decal provided clear template for hand painted lozenge to follow.
Pabellum LMG was installed in its mount and in "at rest" position - I have taken care not to glue the mount to the ring, so to make the whole assembly detachable.
Entire aircraft was sealed with Microscale Gloss, then select application of Microscale Flat - more dull towards the ground and areas affected by the engine's grime. Oil washes applied and then removed with a dry brush where needed - I use Gamblin Gamsol OMS that evaporate / set a lot slower than most Oil Thinners (which is still very fast in High Desert environment) and gives at least a day or so for working / erasing set and dried wash.
I give model a day or two of rest, as fingerprints are a bad way to identify the author of the given build.


Copyright ©2021 by Ivan Bouinatchov. Images also by copyright holder unless otherwise noted. The views and opinions expressed herein are solely the views and opinions of the authors and/or contributors to this Web site and do not necessarily represent the views and/or opinions of AeroScale, KitMaker Network, or Silver Star Enterrpises. Images also by copyright holder unless otherwise noted. Opinions expressed are those of the author(s) and not necessarily those of AeroScale. All rights reserved. Originally published on: 2014-05-31 05:57:13. Unique Reads: 6416

WEB HOSTING BY


Copyright ©2021 AeroScale and Kitmaker Network, a subsidiary of Silver Star Enterprises
All Rights Reserved. Please read our Conditions of Use and Privacy Policy.
All Rights Reserved. Please read our Conditions of Use and Privacy Policy.