

1⁄48Drabslab AFB: A story of Trying Again
3
Comments
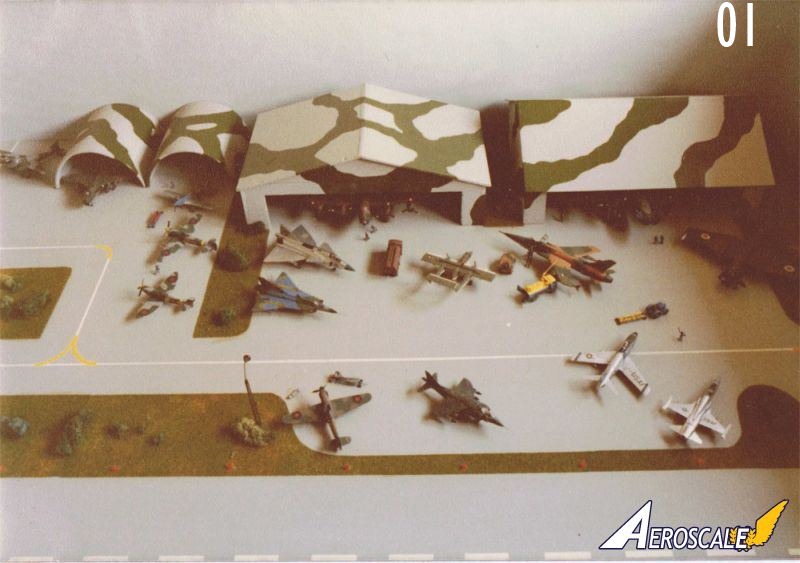
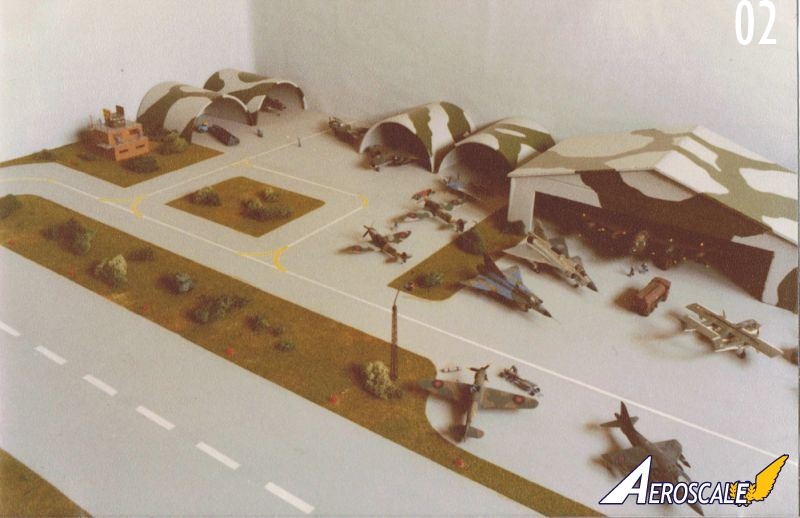
An early attempt
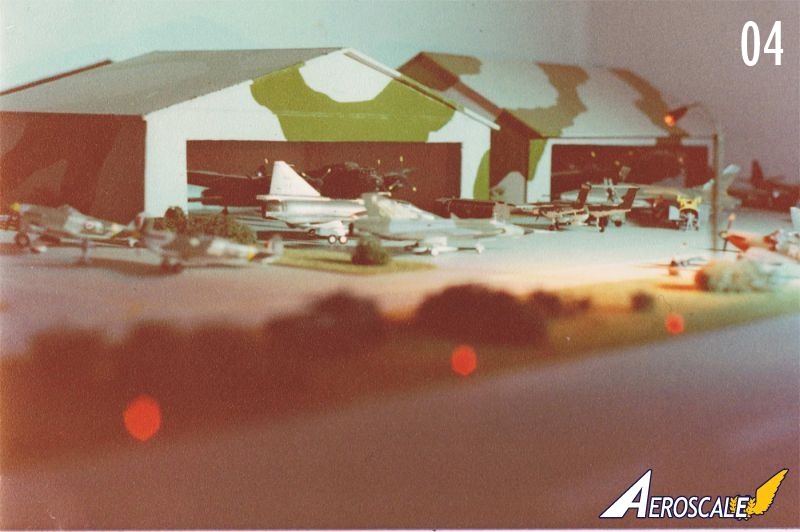
I constructed my first model airfield (Fig 1 to 3) when I was about 15 years old. A large fibreboard, cut to fit exactly in the available room, was painted grey. Some yellow and white paint for the markings, and some artificial grass did the rest.I cut several large soap boxes in two for hardened shelters, and made two large shelters from 3 mm thick wooden plates. I still remember that cutting those cardboard soapboxes in two was very difficult and not done very well.
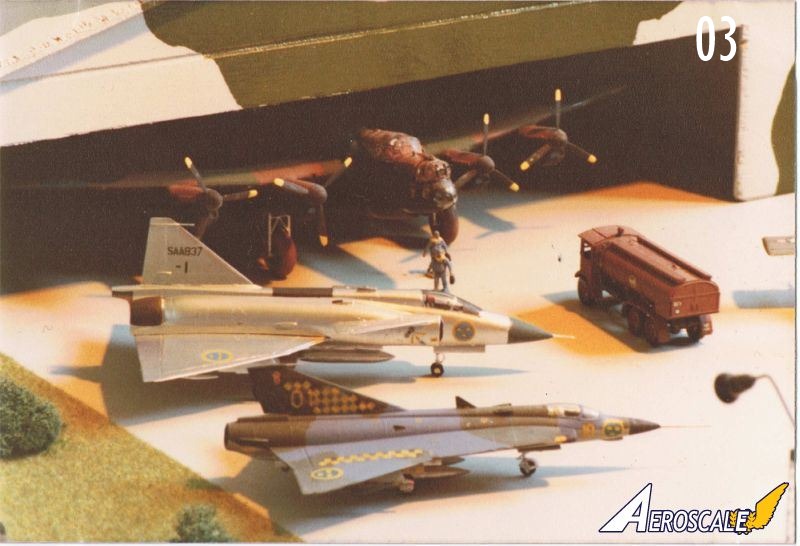
Finally, a friend with some electronic abilities, and a friendly uncle giving some financial support, helped me bringing some light ( fig 4) to the table.
All in all, it was quite pleased with the result and cluttered the thing with 1/72 scale models.
But it would not last; some "house renovation" turned the room into a bathroom and the airfield was exiled to the attic, but not before the runway was cut off to get the thing up the stairway. The electricity would never function again and the airfield was silently forgotten while collecting dust up there.
Discovering a lost treasure
A few years ago I found that old airfield again, and the modelling bug, which must have been waiting patiently on that attic for many years, bit me. Immediately, model airfield construction was back in my mind but, of course, it had to be better and it should be 1/48 instead of 1/72 scale.It would not be a "walk in the park". It would not be a "piece of cake" either.
Instead, after making some good initial progress, everything started to fail. Quite amazing when you think of it. As a modeller, one considers him/herself as quite handy, able to work with plastic, glue, paint, airbrush ... but once outside this comfort zone disaster strikes at every opportunity.
With other words, good old "anything that can go wrong, will go wrong" Murphy must have had a very good time looking down from heaven watching my repetitive failures.
Display cabinets
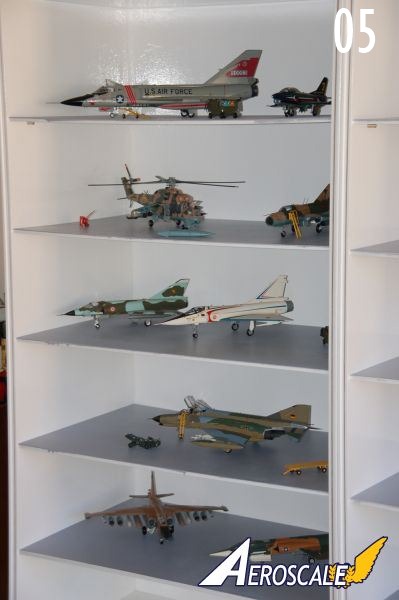
A very big drawback of my first airfield was that it was constructed on one huge fibreboard. Impossible to replace, and very difficult to keep clean. I could not even reach to the very back of the plate to remove dust.I decided to make the new airfield modular. My nephew, a carpenter, made two identical display cabinets (Fig05) with glass doors. The 12 mm thick MDF shelves were all 420 mm by 715 mm large. This size was not chosen randomly but because ....
Well, I don't remember. I just forgot to note it down and now it seems like any other size would have been better. However, I am now stuck with this size and it will have to do.
Rule 1: document everything!
Deforming shelves
On scale 1/48, each shelf of 420 by 715 mm represents 20 by 34 meters or 680 square meters of airfield real estate. Both display cabinets together give me 16 shelves, leading to an airfield 10880 square meters large. That is tiny compared to real airfields, but large enough to keep me building for quite some time.The whole idea was that the shelves would, put together on the floor, form a complete airfield while remaining shelves protected from dust and grabby fingers while in the display cabinets.
Unfortunately, the MDF shelves decided to start deforming slightly making that the border between each shelve became unacceptably prominent on pictures. I have, in any case, not seen 10 cm high ridges in the tarmac on real airfields.
This temporarily halted the whole airfield construction.
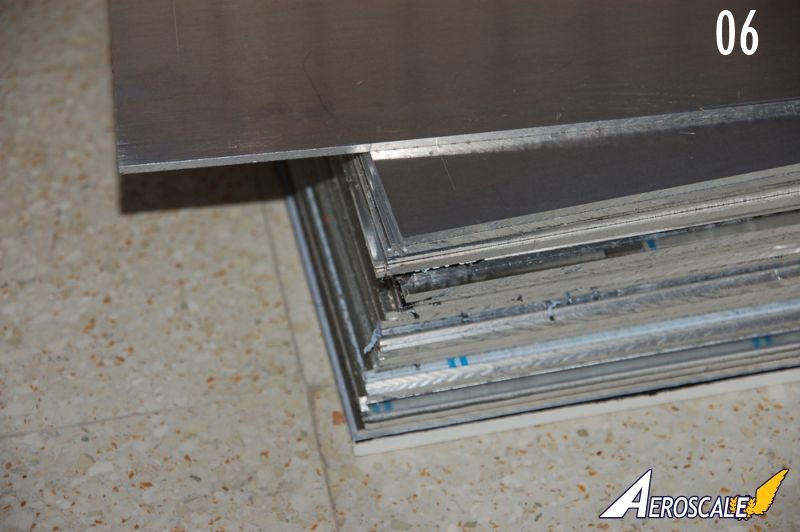
Some new renovation works brought a solution. The company doing my aluminium window frames was prepared to "give" me Aluminium plates (fig06) of the right size. This "one of a lifetime" opportunity made me buy 32 AL shelves, 3mm thick, and good for 22000 square meters of airfield.
I was "back in business".
Making concrete
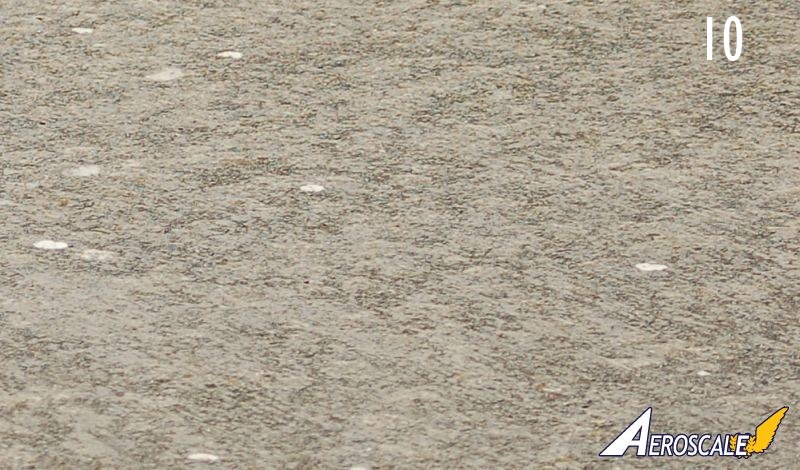
One property of airfields is that they contain a lot of concrete on runways, flightpads ...Correctly portraying concrete slabs is a prime condition for a successful model airfield so I studied this subject in detail. To those who witnessed on airshows how a weird creature was taking dozens of pictures of the tarmac, measuring the size of concrete slabs, and showing unhealthy attention for some yellow lines ...
First I tried to make realistic concrete slabs by manipulating these photos (fig09-fig10) and printing them with a decent colour laser printer. It was an incredible amount of work, looked quite cheap (fig11) and any moisture ruined it completely.
Next I tried to simply paint the AL grey and produce some concrete like effects with the airbrush, and some sponge dipping. This was slightly better but still not good enough to my liking. Worst thing was that the paint got scratched very easily and as the intention was to move this quite often, this wasn't the right approach either.
Again, I was stuck, I had invested quite a bit of money in those display cabinets, in the AL shelves, in paint ... and I was about to give up.
Rule 2: Test everything BEFORE investing
The light at the end of the tunnel ...
Then there was the Aeroscale "Ground forces" campaign, and a new step in the house renovation made me discover wallpaper (fig12) that looked exactly like concrete.Apparently, it is the new chic to build a brick wall, make it perfectly smooth with shiny white plaster, and then put wallpaper on it that makes the wall look like an old, ugly, concrete wall... Just imagine ... and then they say that aircraft modellers are a bit weird.
But suddenly, after buying two rolls of wallpaper, it looked like all my worries were over and I enlisted enthusiastically to the Groundforces campaign.
... is the headlight of an oncoming train.
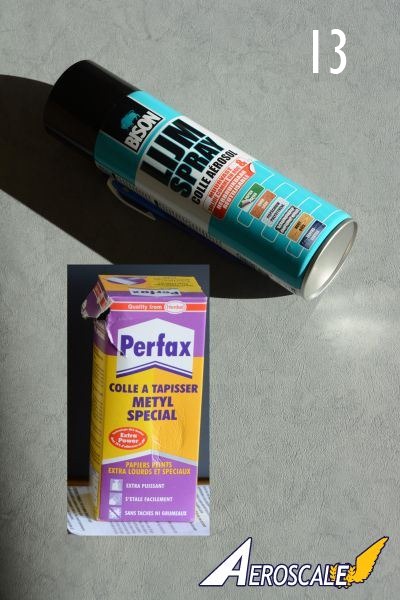
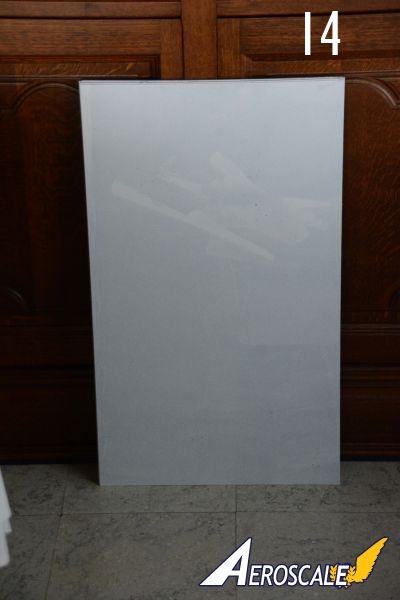
I cut the wallpaper to the correct size and glued it to the Aluminium. Once that the glue was dry, it just fell off??? I used other glue (fig13)., same effectI got specialist advice who told me to carefully degrease the Aluminium. I used two degreasing agents without success. I got more specialised advice telling me that I should prime (fig14) the AL first which I did but the wallpaper just did not want to cooperate (fig15).
Rule 3: when everything fails, ask your mother
Well not exactly, as she passed away a few years ago.
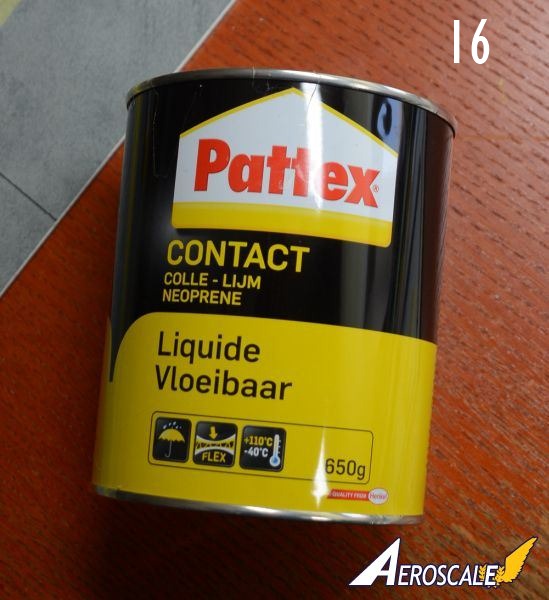
Luckily, I have tons of happy memories and a heap of small and large things she left behind. She worked a few years in a shoe factory and I vividly recall her remarks that neoprene glue (fig16) could make anything stick.
On top of that I found a bit of double sided tape in her house.
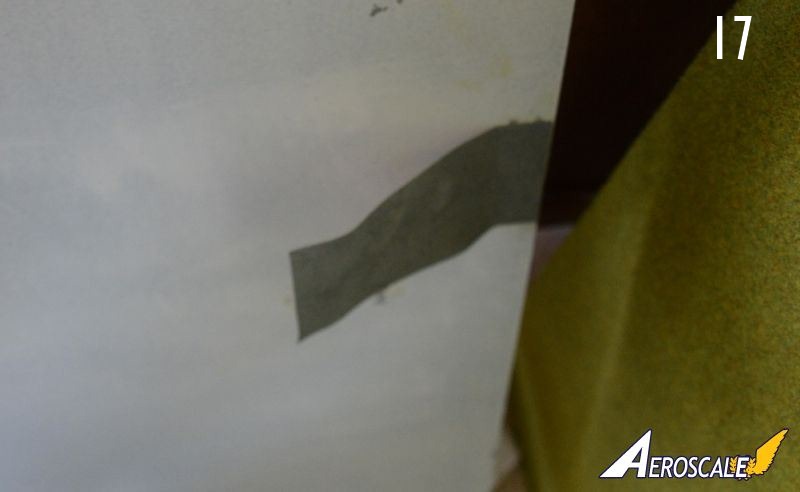
Yep, both the glue and the double sided tape stick like hell on the AL, and on the wallpaper. Case solved, closed, done and dusted (fig17).
The right procedure
So how does one make a part of a 1/48 scale airfield:- 1. get an AL plate and degrease it carefully
- 2.cover the borders with double sided tape and with a piece of tape in the middle as well
- 3.cut a piece of wallpaper +/- 10 mm larger the Al plate
- 4.fix the wallpaper on the plate with the middle piece of tape first
- 5.put a heavy object on the plate to push the wallpaper down
- 6.side by side, fix the wallpaper to the plate
What is left to do is to produce those tar filled gaps between two concrete plates. I tried by scribing using several tools (fig18) but the wallpaper did not like this treatment too well. The best results I achieved with a simple black pen.
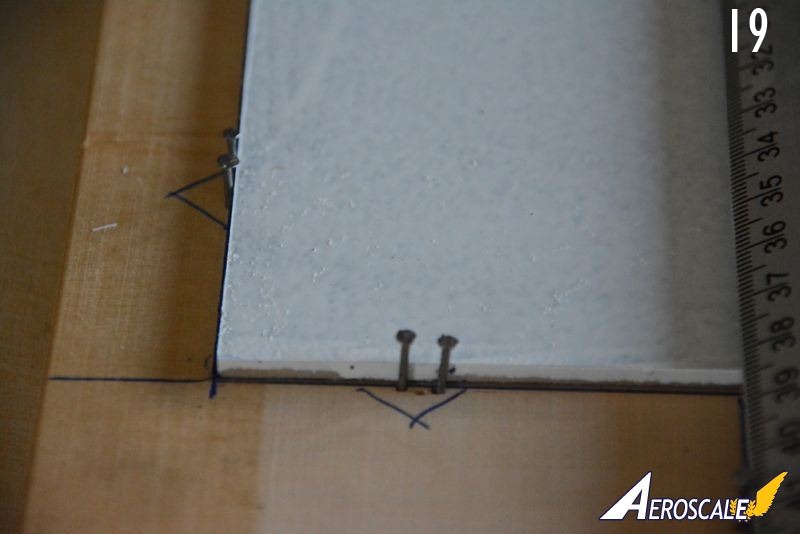
To facilitate having concrete slabs of identical size I made a wooden template using tiny nails (fig19) to position the AL plate. Mark the positions where black lines have to mark different concrete slabs.
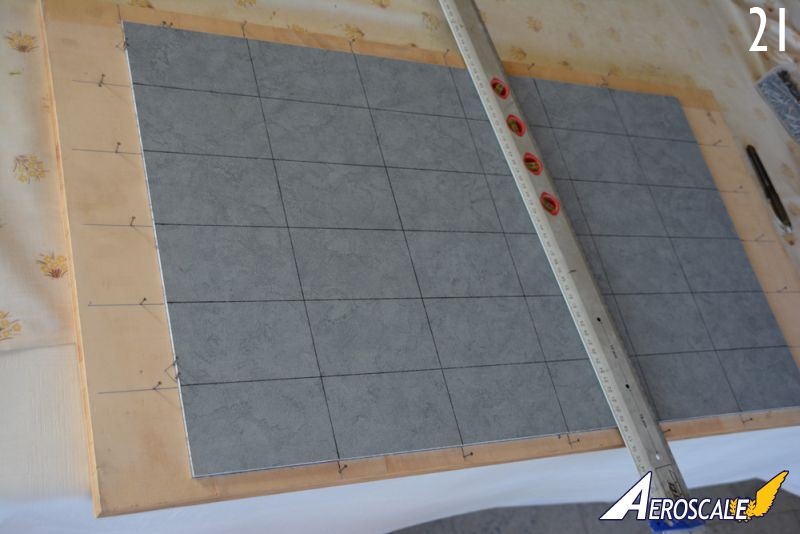
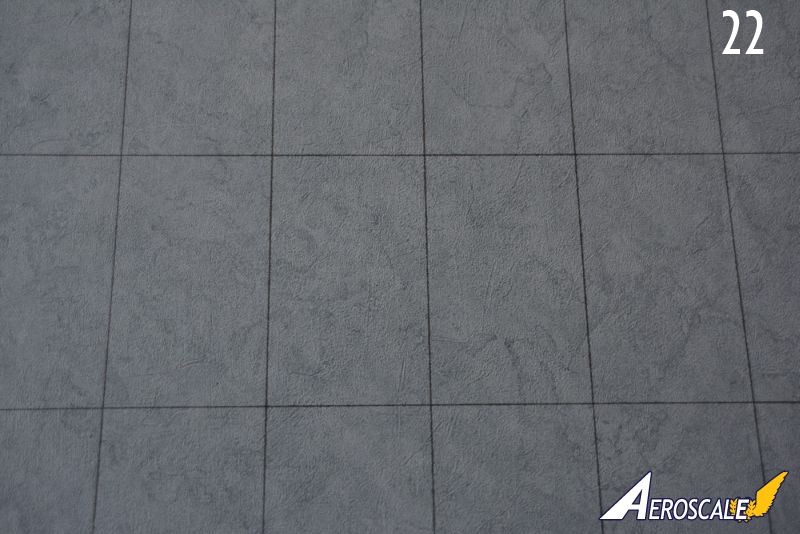
A ruler (fig20) and a simple black rollerball pen are enough to easily mark the black lines on the wallpaper, and ensure that all plates will be identical (fig21, fig22).
yet another failure
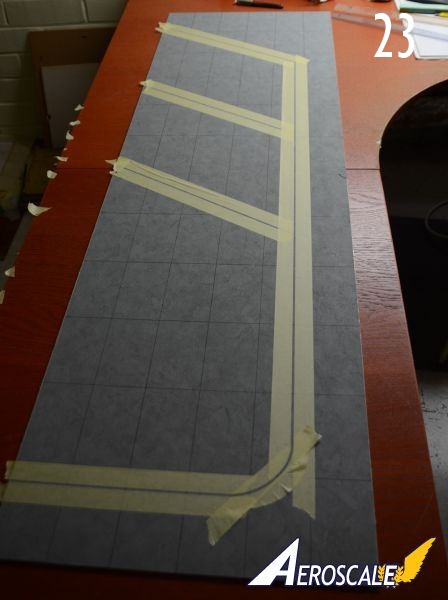
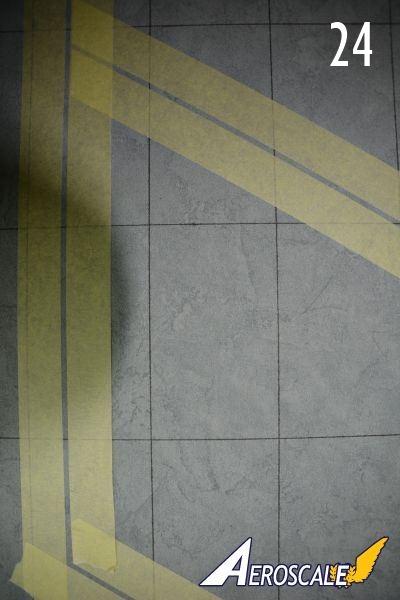
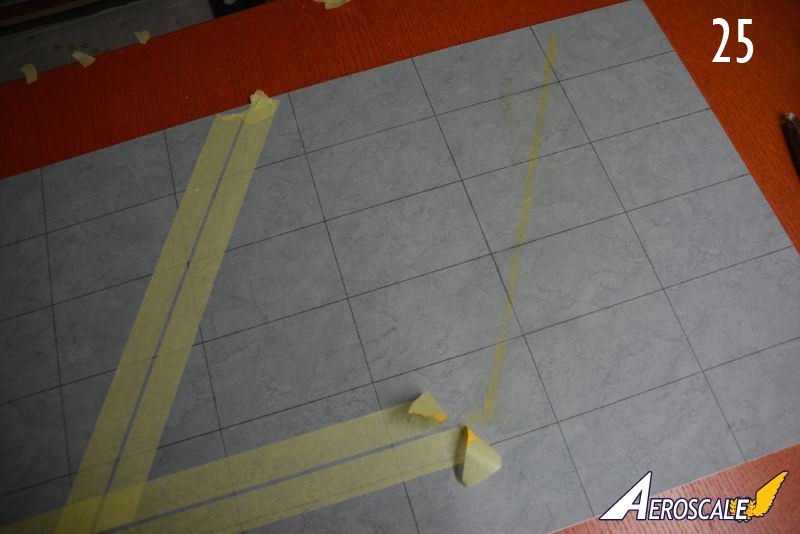
With a few plates finished, I first wanted to make a warming up pad. This is a small part of the airfield, usually fairly close to the runway, where jets can let their engines run and wait for the permission to take off.Painting some yellow lines on the wallpaper, with the help of masking tape (fig23, fig24) seemed easy enough but the paint (because the paper is not smooth, got under the tape and I got a very ugly line (fig25).
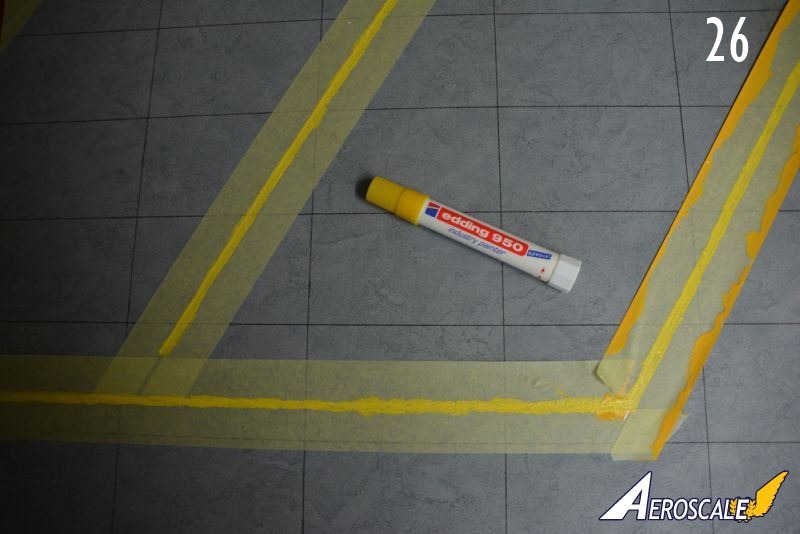
This time the solution came from a special paint marker normally used for writing on metal objects in industry (fig26).
Finally...
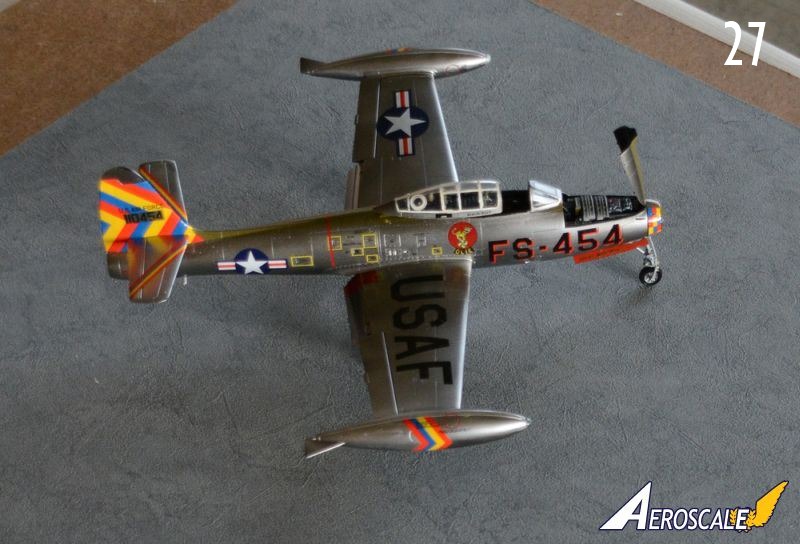
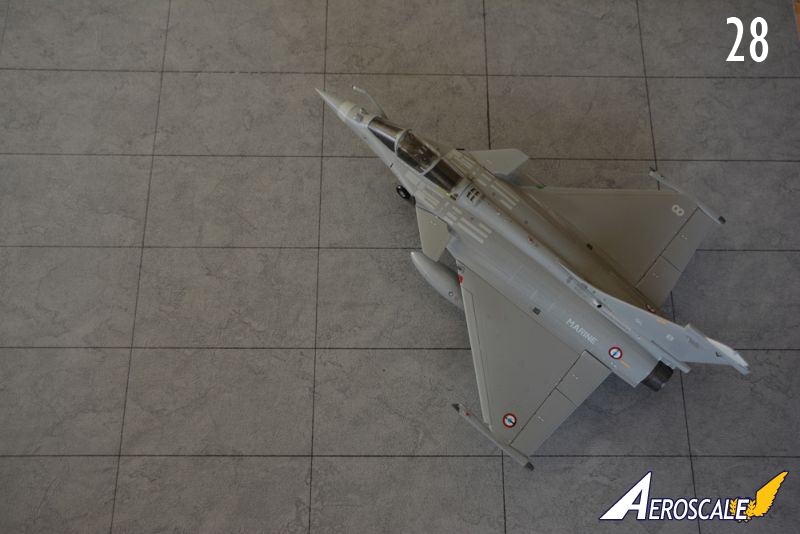
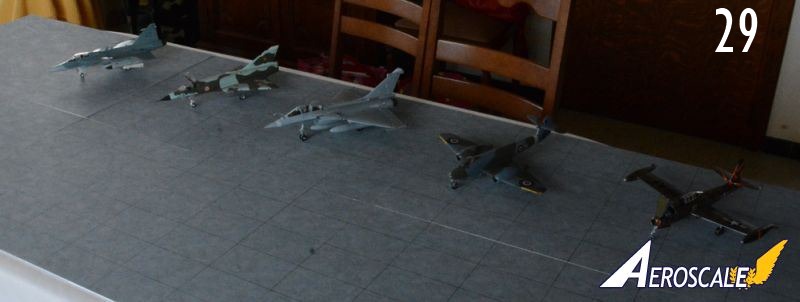
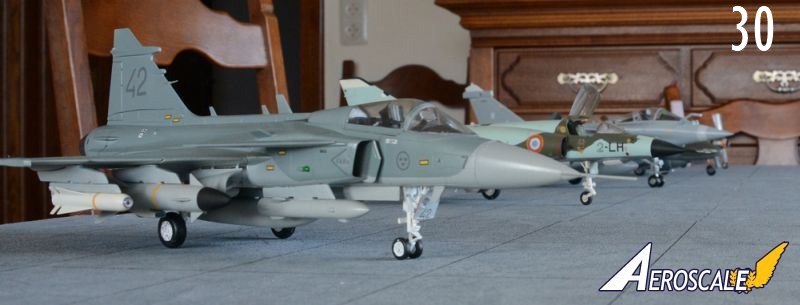
Of course the intention is to produce photos of my models in "realistic" conditions. However, I am failing in this aspect as well as I am far from a good photographer.For now, this story will end with some poor attempts in the hope that one day this failure will also behind me (fig27, fig28, fig29,fig30) and I will be able to take some decent pictures.
After all, this is just a start. I am now collecting information on control towers, fuel reservoirs, radar installations... to let this small warming-up pad grow. All advice welcome, of course.


About the Author


FROM: EUROPEAN UNION
I made my first airplane models when I was about 11, a Mistubishi Zero, a Messerschmidt BF 109 and of course, a Spitfire. They were all Airfix and all 1/72. Sounds familiar? I remember I could not even pronounce Mitsubishi, I used to call it Mutsibutsi. I continued building mostly airplanes until...
Comments

Nicely done Drabslab!
You had me laughing out loud at times at your wry sense of humour when you describe so succinctly the pitfalls so many of us have walked into. Full marks to your perseverance!
All the best
Rowan
MAR 01, 2014 - 09:12 AM

Thanks Joel, at several times it did not feel so impressive when working on it
Hai Merlin, actually I wrote this for two reasons:
- as conclusion of the groundforces campaign
- as reaction to articles that are written with a "I did everything perfect the first time" attitude.
Well, I certainly don't do everything perfect, not even after 20+ years of experience.
And yep, I hope some readers can enjoy reading this account of failure, maybe identify with it and hopefully learna few new tricks.
MAR 02, 2014 - 08:38 PM
Copyright ©2021 by Drabslab. Images also by copyright holder unless otherwise noted. The views and opinions expressed herein are solely the views and opinions of the authors and/or contributors to this Web site and do not necessarily represent the views and/or opinions of AeroScale, KitMaker Network, or Silver Star Enterrpises. Images also by copyright holder unless otherwise noted. Opinions expressed are those of the author(s) and not necessarily those of AeroScale. All rights reserved. Originally published on: 2014-03-01 03:02:51. Unique Reads: 8117

WEB HOSTING BY


Copyright ©2021 AeroScale and Kitmaker Network, a subsidiary of Silver Star Enterprises
All Rights Reserved. Please read our Conditions of Use and Privacy Policy.
All Rights Reserved. Please read our Conditions of Use and Privacy Policy.