

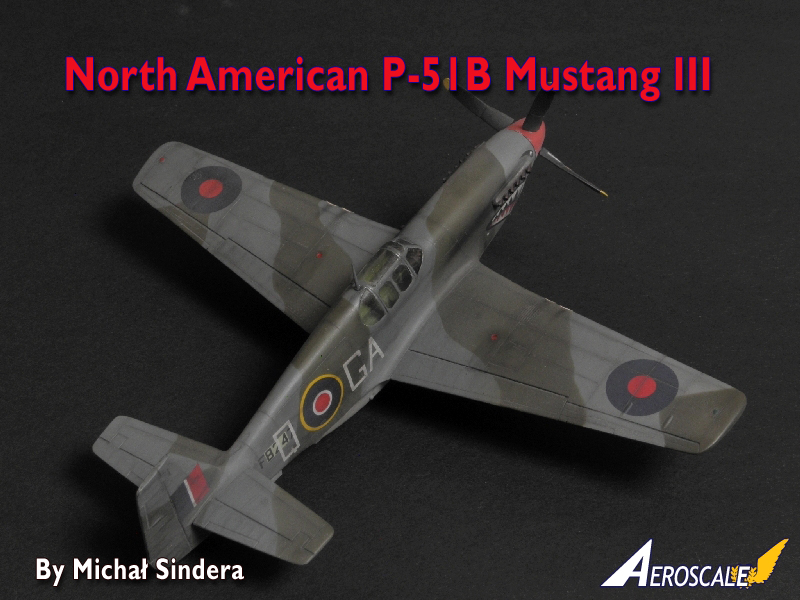
1⁄72North American P-51B Mustang III
2
Comments
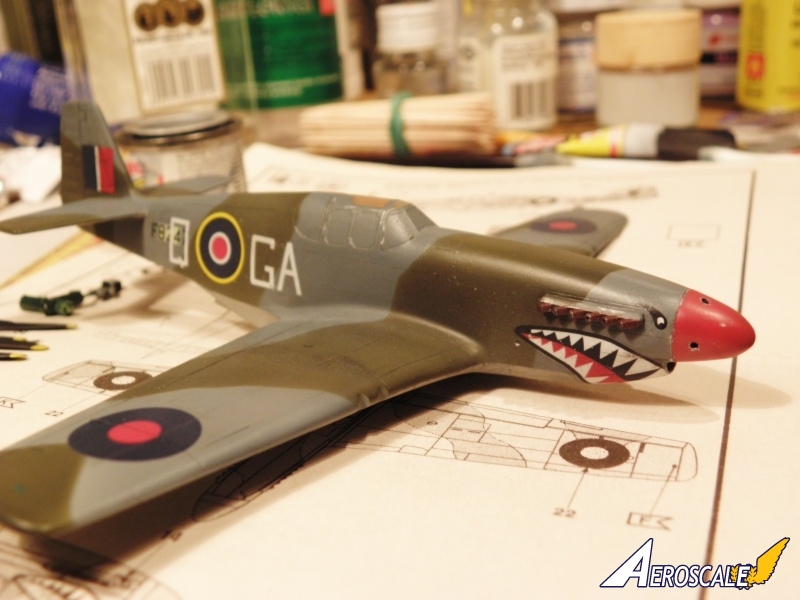
Building Revell's 1/72nd Mustang
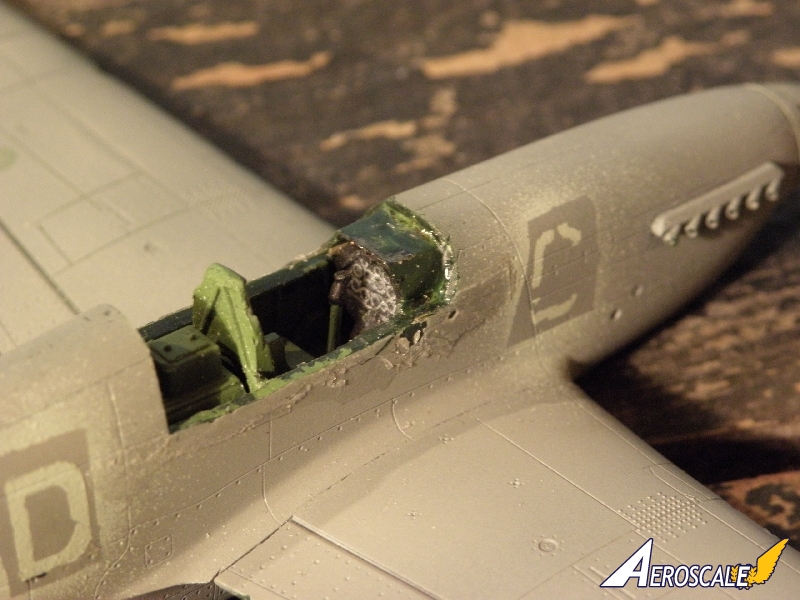
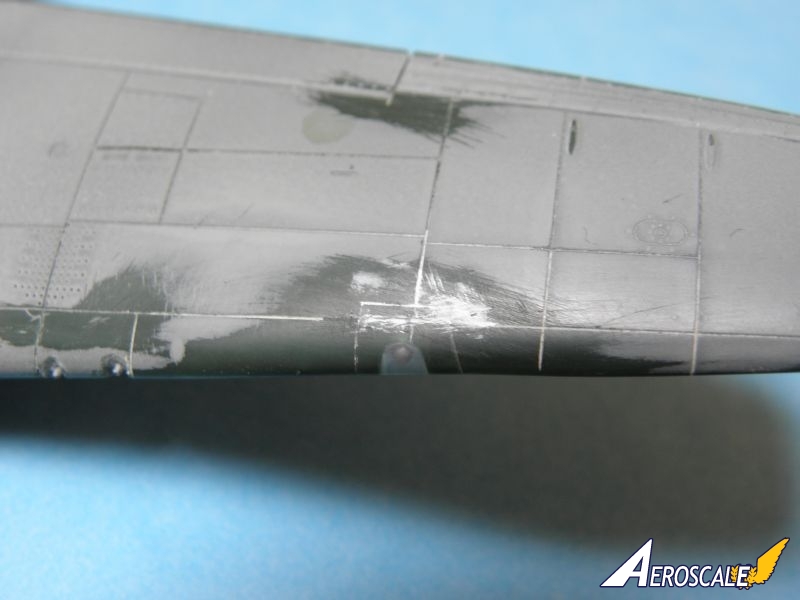
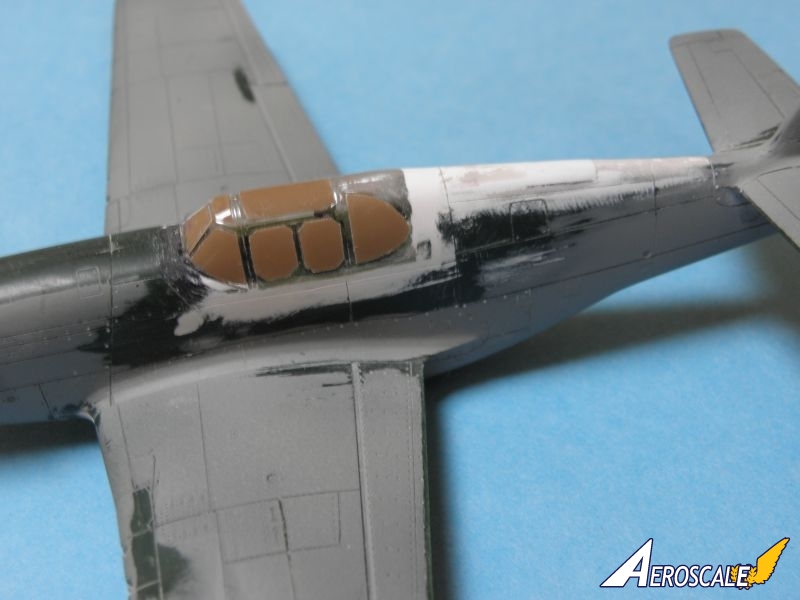
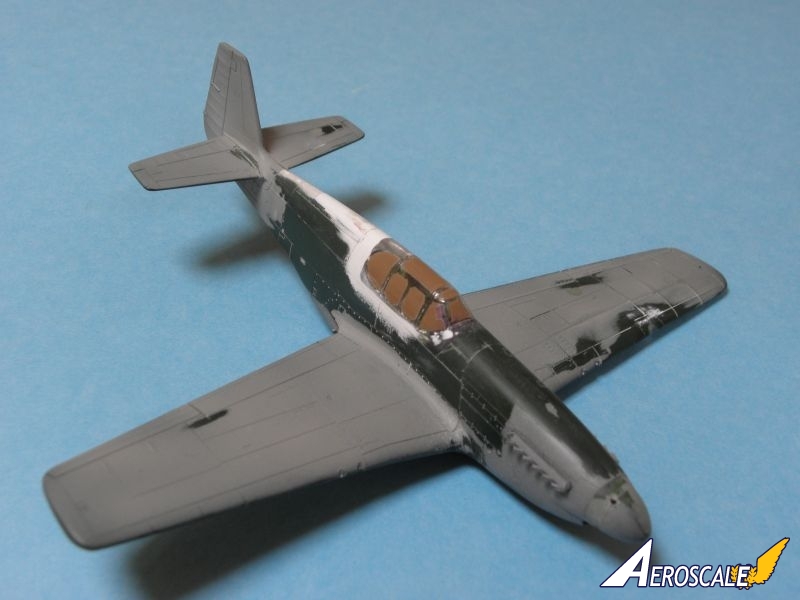
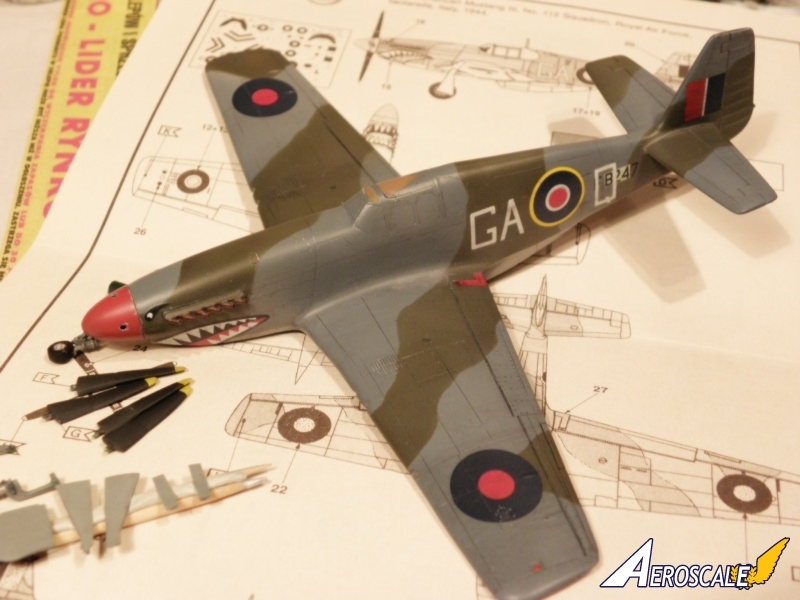
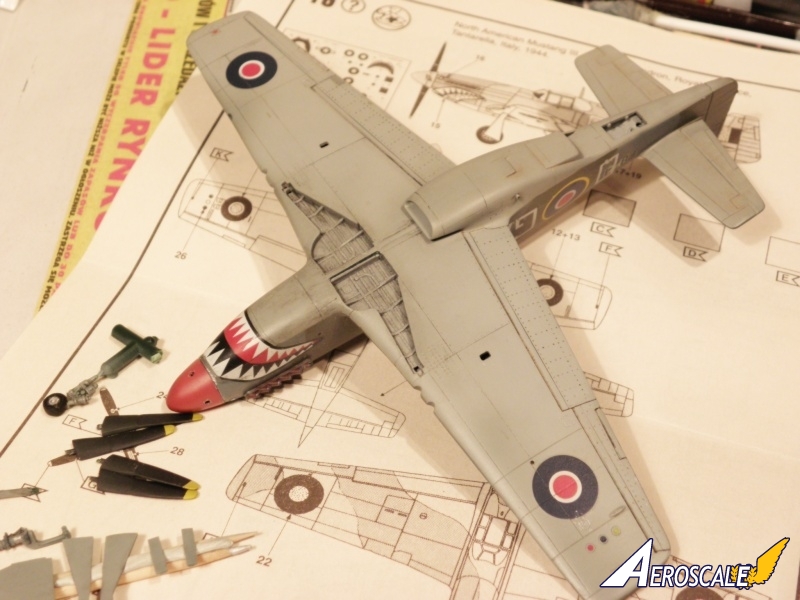
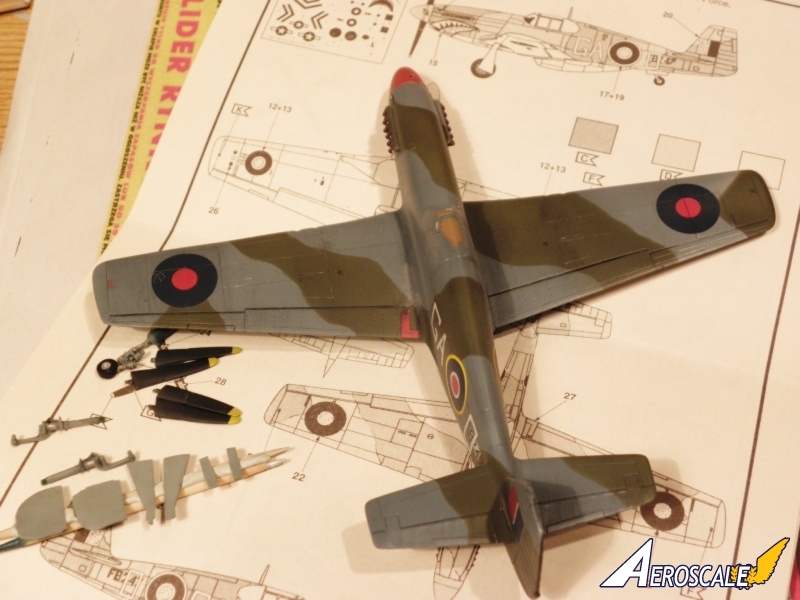
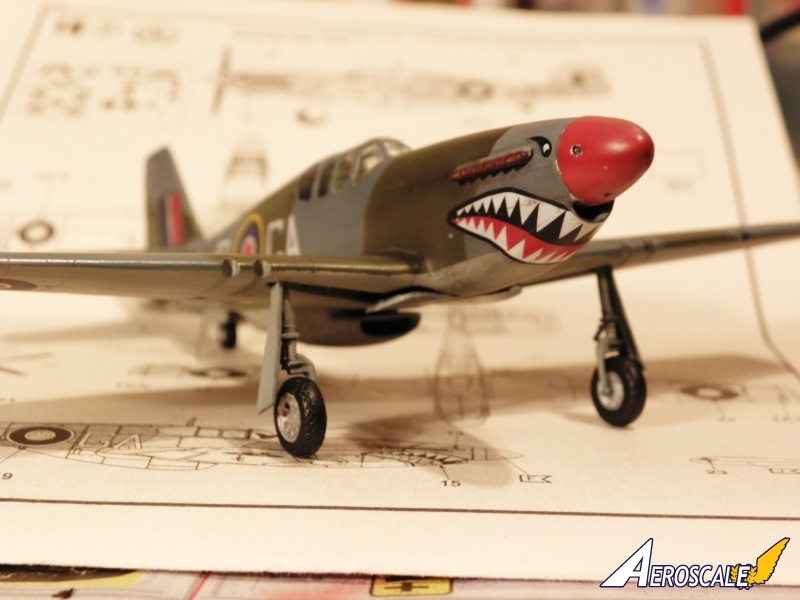
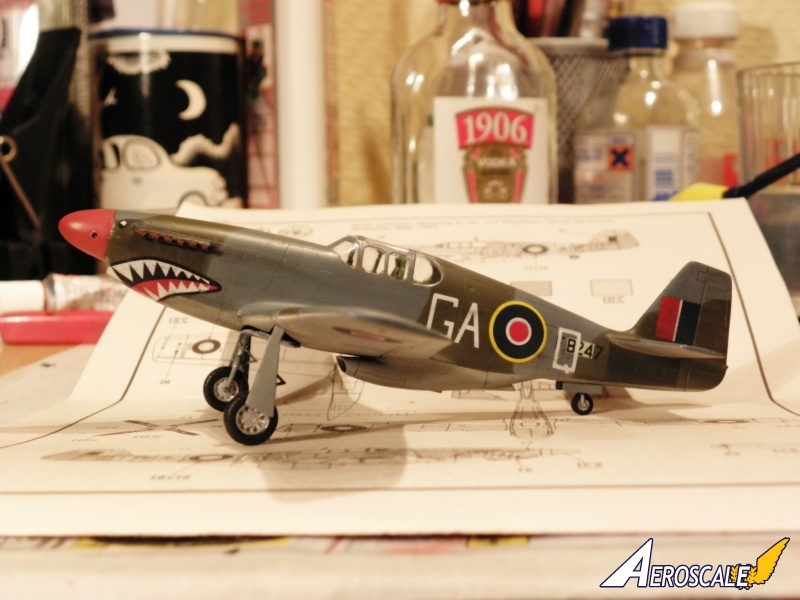
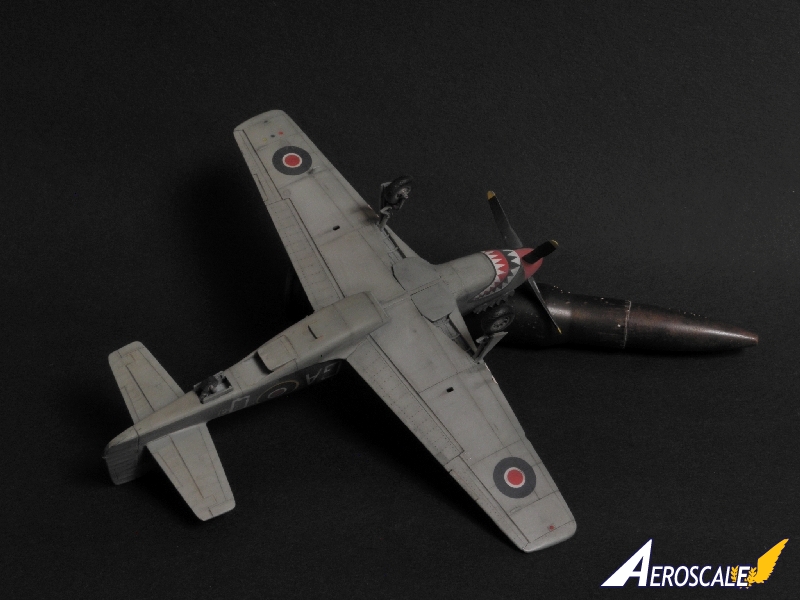
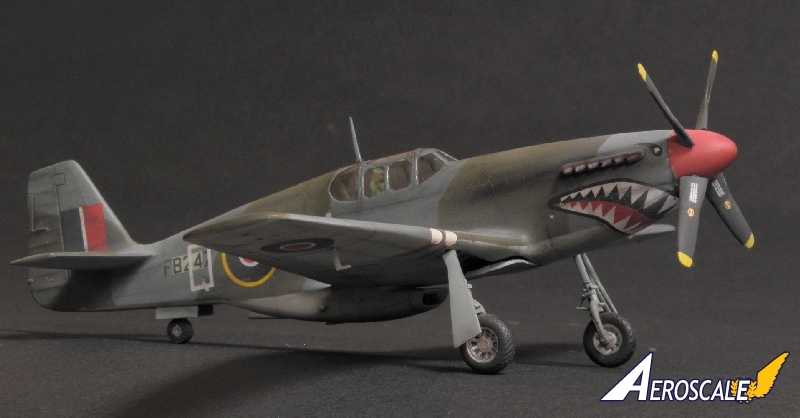
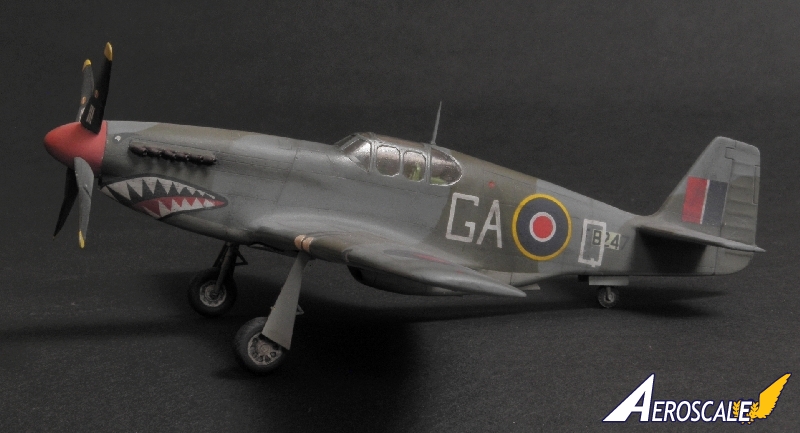
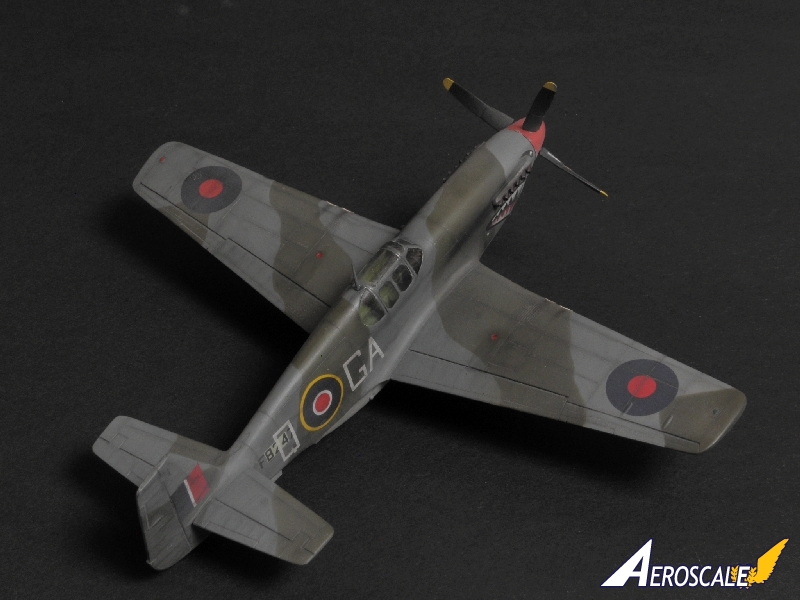
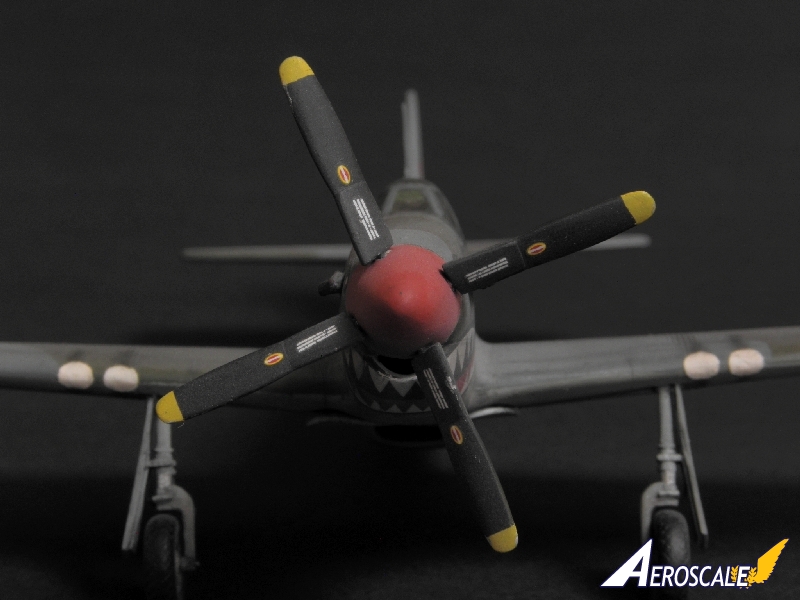
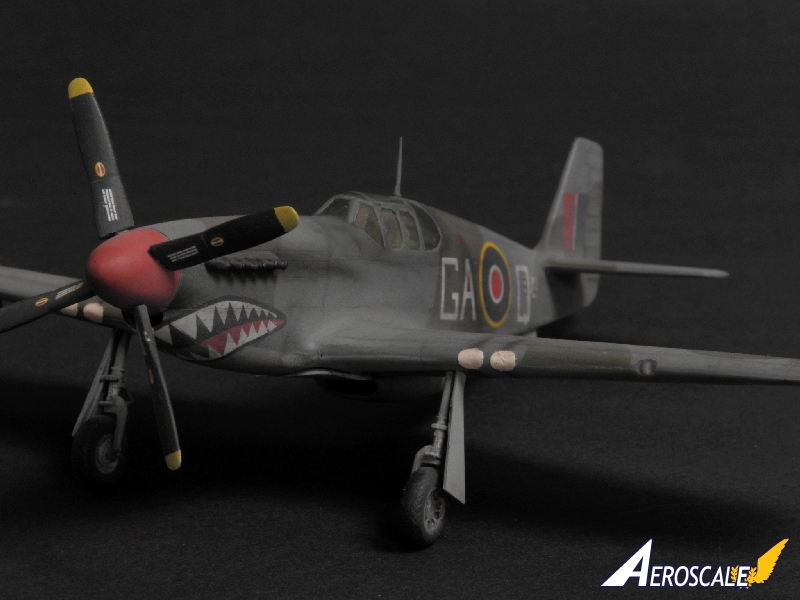
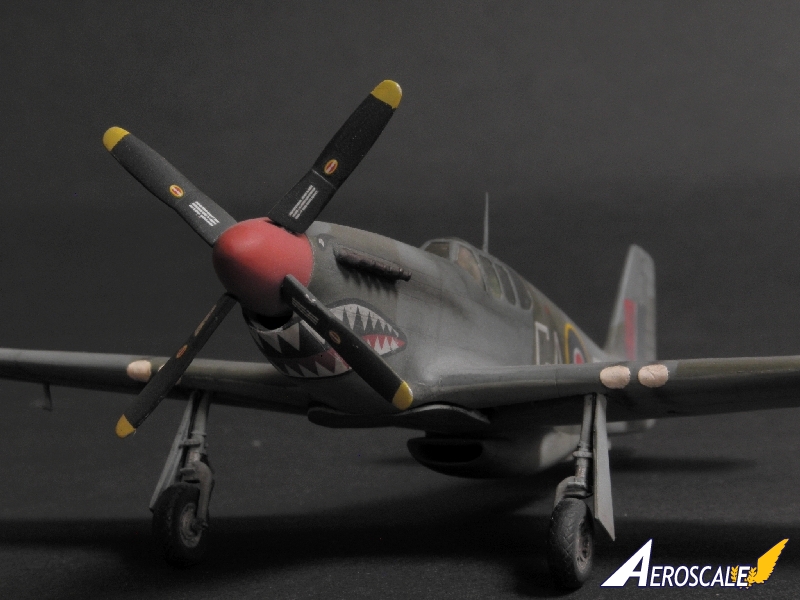
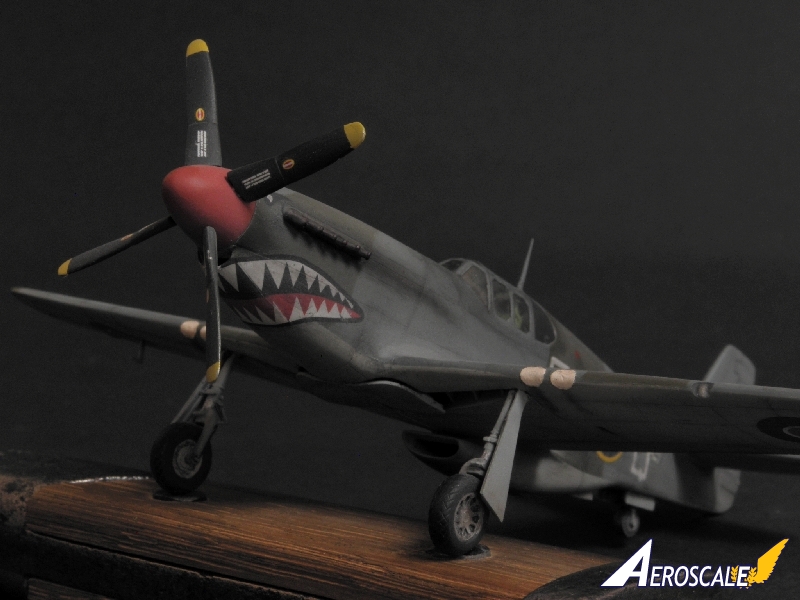
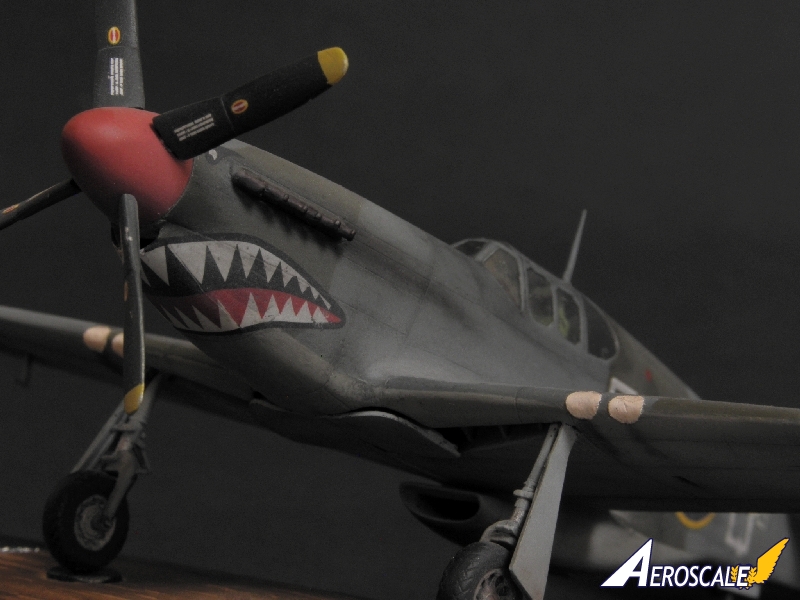
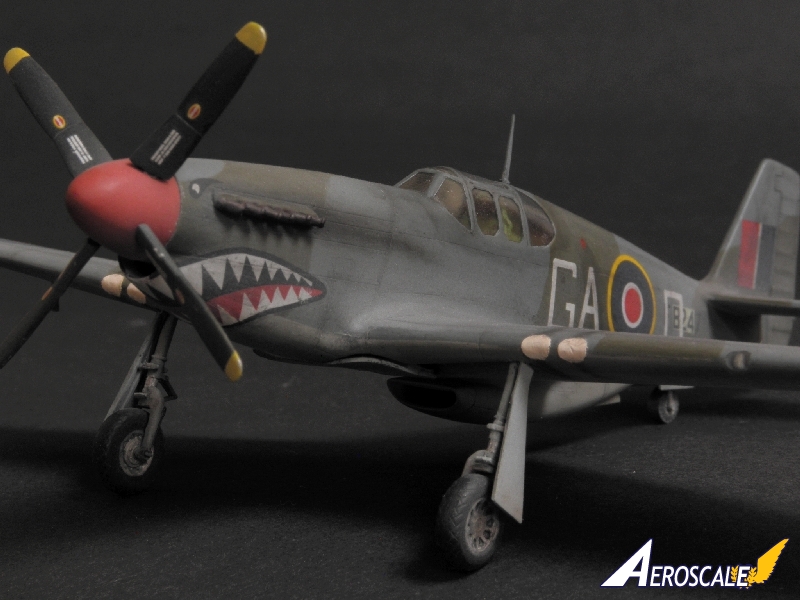
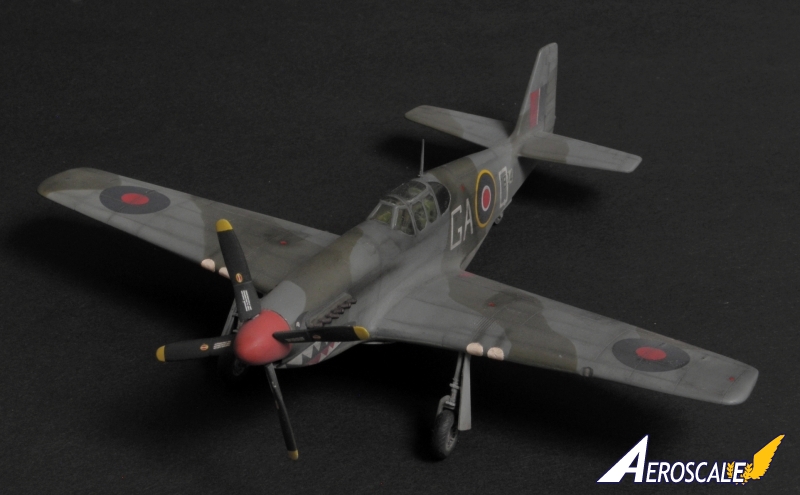
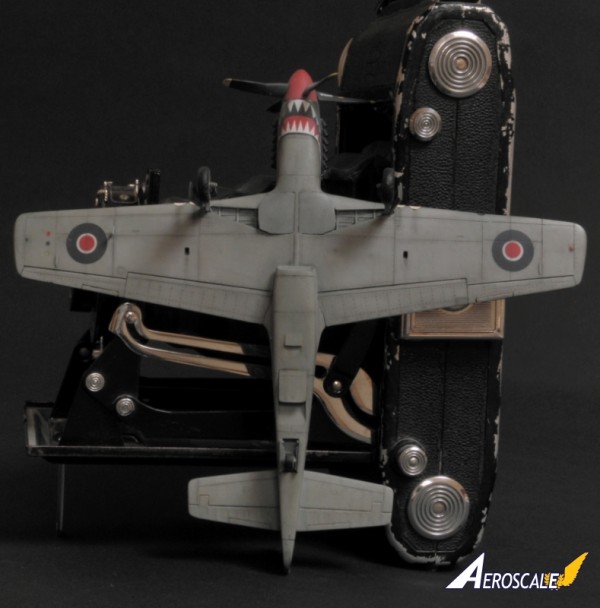
The model was started good few years ago, about 2005 or 2006. It had to be a fun and straightforward build but occurred some serious problems with the fit and very bad shape of the original kit cockpit glazing so the model was scraped for a long time. Then I used it for different tests so its condition worsen in the time. Suddenly I found the Pavla vac formed glass dedicated to the Hasegawa Mustang for some silly price. I thought it might be adopted to the Revell kit so I dough it out from the waste box. The first pictures shows its condition. After the first fittings of the vac formed parts to the fuselage I was pretty satisfied so the work continued. The most difficult and time consuming thing to do was to risen the fuselage tail section about a 1mm to fit the Pavla glass. Another problem was to remove all other scratches. With a lot of putty, sanding paper and time it finally looked more-less ok. I have no idea how the model fits the plans now but honestly I don't care. My target was to finish the model the best I can just not to waste it. After all these efforts the model was primed with the Surfacer 1000 and painted with Tamiya acrylics XF-81 (Dark Green), XF-82 (Ocean Gray) and XF-83 (Medium Sea Gray). This was the first time when I used these paints and I felt in love. It was a bit depressing to paint the beautiful Tamiya paints layer with the Future for decals. These were taken from the kit and represents the machine from the 112th Shark Squadron in Italy, 1944. I didn't use any set or sol while placing them but I placed the big drops of very diluted Future under the decals, just like other known mediums. To help the decal lay in the panel lines I just gently touched them with the toothpick. When everything dried I didn't notice any silvering and the decals nicely laid in the panel lines. The next step was to gently wash the lines I used very thinned Vallejo black acrylic and the model was varnished with the Model Master semi-gloss acrylic. I wasn't satisfied with the final result so the next step was to wash it once again. Having a bit more coarse surface than before I applied the black pastel chalk with a thin and soft brush along the panel lines and removed it with the cotton swab in the air flow direction. When it was too strong I simply removed the chalk with a water and repeated the process. Finally I covered everything with a thin layer of the very diluted Pactra matt paint. It gave me about 95% matt effect and had toned down a bit all other colours giving a bit faded paint effect.
Well, I think that with some effort and time I managed to reach my target finish once started kit with the minimal money expense. It looks much better on the display, even with all its incorrectness's, than never finished in the scraped box.
I'm sorry for the poor quality of the workbench pictures I took them just for the build blog purpose and I didn't expect I will need them any more. Somehow the model has taken the third place in the Dragon's Model of the Month June contest so here it is... :)
Michał Sindera Mecenas


About the Author

Comments

That's a beautiful restoration of an old, dead kit. Your hard work has paid off quite nicely.
JUL 30, 2011 - 08:33 AM
Copyright ©2021 by Michał Sindera . Images also by copyright holder unless otherwise noted. The views and opinions expressed herein are solely the views and opinions of the authors and/or contributors to this Web site and do not necessarily represent the views and/or opinions of AeroScale, KitMaker Network, or Silver Star Enterrpises. Images also by copyright holder unless otherwise noted. Opinions expressed are those of the author(s) and not necessarily those of AeroScale. All rights reserved. Originally published on: 2011-07-29 00:00:00. Unique Reads: 7878

WEB HOSTING BY


Copyright ©2021 AeroScale and Kitmaker Network, a subsidiary of Silver Star Enterprises
All Rights Reserved. Please read our Conditions of Use and Privacy Policy.
All Rights Reserved. Please read our Conditions of Use and Privacy Policy.