

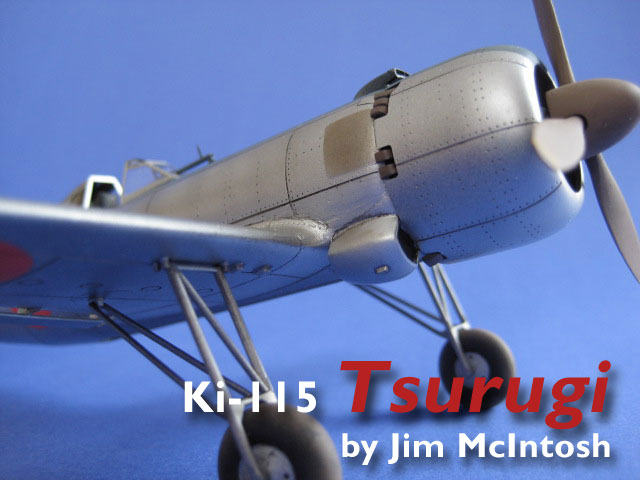
1⁄48Ten-Day Tsurugi (Nakajima Ki-115)
1
Comment
Introduction
I was planning to attend a model contest here in Canada which supports the Canadian Warplane Heritage and decided I wanted a fresh aircraft to put on the tables to show support . but I had only ten days to contest date. What to do? I opened my stash closet door and started looking. I have always liked the gawky lines of the Tsurugi(Sword) and thought the airframe looked simple enough. I decided to try and push myself and see if I could produce an acceptable piece in ten days.History
In early 1945 the Japanese army realized that the obsolete warplanes and trainers it was amassing for suicide attacks was insufficient to forestall invasion of the homeland, and decided upon a purpose-built airframe for the task.The airframe was to be simple to maintain, manufacture, and operate. Adaptability was incorporated into the design to take advantage of the multitude of spare engines available.
The design featured tubular steel landing gear that would be jettisoned, and the ability to accept virtually any air-cooled radial engine with a power rating of 800 to 1200 horsepower. The top speed was to be 320mph once the landing gear had been jettisoned.
The sole armament of the aircraft was to be an 800-pound bomb carried under the fuselage.
Field-testing revealed major flaws in handling, both in the air and on the ground. Several test pilots were killed during trials. Thankfully for all, this weapon was never used in combat.
Only one airframe survives today, and it sits unassembled in the Garber facility of the National Air and Space Museum in the US.
Construction
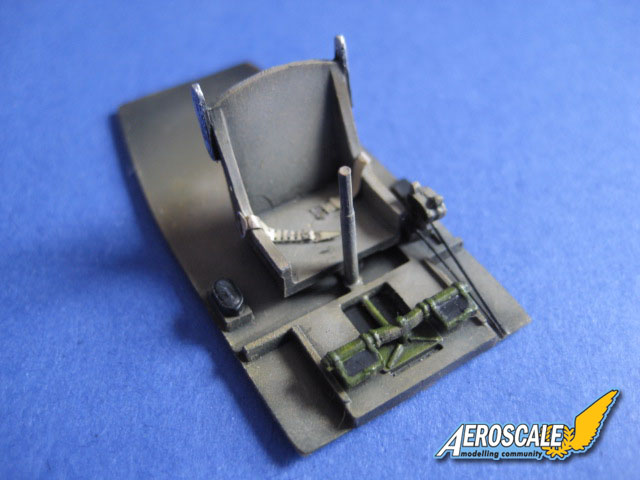
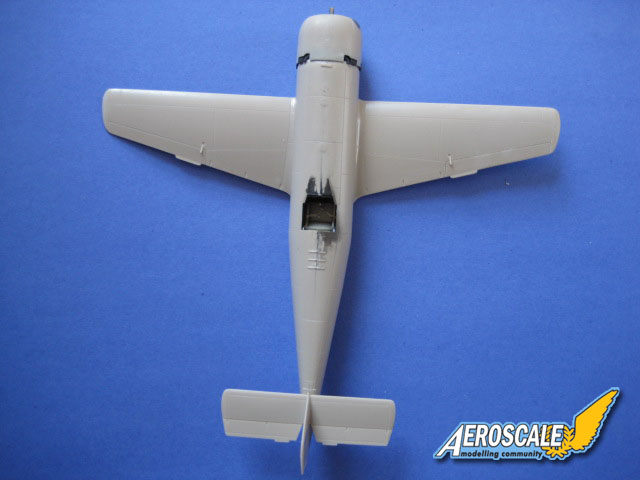
Construction began with the cockpit area and was followed mostly out of box. Step 1 covers this area and the only piece I felt the need to replace was (C5) as I felt it was a bit out of scale. This was replaced with stretched sprue.The fuselage sides were painted and then the fuselage was closed in step 2. I decided not to use the decal provided for the instrument panel as Iv always felt they seem to look a bit cartoon like. Painting was done with my usual flat black primer followed by the colours being misted on using an Iwata airbrush. Details in the cockpit were picked out by hand as were some shadow areas. Drybrushing was used on the fuselage ribs.
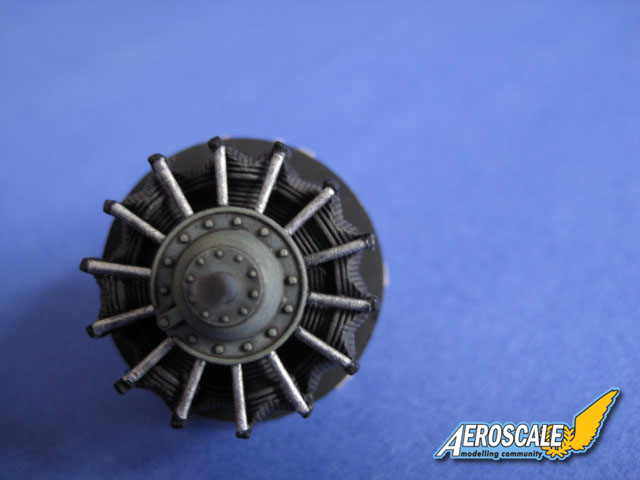
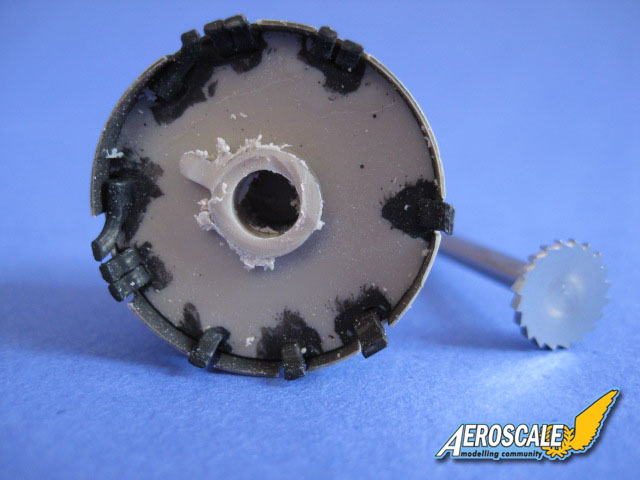
Step 3 includes the engine, which was built out of box, and no problems were found here. The only caution I would recommend is test fitting the cowling regularly when adding all of those exhaust ports. The molding of detail is very nice and I used shading and drybrushing to pick them out. The cylinders were drybrushed using gray artists oil paints.
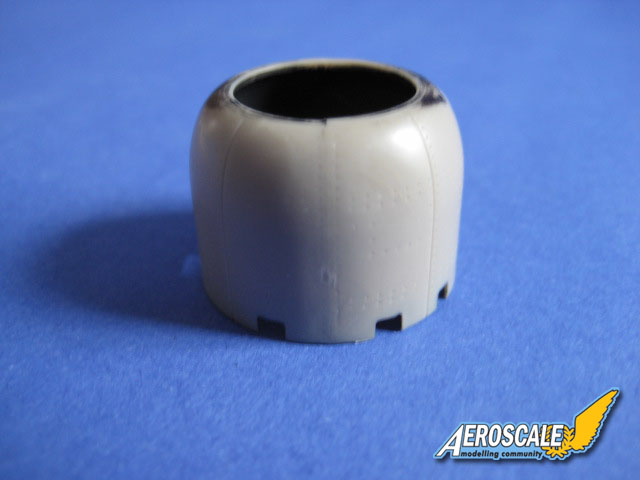
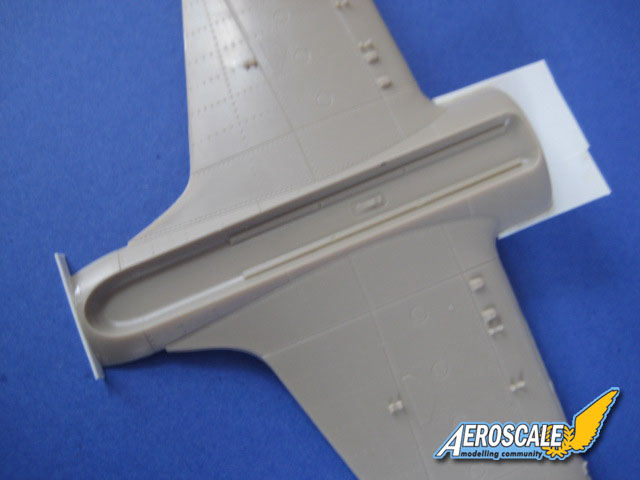
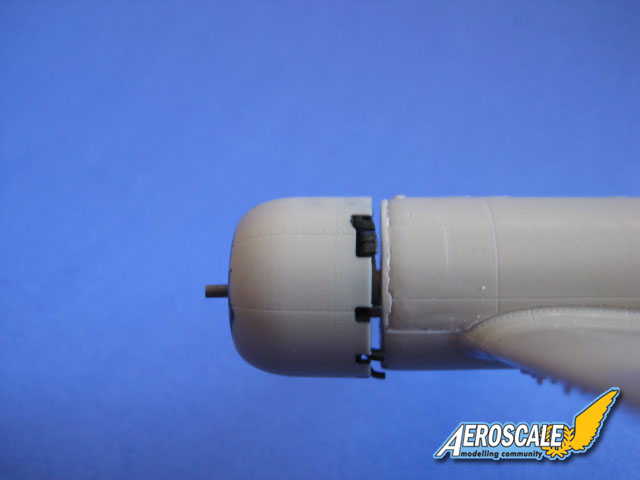
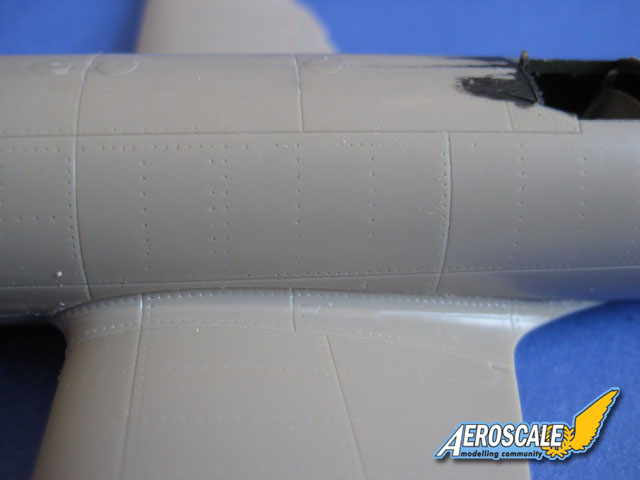
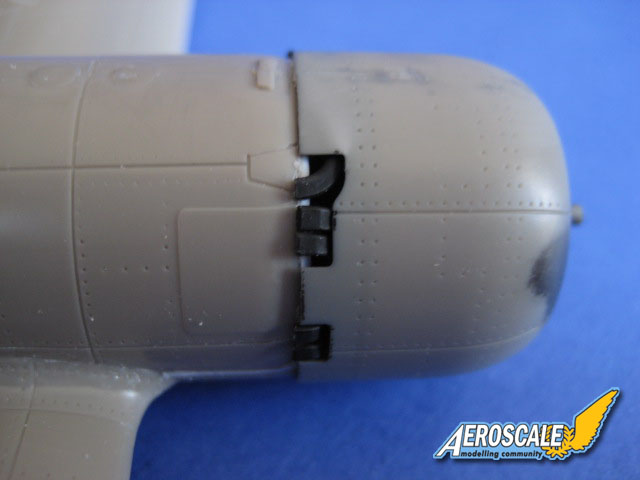
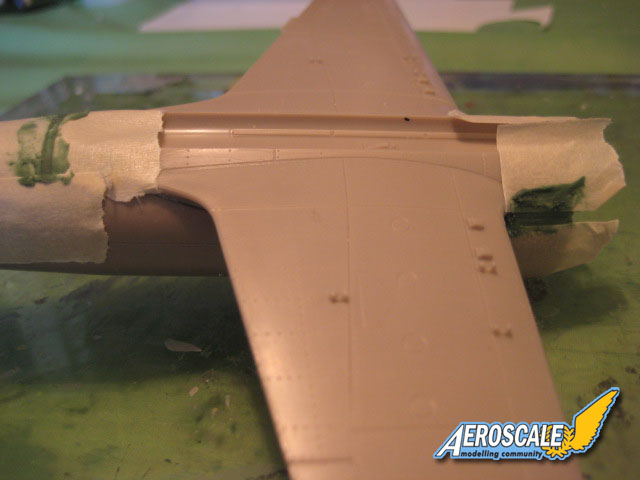
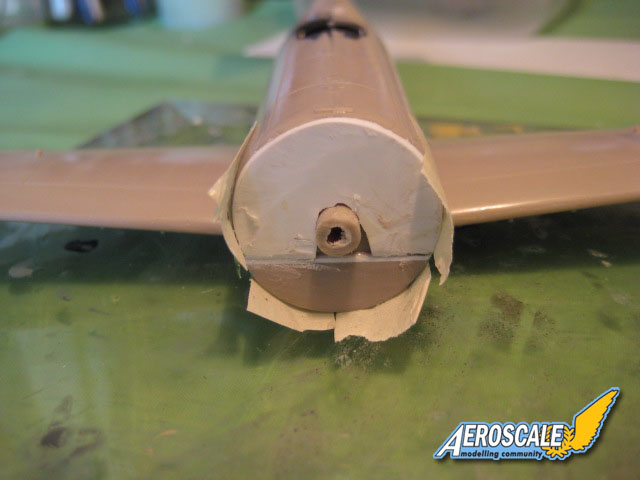
I have seen many reviews of this kit refer to the fit issues when attaching the wings to the fuselage, and I must say they are certainly a problem. They can be surmounted quite easily with a little planning. I added plastic card to the very noticeable gaps, carved away the excess, added putty and sanded. Please be aware of the cowling/engine assembly fit issues also. I added card to the front bulkhead on the fuselage and also found I had to grind down the central shaft on the back of engine itself. I left the cowling off for now and added the tail.
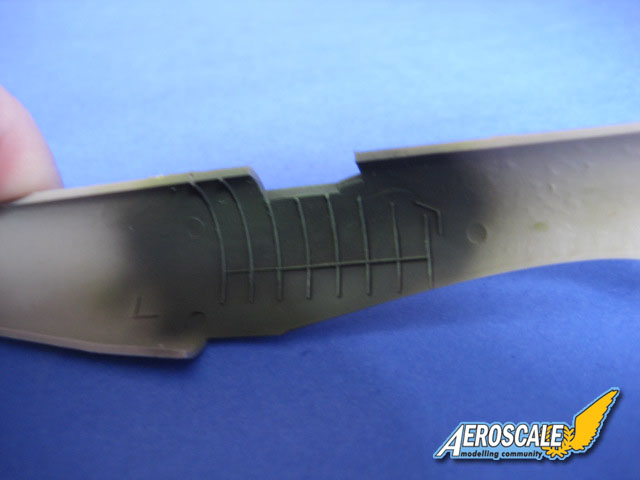
In step 4 we add the auxiliary wing flaps, air intake, and tail struts. These struts (C4) were replaced with styrene rod.
Step 5 and 6 deal with the bomb and its points. I decided to leave out the bomb as none of the reference photos I have show it.
The tailskid was added. The kit piece had a nasty mold line right along the spring, so I rebuilt it out of rod with wire wrapped around it. I left off the main undercarriage until after painting.
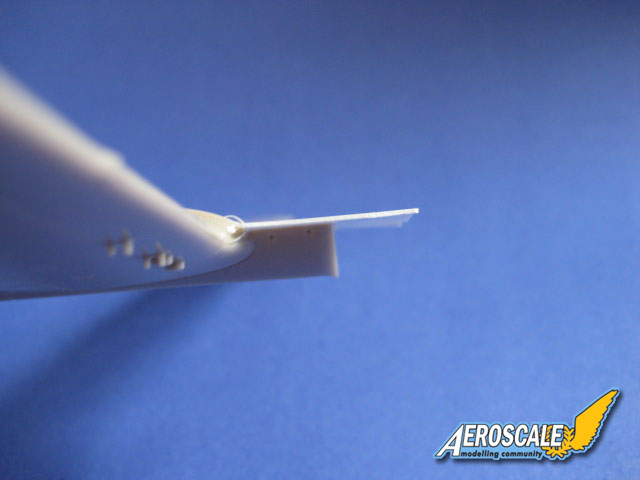
Step 7 added an air intake to the top of the fuselage behind the engine and the canopy fairing.
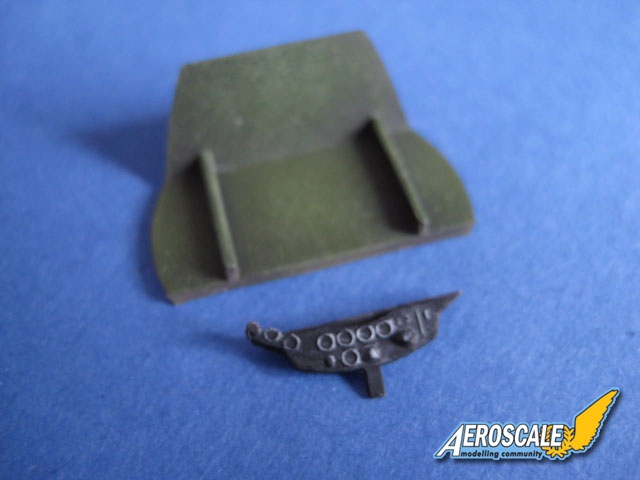
Step 8 and 9 was adding the canopy, headrest, sight and propeller. The only things left to be added before painting was the parts for the headrest.
About the Author

FROM: ONTARIO, CANADA
I live in a small rural town with my wife and 2 dogs in an old farmhouse they say used to have ghosts..seems ok now.I spend my free time fixing up the house(pre-1886) and studying WW2. I model whenever I can,and thank the Lord for all His blessings in my life.
Comments
Very nice build, Jim.
I have made this kit as well a couple of years back. It is a great little kit and it is evident from building it that it was really an ultra simple construction. A one way ticket litterally.
Thanks for sharing
JUL 06, 2009 - 01:48 AM
Copyright ©2021 by Jim McIntosh. Images also by copyright holder unless otherwise noted. The views and opinions expressed herein are solely the views and opinions of the authors and/or contributors to this Web site and do not necessarily represent the views and/or opinions of AeroScale, KitMaker Network, or Silver Star Enterrpises. Images also by copyright holder unless otherwise noted. Opinions expressed are those of the author(s) and not necessarily those of AeroScale. All rights reserved. Originally published on: 2009-07-04 00:00:00. Unique Reads: 9783

WEB HOSTING BY


Copyright ©2021 AeroScale and Kitmaker Network, a subsidiary of Silver Star Enterprises
All Rights Reserved. Please read our Conditions of Use and Privacy Policy.
All Rights Reserved. Please read our Conditions of Use and Privacy Policy.