

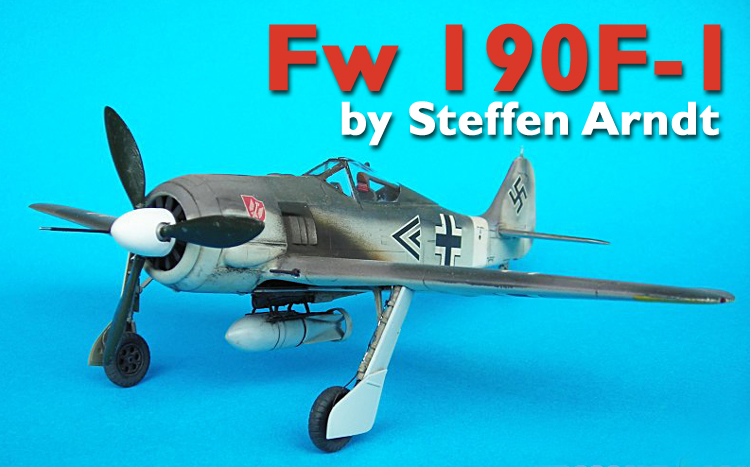
1⁄35Focke Wulf Fw 190 F-1
3
Comments
Introduction
I built this model for the Down Low campaign. As it is very similar to the A-4, I decided to build both kits parallel, so you find most of the hints will be true for both kits and you'll see some pictures with both models shown. In general the Fw 190 F-1 is just a Fw 190 A-4 which was used differently. The outboard MG FF are optional also for fighters and could be fitted or not (feldmäßig = by front line unit). I intended to show a little difference with the camouflage; The Fw 190 F-1 and A-4 would be both painted in 74/75/76 camo, but I'd try to achieve a more dusted and faded look on the Tunisian machine and a glossy Kommodore aircraft for the other. The F-1 would be done with the kit decals (Tunisia, III./SKG 10), while the Fw 190 A-4 would be as deployed with JG 101 in Pau (France).Construction
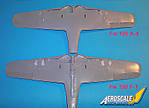
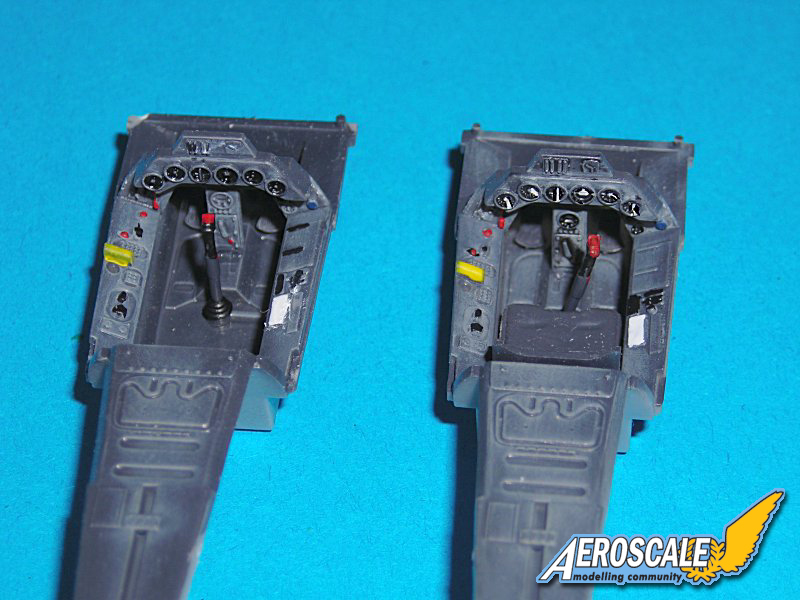
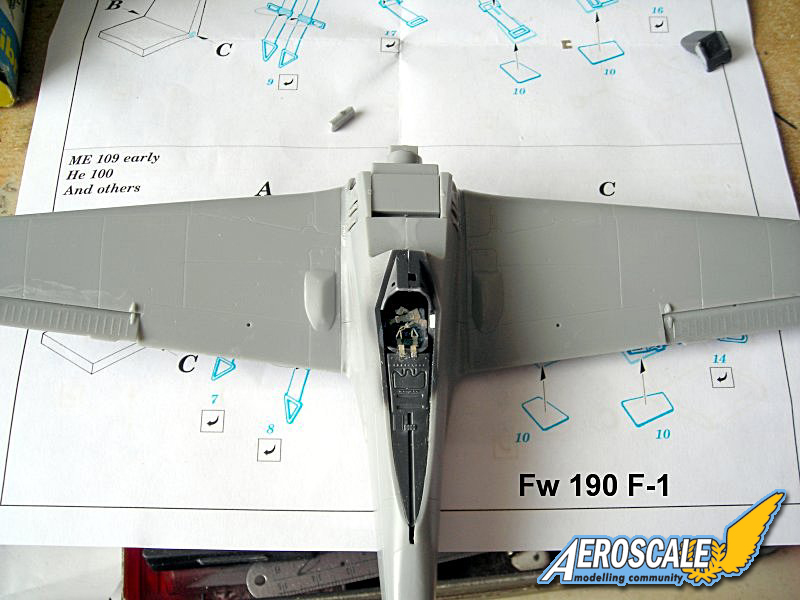
The Hasegawa kit is quite easy to build and I decided not to add much after market stuff - just the seat belts (Eduard) and a 500kg bomb for the fighter bomber.First I put the wings together. The F-1 has no outer wing weapons but a bomb rack, while the A-4 has the MG FF (maybe it would also get the rack for a fuel tank later). (Picture 1). I sprayed the cockpit tub and all other necessary parts RLM 66 and added some detail painting with Citadel acrylics. (pic 2) And of course some Eduard seat belts were also used.
When everything was dry the fuselage halves were glued together and the fin inserts were added and sanded in. Do not forget the tail wheel! Some filler was required as on the under wing panels. I first tried Tamiya's Light Curing stuff, but it did not stick very well to such a small gap, so I used my usual Mr.Surfacer 500 ... sanding and polishing it after it has dried over night. (pic 3)
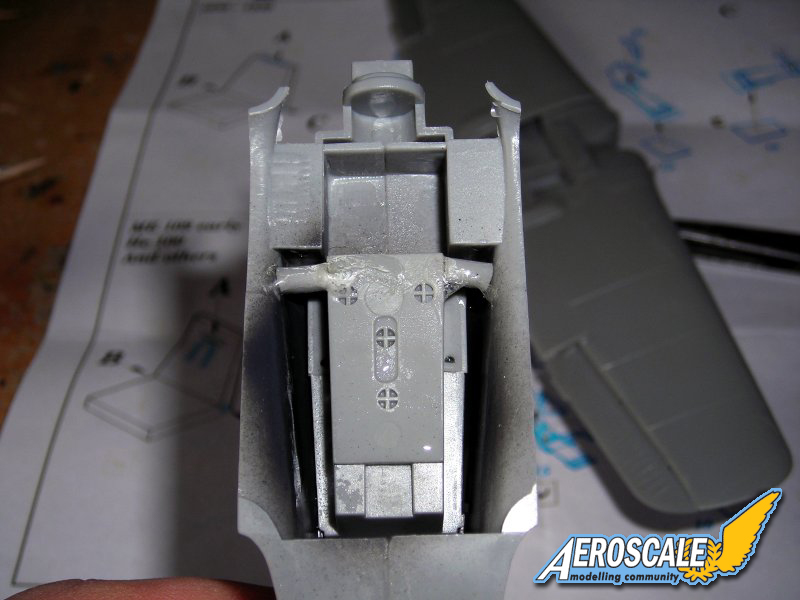
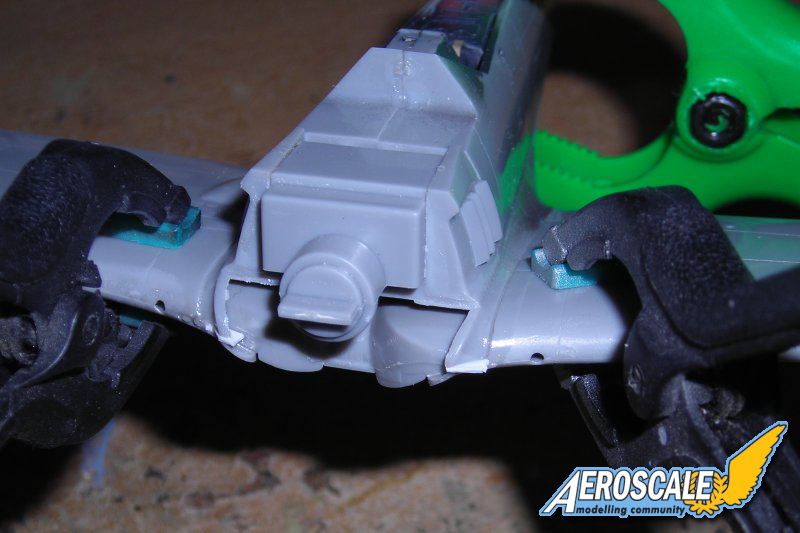
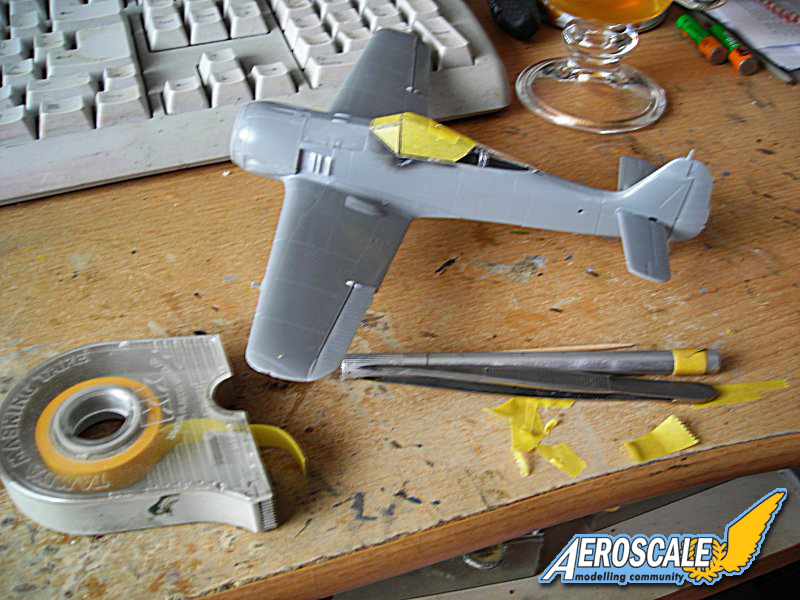
I inserted two small spreaders left and right from the cockpit tub to spread the fuselage just 1/2 mm on each side. The wing to fuselage join is much better after this easy improvement. (picture 4, 5, 6) I still needed some clamps and inserts on one of the fuselages. This would cause a little trouble when fitting the cowl, (but the problem is manageable, as I know from experience, having already done it on the Hasegawa's Fw 190 A-3).
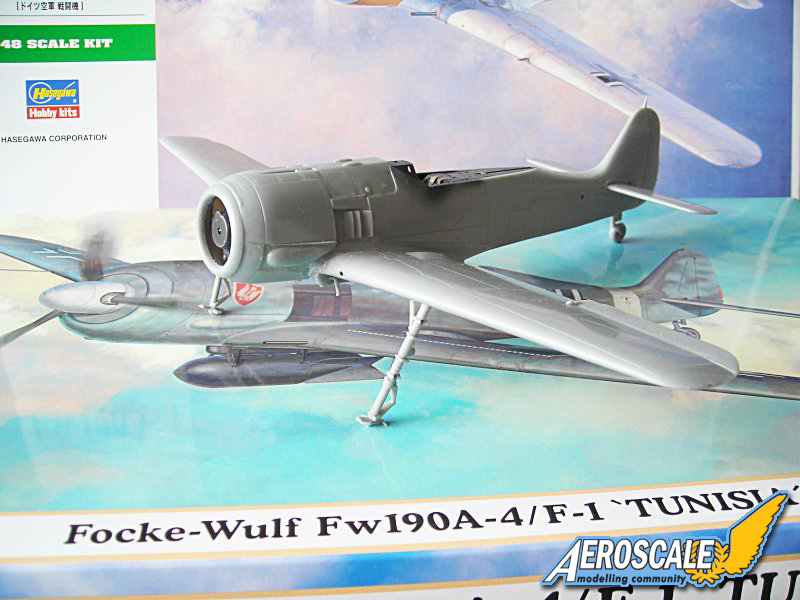
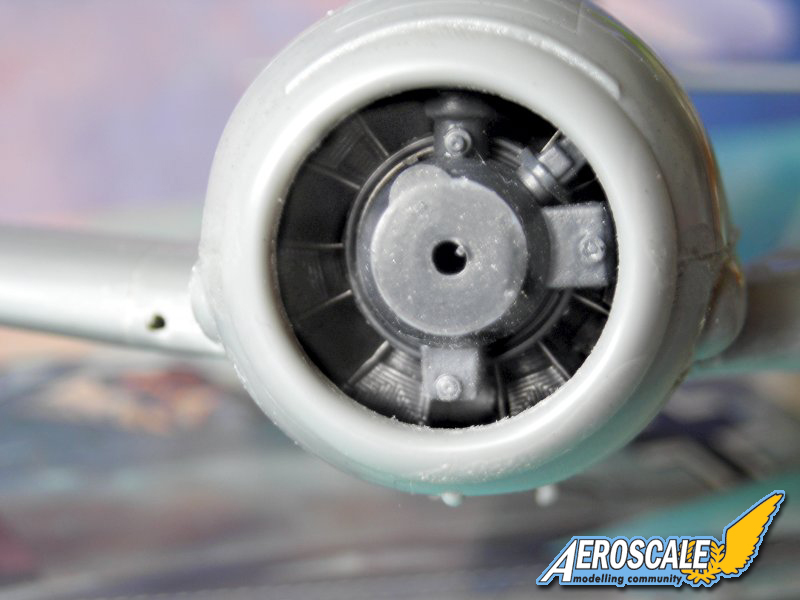
Then I added the power plants and cowlings. The engine replicas were painted RLM 66 and polished with MiG pigments "gun metal", then I glued them into place. All parts of the cowling were cleaned up and then fit into place. Some small gaps at the lower engine to fuselage join were filled with Tamiya putty and Mr Surfacer. (picture 7, 8, 9)
Afterwards I attached the main u/c legs to the models, as I like to have them on for painting -- so I do not need a special holder or stand --- but I leave off the undercarriage covers until after airbrushing the camo. As you can see I have also attached the elevators by now. (picture 10)
I started work on the canopies. First all 4 parts got a bath in Klear, then I mounted the gun sight and the windshield.
Now the problems started. So far I'd made most progress on the 190 A-4 and I wanted to research the type of canopy armor I would have to install. Well, the machine I wanted to build ("Wumm" Schnell's a/c of JG 2) does not have the cooling flaps but the "Kiemenspalten" (cooling "holes") --- those are in the Fw 190 A-3 kit but not in the A-4 kits. This put me into some trouble. Much later I found a machine I want to replicate, but from this point on I put the fighter aside and concentrated on the Fw 190 F-1, which luckily seems to have the cooling louvers mounted.
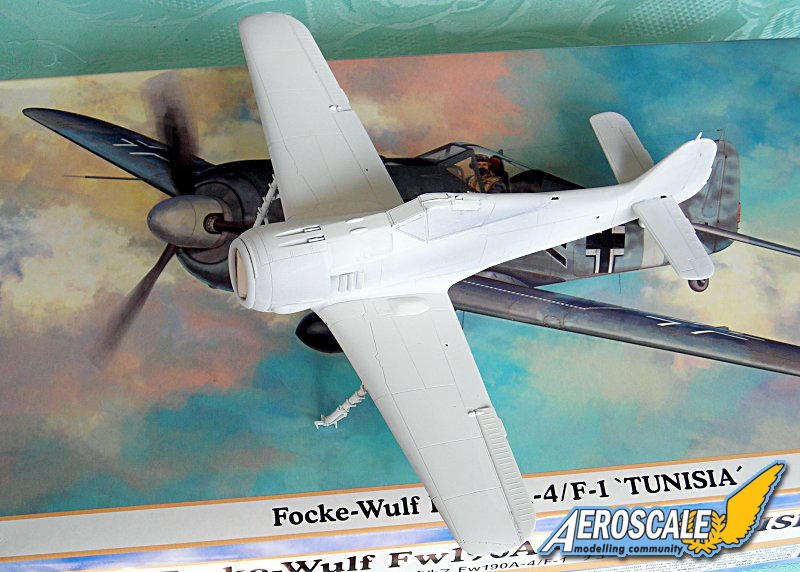
The canopy was masked (picture 12), sprayed RLM 66 and the whole model got a nice coat of white primer (Citadel), then I checked for imperfections .. sanding, polishing, respraying ... I also managed to break some parts of the ETC during the process, which had to be reattached. (picture 13)
 Picture 1
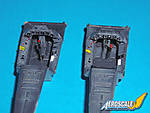 Picture 2
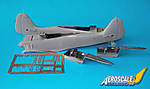 Picture 3
 Picture 4
 Picture 5
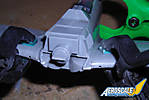 Picture 6
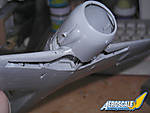 Picture 7
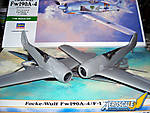 Picture 8
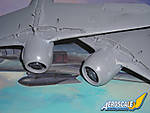 Picture 9
 Picture 10
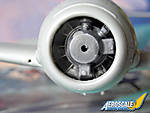 Picture 11
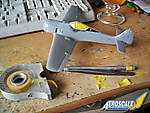 Picture 12
 Picture 13


About the Author


FROM: , GERMANY
I was born in 1974 and started modelling in the 80ies. The first models I remember are a MiG 21 F-13, Saab Draken (both 1/100) and the Tu-2 (72) all from the east German producer Plastikart. during my first years I built all kind of models mainly 1/72 and 1/100. Beside the mentioned Plasticart kits ...
Comments

Thank you Rowan!!
especially for ironing my mistakes out!!!
cheers
Steffen
JUN 23, 2007 - 12:56 AM

Hi Steffen
My pleasure! It's a great article - keep 'em coming!
All the best
Rowan
JUN 23, 2007 - 02:06 AM

Hi Steffen!
Nice one! Congratulations for your first article here!
Unfortunately (for me) I don't have the Hasegawa Focke Wulf in my stash... now I have to buy one to follow your advices.
Jean-Luc
JUN 23, 2007 - 07:32 AM
Copyright ©2021 by Steffen Arndt. Images also by copyright holder unless otherwise noted. The views and opinions expressed herein are solely the views and opinions of the authors and/or contributors to this Web site and do not necessarily represent the views and/or opinions of AeroScale, KitMaker Network, or Silver Star Enterrpises. Images also by copyright holder unless otherwise noted. Opinions expressed are those of the author(s) and not necessarily those of AeroScale. All rights reserved. Originally published on: 2007-06-23 00:00:00. Unique Reads: 12472

WEB HOSTING BY


Copyright ©2021 AeroScale and Kitmaker Network, a subsidiary of Silver Star Enterprises
All Rights Reserved. Please read our Conditions of Use and Privacy Policy.
All Rights Reserved. Please read our Conditions of Use and Privacy Policy.