

Thanks D - Ive been watching you as well but it seems you are a bit of a moving target - twin Me 262s one day then twin BMW cars the next . Nice work all around
and x 2 to boot ! Keep it up !
Cheers - RT
Hosted by Rowan Baylis
1/48 A6M2b Type 21 build

rdt1953

Joined: February 06, 2015
KitMaker: 1,098 posts
AeroScale: 900 posts
Posted: Tuesday, September 15, 2020 - 11:07 PM UTC
rdt1953
Joined: February 06, 2015
KitMaker: 1,098 posts
AeroScale: 900 posts
Posted: Sunday, October 04, 2020 - 10:02 AM UTC
A little progress to report .
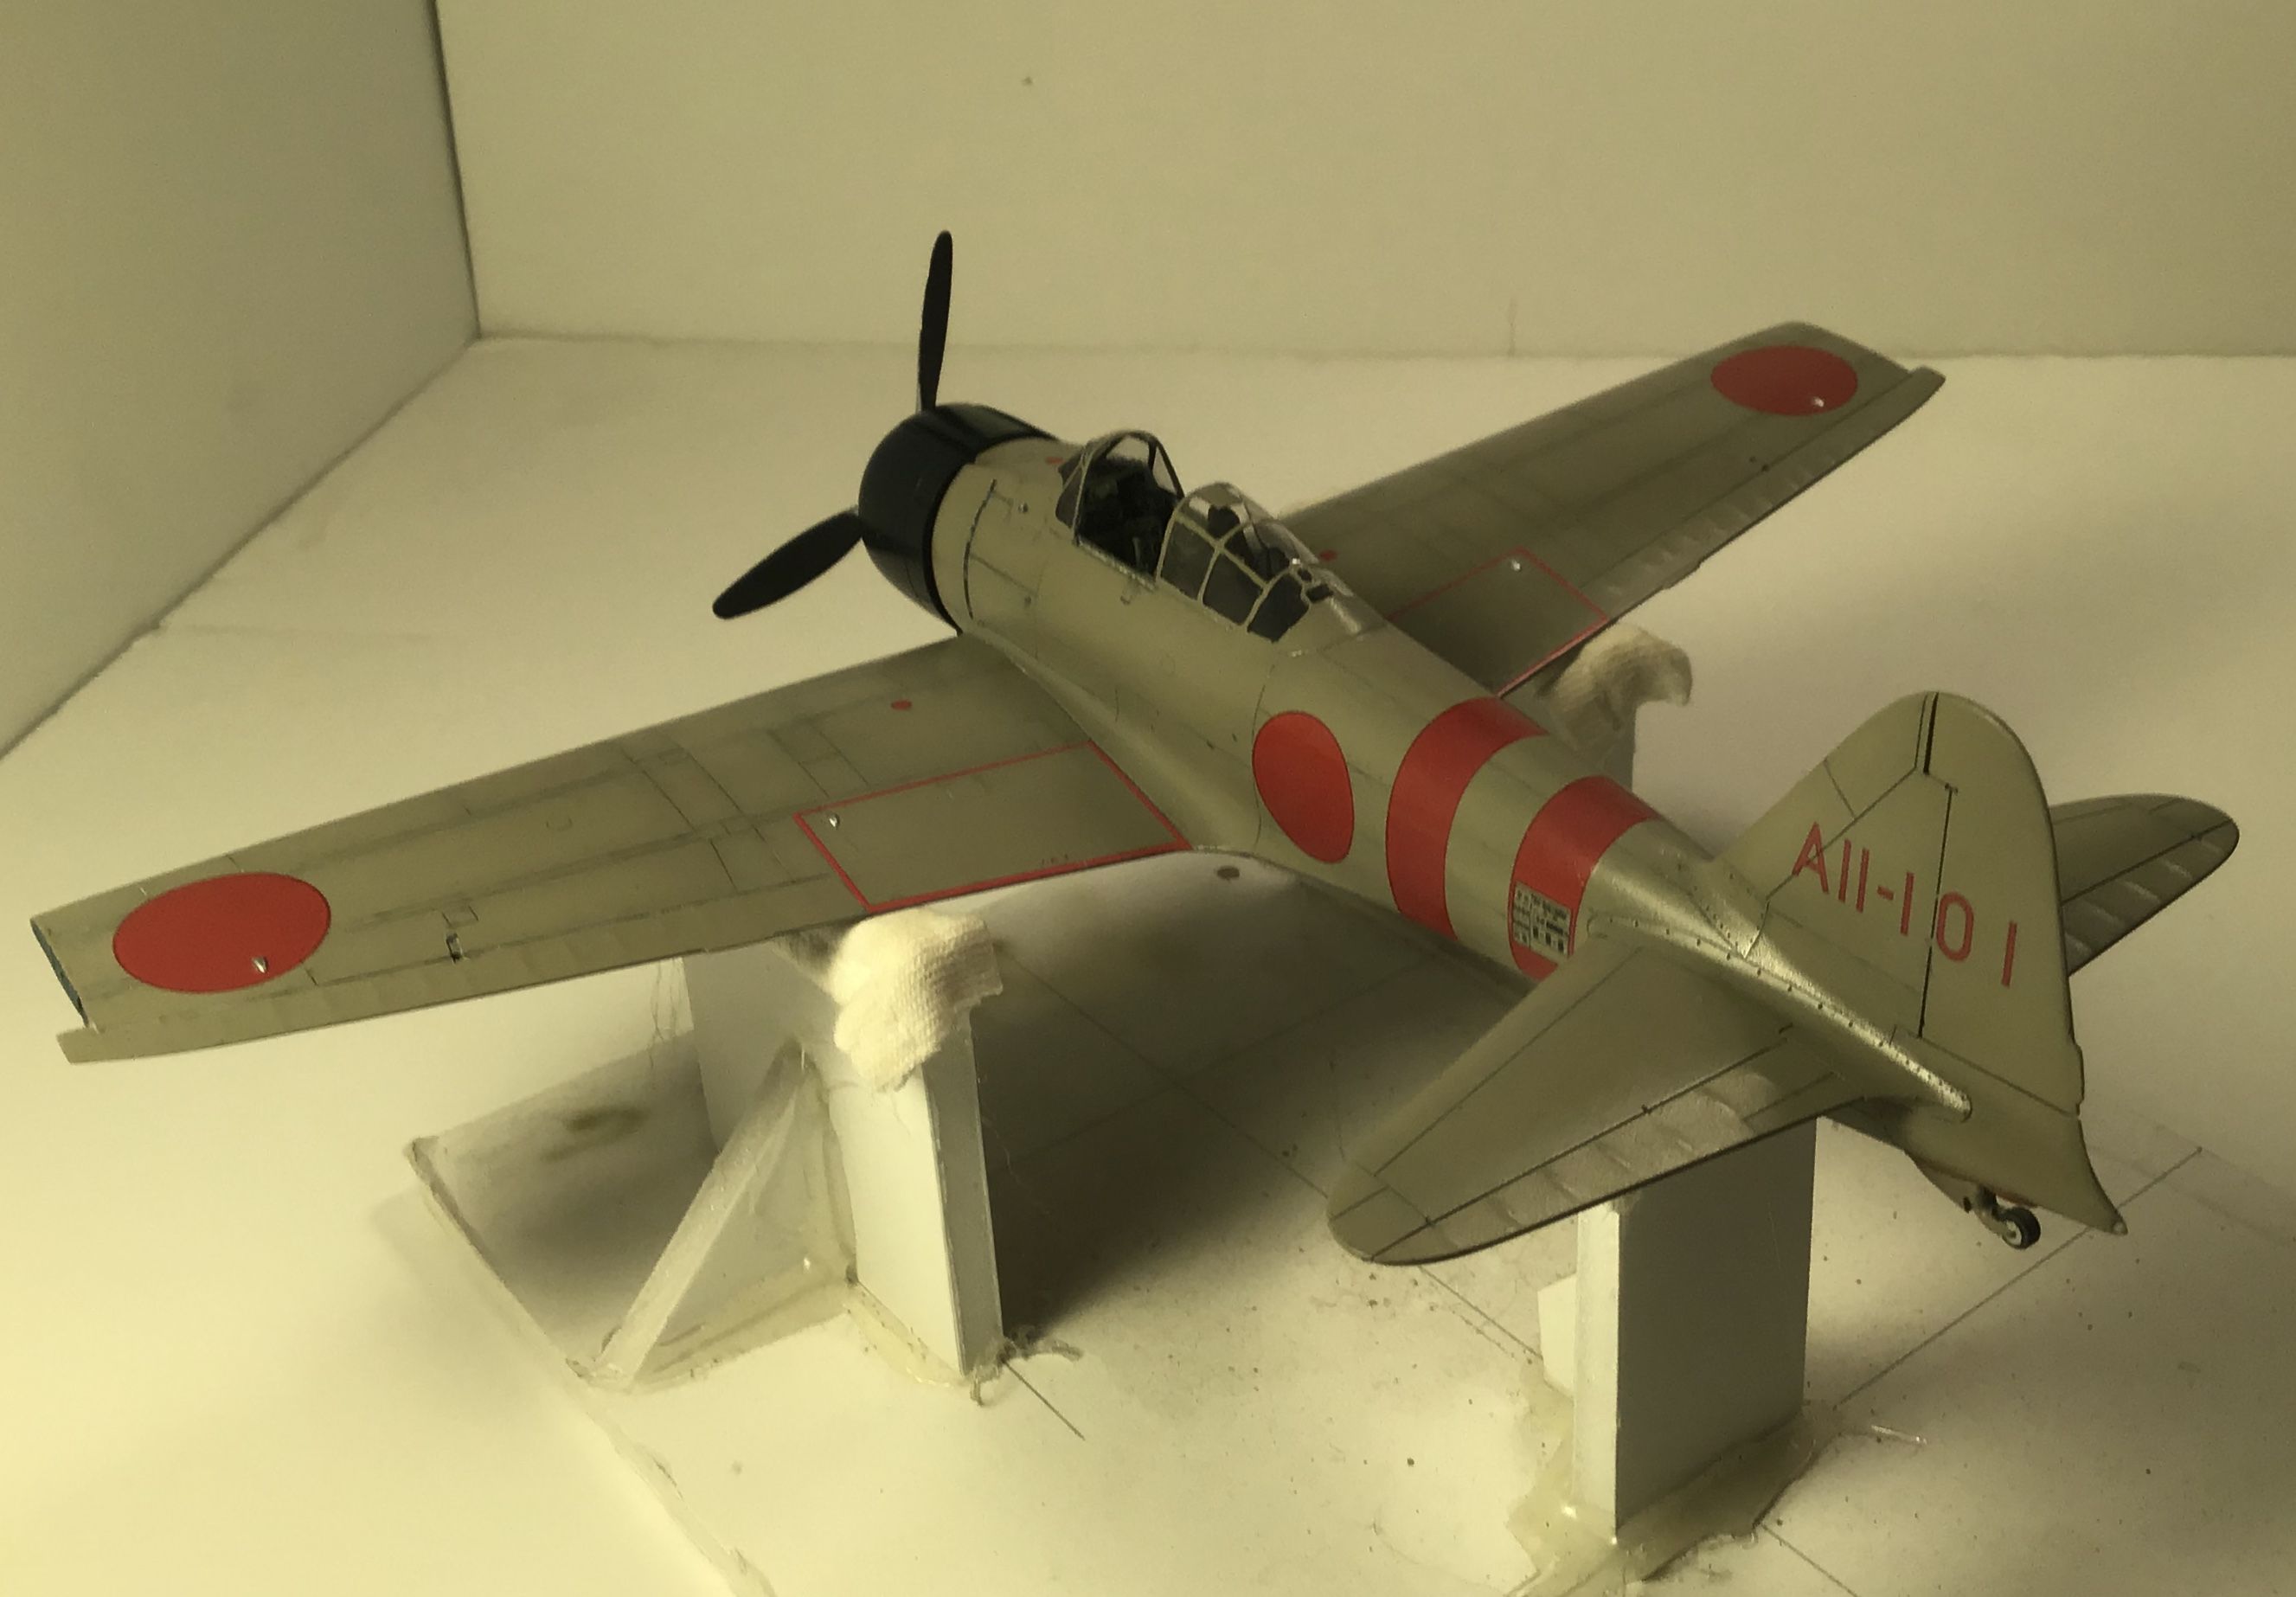
Fuselage painting done - panel line pin wash done all over . Two coats of Tamiya clear gloss over all and then rubbed out with 2400 & 3200 sanding pads. As this will represent a Mitsubishi built aircraft the wheel wells and gear doors are fuselage color - Vallejo IJN Ash Grey .
The exposed wing ribs at the wing tips and the gill slit on the forward fuselage are done in Aotake - the metallic blue/green seen on many Japanese interior components . I stay away from the commercially bottled colors representing this color because I think the gloss and metallic aspects are over done and look out of scale. I like to represent it by first spraying flat aluminum and then just lightly dusting over with highly thinned Tamiya XF - 8 Flat Blue. This way you can control the effect by gradually building up the color.
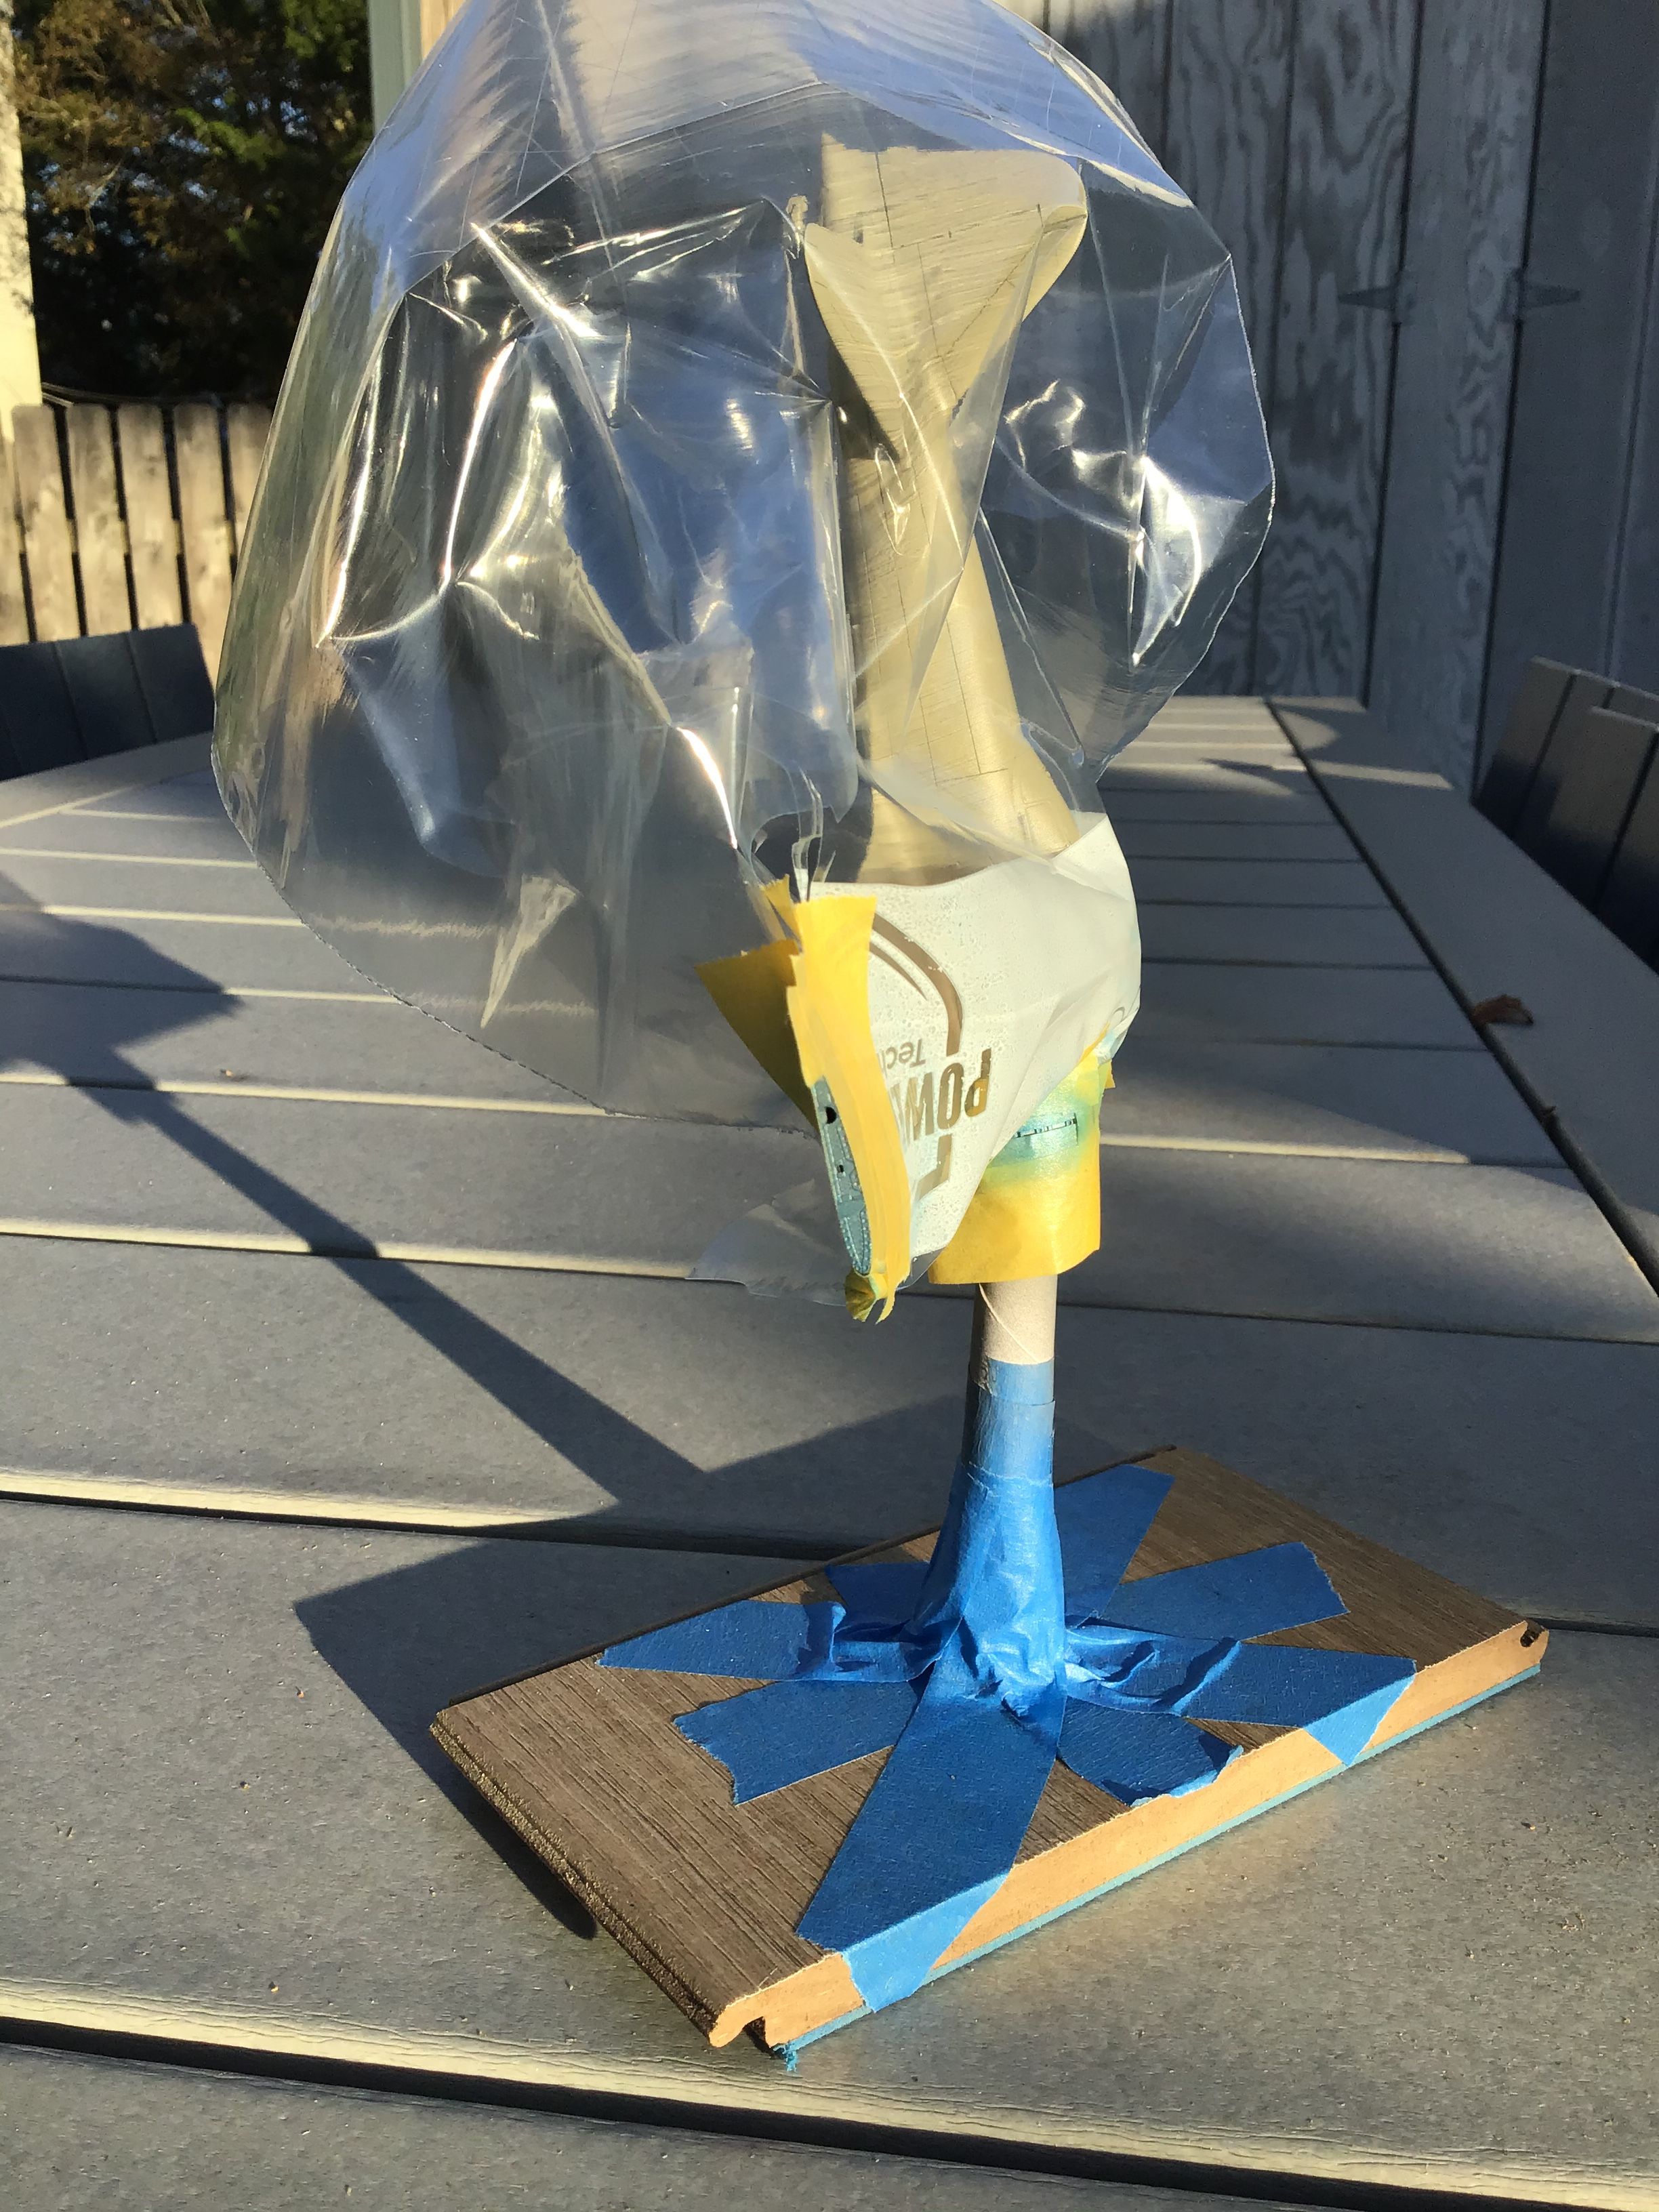
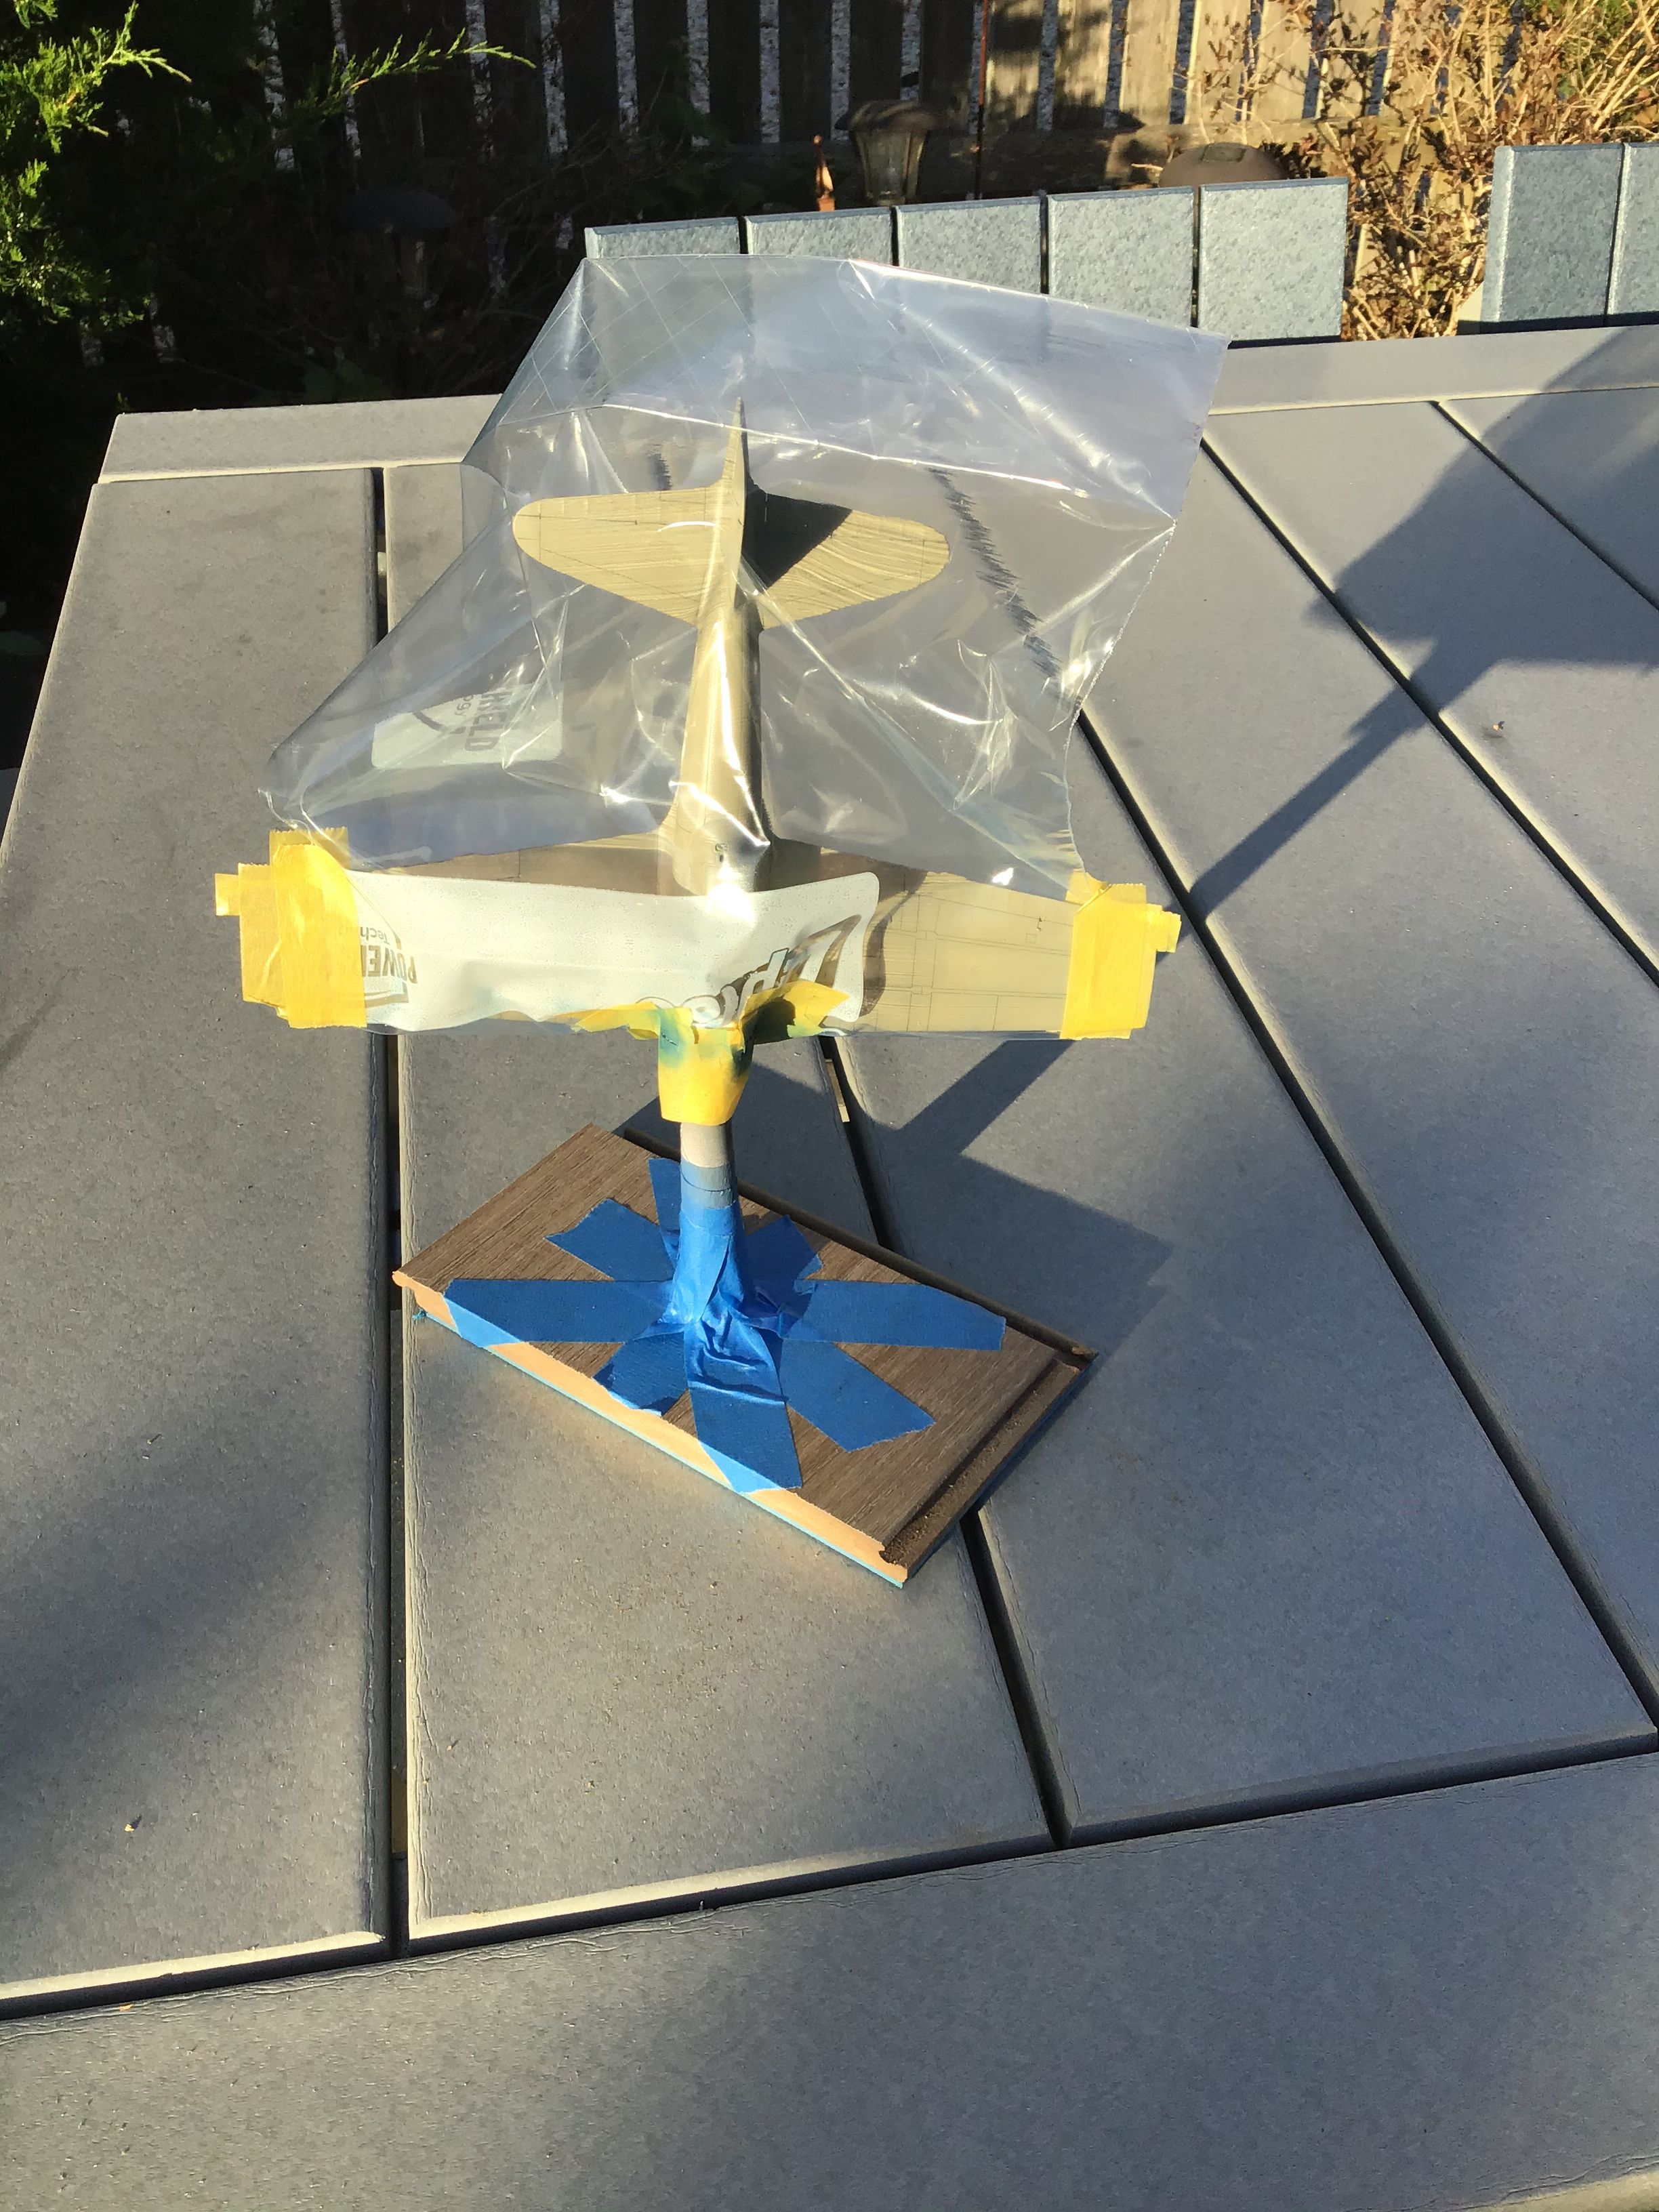
All fuselage decals now done and await clear overcoat .
Cowling painted to represent Mitsubishi Blue-Black . A one to one mix of Tamiya X-18 Semi Gloss Black and XF-8 Flat Blue does nicely.
Thanks for looking - Cheers- Richard
Fuselage painting done - panel line pin wash done all over . Two coats of Tamiya clear gloss over all and then rubbed out with 2400 & 3200 sanding pads. As this will represent a Mitsubishi built aircraft the wheel wells and gear doors are fuselage color - Vallejo IJN Ash Grey .
The exposed wing ribs at the wing tips and the gill slit on the forward fuselage are done in Aotake - the metallic blue/green seen on many Japanese interior components . I stay away from the commercially bottled colors representing this color because I think the gloss and metallic aspects are over done and look out of scale. I like to represent it by first spraying flat aluminum and then just lightly dusting over with highly thinned Tamiya XF - 8 Flat Blue. This way you can control the effect by gradually building up the color.
All fuselage decals now done and await clear overcoat .
Cowling painted to represent Mitsubishi Blue-Black . A one to one mix of Tamiya X-18 Semi Gloss Black and XF-8 Flat Blue does nicely.
Thanks for looking - Cheers- Richard

Redhand

#522
Joined: January 20, 2013
KitMaker: 1,460 posts
AeroScale: 1,443 posts
Posted: Monday, October 05, 2020 - 12:42 AM UTC
Nice to see this progress and your usual but always-surprising attention to detail, and innovative approach to colors -- when commercial paints just won't do!

rdt1953
Joined: February 06, 2015
KitMaker: 1,098 posts
AeroScale: 900 posts
Posted: Tuesday, October 06, 2020 - 11:01 AM UTC
Quoted Text
Nice to see this progress and your usual but always-surprising attention to detail, and innovative approach to colors -- when commercial paints just won't do!
Thanks Brian for the kind words !

AussieReg

#007

Joined: June 09, 2009
KitMaker: 8,156 posts
AeroScale: 3,756 posts
Posted: Tuesday, October 06, 2020 - 12:38 PM UTC
Looking really good Richard, beautifully neat work!
Cheers, D
Cheers, D

rdt1953
Joined: February 06, 2015
KitMaker: 1,098 posts
AeroScale: 900 posts
Posted: Thursday, October 08, 2020 - 02:45 PM UTC
Quoted Text
Looking really good Richard, beautifully neat work!
Cheers, D
Thanks D !
rdt1953
Joined: February 06, 2015
KitMaker: 1,098 posts
AeroScale: 900 posts
Posted: Sunday, October 11, 2020 - 12:38 PM UTC
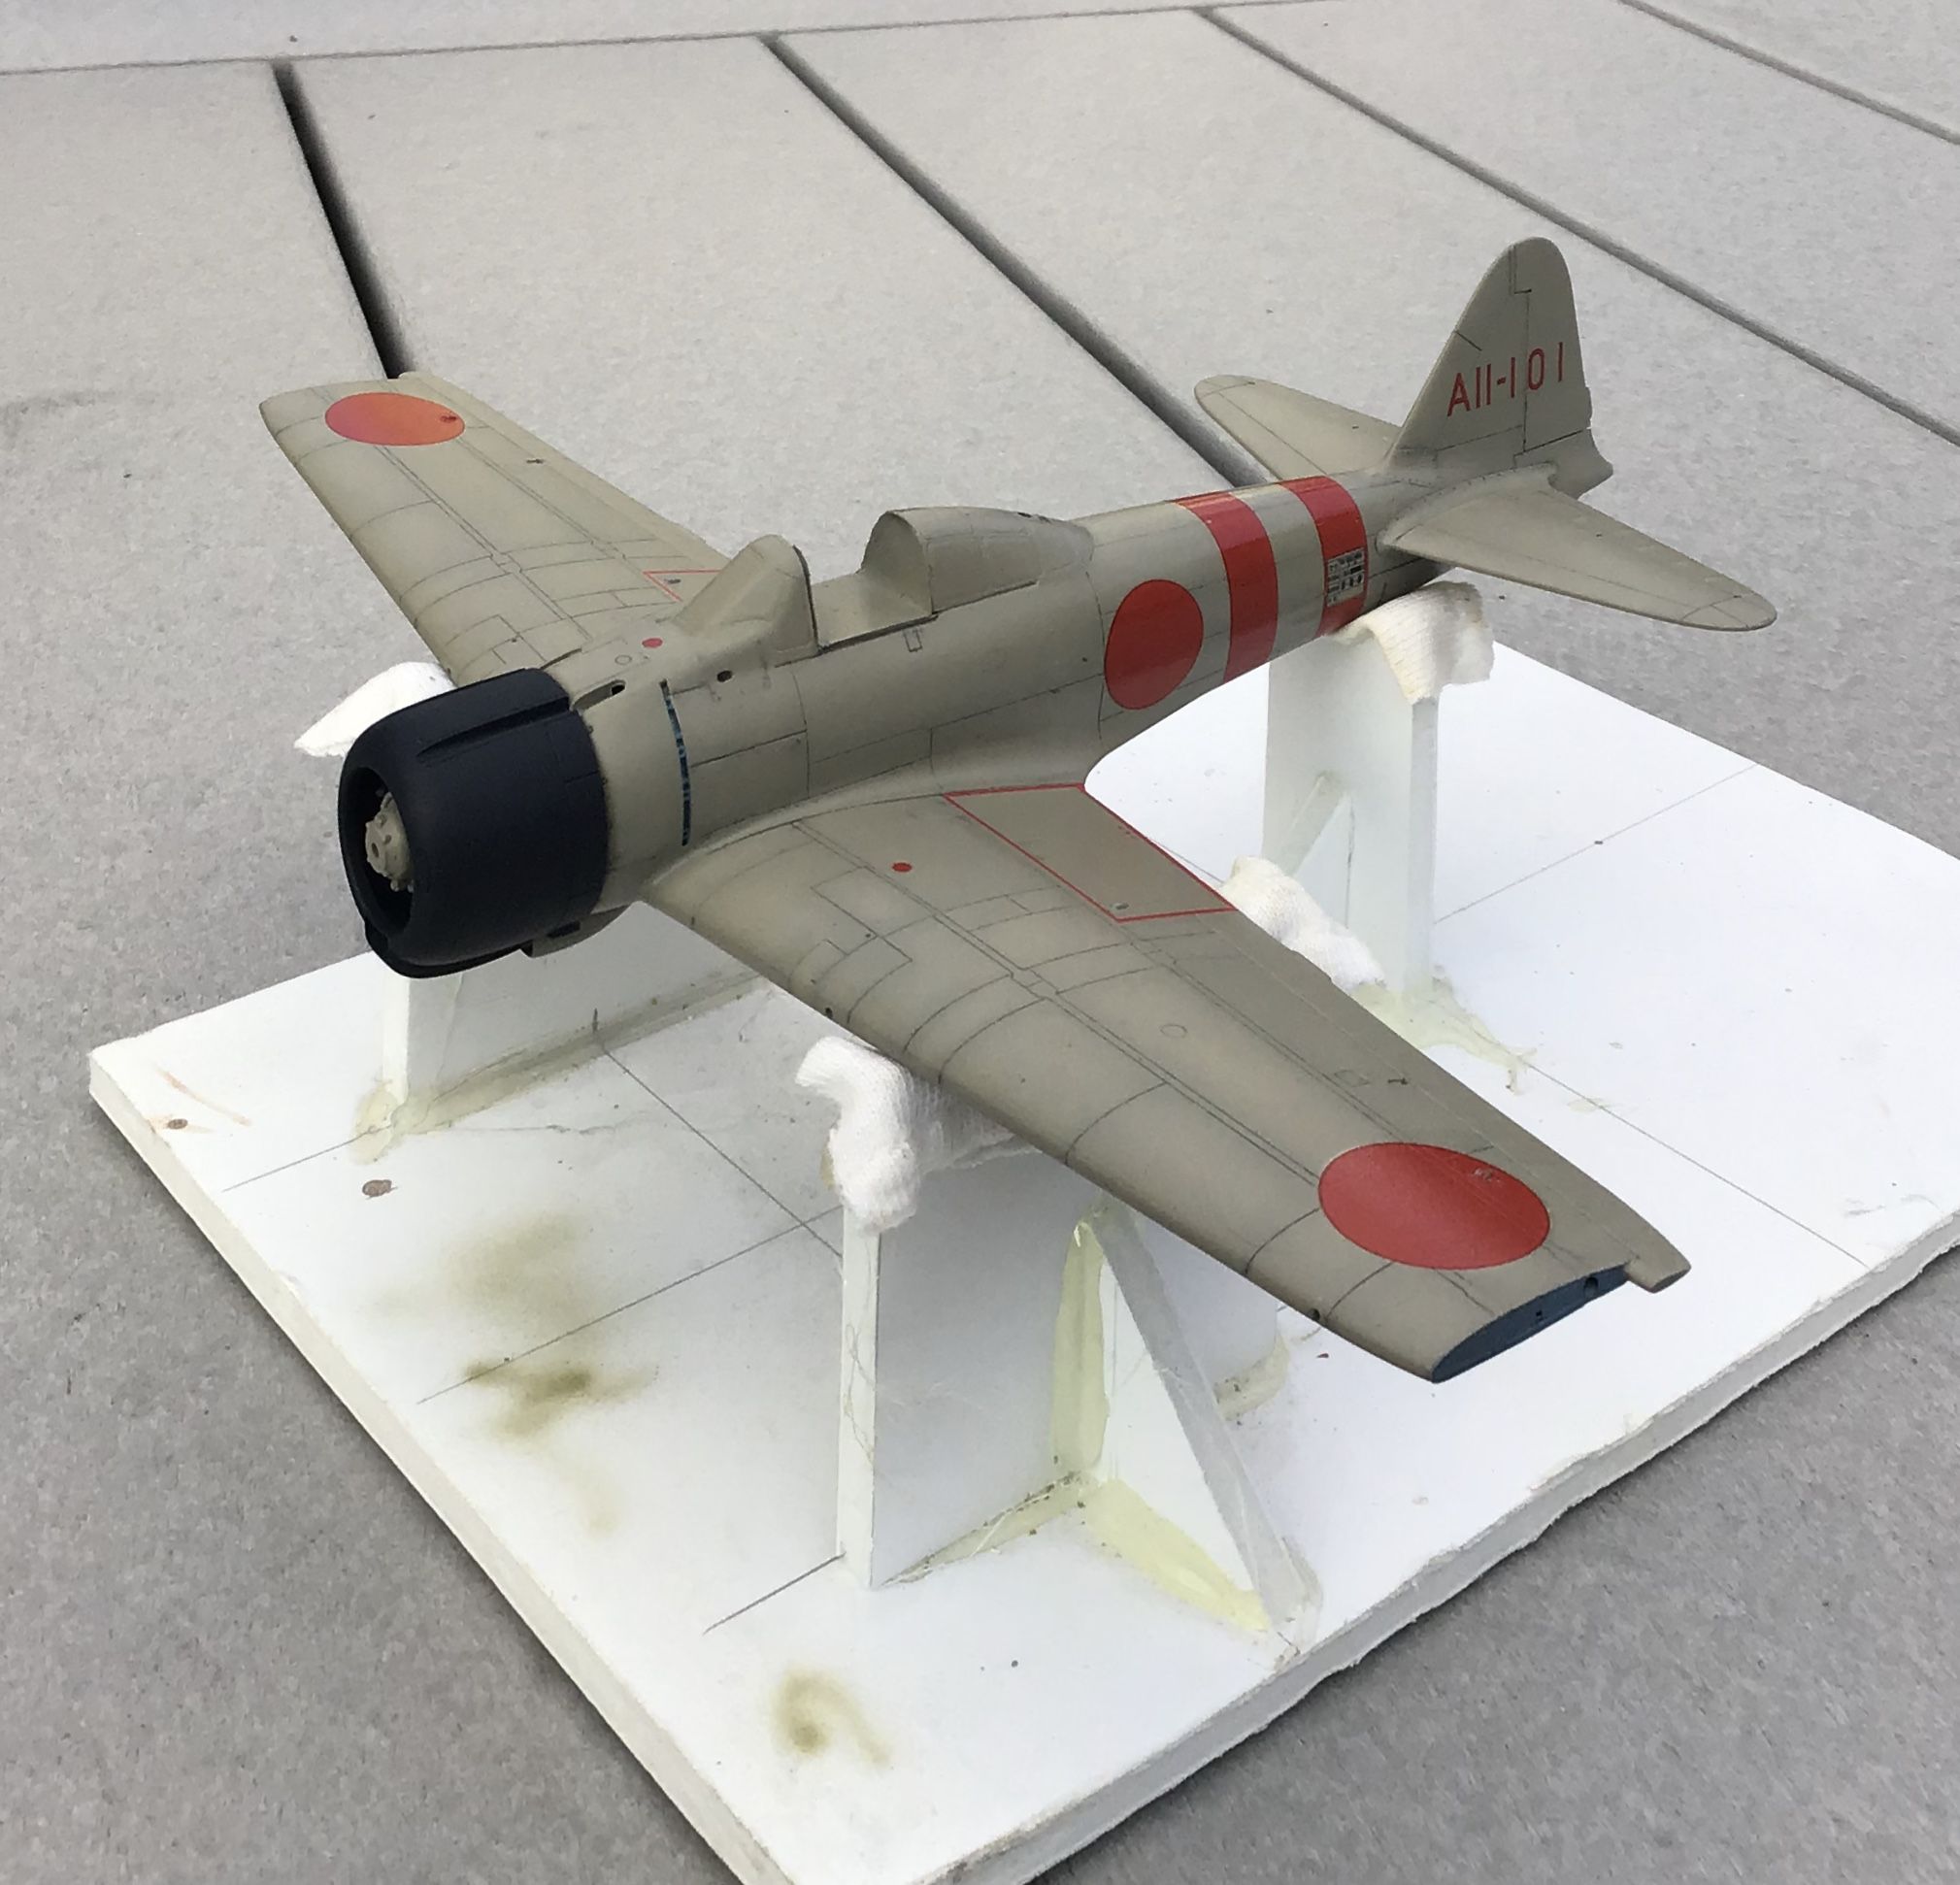
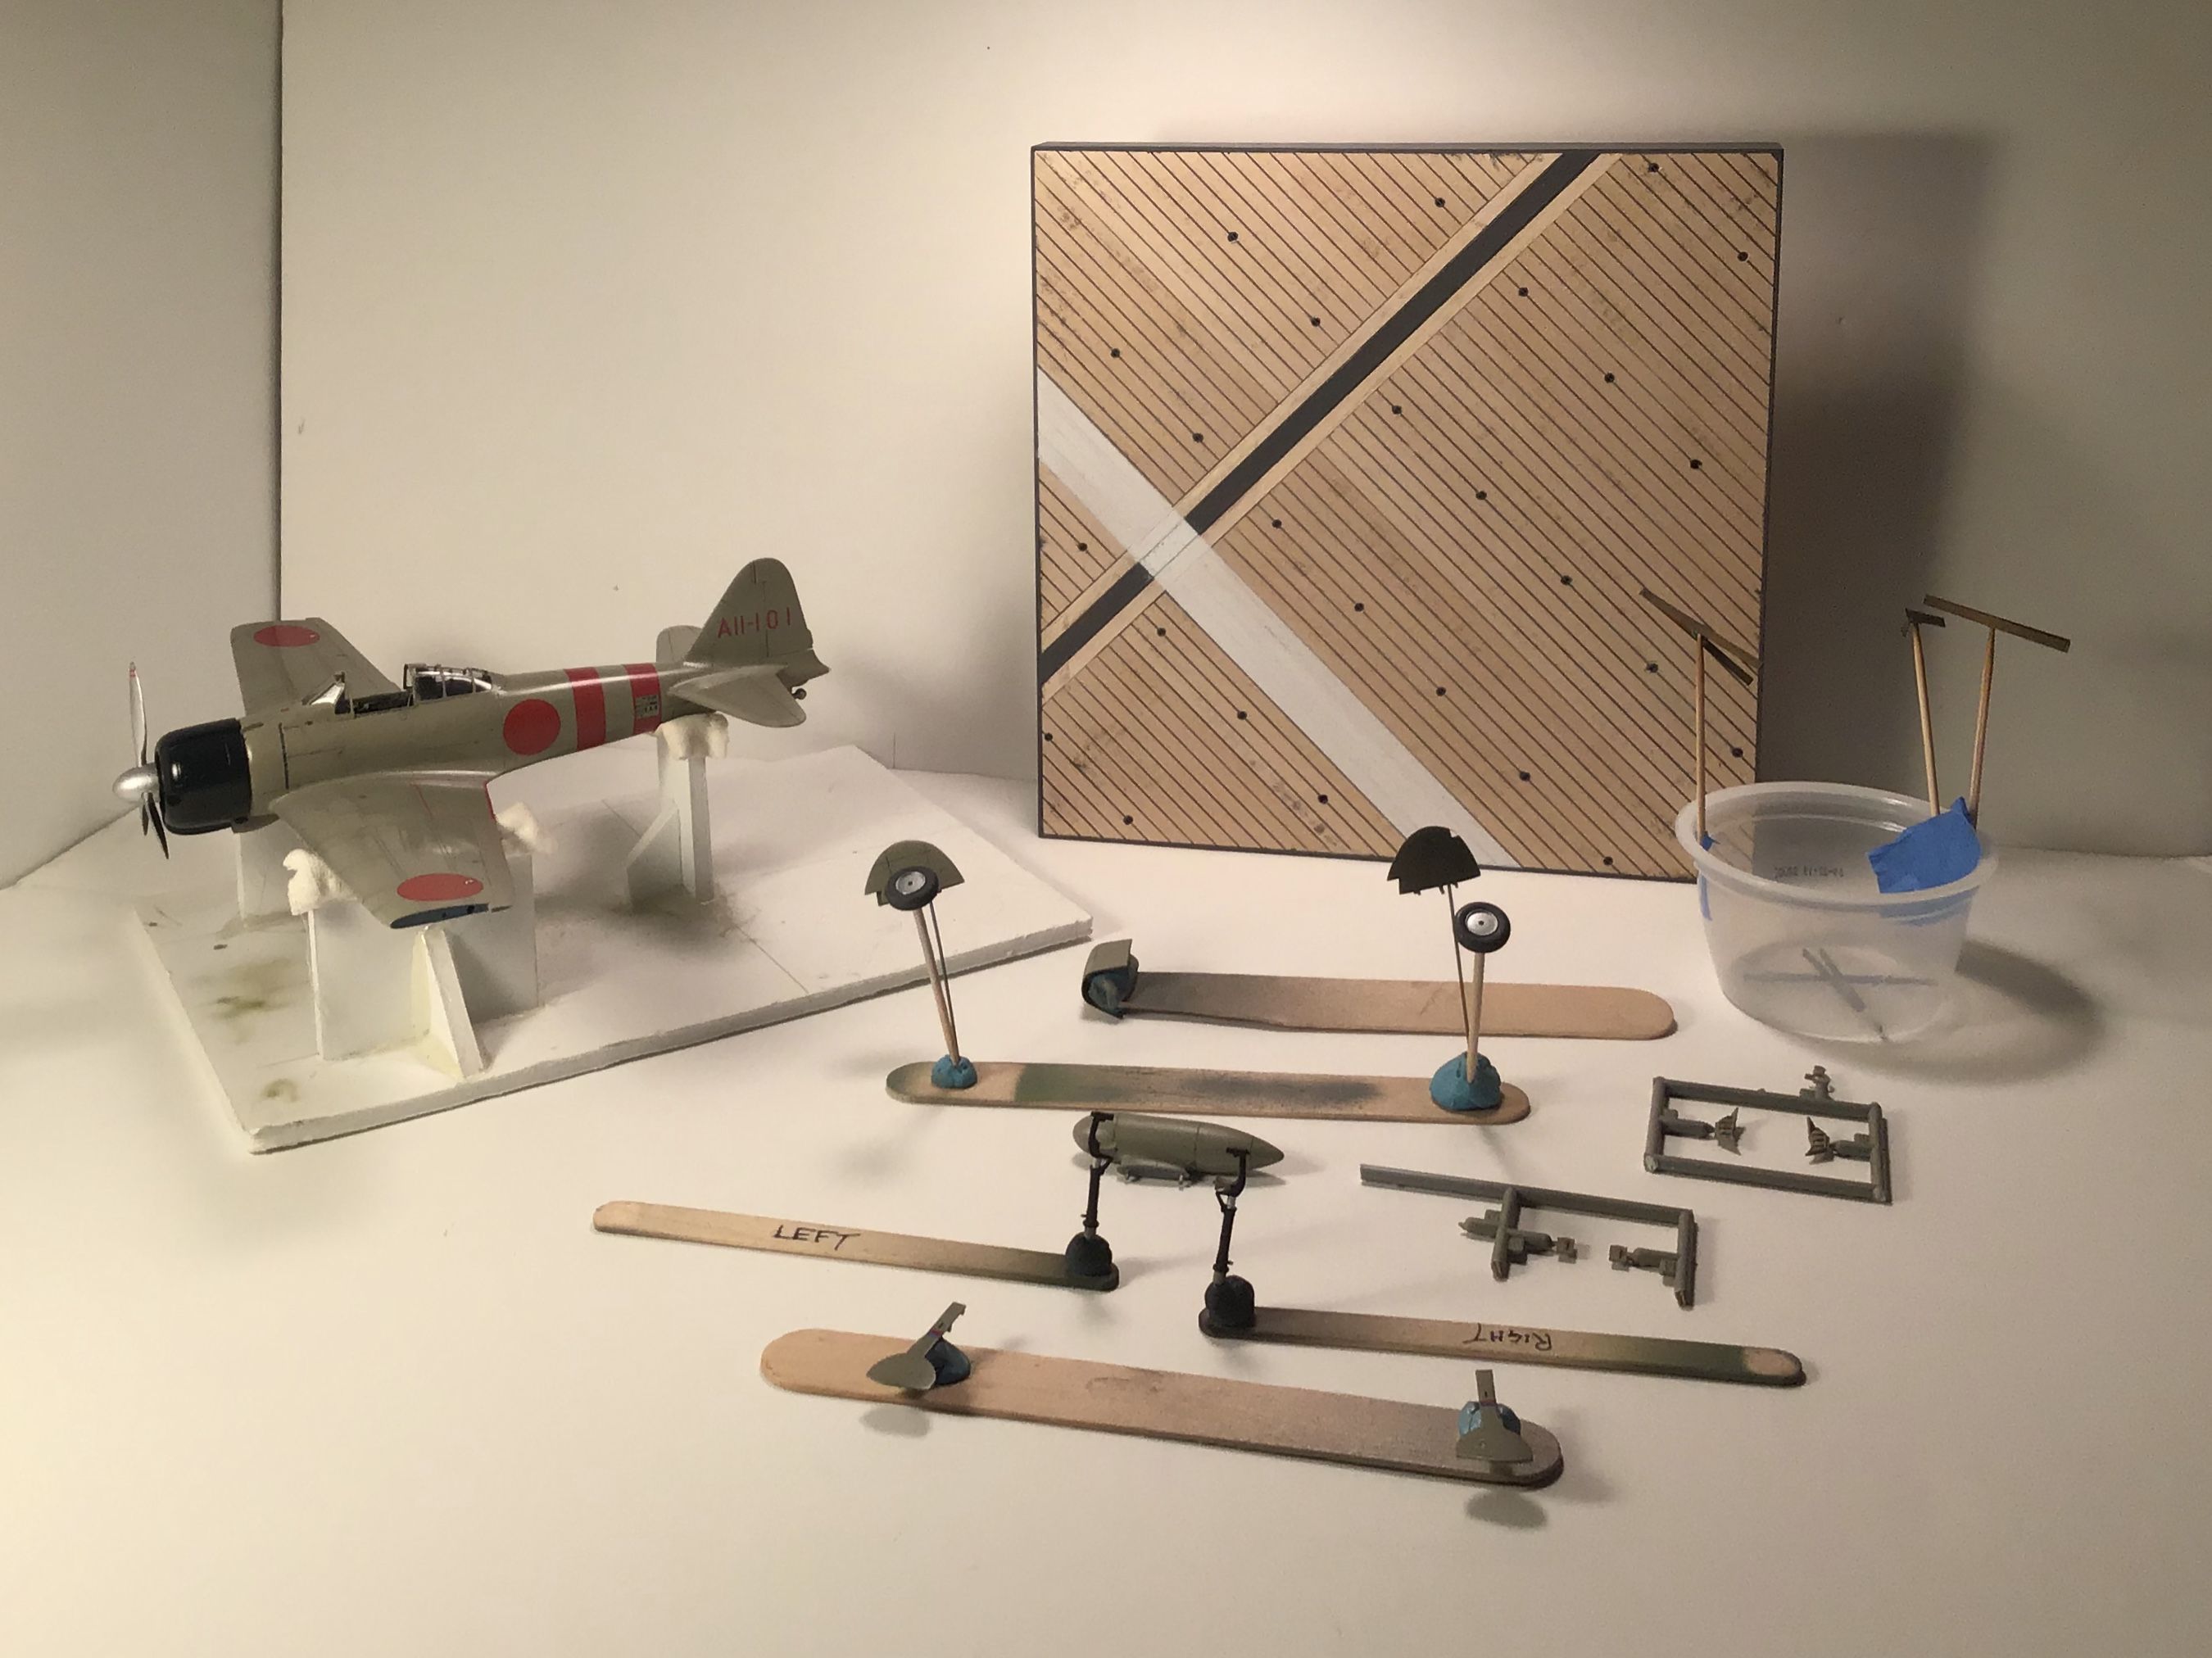
Getting closer to the finish line.
Painting mostly done - all rubbed out with Blue Magic on cotton t shirt squares.
Canopy and cockpit unmasked - always fun when that happens .
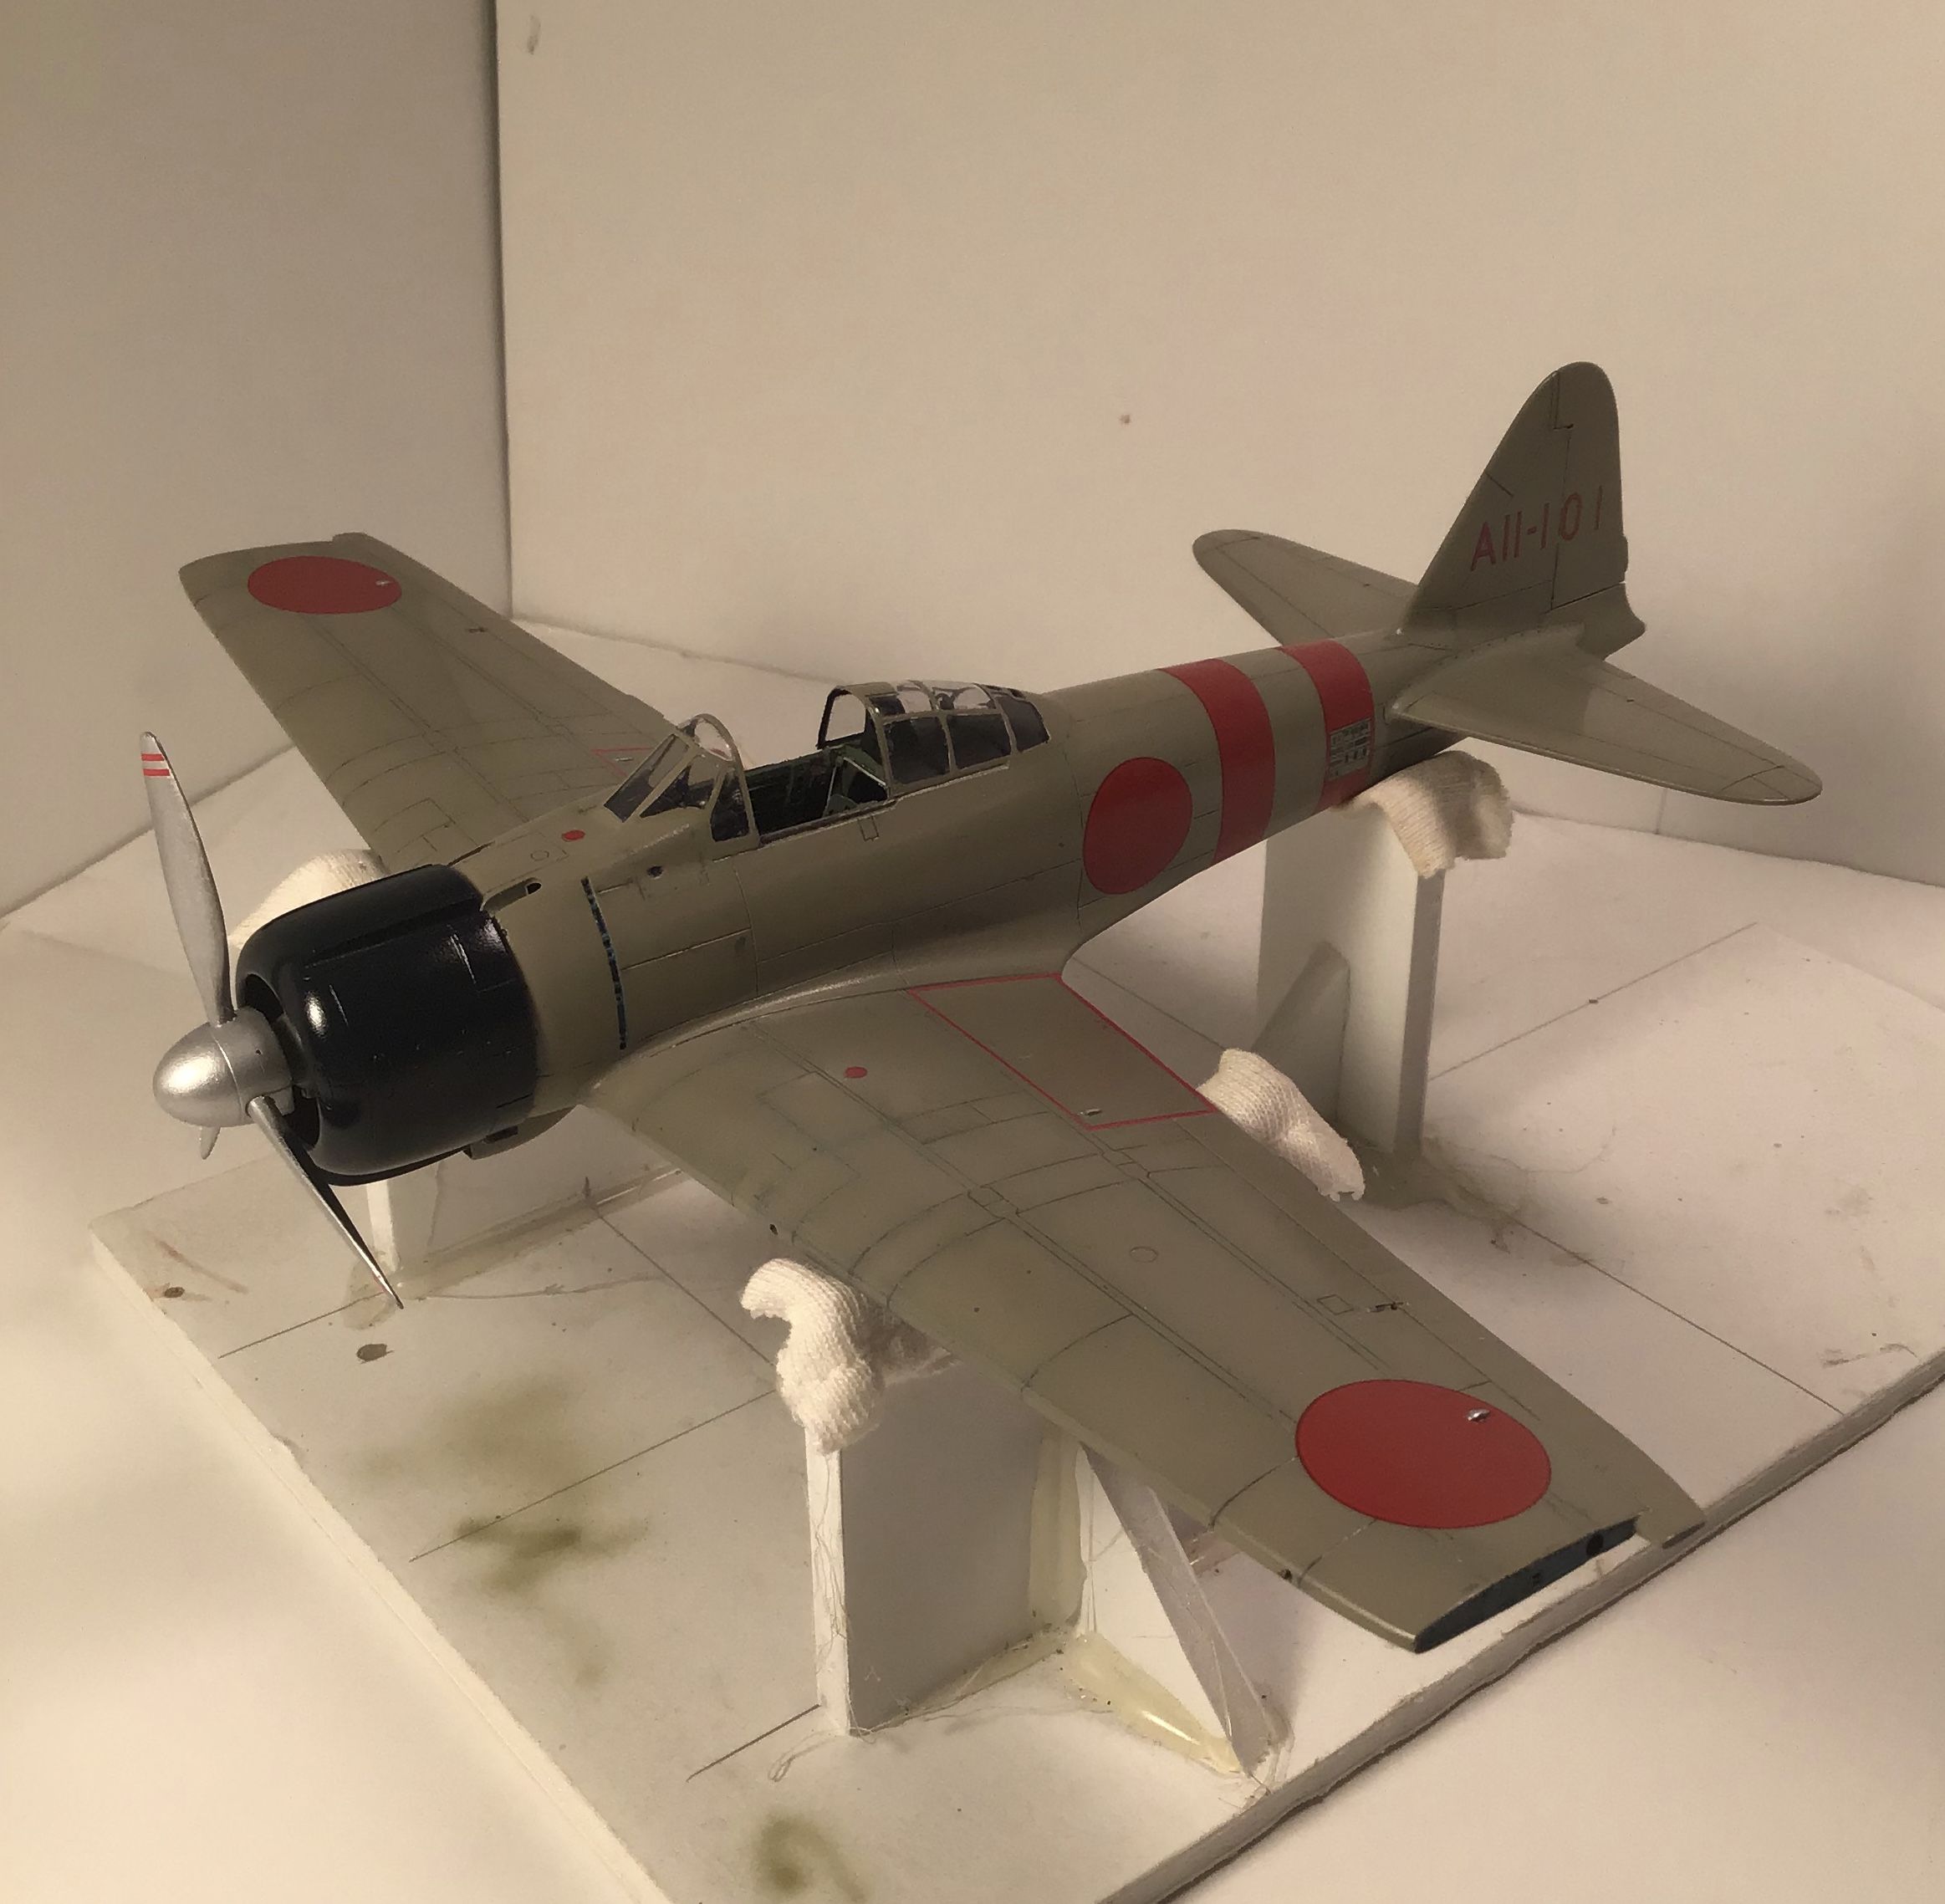
- and a shot of all the goodies ...
Thanks for looking ! RT
Painting mostly done - all rubbed out with Blue Magic on cotton t shirt squares.
Canopy and cockpit unmasked - always fun when that happens .
- and a shot of all the goodies ...
Thanks for looking ! RT
rdt1953
Joined: February 06, 2015
KitMaker: 1,098 posts
AeroScale: 900 posts
Posted: Tuesday, October 27, 2020 - 08:53 AM UTC
Coming down the home stretch -
Wheel chocks made from those supplied with Hasegawa's Isuzu fuel truck kit but reduced in height to conform to those seen in carrier deck images. Under painted Dessert yellow then wood grained with burnt umber oils - drilled and joined with thread .
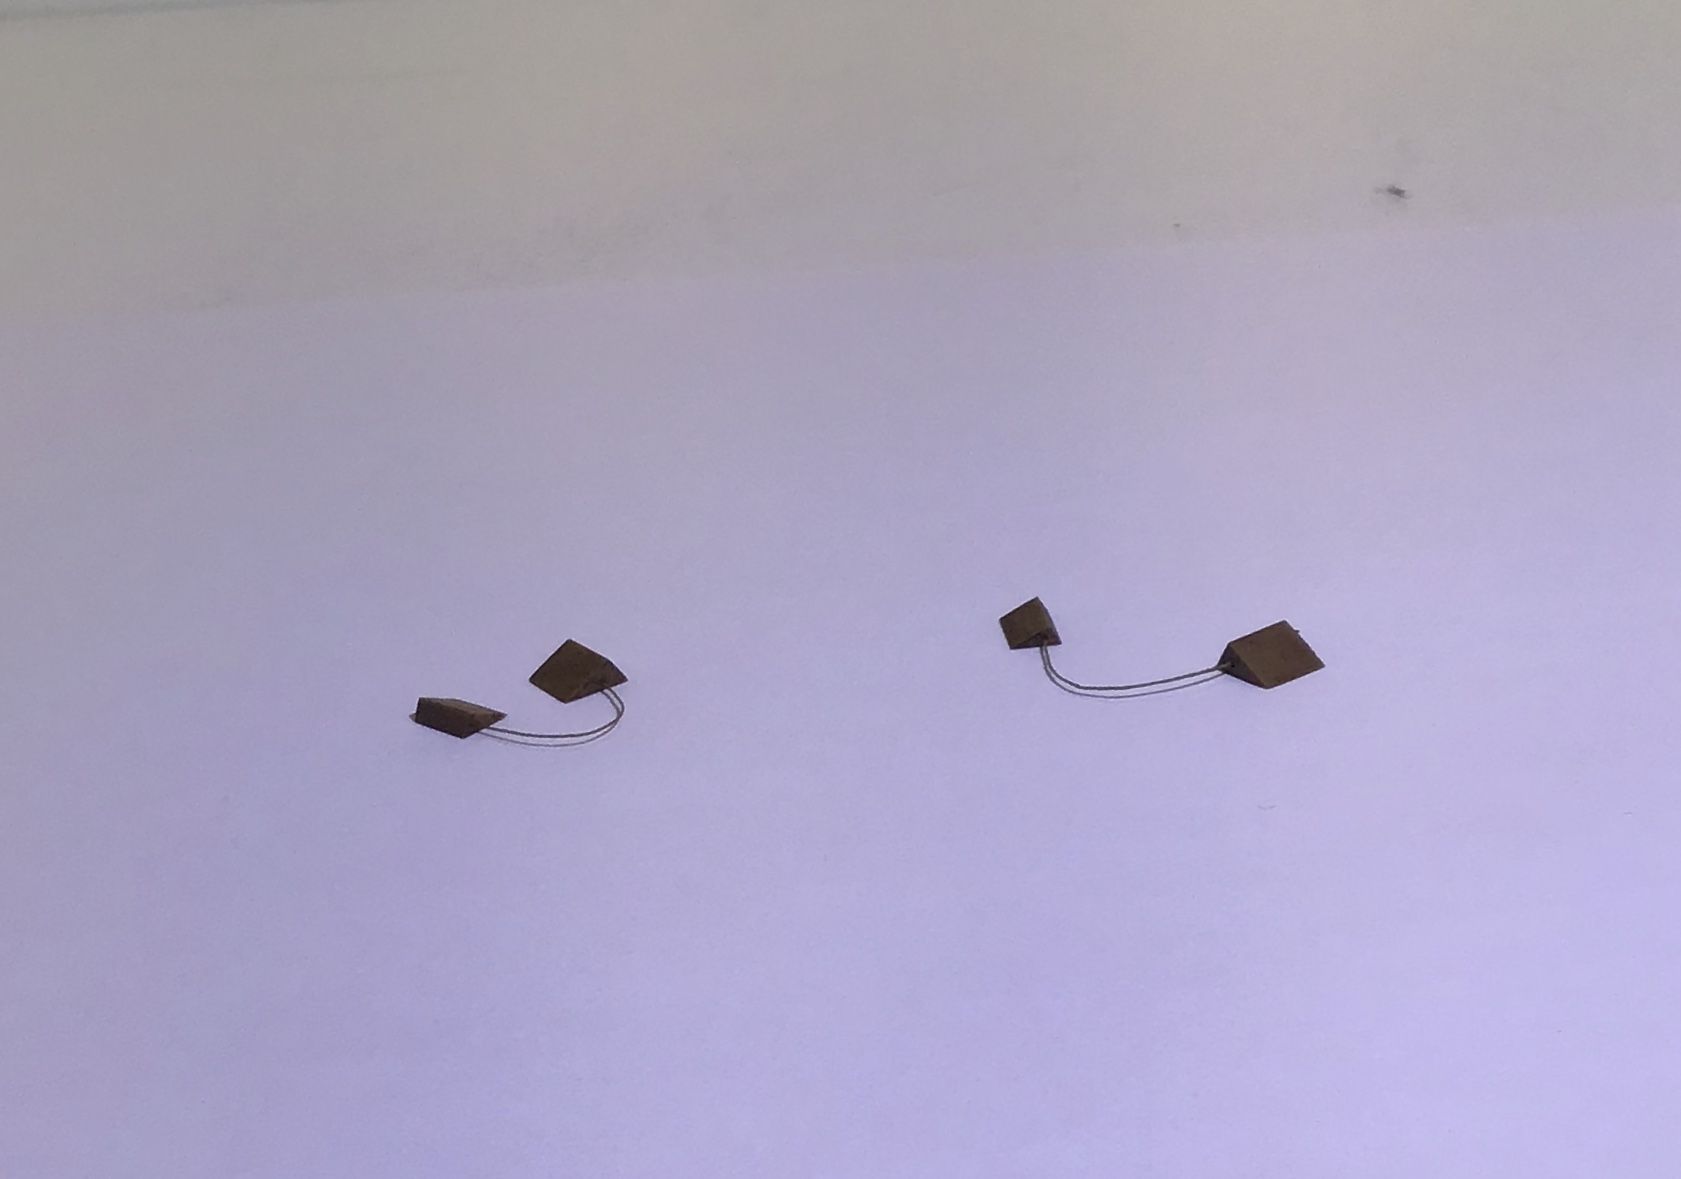
The first set of tie downs made with hooks and toggles from the Tom's Modelworks IJN tiedown set . These were abandoned because they were too small - the holes only allowed a size of thread that looked too light when compared with photos of the real thing - and the hooks straightened out when tensioned . I wound up making my own hooks from brass wire and toggles from brass shim.

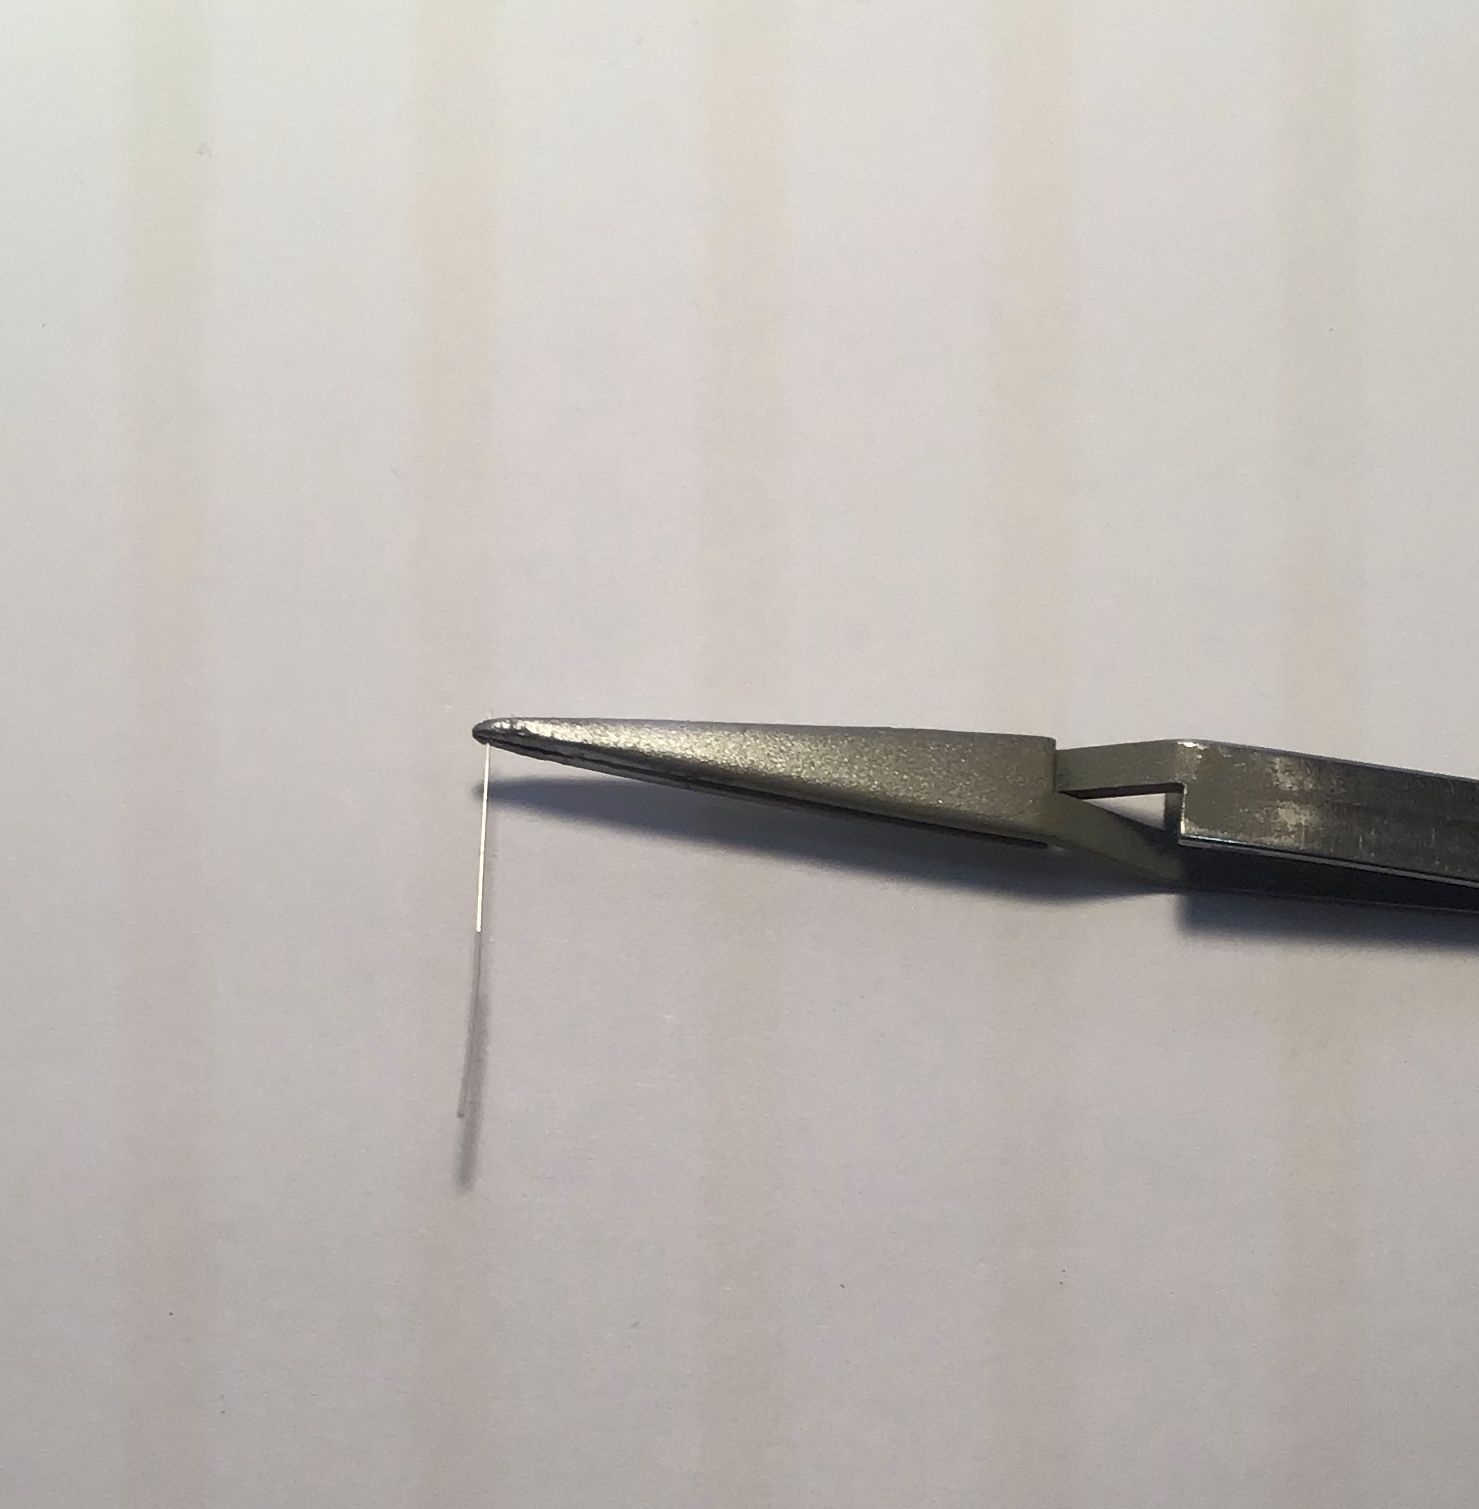
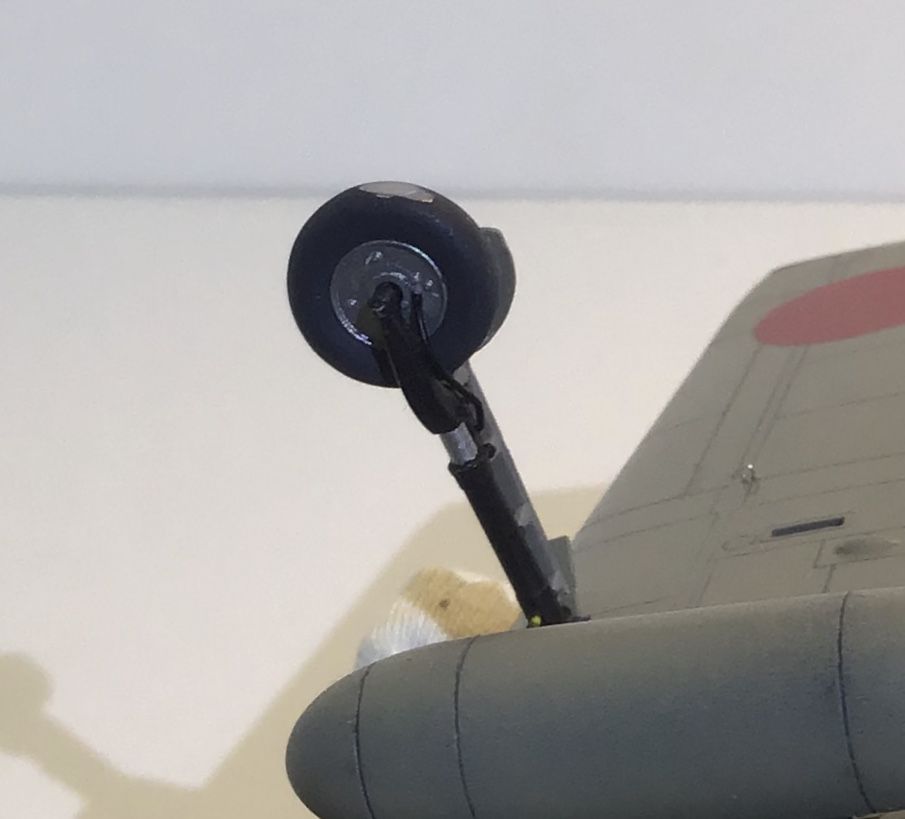
Brake lines made from fine electronics wire - part of jacket stripped away to represent the hard brake lines up the the oleos and the jacketed section left to represent the greater diameter of the flexible line to the backing plates.
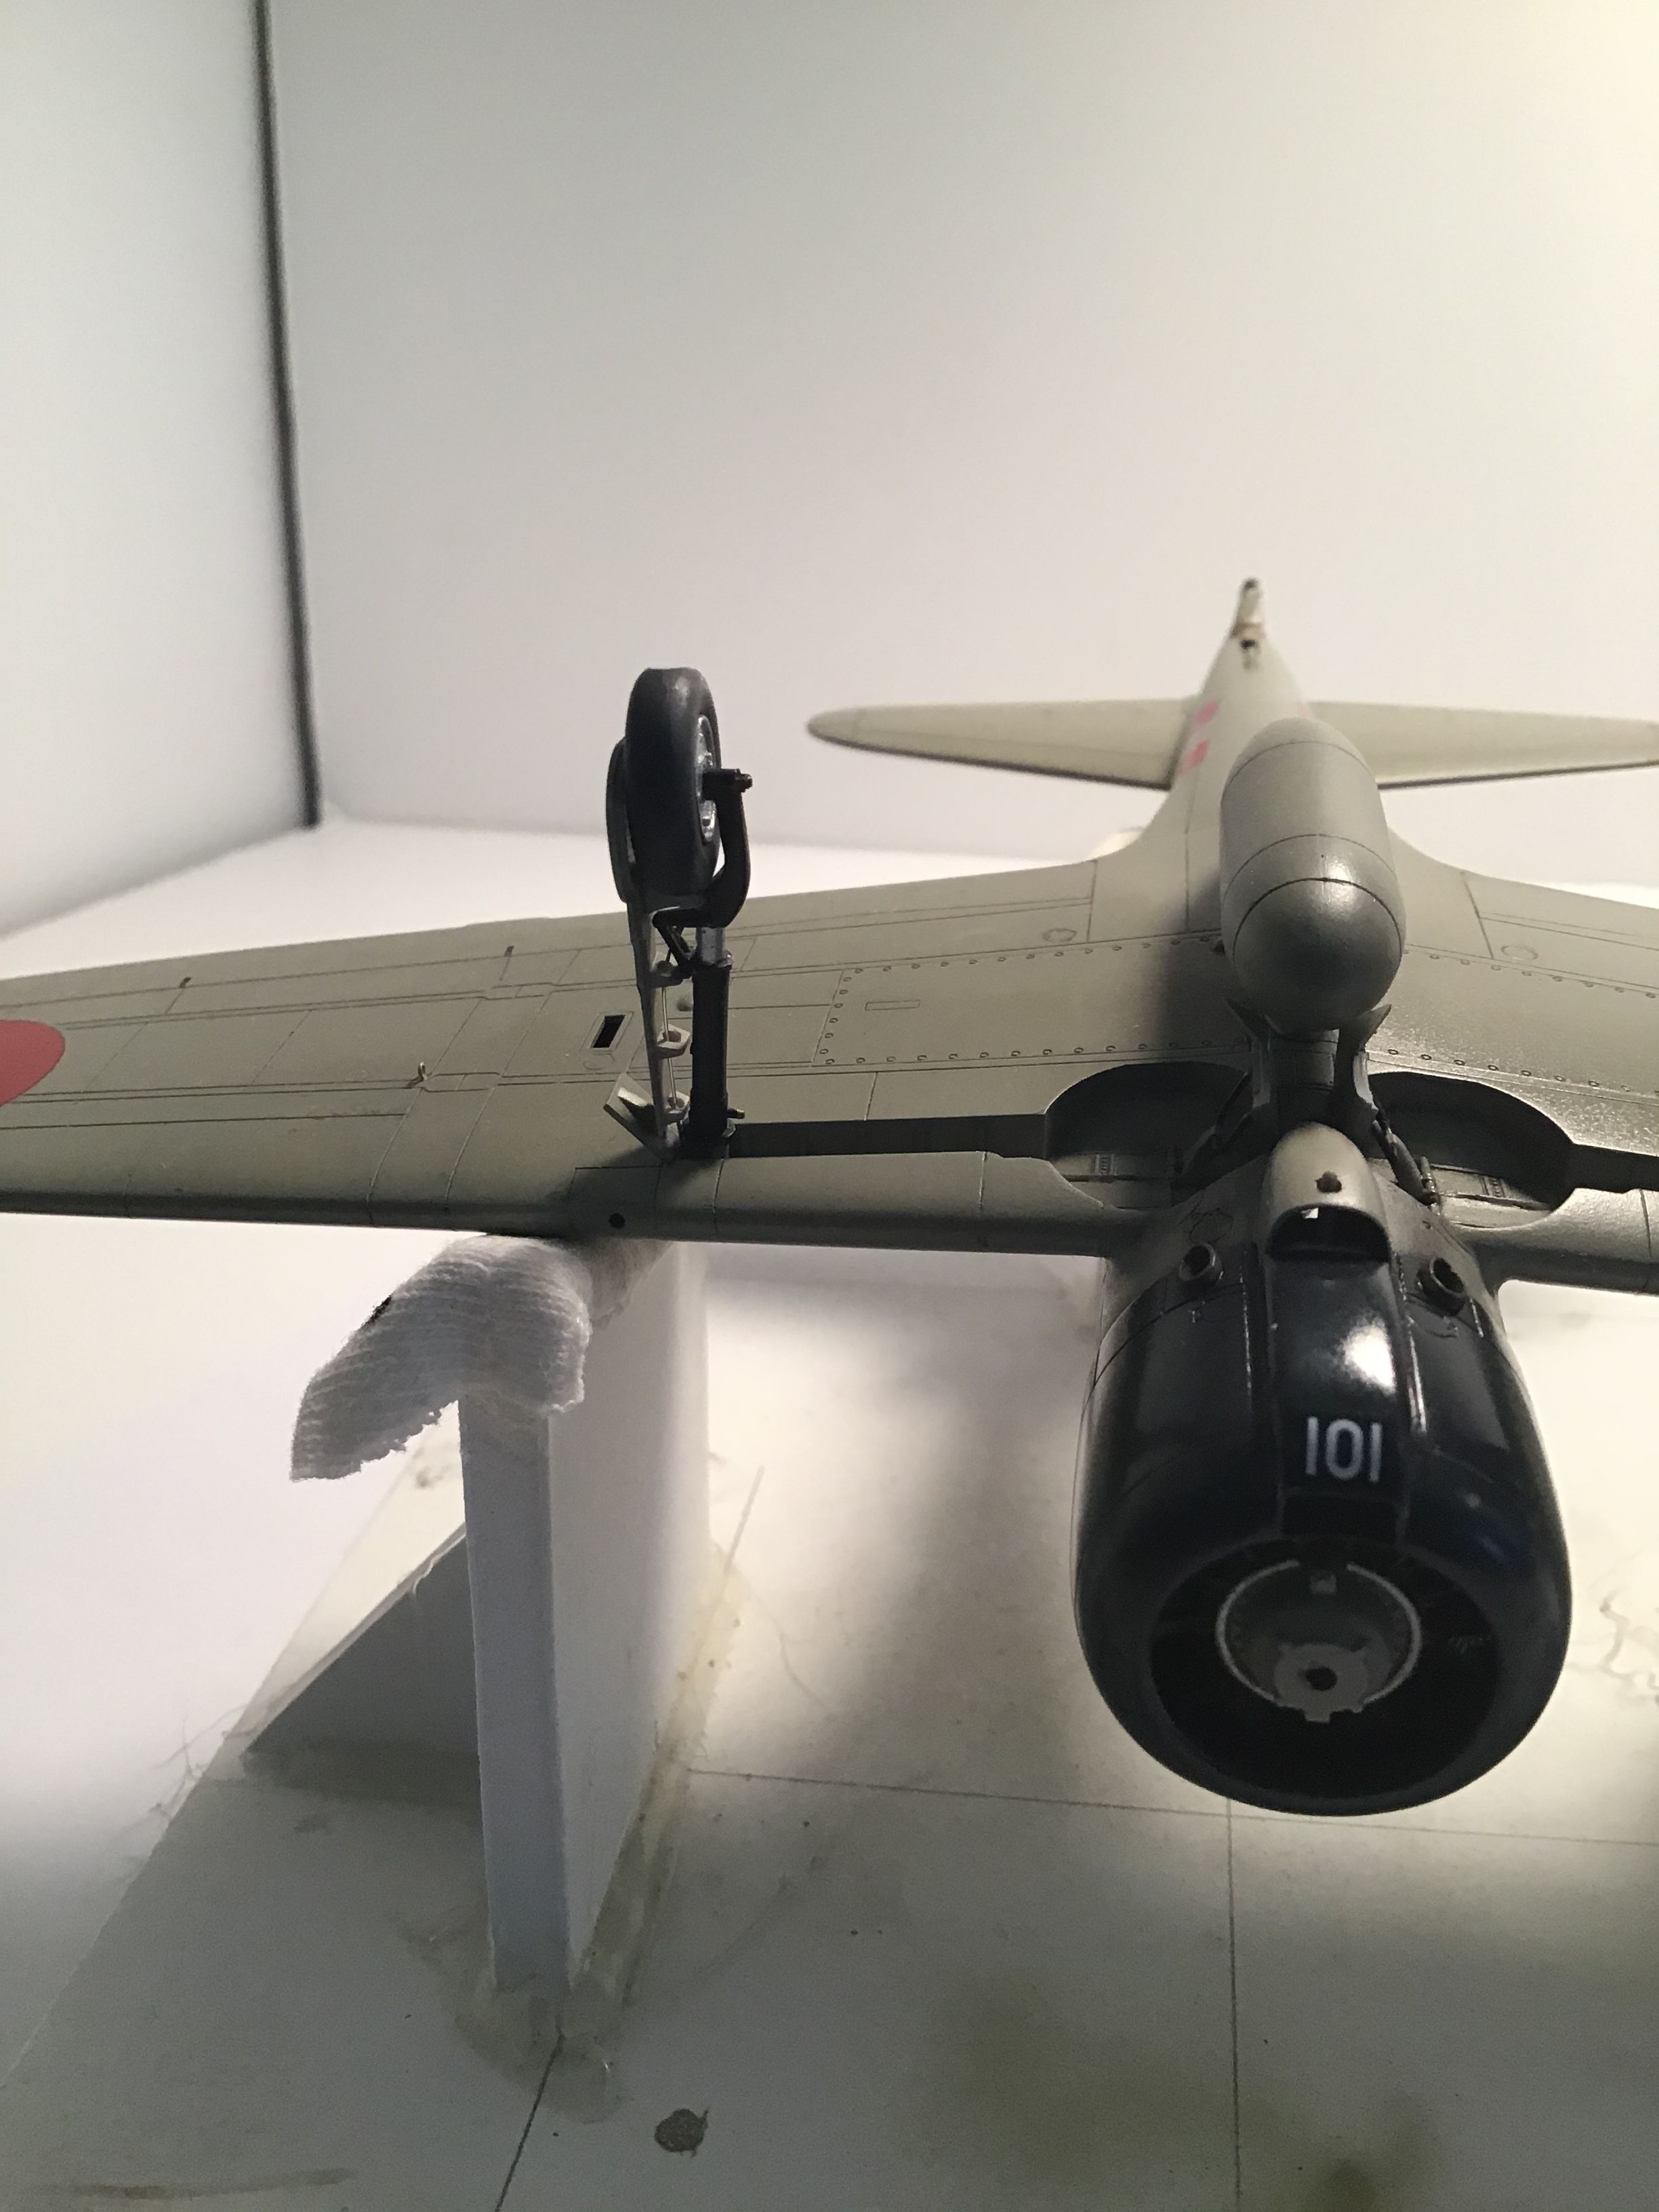
Underside done -
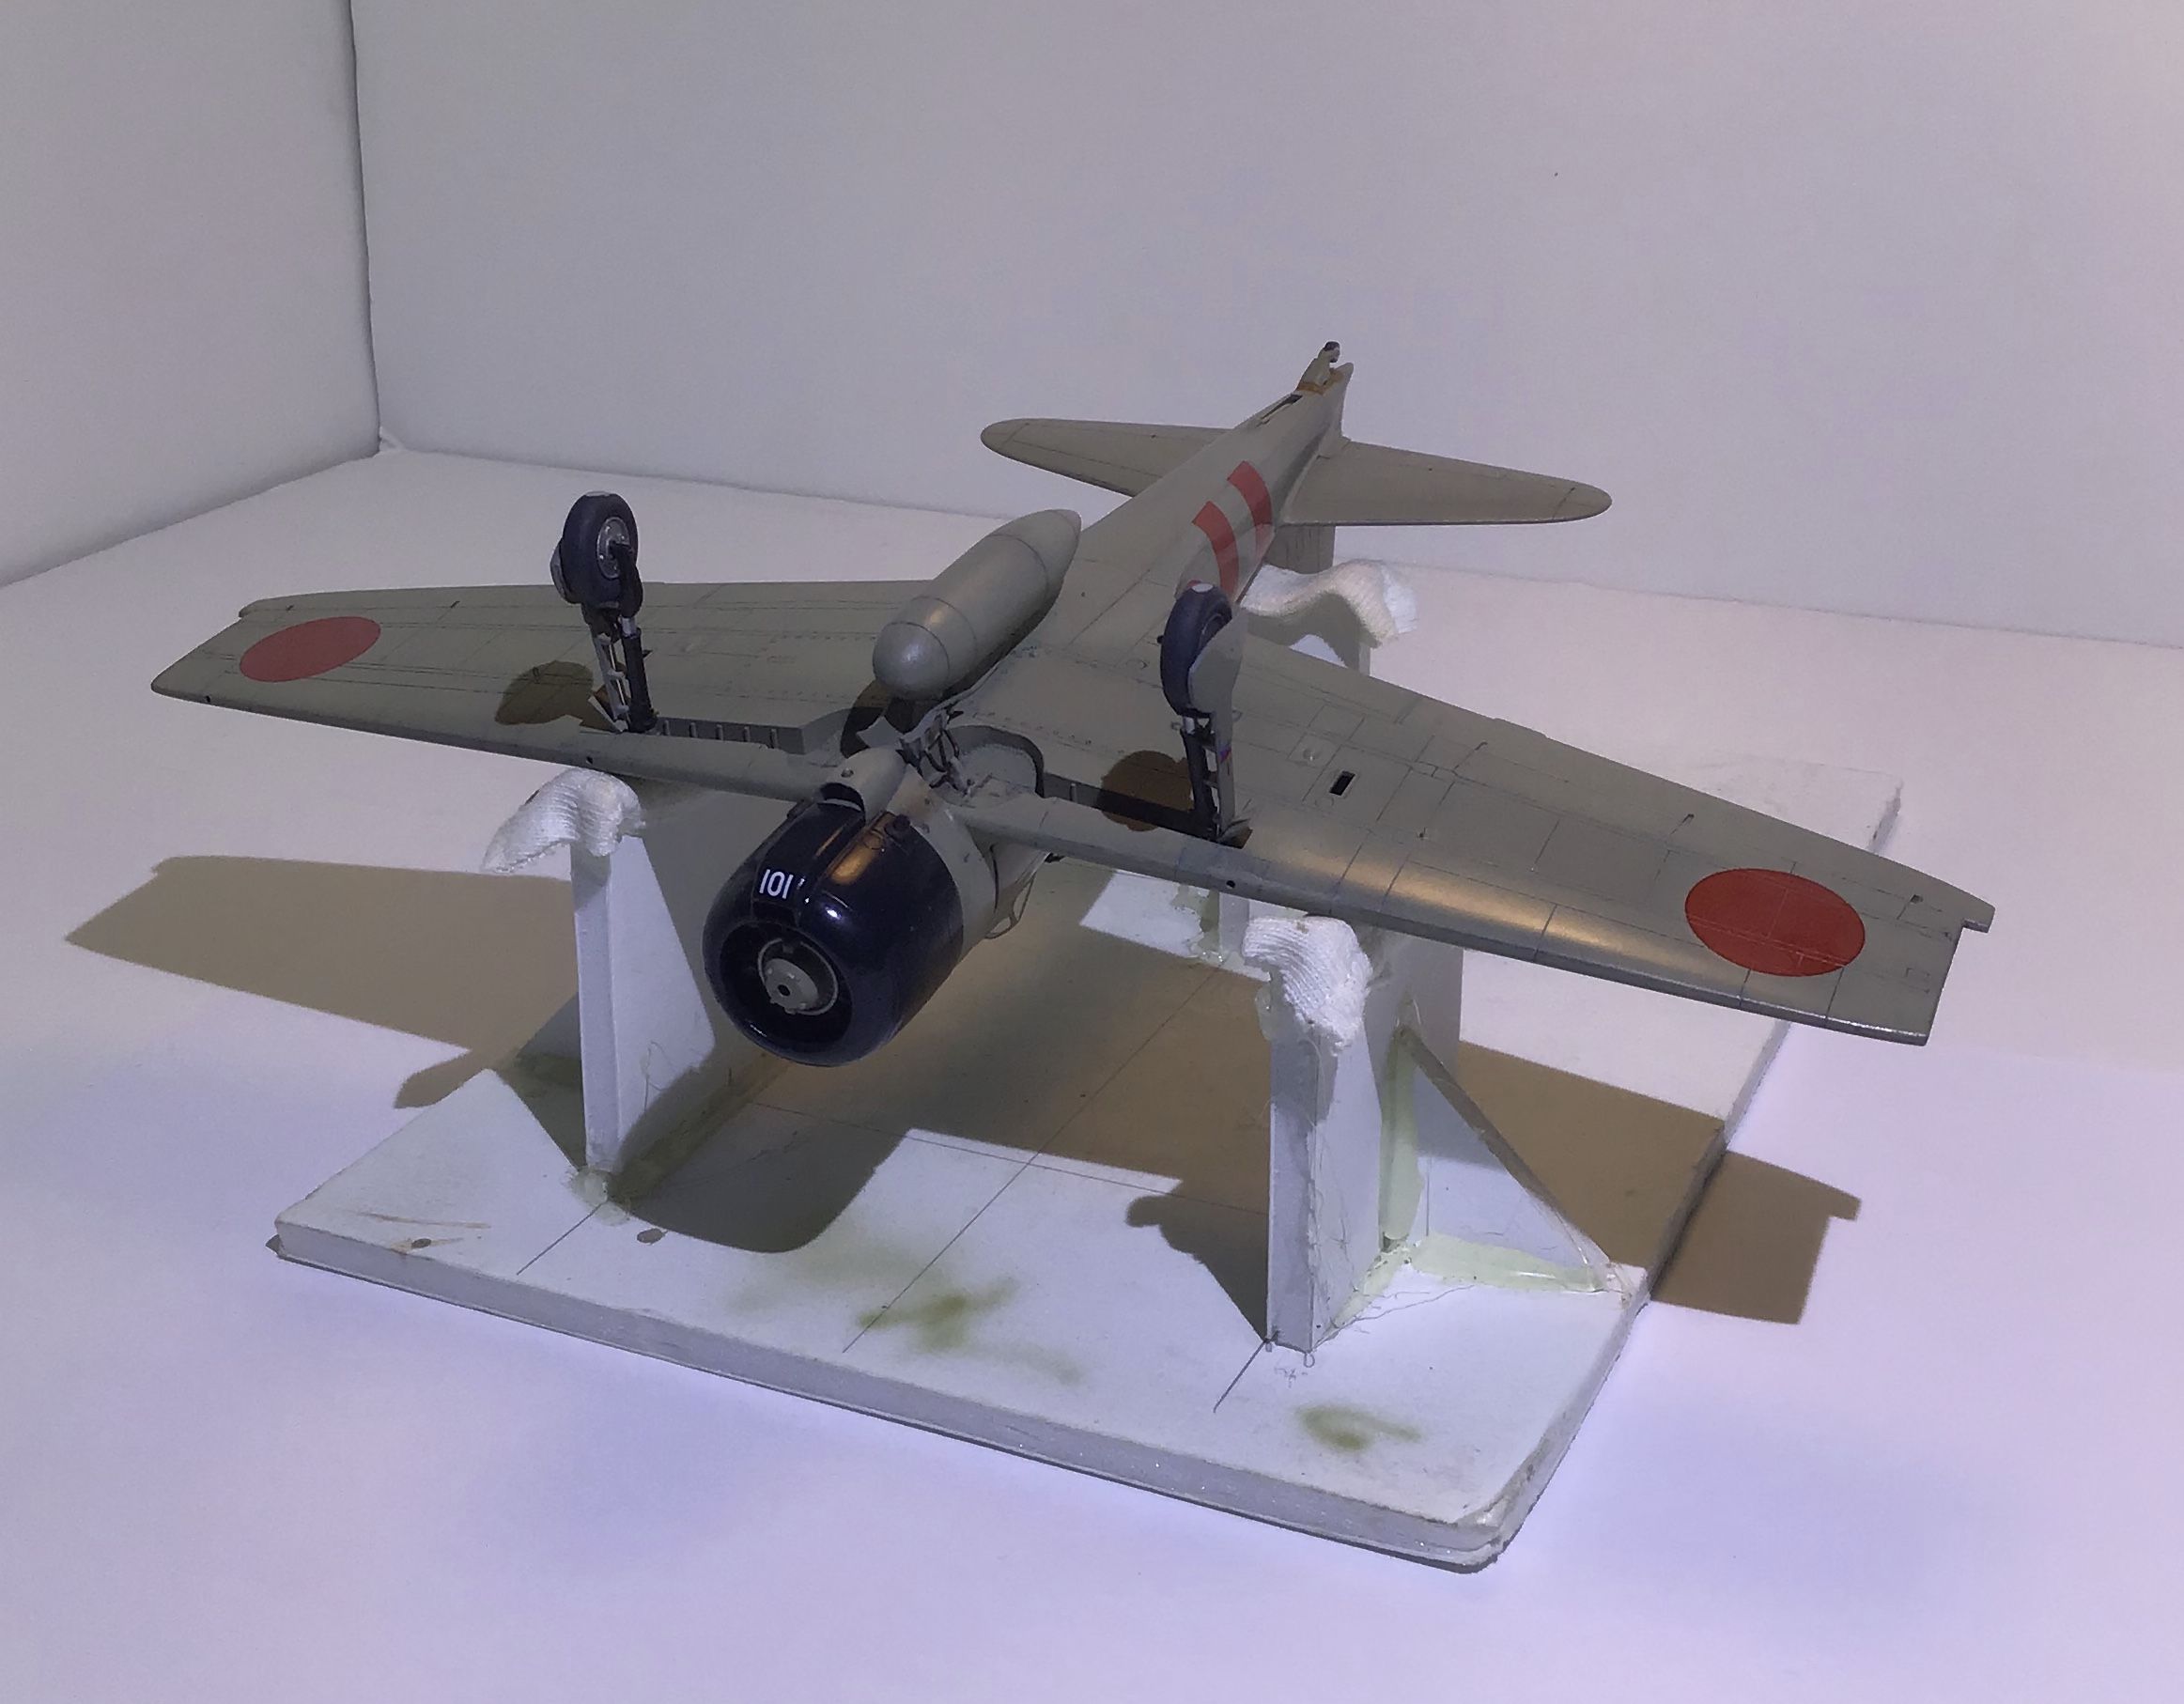
Aircraft mounted to base withe small brass pins and epoxy .
Chocks fastened with white glue and the second set of tiedowns completed and installed - they look much better than the first set !
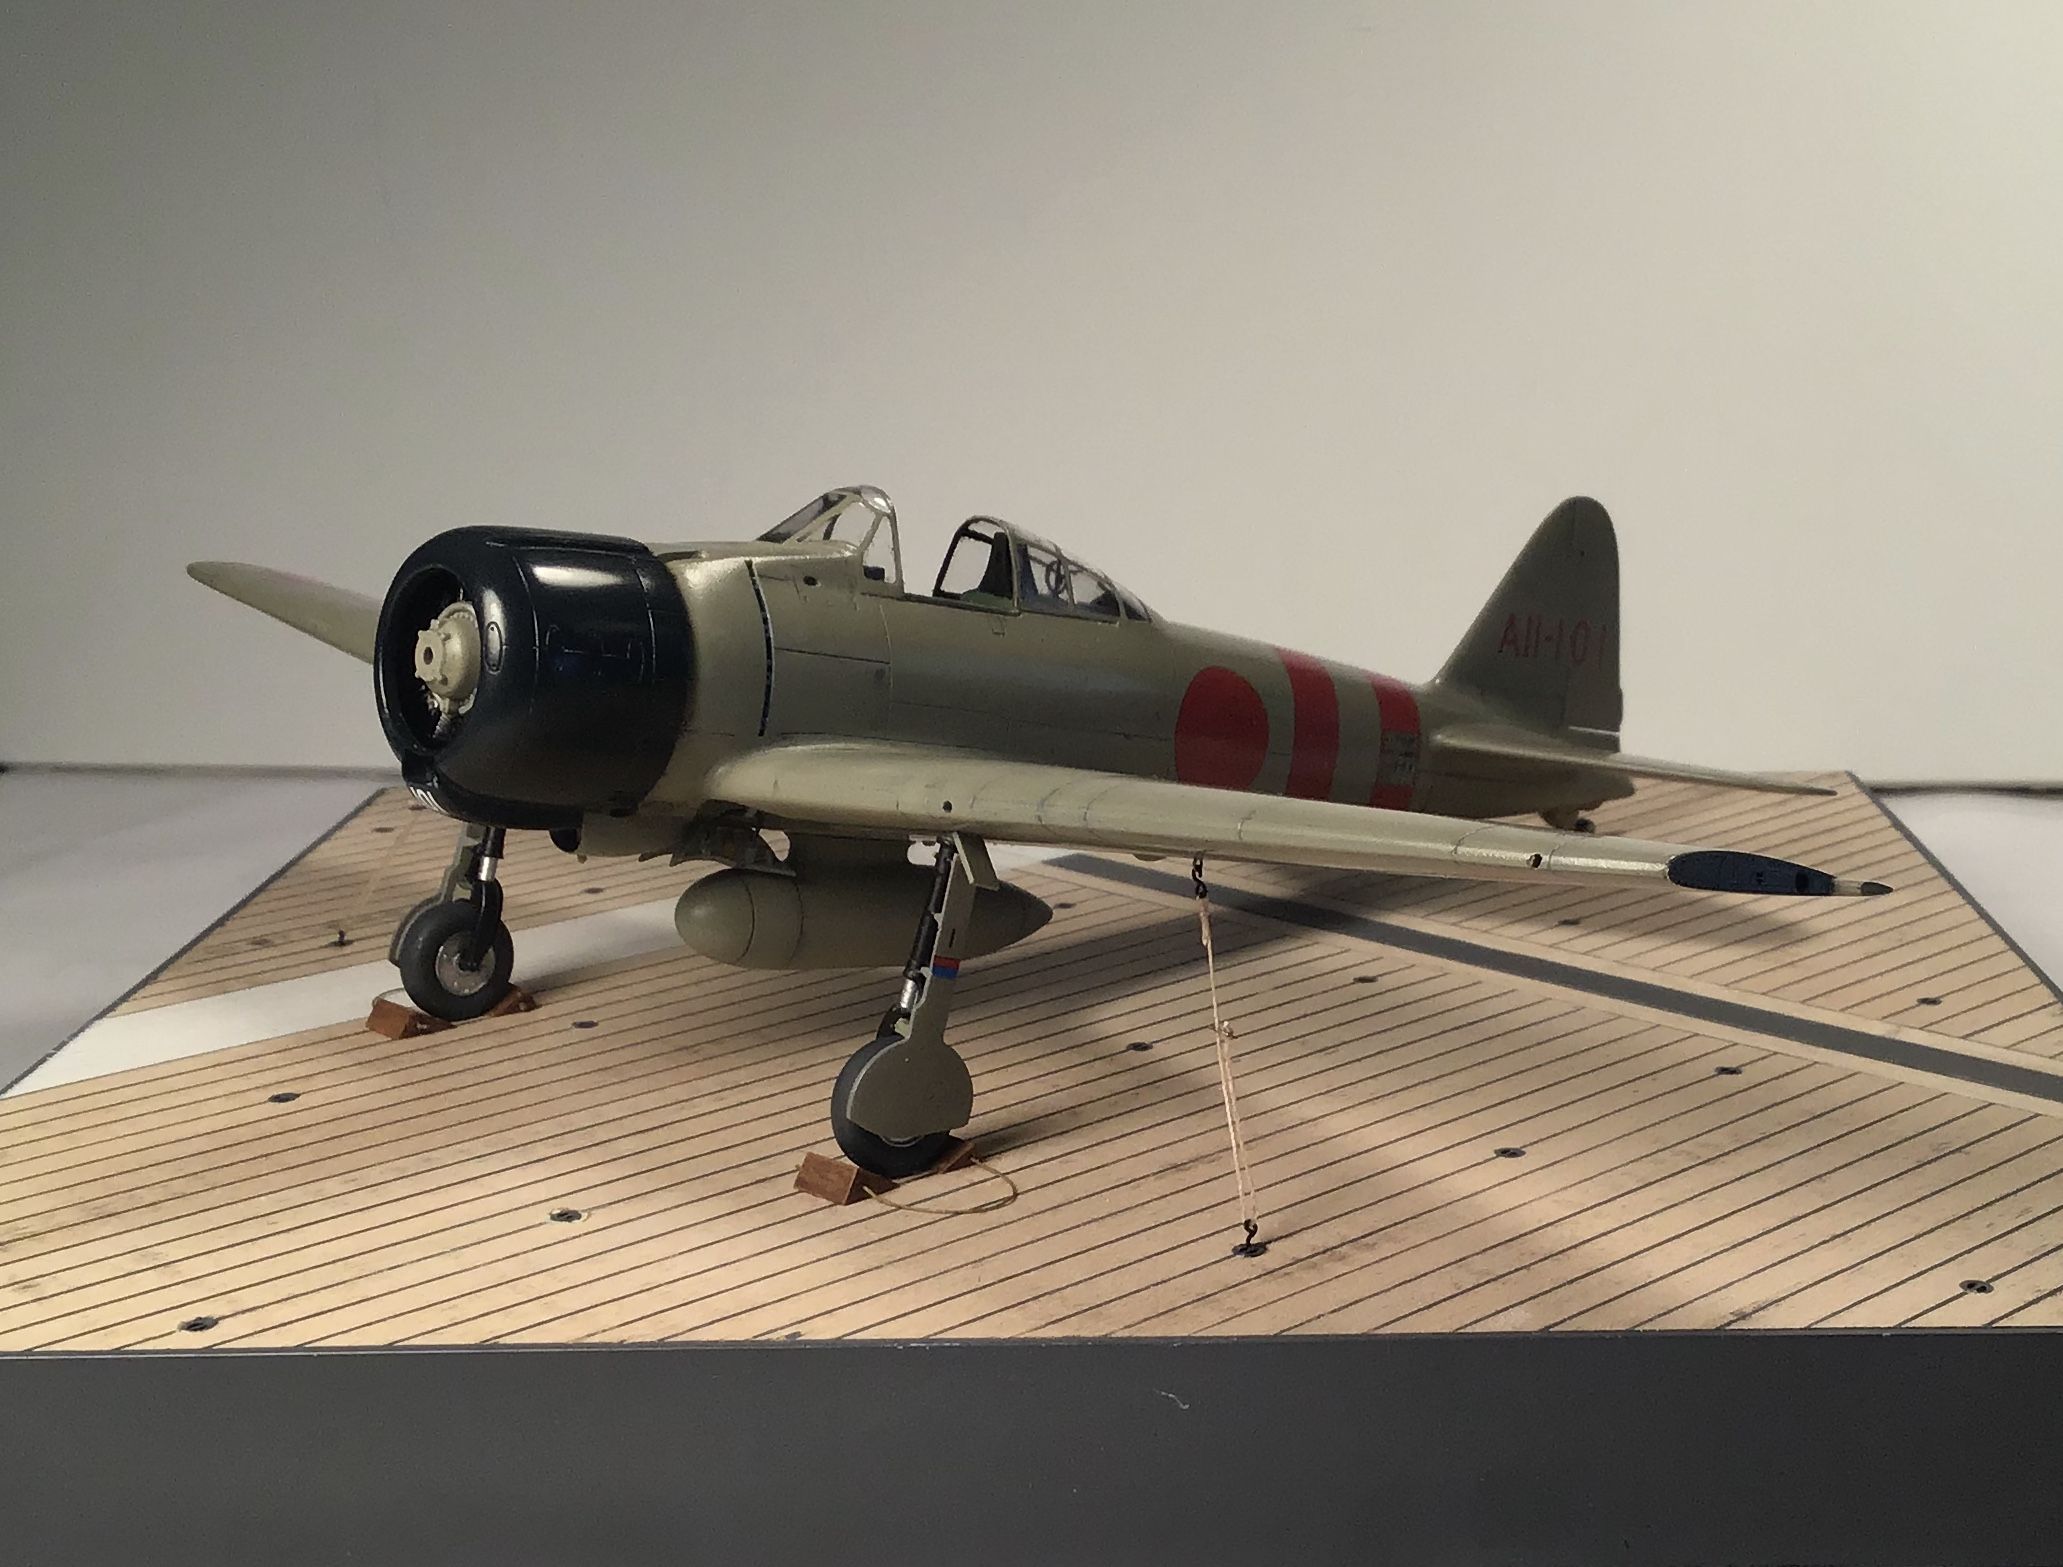
I now need to paint the navigation lights Port and Starboard , mount the folded wingtip sections ,finish up gunsight and guns , headrest padding and sliding canopy section , antennae mast and antennae, and stick on the airscrew .
Next post may see it done !
Thanks for looking - Mr. Redcircles
Wheel chocks made from those supplied with Hasegawa's Isuzu fuel truck kit but reduced in height to conform to those seen in carrier deck images. Under painted Dessert yellow then wood grained with burnt umber oils - drilled and joined with thread .
The first set of tie downs made with hooks and toggles from the Tom's Modelworks IJN tiedown set . These were abandoned because they were too small - the holes only allowed a size of thread that looked too light when compared with photos of the real thing - and the hooks straightened out when tensioned . I wound up making my own hooks from brass wire and toggles from brass shim.
Brake lines made from fine electronics wire - part of jacket stripped away to represent the hard brake lines up the the oleos and the jacketed section left to represent the greater diameter of the flexible line to the backing plates.
Underside done -
Aircraft mounted to base withe small brass pins and epoxy .
Chocks fastened with white glue and the second set of tiedowns completed and installed - they look much better than the first set !
I now need to paint the navigation lights Port and Starboard , mount the folded wingtip sections ,finish up gunsight and guns , headrest padding and sliding canopy section , antennae mast and antennae, and stick on the airscrew .
Next post may see it done !
Thanks for looking - Mr. Redcircles
AussieReg
#007
Joined: June 09, 2009
KitMaker: 8,156 posts
AeroScale: 3,756 posts
Posted: Tuesday, October 27, 2020 - 02:51 PM UTC
I'm stealing a bunch of images from this thread and filing them for future reference  Did I just say that out loud? Shhh, don't tell Richard!
Awesome work mate, just outstanding detailing.
Cheers, D
Did I just say that out loud? Shhh, don't tell Richard! Awesome work mate, just outstanding detailing.
Cheers, D

HGBARNES


Joined: March 15, 2017
KitMaker: 45 posts
AeroScale: 33 posts
Posted: Tuesday, October 27, 2020 - 05:45 PM UTC
Very nice!!!!
rdt1953
Joined: February 06, 2015
KitMaker: 1,098 posts
AeroScale: 900 posts
Posted: Sunday, November 01, 2020 - 10:44 AM UTC
Thank you Mr. Rigby and Mr. Barnes !
Very flattering coming from gentlemen with the skills that you have shown .
I have made some more progress but I am in the process of moving this blog over to the new site - May be a bit before it is all caught up and the the new pics posted.
Cheers - Richard
Very flattering coming from gentlemen with the skills that you have shown .
I have made some more progress but I am in the process of moving this blog over to the new site - May be a bit before it is all caught up and the the new pics posted.
Cheers - Richard
rdt1953
Joined: February 06, 2015
KitMaker: 1,098 posts
AeroScale: 900 posts
Posted: Sunday, November 01, 2020 - 02:20 PM UTC
I have now moved this blog over to the new site - all future updates will be on the new site - hope everyone will Come on over !
Thanks all for following along .
Cheers - Mr. Redcircles
Thanks all for following along .
Cheers - Mr. Redcircles
 |

WEB HOSTING BY


Copyright ©2021 AeroScale and Kitmaker Network, a subsidiary of Silver Star Enterprises
All Rights Reserved. Please read our Conditions of Use and Privacy Policy.
All Rights Reserved. Please read our Conditions of Use and Privacy Policy.