Ok, time to bring this thread up to speed!
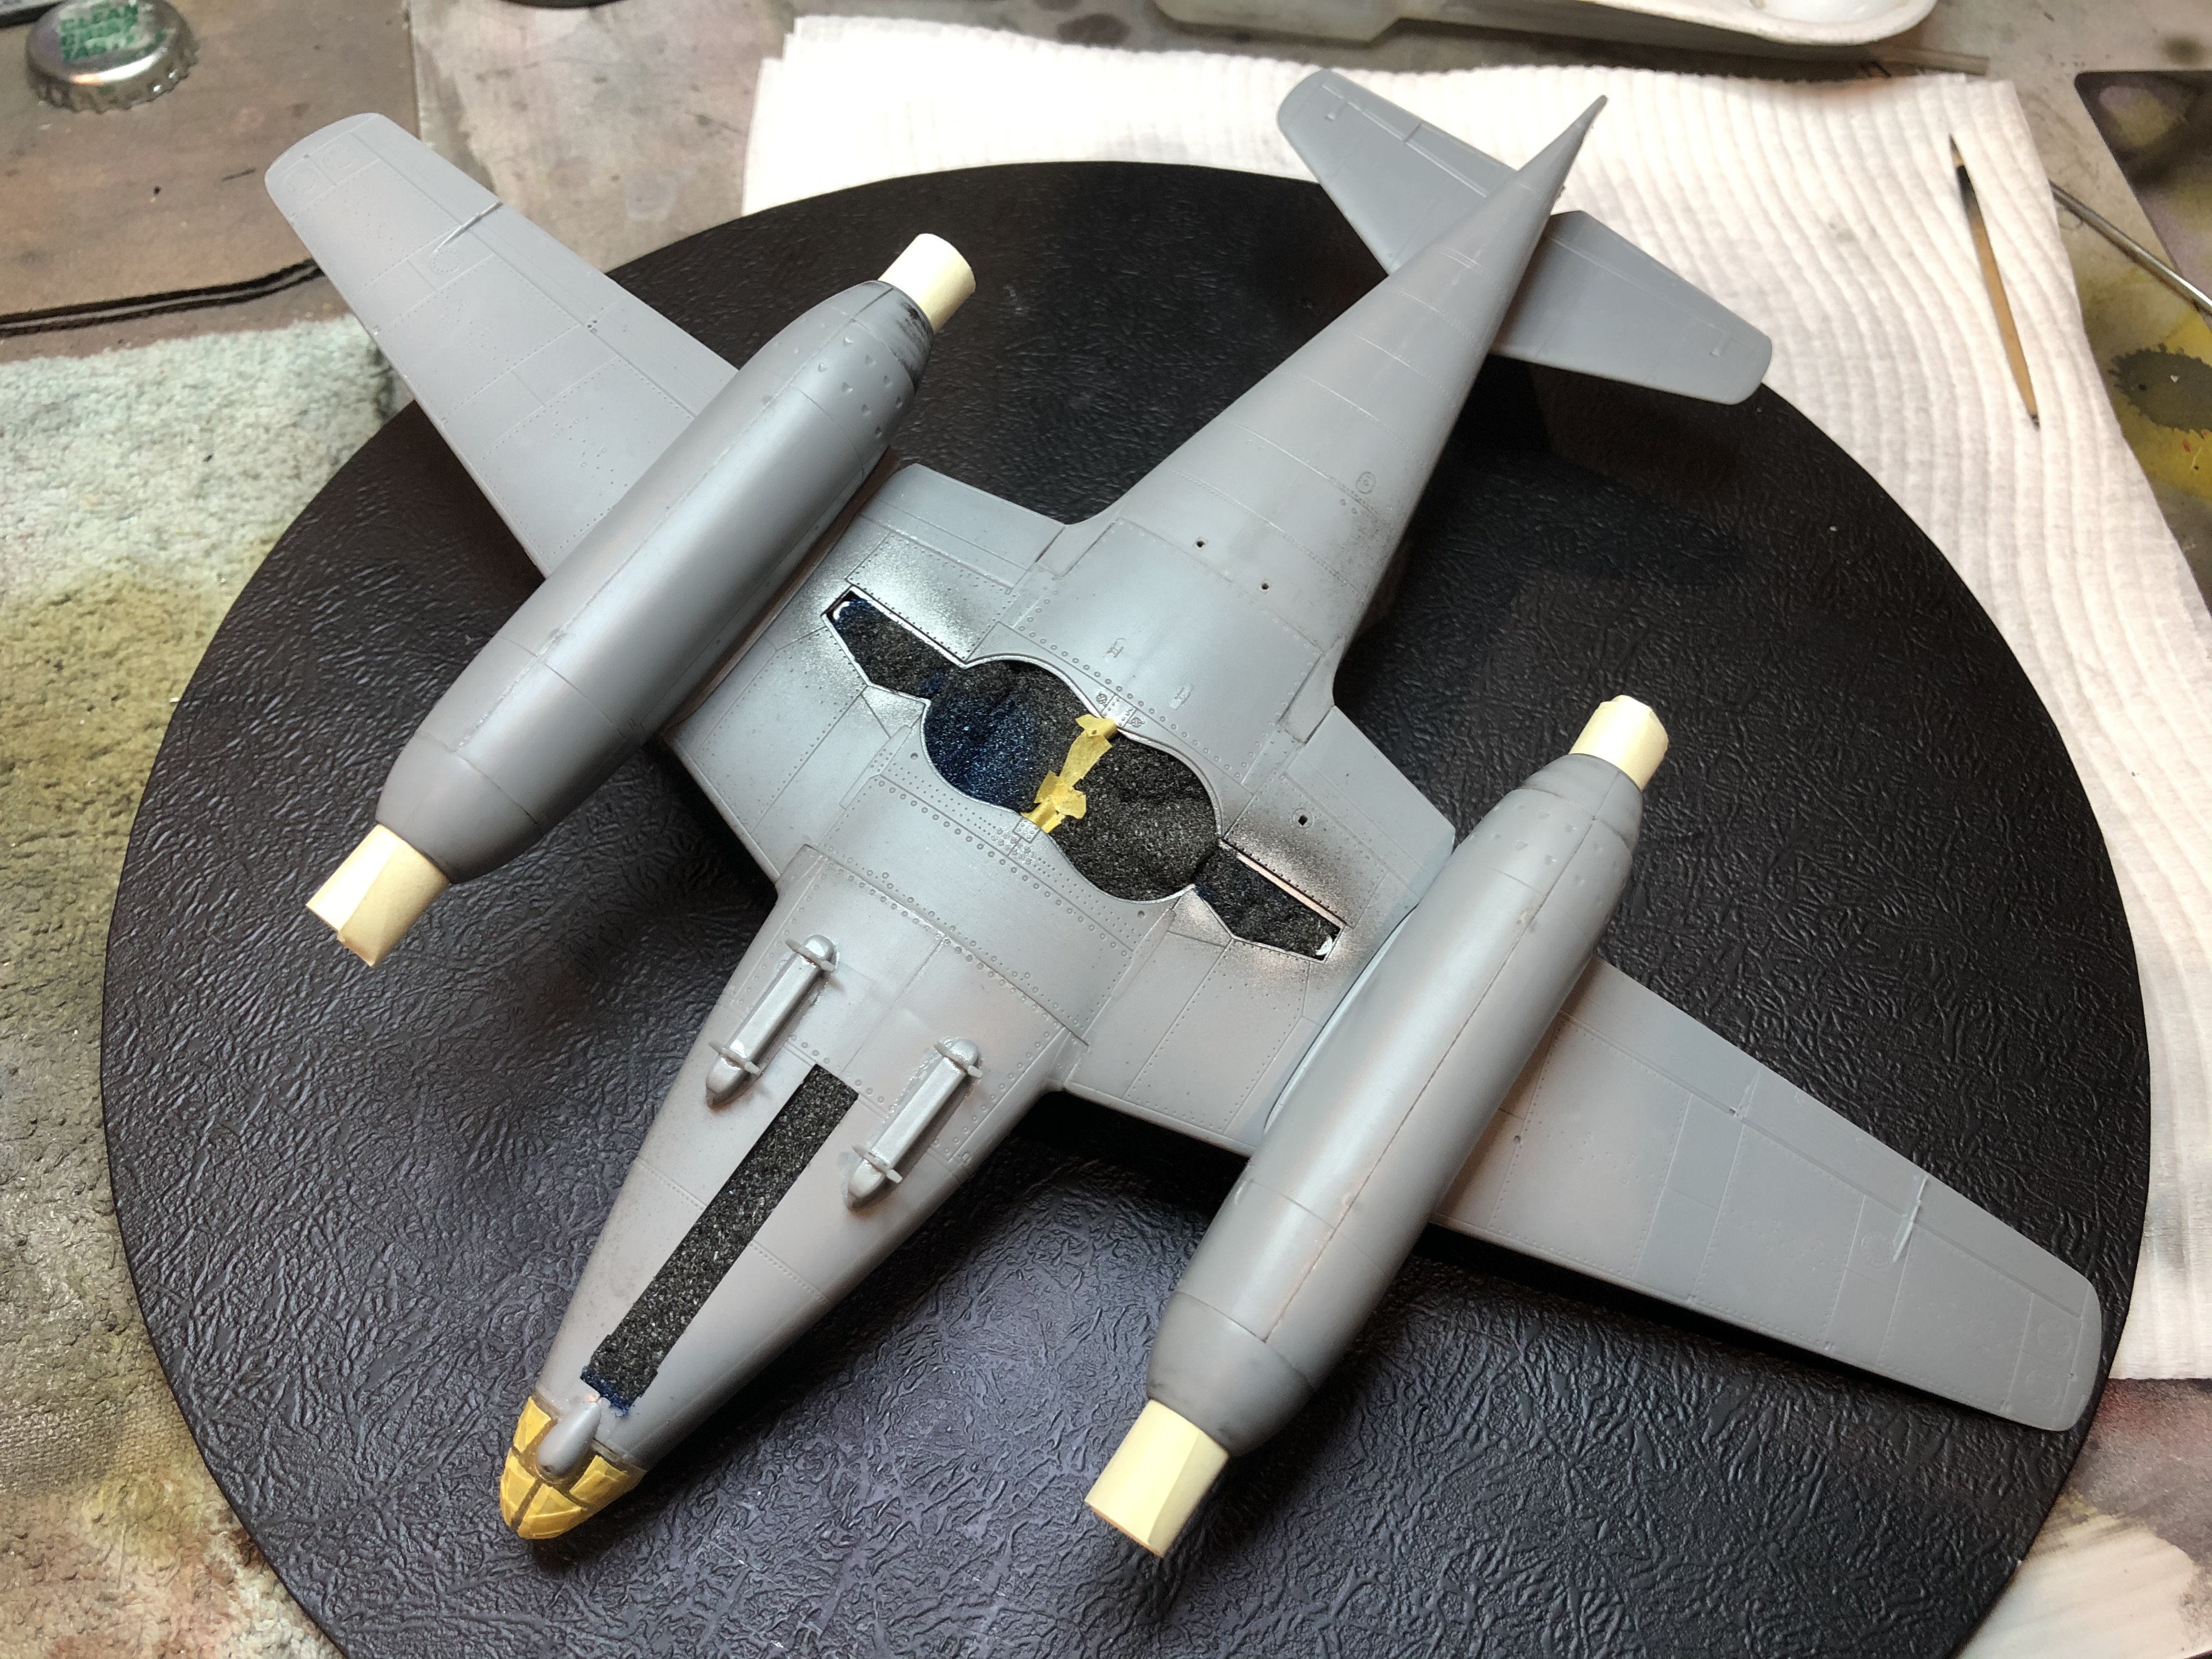
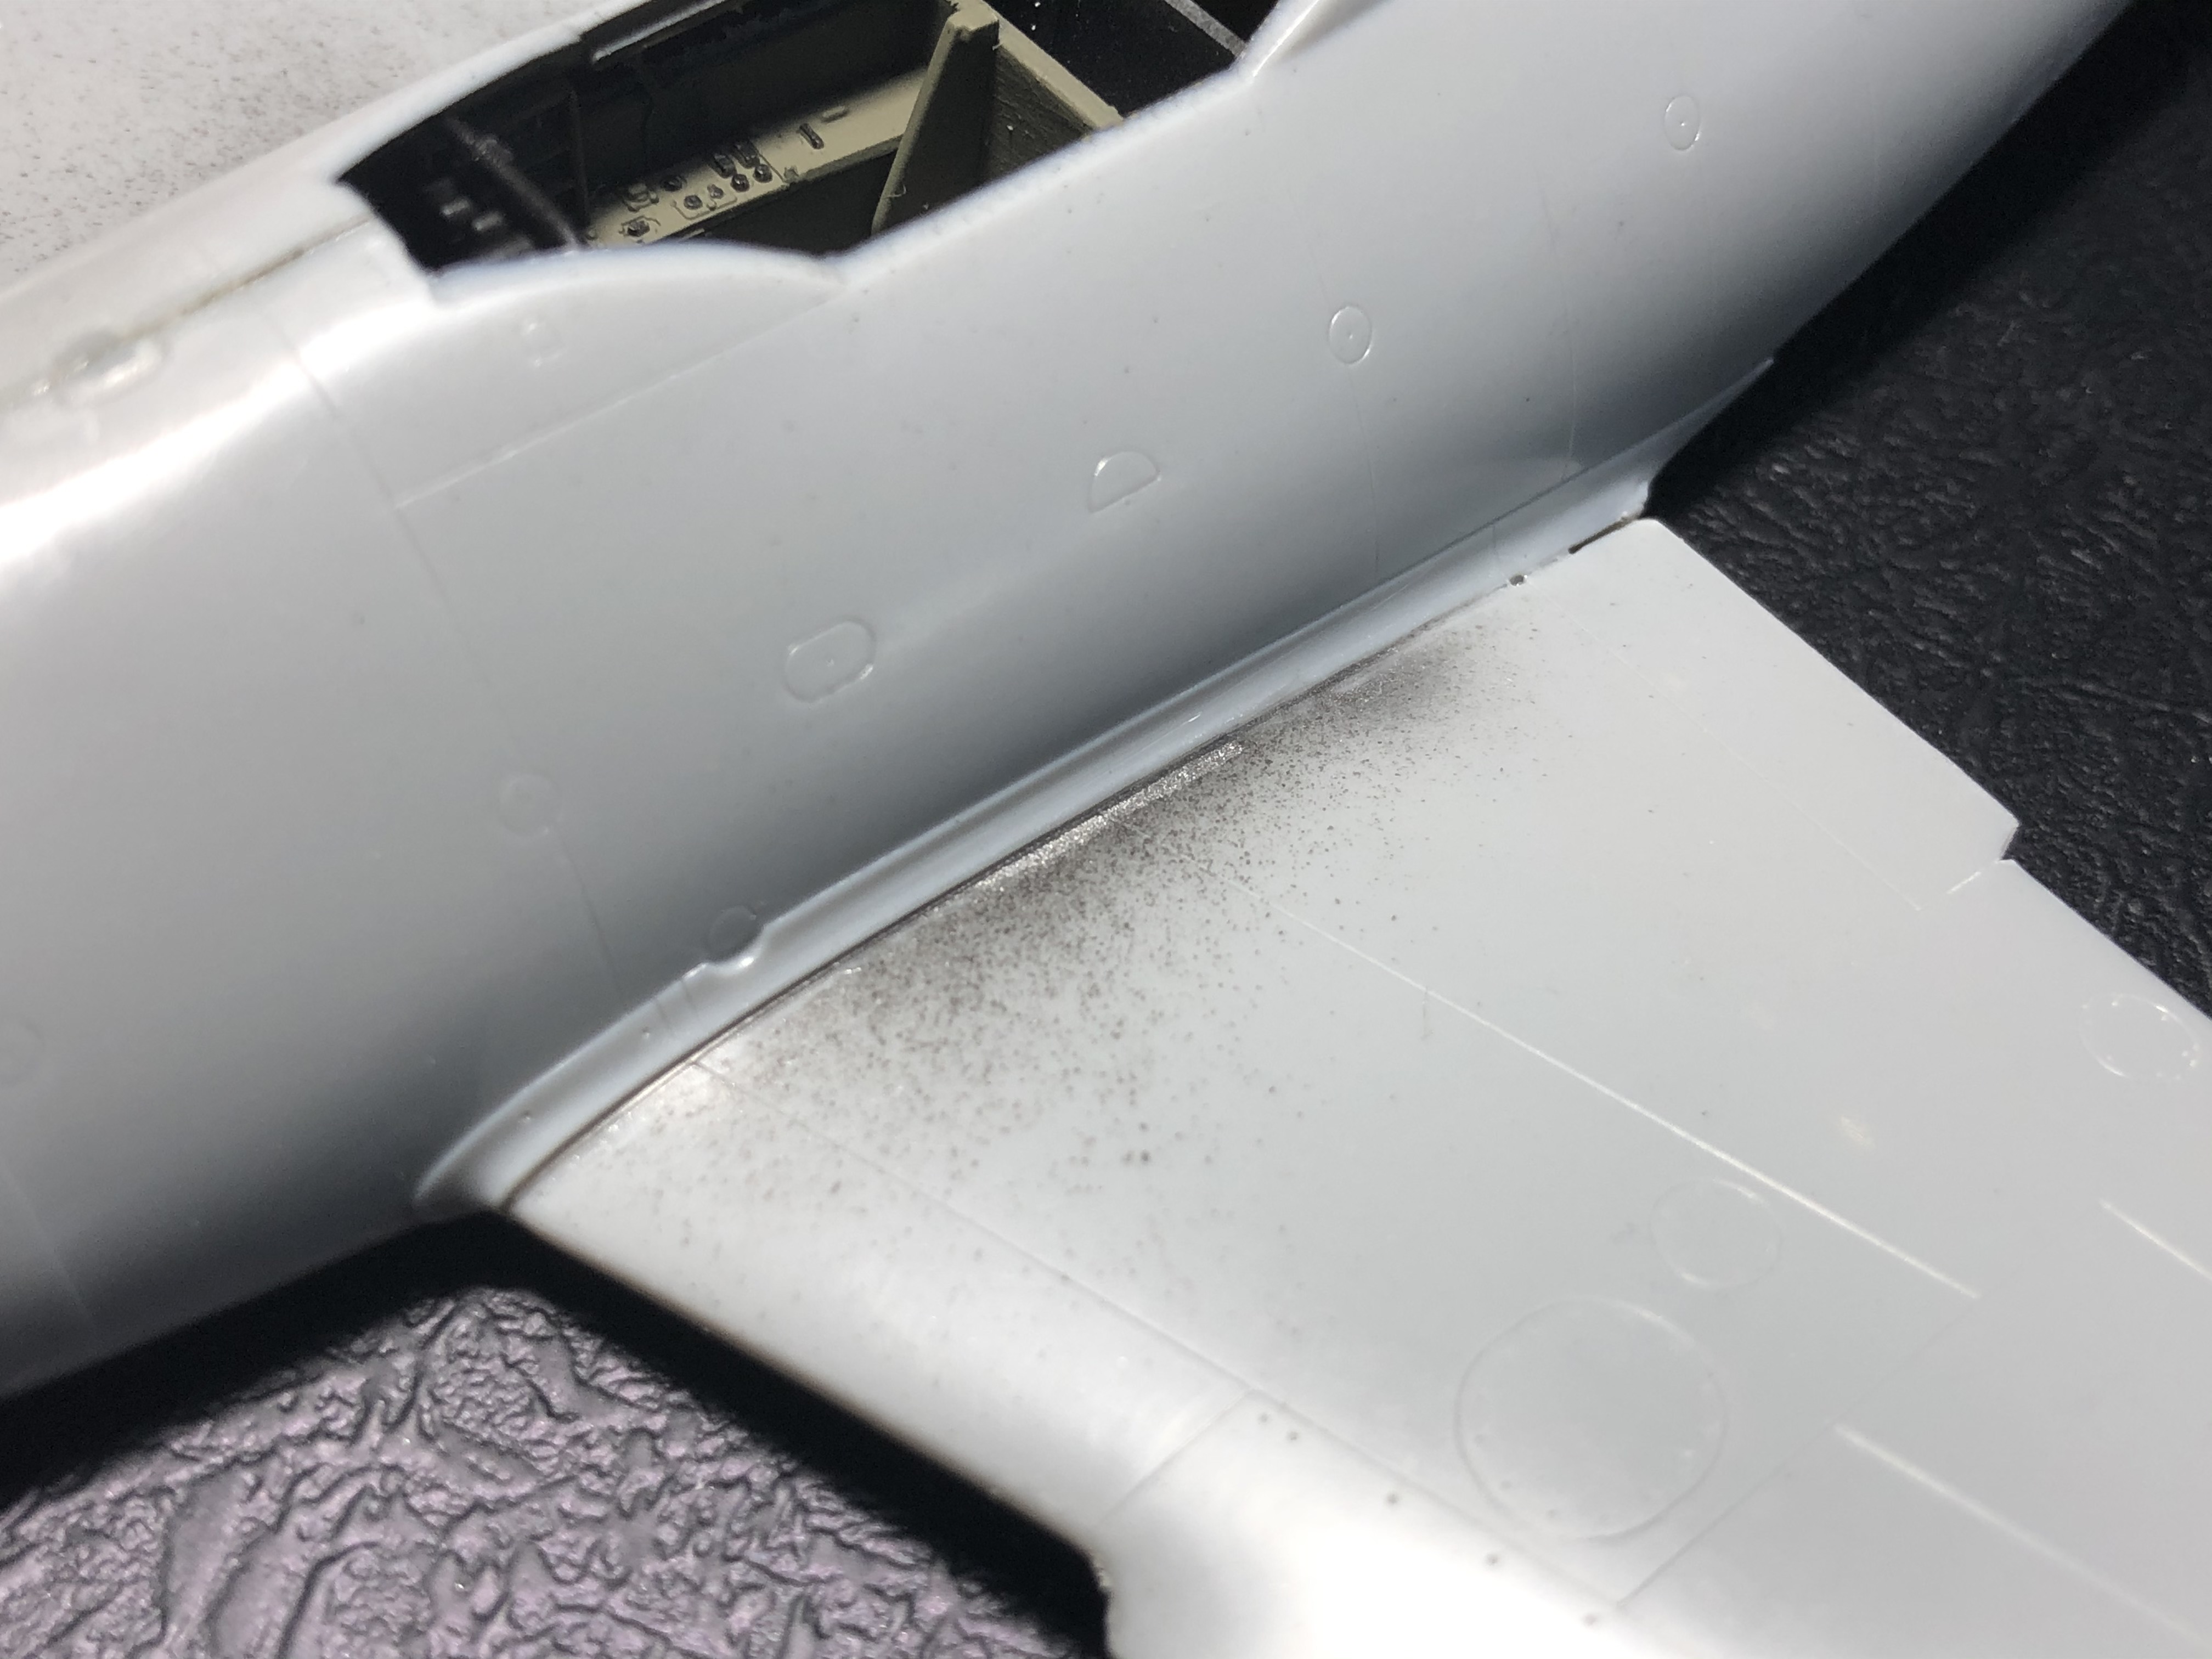
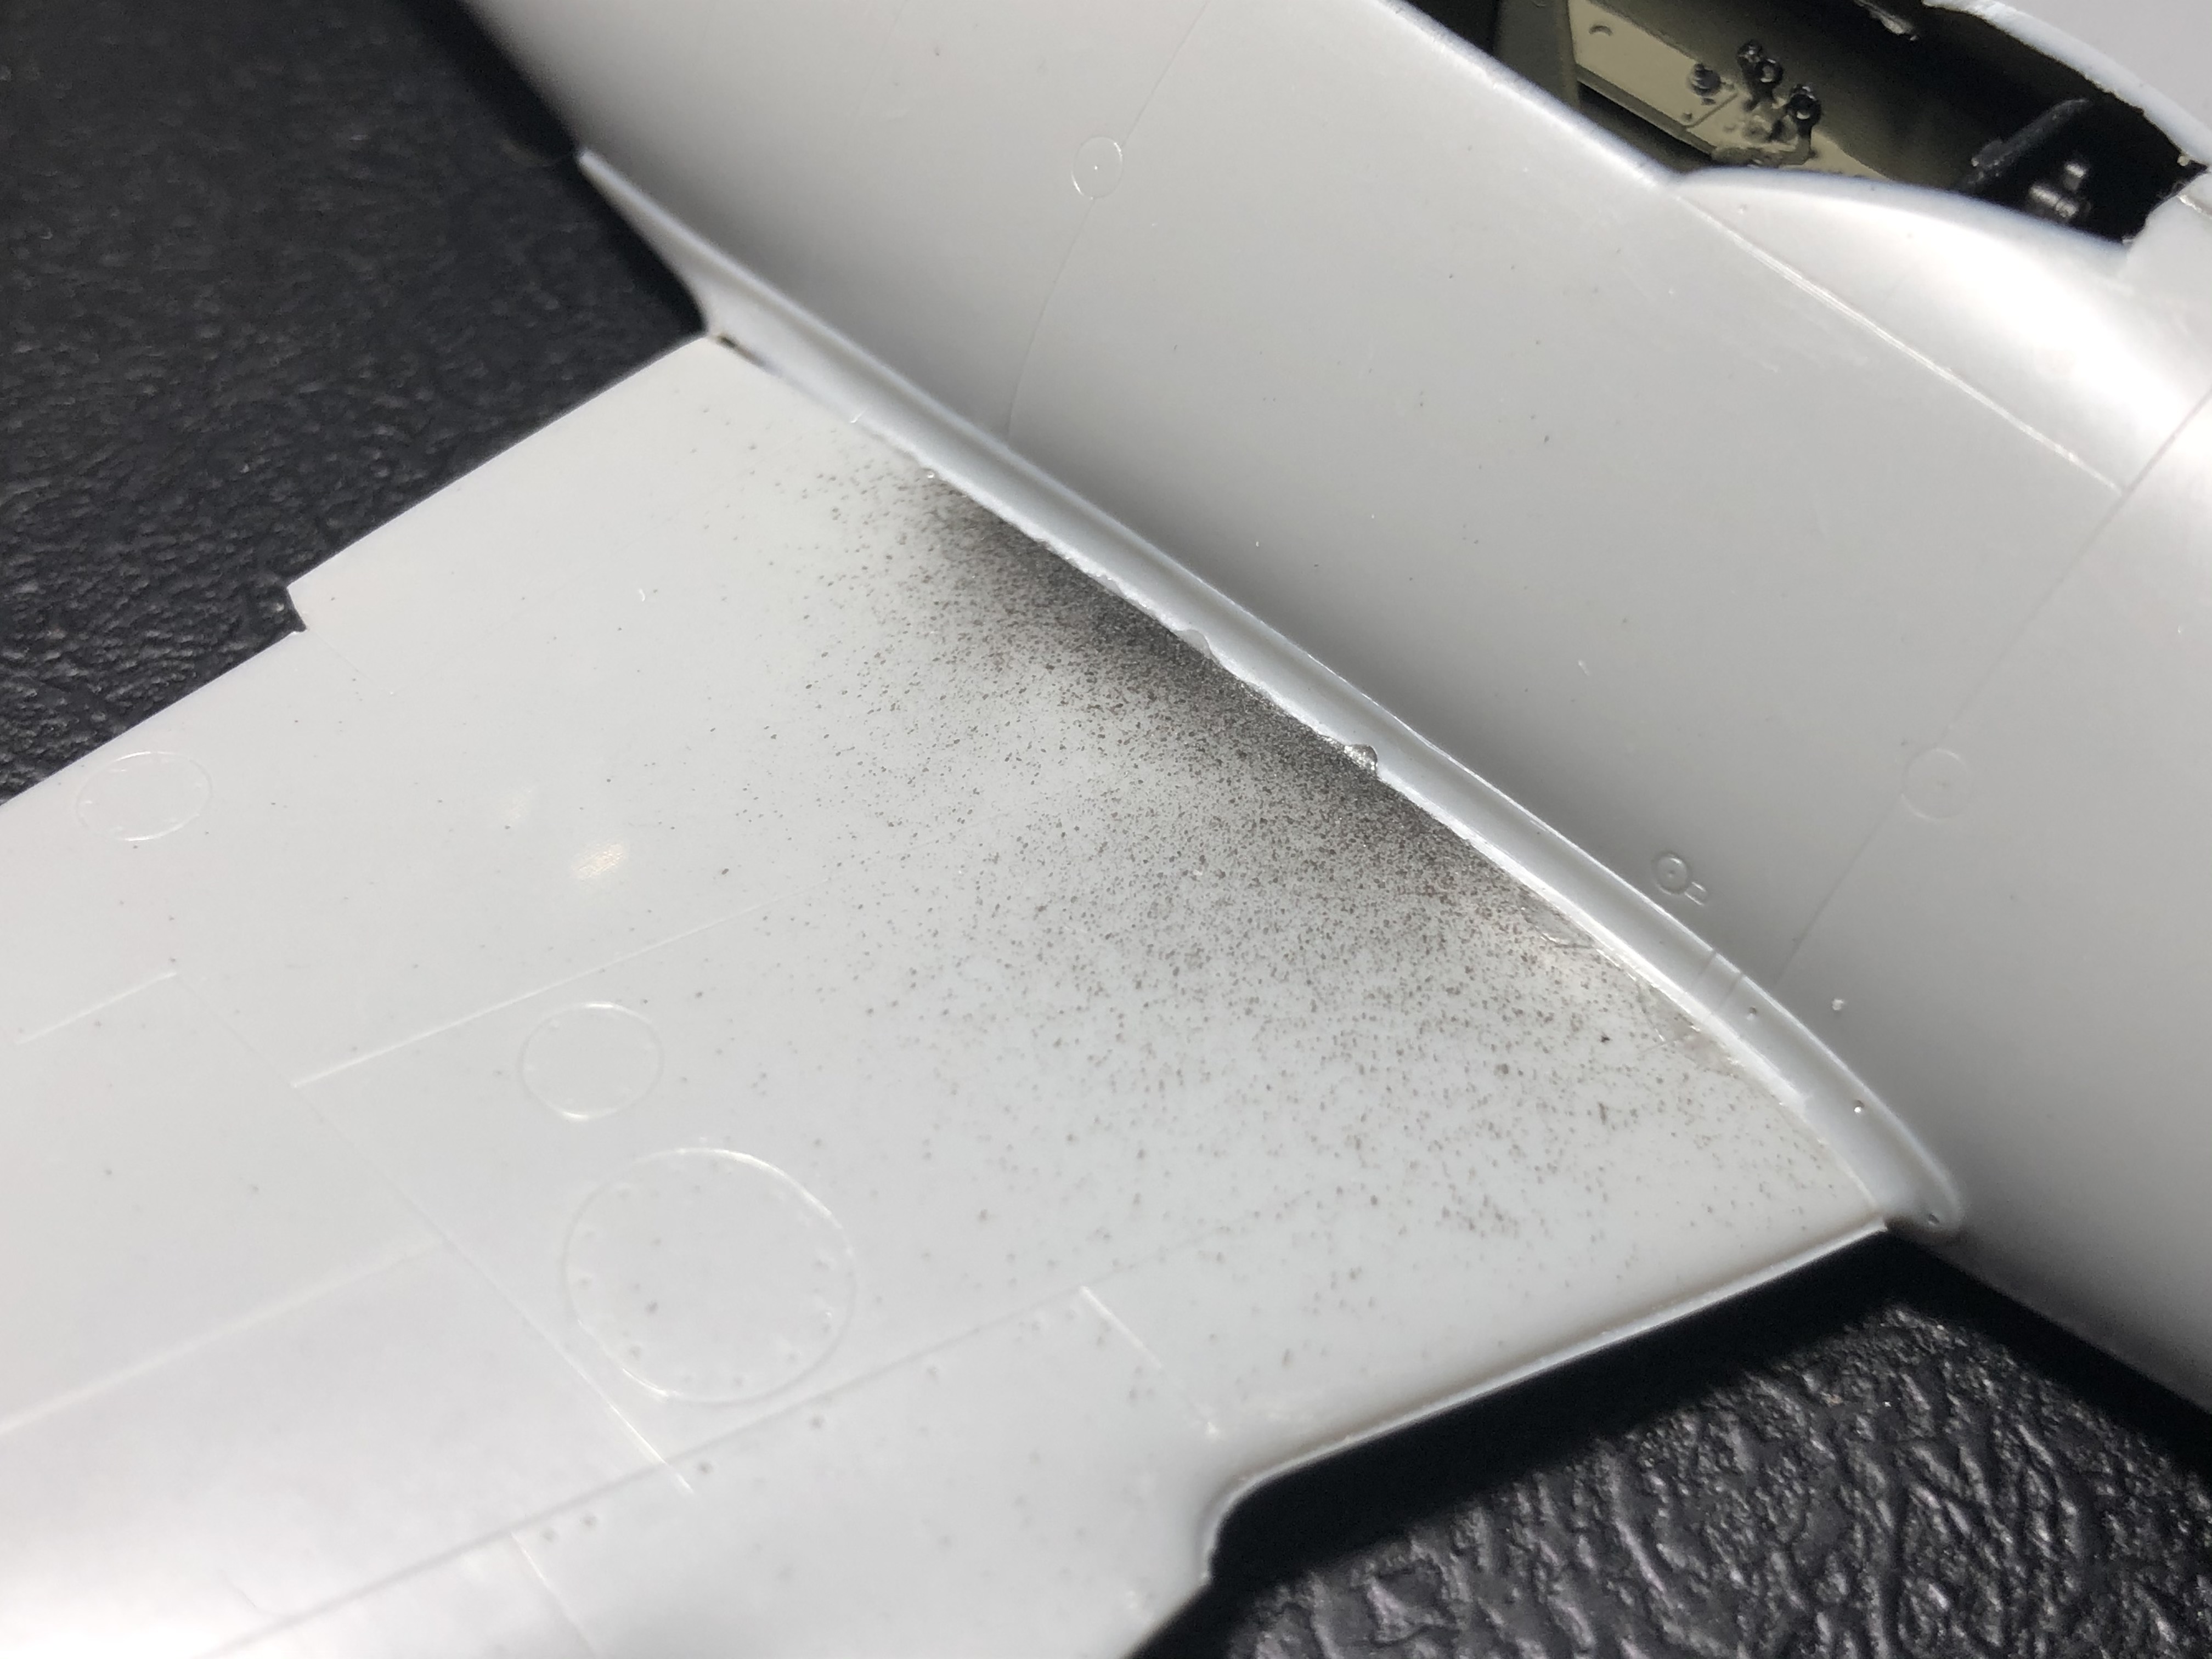
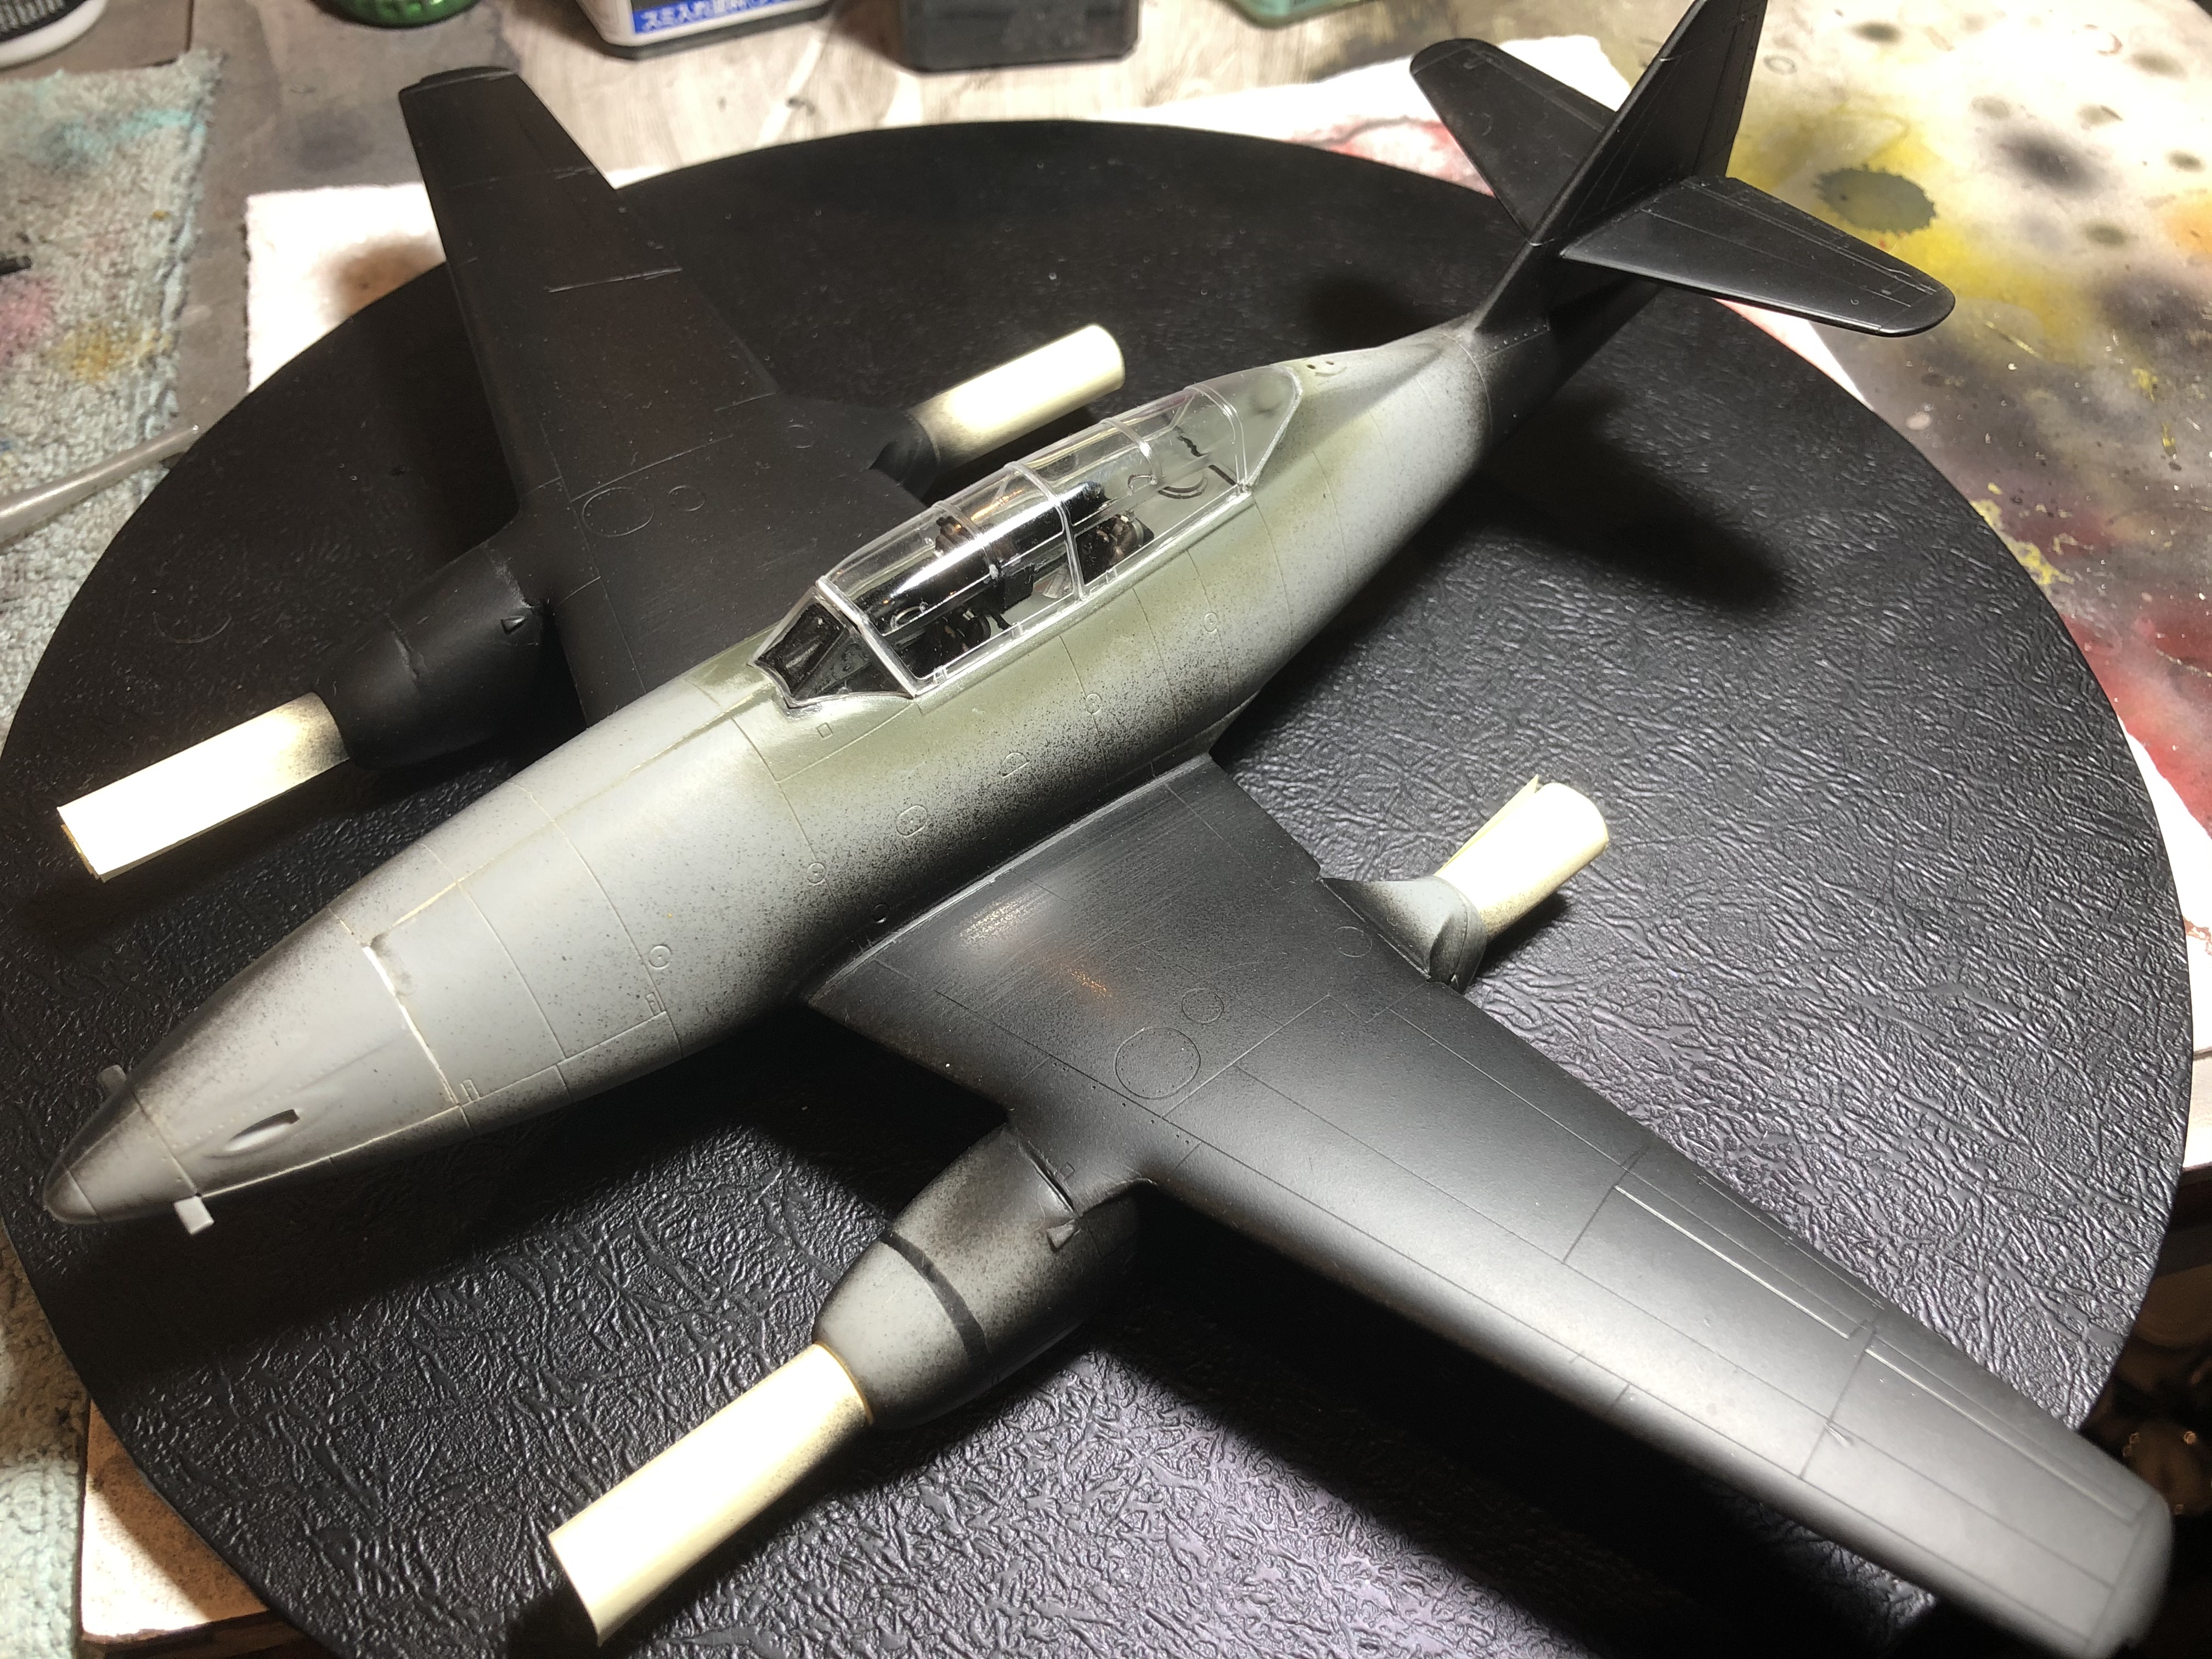
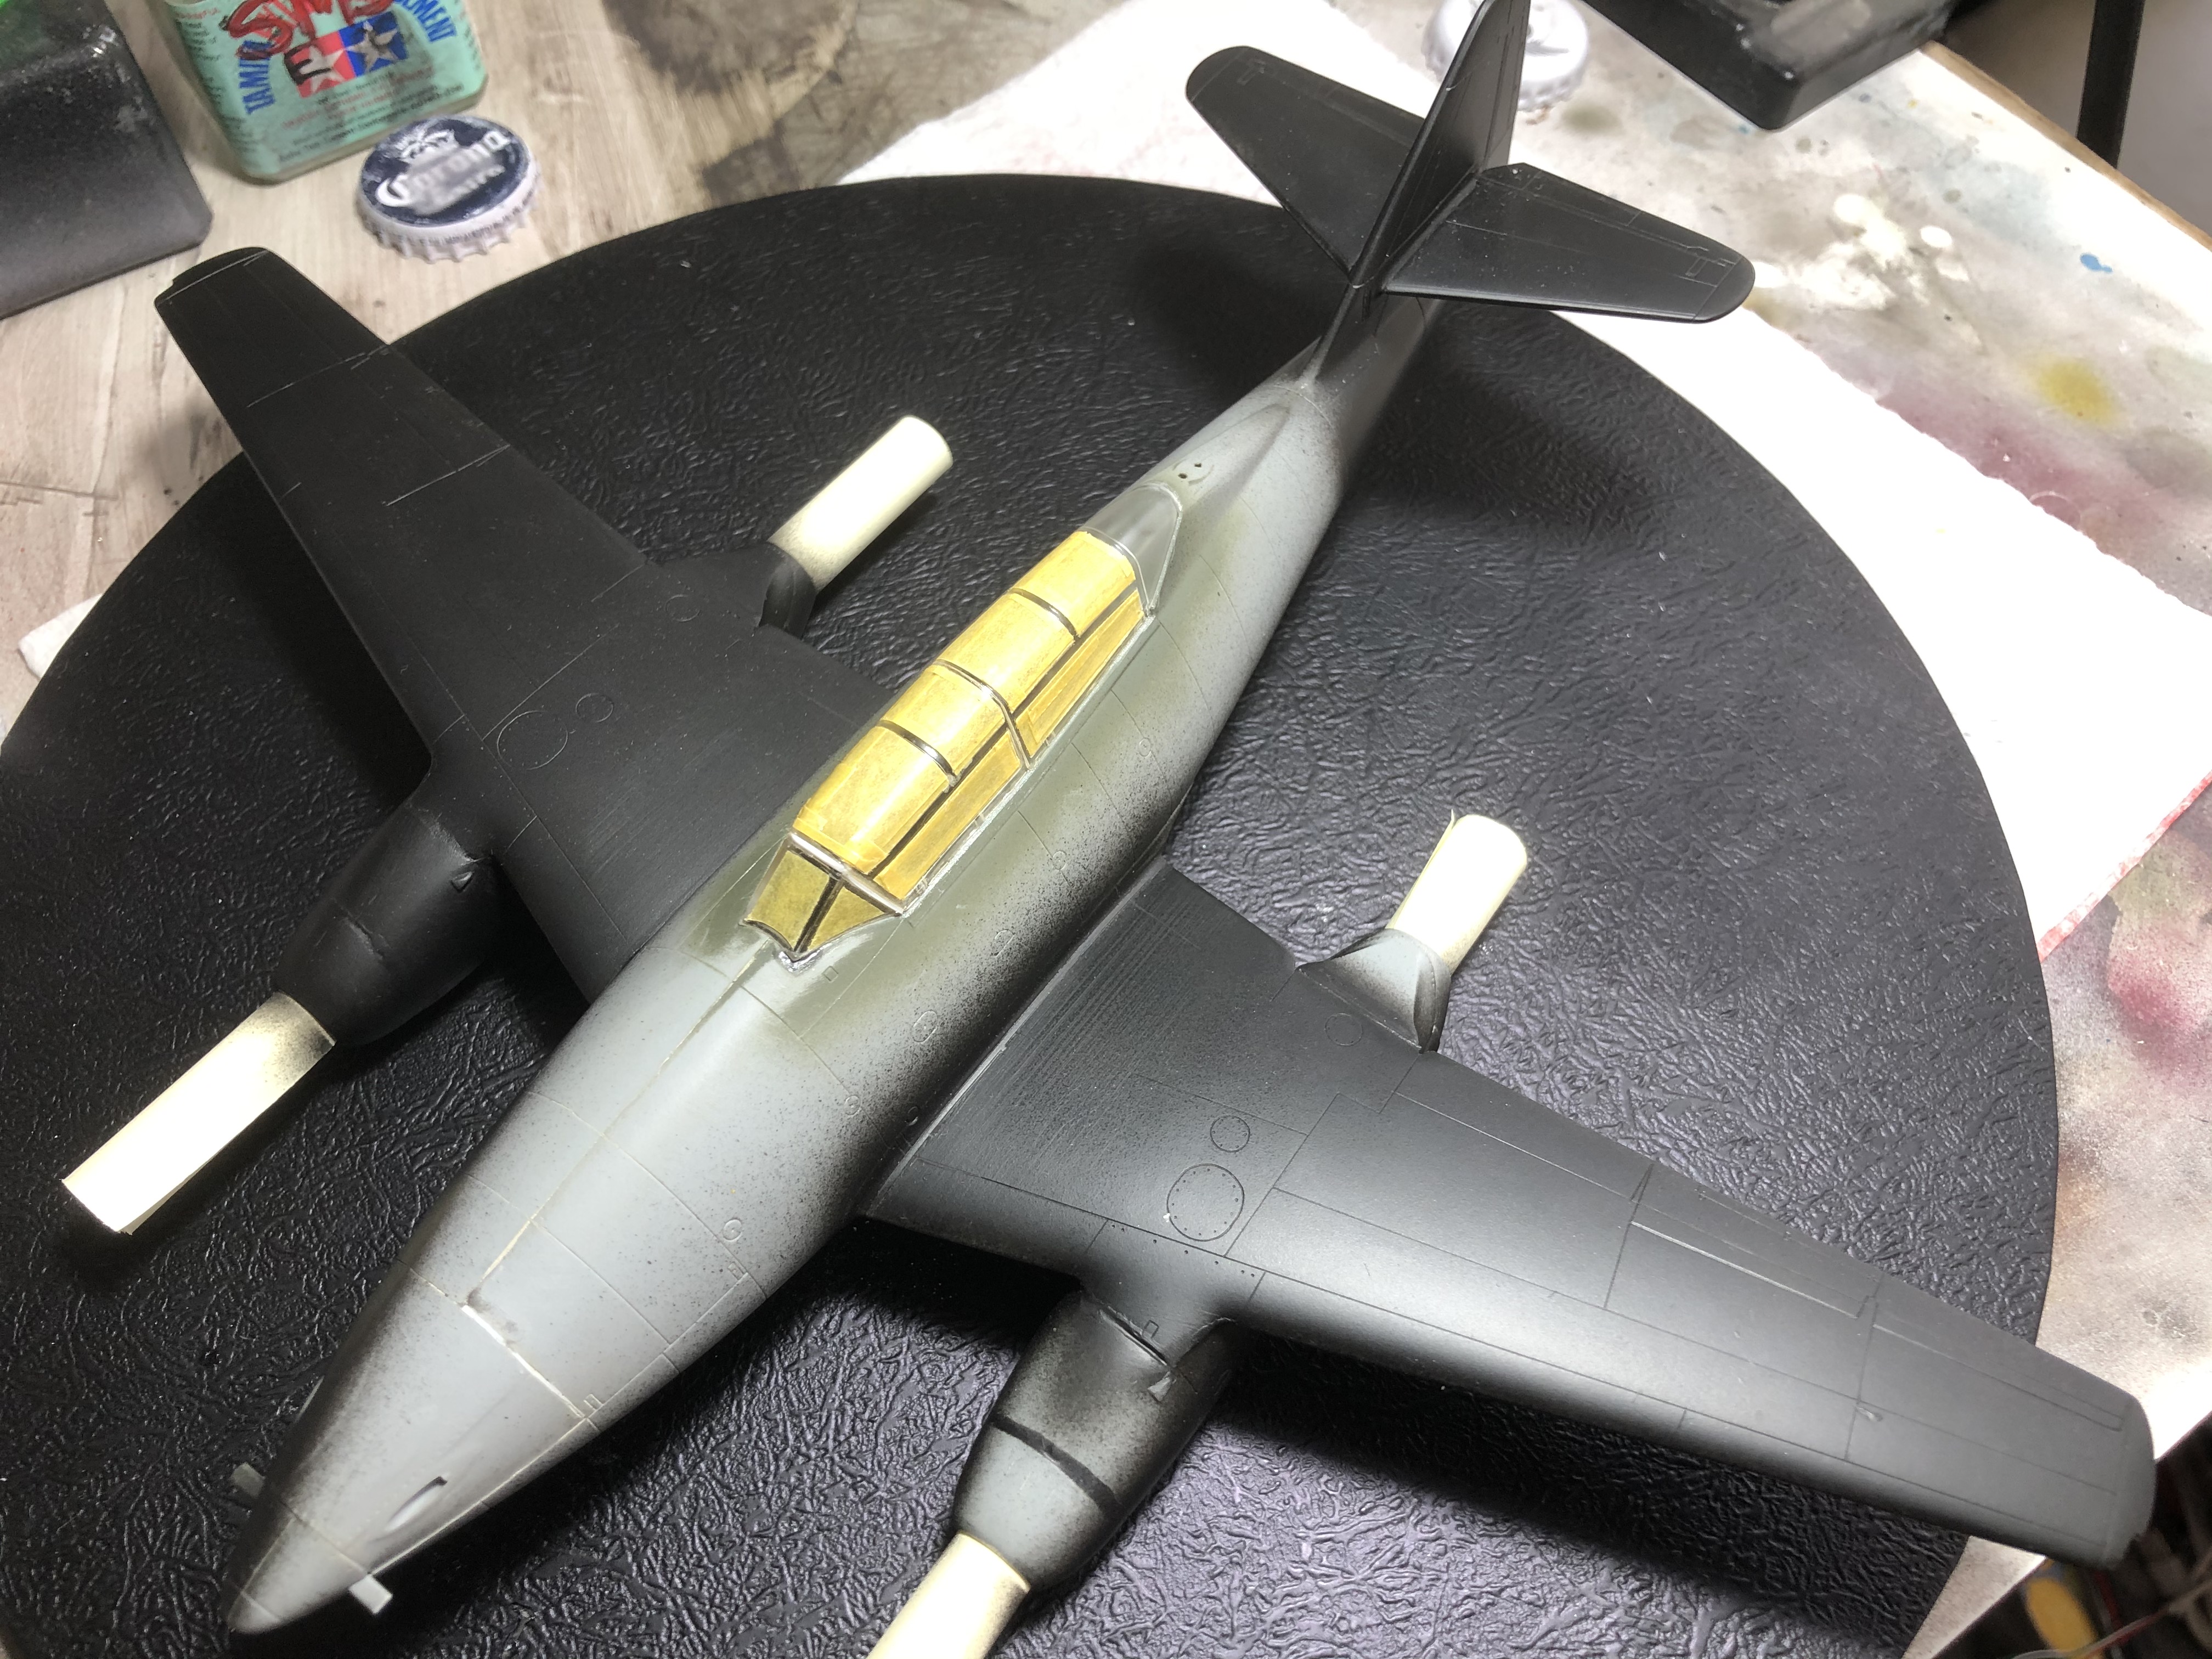
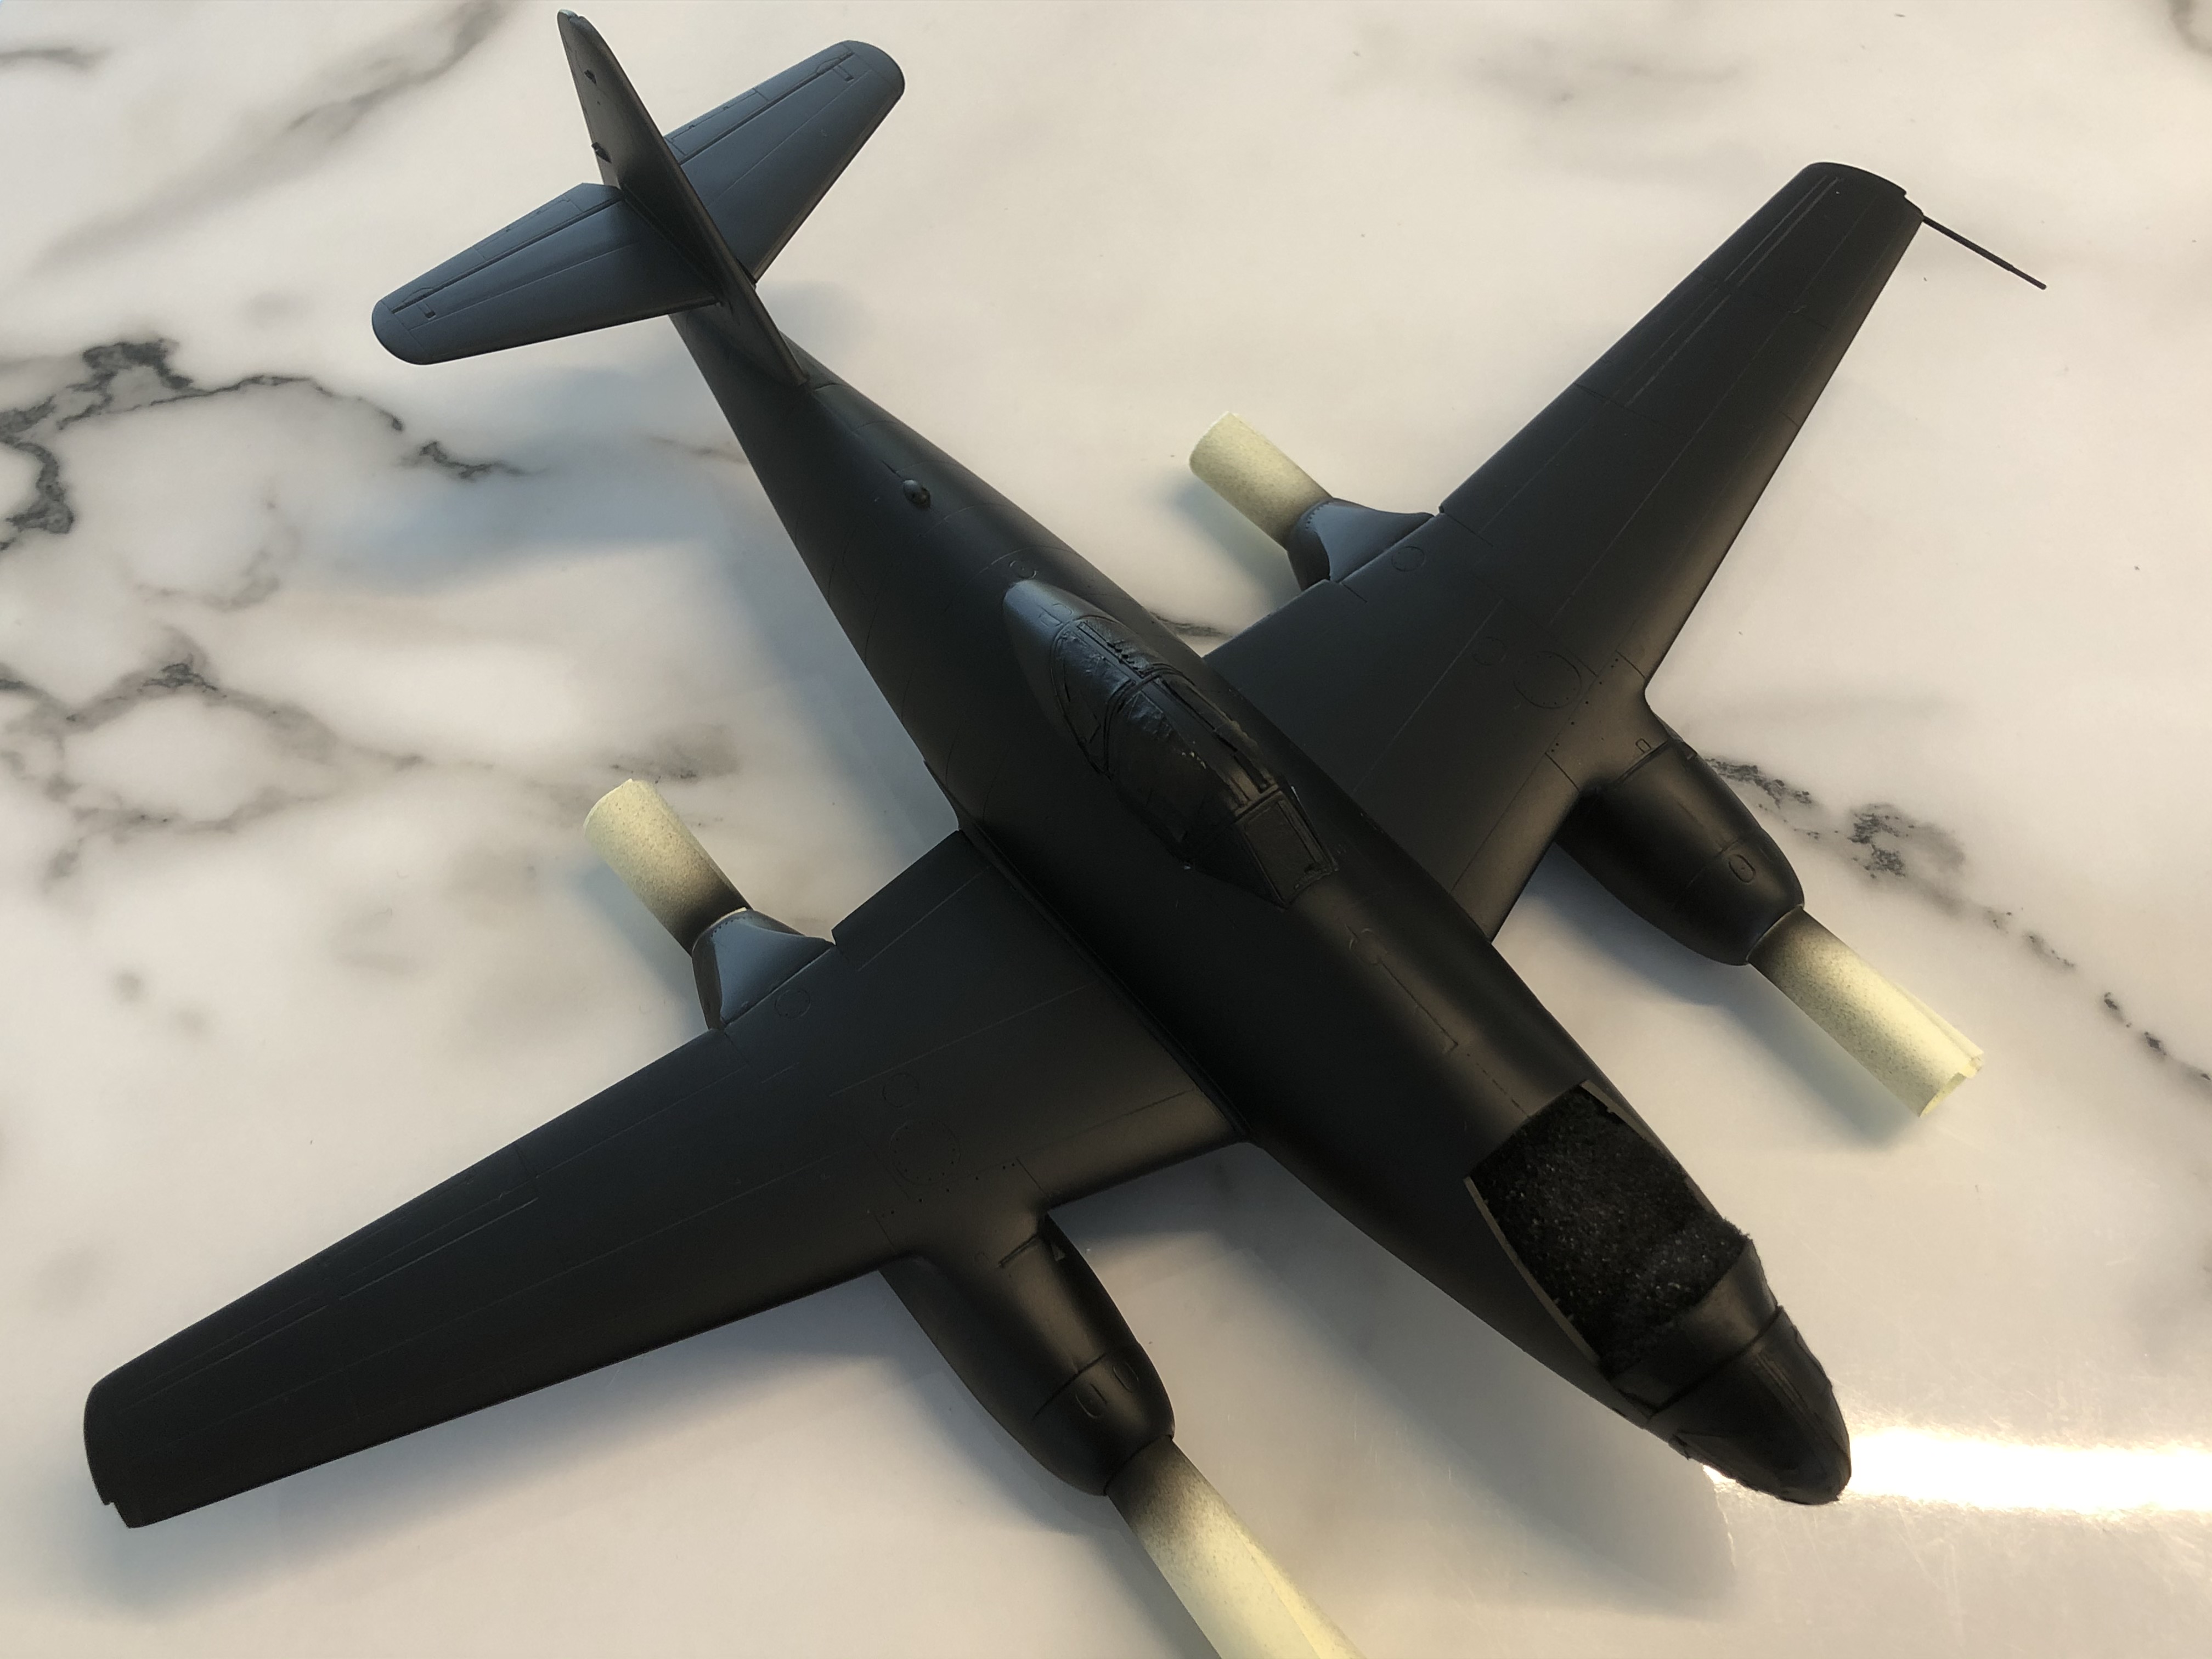
July 27 updateStage 2 of the paint process with RLM65 on the underside (using Gunze Aqueous Hobby Colour H67 thinned with MLT).

I built it up slowly from the black primer base with some heavier and some lighter areas to simulate a light bit of fading.
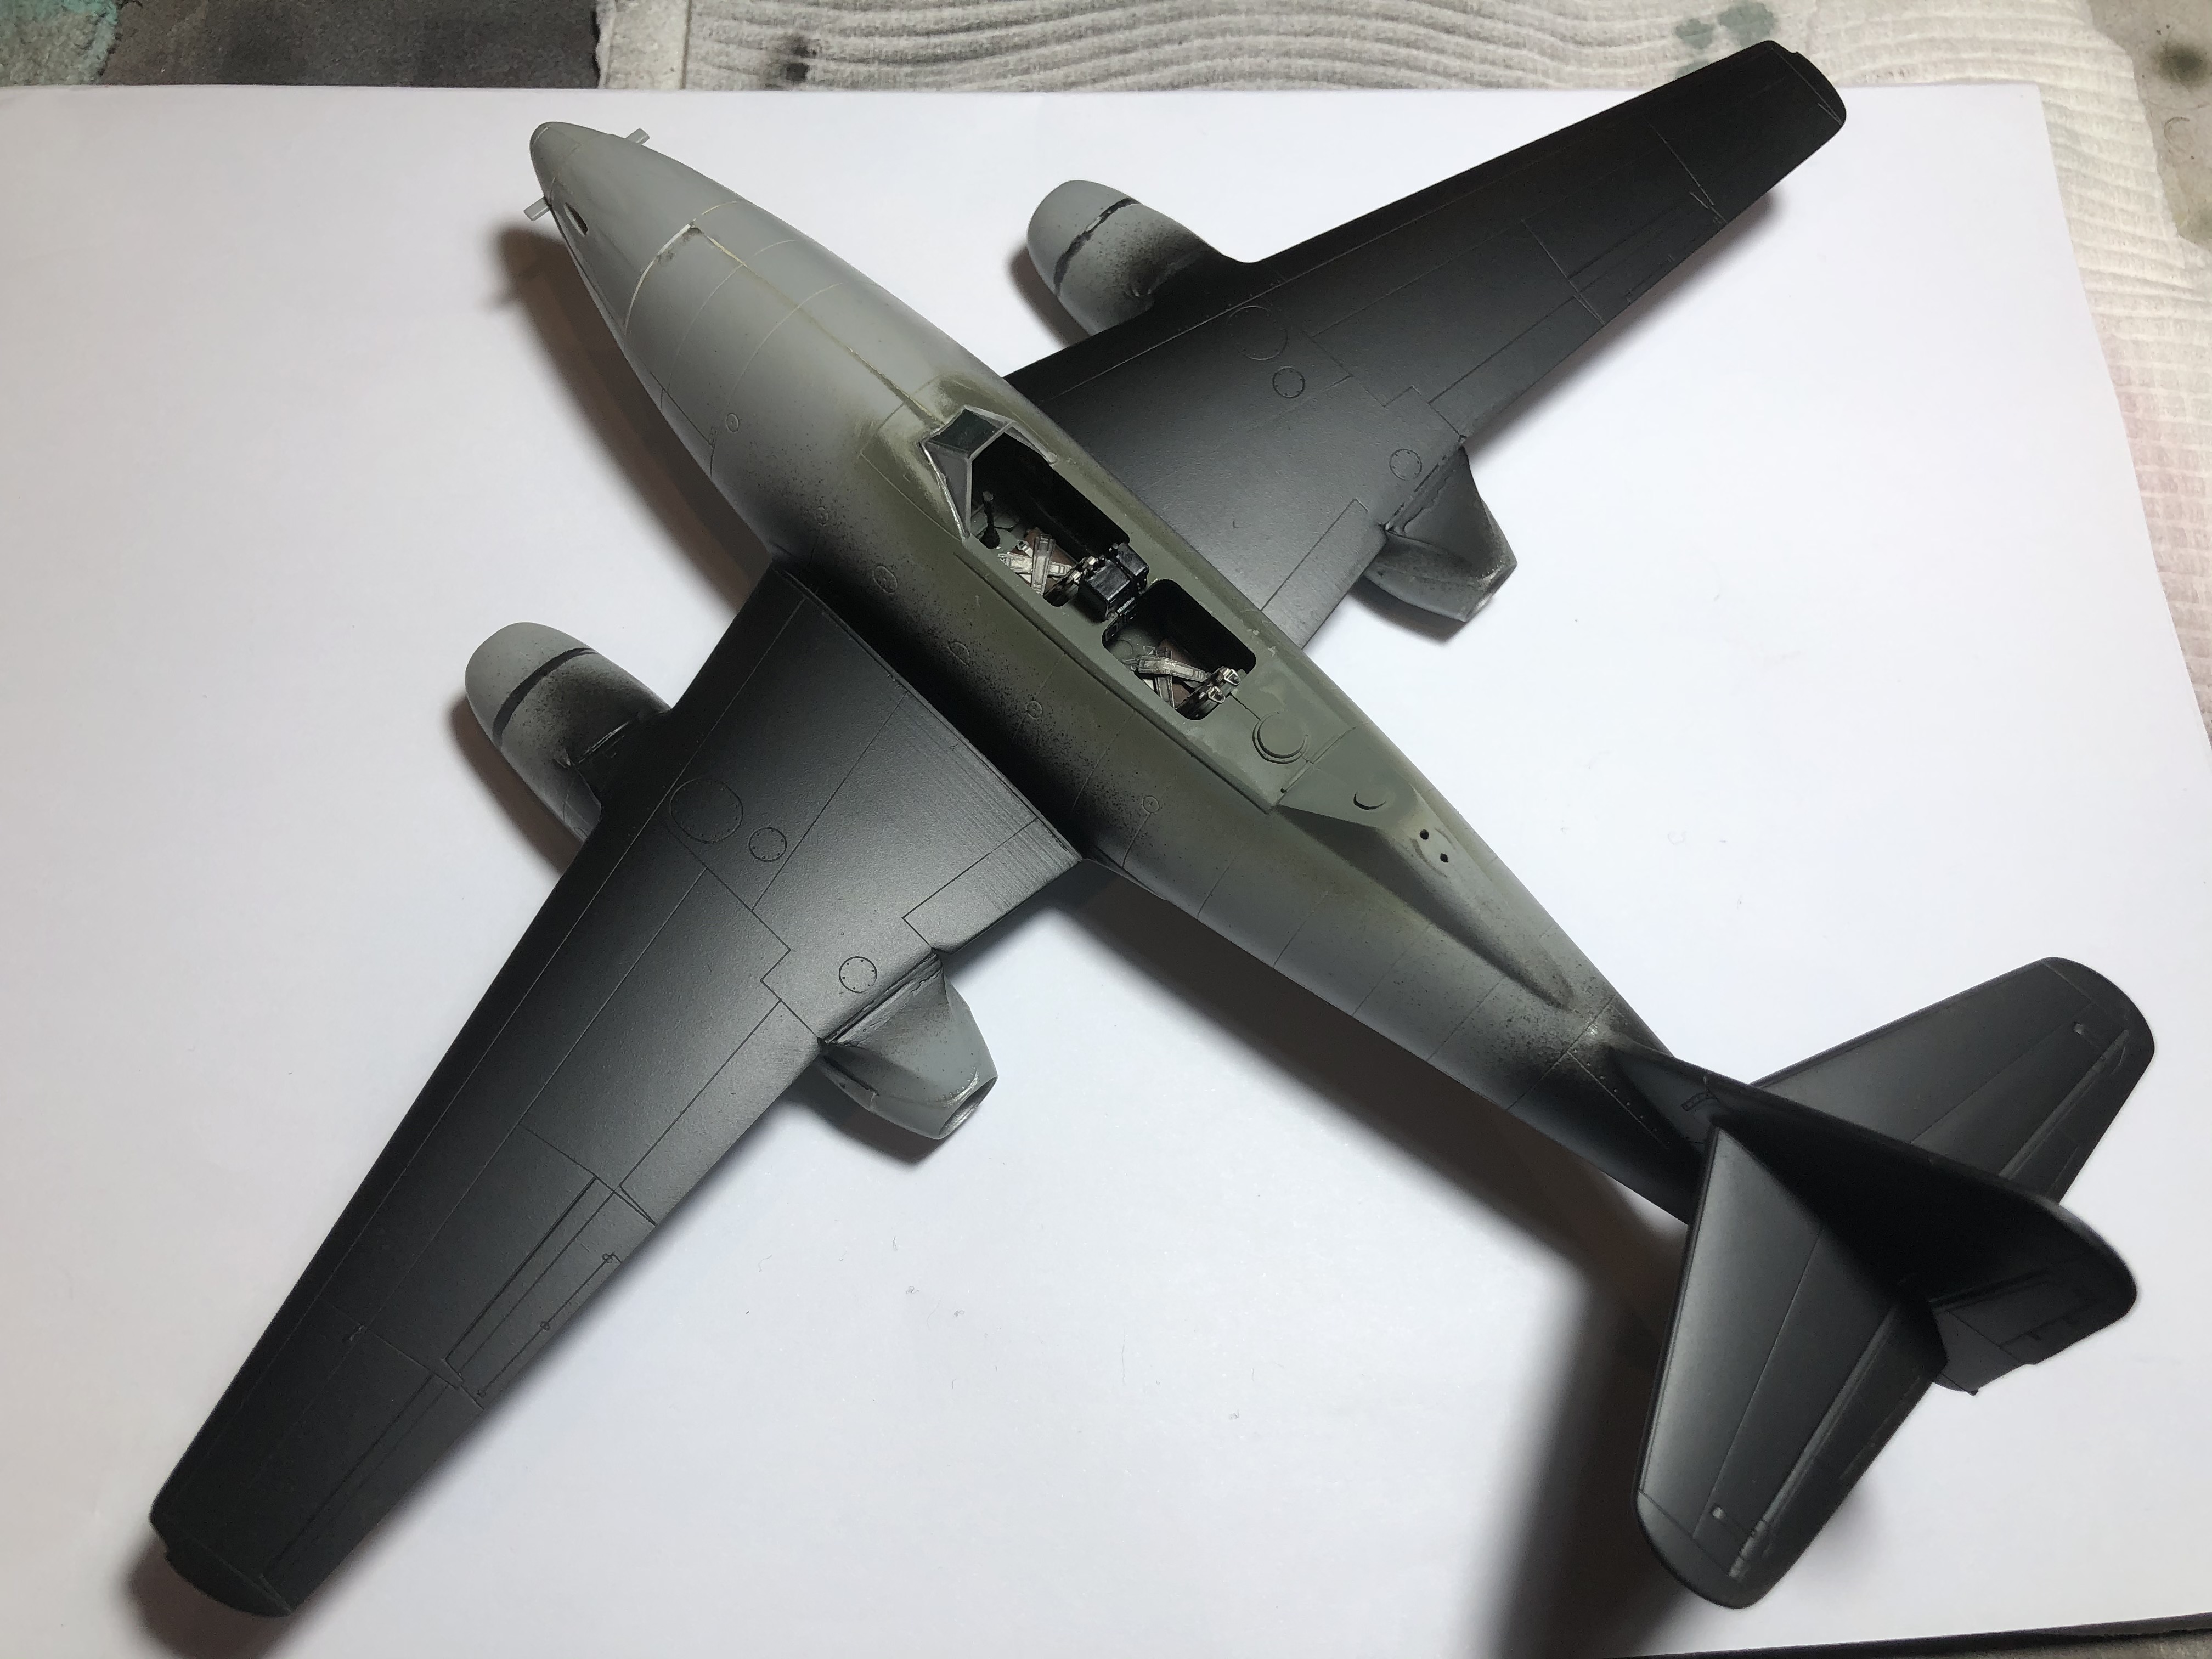
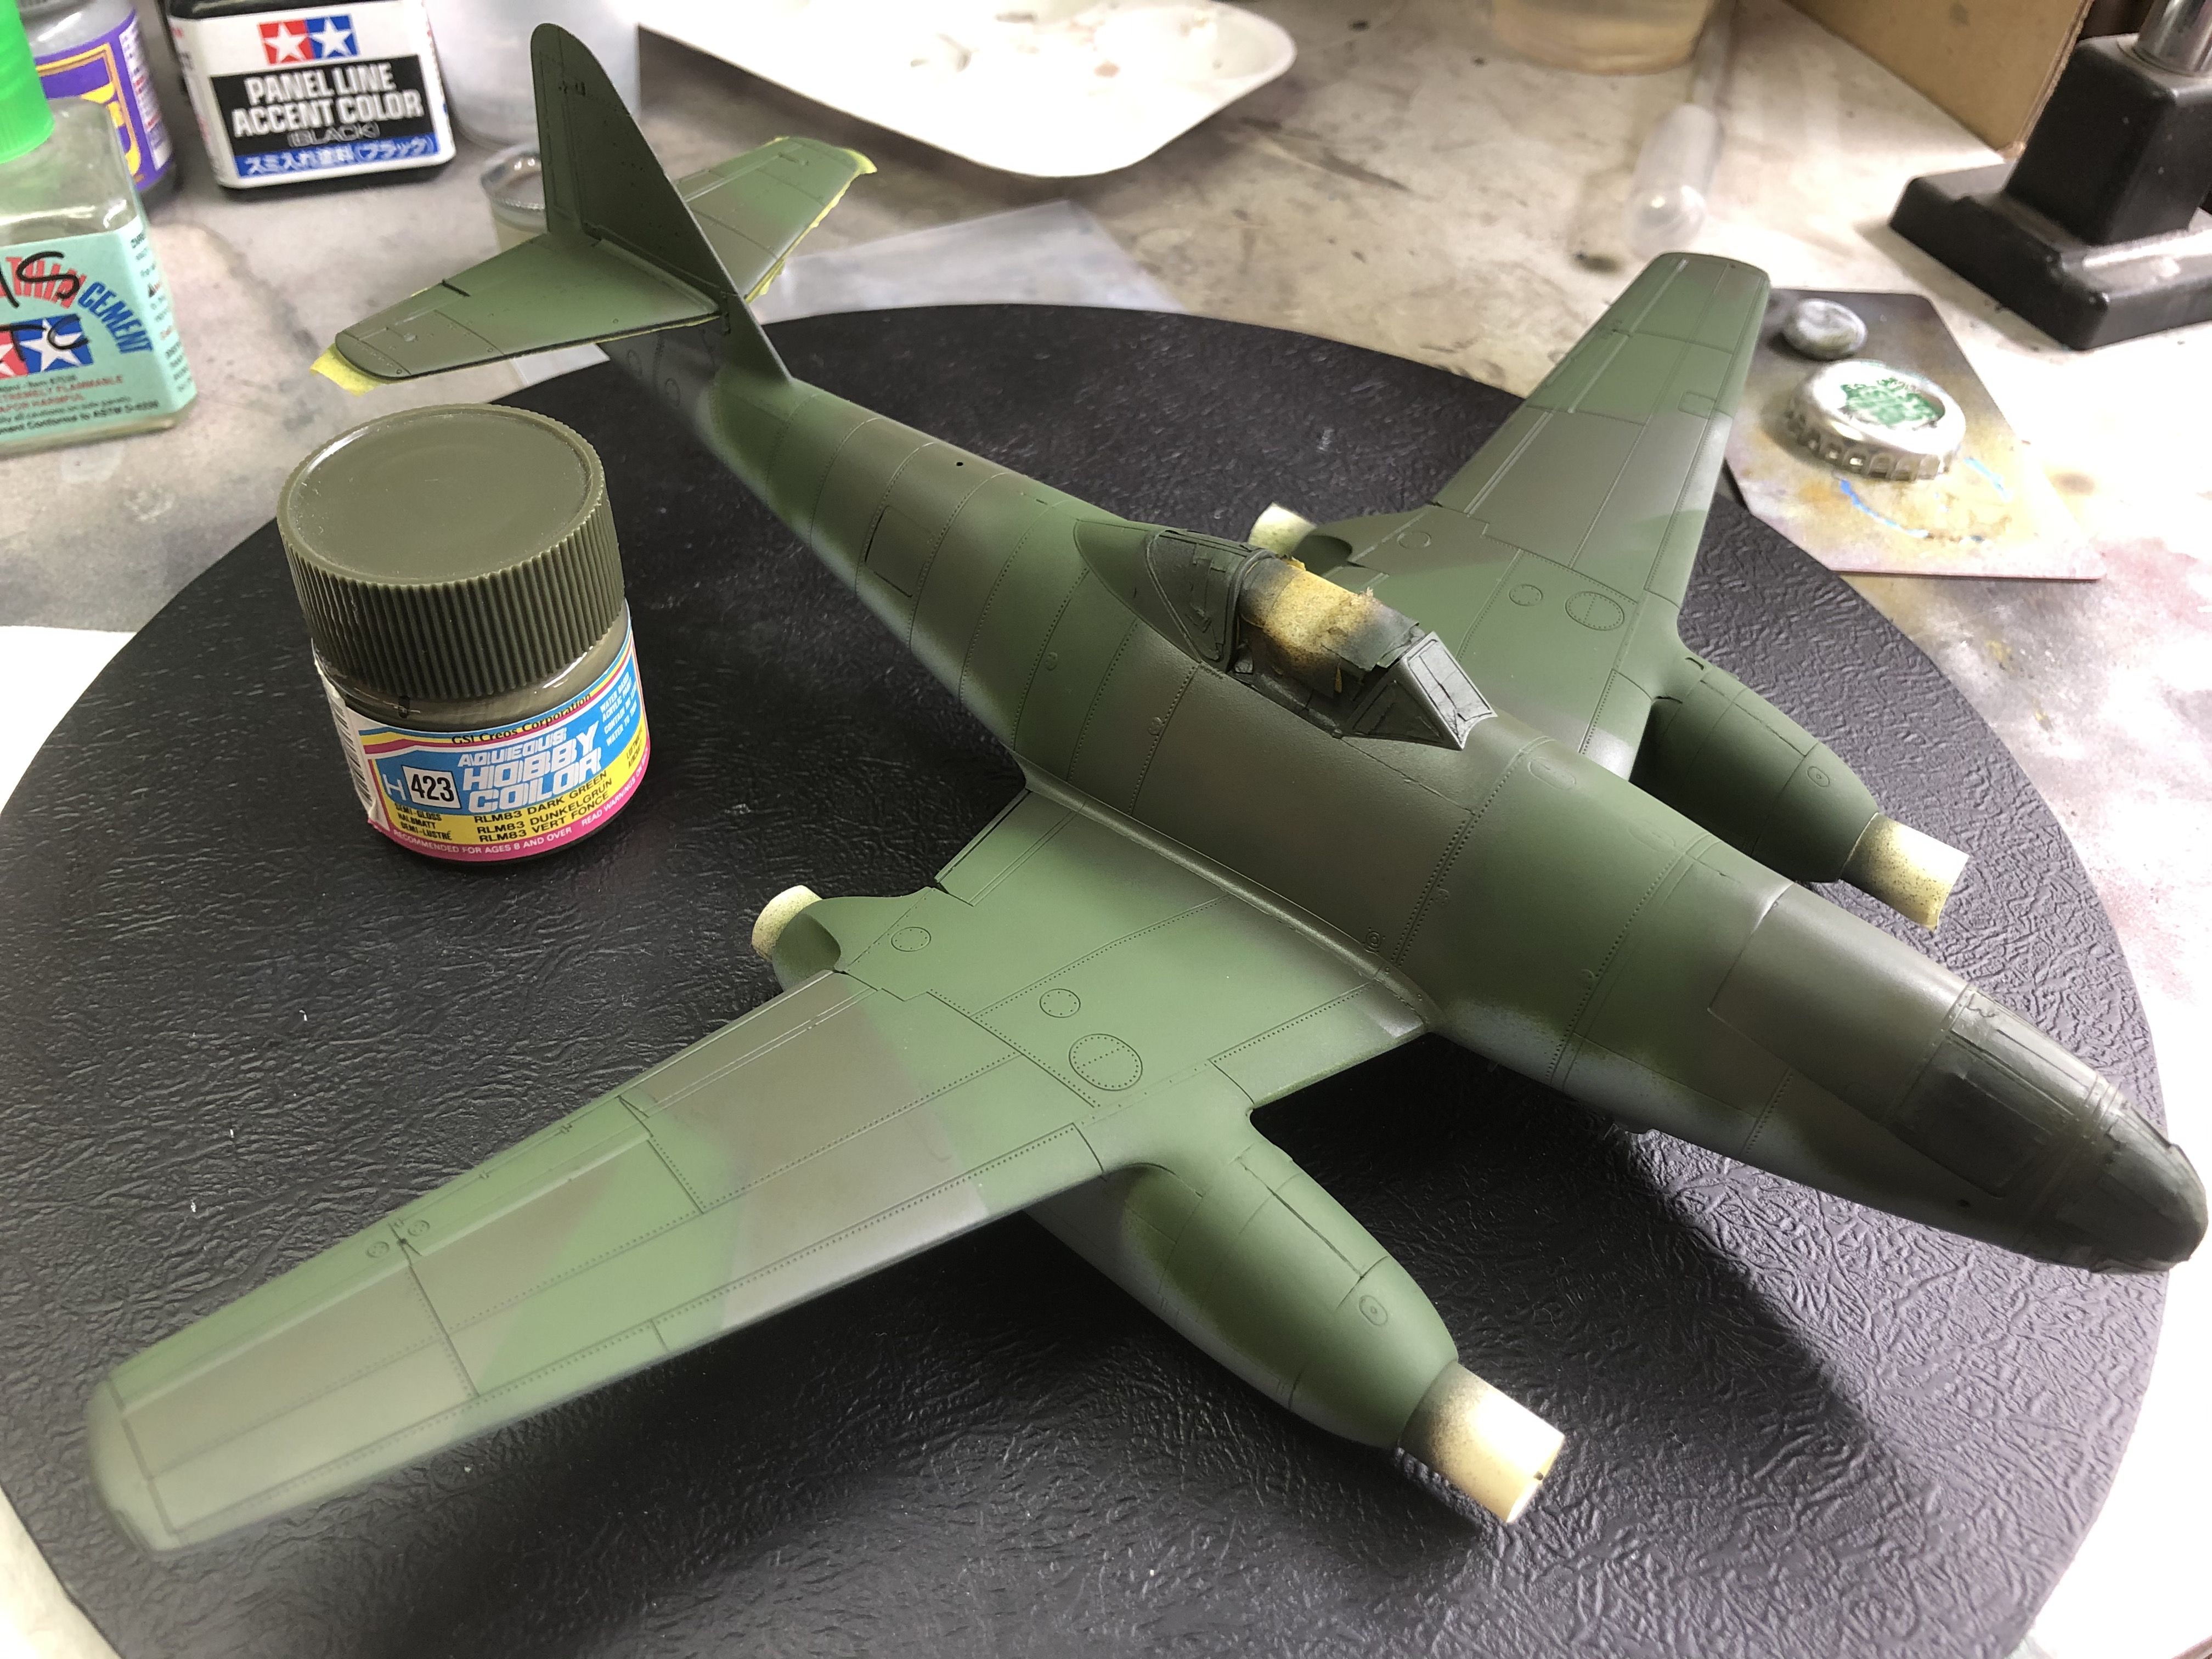
August 02 updateStage 3 of the paint process, the light green. I used Tamiya XF-5 acrylic, thinned about 50/50 with MLT and sprayed lightly over the black primer to build the opacity slowly.
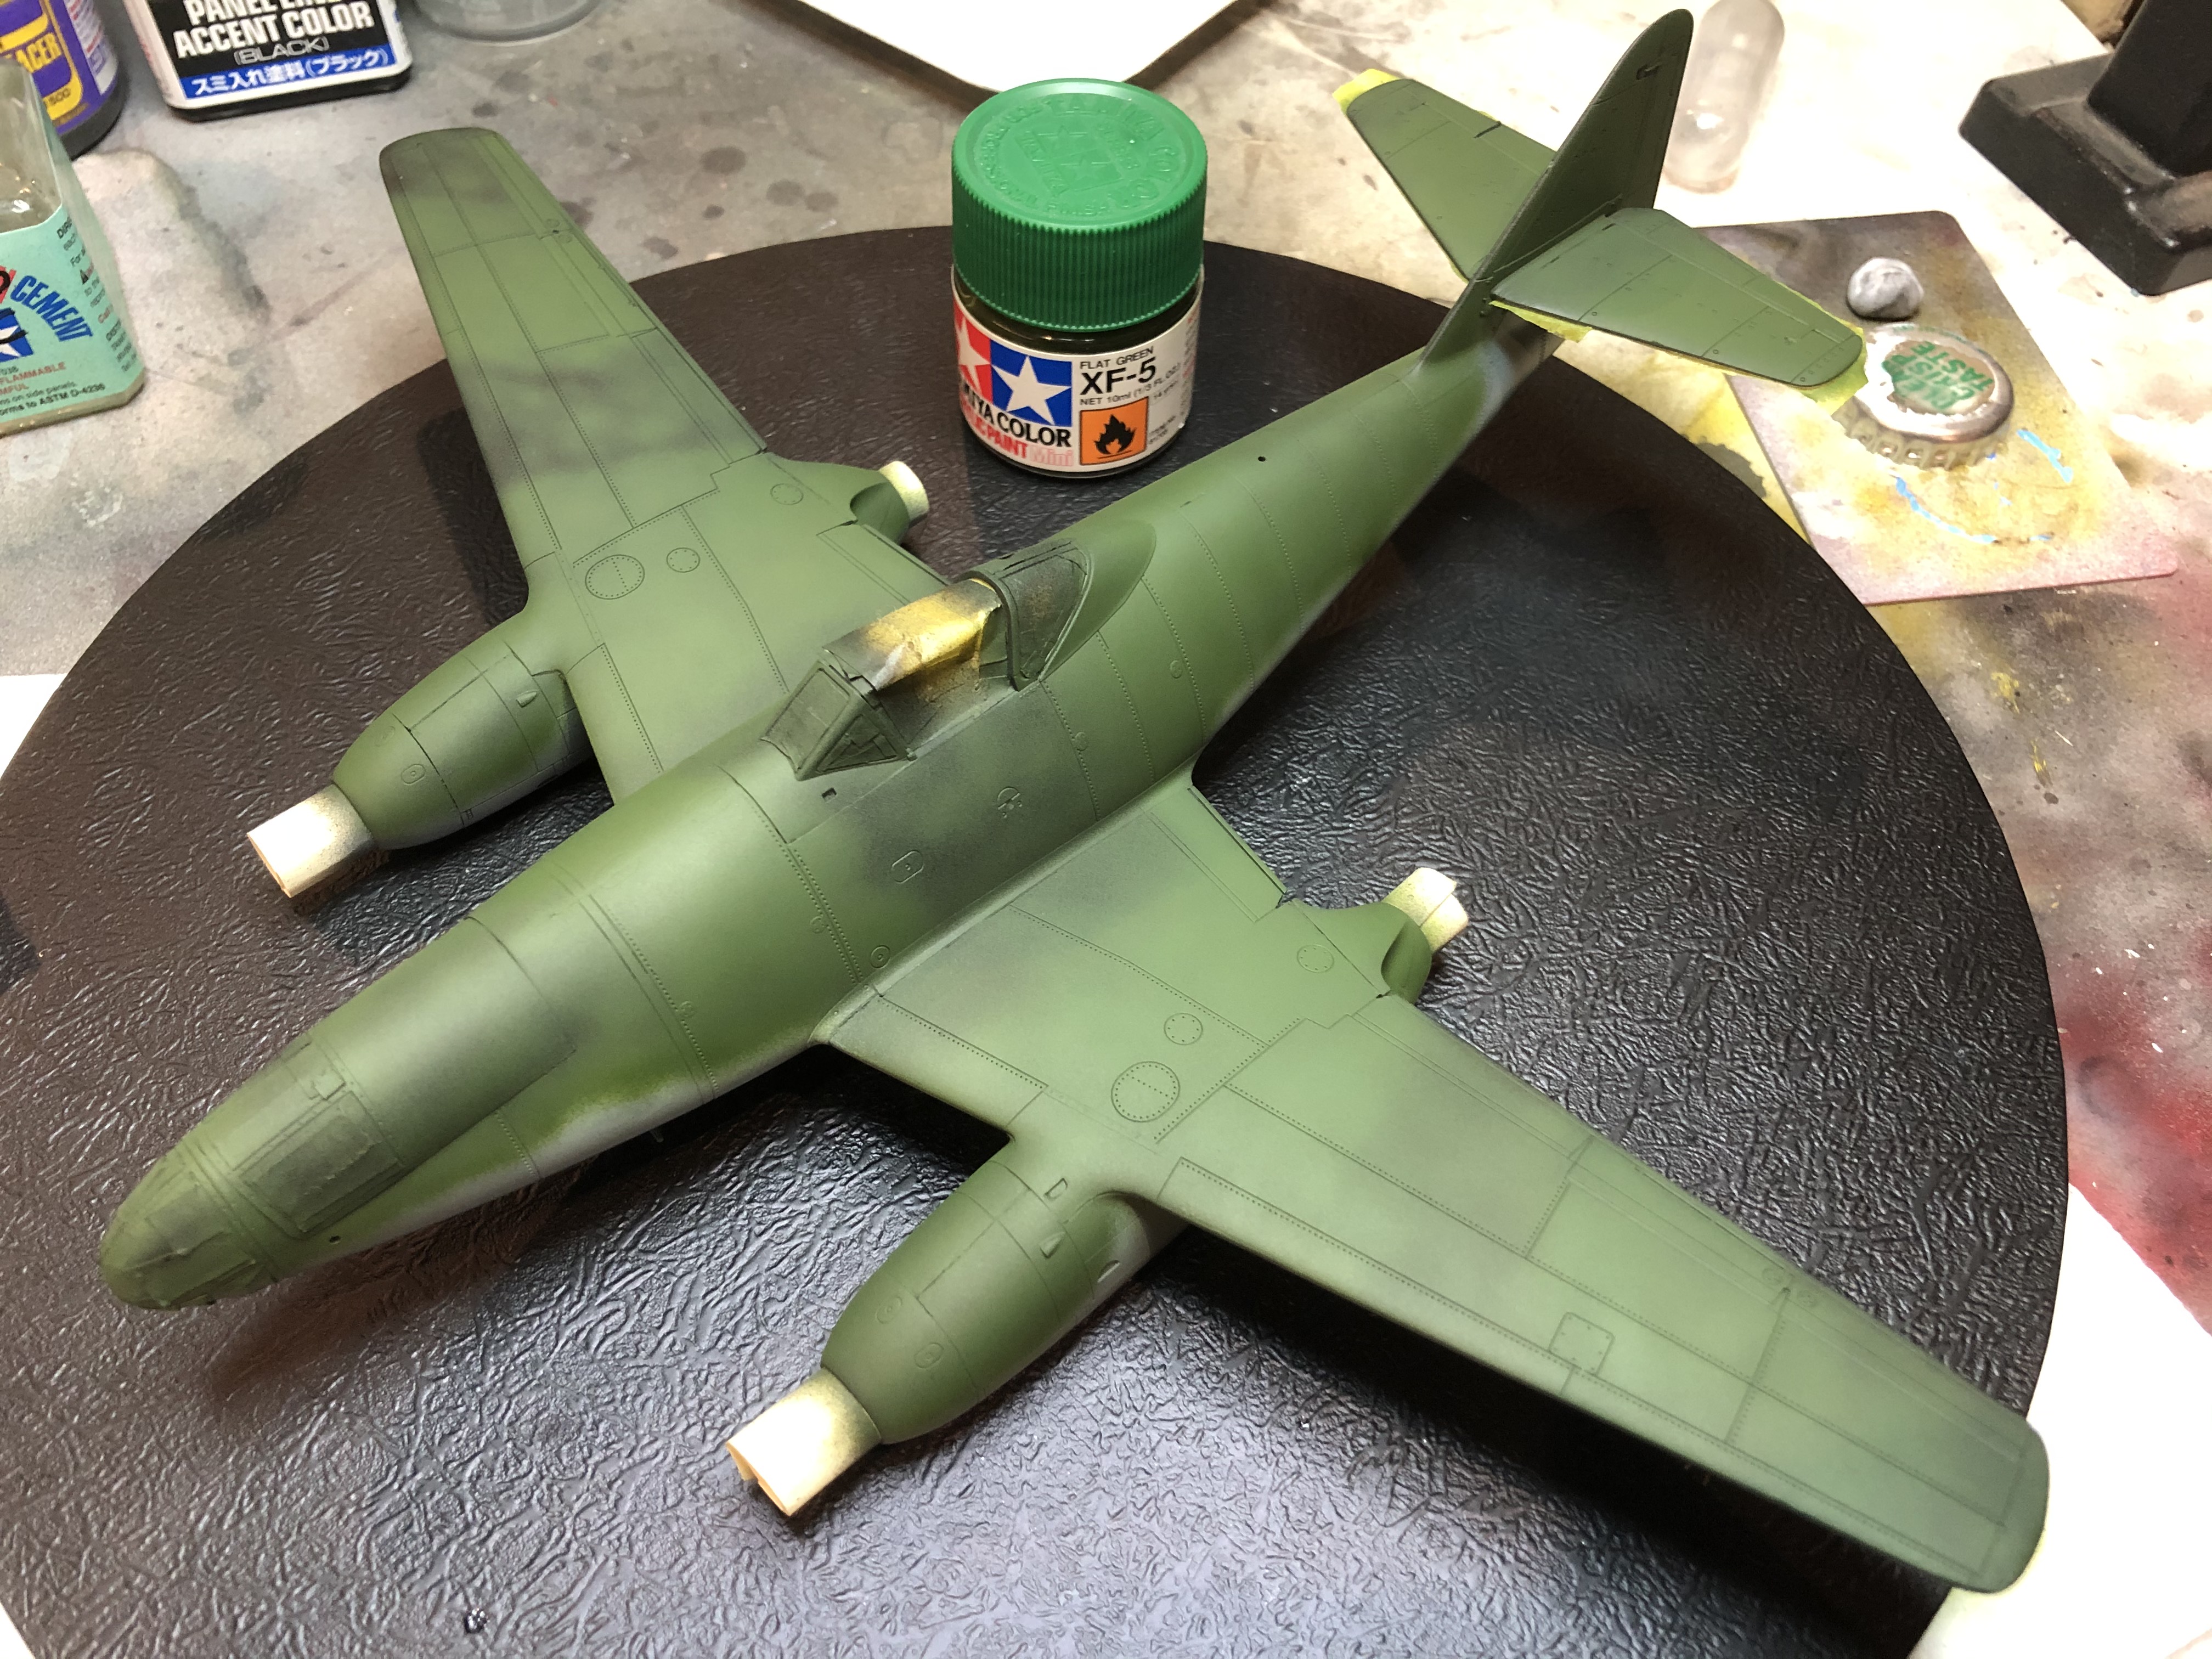
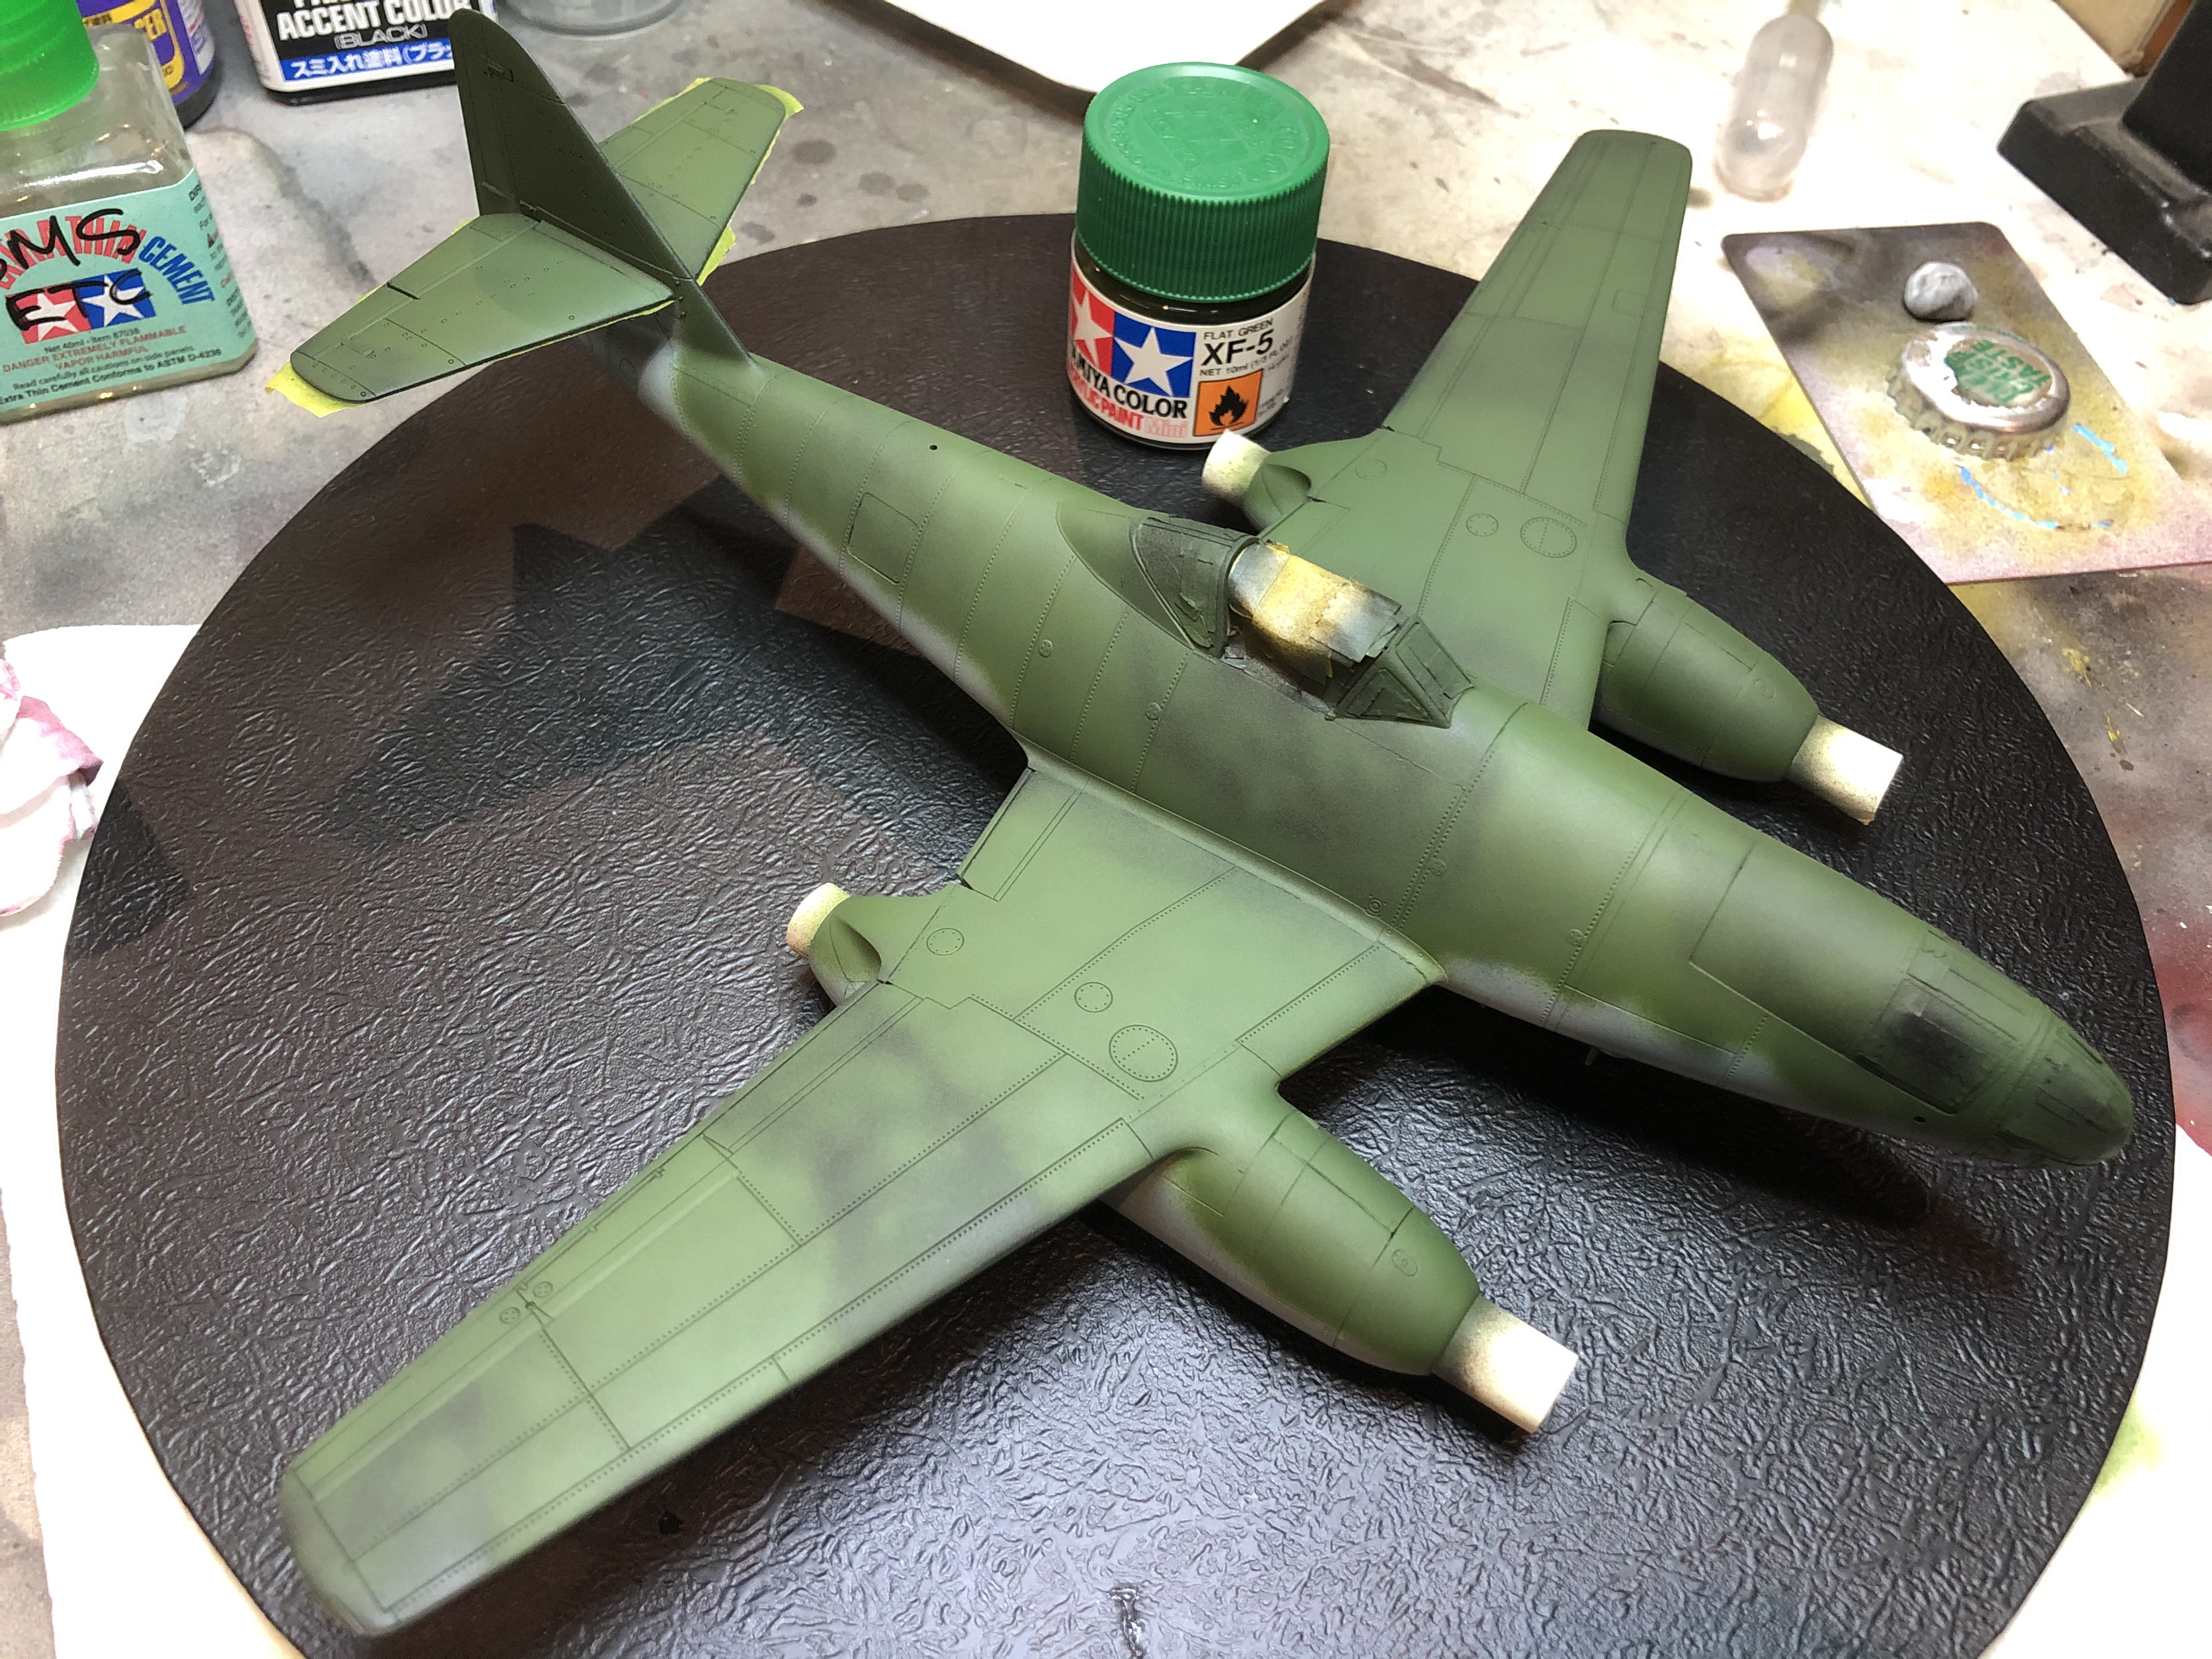
I sprayed a light random pattern on the areas where the darker green will go to give some variety to the undercoat and will use the same process to build up the colour and hopefully give a nice varied finish.
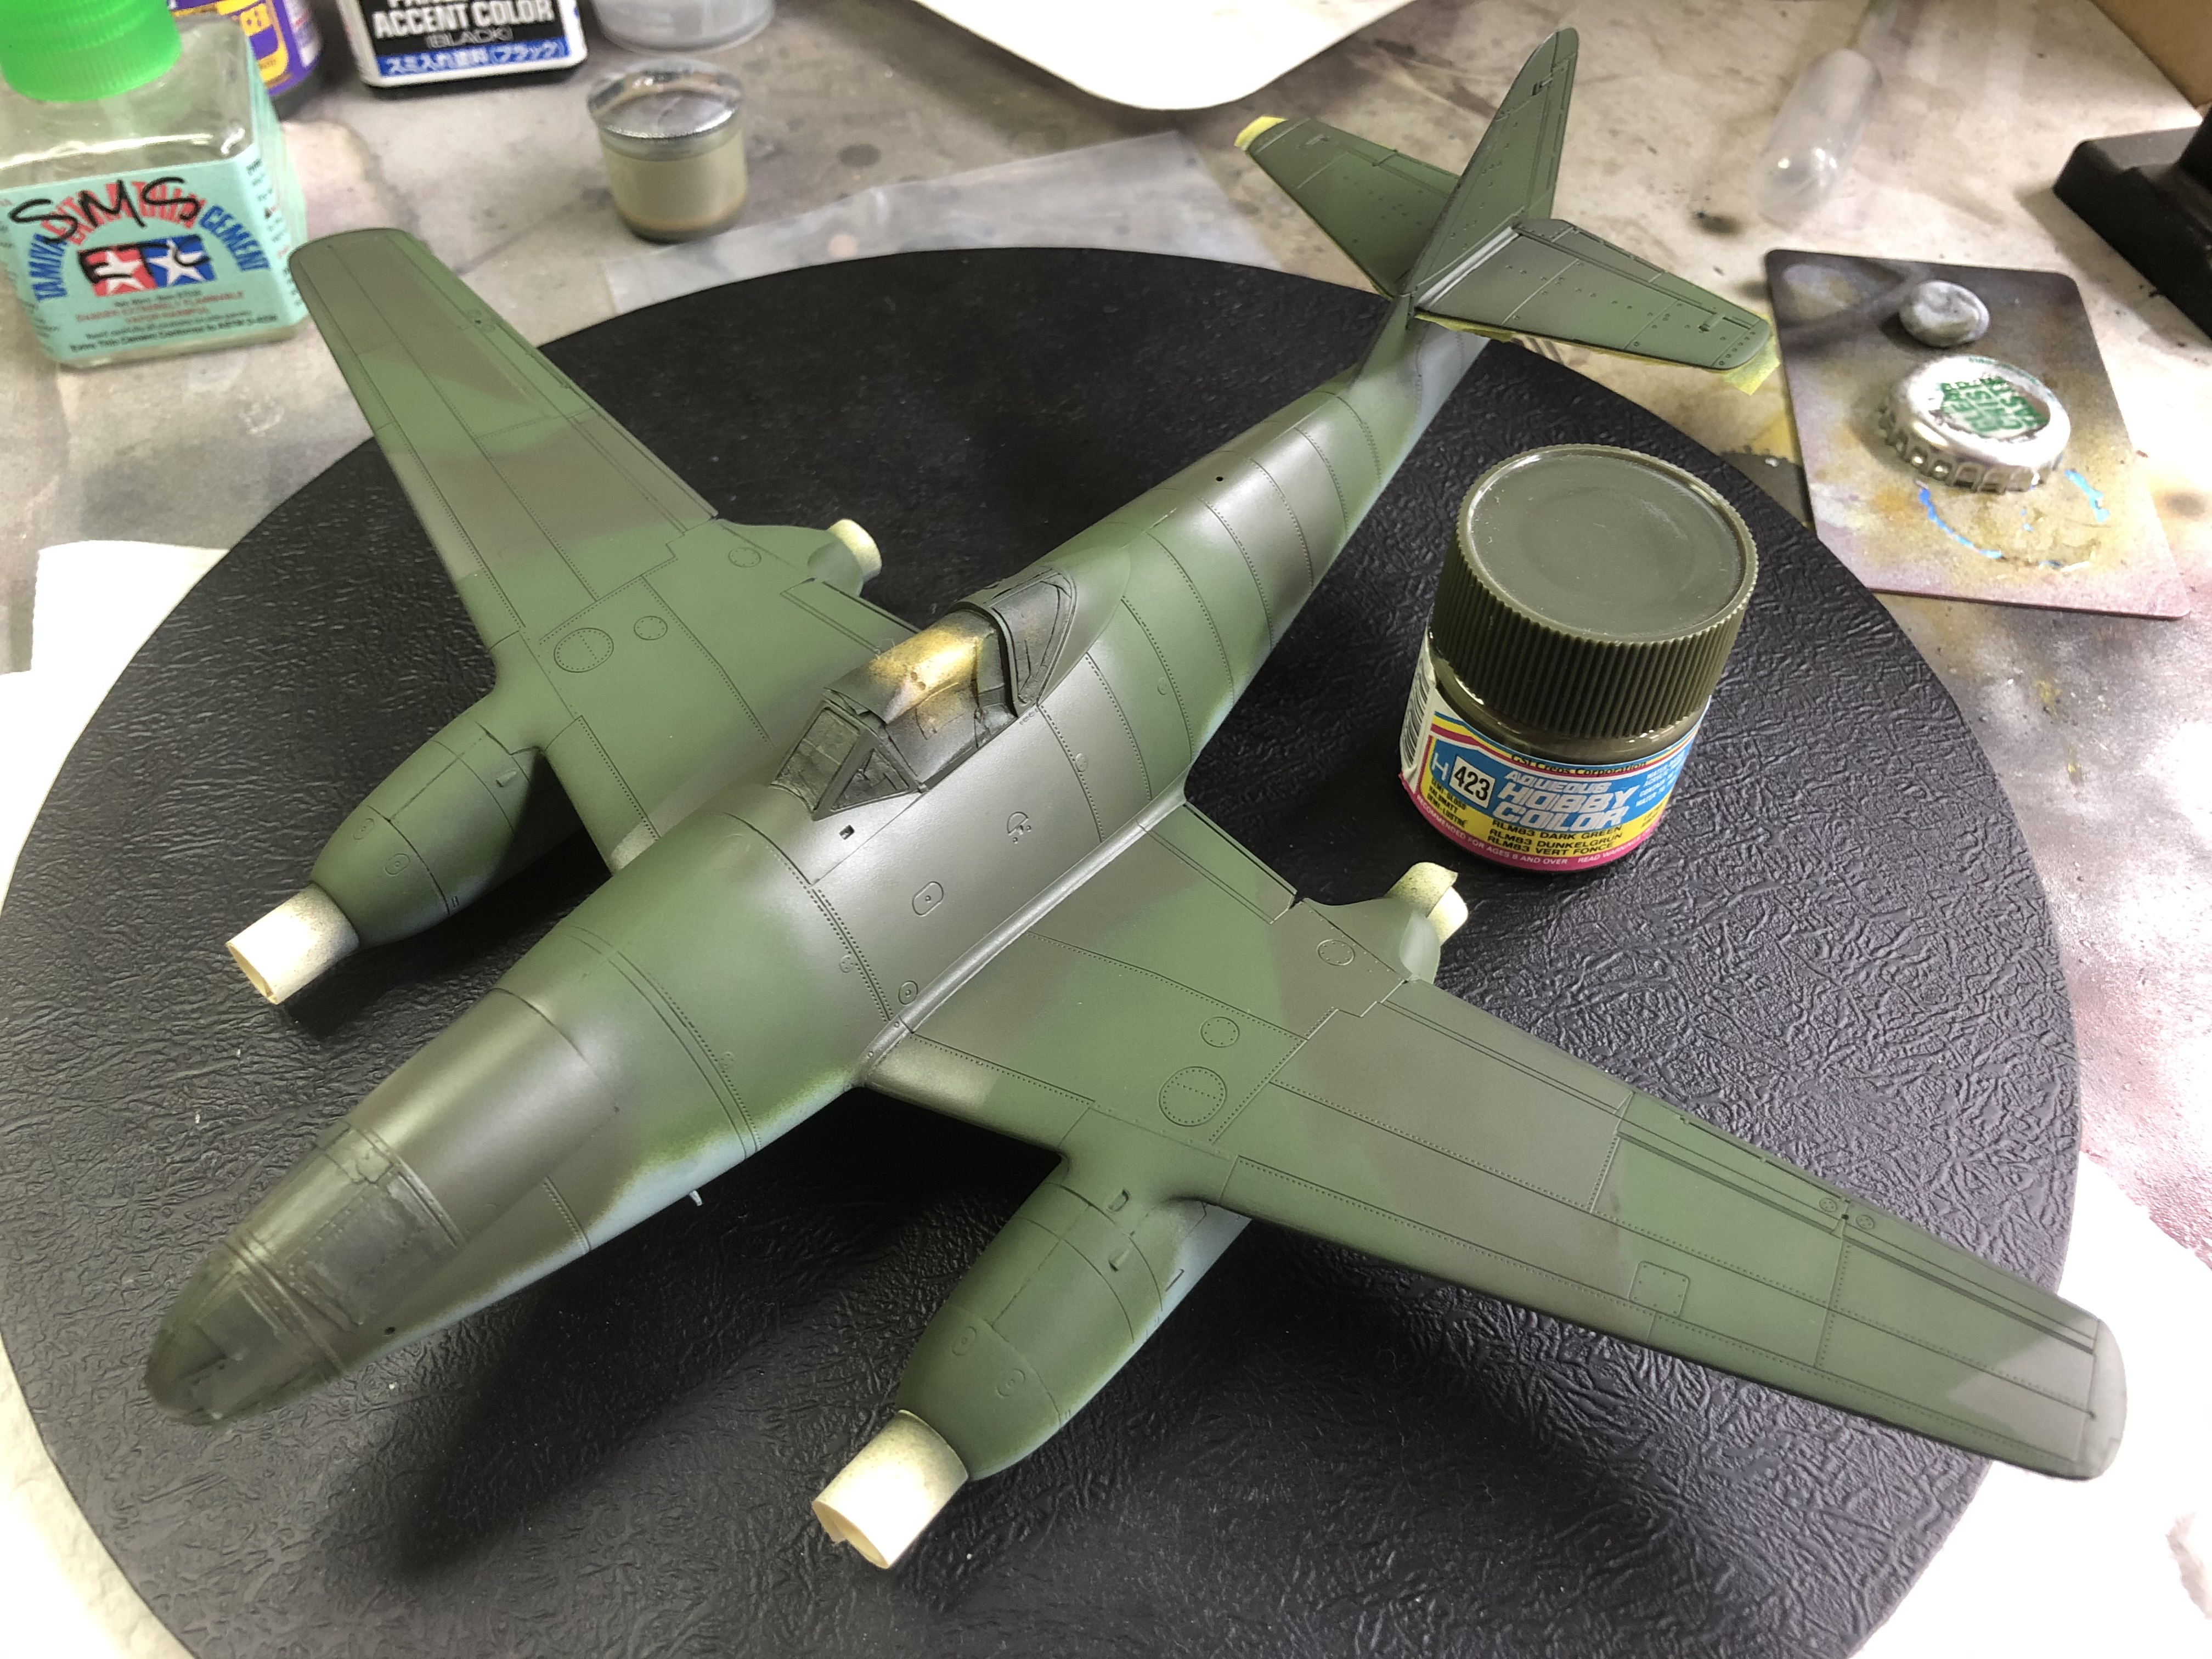
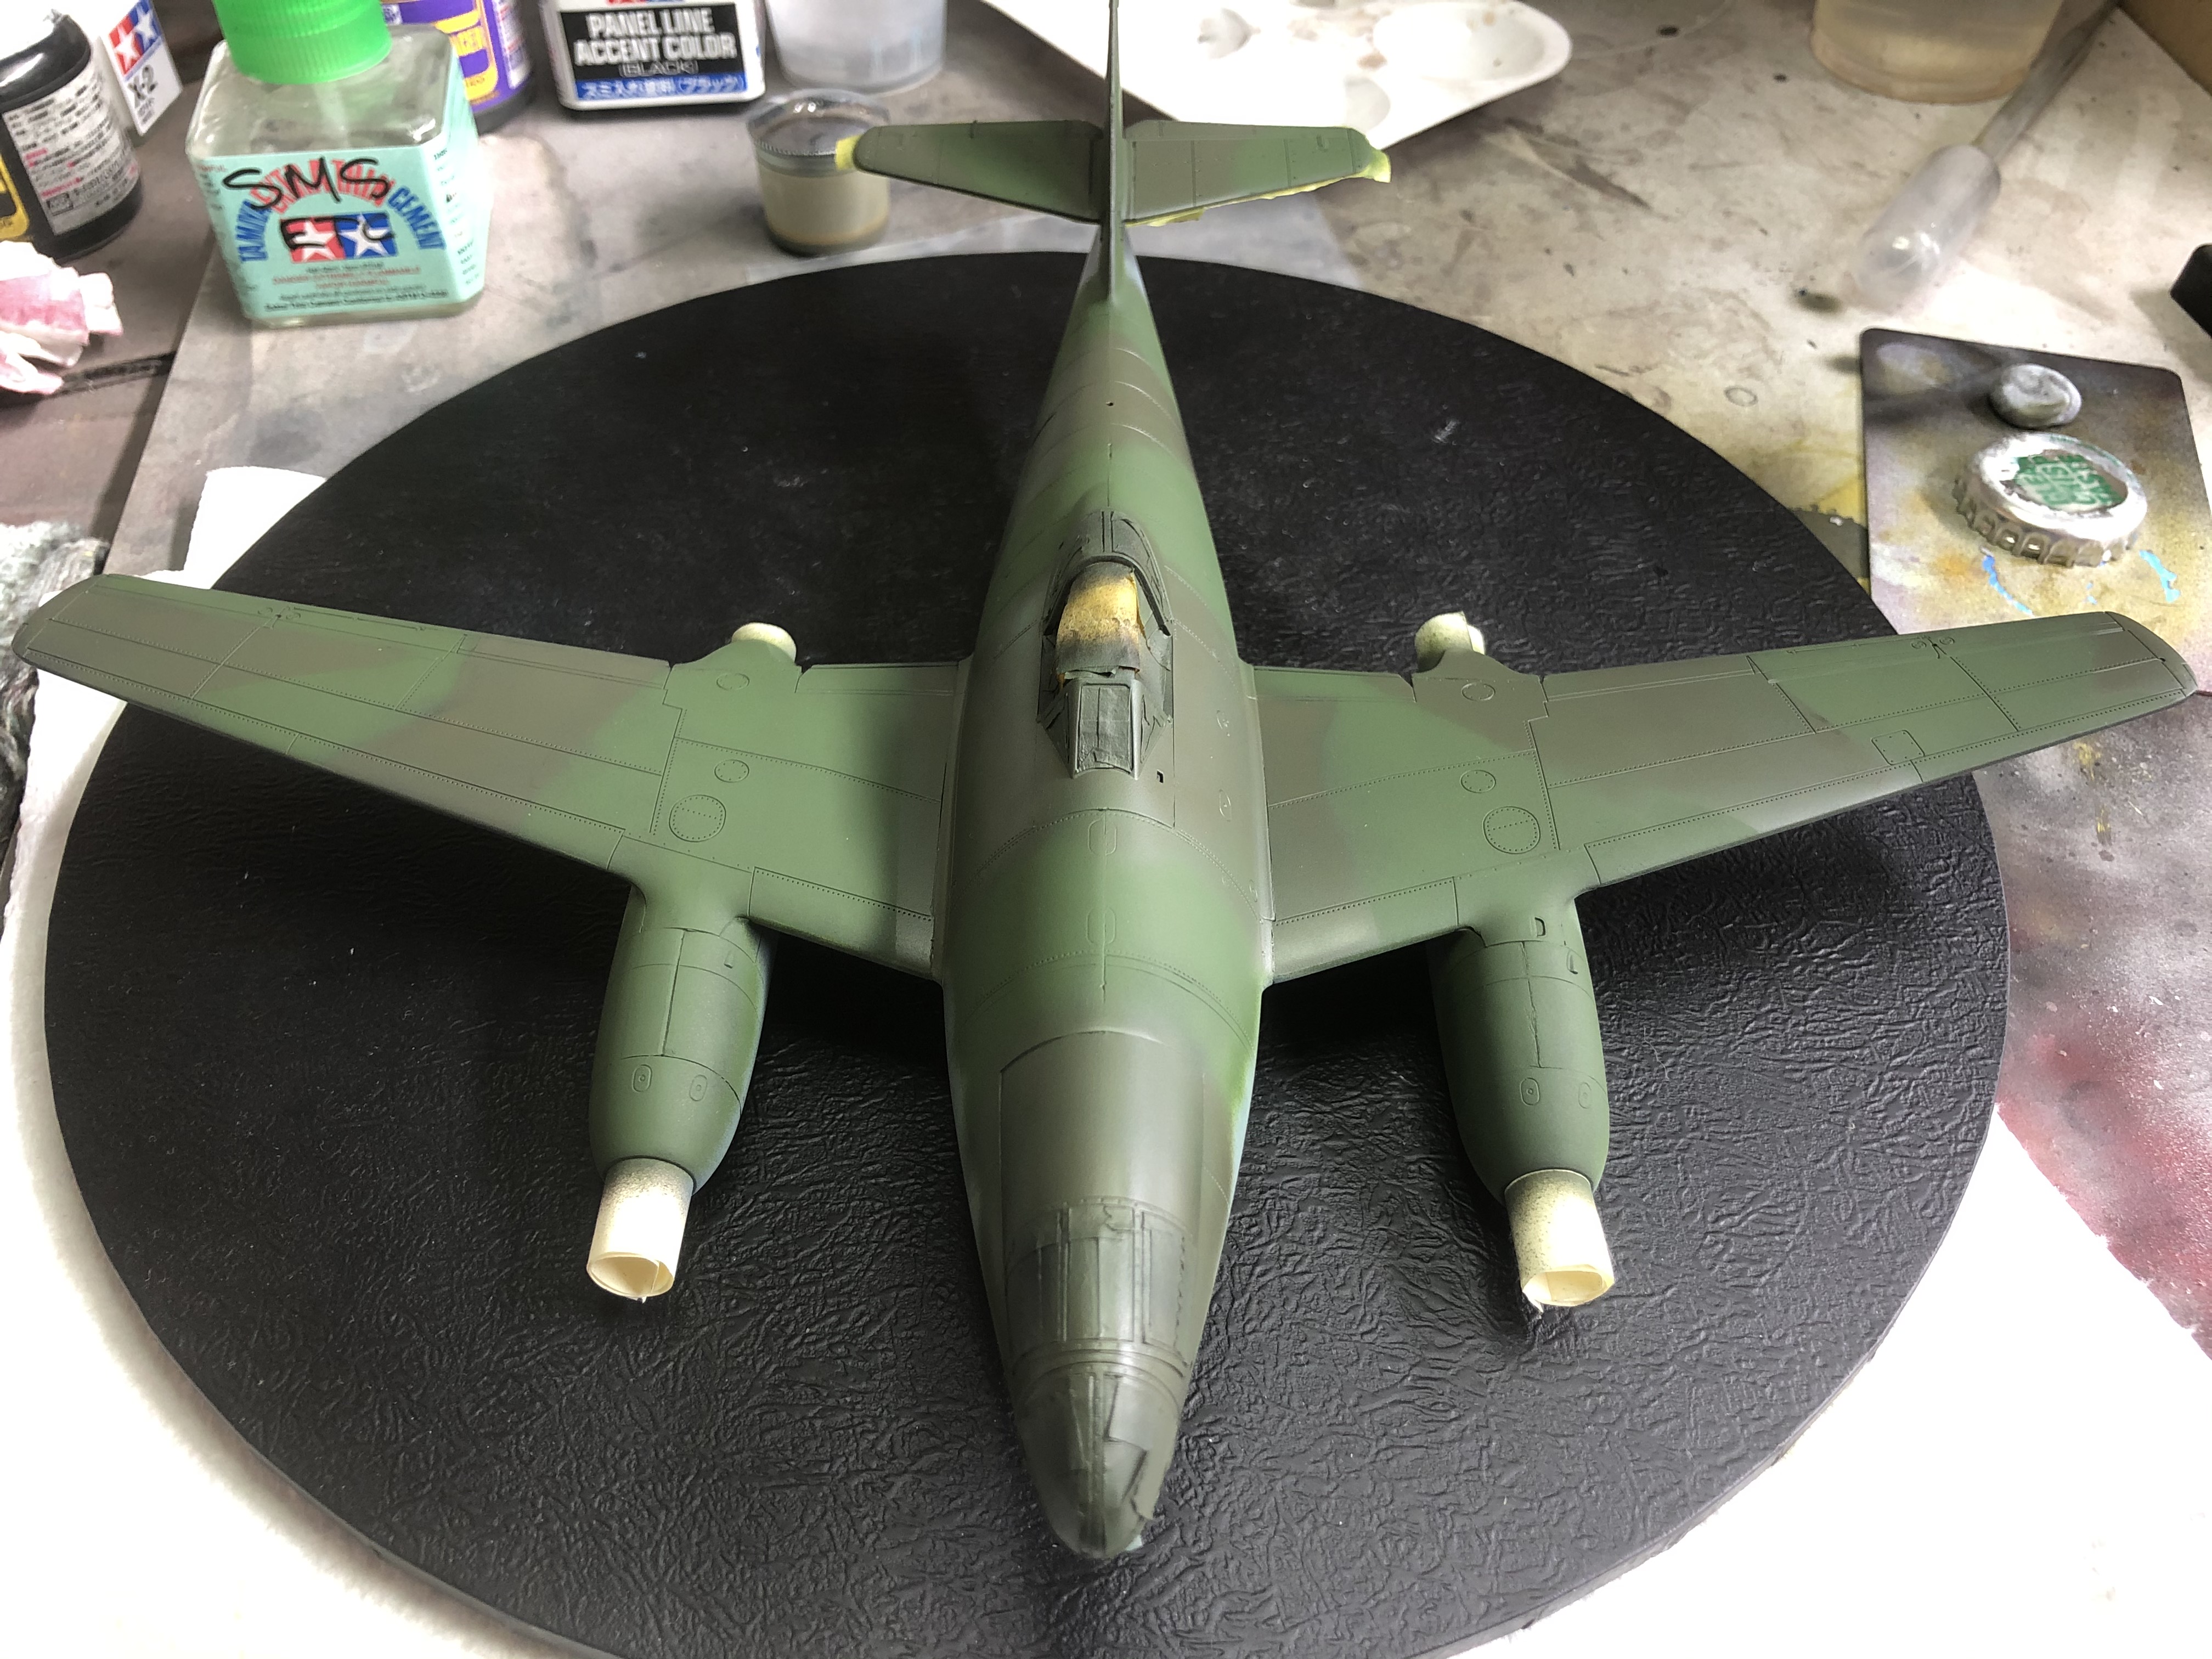
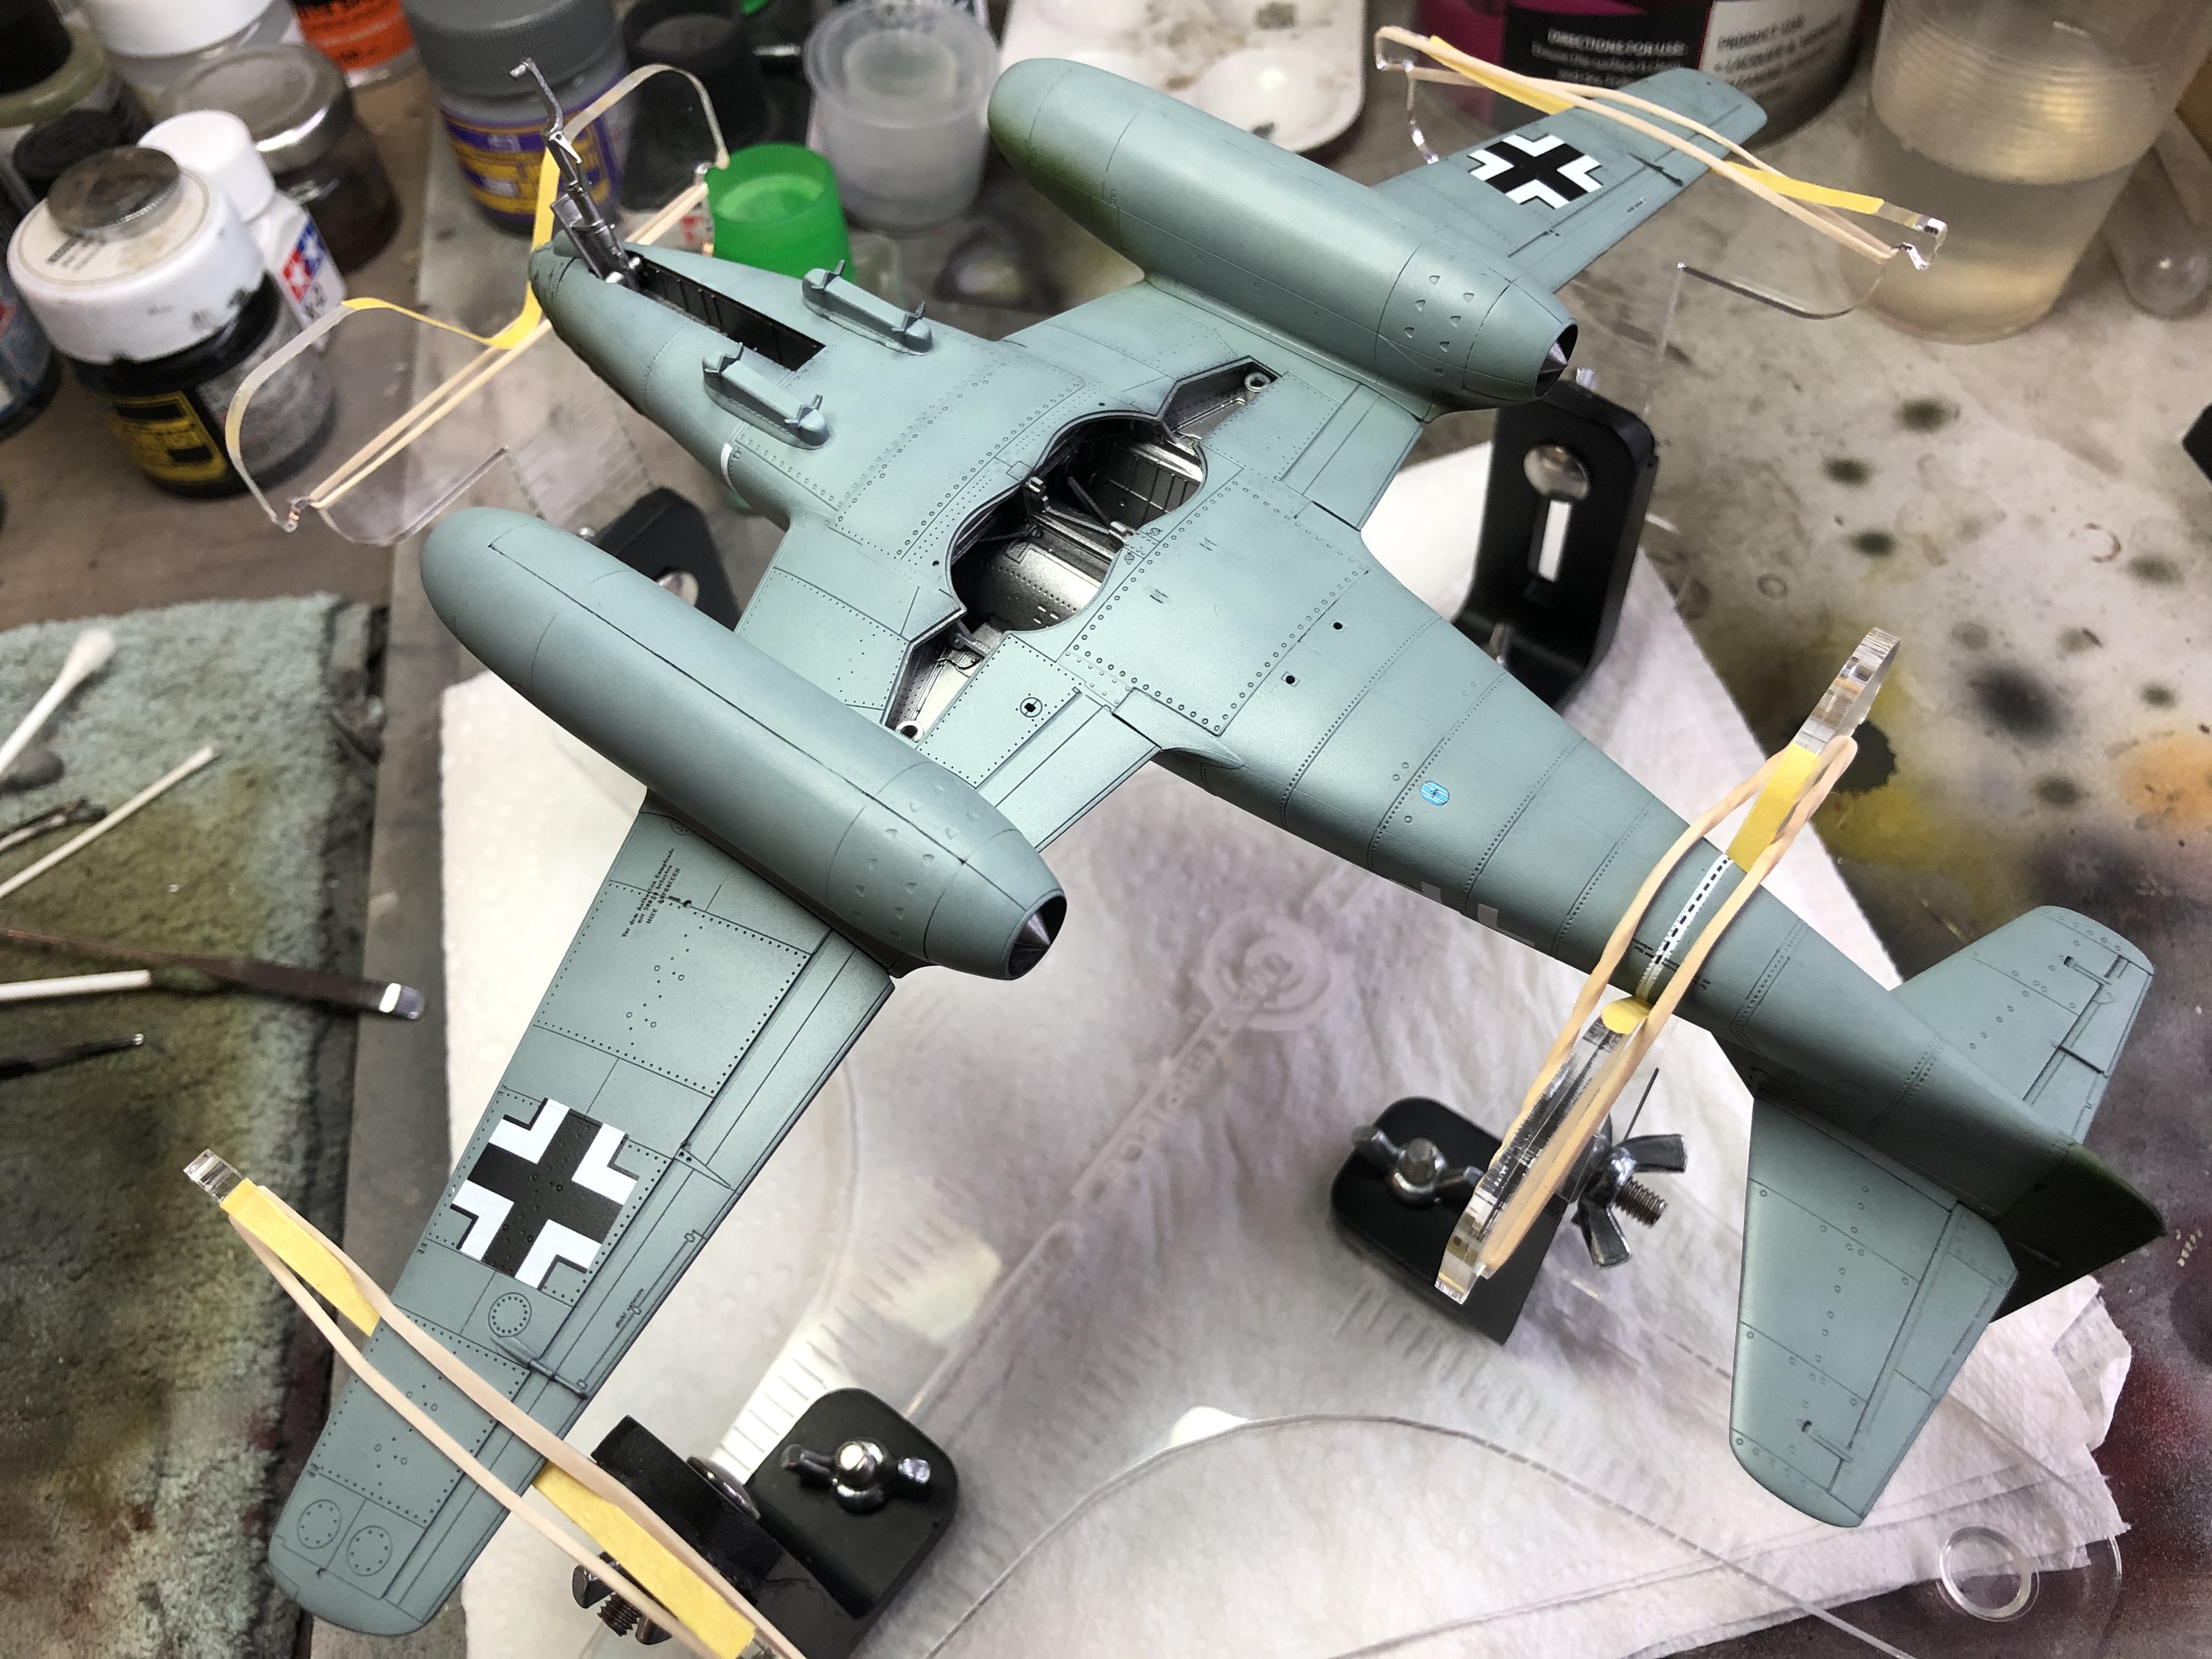
August 05 updateMain paint work is complete! I used Gunze Aqueous Hobby Color H423 (RLM83) for the Dark Green, again thinned with about 50% MLT. The fuselage was sprayed freehand, the splinter on the wings I used an old business card held loosely in place to get a harder edge.
The difference in sheen level is interesting between the Tamiya and Gunze products.
Next up is decals.
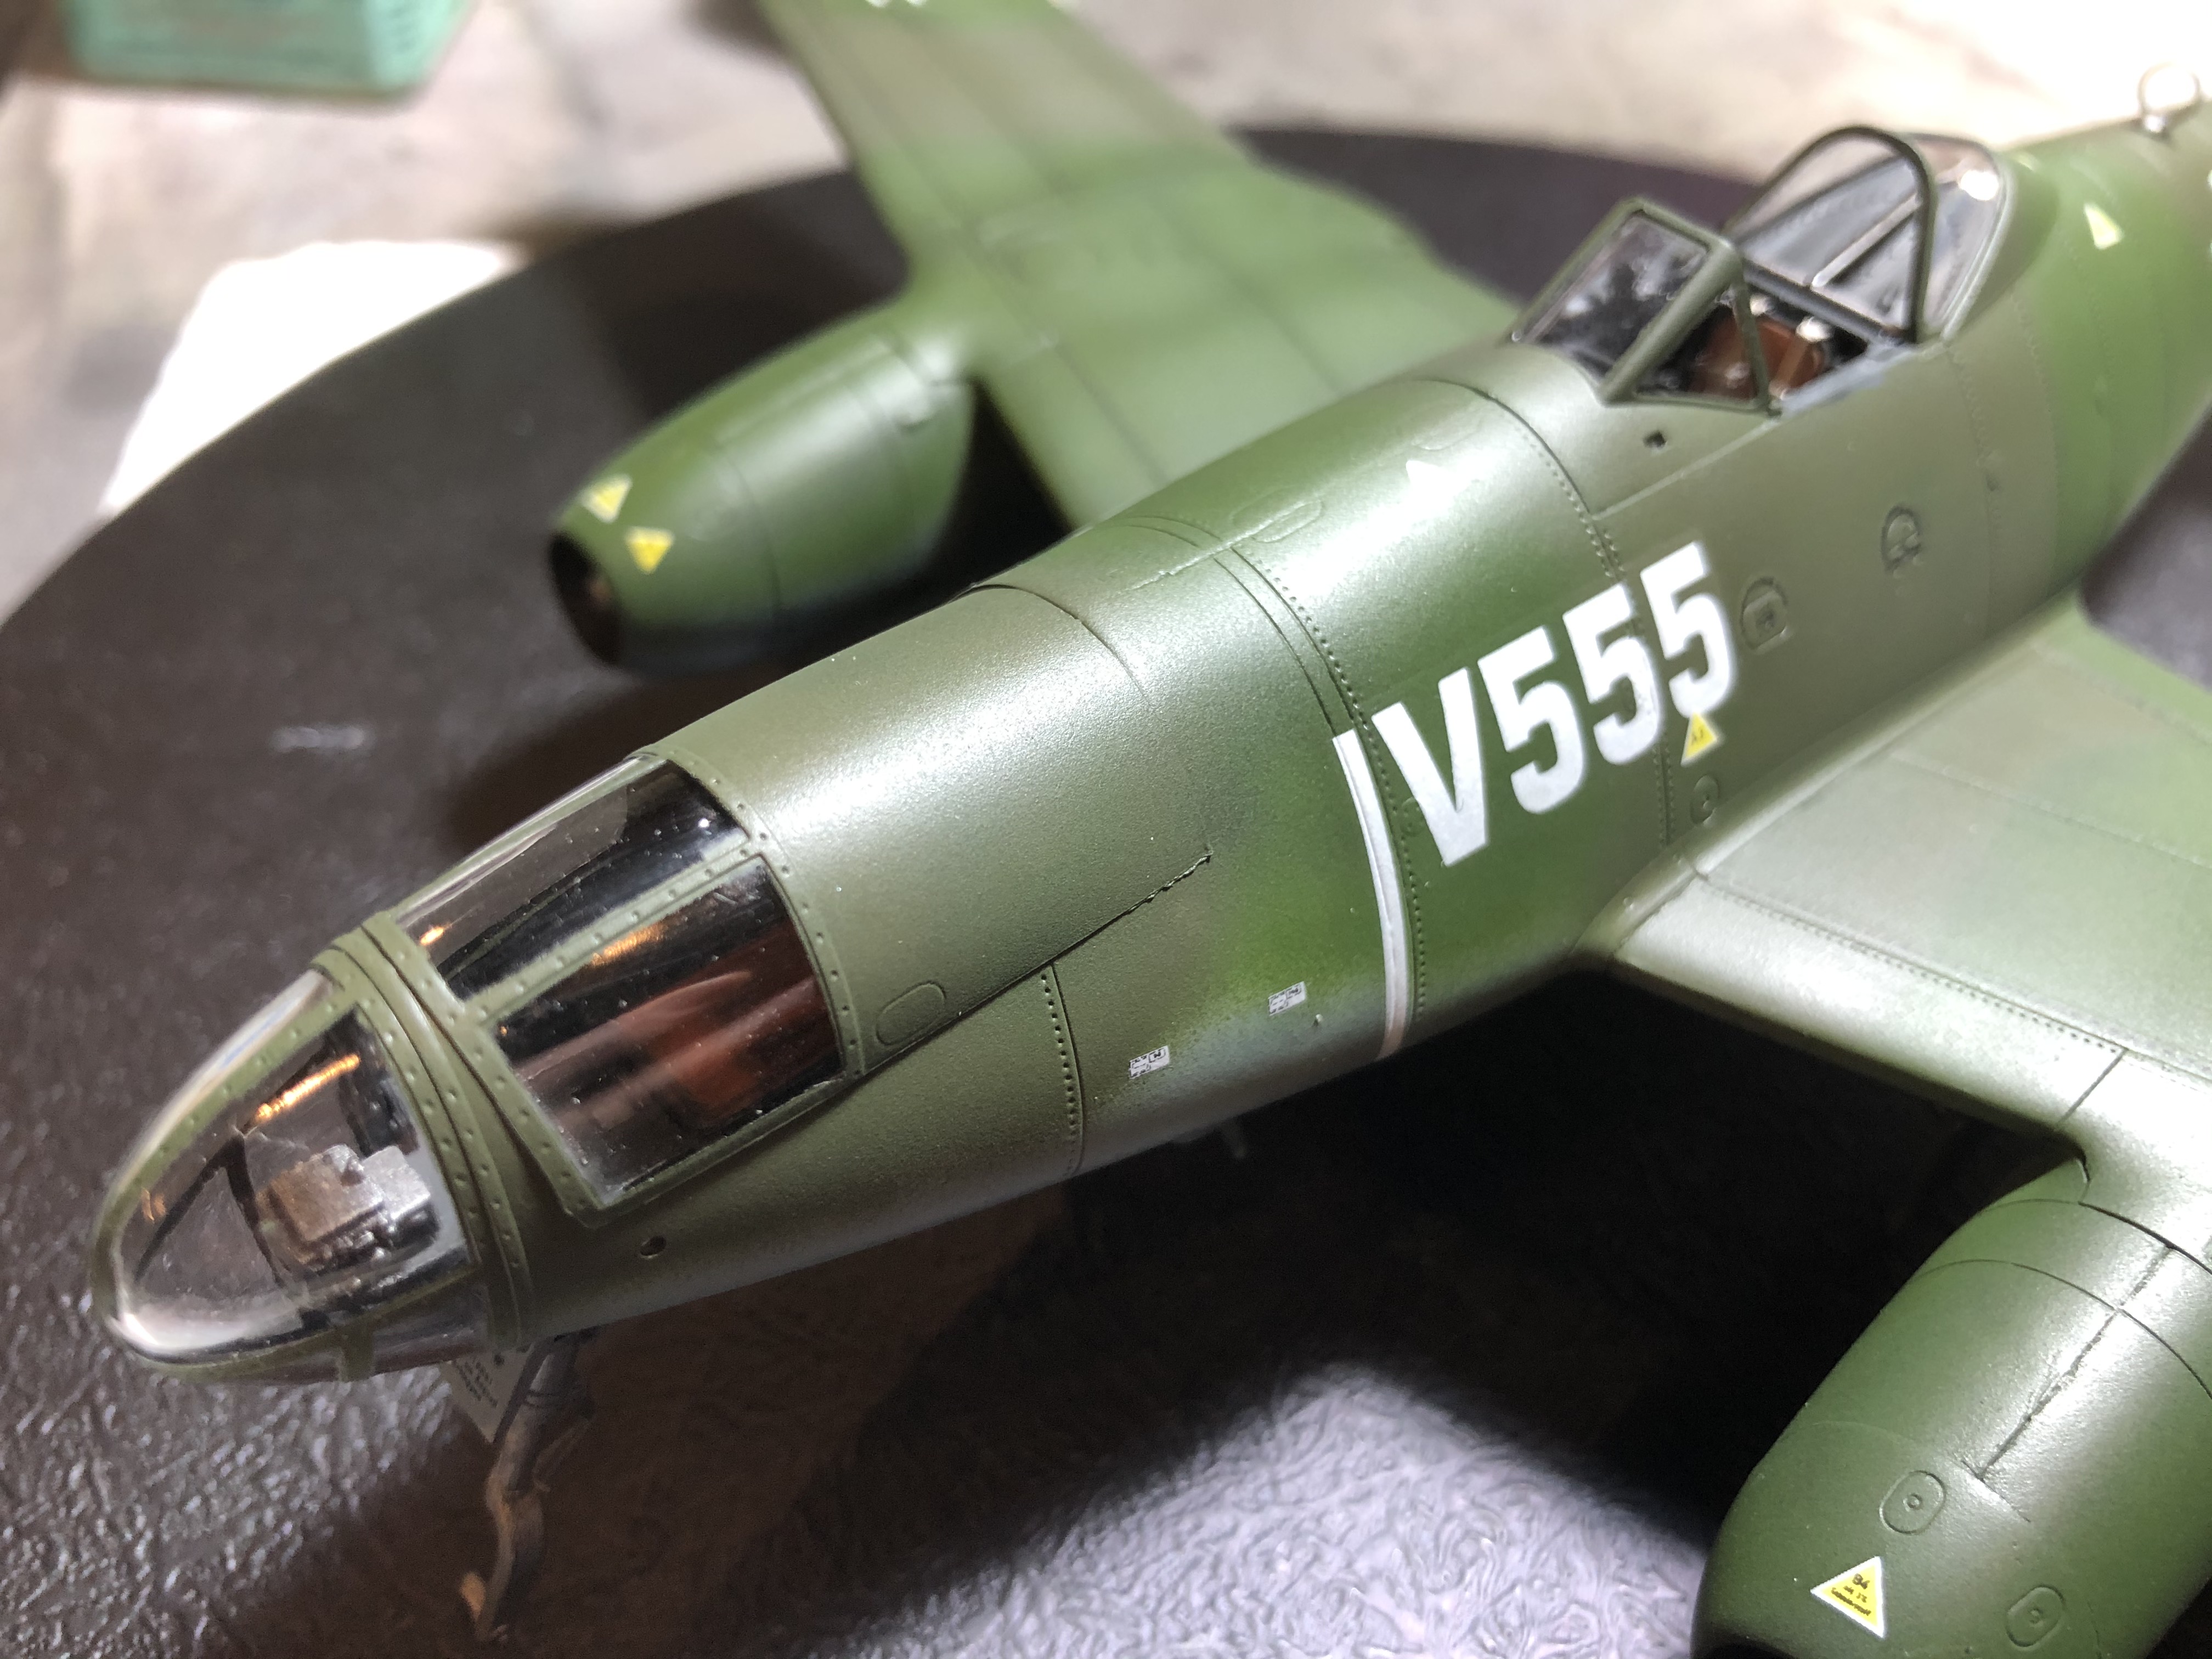
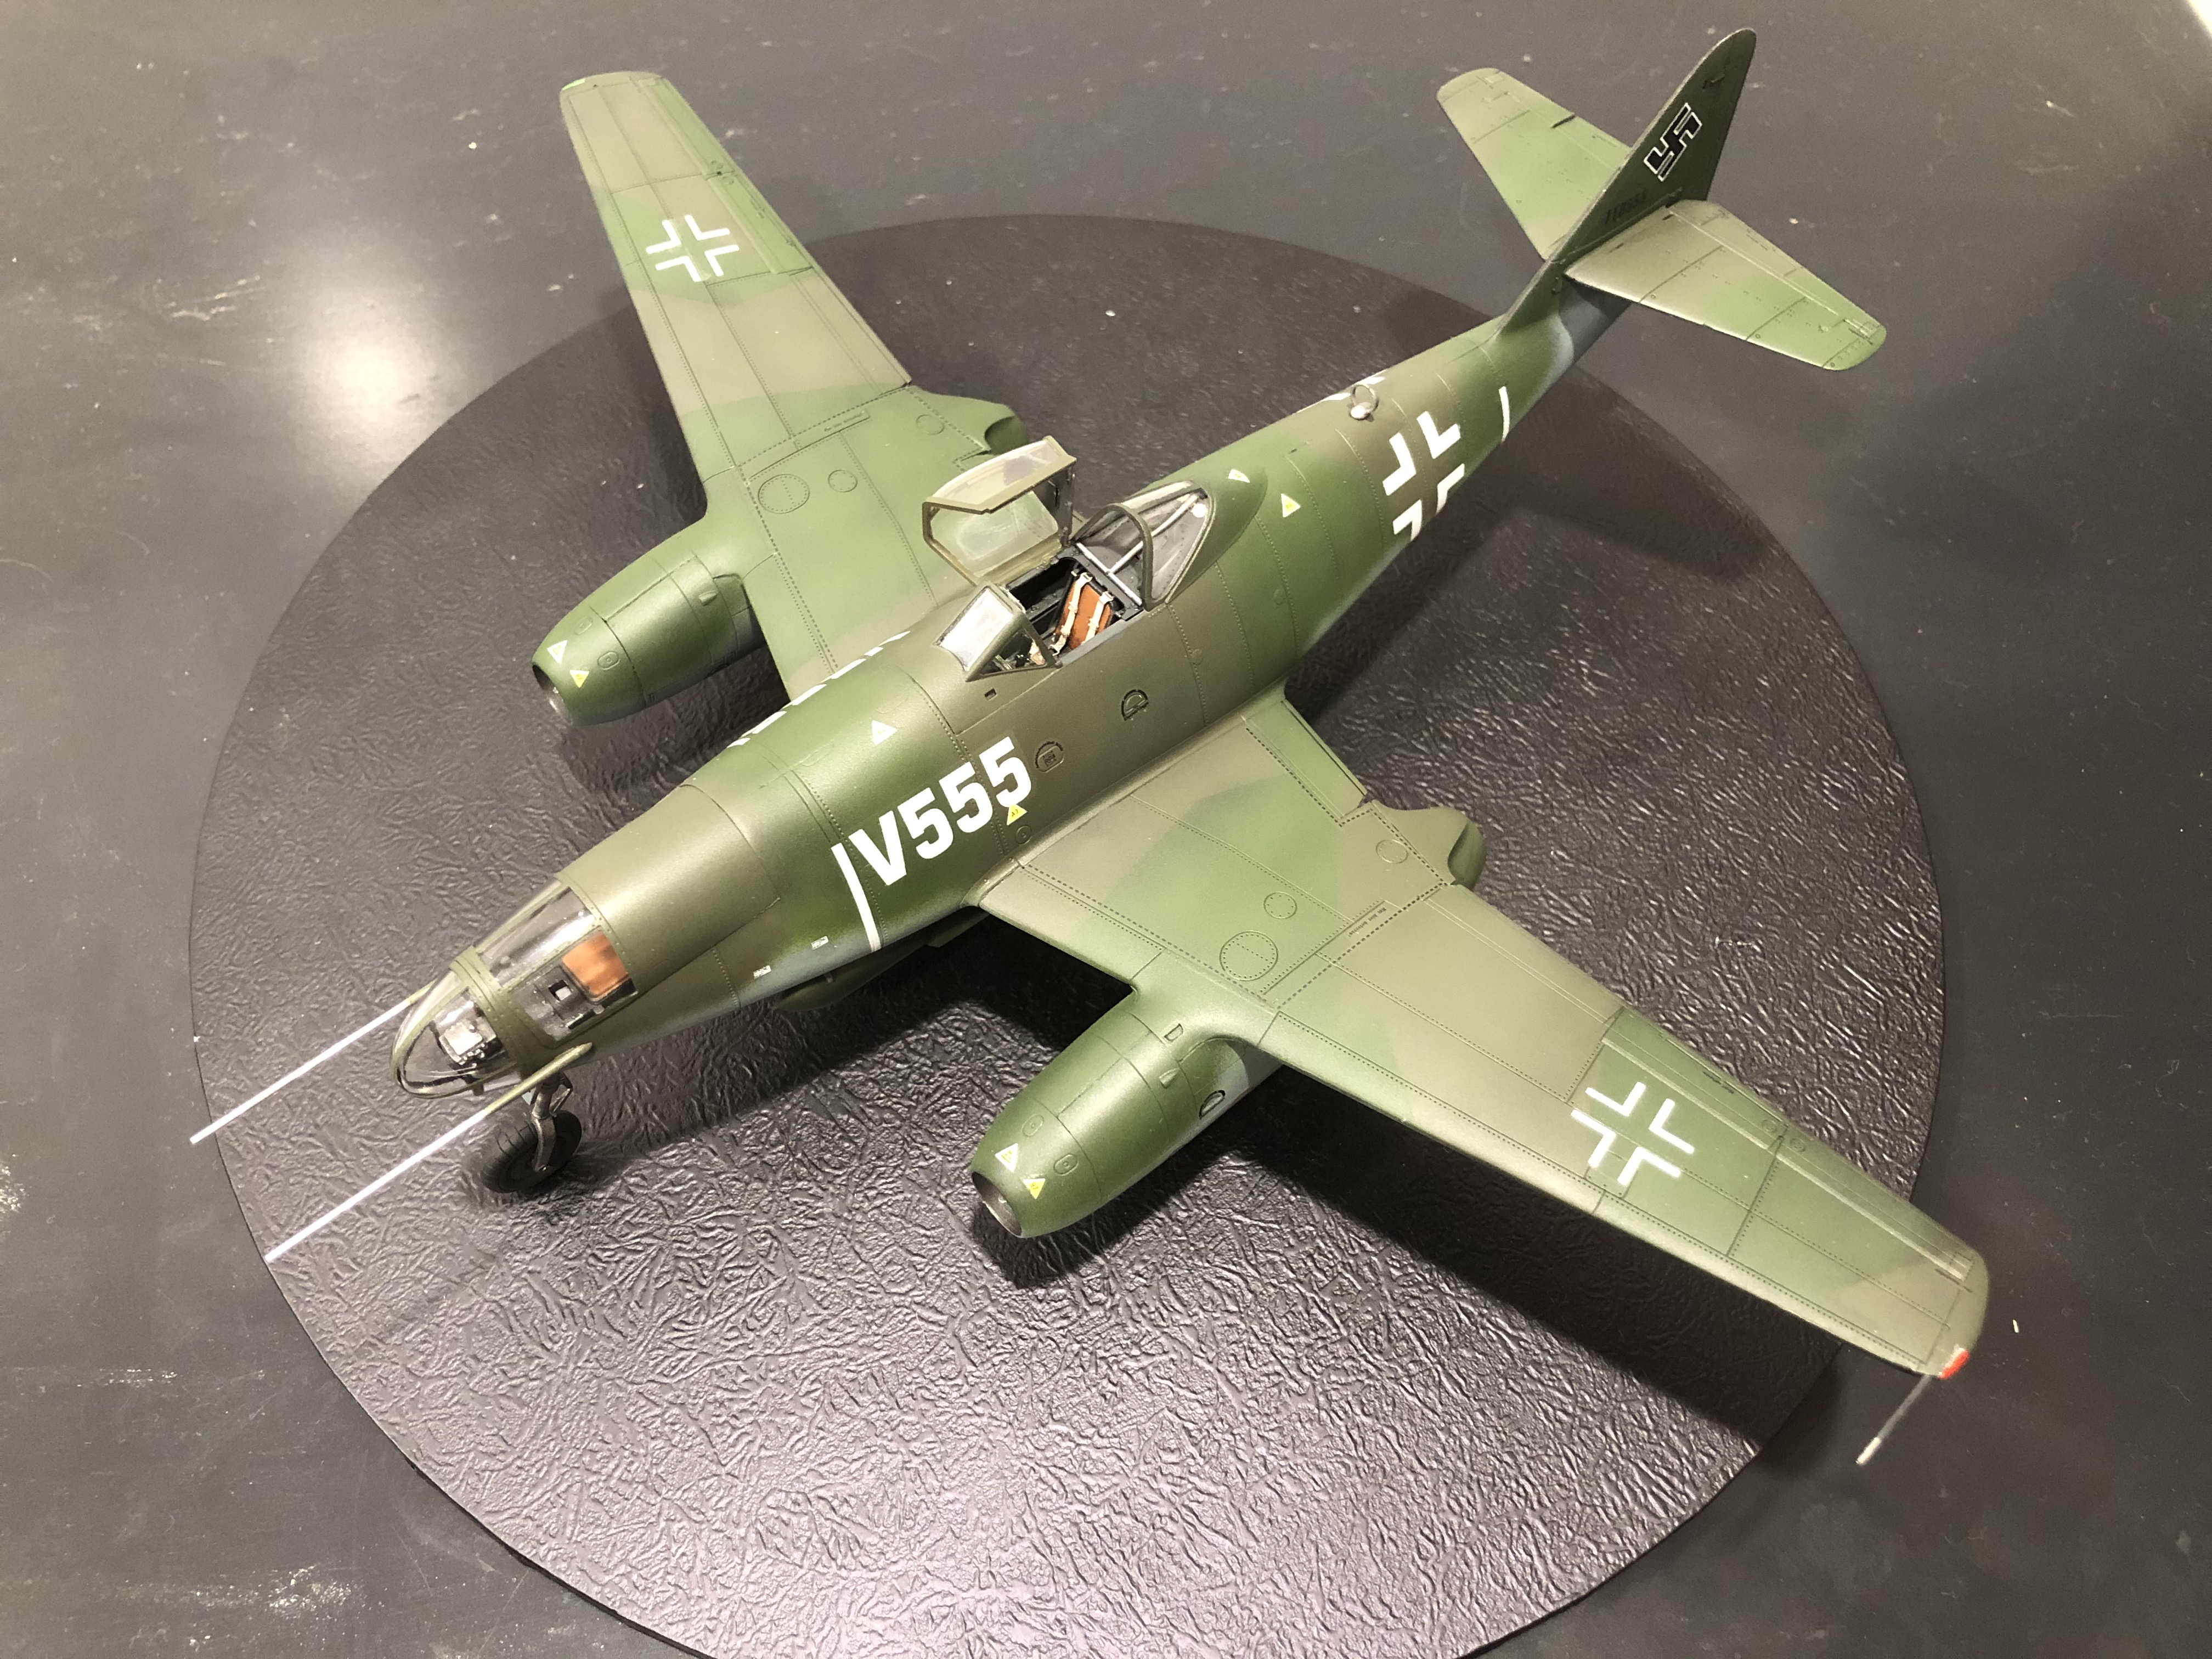
August 06 updateMarkings and stencils on, seriously some of the best decals I have ever applied. Nice and thin, a quick 10 second dunk in warm water then slide into place. I used a drop of Mr Mark Setter on the surface, then a drop of Mr Mark Softer after it was properly positioned. The carrier film is nice and thin and they conformed beautifully to the surface detail.
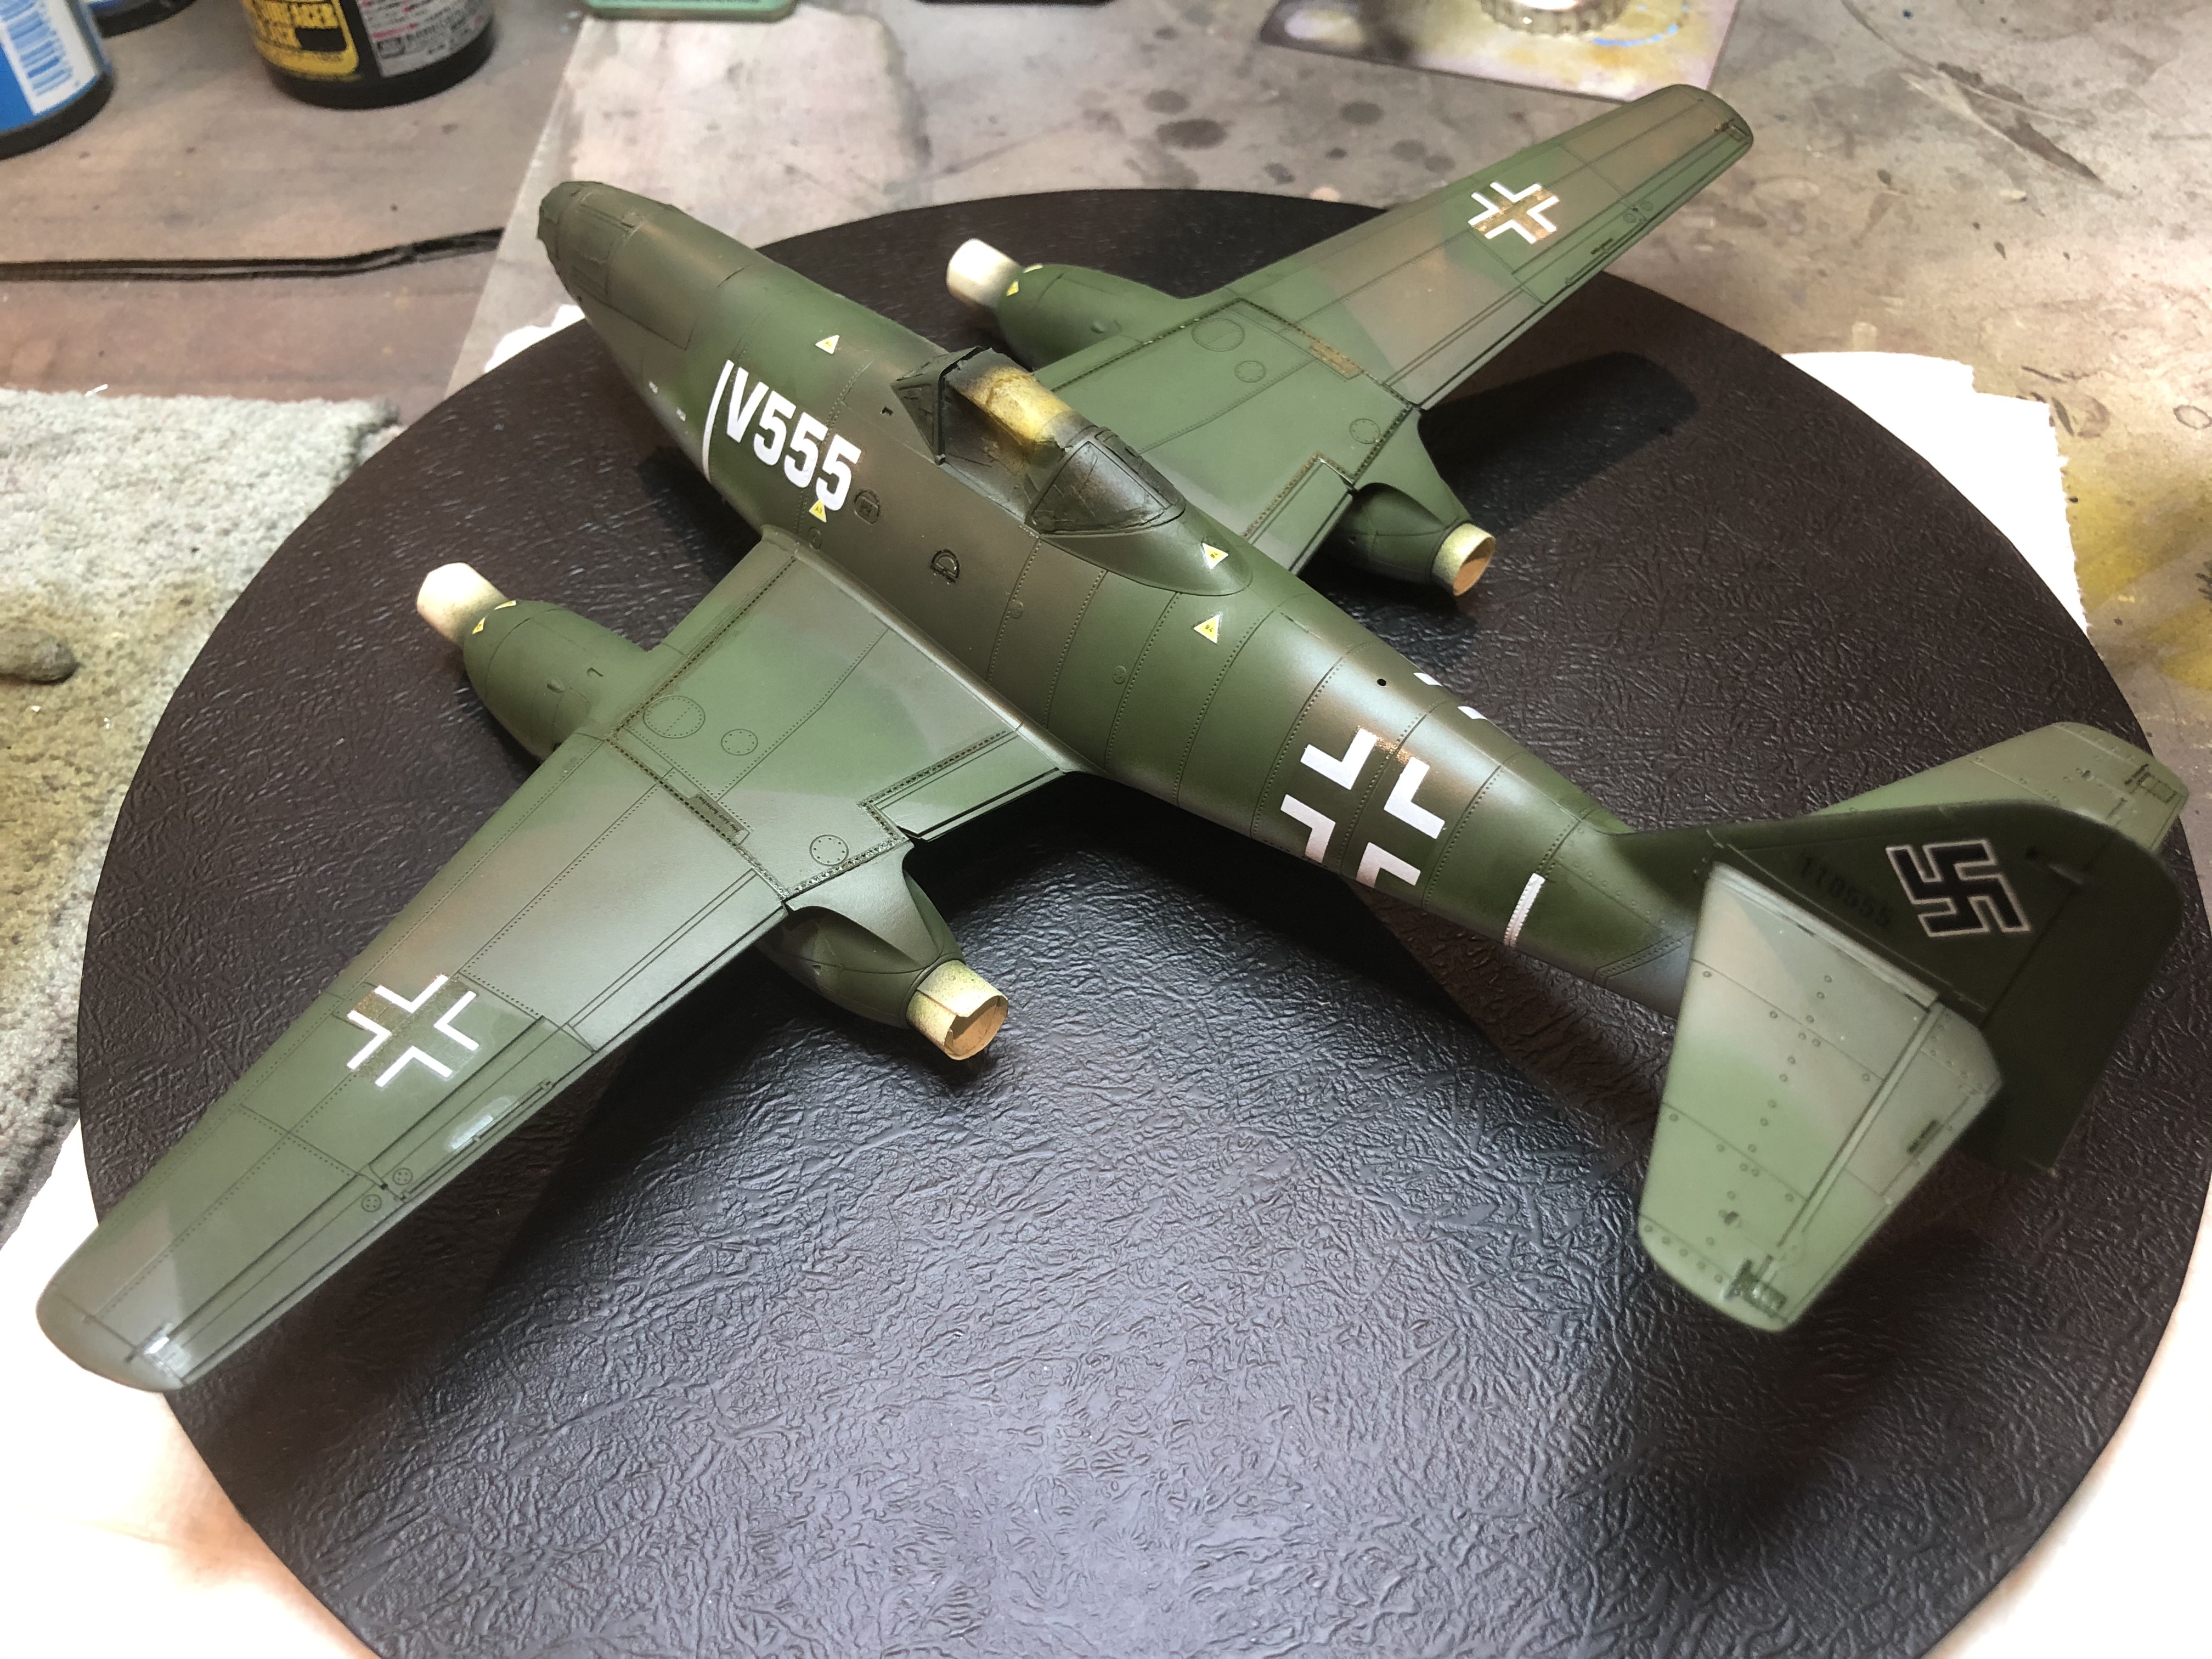

Ready now for Dullcote then some light weathering.
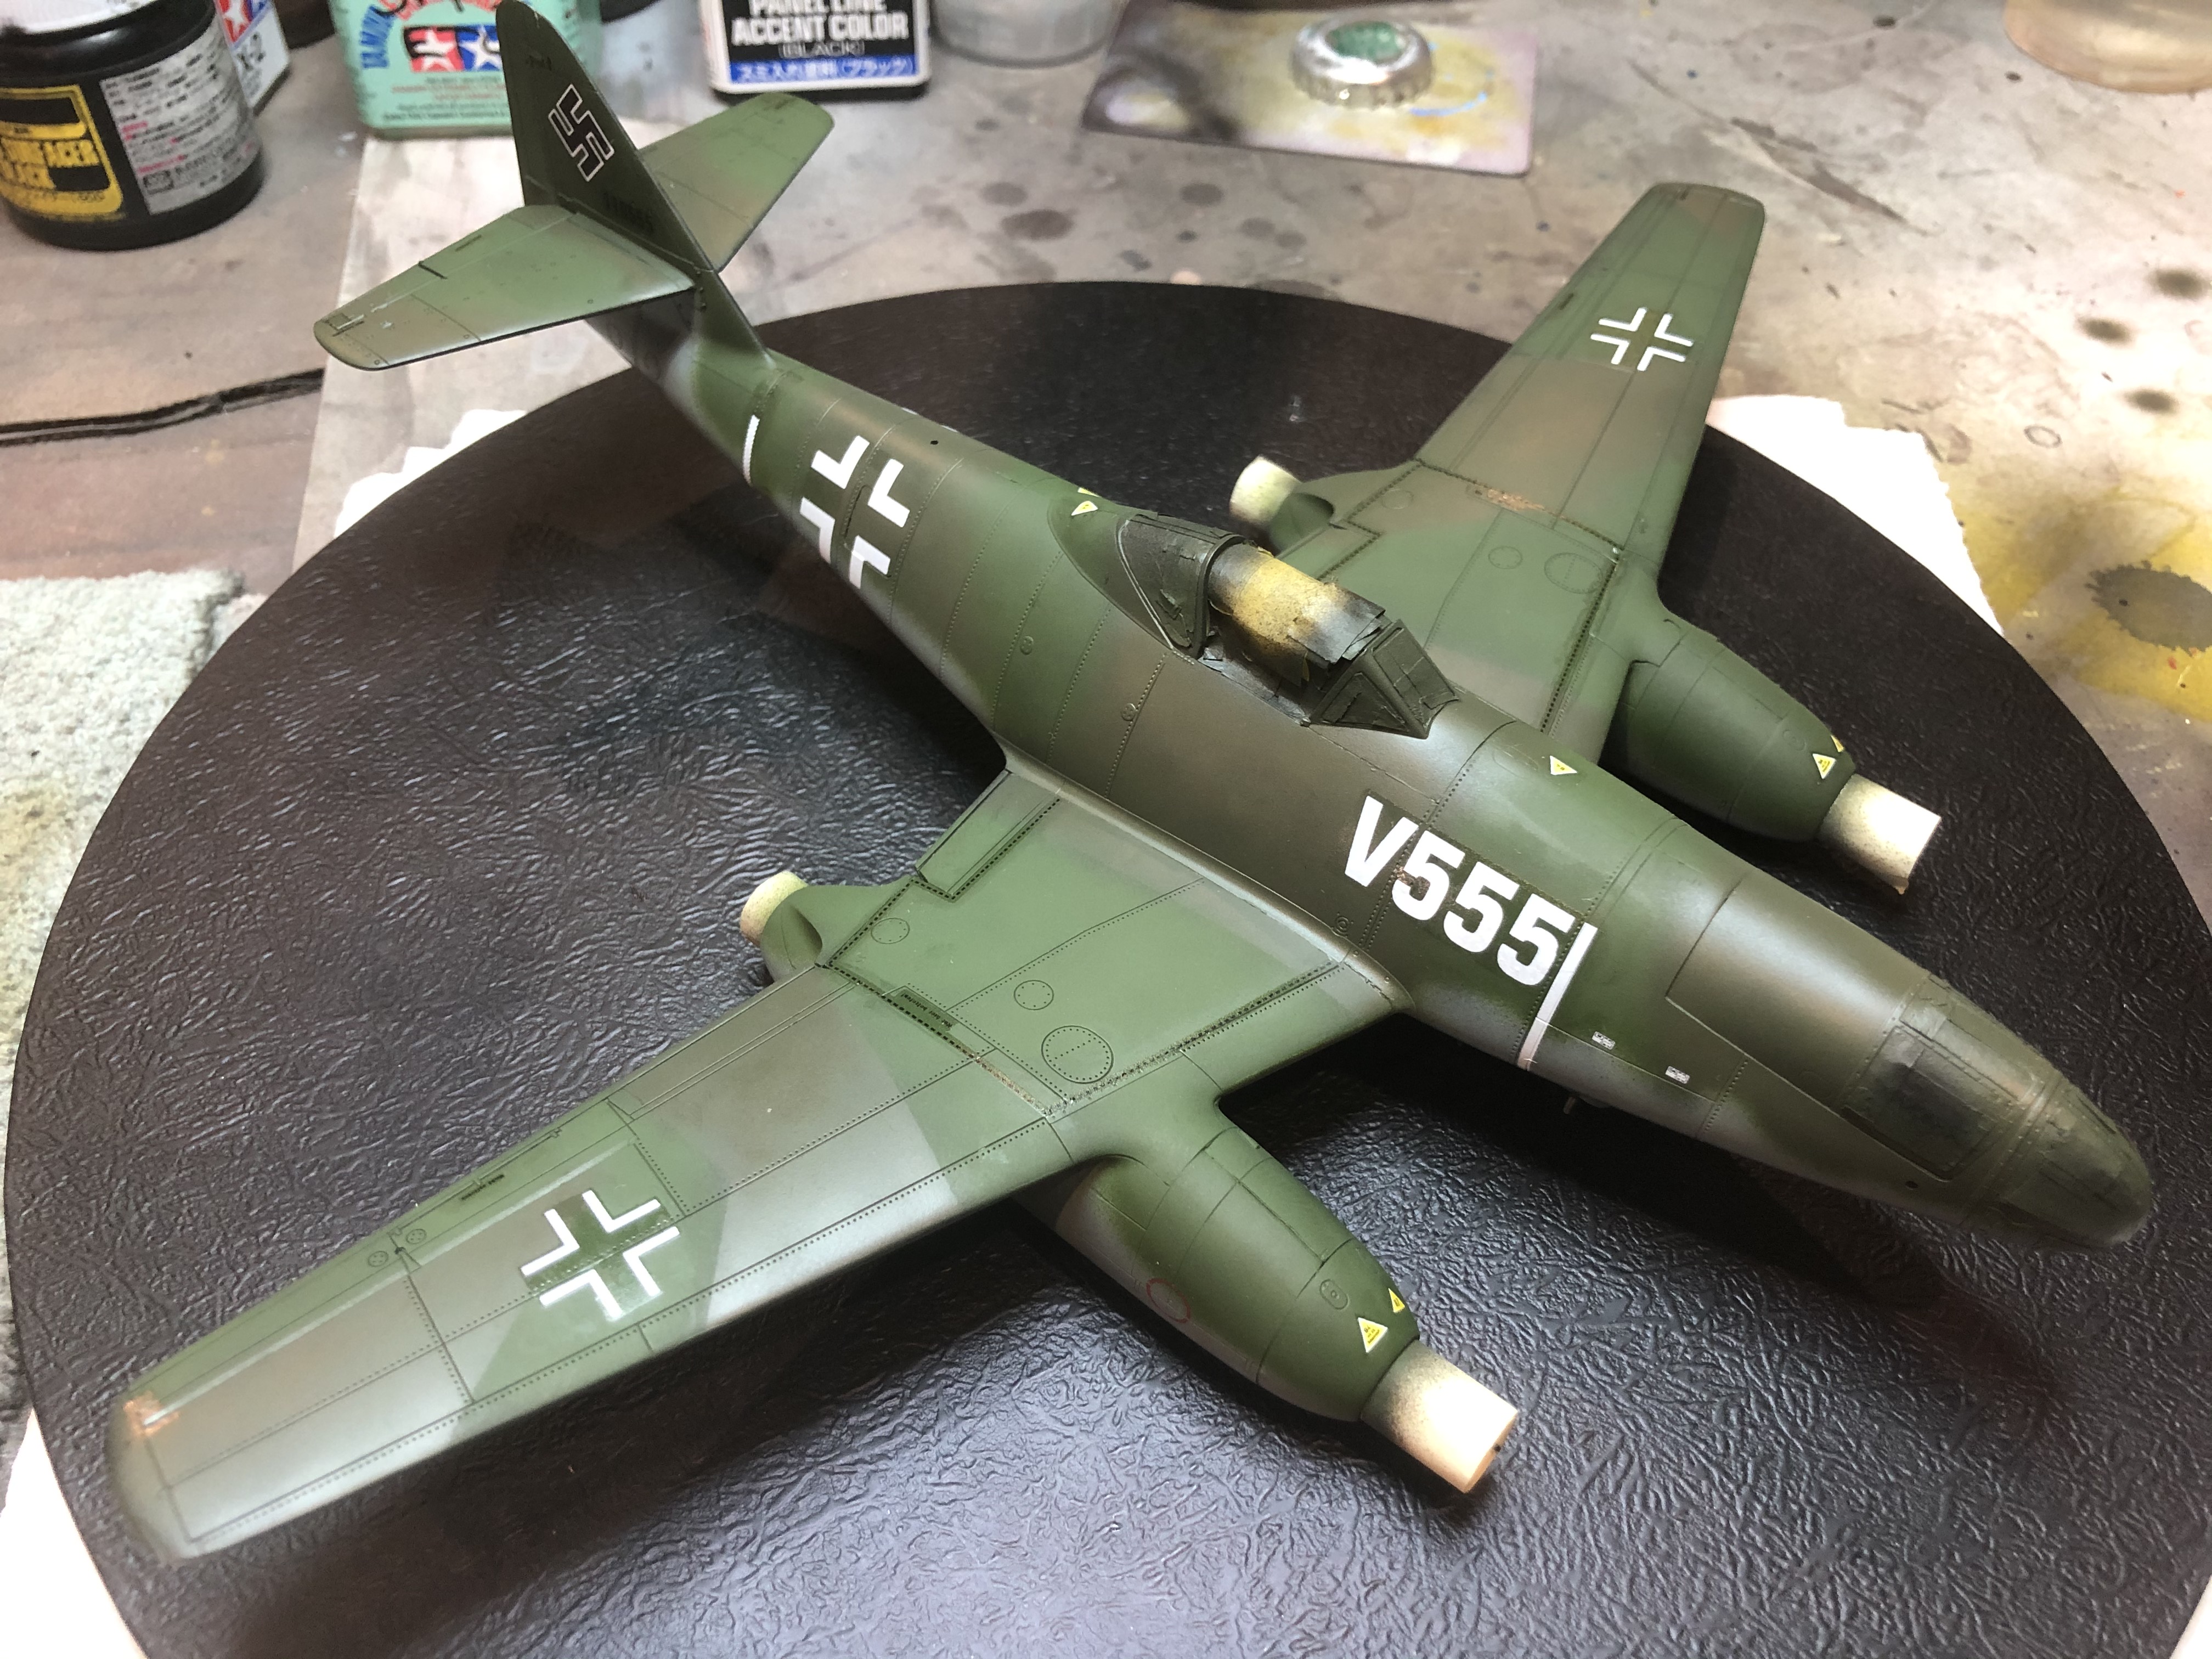
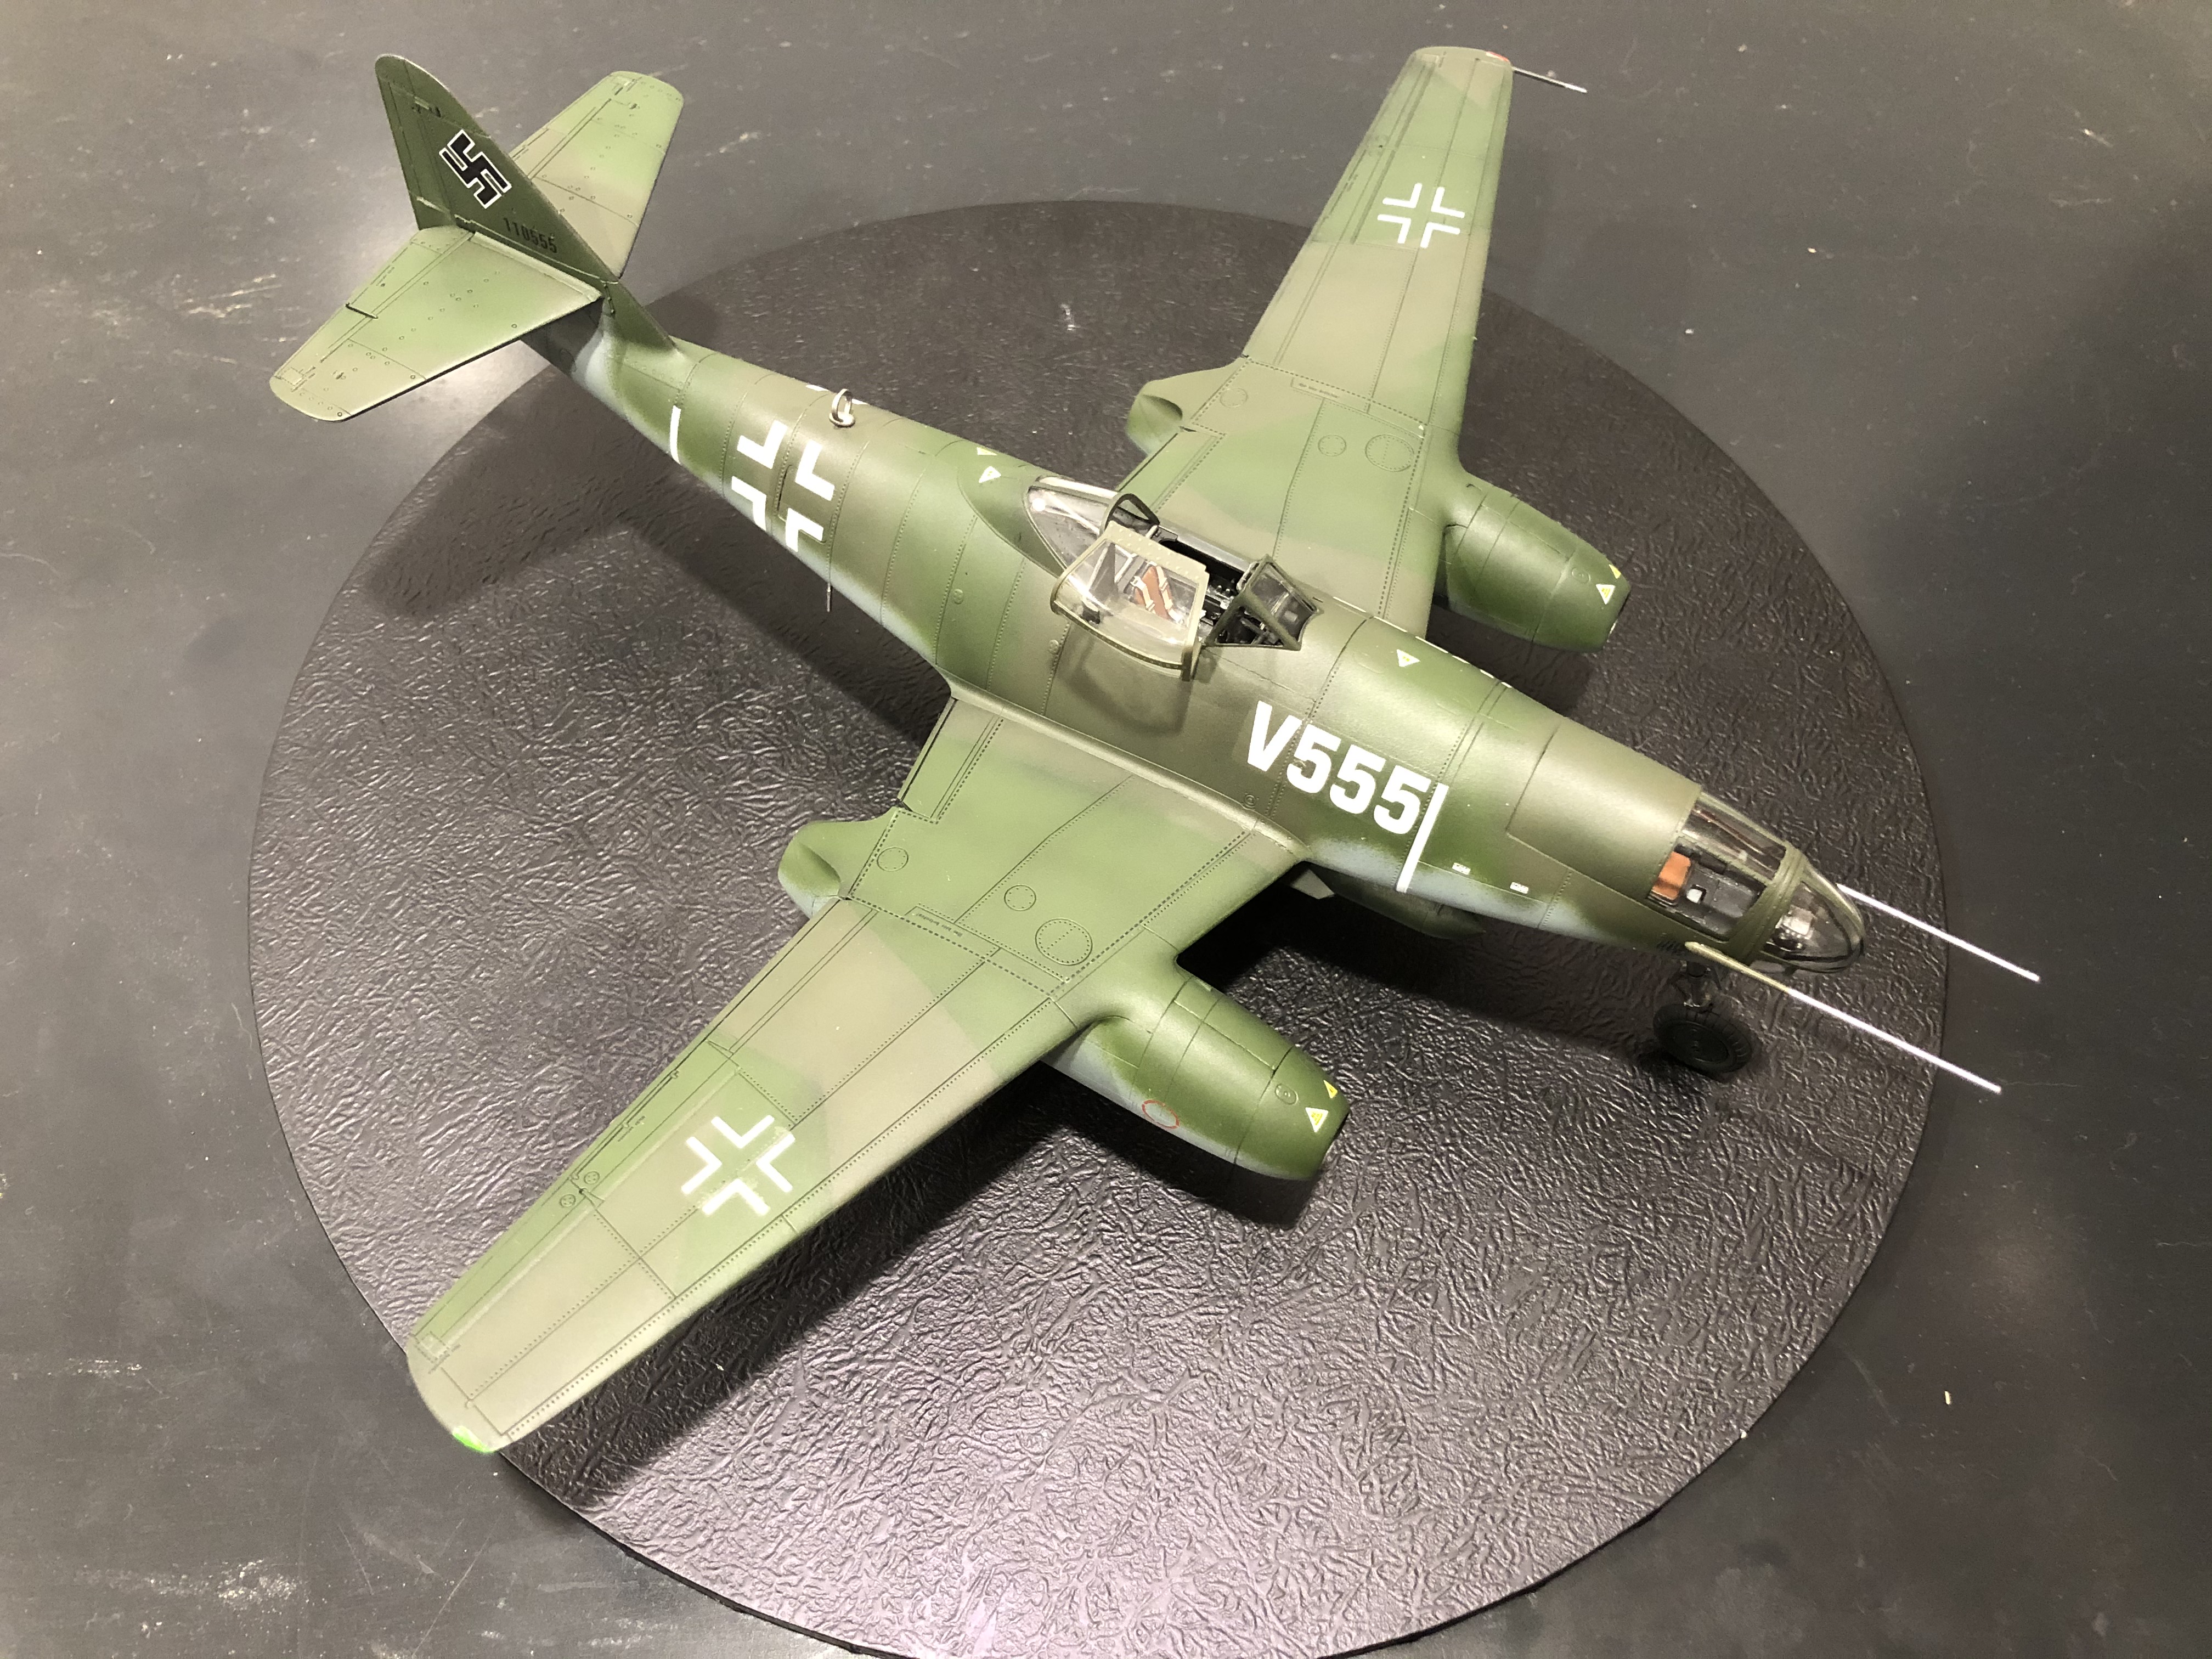
August 08 updateA couple of thins coats of Dullcote has unified the finish and mostly hidden away the edges of the decal carrier film.
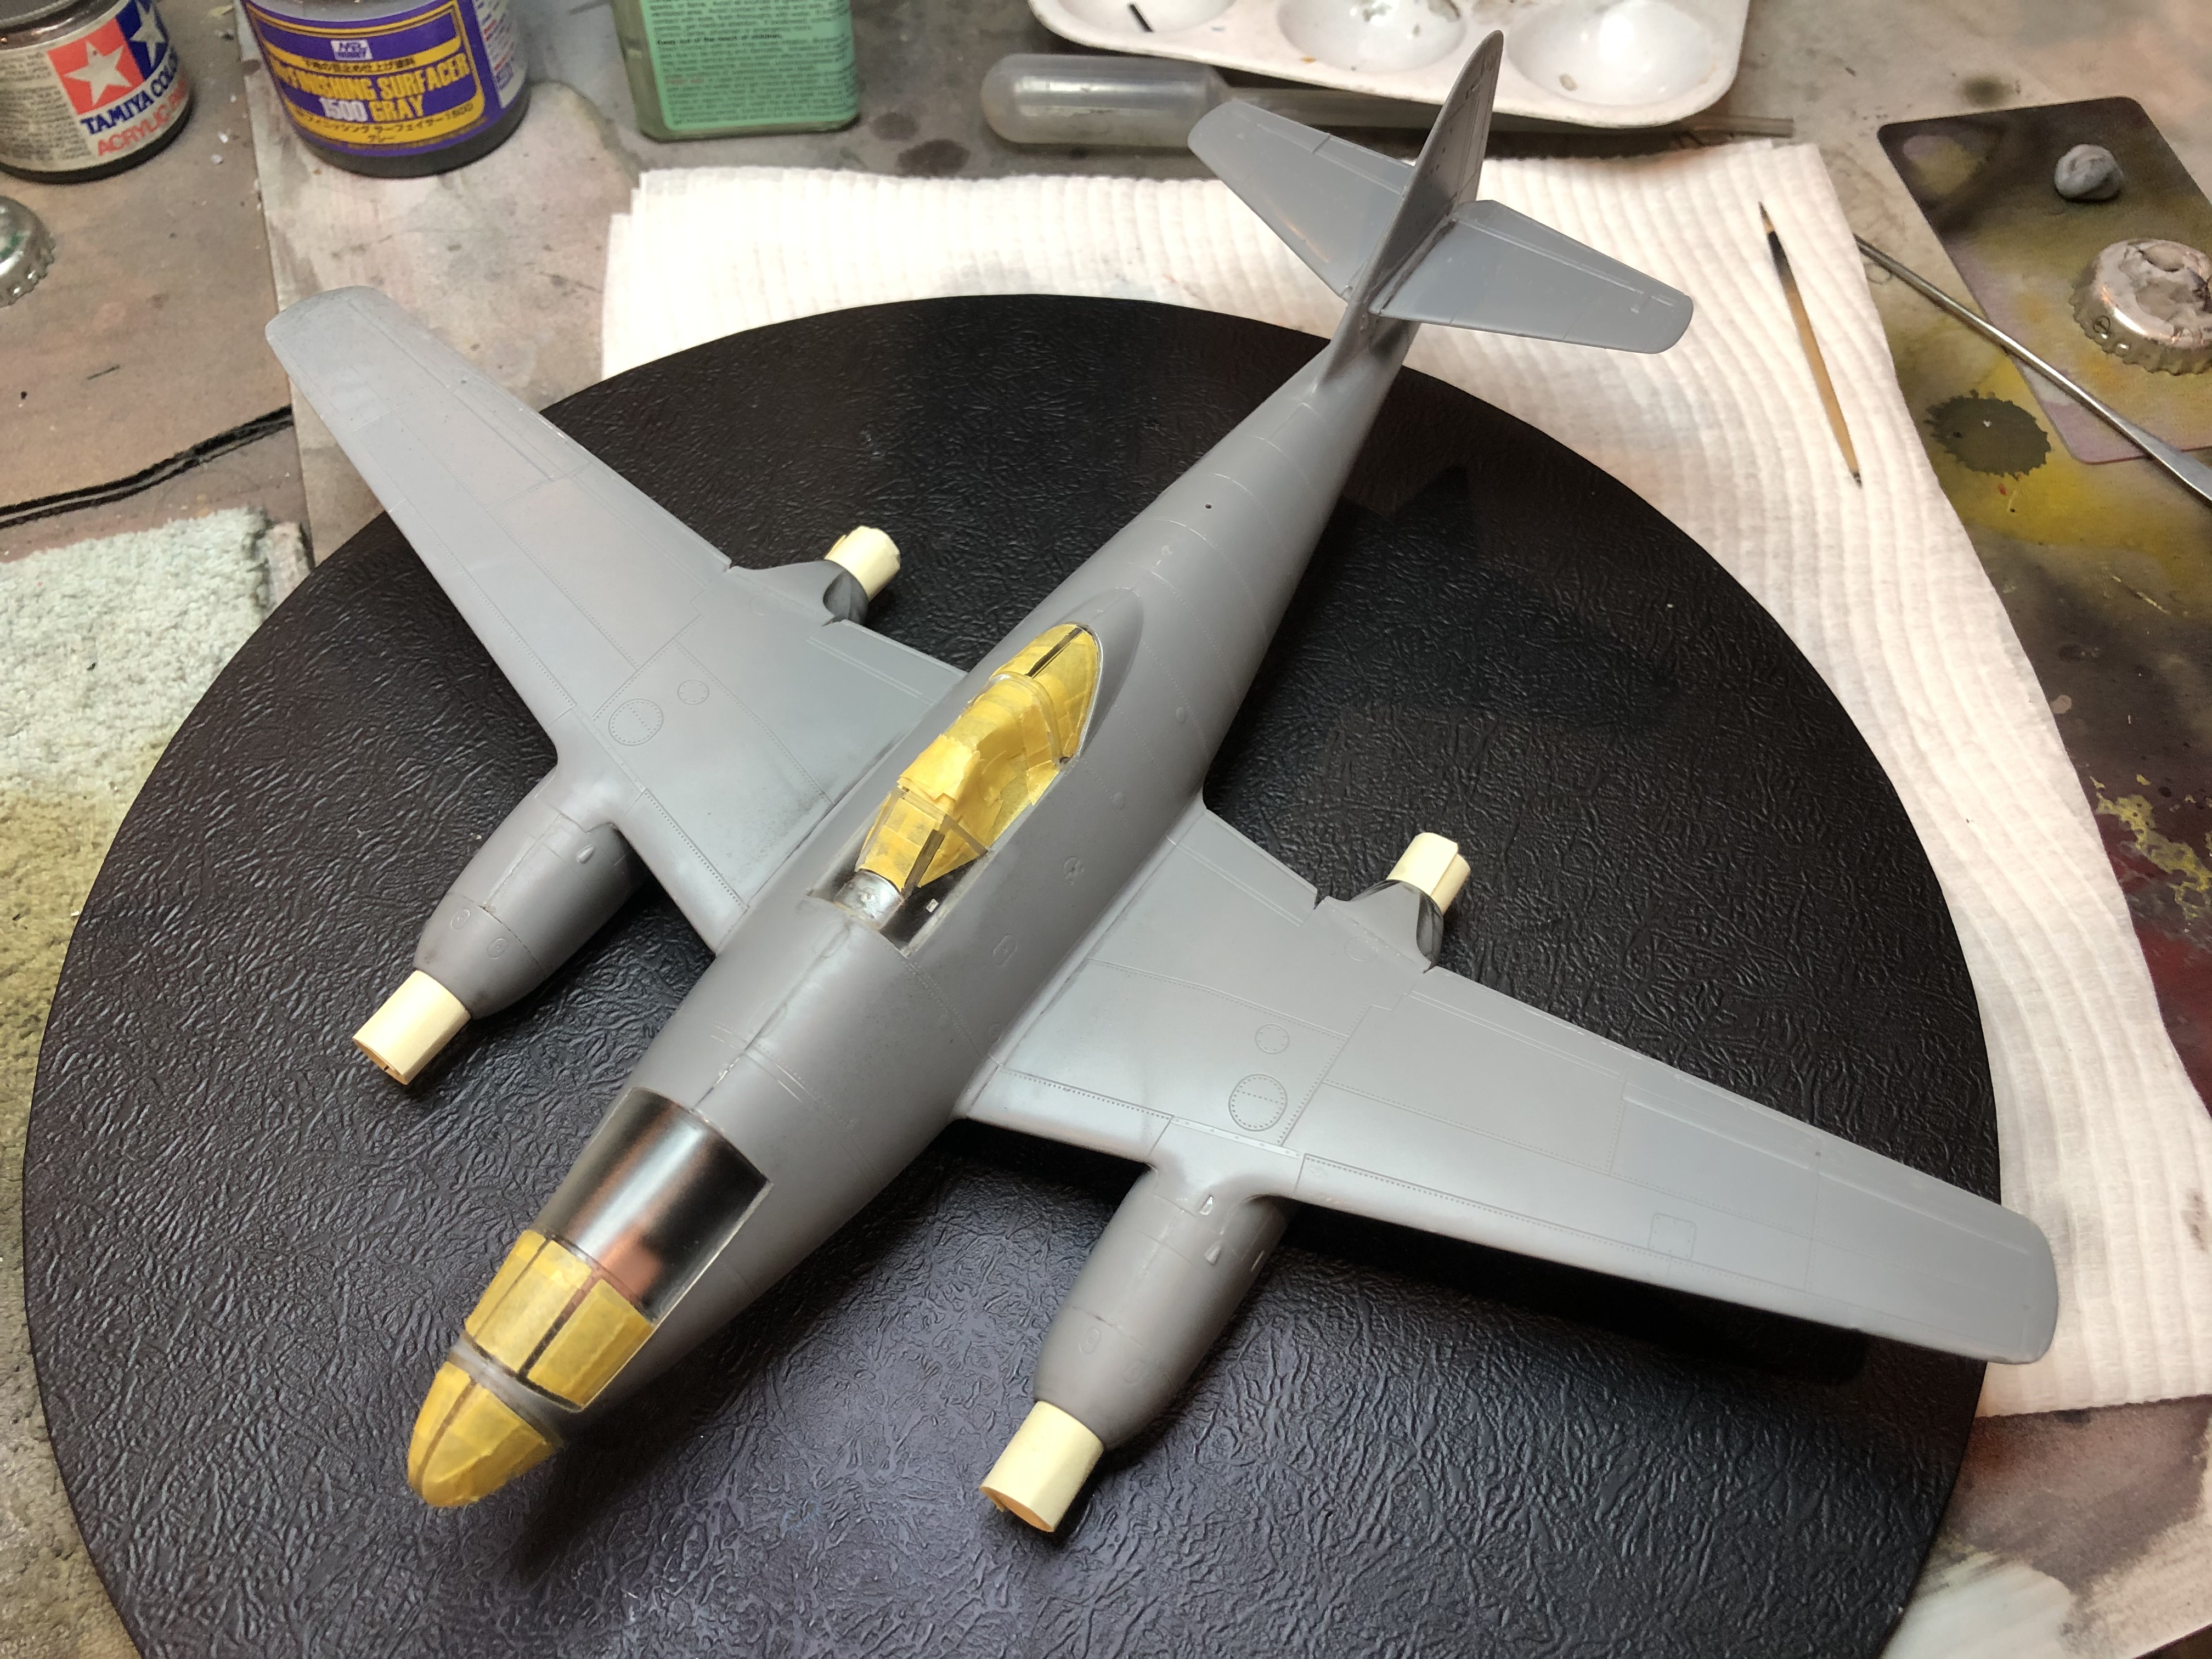
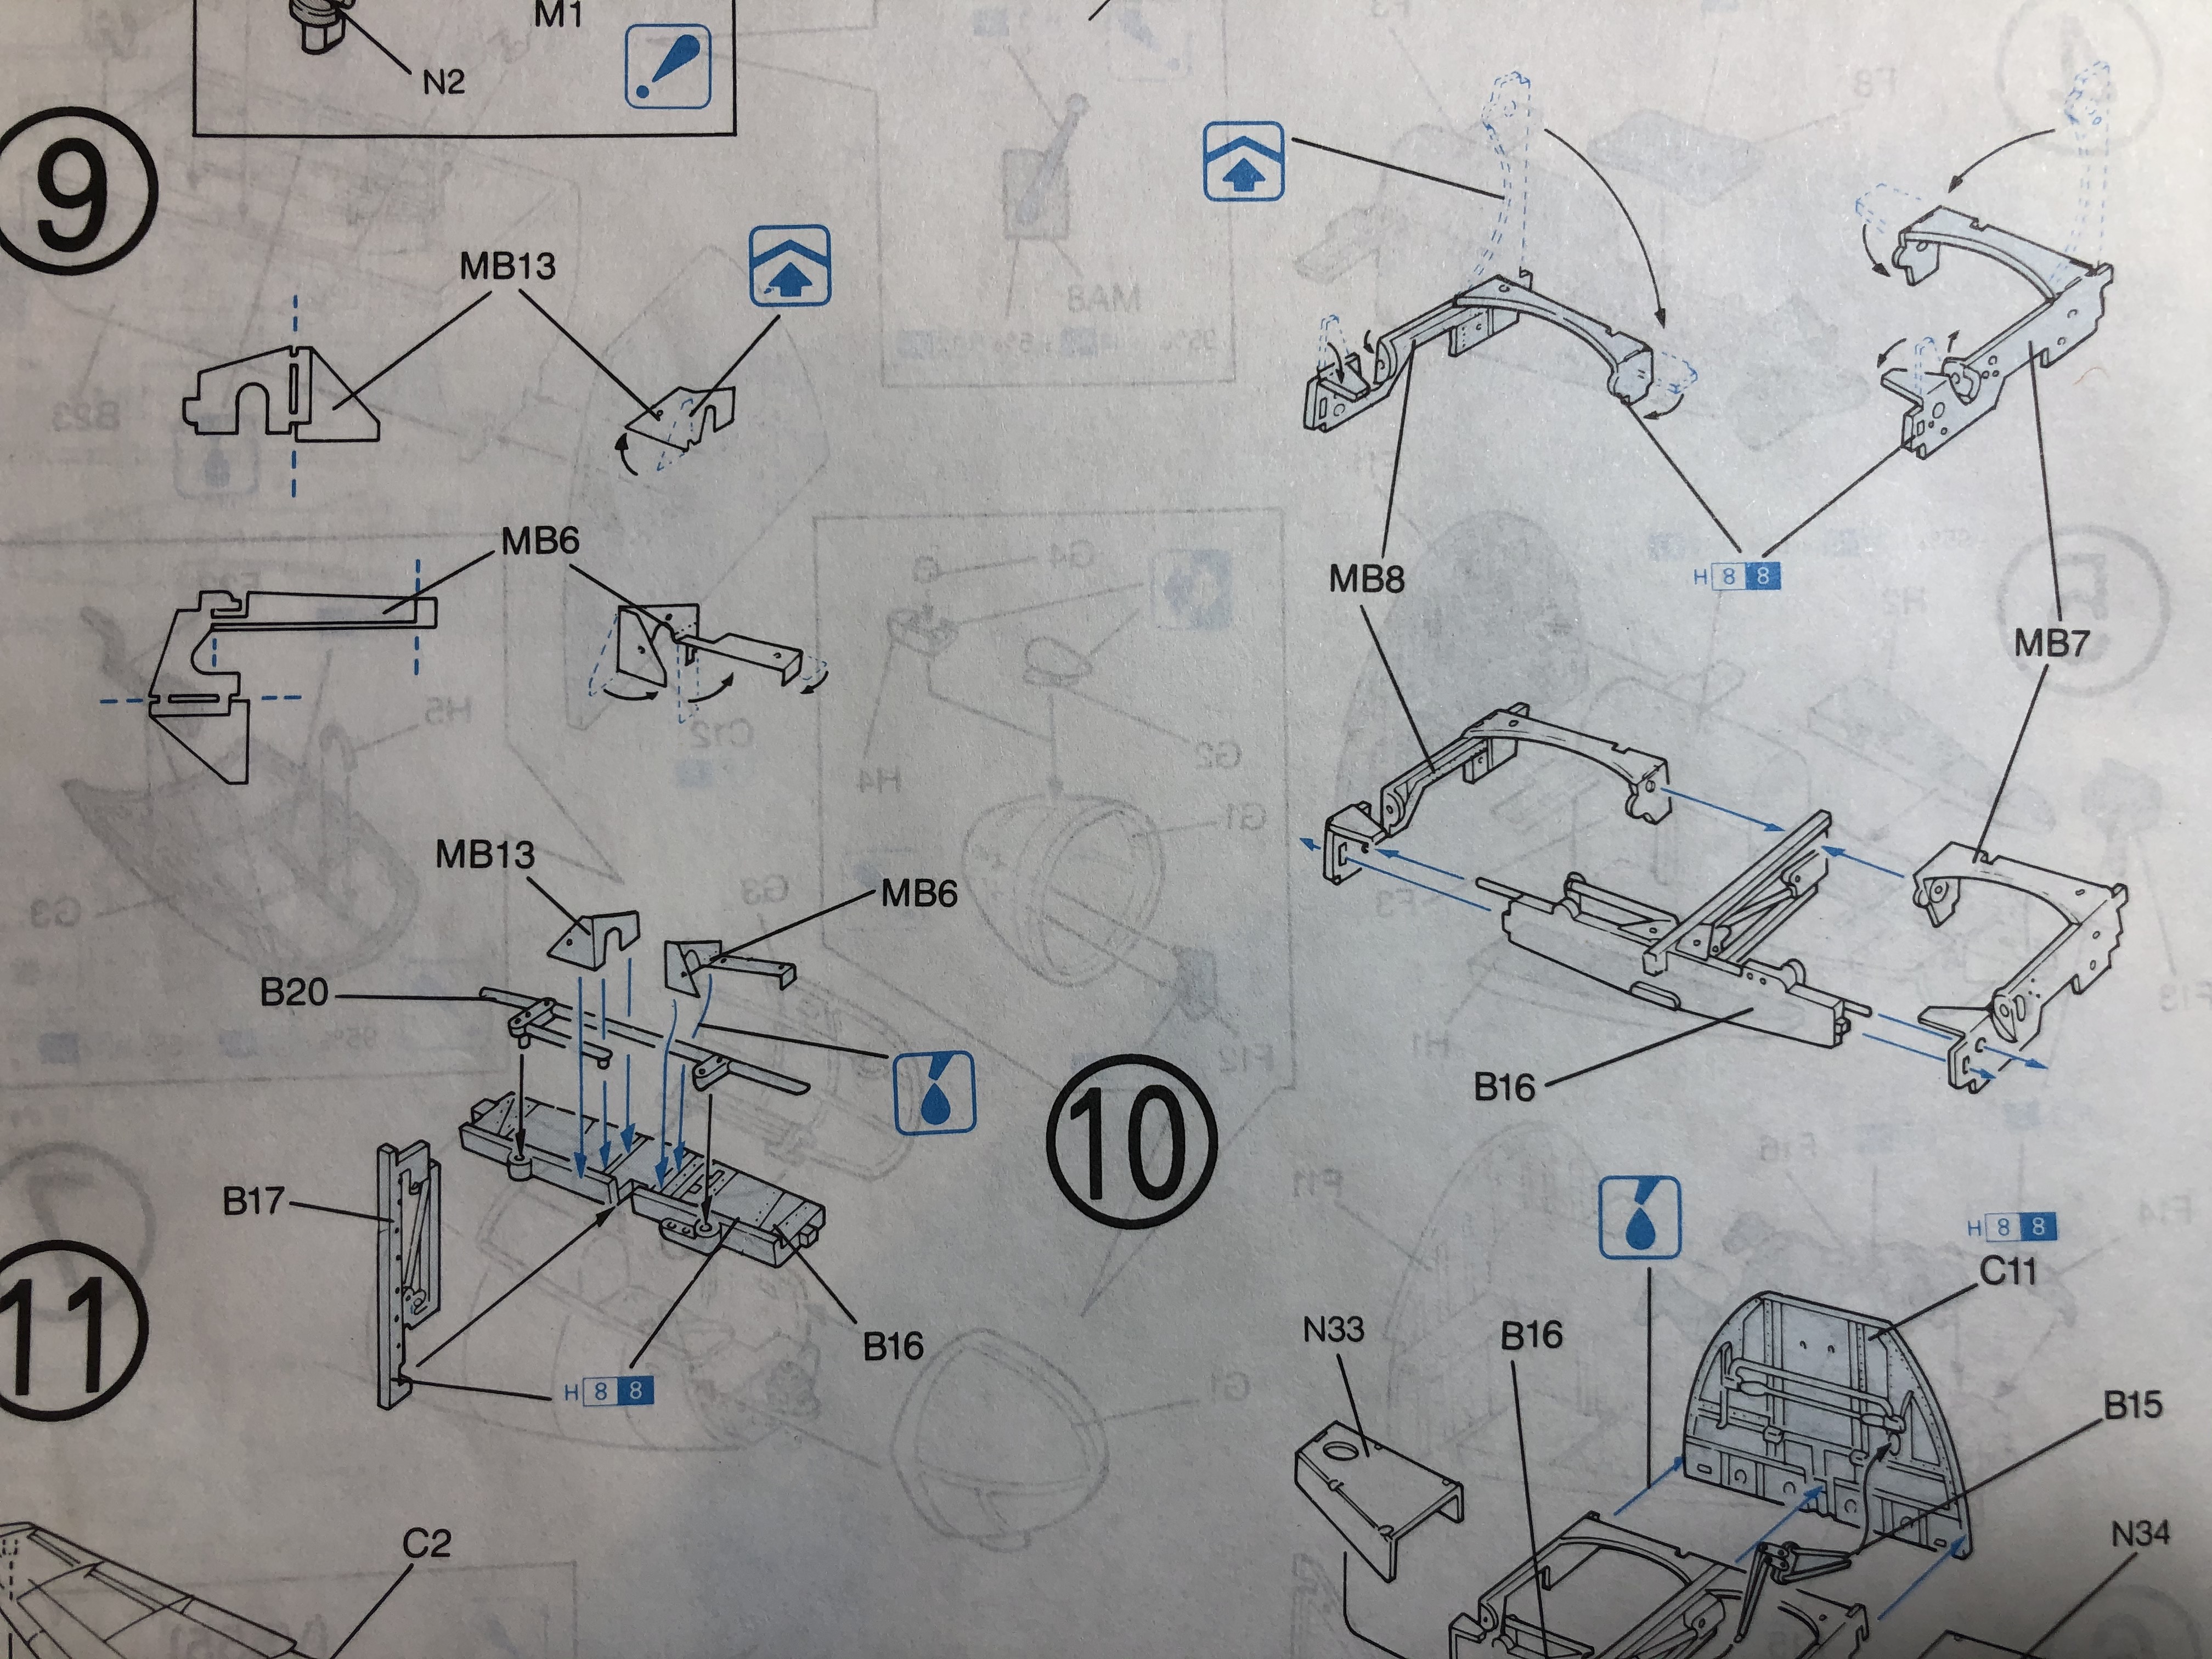
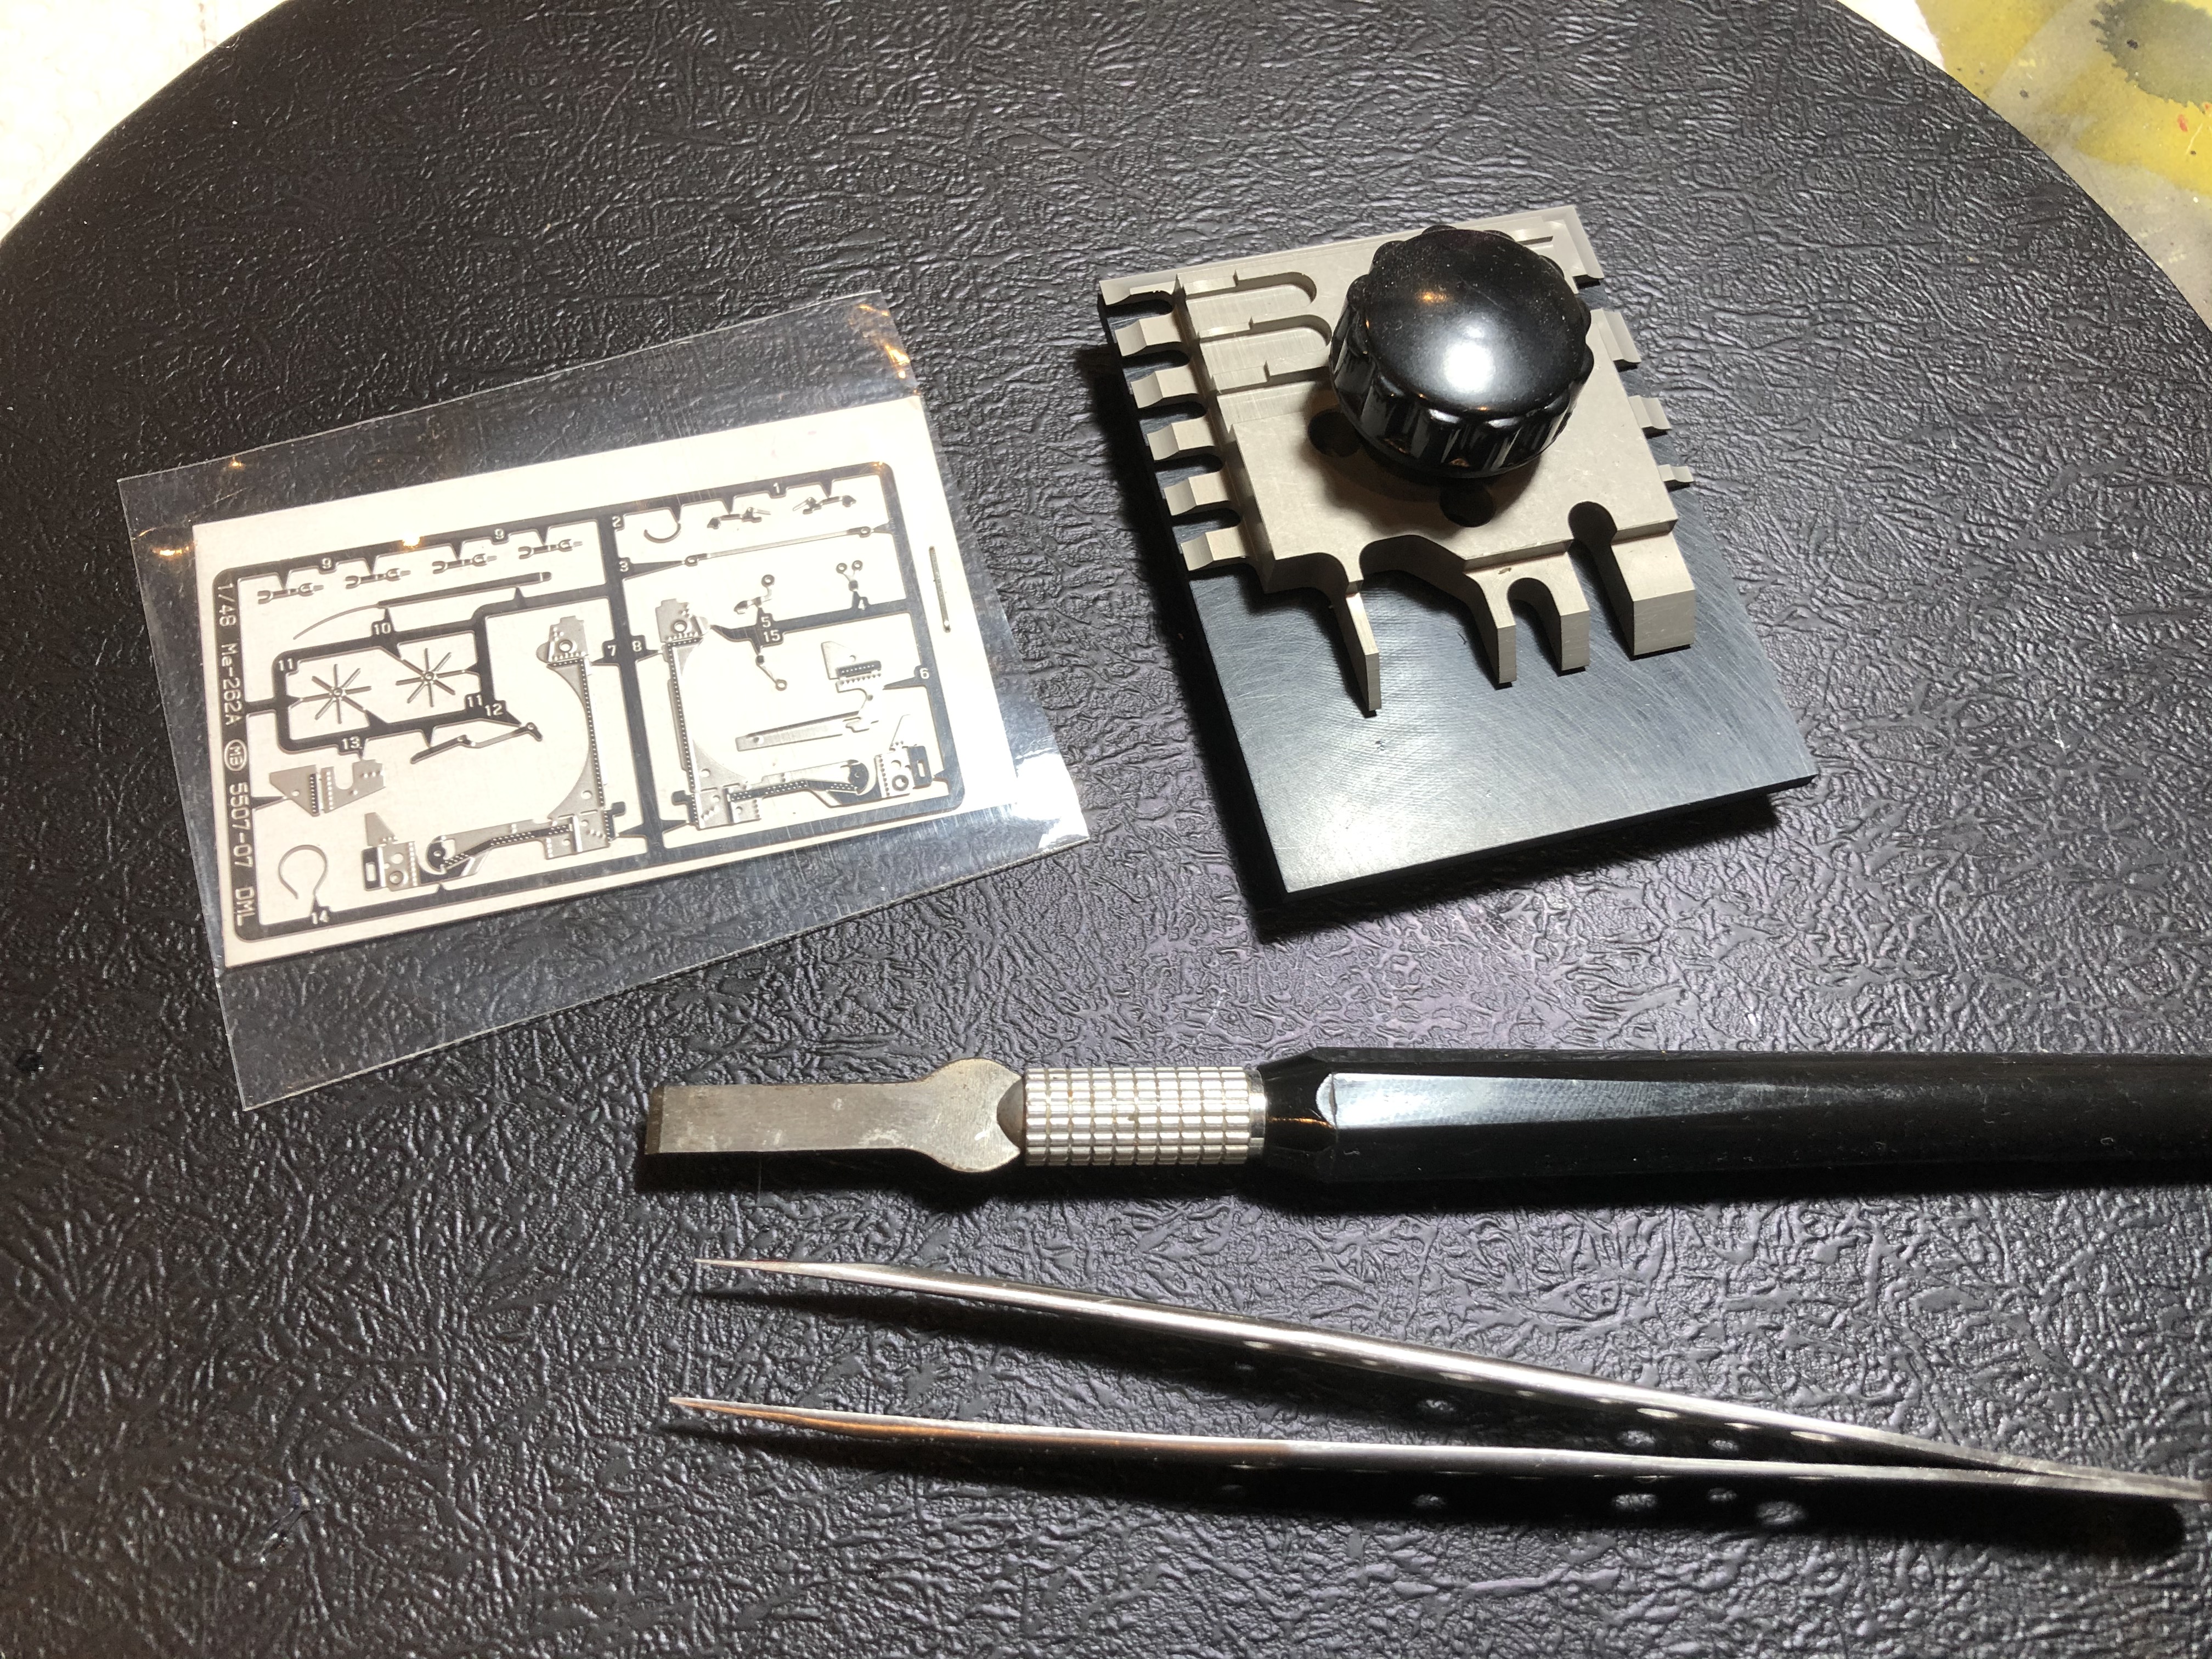
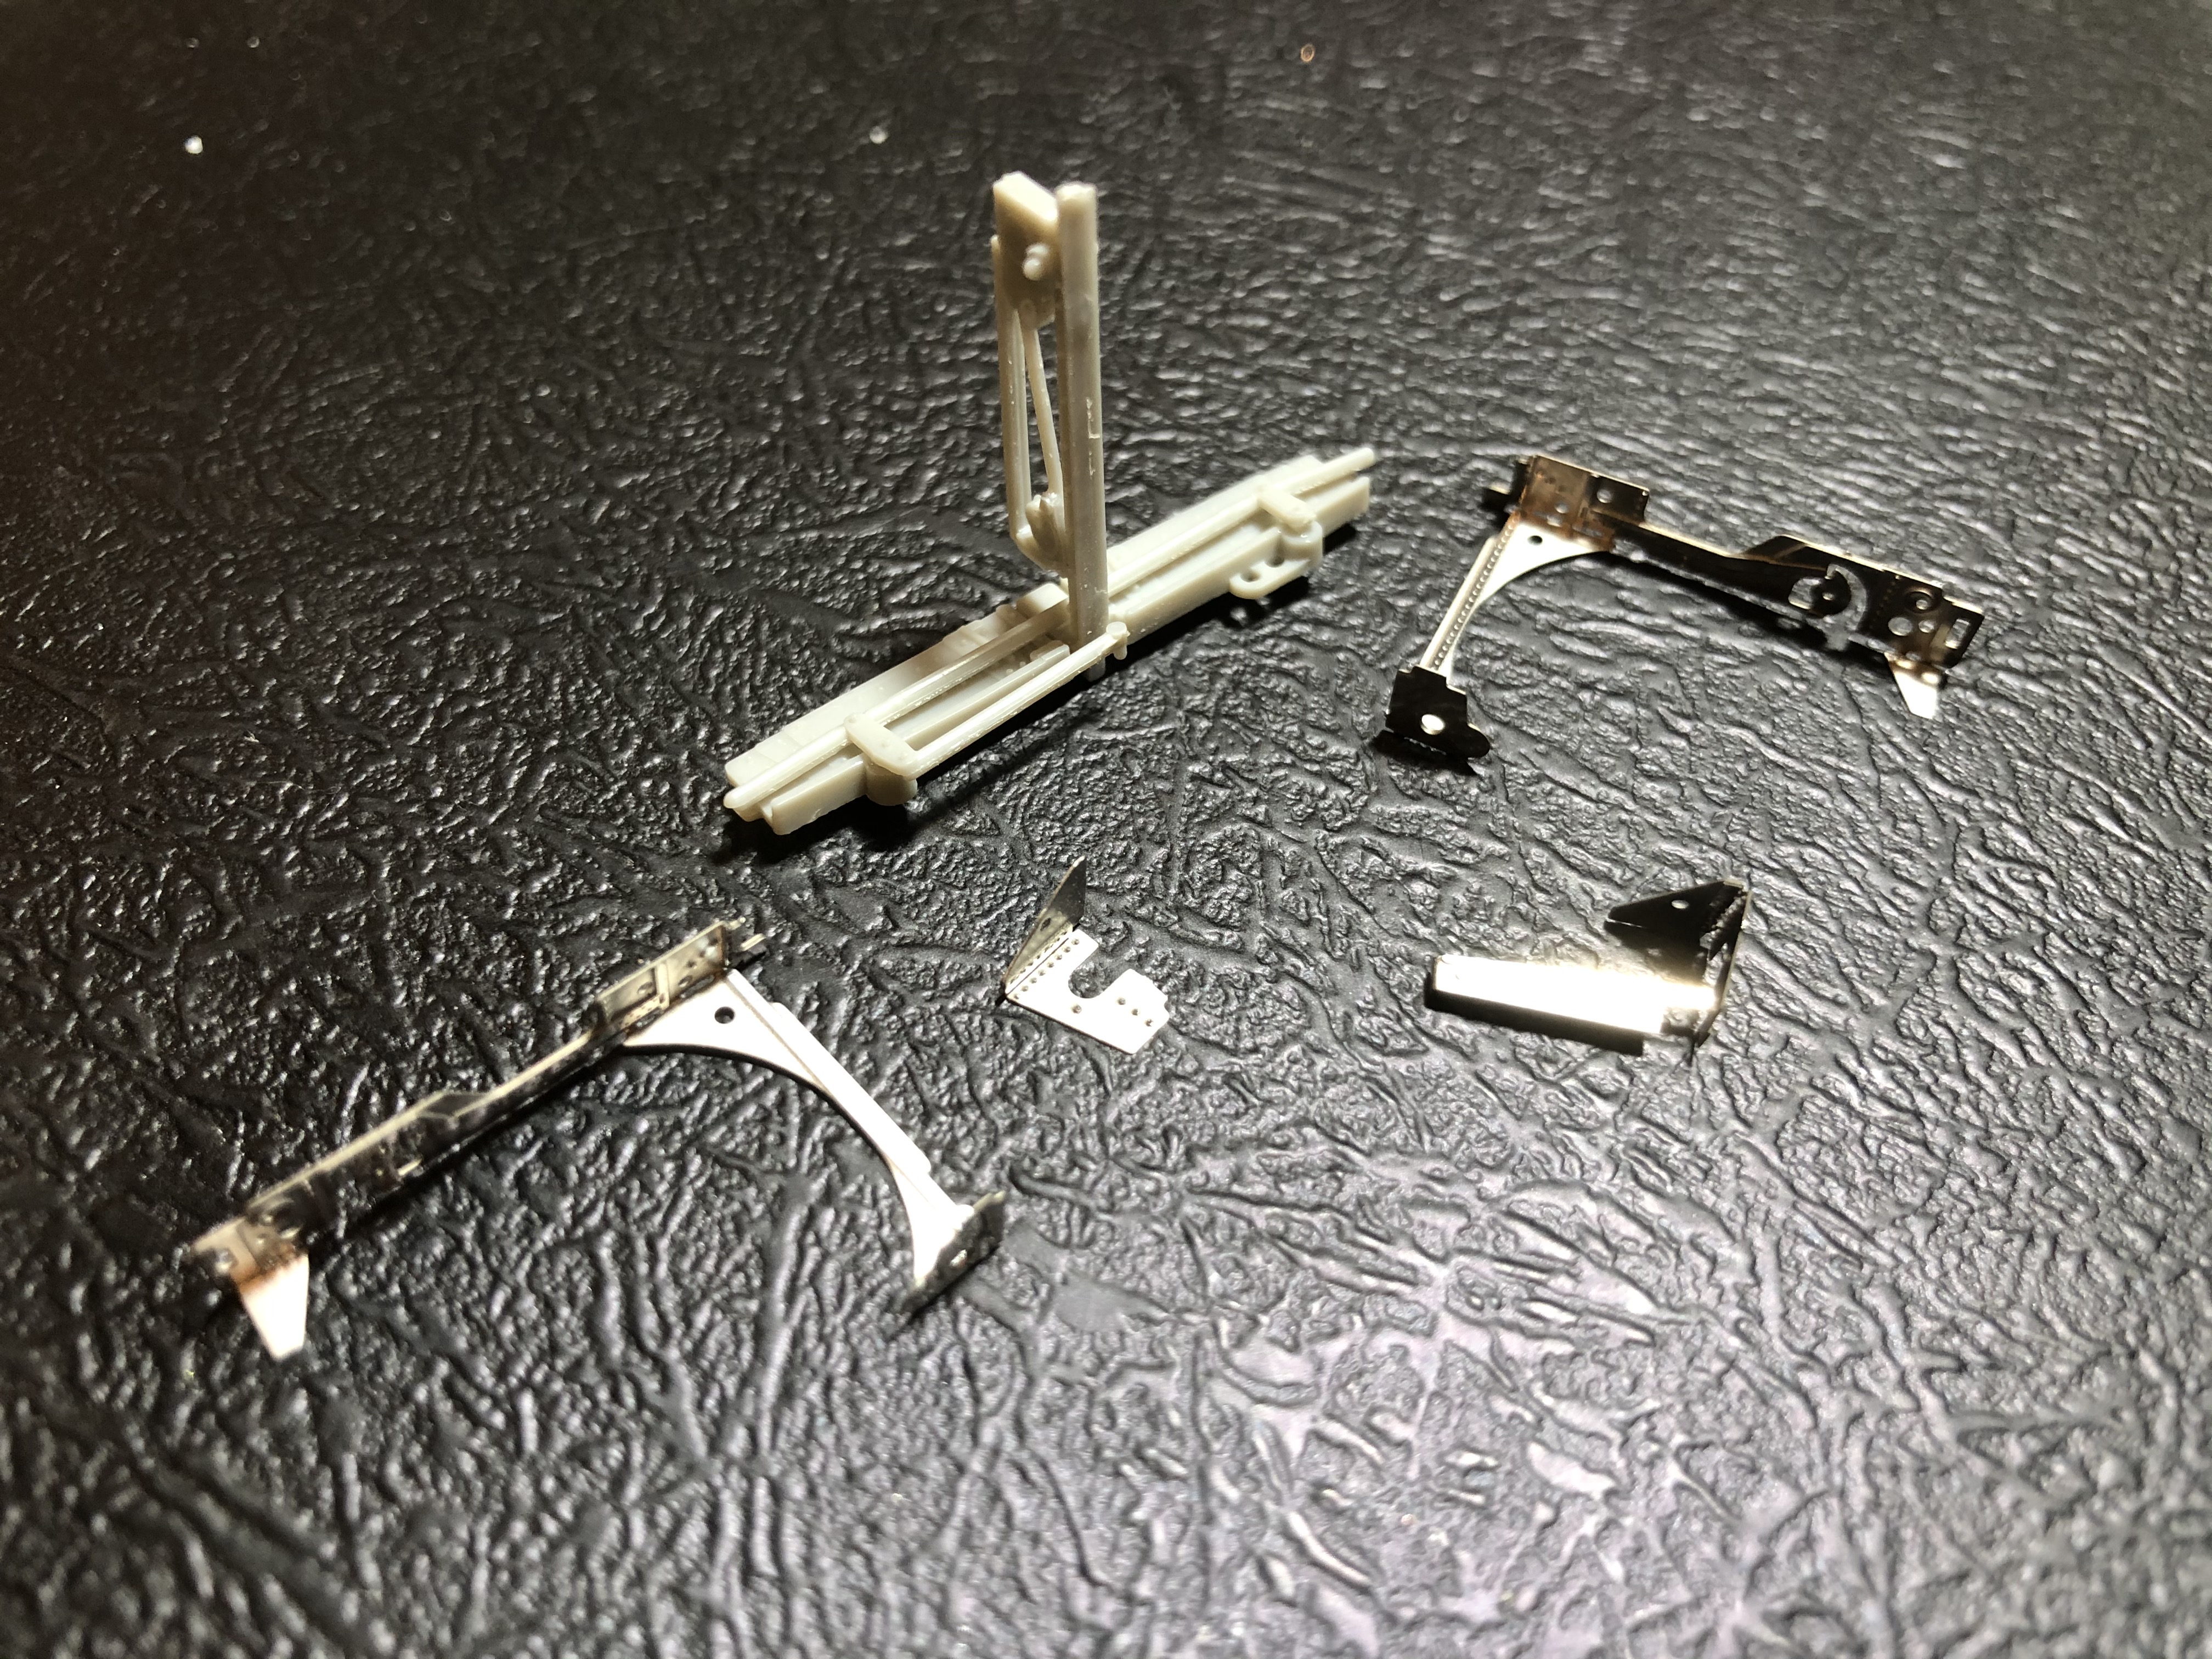
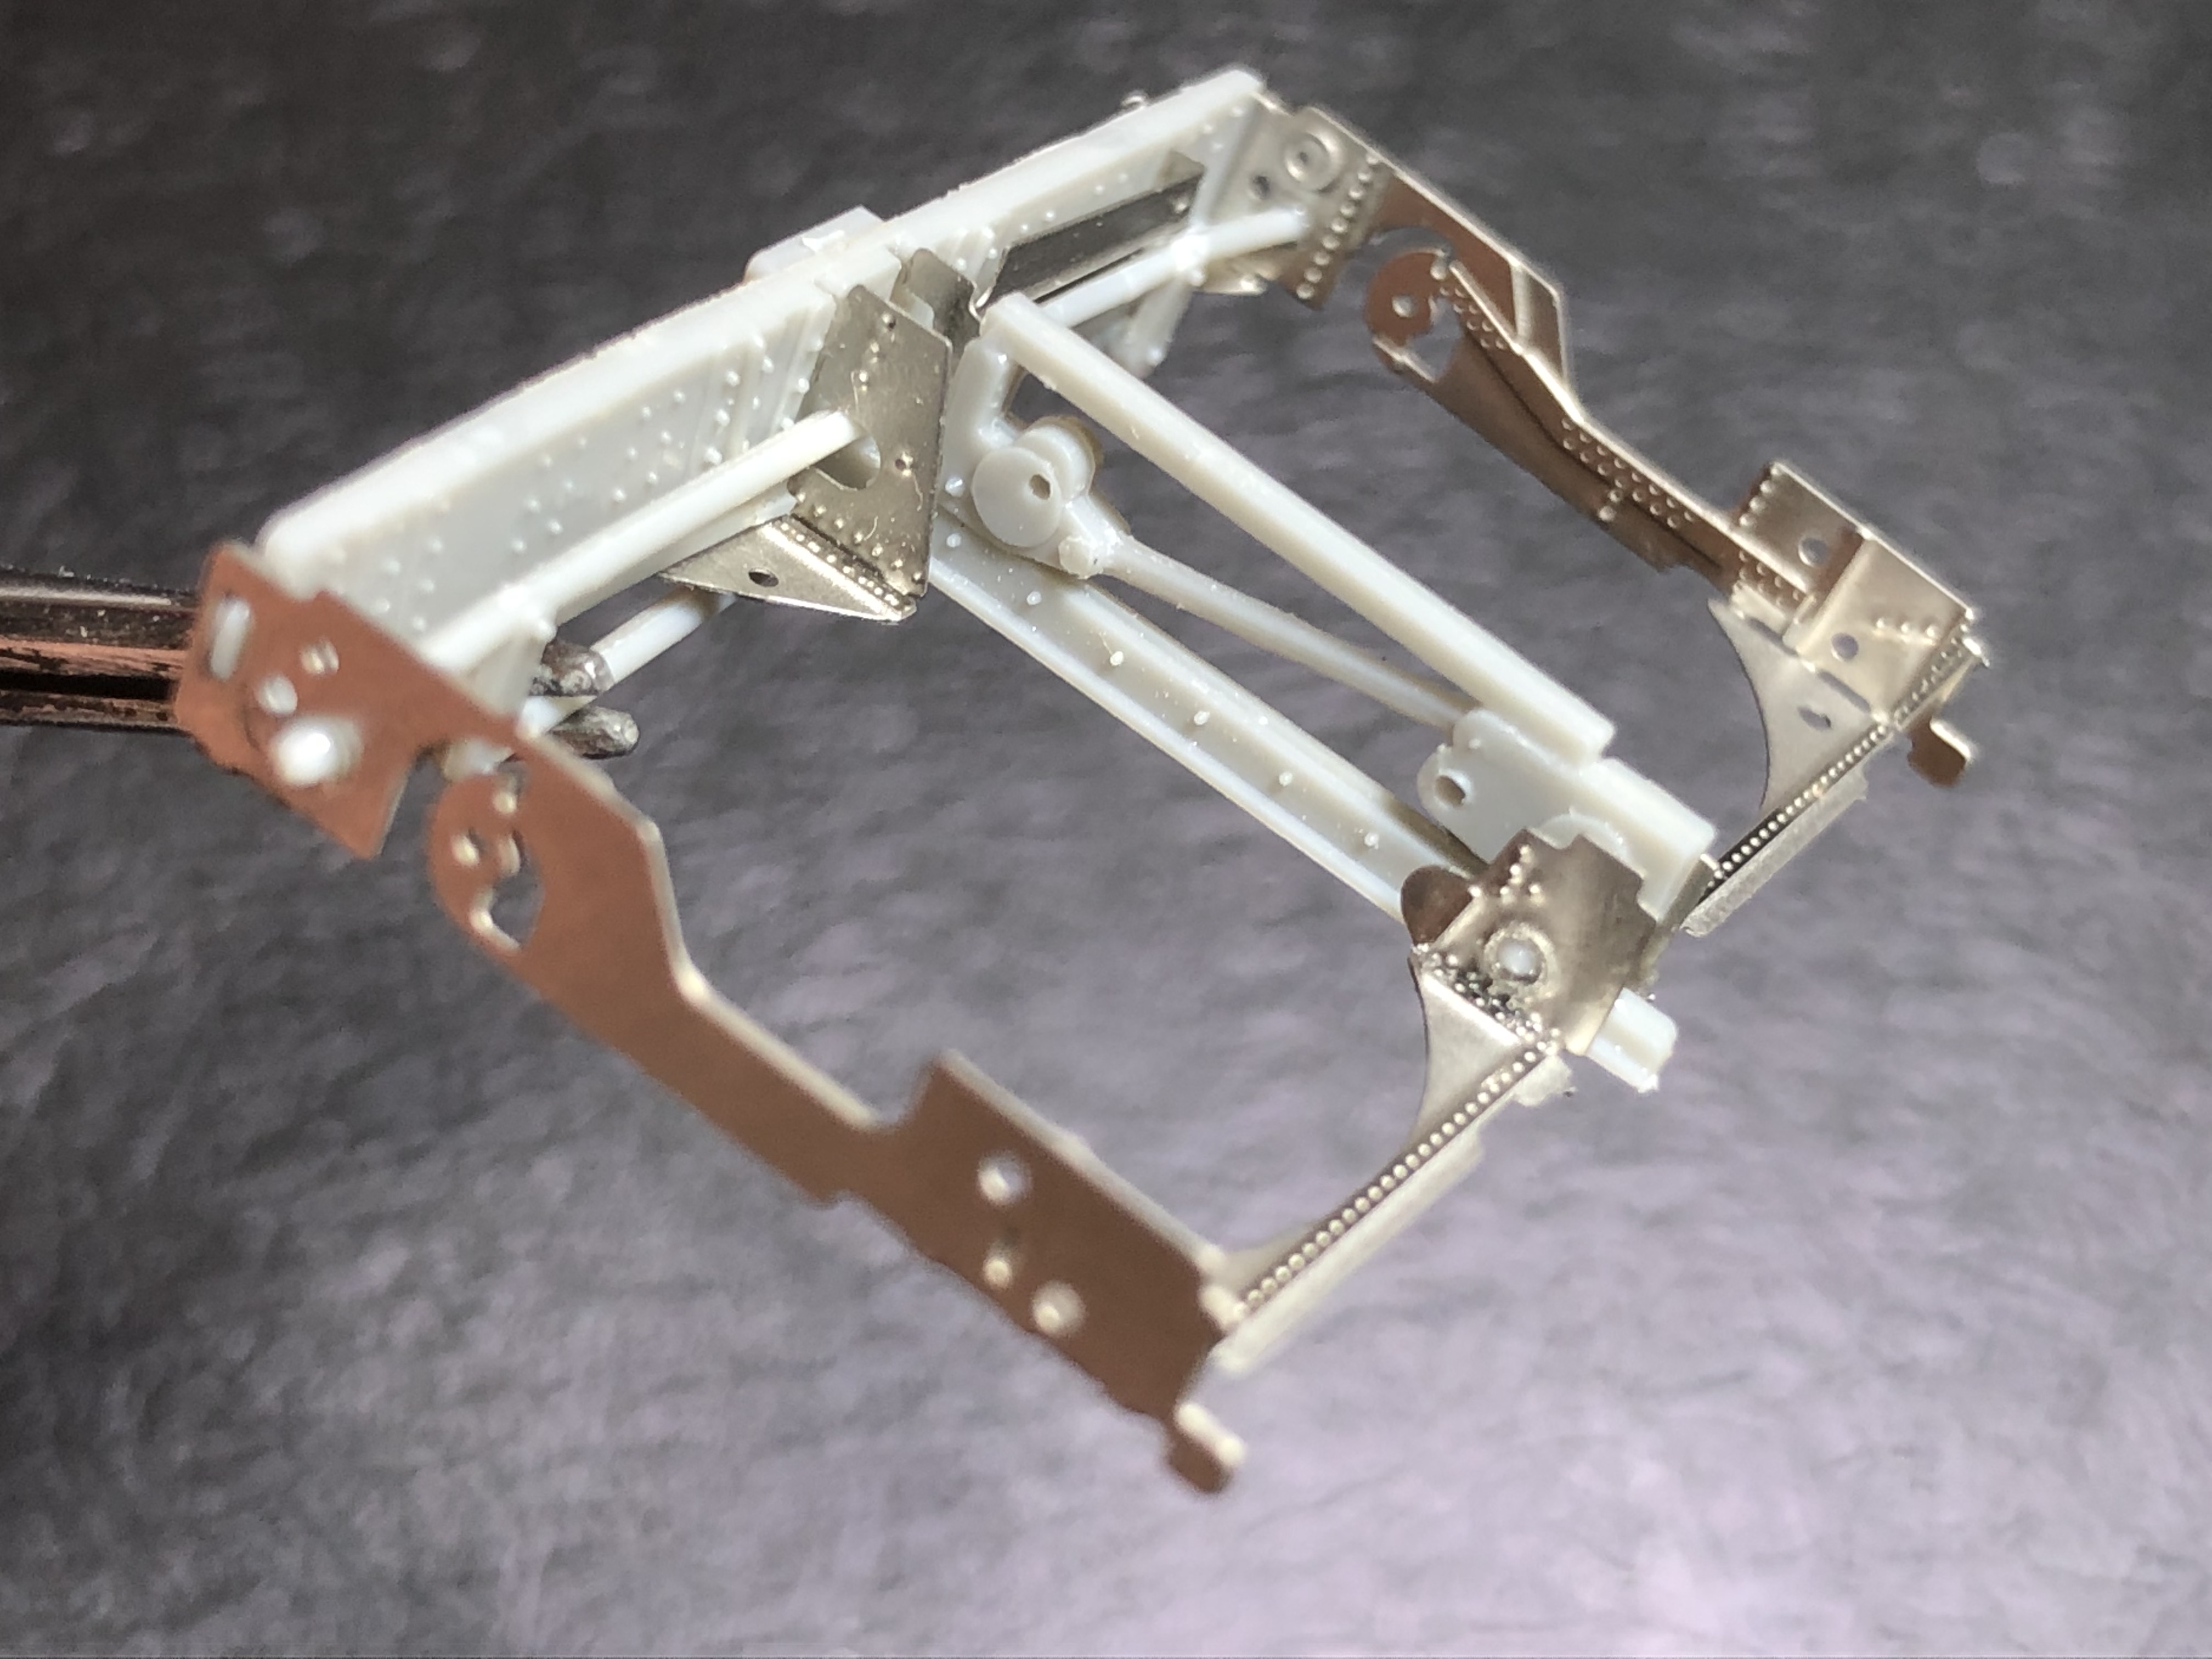
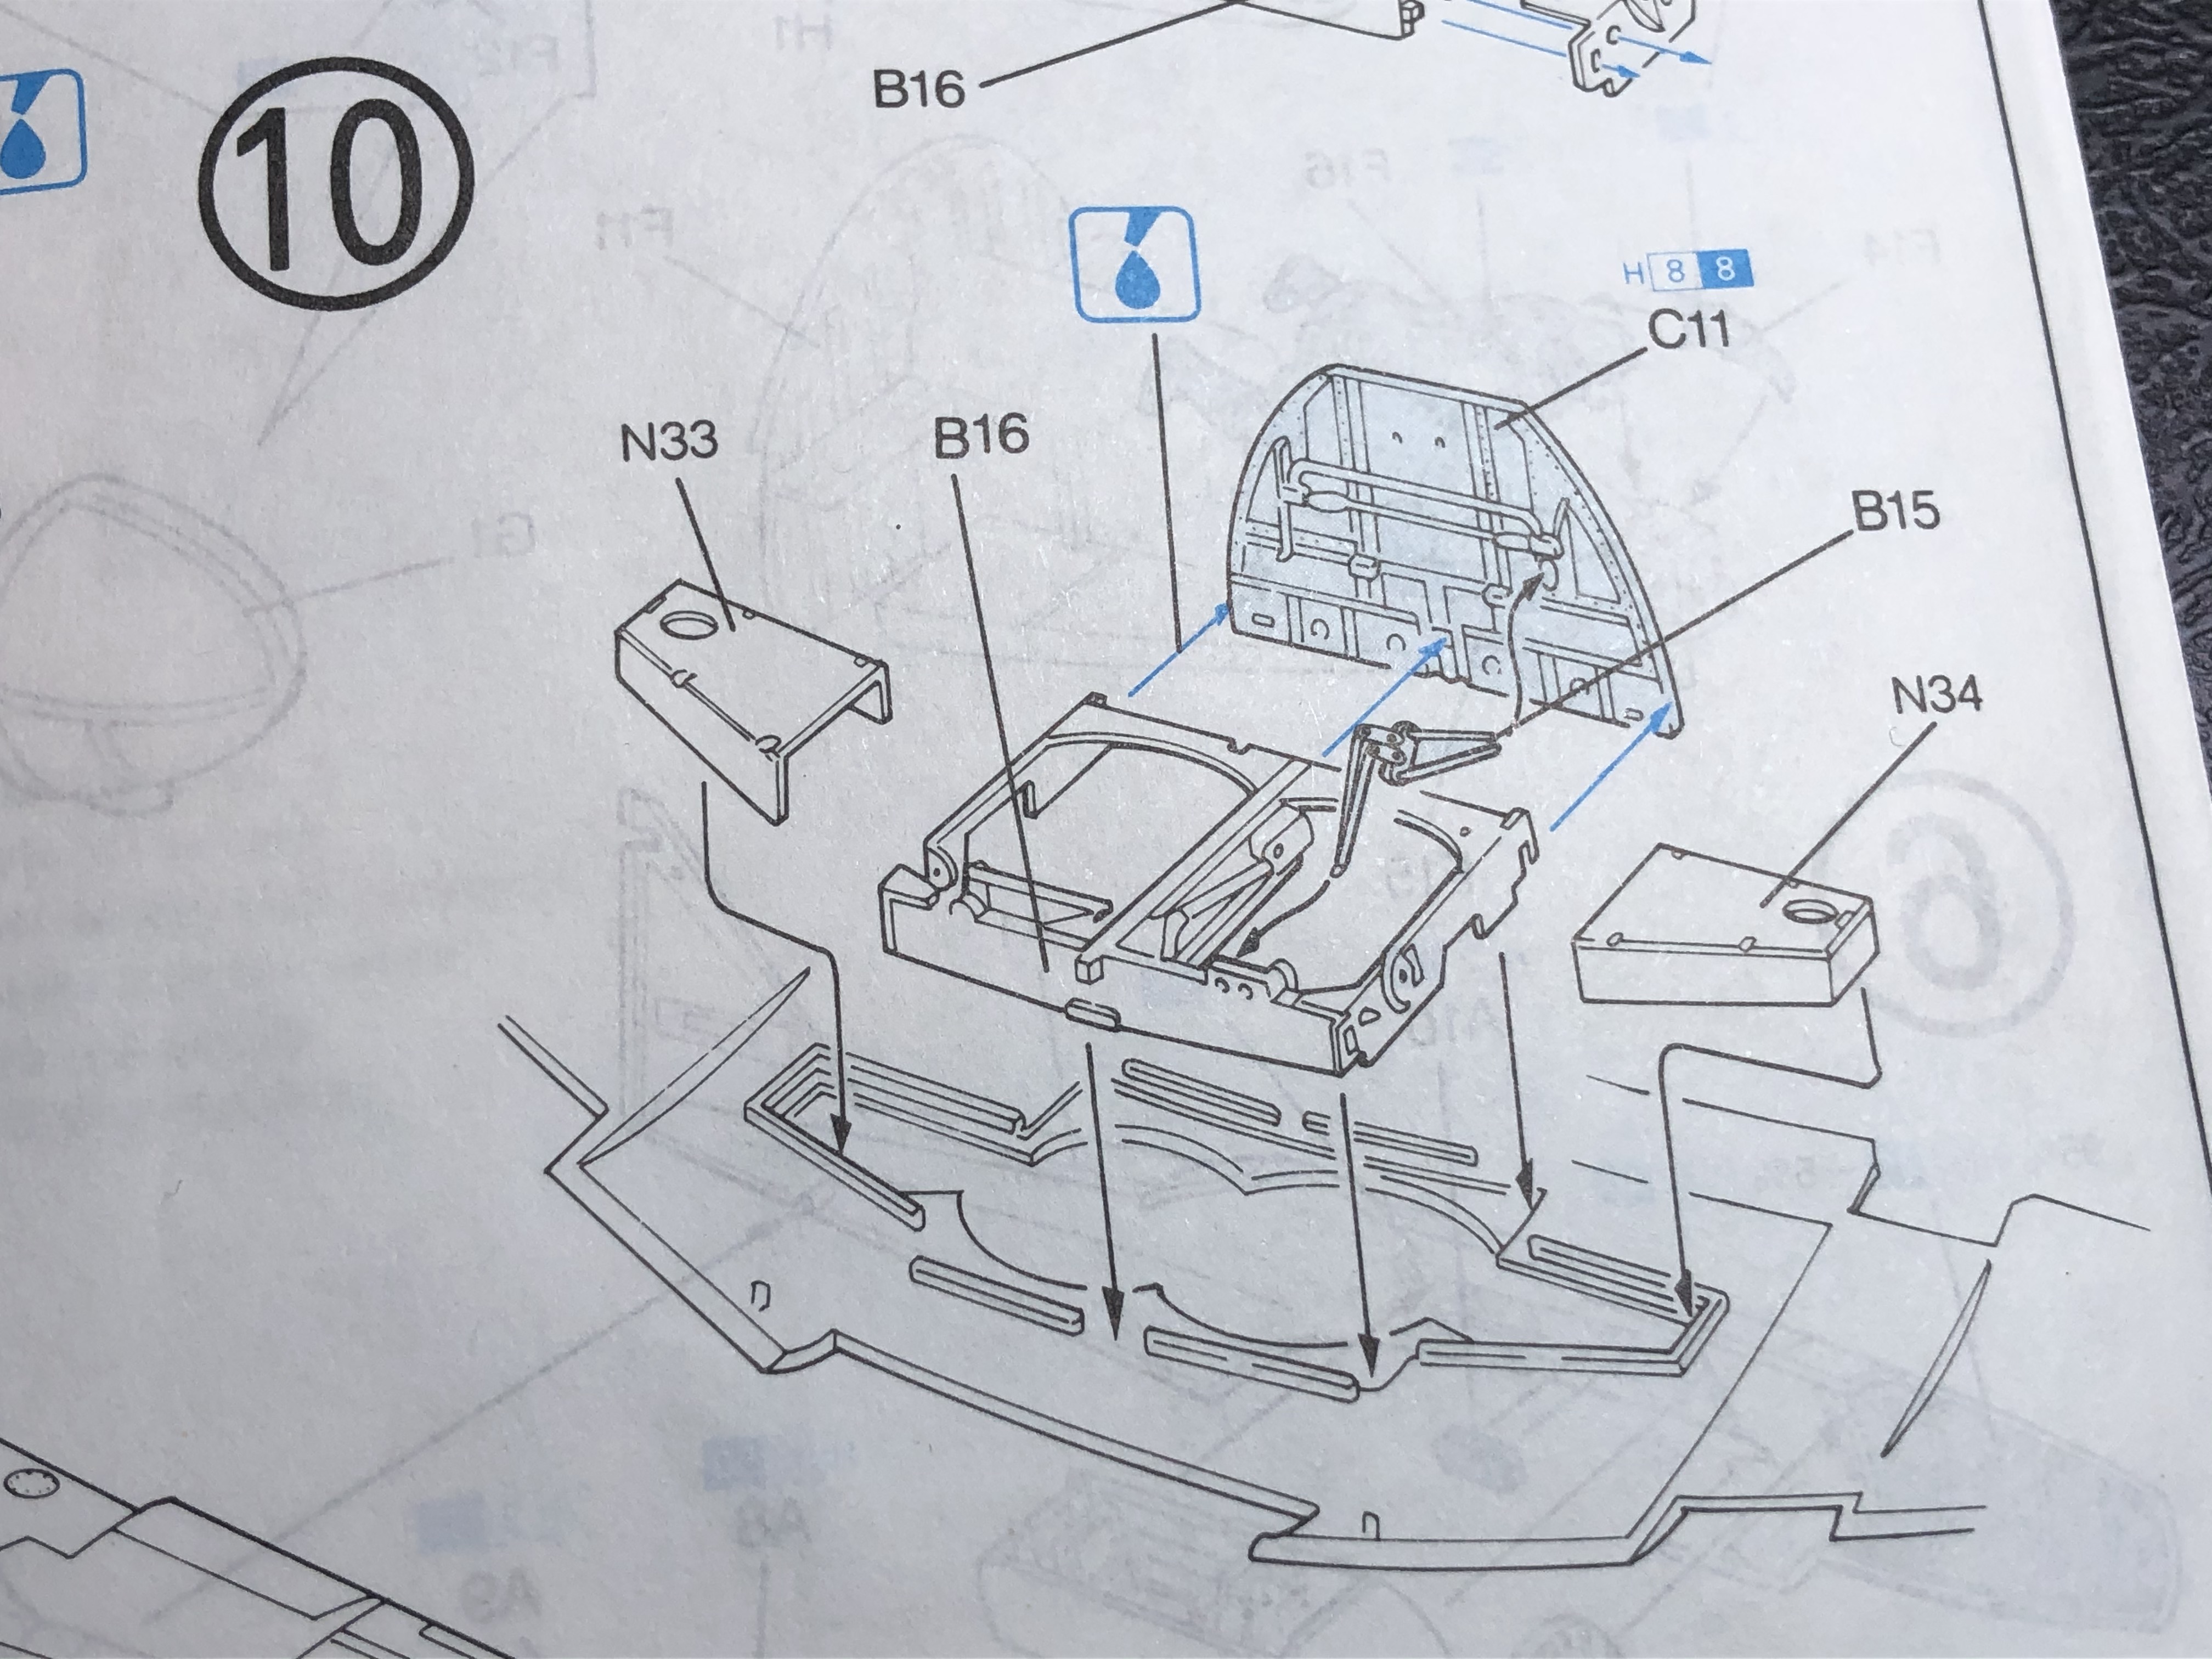
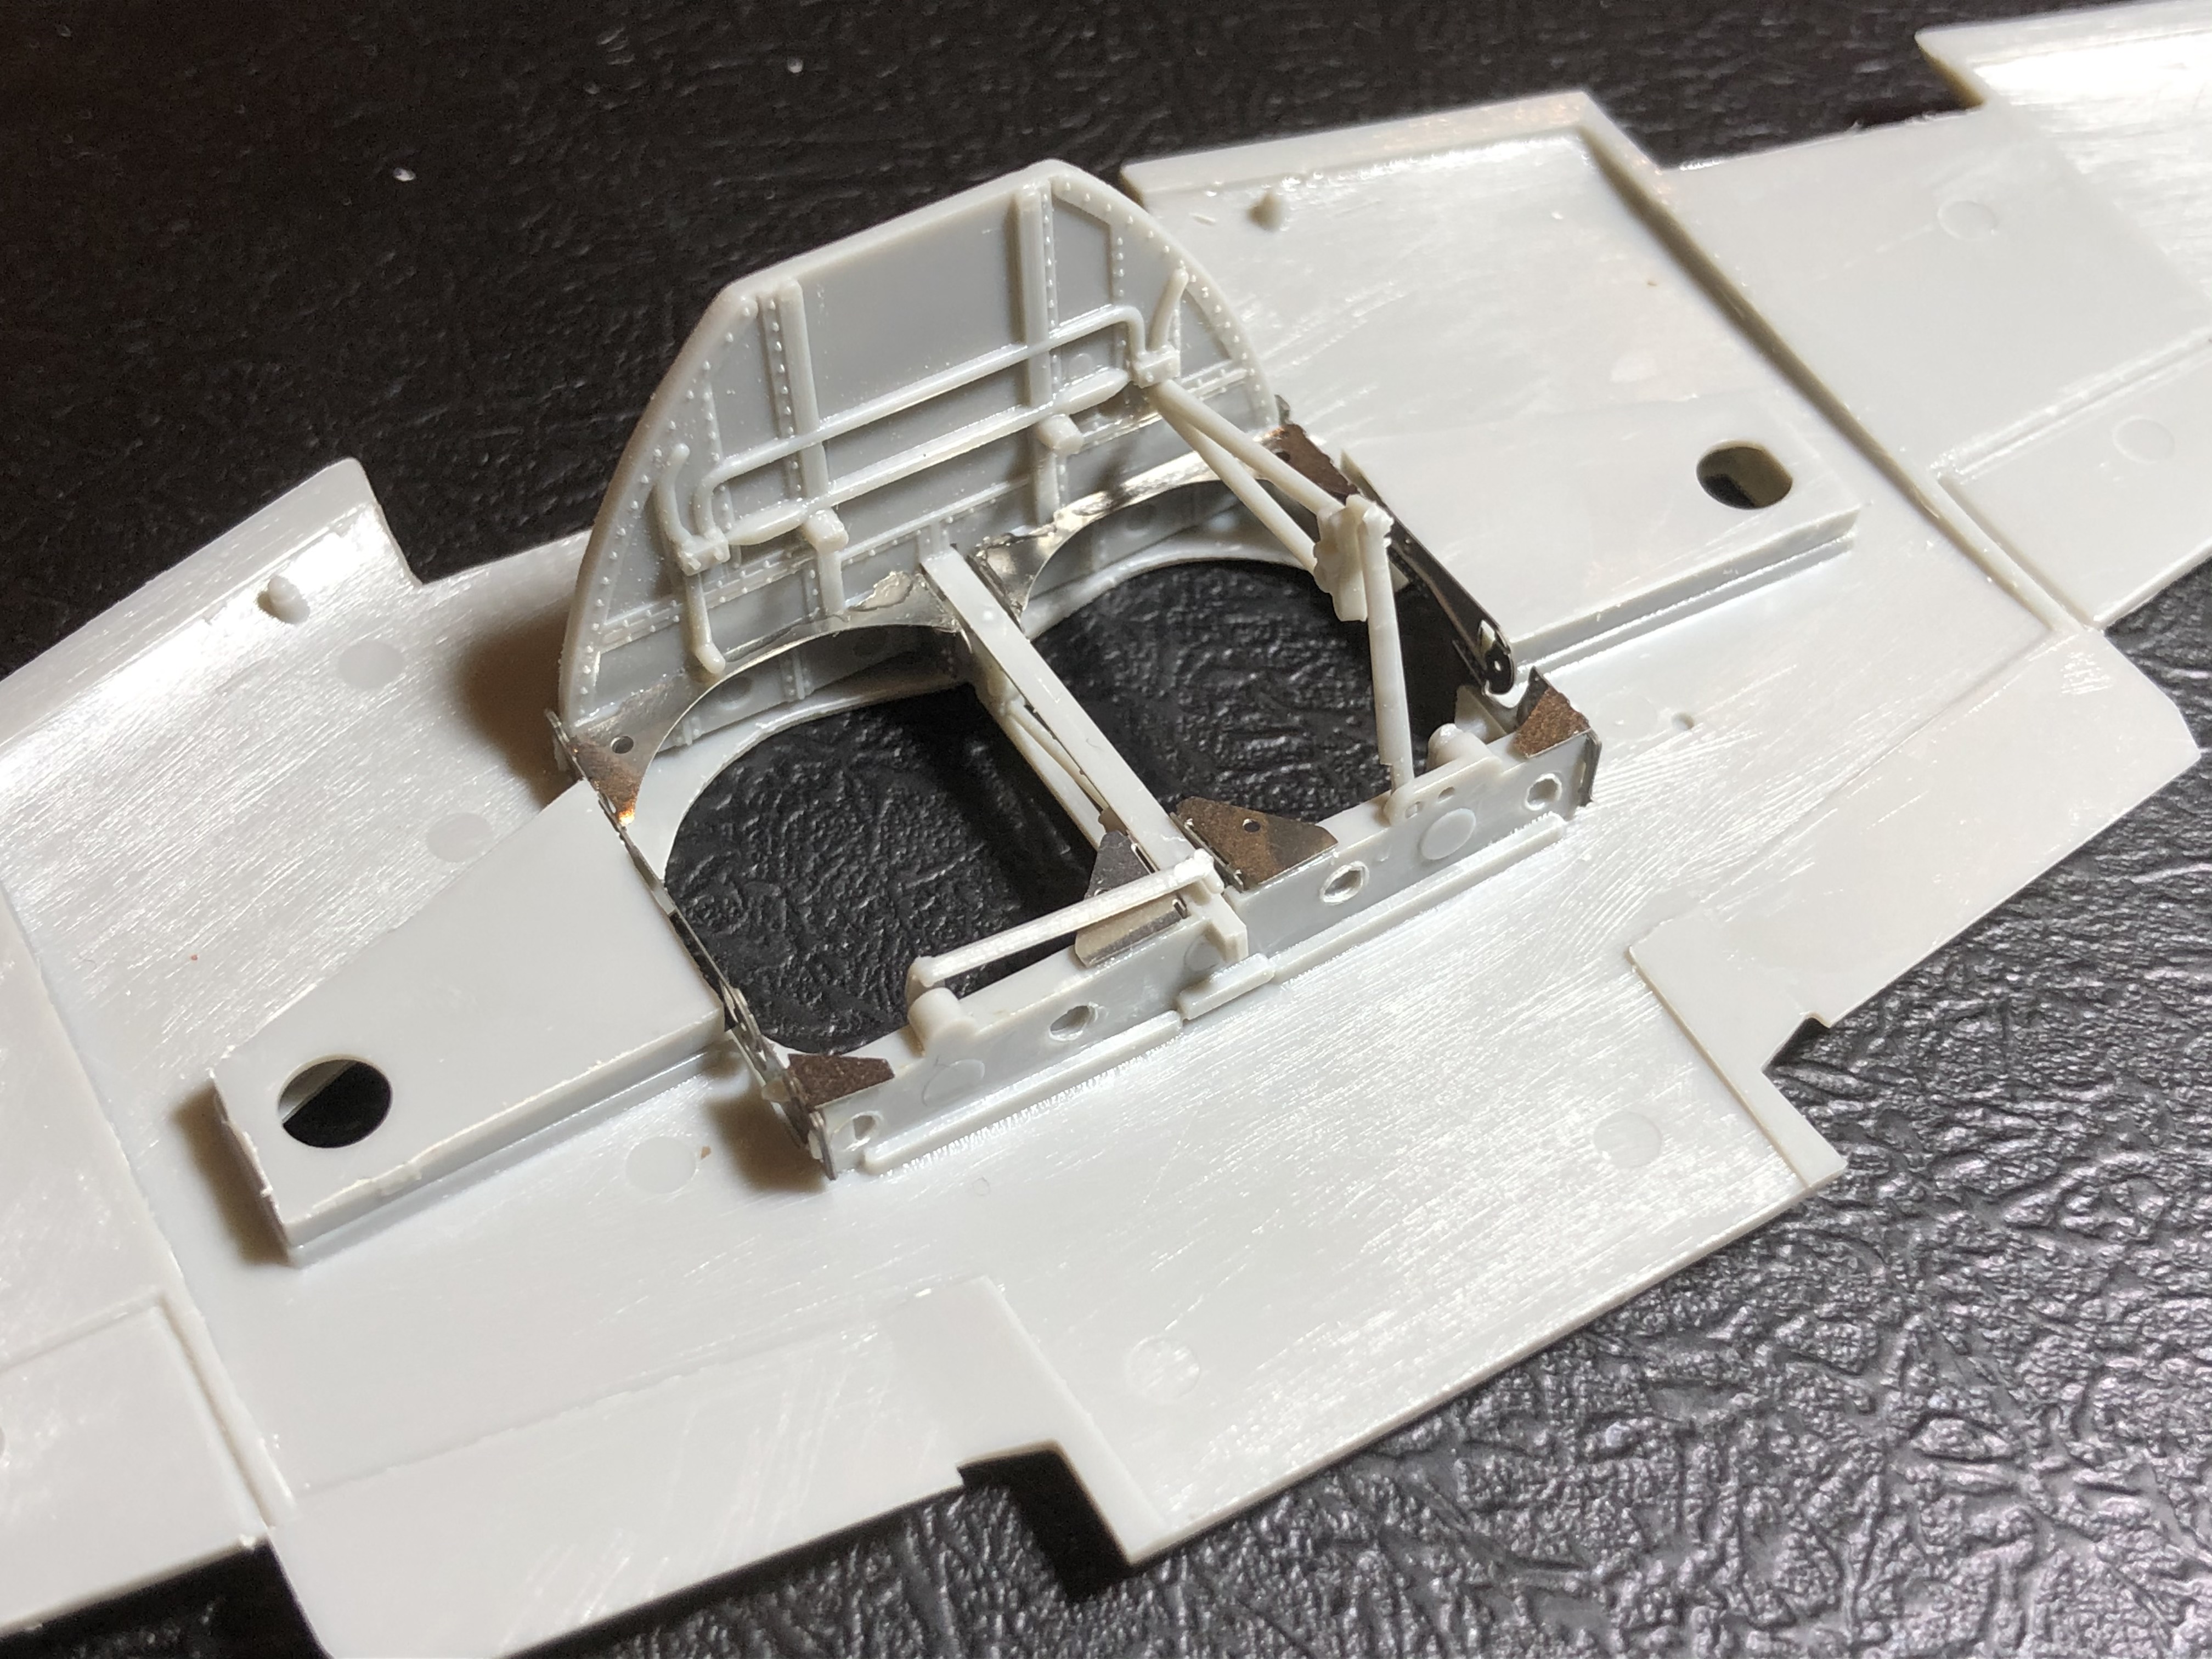
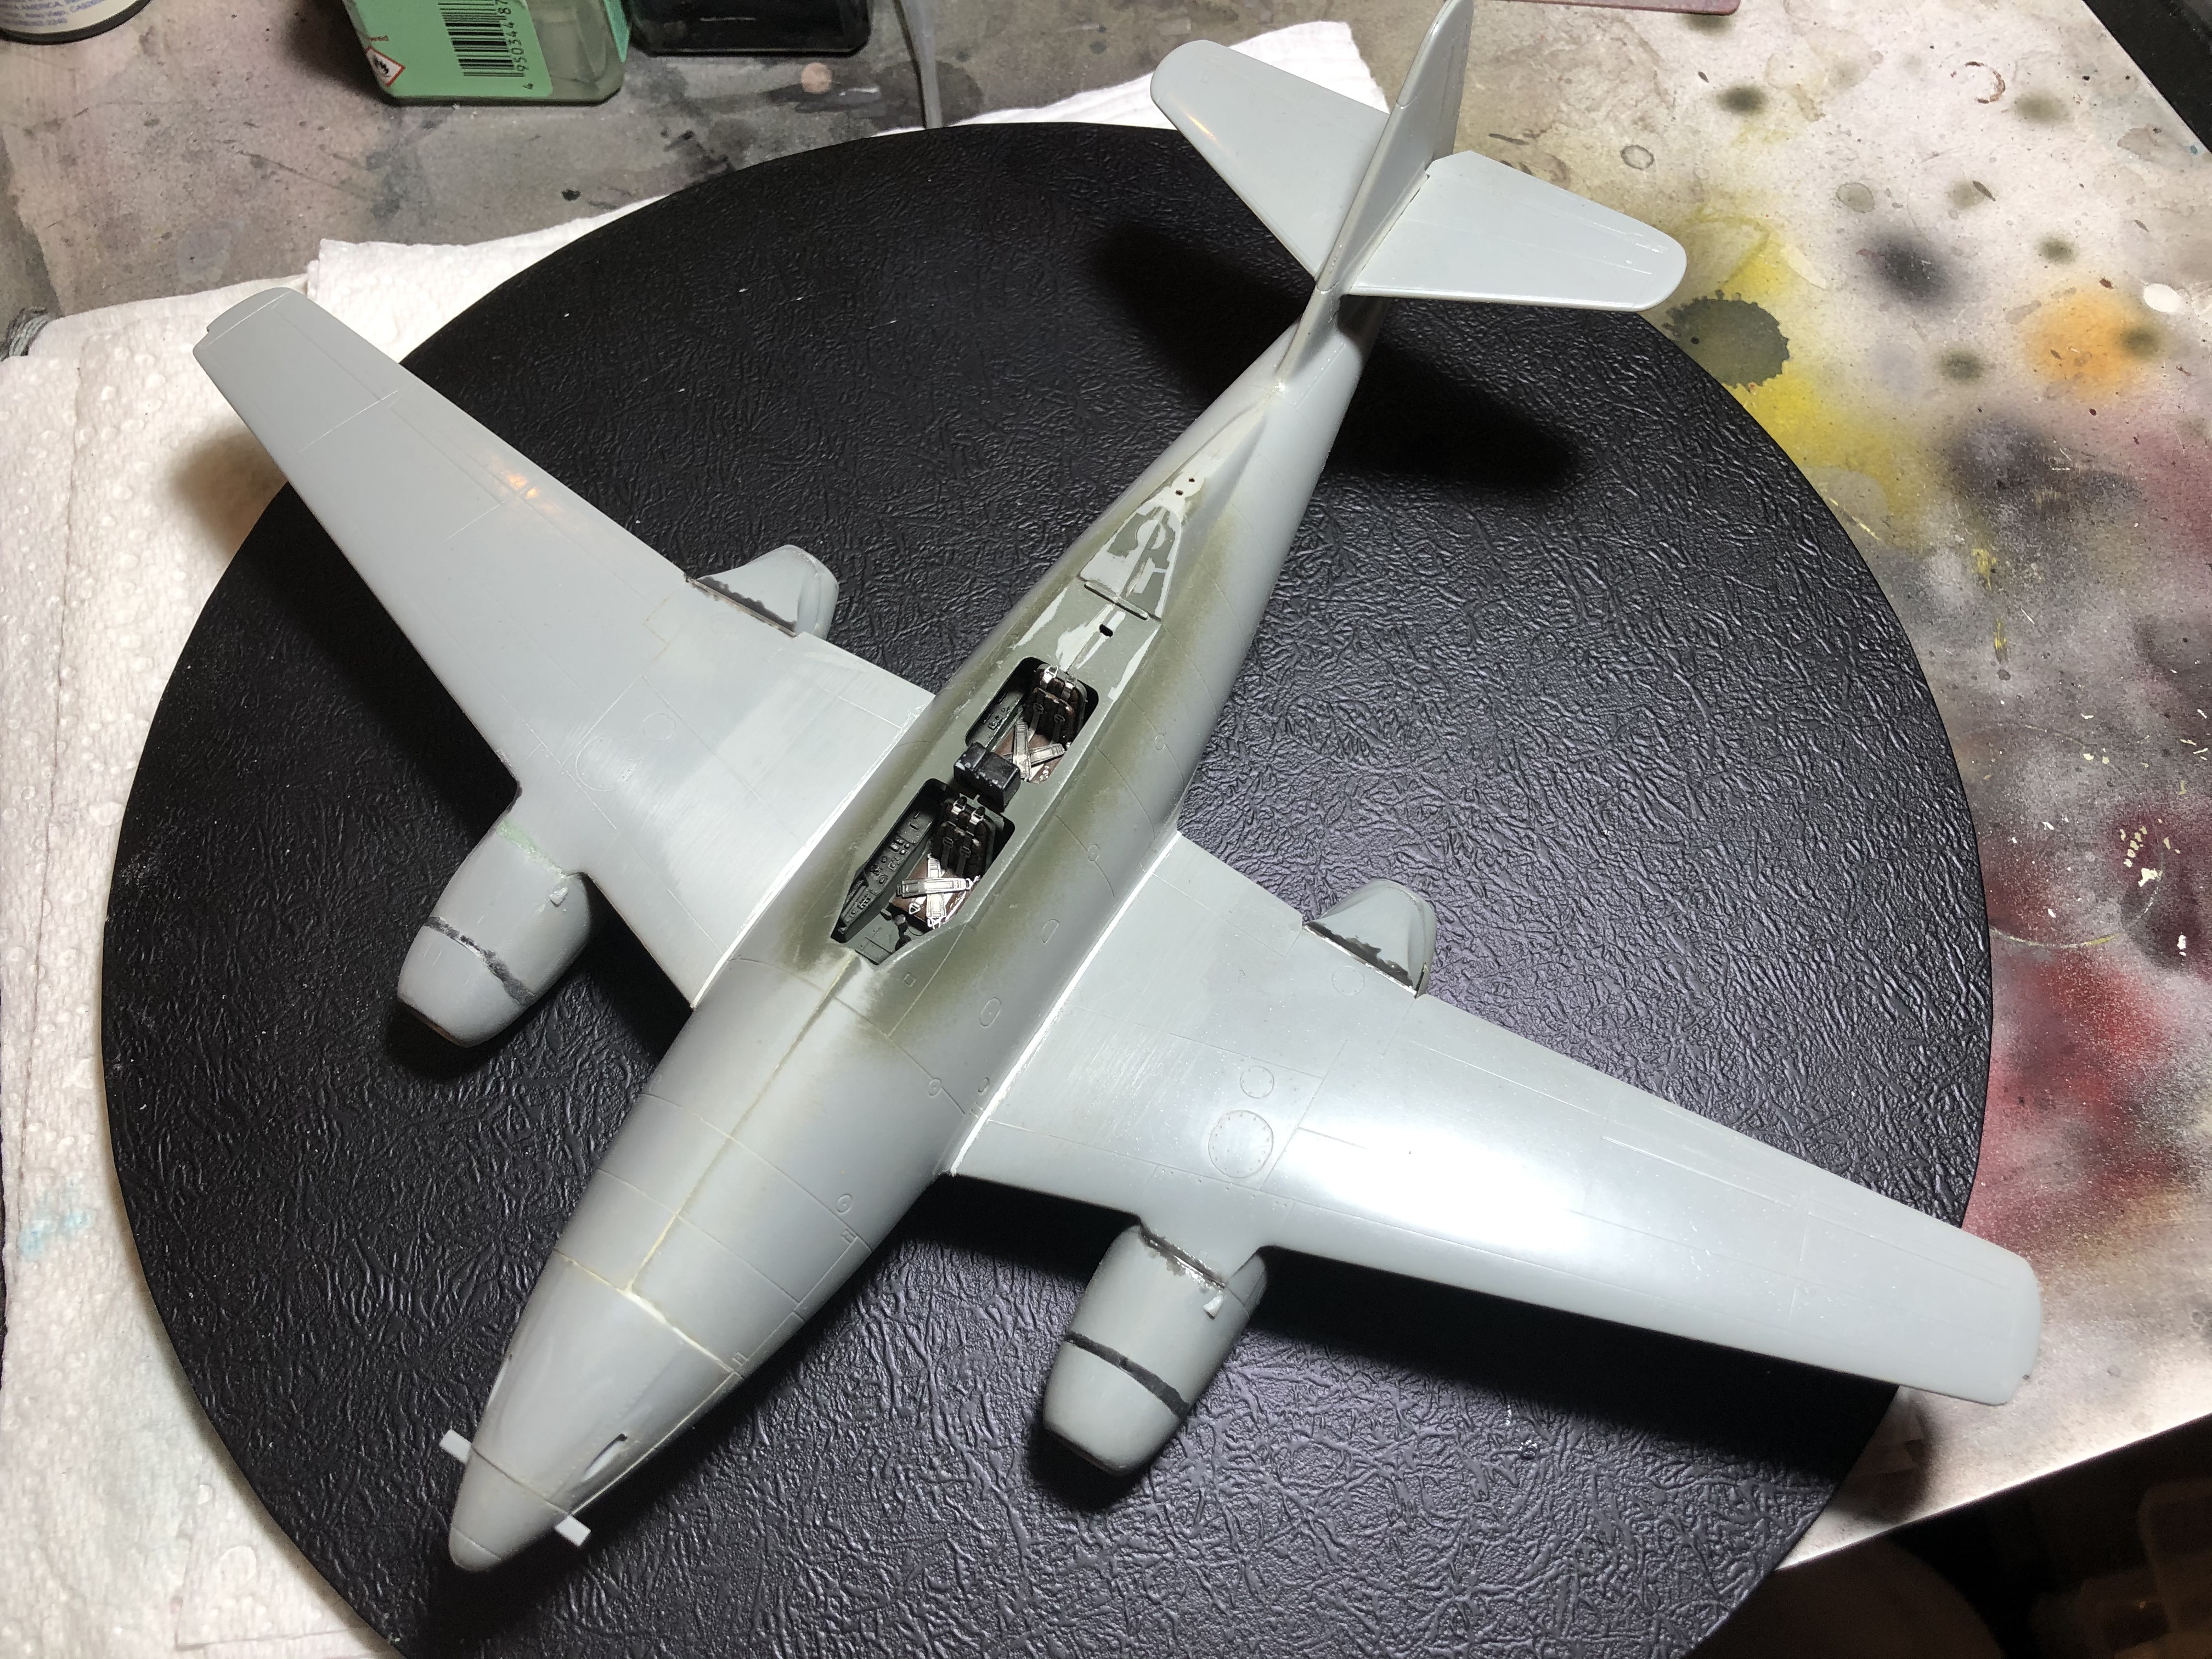
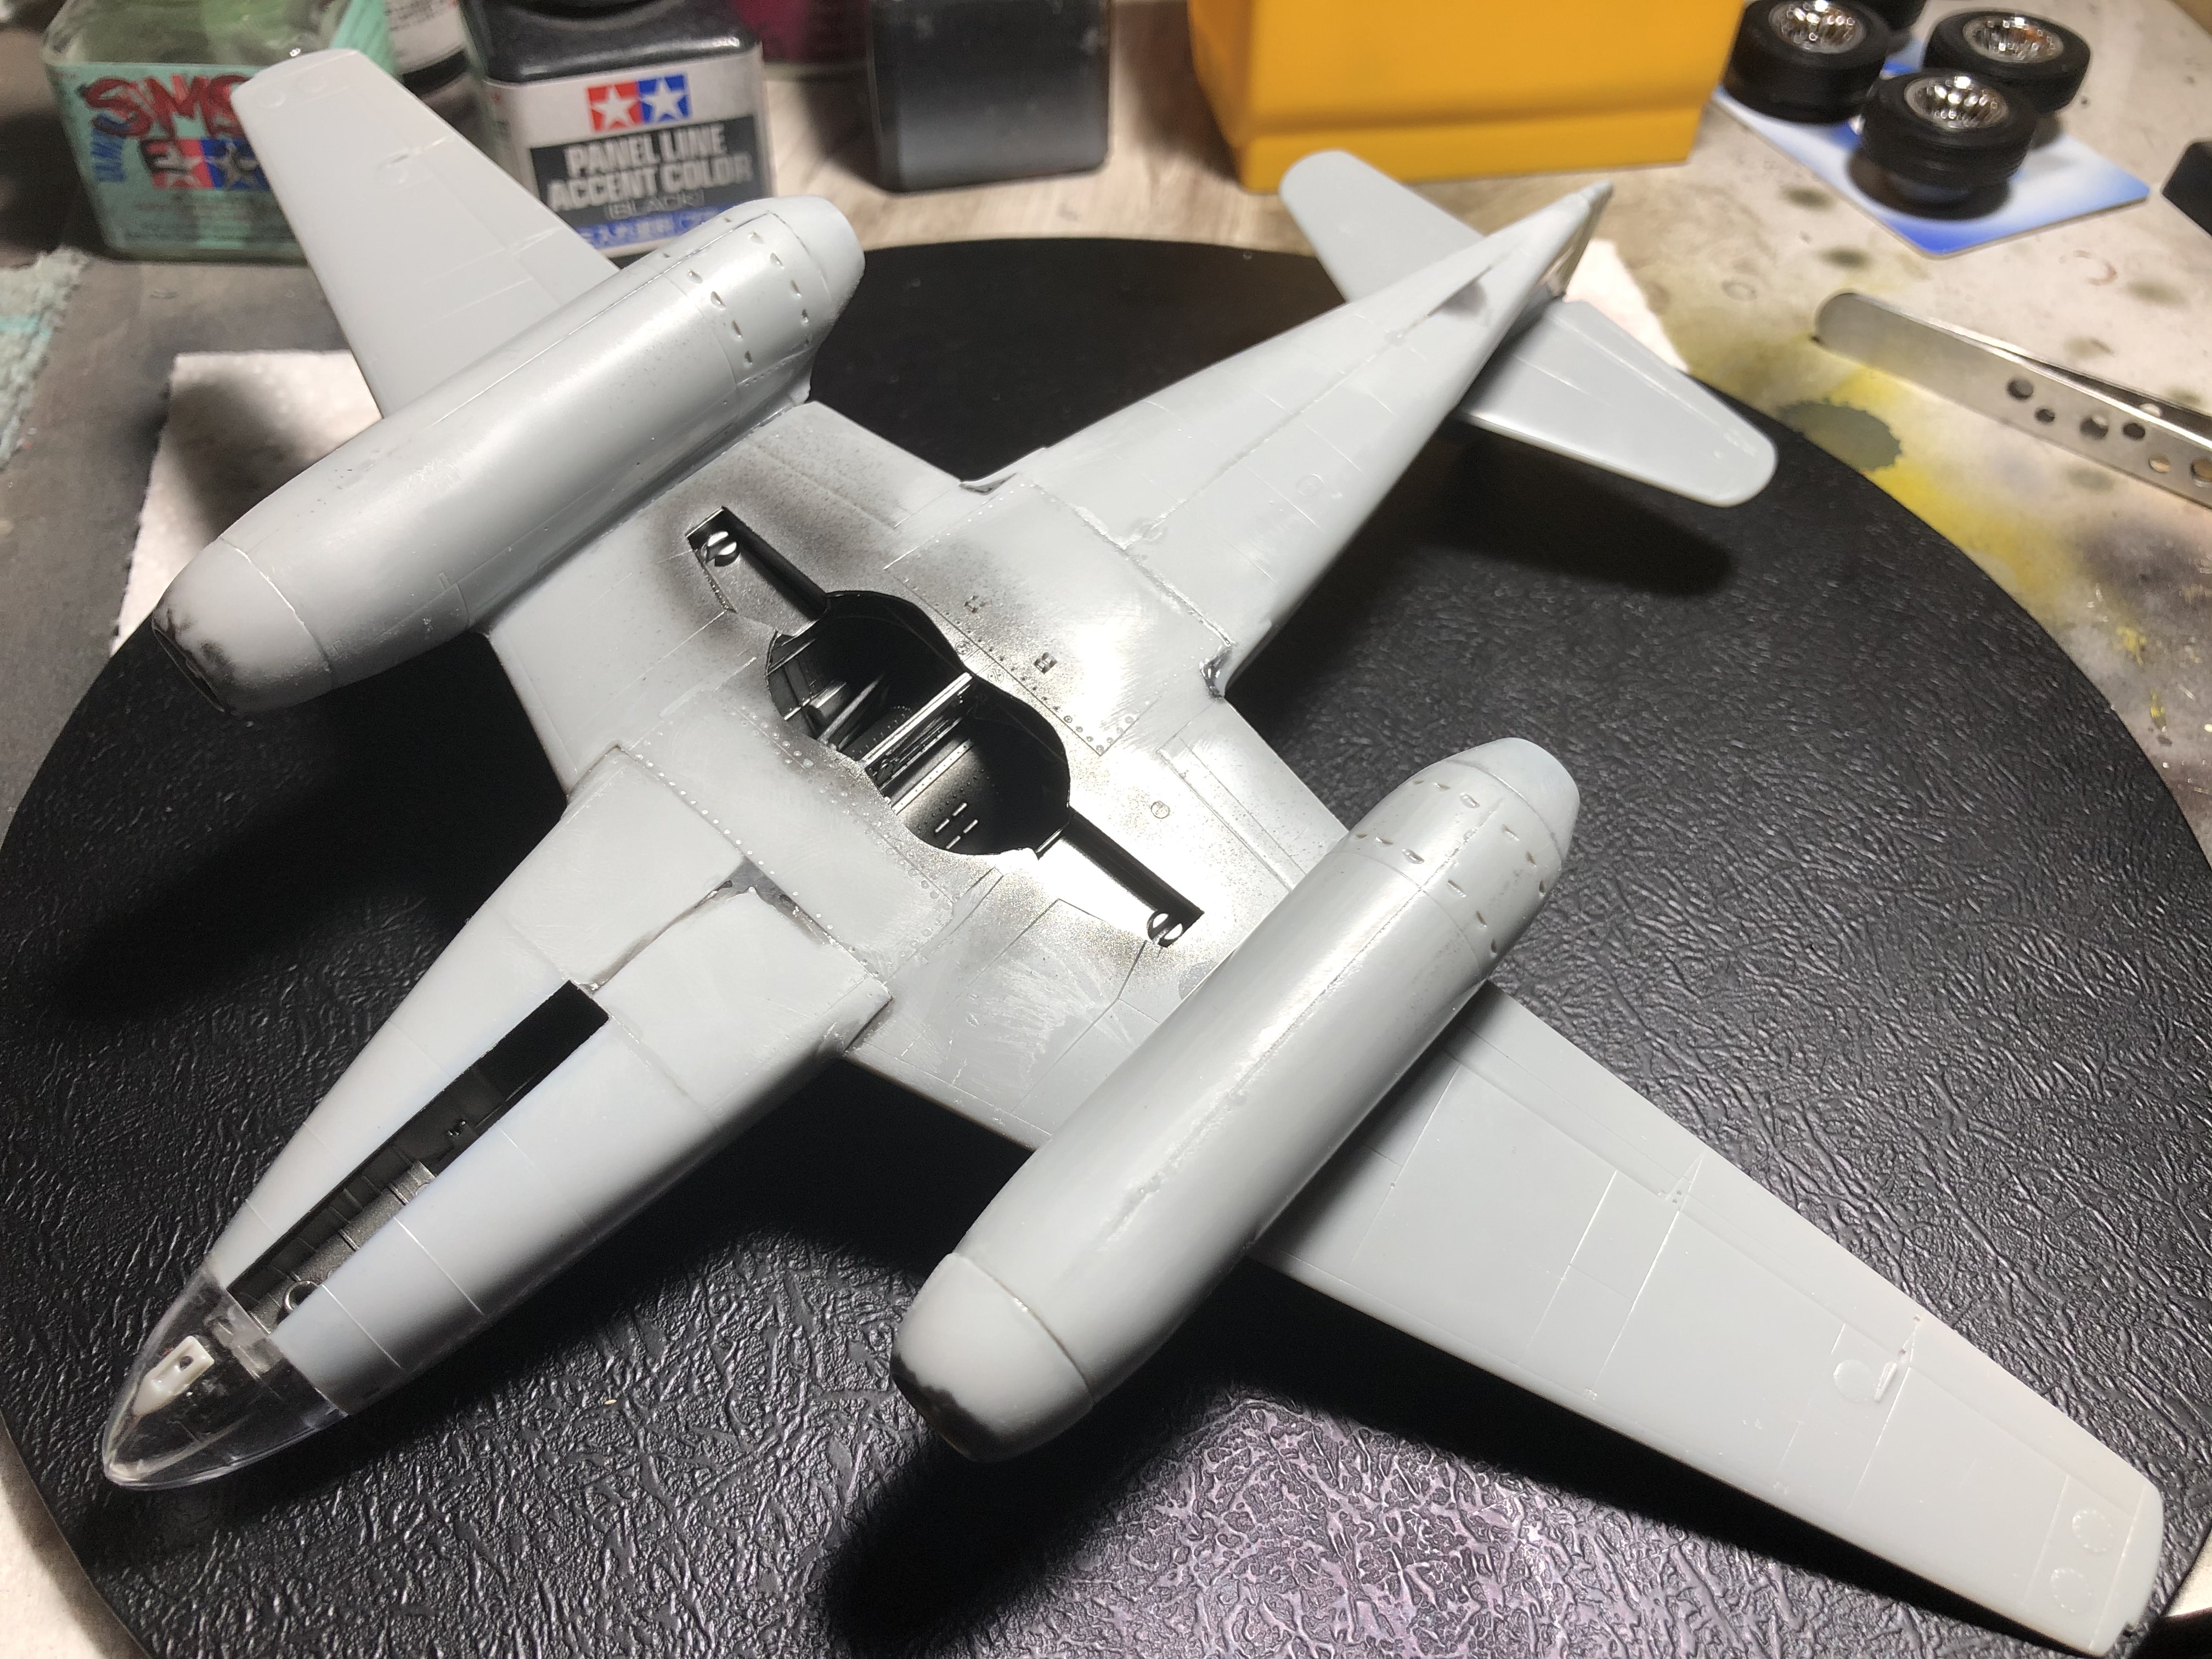
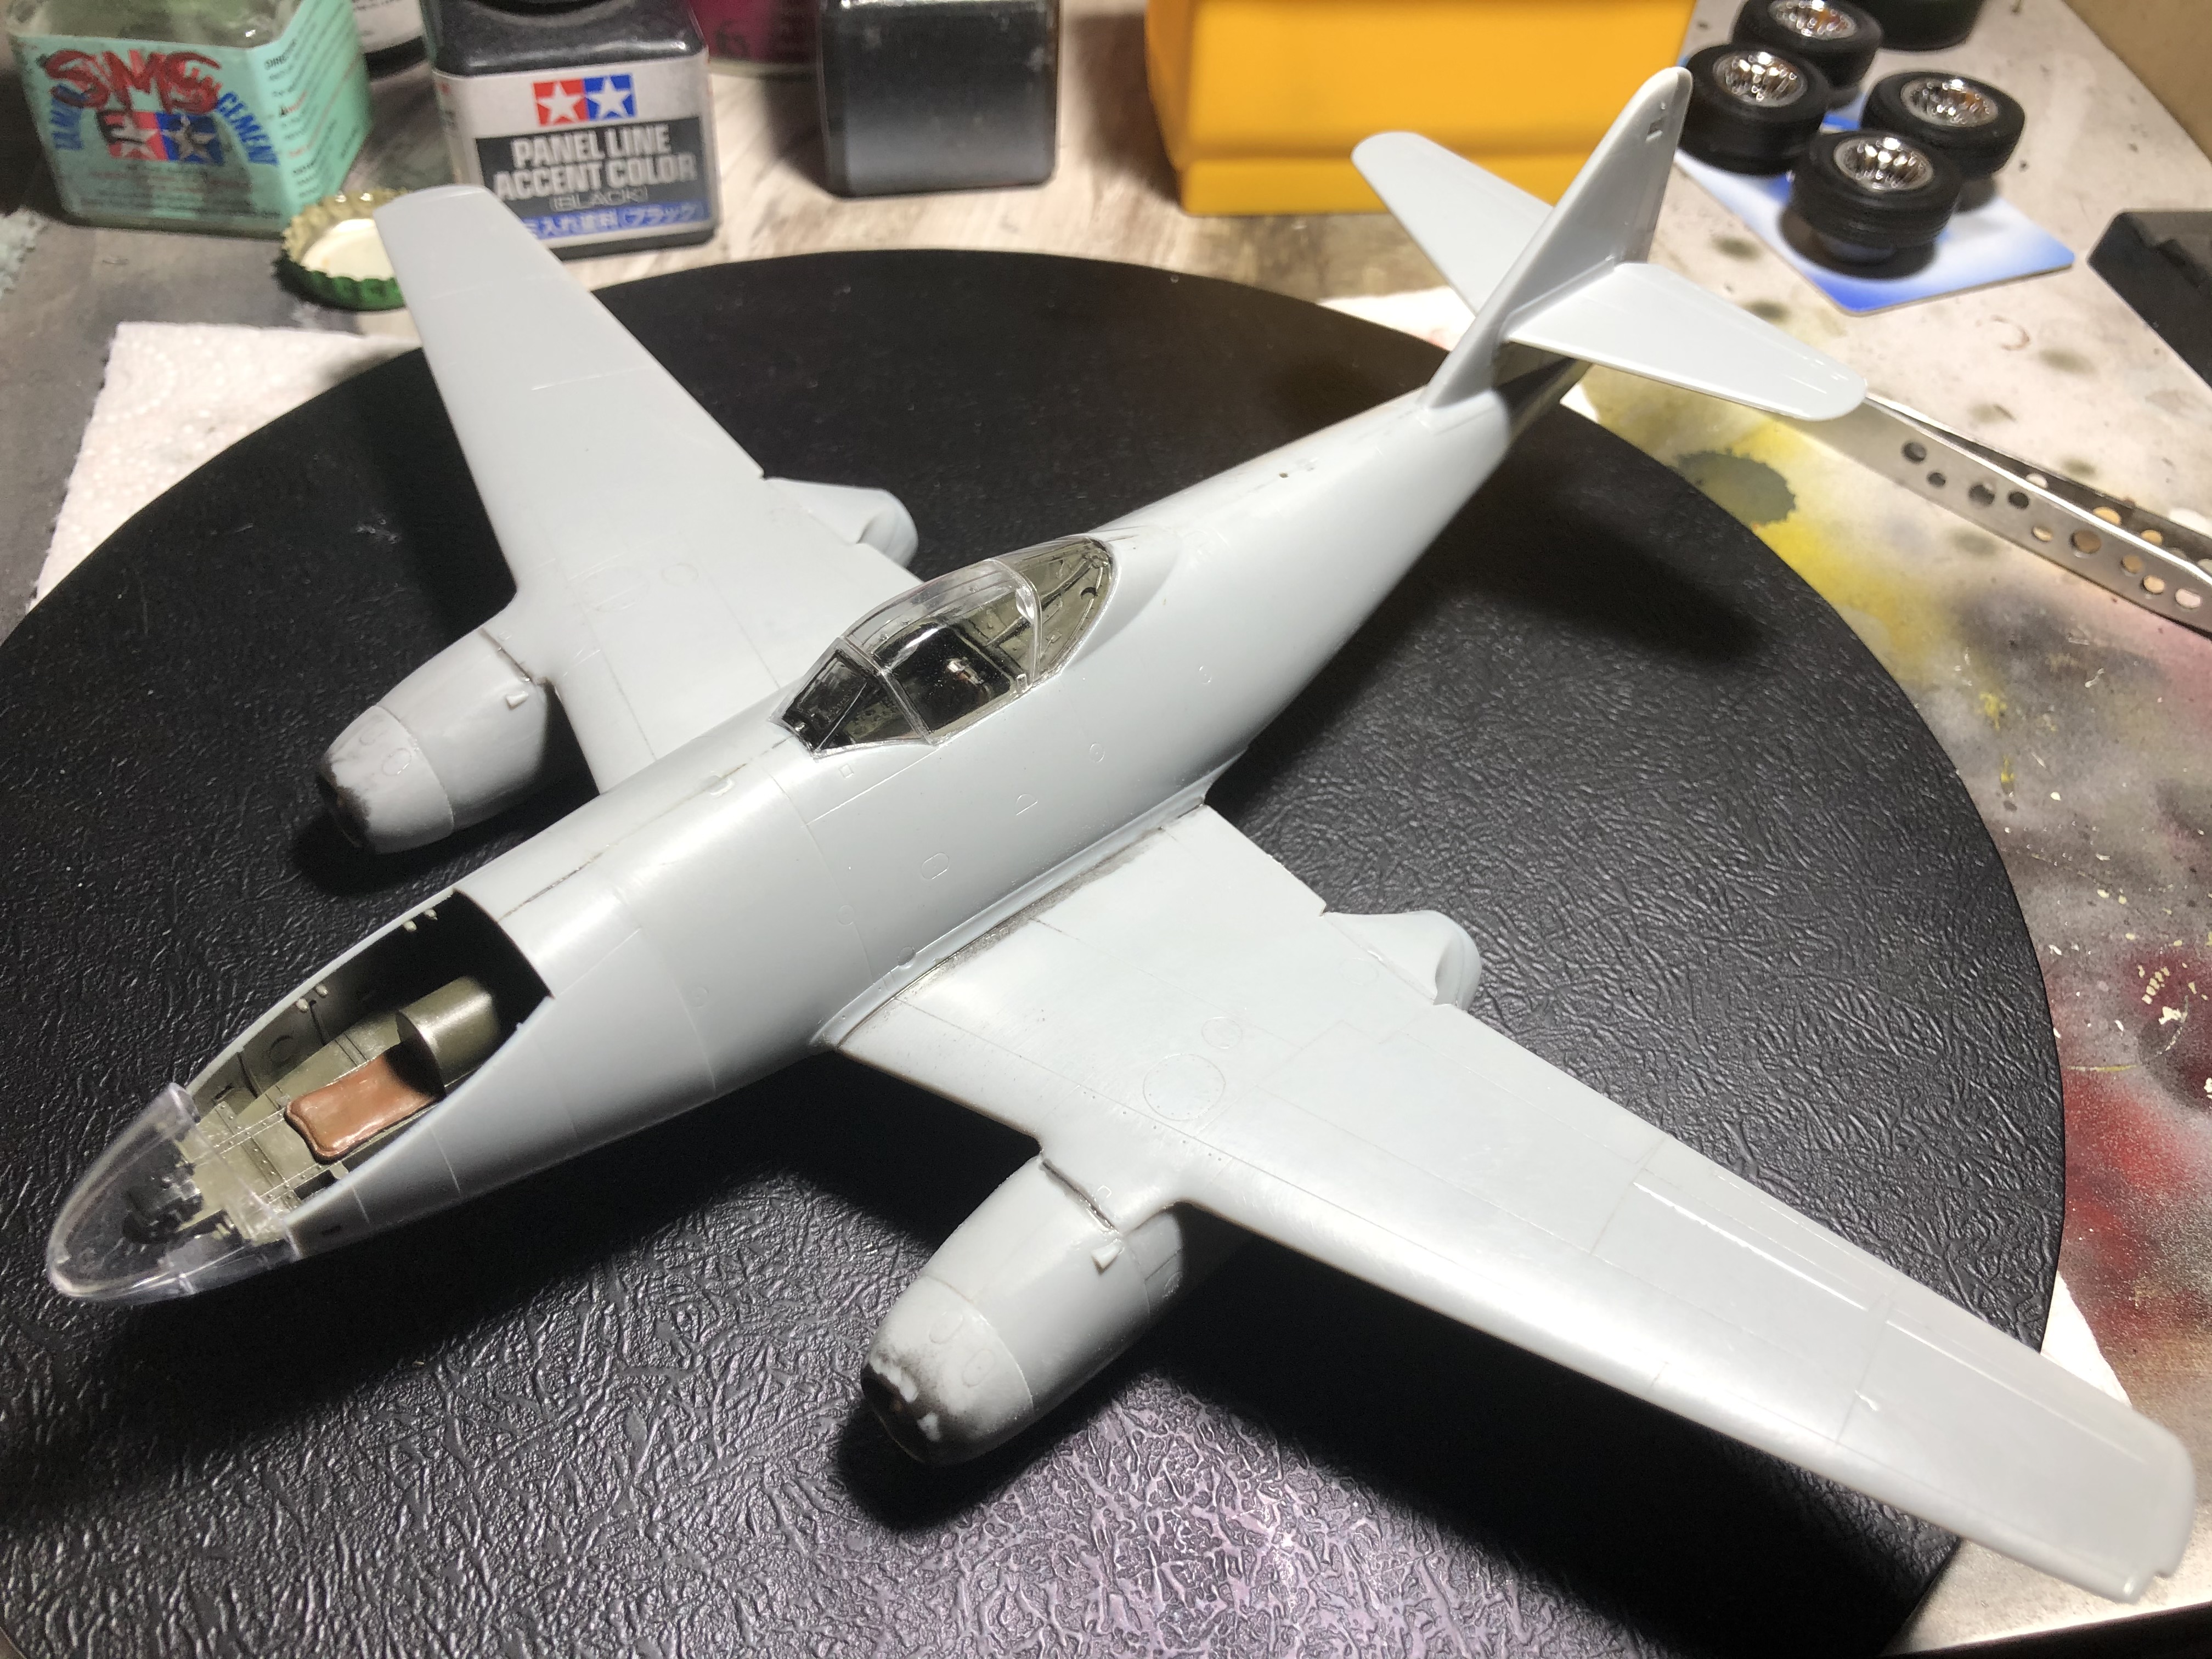
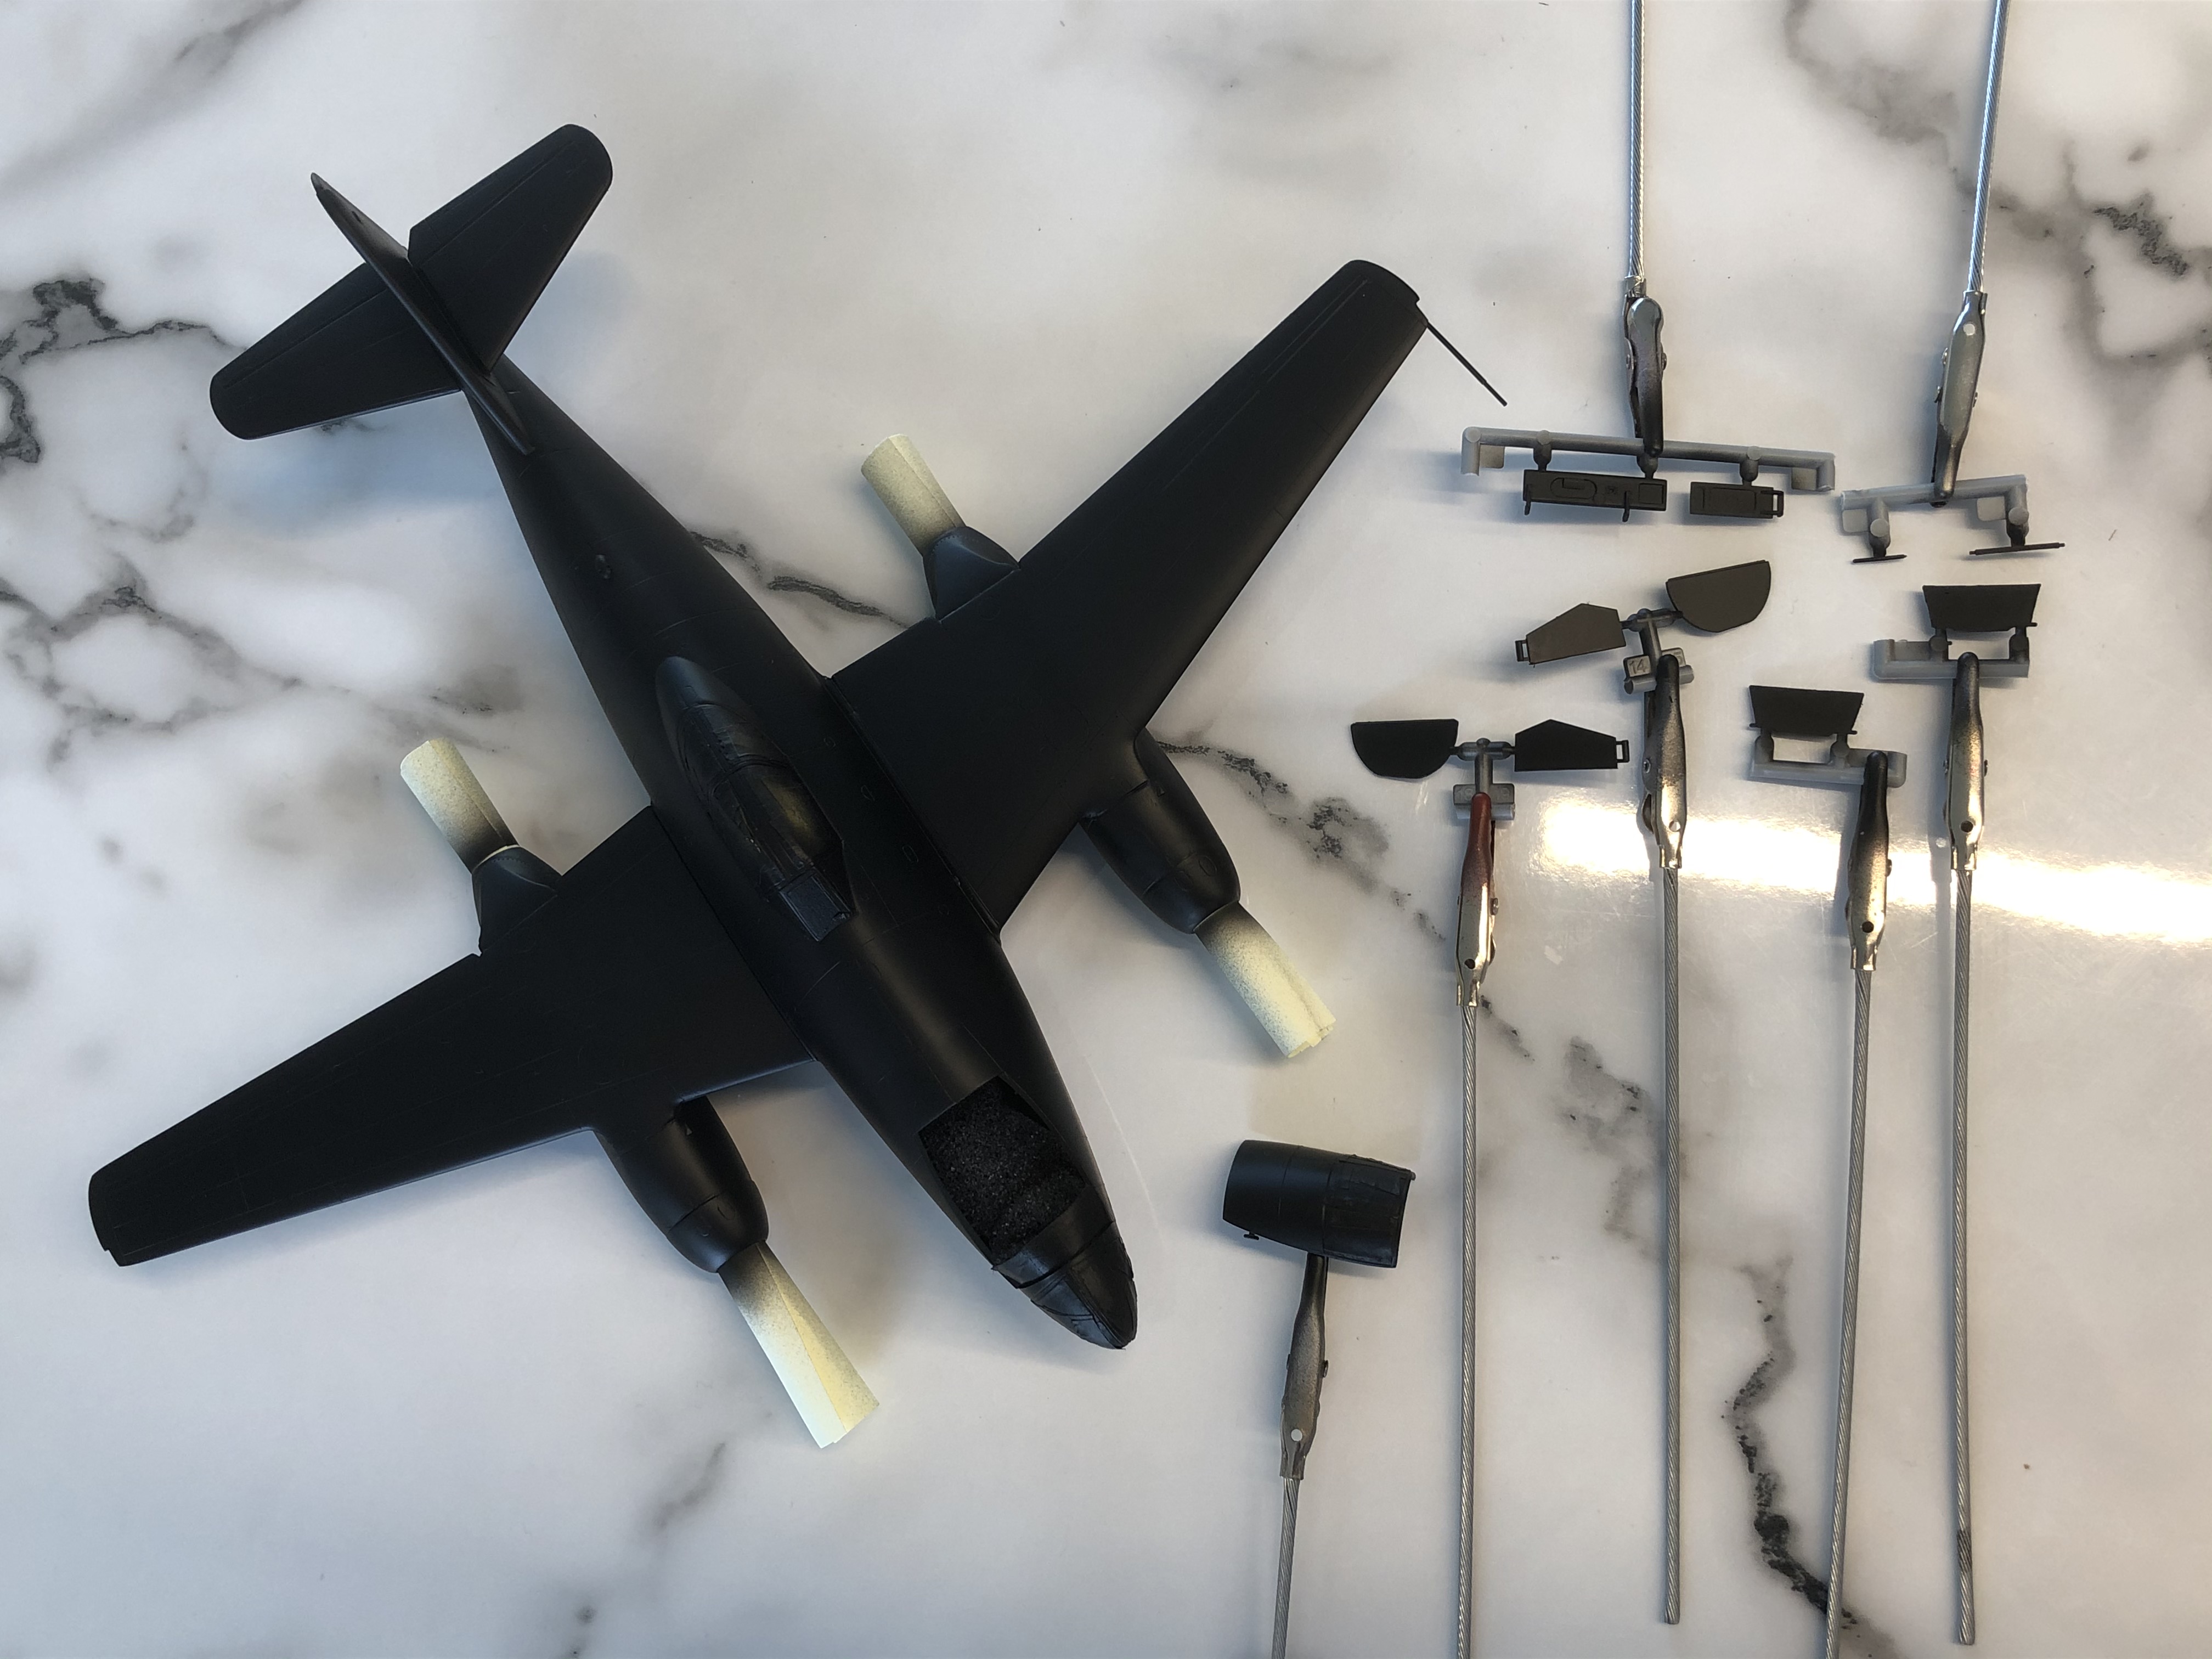
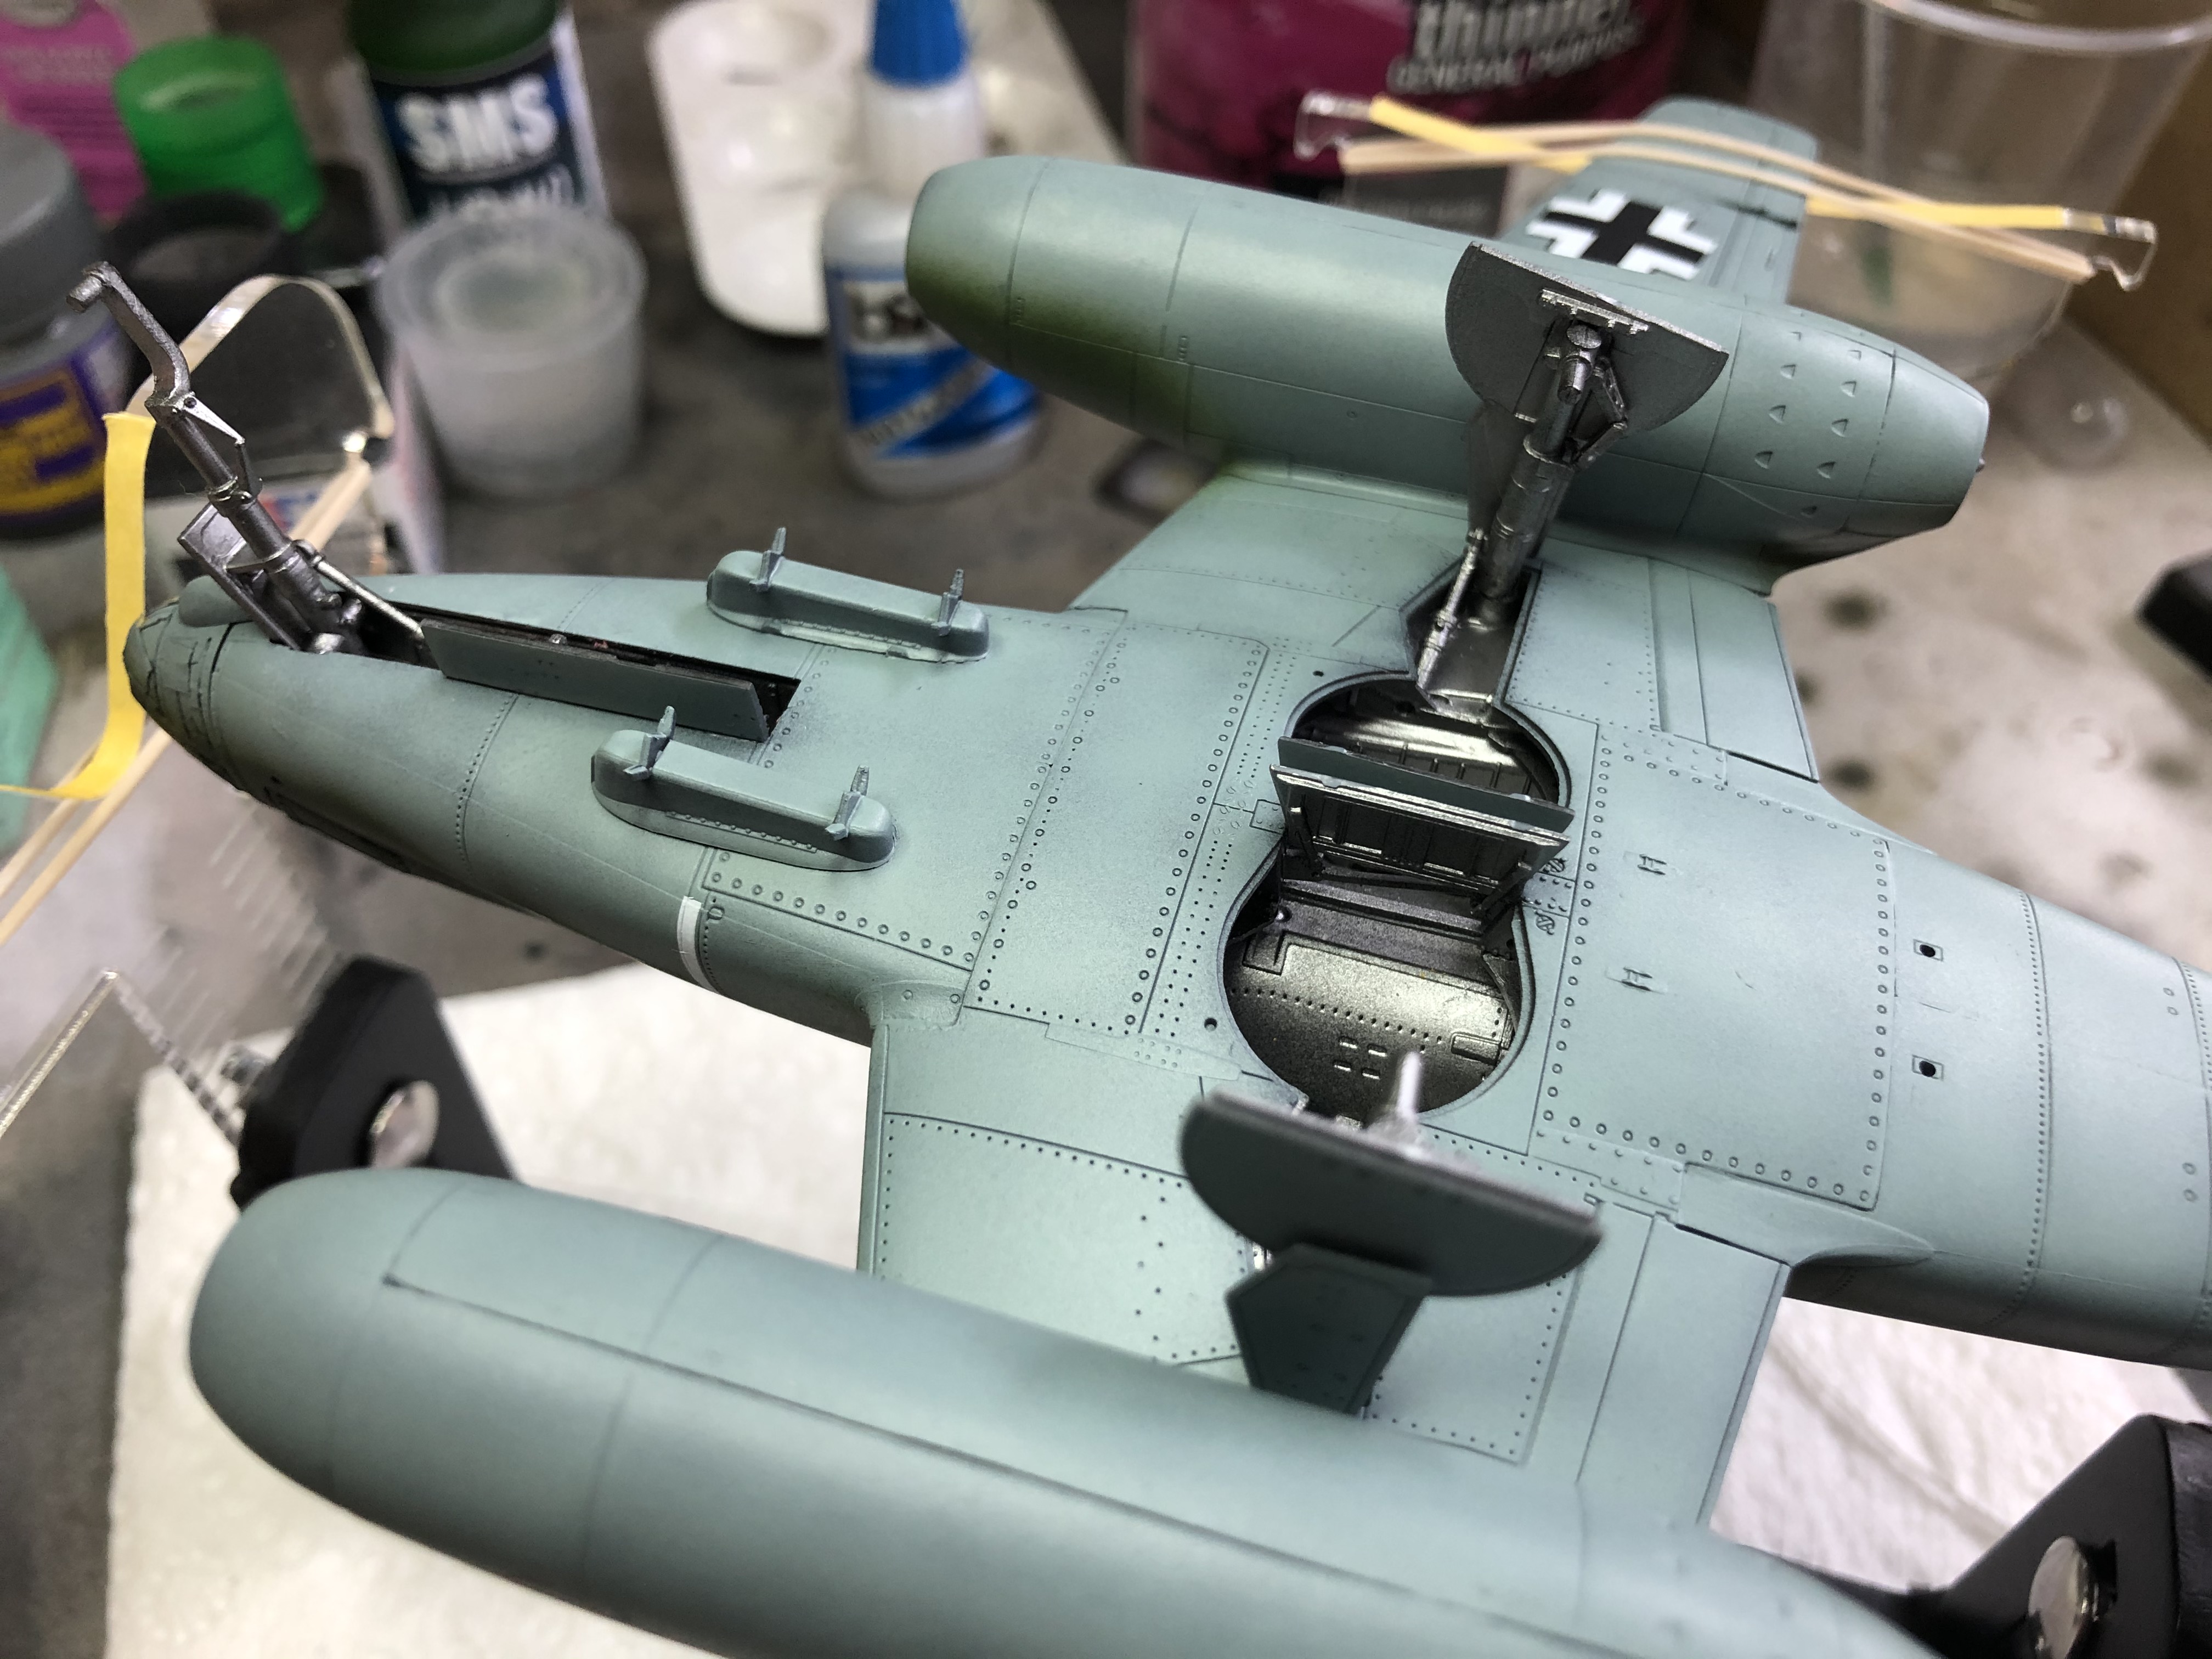
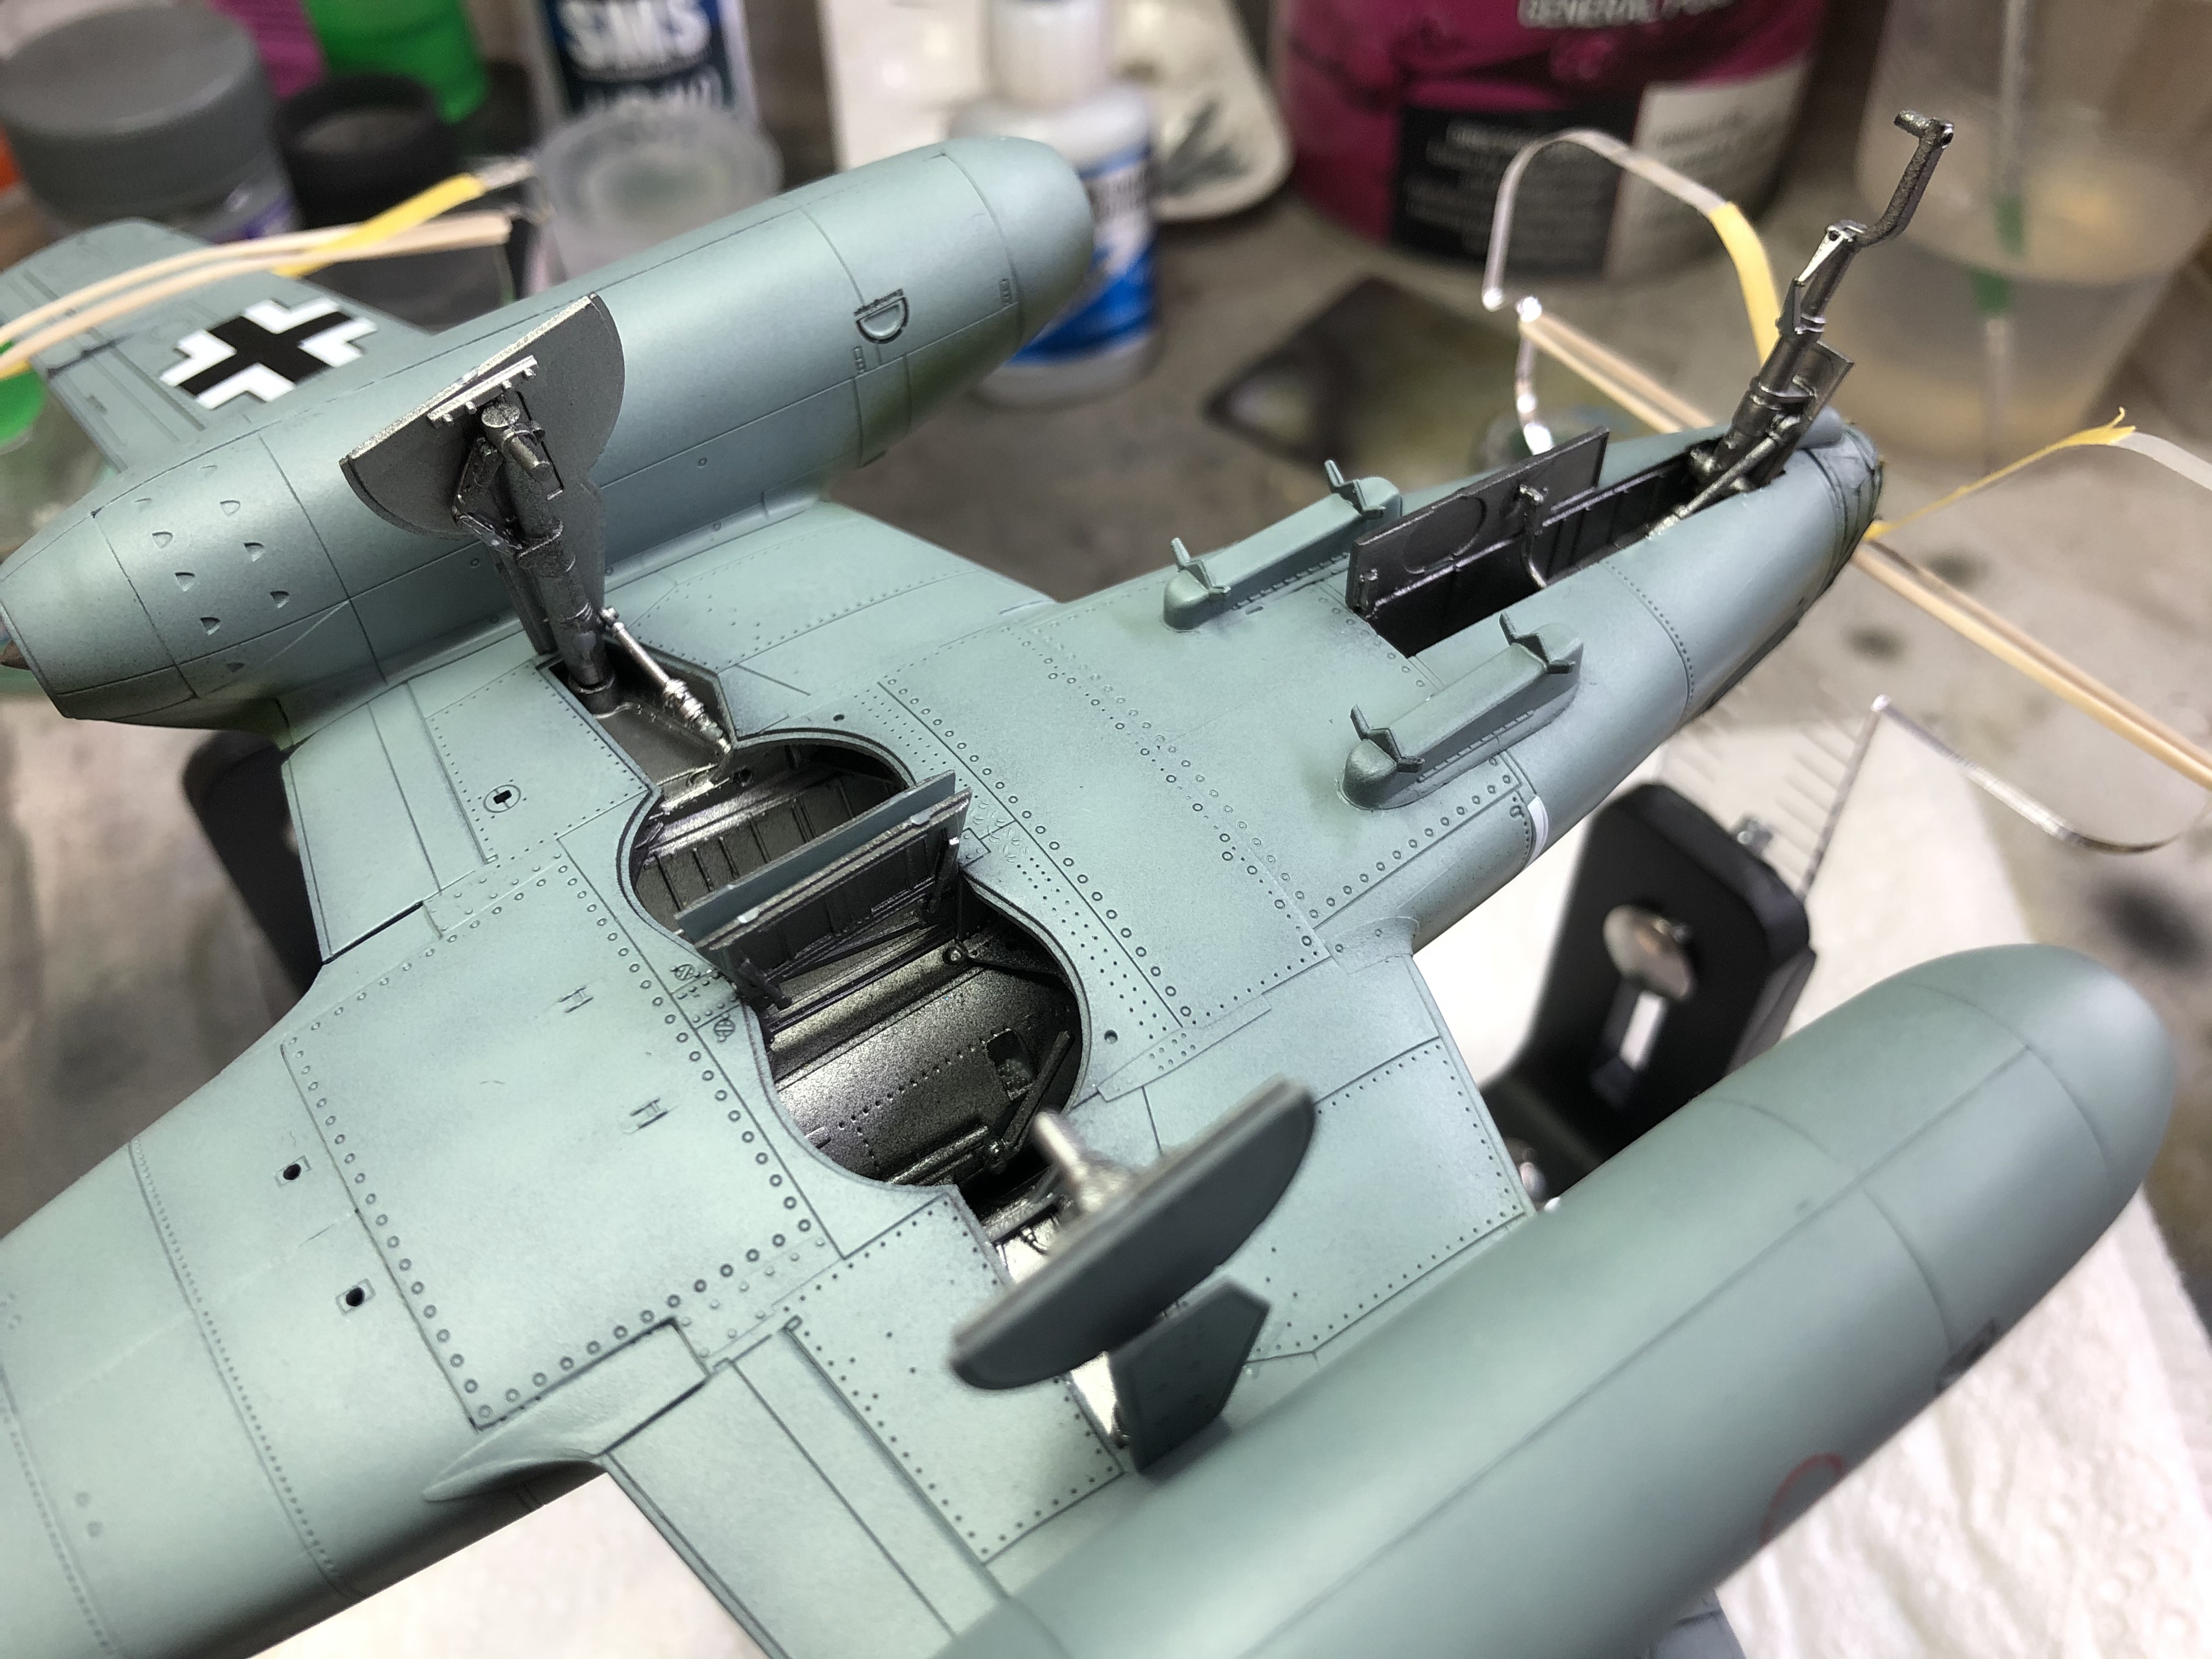
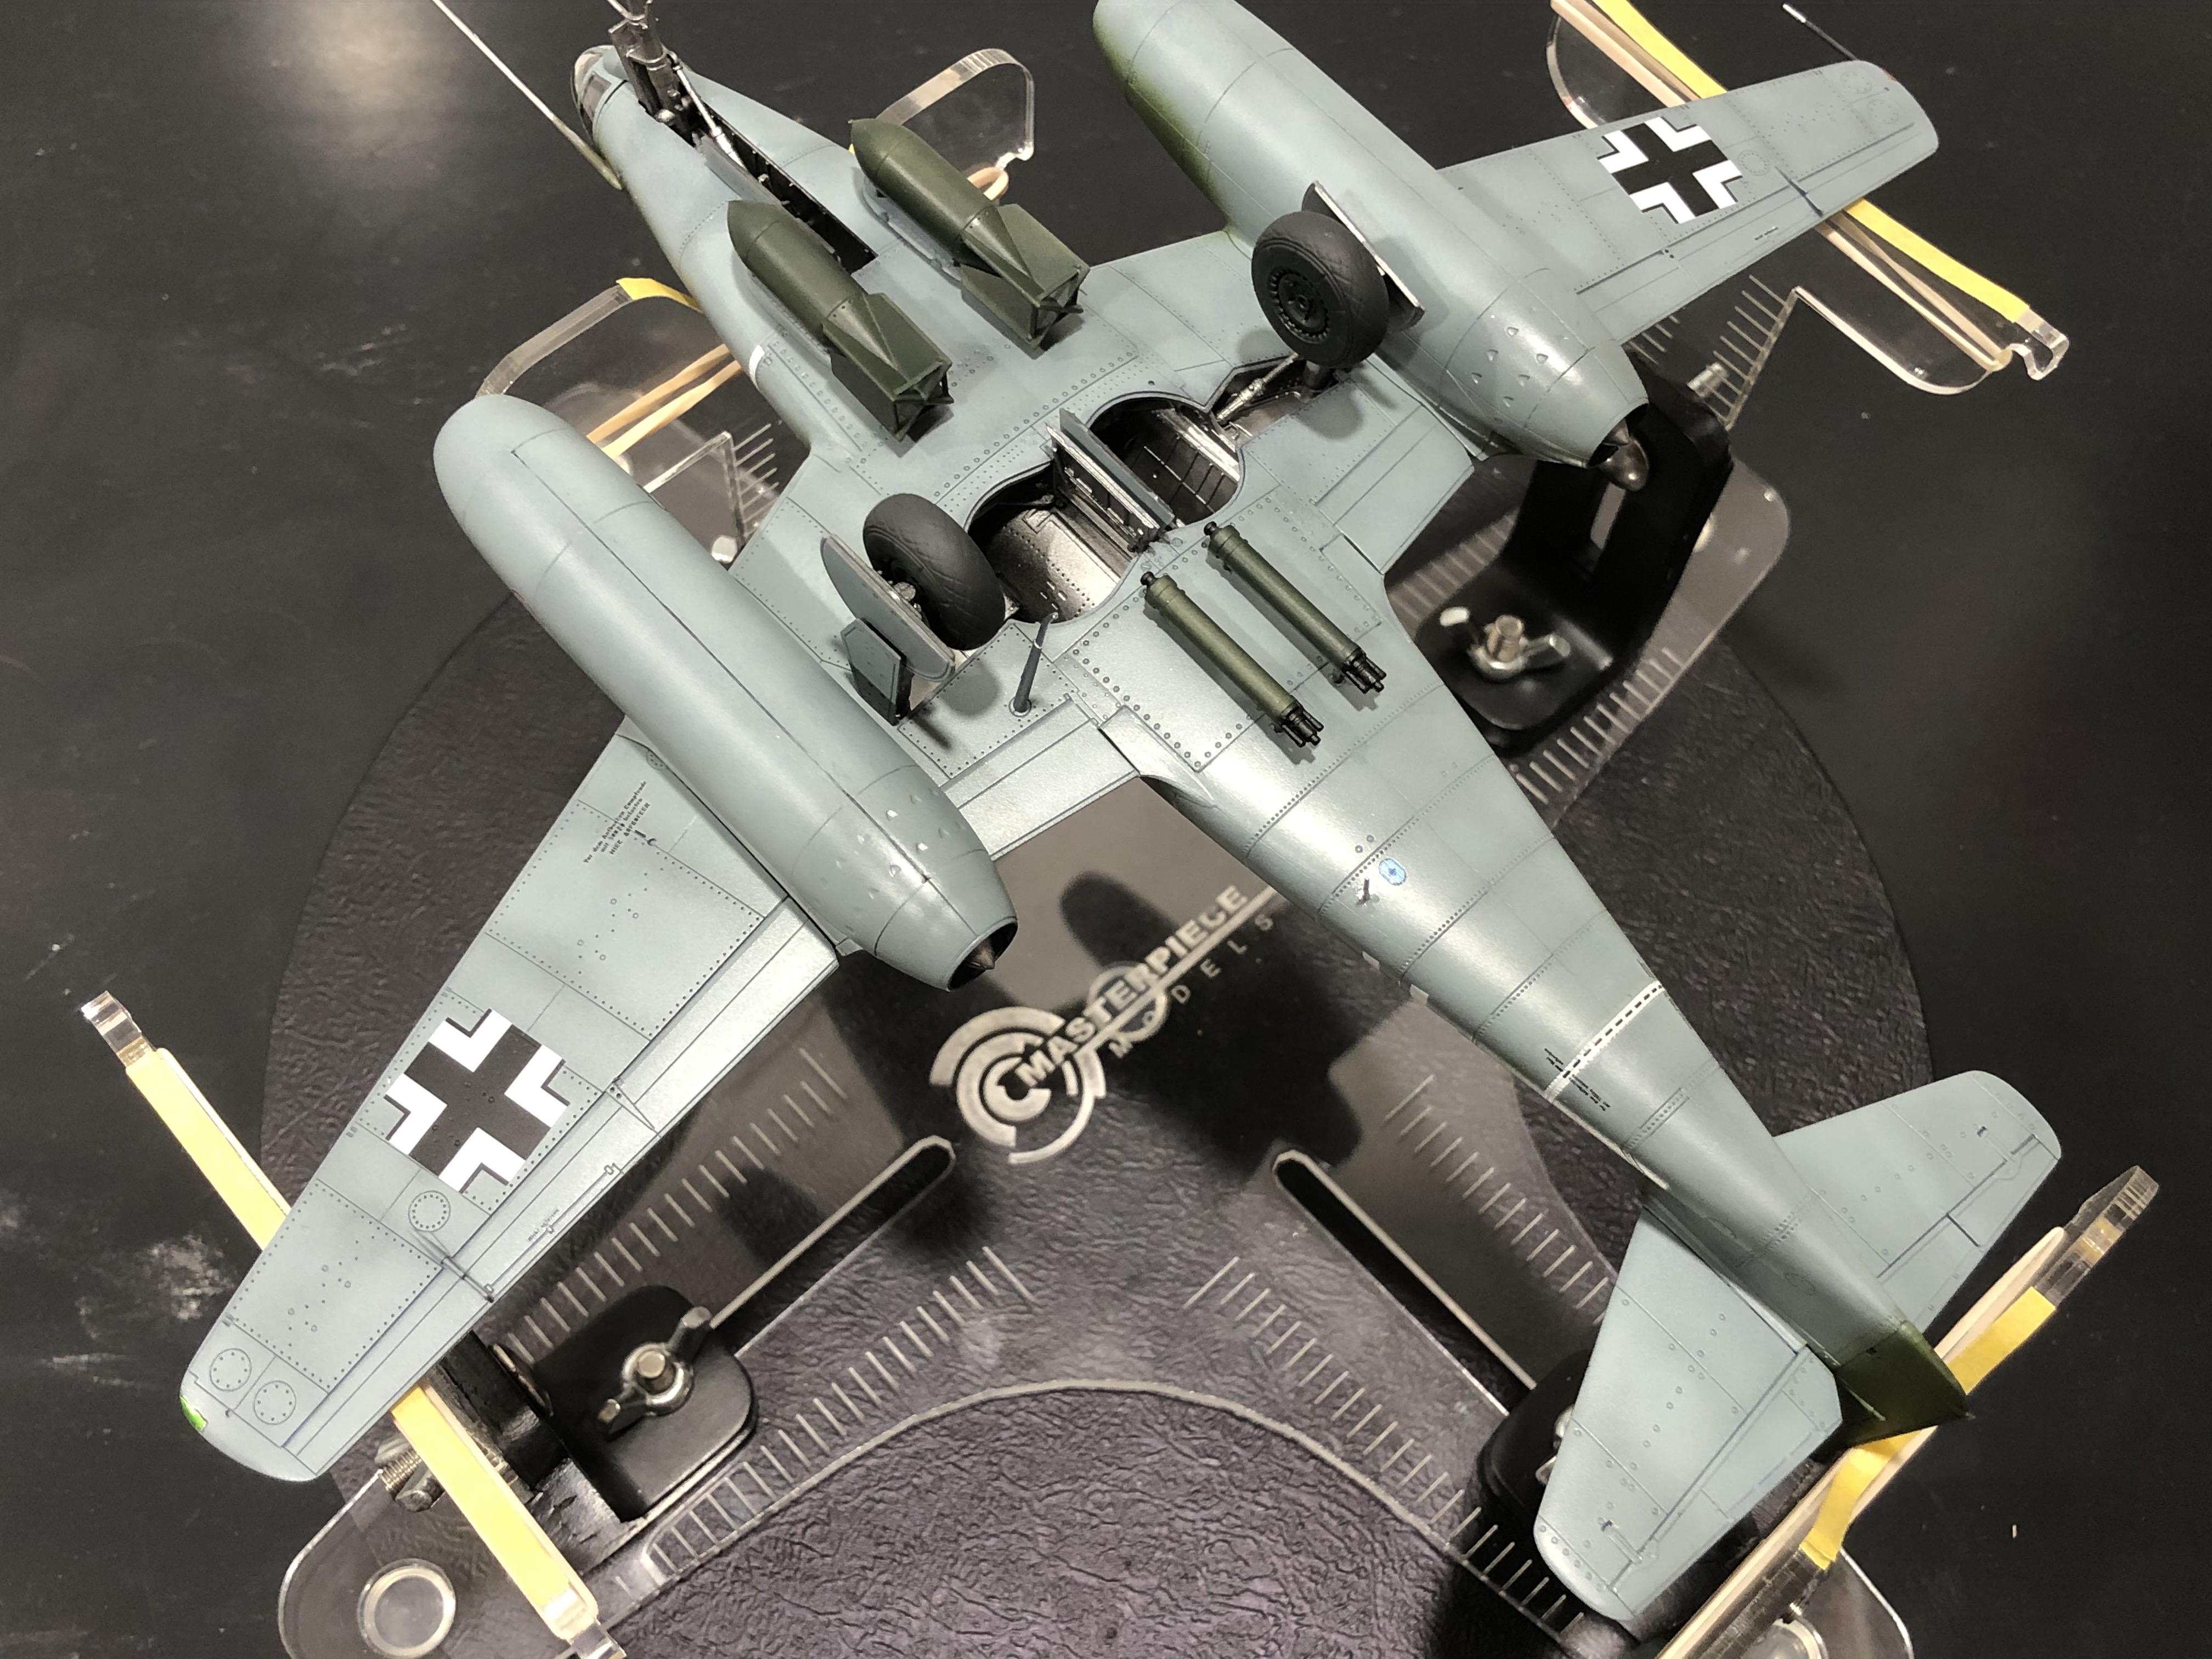
Really nice detail on the undercarriage legs with separate torque links that fit together perfectly.
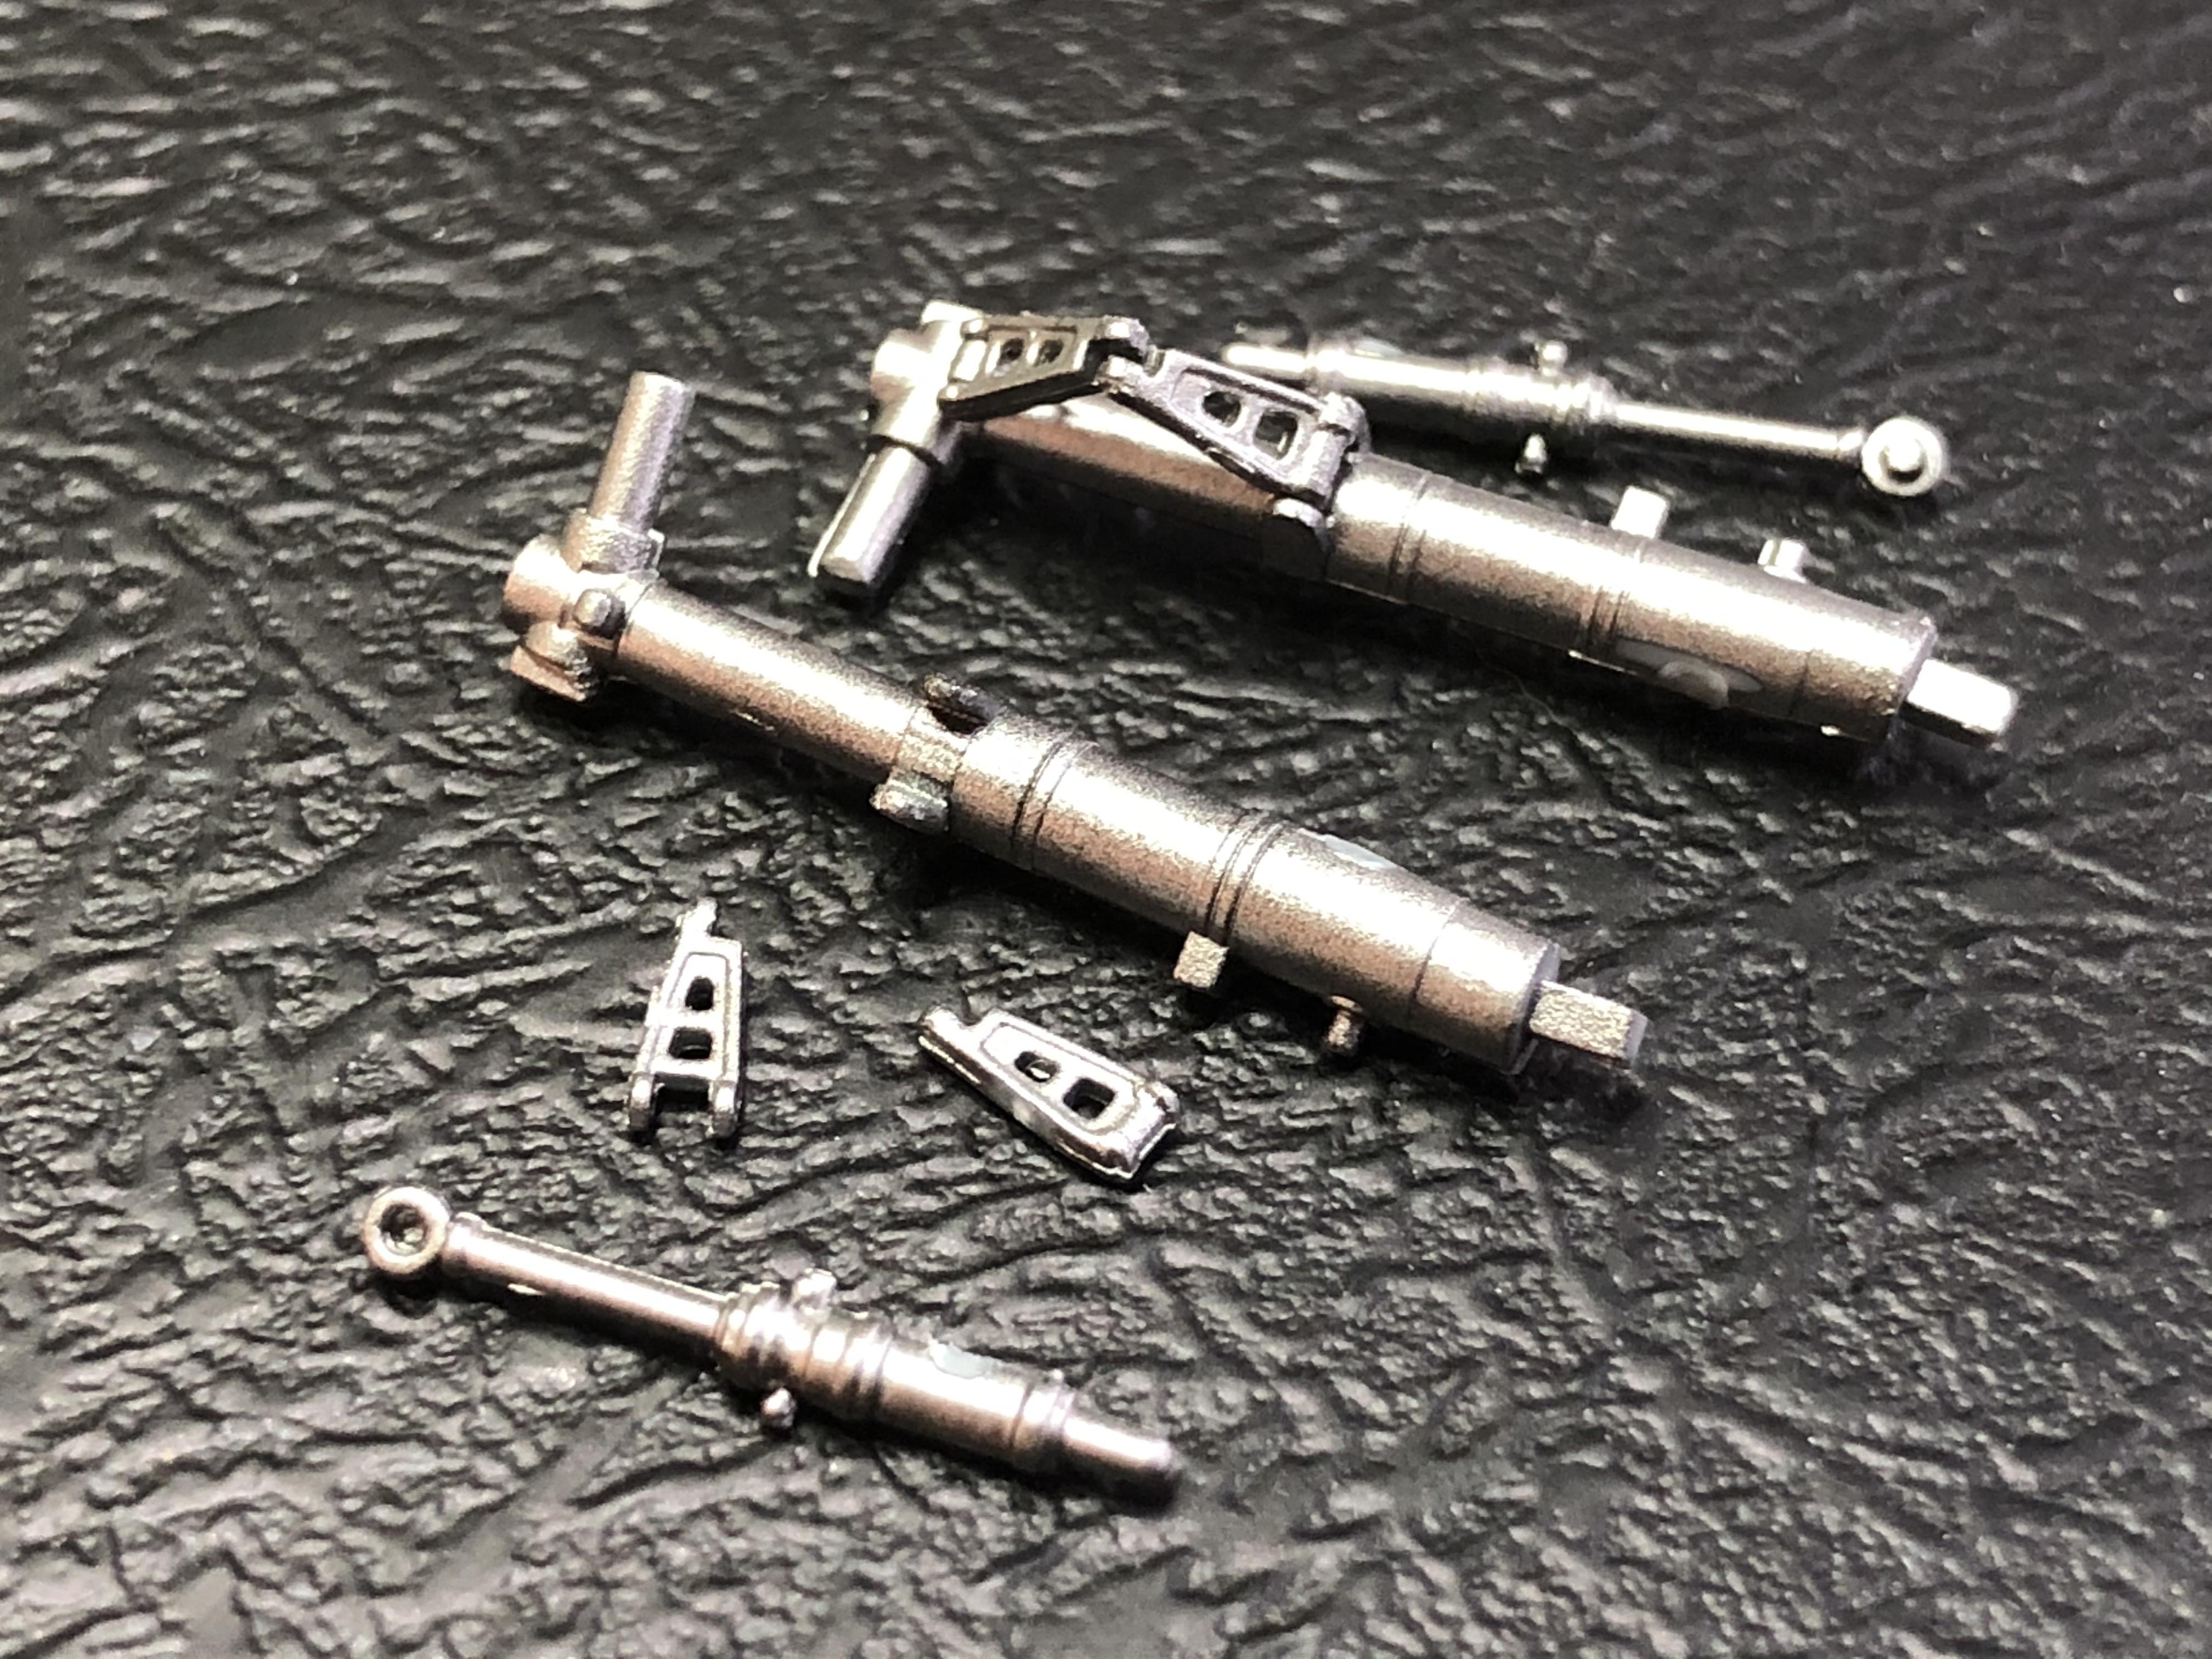
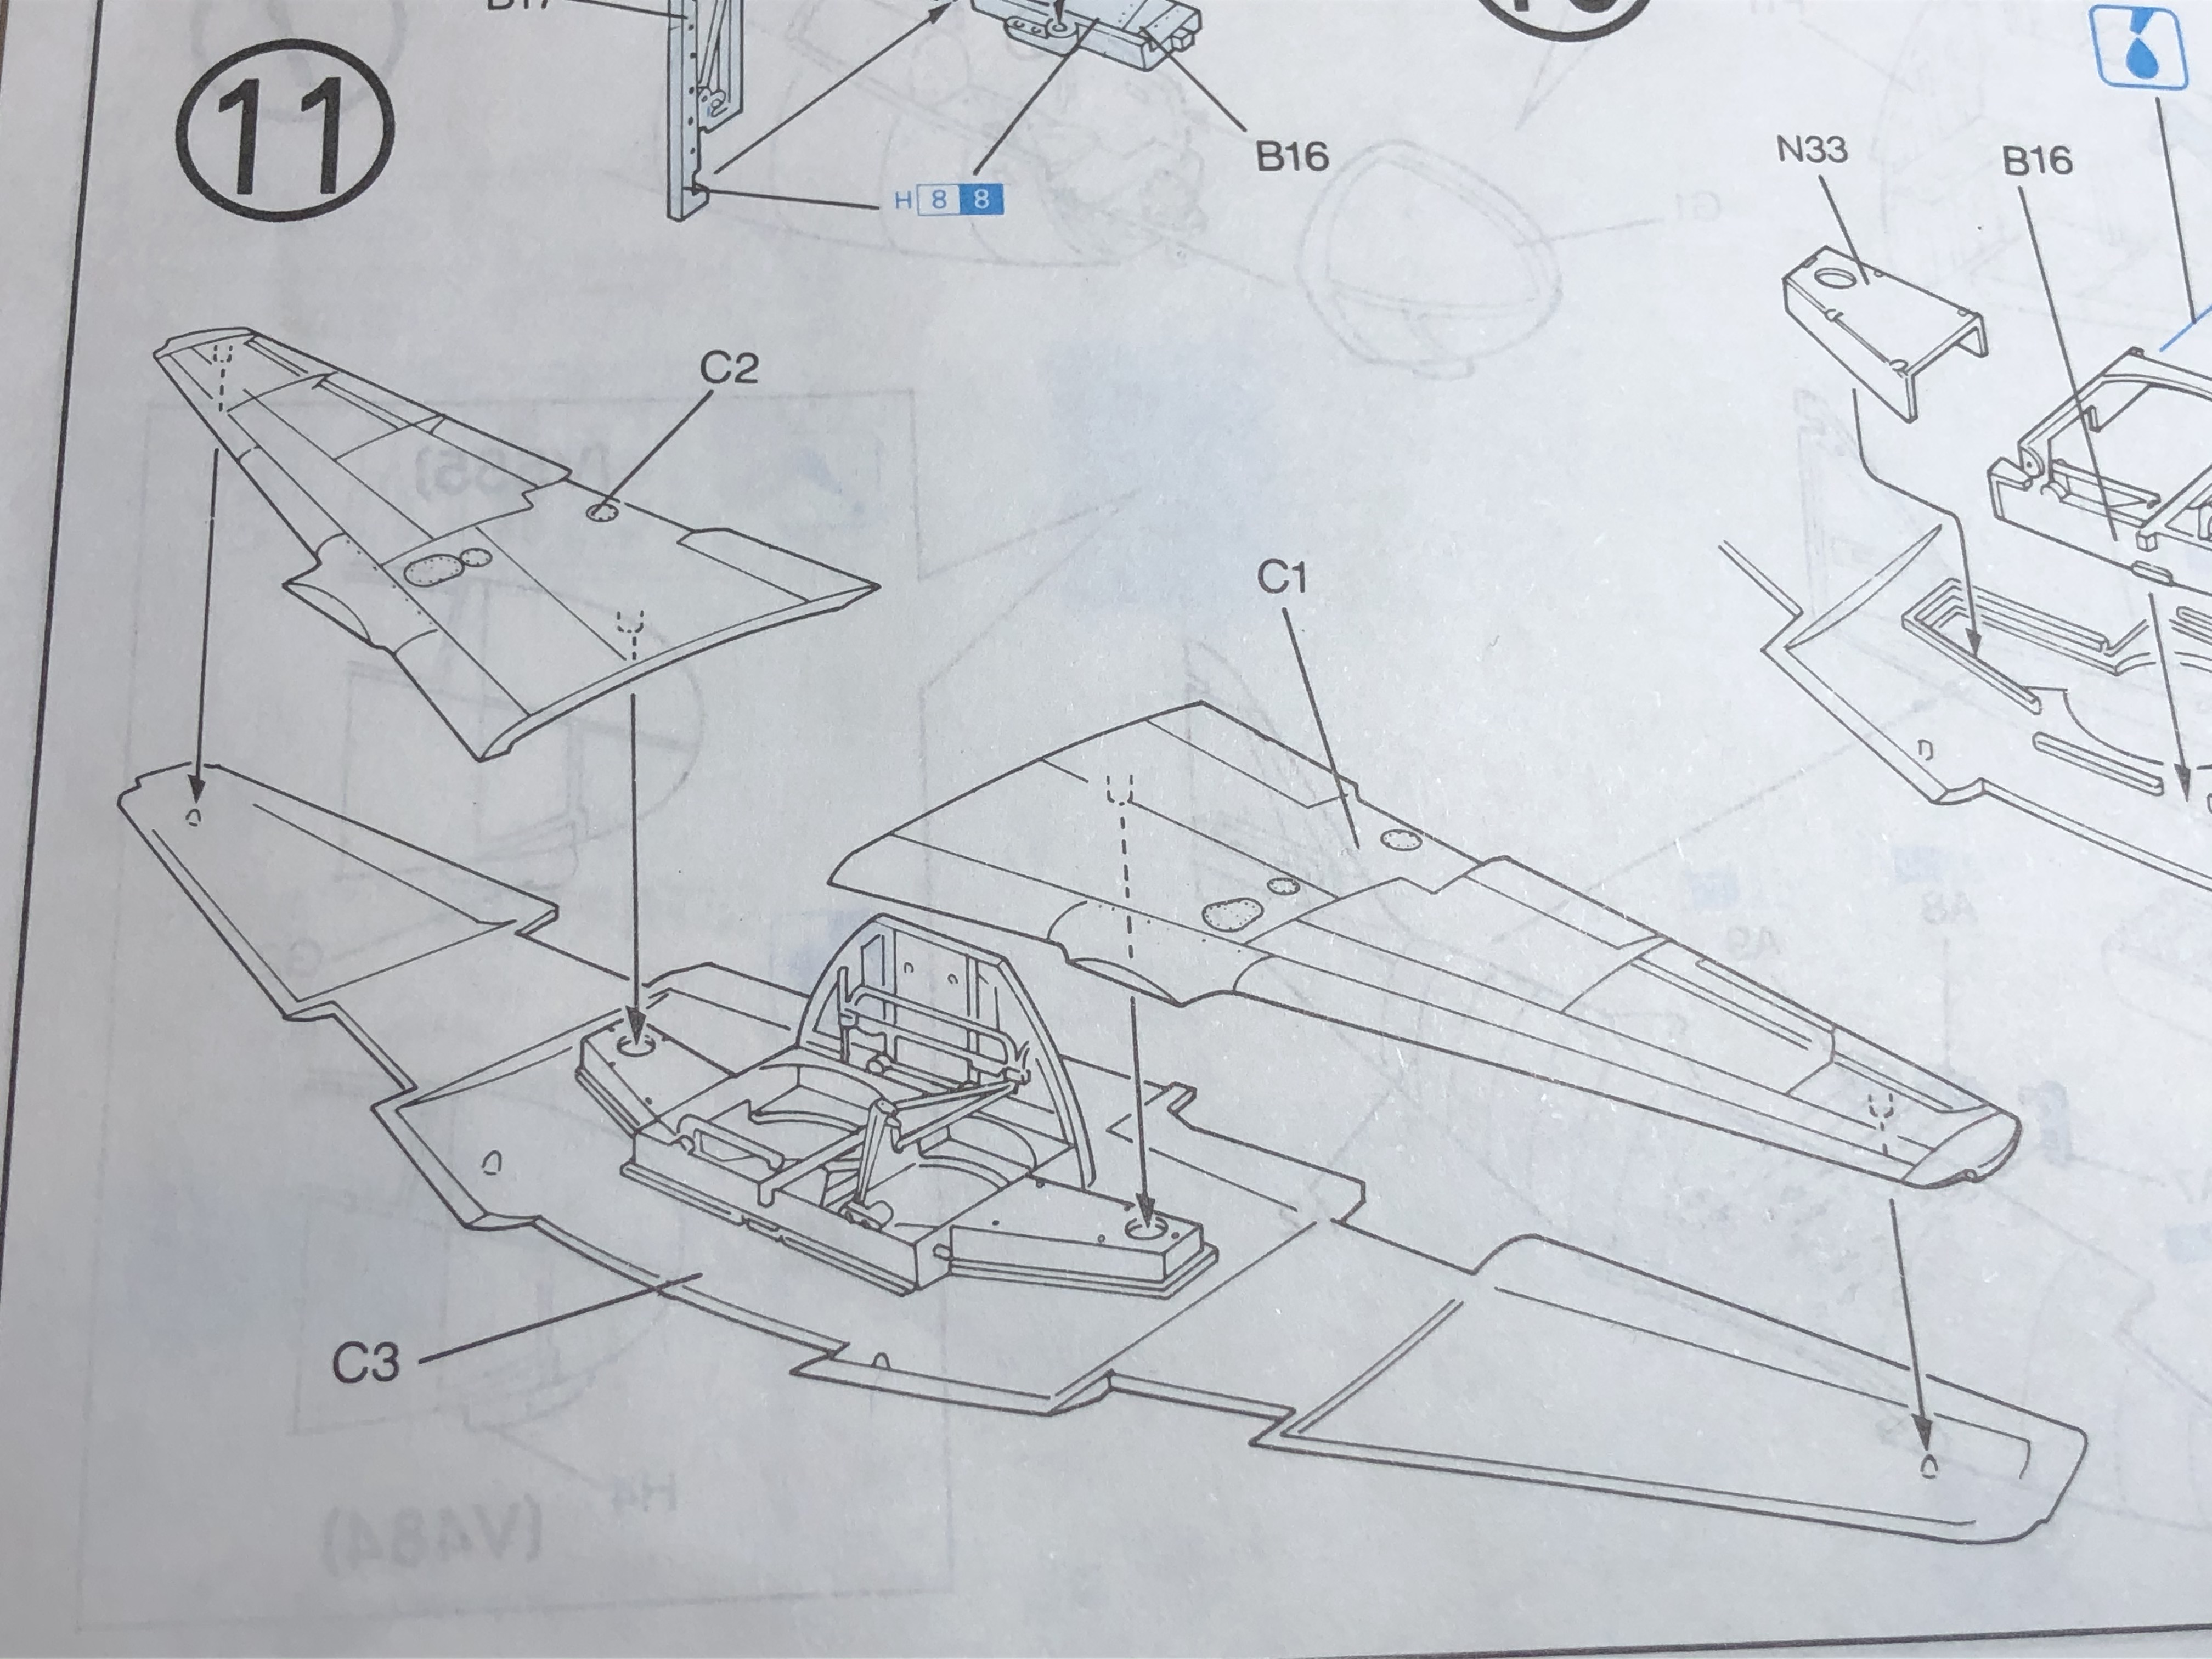
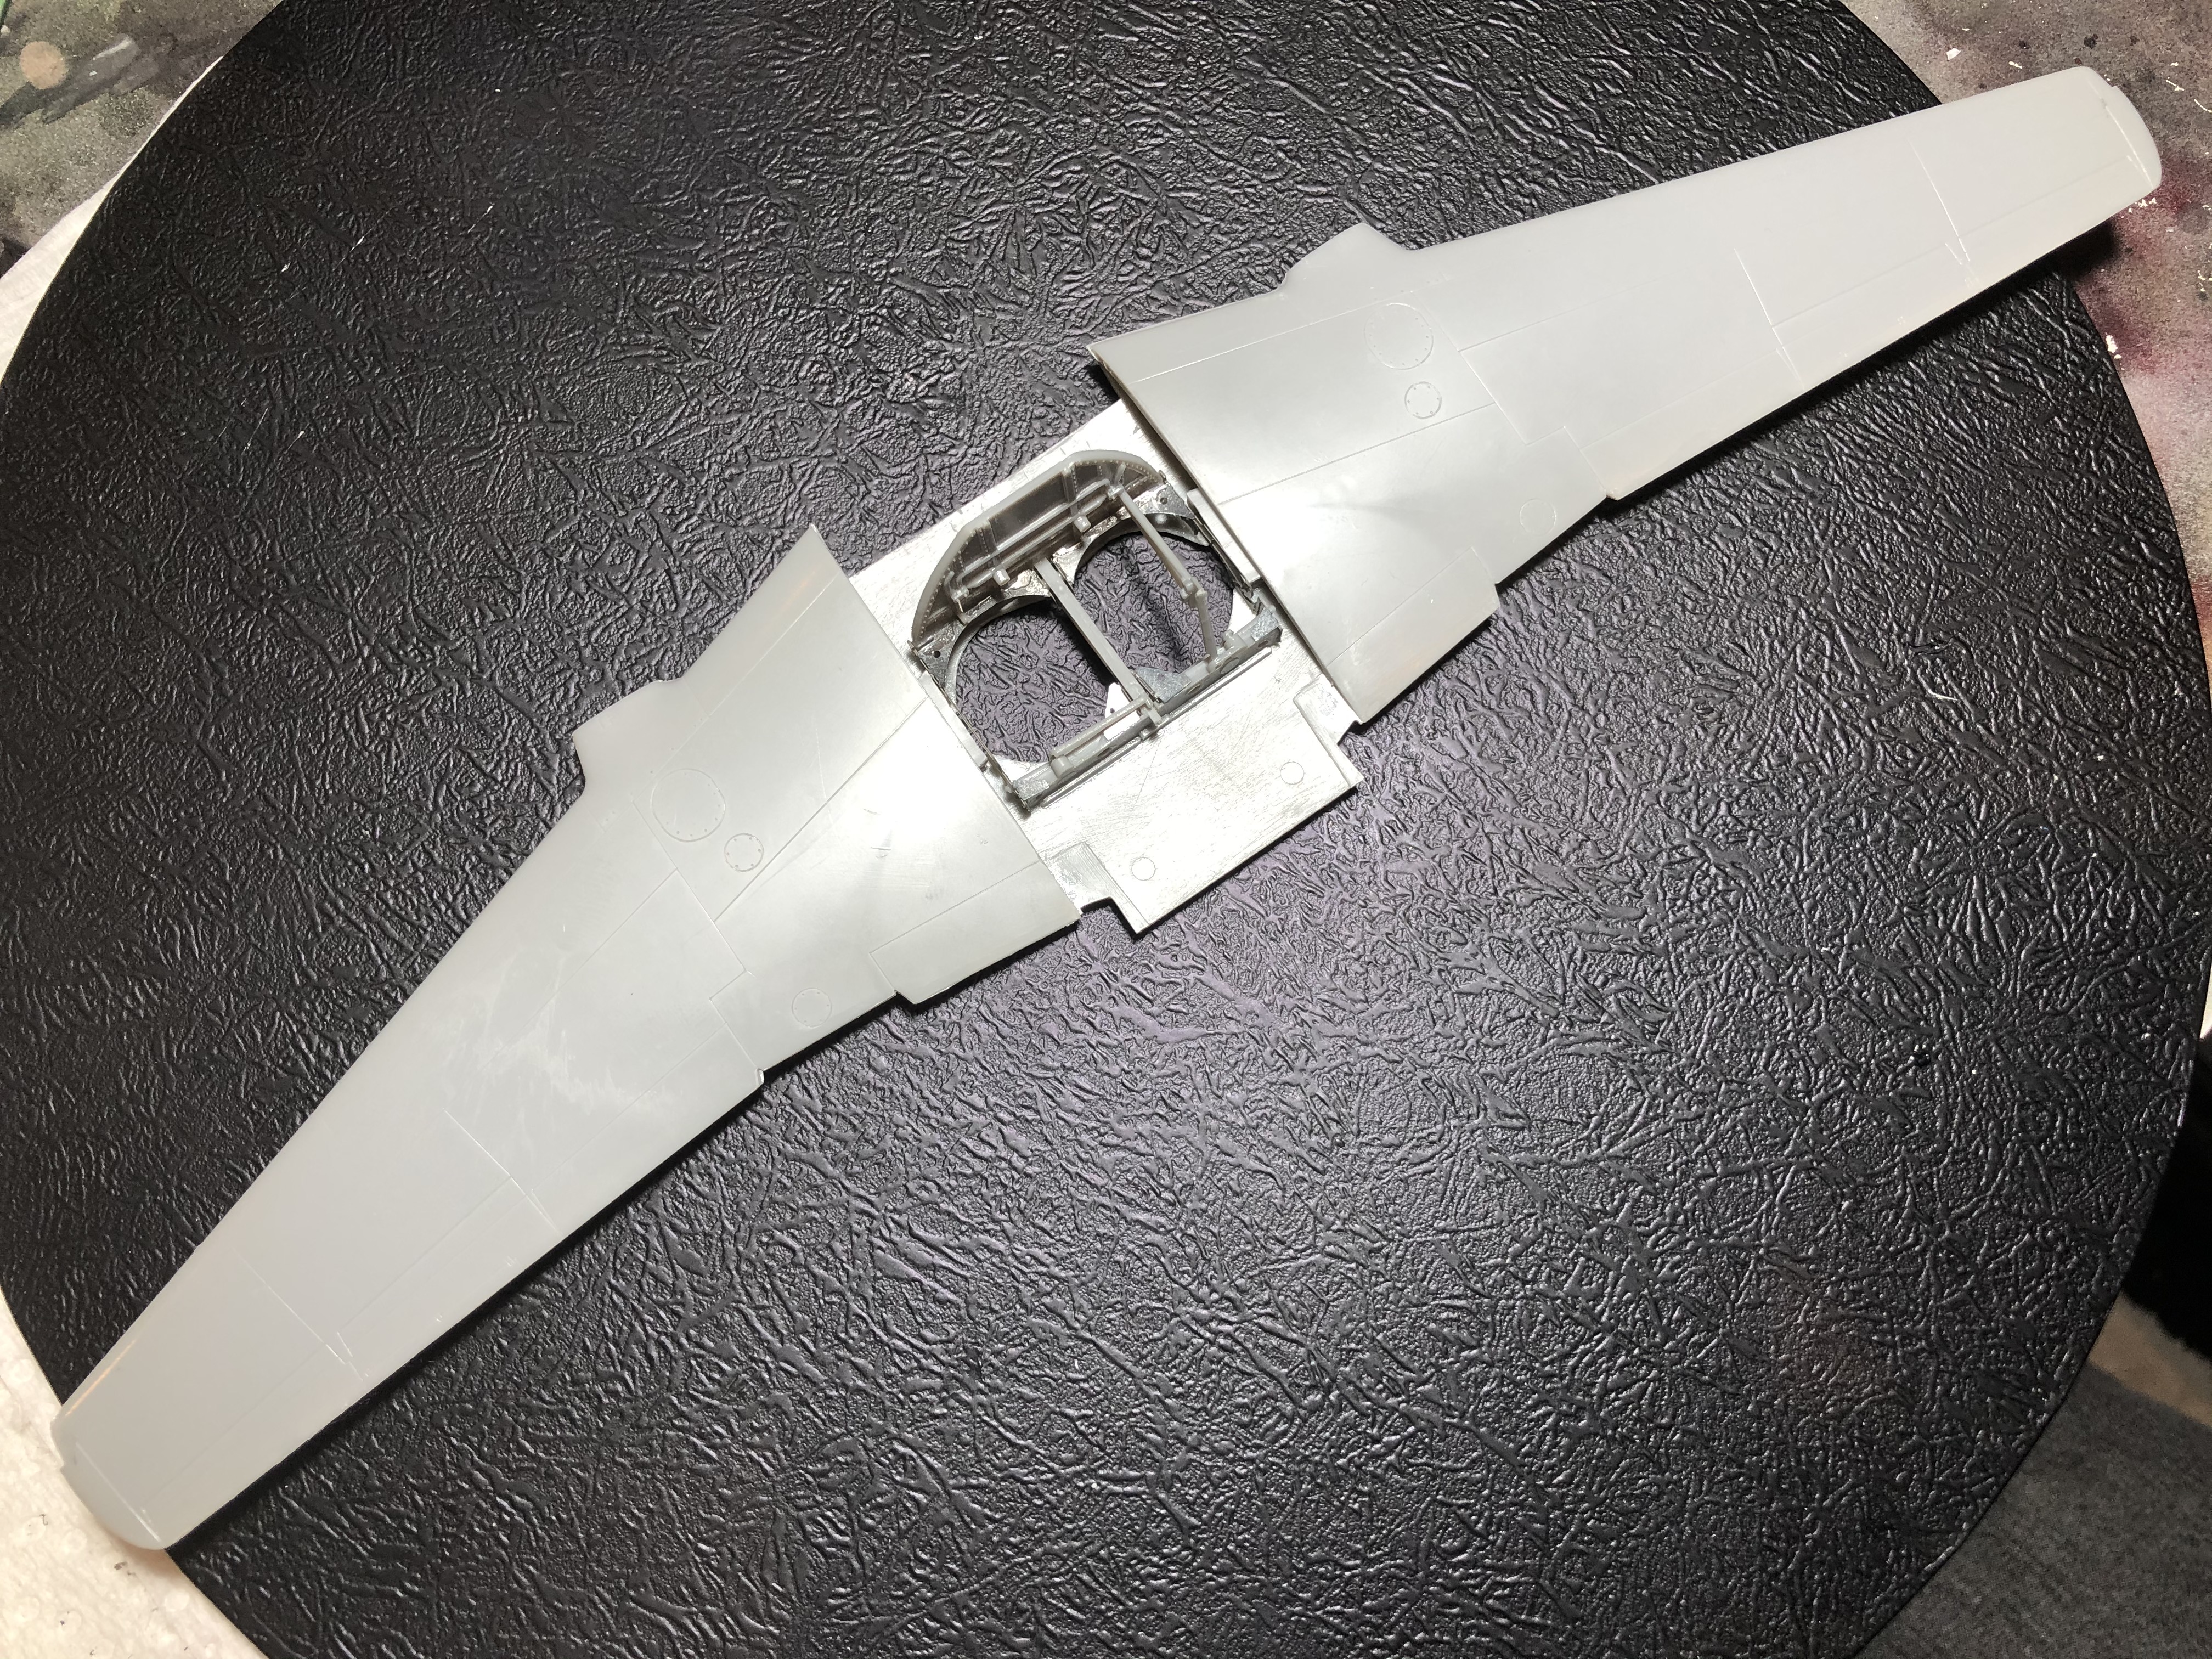
Locked down and secured for undercarriage assembly.
 August 09 update
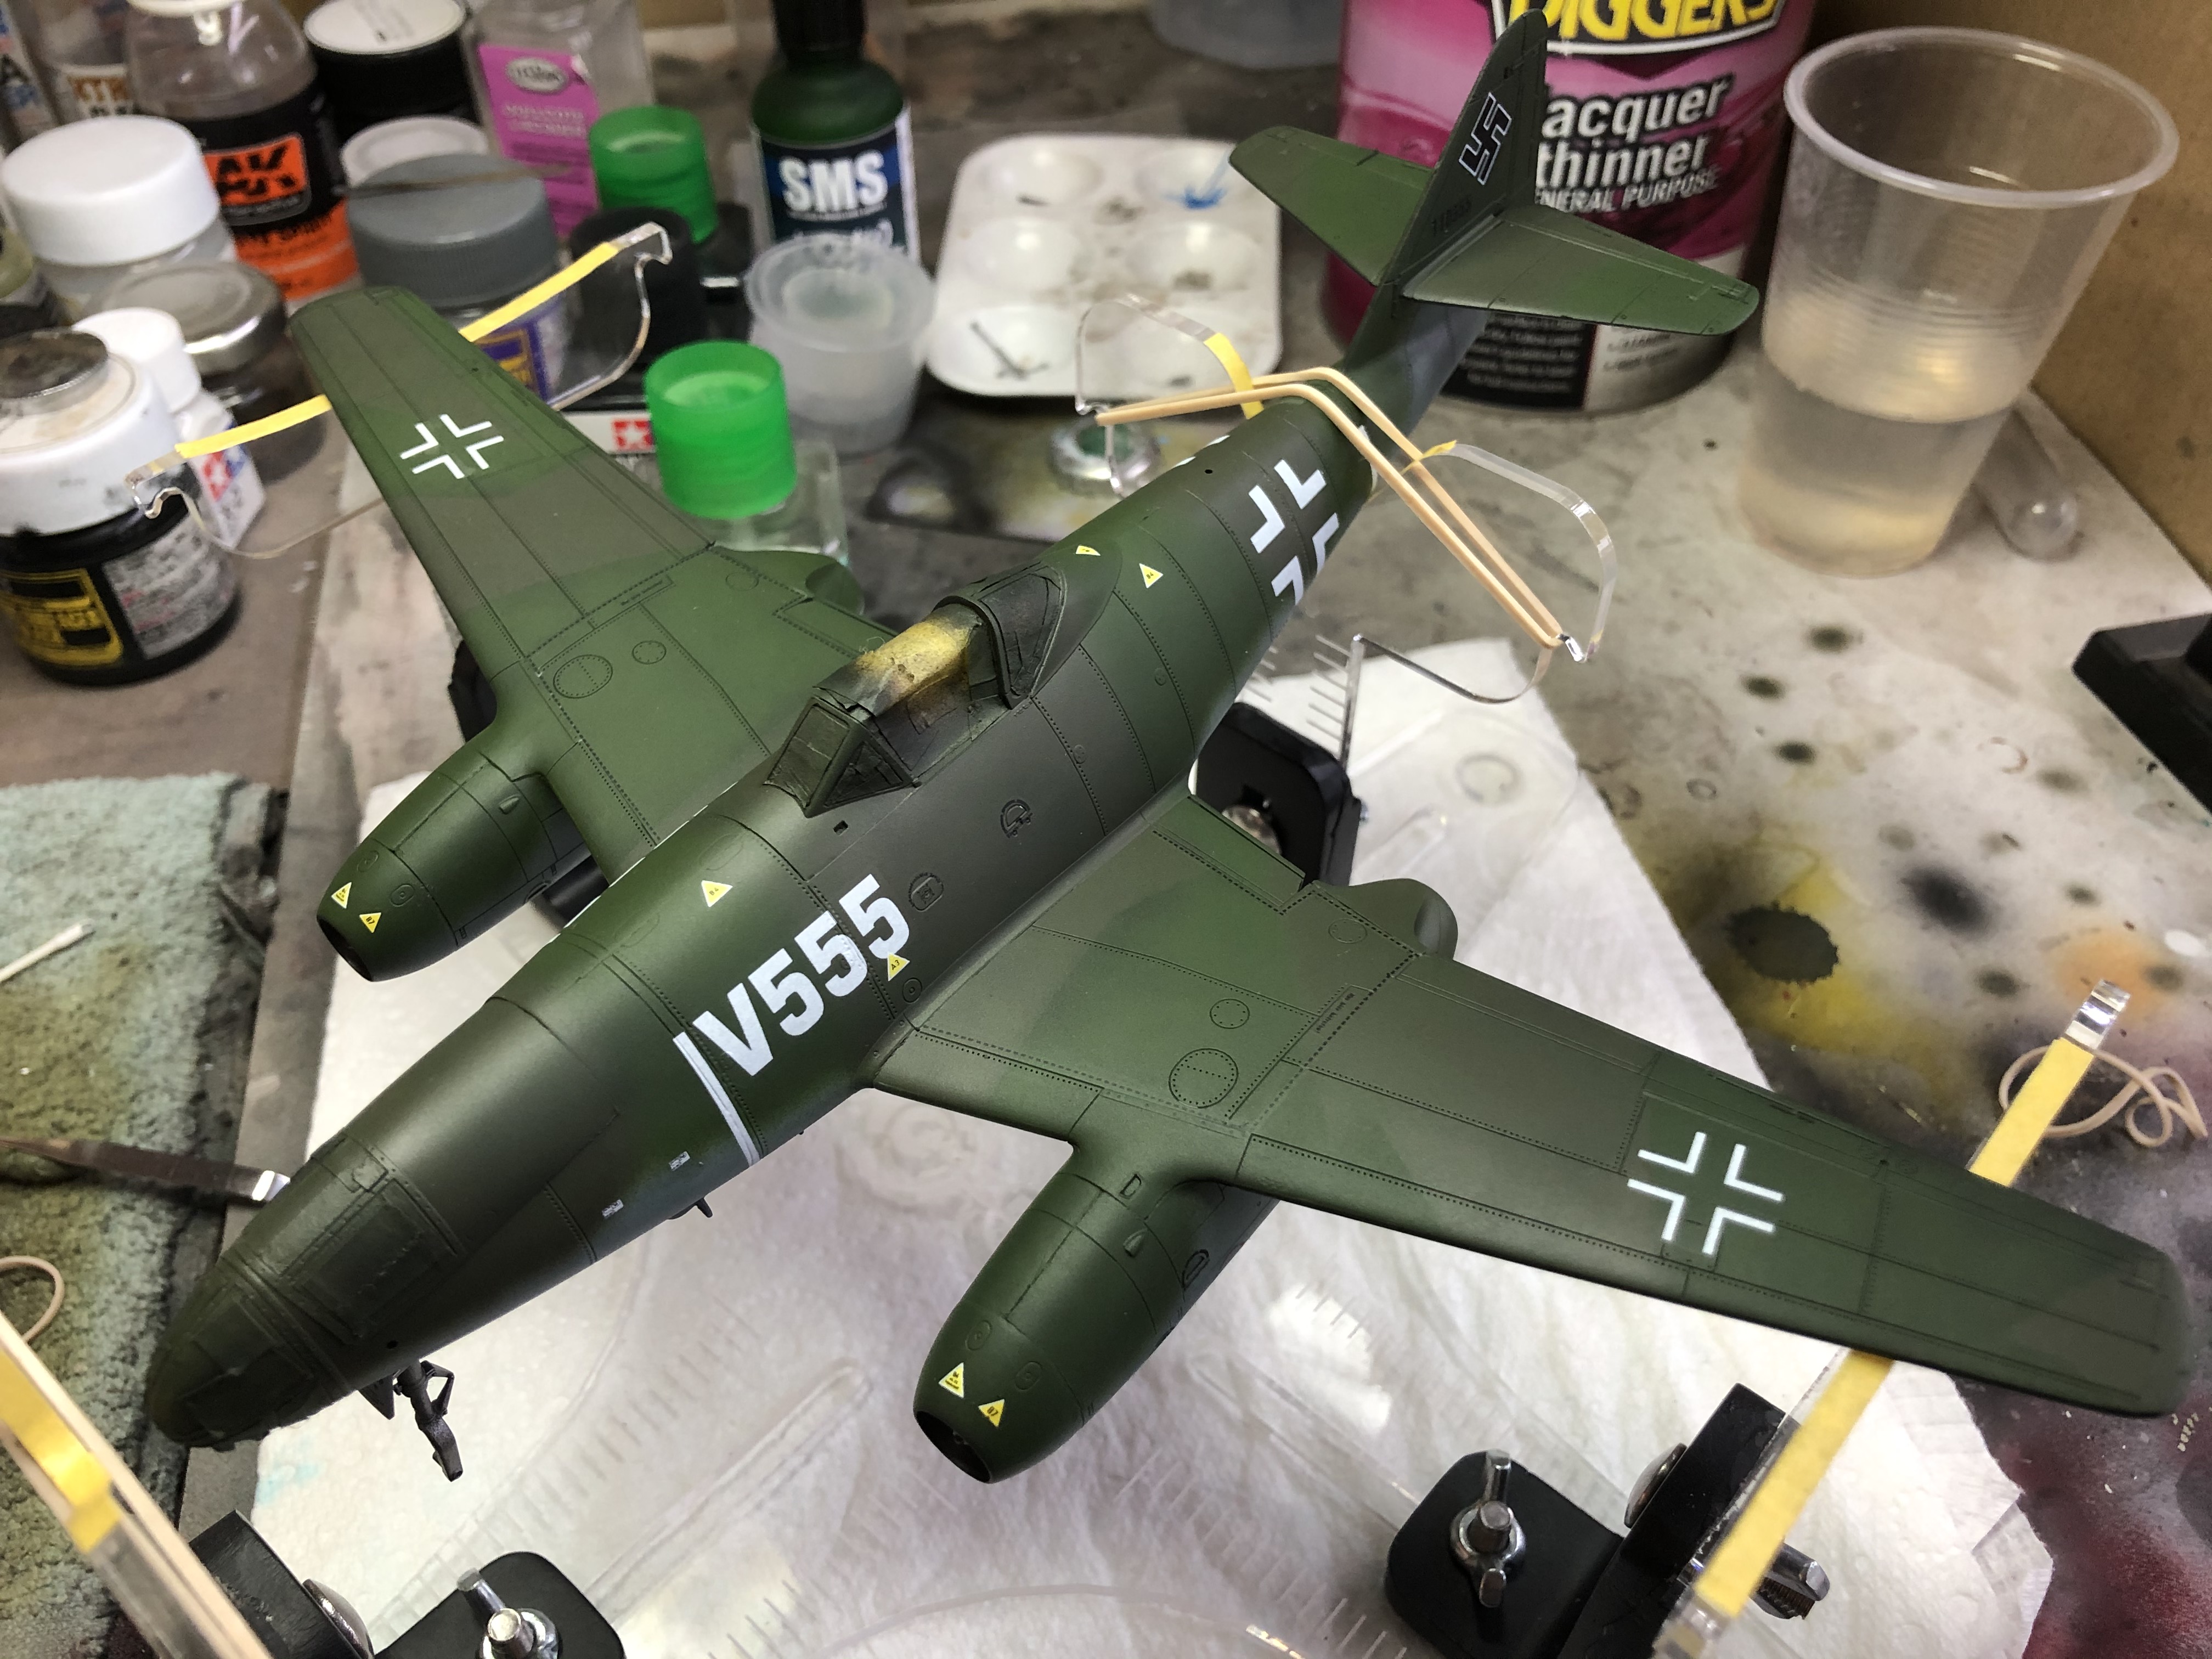
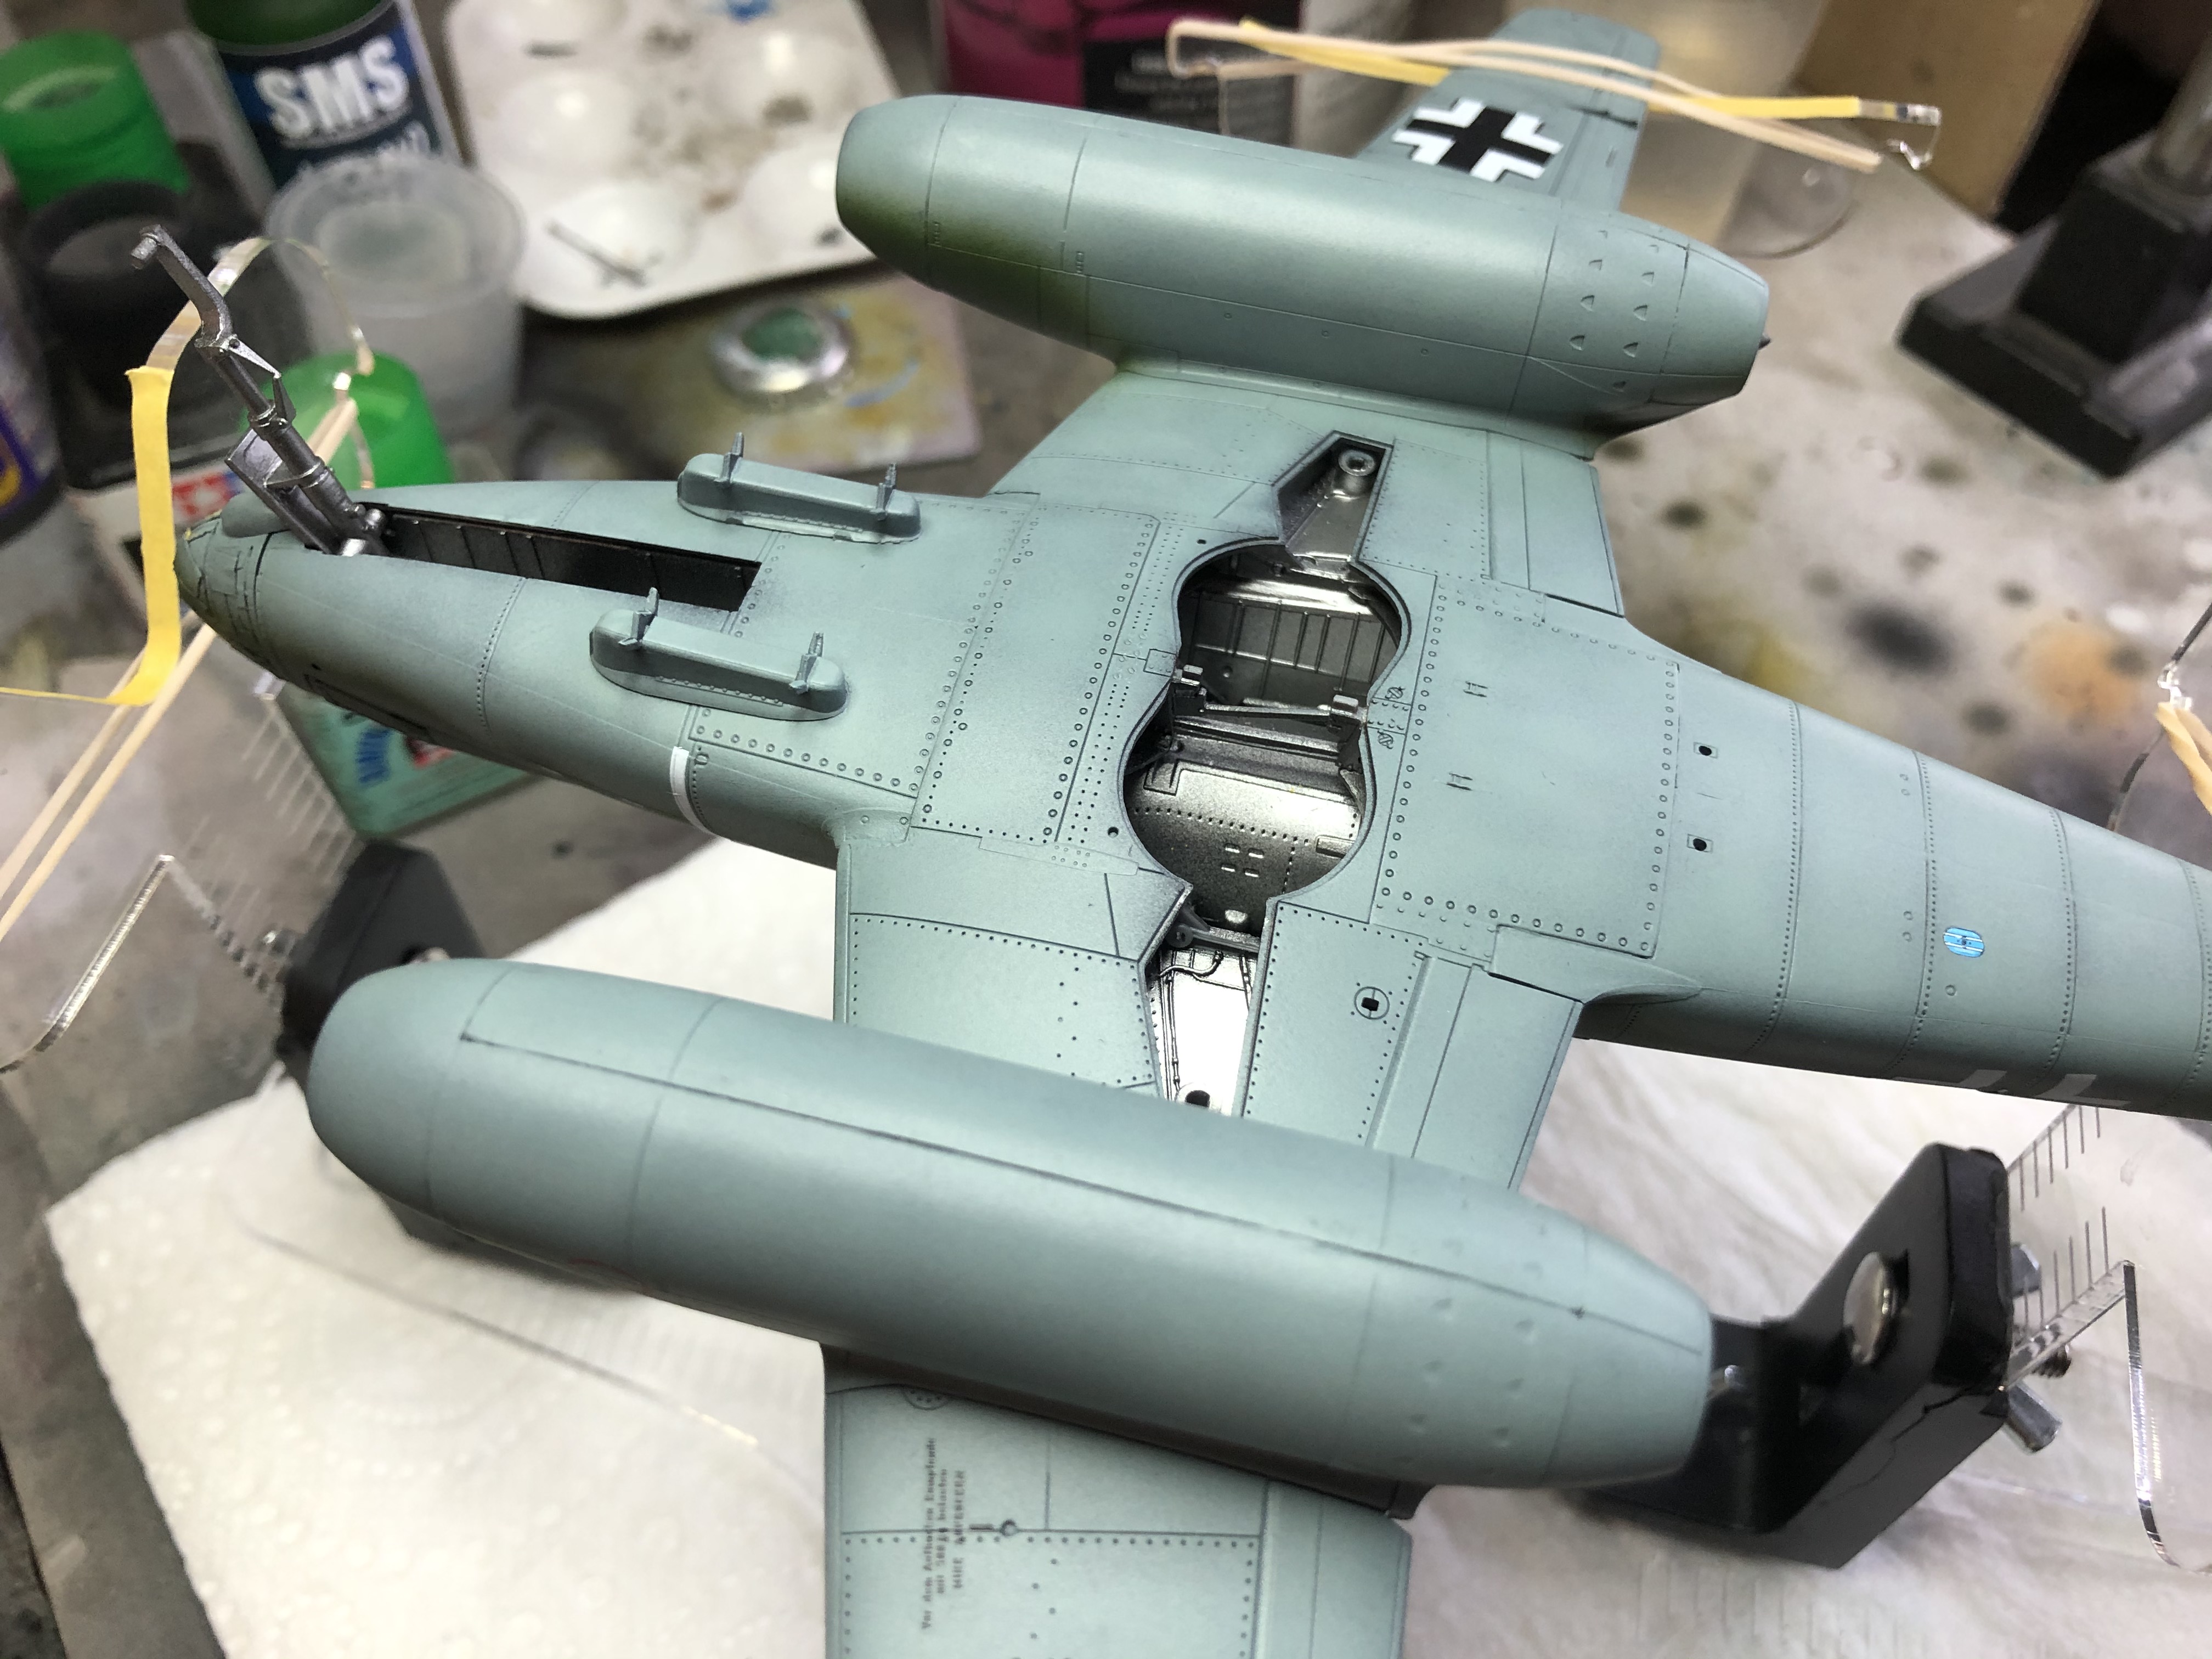
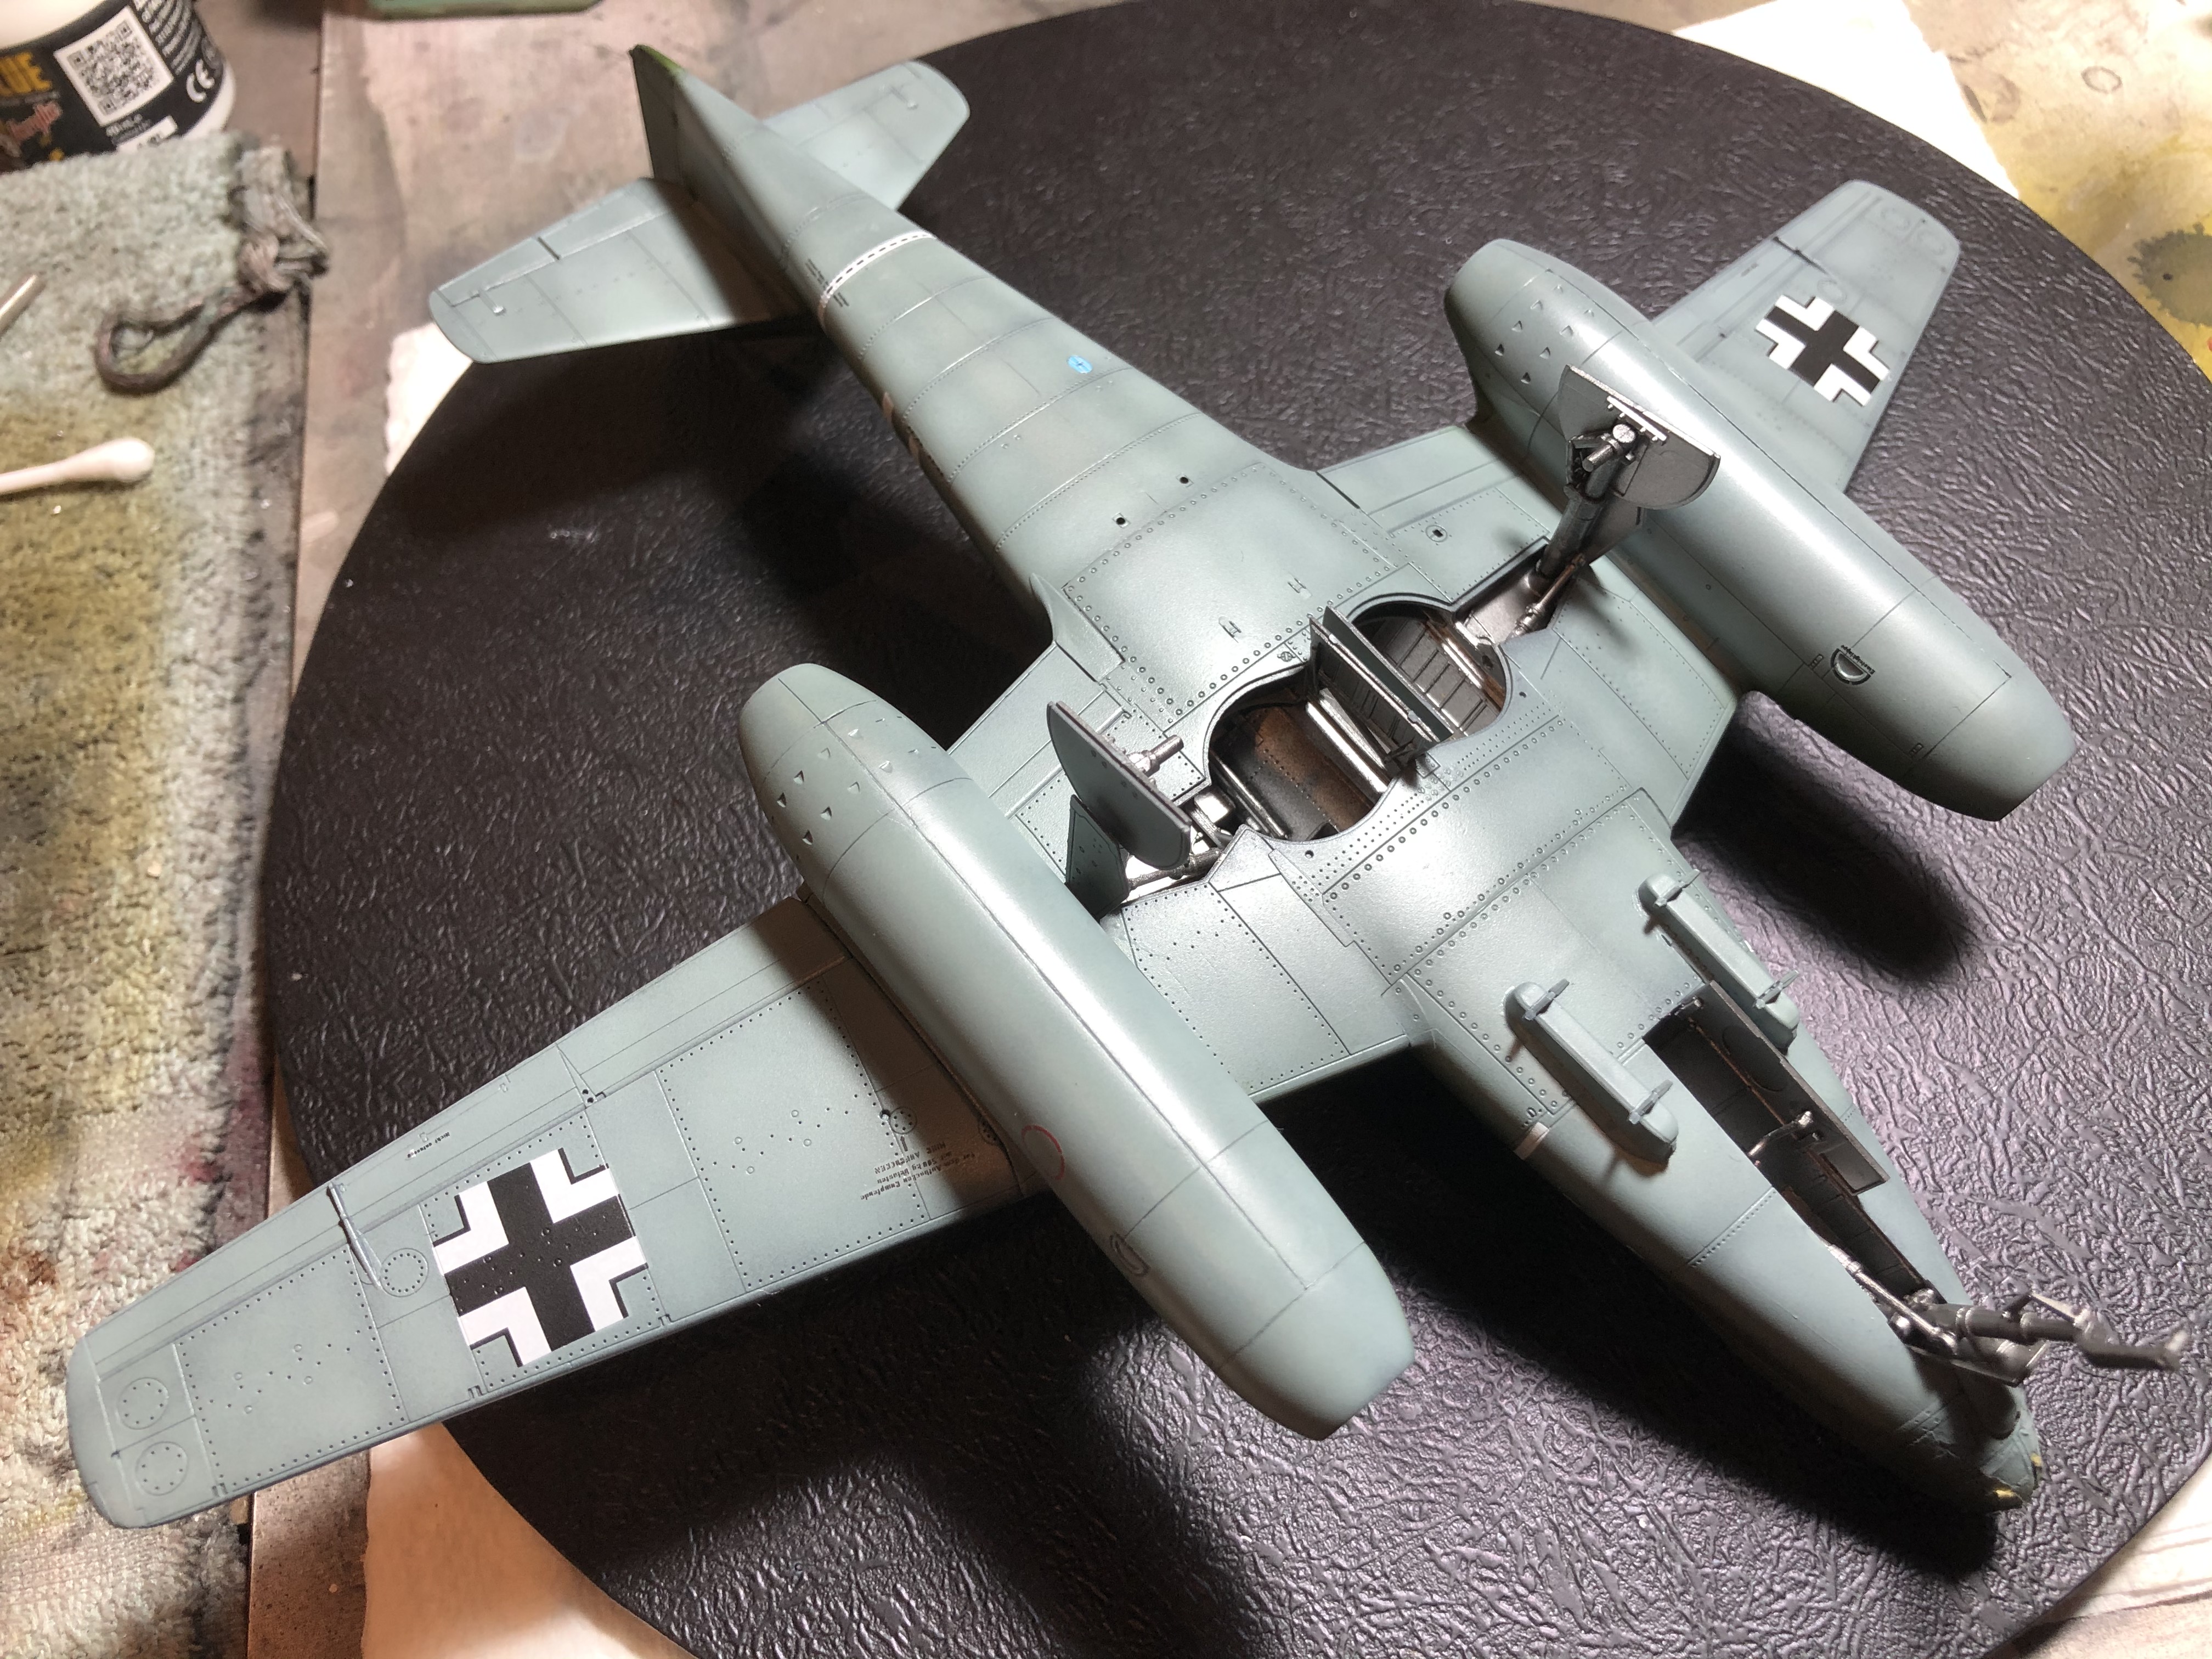
I went over the whole airframe with a highly dilute shot of Tamiya Smoke, concentrated a bit on the underside panel lines and a few lines across the top of the wings. It isn't really visible in the images, but it ties the whole scheme together and adds a bit more variation across the surfaces. Another shot of Dullcote after that, then it was crunch time, off with the masking!
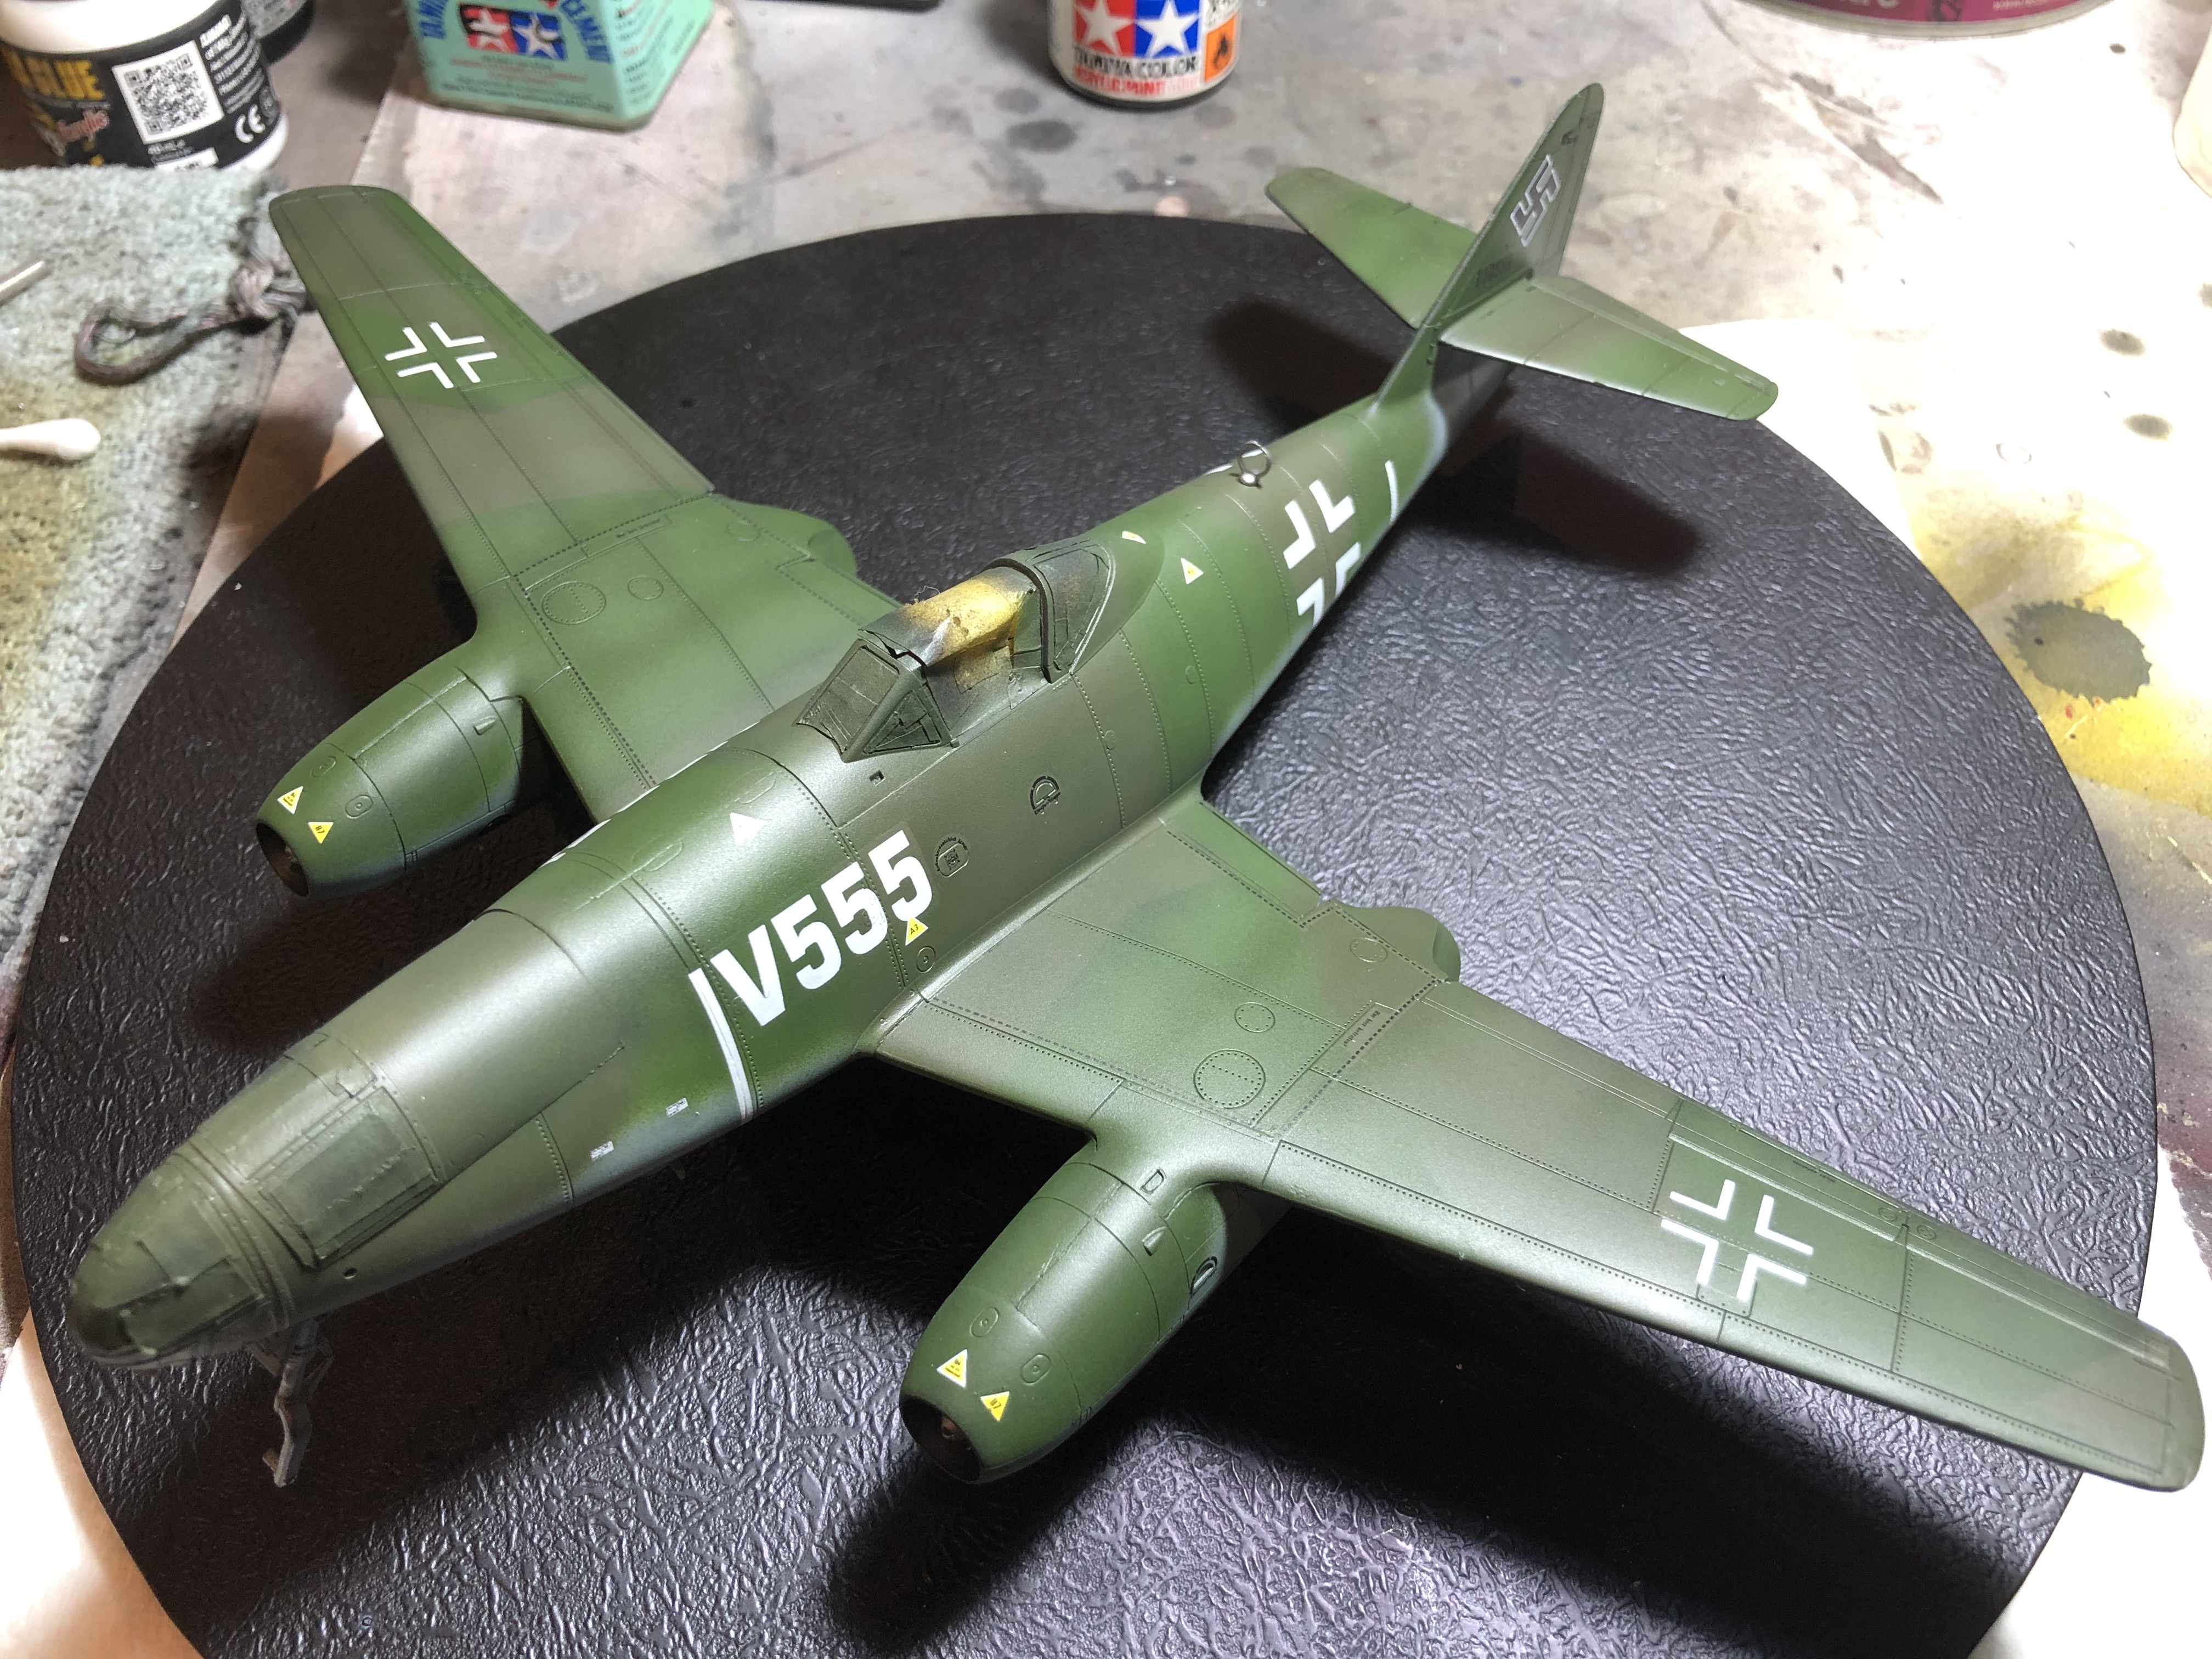
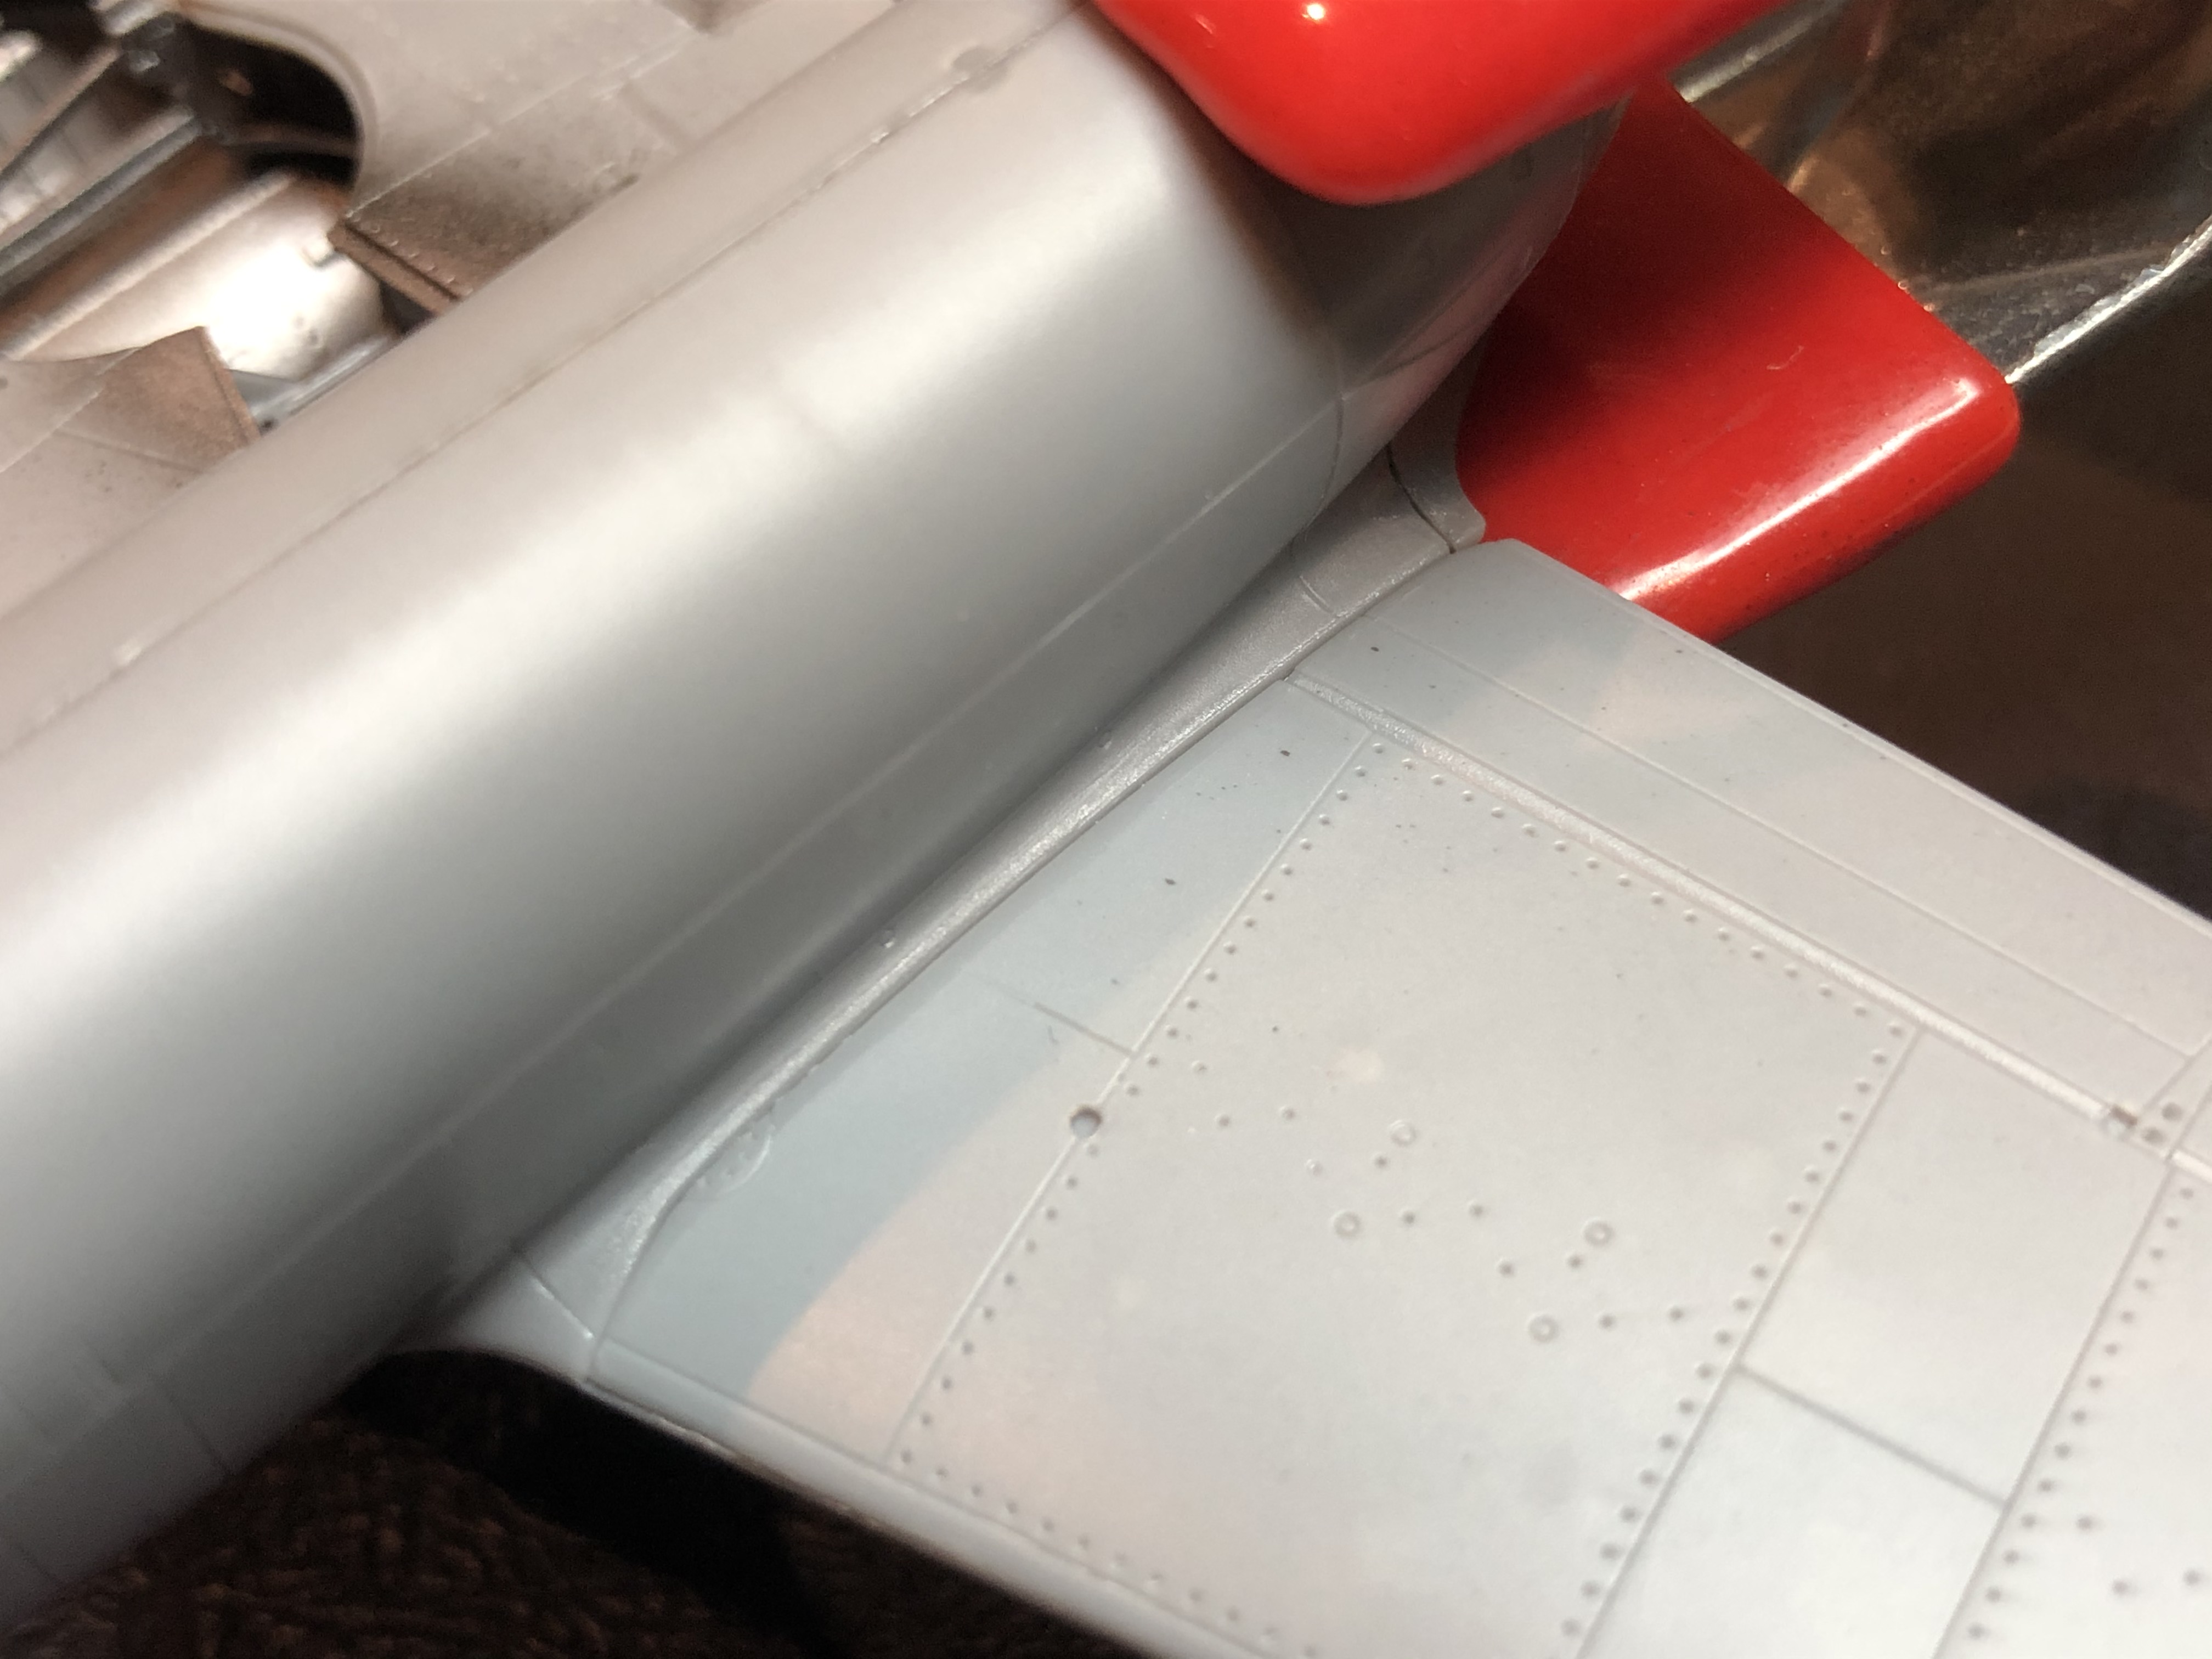
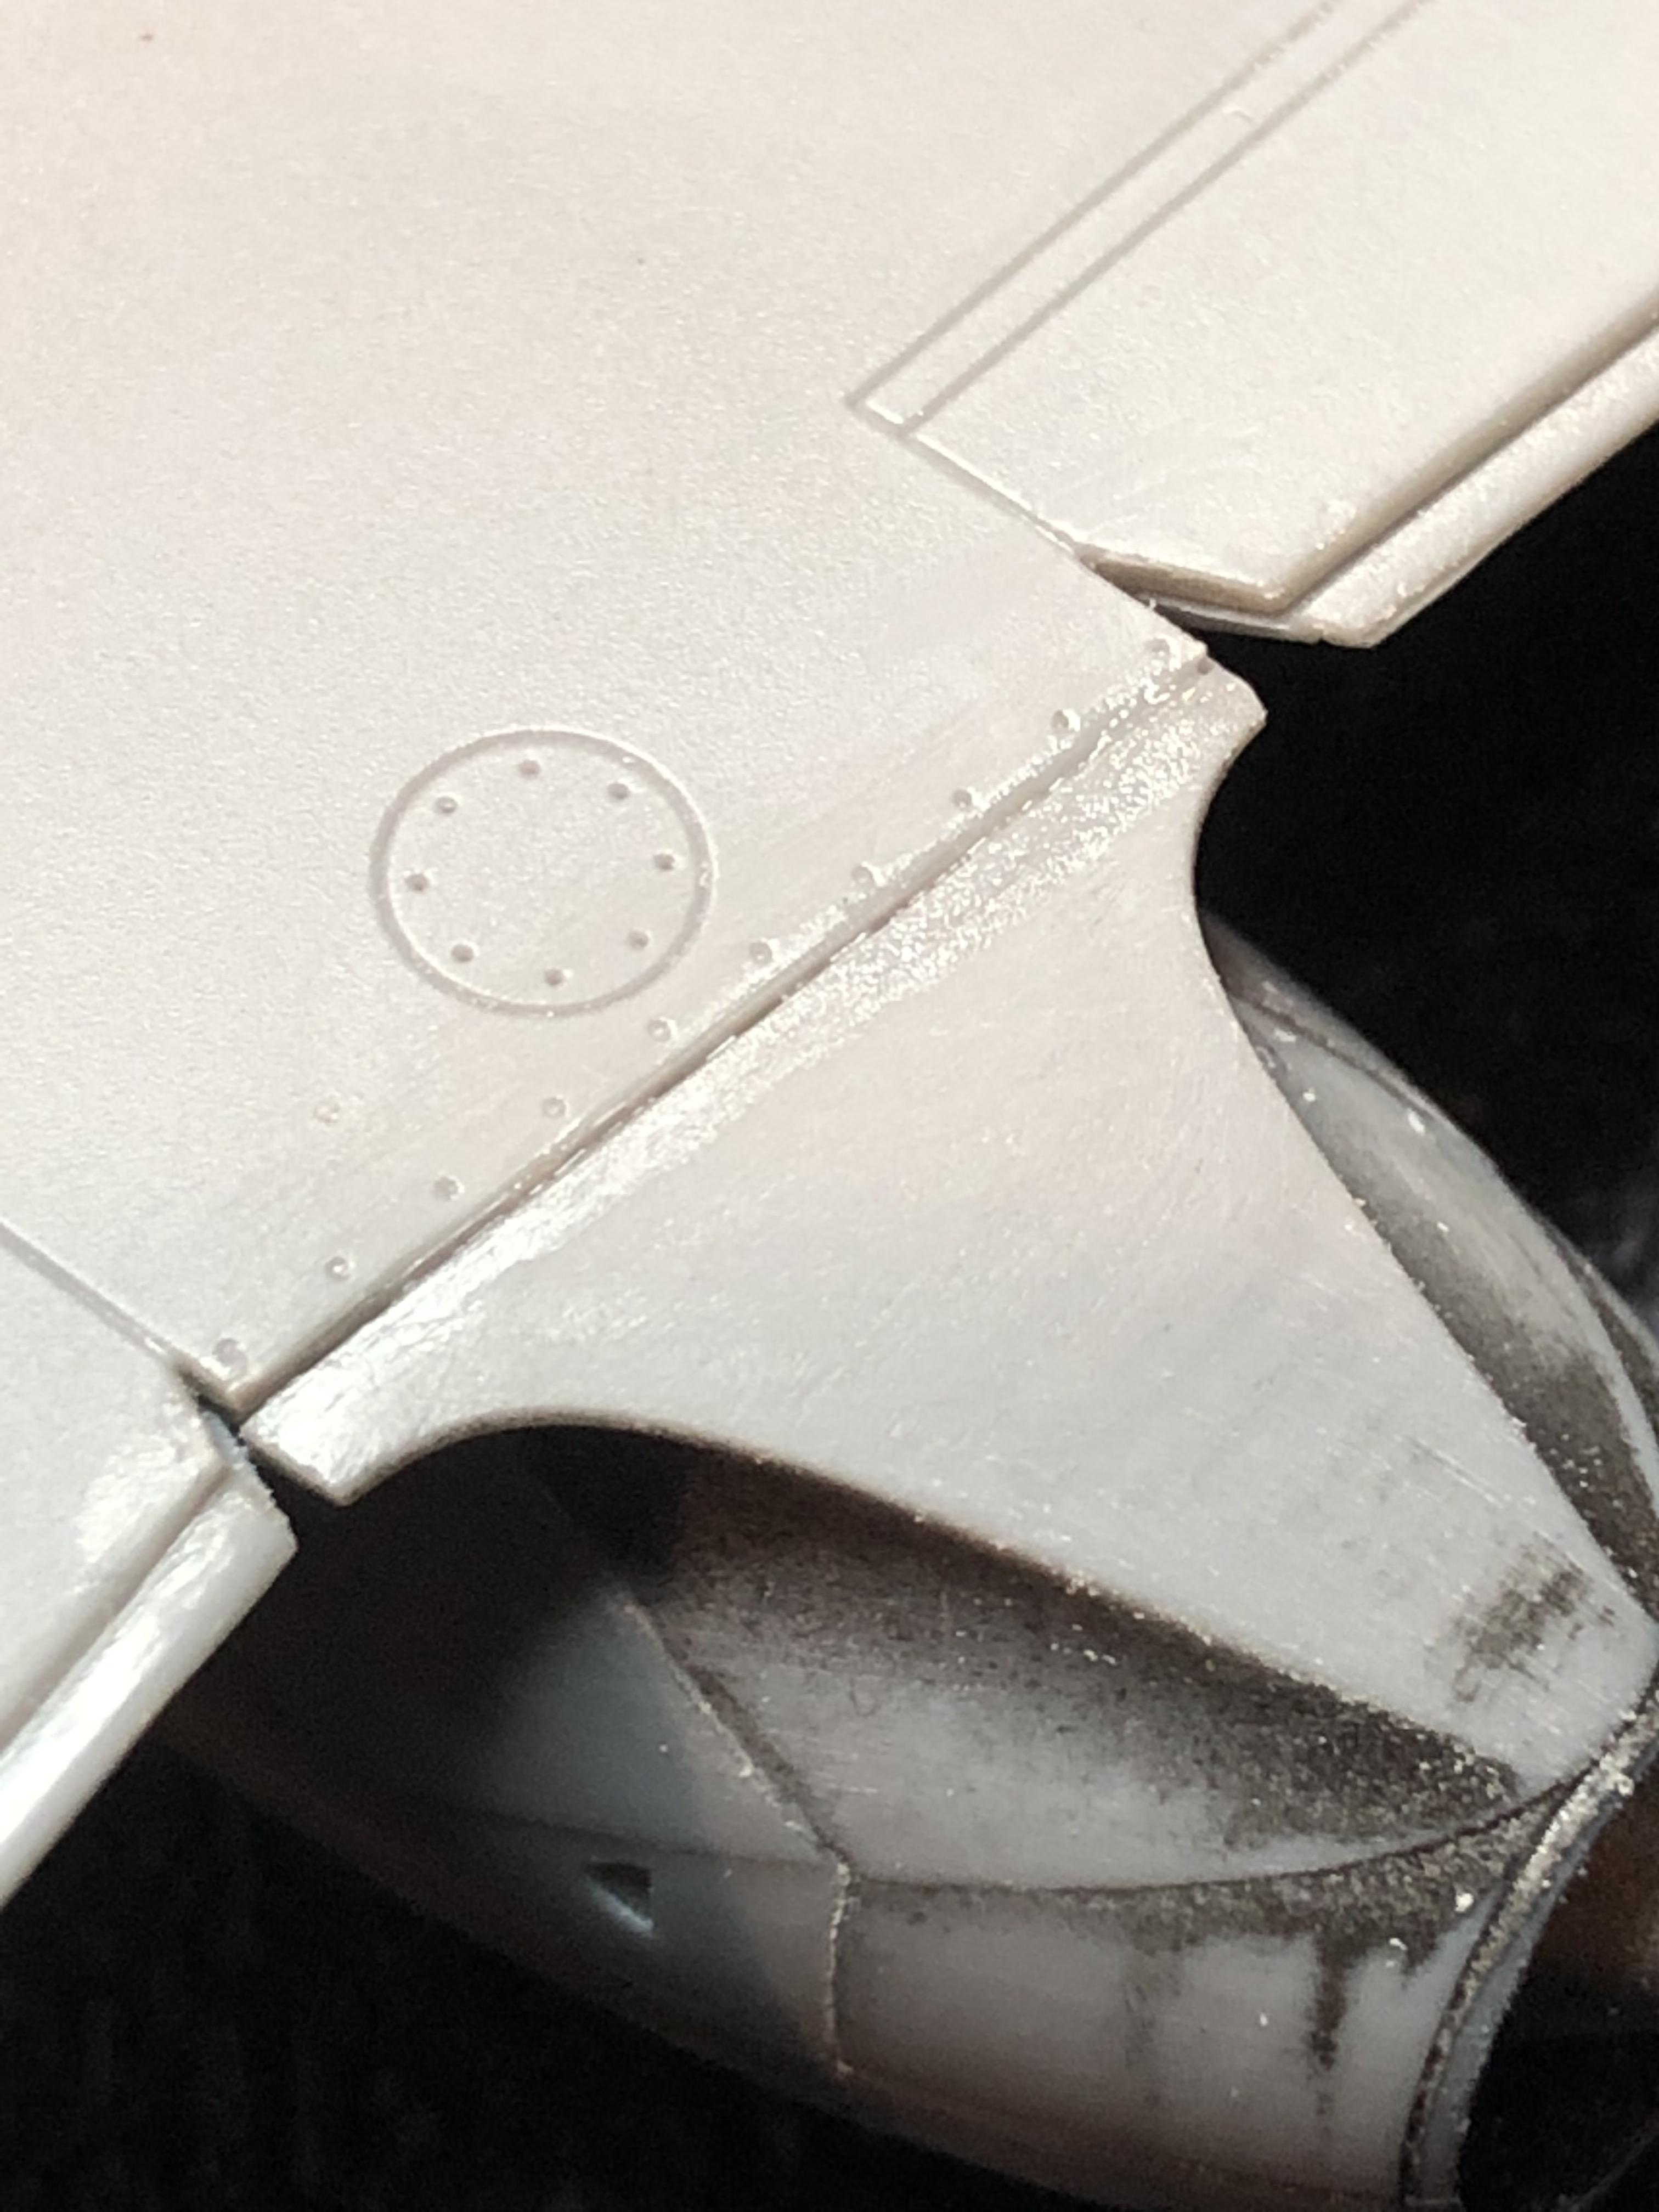
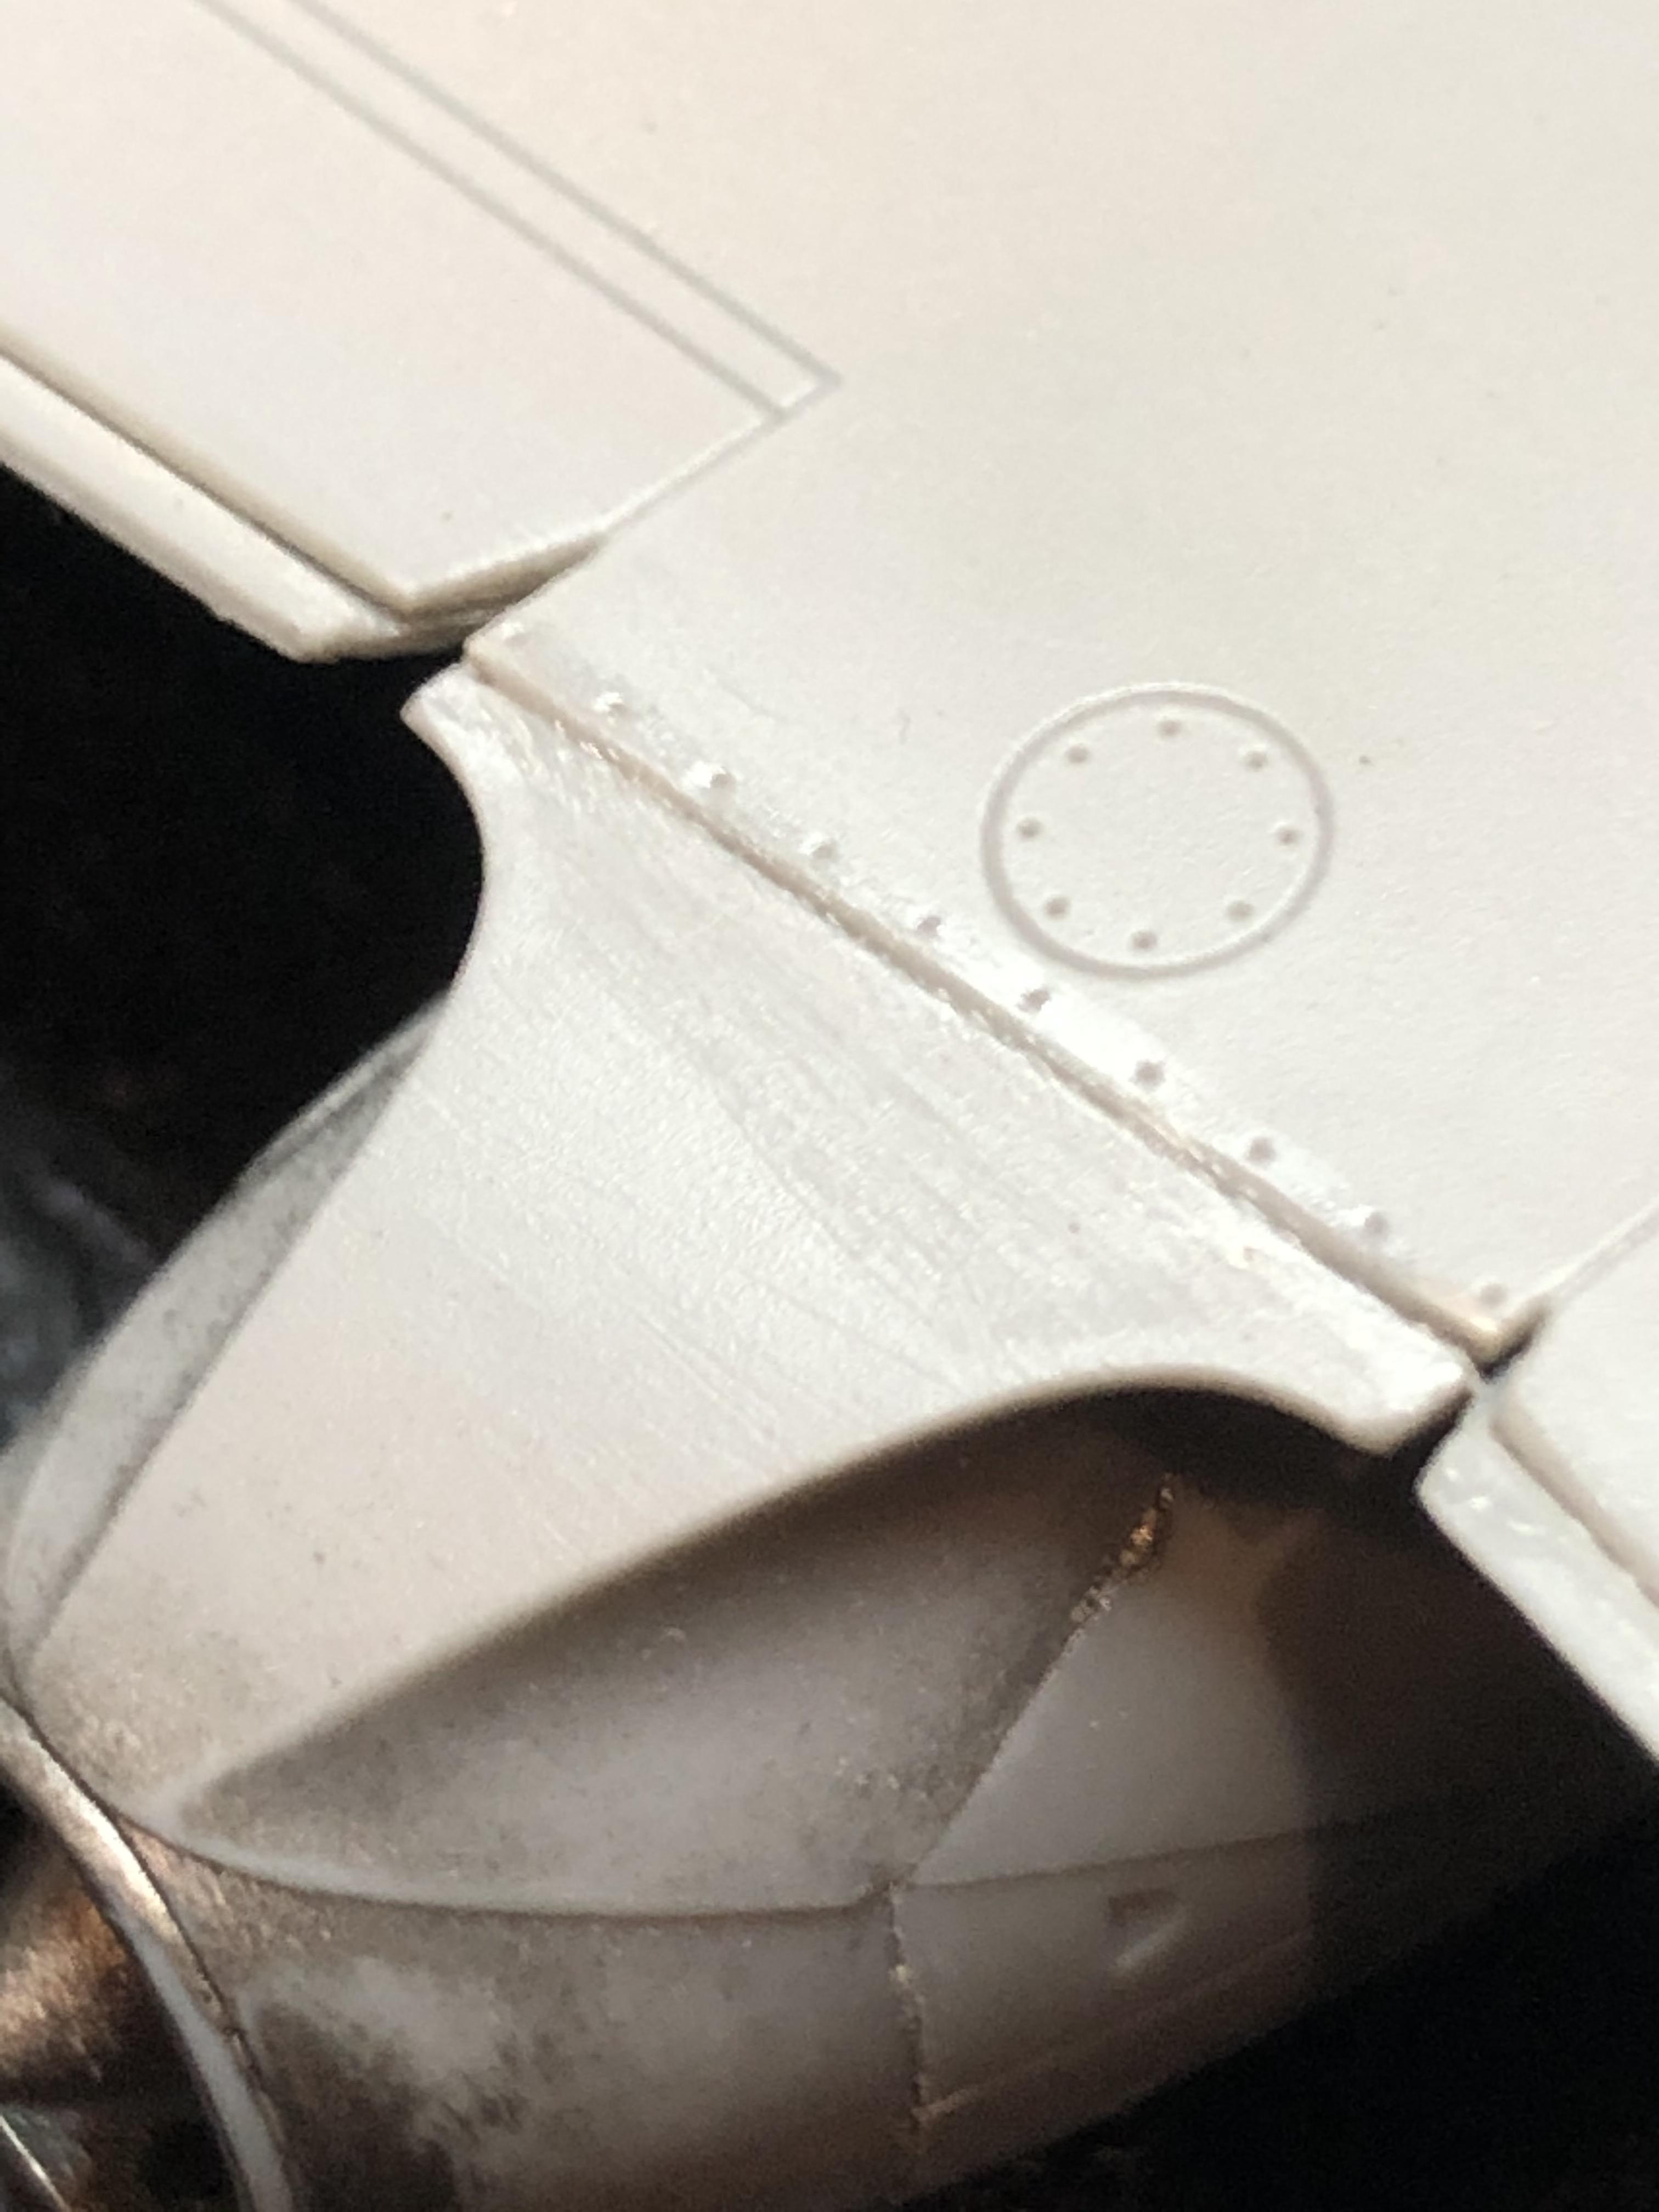
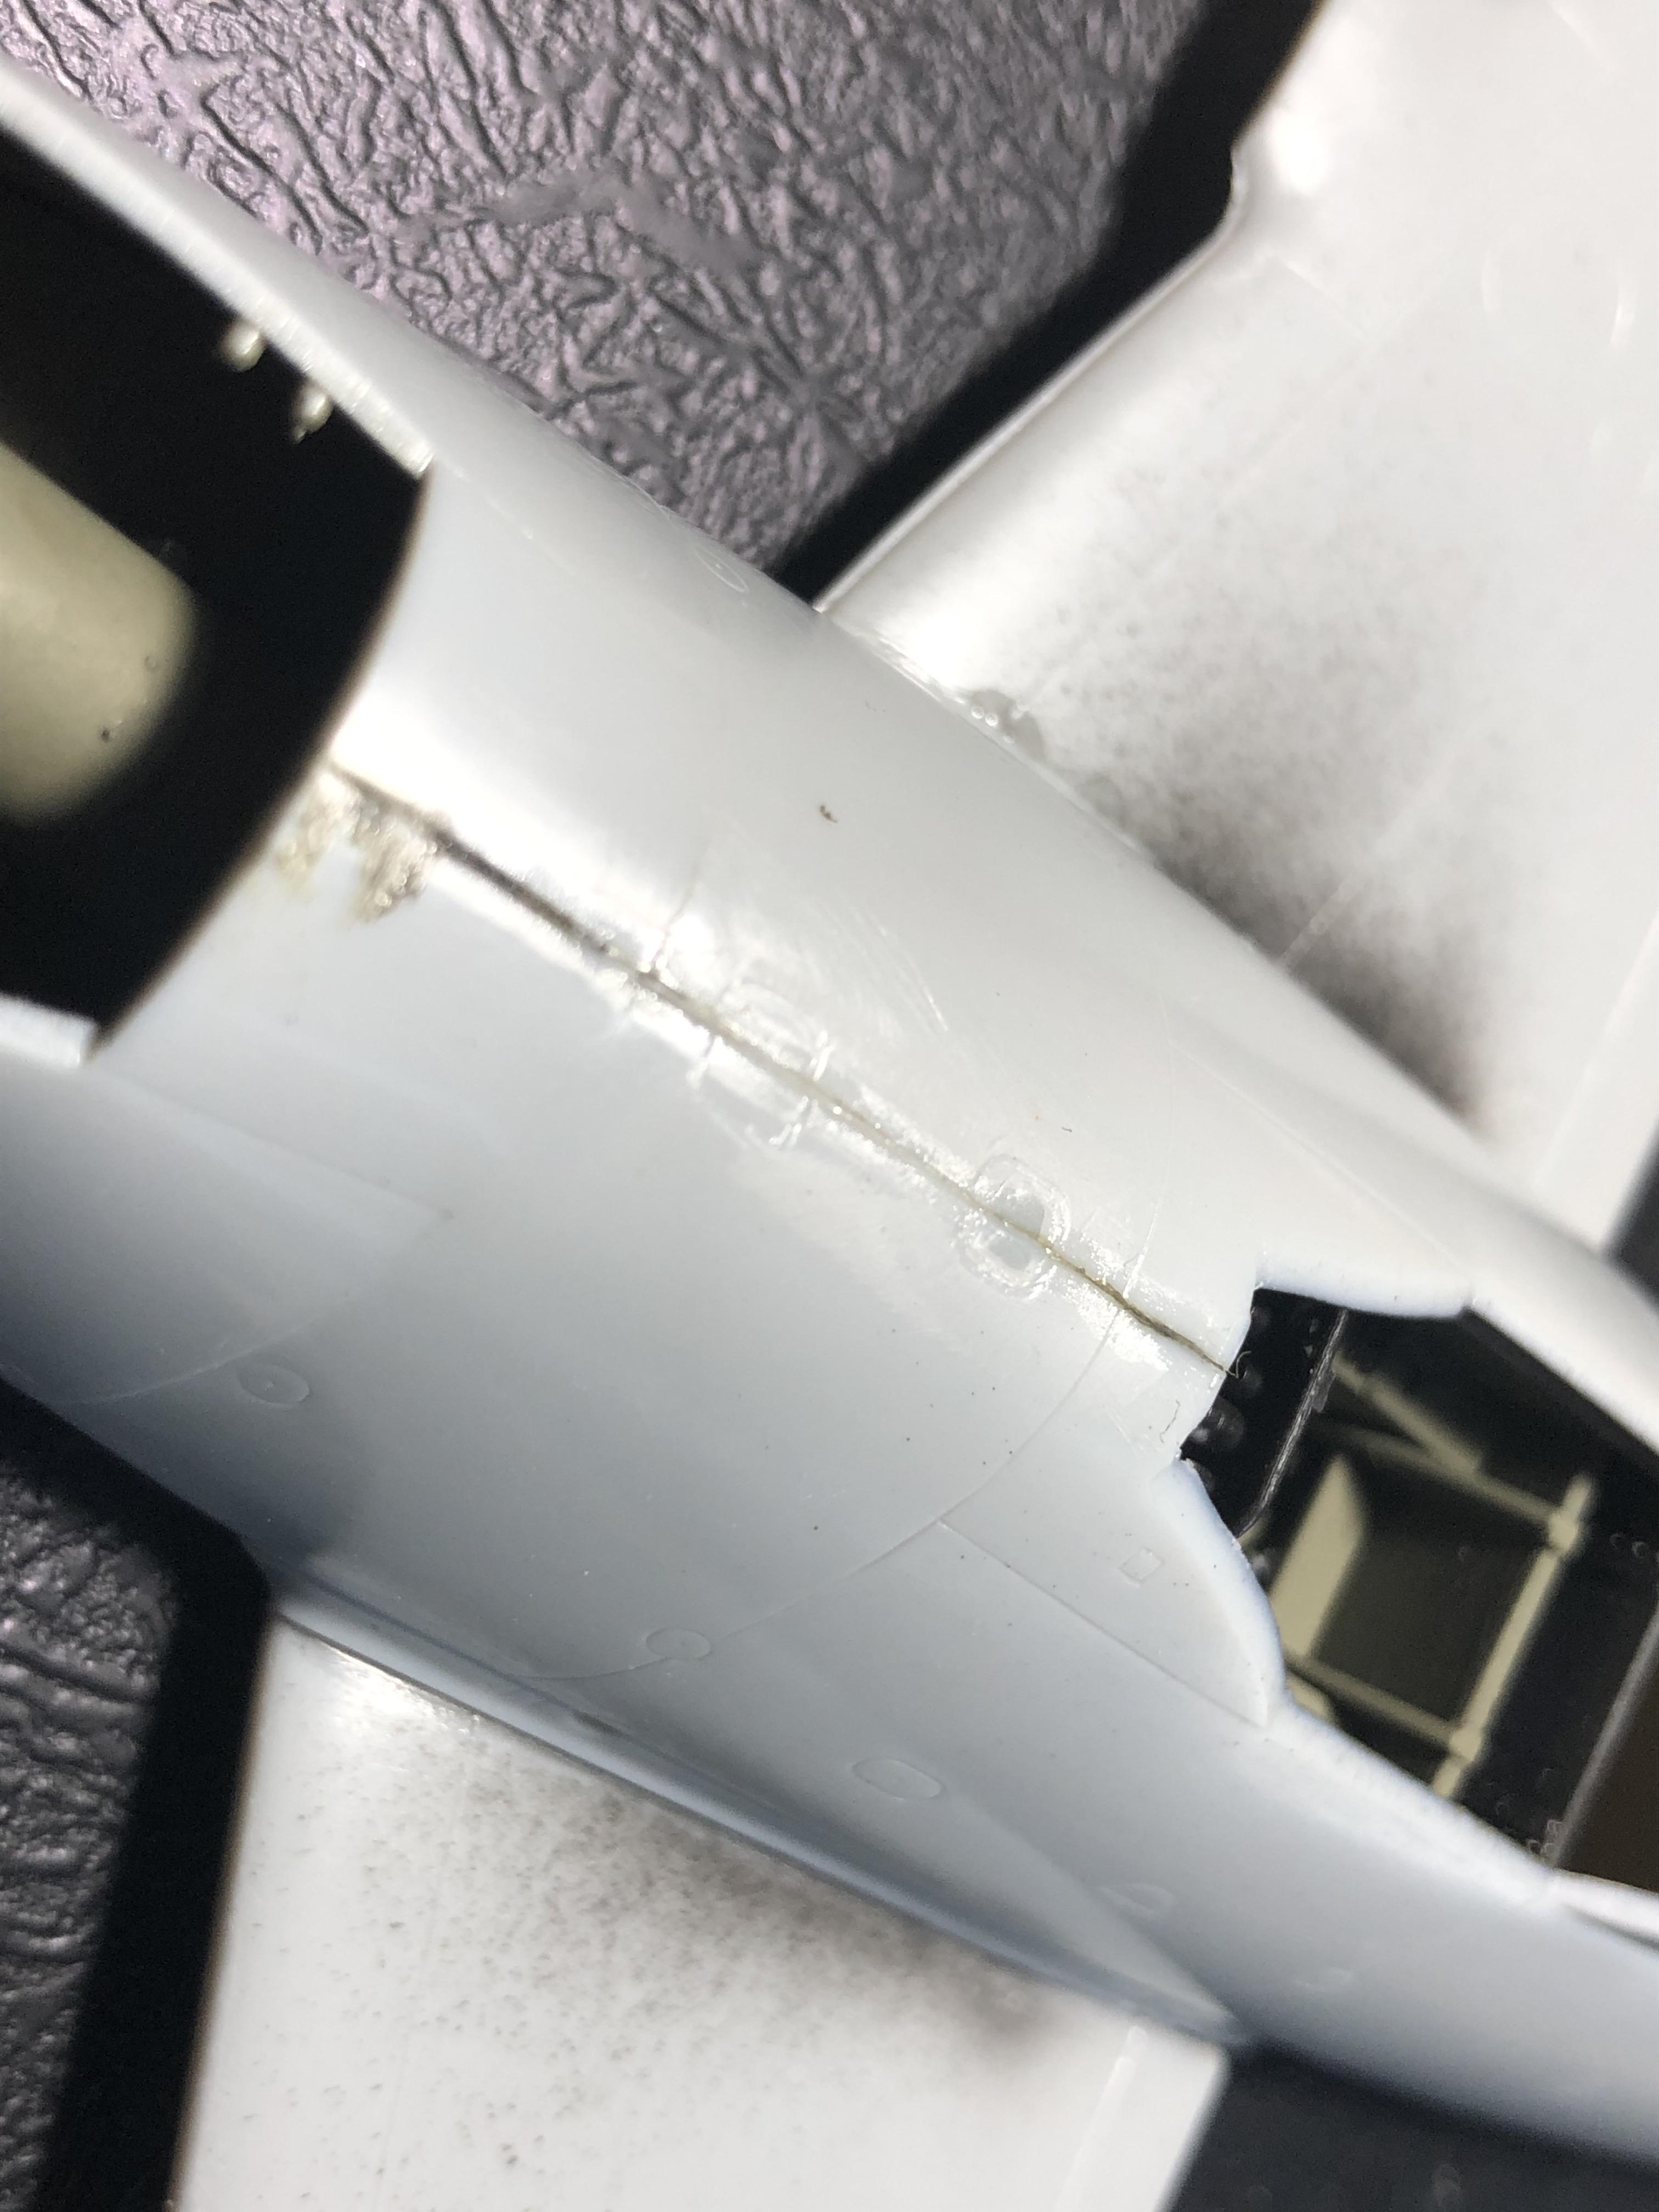
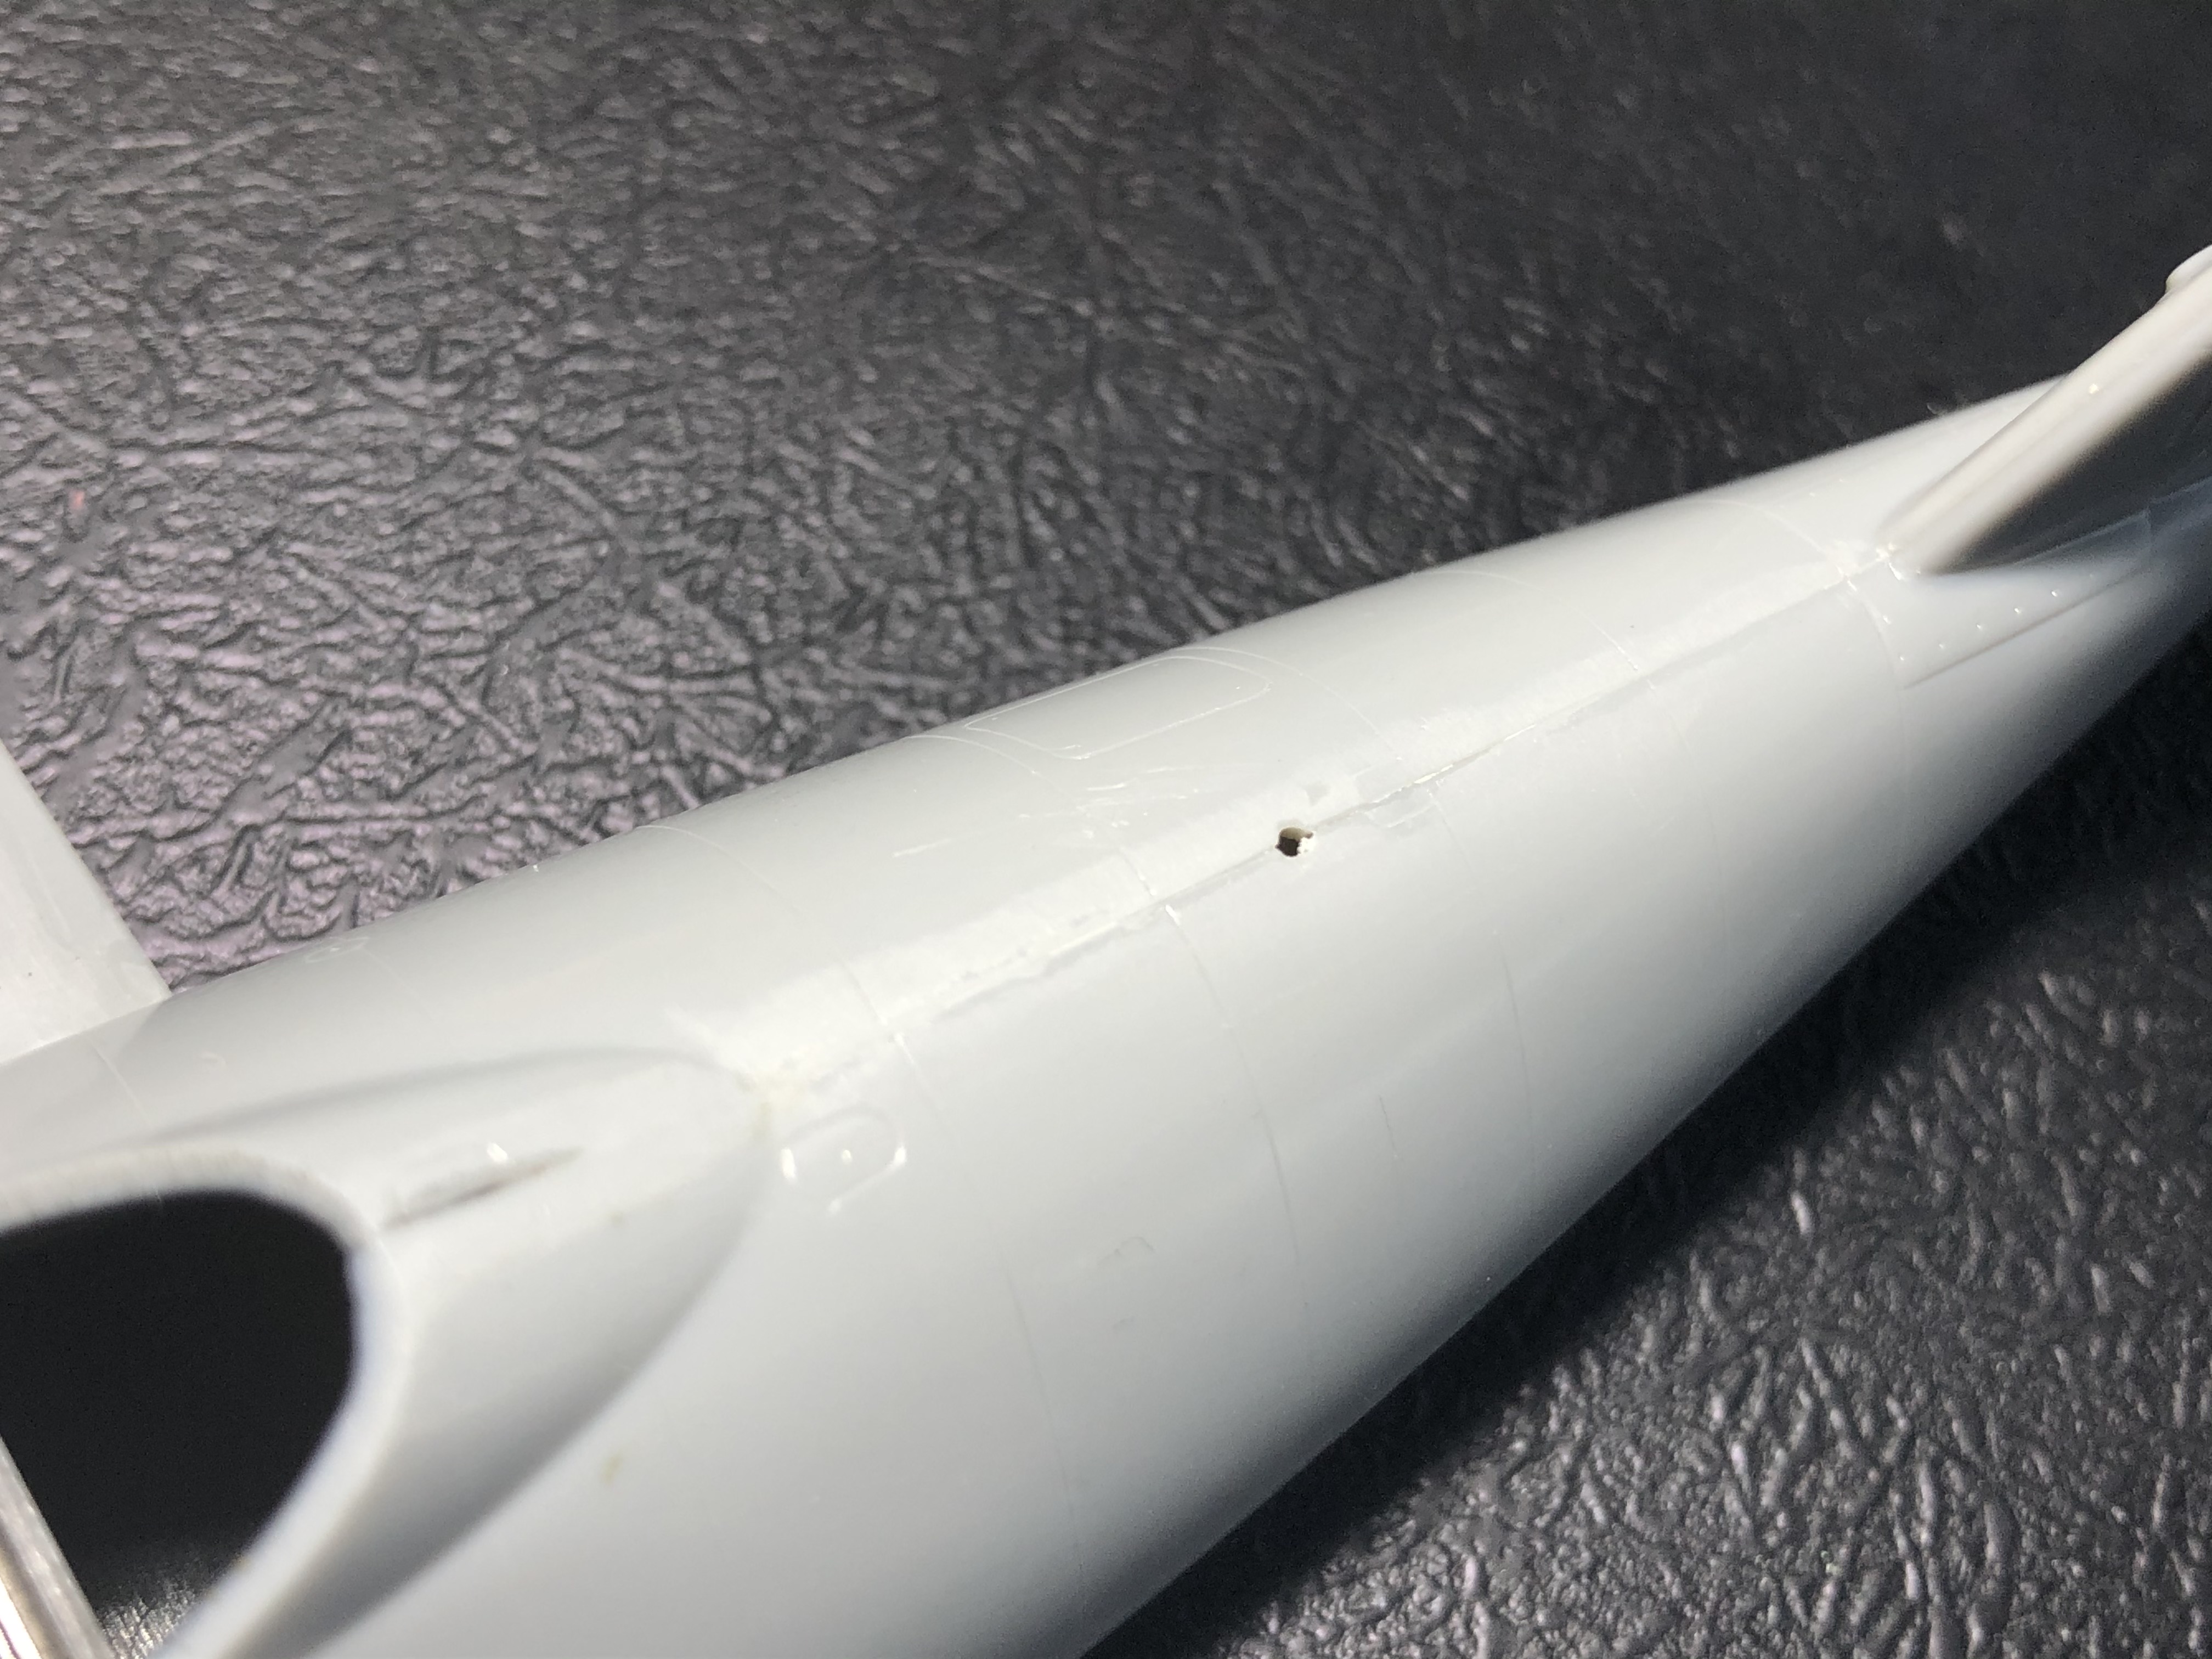
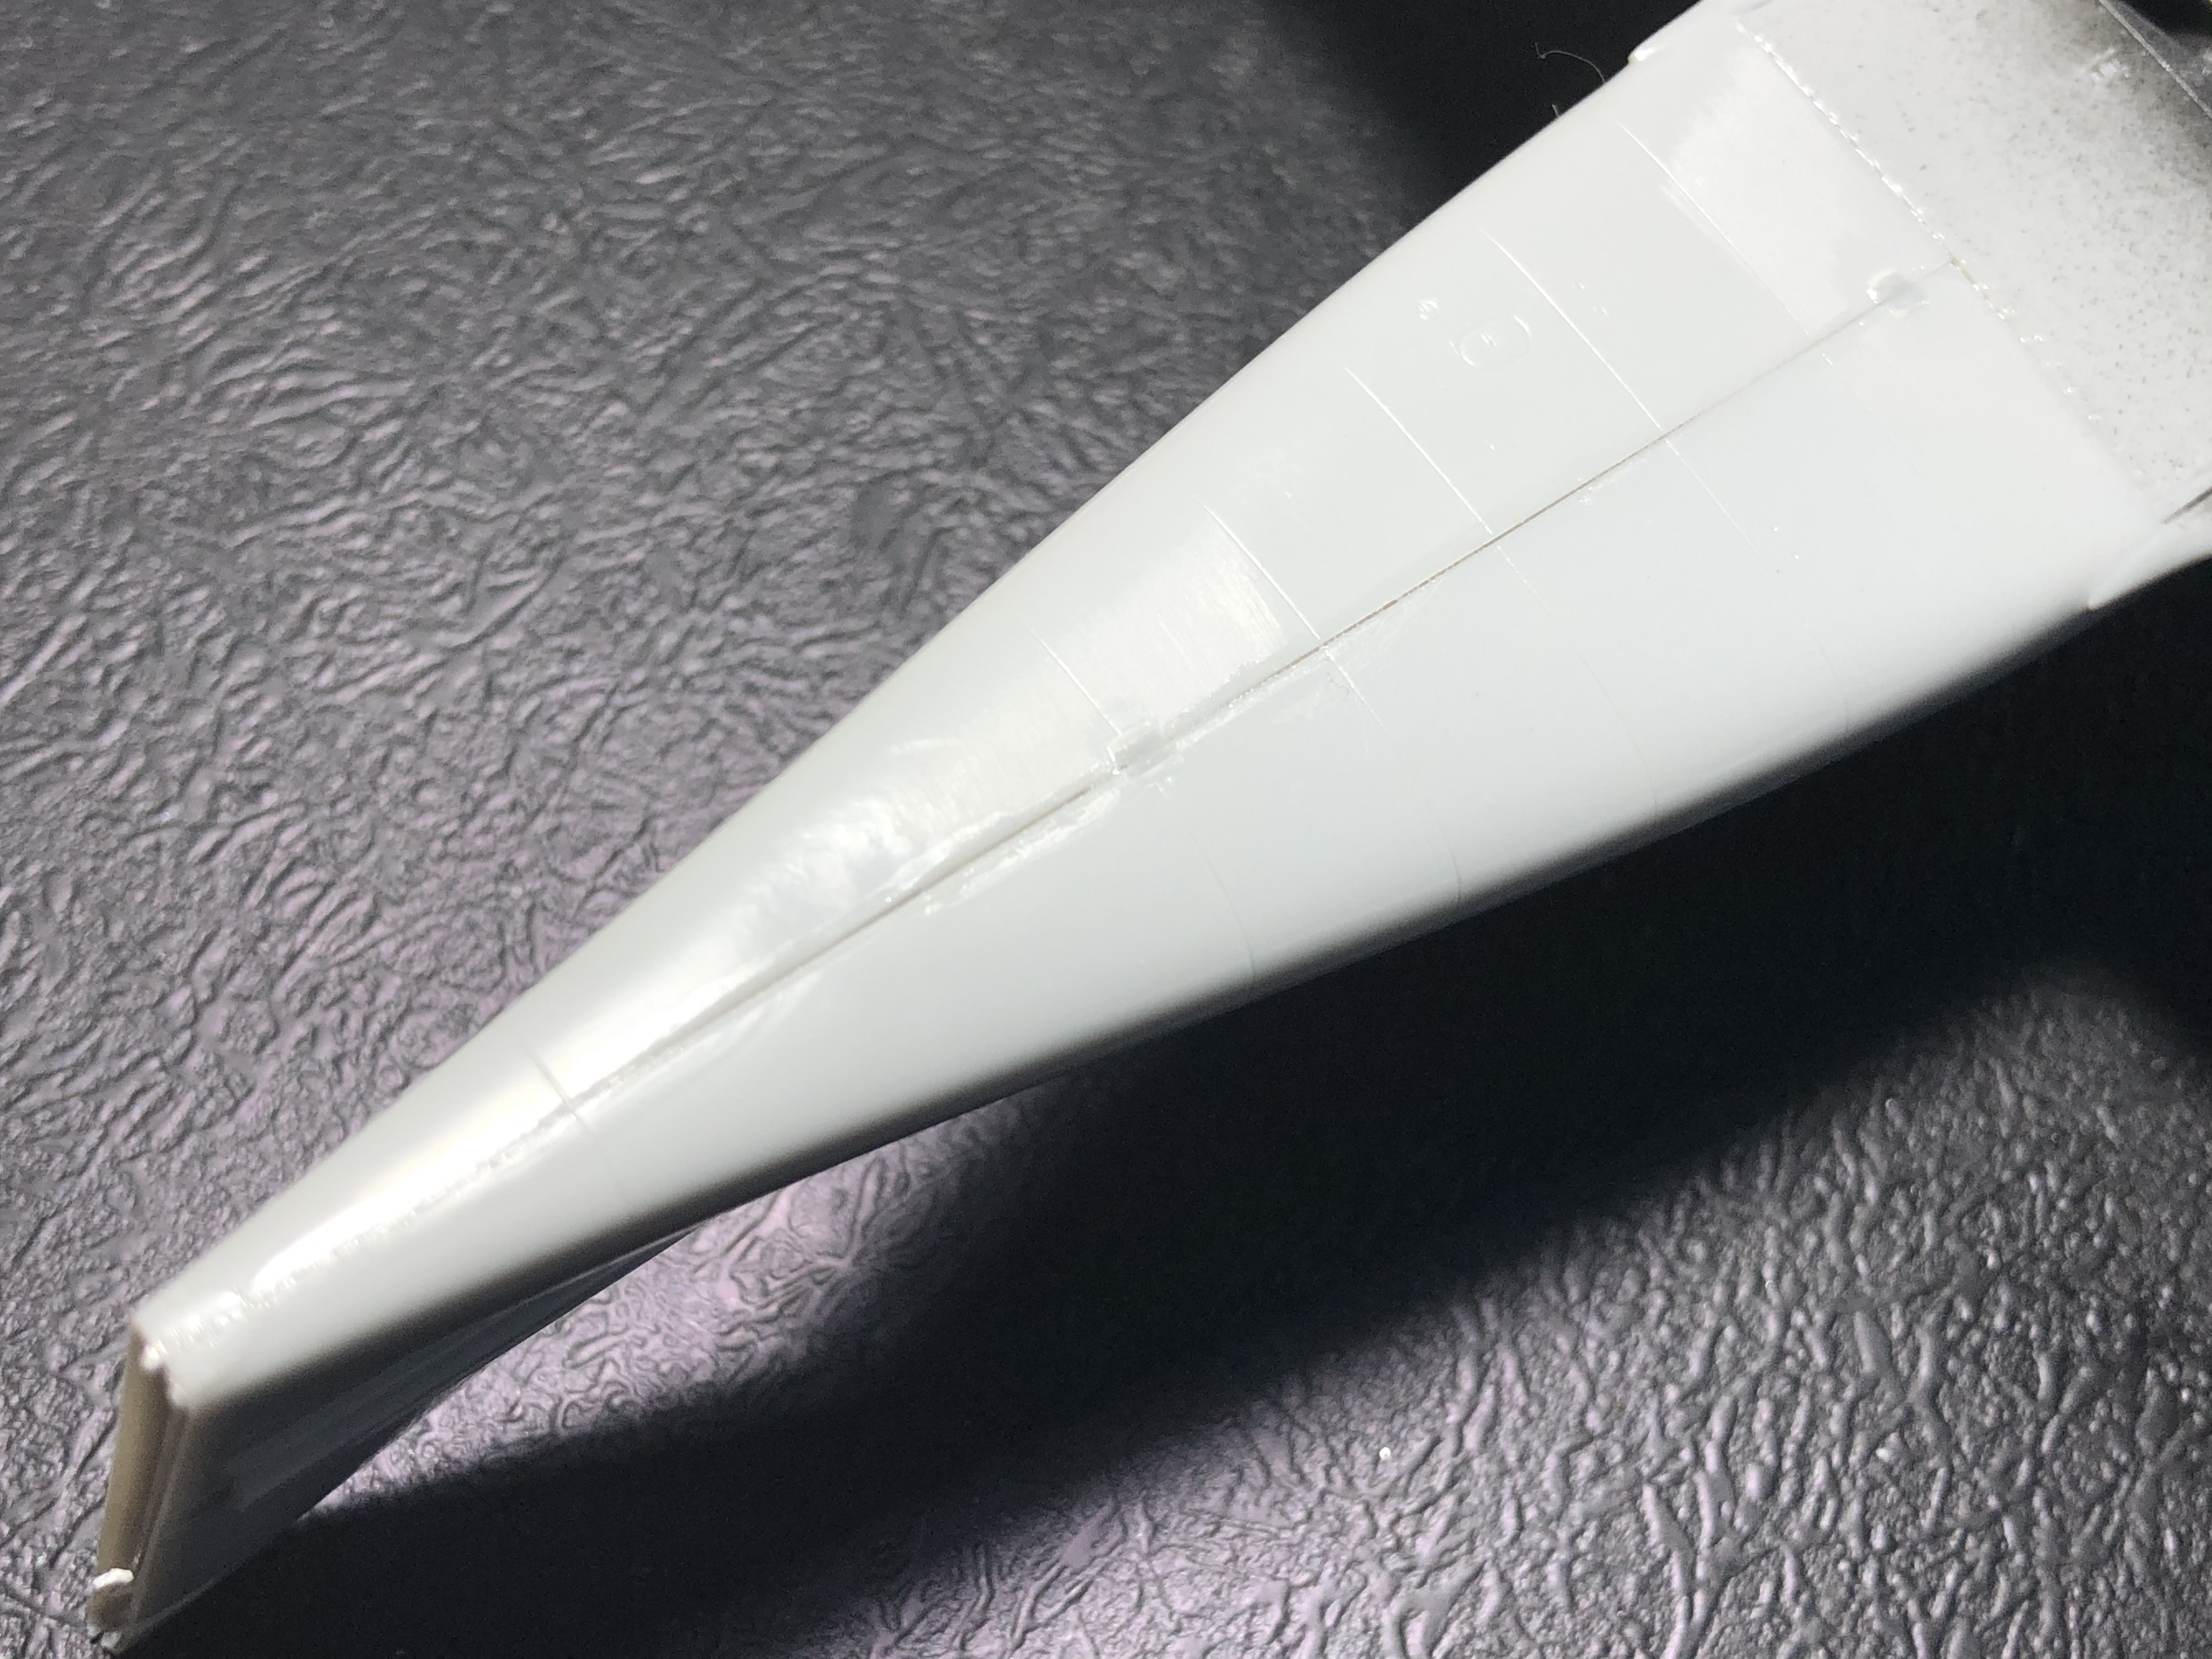
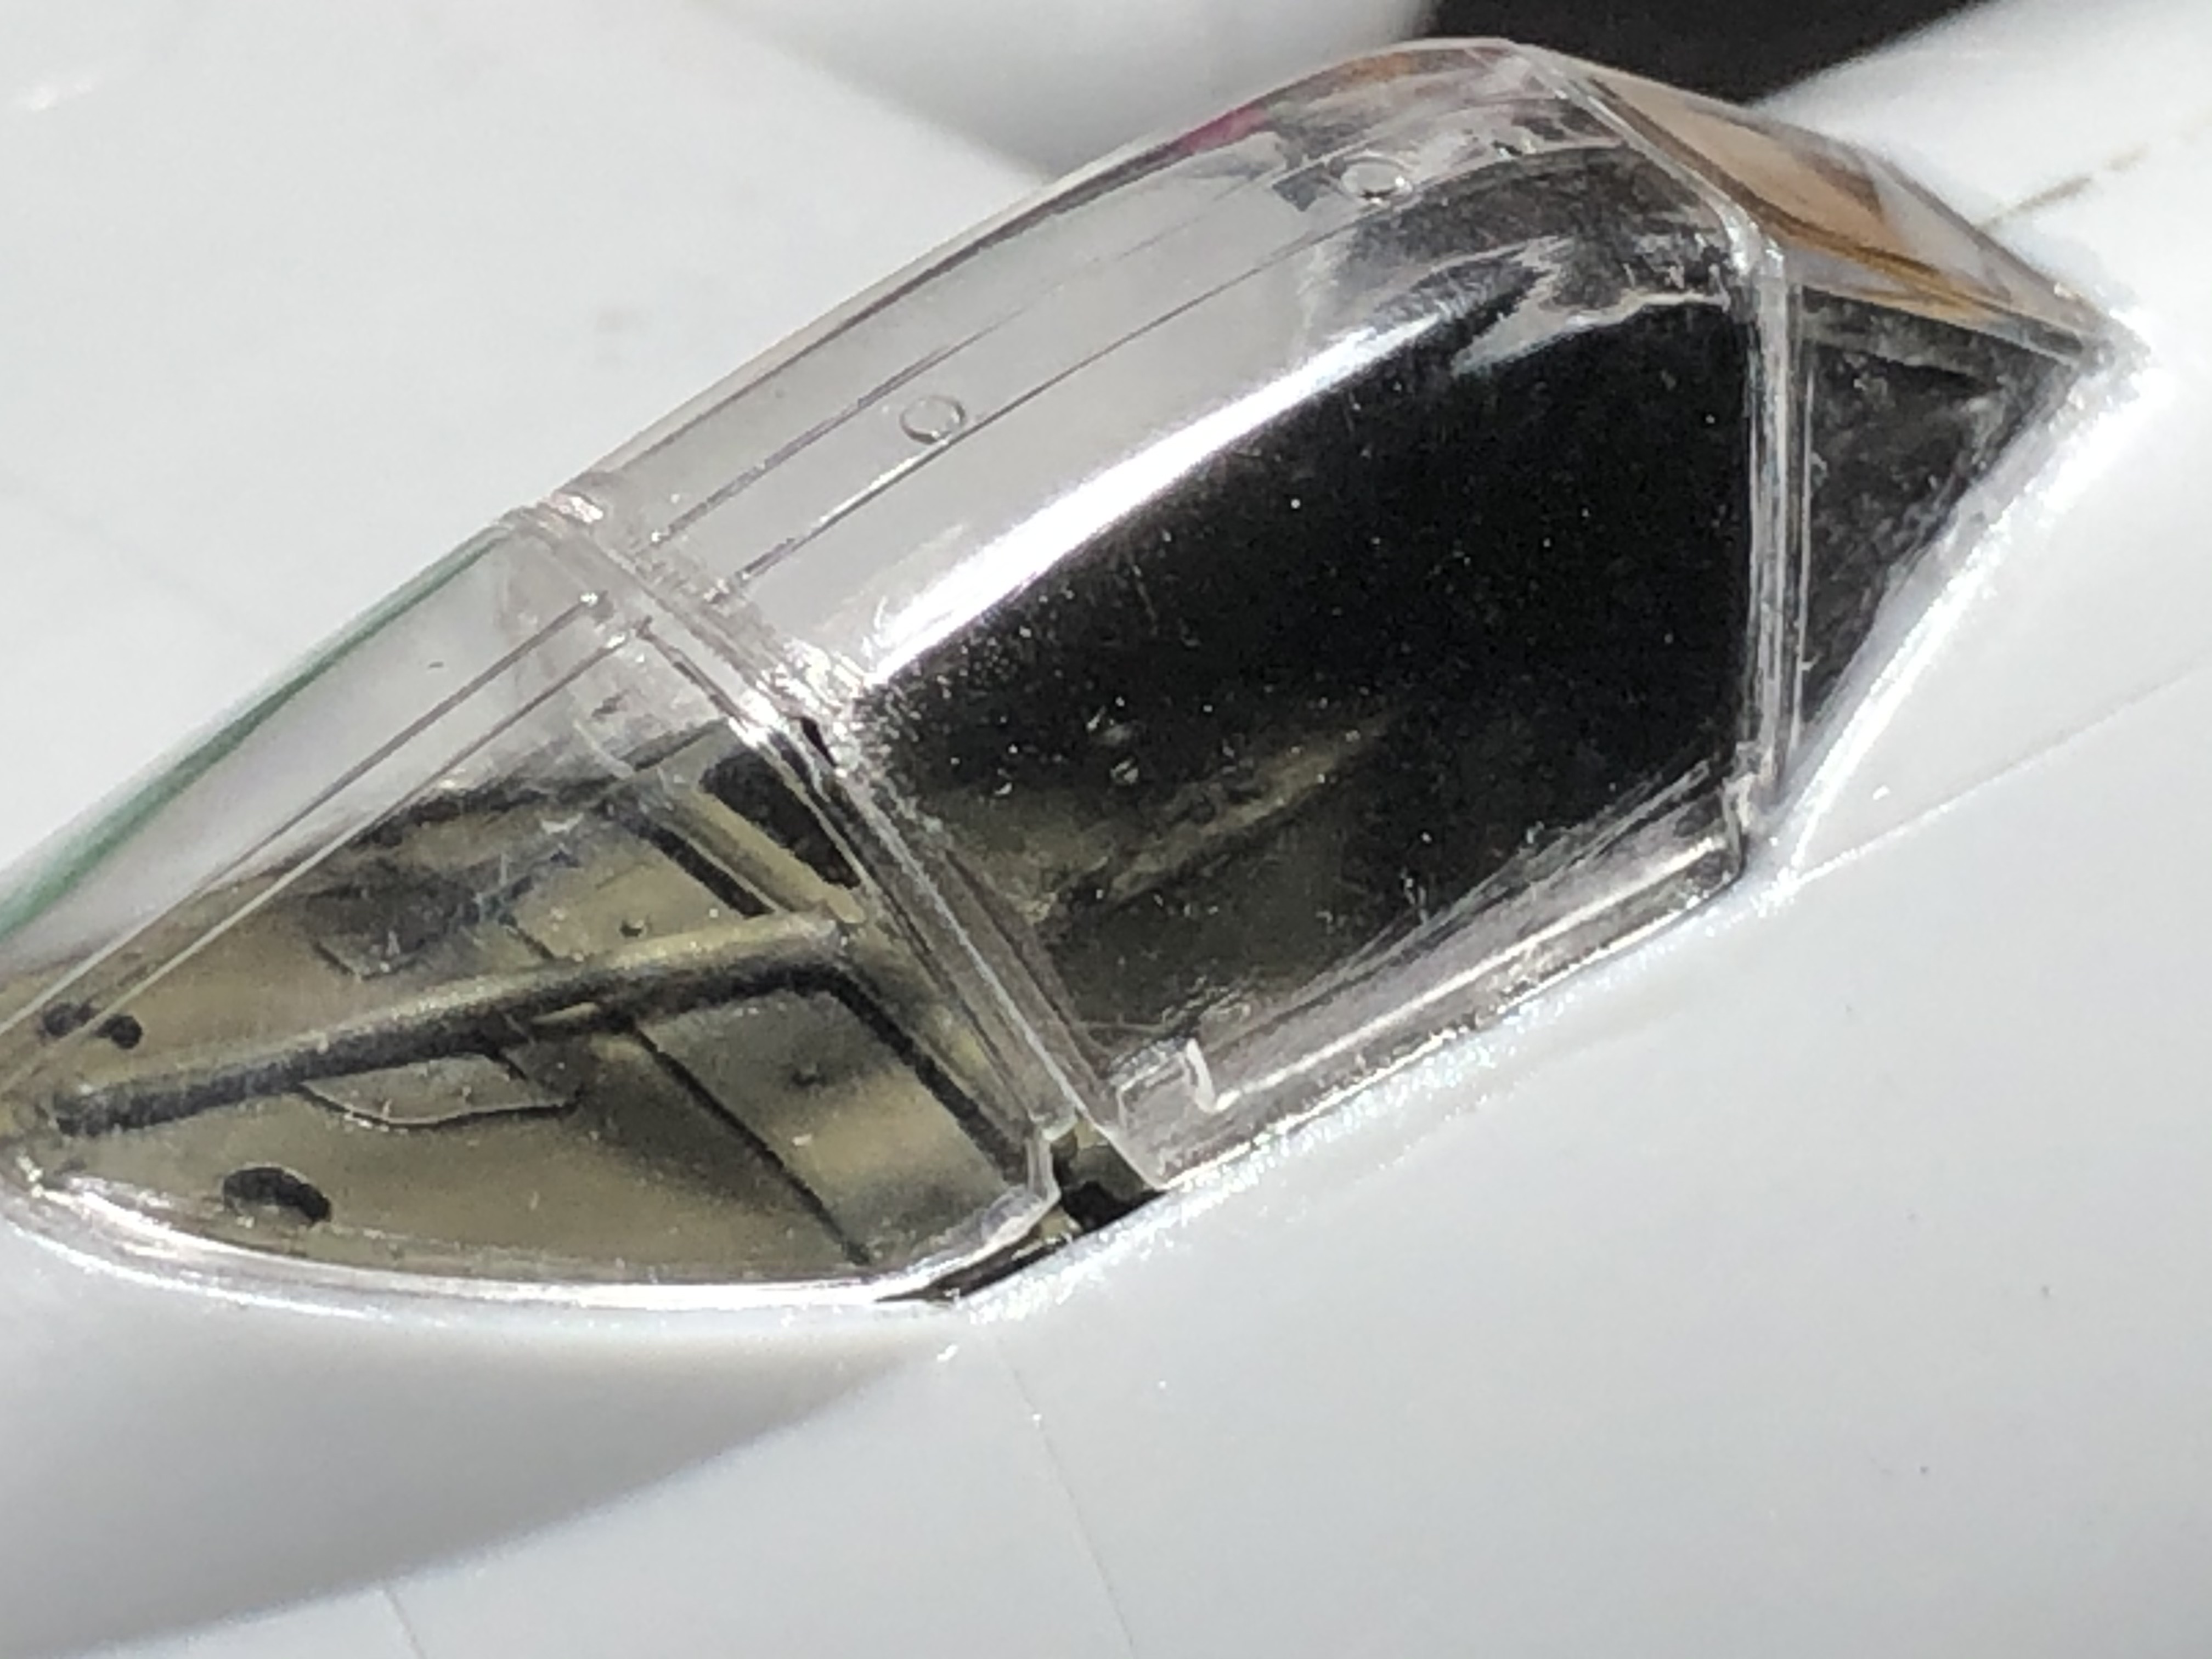
The upper nose section was a very neat fit when I test dry fitted everything, I must have pushed it slightly out of alignment as it cured.
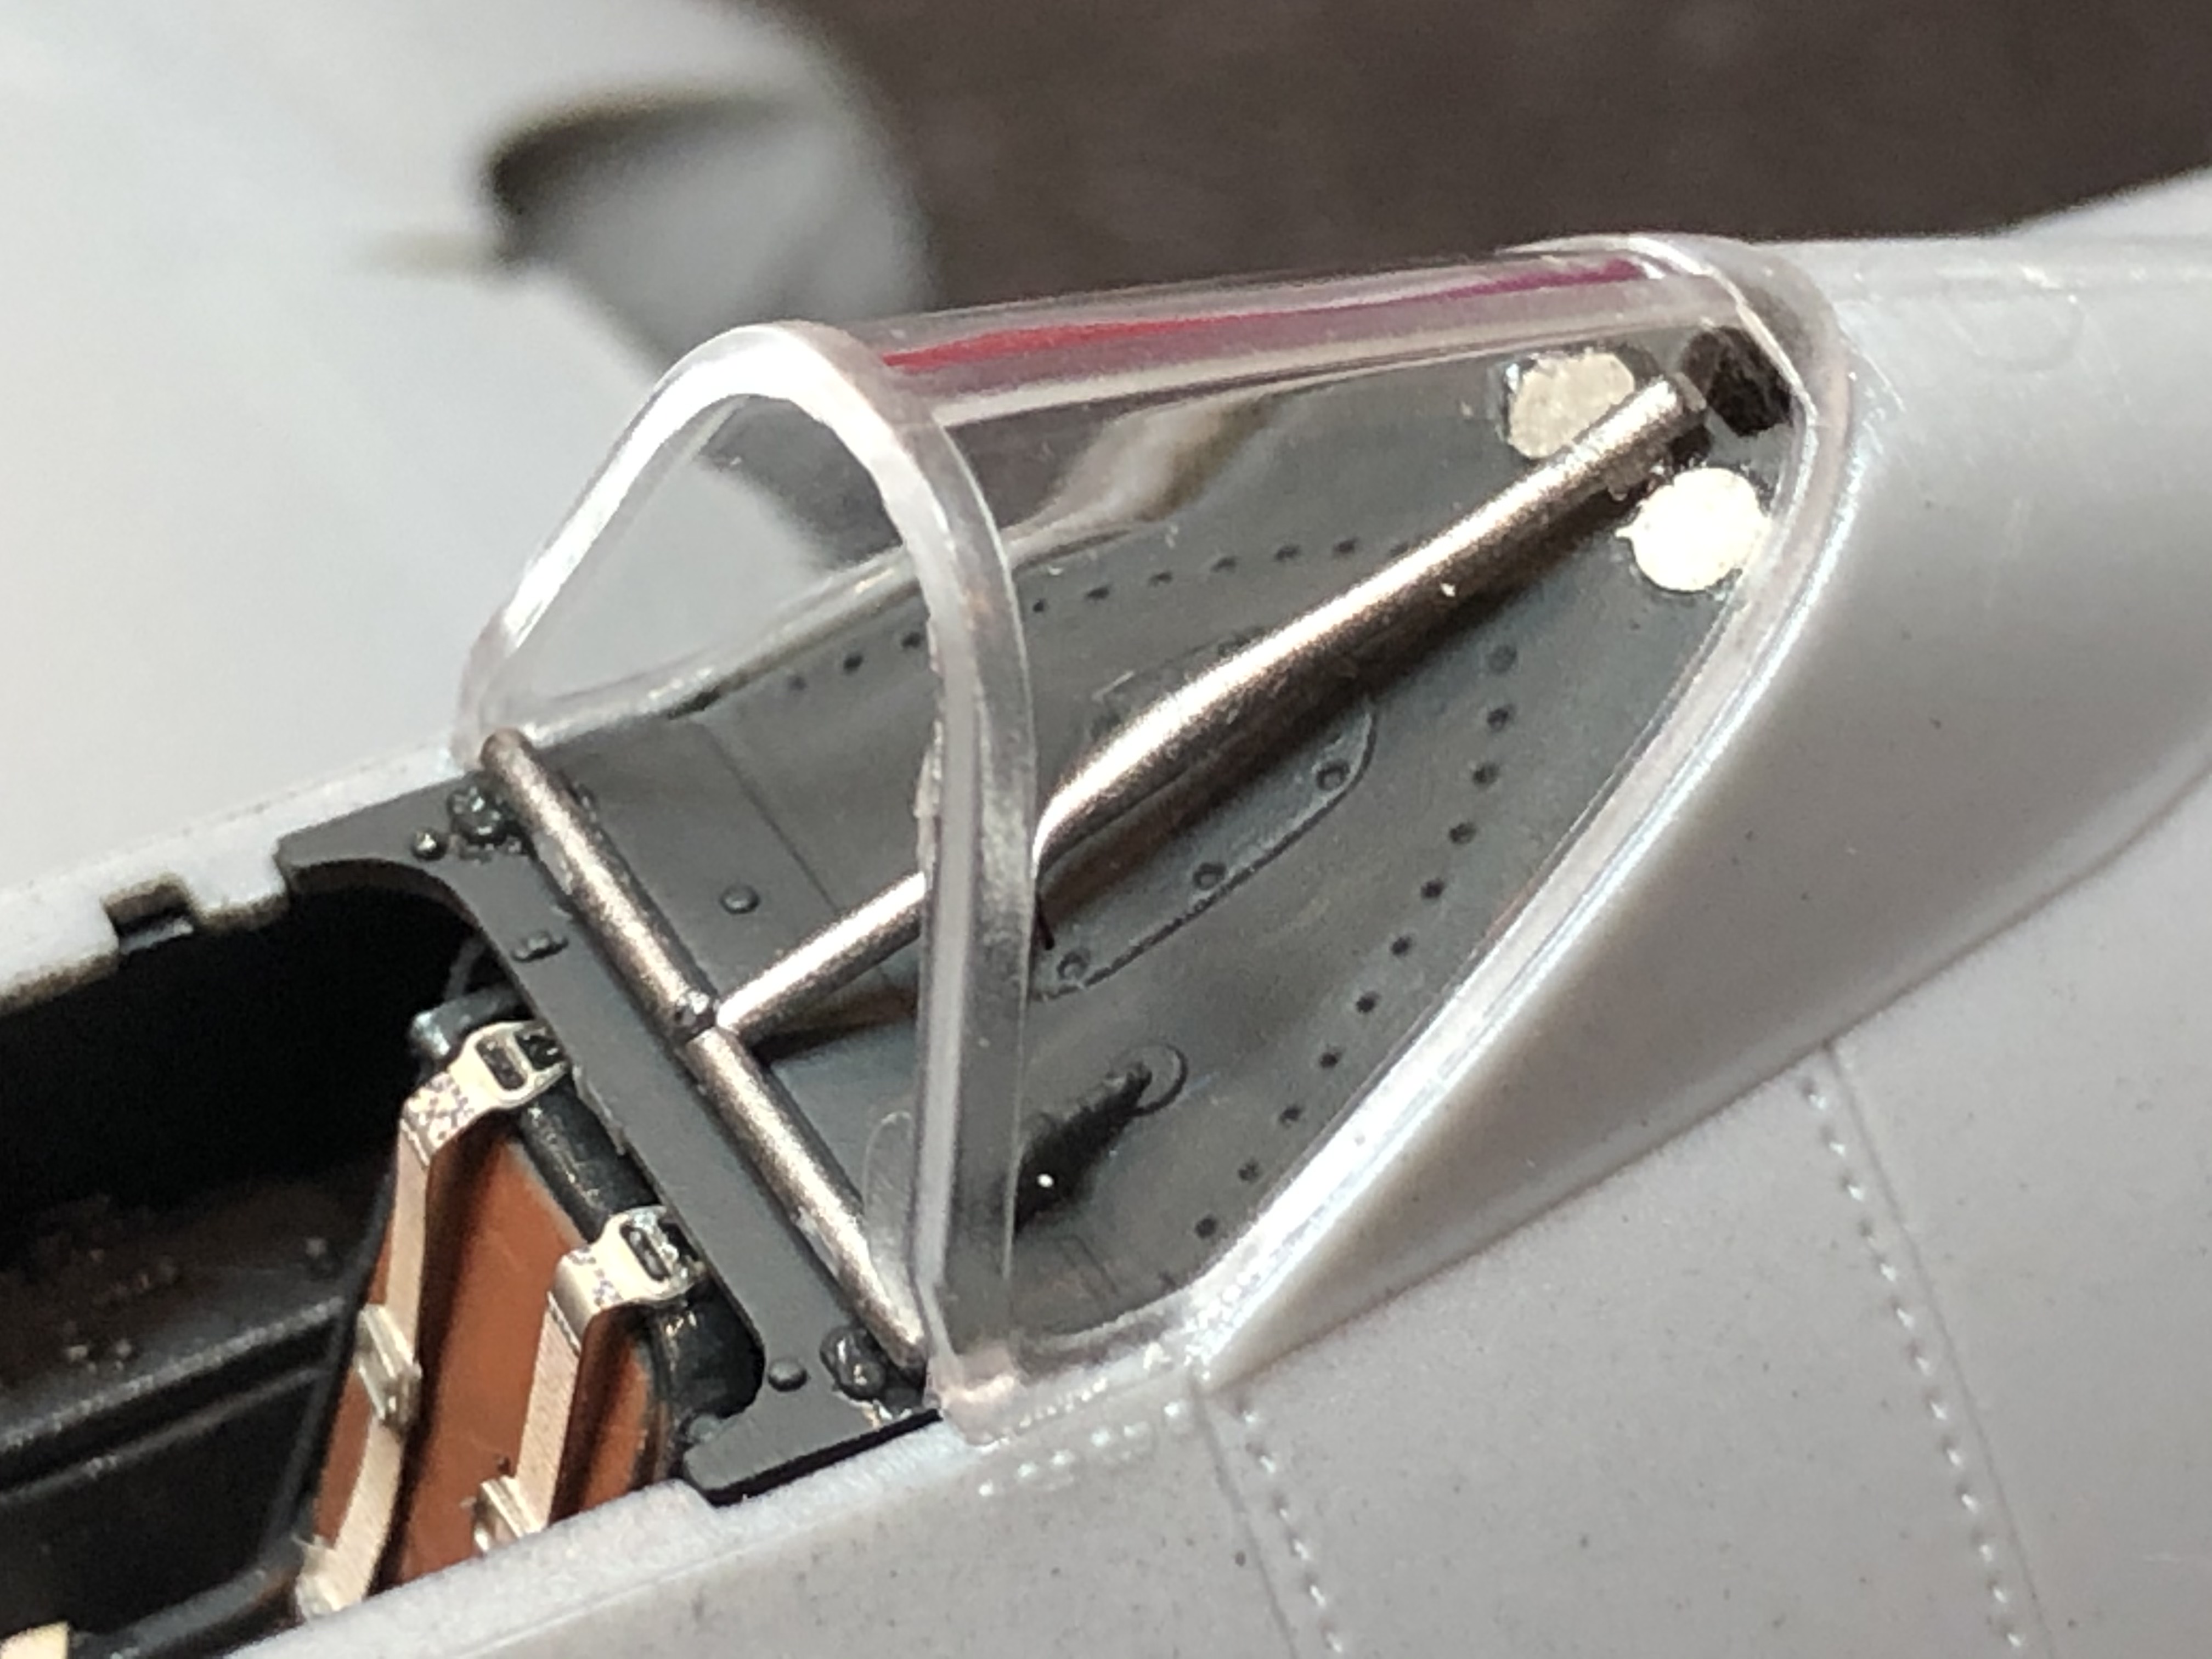
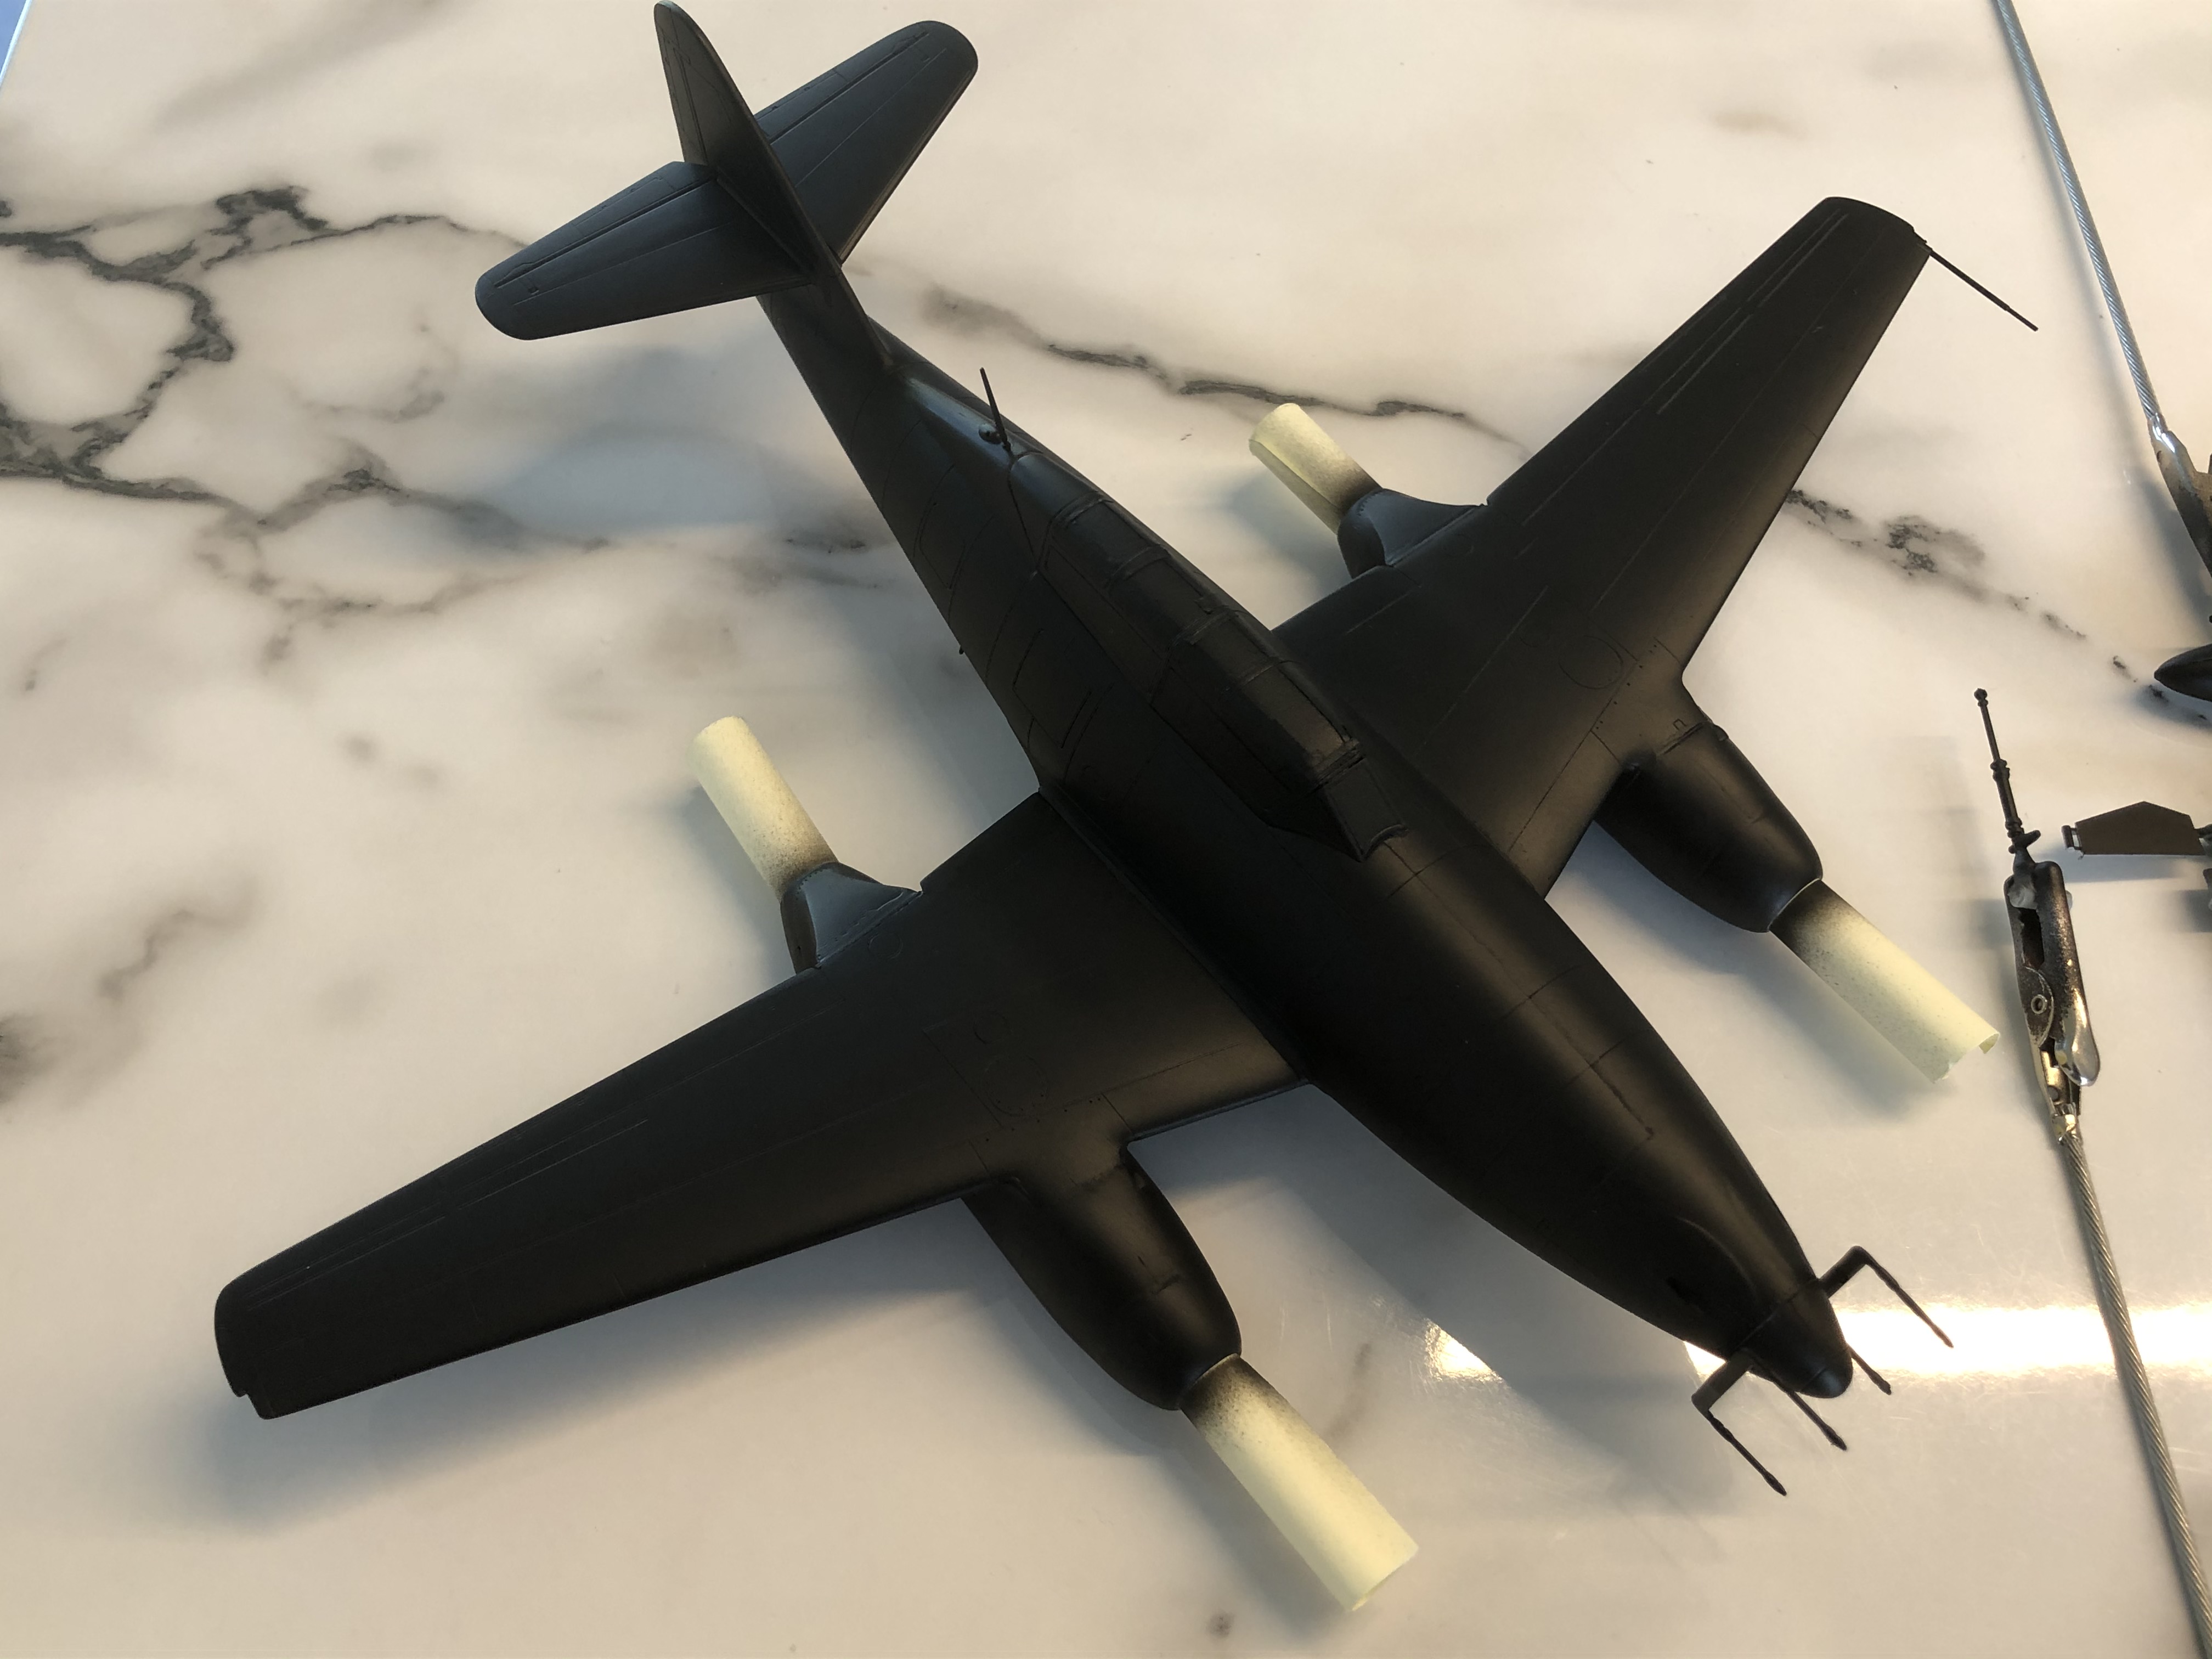
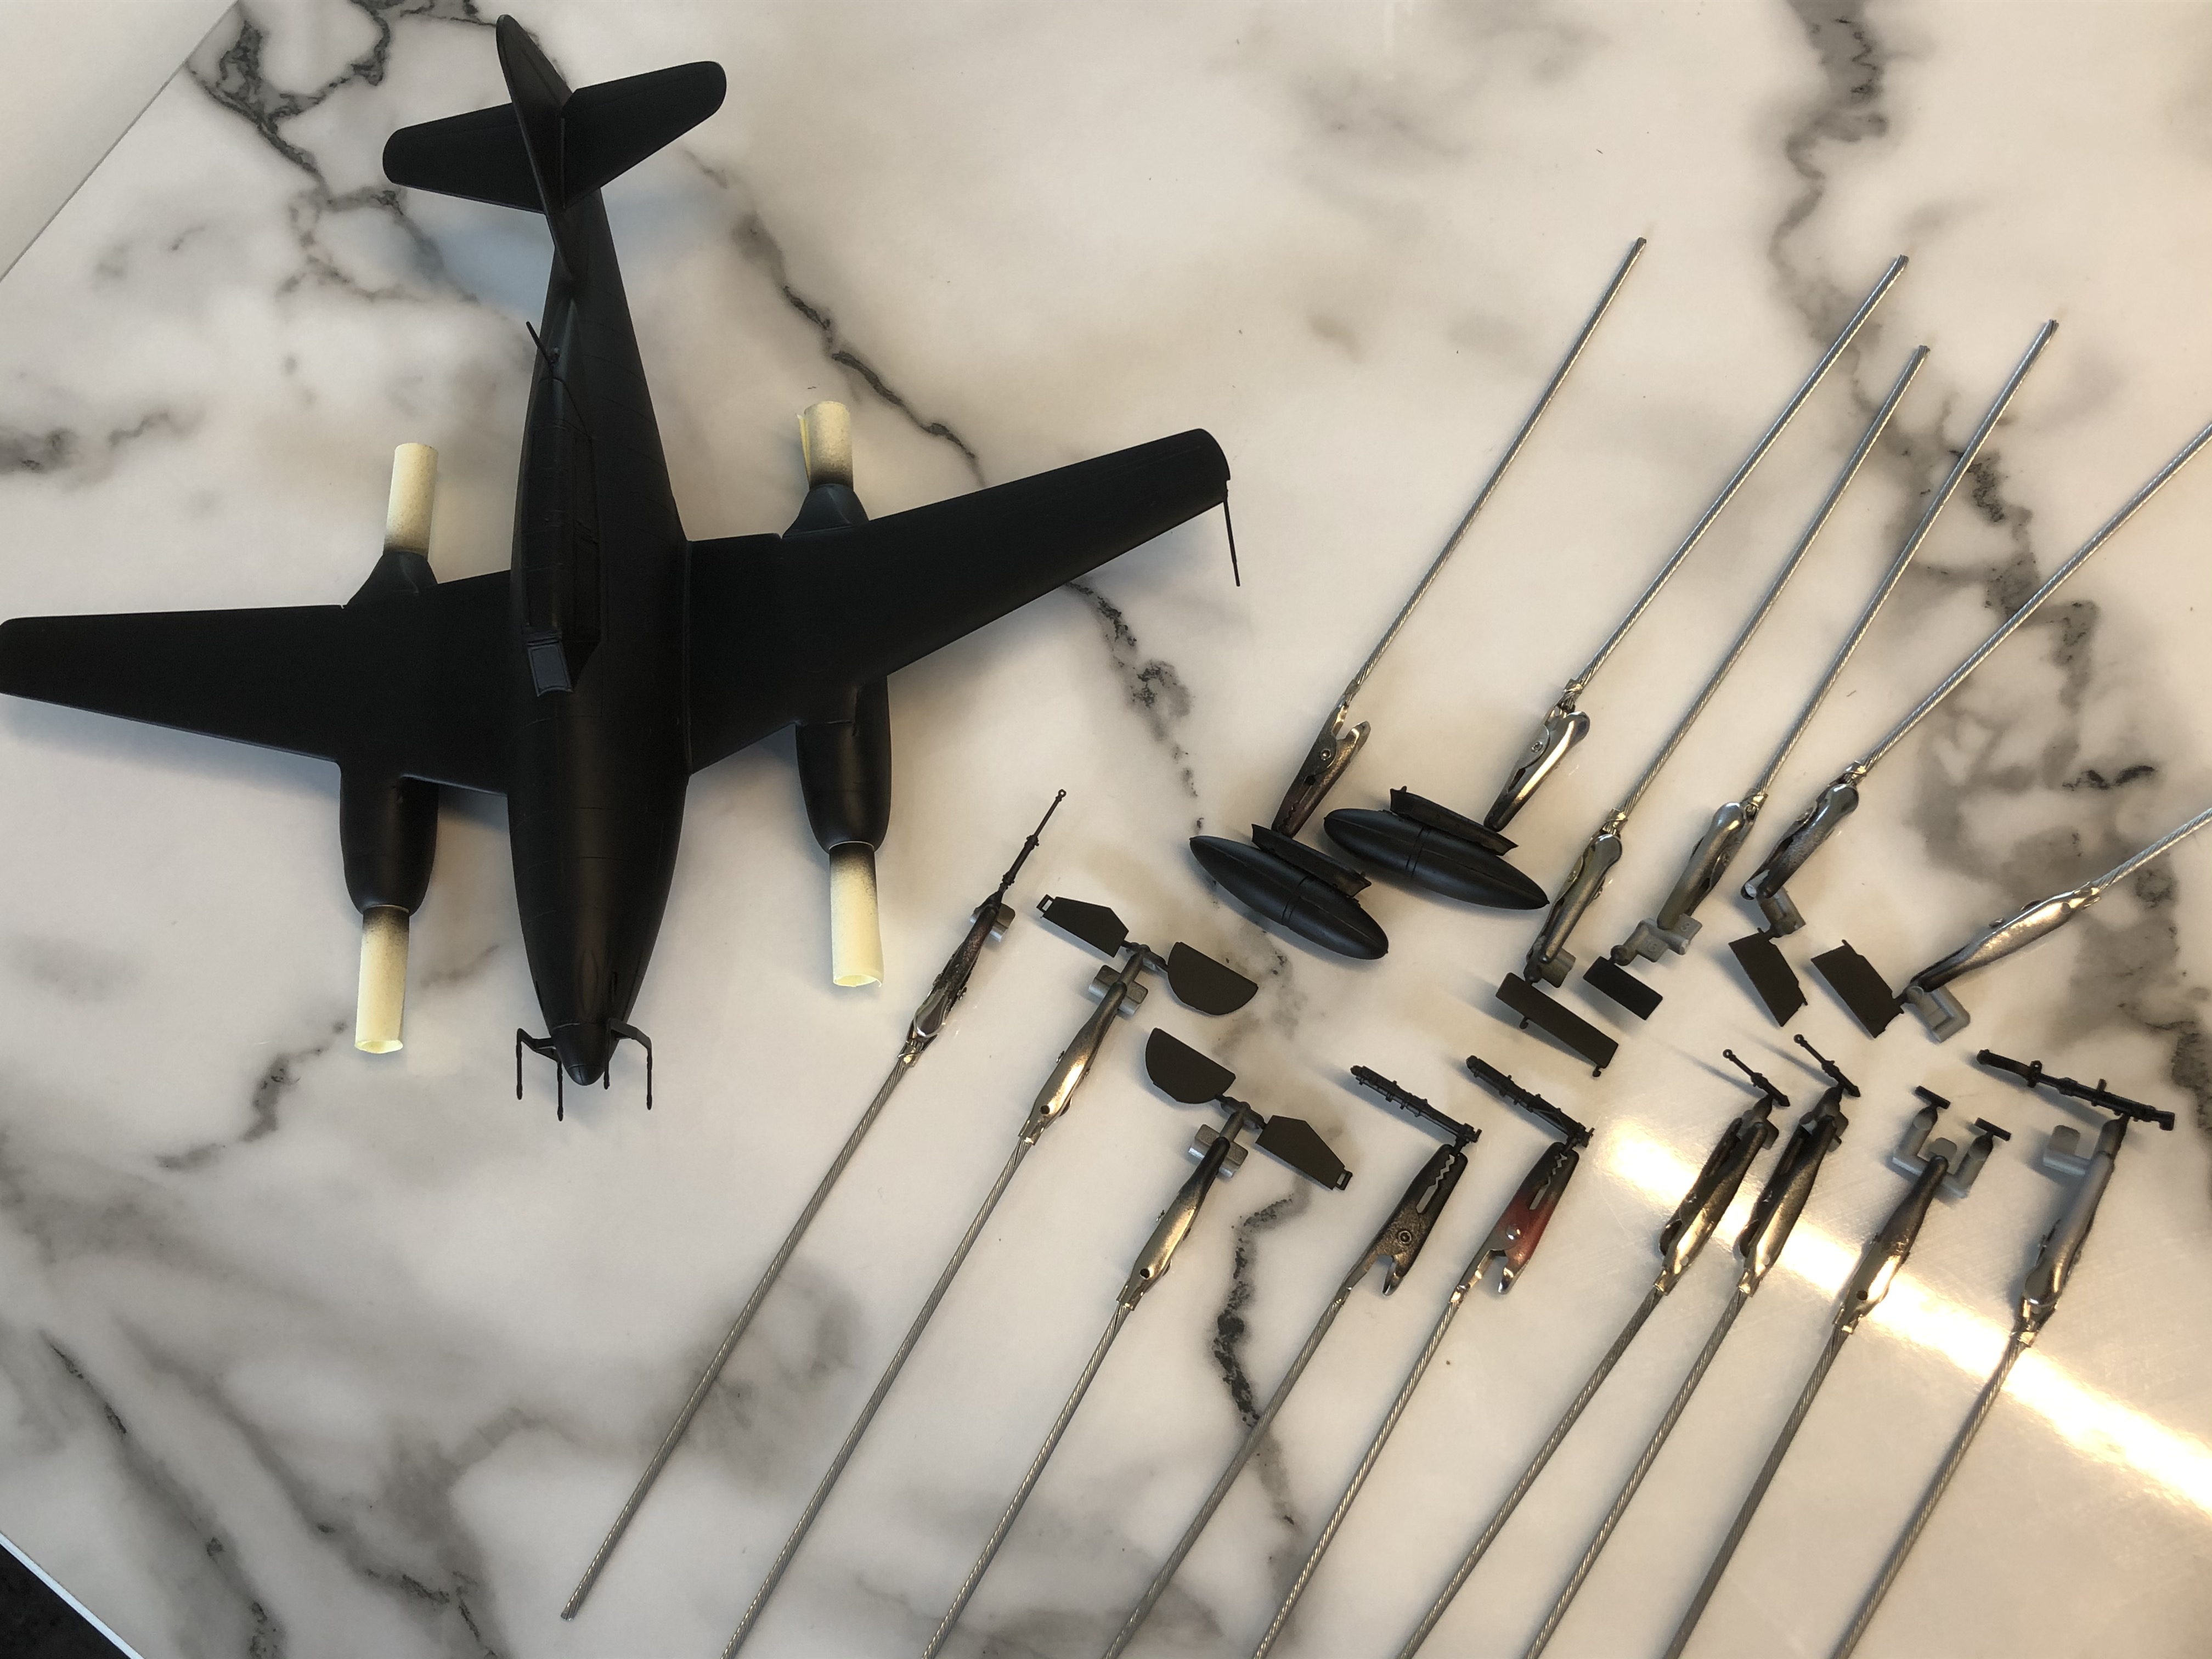
Ready now for the finishing touches, wheels, bombs, RATO pods, antennae and canopy.
August 10 updateA bit of a late bench session tonight, this one is completed!
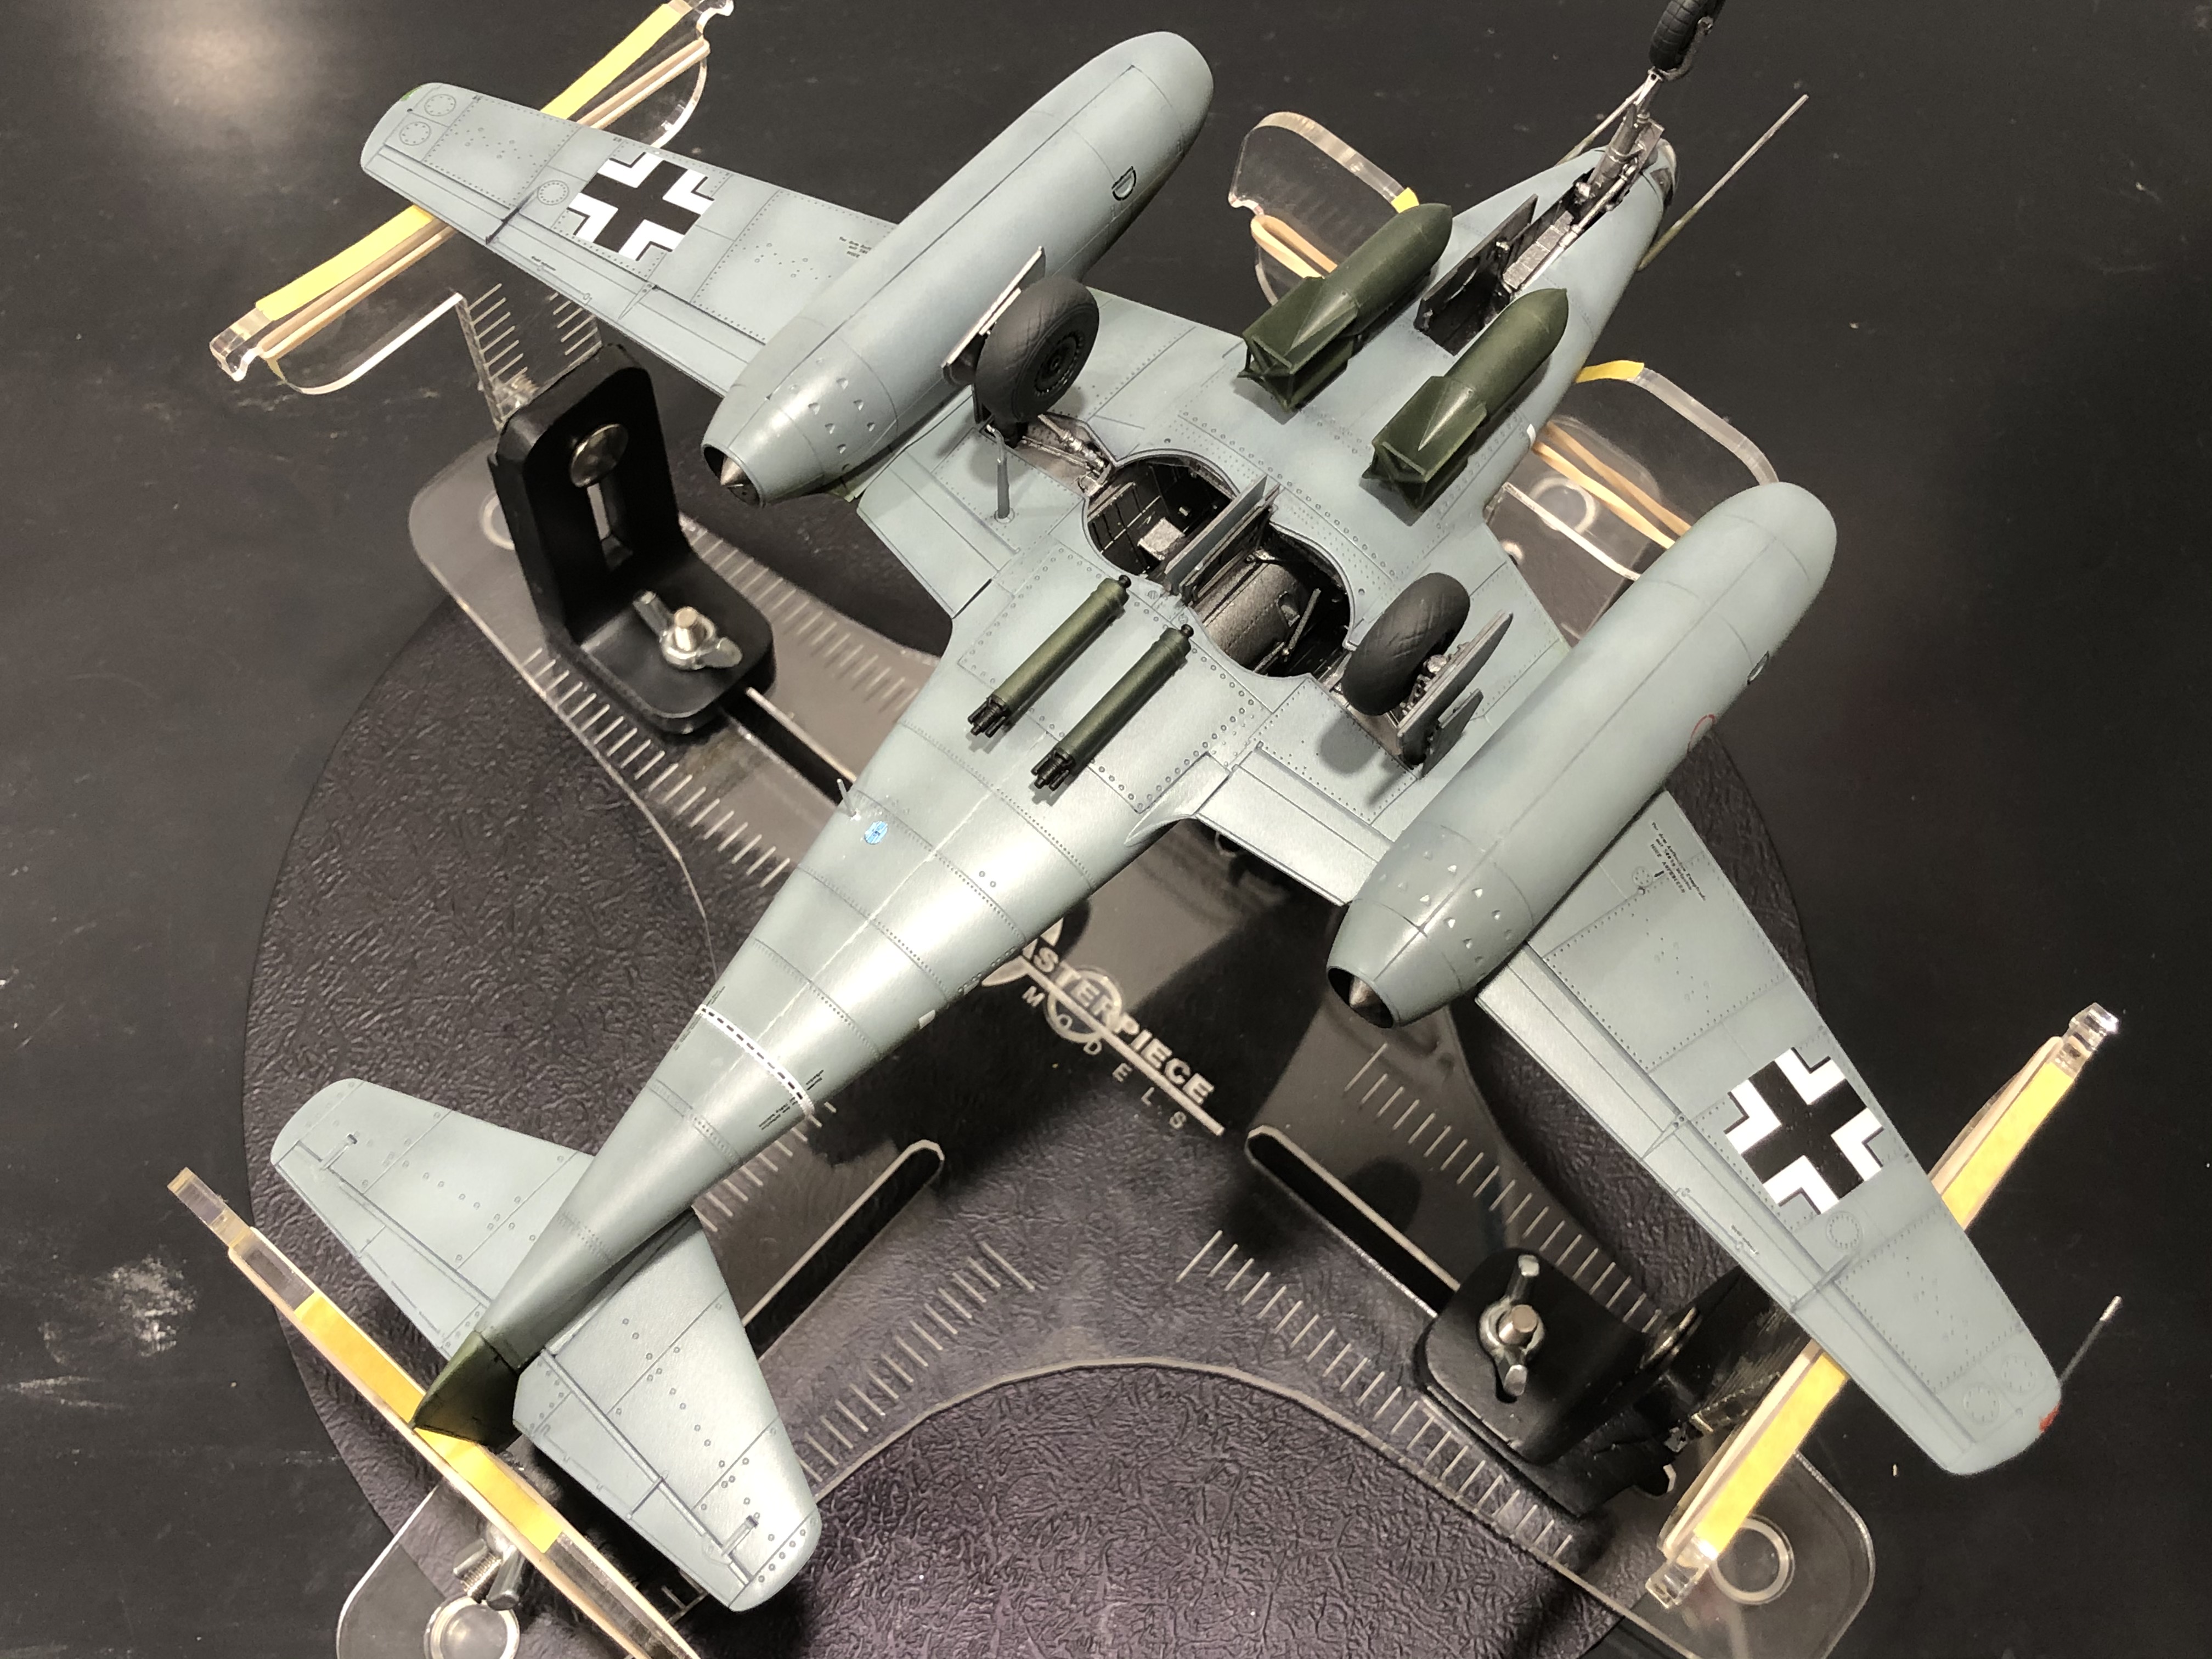
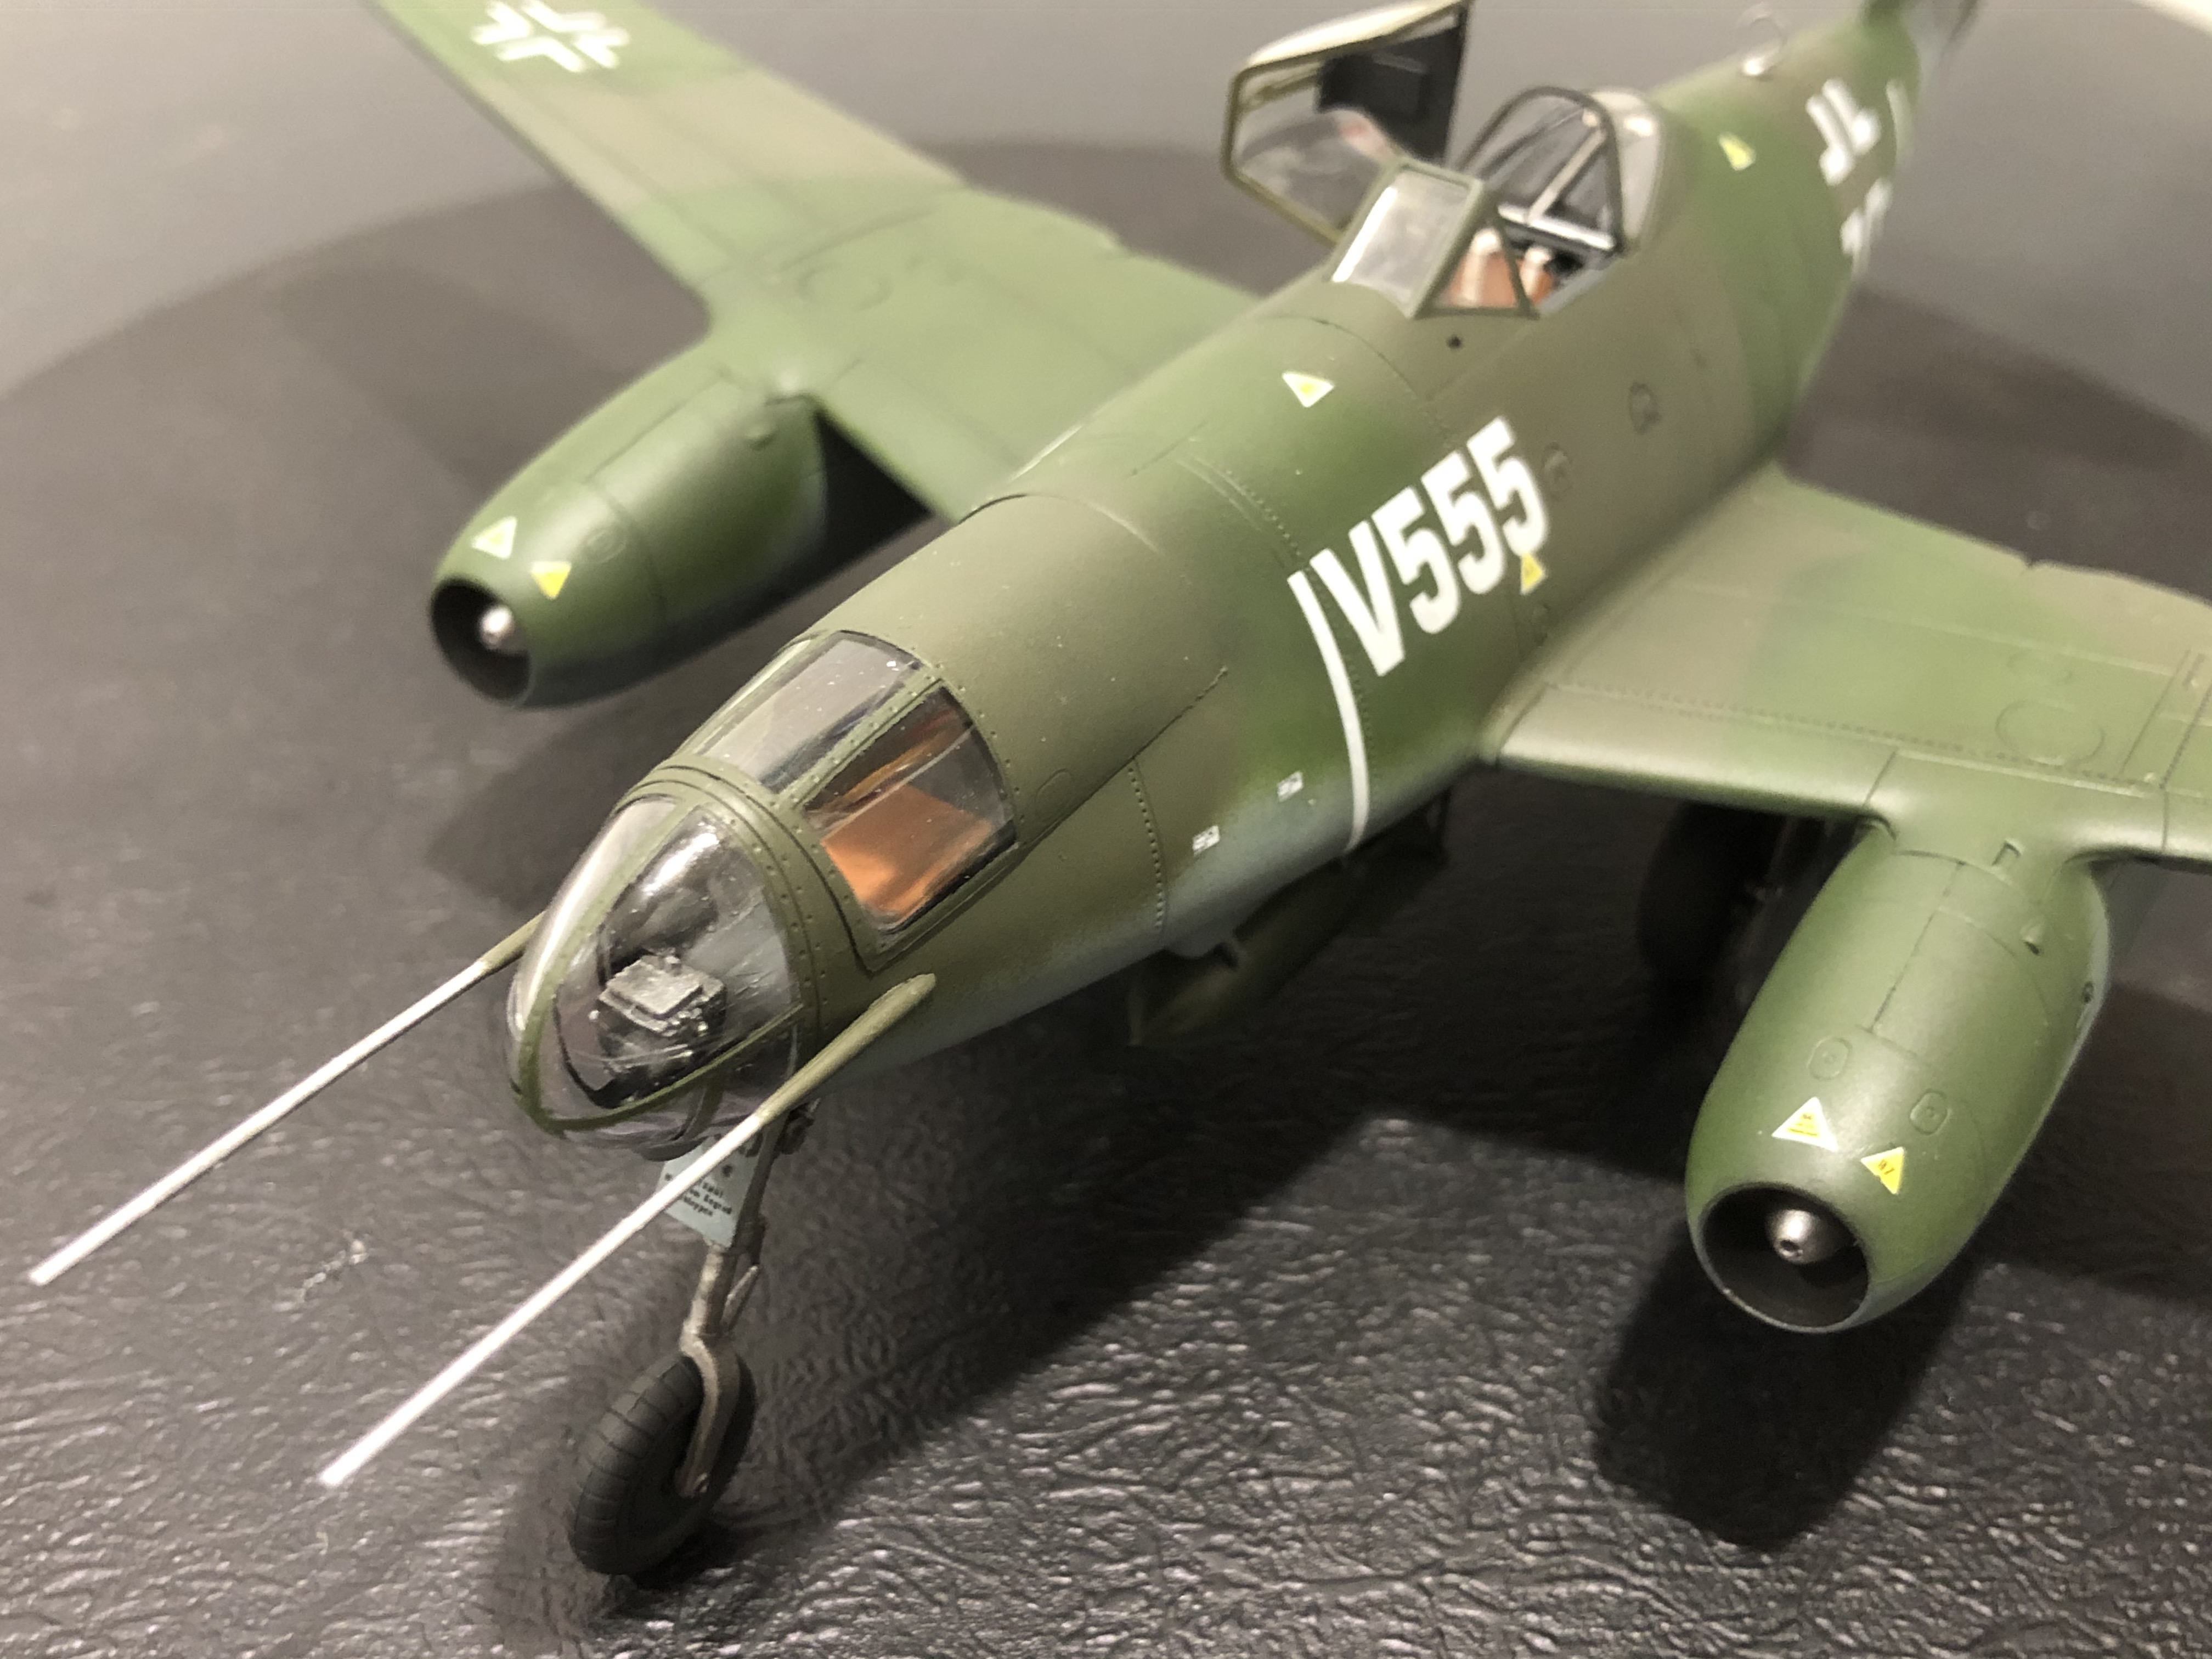
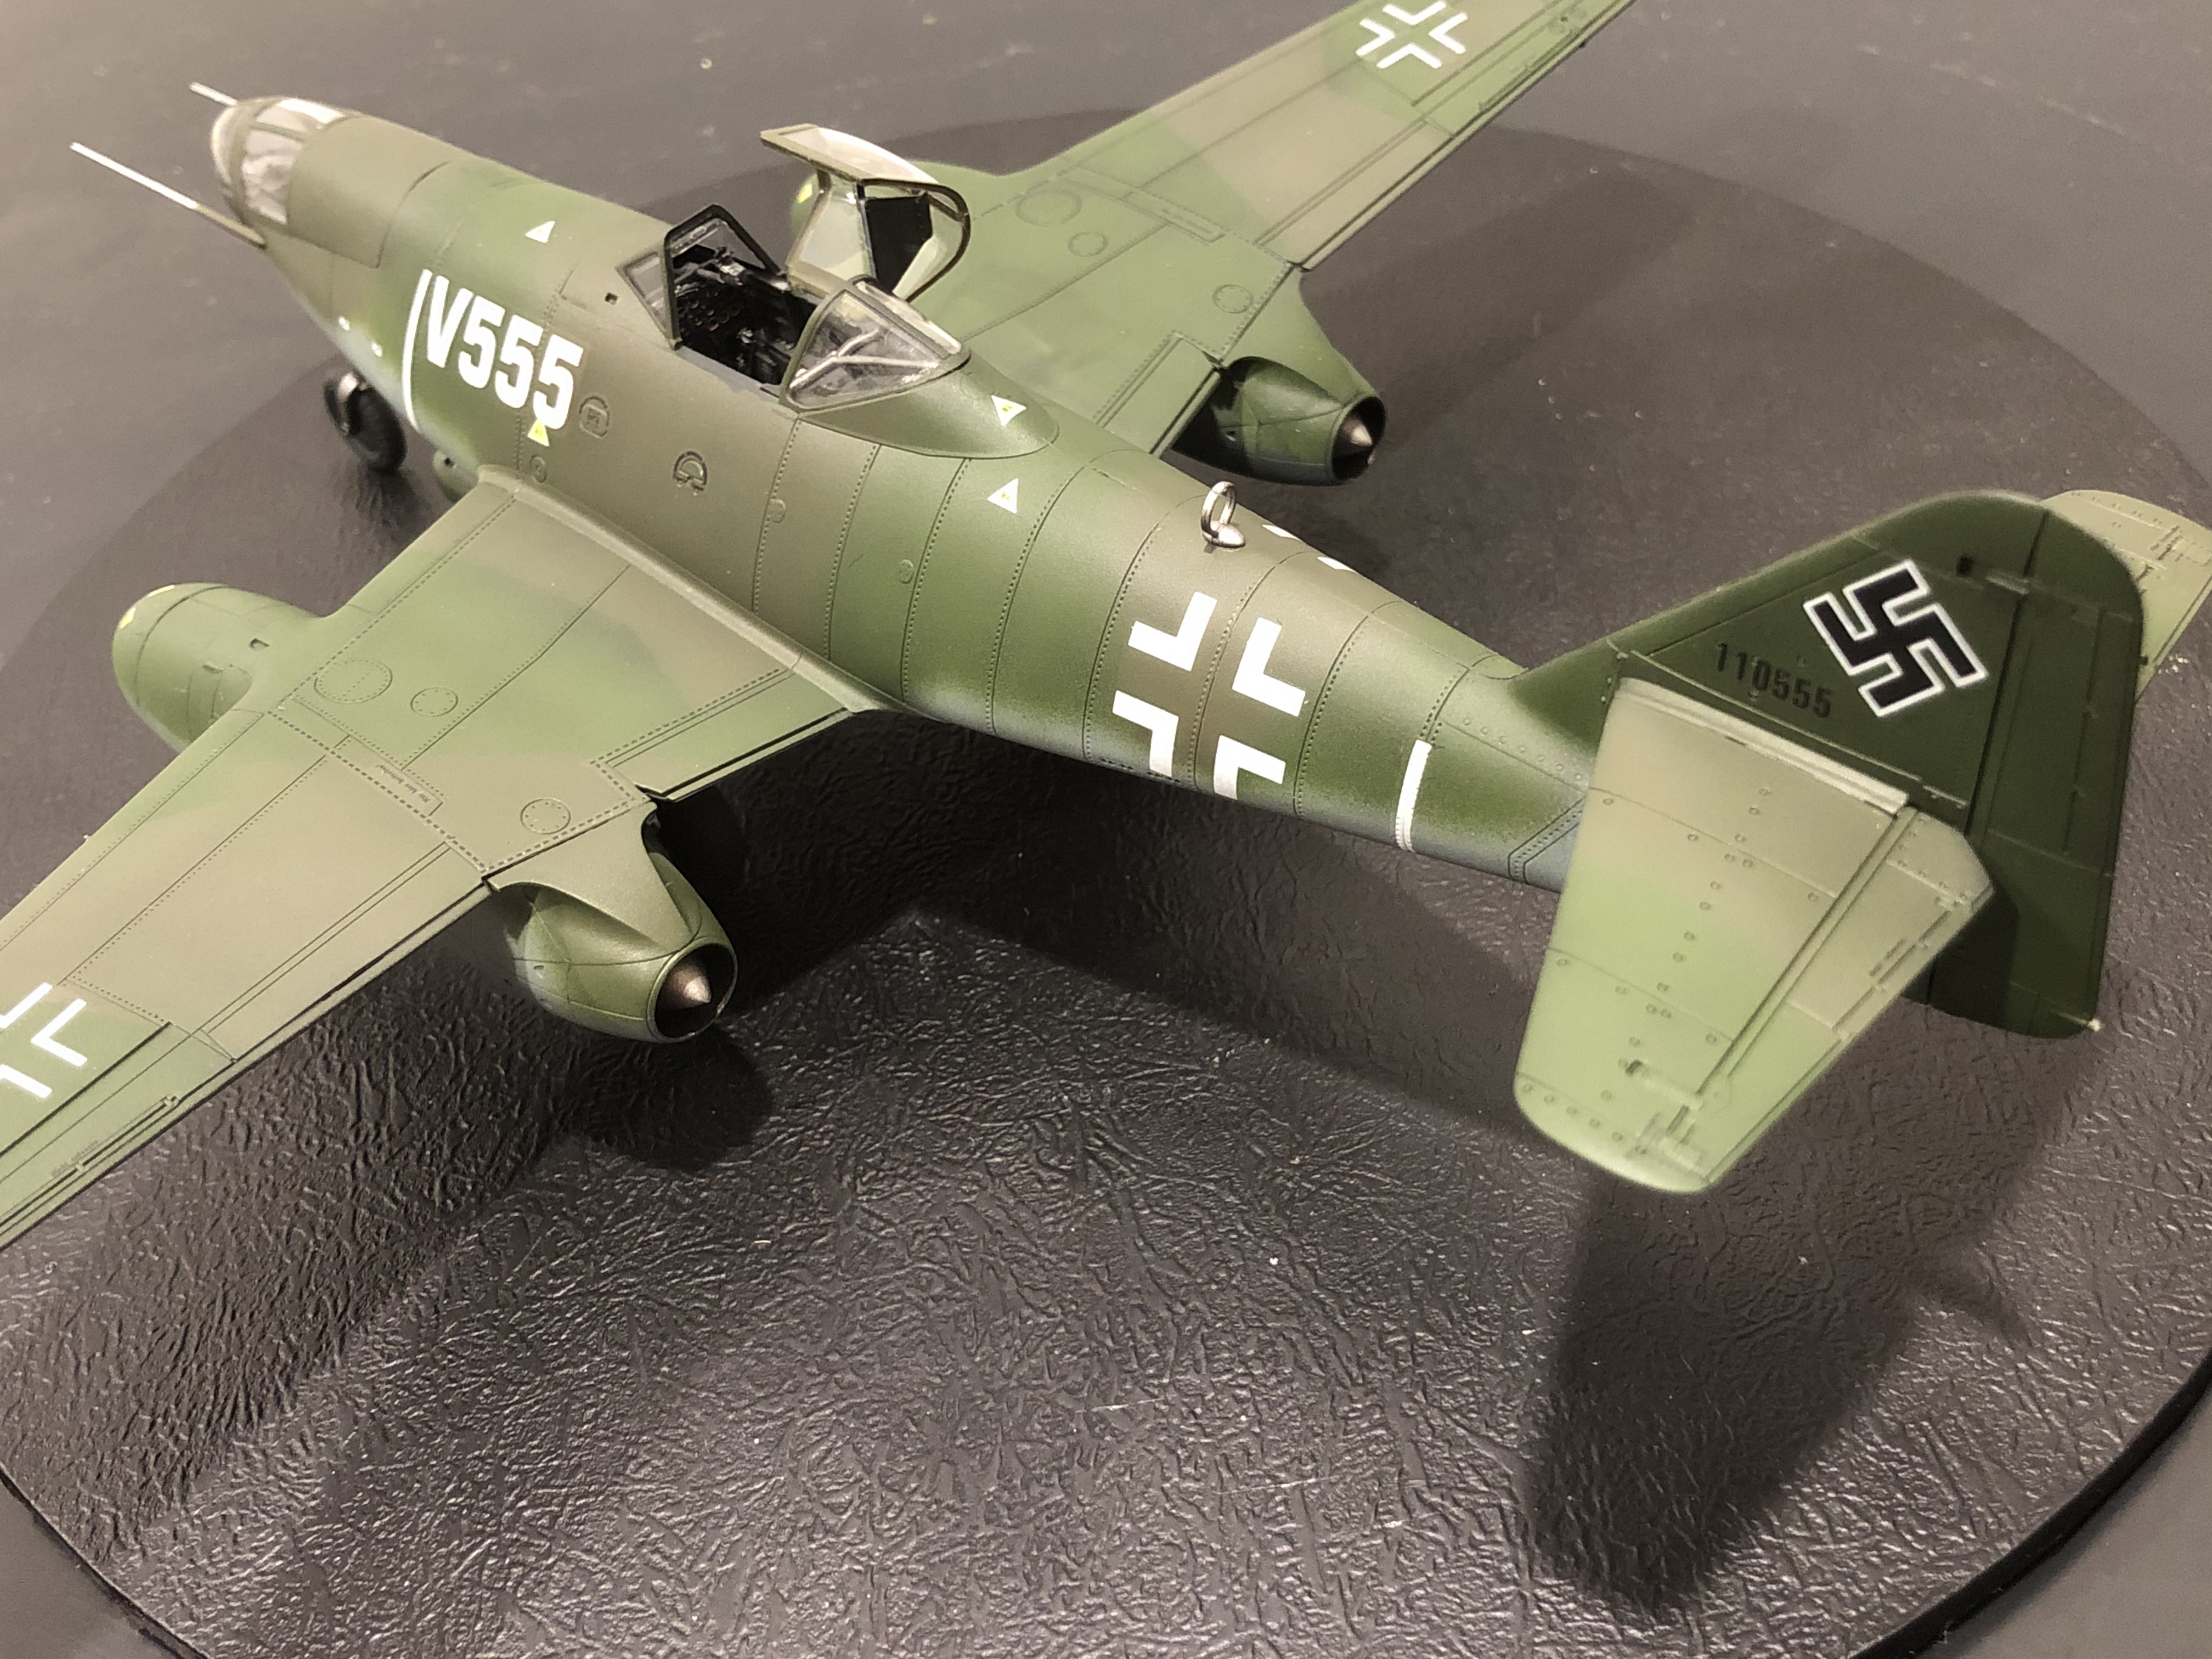
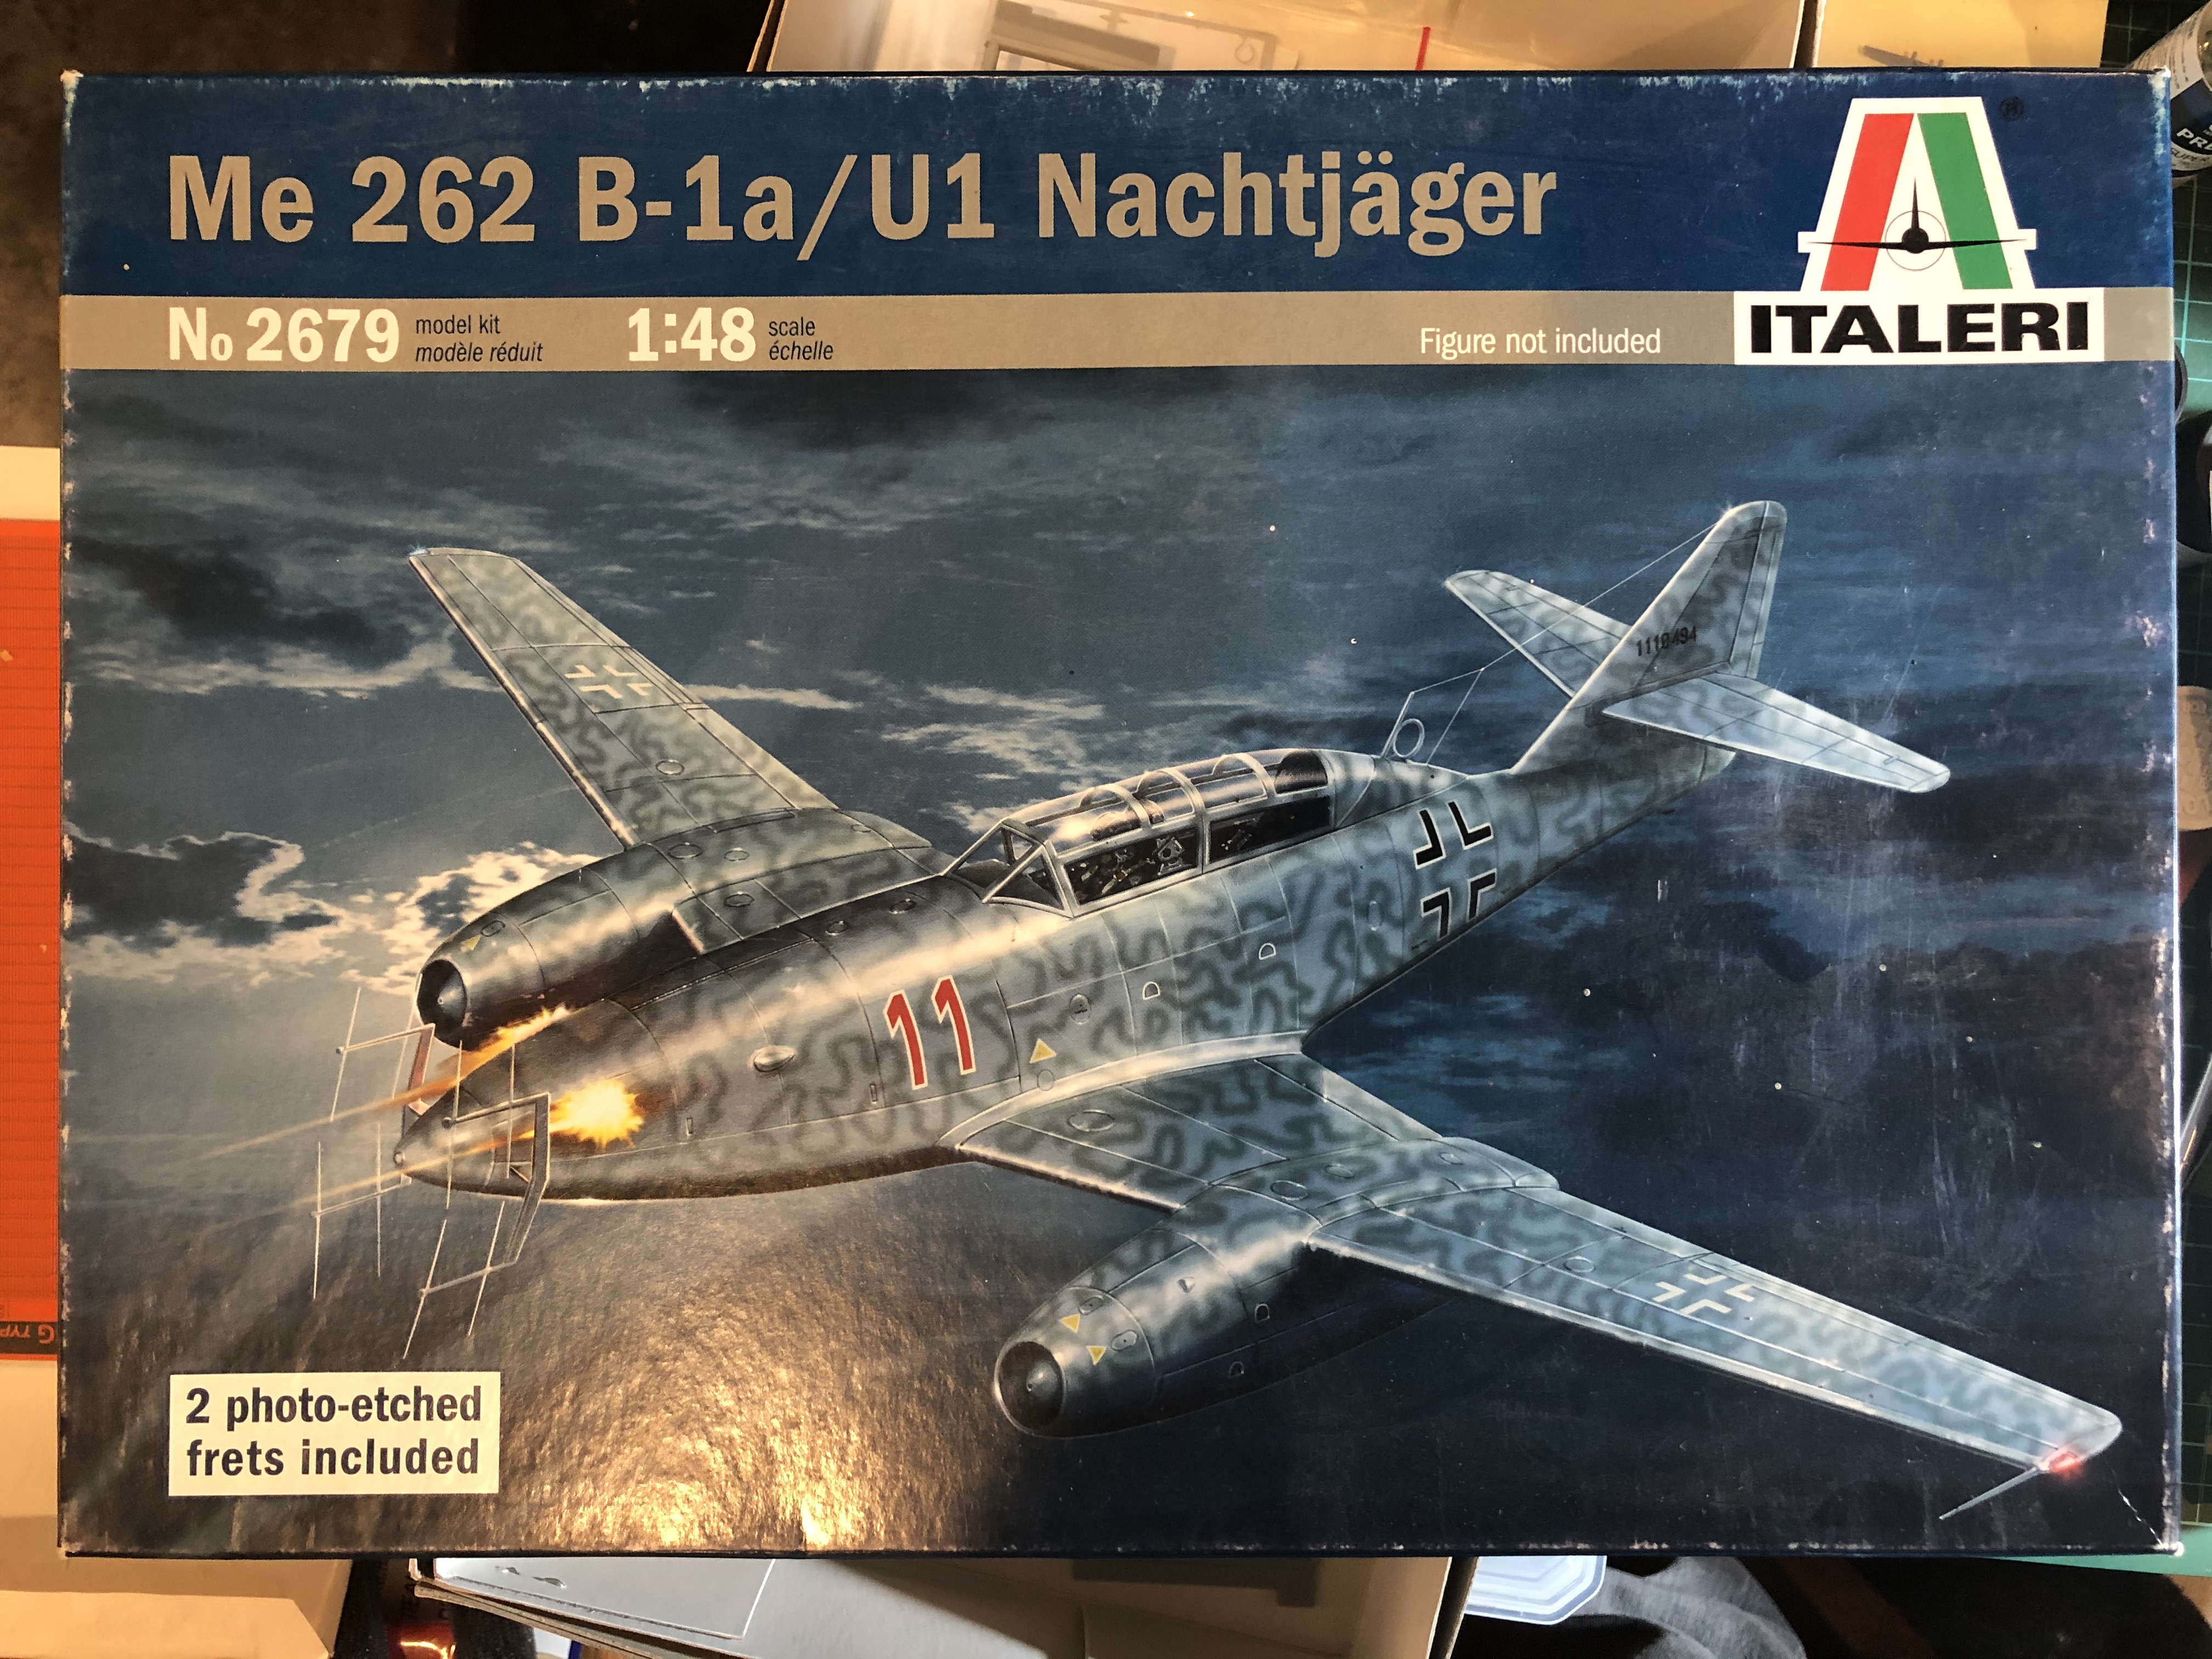
A great kit, highly recommended, any errors are from my 10 thumbs, not the kit!
I was planning to build these side-by-side, but as always time got away from me. I will get on to the Dragon kit soon and continue the project.
I've picked up the 1/48 Tamiya Kettenkraftrad kit, and I might just throw it together and put it in front of the HB V555 version, representing a recently arrived aircraft, and give the Dragon V484 version a heavy weathering job with some NMF replacement panels and such, representing a well used and perhaps out-of-service aircraft. I will build a concrete runway base for the display.
Cheers, D