

Air Campaigns
Want to start or join a group build? This is where to start.
Want to start or join a group build? This is where to start.
Hosted by Frederick Boucher, Michael Satin
OFFICIAL: Hangar Queen 10 Campaign
heavyjagdpanzer

Joined: February 17, 2013
KitMaker: 173 posts
AeroScale: 108 posts
Posted: Monday, June 08, 2020 - 05:55 AM UTC
Gary Kato, I have one of those old kits. It will be interesting to see what you do with it.
heavyjagdpanzer
Joined: February 17, 2013
KitMaker: 173 posts
AeroScale: 108 posts
Posted: Friday, June 12, 2020 - 01:16 AM UTC
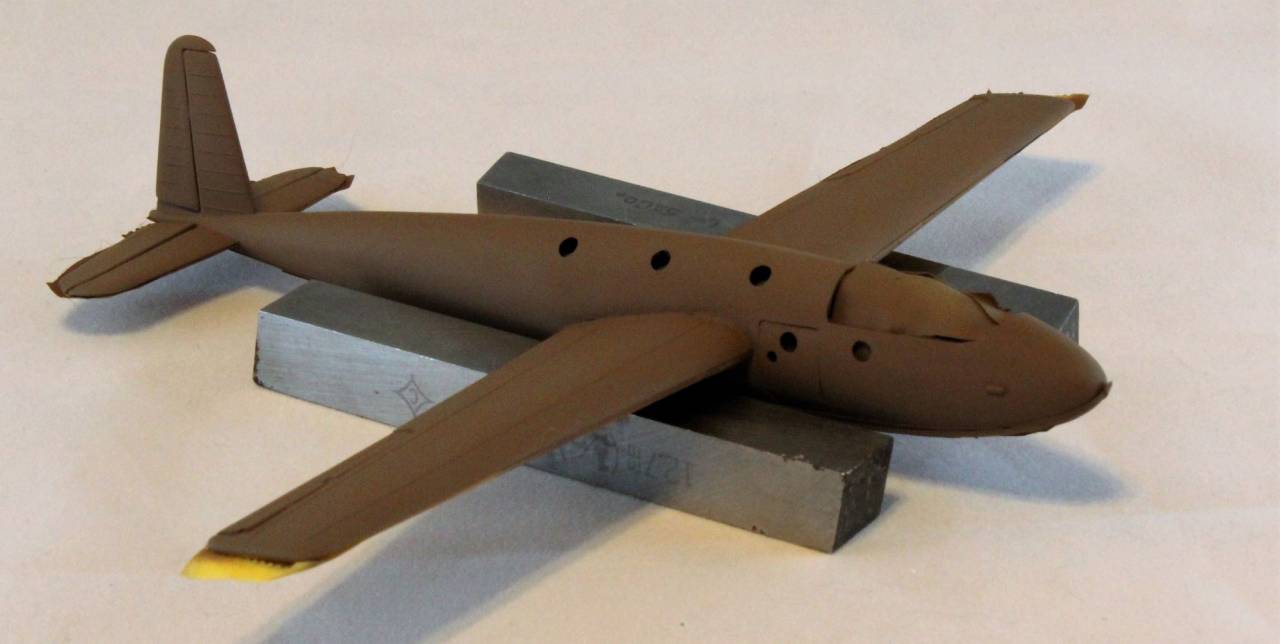
I sprayed on a base coat of Tamiya Flat Earth. Next is to make the mask for the rest of the camo.

GaryKato

Joined: December 06, 2004
KitMaker: 3,694 posts
AeroScale: 163 posts

Posted: Sunday, June 14, 2020 - 12:30 PM UTC

One half of the cowling off. I also have to see how much, if any, of the cowling ring to keep.

john41492

#442

Joined: July 20, 2015
KitMaker: 363 posts
AeroScale: 335 posts
Posted: Tuesday, June 30, 2020 - 05:24 PM UTC
Hi All,
Lots of nice things going on here! I like the various weathering done, Bill I really like how the glider is coming along.
Well, now that my B-17 project has come to an end, I'm able to give my Tony a little more attention. I decided to use the Squadron canopy to pose the cockpit open, and this one is giving me fits! Still I think it's coming along. Pics to follow soon.
Stay safe and keep having fun!!
GaryKato
Joined: December 06, 2004
KitMaker: 3,694 posts
AeroScale: 163 posts
Posted: Thursday, July 16, 2020 - 08:31 PM UTC
The cowling ring has been removed from the port side. Now to clean the ring up and figure out how to build the nose. Also need to decide on whether or not to detail the engine more and whether or not to attempt to add a cockpit interior.
heavyjagdpanzer
Joined: February 17, 2013
KitMaker: 173 posts
AeroScale: 108 posts
Posted: Saturday, July 18, 2020 - 02:00 AM UTC
Quoted Text
The cockpit on this model is so small that a control stick and seat belts is about all you are going to see. I have one these kit's also. The cowling ring has been removed from the port side. Now to clean the ring up and figure out how to build the nose. Also need to decide on whether or not to detail the engine more and whether or not to attempt to add a cockpit iterior.
heavyjagdpanzer
Joined: February 17, 2013
KitMaker: 173 posts
AeroScale: 108 posts
Posted: Wednesday, August 19, 2020 - 04:56 AM UTC
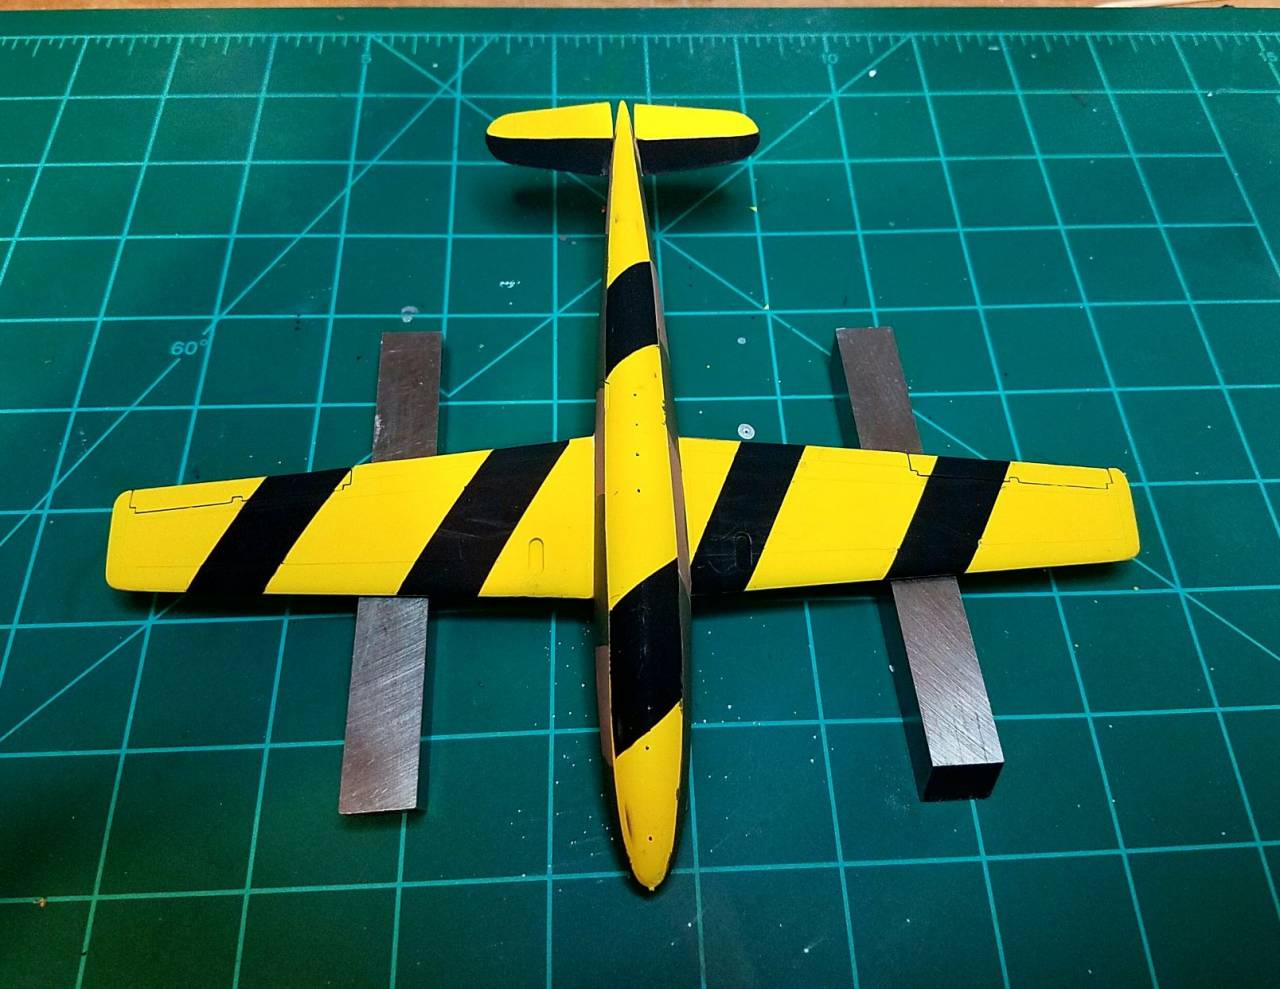
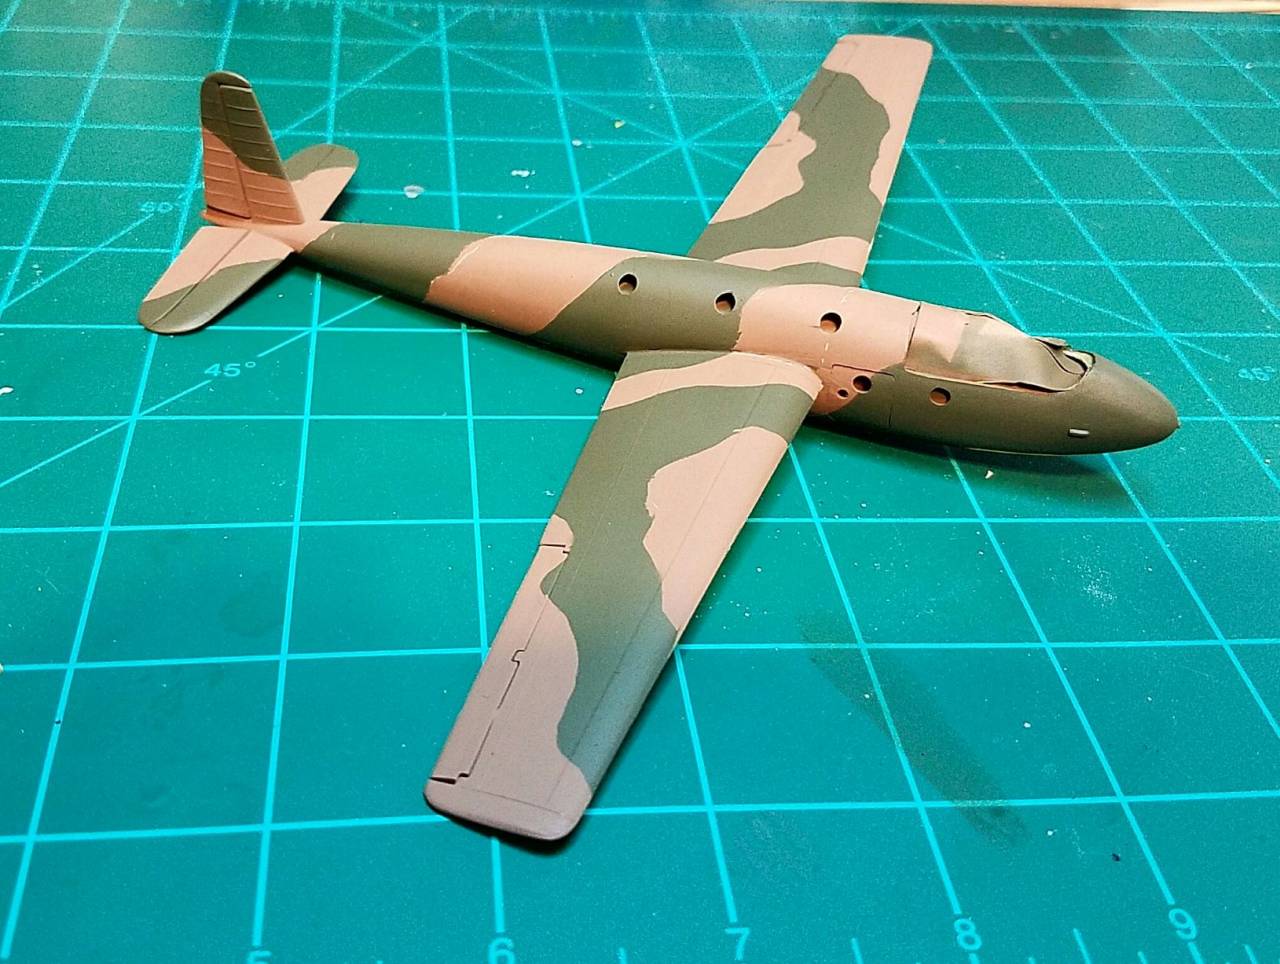
Top side masked.

heavyjagdpanzer
Joined: February 17, 2013
KitMaker: 173 posts
AeroScale: 108 posts
Posted: Tuesday, August 25, 2020 - 01:59 AM UTC
Tooh the paint mask off. This compleats most of the painting. The next step is decals.
heavyjagdpanzer
Joined: February 17, 2013
KitMaker: 173 posts
AeroScale: 108 posts
Posted: Tuesday, August 25, 2020 - 02:00 AM UTC
I had to do some touch-up, but overall I was pleased.
john41492
#442
Joined: July 20, 2015
KitMaker: 363 posts
AeroScale: 335 posts
Posted: Monday, August 31, 2020 - 02:32 AM UTC
Hi all,
While a little slow here, I will say that I like it too Bill! What scale is the glider in?
So, my efforts to get the darned windscreen onto the Tony seem to be in vain, and a kit that was on the soon to be a test bed, is back on that line. Sigh...
Not to worry, as my Queens box still has 3 birds, and this year I've also added to the Queen counts.
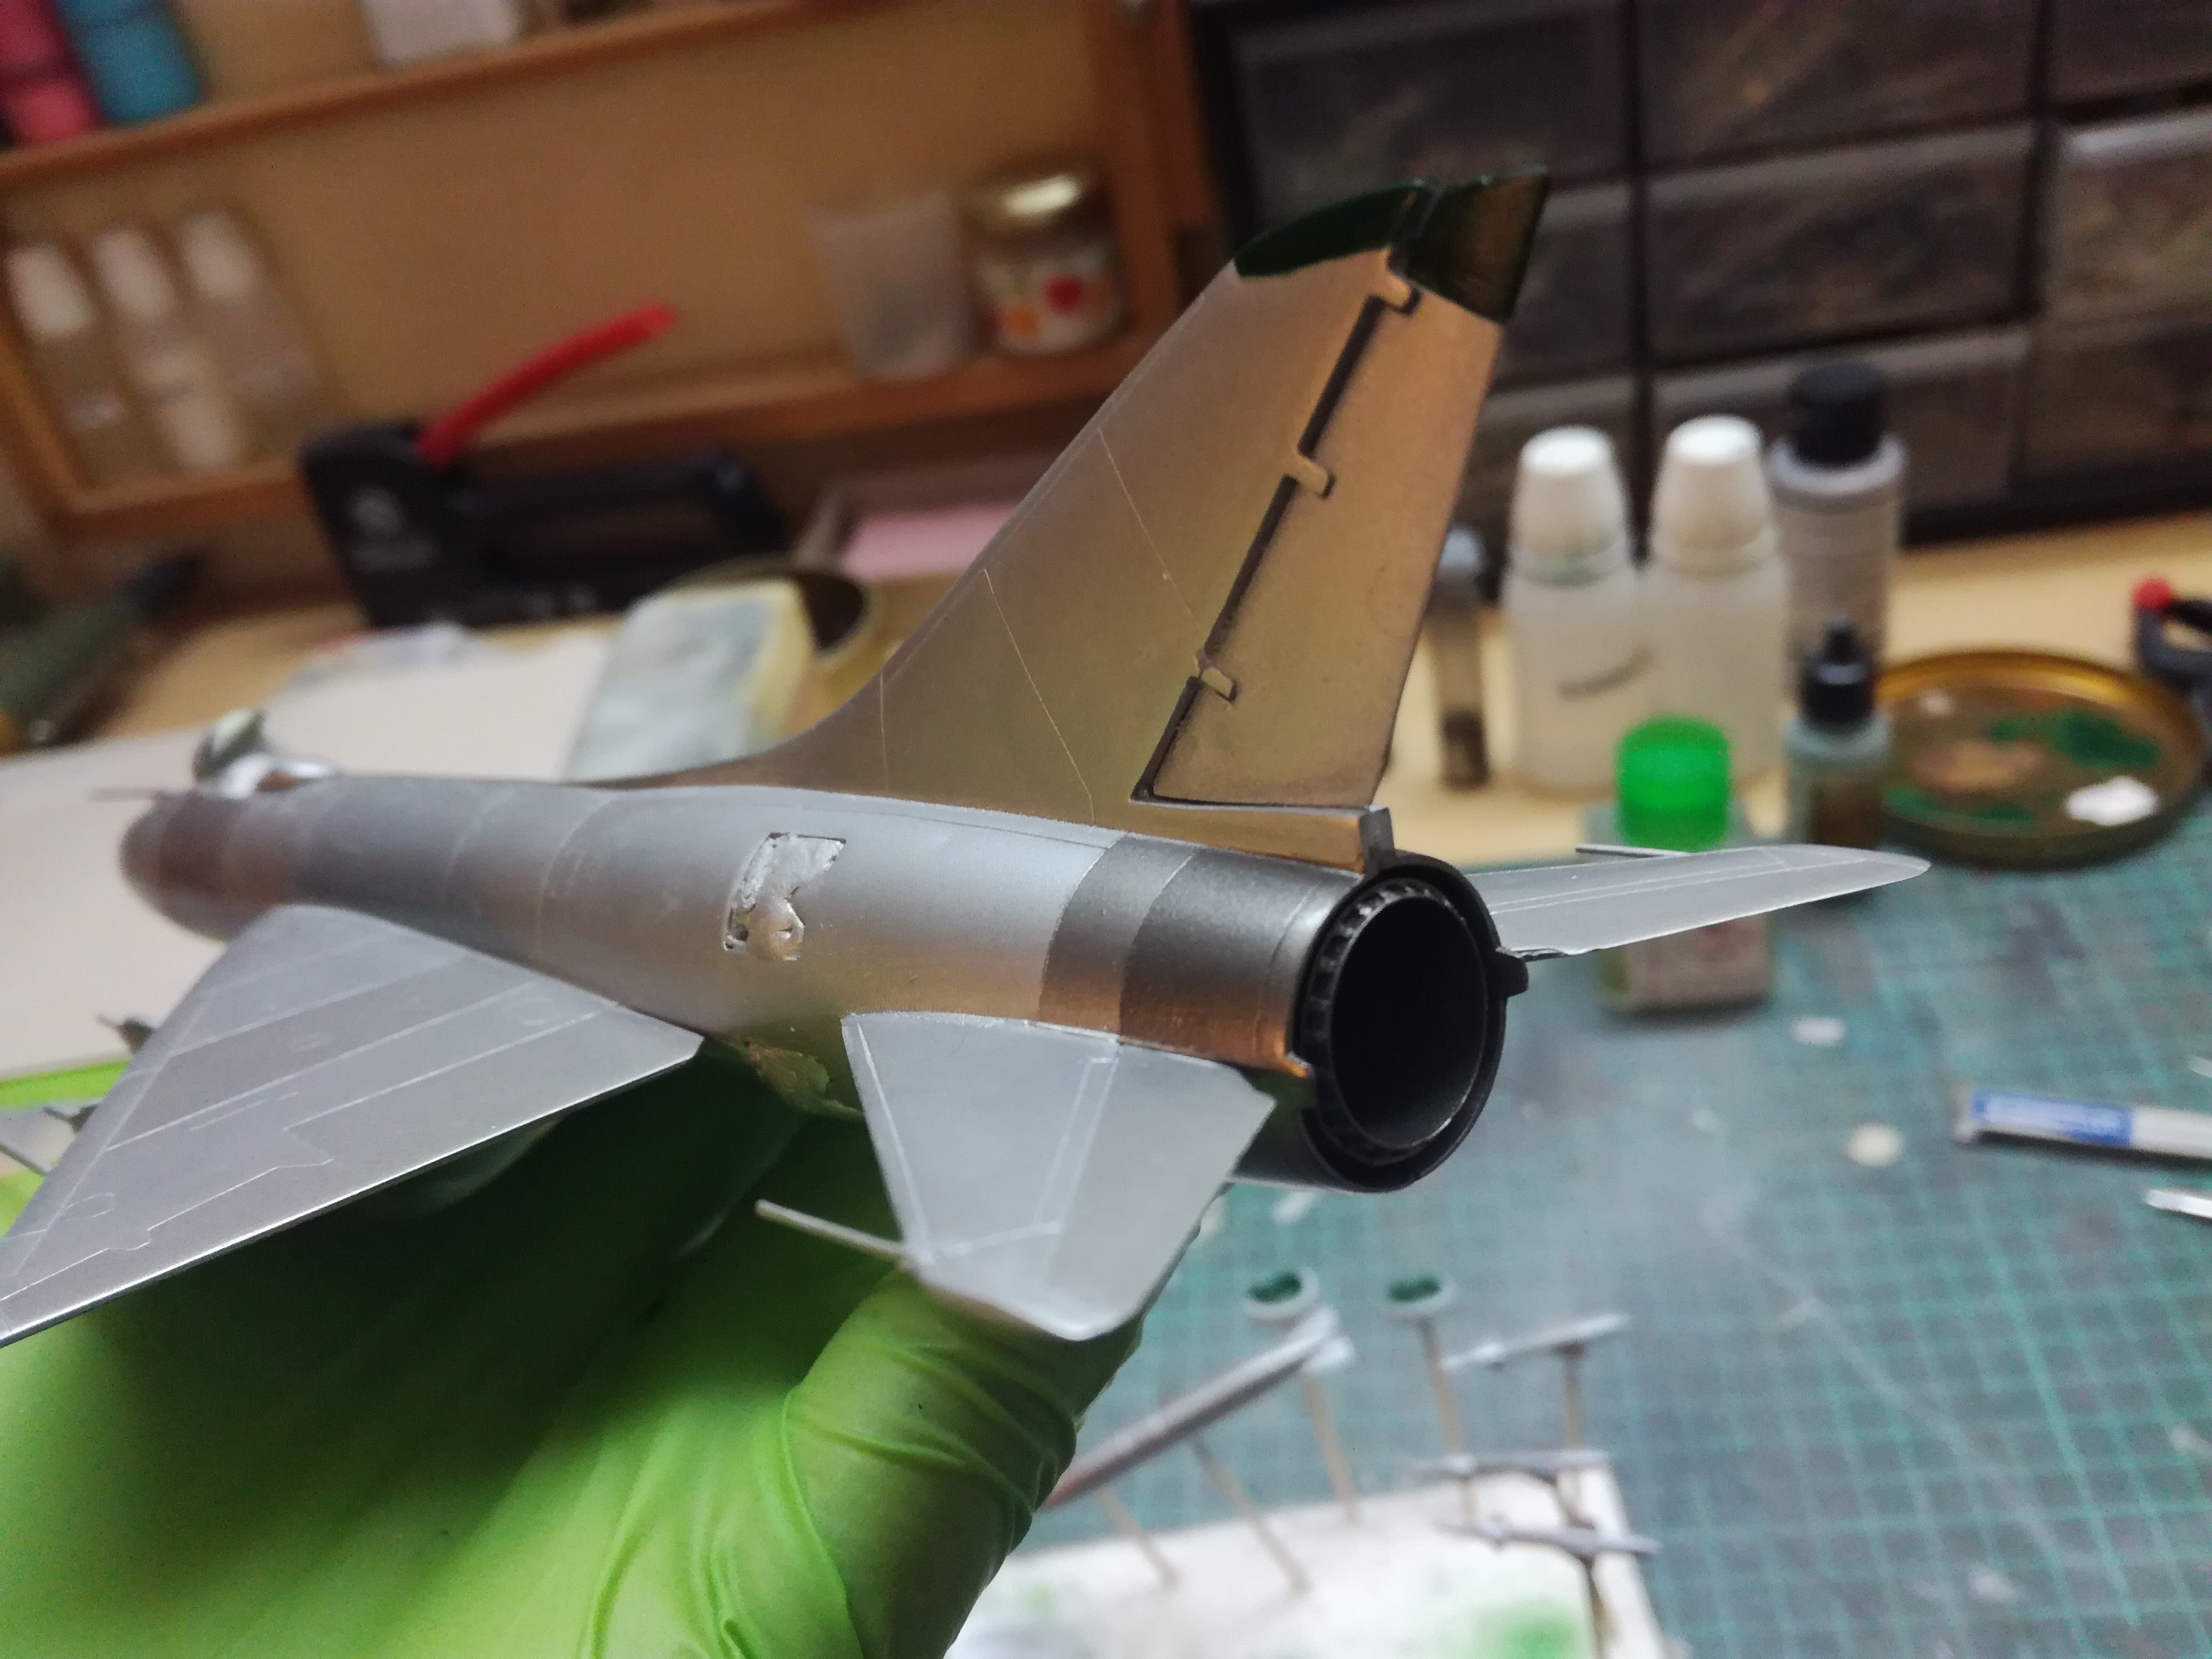
I very much enjoyed working on the MiG 21 during the MiG campaign, but due to a NMF issue it got Queened. I was able to resurrect it. This involved some cleaning with IPA to strip off the messed up areas, and was followed by a coat of gloss black.

While not perfect, it was something that I could work with! Next I hit it with Alclad II airframe aluminum.
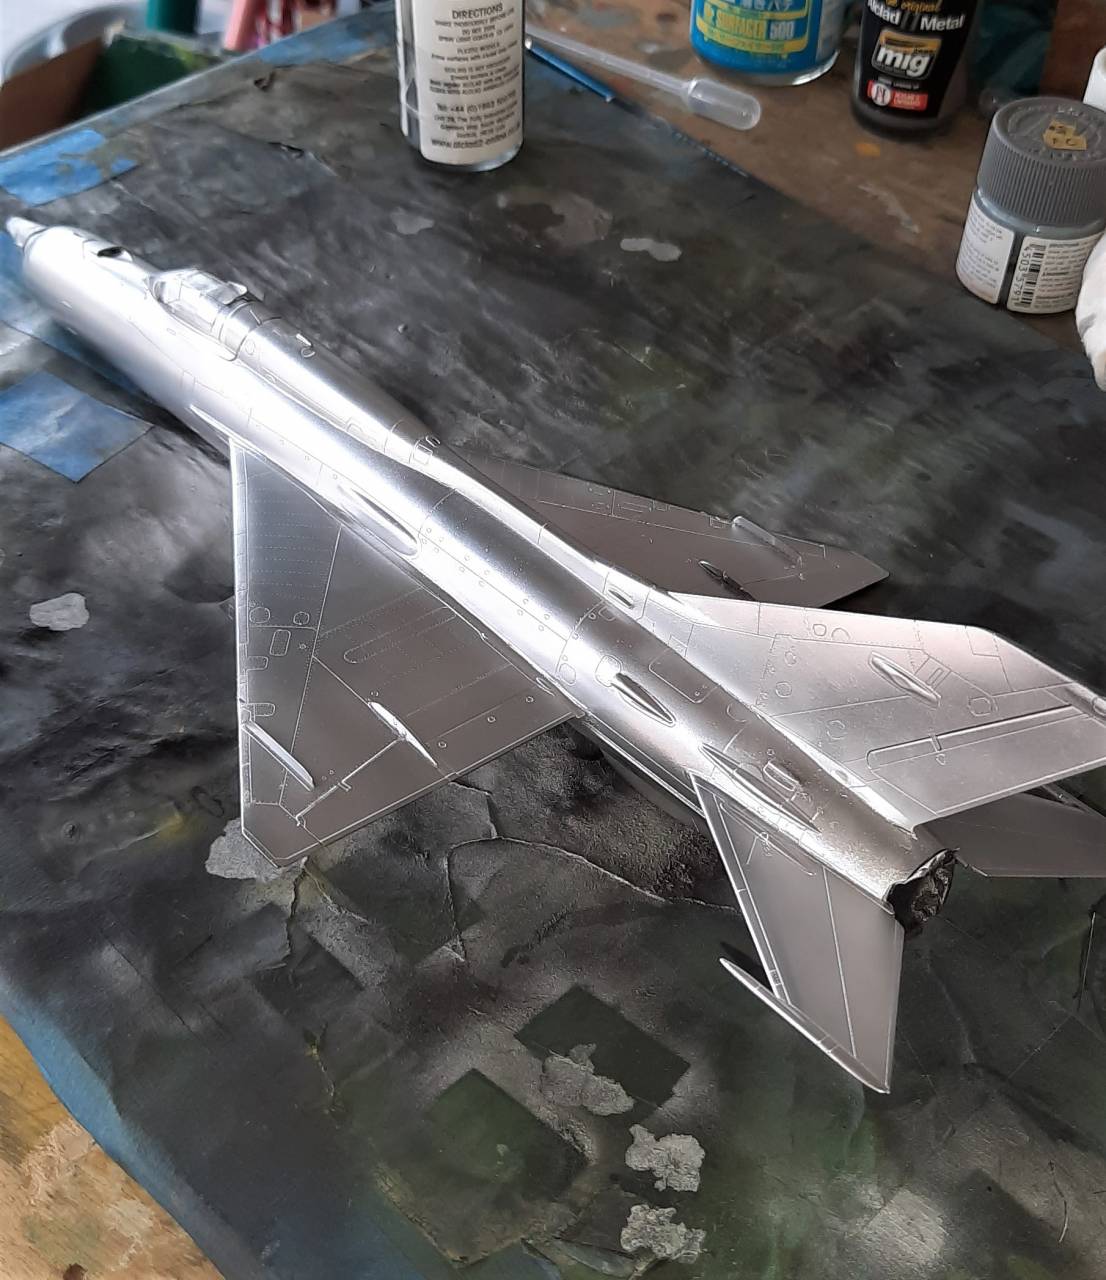

Now I'm kind of in the same place as before, I followed the Alclad with three coats of clear (my future mix), and am now ready to do the smoke treatment on the panels! More to follow!
Take care and have fun!!
While a little slow here, I will say that I like it too Bill! What scale is the glider in?
So, my efforts to get the darned windscreen onto the Tony seem to be in vain, and a kit that was on the soon to be a test bed, is back on that line. Sigh...
Not to worry, as my Queens box still has 3 birds, and this year I've also added to the Queen counts.
I very much enjoyed working on the MiG 21 during the MiG campaign, but due to a NMF issue it got Queened. I was able to resurrect it. This involved some cleaning with IPA to strip off the messed up areas, and was followed by a coat of gloss black.
While not perfect, it was something that I could work with! Next I hit it with Alclad II airframe aluminum.
Now I'm kind of in the same place as before, I followed the Alclad with three coats of clear (my future mix), and am now ready to do the smoke treatment on the panels! More to follow!
Take care and have fun!!
heavyjagdpanzer
Joined: February 17, 2013
KitMaker: 173 posts
AeroScale: 108 posts
Posted: Monday, August 31, 2020 - 06:56 AM UTC
John 41492. It's 1/72. It will be interesting to follow your Mig, as I have no experience in natural metal finishes.

md72
#439
Joined: November 05, 2005
KitMaker: 4,950 posts
AeroScale: 3,192 posts

Posted: Monday, August 31, 2020 - 09:45 AM UTC
John, Who's kit is that? I ended up with an Academy MiG-21 that was started. The fuselage is glued up with the cockpit (Barcalounger style) on the outside. I'm trying to figure if the kit's worth cracking open and salvaging the cockpit or not. 

john41492
#442
Joined: July 20, 2015
KitMaker: 363 posts
AeroScale: 335 posts
Posted: Tuesday, September 01, 2020 - 05:40 AM UTC
Hey Mark,
It's the 1/48 Eduard kit weekend edition. It should be noted that the molds are now on loan(?) to Academy. I like how it went together. Plus if I get the bug to build another, I'll most likely go with Academy kit. From what I've seen they've done a nice job.
Hope that helps!
It's the 1/48 Eduard kit weekend edition. It should be noted that the molds are now on loan(?) to Academy. I like how it went together. Plus if I get the bug to build another, I'll most likely go with Academy kit. From what I've seen they've done a nice job.
Hope that helps!
md72
#439
Joined: November 05, 2005
KitMaker: 4,950 posts
AeroScale: 3,192 posts
Posted: Tuesday, September 01, 2020 - 05:56 AM UTC
Thanks John. Forgot to mention mine is a 1/72, probably not nearly as nice as the Eduard.

AussieReg

#007

Joined: June 09, 2009
KitMaker: 8,156 posts
AeroScale: 3,756 posts
Posted: Monday, September 14, 2020 - 09:48 AM UTC
G'day folks! I'm always late to the party, but better late than never! Some great work going on here, and some really unusual subject matter. I love seeing the old Queens pushed to completion and on display instead of hiding gathering dust.
Having completed my Hobby Boss Me262 A-2a/U2 for the current 2020 Schwalbe Campaign, I thought I would take advantage of that momentum and try to complete the Italeri Me262 B-1a/U-1 that I started back in the first Schwalbe Campaign in 2015 (which I ran!).
Here is the box, and the progress when I stashed it away in Feb'16.
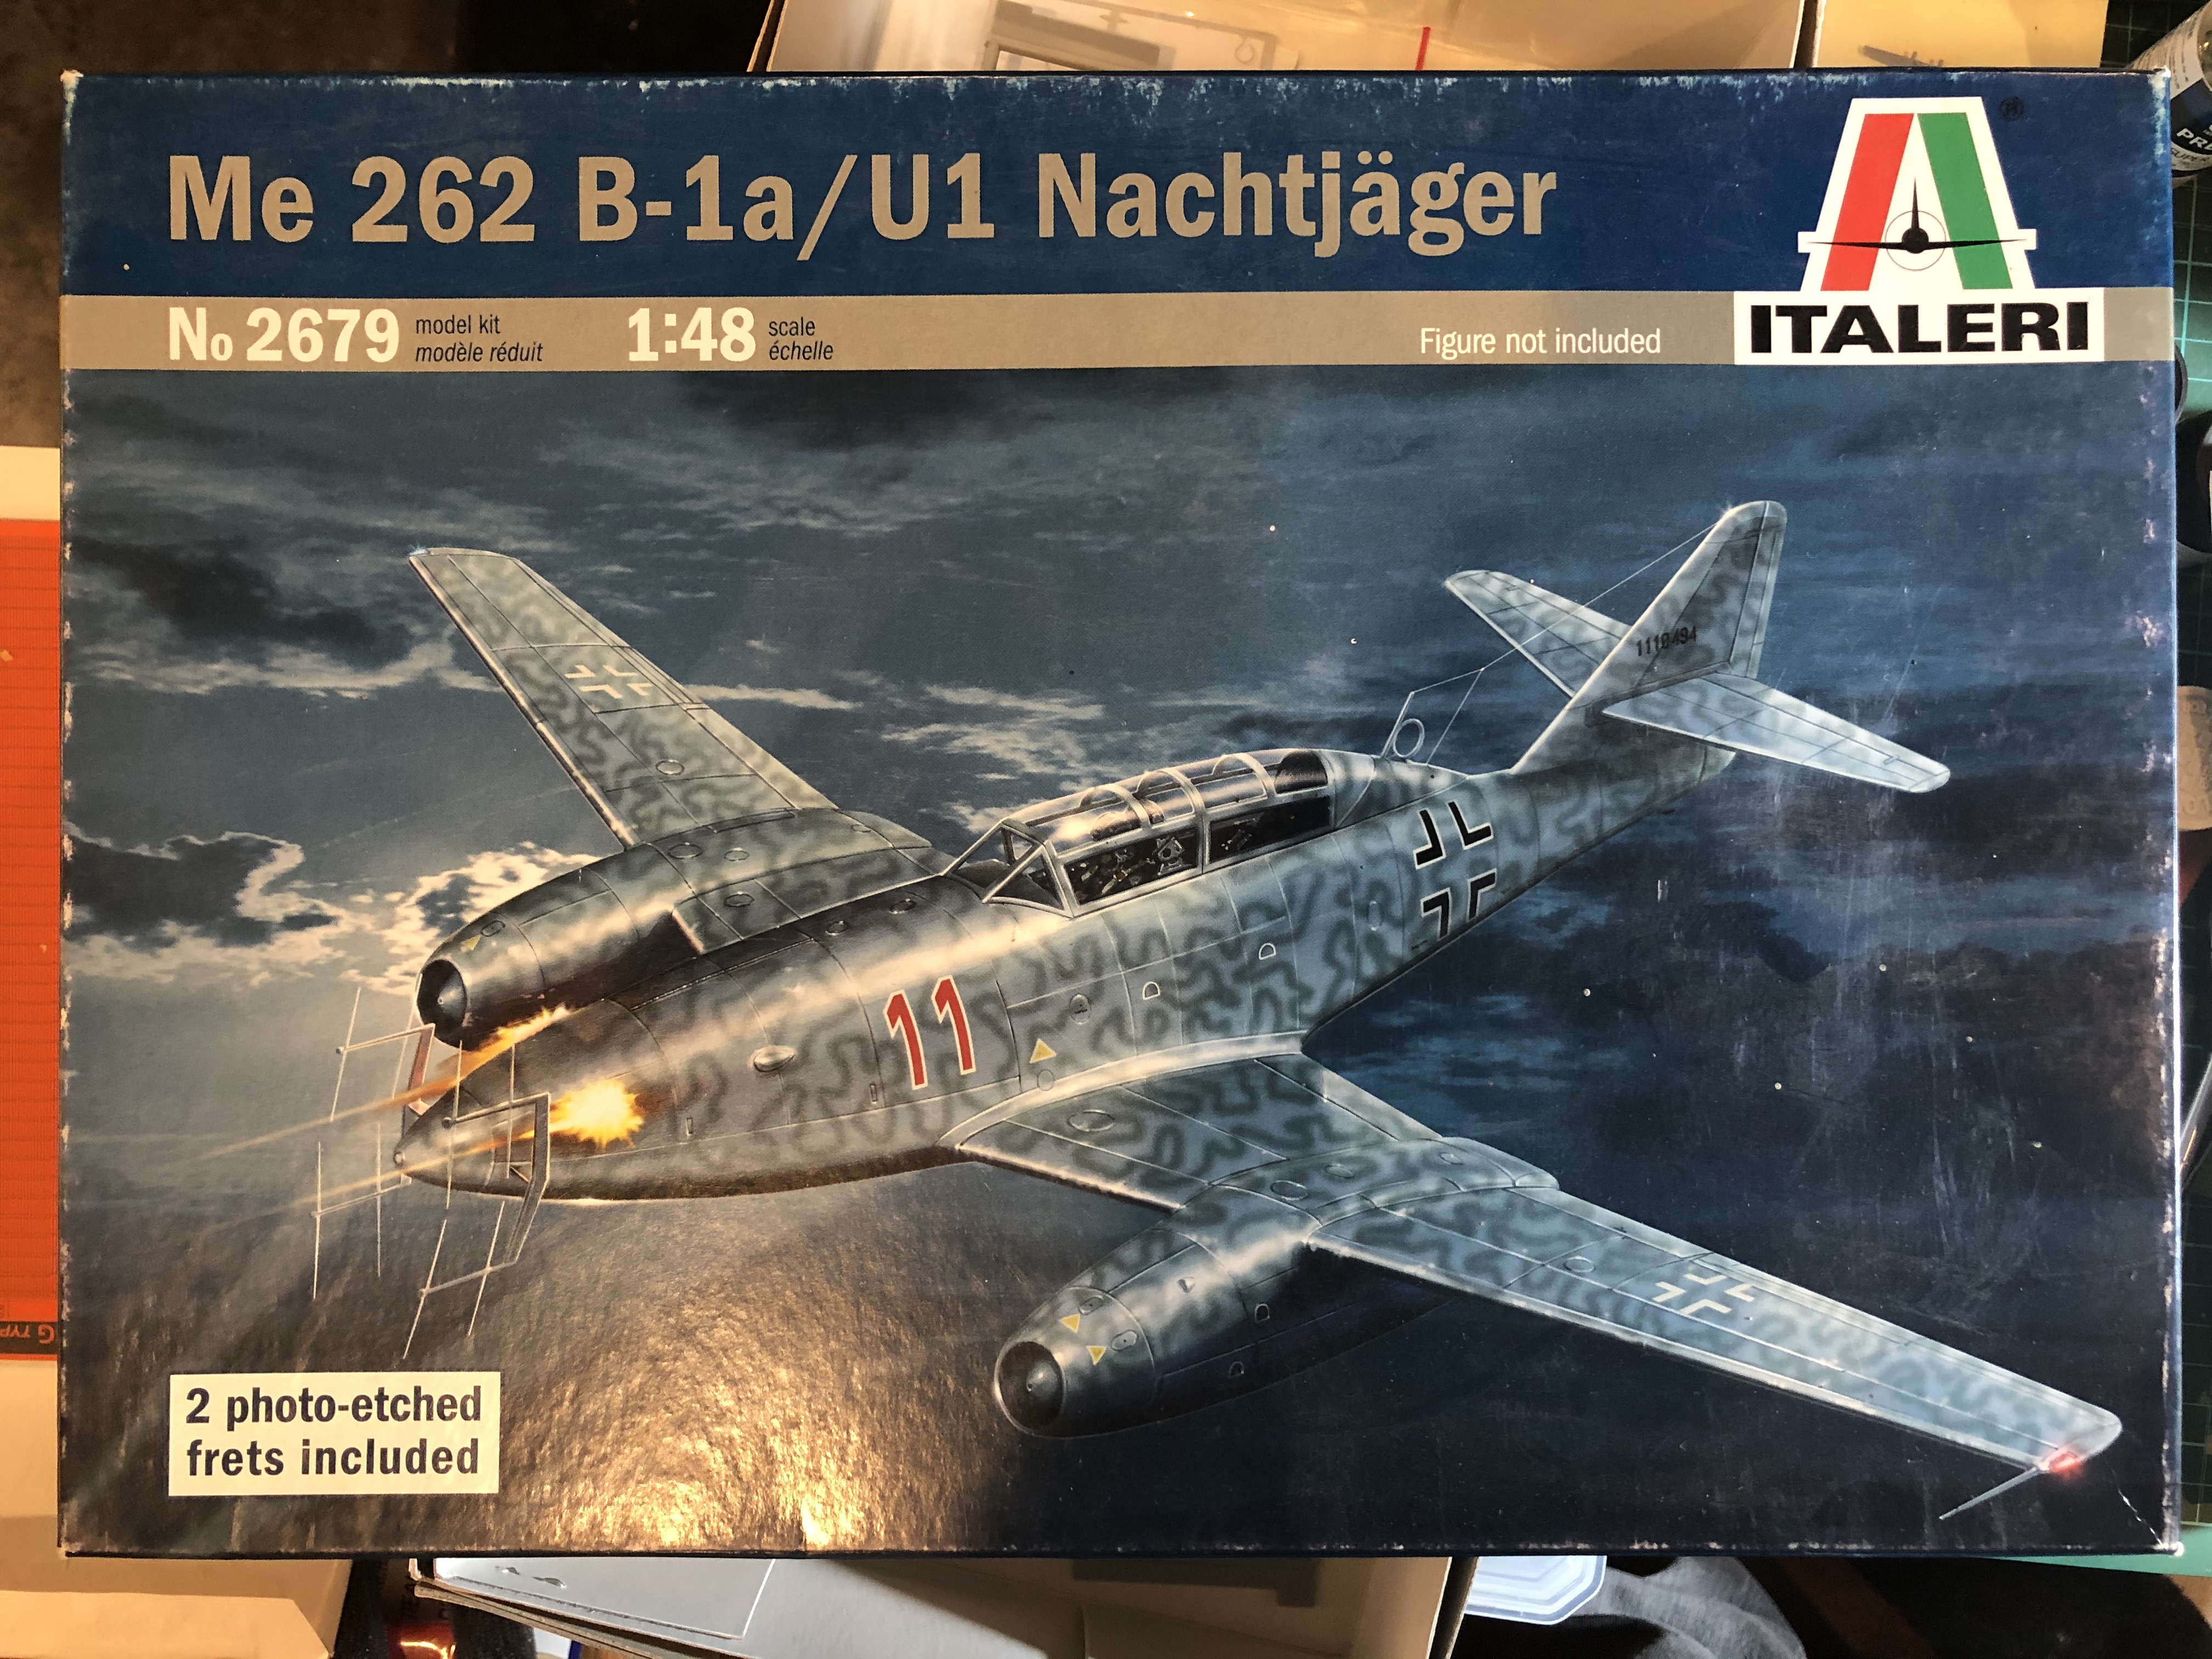
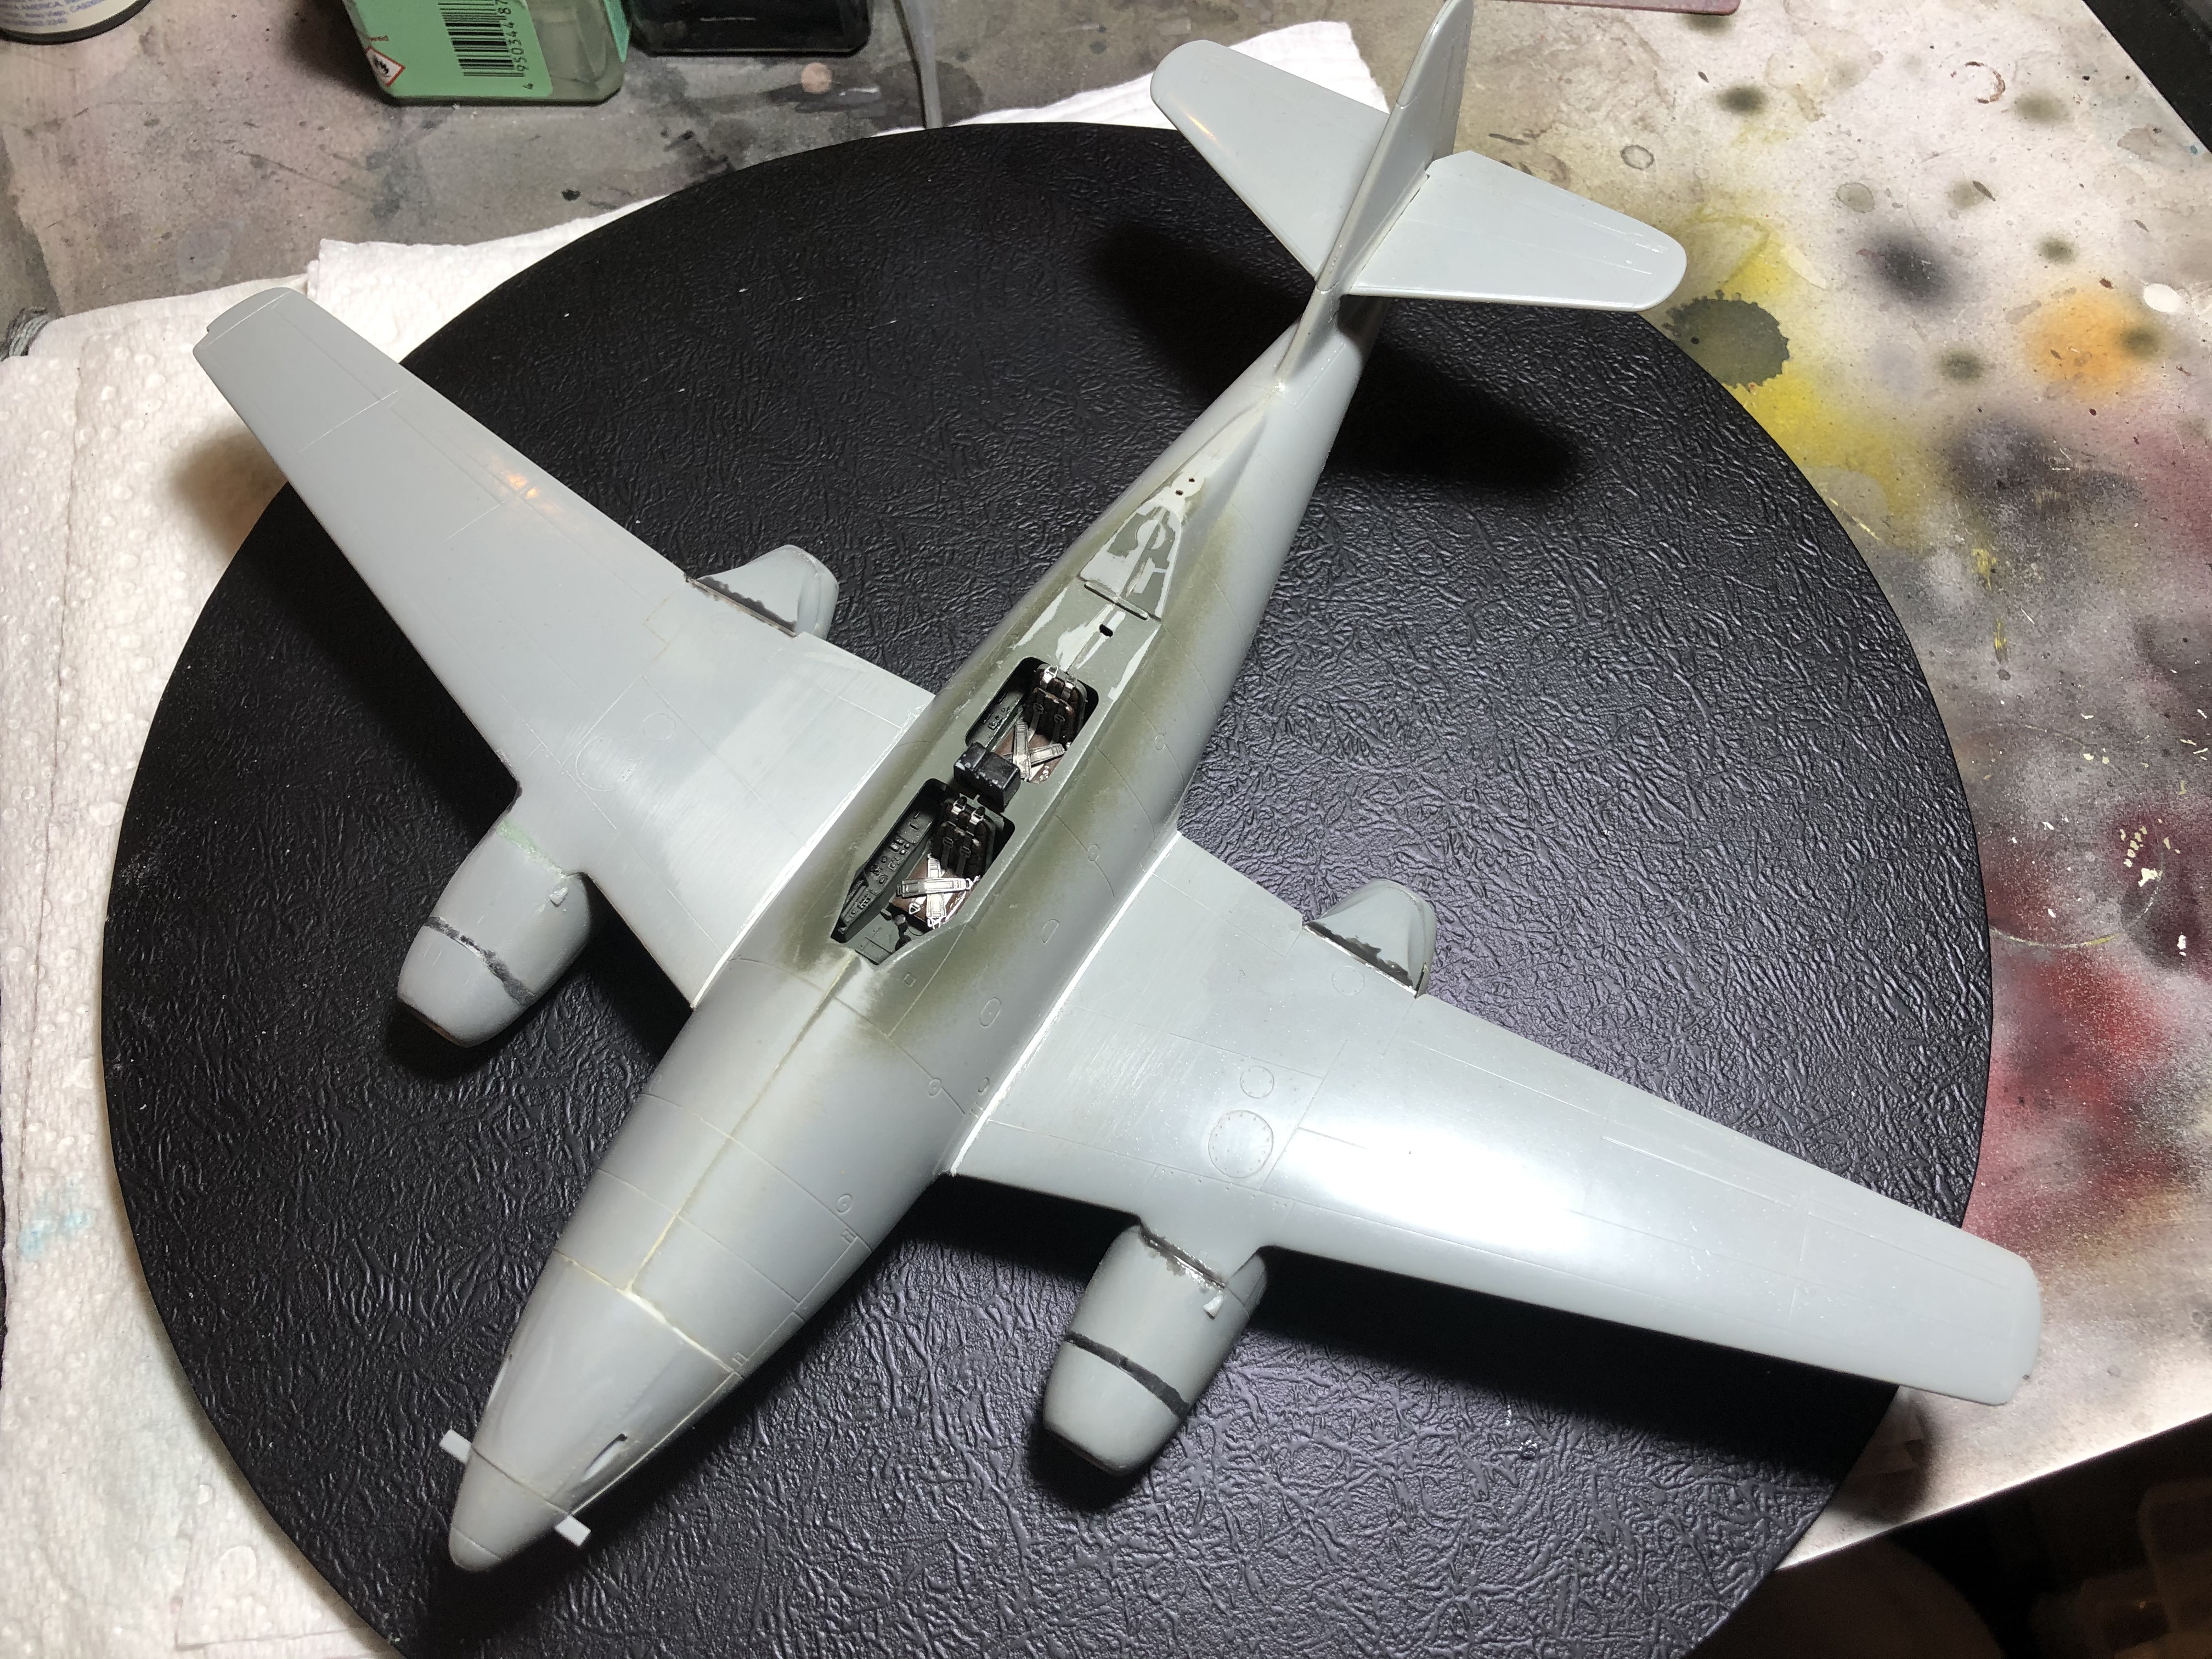
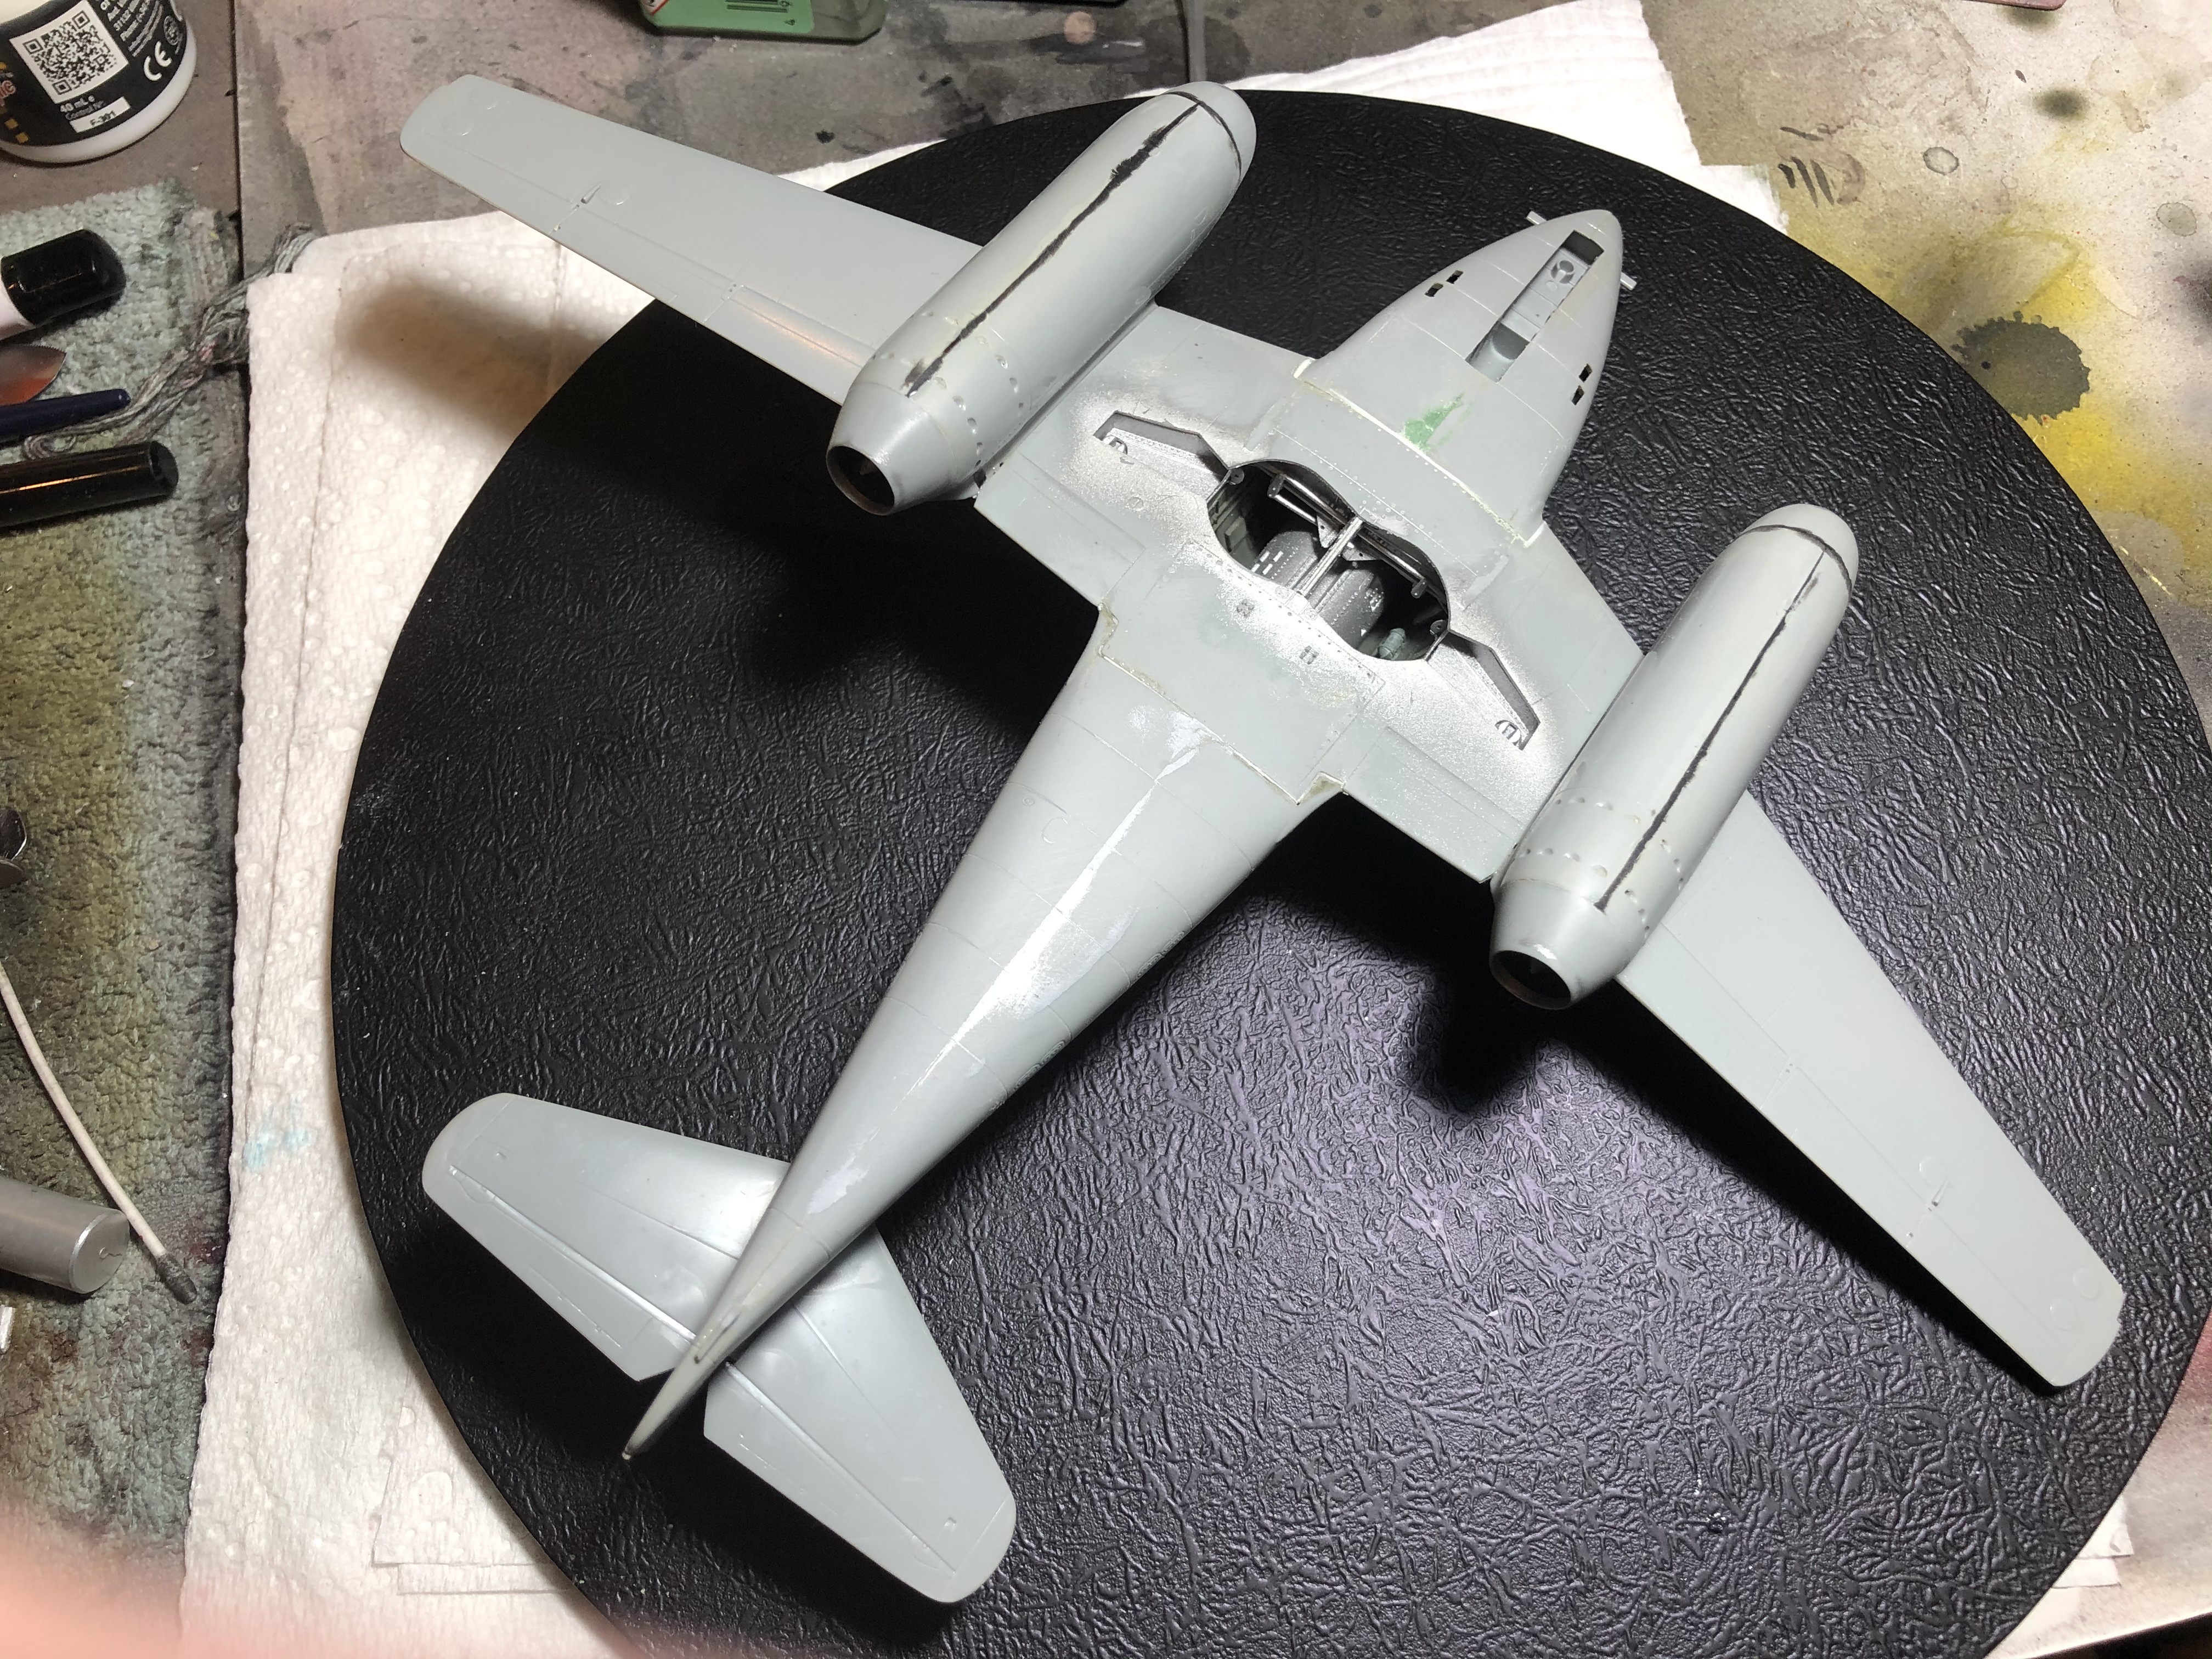
And now the progress since I dragged it out a month or so back.
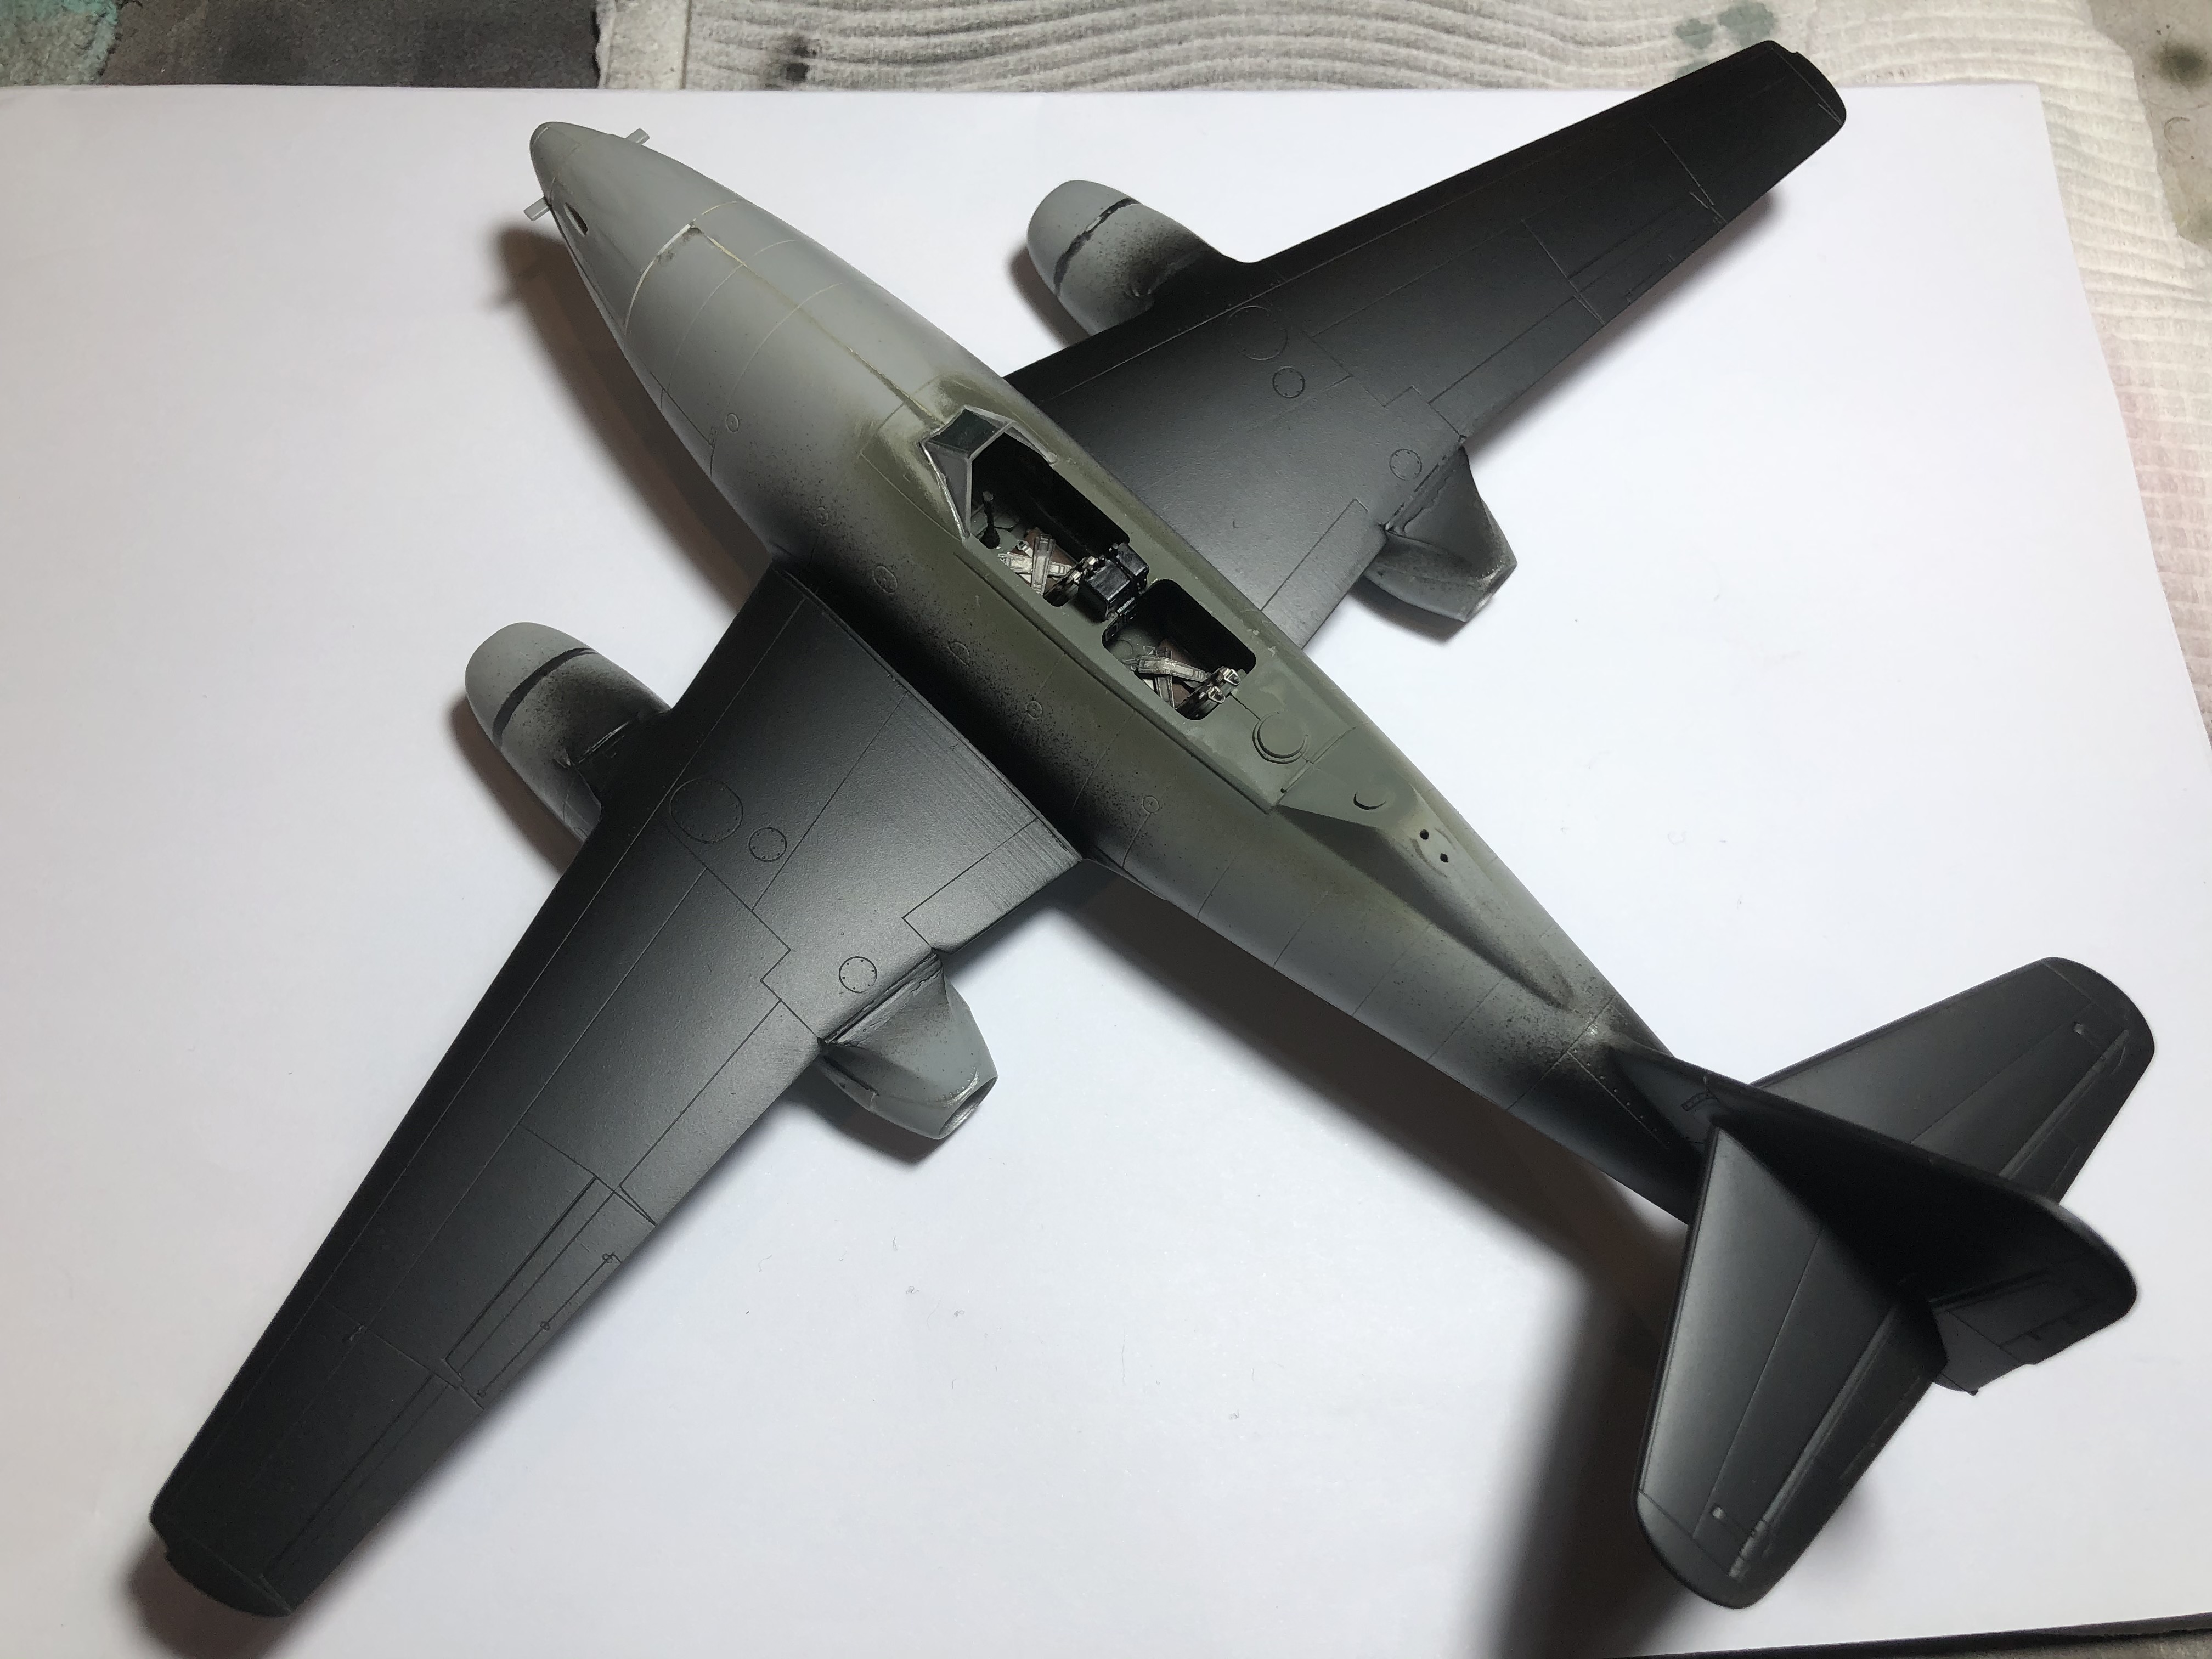
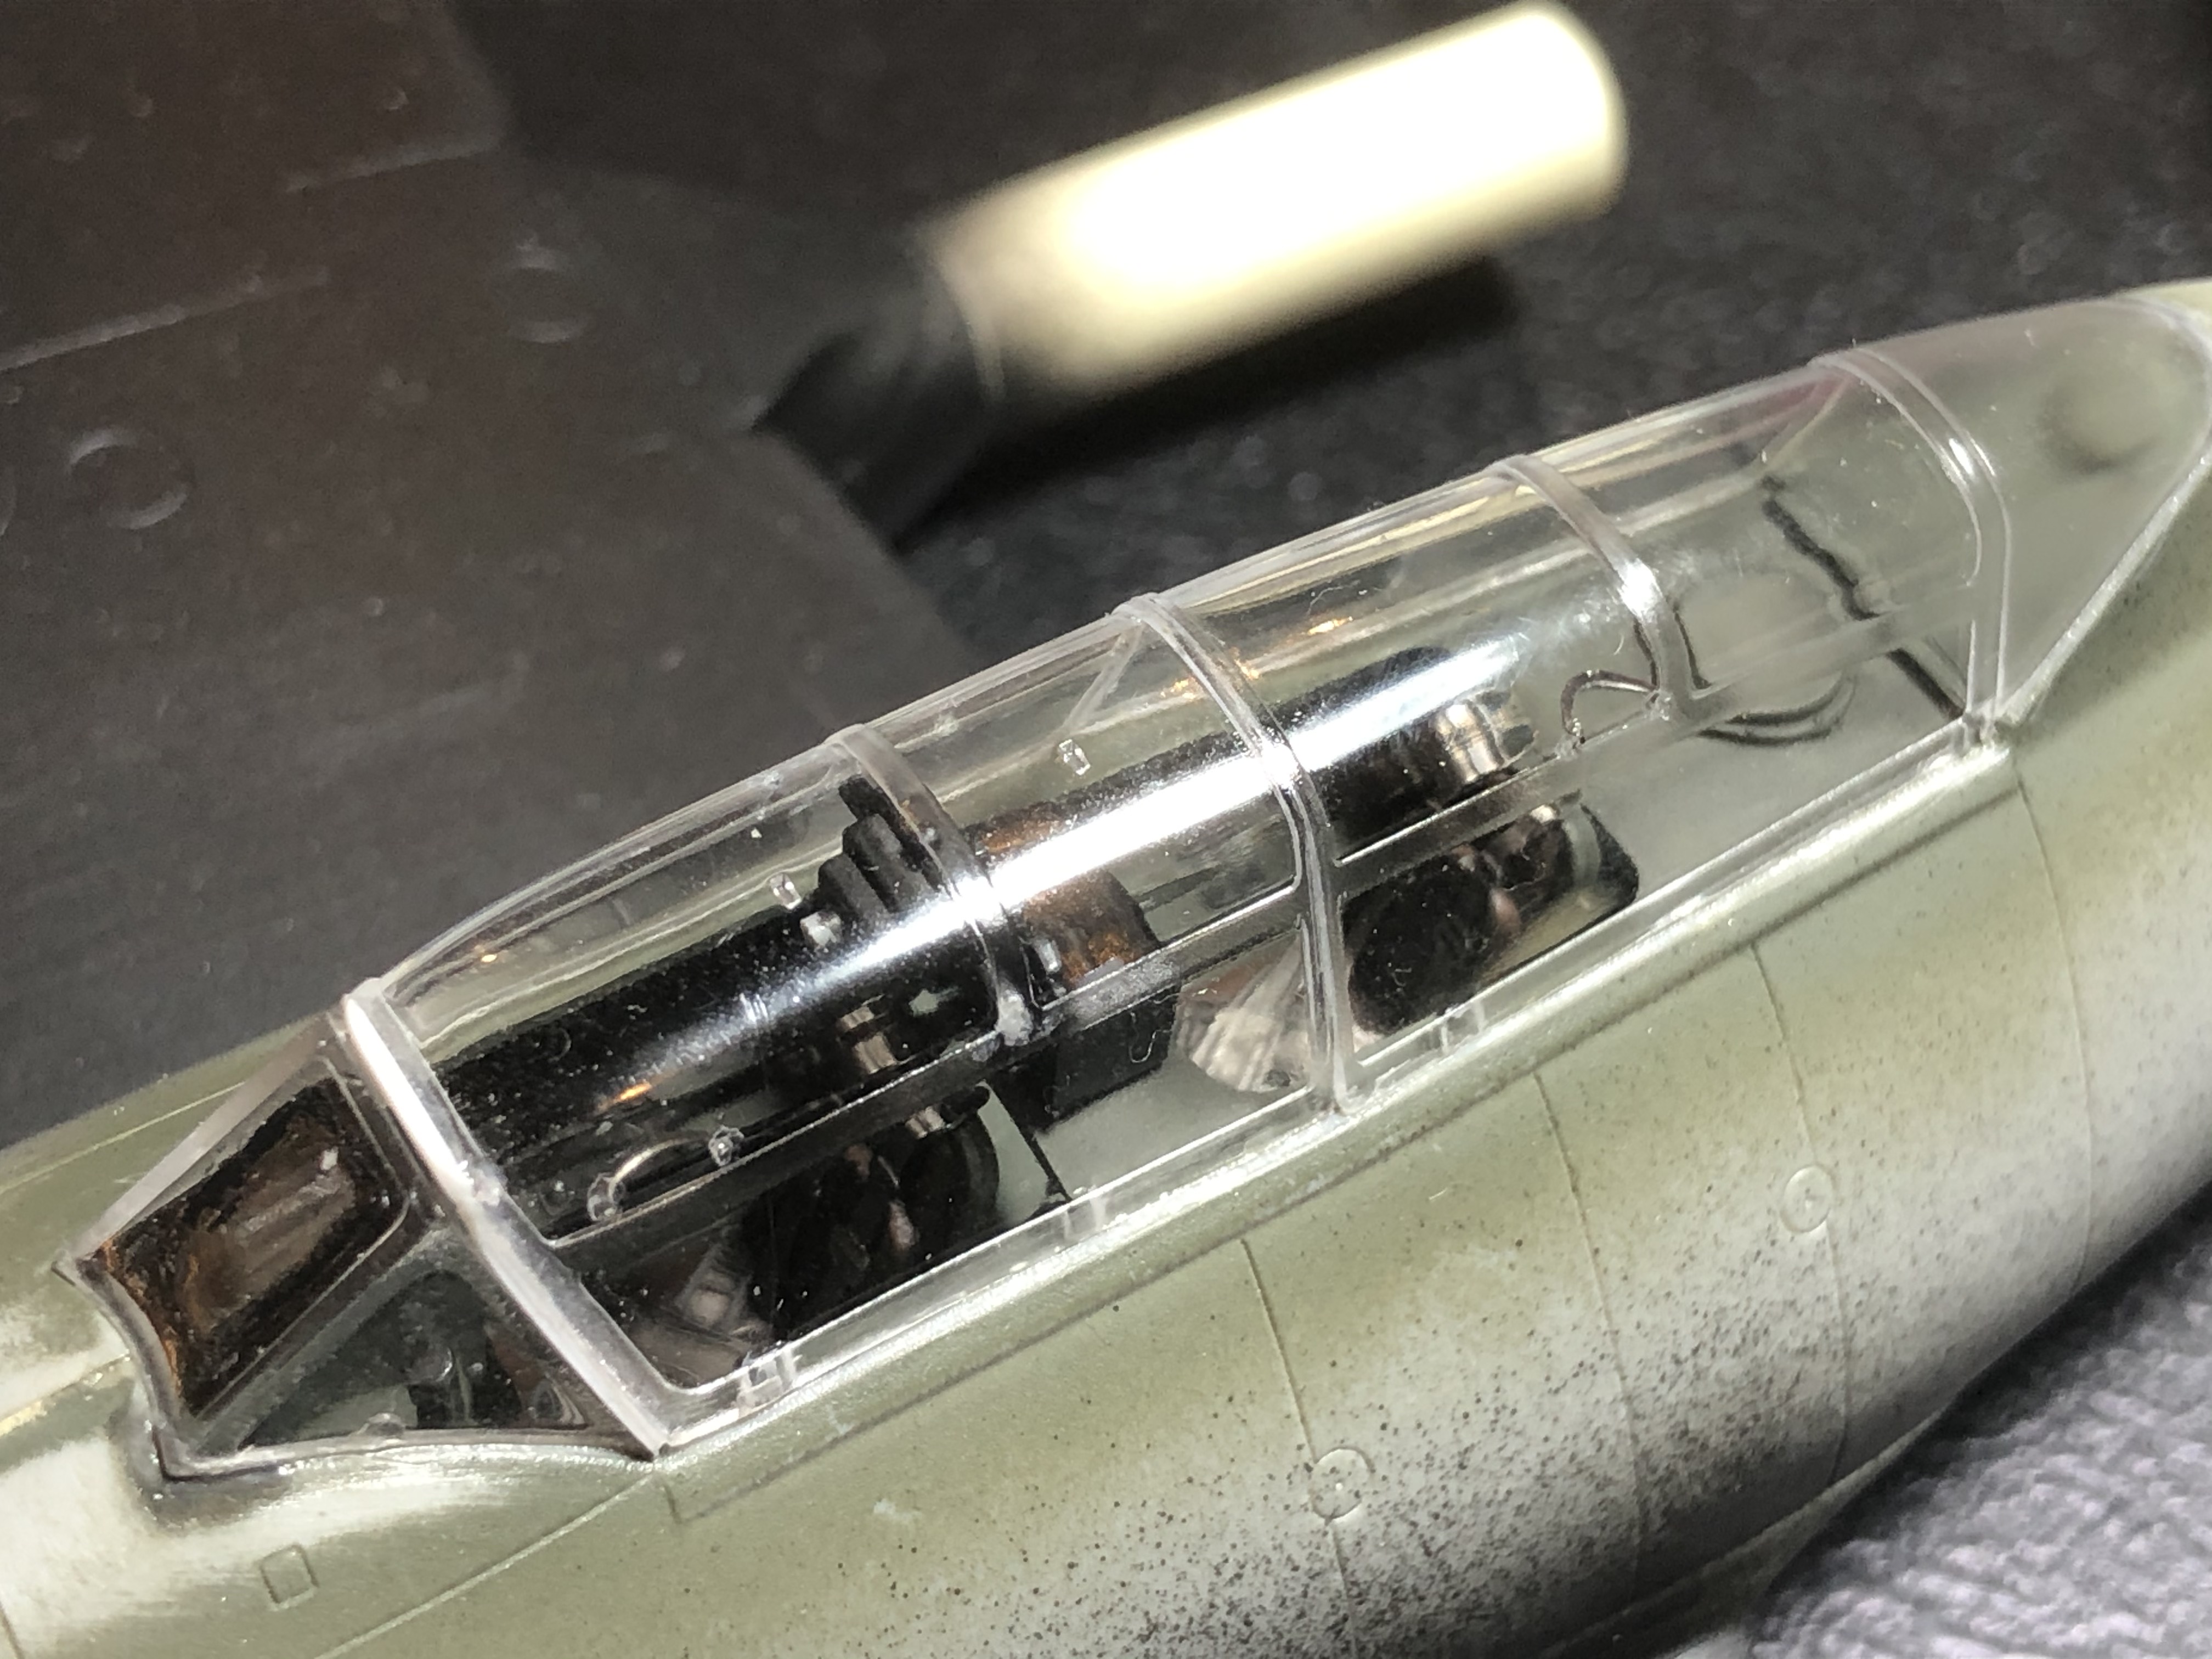
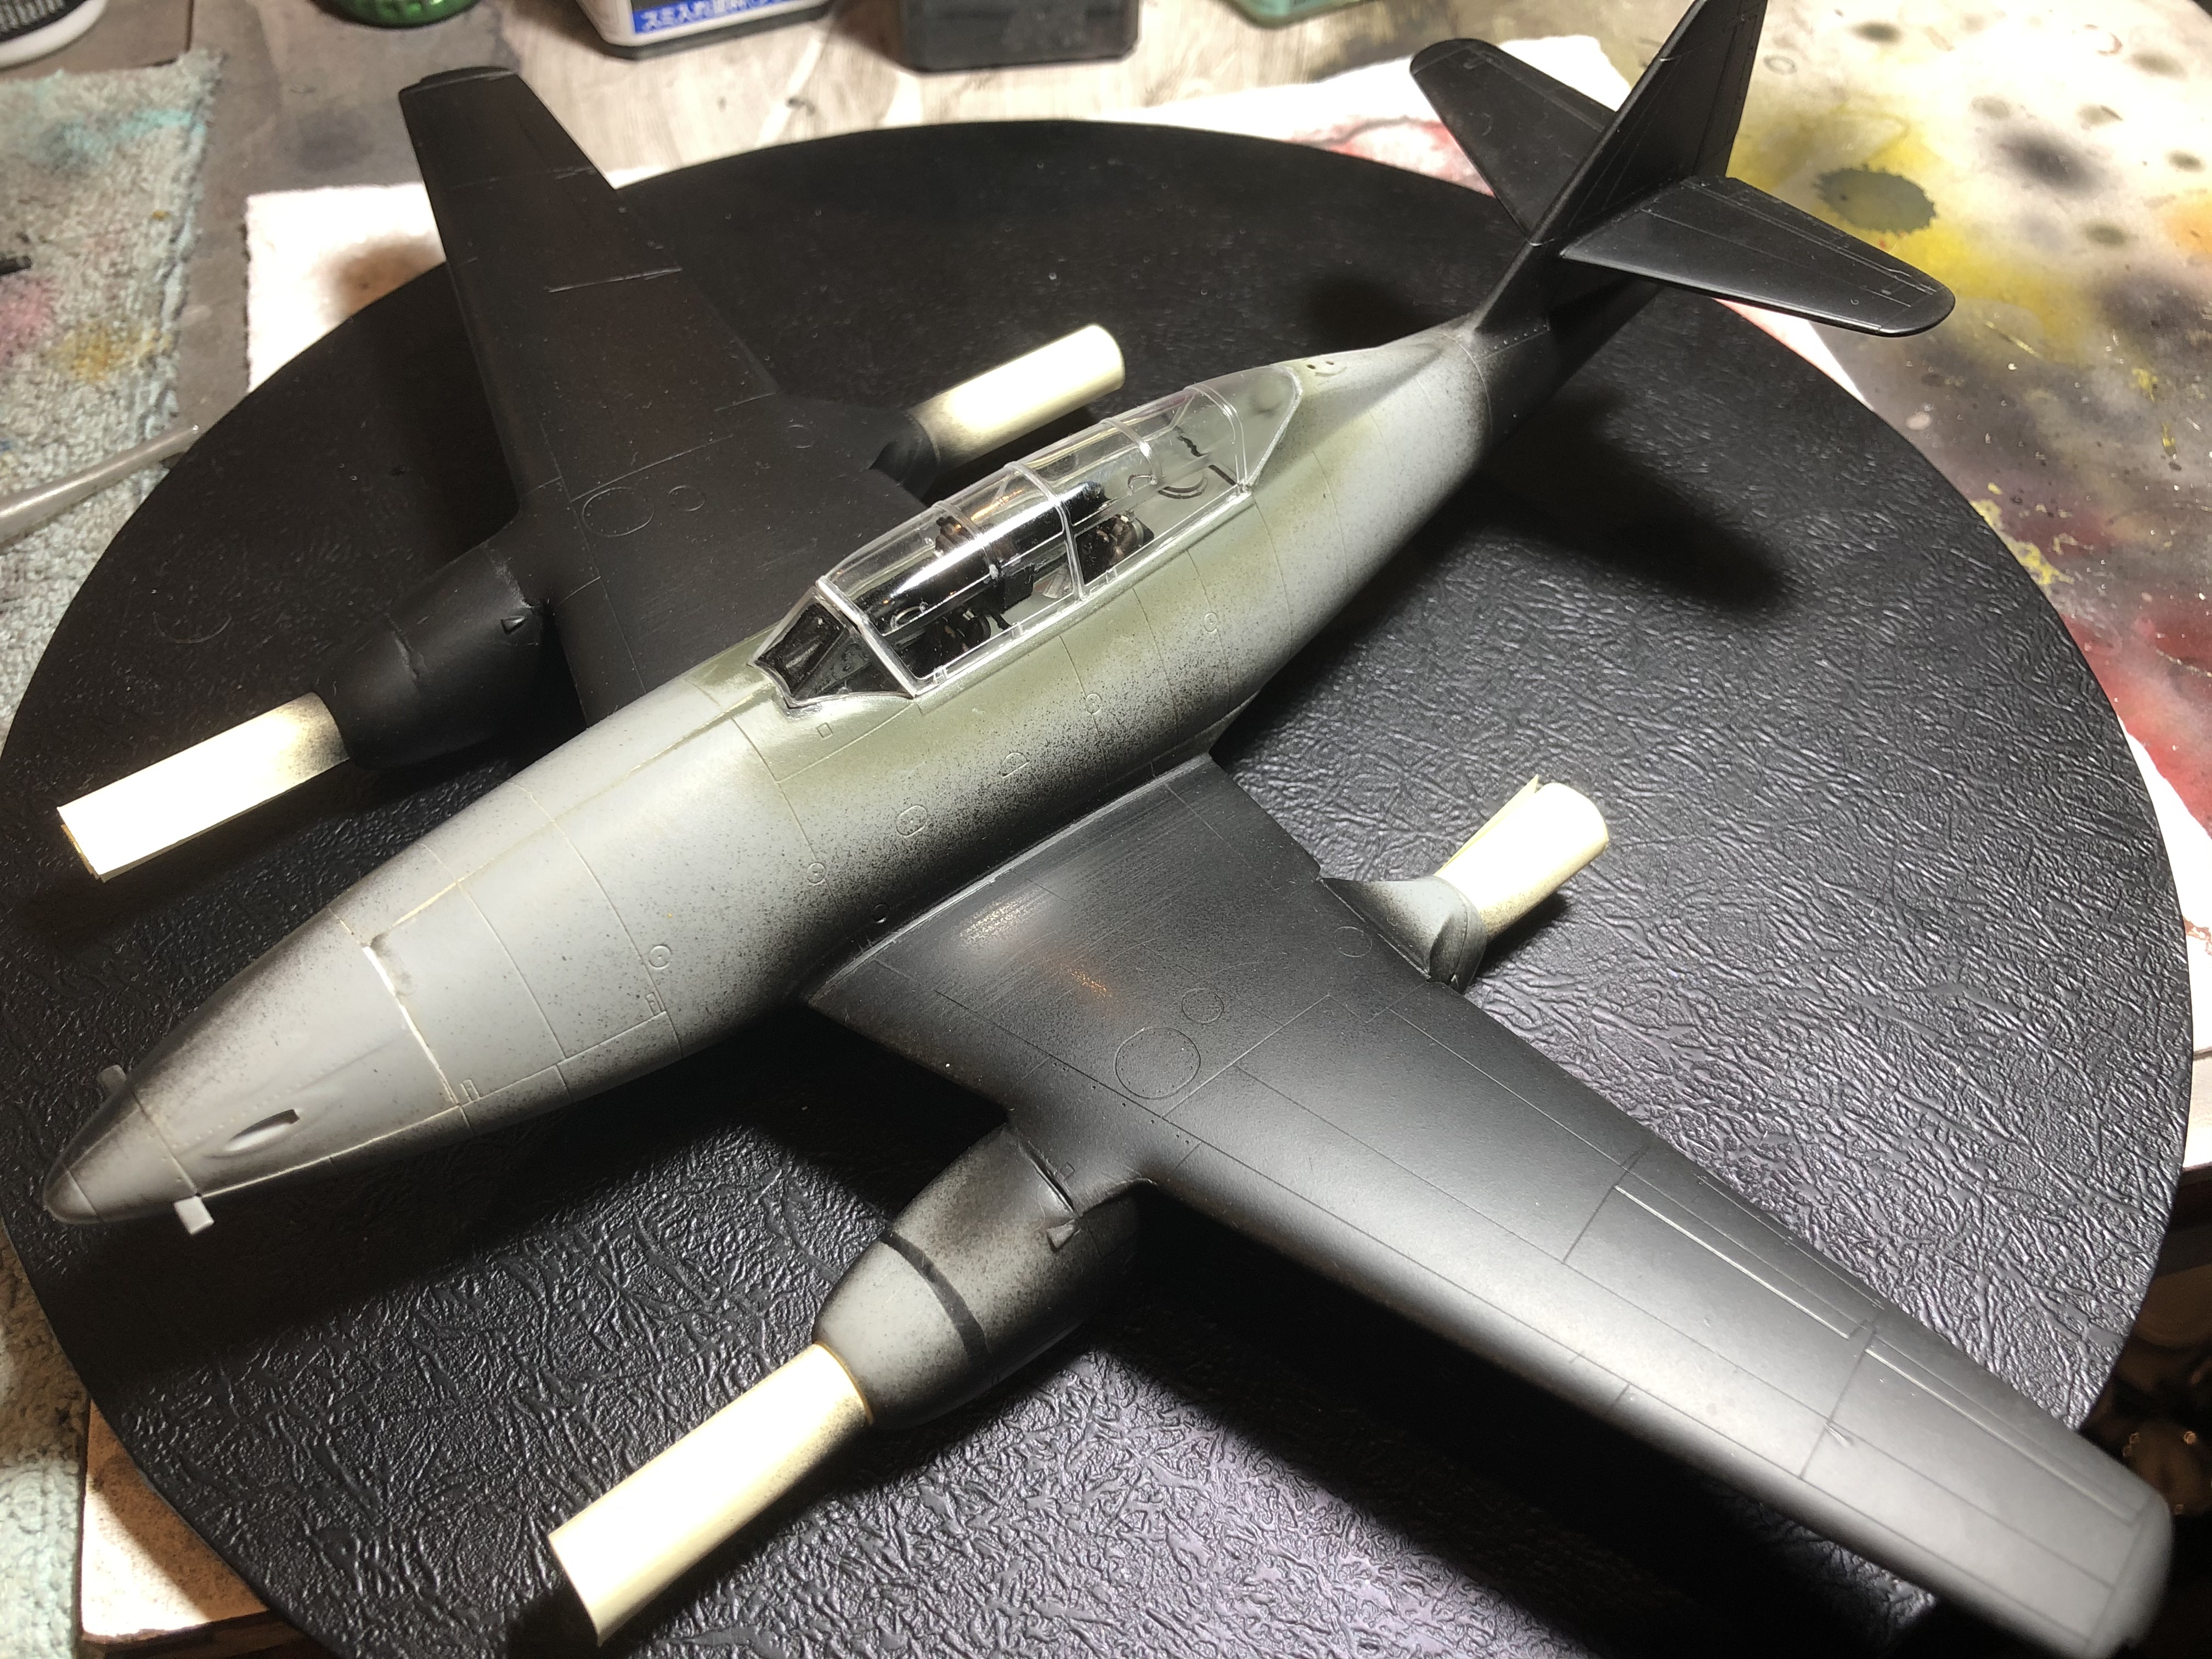
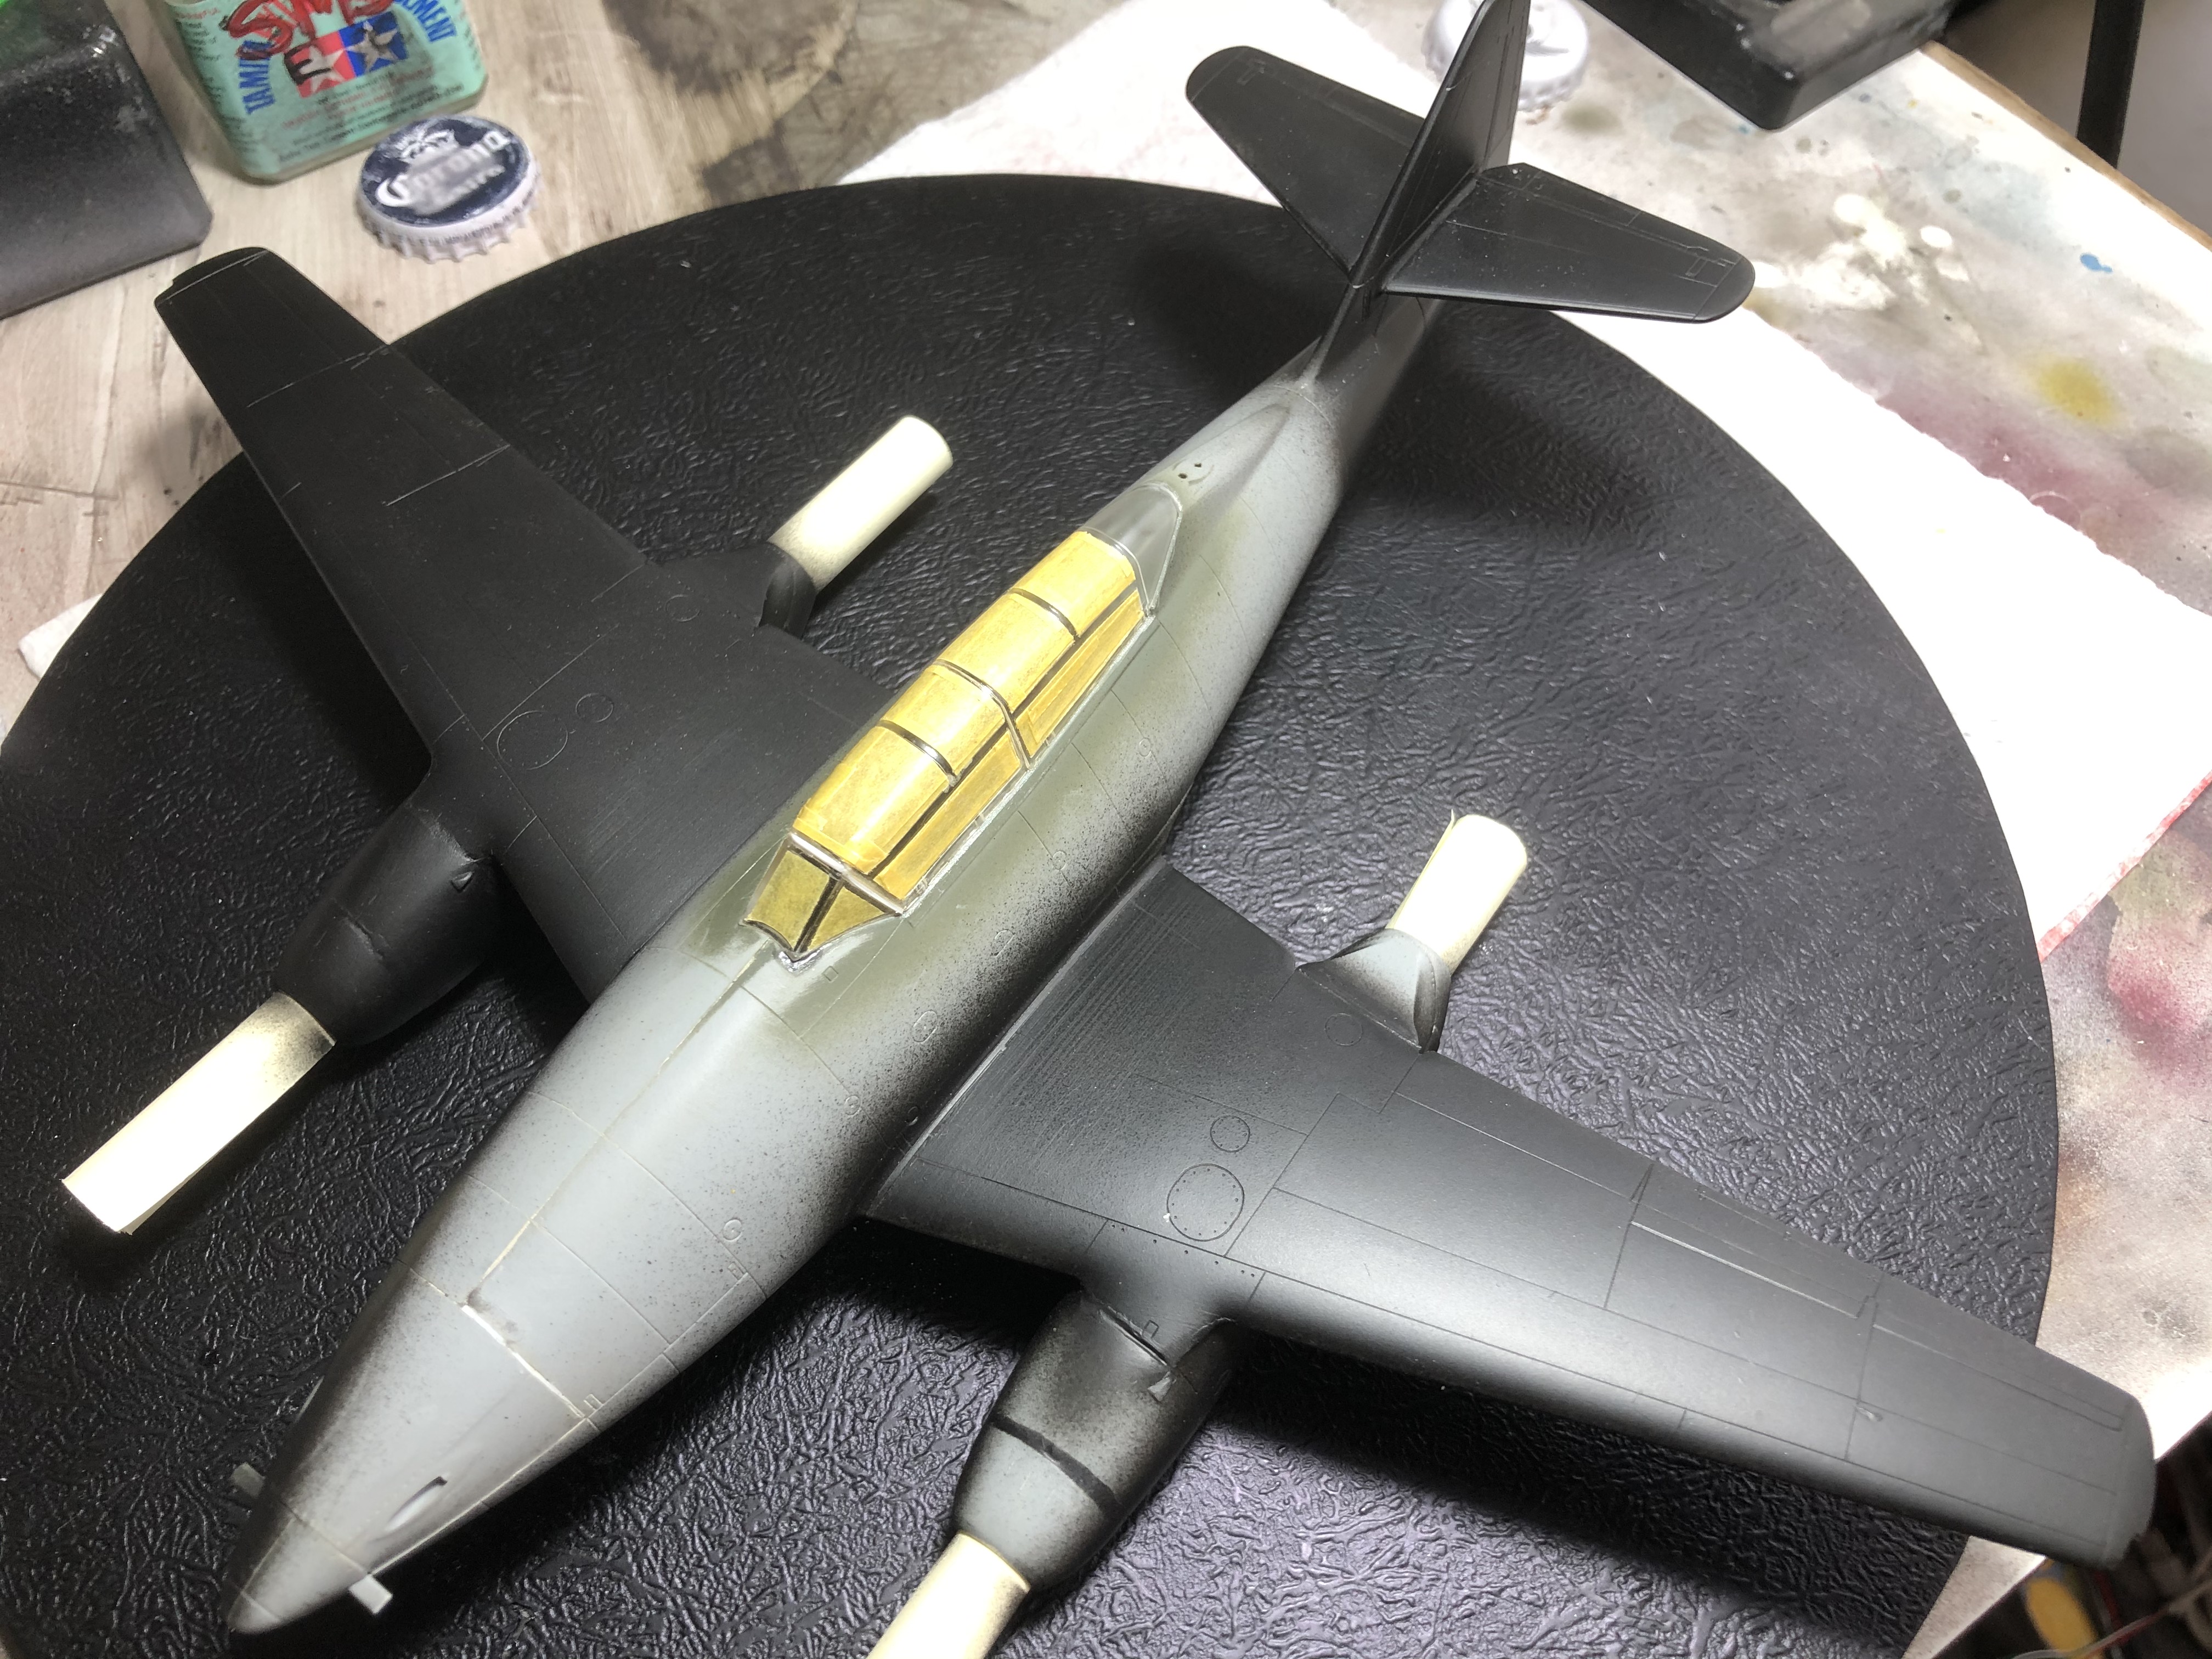
All masked up and ready to finish the primer coat.
If you are interested, there is more detail on the build in my current
Me262 Dual Build thread where I have thrown this one in with the A-2a/U2 duo.
Cheers, D
Having completed my Hobby Boss Me262 A-2a/U2 for the current 2020 Schwalbe Campaign, I thought I would take advantage of that momentum and try to complete the Italeri Me262 B-1a/U-1 that I started back in the first Schwalbe Campaign in 2015 (which I ran!).
Here is the box, and the progress when I stashed it away in Feb'16.
And now the progress since I dragged it out a month or so back.
All masked up and ready to finish the primer coat.
If you are interested, there is more detail on the build in my current
Me262 Dual Build thread where I have thrown this one in with the A-2a/U2 duo.
Cheers, D


pkrasna

Joined: April 20, 2013
KitMaker: 31 posts
AeroScale: 31 posts
Posted: Tuesday, September 22, 2020 - 08:17 AM UTC

This is where I start. I started this kit about three years ago. Since then the model waited in box down at the bottom of a large warderobe. So lets finish it!
Cheers!
Primo
pkrasna
Joined: April 20, 2013
KitMaker: 31 posts
AeroScale: 31 posts
Posted: Wednesday, September 23, 2020 - 10:06 AM UTC
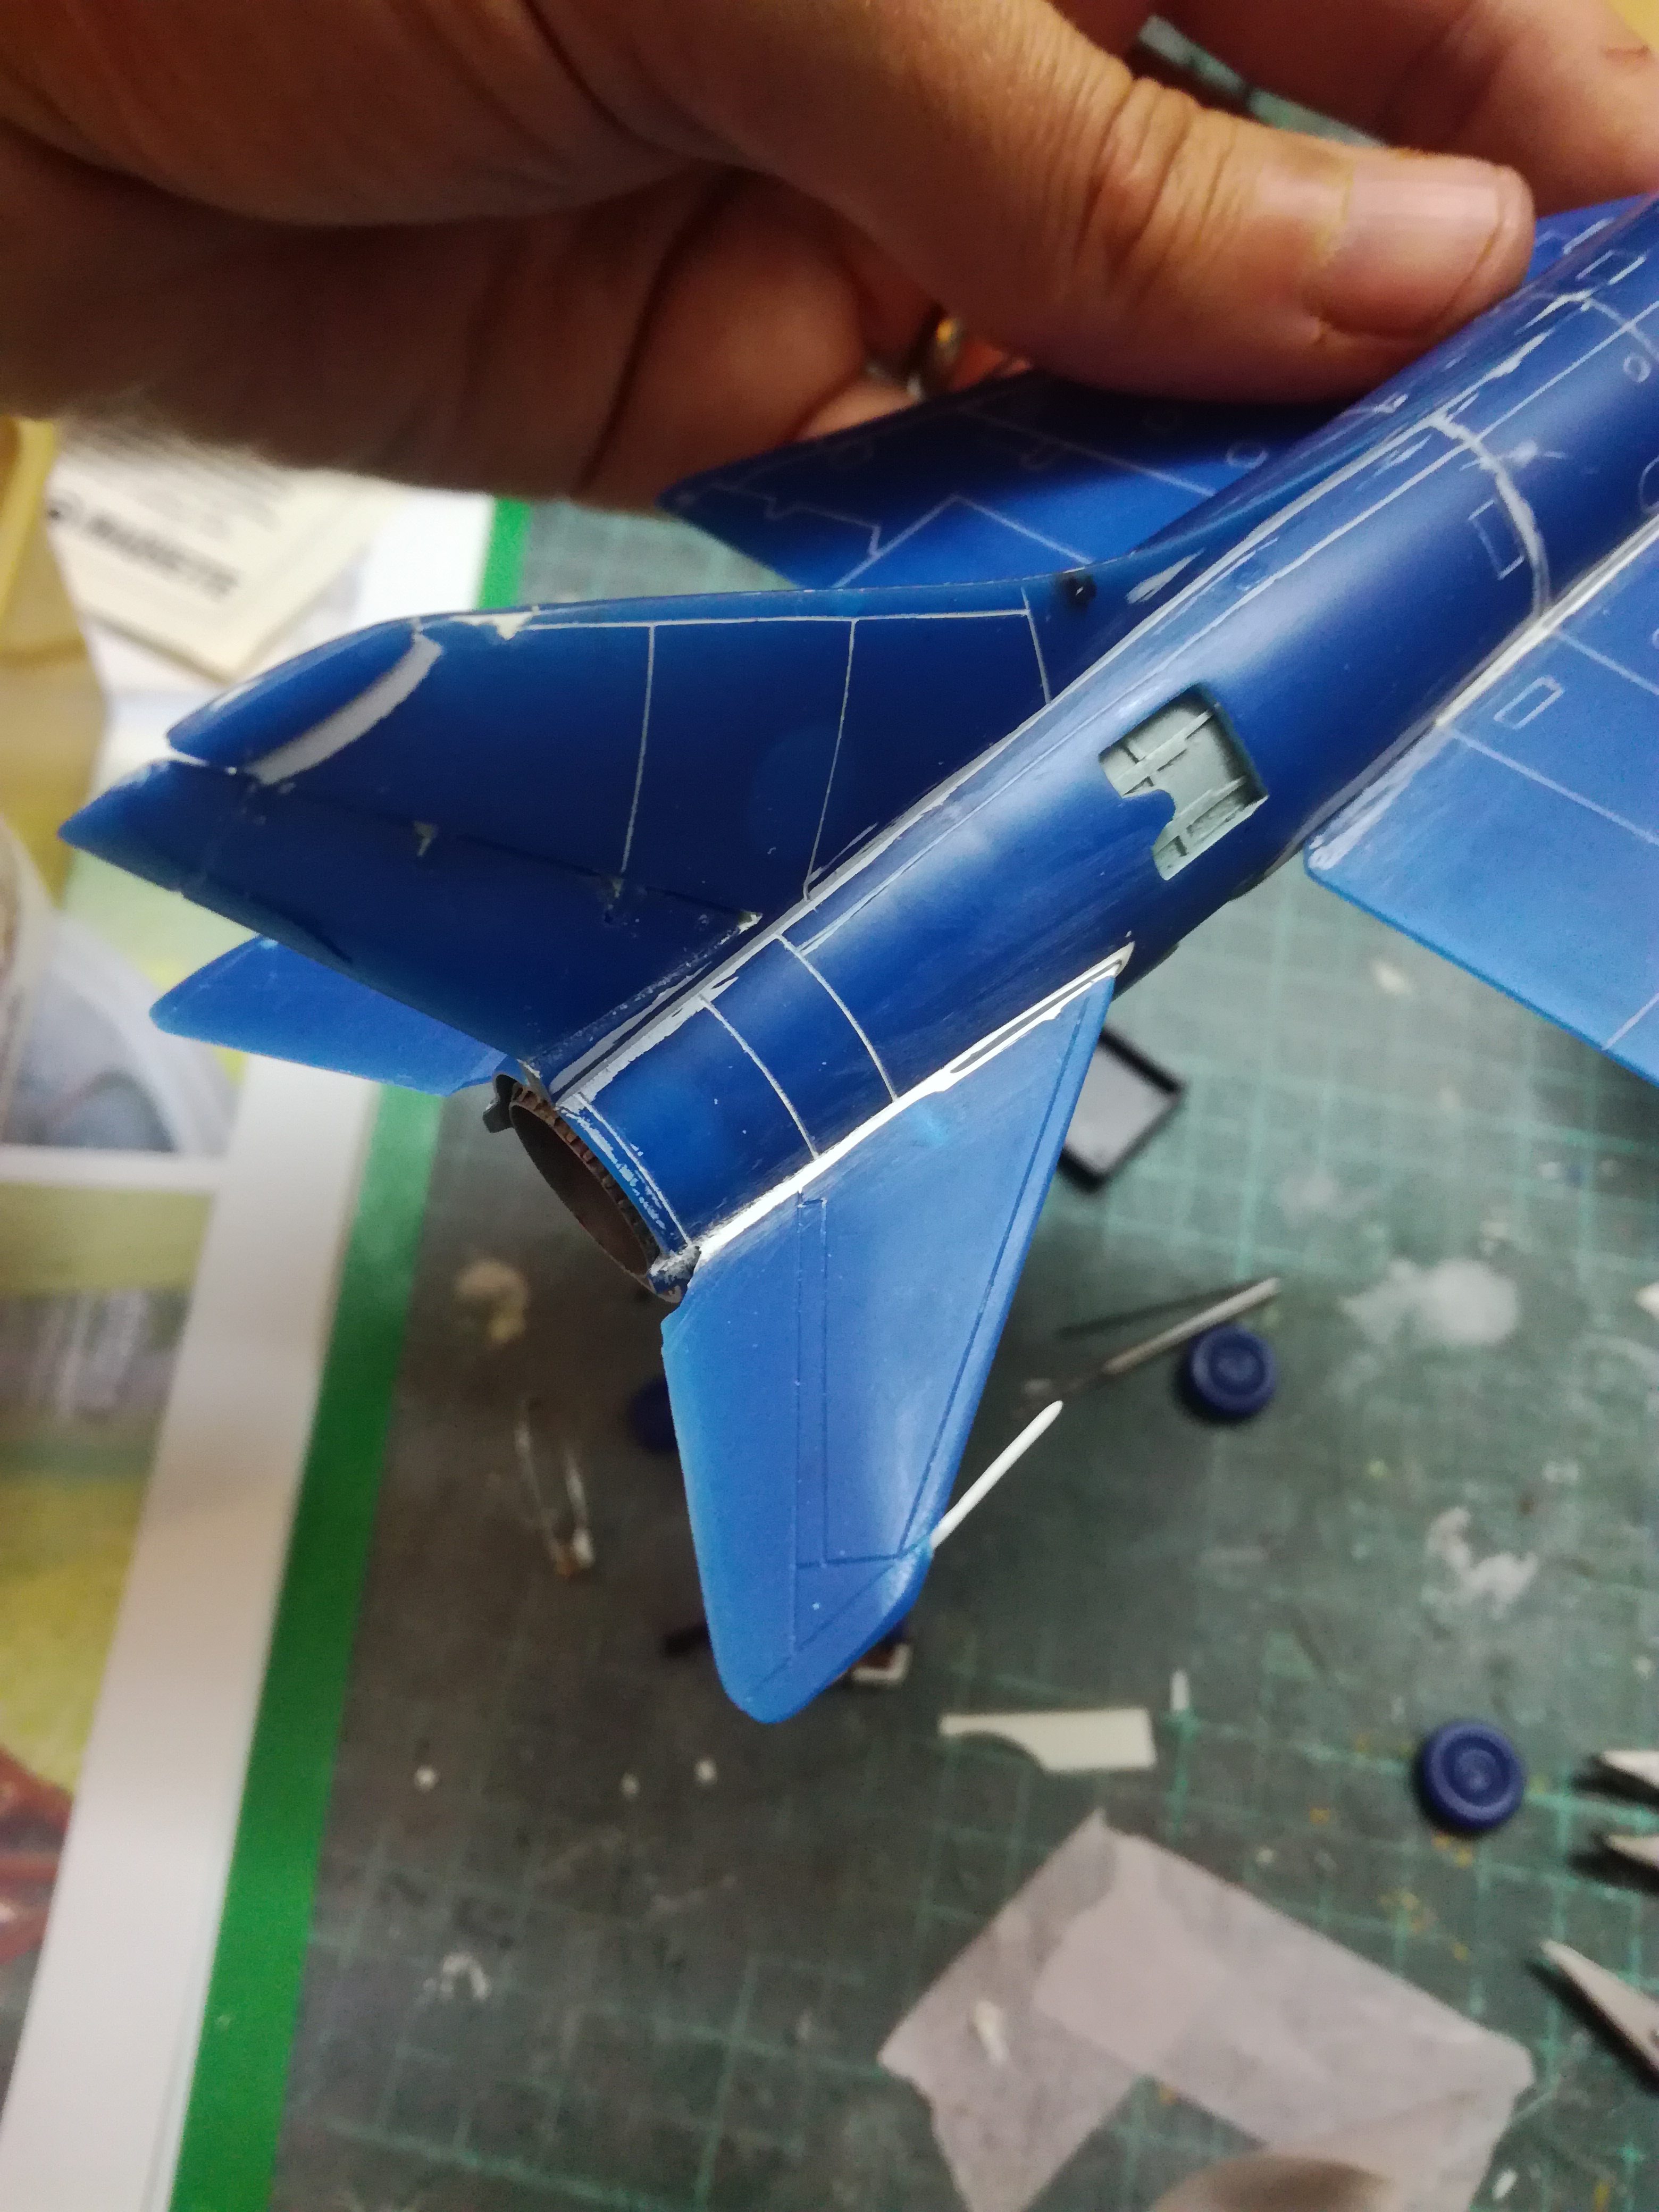
The first thing on the line was to engrave both tail horizontal stabilizers and adding that long thingy/stick at the end. Sorry dont know the purpose of it .
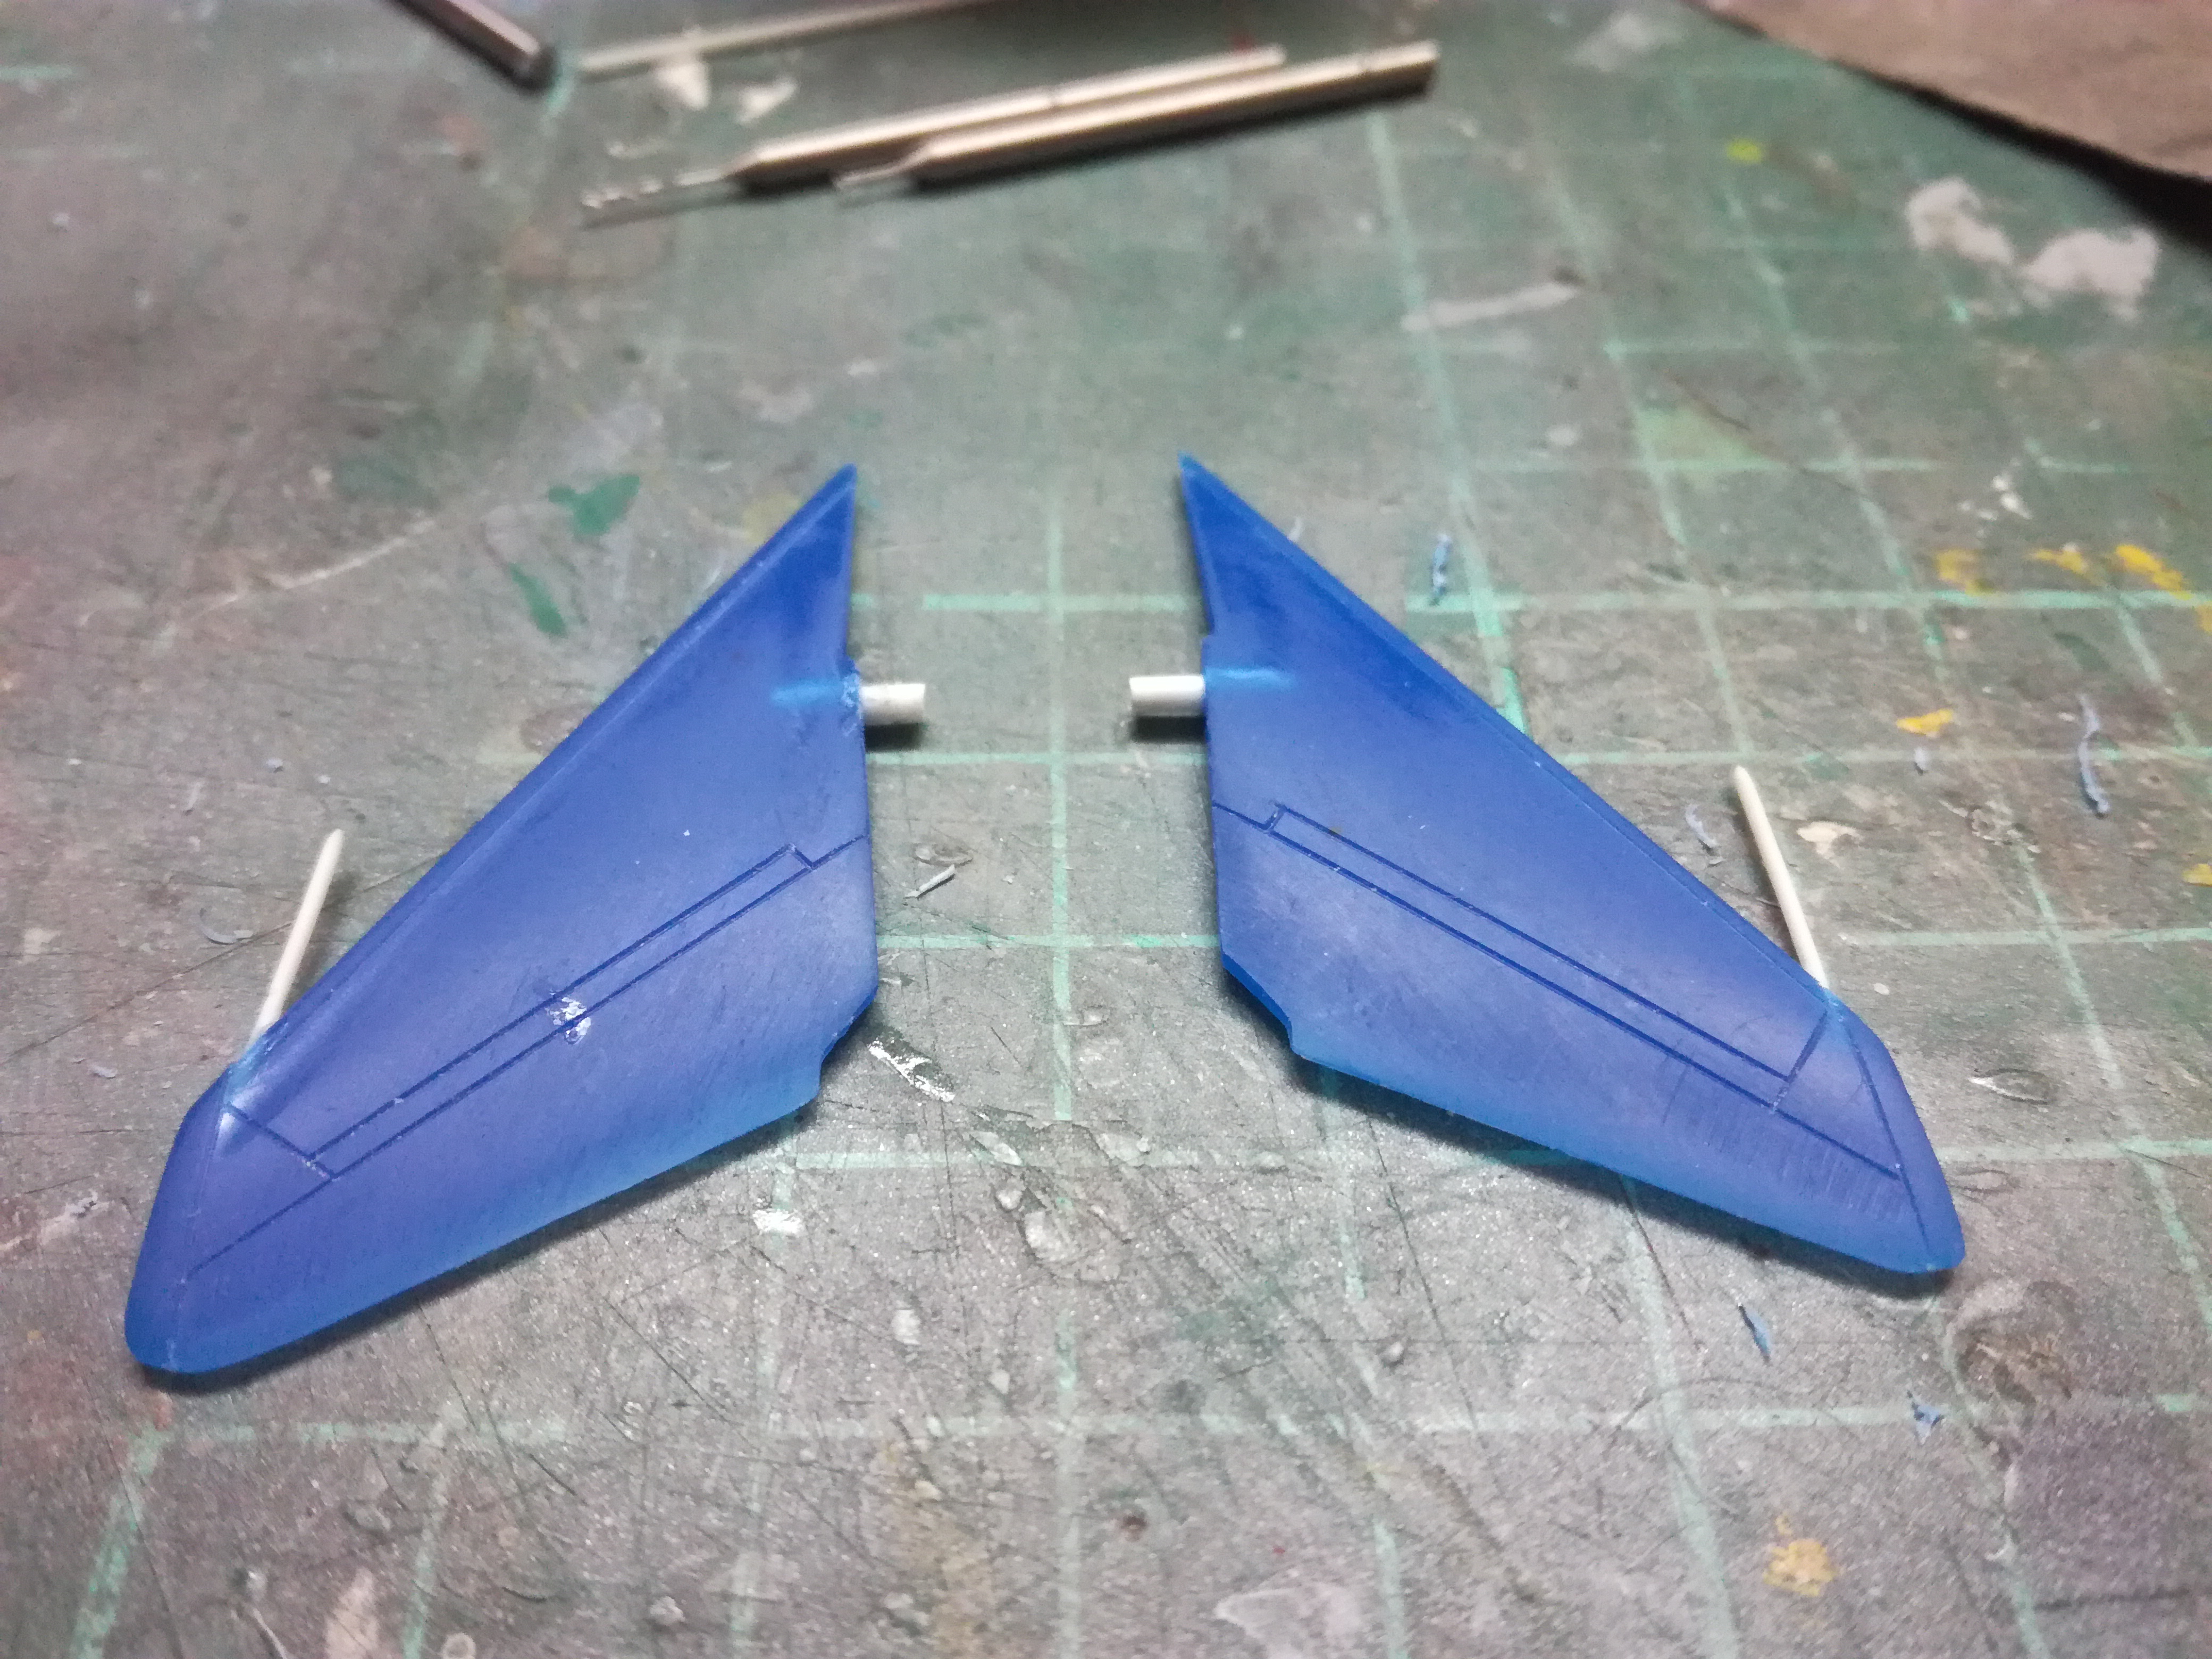
Primo
Primo
pkrasna
Joined: April 20, 2013
KitMaker: 31 posts
AeroScale: 31 posts
Posted: Friday, September 25, 2020 - 07:27 AM UTC
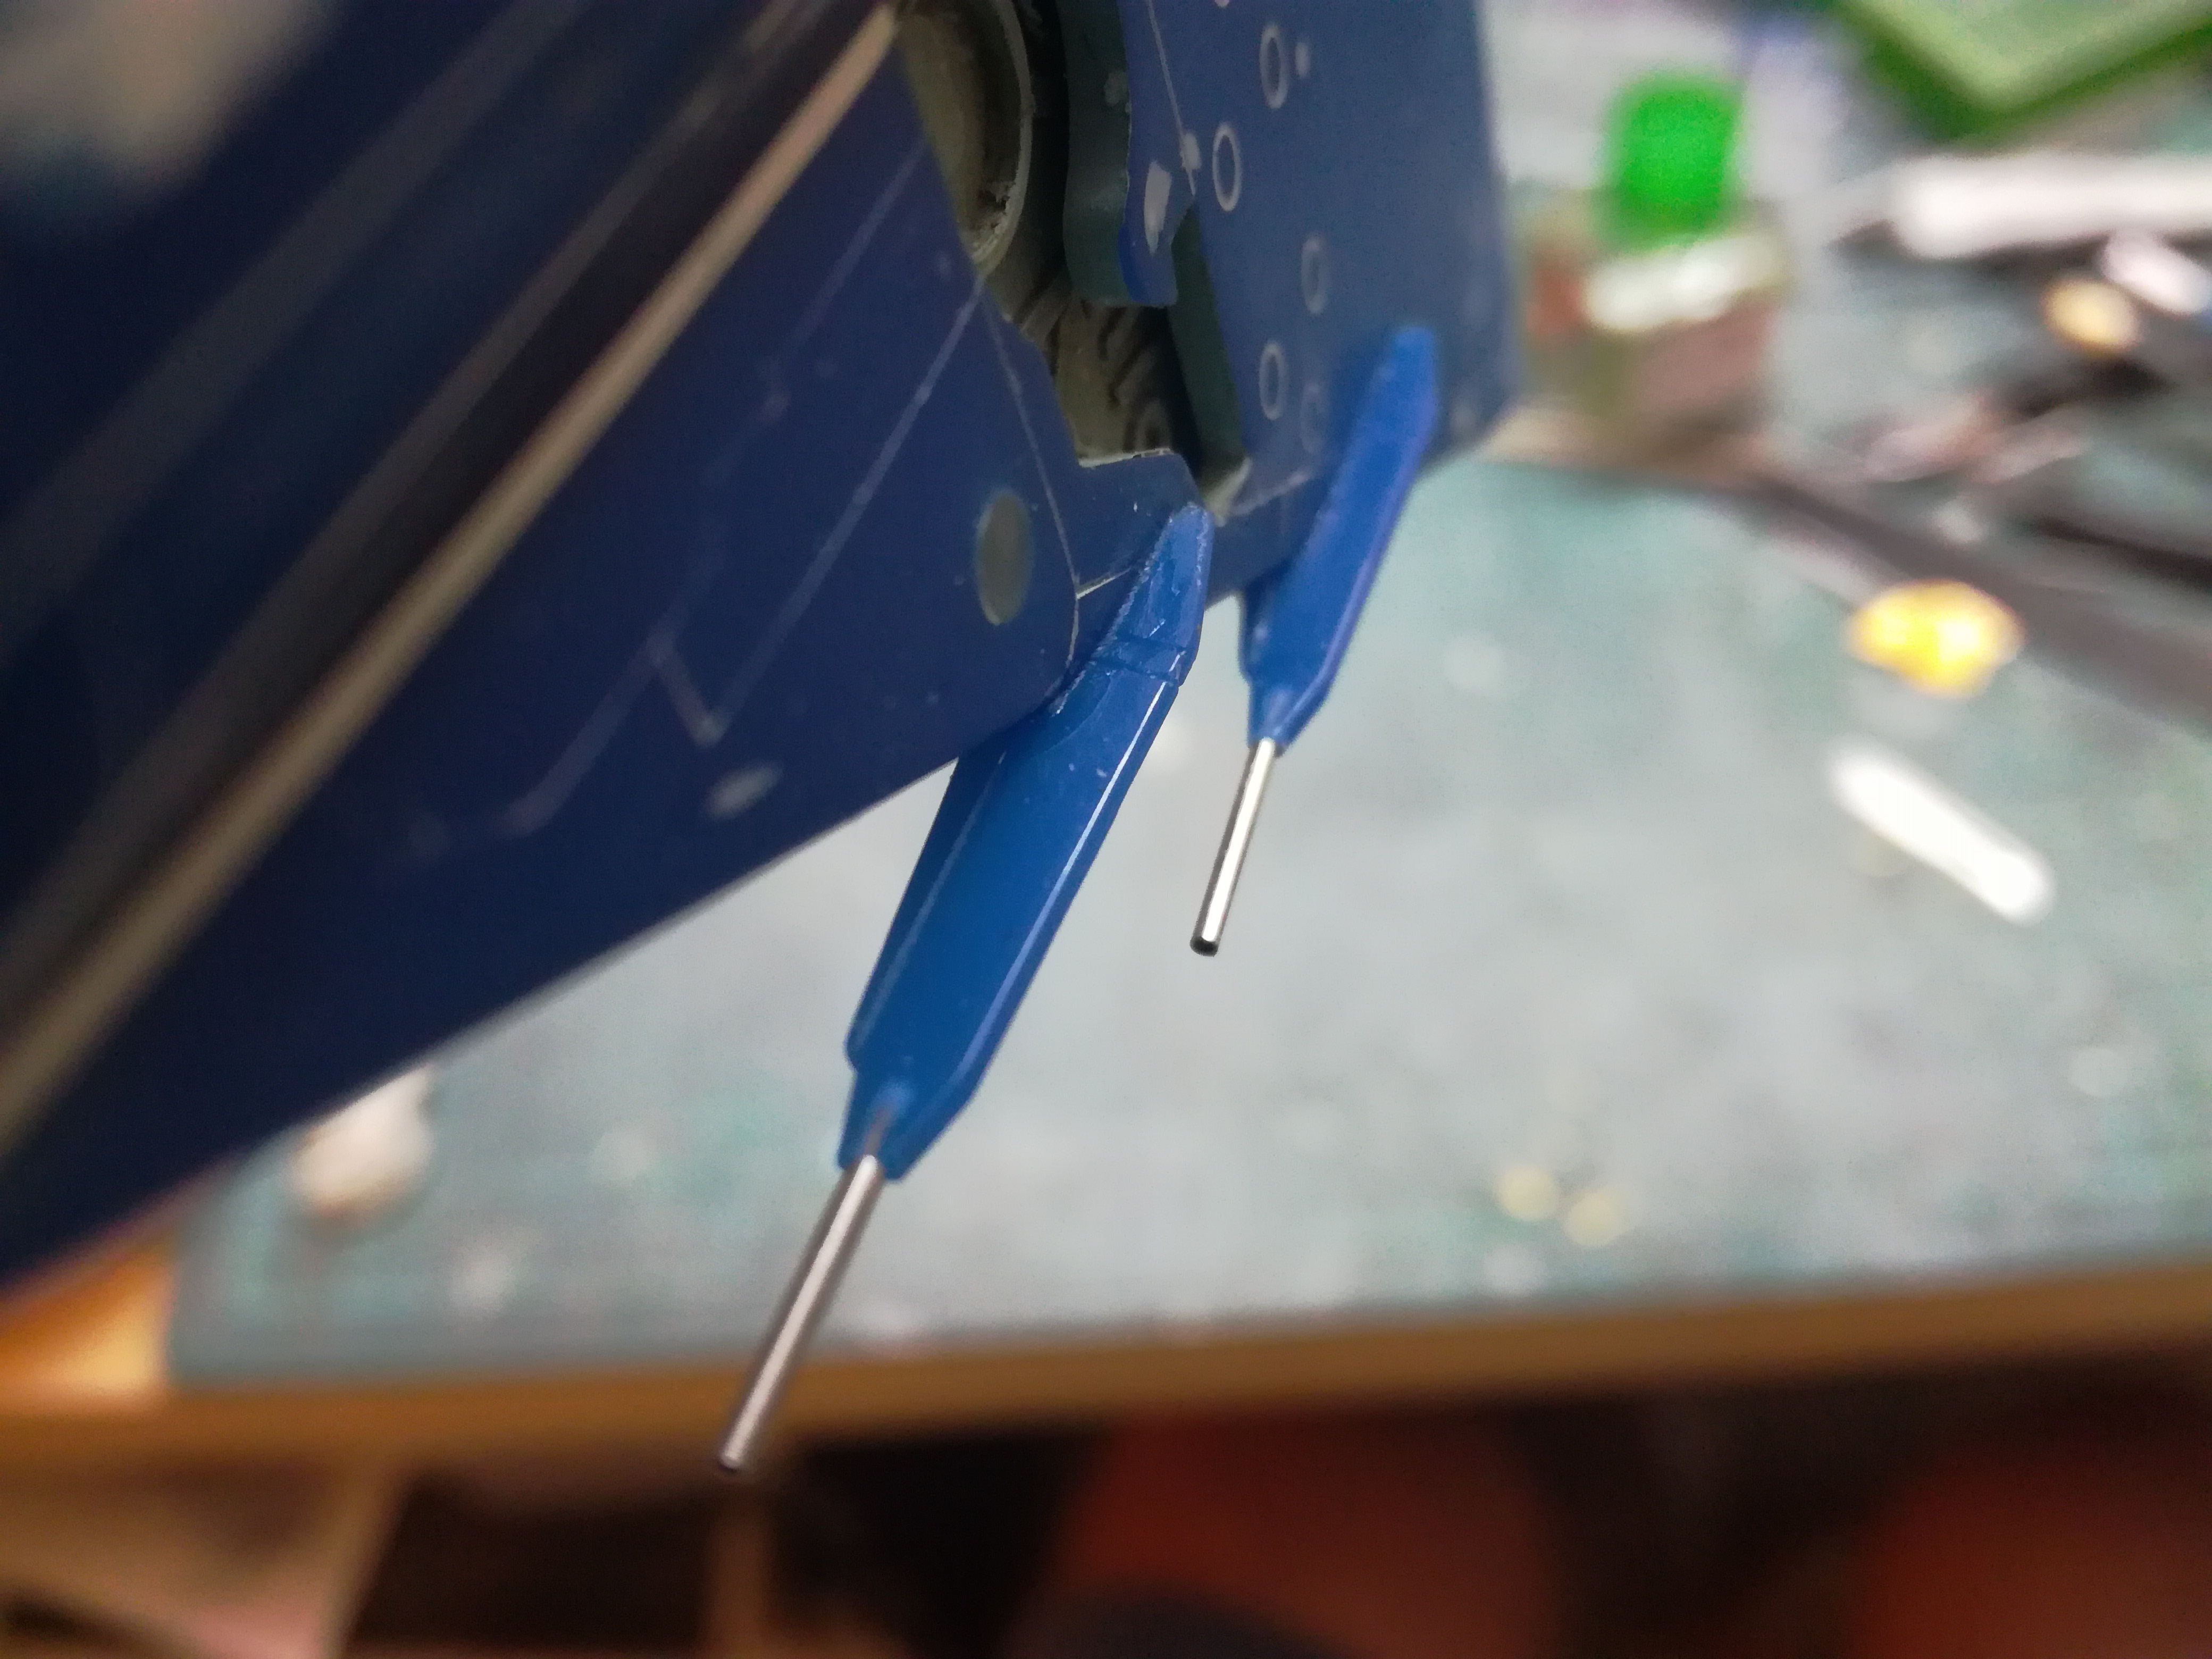
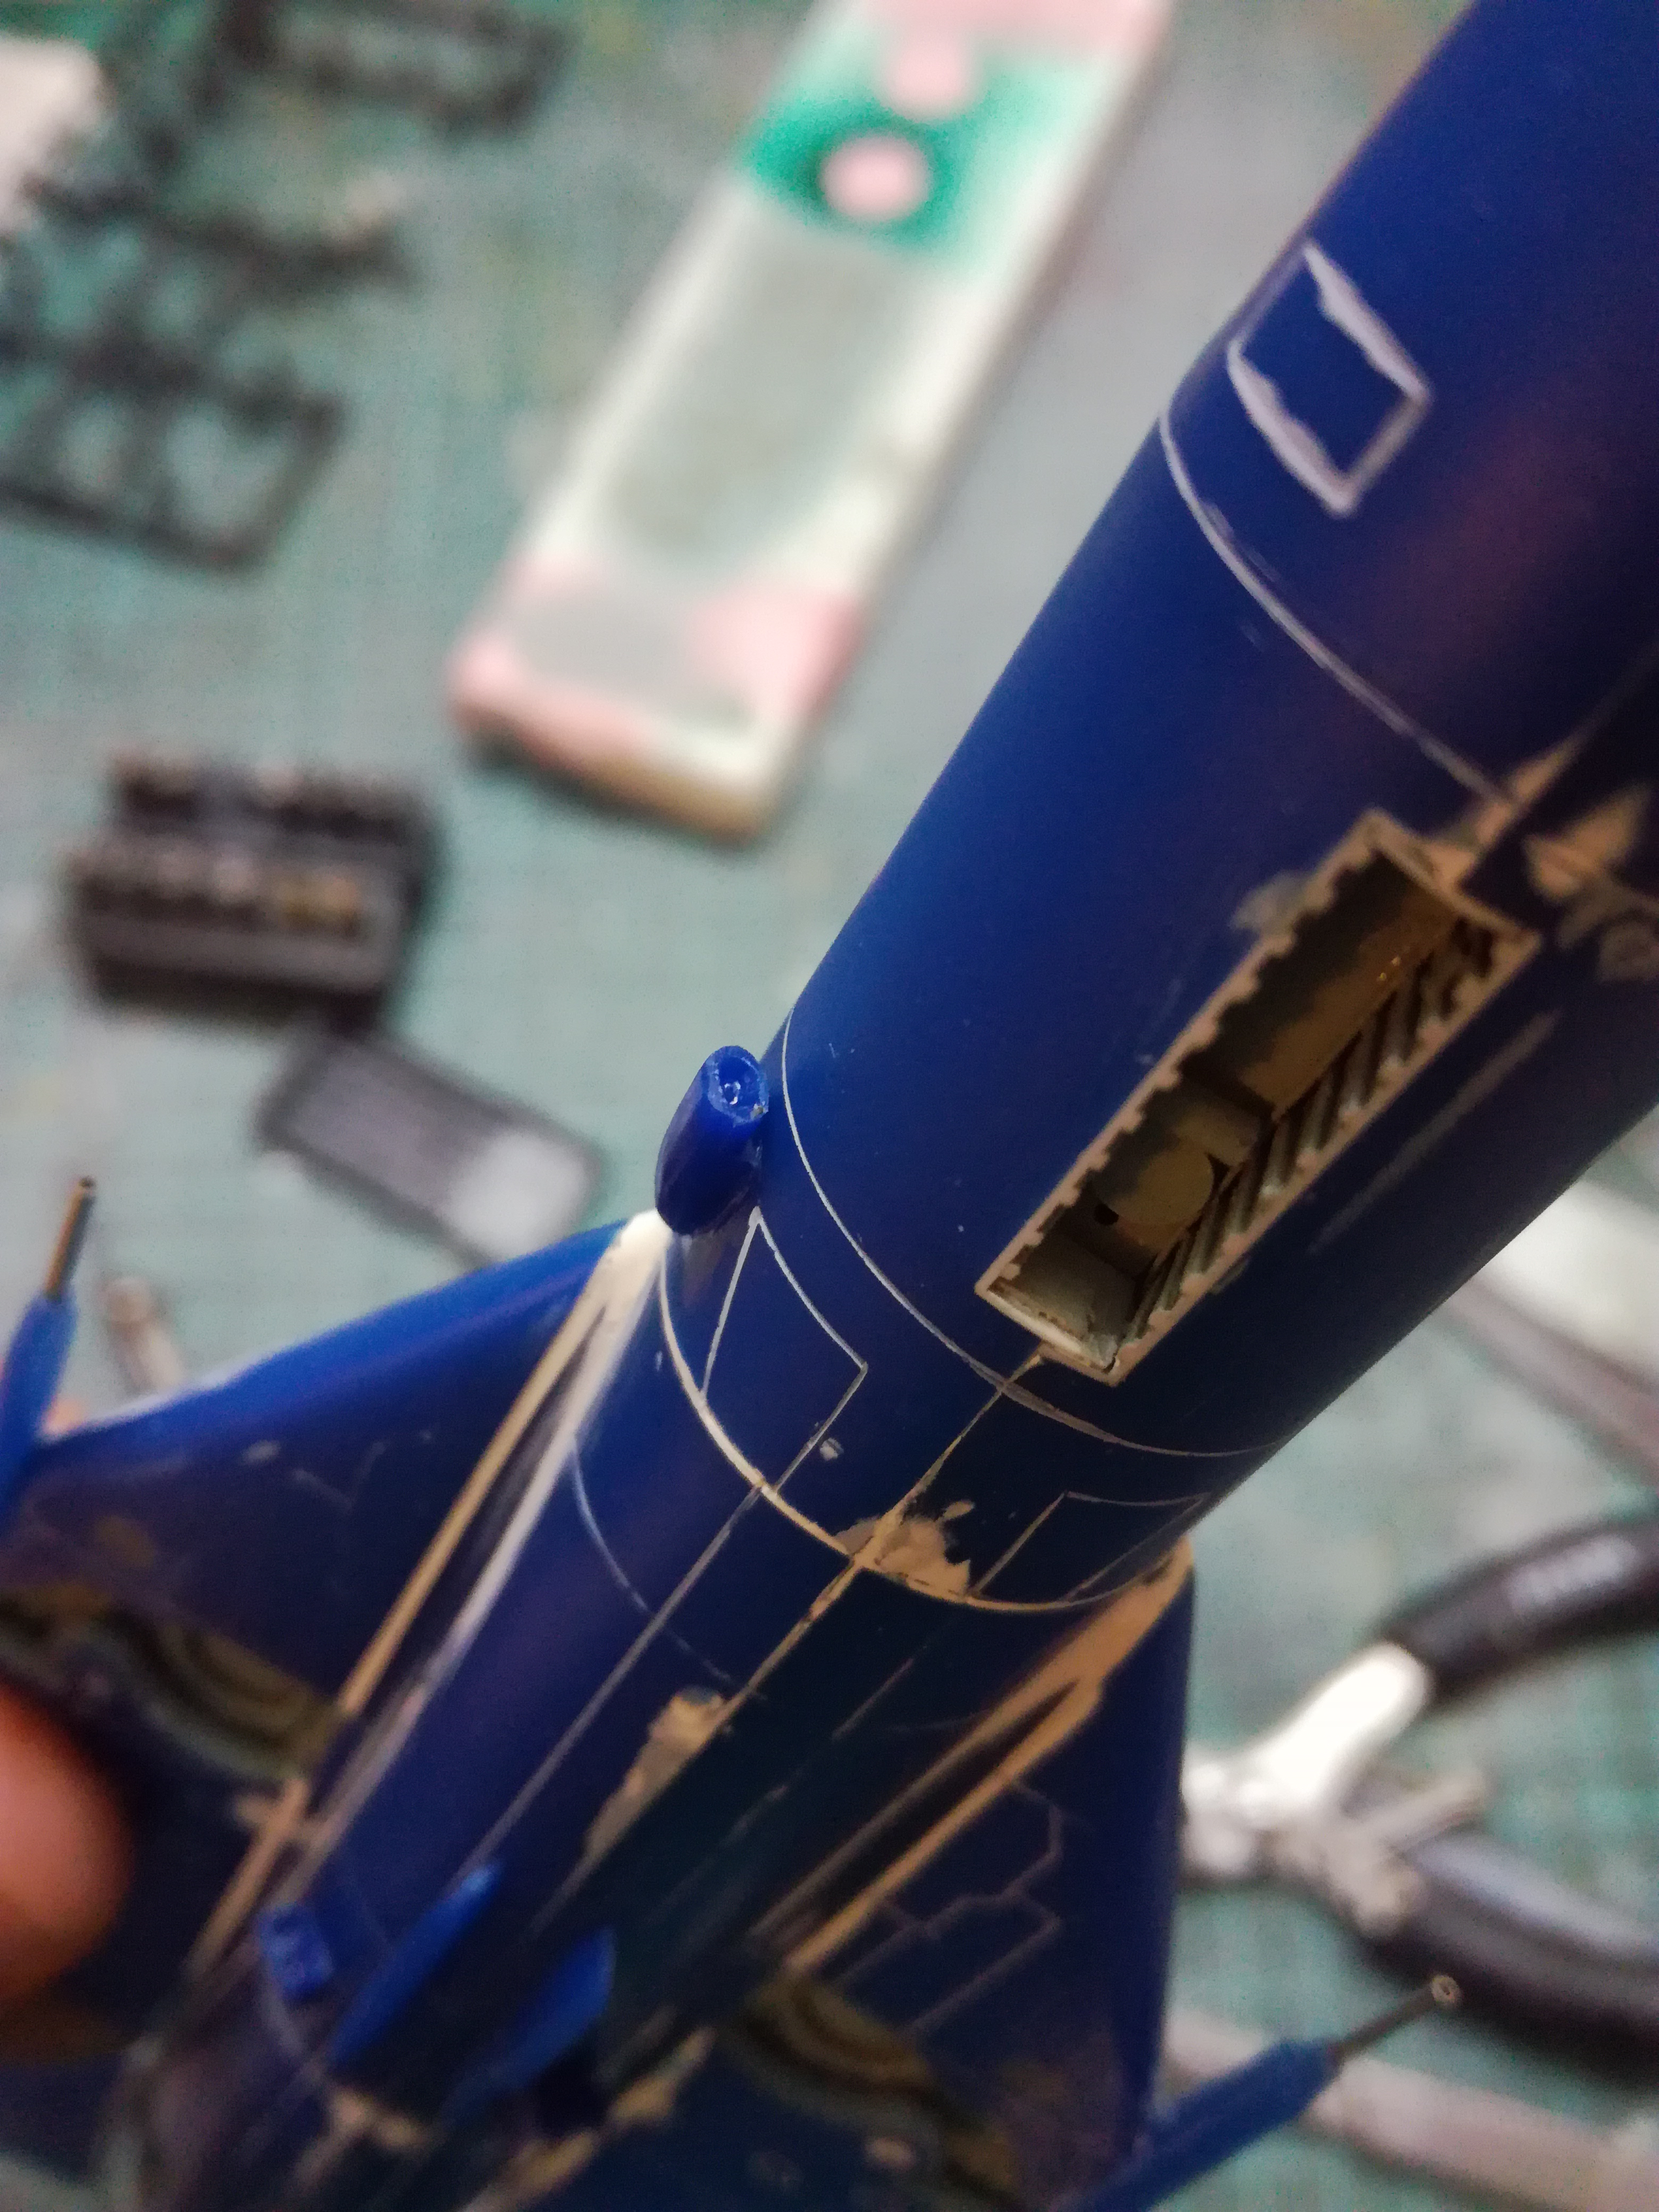
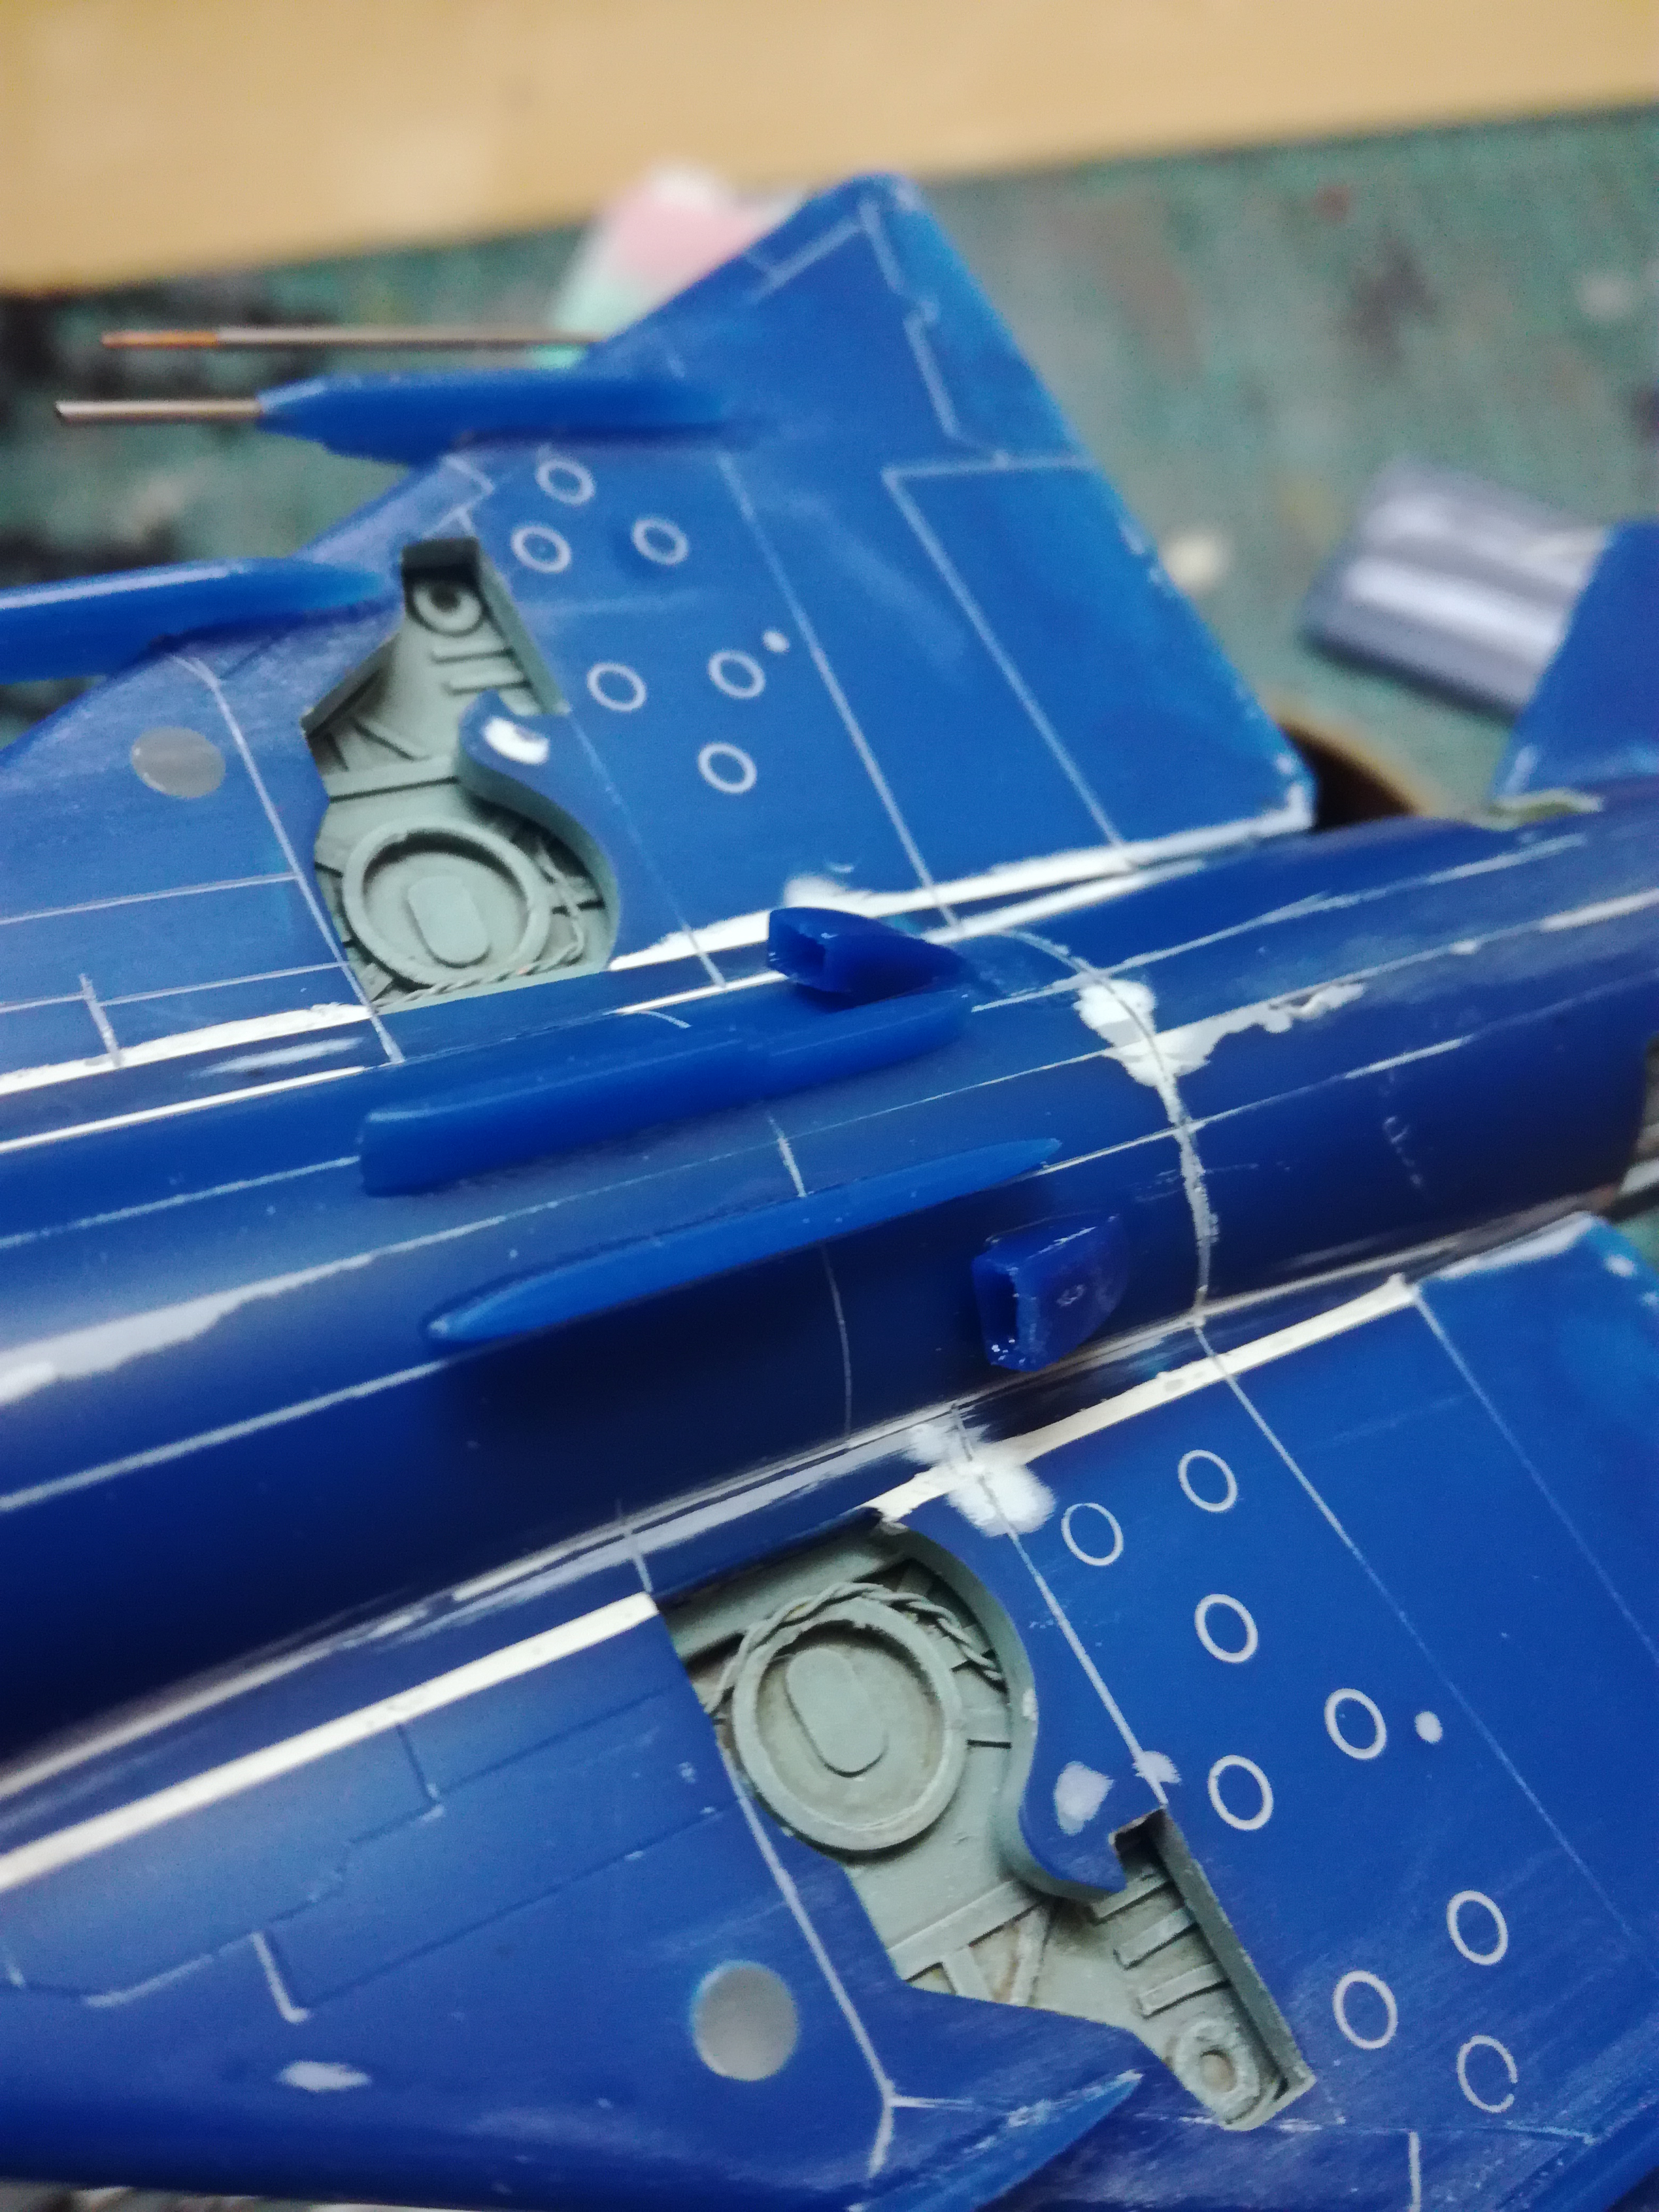
The nex big thing to do was to mount four underwing weapon pylons. The box parts wer poorly done so i scribed some lines and added gun barrels.
pkrasna
Joined: April 20, 2013
KitMaker: 31 posts
AeroScale: 31 posts
Posted: Sunday, September 27, 2020 - 12:23 AM UTC
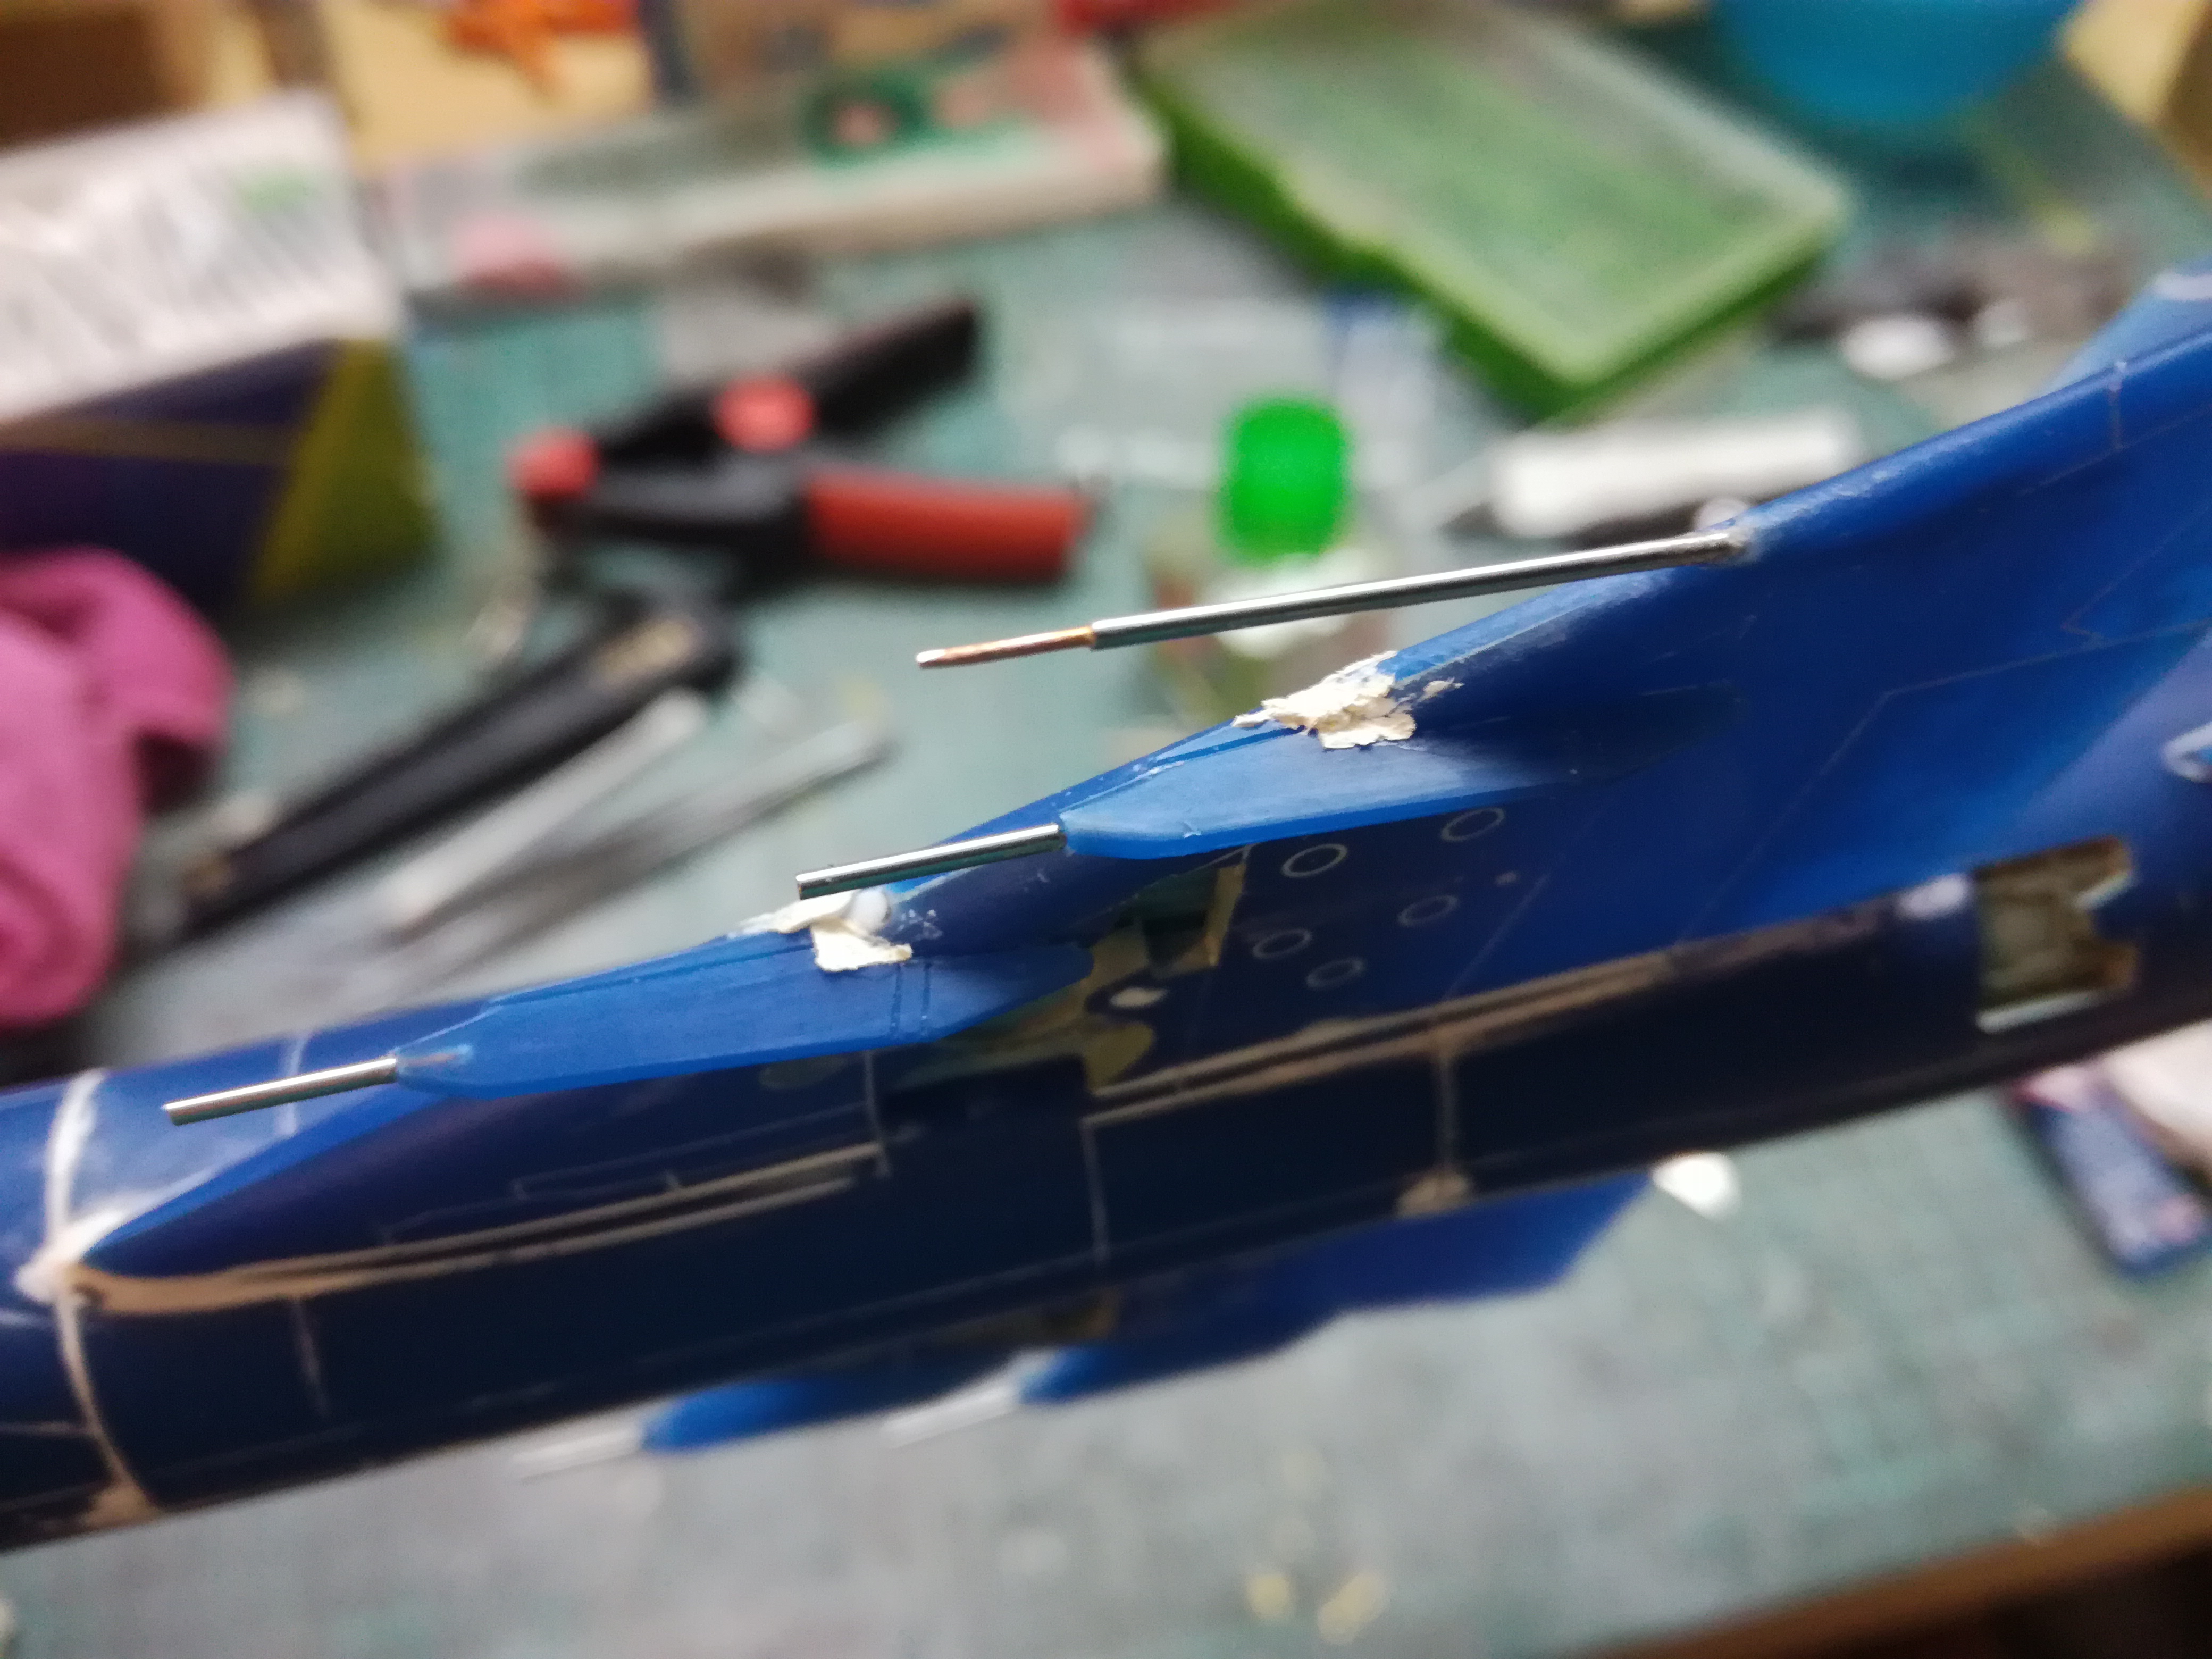
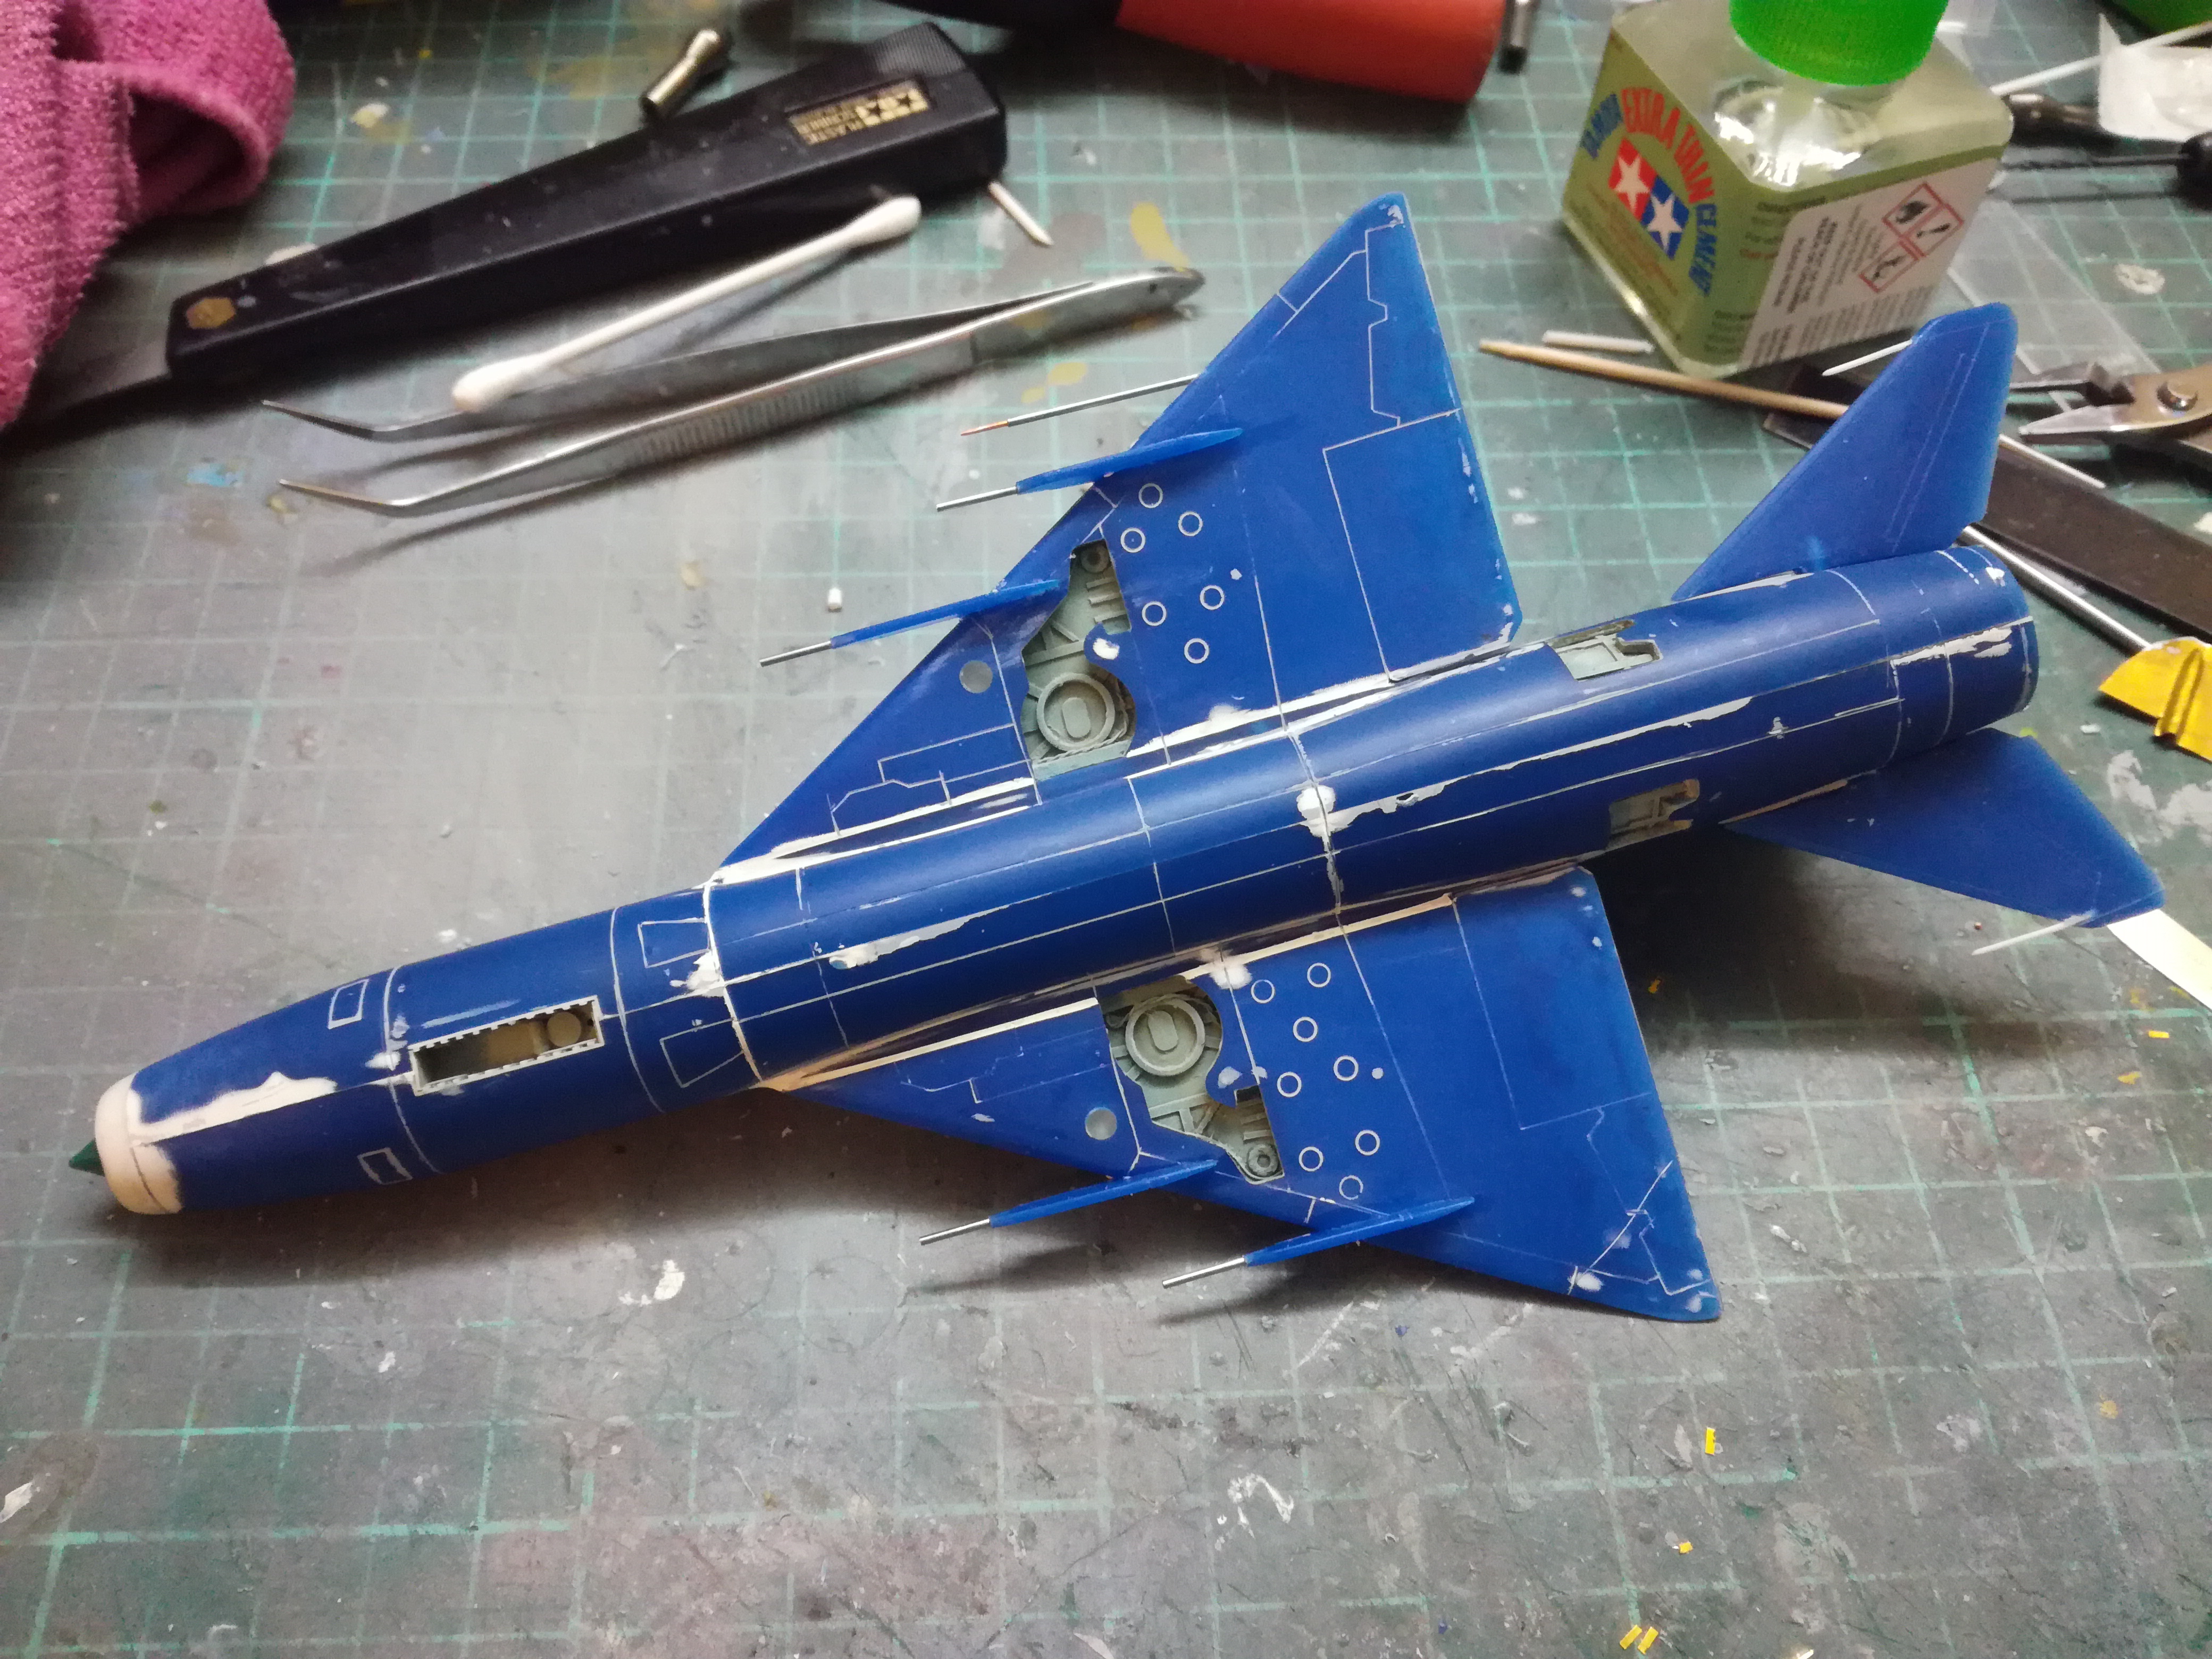
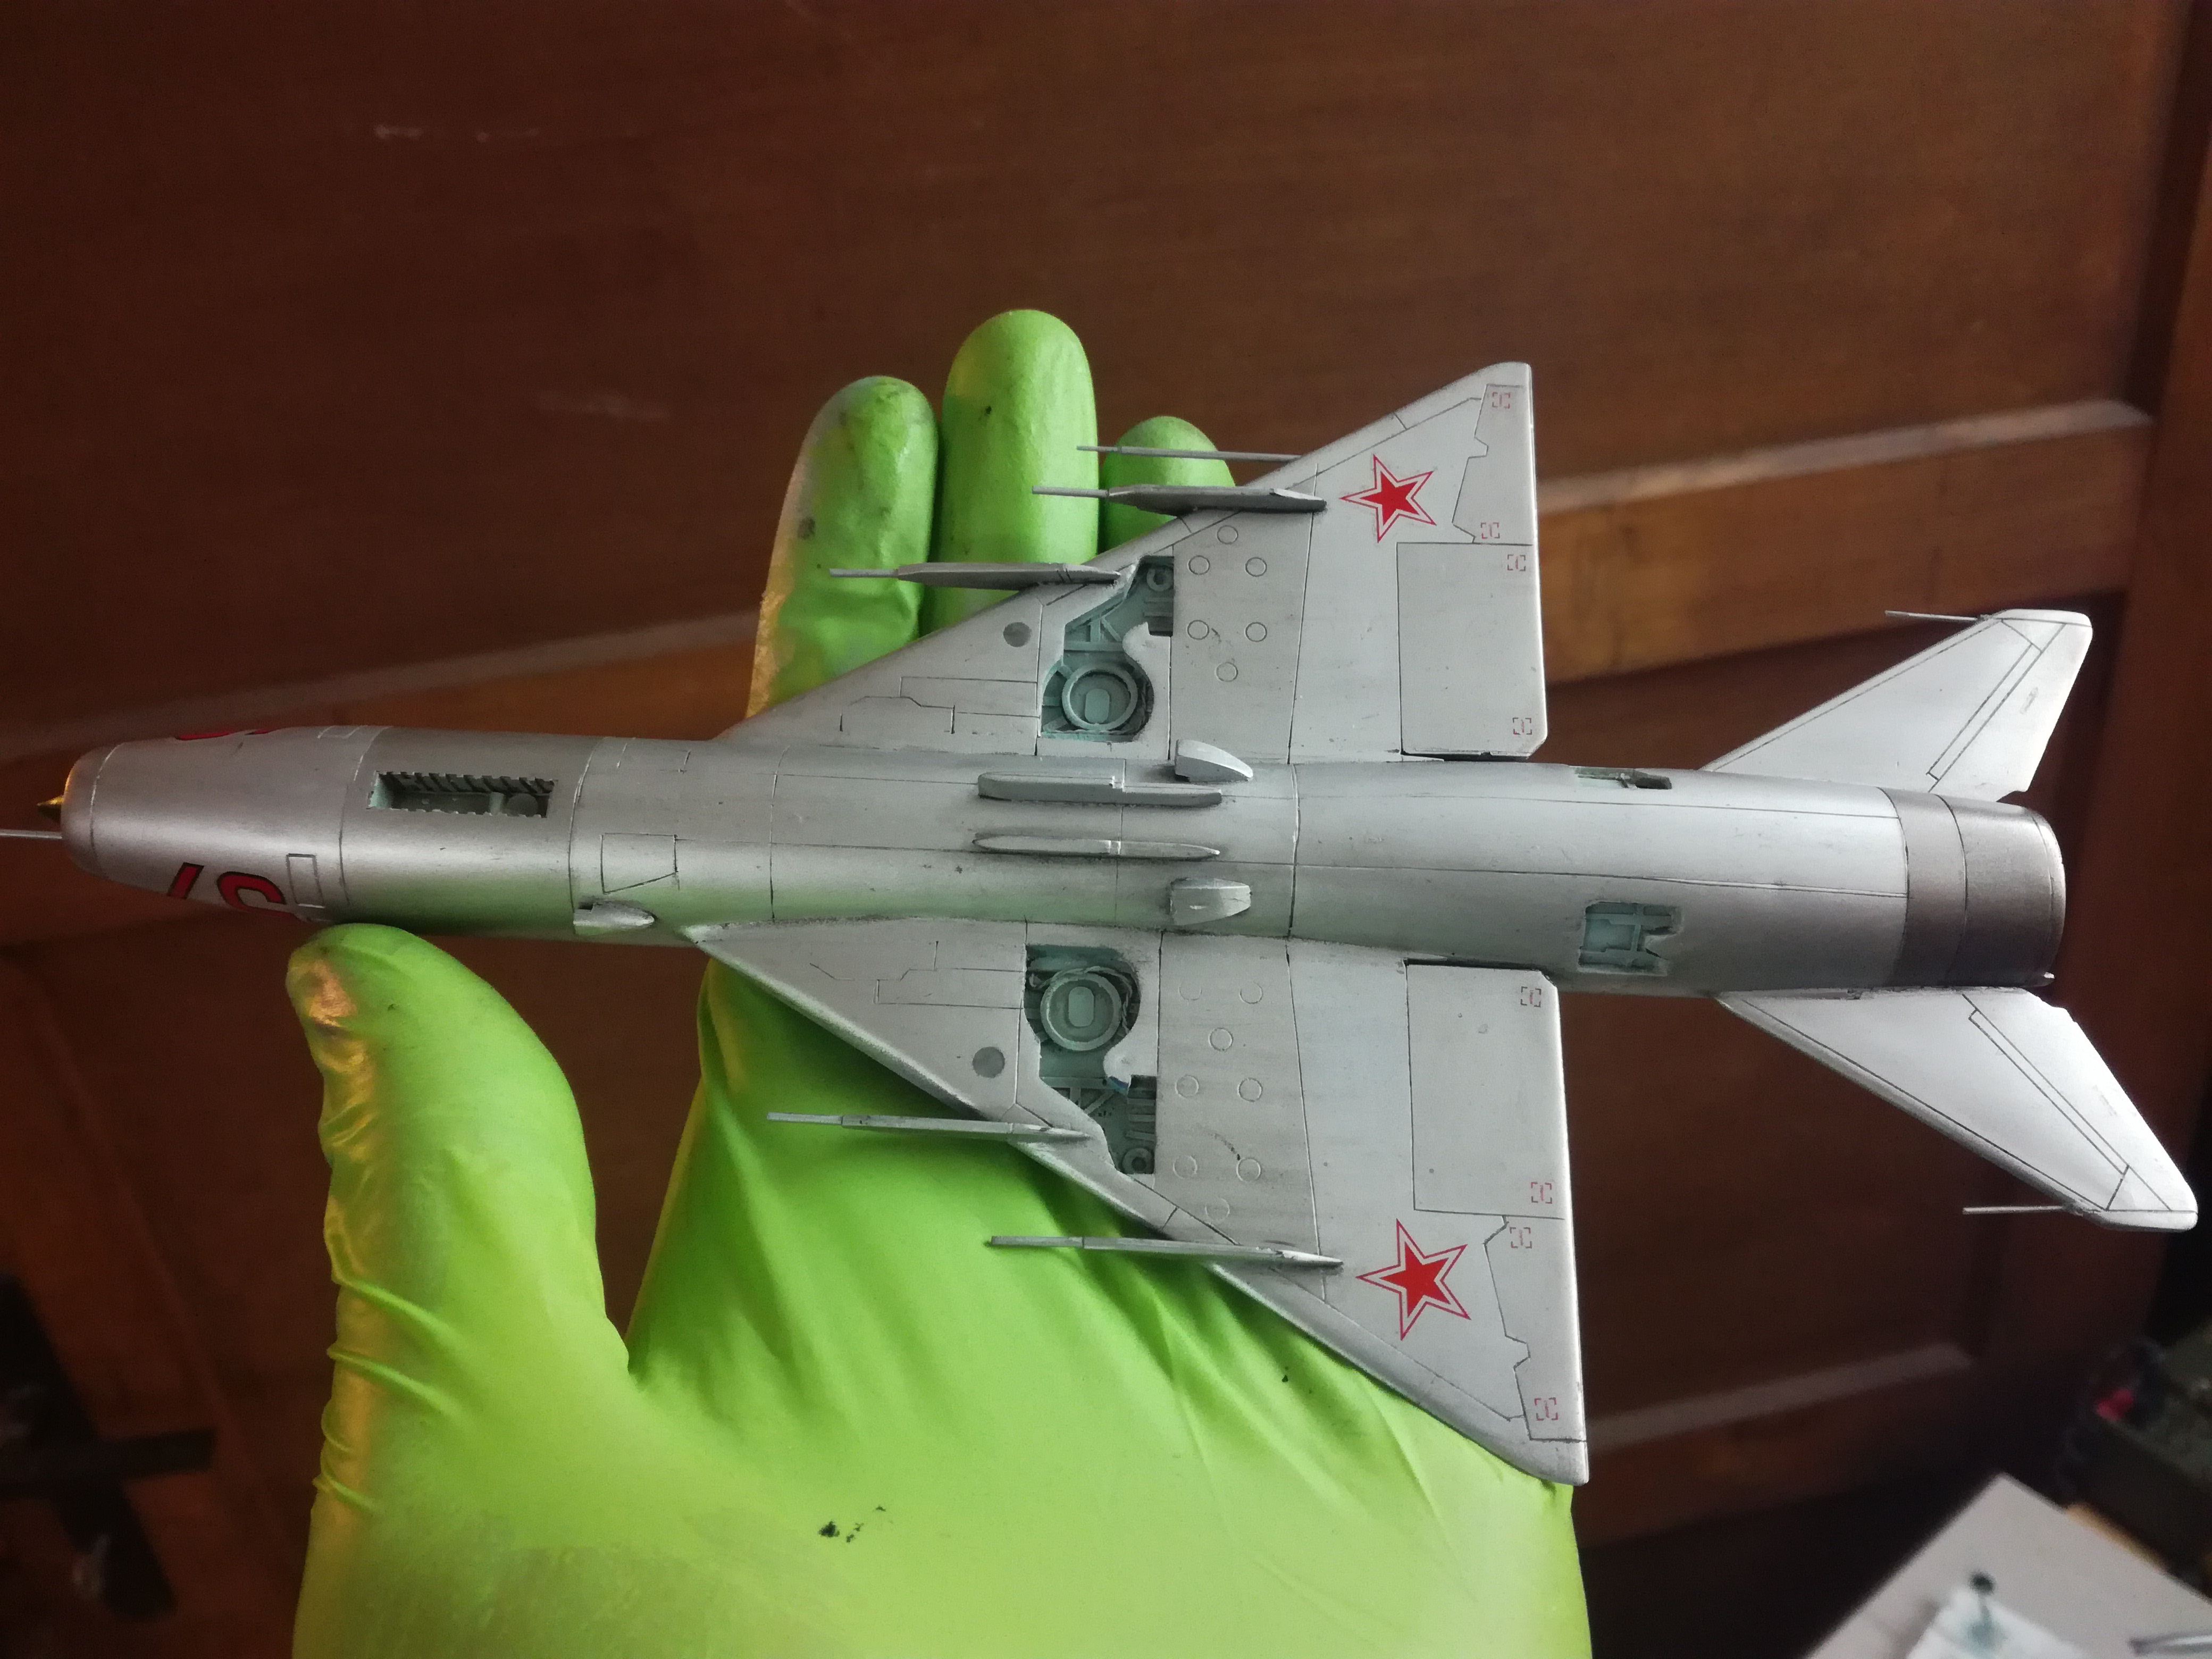
Before painting there were several small intakes and pylons than needed to be mount. Intake openings were moulded flat so i driled and scraped some holes.
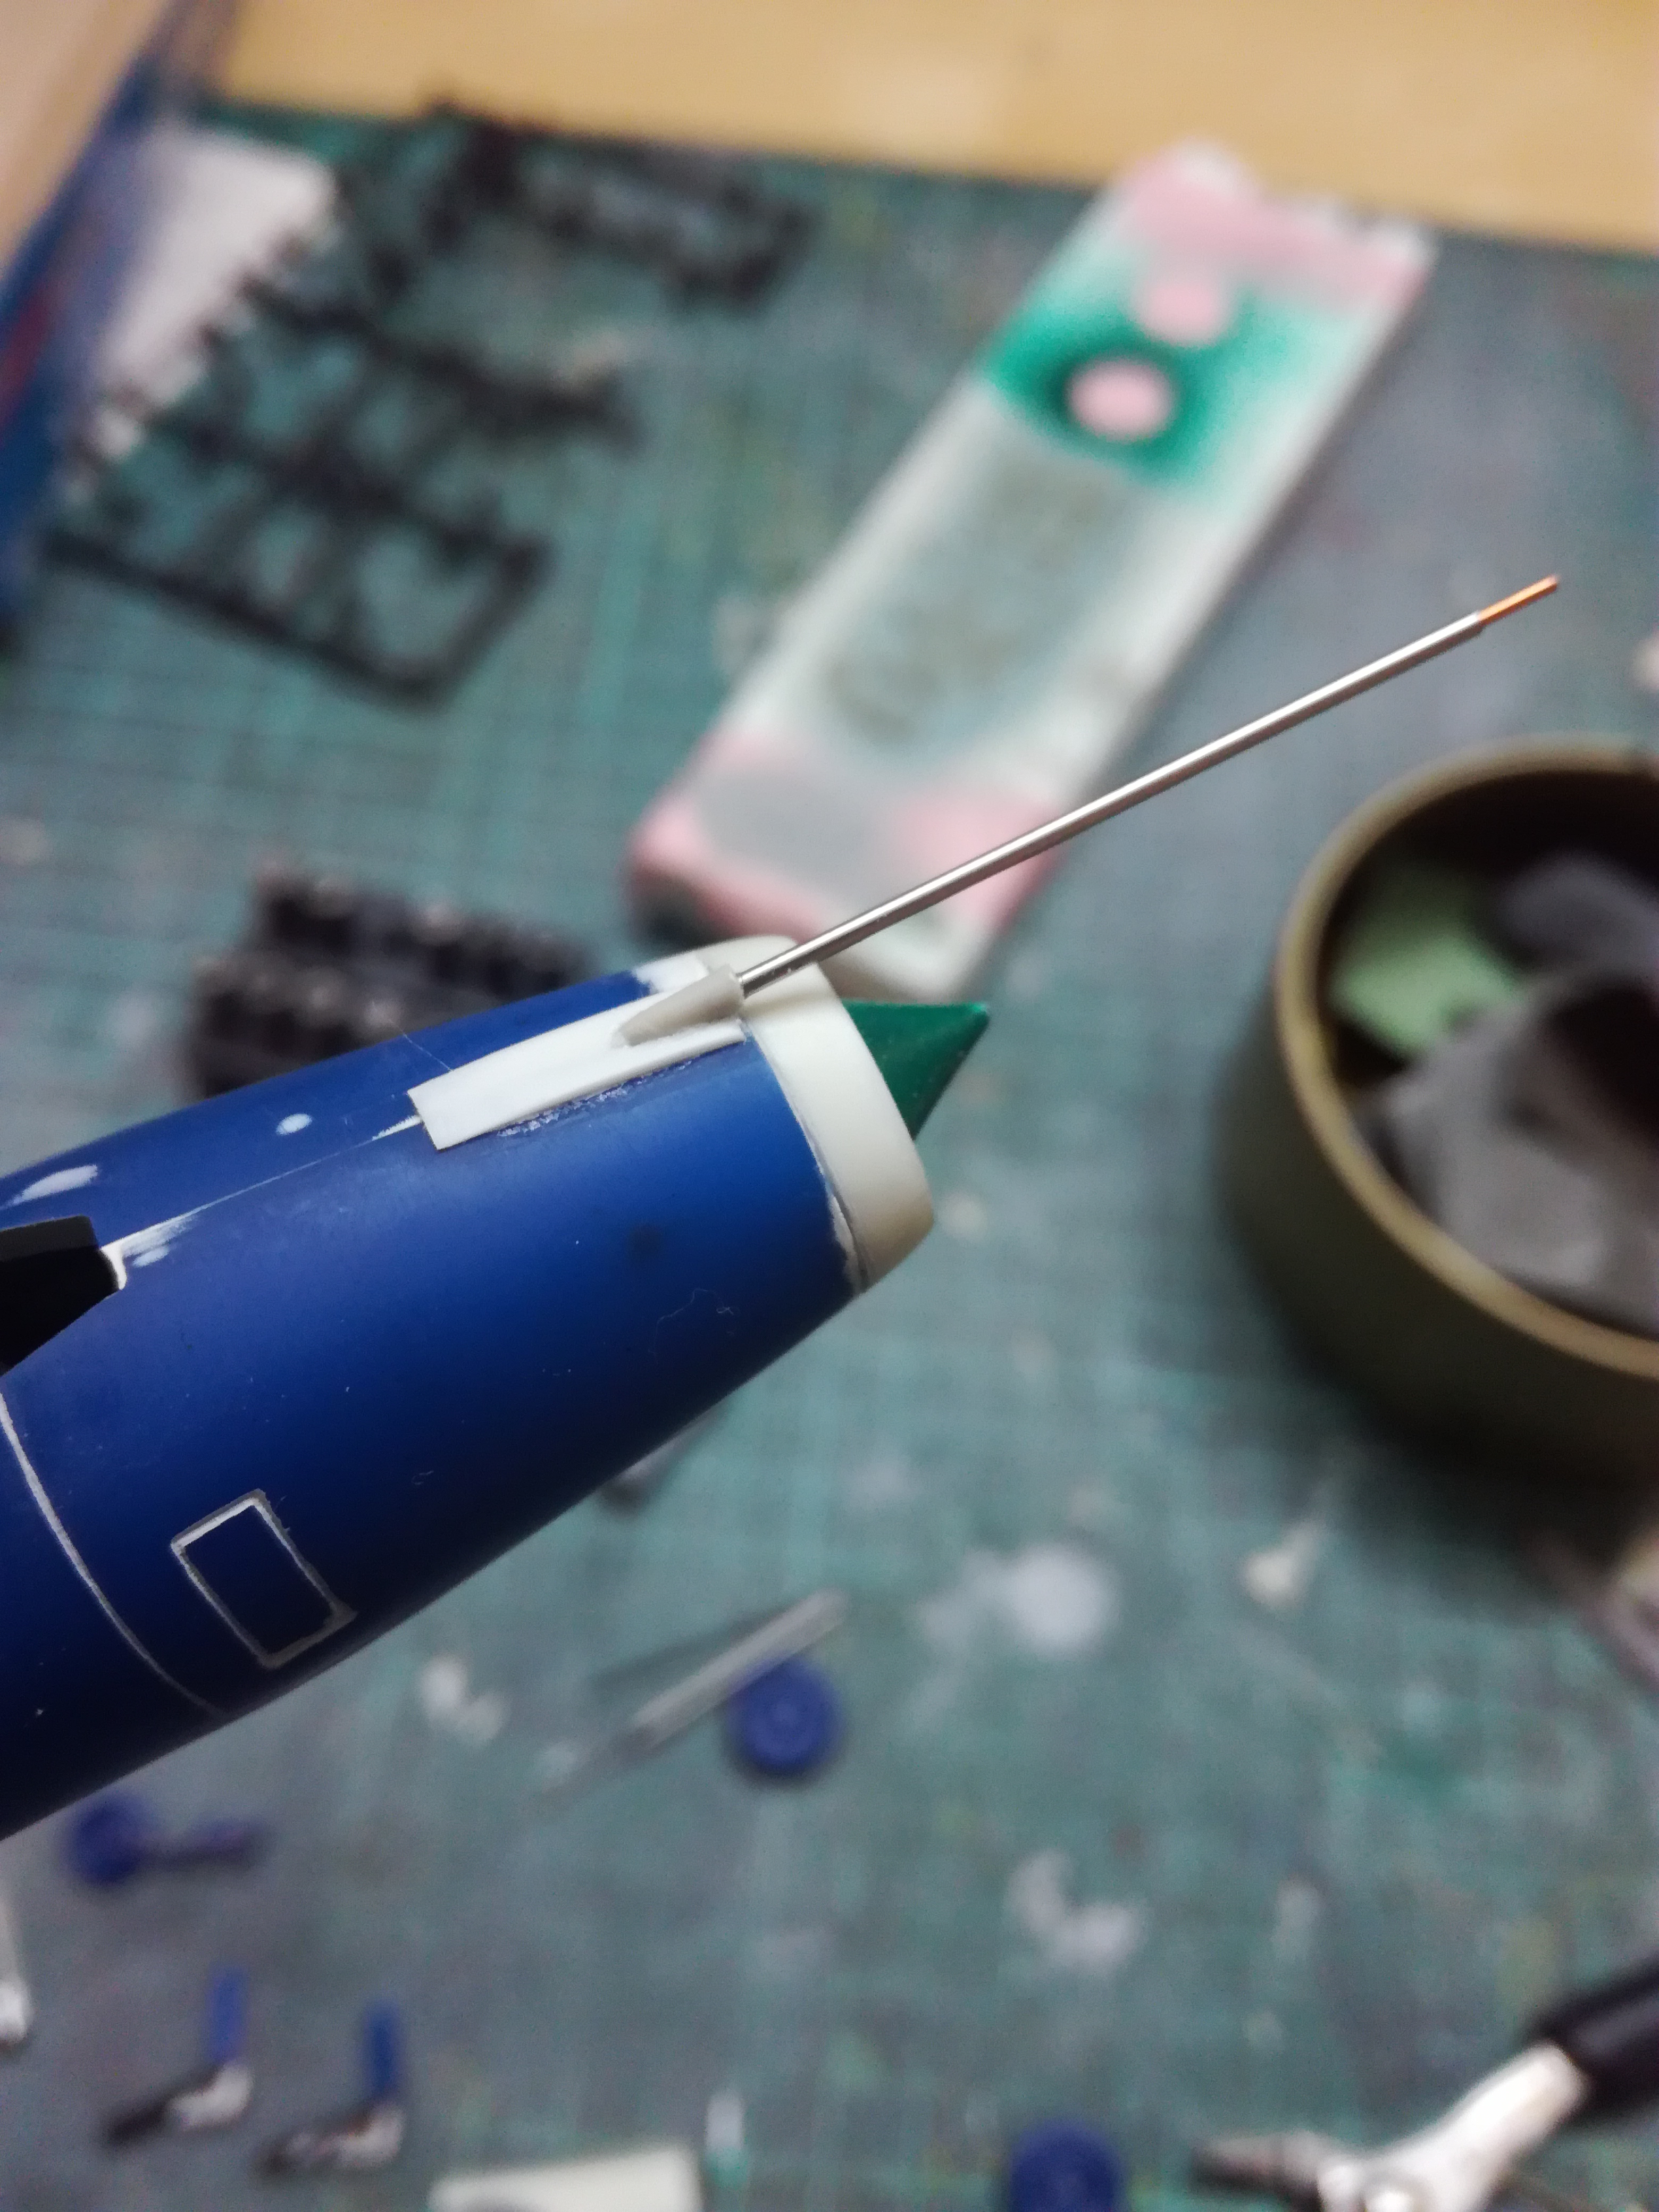
Next the nose got its pitot tube/probe.
Tali stabilizers glued, filed and sanded.
That's it for now.
Next the nose got its pitot tube/probe.
Tali stabilizers glued, filed and sanded.
That's it for now.
AussieReg
#007
Joined: June 09, 2009
KitMaker: 8,156 posts
AeroScale: 3,756 posts
Posted: Sunday, September 27, 2020 - 12:26 PM UTC
Great work going on there Primoz, really neat modifications and additions. Looking forward to this one getting to paint stage!
Cheers, D
Cheers, D
pkrasna
Joined: April 20, 2013
KitMaker: 31 posts
AeroScale: 31 posts
Posted: Monday, September 28, 2020 - 10:16 AM UTC
Quoted Text
Great work going on there Primoz, really neat modifications and additions. Looking forward to this one getting to paint stage!
Cheers, D
Thanks AussieReg!
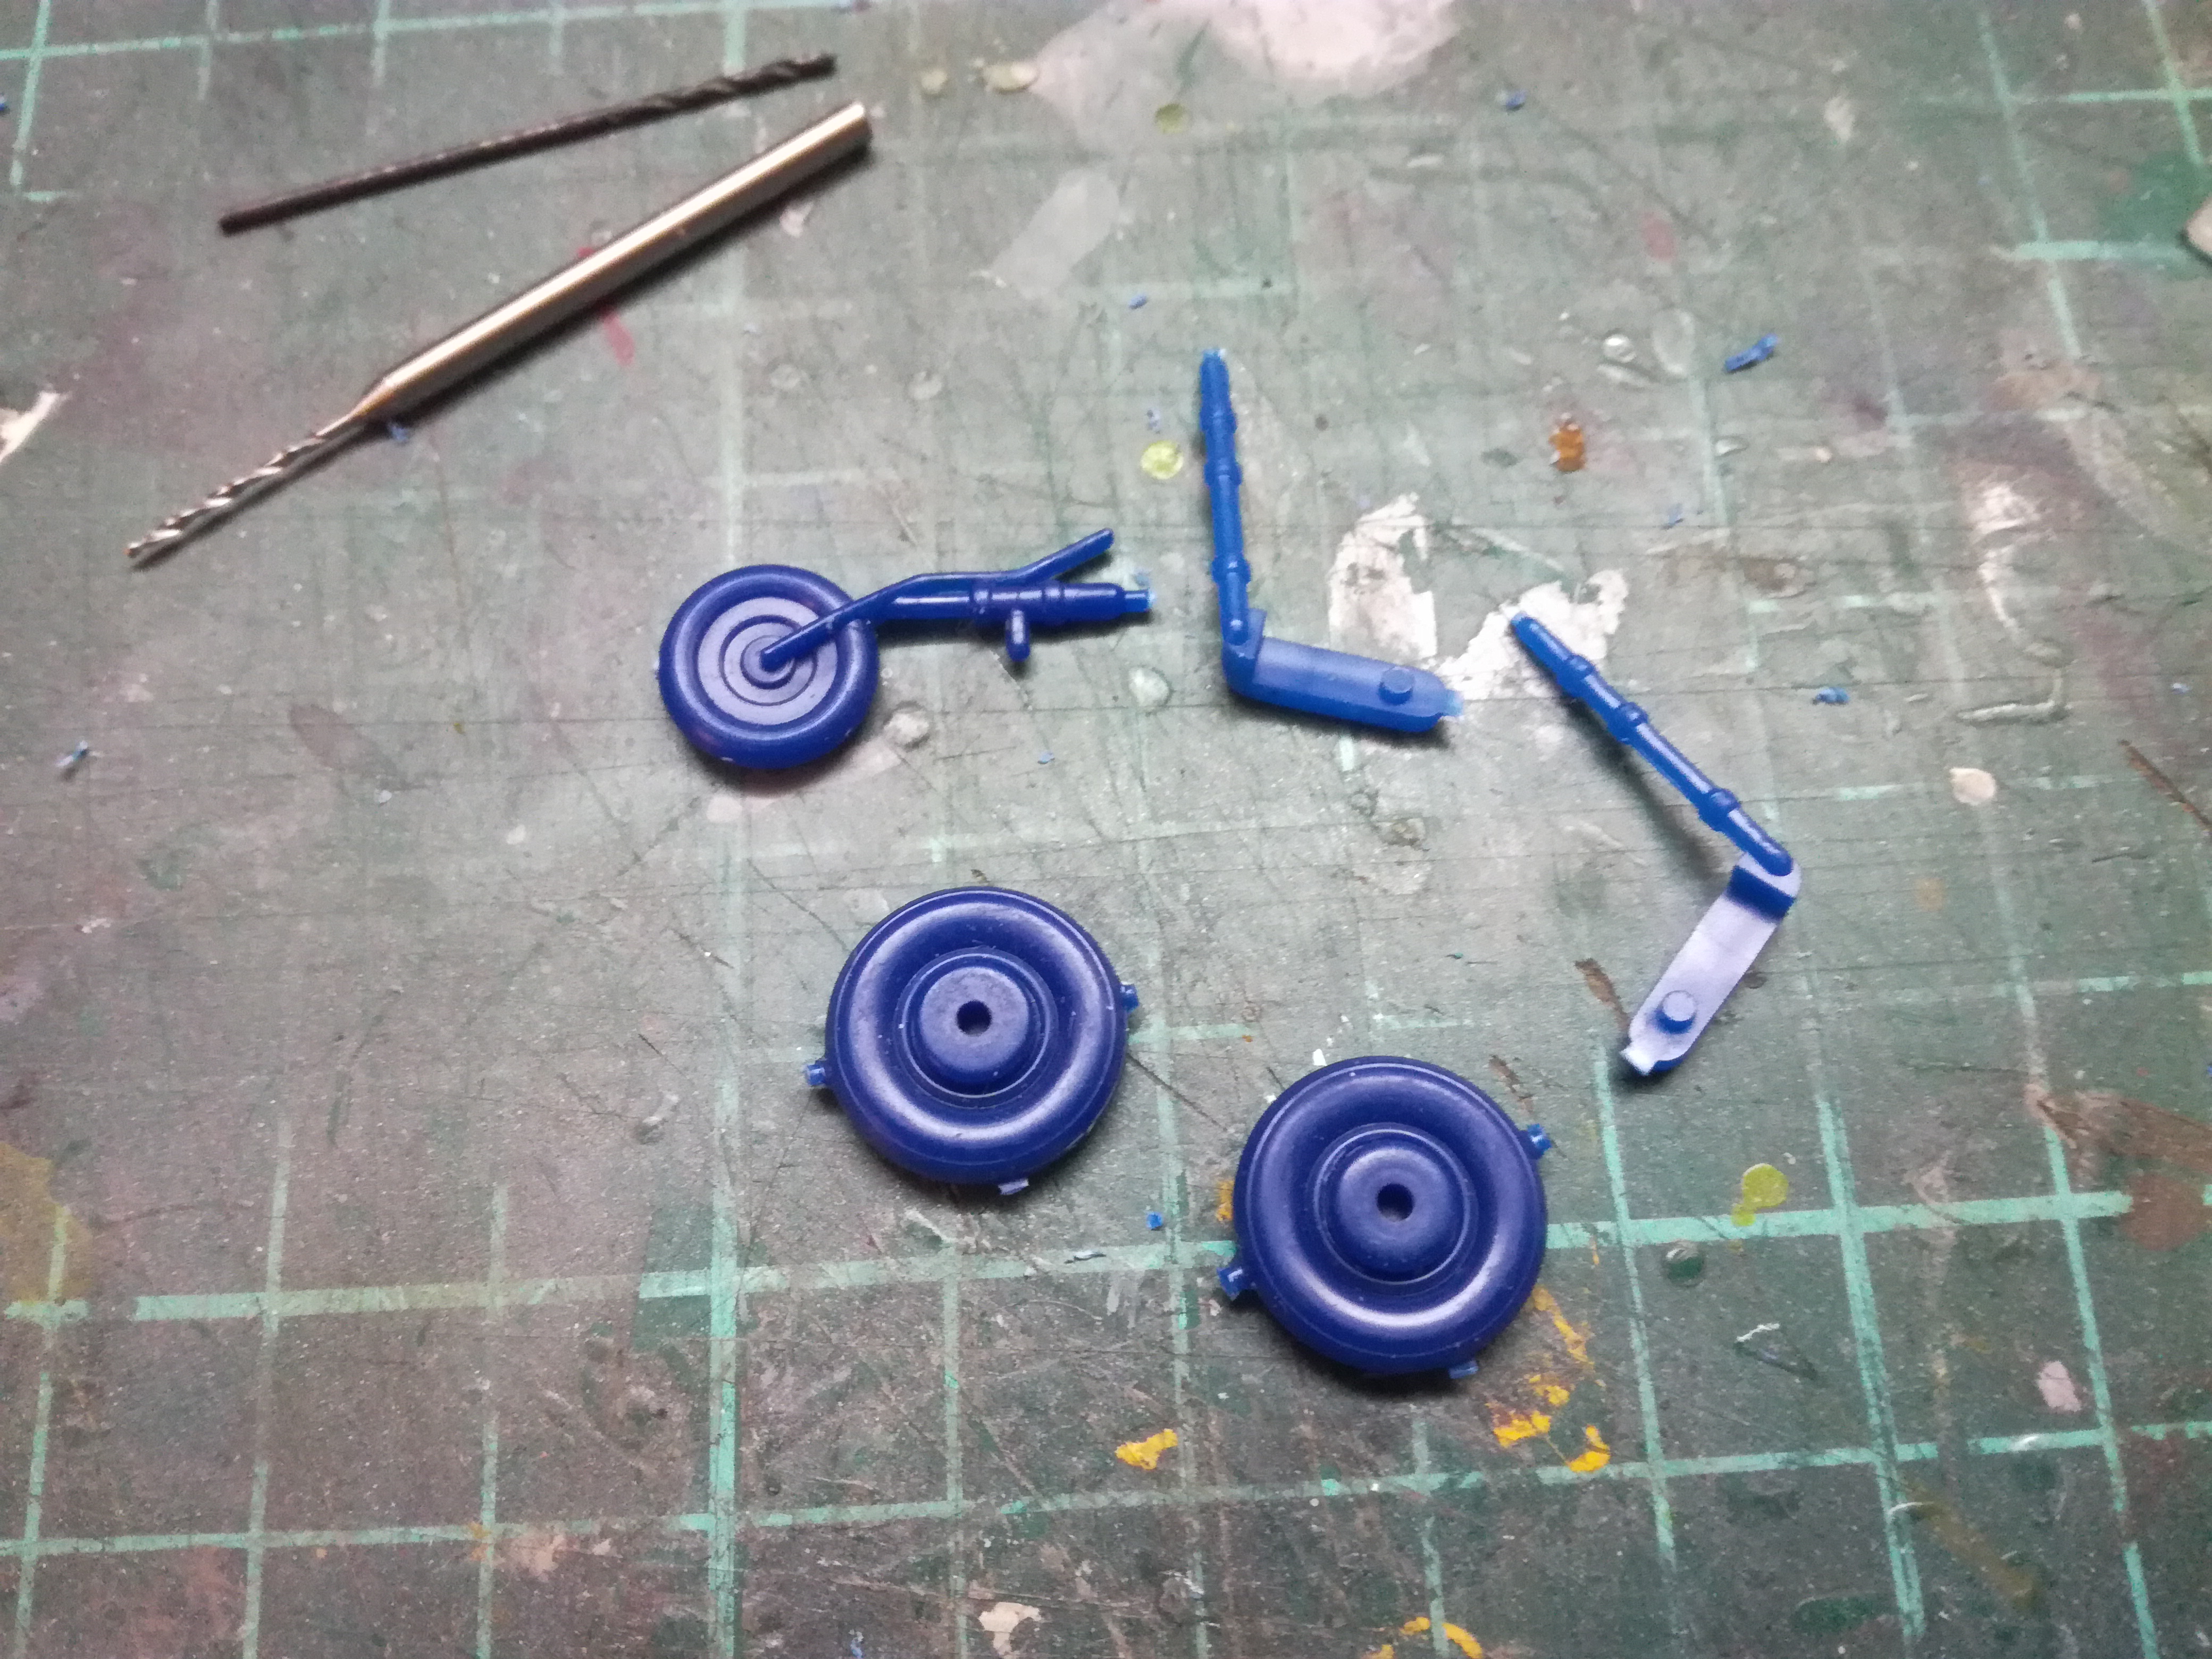
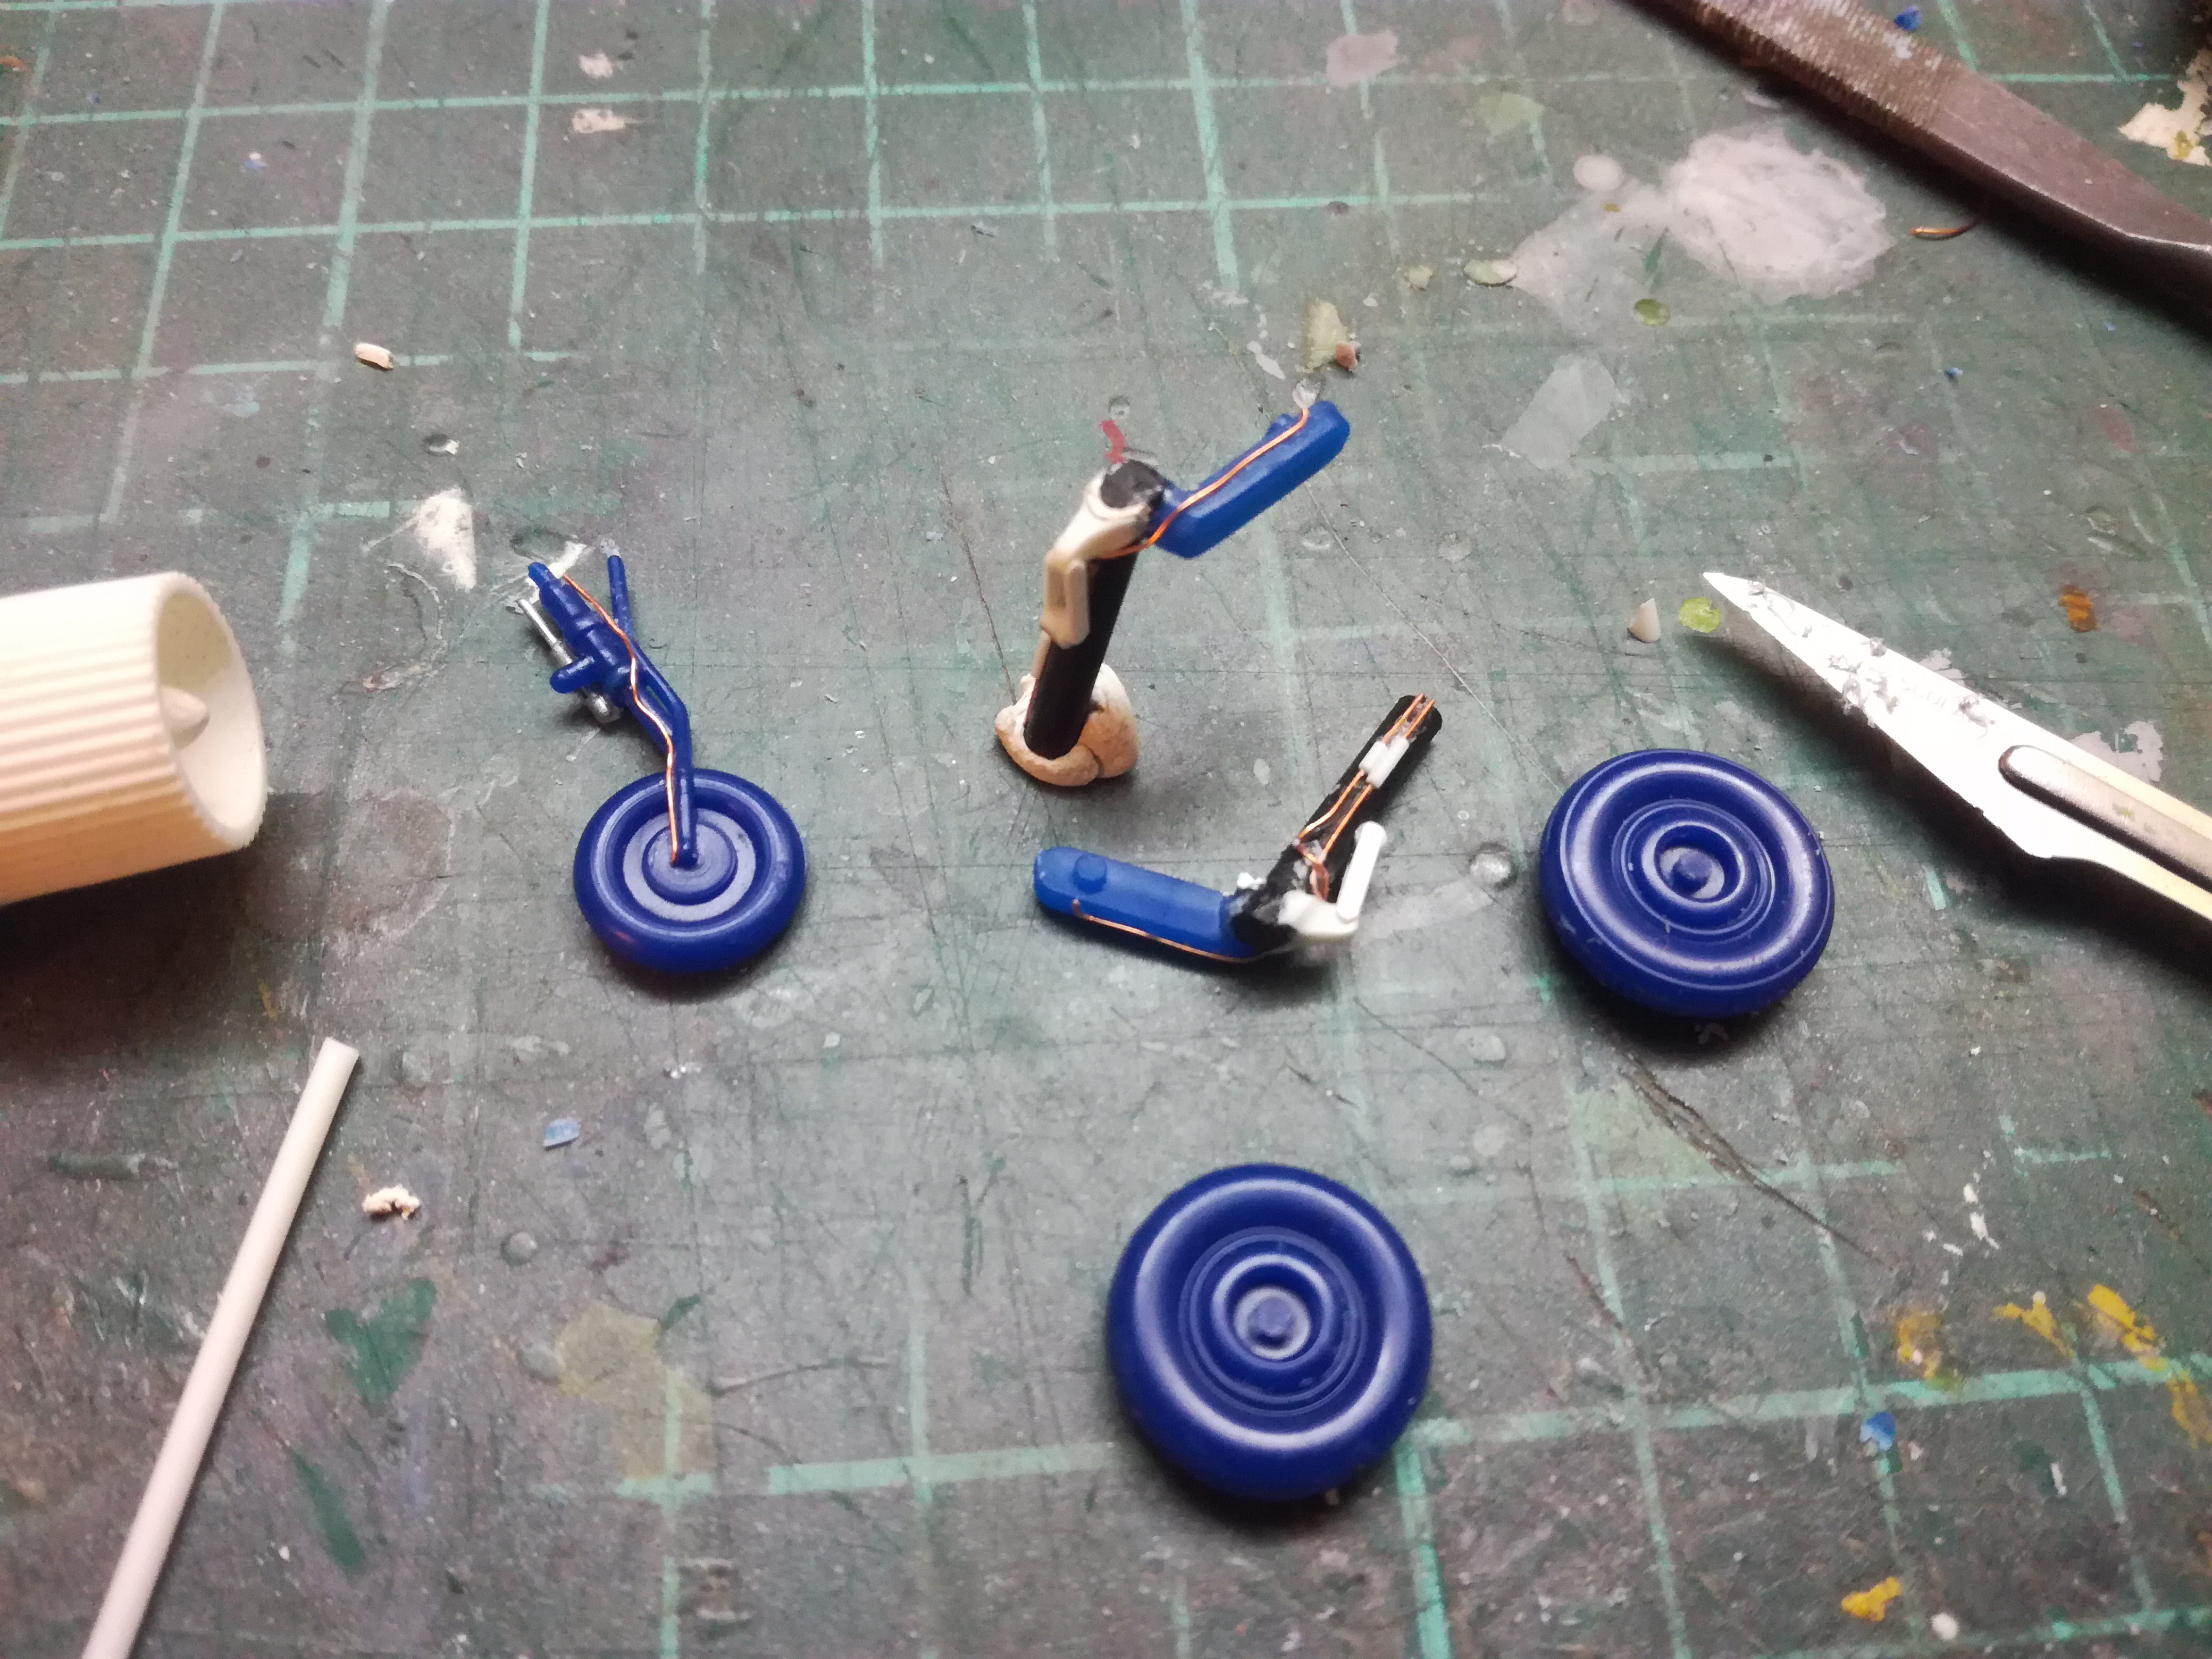
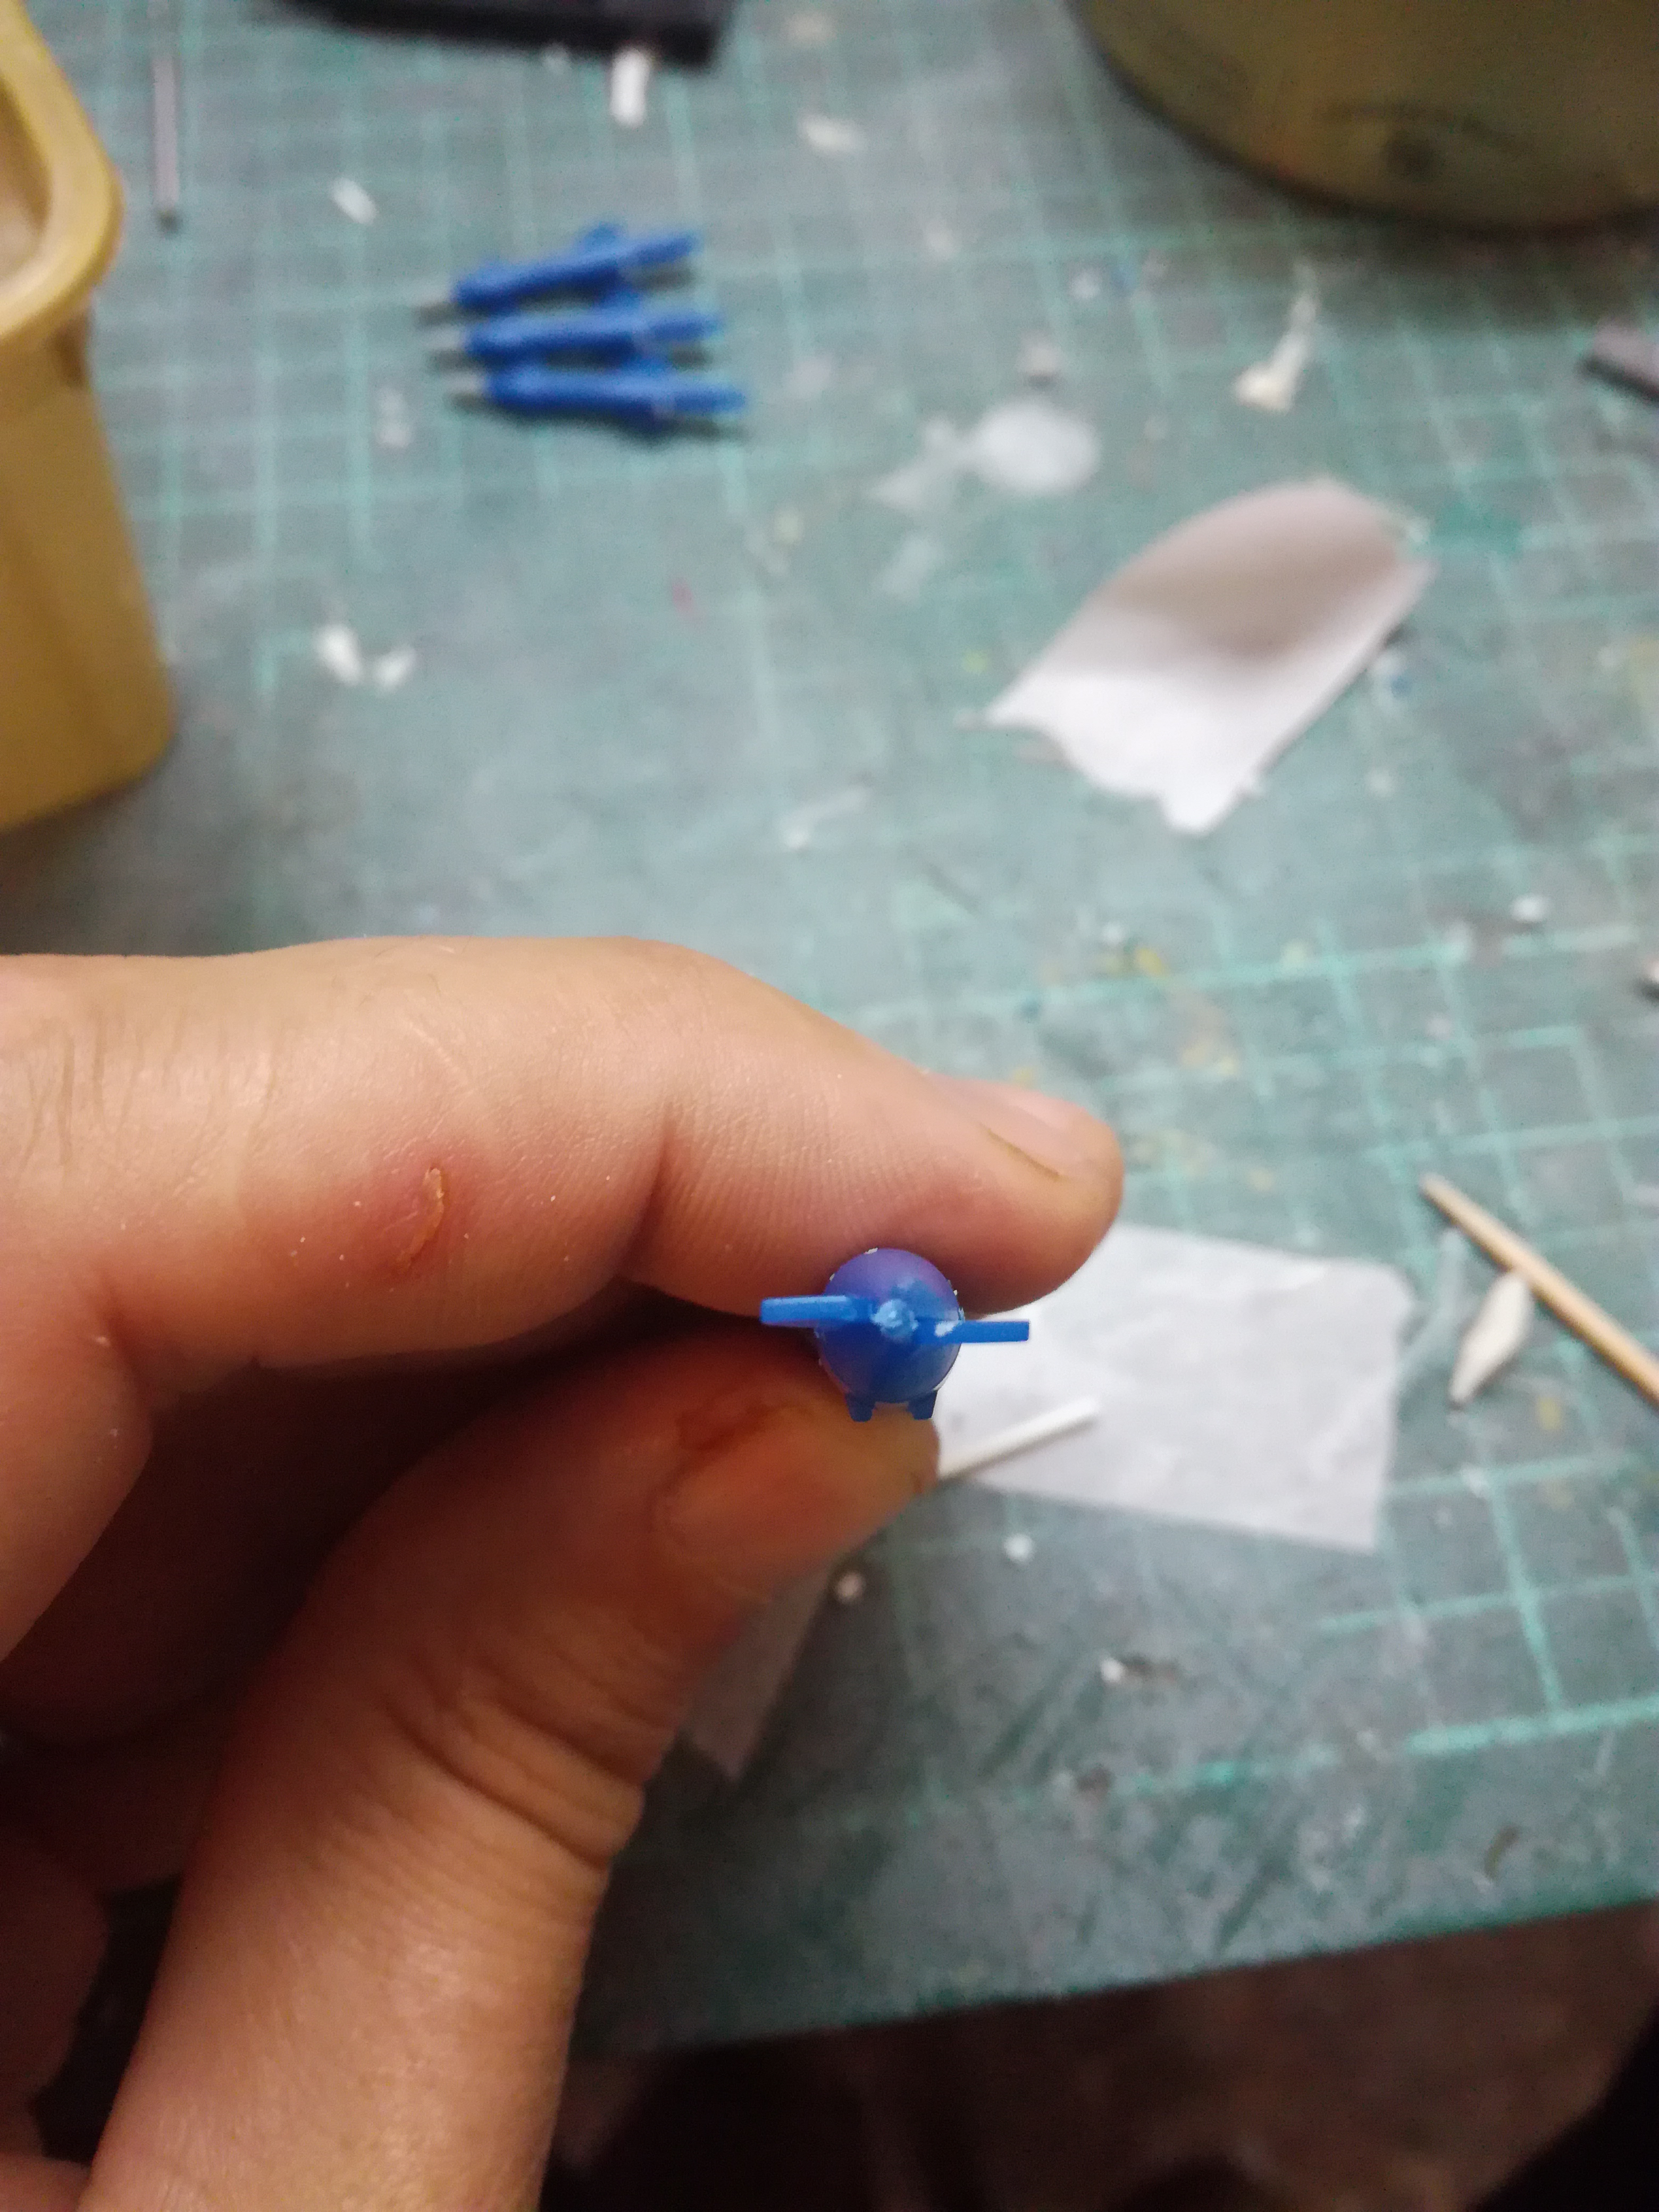
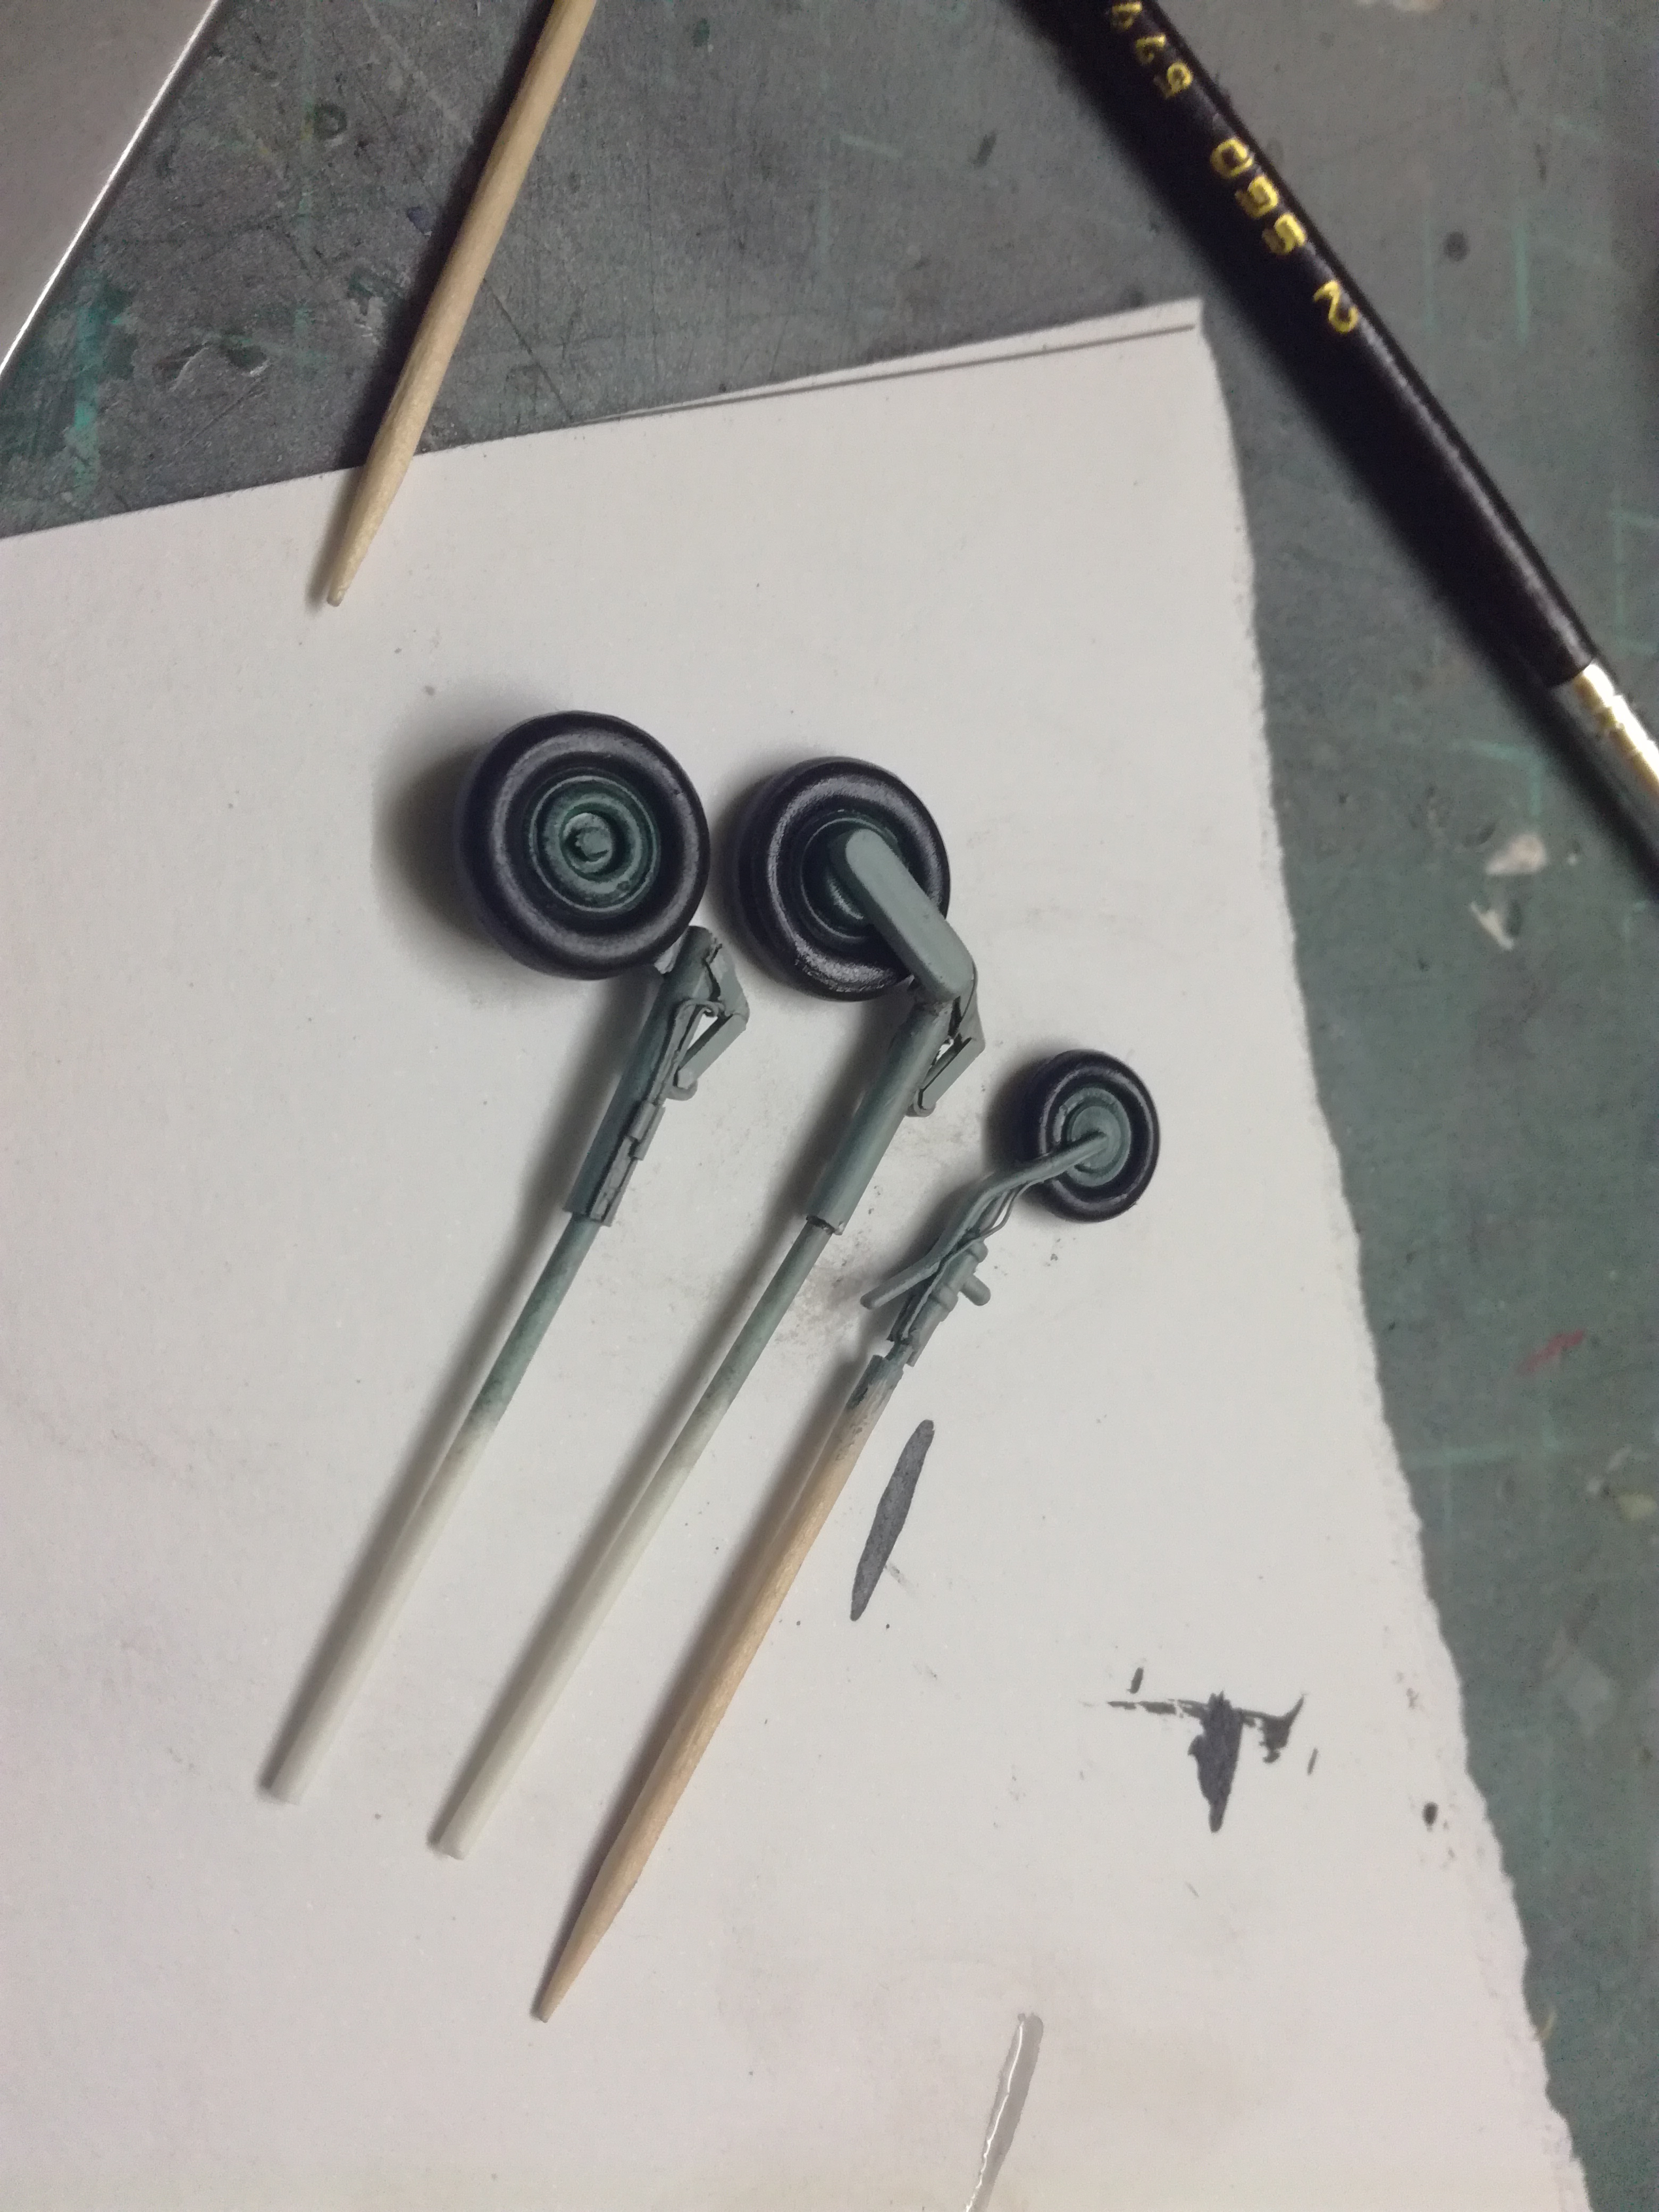
Undercariage fom the box was moulded very poorly.This is how it looks now. It's not as it should be, but will do the job.
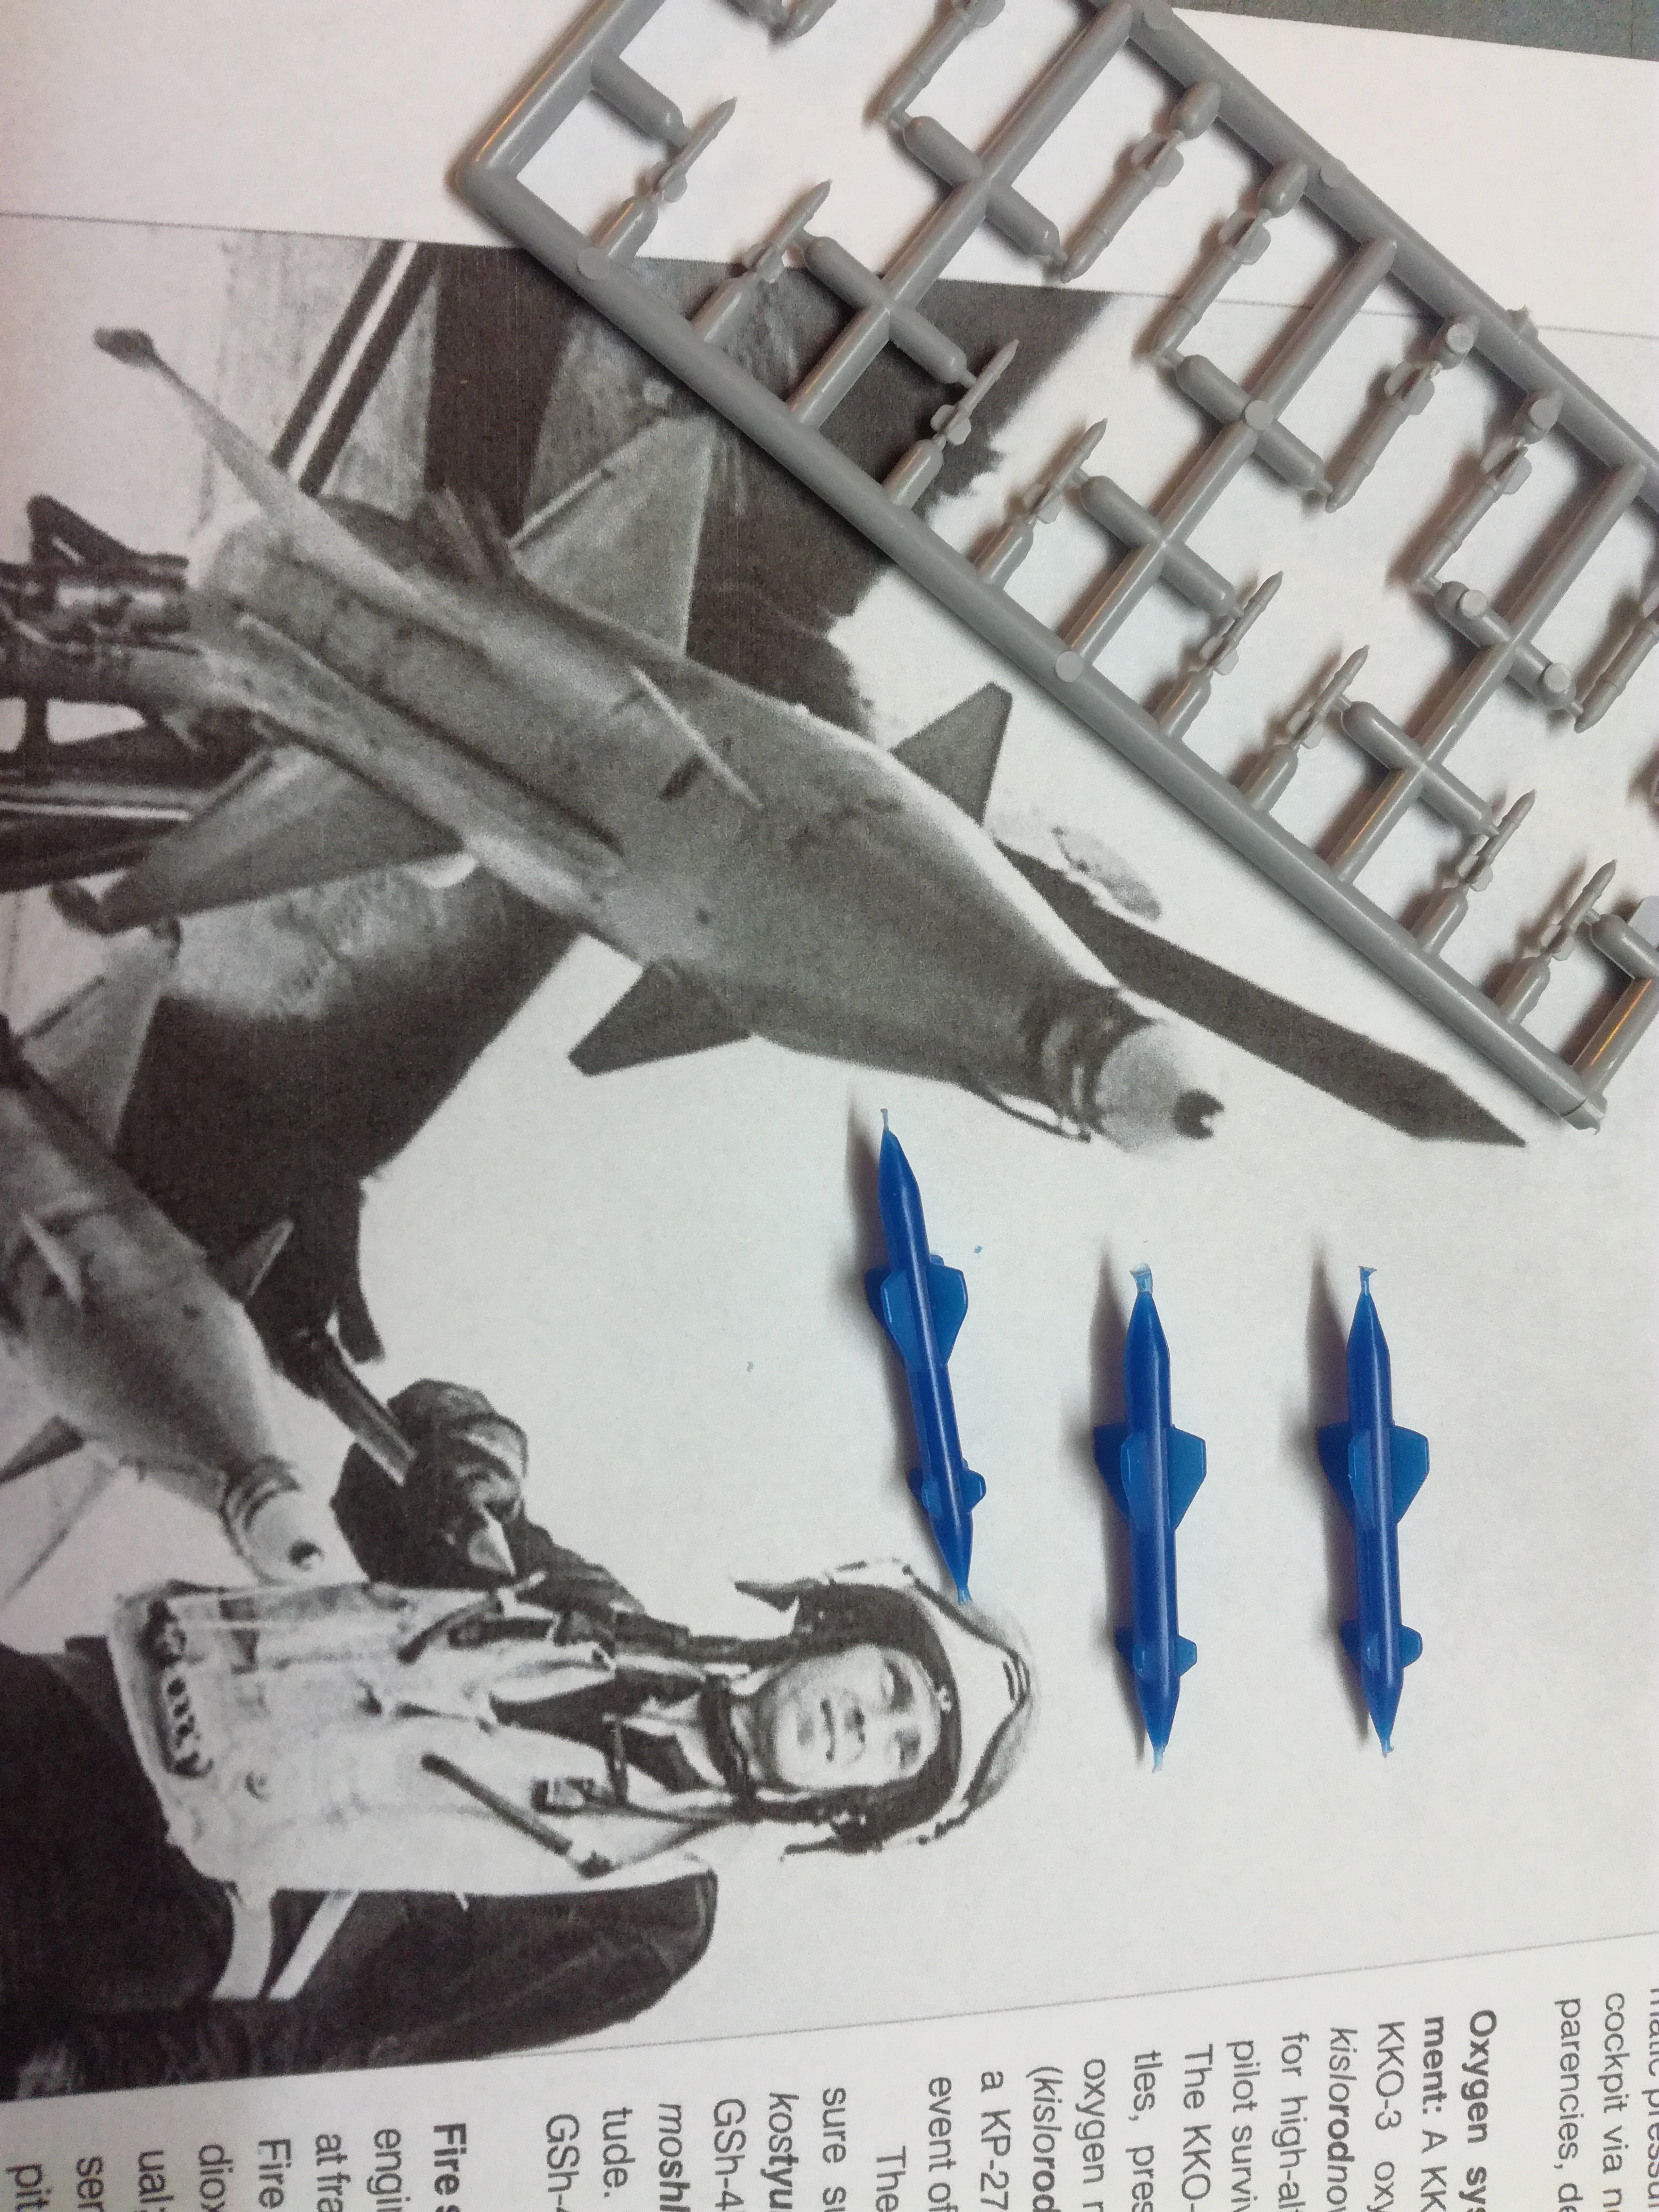
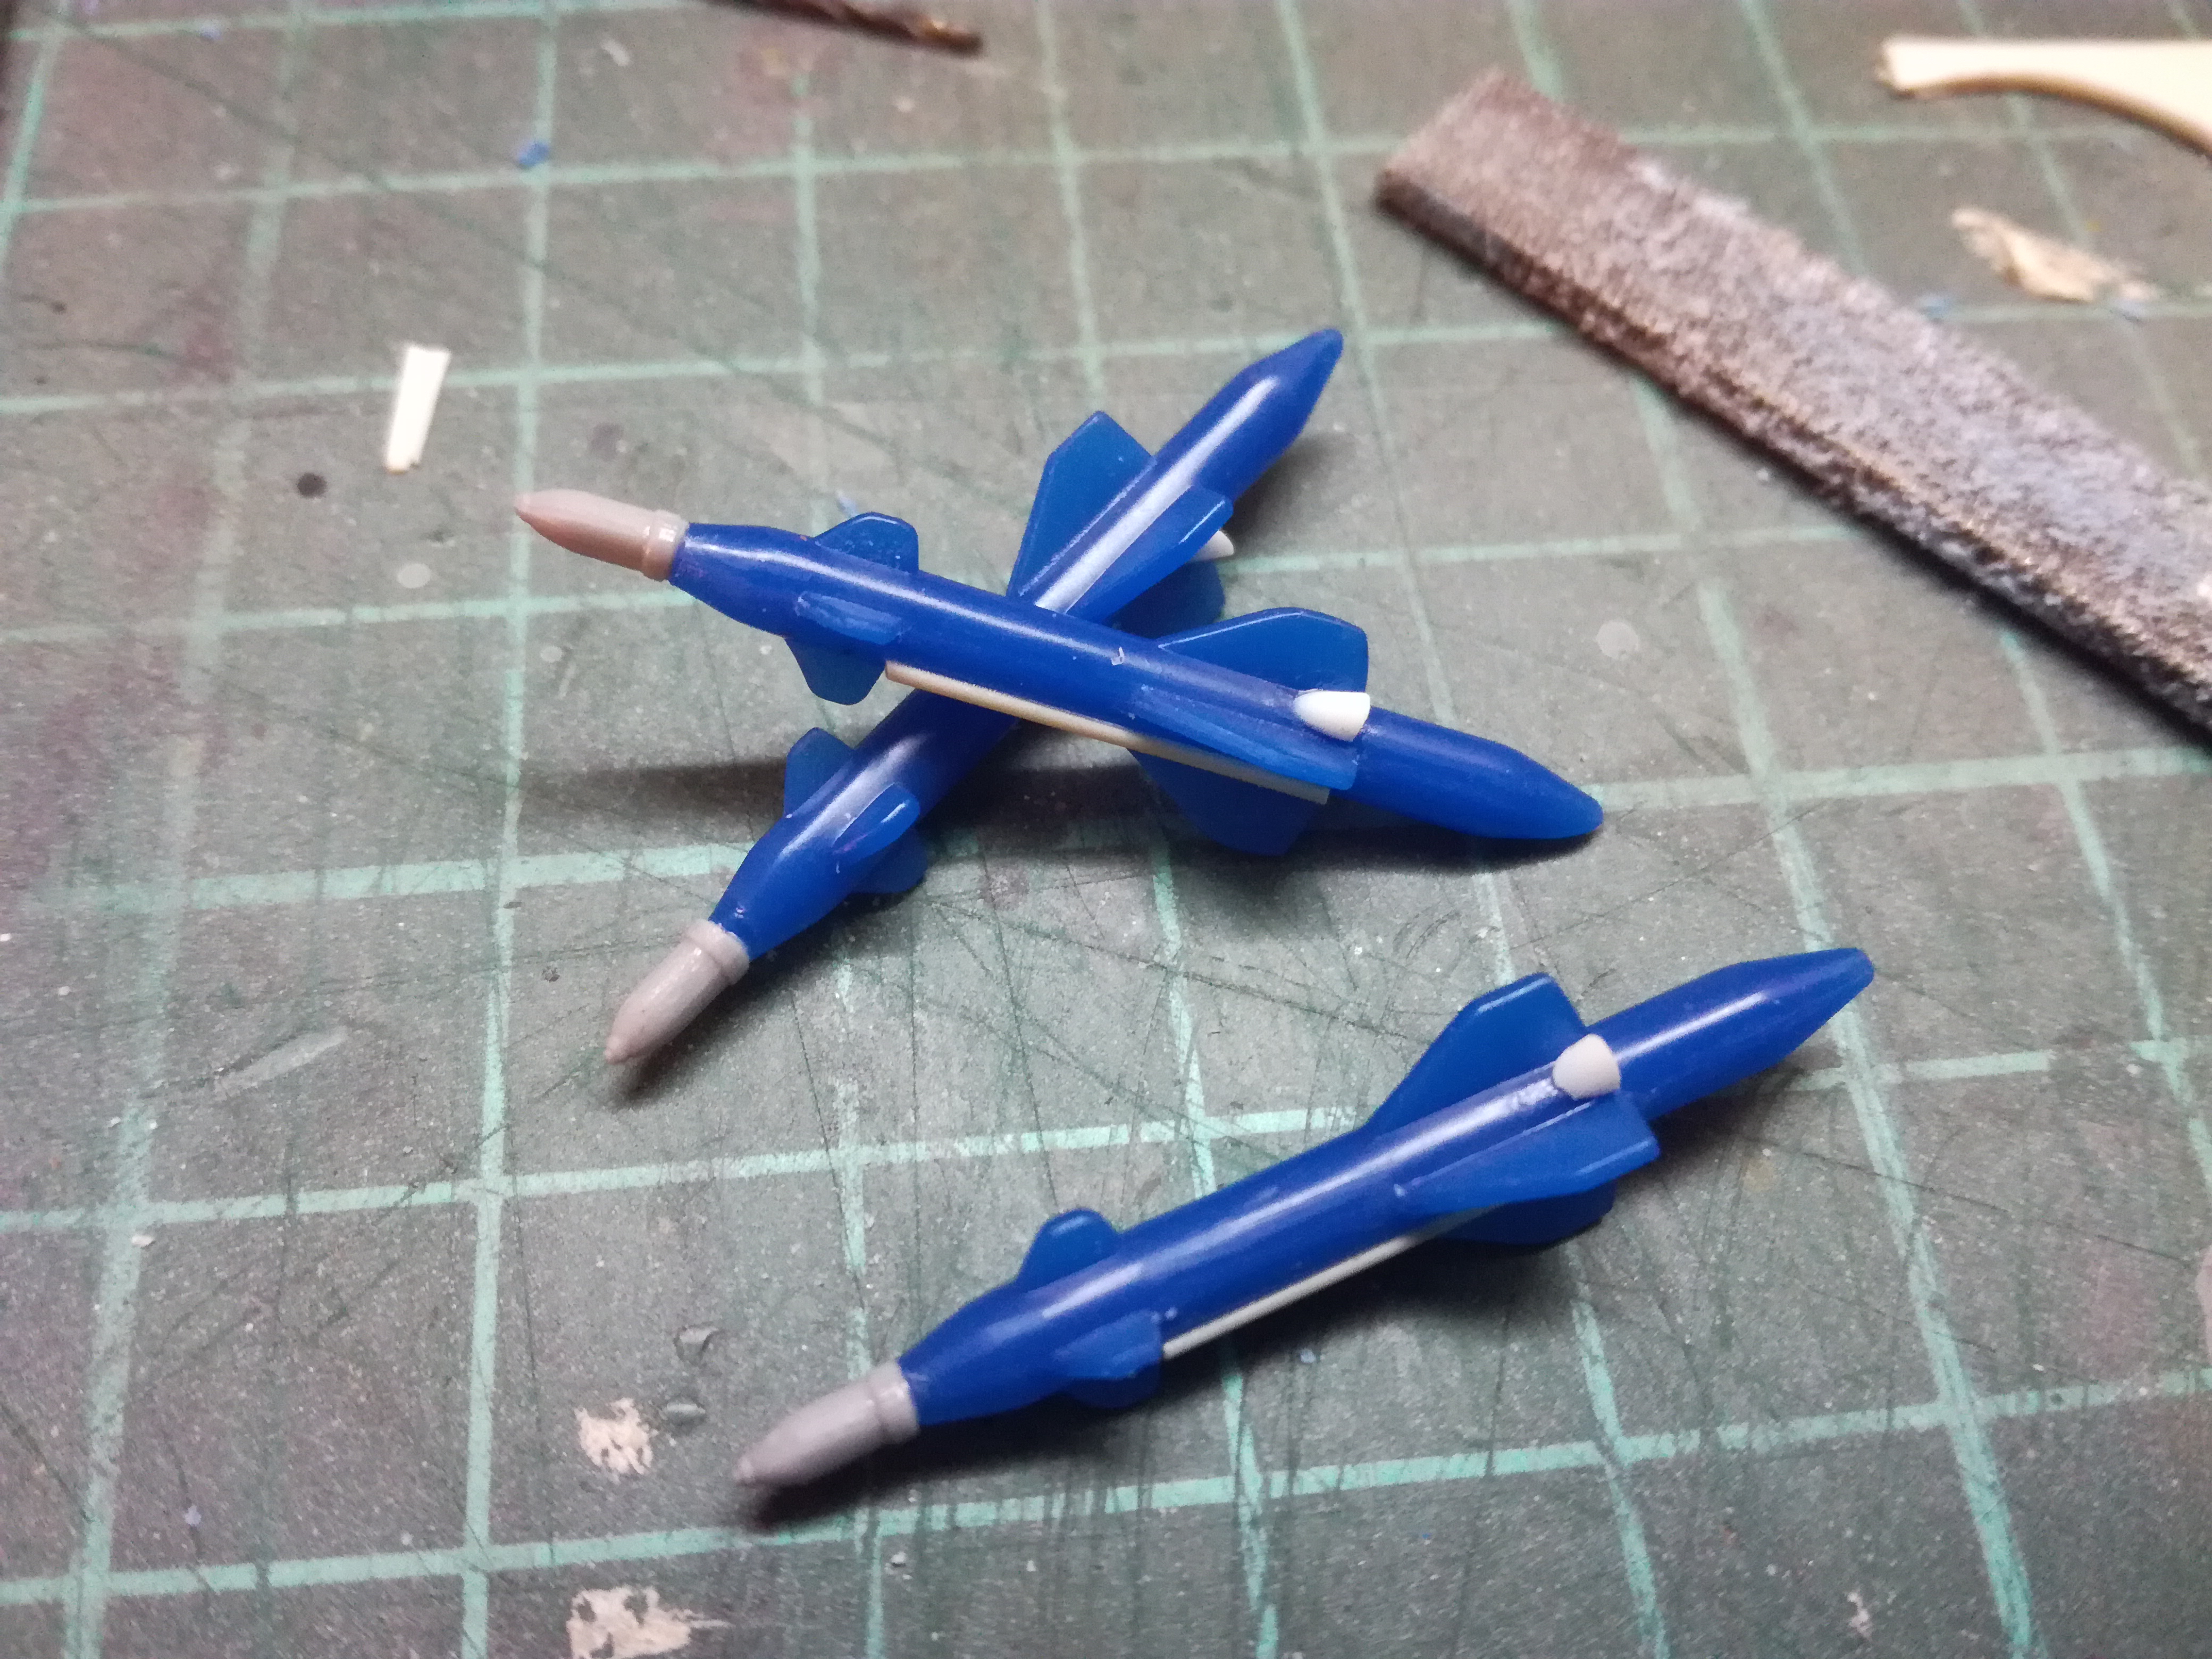
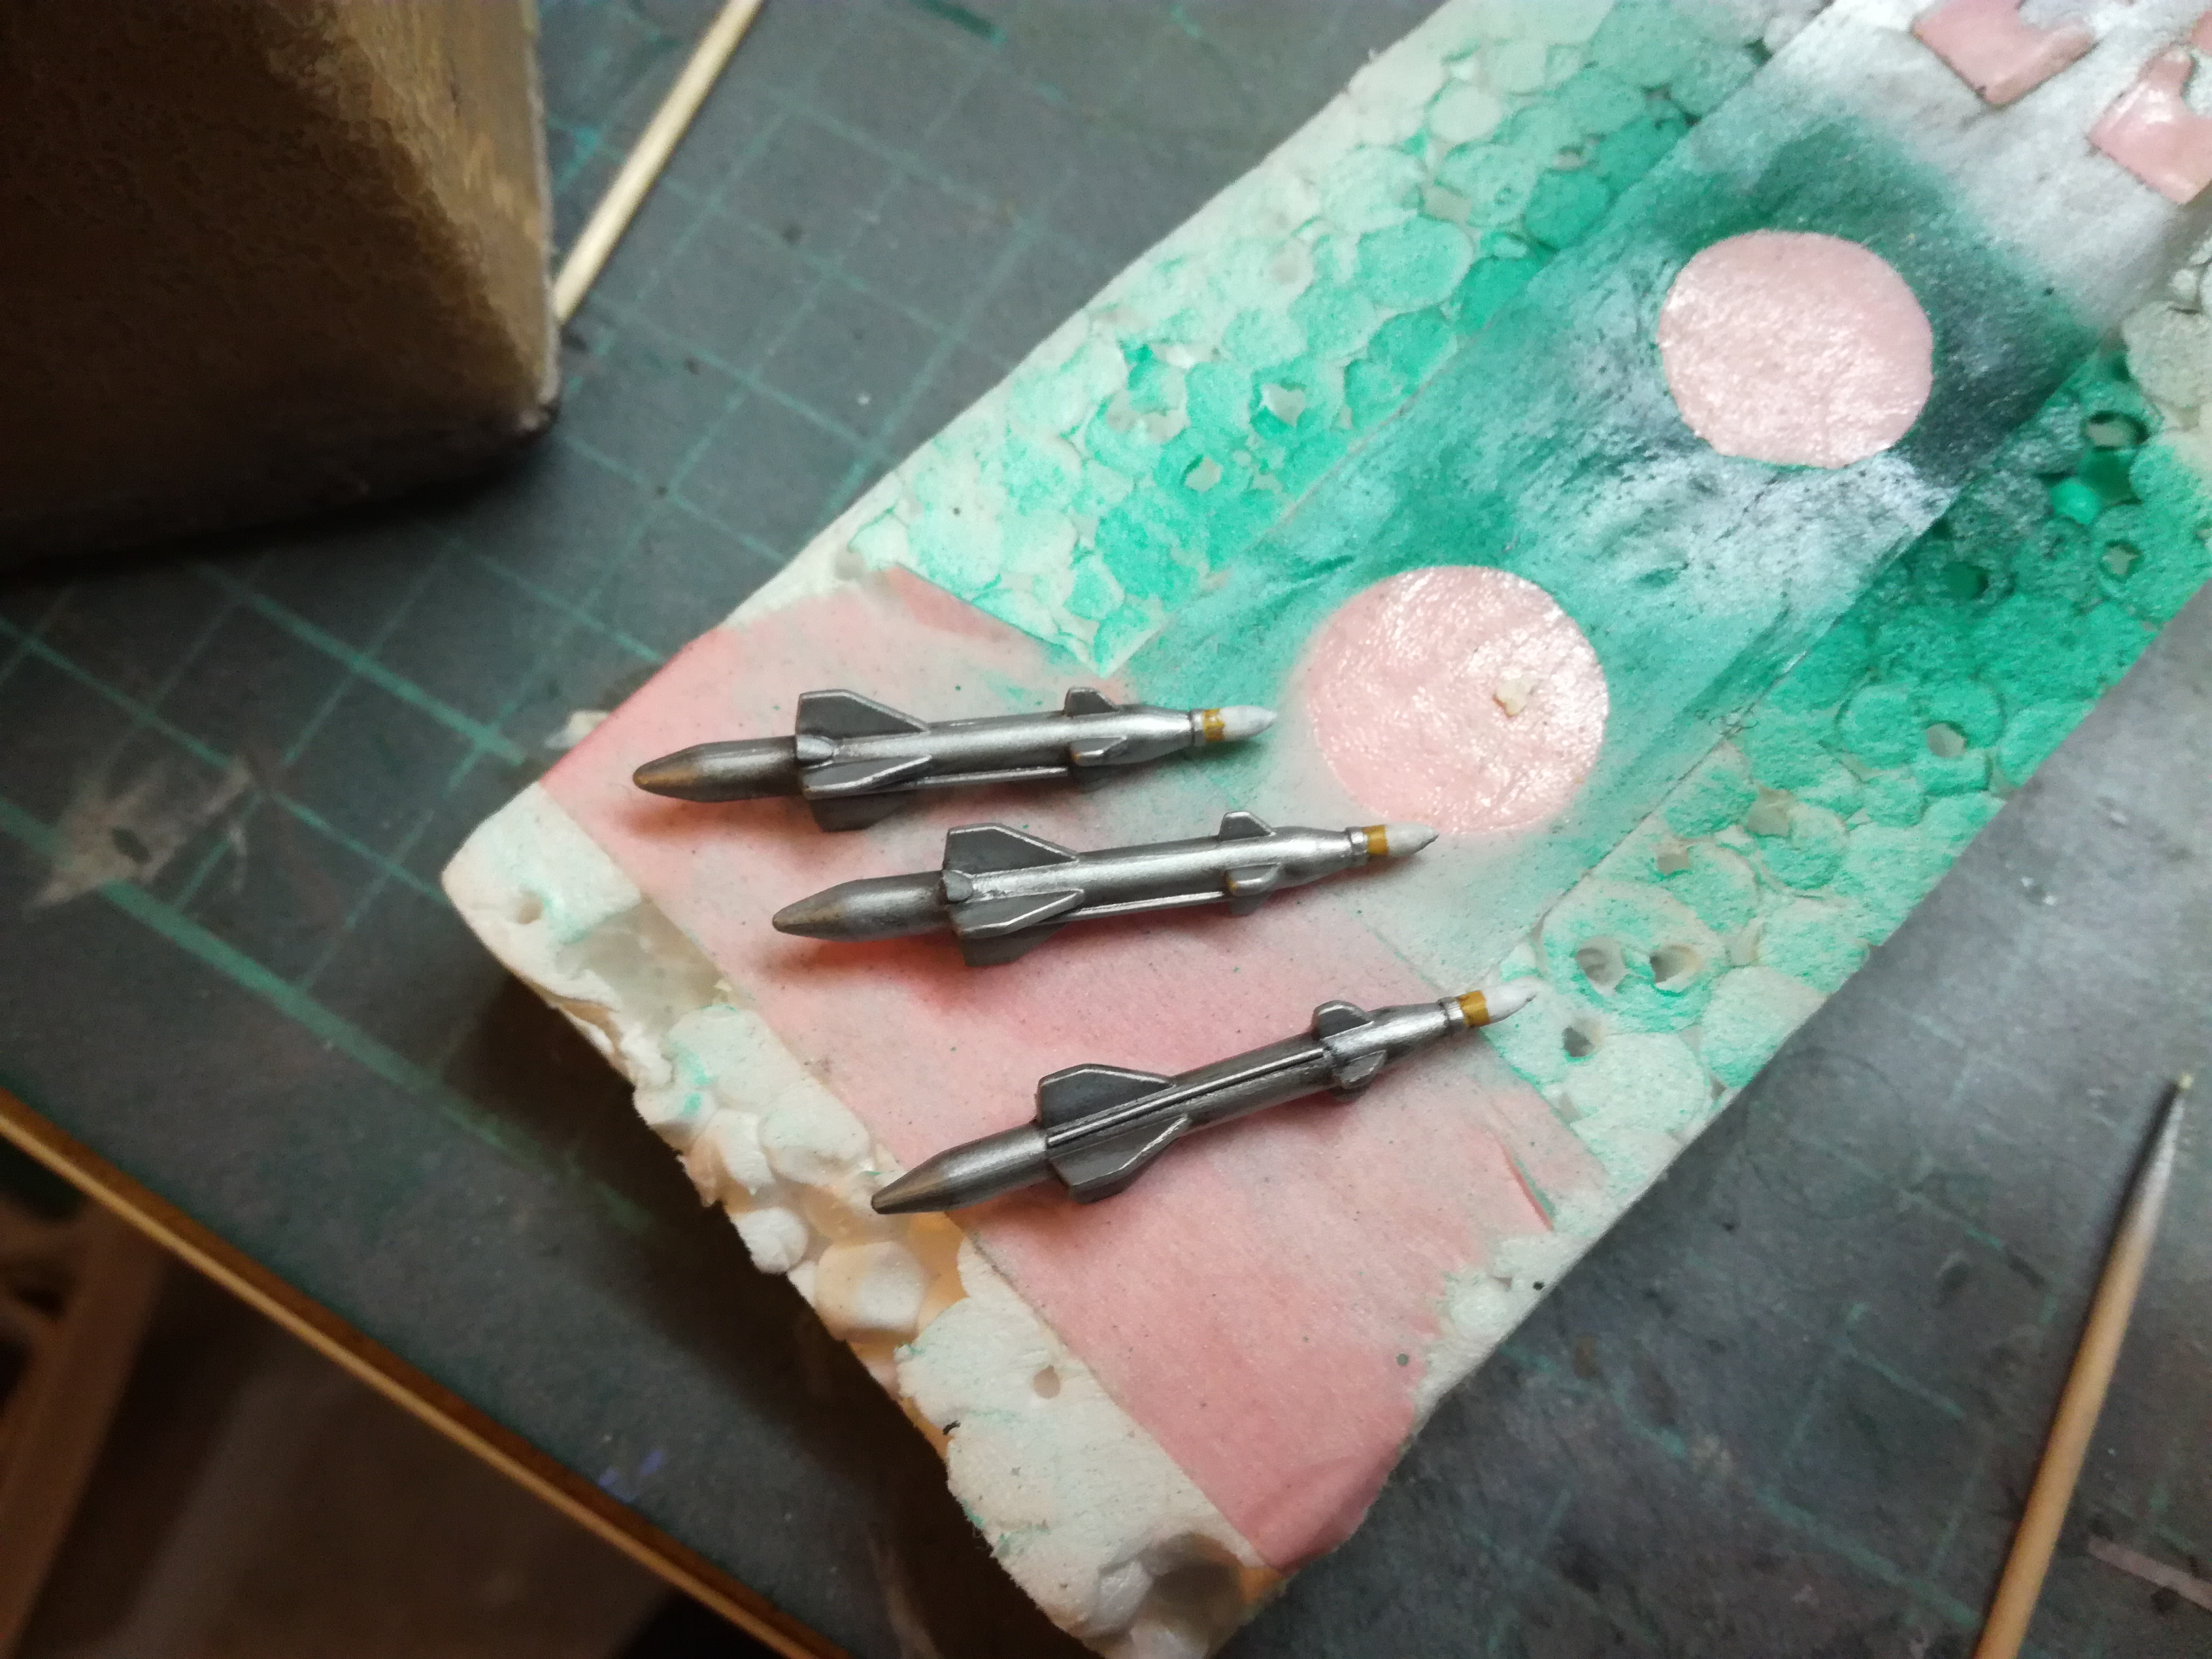
The same story was with the rs-2us rockets...
...and fuel tanks.
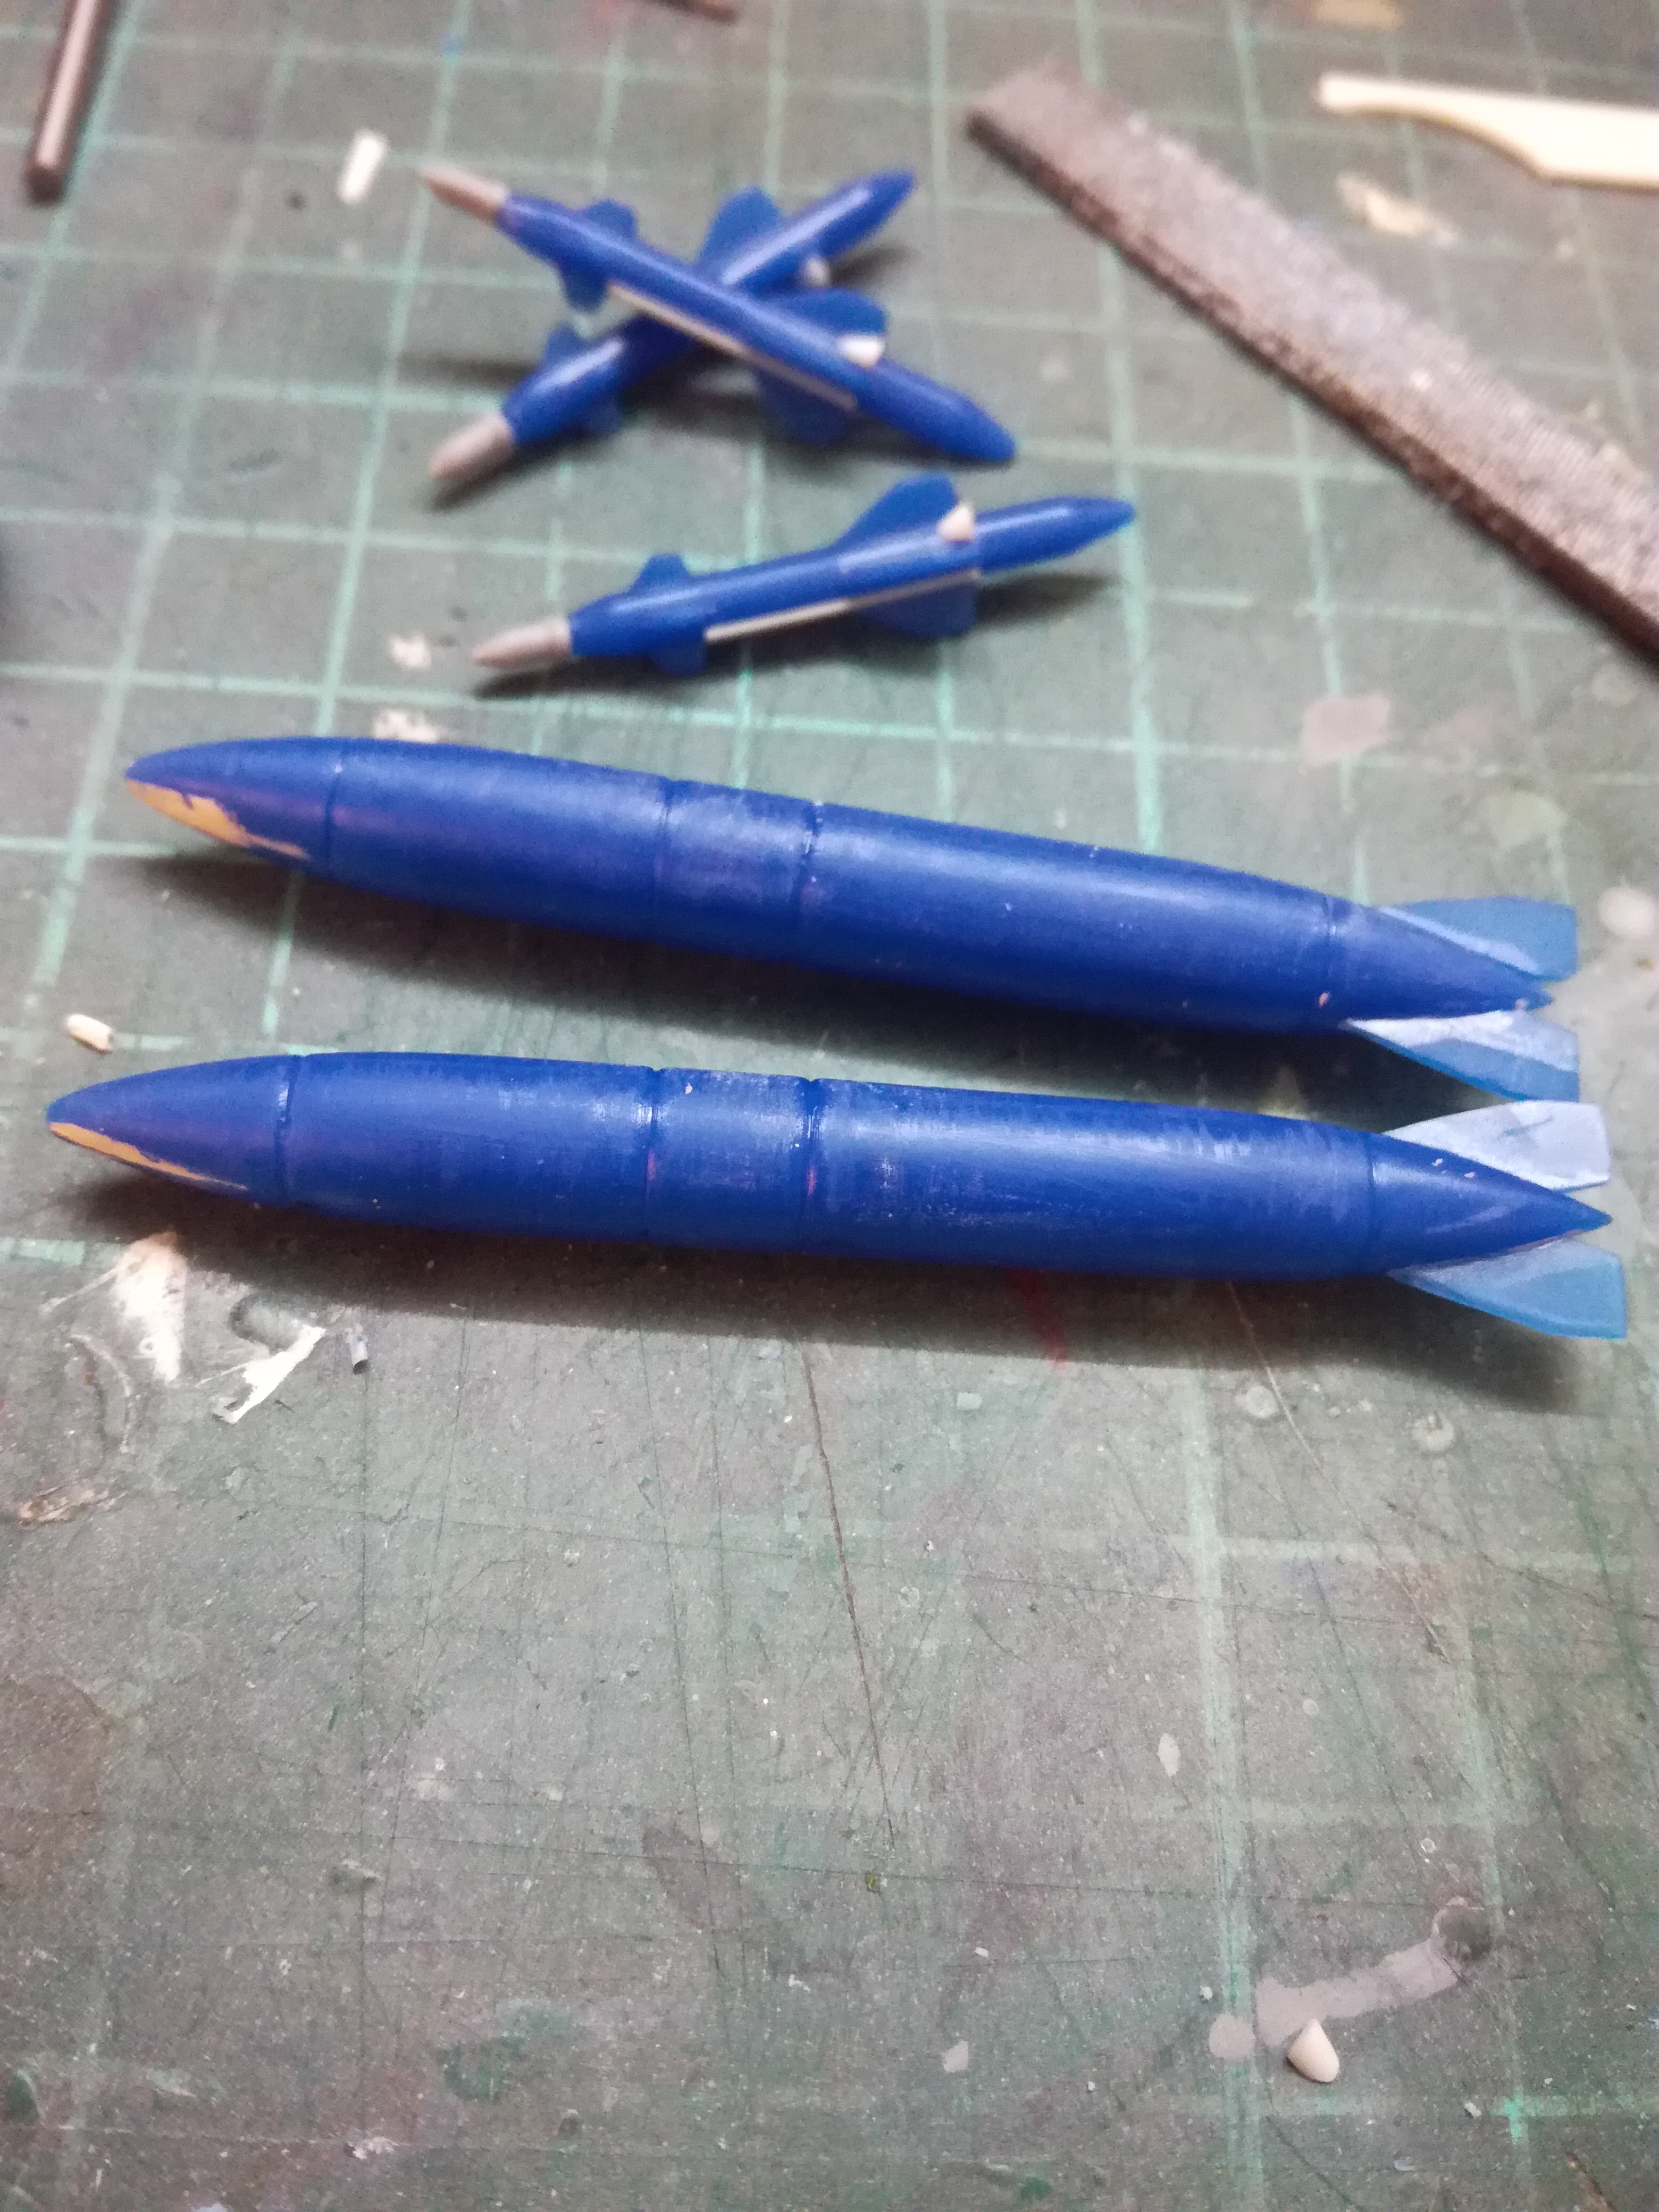
That's all for now.
pkrasna
Joined: April 20, 2013
KitMaker: 31 posts
AeroScale: 31 posts
Posted: Tuesday, September 29, 2020 - 08:09 AM UTC
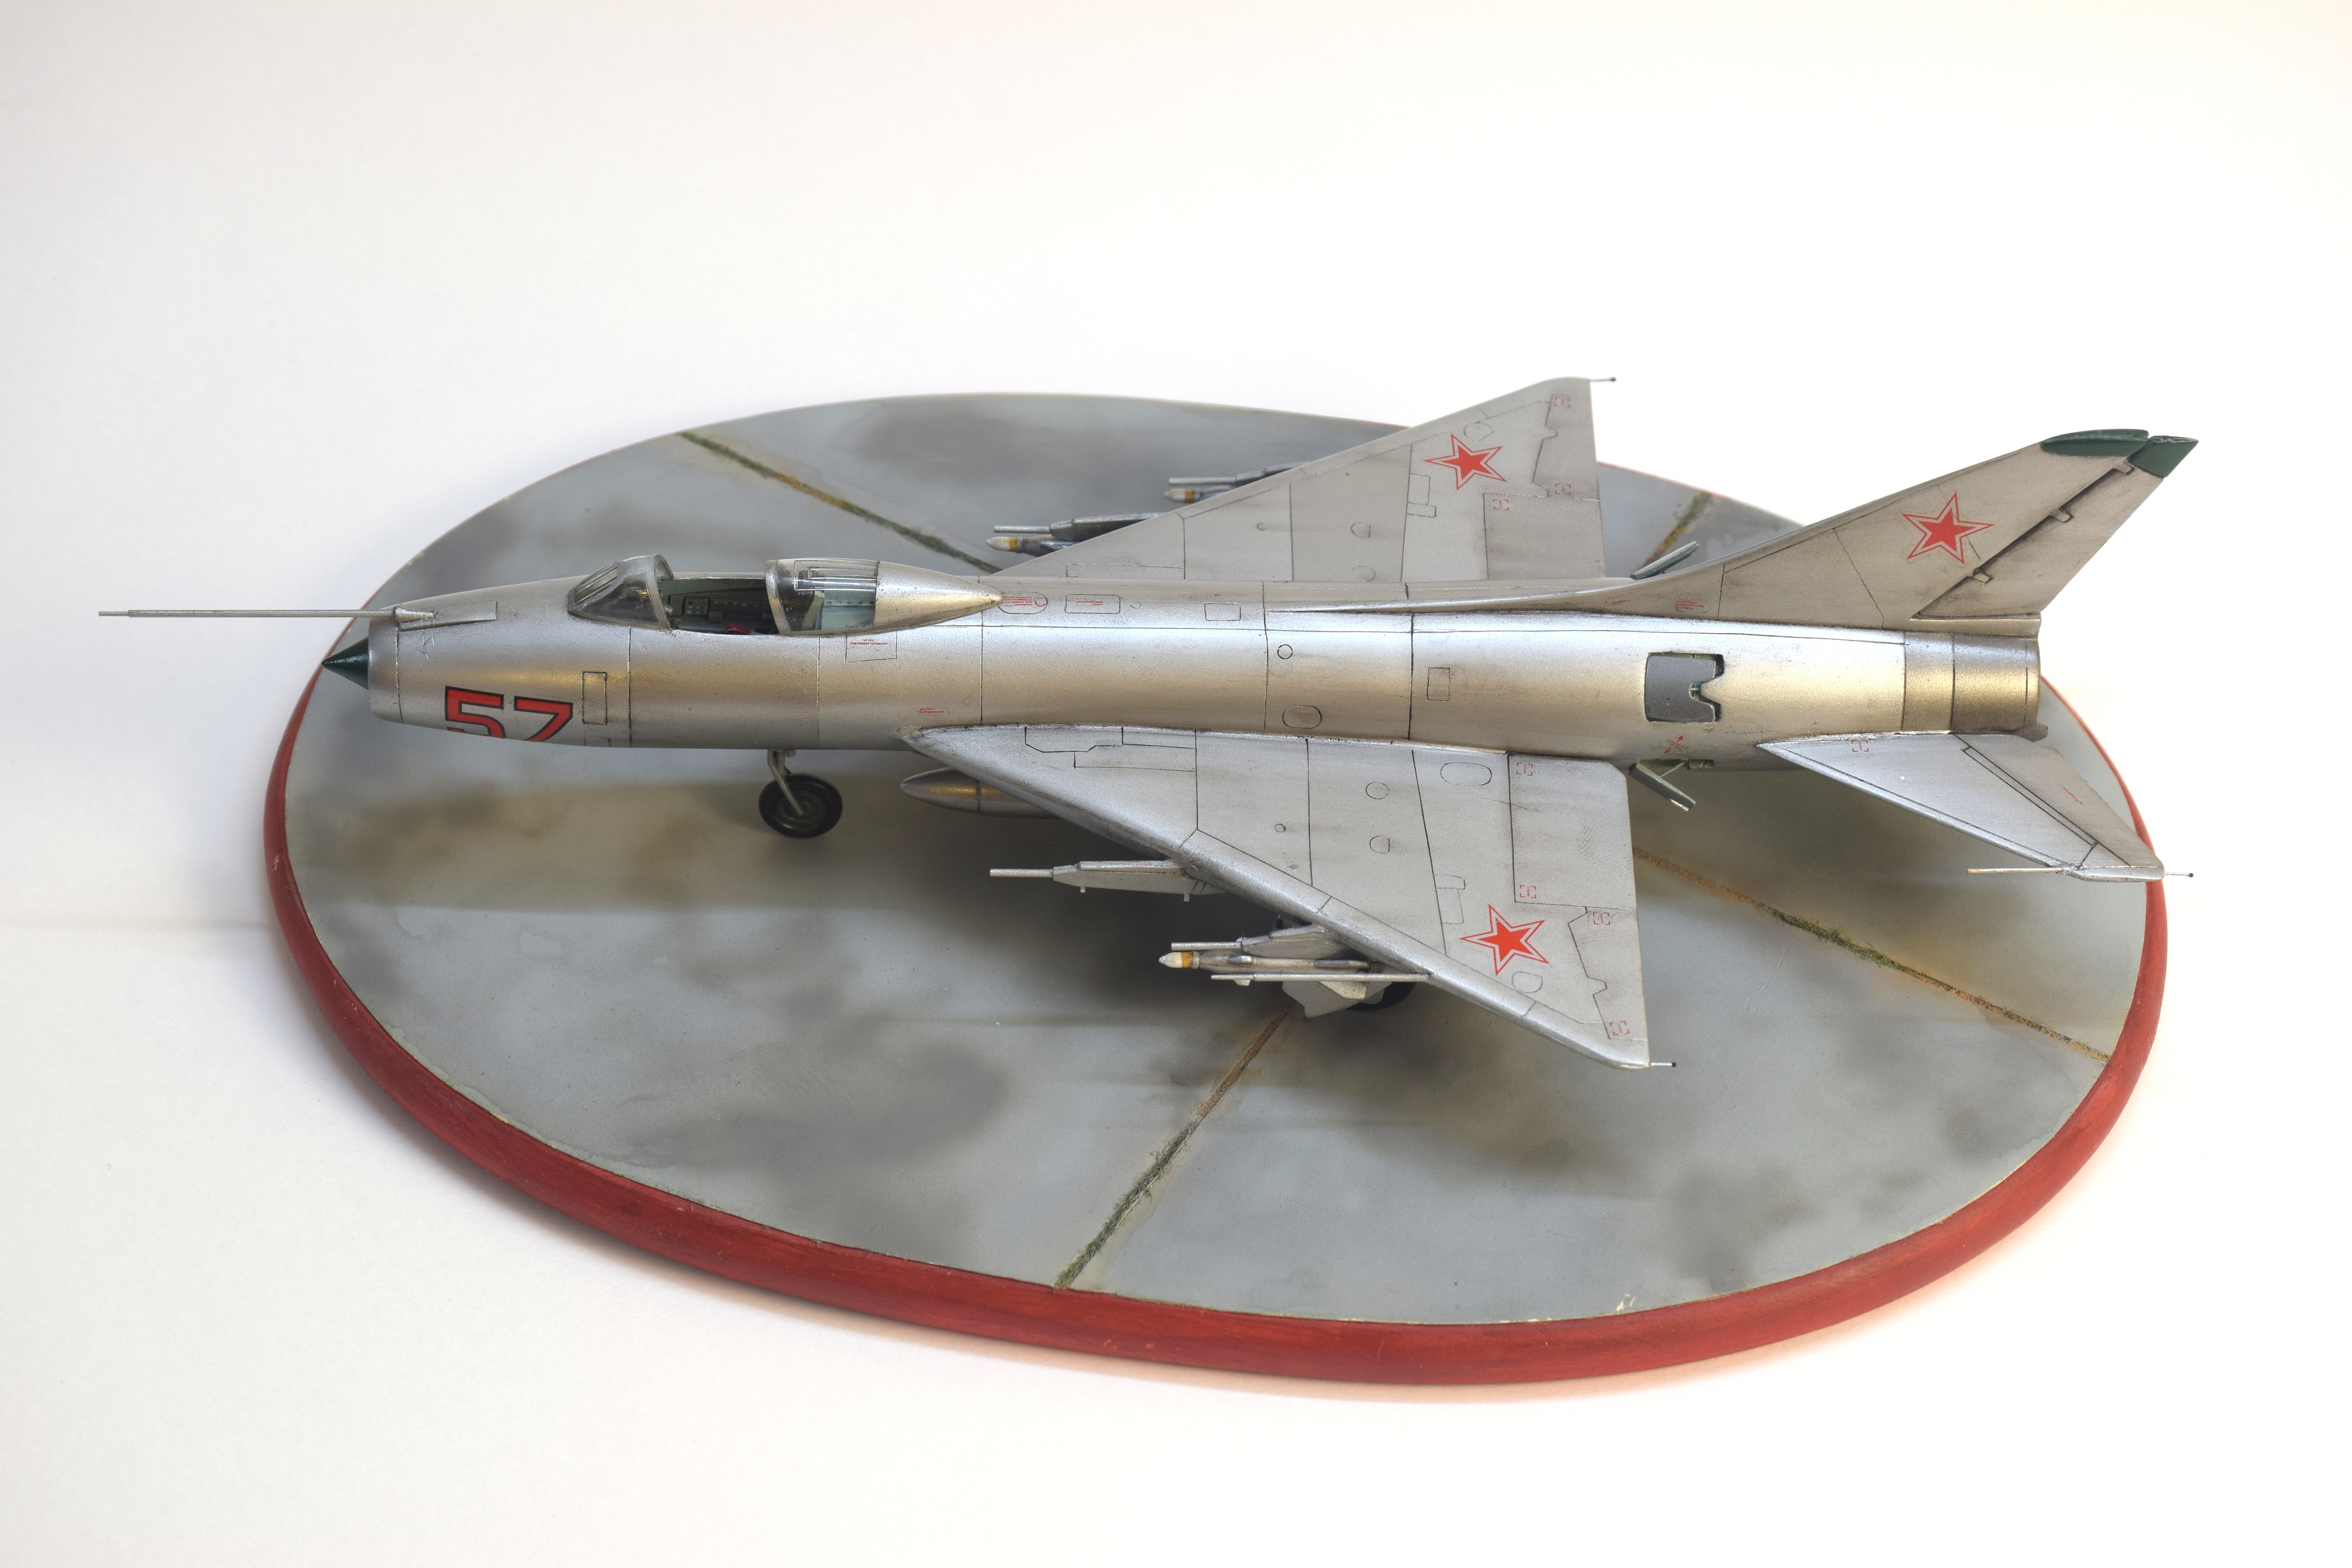
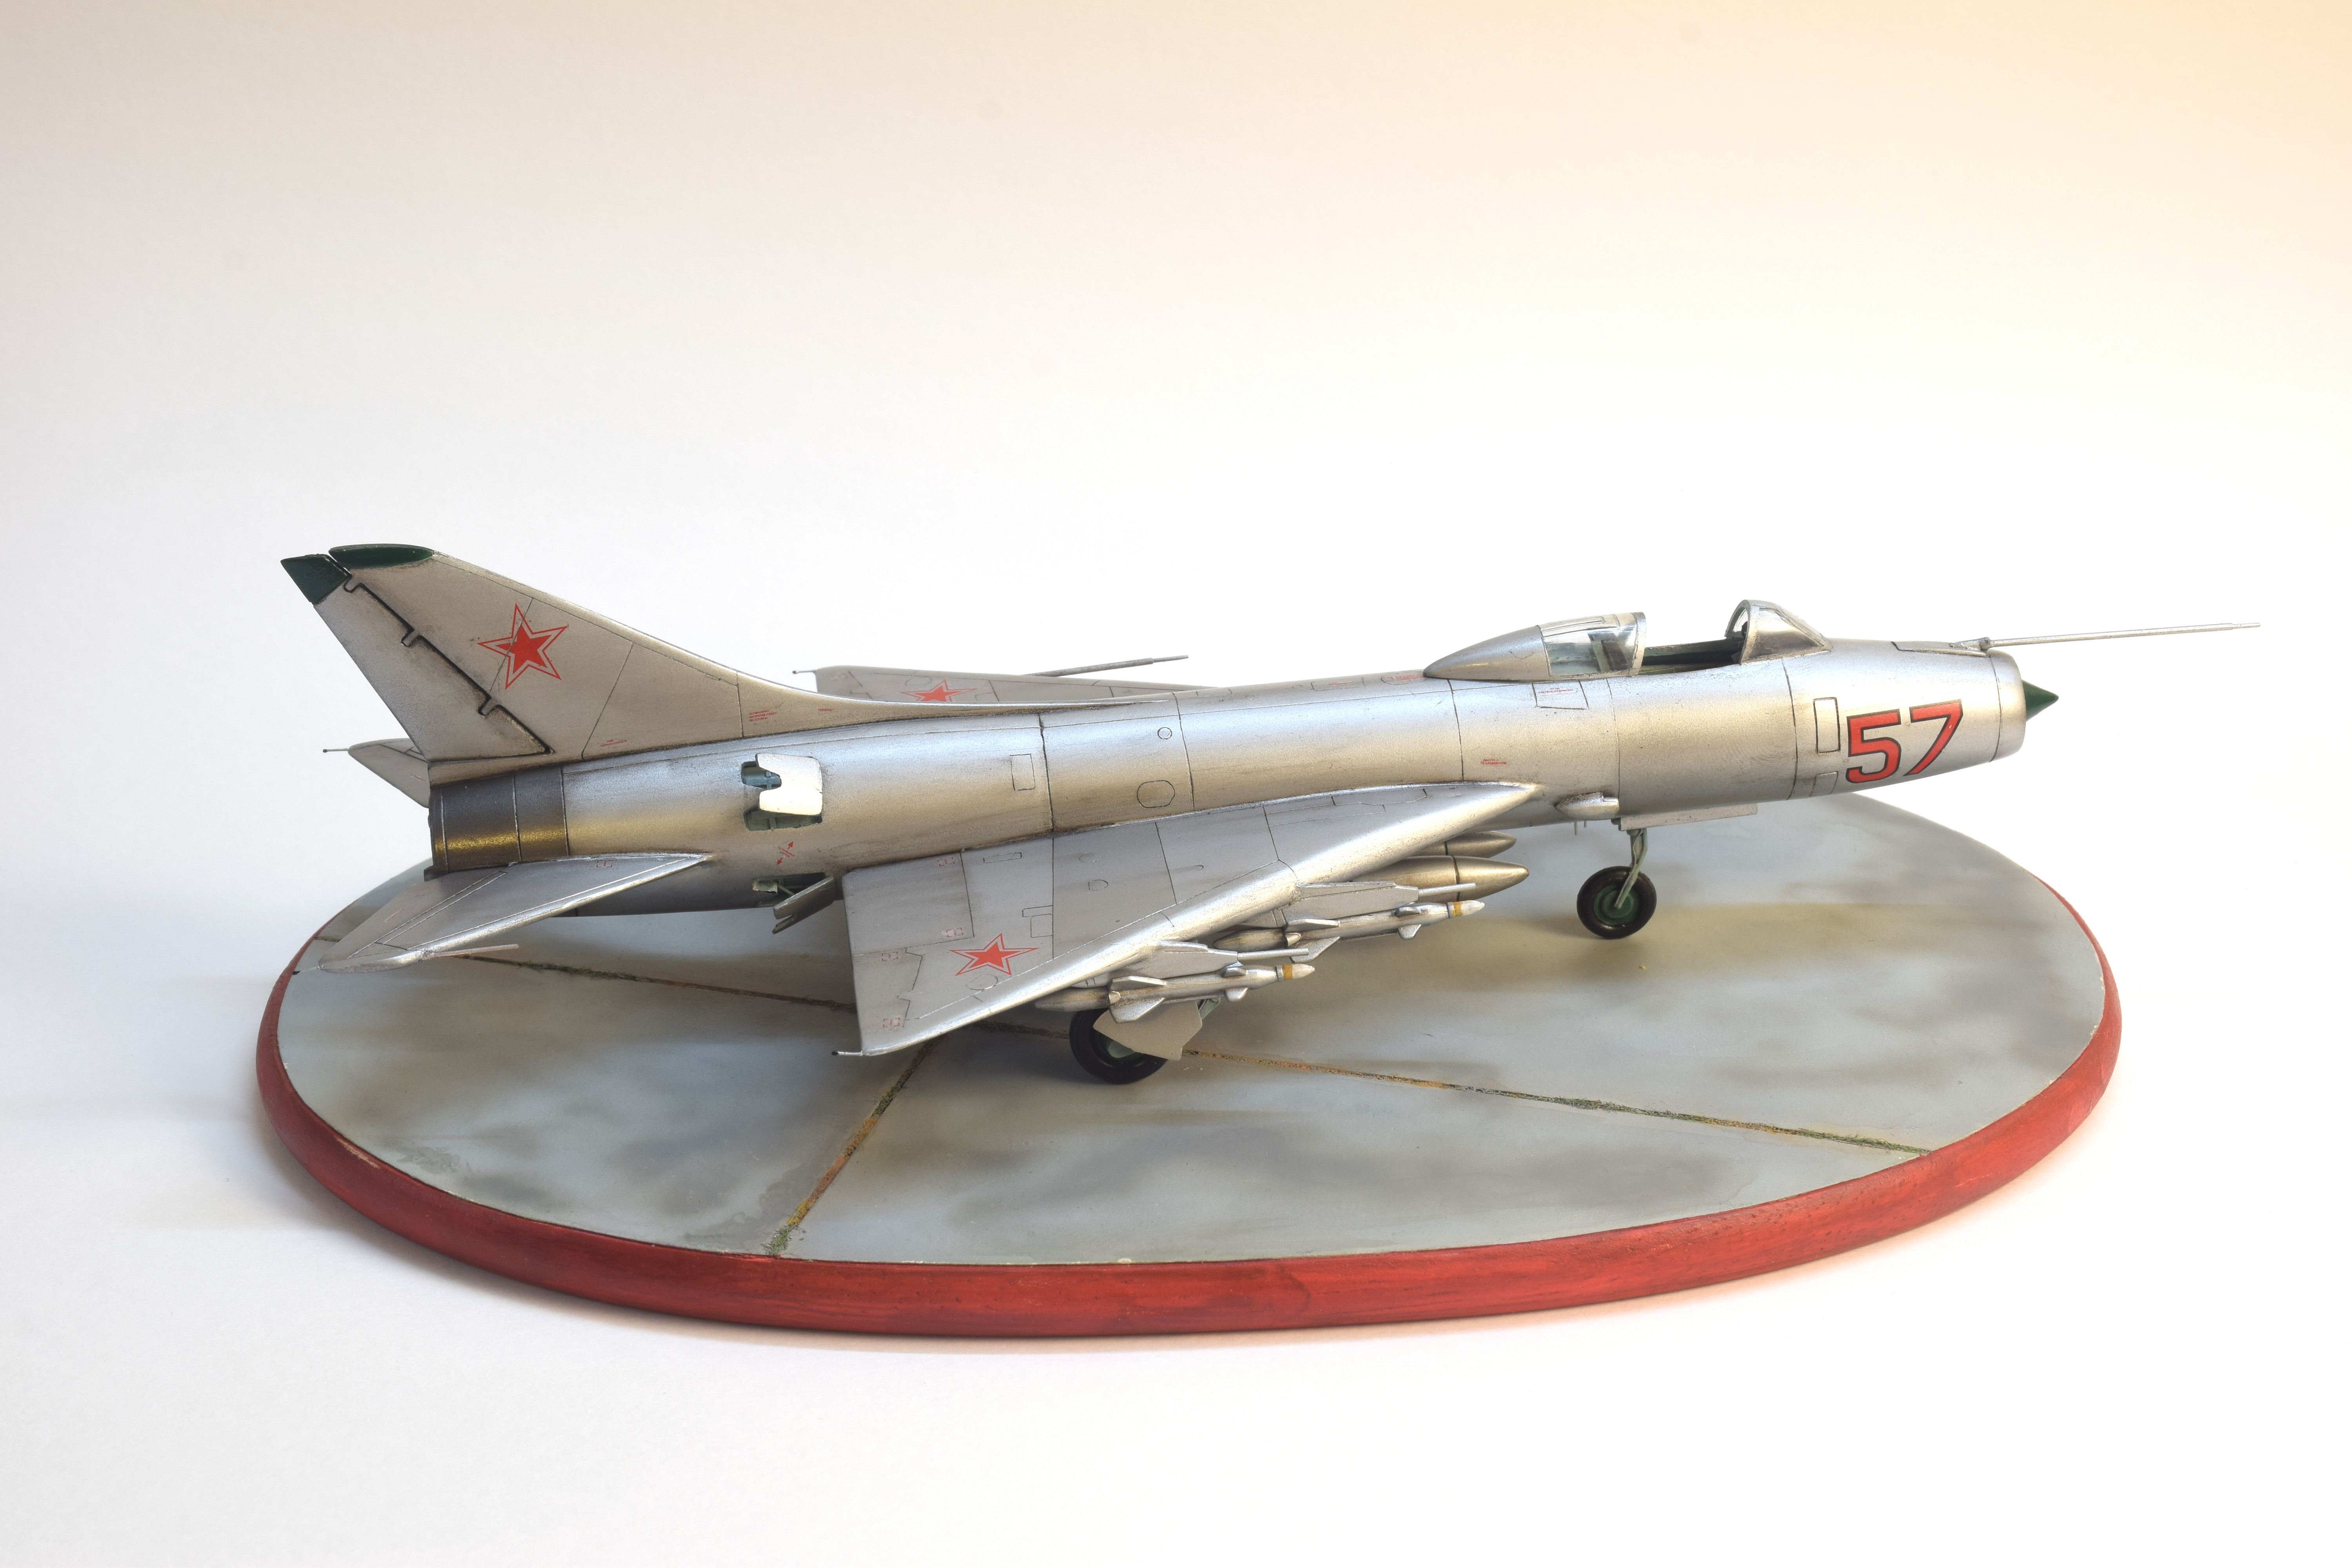
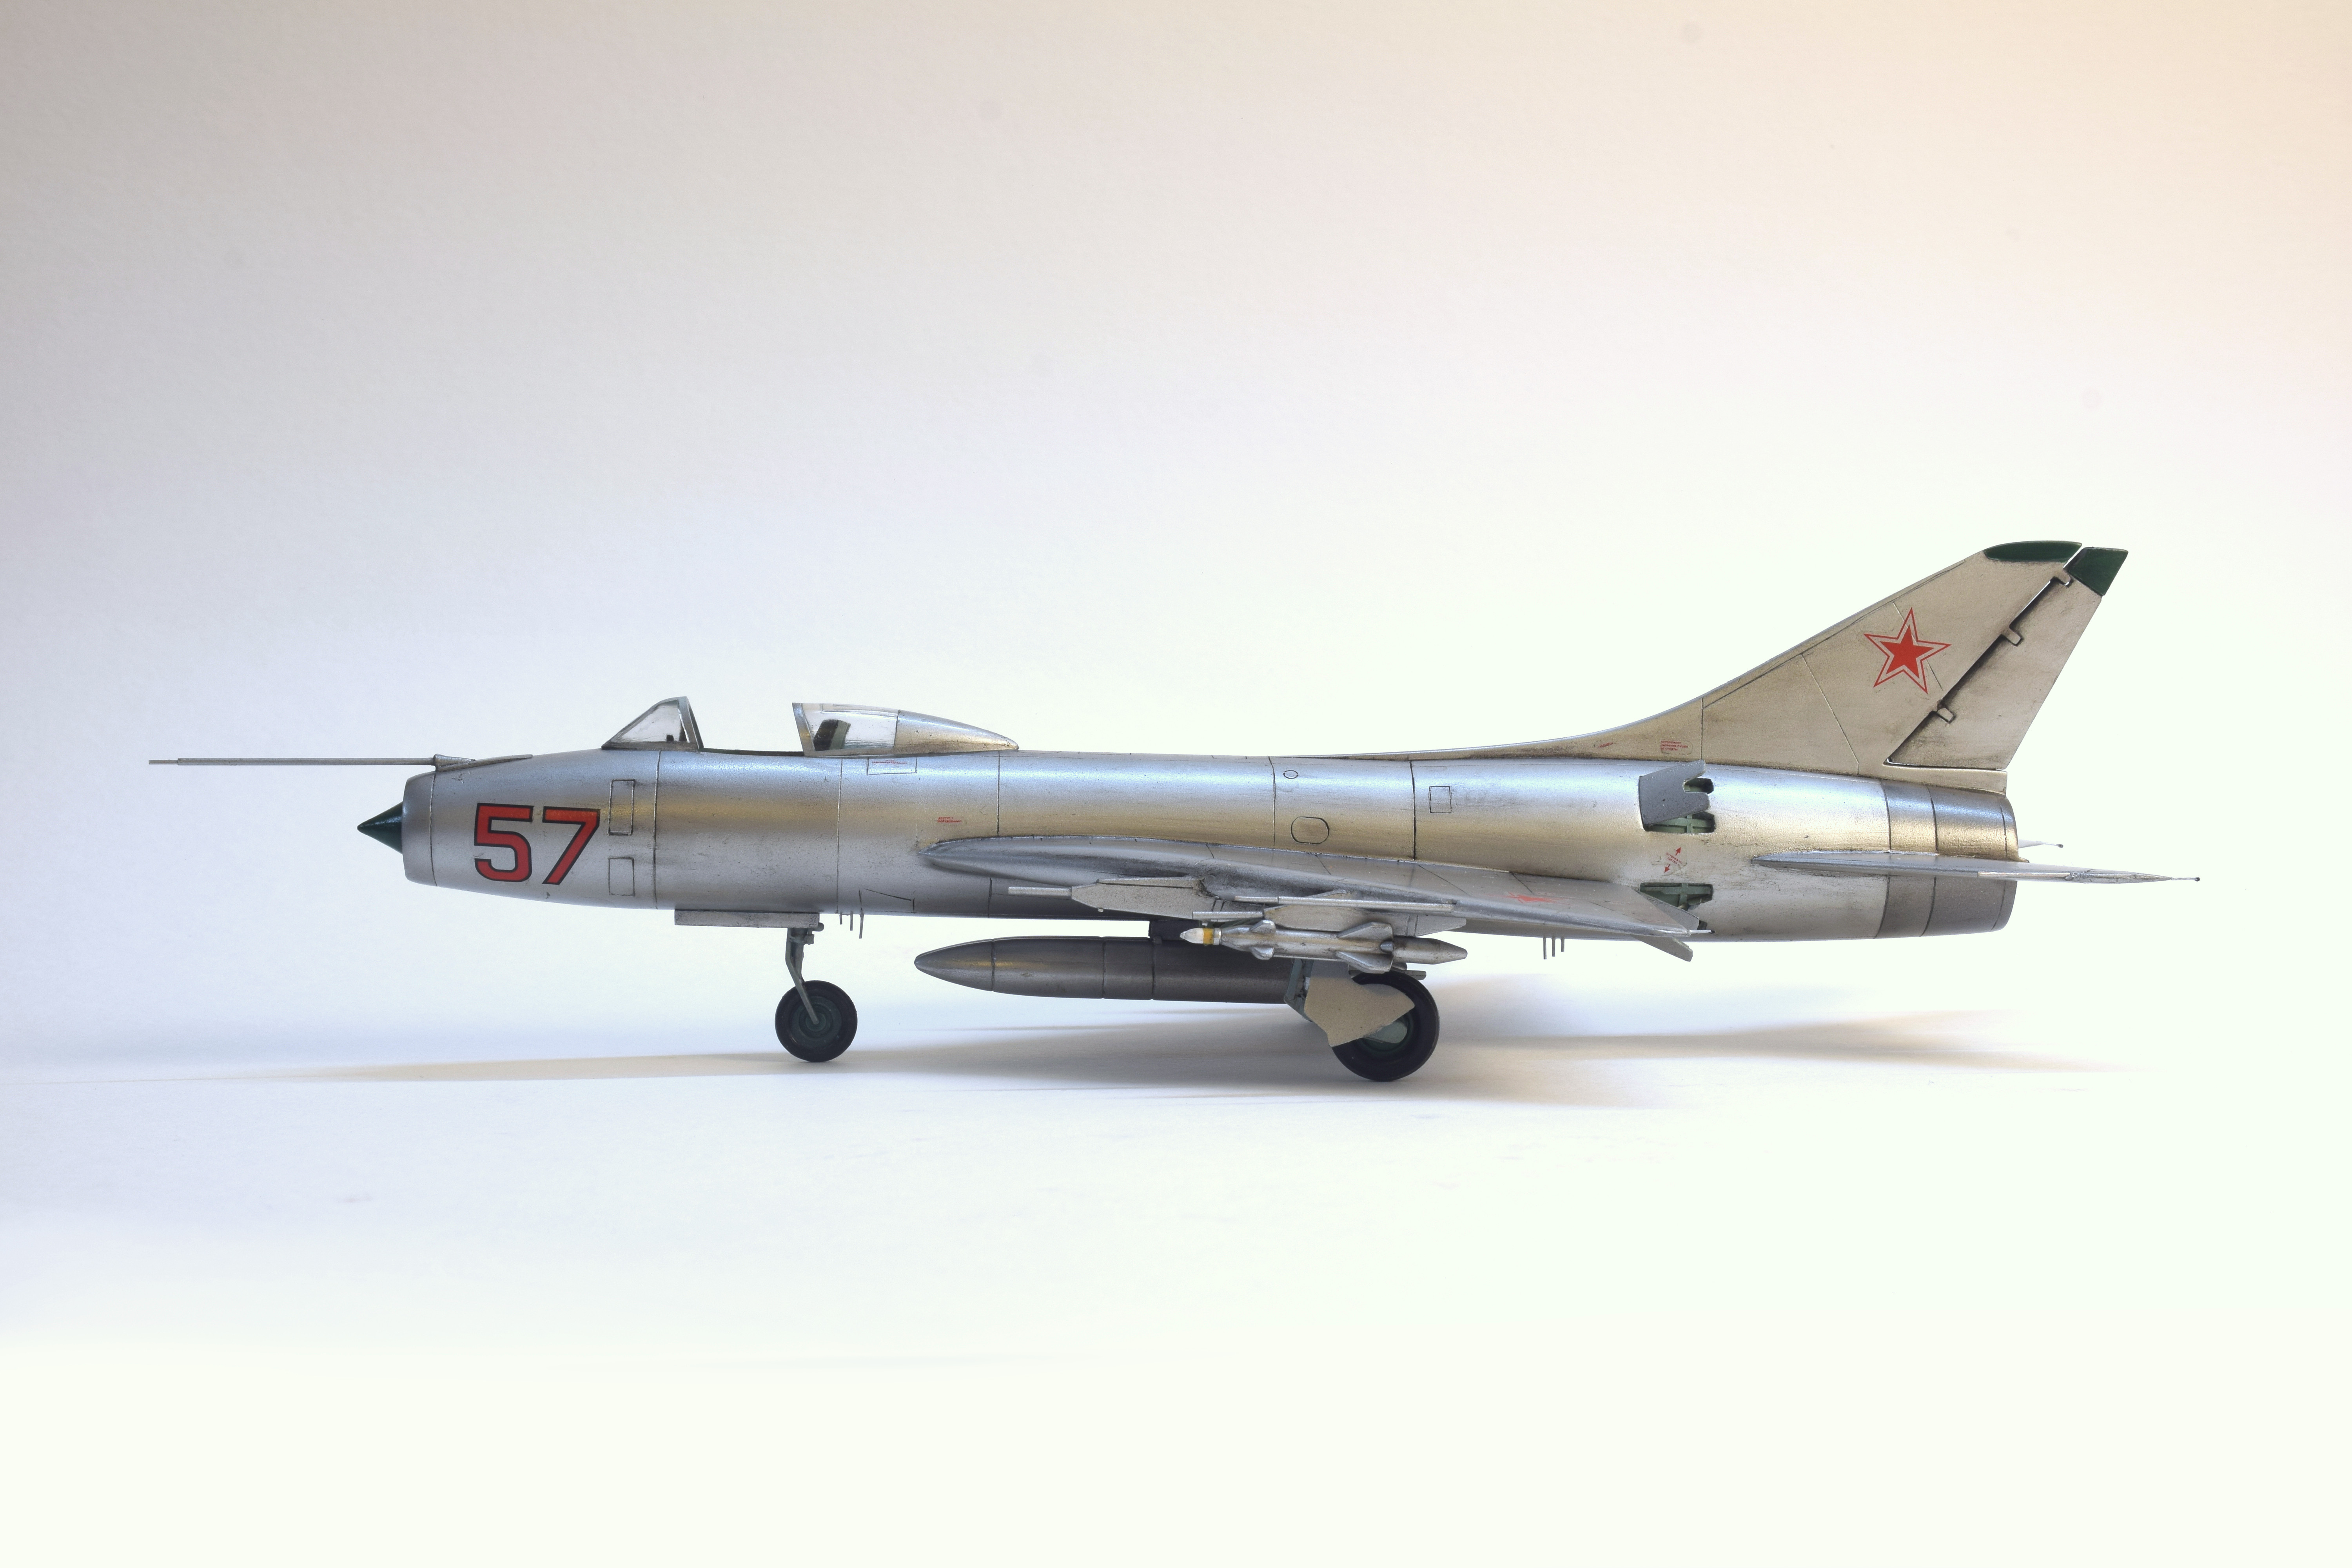
Paint is on.
Decals wer realy fragile and needed a lot of atention.
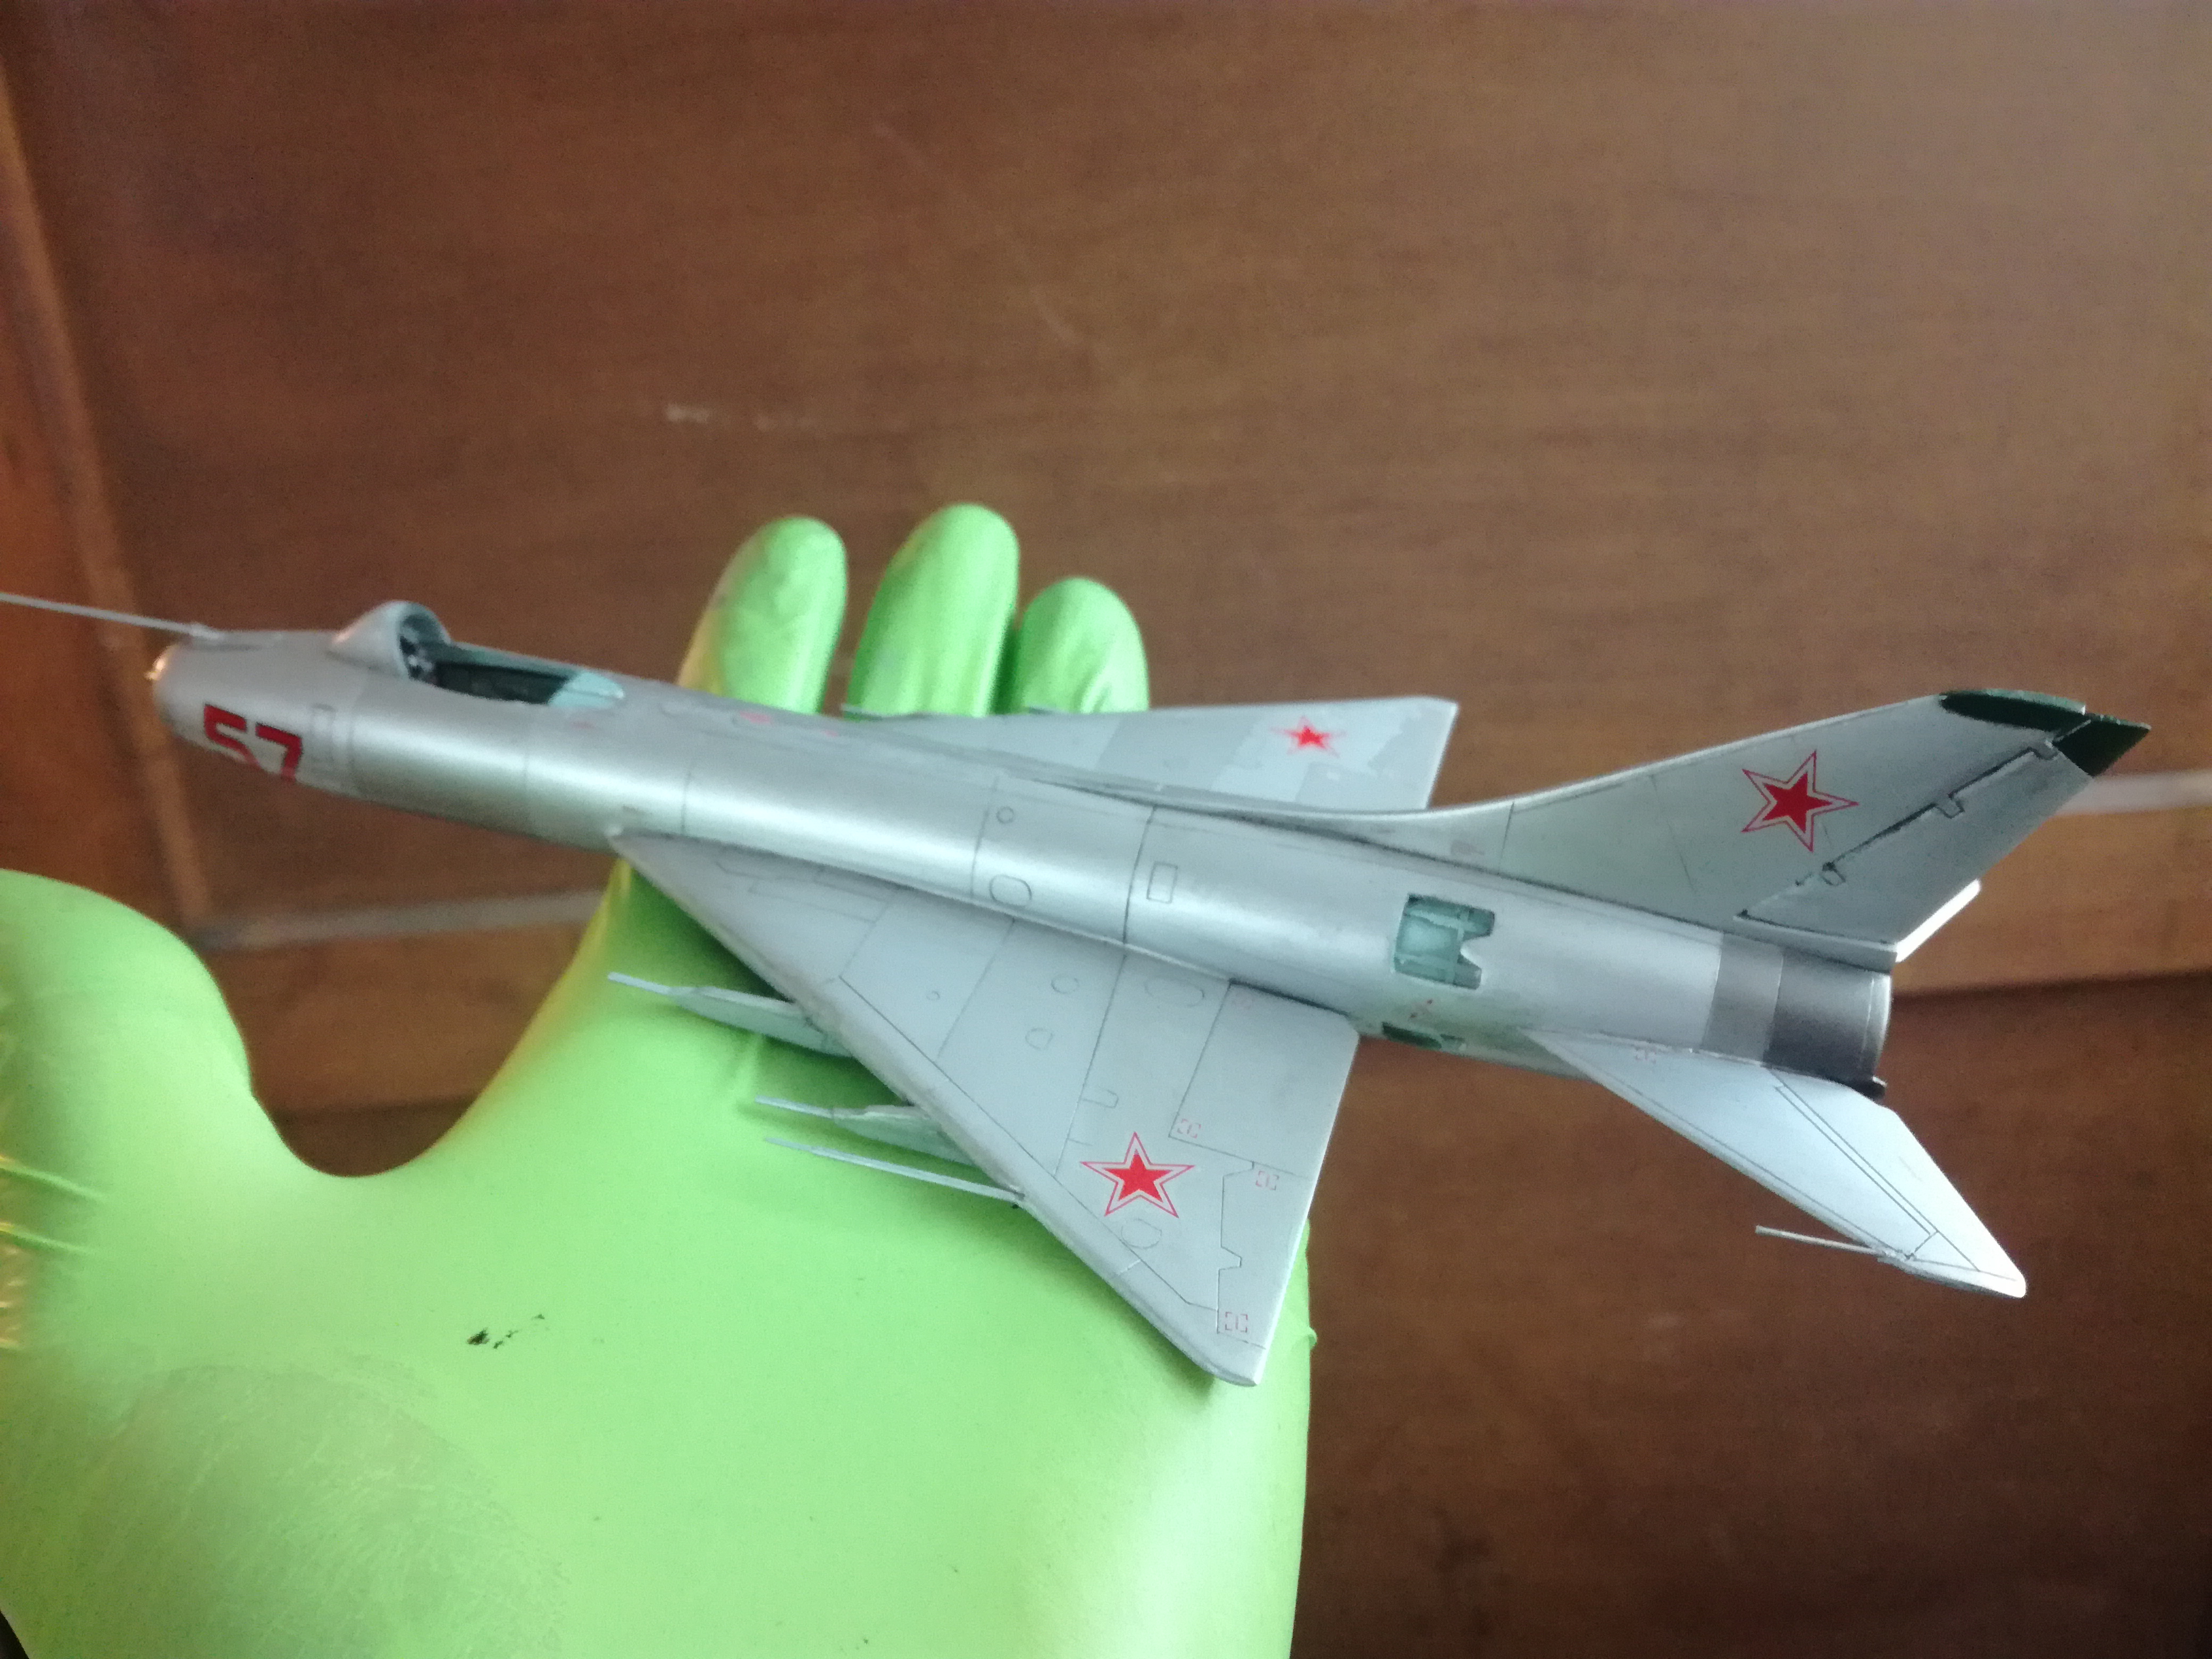
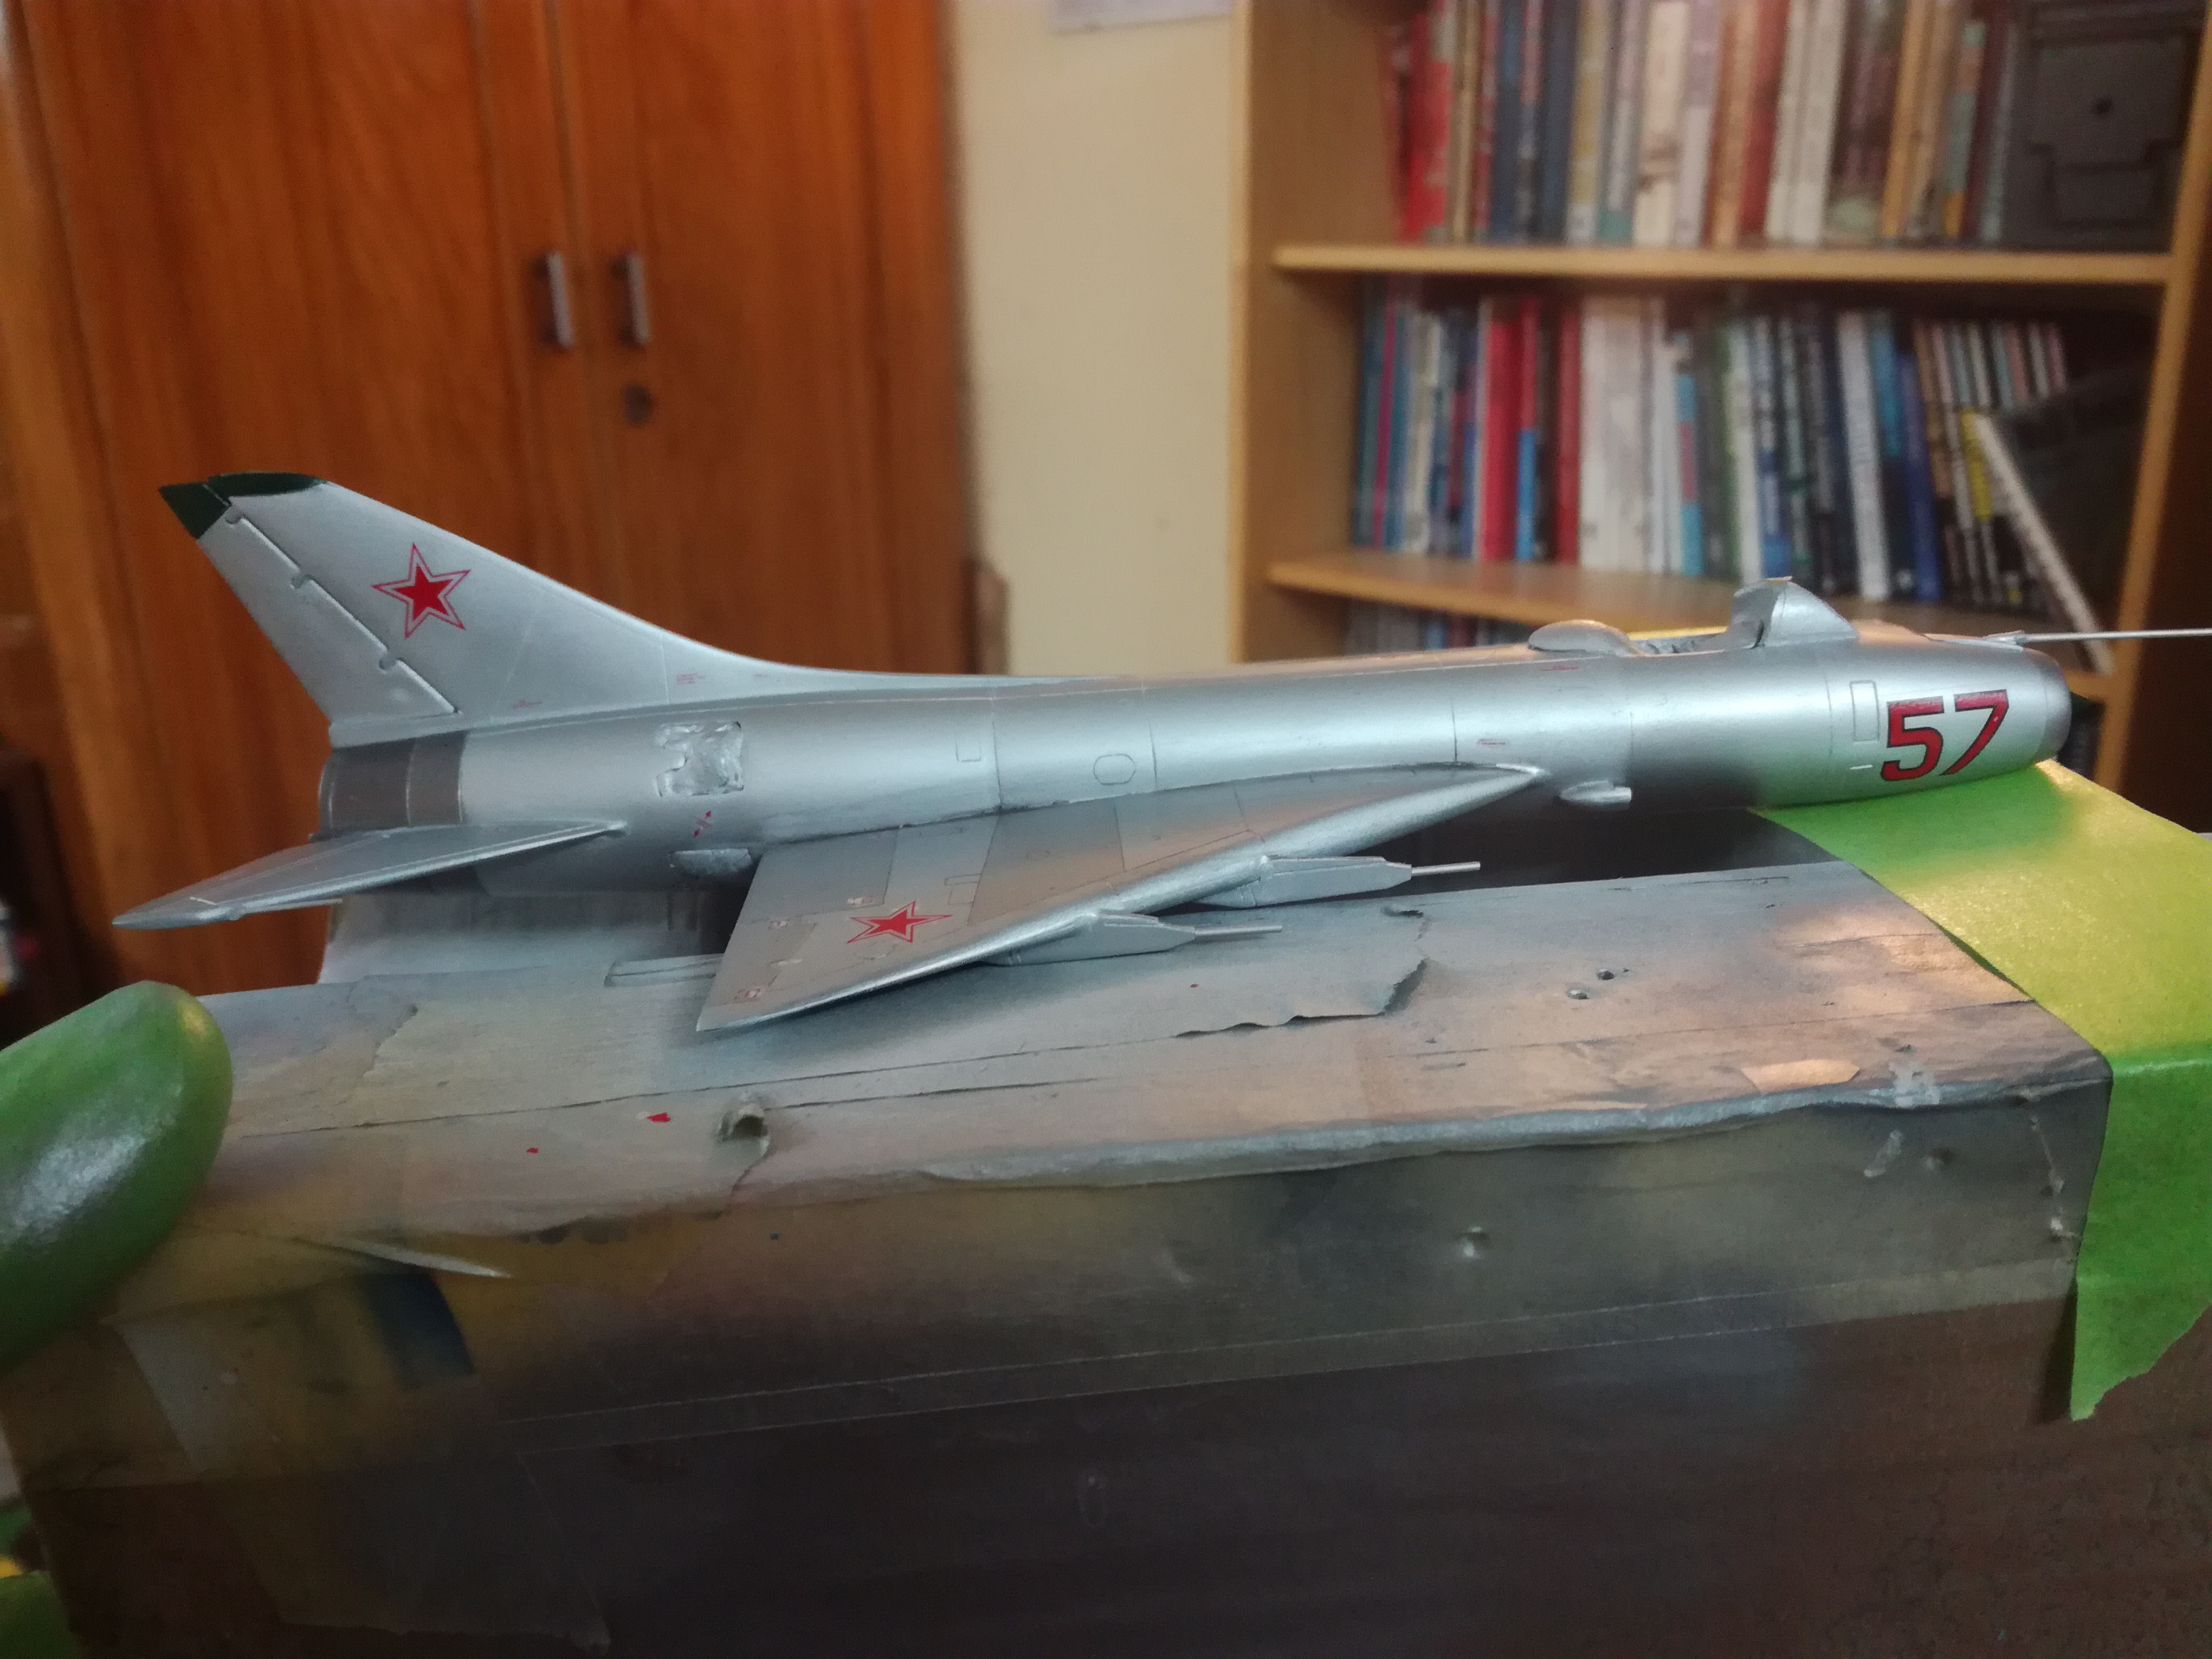
First stage of weathering is on.
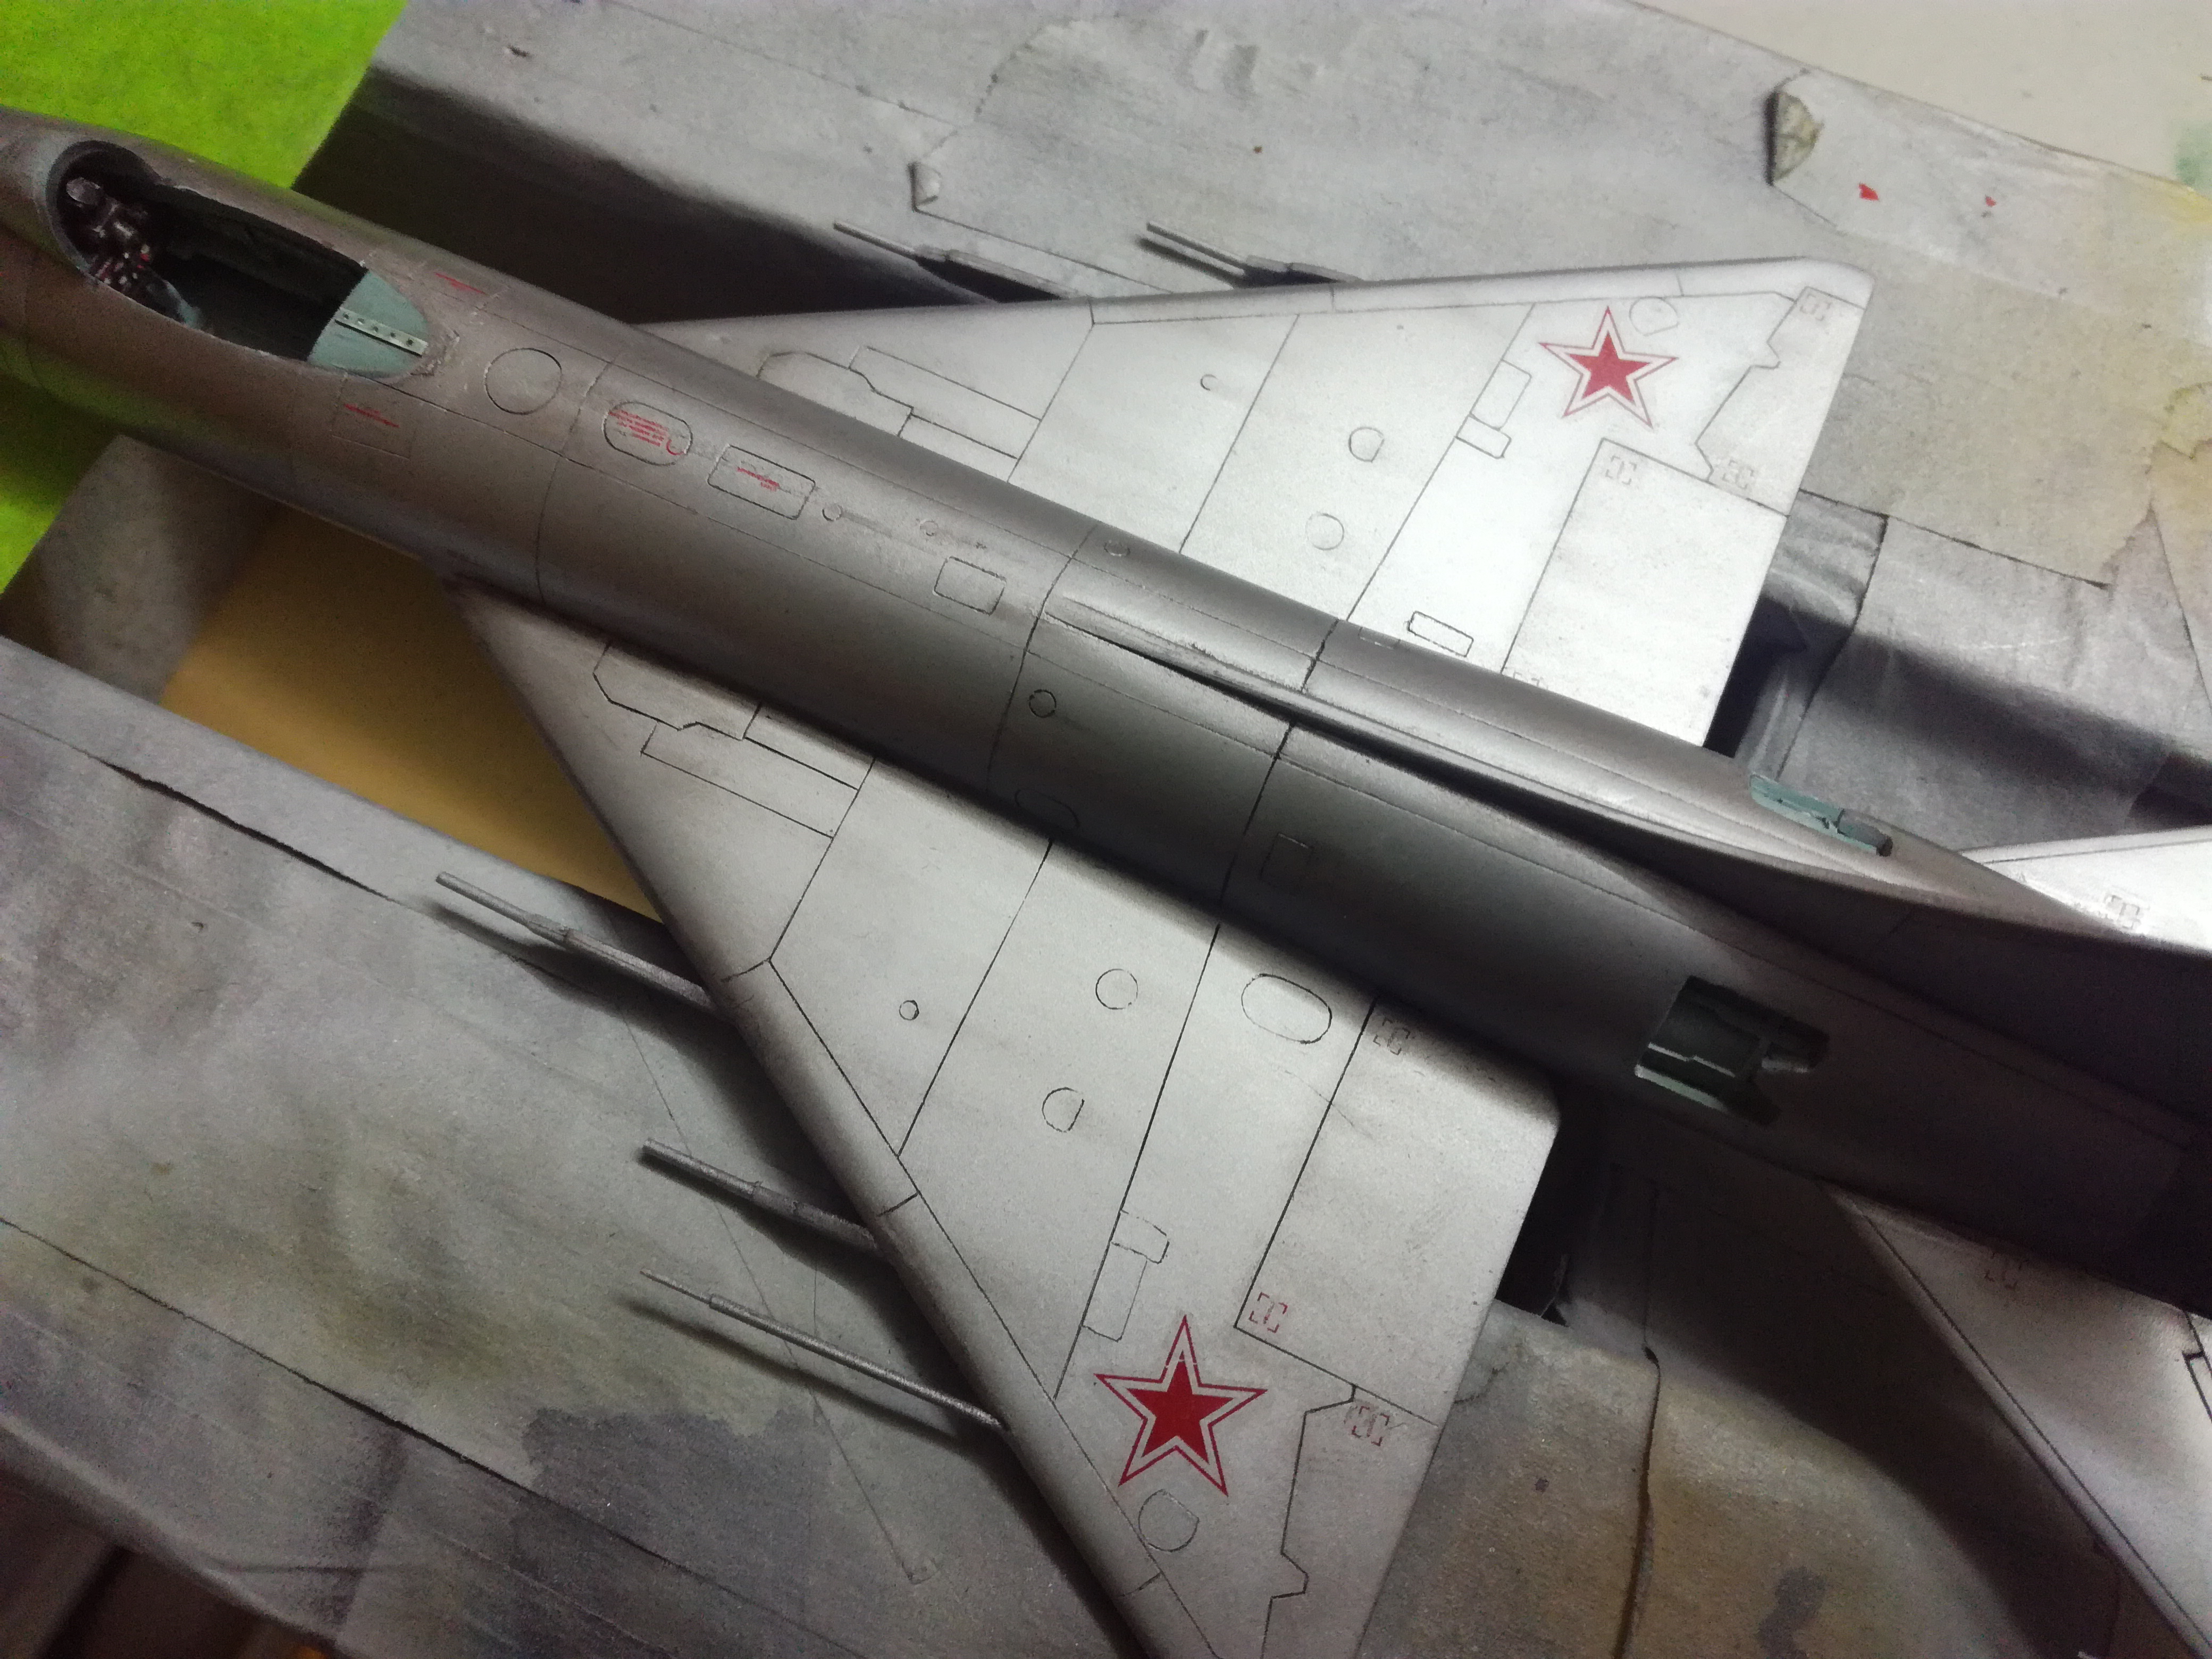
Primo
Decals wer realy fragile and needed a lot of atention.
First stage of weathering is on.
Primo
pkrasna
Joined: April 20, 2013
KitMaker: 31 posts
AeroScale: 31 posts
Posted: Wednesday, September 30, 2020 - 08:25 AM UTC
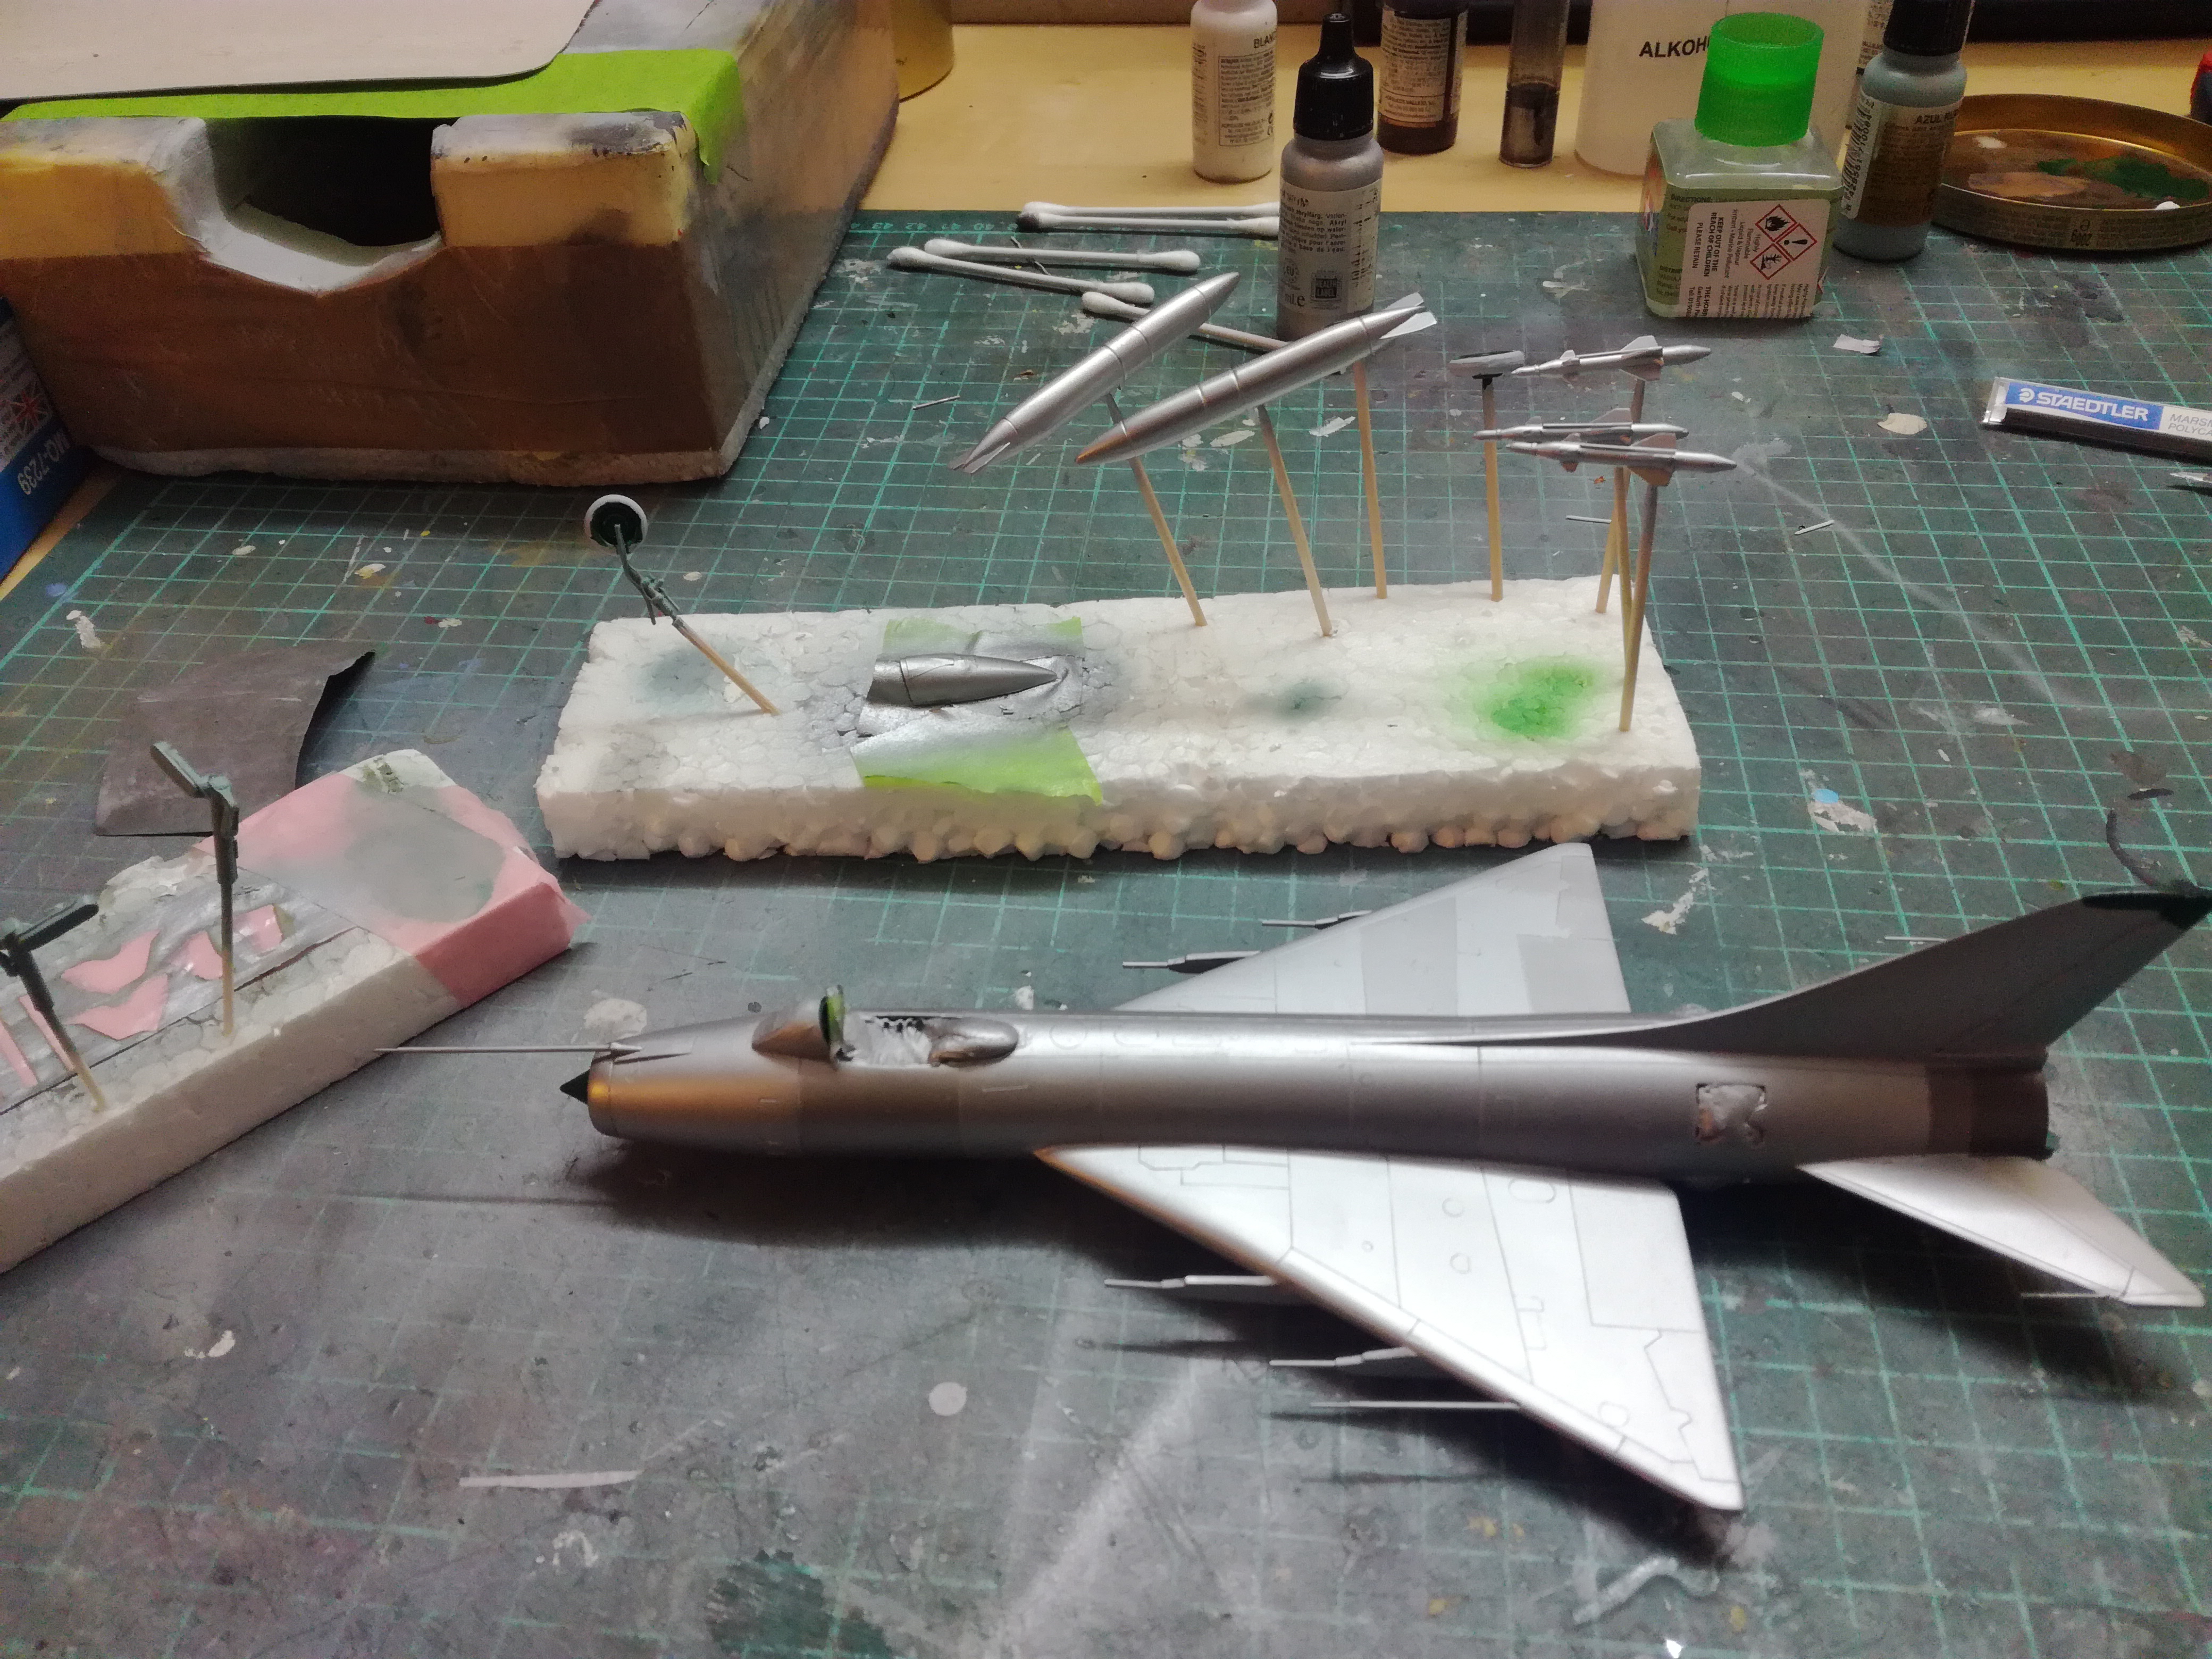
In the meantime i painted the legs, wheels and fuel tanks and rockets.
Primo
Primo
pkrasna
Joined: April 20, 2013
KitMaker: 31 posts
AeroScale: 31 posts
Posted: Wednesday, September 30, 2020 - 08:46 AM UTC
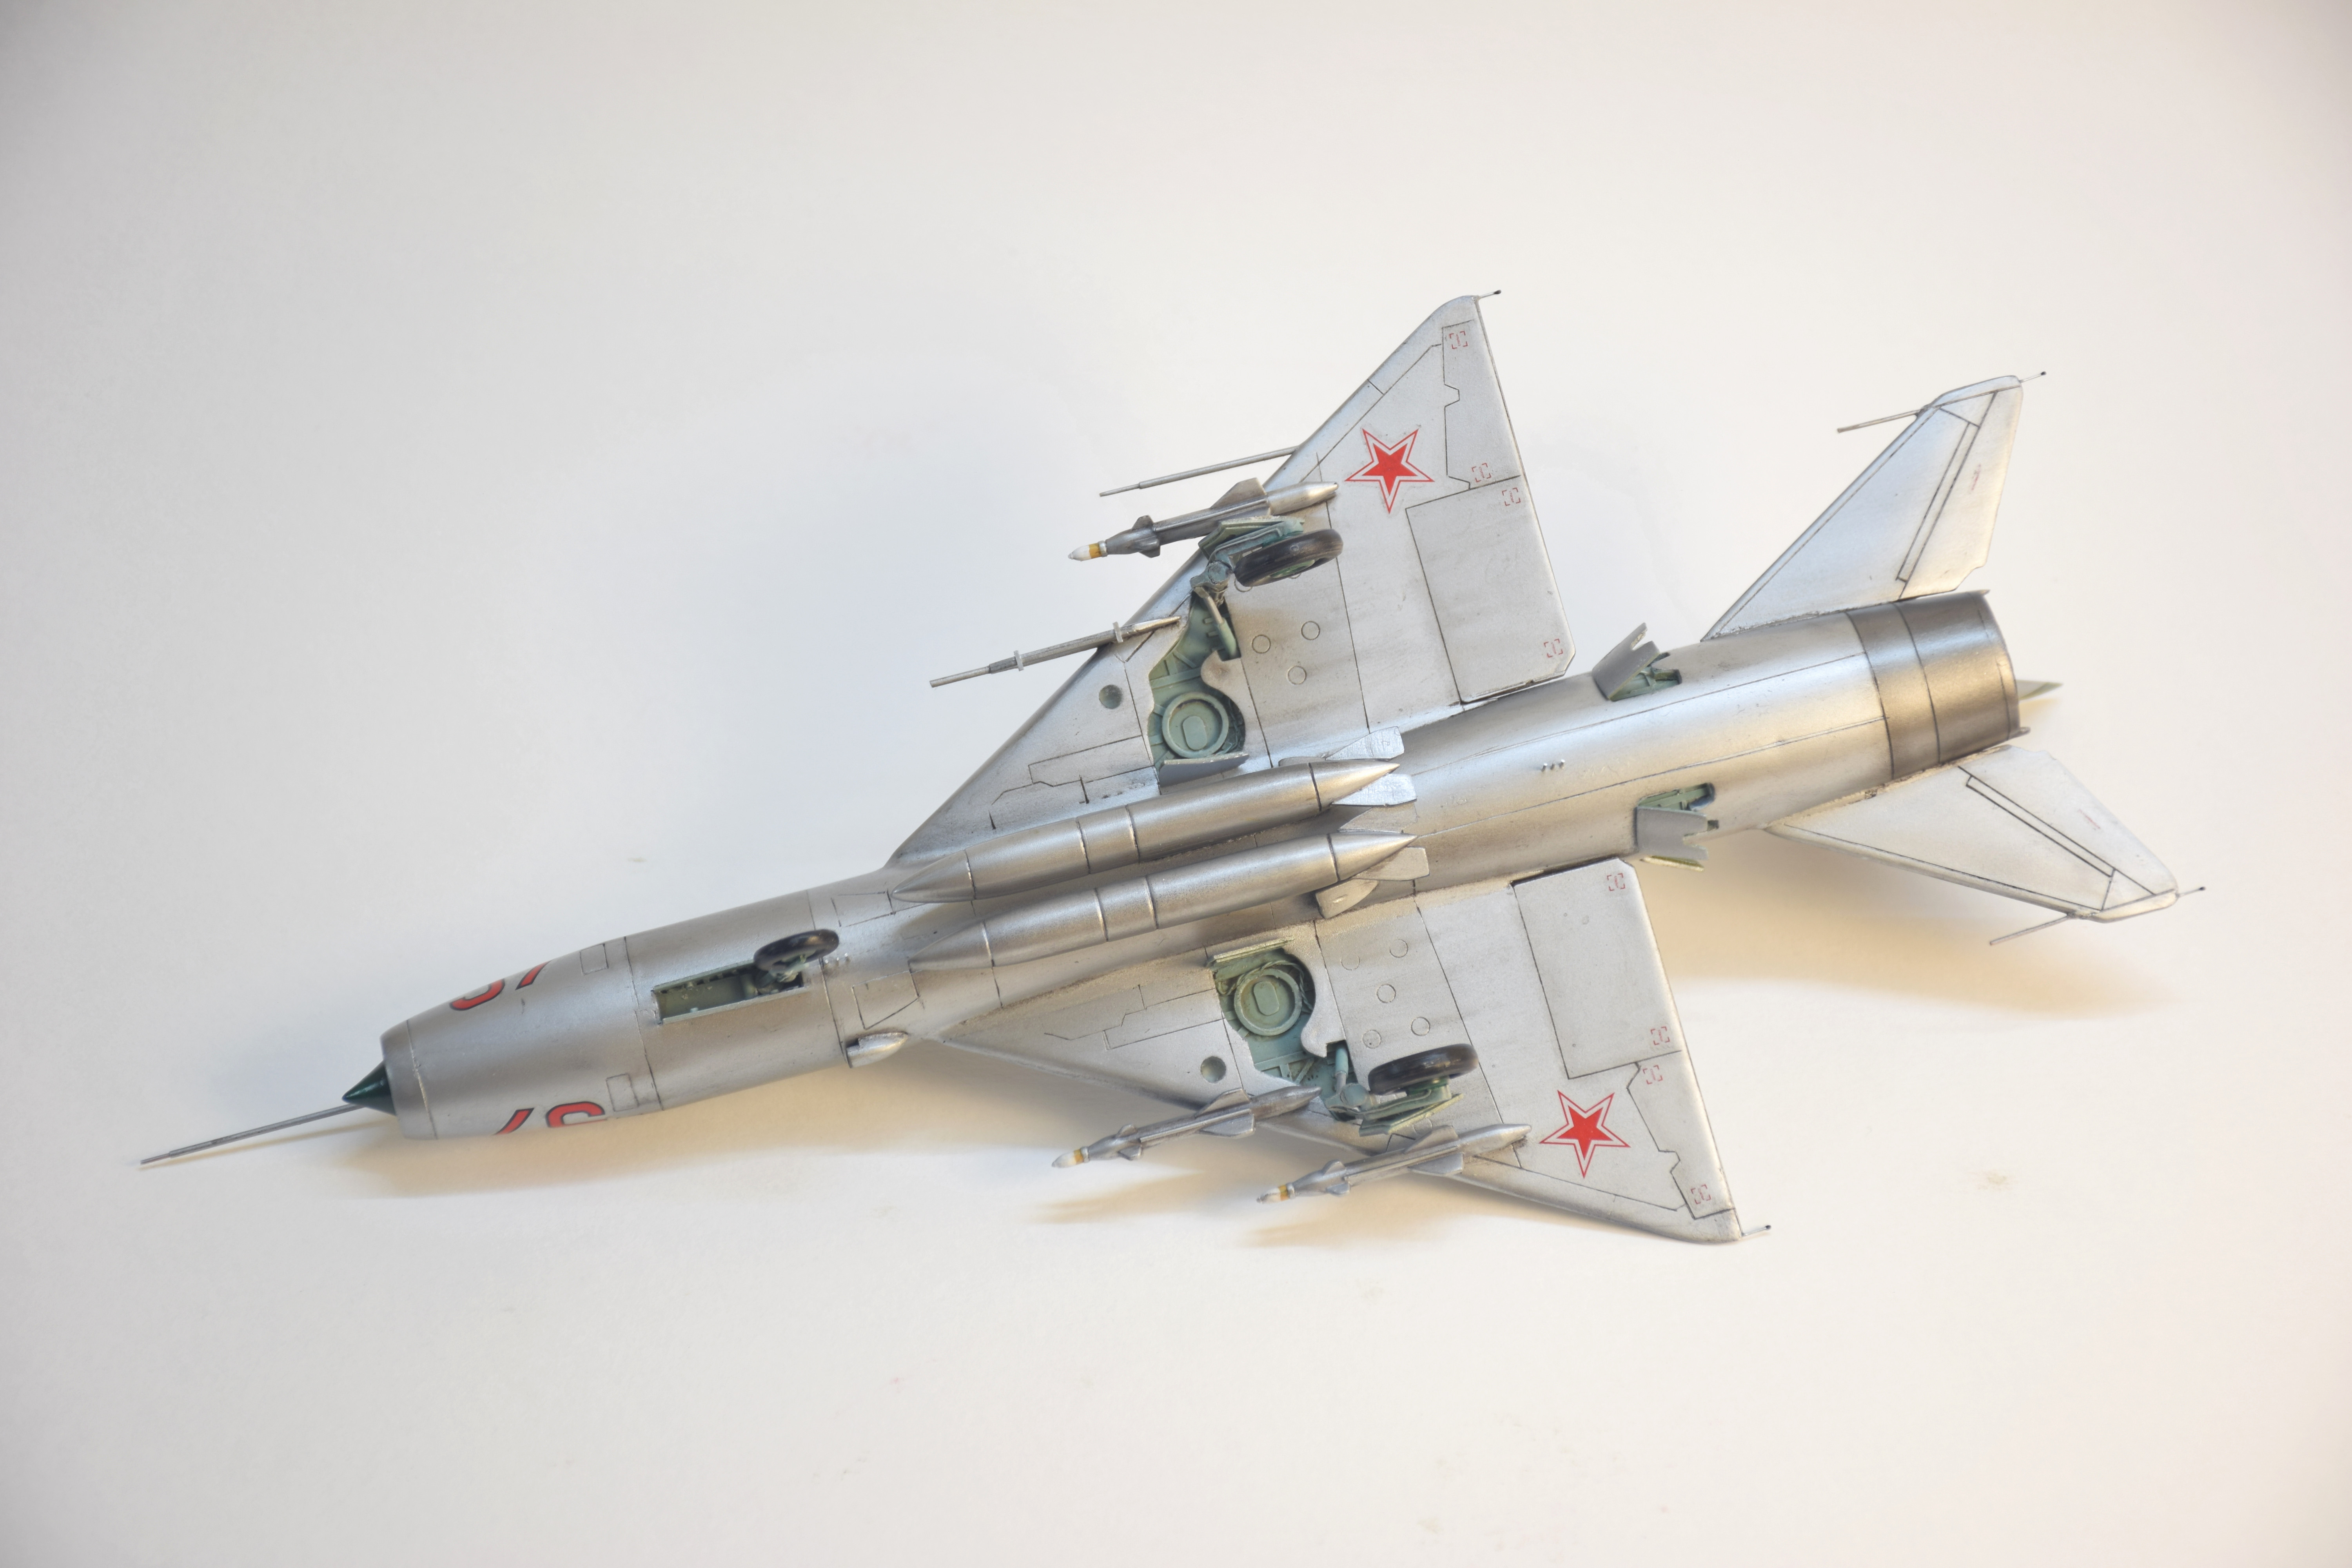
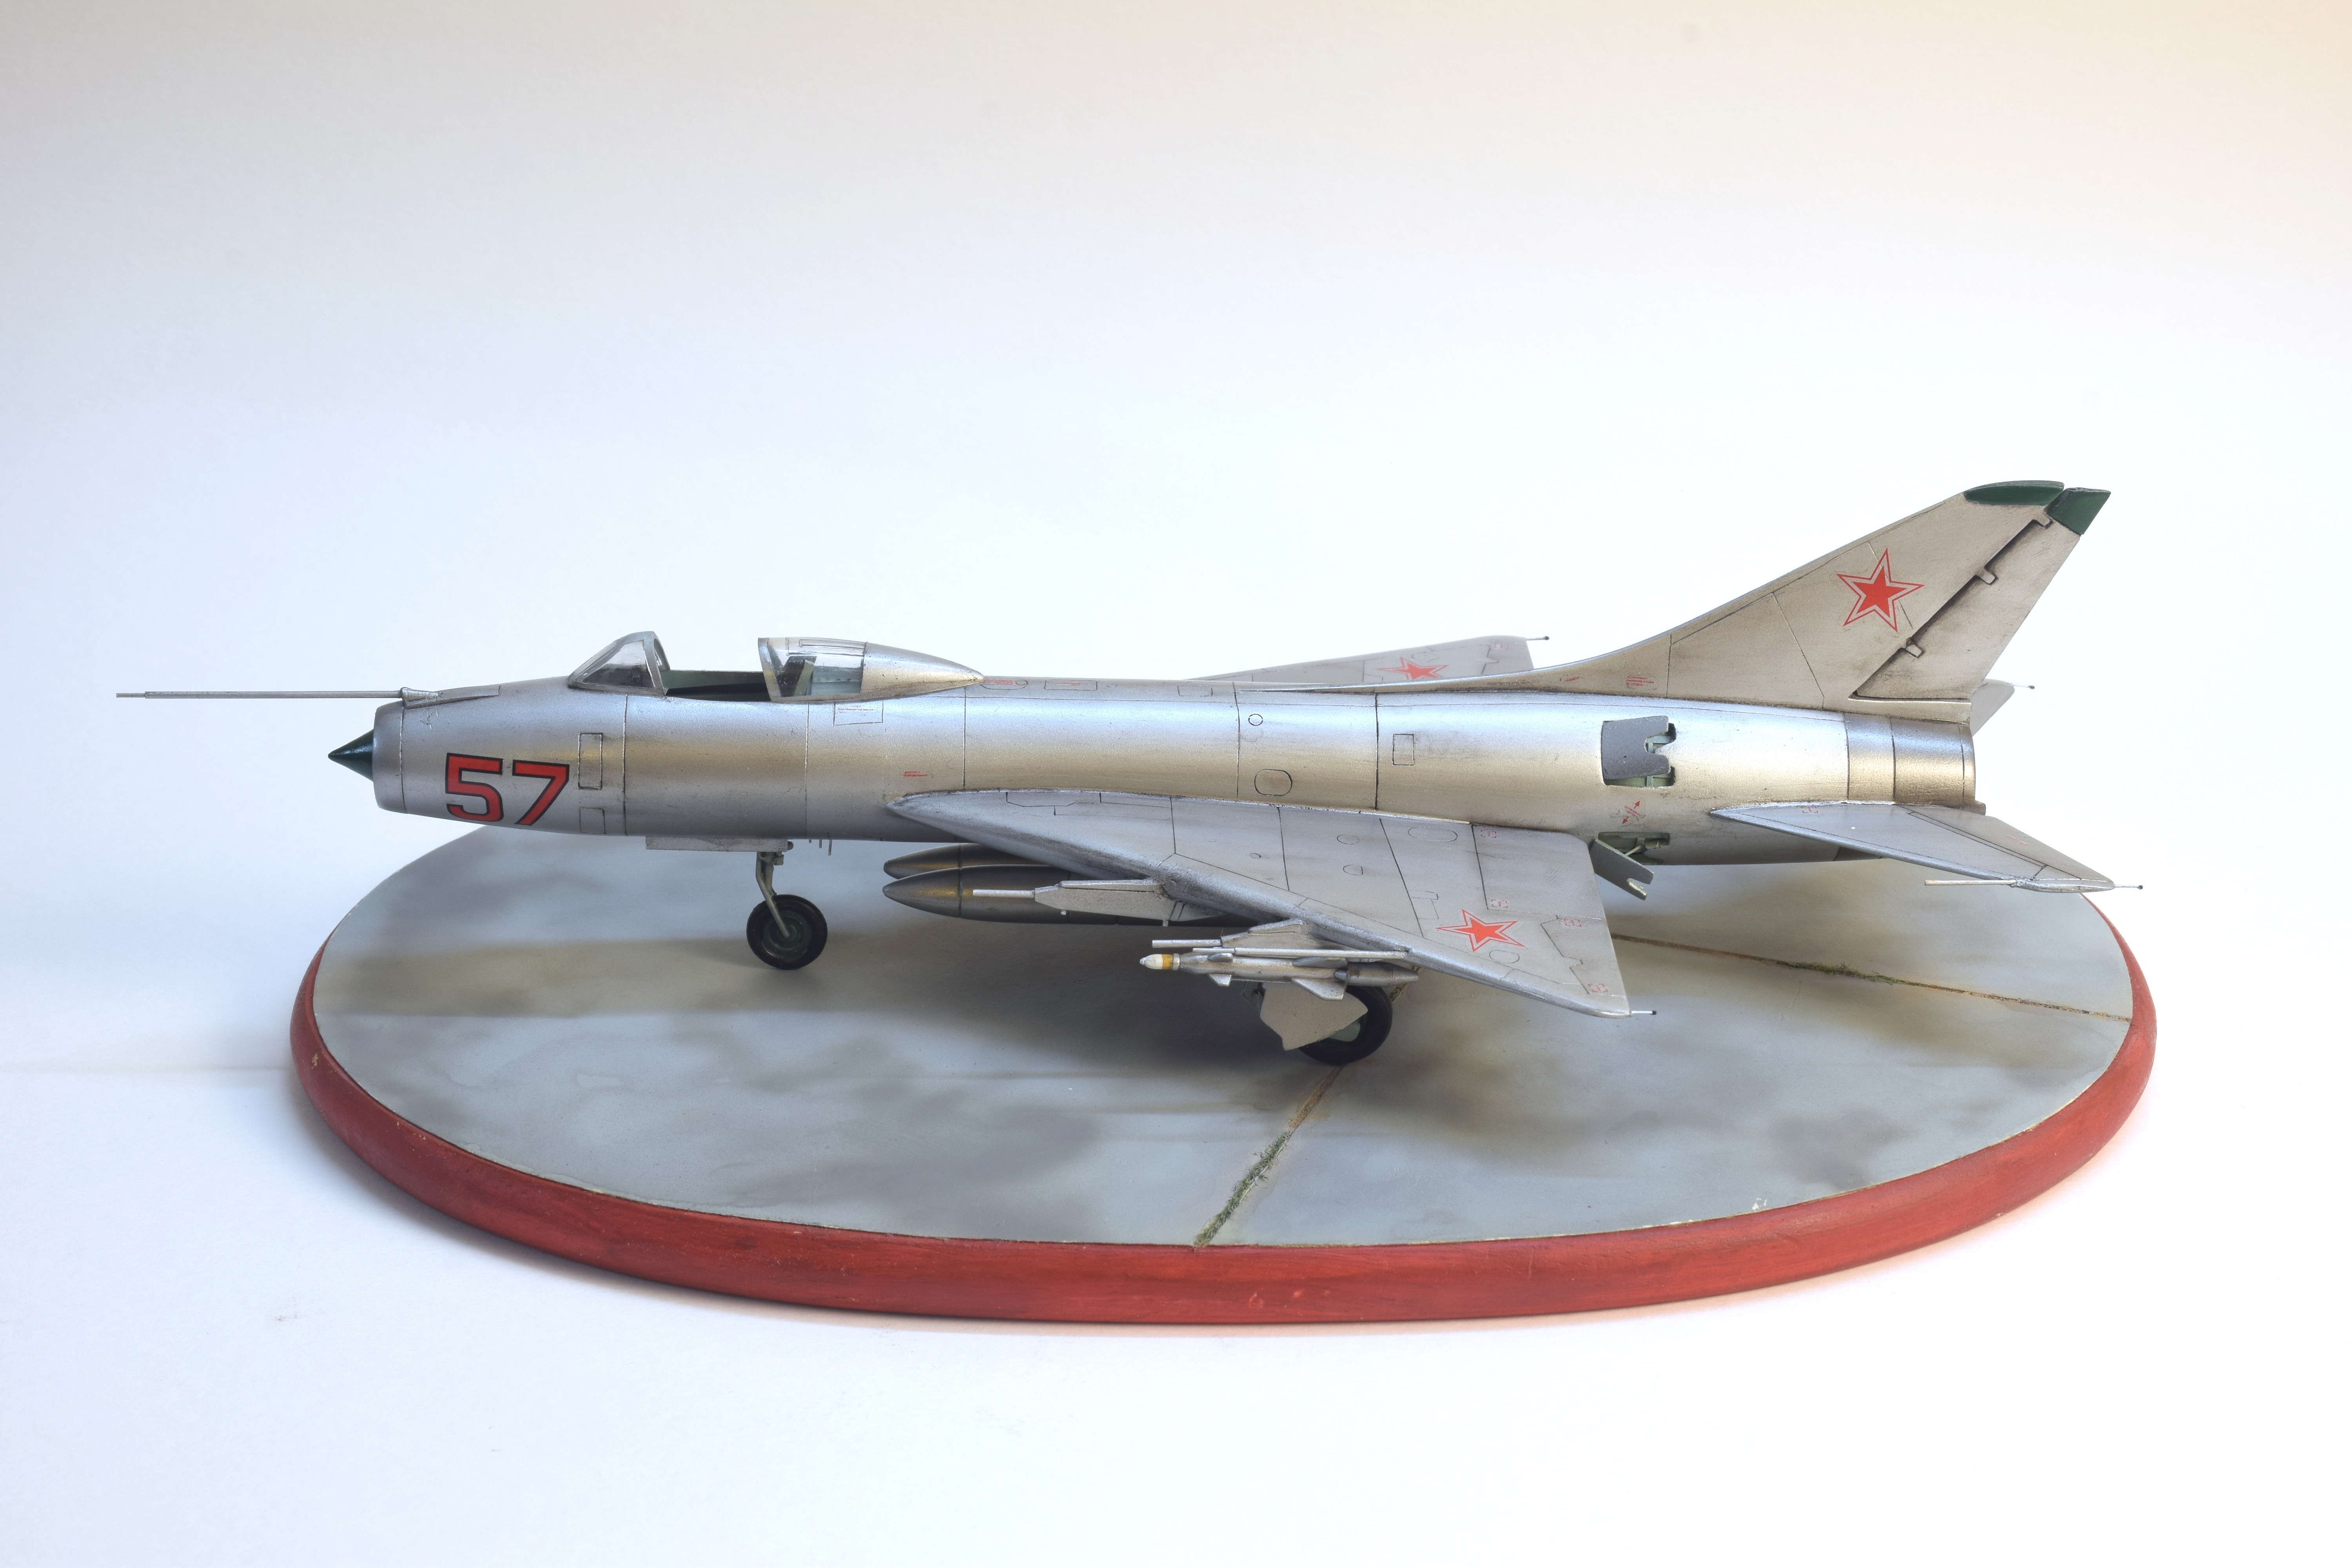
Today i finished the model! Finaly done!
heavyjagdpanzer
Joined: February 17, 2013
KitMaker: 173 posts
AeroScale: 108 posts
Posted: Wednesday, October 14, 2020 - 03:34 PM UTC
pkrasna, great natural metal finish.
 |

WEB HOSTING BY


Copyright ©2021 AeroScale and Kitmaker Network, a subsidiary of Silver Star Enterprises
All Rights Reserved. Please read our Conditions of Use and Privacy Policy.
All Rights Reserved. Please read our Conditions of Use and Privacy Policy.