OFFICIAL: Hangar Queen 10 Campaign
England - East Midlands, United Kingdom
Joined: February 07, 2004
KitMaker: 911 posts
AeroScale: 415 posts
Posted: Saturday, March 07, 2020 - 02:25 AM UTC
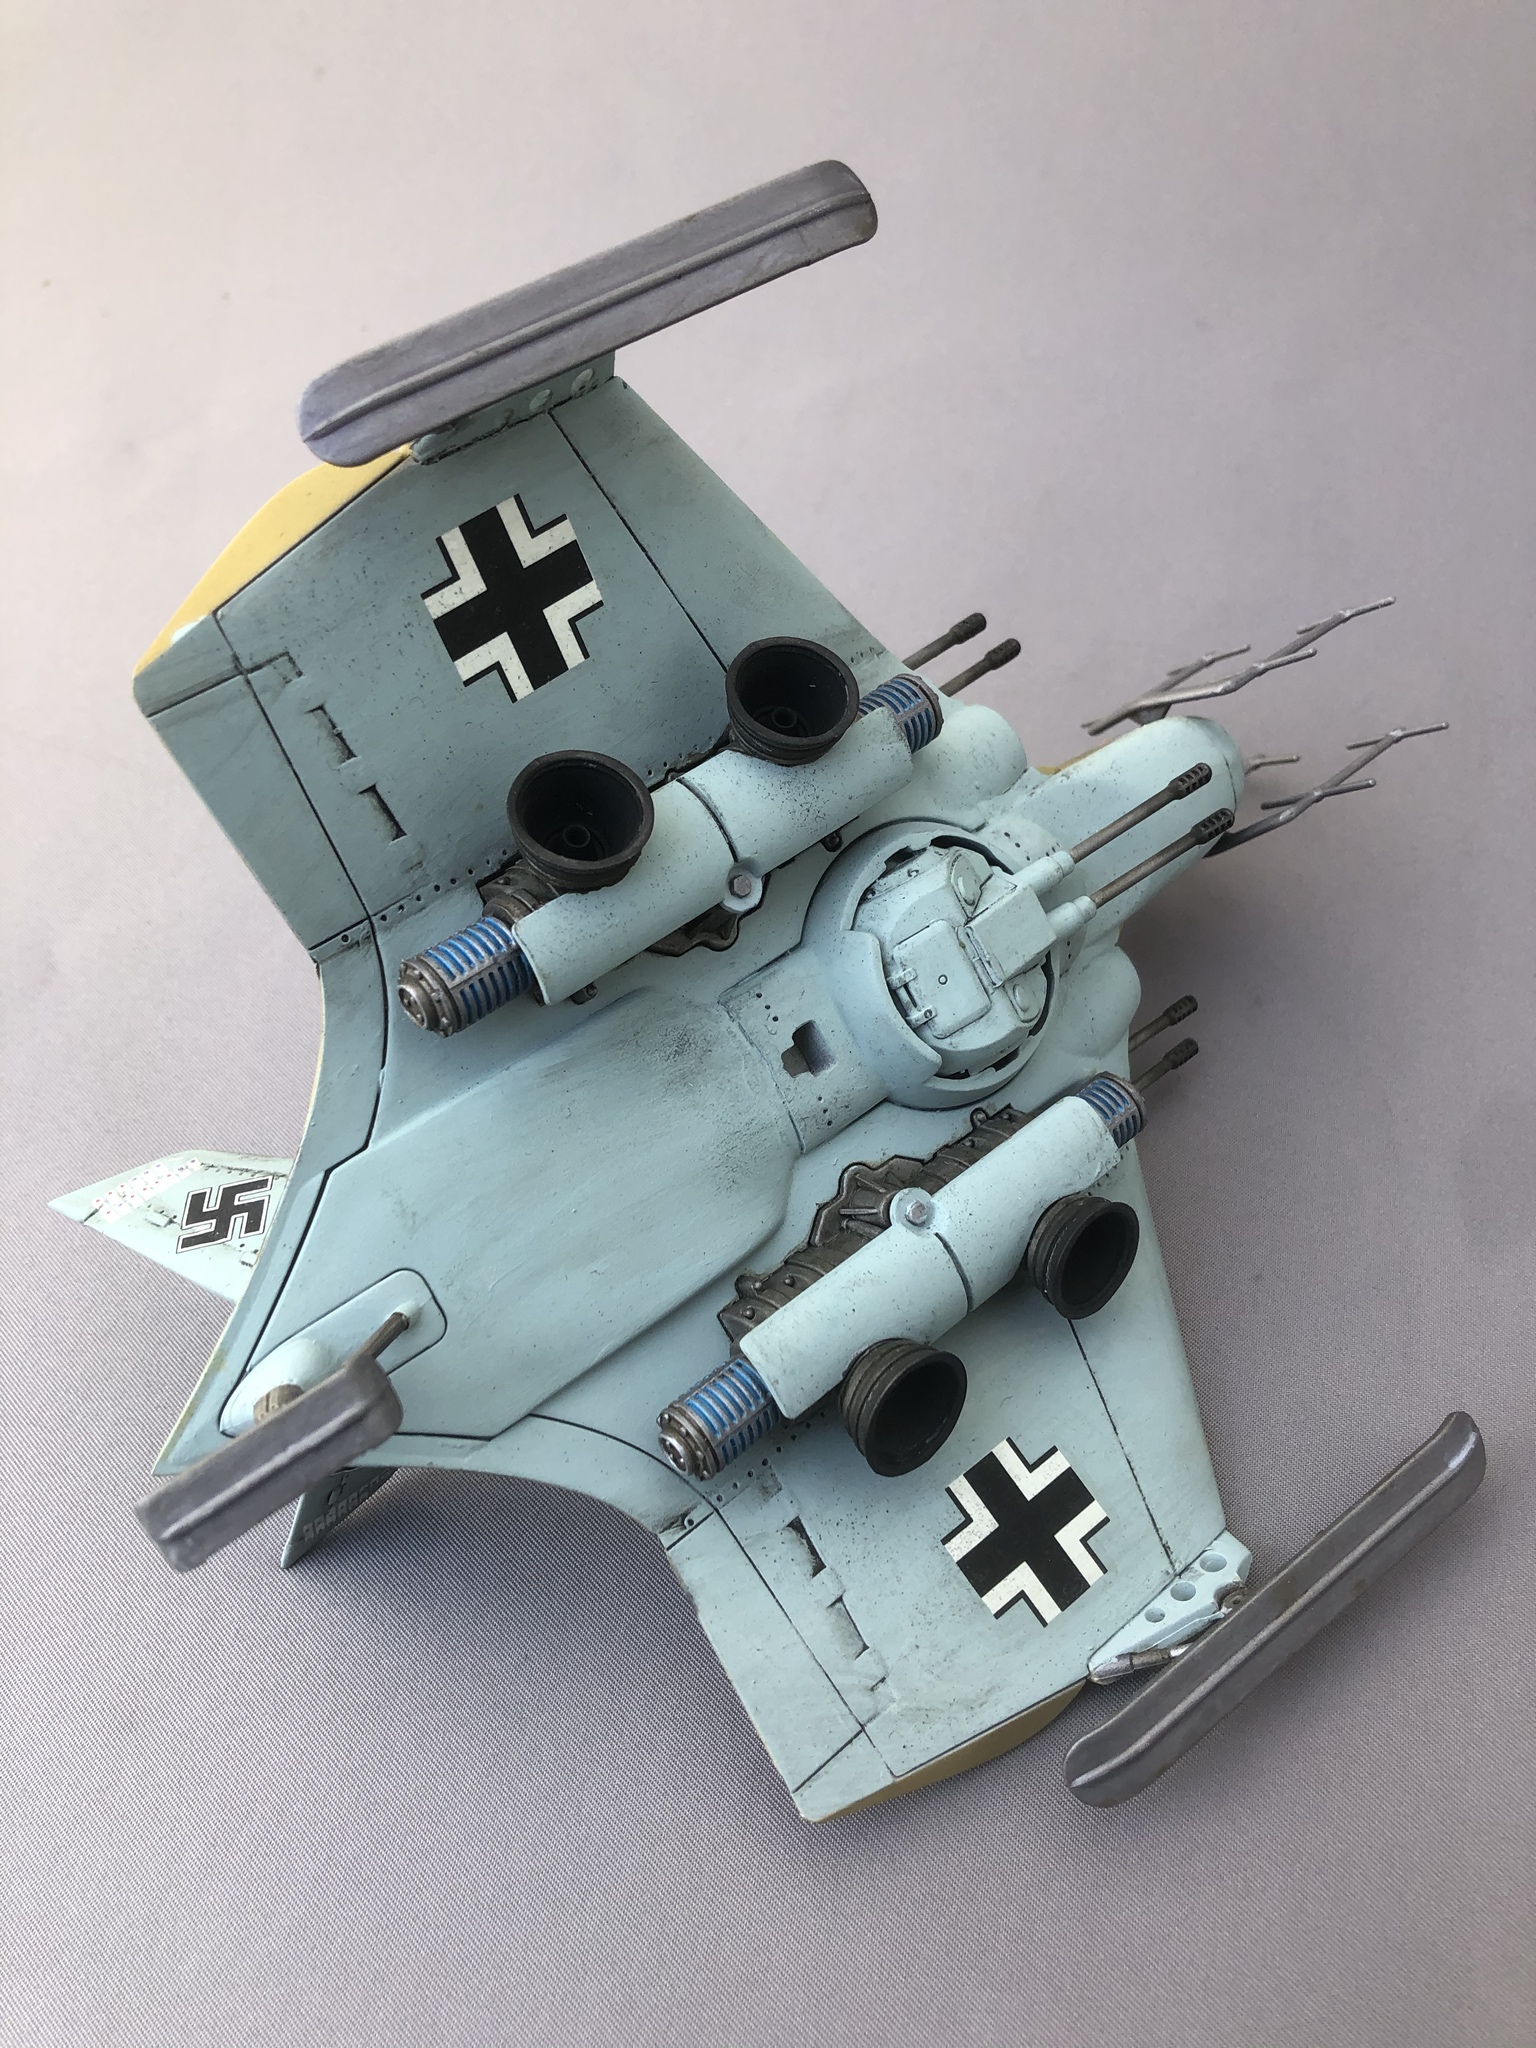
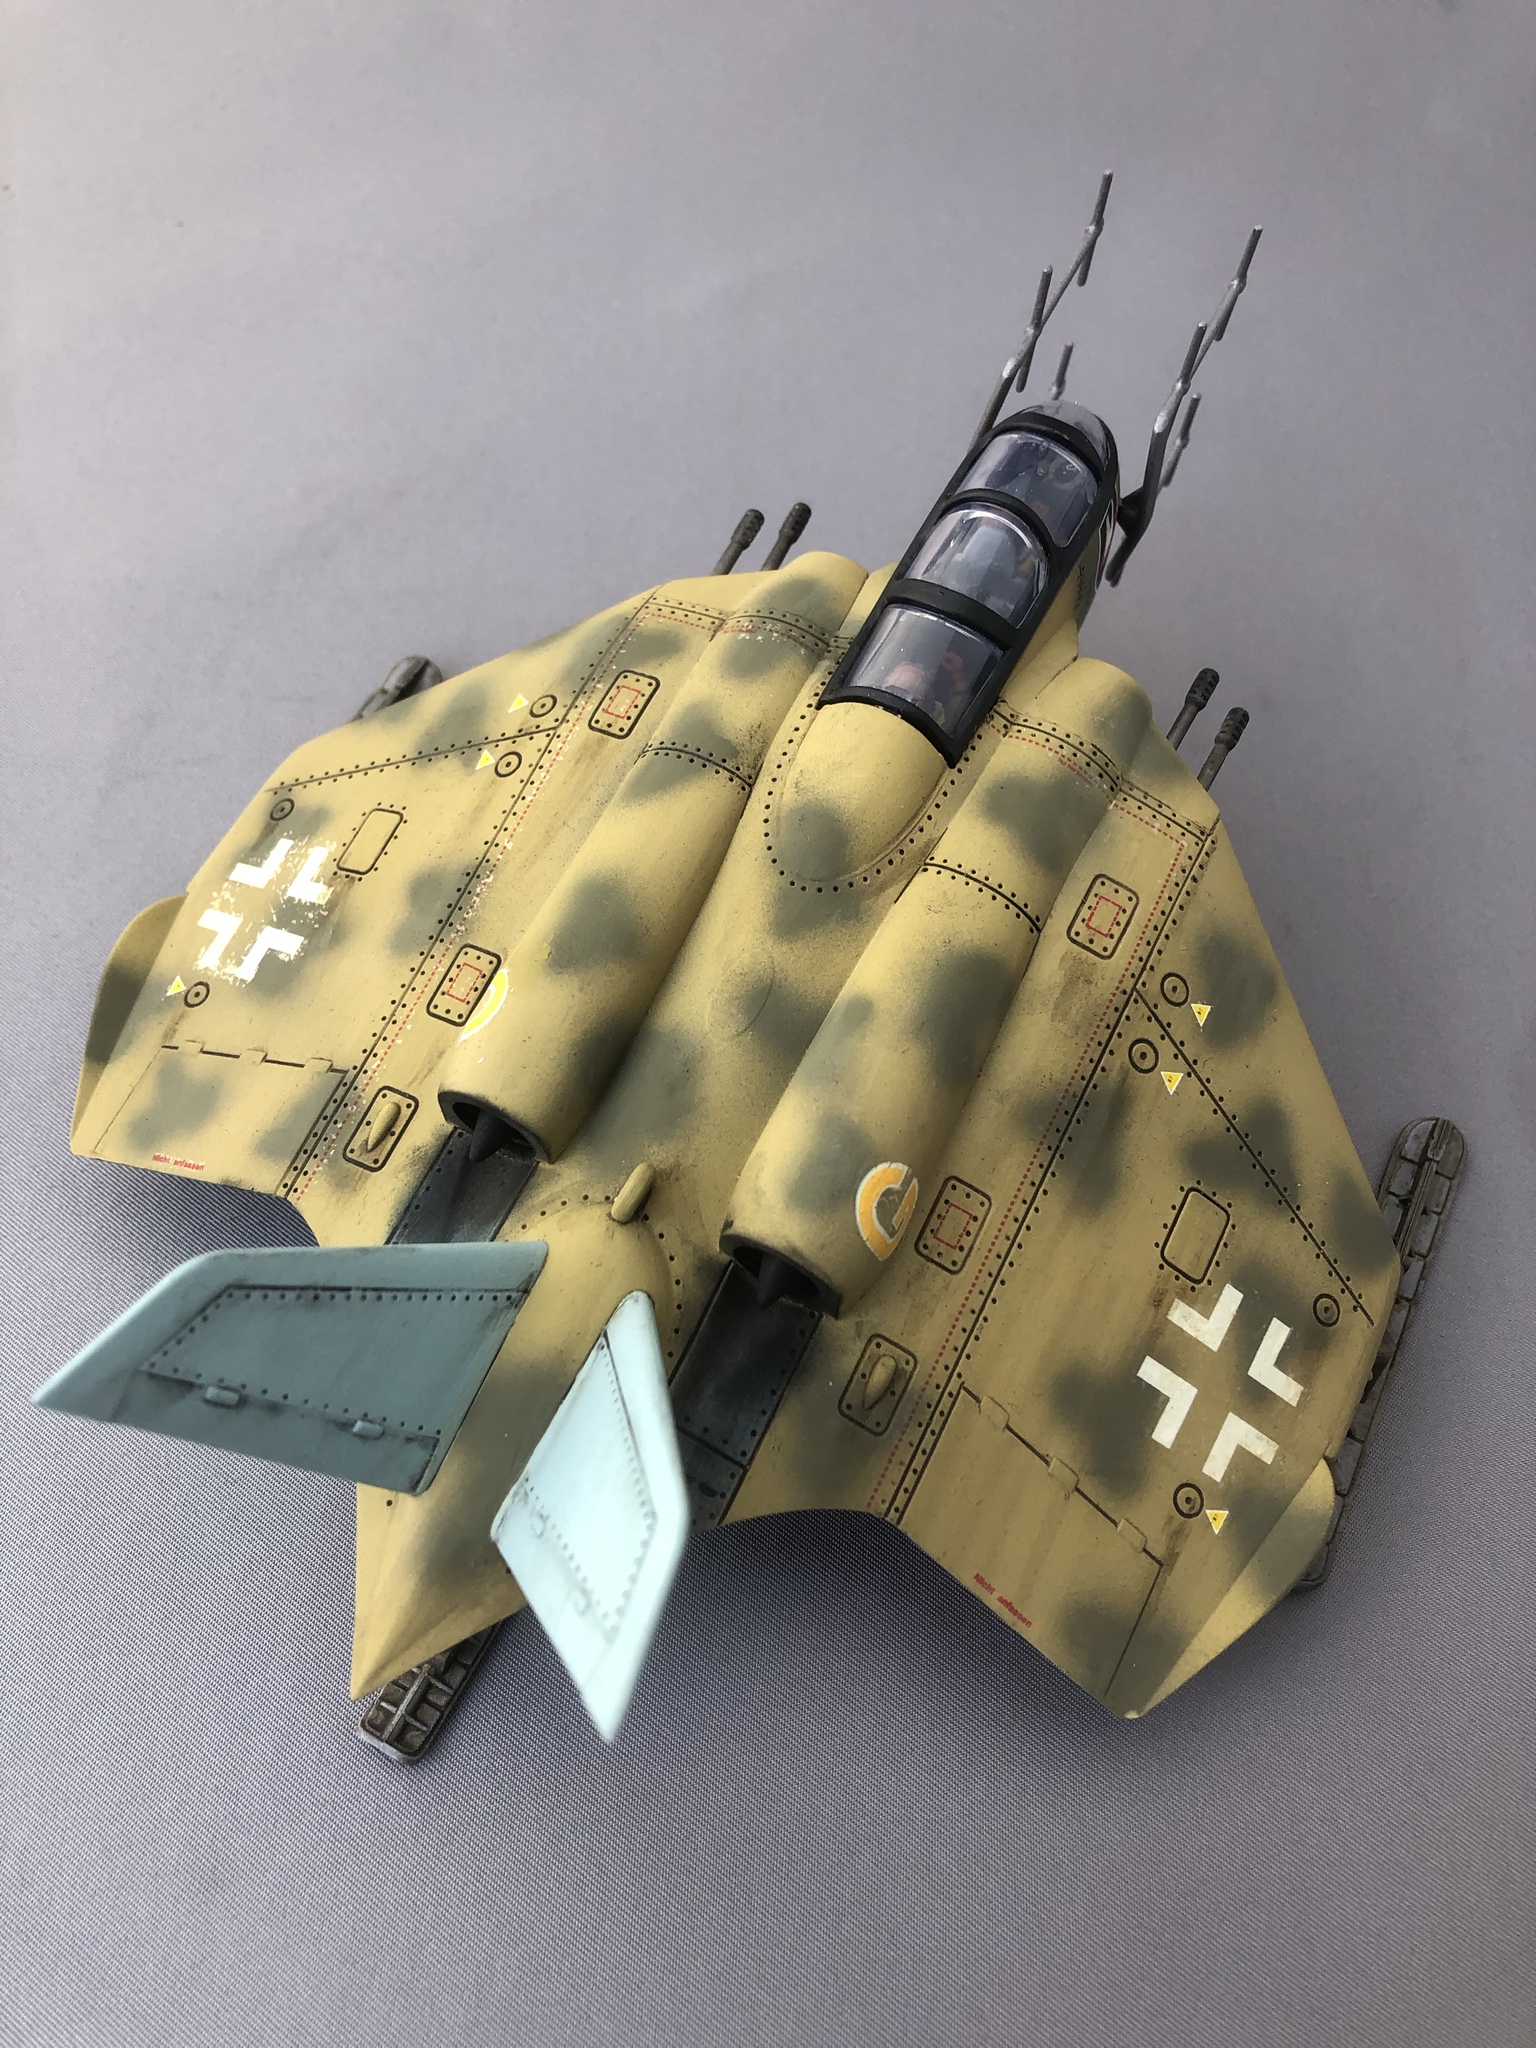
Mike, you gotta finish the Falcon!
1) It's so close to being done
2) It's cool.

"Nelson be damned.......Lets get the hell out of here!"

#243
England - North East, United Kingdom
Joined: March 21, 2008
KitMaker: 996 posts
AeroScale: 915 posts
Posted: Saturday, March 21, 2020 - 02:46 AM UTC
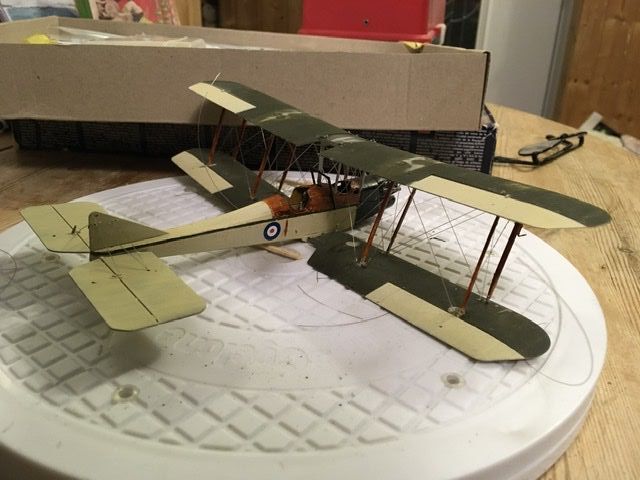
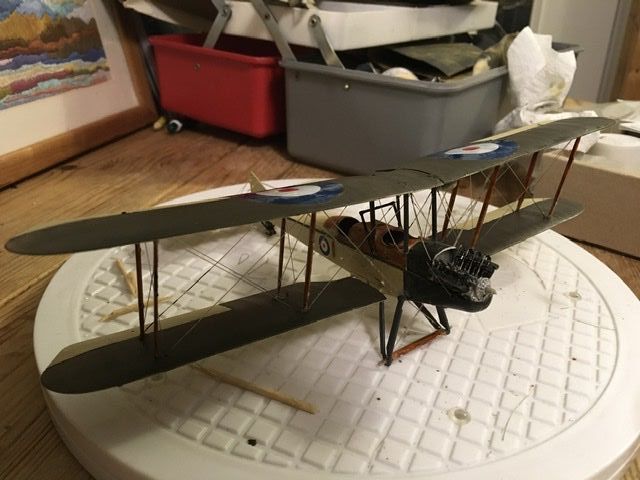
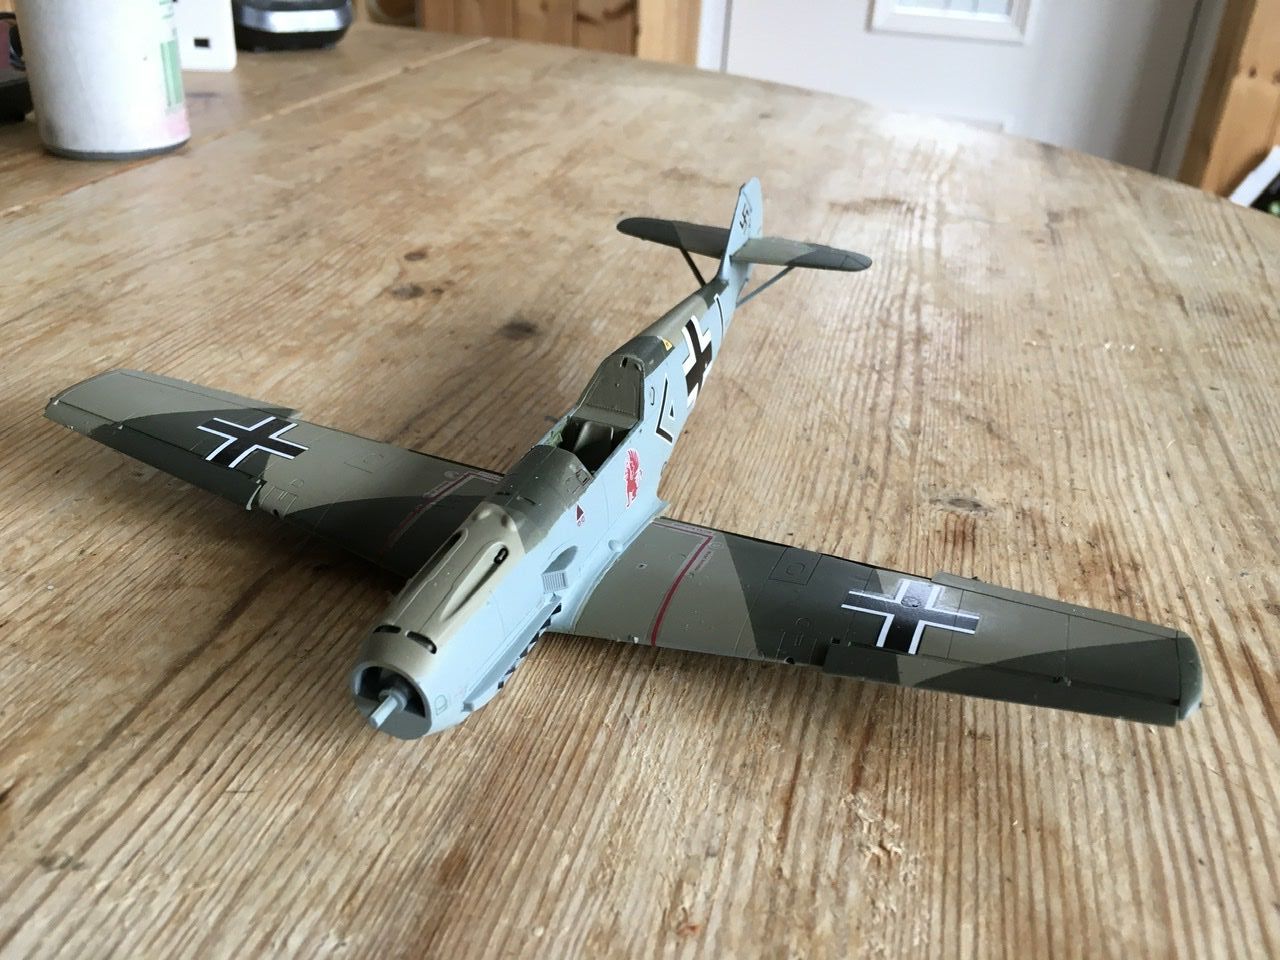
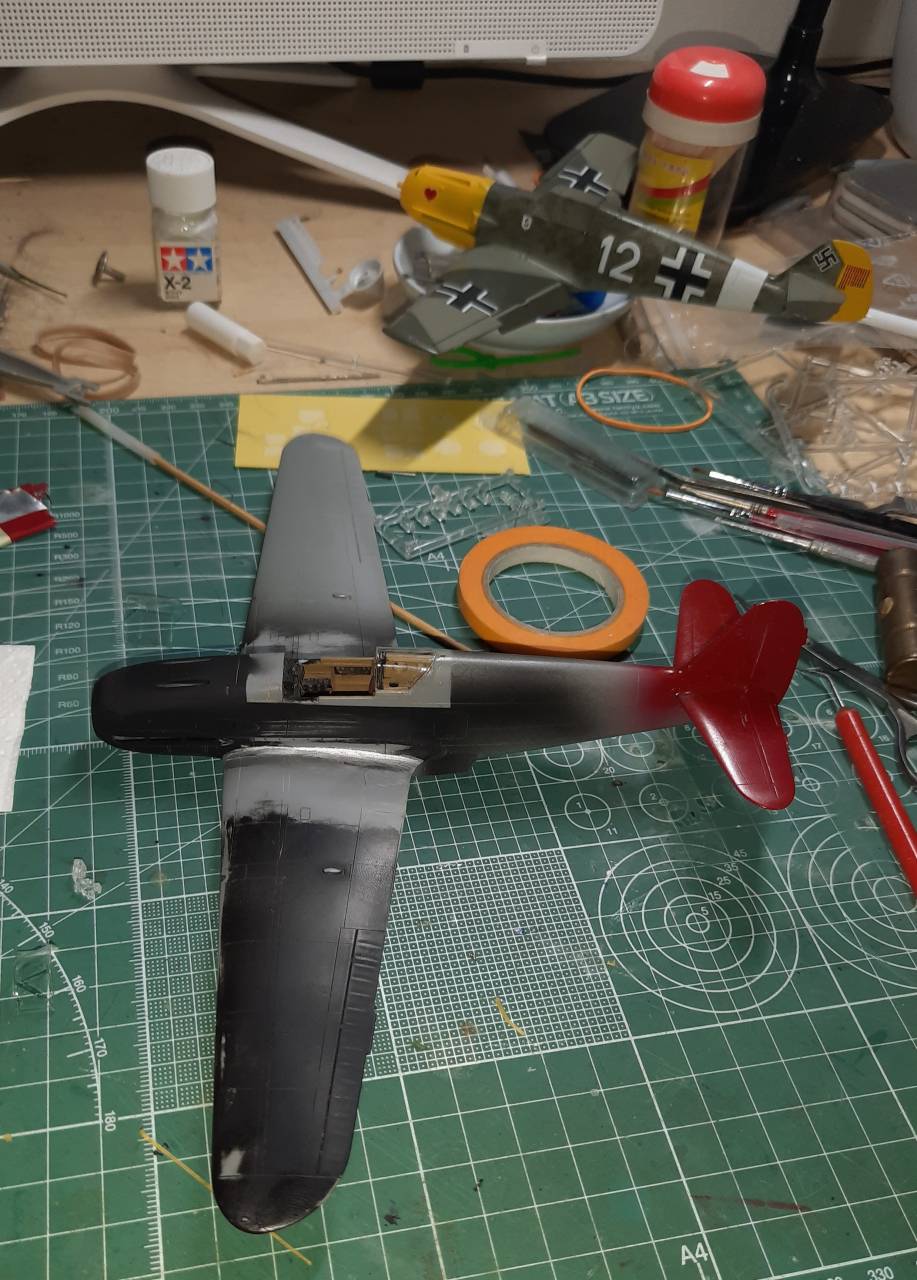
I am in for this, my whole building trail got stuck and havent built anything for a couple of years. Two builds, Tamiya 1/48 Bf109E3 actually painted it today so pic later. Roden 1/48 BE2c that has been fighting back. Main painting and assembly is done but it is so fragile
Andrew
Pfalz DIIIa, Eduard 1/48 Uffz Max Hitschler Jasta 18 Late 1917
#243
England - North East, United Kingdom
Joined: March 21, 2008
KitMaker: 996 posts
AeroScale: 915 posts
Posted: Saturday, March 21, 2020 - 11:08 AM UTC
Andrew
Pfalz DIIIa, Eduard 1/48 Uffz Max Hitschler Jasta 18 Late 1917
#243
England - North East, United Kingdom
Joined: March 21, 2008
KitMaker: 996 posts
AeroScale: 915 posts
Posted: Saturday, March 21, 2020 - 11:20 AM UTC
The 109E is a simpler job, I actually worked on this before I decided to post here. Today painted camo and added decals
Andrew
Pfalz DIIIa, Eduard 1/48 Uffz Max Hitschler Jasta 18 Late 1917
Quebec, Canada
Joined: June 23, 2008
KitMaker: 414 posts
AeroScale: 364 posts
Posted: Saturday, March 21, 2020 - 11:57 AM UTC
Elegant aeroplane is the BE2C.
IMHO once you have the two wings on and the fuselage buttoned up, you're half way there. You've already put a lot of work on it so if I were you I'd carry on.
Looks like you need is new undercarriage, and tail planes, and some markings - maybe what-if civil?
#243
England - North East, United Kingdom
Joined: March 21, 2008
KitMaker: 996 posts
AeroScale: 915 posts
Posted: Sunday, March 22, 2020 - 09:39 AM UTC
Dug the rest of the kit out this morning, social isolation has some benefits. As far as I can see I just need a new rudder, everything else is there. Need to finish the 109 first then I can concentrate on the BE2
Andrew
Pfalz DIIIa, Eduard 1/48 Uffz Max Hitschler Jasta 18 Late 1917
MichaelSatin
 Campaigns Administrator
Colorado, United States
Joined: January 19, 2008
KitMaker: 3,909 posts
AeroScale: 2,904 posts
Posted: Saturday, March 28, 2020 - 10:59 AM UTC
Good to see some stuff getting done here!
Lord knows, I have plenty of kits I should be working on for campaigns I started, but I have this urge to build an F-86. And, as it happens, I have the original issue of the 1/32 Kinetic kit in the stash, with the AMS resin upgrades and a Wardbirds decal sheet for John Glenn's MiG Mad Marine. I started it a long time ago and then put it aside, for some reason. Here's where I am now:
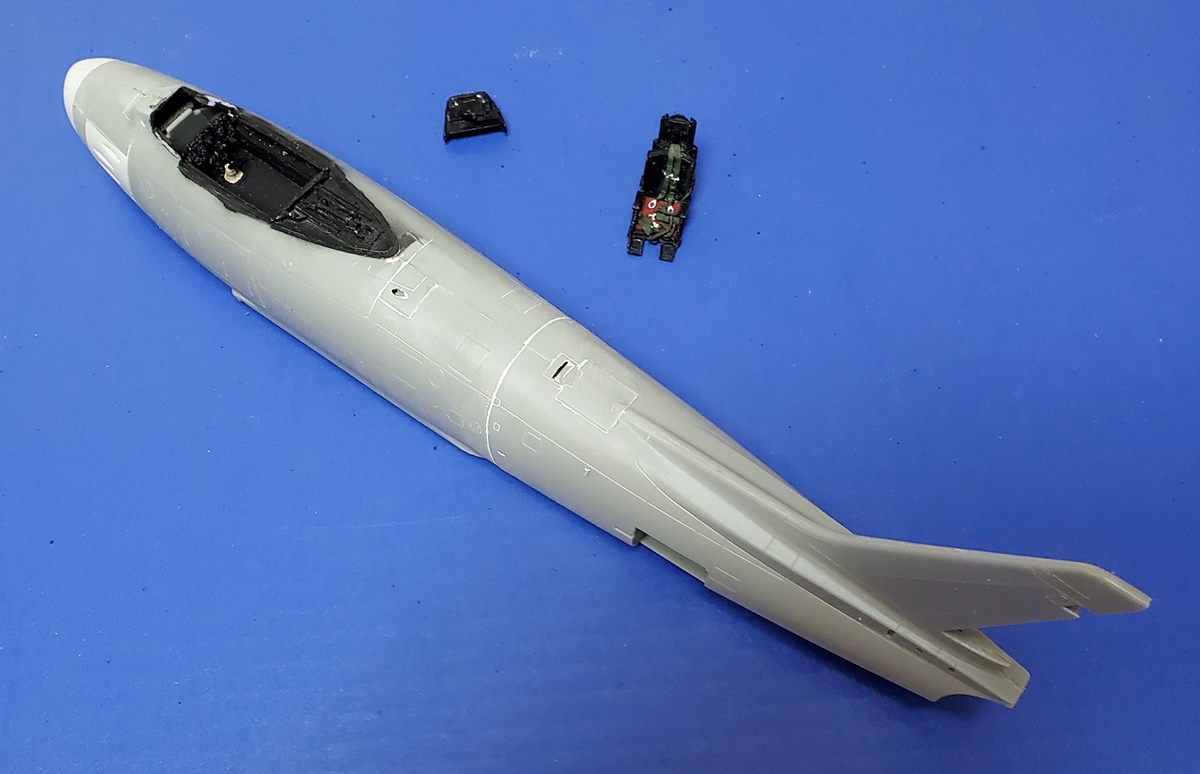
It's a pretty good kit, and the AMS stuff really dresses up the cockpit. Maybe it's time to jump back in...
Michael

On the bench:
Sorta depends on your definition of "on the bench"...
#041
Kobenhavn, Denmark
Joined: July 20, 2006
KitMaker: 10,069 posts
AeroScale: 3,788 posts
Posted: Monday, March 30, 2020 - 02:36 AM UTC
Wow, Andrew. That BE2c will be a challenge, but I am sure you can do it.
Looking forward to see more.

Campaign'oholic - 252+ campaigns completed
#243
England - North East, United Kingdom
Joined: March 21, 2008
KitMaker: 996 posts
AeroScale: 915 posts
Posted: Thursday, April 02, 2020 - 07:46 AM UTC
Andrew
Pfalz DIIIa, Eduard 1/48 Uffz Max Hitschler Jasta 18 Late 1917
#243
England - North East, United Kingdom
Joined: March 21, 2008
KitMaker: 996 posts
AeroScale: 915 posts
Posted: Thursday, April 02, 2020 - 08:11 AM UTC
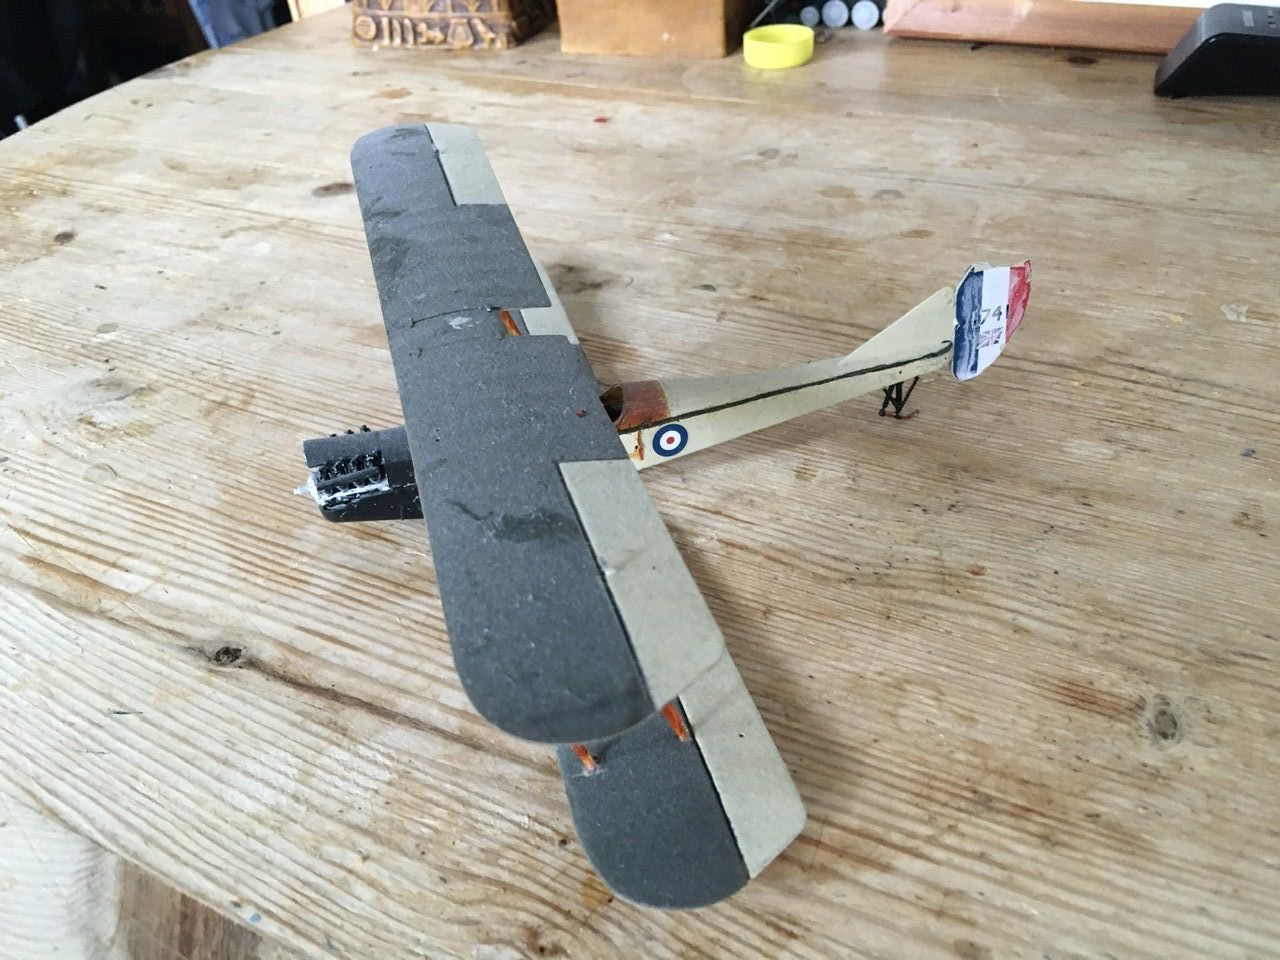
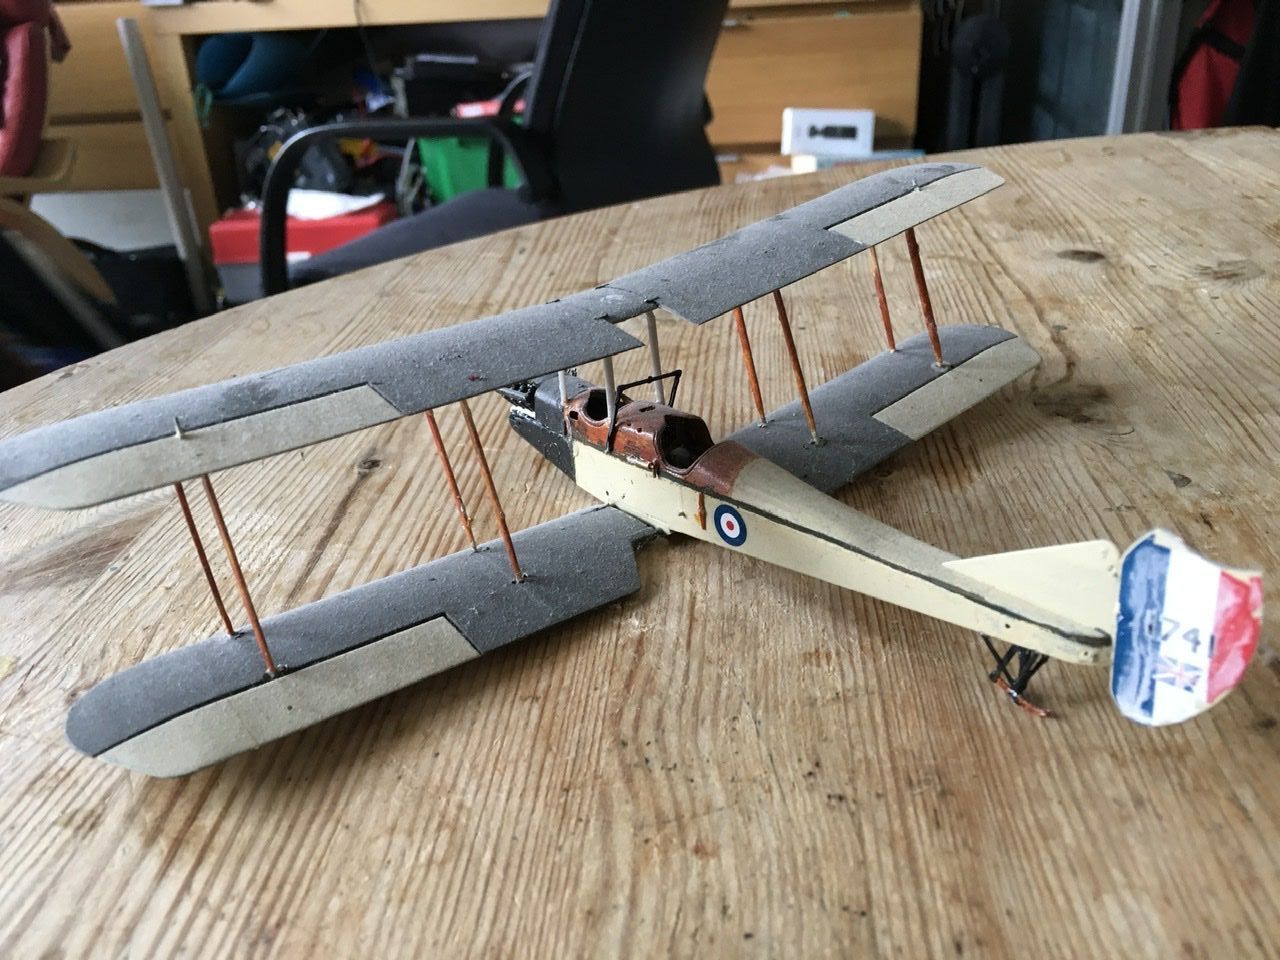
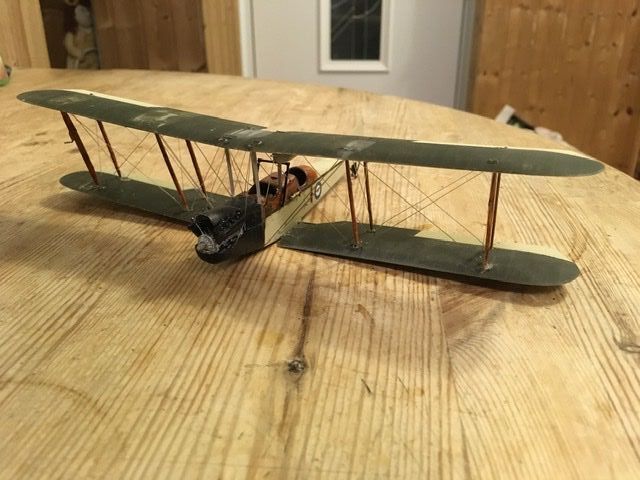
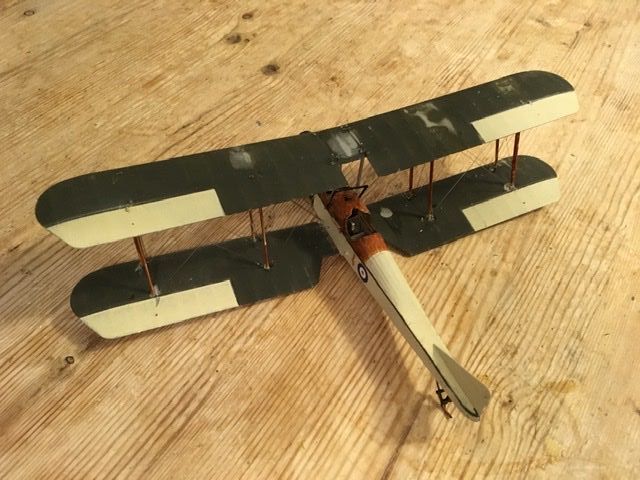
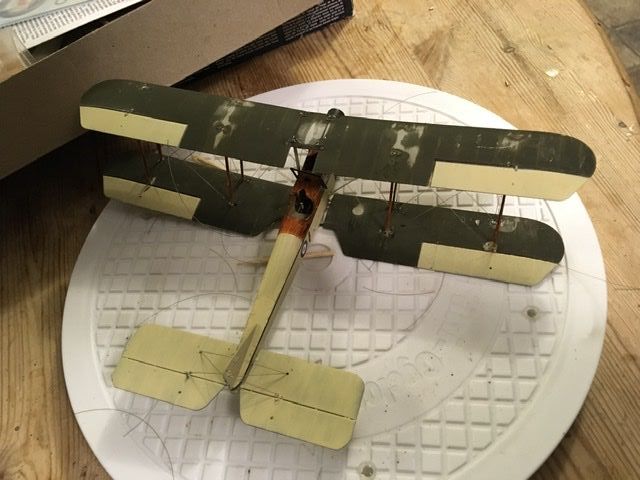
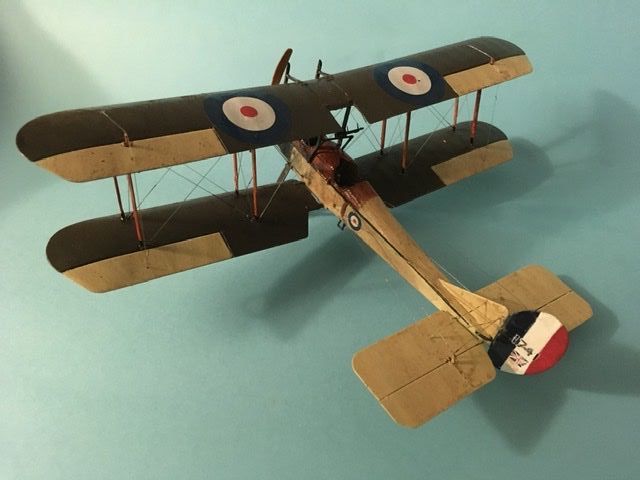
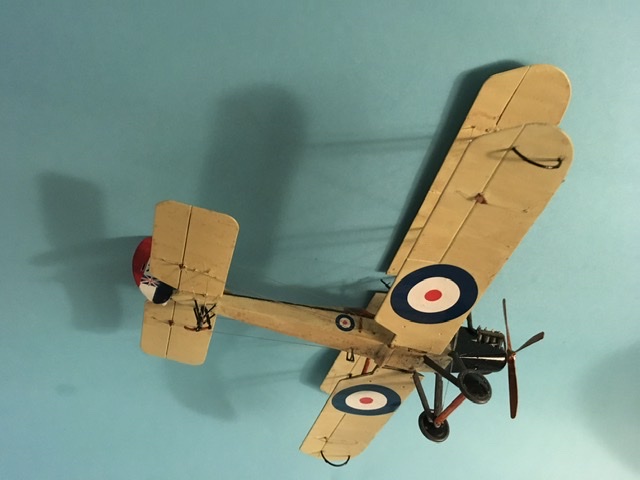
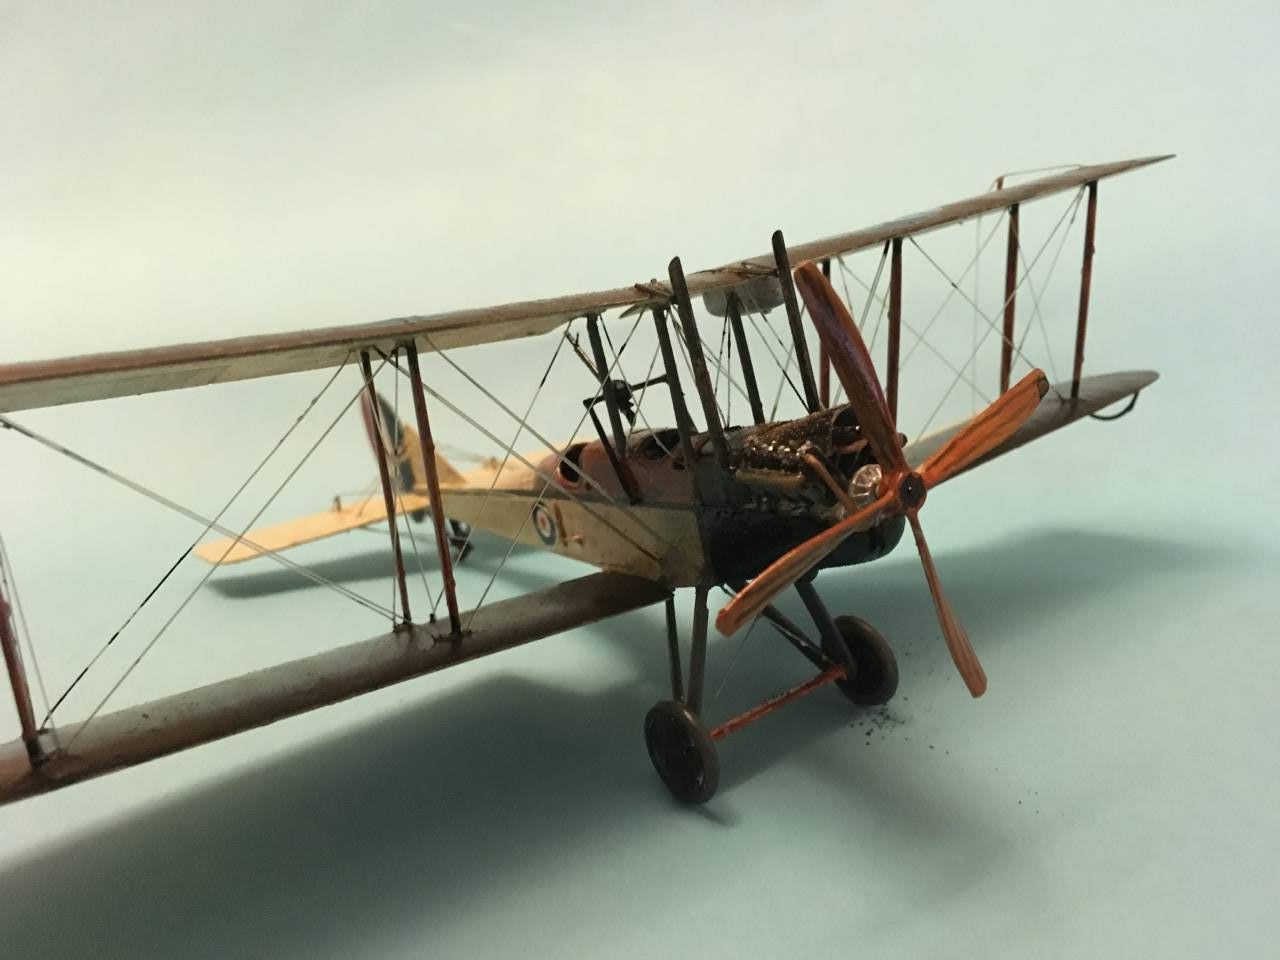
Now the 109 is out of the way, I can concentrate on the. First task was a good clean and the discovery that the top wing is painted in Olive Drab rather than my preferred Khaki Drab. Have to see if I have any paint, I cant get any more at the moment. Decided to rig anyway using 8lb breaking strain fishing line. I had drilled most of the required holes before, but still had to drill some. Removed the damaged rudder and found the missing piece in the box. Will try to join it back on but will have to repaint the decal. Enjoyed rigging and the model is a lot stronger
Photos to follow when the gallery sorts itself out
Andrew
Pfalz DIIIa, Eduard 1/48 Uffz Max Hitschler Jasta 18 Late 1917
#243
England - North East, United Kingdom
Joined: March 21, 2008
KitMaker: 996 posts
AeroScale: 915 posts
Posted: Thursday, April 02, 2020 - 09:41 AM UTC
Andrew
Pfalz DIIIa, Eduard 1/48 Uffz Max Hitschler Jasta 18 Late 1917
#243
England - North East, United Kingdom
Joined: March 21, 2008
KitMaker: 996 posts
AeroScale: 915 posts
Posted: Thursday, April 02, 2020 - 09:13 PM UTC
Andrew
Pfalz DIIIa, Eduard 1/48 Uffz Max Hitschler Jasta 18 Late 1917
#243
England - North East, United Kingdom
Joined: March 21, 2008
KitMaker: 996 posts
AeroScale: 915 posts
Posted: Monday, April 06, 2020 - 01:31 AM UTC
Andrew
Pfalz DIIIa, Eduard 1/48 Uffz Max Hitschler Jasta 18 Late 1917
#243
England - North East, United Kingdom
Joined: March 21, 2008
KitMaker: 996 posts
AeroScale: 915 posts
Posted: Tuesday, April 07, 2020 - 11:03 AM UTC
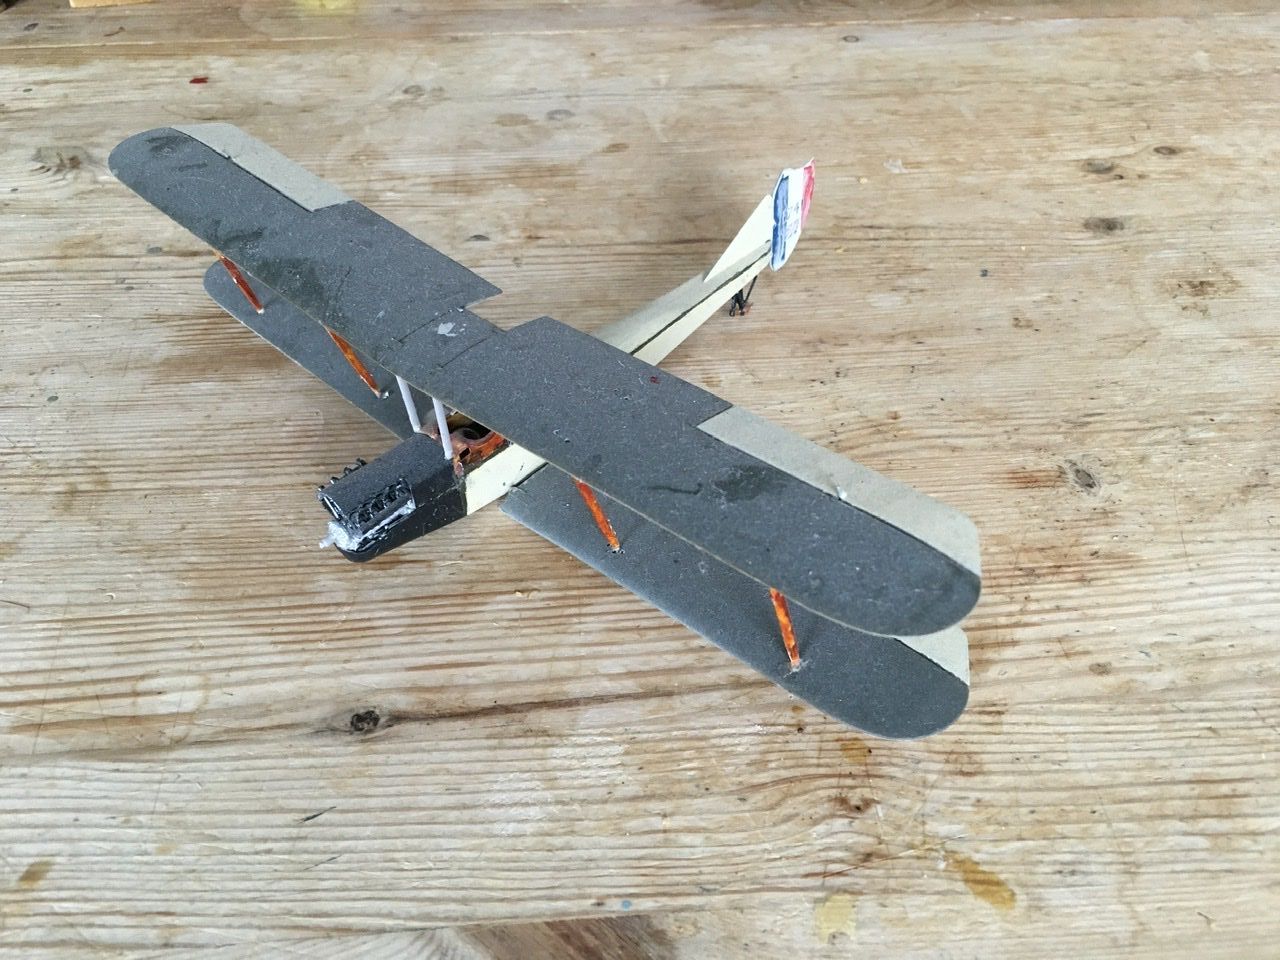
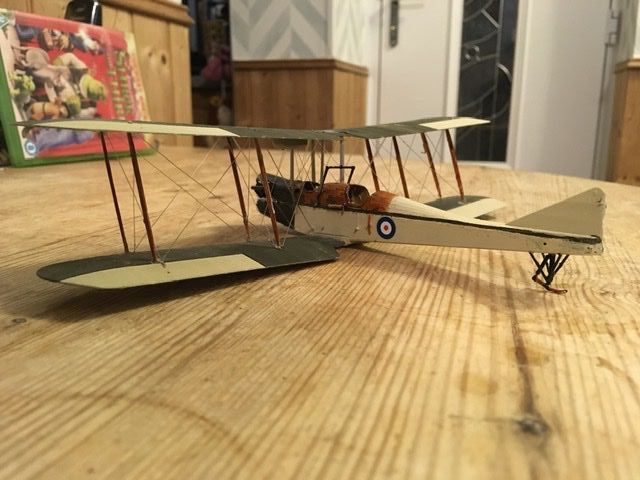
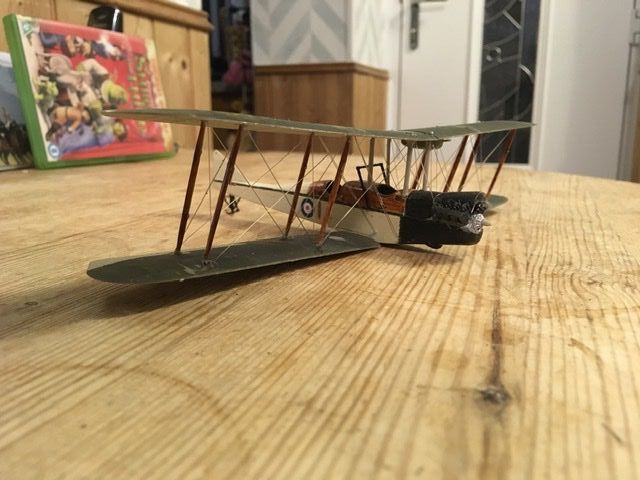
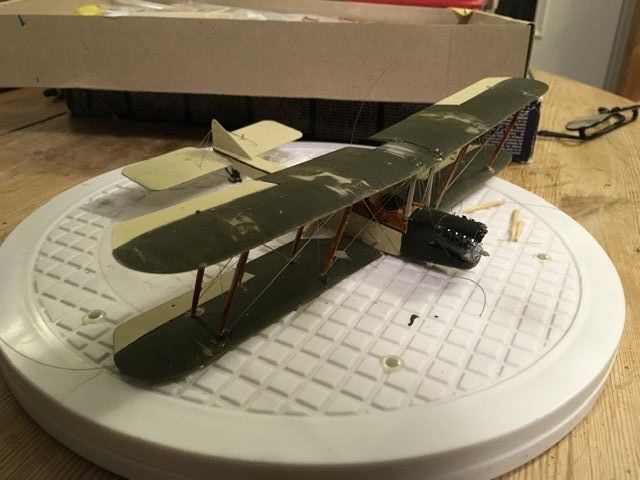
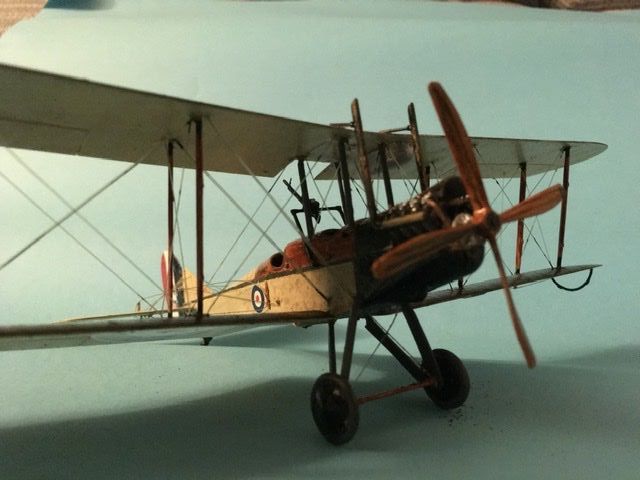
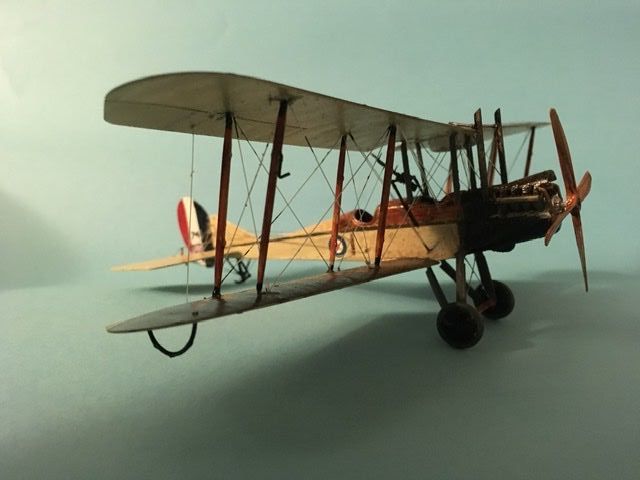
Getting on now, wheel propellor, decals, exhausts, touch up paint. Rudder repaint and fitted

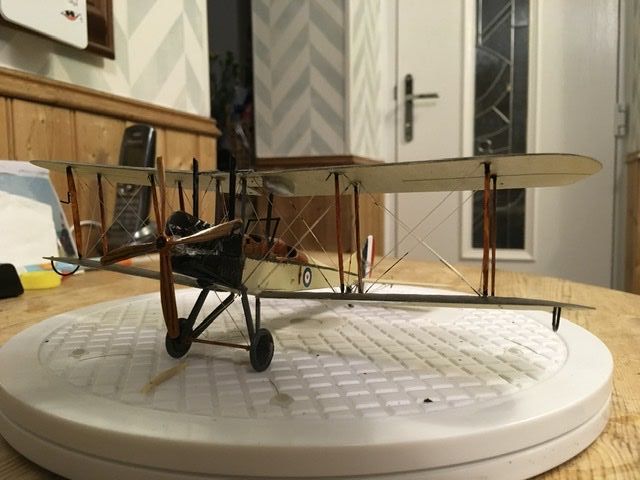

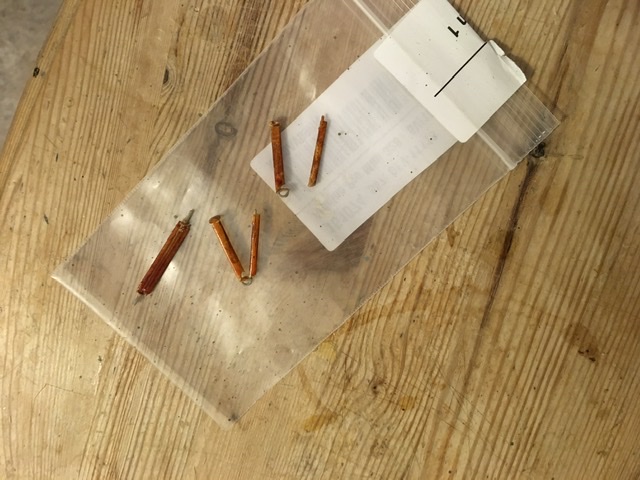
After all the wingeing I did about Roden plastic, the wingtip skids came off the sprues perfectly. Armament and control wires left to do
Andrew
Pfalz DIIIa, Eduard 1/48 Uffz Max Hitschler Jasta 18 Late 1917
#243
England - North East, United Kingdom
Joined: March 21, 2008
KitMaker: 996 posts
AeroScale: 915 posts
Posted: Thursday, April 16, 2020 - 09:53 PM UTC
Andrew
Pfalz DIIIa, Eduard 1/48 Uffz Max Hitschler Jasta 18 Late 1917
England - East Midlands, United Kingdom
Joined: February 07, 2004
KitMaker: 911 posts
AeroScale: 415 posts
Posted: Thursday, April 16, 2020 - 11:34 PM UTC
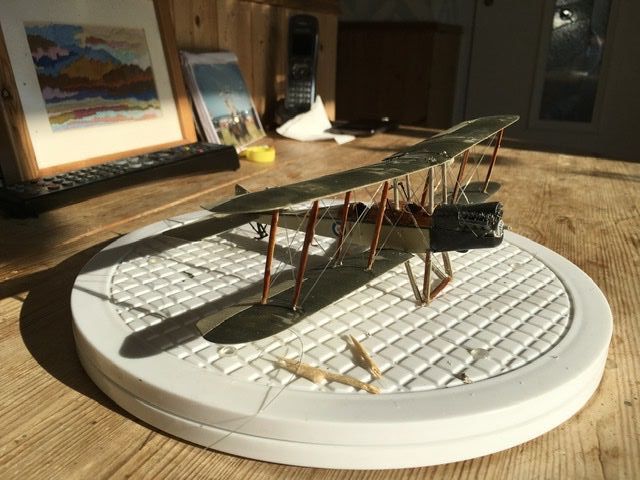
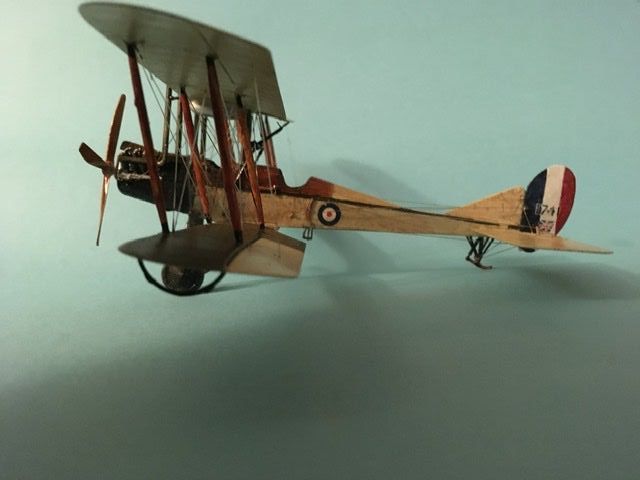
Wow, she's a beauty!
"Nelson be damned.......Lets get the hell out of here!"
Buenos Aires, Argentina
Joined: May 21, 2012
KitMaker: 765 posts
AeroScale: 316 posts
Posted: Saturday, April 18, 2020 - 03:34 AM UTC
Excellent work Nell!!
Here is my entry
Ilyushin Il-76MD in 1/144, is my first kit in that scale
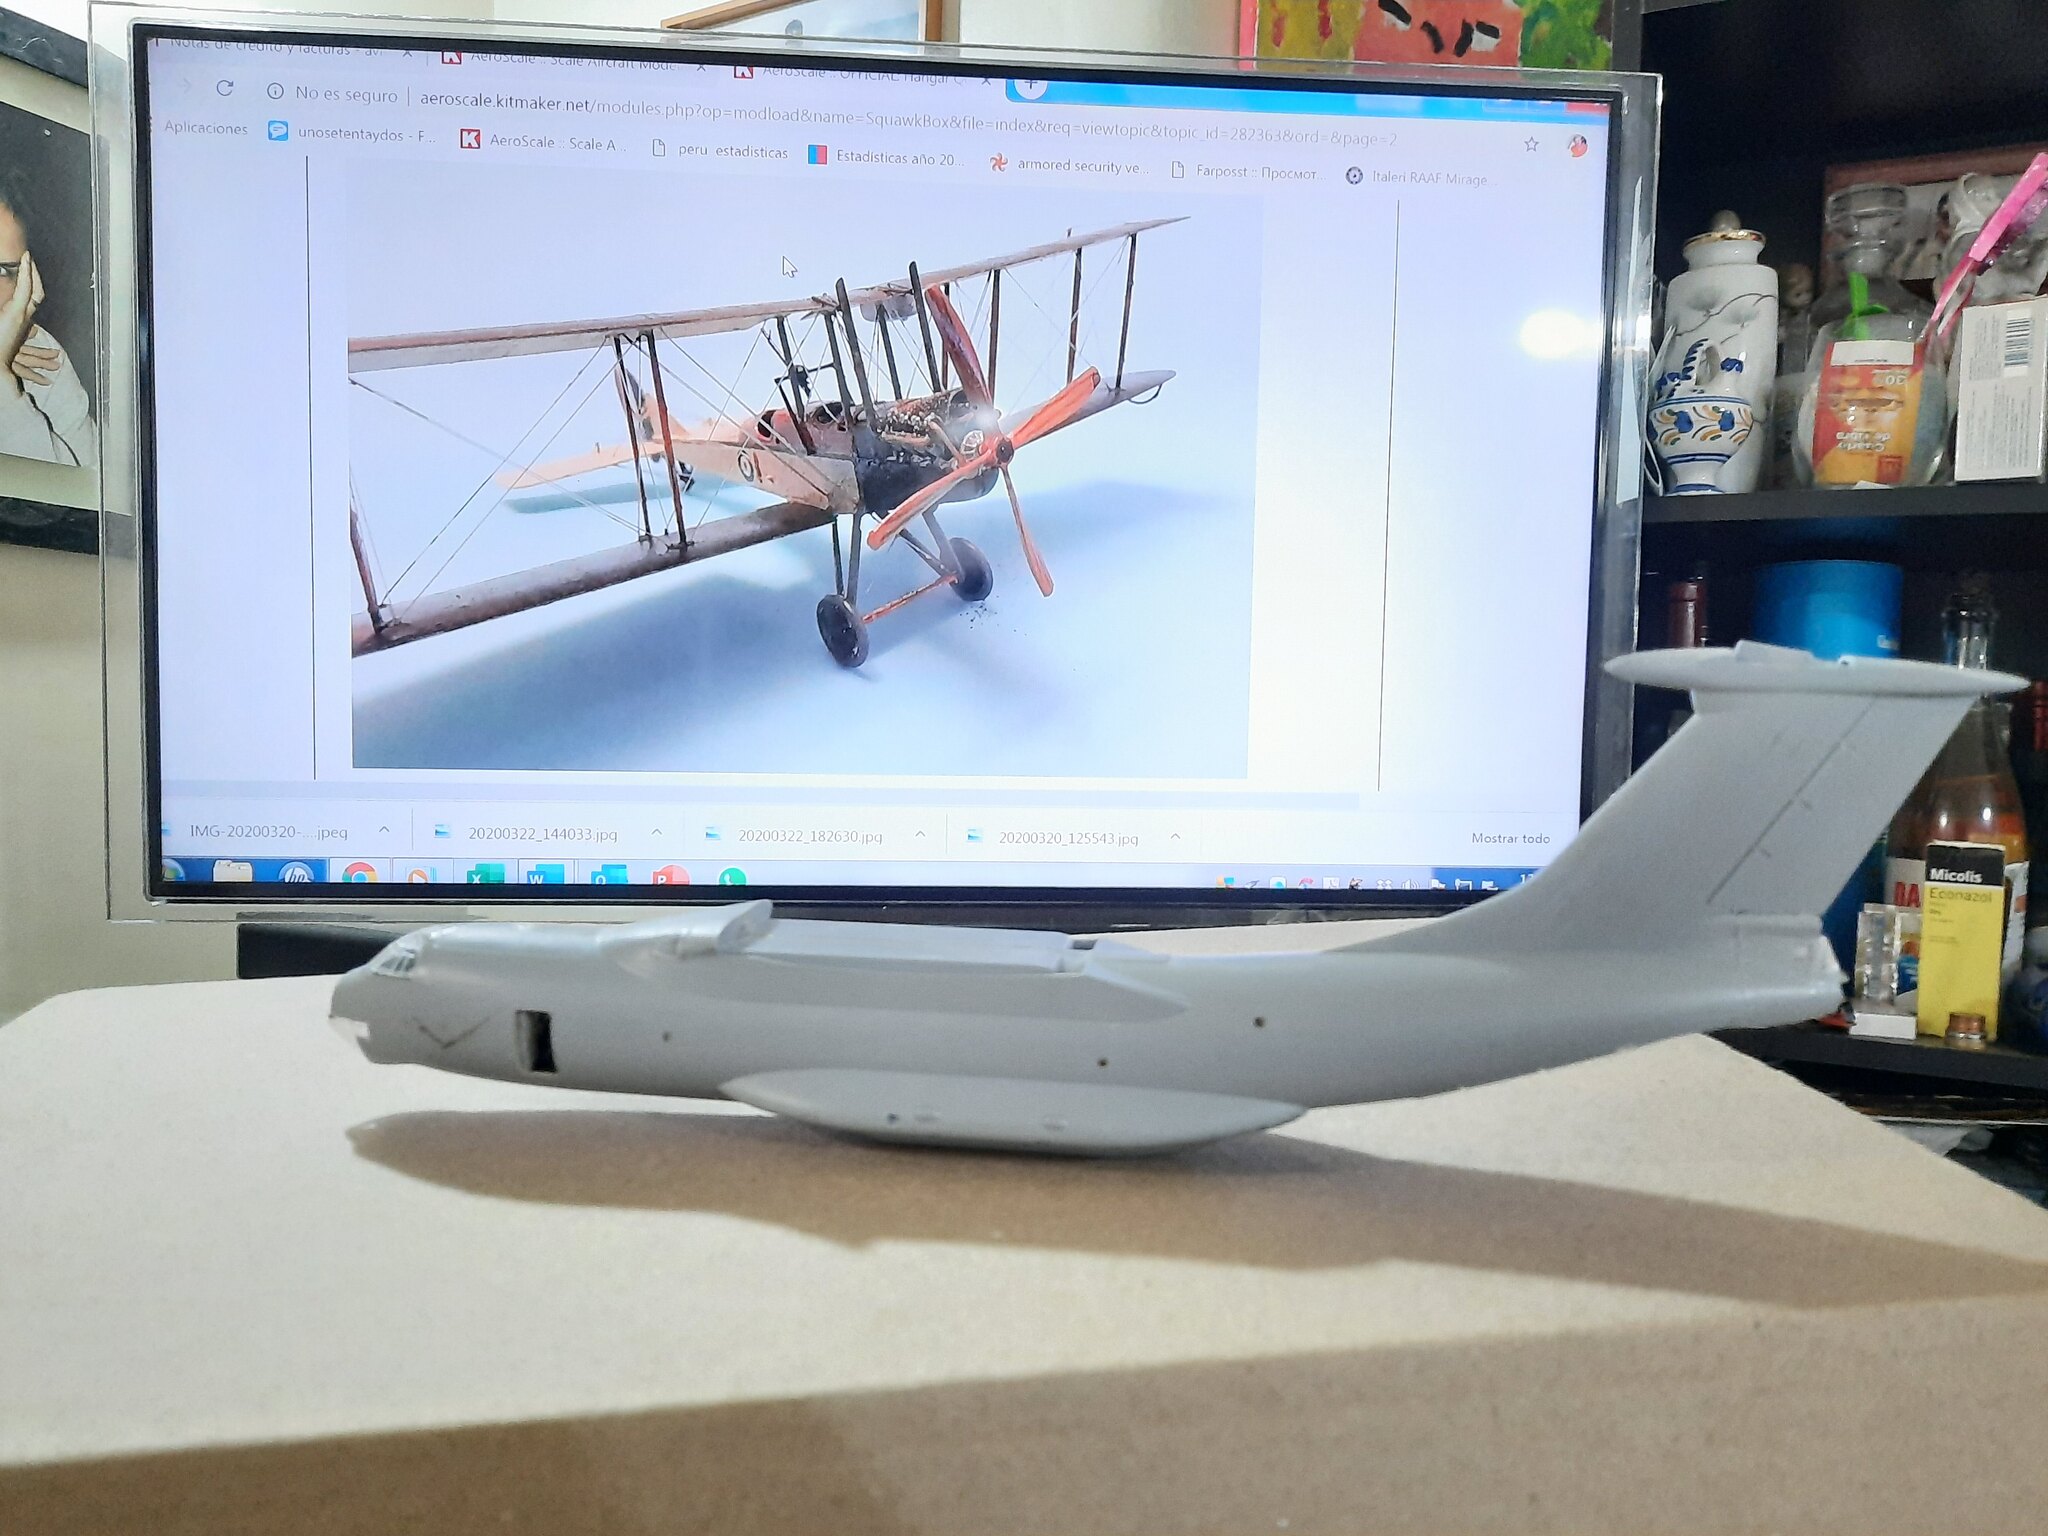 20200418_121935
 by
Shaky962, en Flickr
Those Radial Fighters Campaign: 1/72 FW 190 A5
Delta 2 Campaign: 1/48 Hobby Boss Mirage IIIC
Navy Boys on those Postage Stamps 1/72 Airfix Sea Harrier FA2
Working: Trumpeter A-5 Vigilante
Waiting: Phantom 60 Campaign
England - East Midlands, United Kingdom
Joined: February 07, 2004
KitMaker: 911 posts
AeroScale: 415 posts
Posted: Sunday, May 03, 2020 - 10:41 PM UTC
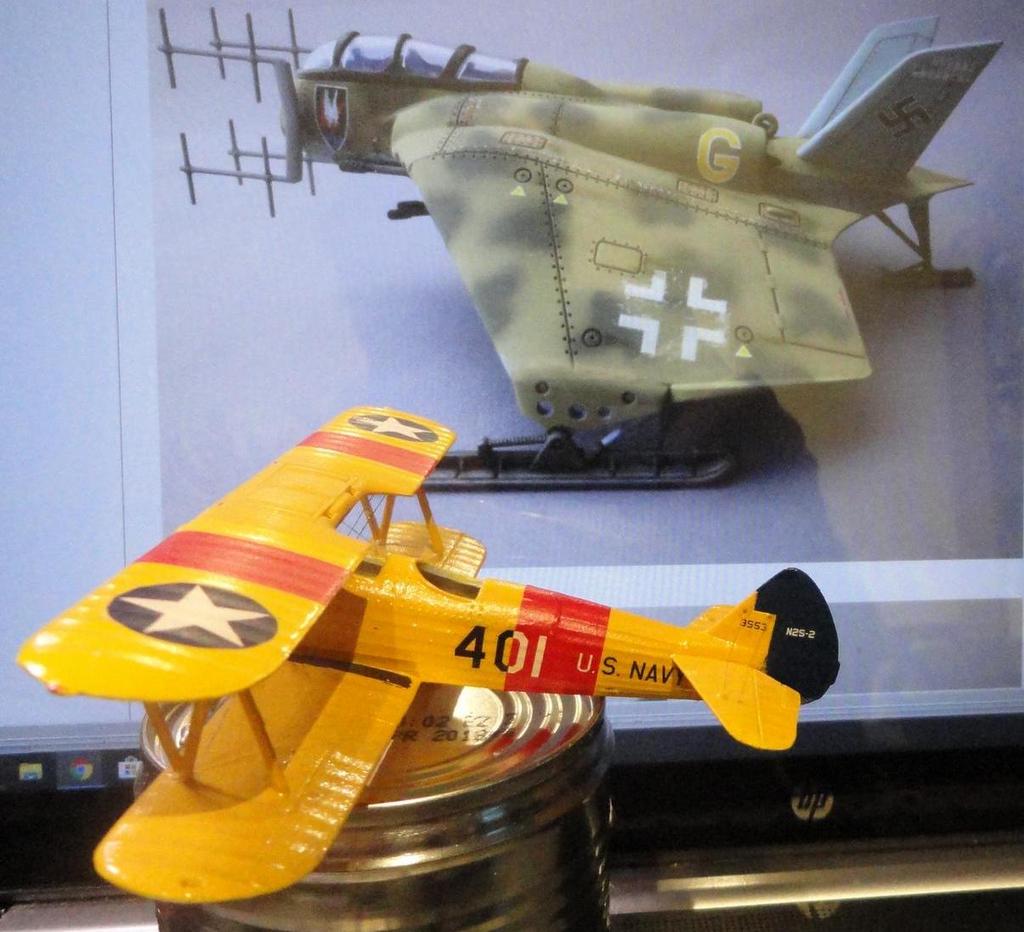
A 2nd Hangar Queen entry for me. This one has been in the loft for 15 years I reckon.
As it was when it came down a few weeks ago

As it is now after a little bit of work. I might give it another coat of silver just to make sure before I spray the ailerons grey and move onto the decals.

"Nelson be damned.......Lets get the hell out of here!"
#041
Kobenhavn, Denmark
Joined: July 20, 2006
KitMaker: 10,069 posts
AeroScale: 3,788 posts
Posted: Tuesday, May 05, 2020 - 07:09 AM UTC
Campaign'oholic - 252+ campaigns completed
#439
Washington, United States
Joined: November 05, 2005
KitMaker: 4,950 posts
AeroScale: 3,192 posts
Posted: Thursday, May 07, 2020 - 05:51 PM UTC
Got all of the decals placed. Now it's just the small bits and I'm DONE!

Hanger Queens in Waiting:
Monogram 1/72 F8F-1
Corsair the Sky Pirate - 1/72 Ace A-7D
Century Series - Airfix 1/72 F-105G
Anti Shipping - Academy 1/72 PBJ-1D
Academy 1/72 F-84E
Vermont, United States
Joined: July 21, 2002
KitMaker: 3,569 posts
AeroScale: 419 posts
Posted: Friday, May 08, 2020 - 12:05 PM UTC
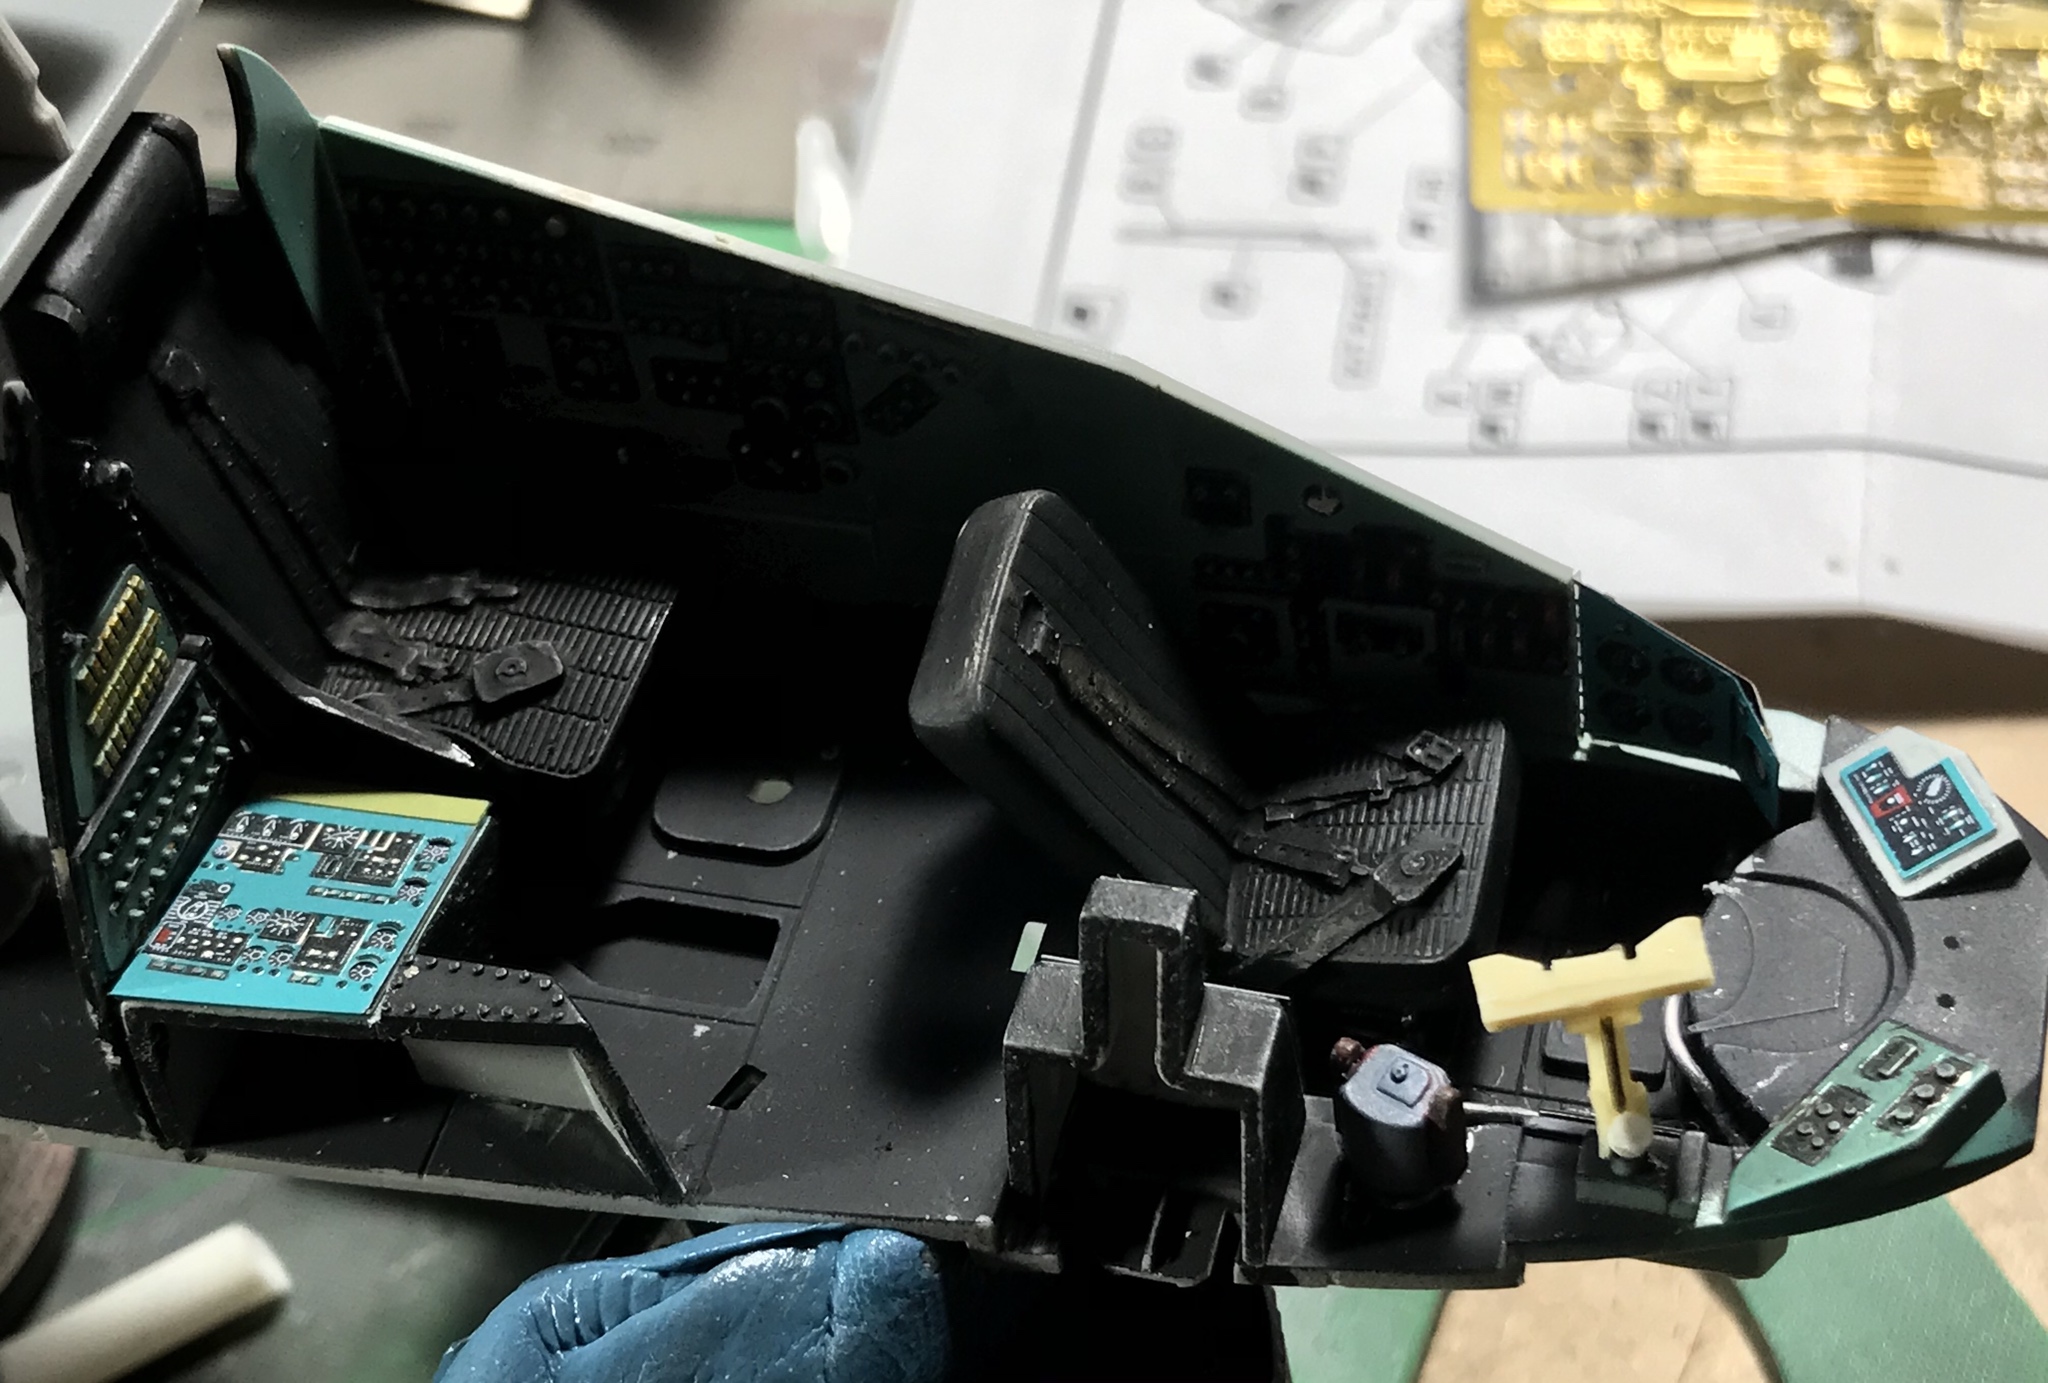
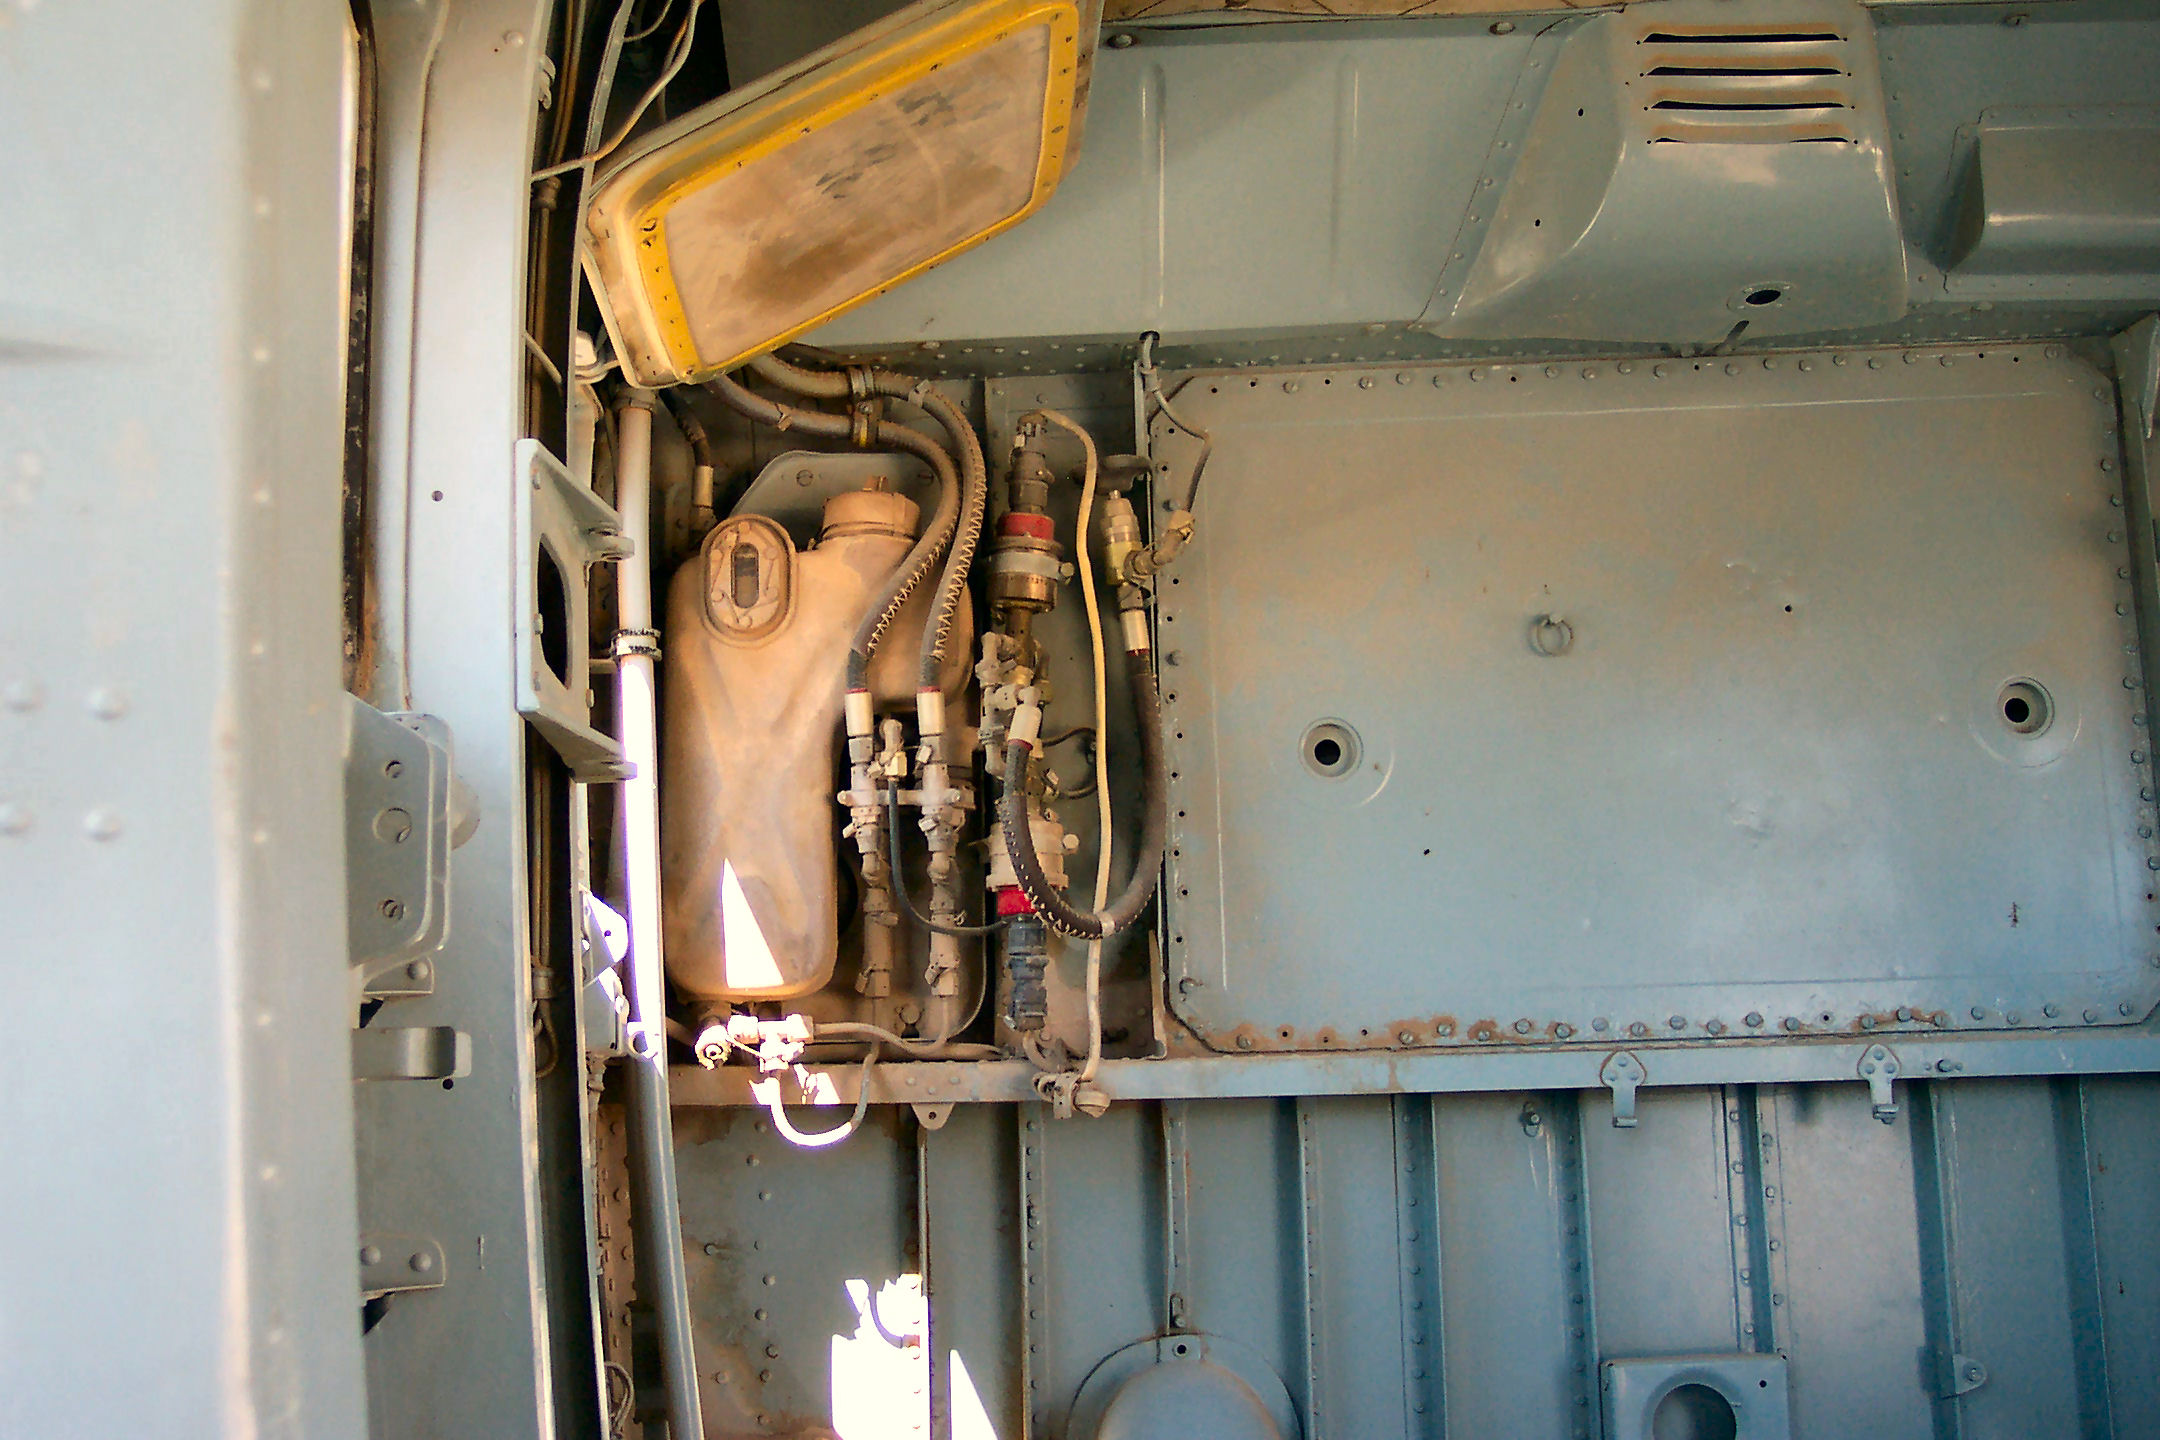
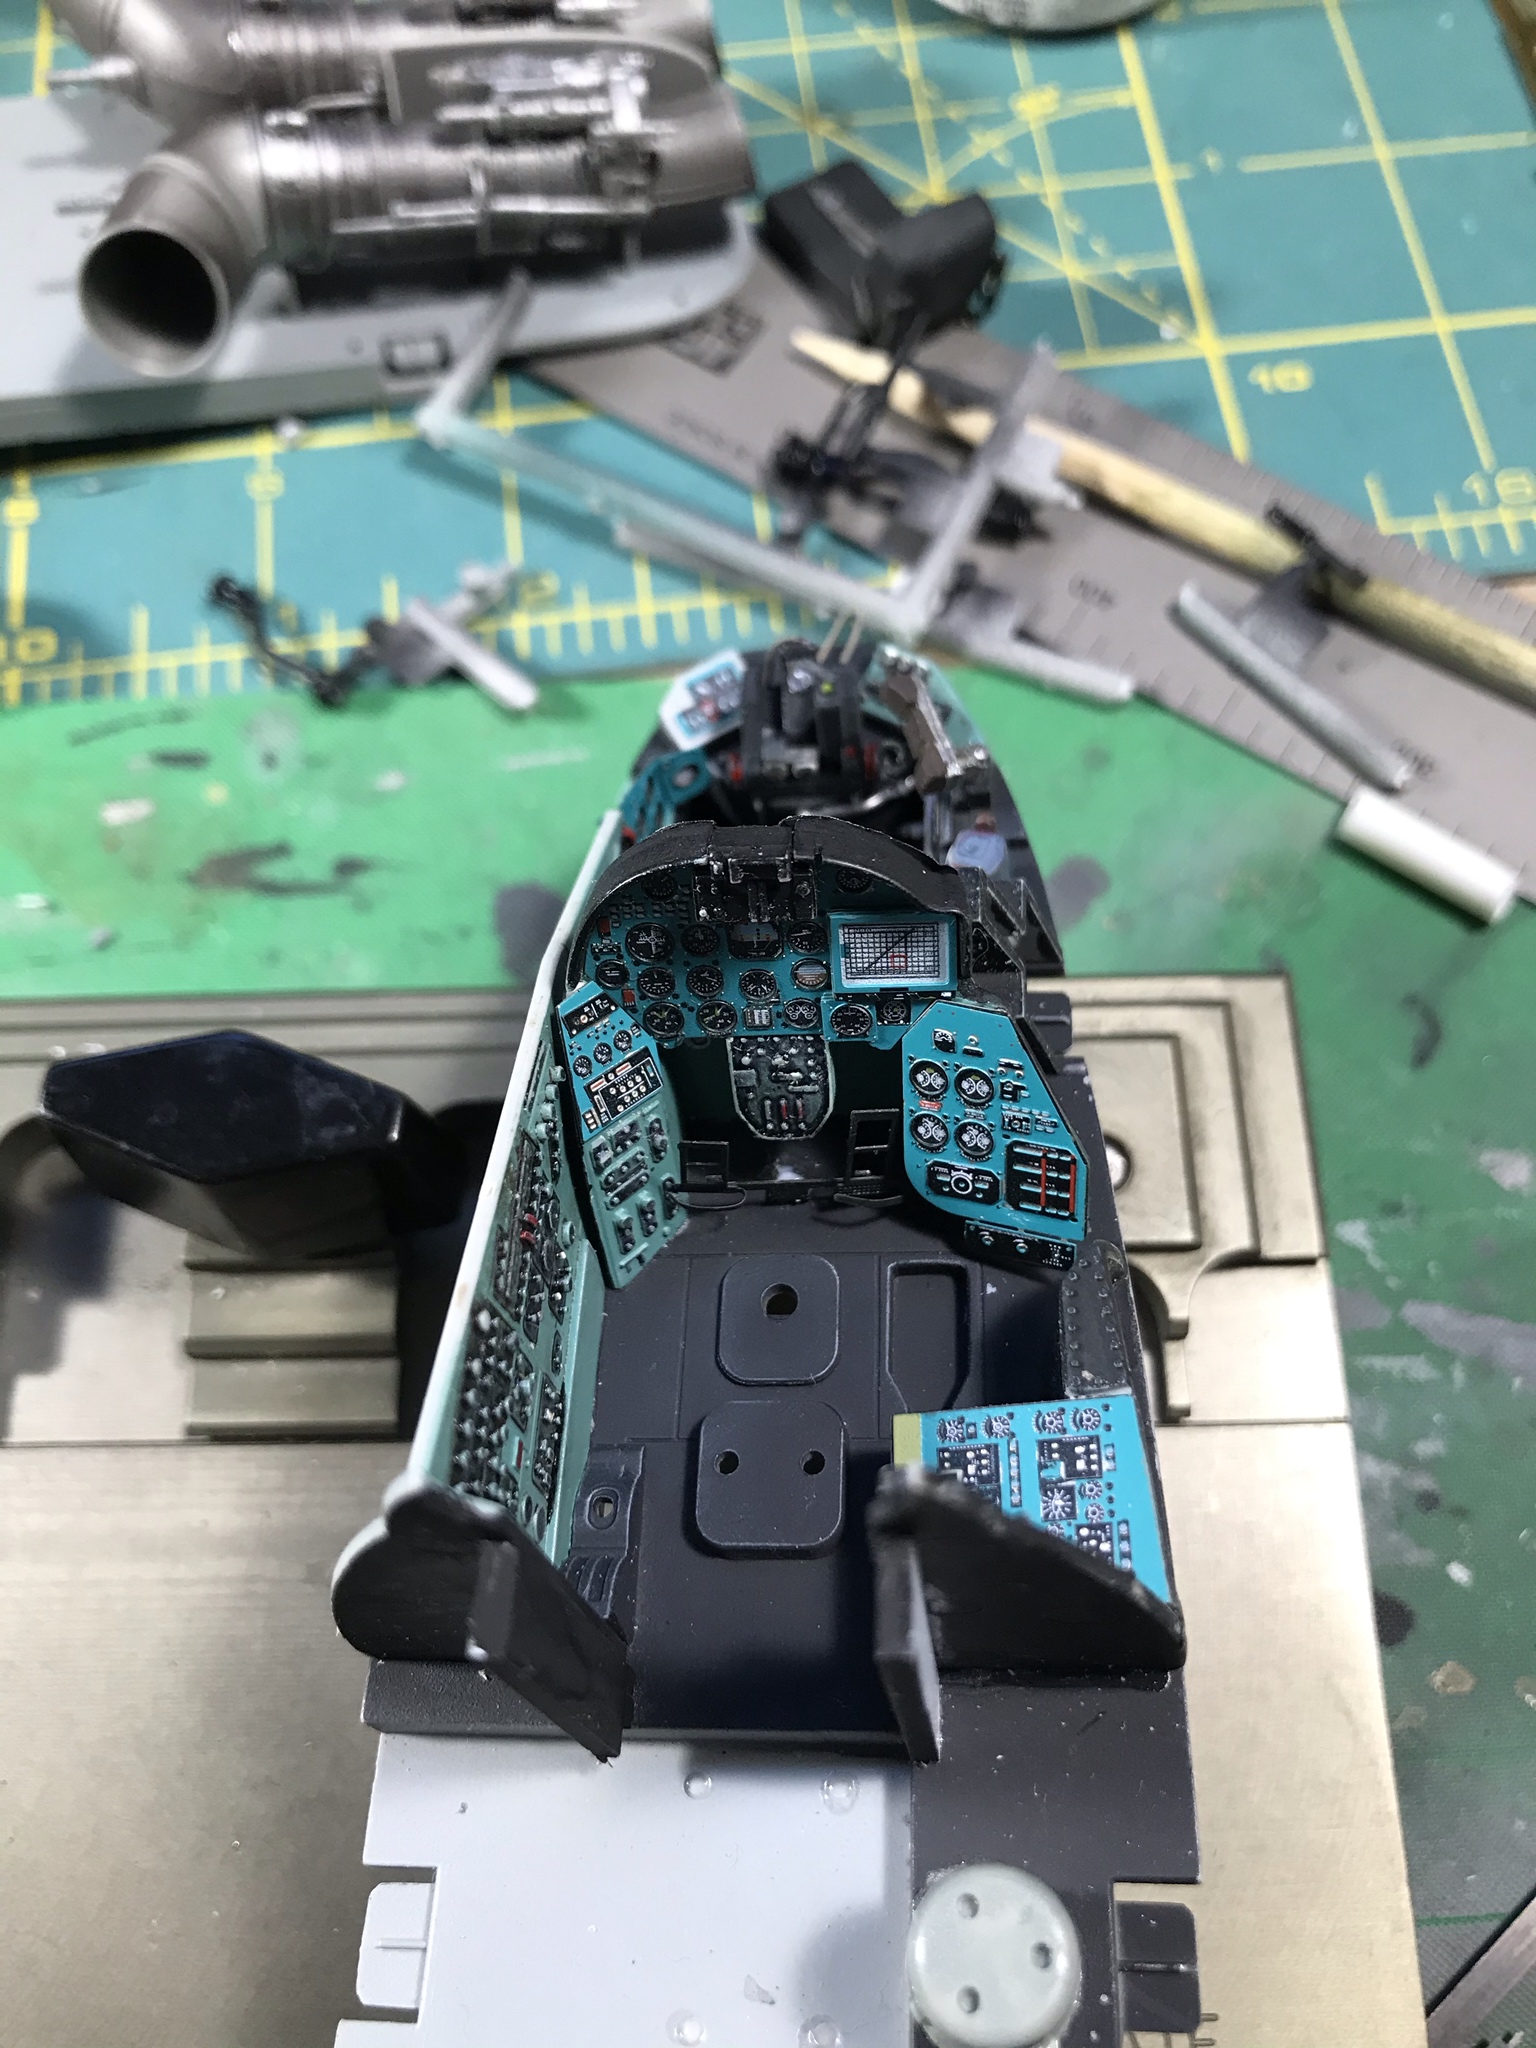
So, it's the Hind..
Cockpit as it stands
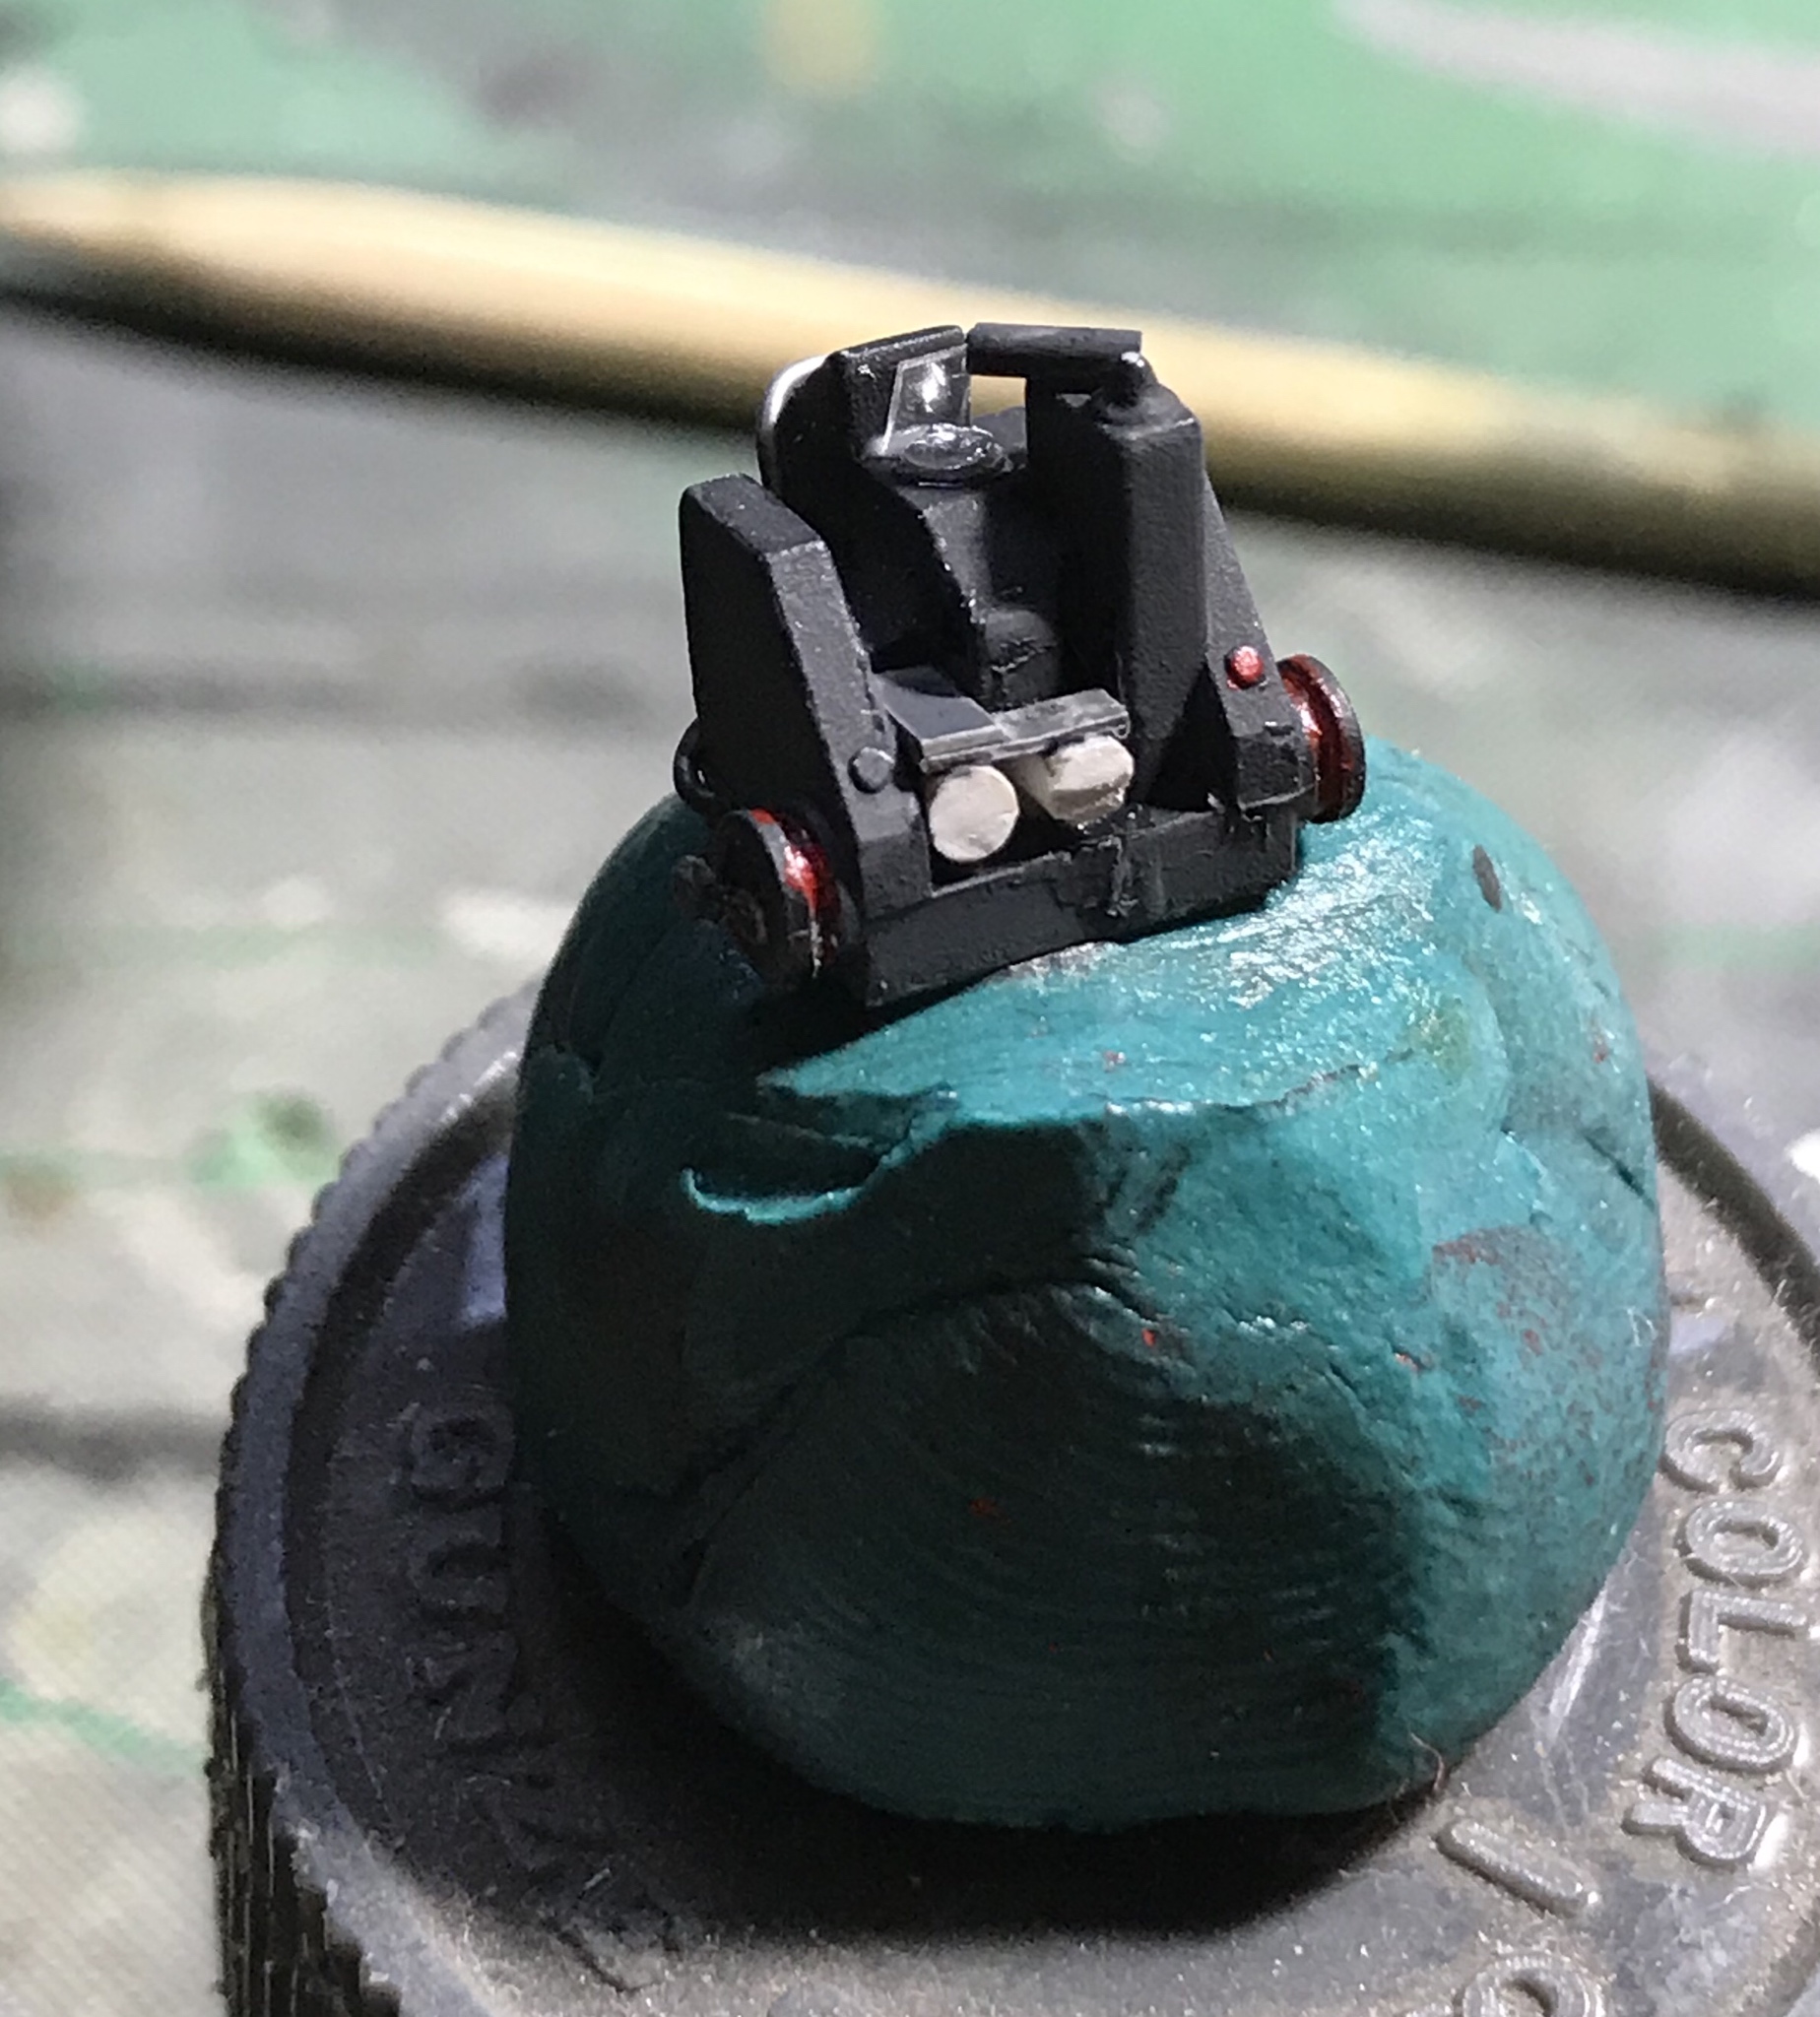
Inital work on the gunners sight
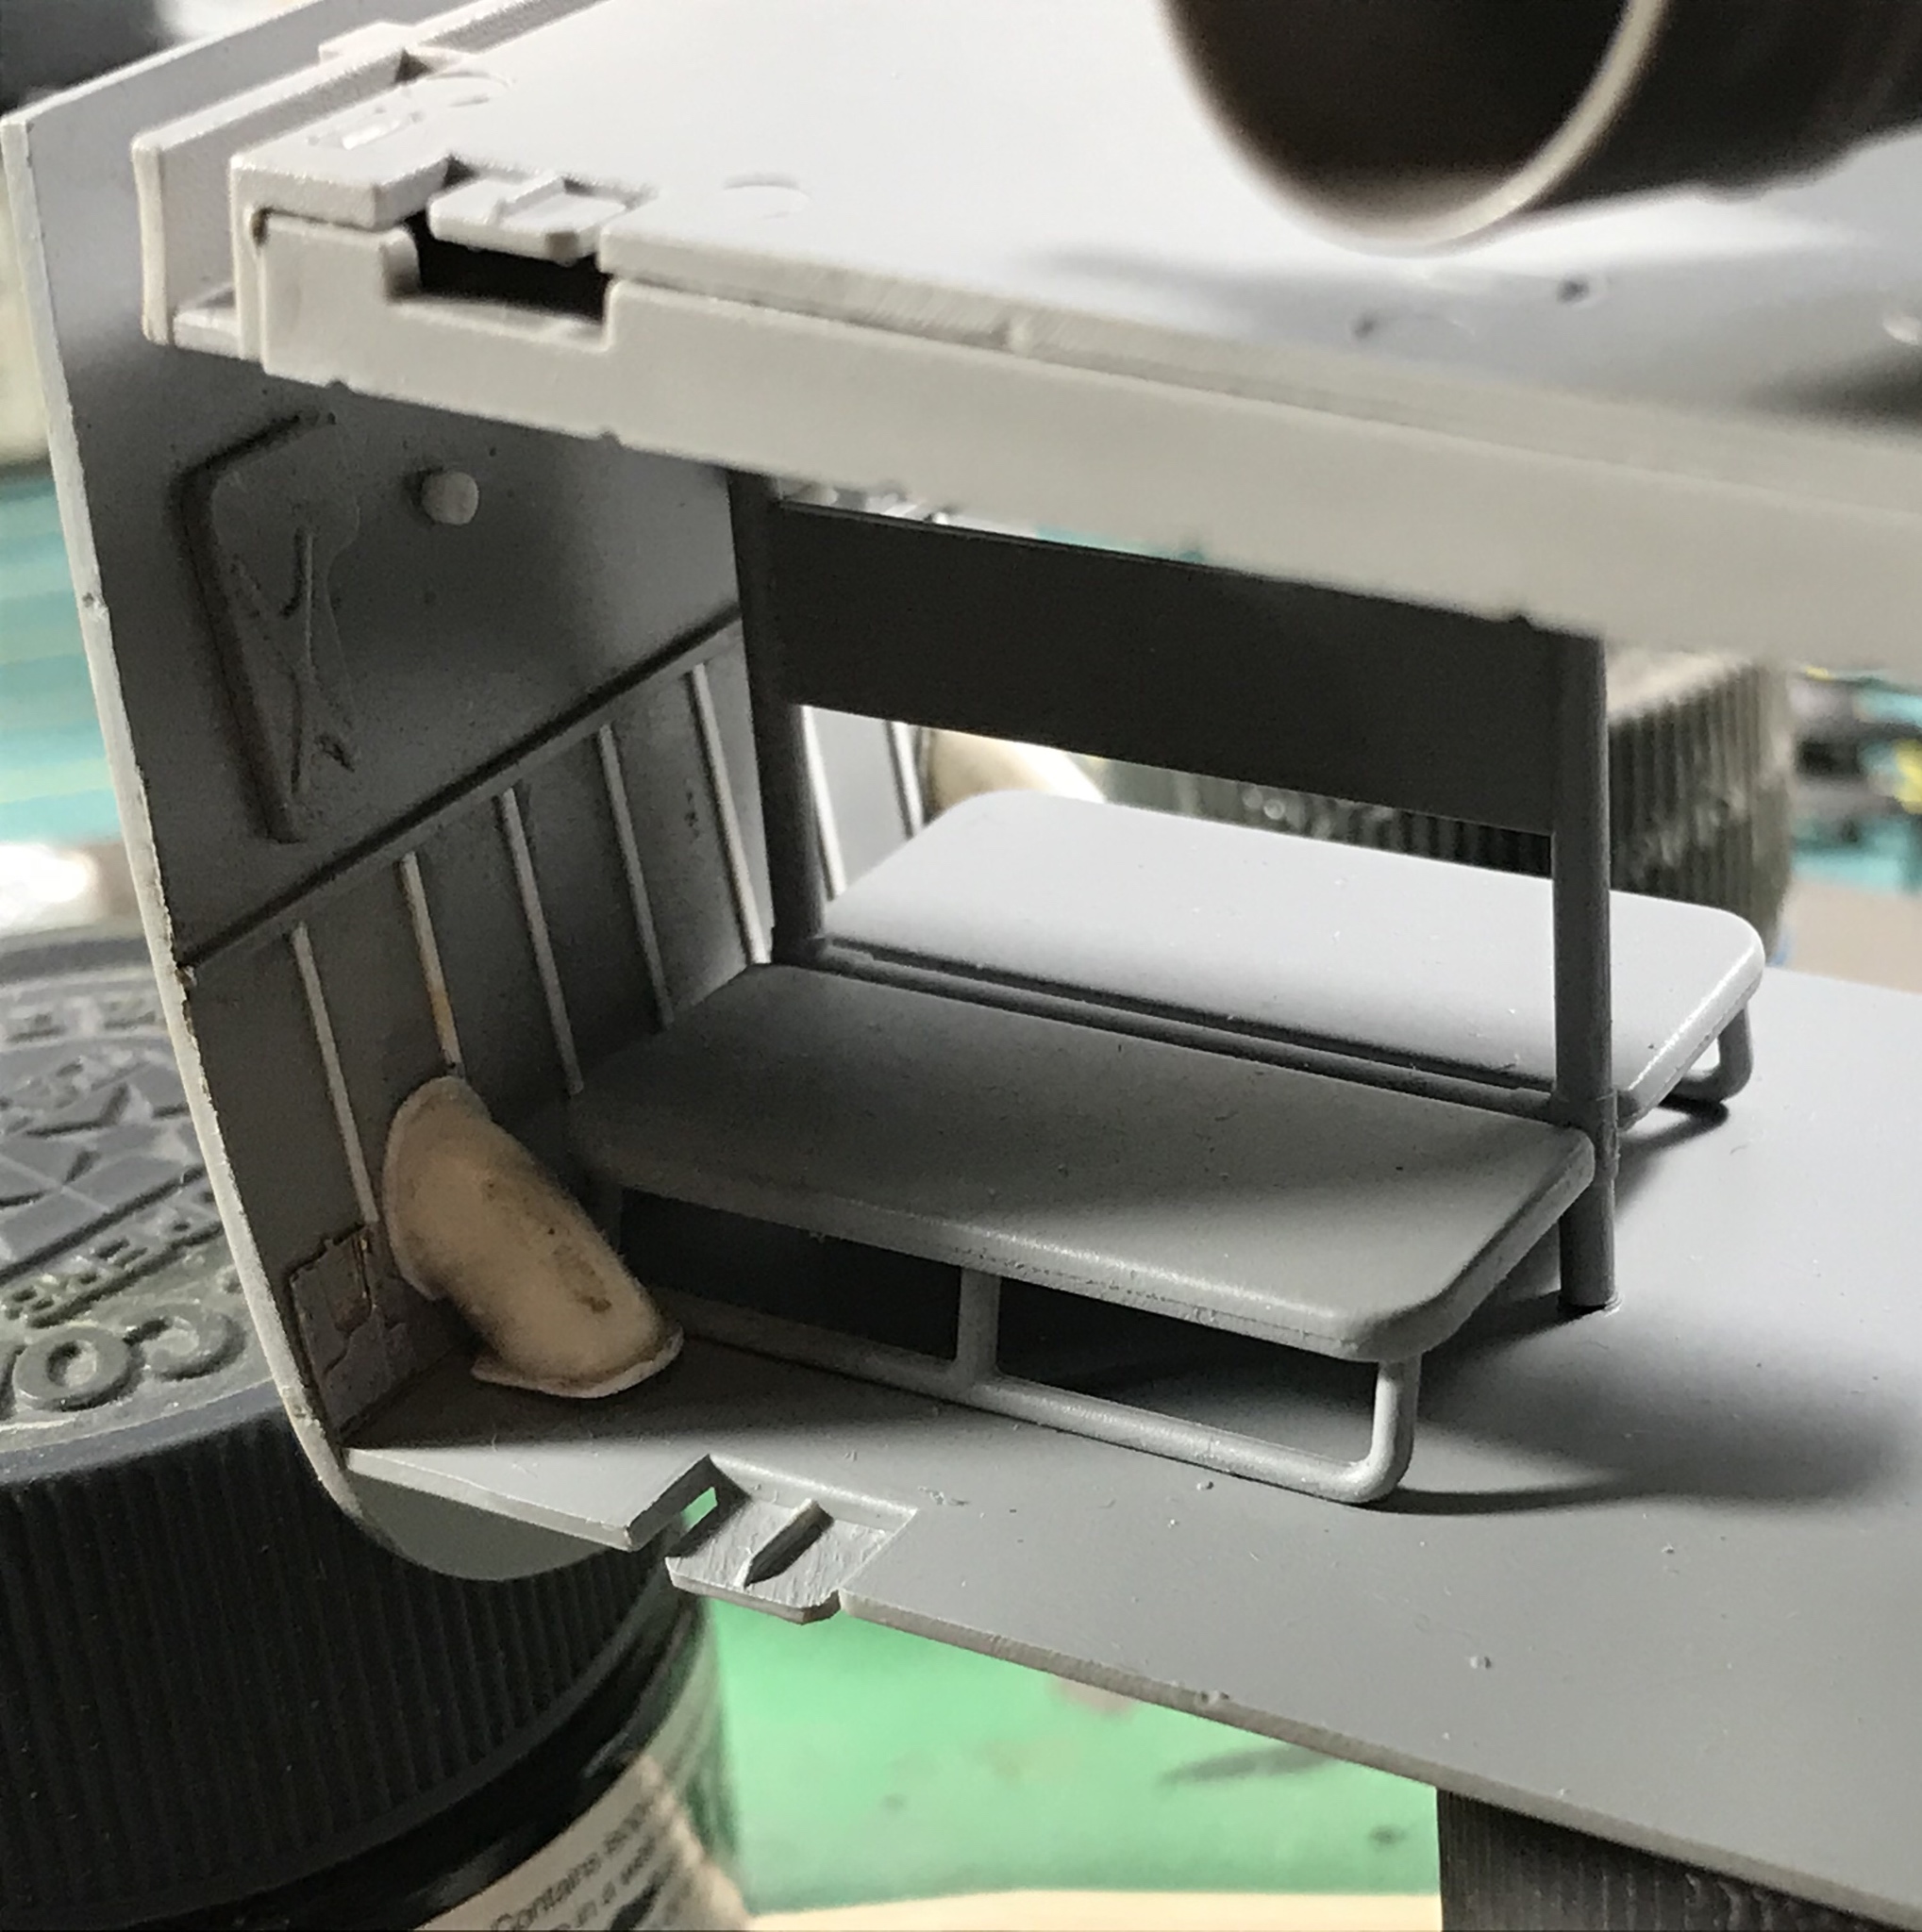
Some more work on the troop compartment.
though these curved sections are oversized, I may pull them out and try again. They are all but invisible inside, but I'll know they are there.
Here in real life
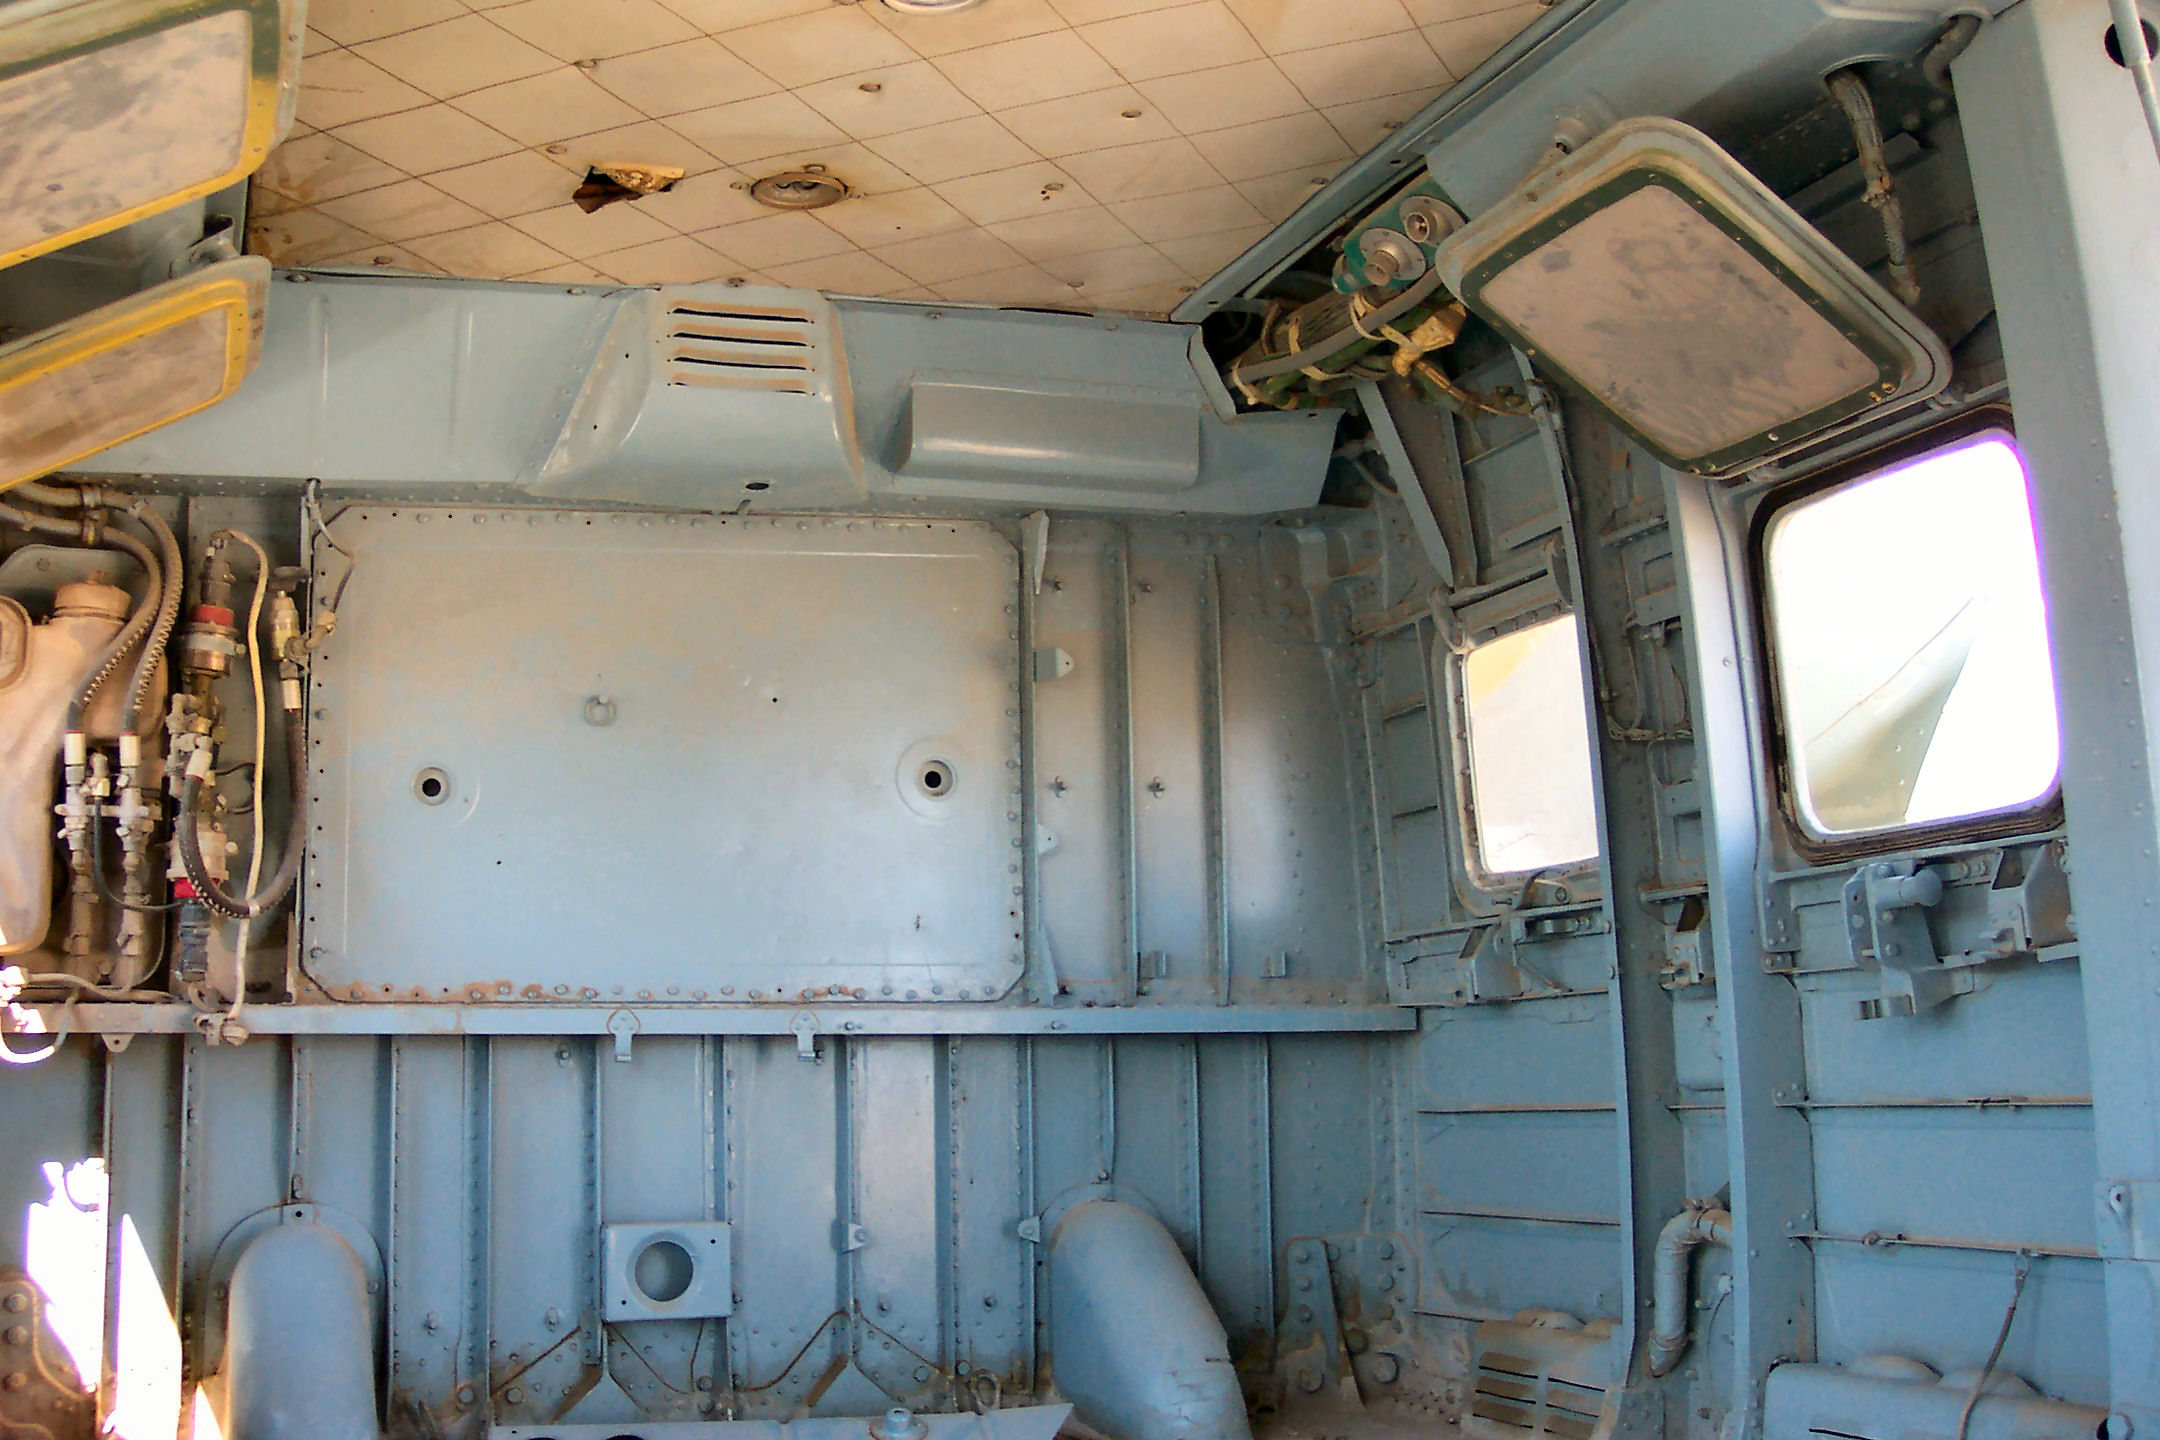
Next, all that wiring here.
If you can keep your head when all about you are losing theirs,
perhaps you've misunderstood the situation.
#442
Malacca, Malaysia
Joined: July 20, 2015
KitMaker: 363 posts
AeroScale: 335 posts
Posted: Saturday, May 09, 2020 - 02:20 AM UTC
Hi All!
Wow! So much going on here, and really good stuff! Andrew, nice finish! Jesper, always fun to see what you finish!
A quick update on my Ki-61. I was finally able to get the wings on and solve the alignment issues using some ten thousand inch plastic card cut into wedges. Then a few applications of superglue, and lots of sanding. It turned out alright!
I'm now fitting a Squadron canopy onto her, and will be replacing some panel lines. After all that, we'll see how it will be finished as. Till then, be safe, wash your hands, and have fun!
And Mike, do the Falcon!!
Vermont, United States
Joined: July 21, 2002
KitMaker: 3,569 posts
AeroScale: 419 posts
Posted: Saturday, May 09, 2020 - 10:47 AM UTC
John, thanks for that.. the Hind has my attention now, but my attention can be... fleeting...
More interior details for the cockpit. Those rudder pedals are only tacked in place, they needed adjustments.
If you can keep your head when all about you are losing theirs,
perhaps you've misunderstood the situation.
England - East Midlands, United Kingdom
Joined: February 07, 2004
KitMaker: 911 posts
AeroScale: 415 posts
Posted: Sunday, May 10, 2020 - 05:52 AM UTC
Cockpit is looking great.
Jesper, that's a cool little kit. Shame about the decal on the wing. Could you do something to turn it into a "happy accident?" Extra weathering, replacement panel in different colour?
"Nelson be damned.......Lets get the hell out of here!"
England - East Midlands, United Kingdom
Joined: February 07, 2004
KitMaker: 911 posts
AeroScale: 415 posts
Posted: Wednesday, May 20, 2020 - 04:20 AM UTC
"Nelson be damned.......Lets get the hell out of here!"