


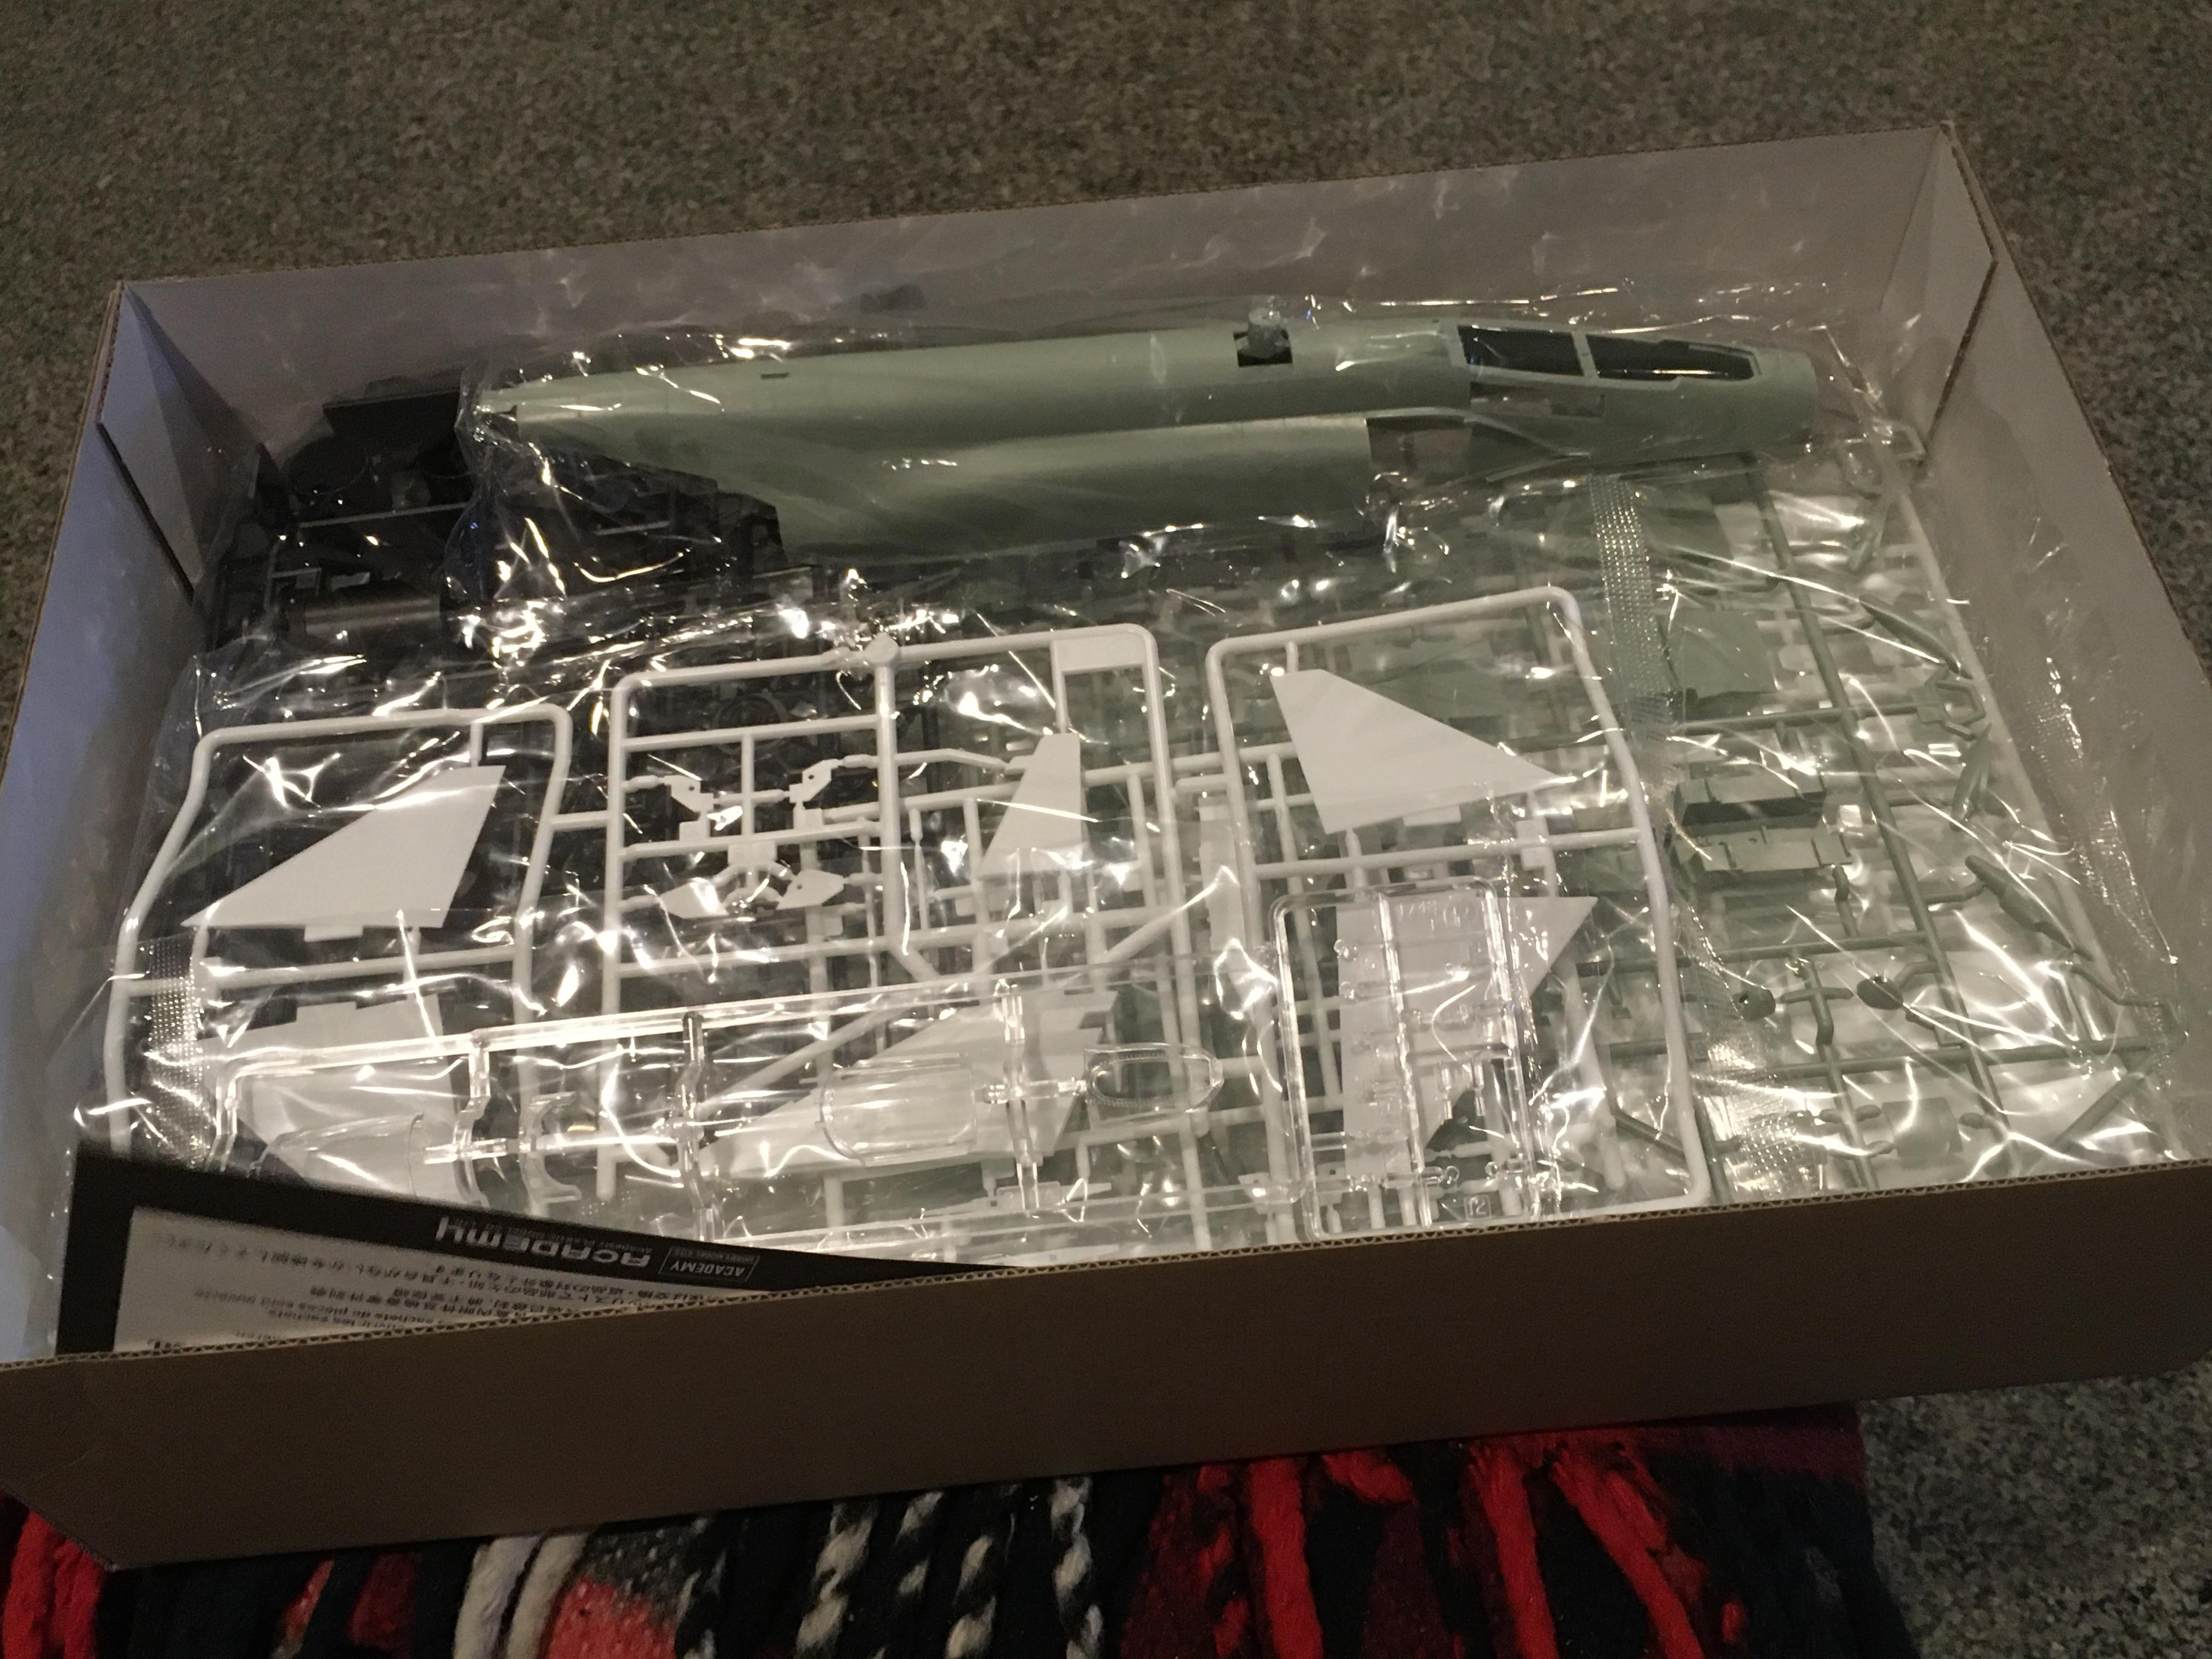
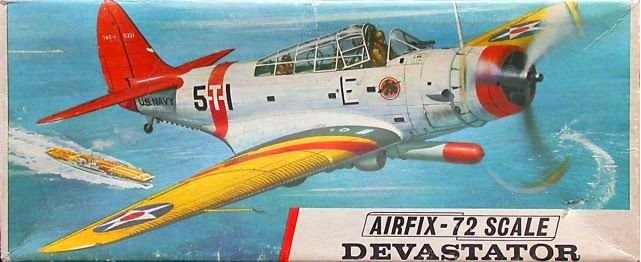
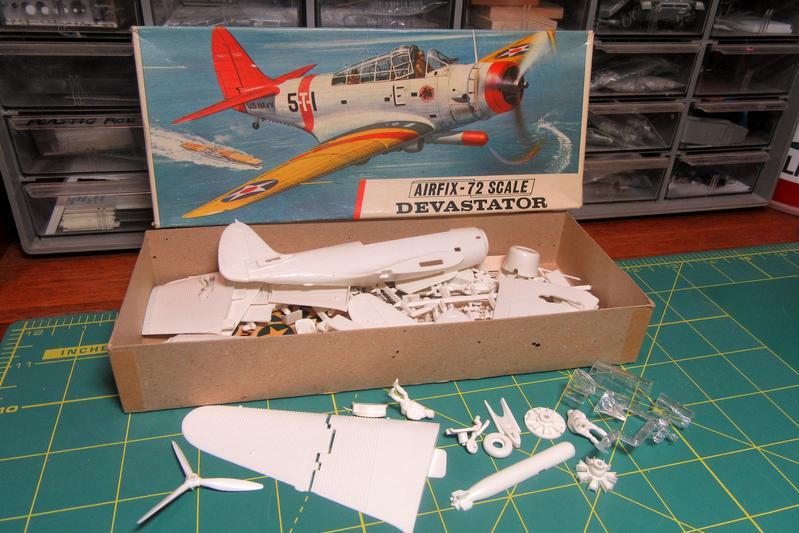
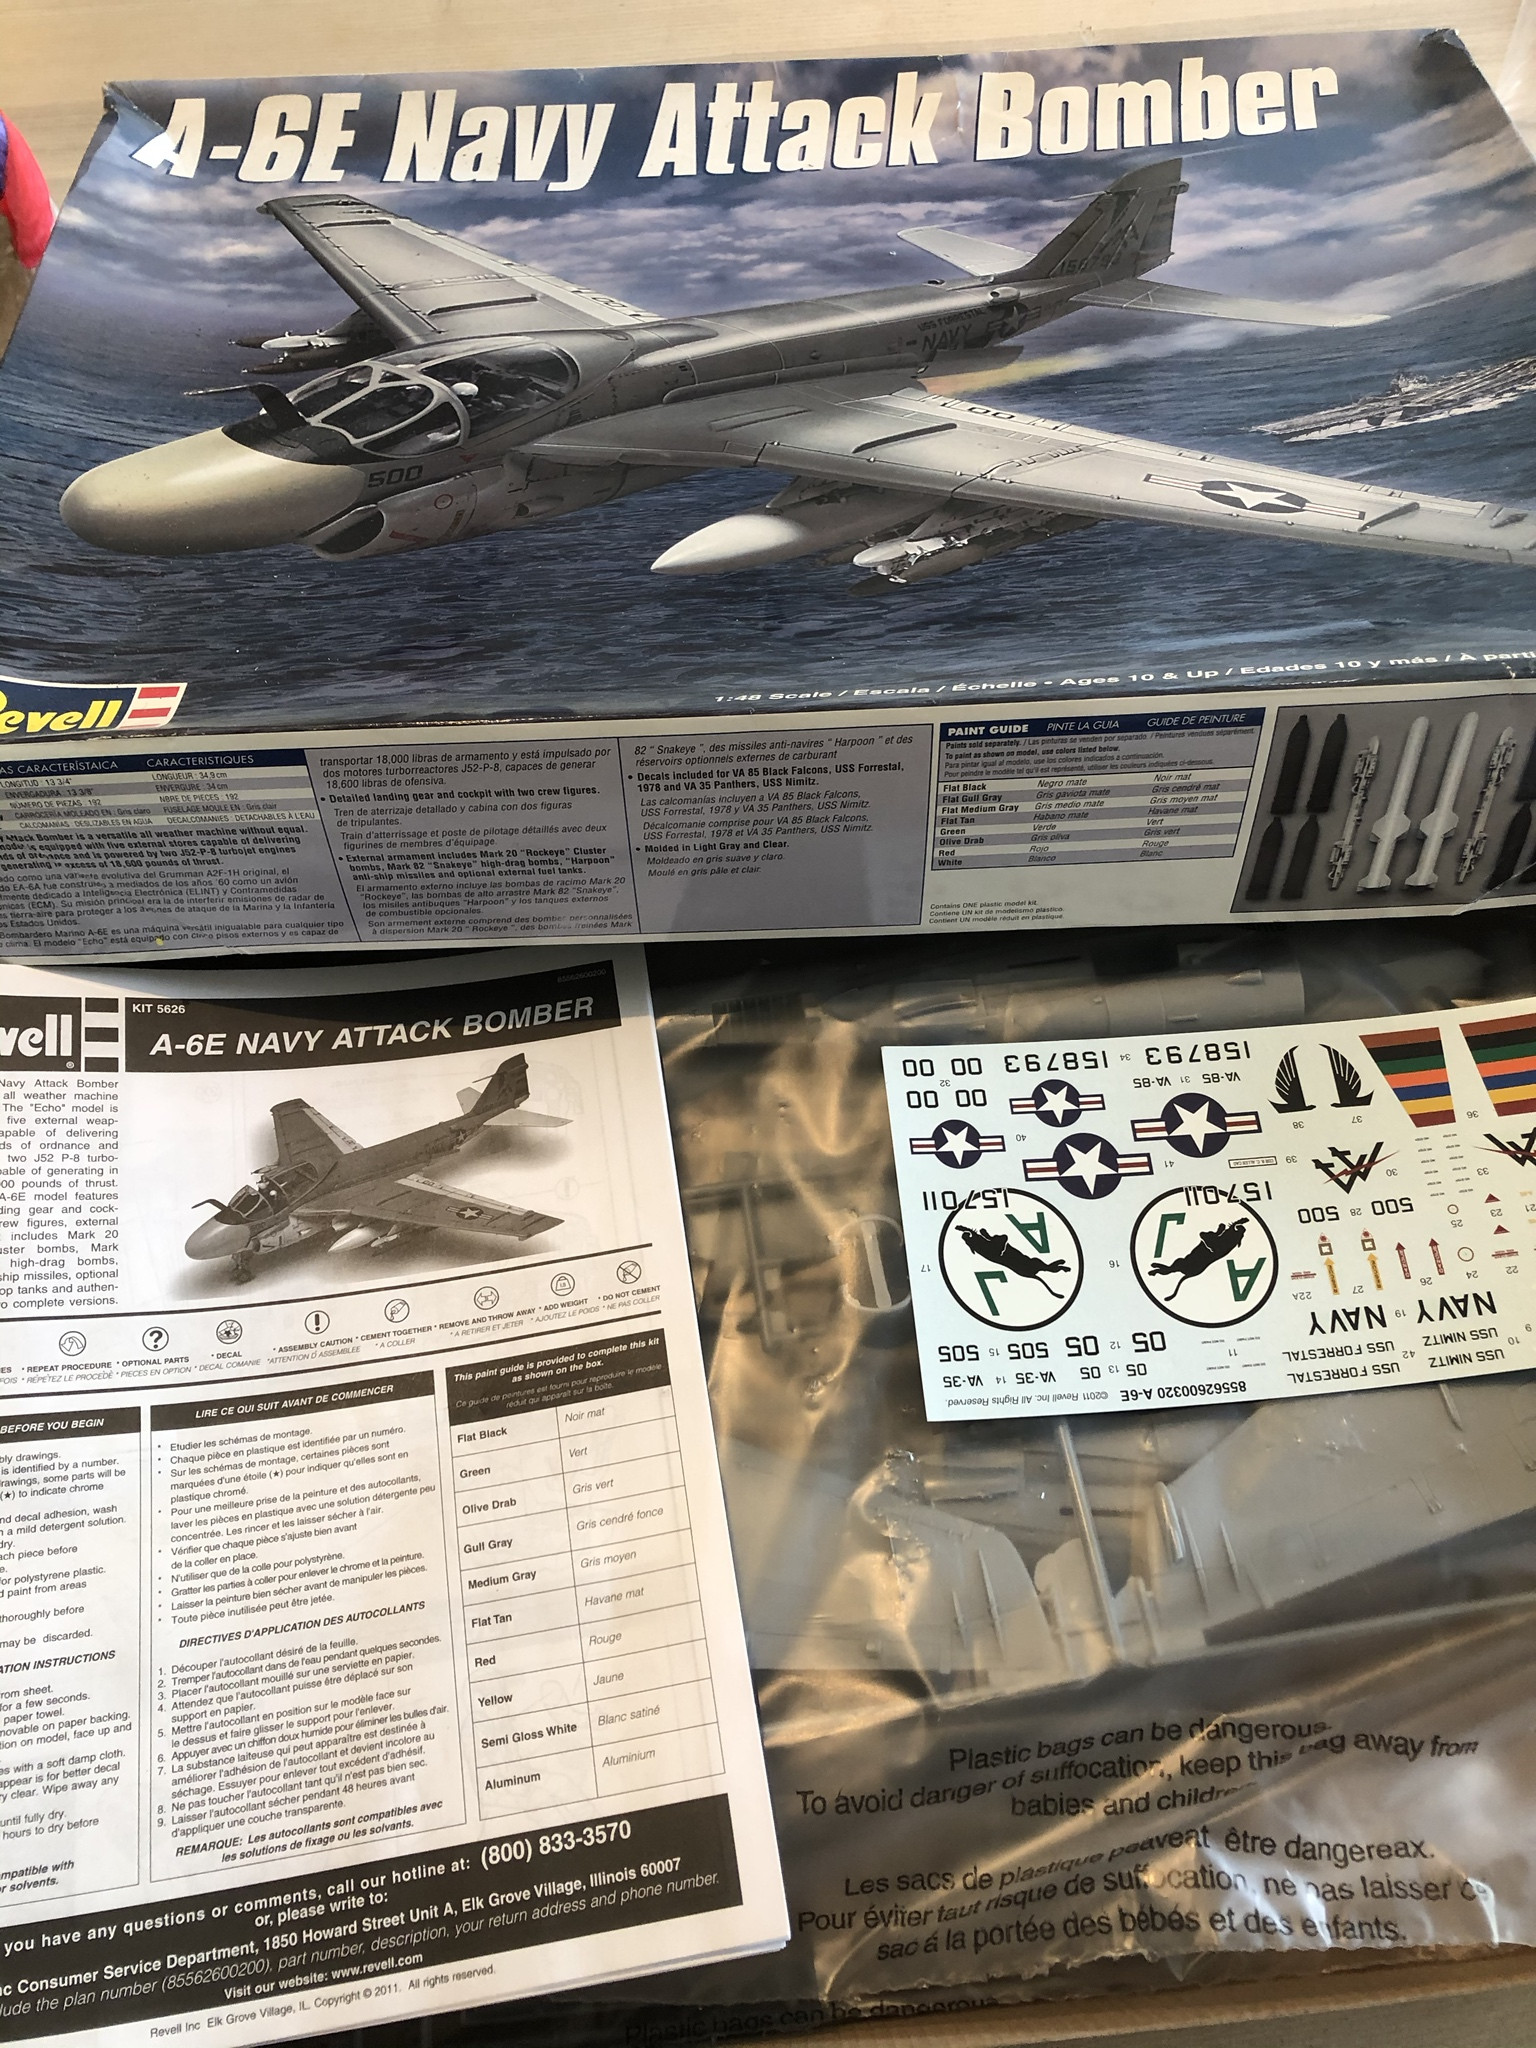
Opening the Box
Time set
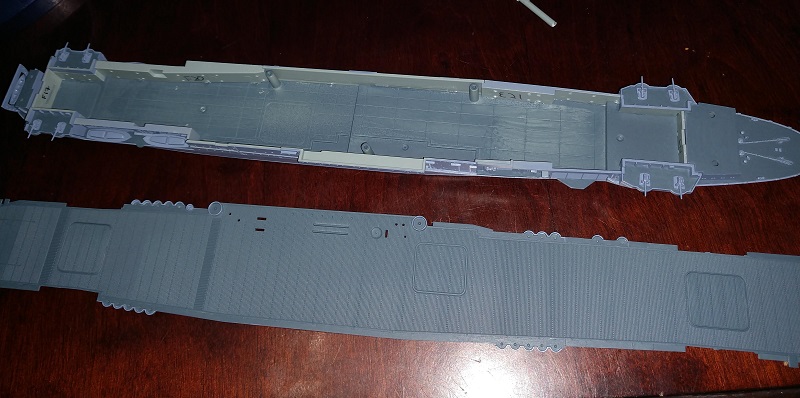
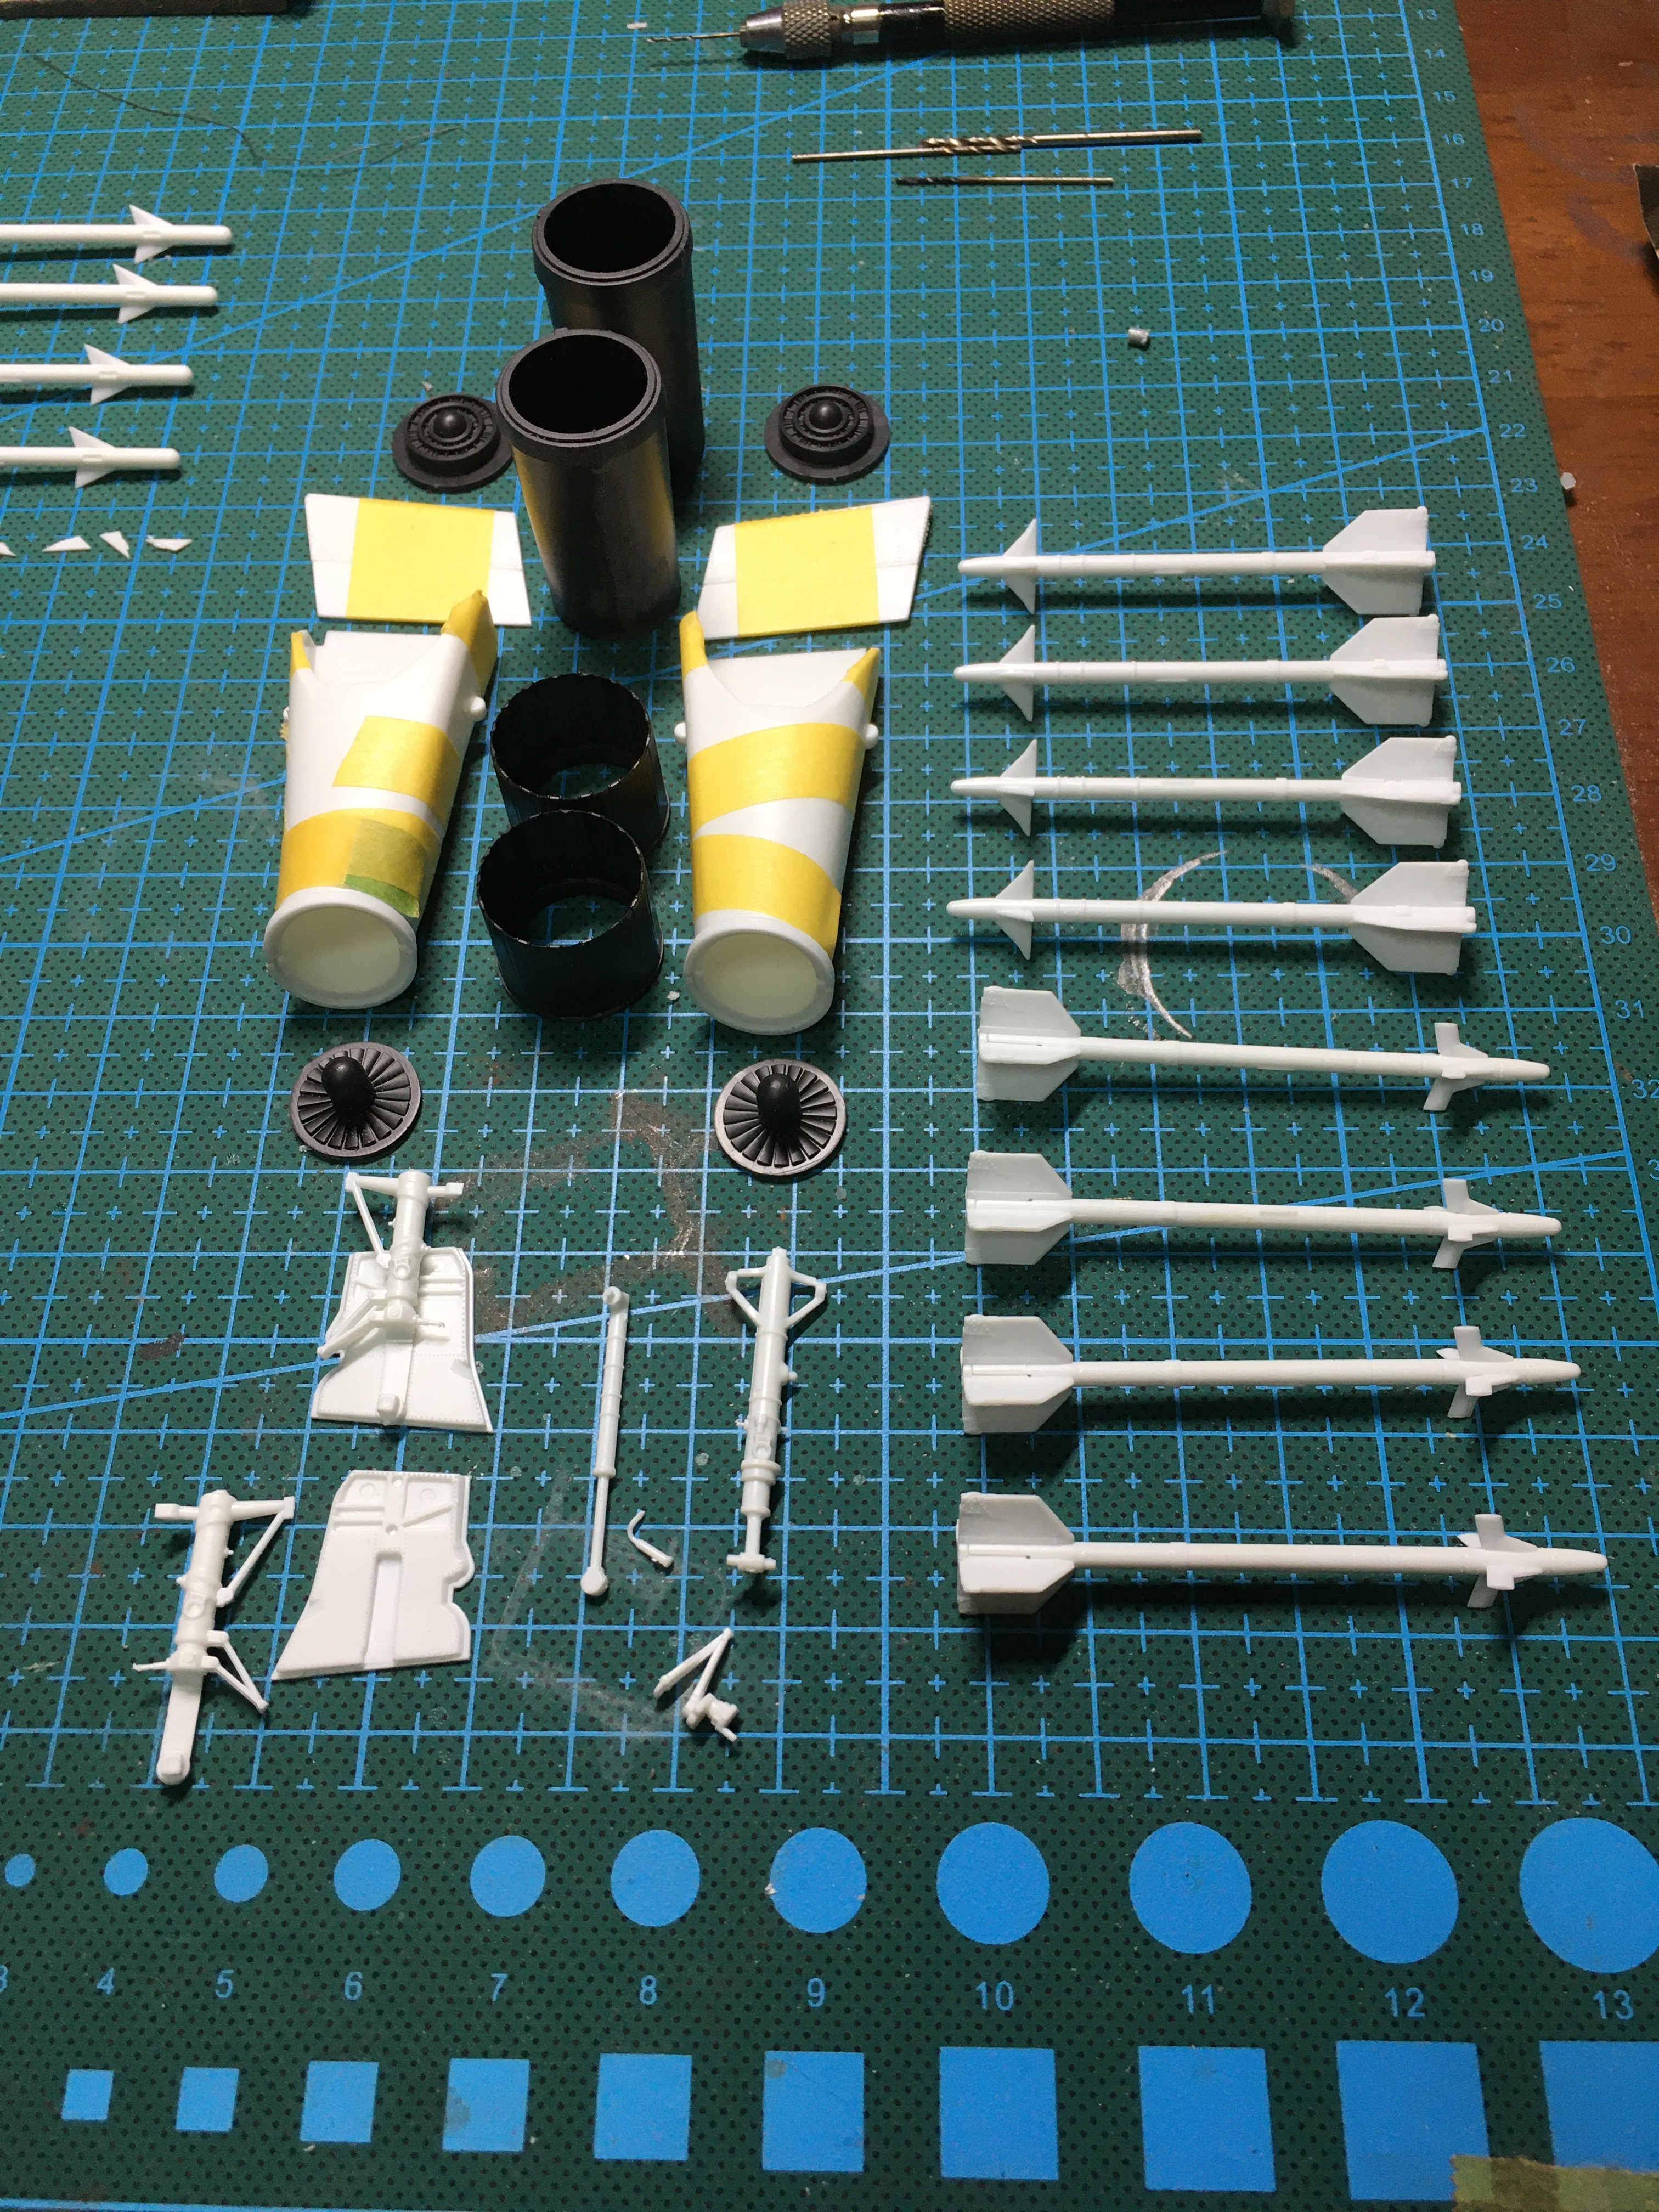
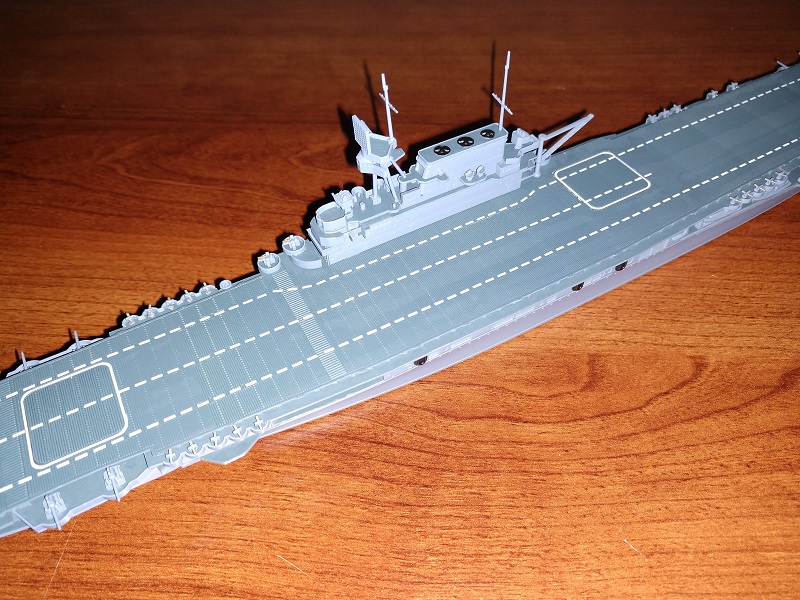
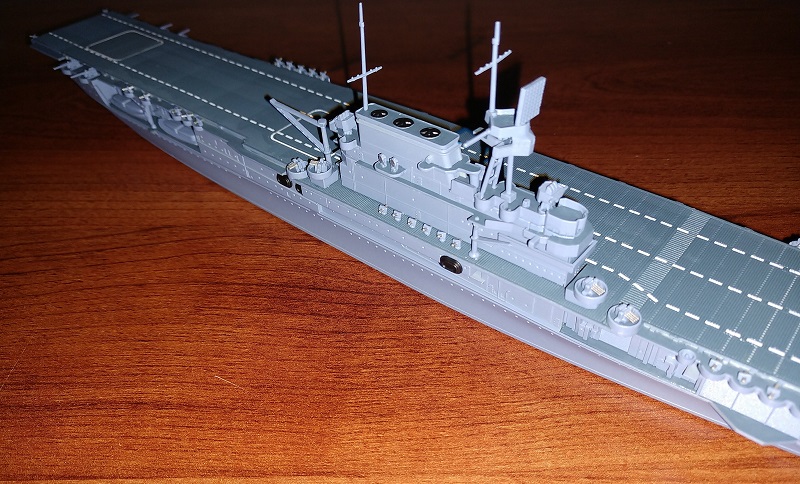
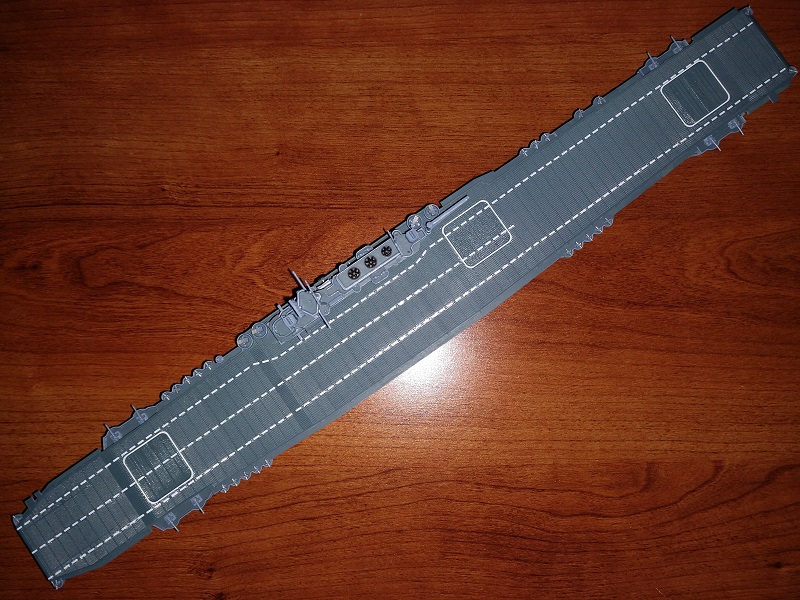
Here we go with a landing F-4J on the CVA-43 Coral Sea.
More to come.


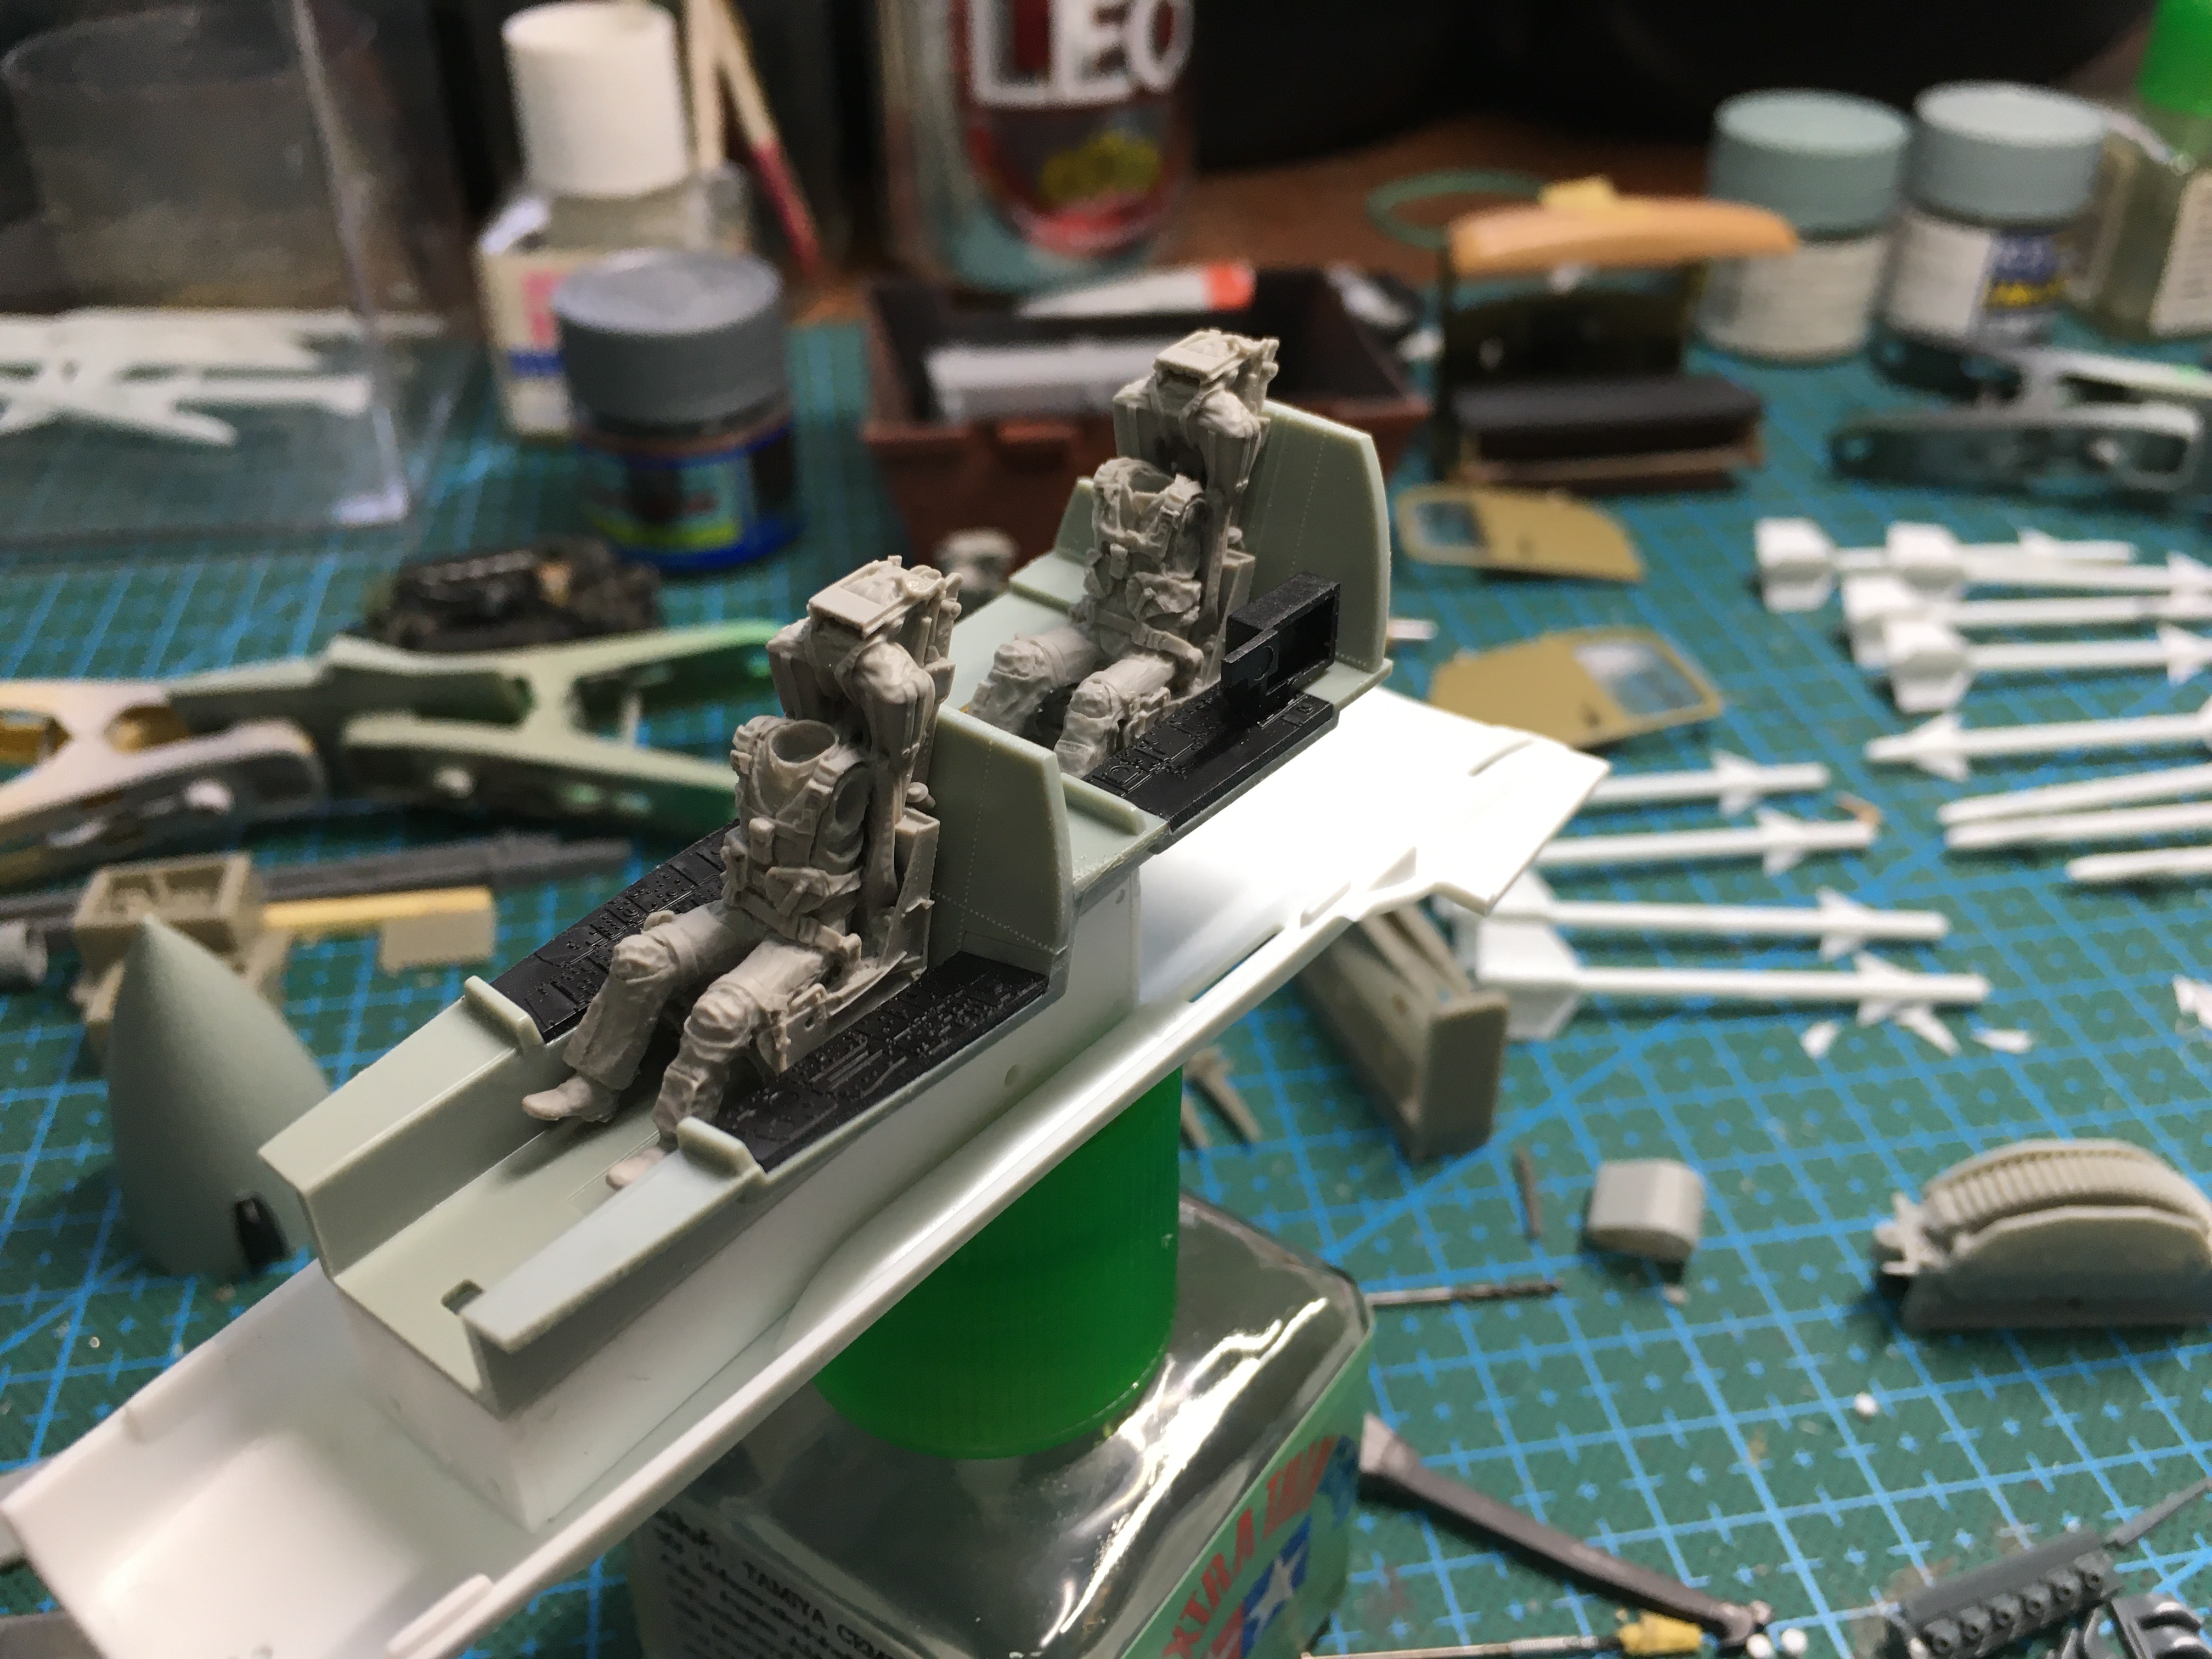
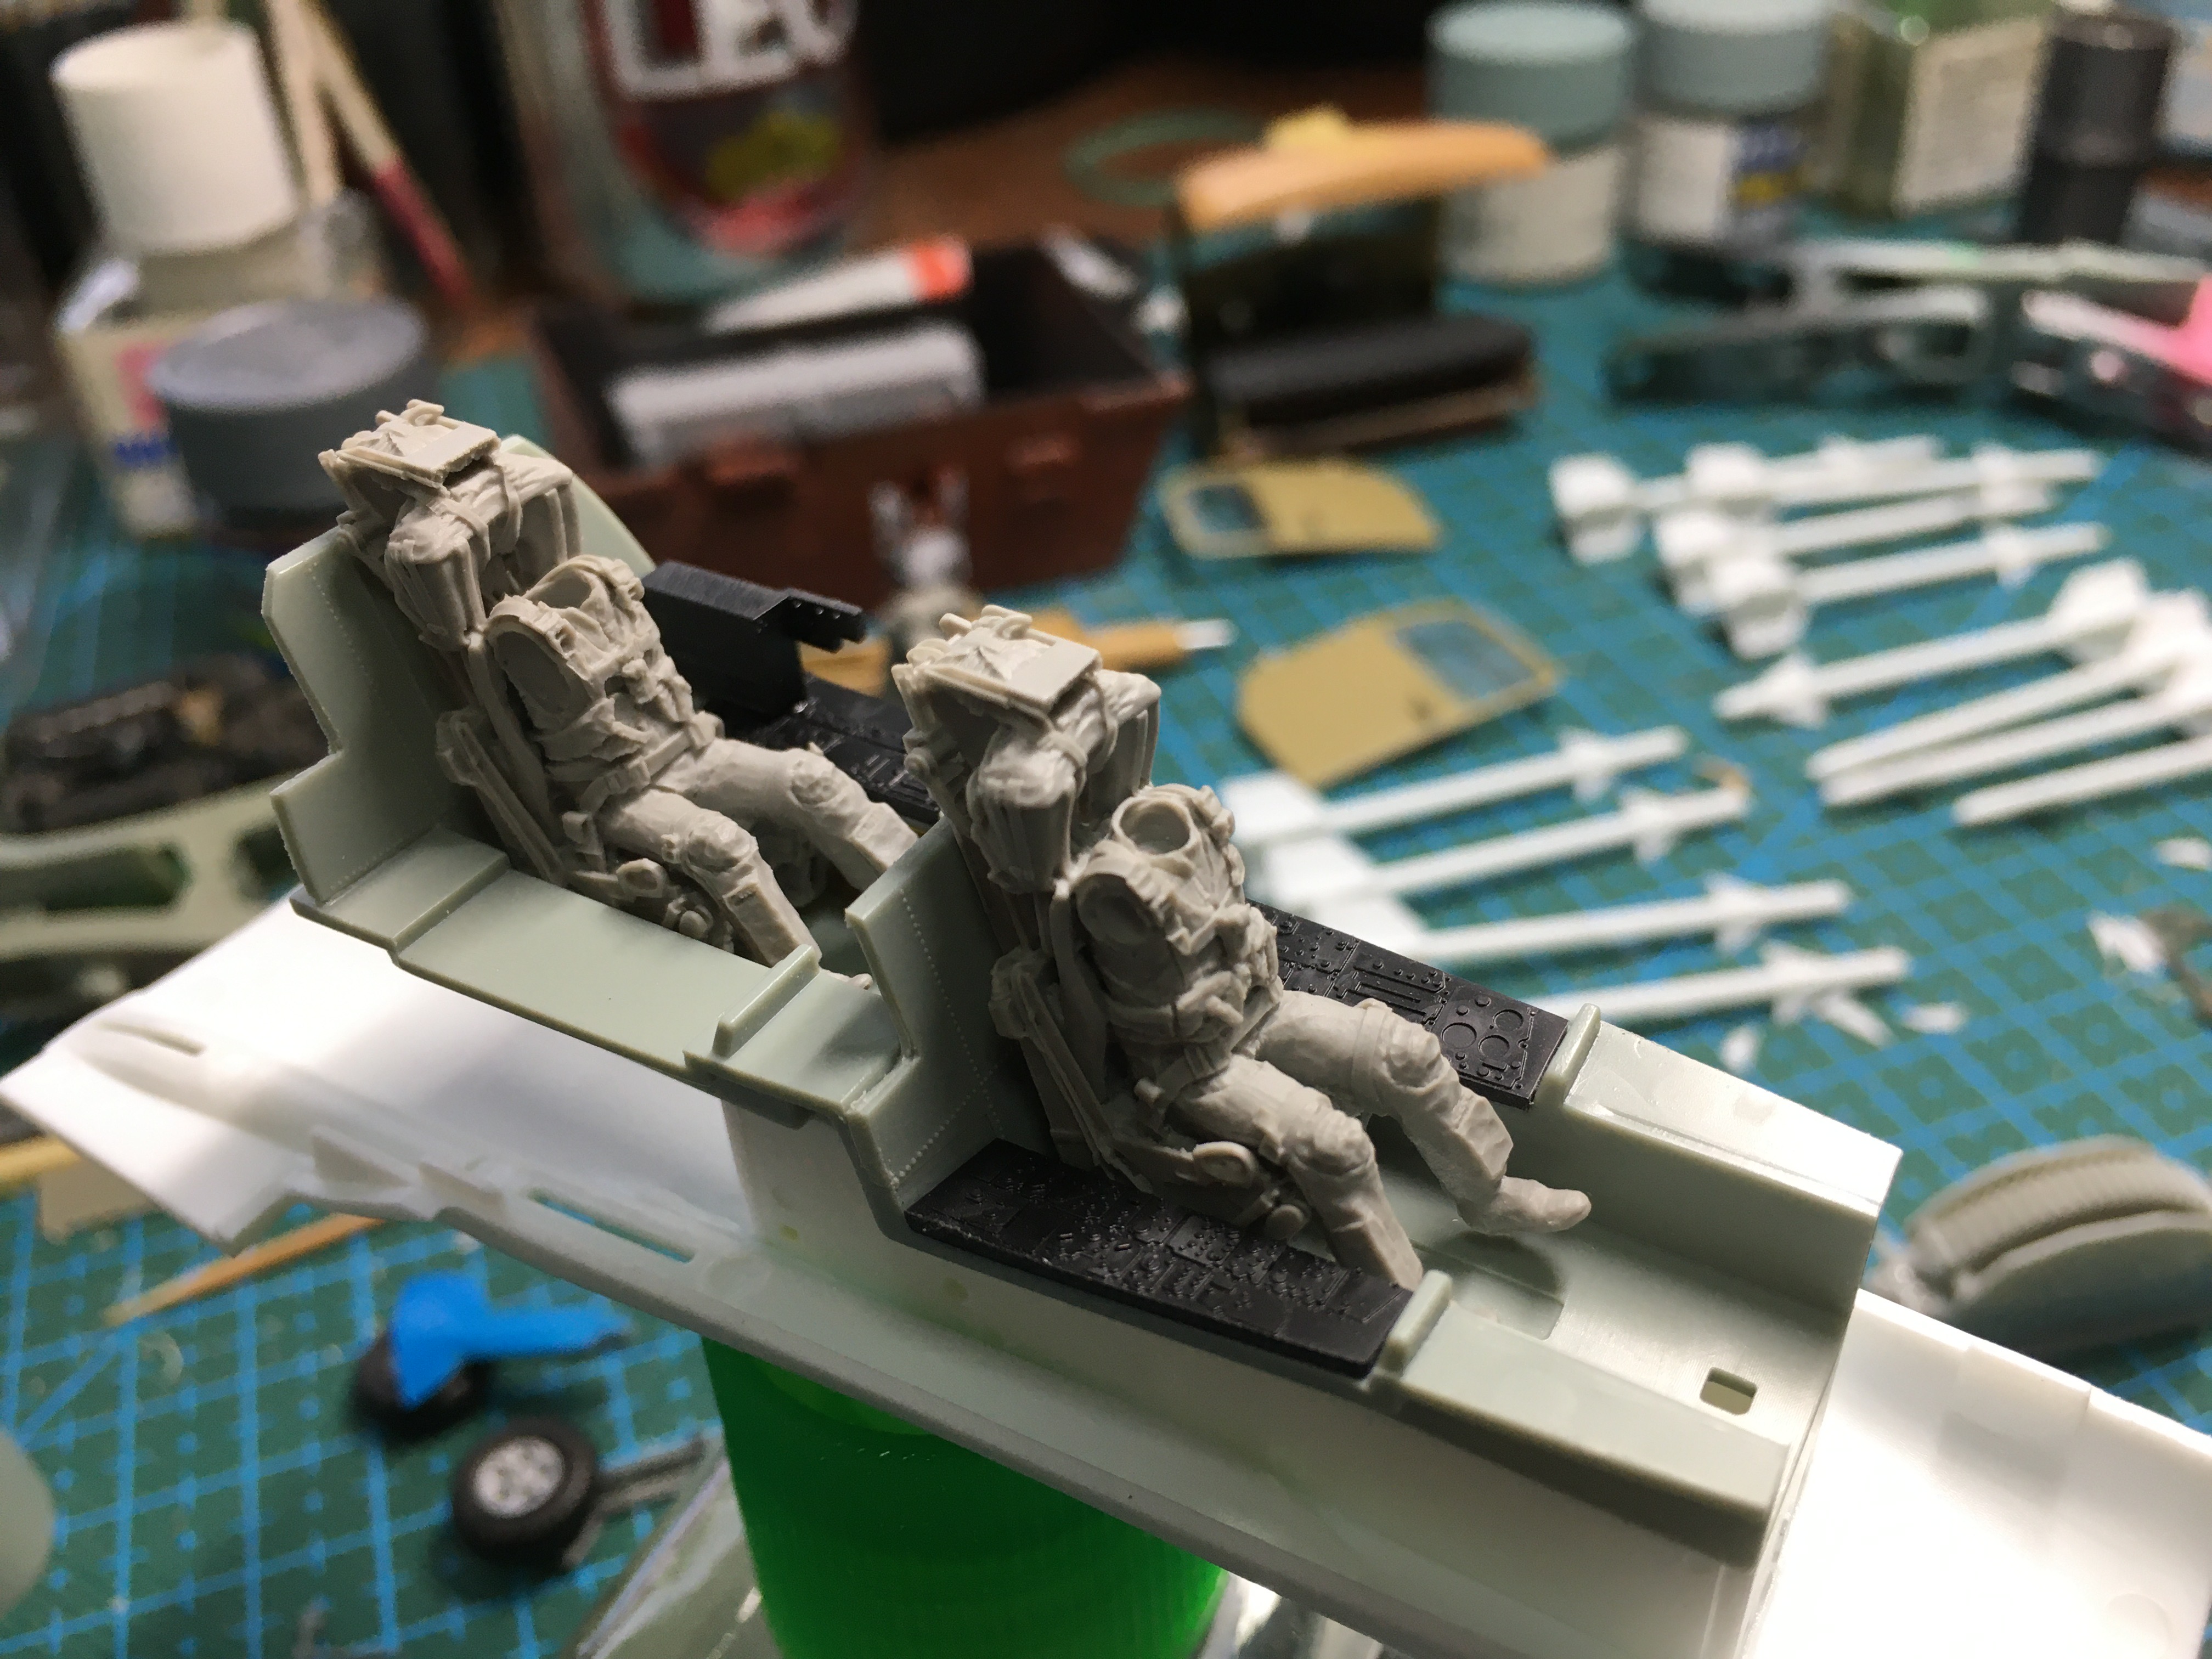
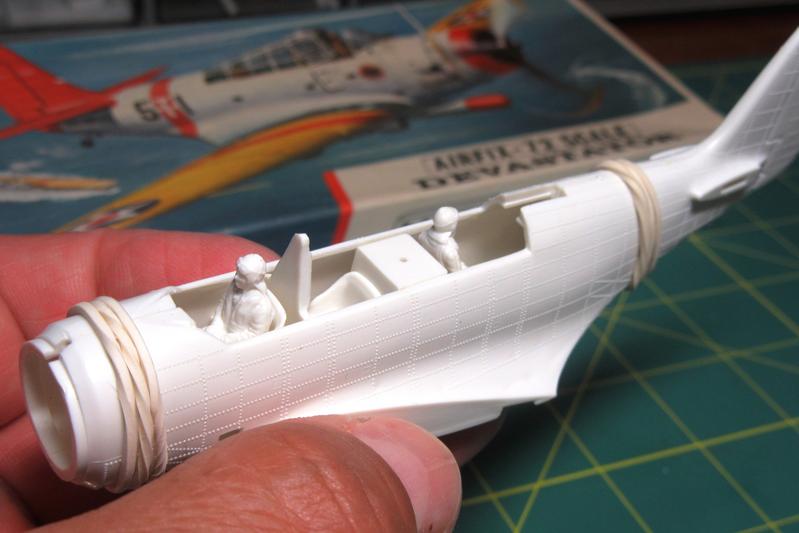
Those pilot figures look excellent


LOL, I've got that one in the stash. Someone tried to build it with PVA glue. I'm planning on building it with folding wings because I don't want to have to fill seams on corrugated wings.


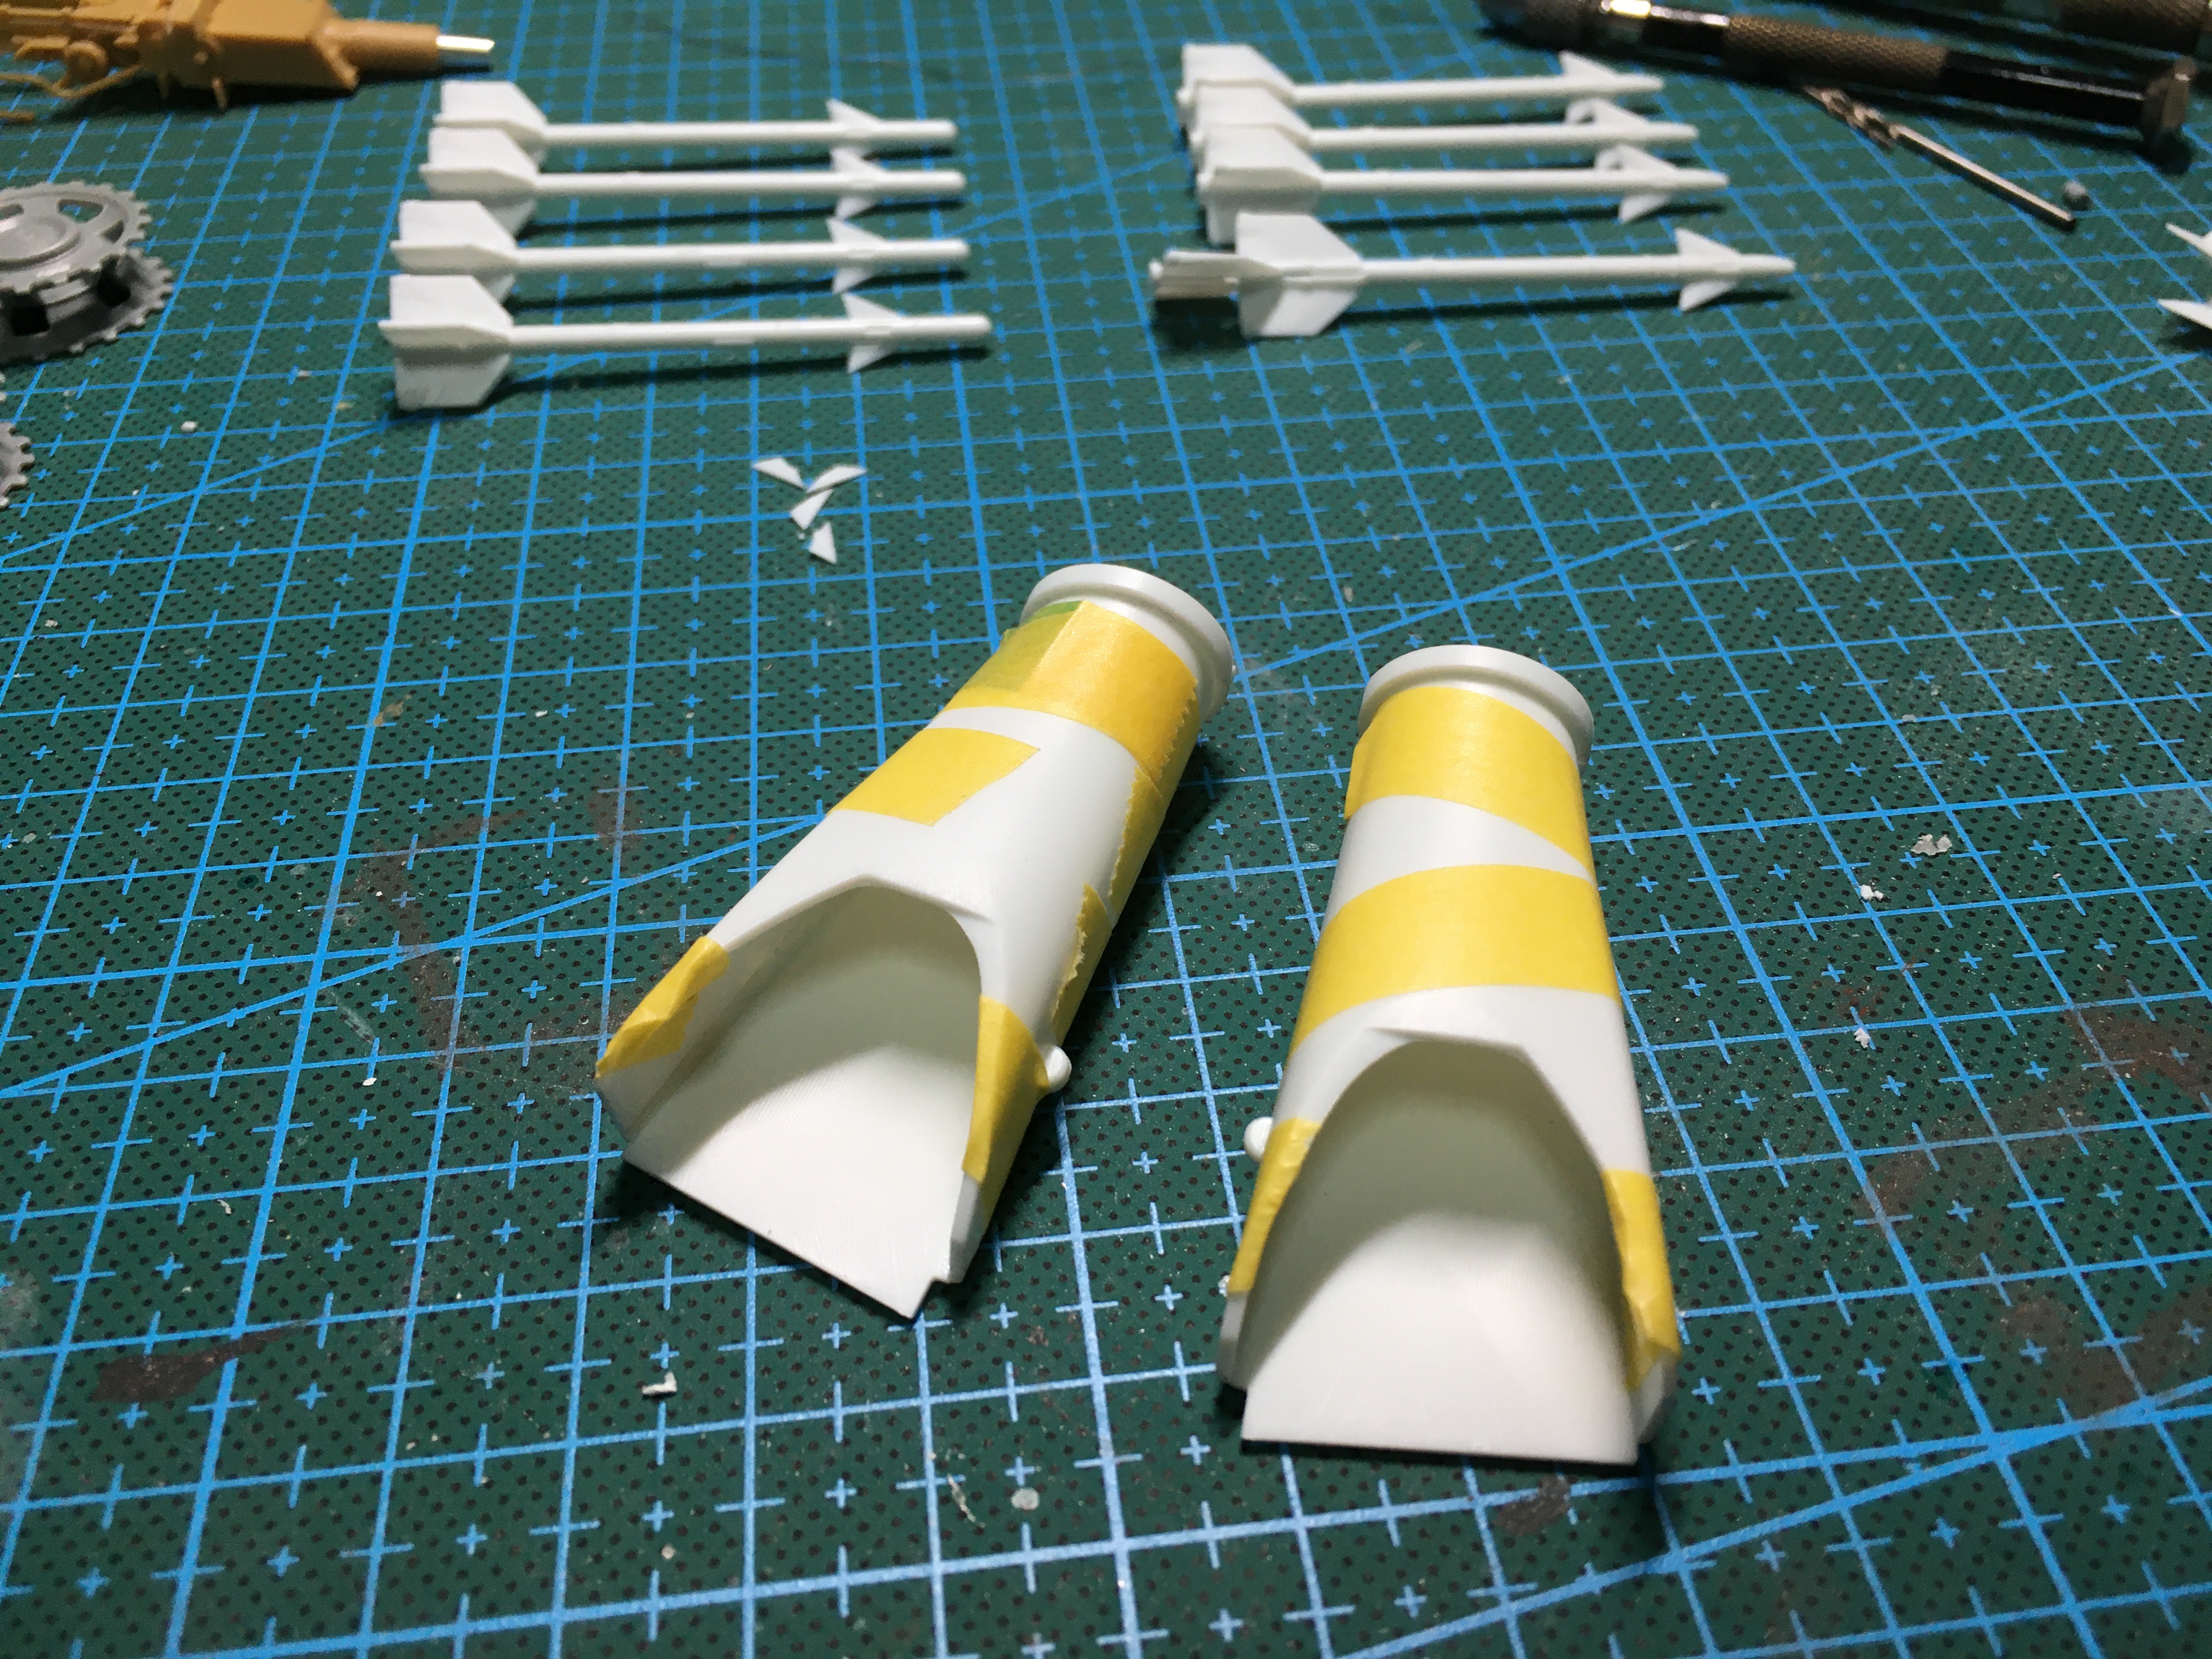
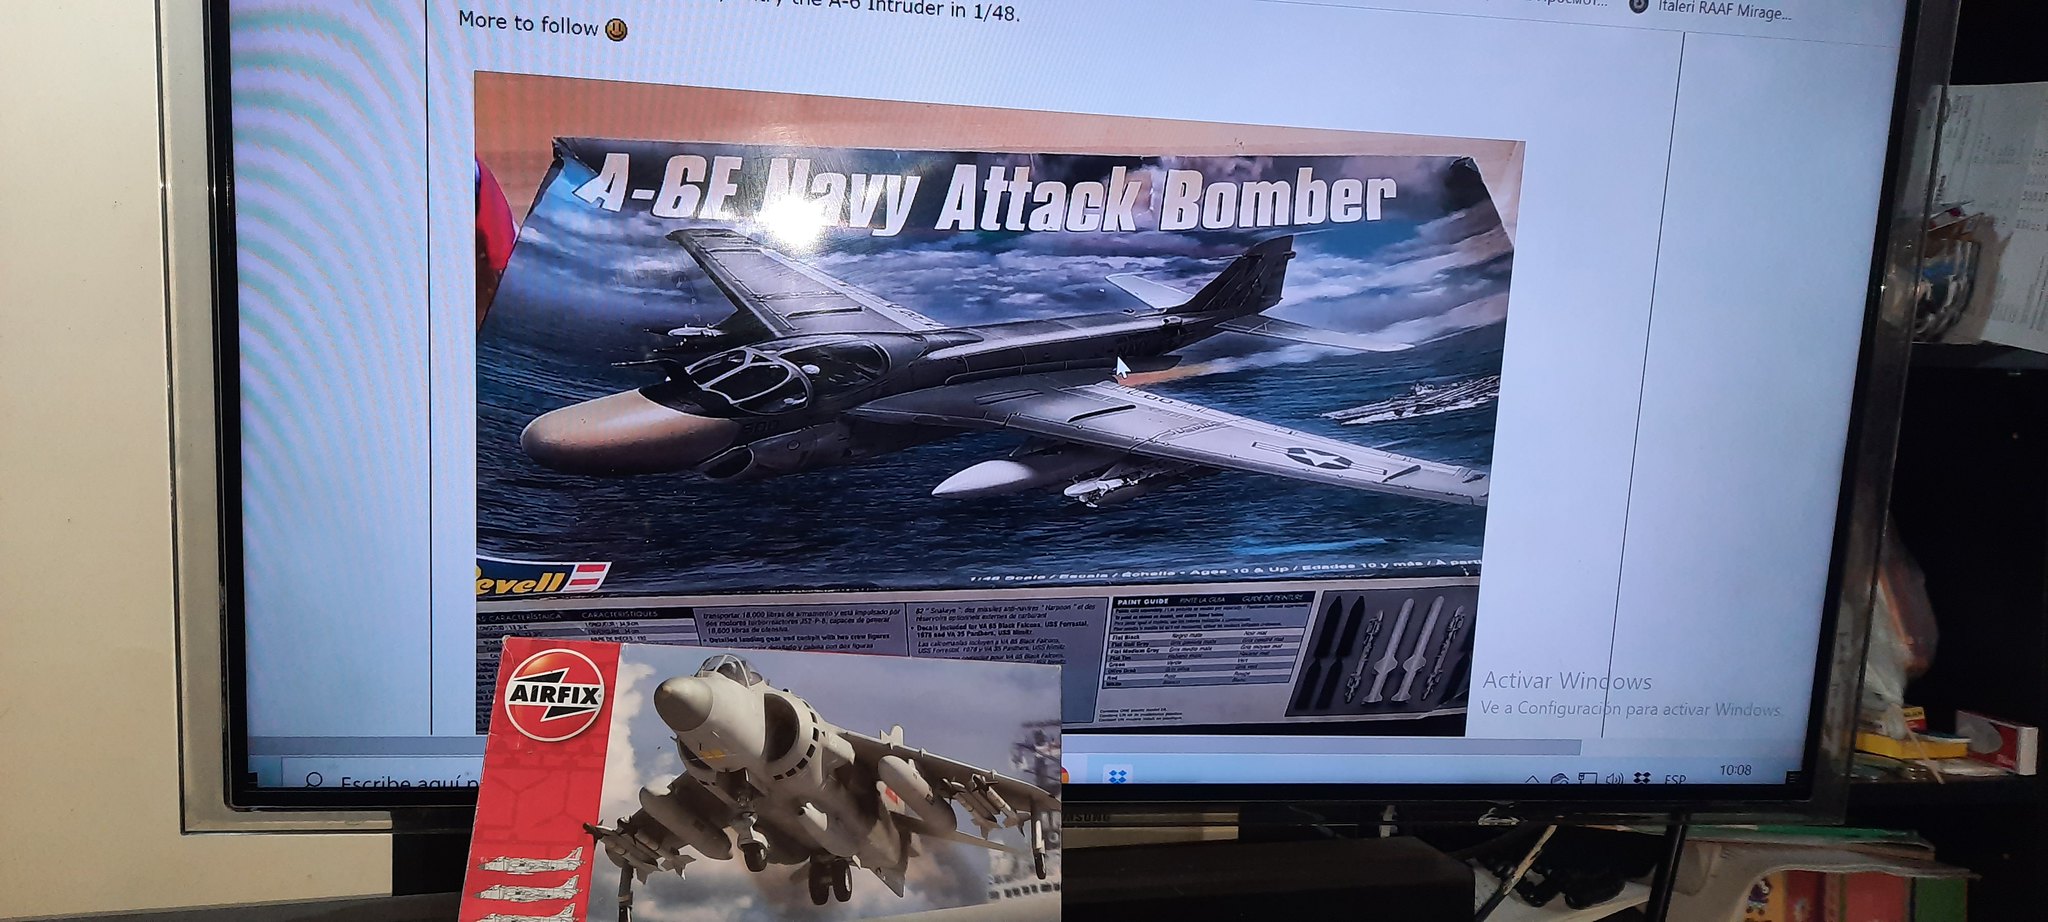 20200815_120821 by Shaky962, en Flickr
 |


