_GOTOBOTTOM
Start Here (for Beginners)
This forum is for younger modelers or people just starting out in the hobby.
Revell 1/72 Boeing B17G Flying Fortress
kpnuts
_VISITCOMMUNITY
United Kingdom
Joined: December 20, 2013
KitMaker: 1,179 posts
AeroScale: 25 posts
Posted: Monday, April 22, 2019 - 06:46 AM UTC
Revell B17 I'm going to try and do this as a cutaway model, first thing I notice(planes are not my normal thing) checking on photos of the real thing the callout colourwise for the bomb bay (which is the first part on the instructions is wrong) it says the bombs are olive green which is what I've done them and when I look at pics of the bombs they are a medium green not the nearly black as you can see from the pics, the olive green I've done them (I'm using Vallejo air paints ) also they have yellow banding which seems to vary according to which picture you look at, some have 3 bands in the middle some have one in the middle others have one at the tip and a silver tip in front of that. I wouldn't normally worry too much about that but if I'm doing this as a cutaway it needs to be more accurate, help please.


Kevlar06
_VISITCOMMUNITY
Washington, United States
Joined: March 15, 2009
KitMaker: 3,670 posts
AeroScale: 833 posts
Posted: Monday, April 22, 2019 - 08:57 AM UTC
Ken,
Attached is a 1945 "Pilots Guide to WWII Aerial Bombs" from the 303rd (Hell's Angels) Bomb Group at Molesworth. It may help you out with the colors and definitions of the different US bombs in use during WWII:

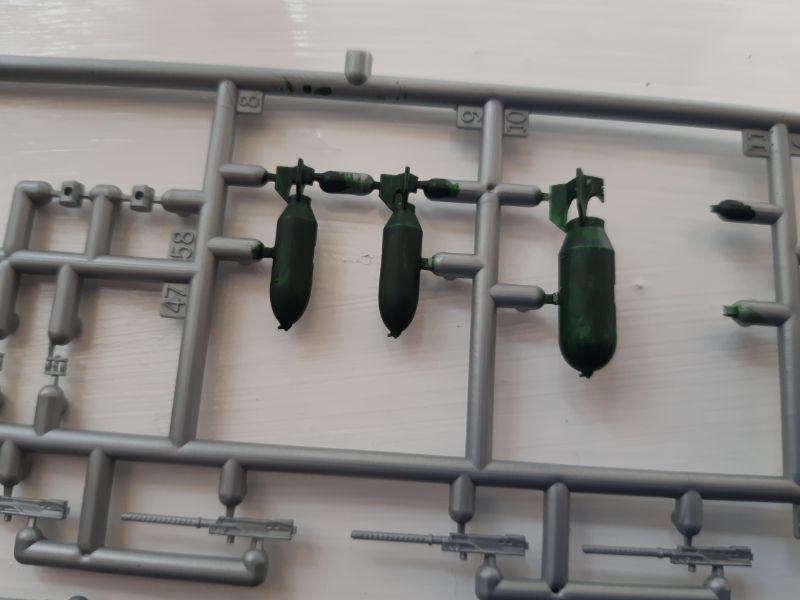
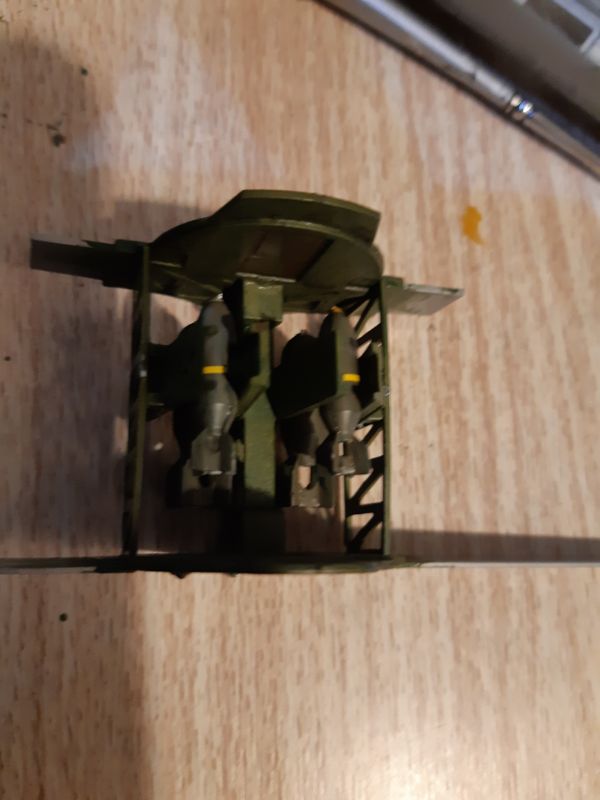
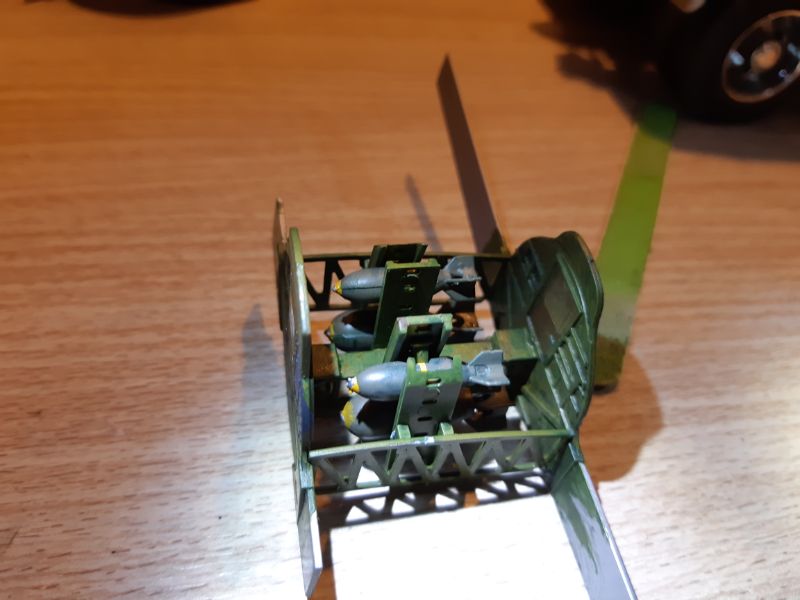
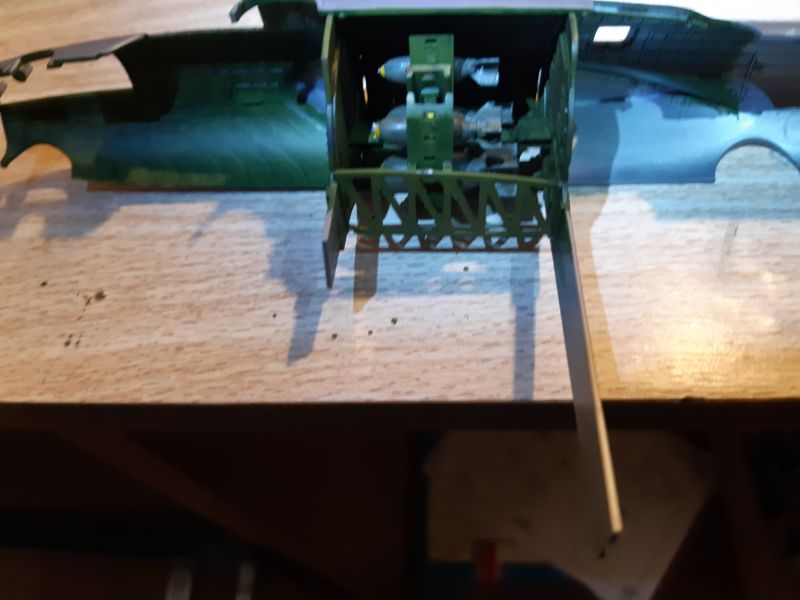
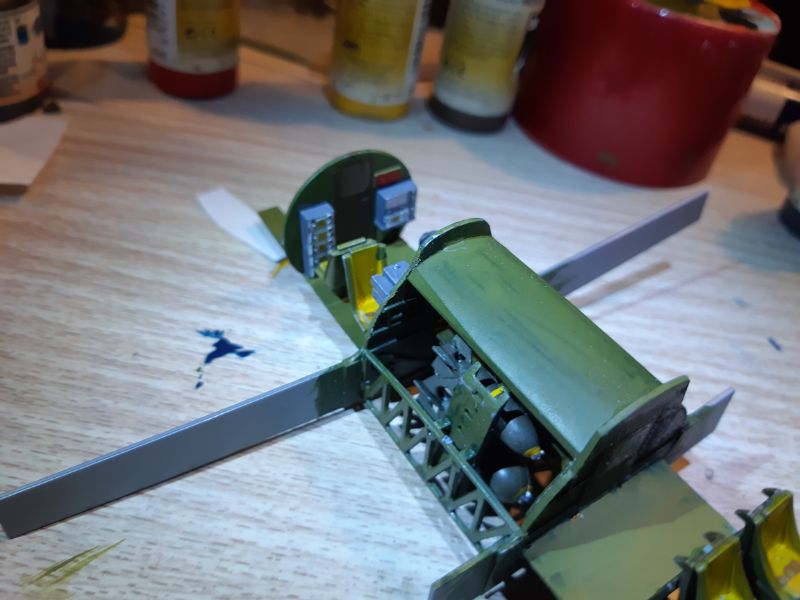
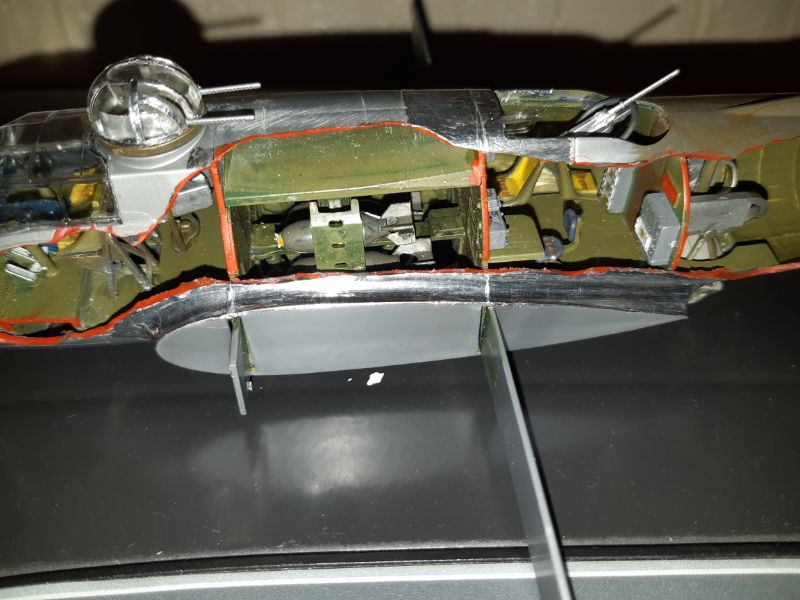
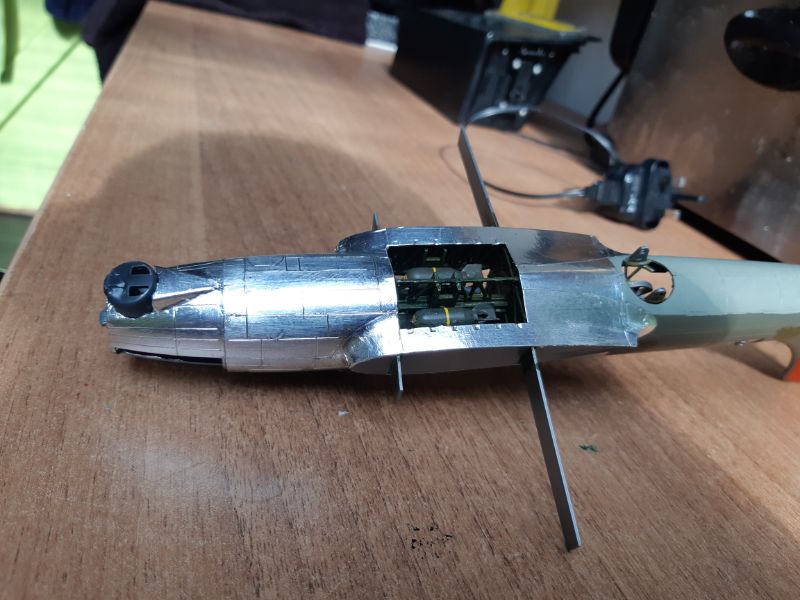
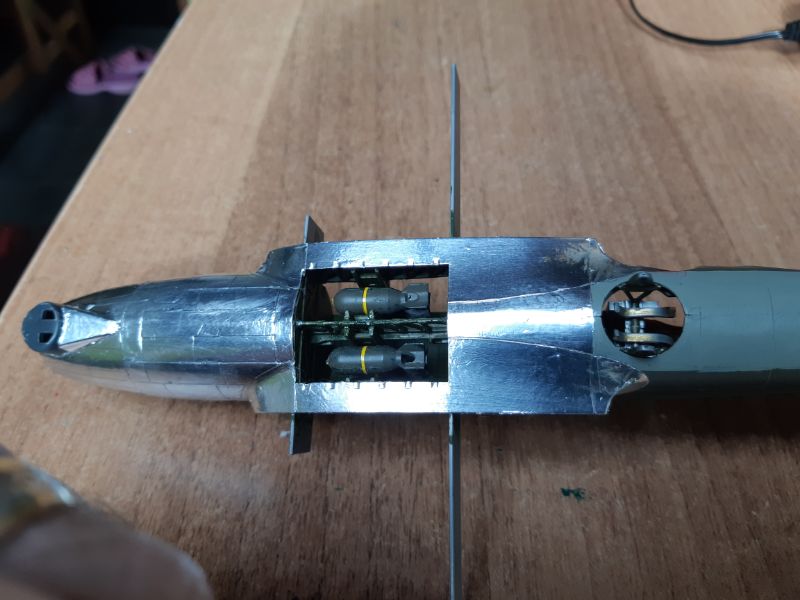
http://www.303rdbg.com/bombs.html

Most 500lb General Purpose (GP) bombs were painted OD green, with black lettering, with a single thin yellow band between the removable tail unit and the body of the bomb. and in some cases another band around the nose of the bomb (but not always). Bombs were were fuzed with a natural metal fuze, and in some cases a grey or aluminum area around the fuze well was left unpainted. I think what you are seeing as "medium green" is likely an effect of the "colorization" of photos, or the processing of color photographs--but everything I've read indicates they were OD, but OD can also appear differently between manufacturers. There are also known difference in bomb body colors-- specifically pre-WWII bombs could often be found in overall yellow or in very light grey. This has led to misinterpreting these colors as "training bombs" which is not the case-- as there are many photos of these bombs being loaded for combat missions with definite HE GP bombs right alongside, especially early in the war before 1943. The difference in the location and number of yellow bands seen on aerial bombs is also due to the difference in explosive fill, Amatol and TNT are the most common (with the single band. Other types of fill would be designated by a different number of yellow bands usually on the nose of the bomb.

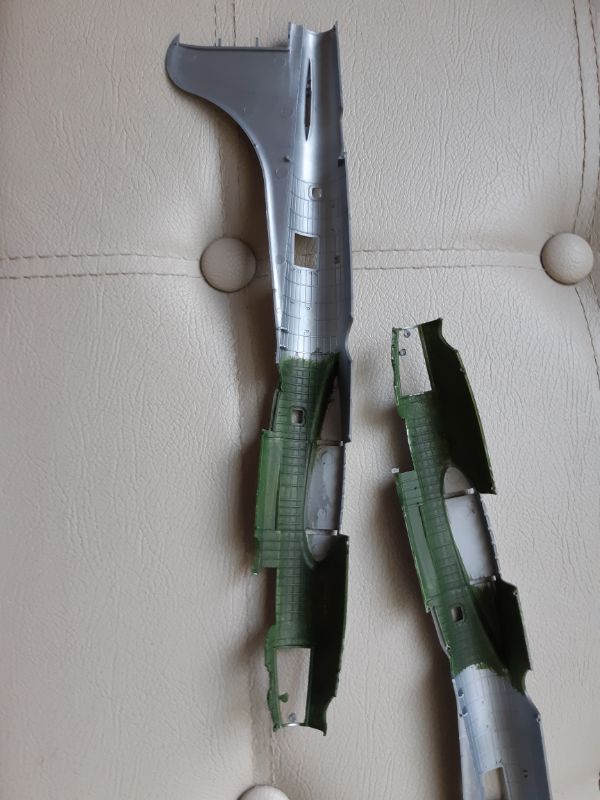
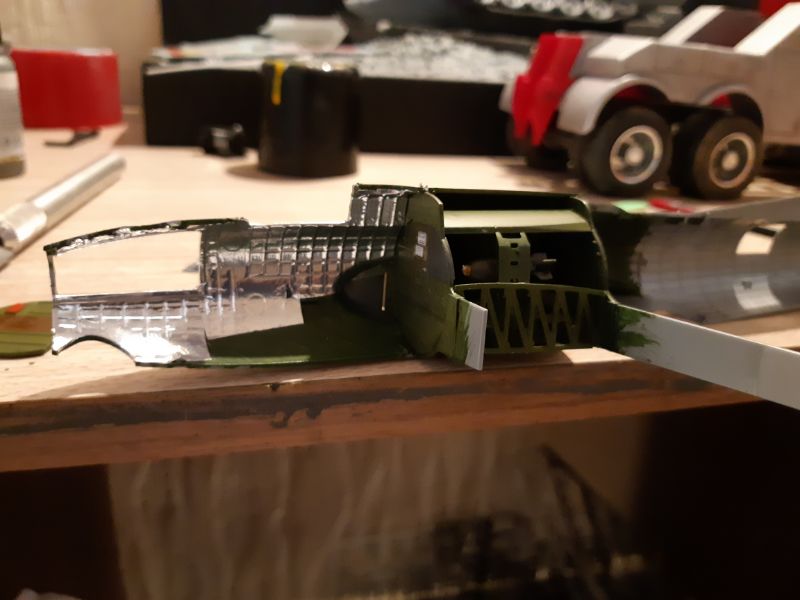
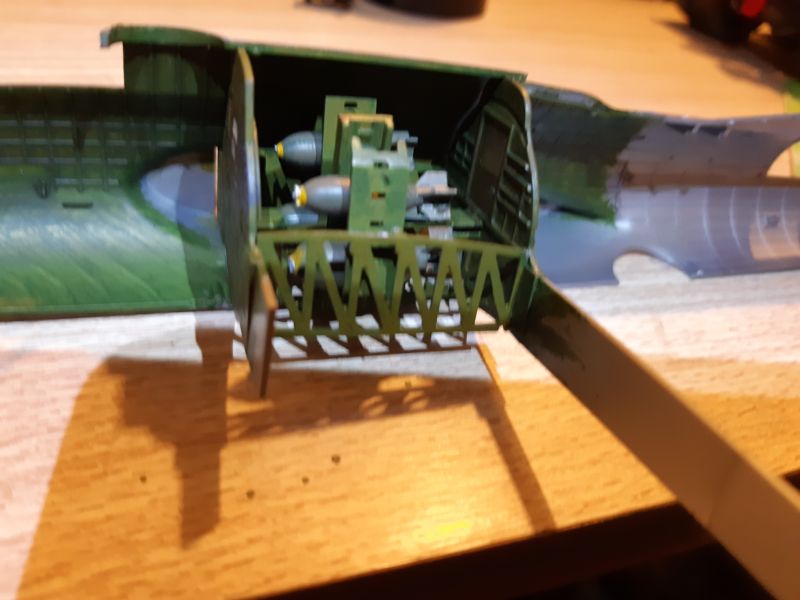
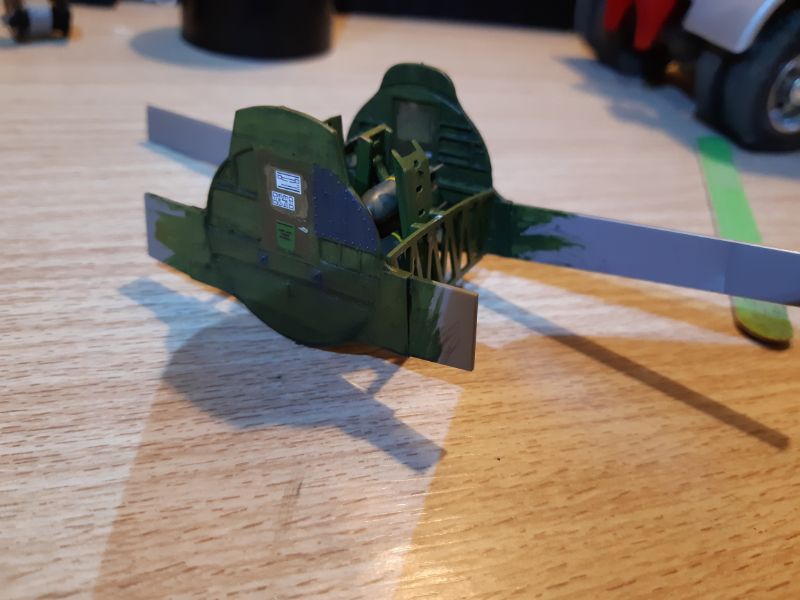
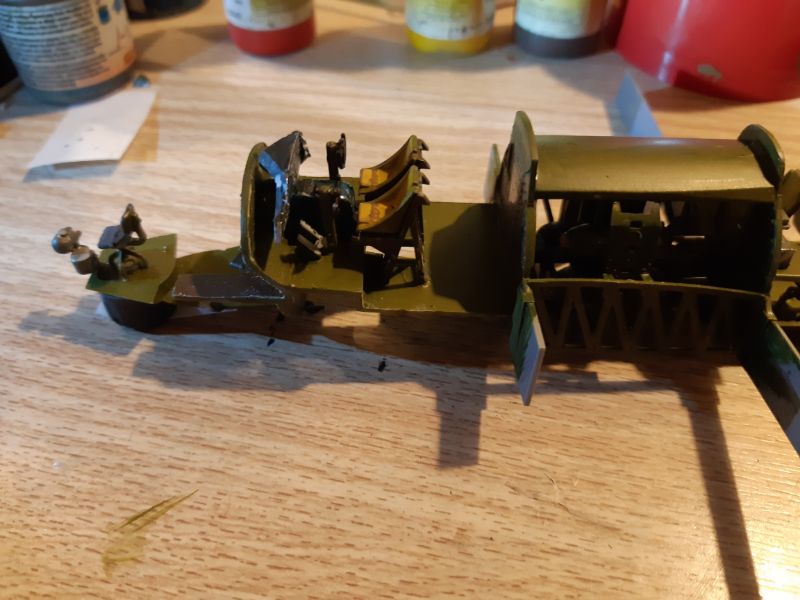
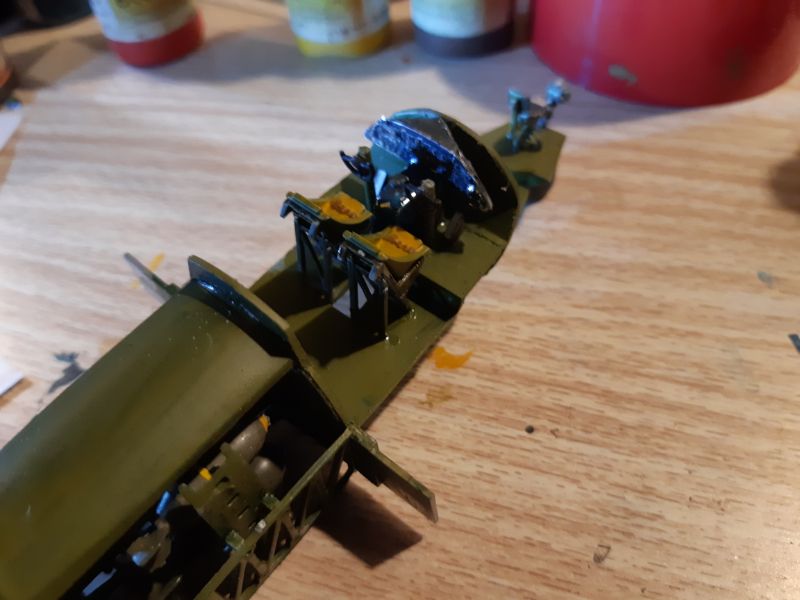
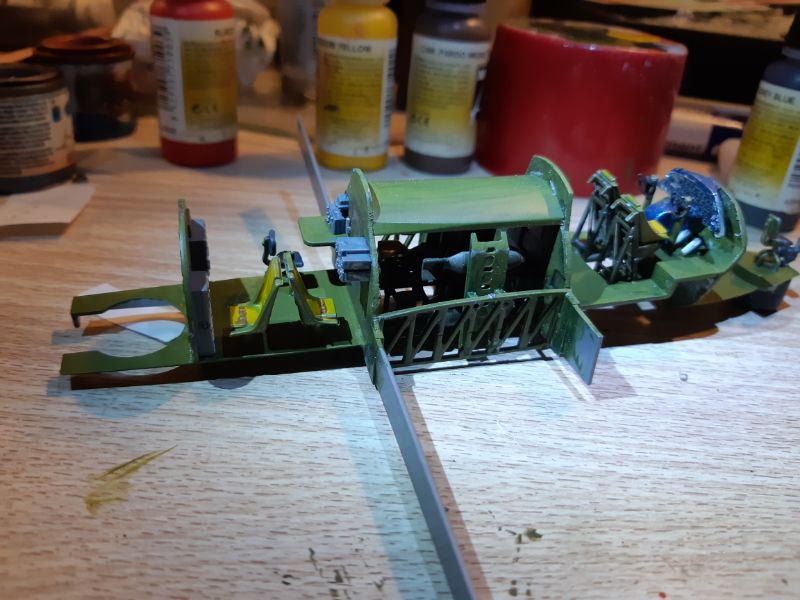
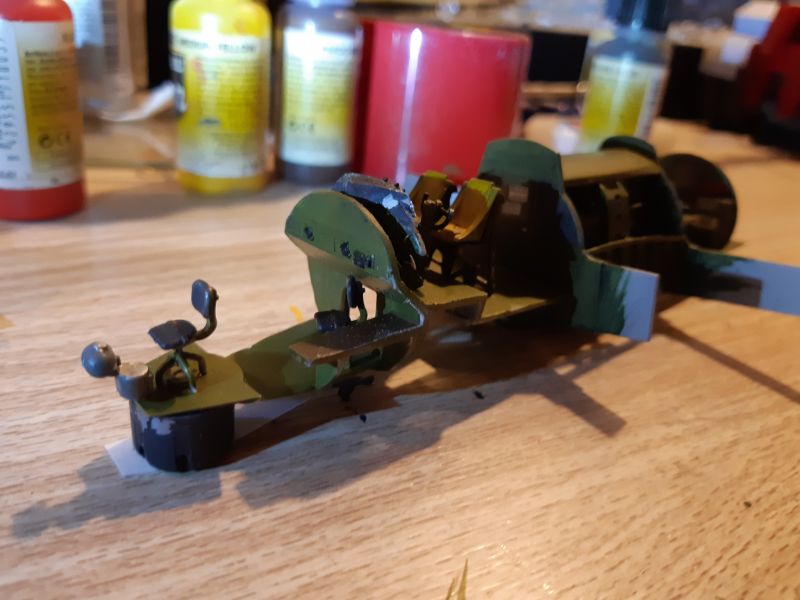
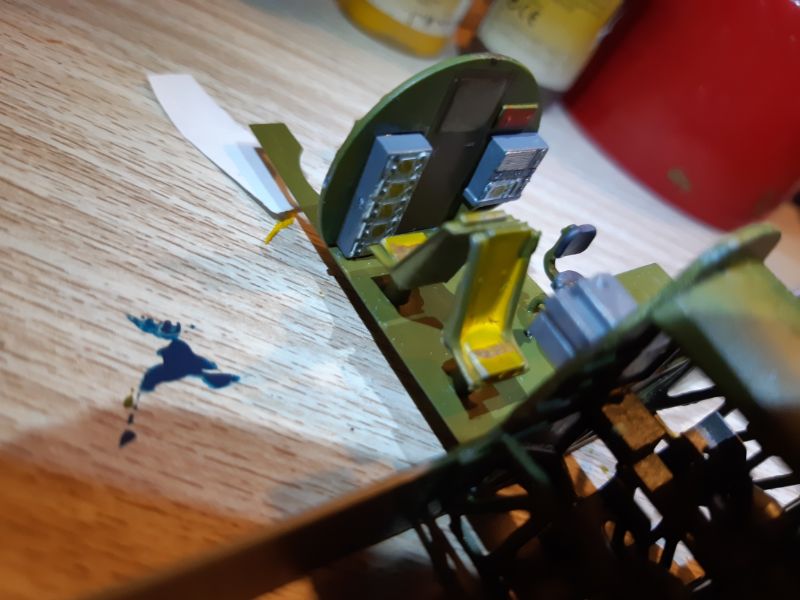
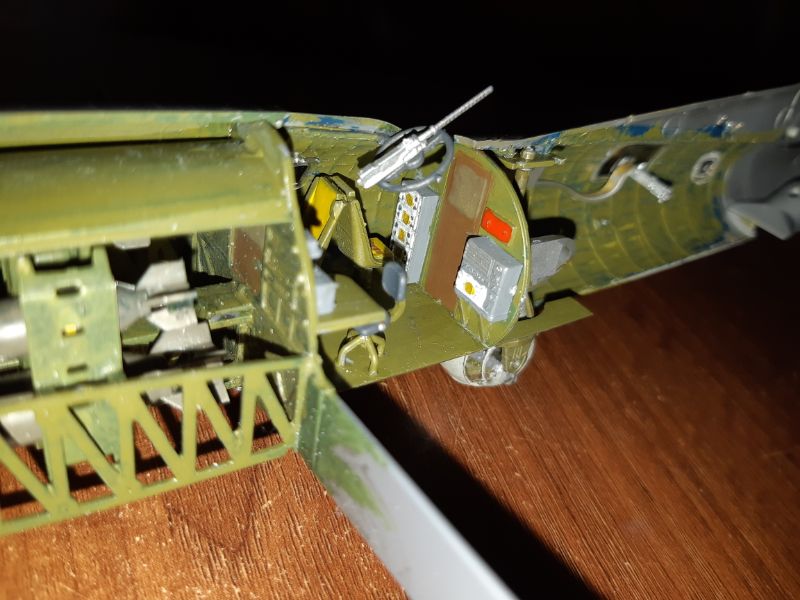
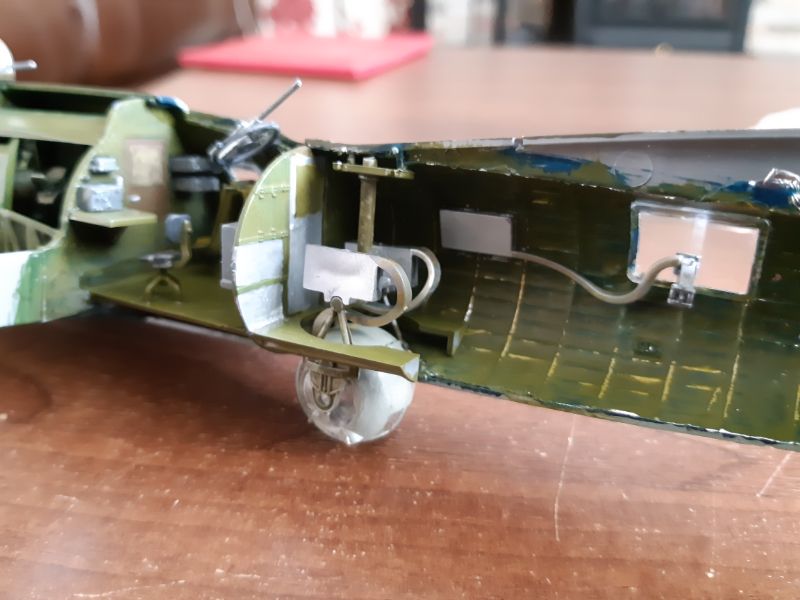
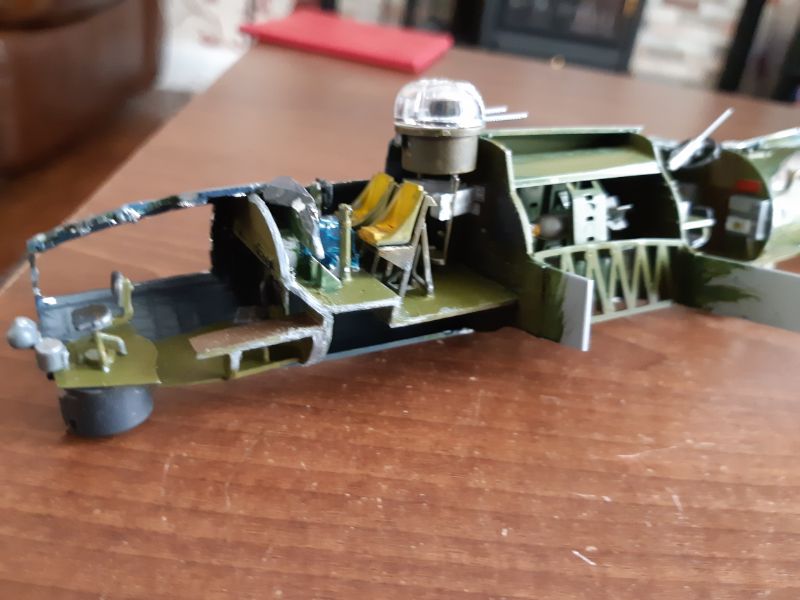
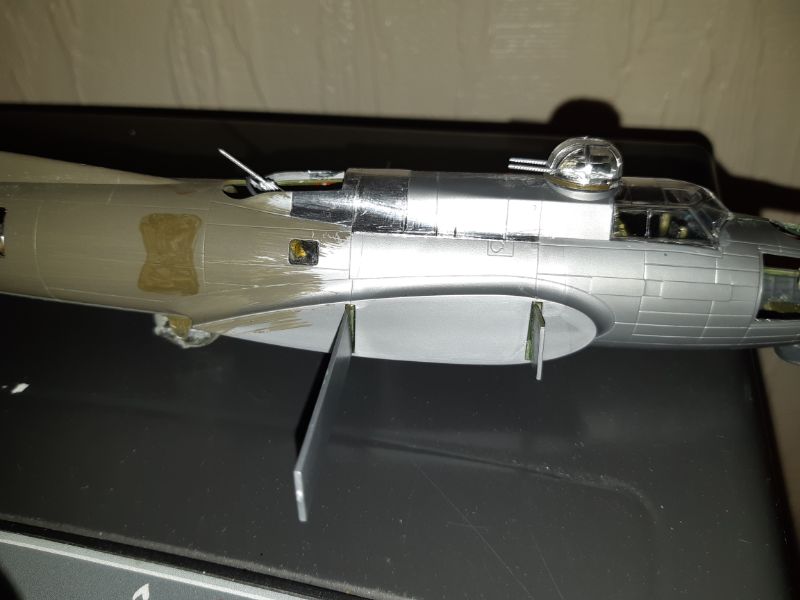
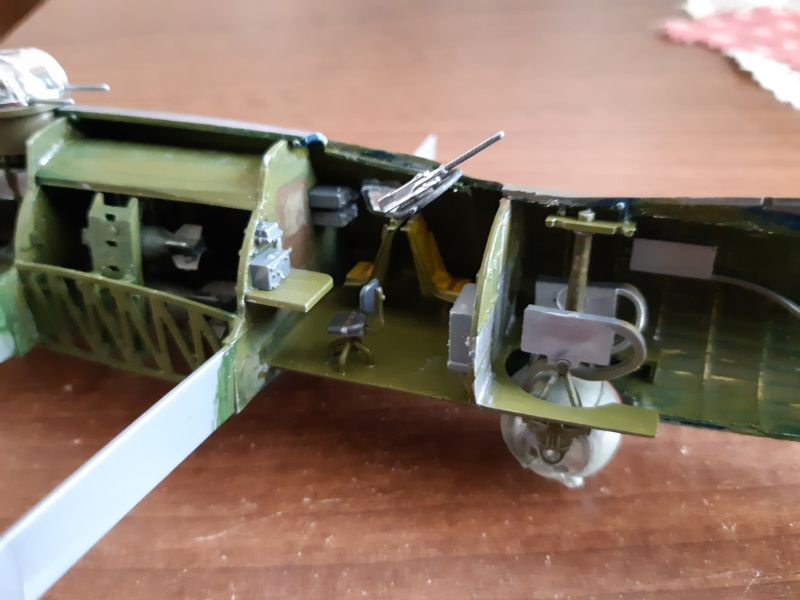
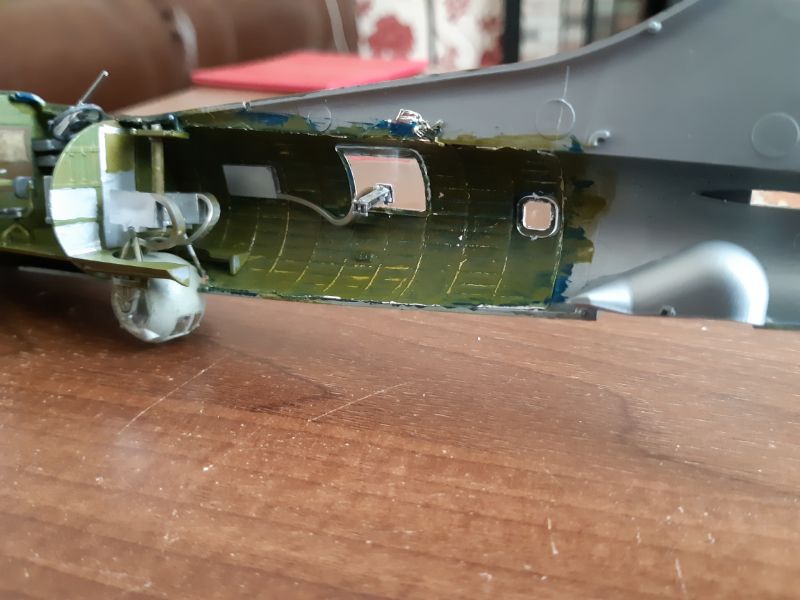
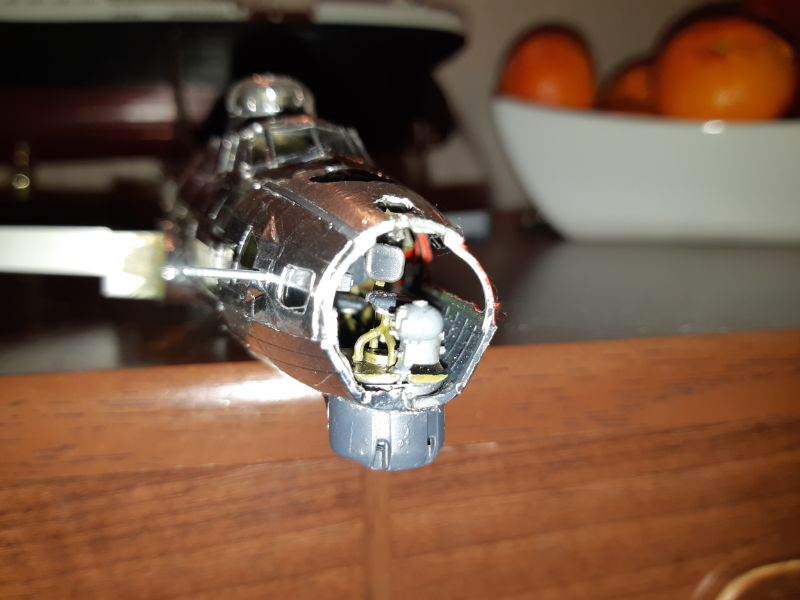
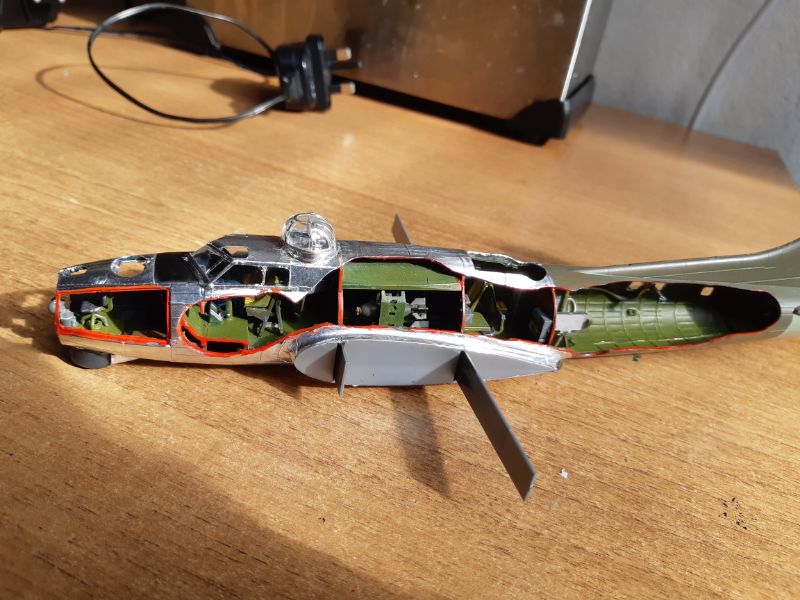
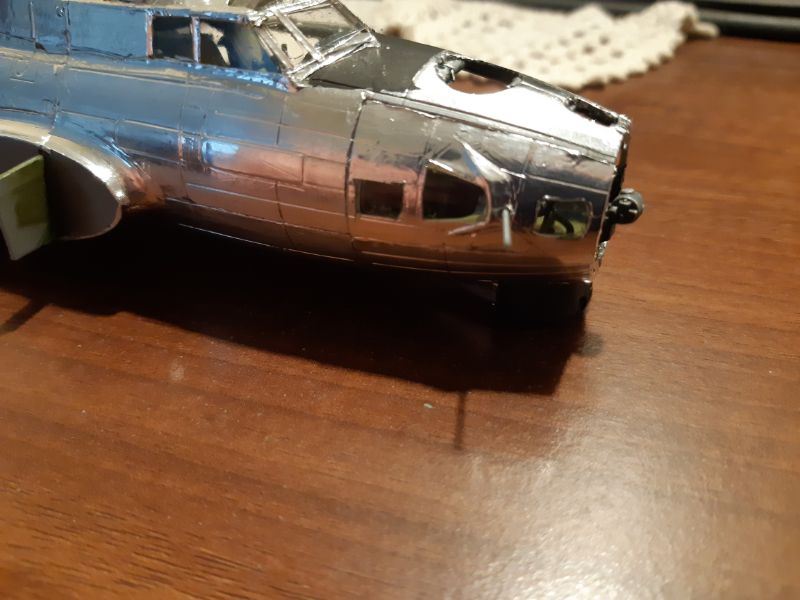
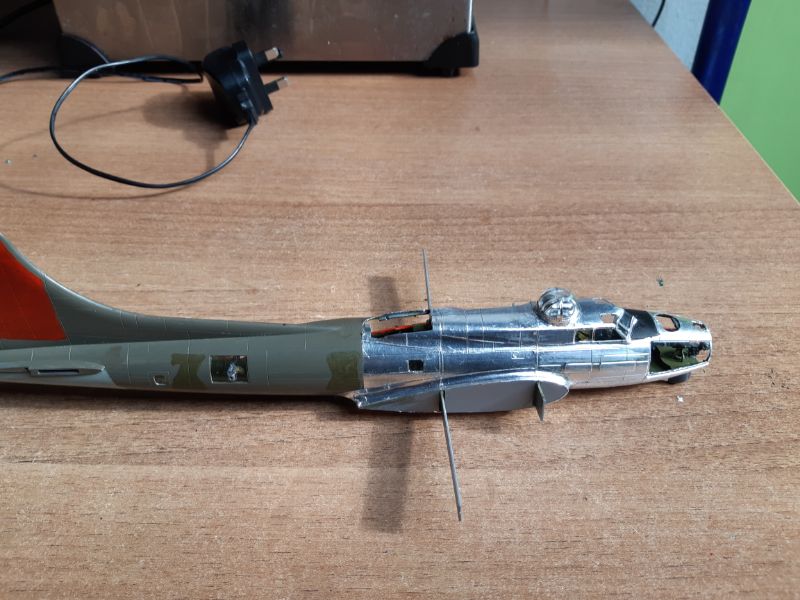
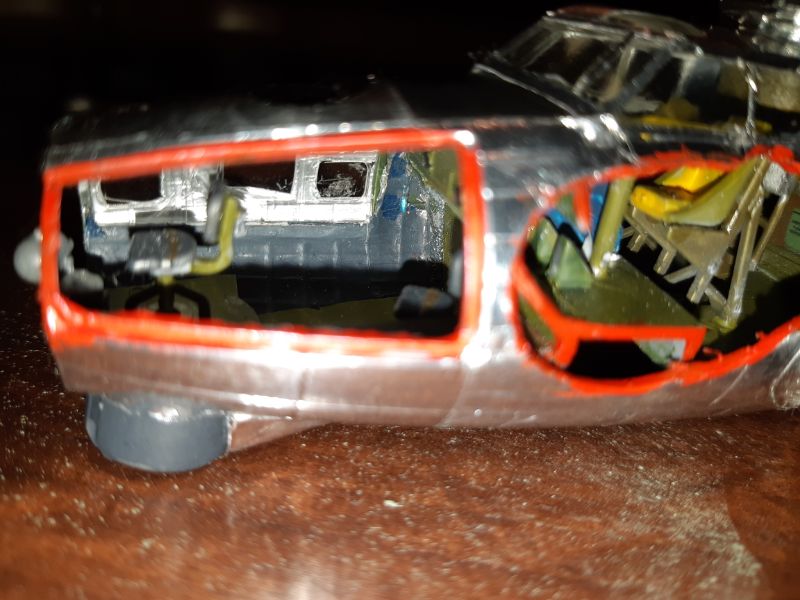
As far as B-17 interior colors go, they would normally be a standard "Cockpit Green", which is a bit lighter in shade than you have, and some later version would be painted a shade of Chromate Green (but sometimes the camera lies as to true colors too). However, again, depending on the manufacturer (Boeing did not build them all) the shade may be slightly different. B-17Es and B-17Fs were left unpainted from the radio compartment to the tail to save weight, as were some of the very early B-17Gs. Hope this helps. I did a lot of research on B-17s while doing my 1/16th scale waist gunner position for Large Scale Planes a few years ago.
VR, Russ
kpnuts
_VISITCOMMUNITY
United Kingdom
Joined: December 20, 2013
KitMaker: 1,179 posts
AeroScale: 25 posts
Posted: Monday, April 22, 2019 - 05:21 PM UTC
Thanks very much for the info and for taking the time to give it.
kpnuts
_VISITCOMMUNITY
United Kingdom
Joined: December 20, 2013
KitMaker: 1,179 posts
AeroScale: 25 posts
Posted: Sunday, April 28, 2019 - 06:24 AM UTC
Hi all bit more done to this, trying out some aluminium foil on the inside to see the effect before I try it on the outside, i must say I think it looks quite good.


kpnuts
_VISITCOMMUNITY
United Kingdom
Joined: December 20, 2013
KitMaker: 1,179 posts
AeroScale: 25 posts
Posted: Friday, May 03, 2019 - 07:53 AM UTC
Hi all well made more progress on the interior, loads more to do (there's a lot of detail in this kit) I'm wondering wether to add some lighting to the internals, its quite dark even without adding the side with the cut outs in.

Done some of the exterior paint ( not my best work as I'm using a brush since my compressor is dead)


kpnuts
_VISITCOMMUNITY
United Kingdom
Joined: December 20, 2013
KitMaker: 1,179 posts
AeroScale: 25 posts
Posted: Monday, May 06, 2019 - 06:23 AM UTC
Is there any way of getting rid of the white stuff you get with superglue, I ask because I'm trying to do the belly turret on the plane which is moulded in clear I'm using Revell clear glue and it just keeps coming apart when I'm handling it whilst trying to paint it (incidentally how do you manage that it's almost impossible I've had to take it off a load of times as the paint seeps under the masking tape and my hands arnt steady enough to do it free hand) anyway i was thinking of gluing it with superglue if I could get rid of the white vapour stuff you get with it.
Kevlar06
_VISITCOMMUNITY
Washington, United States
Joined: March 15, 2009
KitMaker: 3,670 posts
AeroScale: 833 posts
Posted: Monday, May 06, 2019 - 08:12 AM UTC
Ken,
Soak the clear parts in Future (I think they call it Kleer in your part of the world). Let them dry for 24 hours, then you can glue them together with the Cyanoacrylate (Super Glue) without fear of "fogging".
VR, Russ
kpnuts
_VISITCOMMUNITY
United Kingdom
Joined: December 20, 2013
KitMaker: 1,179 posts
AeroScale: 25 posts
Posted: Monday, May 06, 2019 - 08:48 AM UTC
Thanks Russ.
kpnuts
_VISITCOMMUNITY
United Kingdom
Joined: December 20, 2013
KitMaker: 1,179 posts
AeroScale: 25 posts
Posted: Wednesday, May 08, 2019 - 07:59 AM UTC
Hi all well I've finished the interior and closed it up, trying foil on the silver part of it I figure doing the panels individually may look more realistic (that remains to be seen)


kpnuts
_VISITCOMMUNITY
United Kingdom
Joined: December 20, 2013
KitMaker: 1,179 posts
AeroScale: 25 posts
Posted: Friday, May 10, 2019 - 07:39 AM UTC
Let me tell you foiling something like this is no easy task, it's only that I think it looks ok that I'm continuing (put me off planes again) the bit where the wings connect was a real pita (Still not that happy with it) can't see how to make it better, I'm hoping the wings will be easier.


There's a lot of detail on the inside of the clear parts which I can't see the point of since when painted you can't see it (I suppose it's another part of building planes) I was really looking forward to the 1/24 Airfix mosquito (was going to ask for it as a birthday prezzie) 
kpnuts
_VISITCOMMUNITY
United Kingdom
Joined: December 20, 2013
KitMaker: 1,179 posts
AeroScale: 25 posts
Posted: Saturday, May 18, 2019 - 07:09 AM UTC
Well I'm definitely not going to be any good at planes (will stick to genres I'm more in tune with) (what I don't understand is why planes are so difficult)give me an engine on a bike or car an I can do a half decent job of it, I've worked with them most of my life so know how they should look(maybe that's why the plane engines looks so bad, never even seen one let alone worked on one.


FalkeEins
_VISITCOMMUNITY
England - South East, United Kingdom
Joined: March 07, 2005
KitMaker: 868 posts
AeroScale: 690 posts
Posted: Monday, May 20, 2019 - 12:05 AM UTC
...kudos to you for trying out some pretty advanced techniques...not the easiest of subjects or kits either so I wouldn’t let that put you off building aircraft models ... well done!
Kevlar06
_VISITCOMMUNITY
Washington, United States
Joined: March 15, 2009
KitMaker: 3,670 posts
AeroScale: 833 posts
Posted: Monday, May 20, 2019 - 04:05 AM UTC
Ken, don't give up now-- we all started somewhere. And you've taken on a big project, which doesn't look too bad I might add. I'm sure your first model car build wasn't a complete success was it? I know mine wasn't. The only way we get better at something is to keep trying. The lessons you learn here will be useful in the next build, and the next, and the next......
VR, Russ
kpnuts
_VISITCOMMUNITY
United Kingdom
Joined: December 20, 2013
KitMaker: 1,179 posts
AeroScale: 25 posts
Posted: Monday, May 20, 2019 - 06:15 PM UTC
Thanks guys.
 _GOTOTOP