_GOTOBOTTOM
World War II: Great Britain
Aircraft of Great Britain in WWII.
Hosted by Rowan Baylis
Hobbycraft 1/48 Seafire Mk XV
c4willy
#305
_VISITCOMMUNITY
Christchurch, New Zealand
Joined: February 01, 2006
KitMaker: 1,673 posts
AeroScale: 1,517 posts
Posted: Saturday, January 13, 2018 - 01:03 PM UTC
Hobbycraft????? I can almost hear the dismay LOL. I got this kit gifted to me with a rather large buy up of somebody else's stash so it cost me nothing. (Free is good ..... right??) And I thought I need a build for the Pacific campaign and I haven't built a Spitfire in mumble mumble years. This particular kit is For the British pacific fleet so perfect.

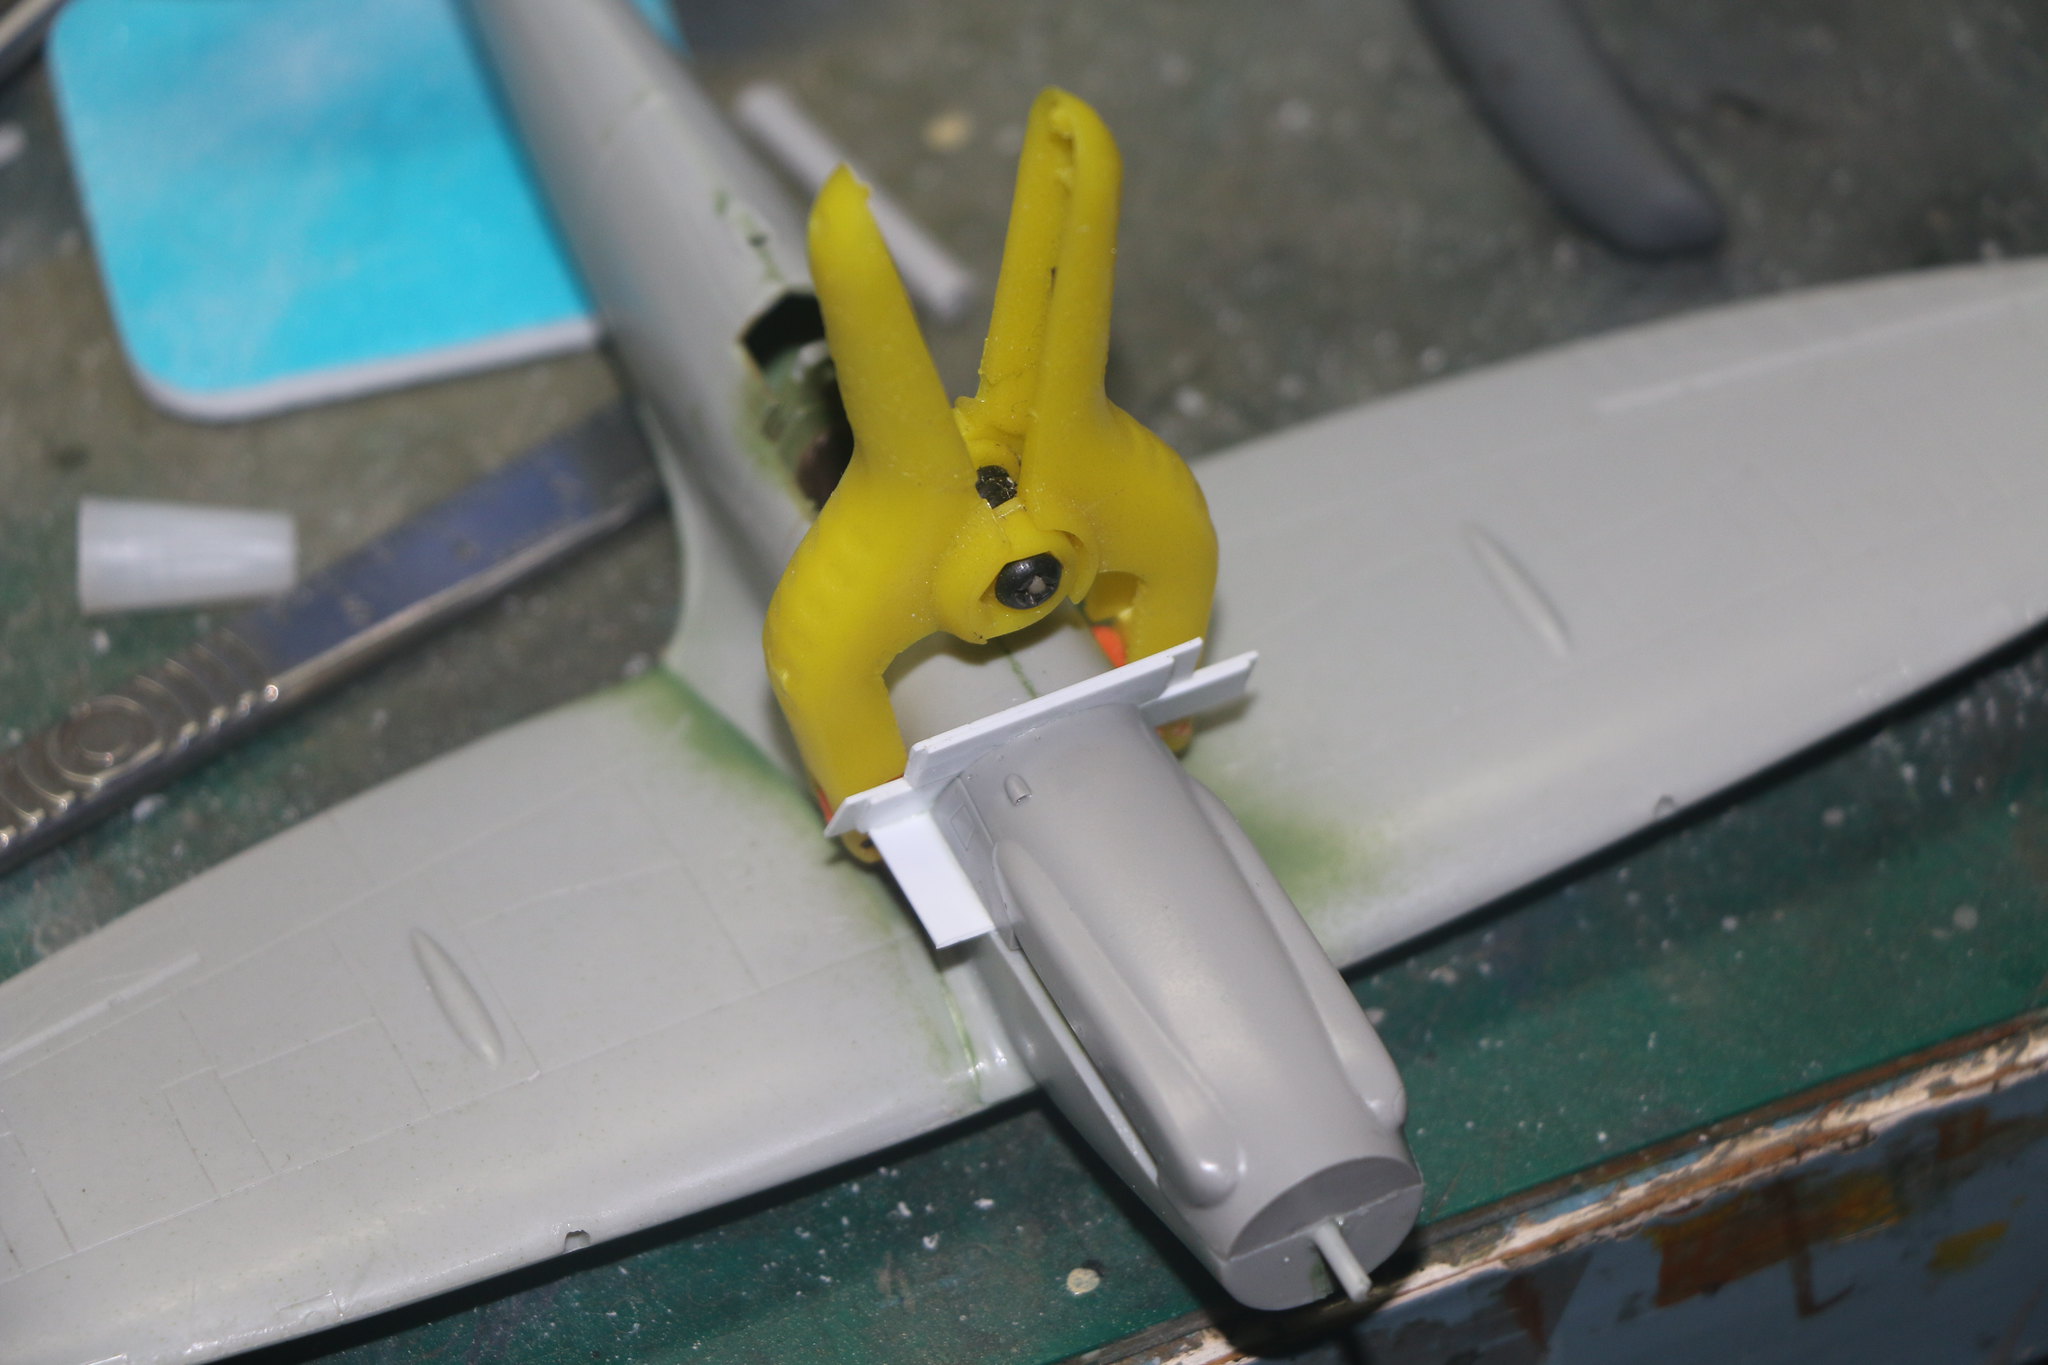
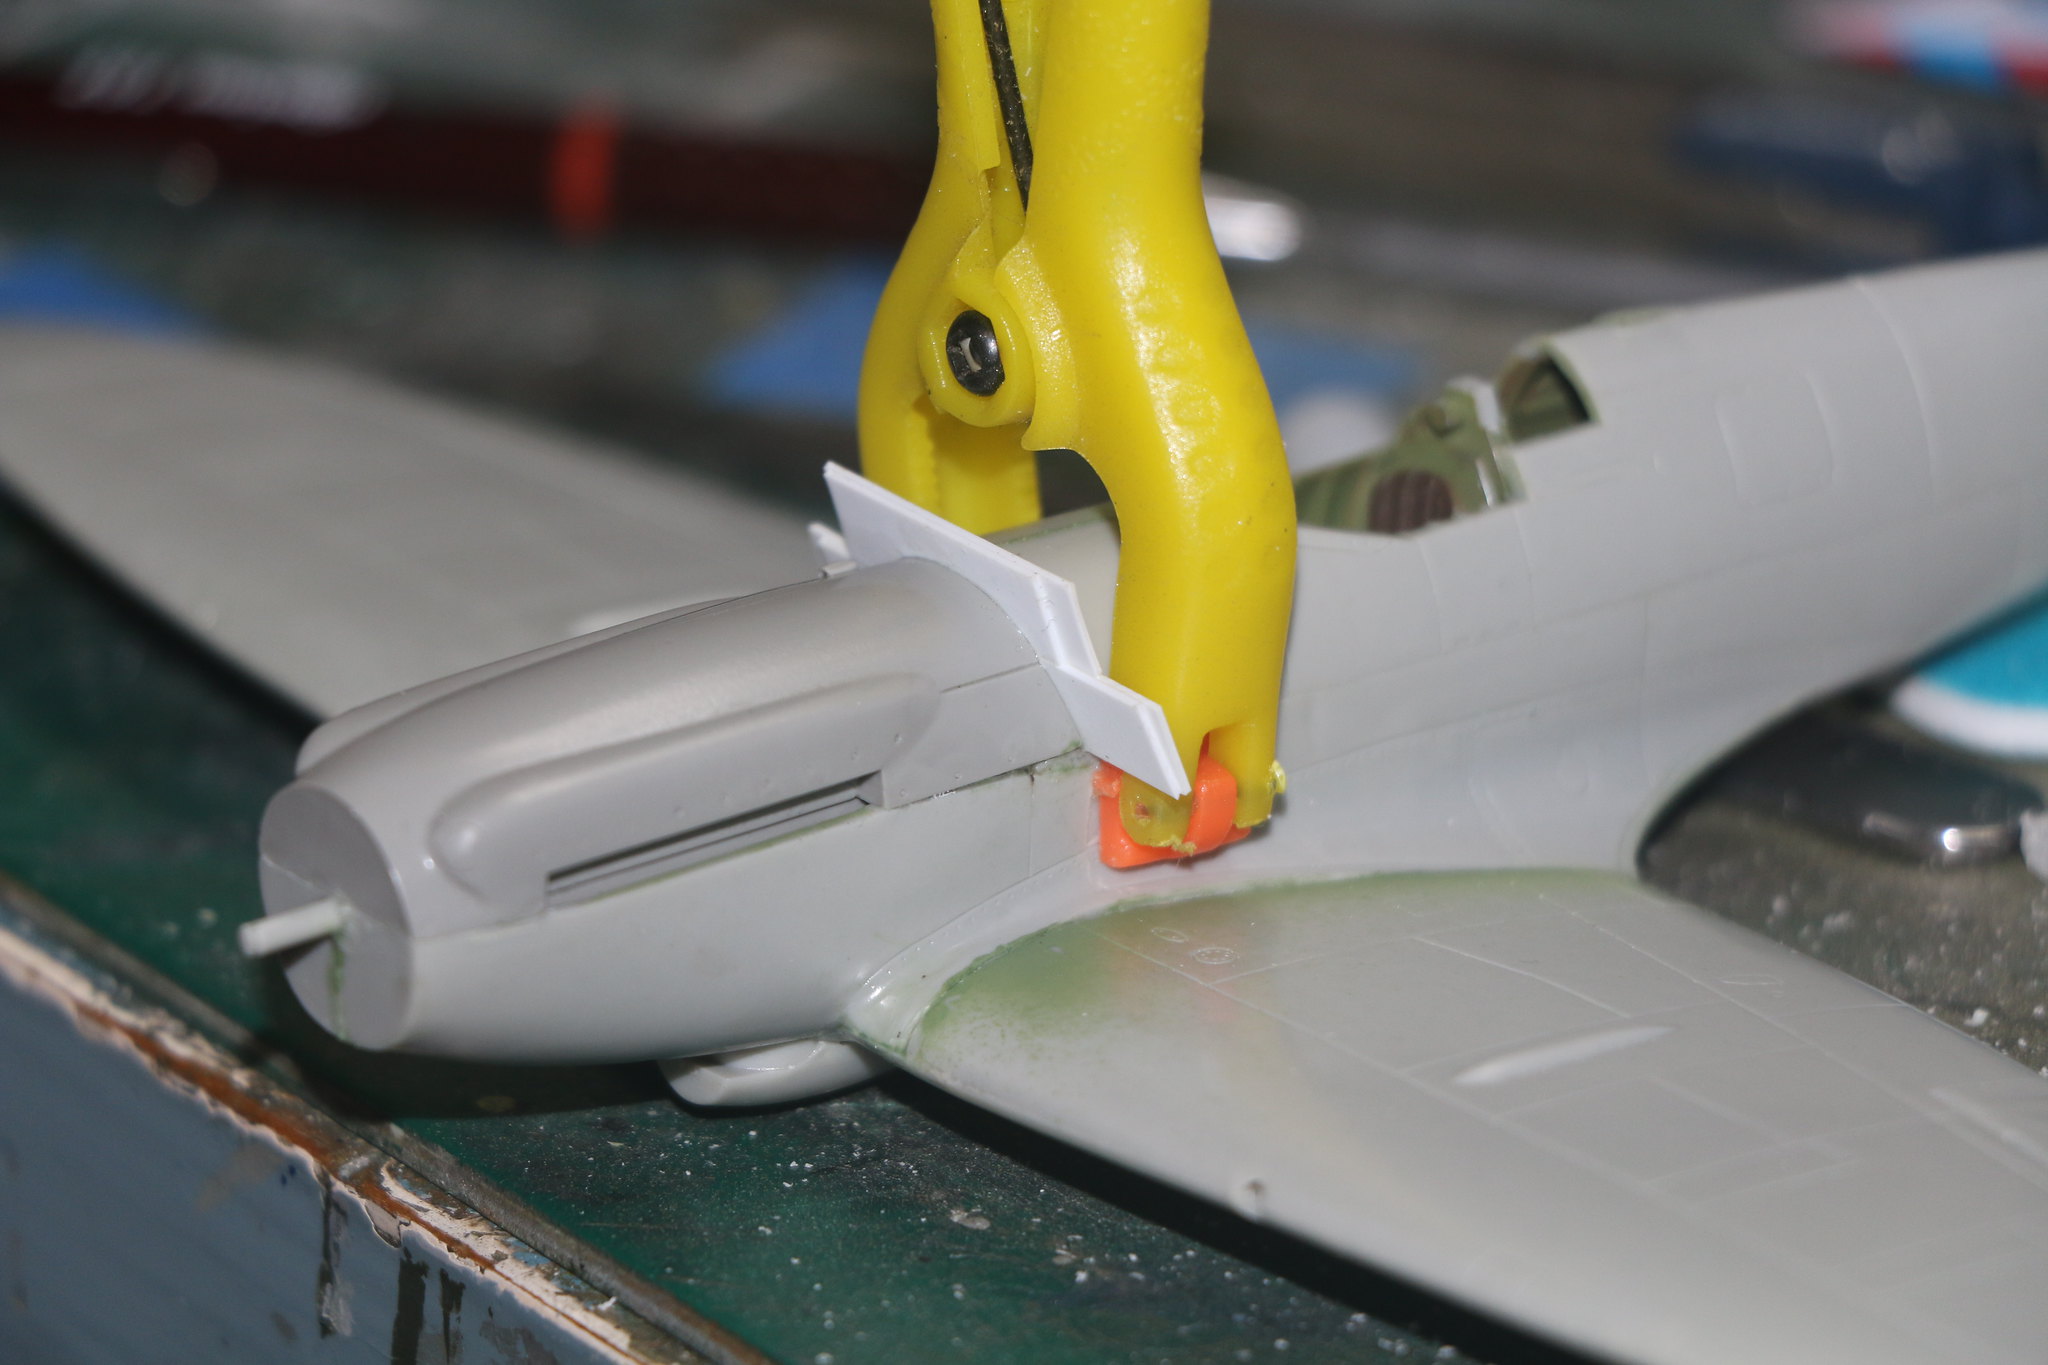
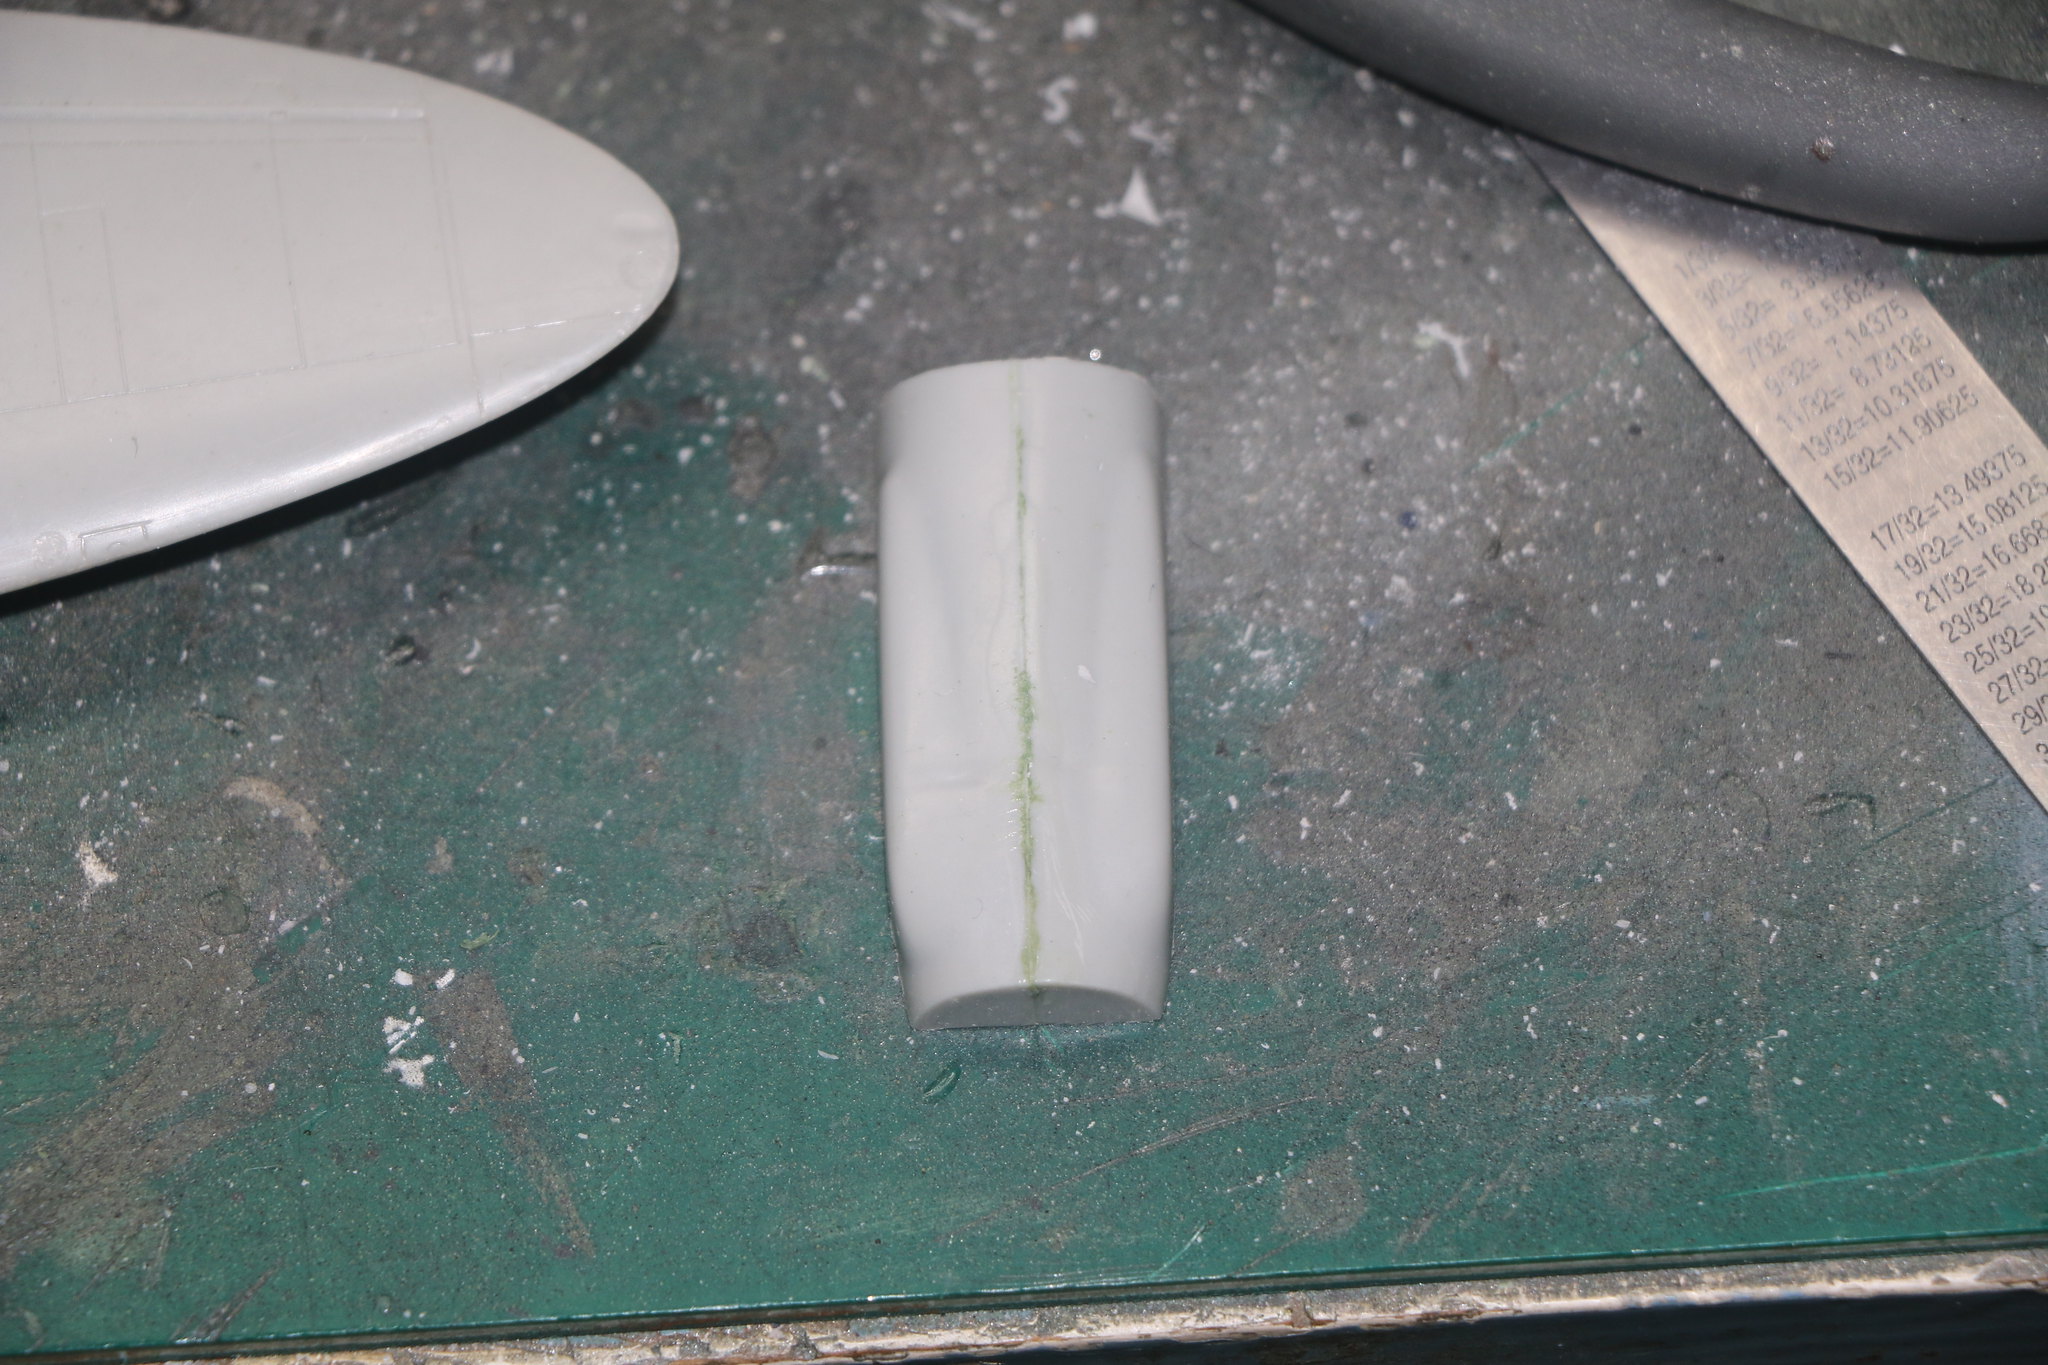
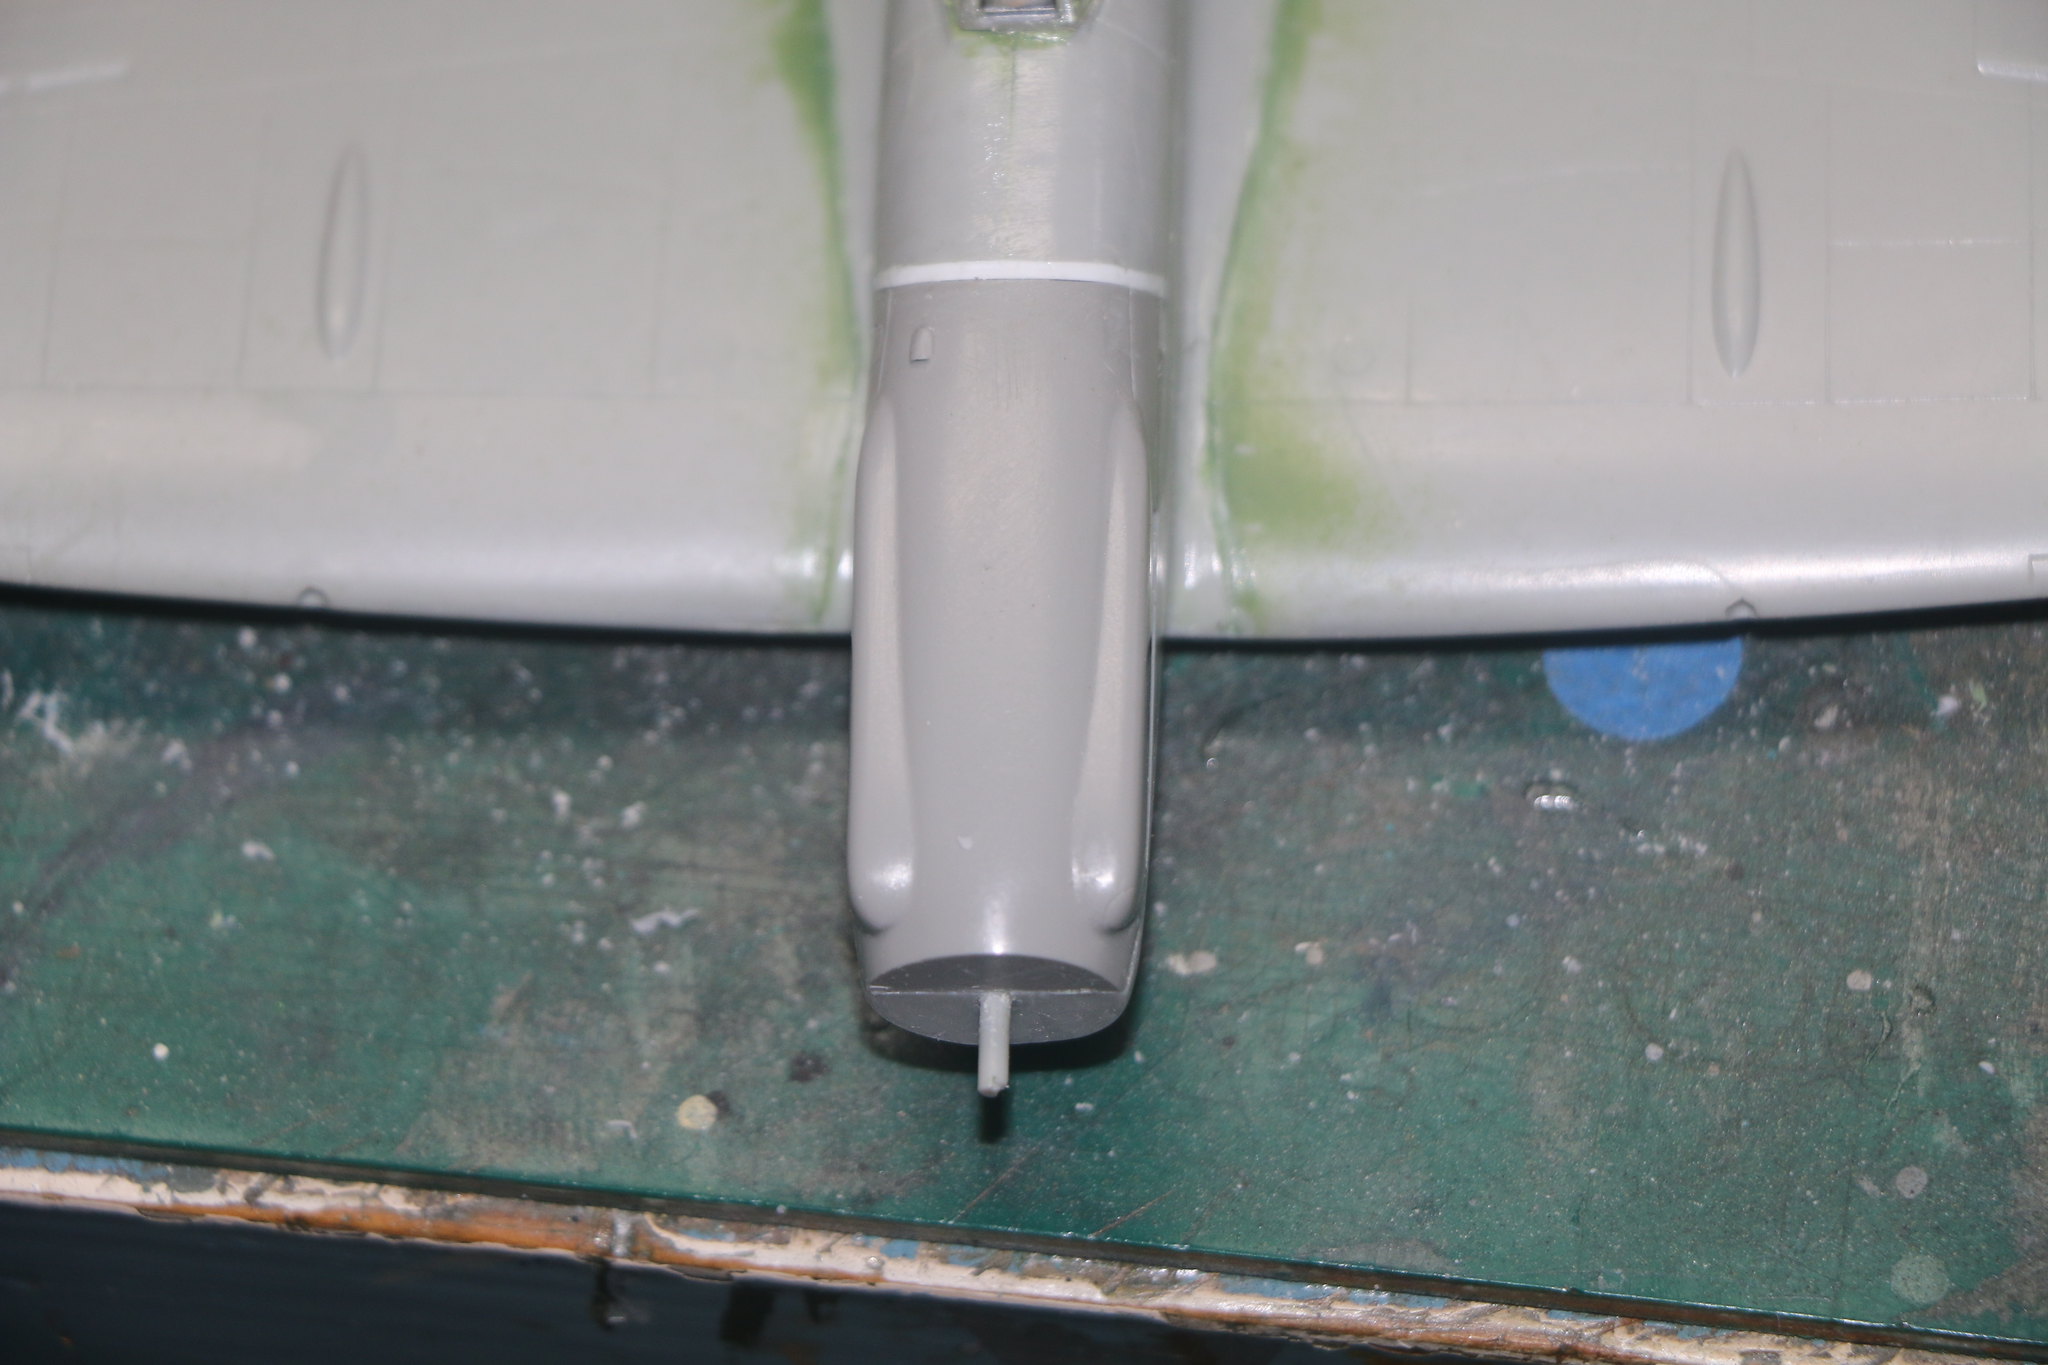
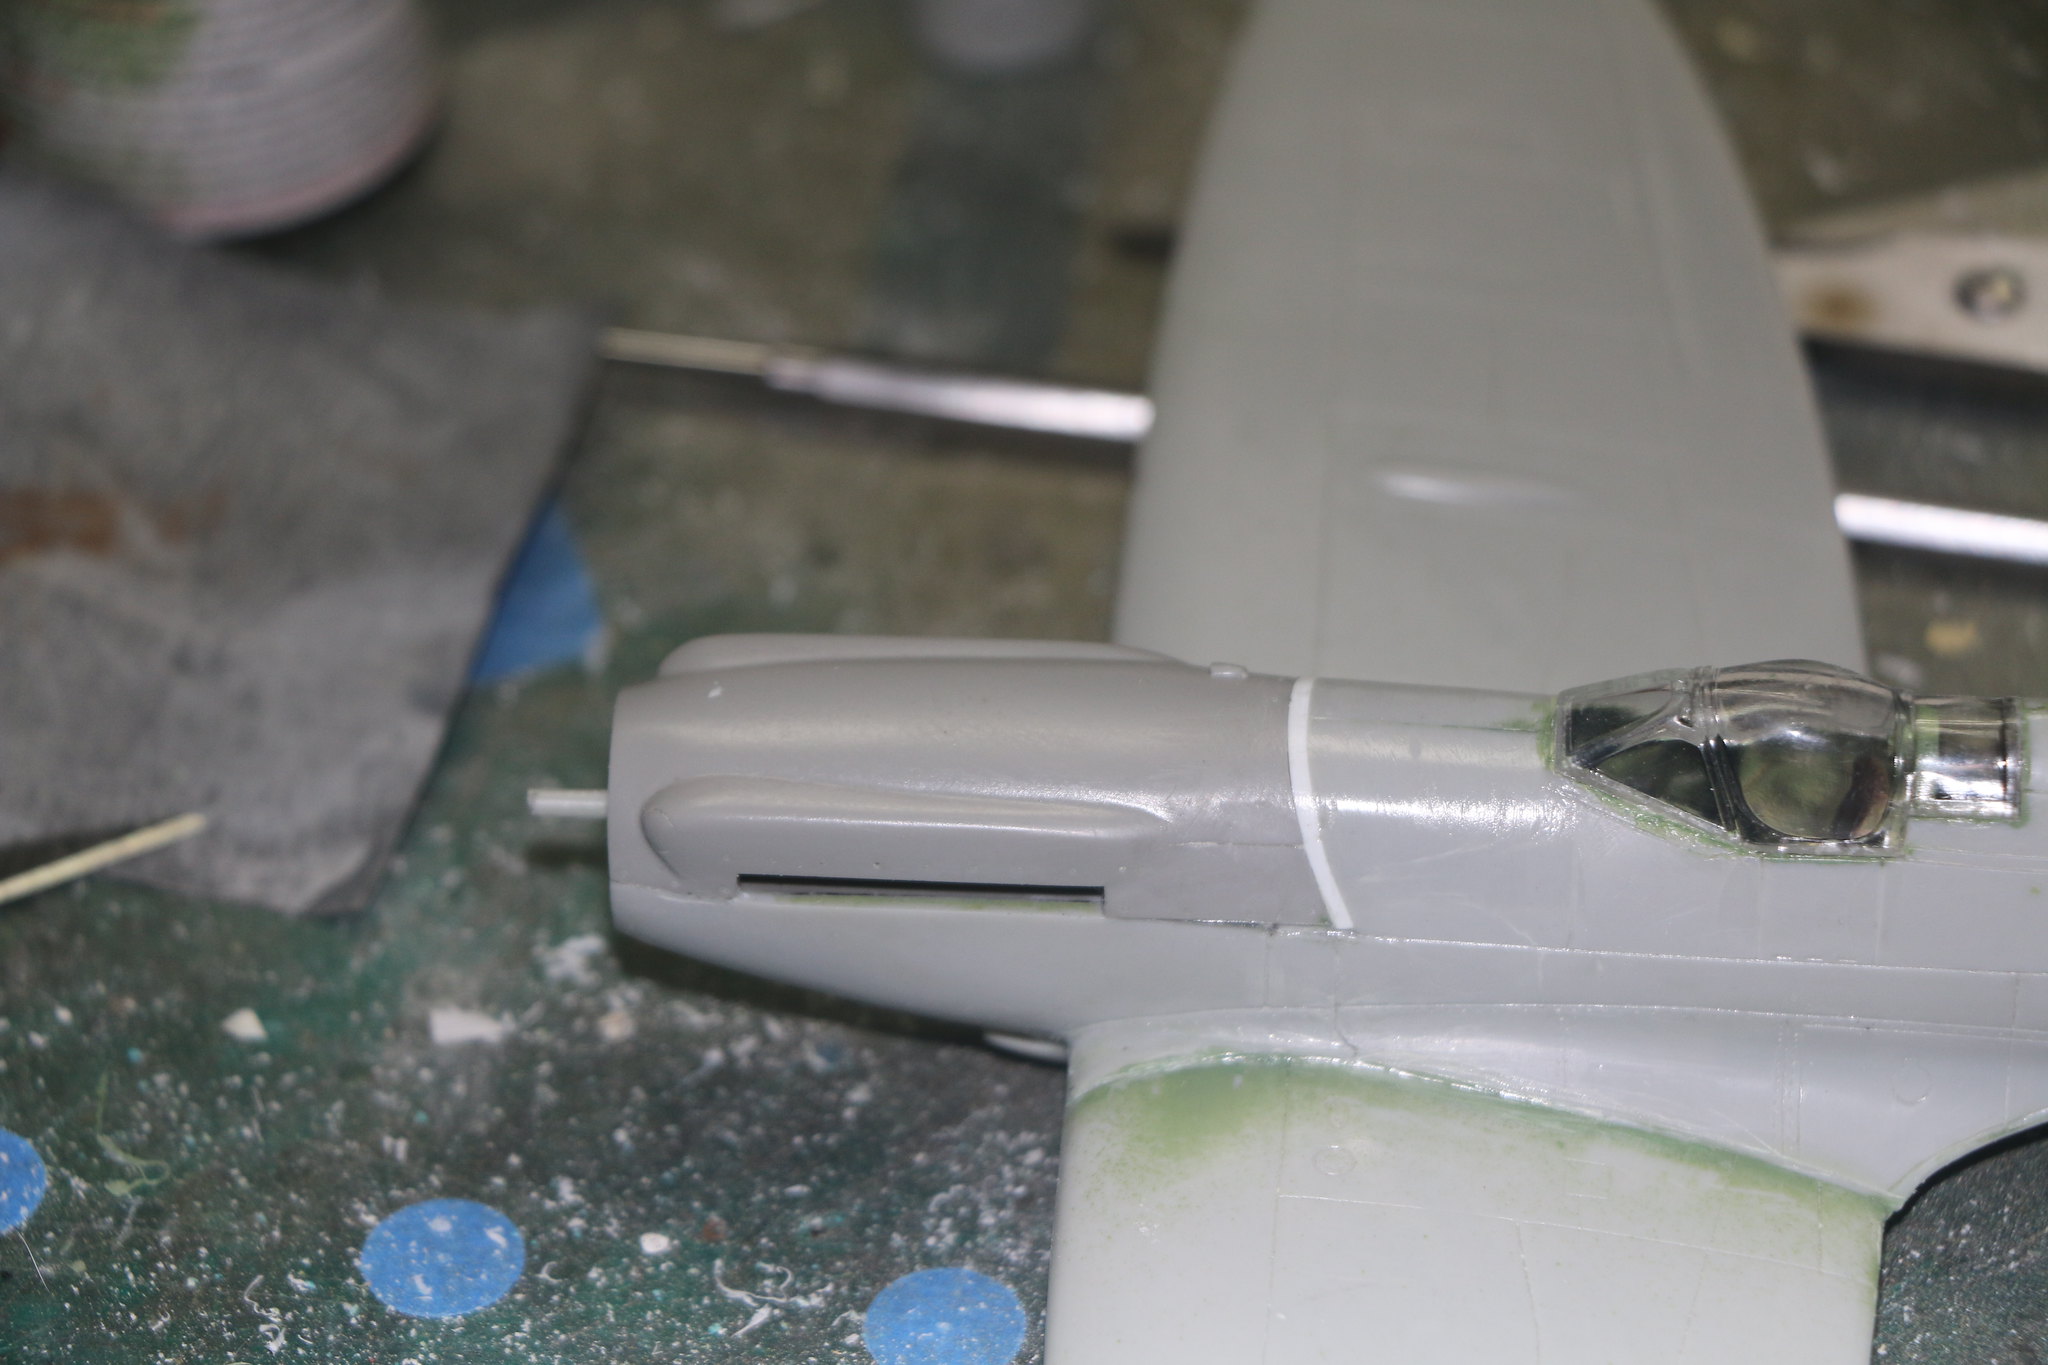
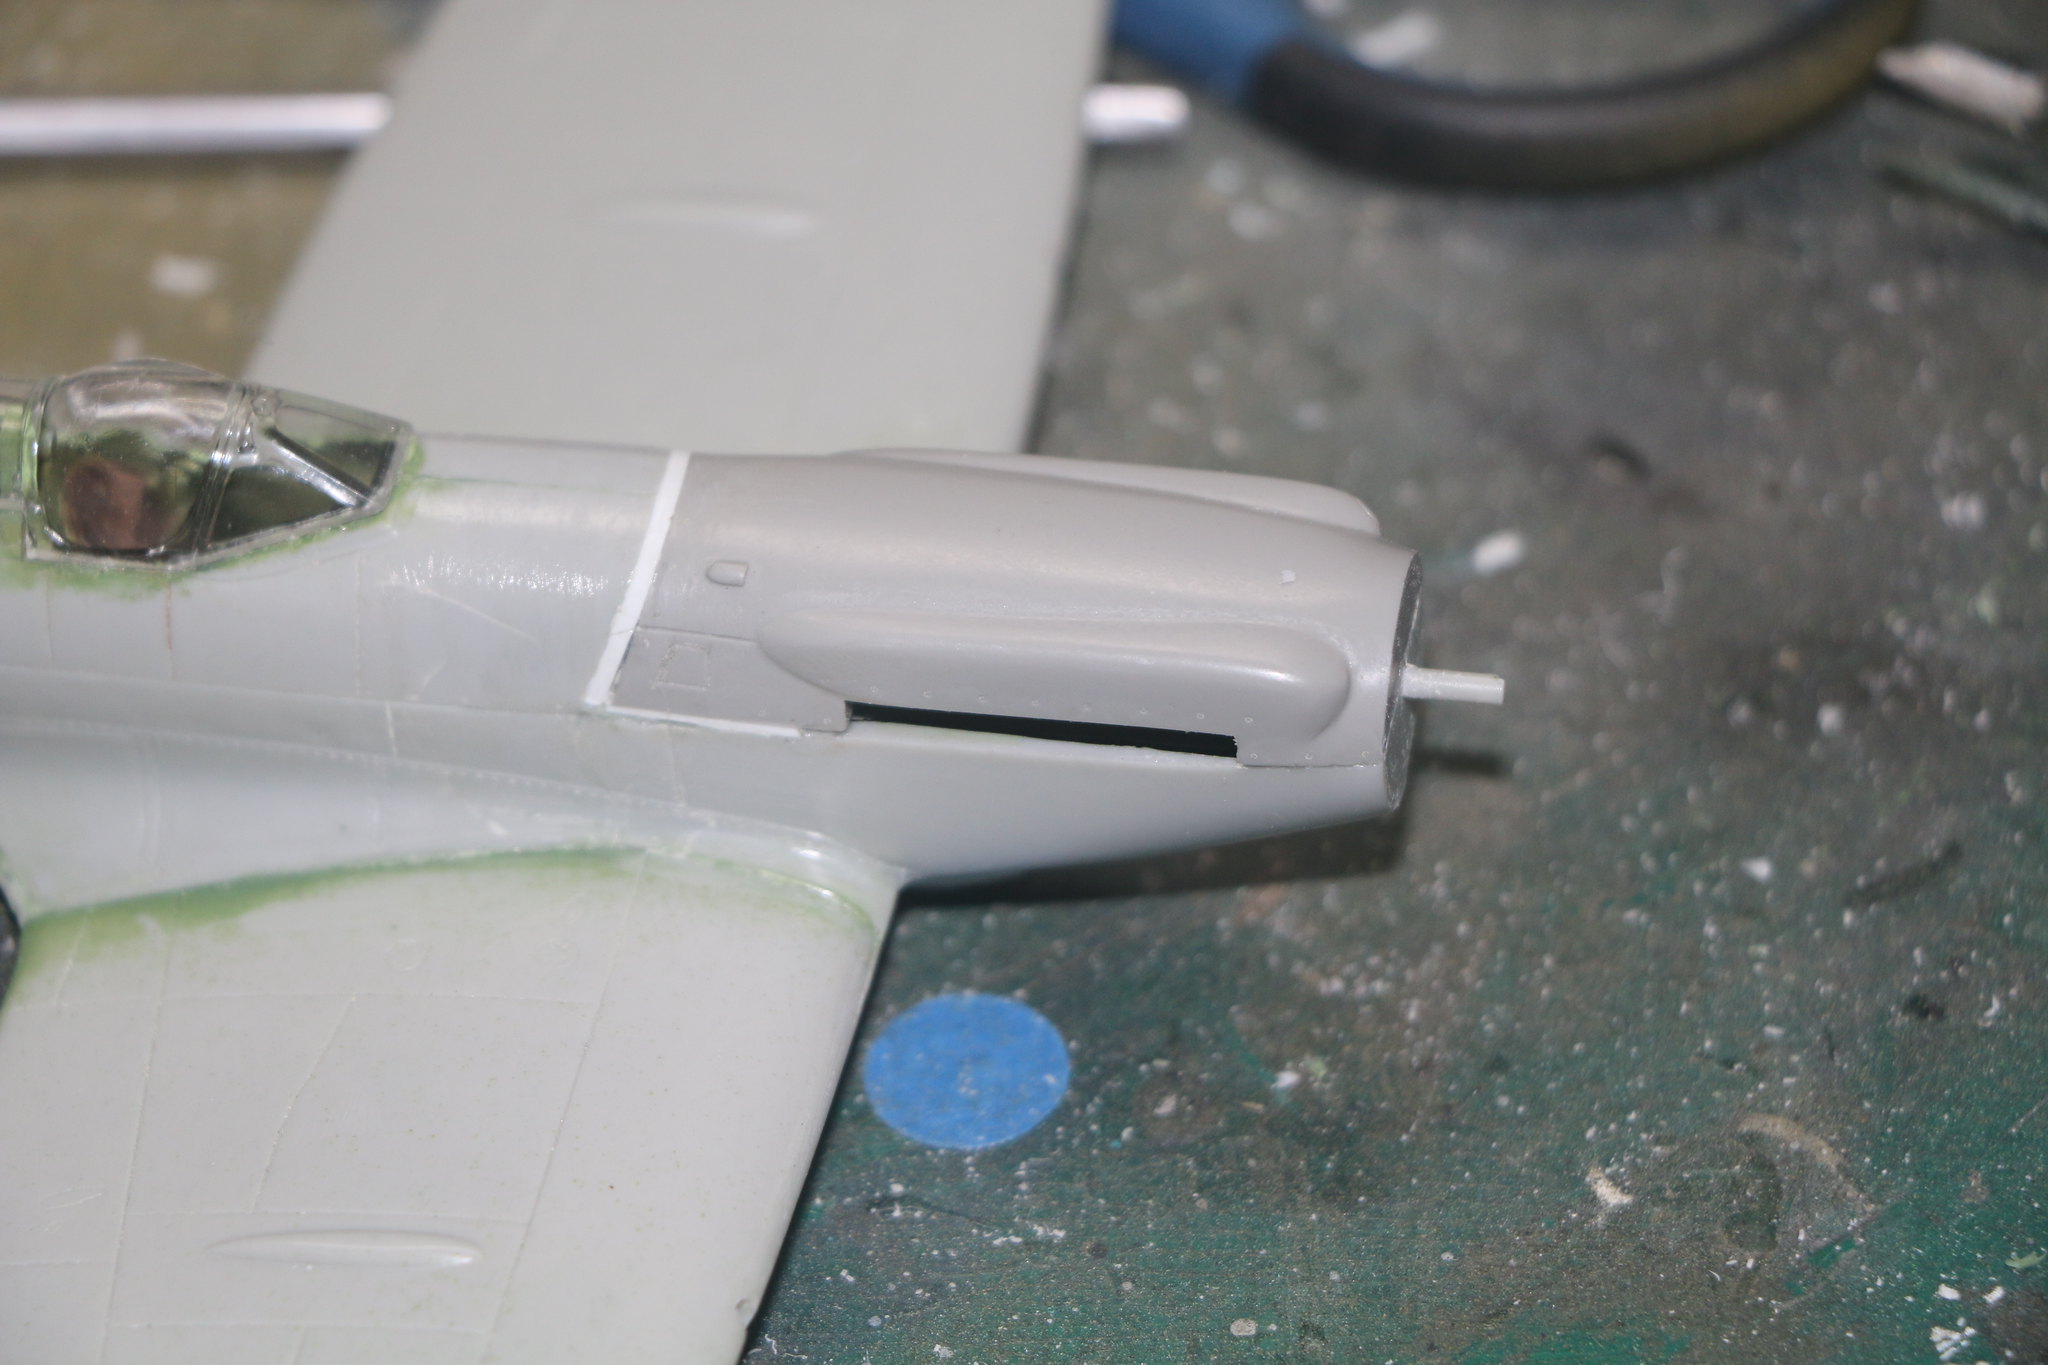
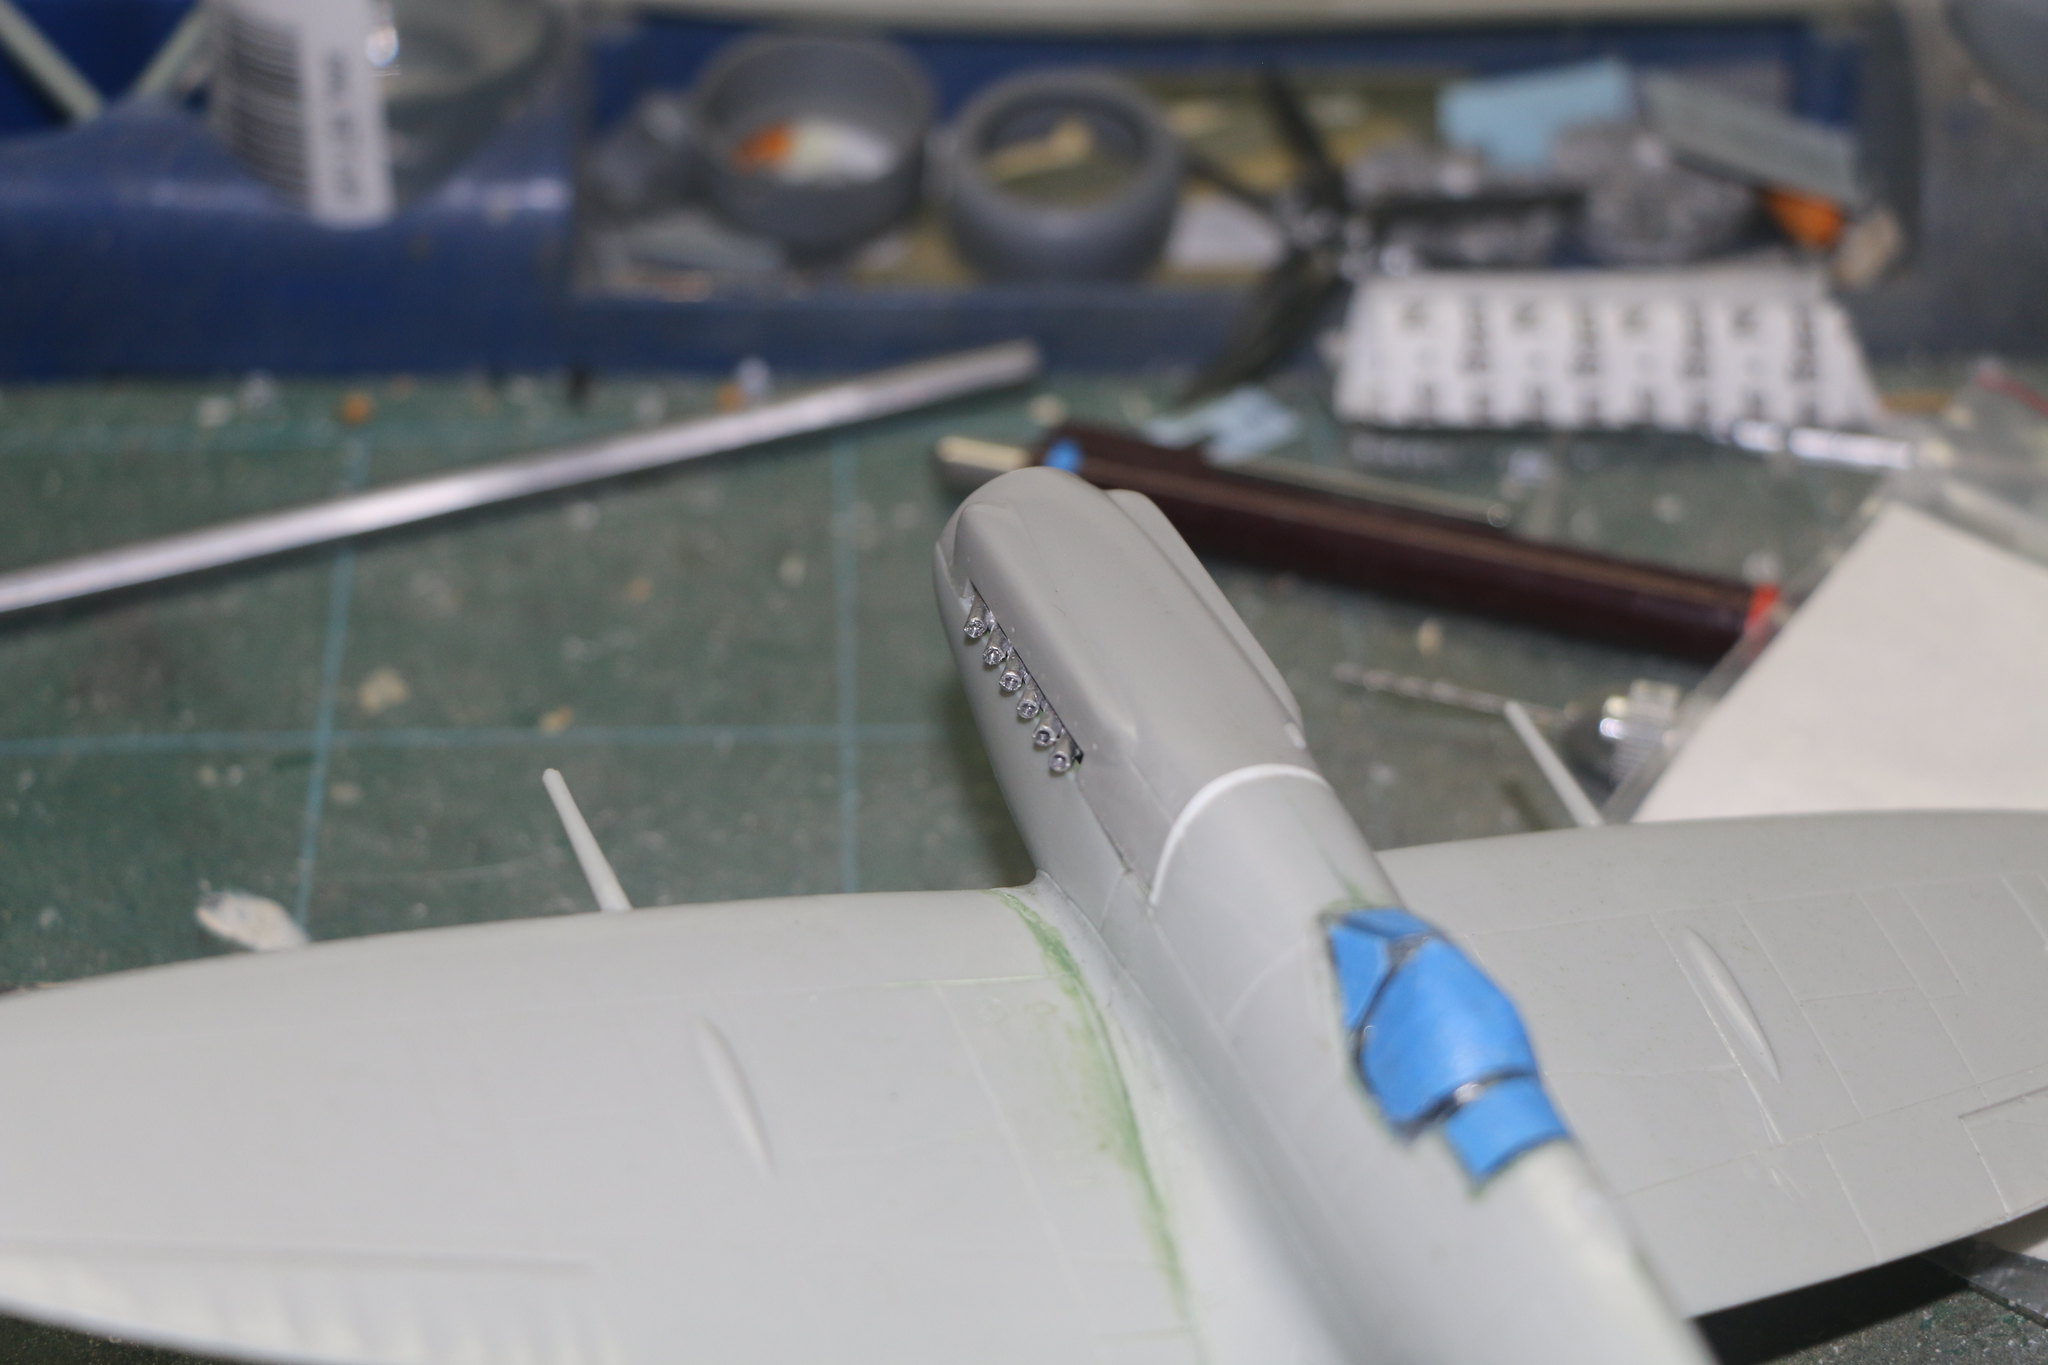
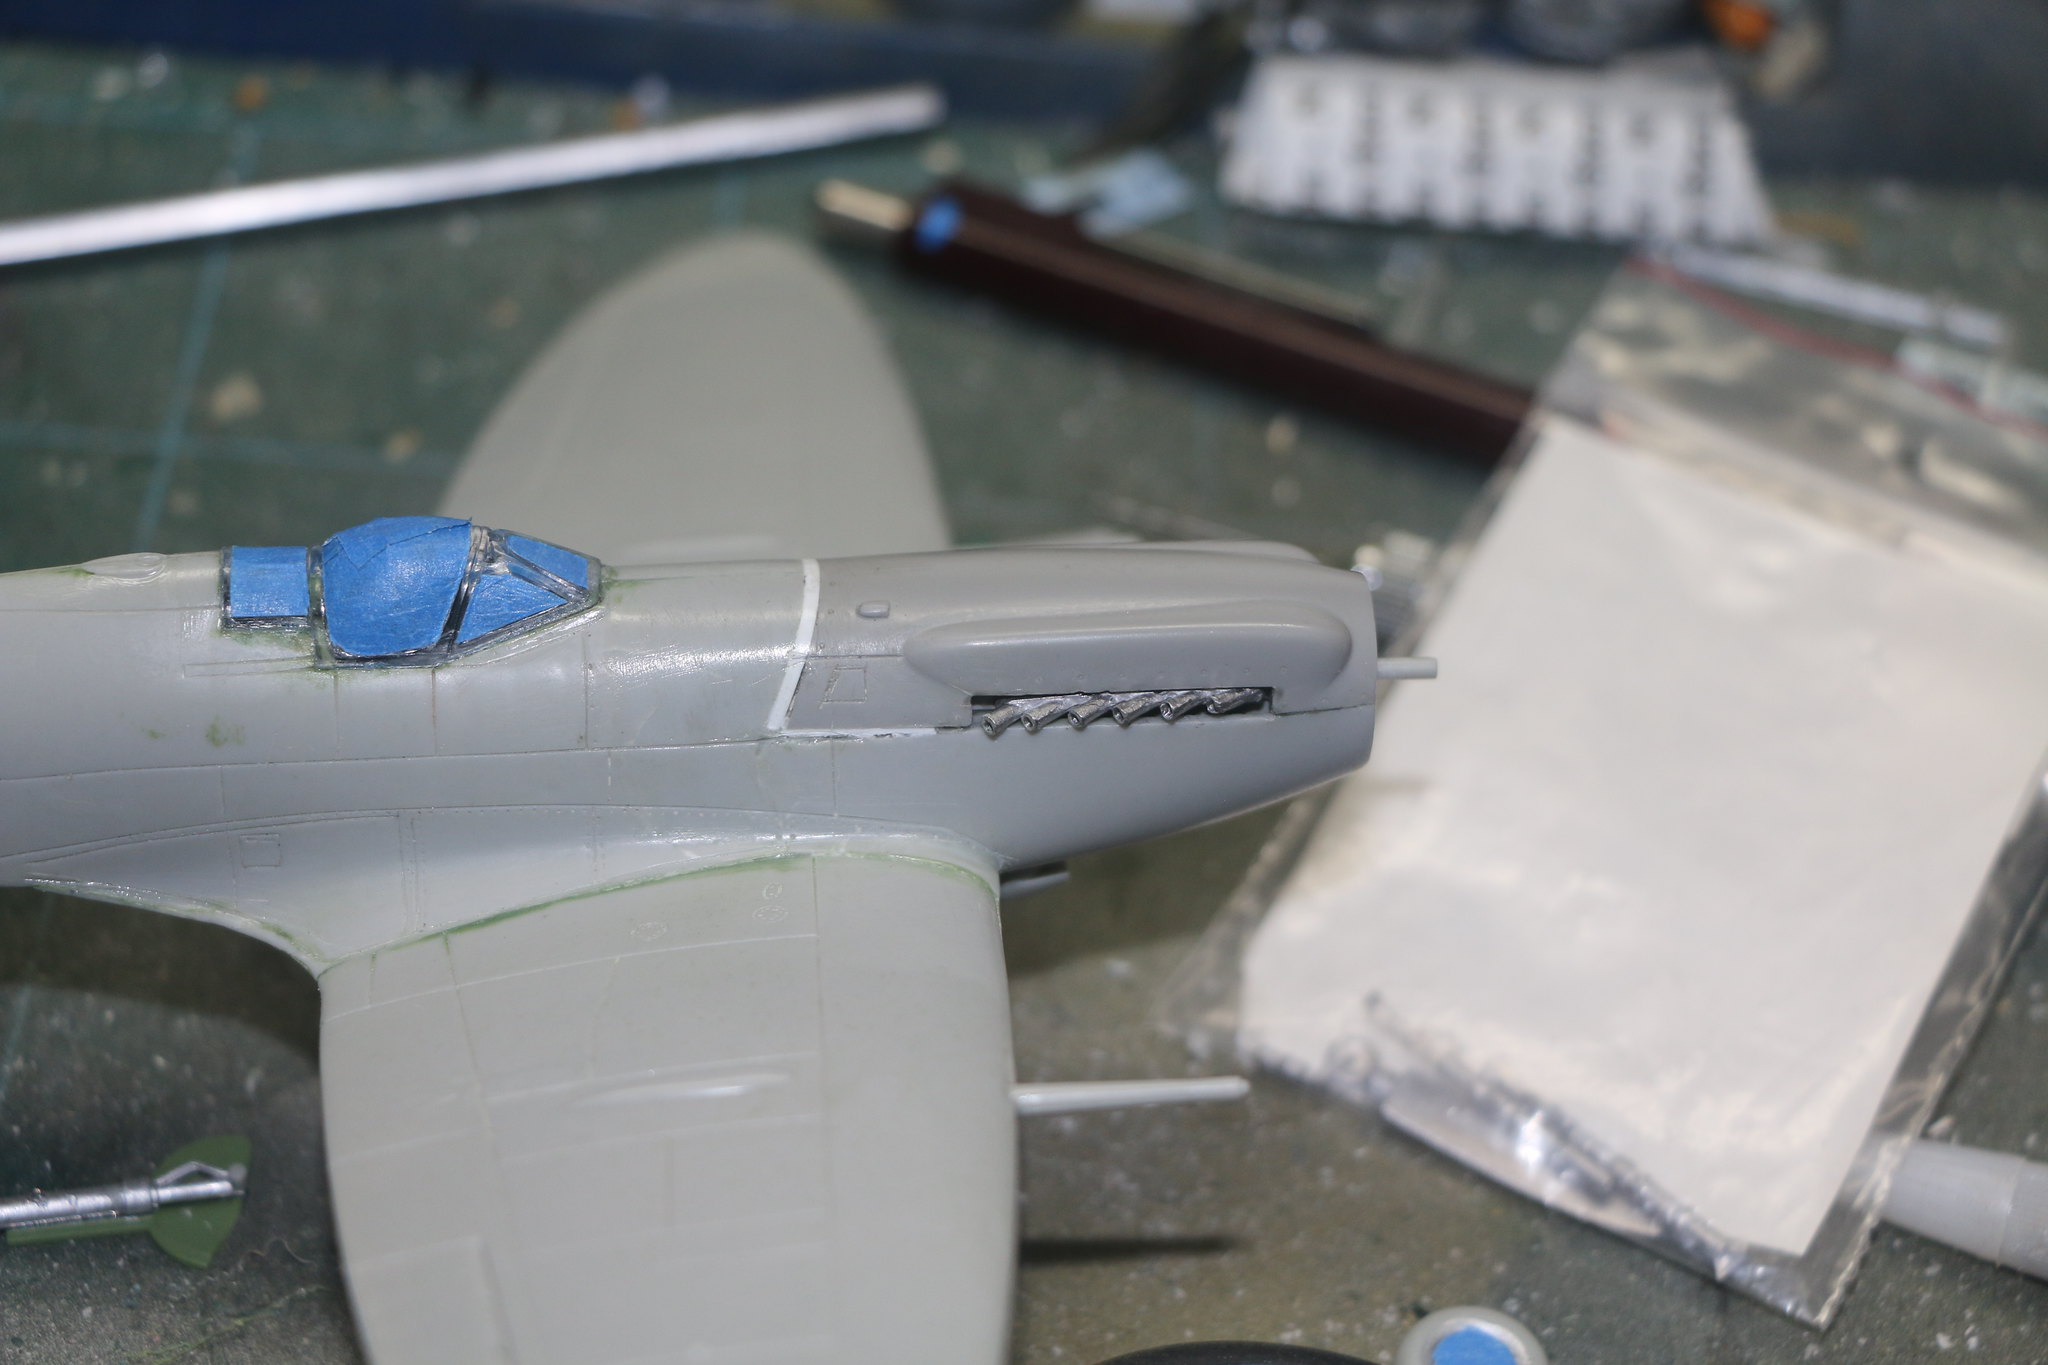
I looked at the engine cowl and thought UGH! Sink marks, shape is soft and possibly wrong. Then looked through the kit ..... wait a minute! No exhausts well Sugar Honey Ice Tea! Okay lets kill two birds with one resin stone so to speak. I got Quickboost's Spitfire Mk XIV cowl and exhausts for the Academy kit. Hobbycraft and Academy kits often share a common heritage so I thought this should work. Well almost the fuselage needed a little cinching in to Make it work but it fit rather well. But I get ahead of the build process.

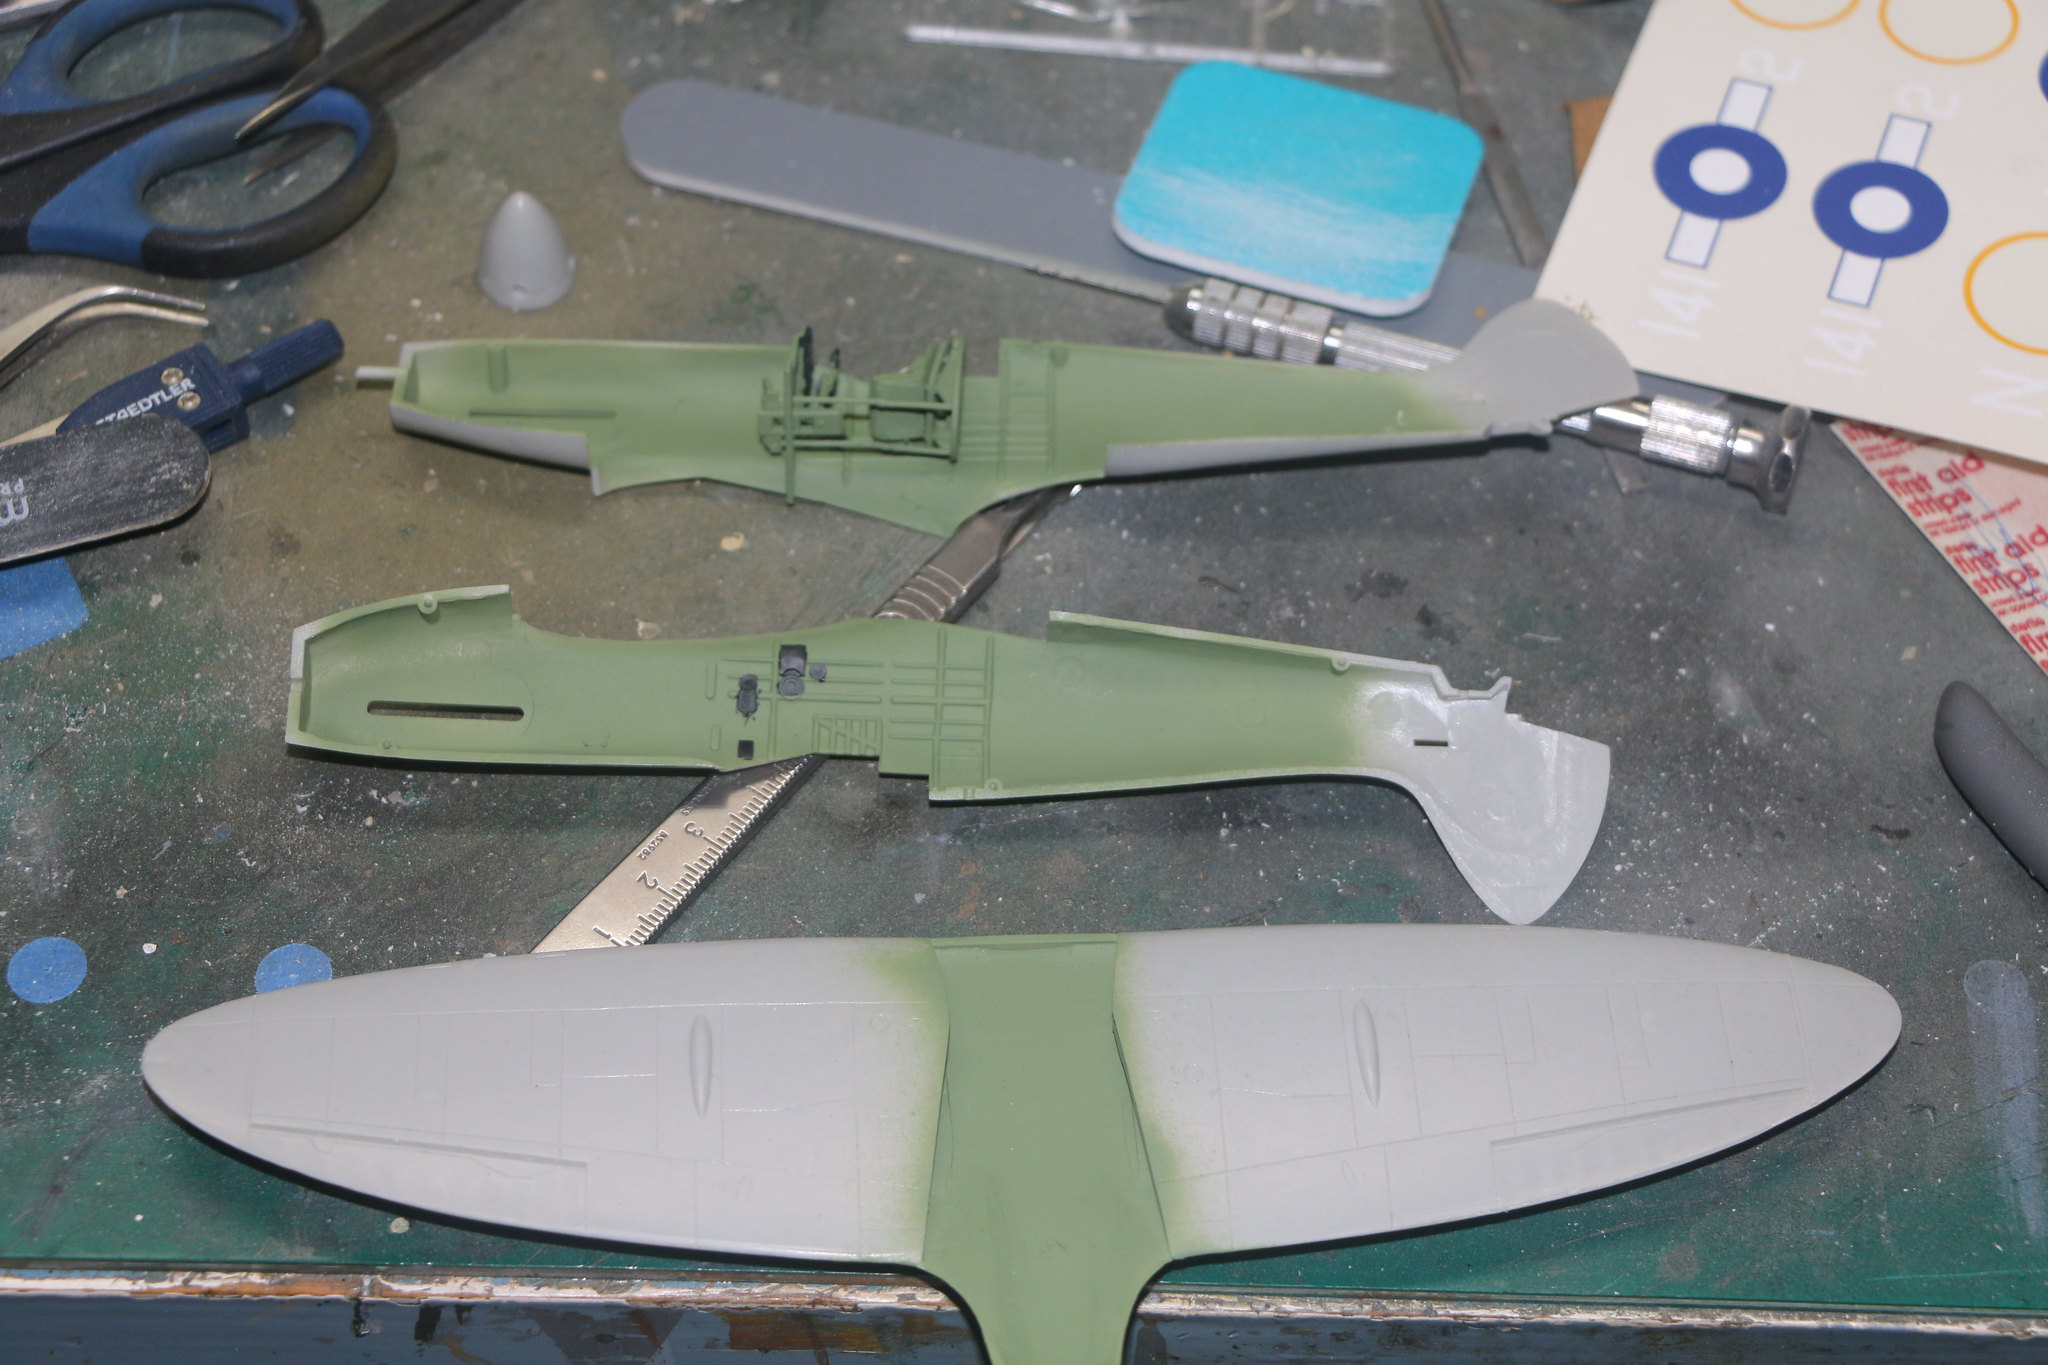
I started by assembling the cockpit bulkheads and frame then gluing them into one side of the fuselage. Then trapping them in place with the other half of the fuselage taping it all together and then leaving it to dry. The next day I separated the halves and set about attaching the other piece of resin I got for it a seat as the Hobbycraft one while not bad wasn't great either. I used superglue gel and kicker to set once it was in place properly. Then it was on with a coat of Tamiya cockpit green and Tamiya Rubber black for the I.P. and junction boxes. The seat back got a coat of Tamiya red brown to simulate the leather backrest. The seat belts and buckles were painted with Humbrol enamels. This was followed by an oil wash to darken and dirty the cockpit.

IMG_1962 by Chris WIlson, on Flickr

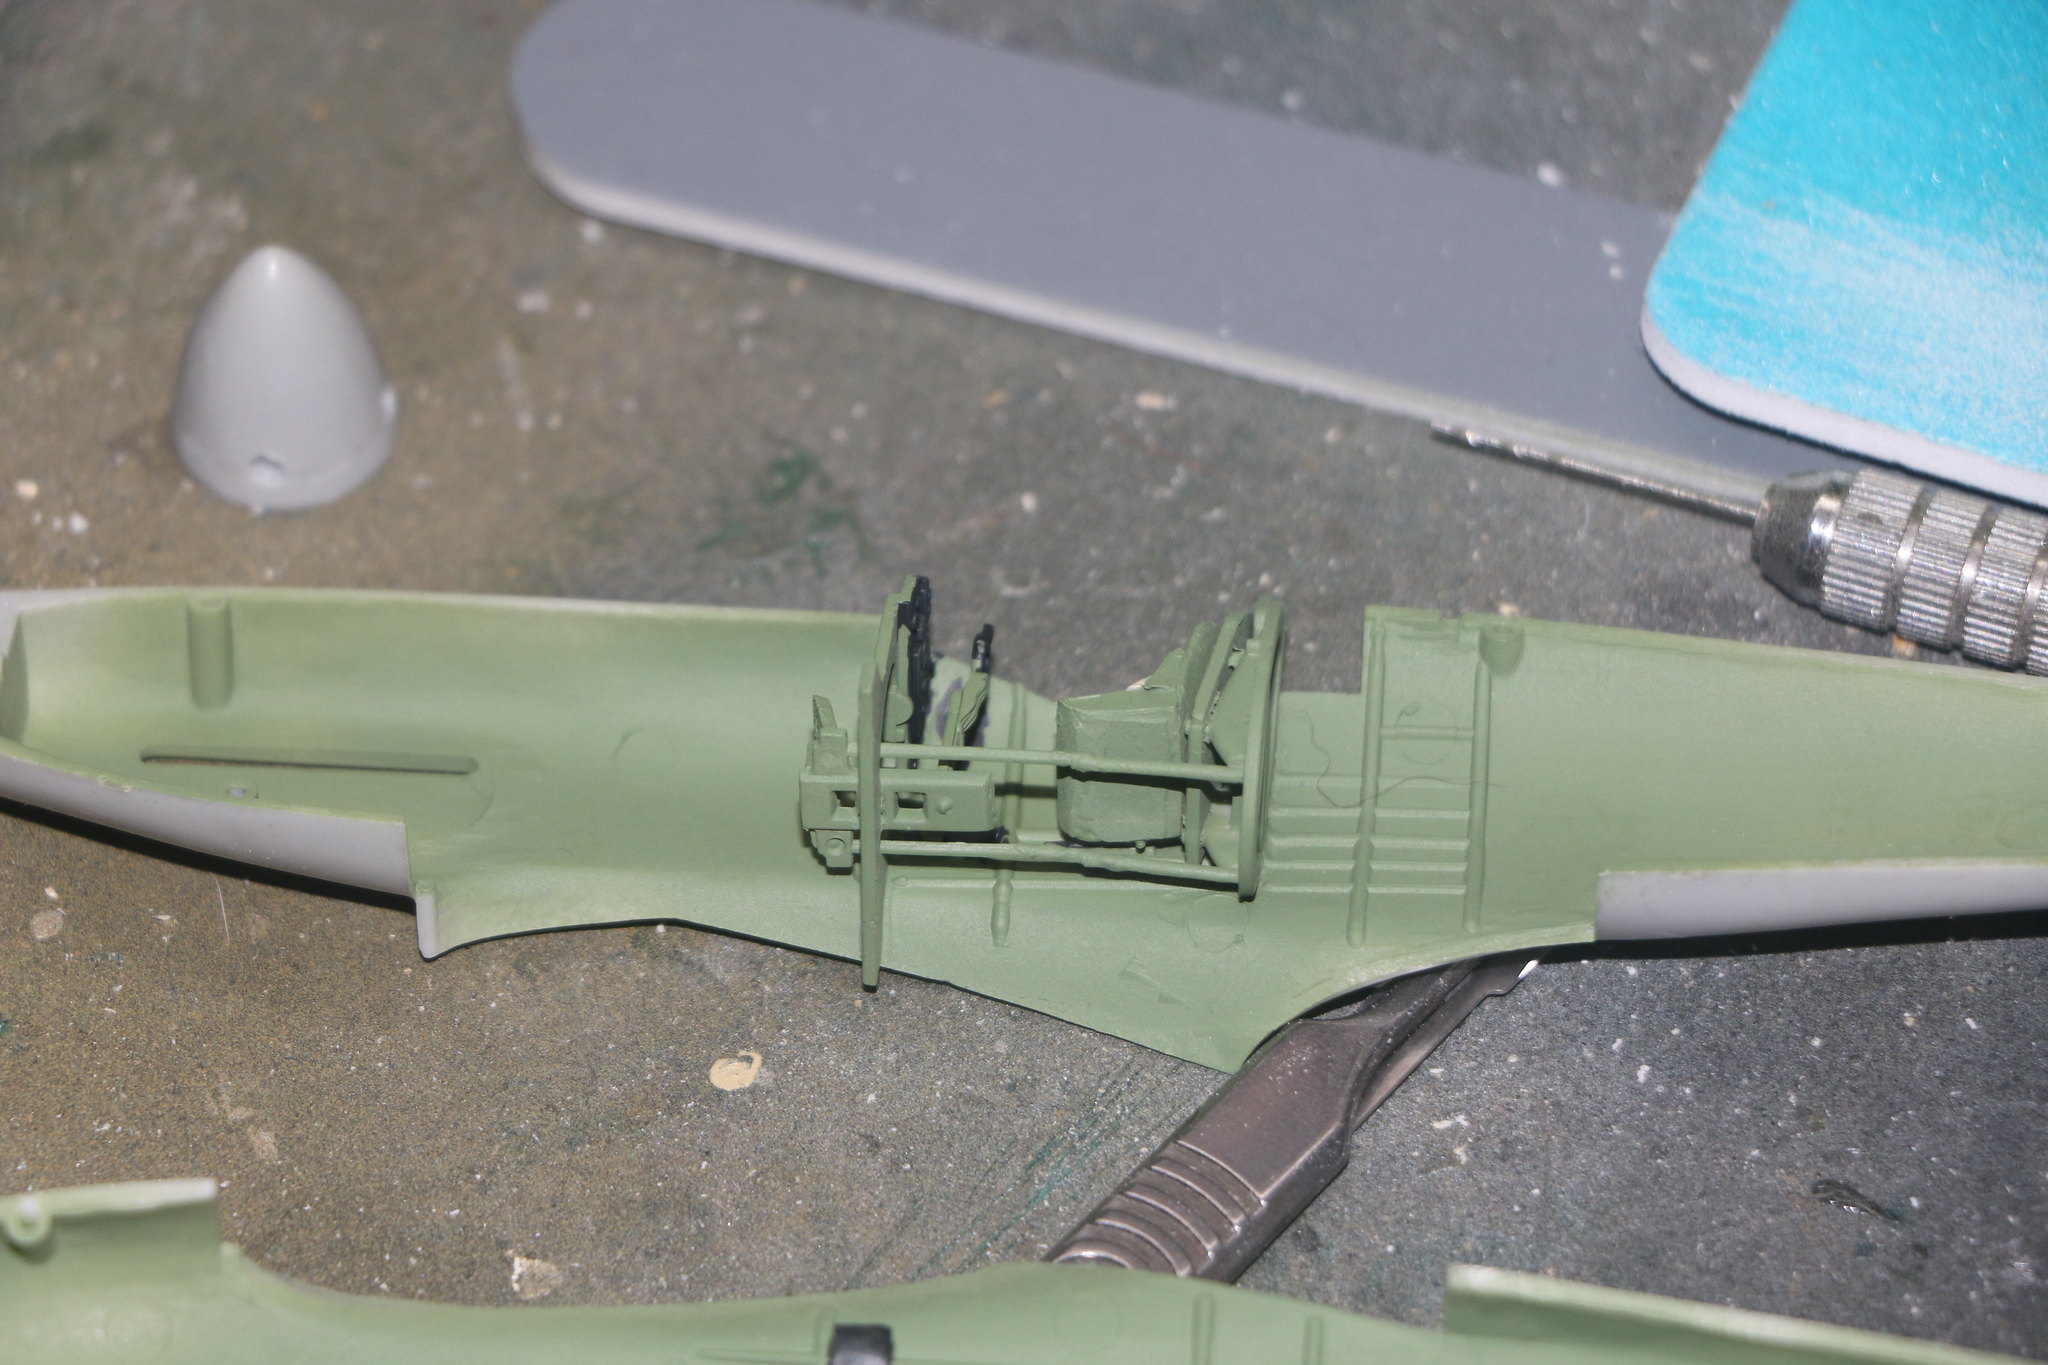
IMG_1963 by Chris WIlson, on Flickr

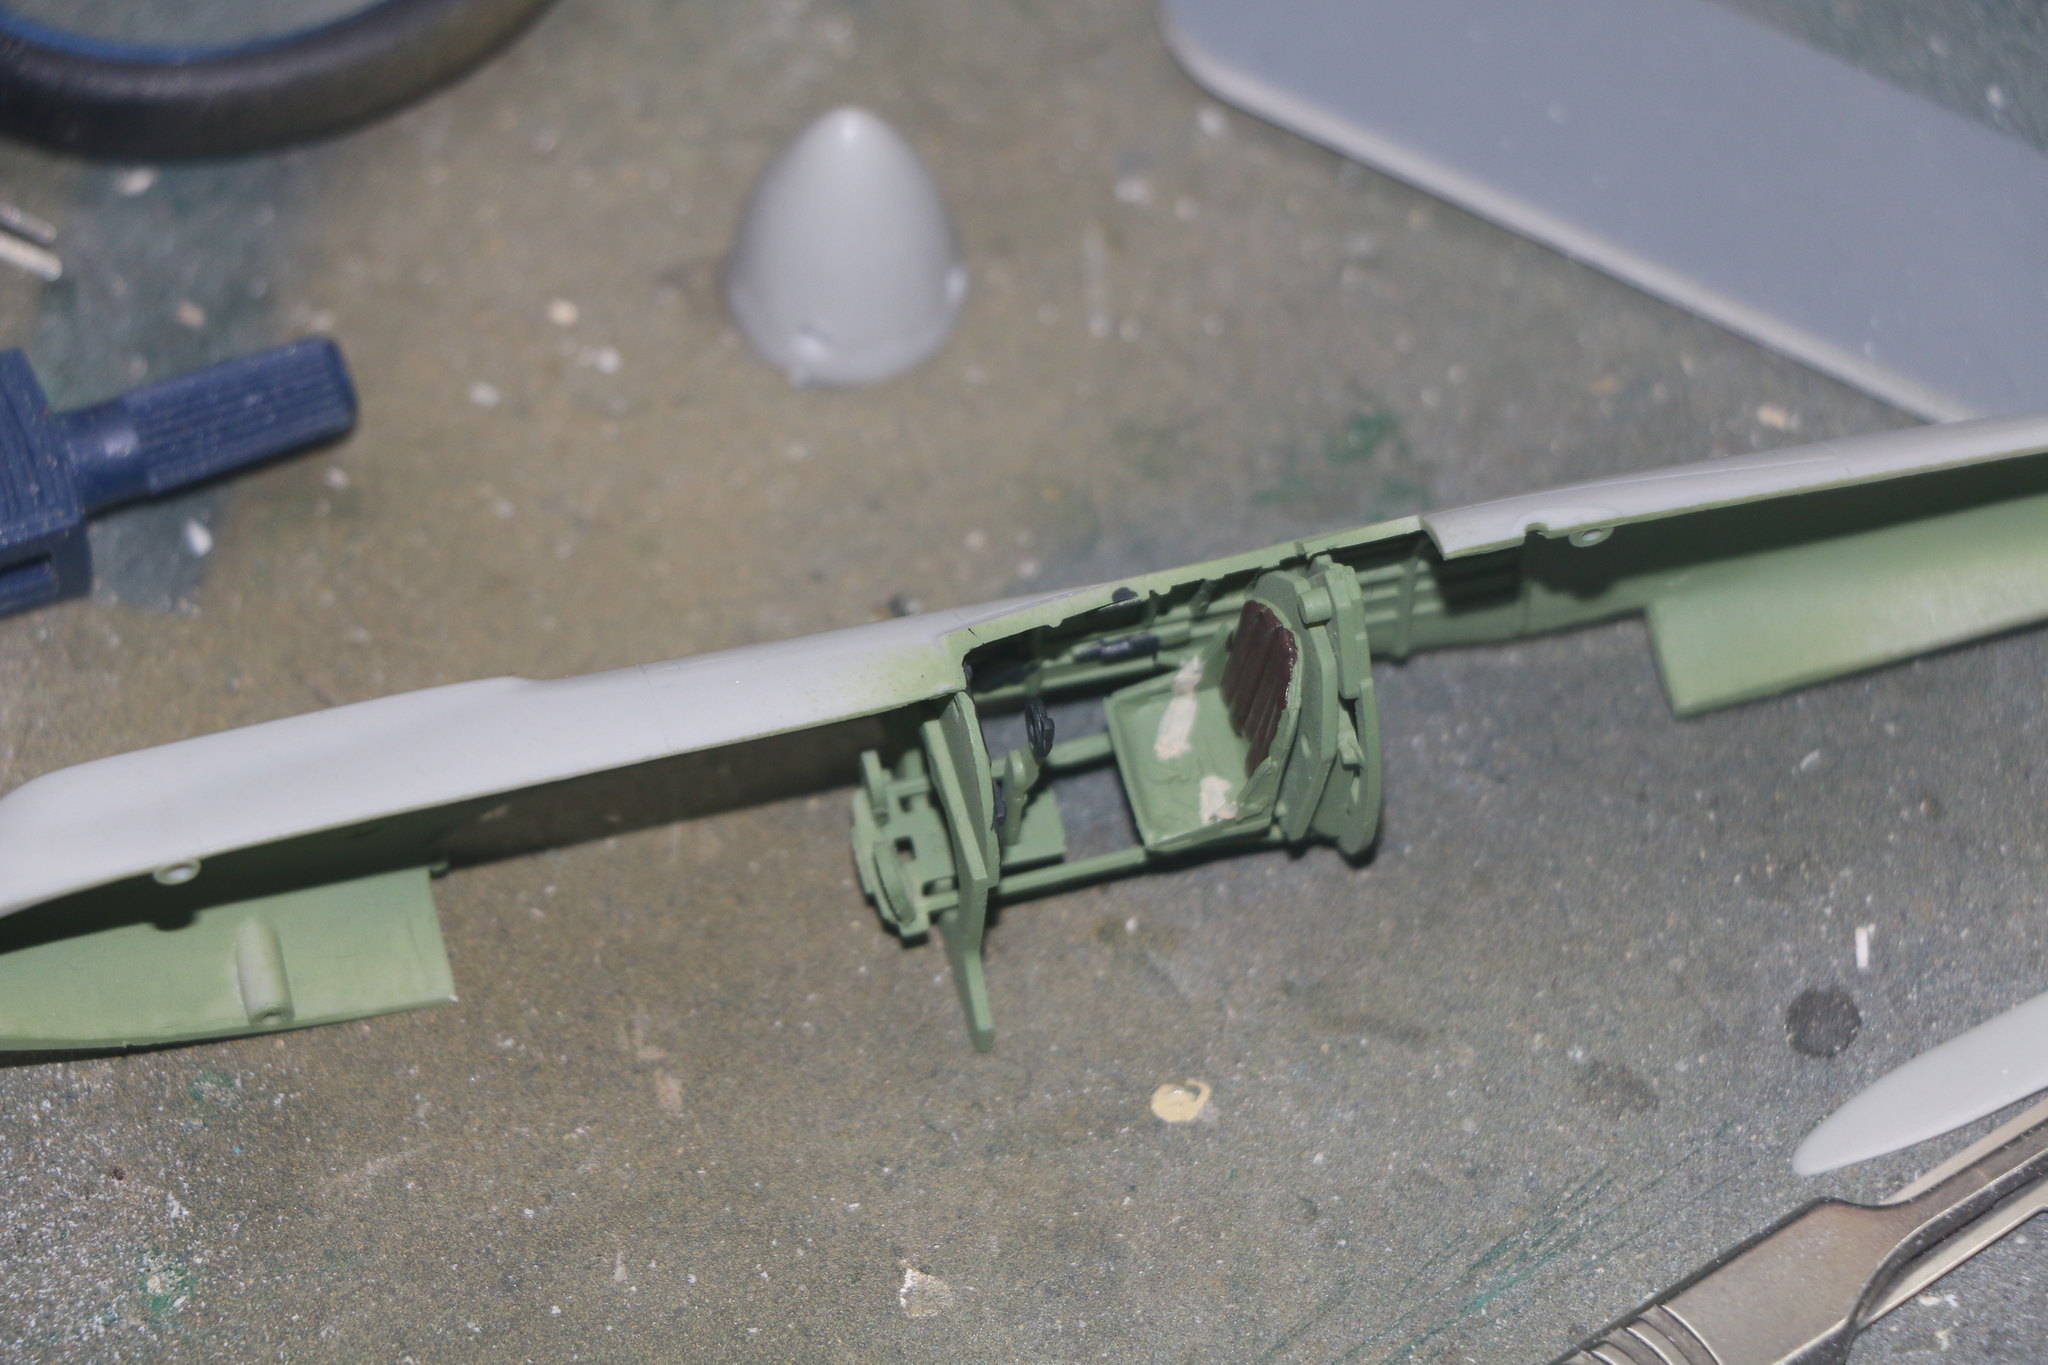
IMG_1966 by Chris WIlson, on Flickr
c4willy
#305
_VISITCOMMUNITY
Christchurch, New Zealand
Joined: February 01, 2006
KitMaker: 1,673 posts
AeroScale: 1,517 posts
Posted: Saturday, January 13, 2018 - 01:25 PM UTC
The following day everything was zipped up and the wings were strapped up with masking tape to give the the missing dihedral. Once everything was dry it was out with the razor saw, a deep breath and cut along the panel lines. Look at the resin part and realise that the back of it slants forward. Okay adjust the cut to compensate then test fit. Oooppps! Removed way to much! Okay I need to shim this out, grab some plasticard strips and add. Test fit well hell perfect! Notice that the resin part is actually narrower and taller than the fuselage. Solution compress fuselage with a clamp and test fit, Remove some of the front of the casting block as the nose is thicker than the resin allows for, test fit perfect! Time to glue the resin piece in place so out with the super glue and kicker. Apply superglue to resin piece and insert hit it with kicker. Disaster!

The kicker which is supposedly safe for plastic softens the plastic and makes it brittle, result? Fuselage caves in around where the clamp is and pulls away from the wing! Release the clamp fuselage springs back a little. Notice that the kicker has softened all the glue joints. Separate the wings and put plastic sprue spreader in place in the fuselage. The spreader is set to the correct width for the new resin piece so I can glue and compress the fuselage and adjust the fit for the resin piece. Result? Not as good as before but manageable. I've had this happened before with a couple of Academy kits but not at so critical a juncture. Moral? Don't use kicker on Academy of Hobbycraft kits!

IMG_1967 by Chris WIlson, on Flickr

IMG_1970 by Chris WIlson, on Flickr

IMG_1971 by Chris WIlson, on Flickr

IMG_1976 by Chris WIlson, on Flickr

IMG_1977 by Chris WIlson, on Flickr

IMG_1978 by Chris WIlson, on Flickr

IMG_1979 by Chris WIlson, on Flickr

c4willy
#305
_VISITCOMMUNITY
Christchurch, New Zealand
Joined: February 01, 2006
KitMaker: 1,673 posts
AeroScale: 1,517 posts
Posted: Saturday, January 13, 2018 - 02:41 PM UTC
A little filing and sanding later I'm as happy with the engine cowl as I'm going to be. I turned my attention to the gun sight which must have had a mount that stuck two scale feet into the cockpit! I cut it off shortened it and glued it back together. I gave it a couple of hours to dry then painted it black before attaching it in the cockpit. Then it was time to glue the canopy in place which went off without a hitch.

Next up were the landing gear and the prop. The landing gear were anorexic and lacking any sort of detail. The props were short, the wrong profile and also a little thin. So after some research to find out what I needed I was thinking of getting resin replacements but that was expensive and not really worth the investment. So I was toying with the idea of adding plasticard strips and carving a new blade when I suddenly remembered that I'd picked up two Aeroclub sets in white metal and I was sure one was for a Seafire but which one? Next thought? Where the hell did I put them!

So after a hour of searching I found them and one of them was for a 1/48 Seafire, yes! Oh ..... it was for the Airfix Fr47 kit with contra rotating props. But the other set was for a Griffon engined spitfire, Score! So it had 5 props I took the best 4 and looked at the spinner. Okay needs a serious sanding and a little reprofiling. I spent around 45 minutes sanding it so that it was an even curved cone. Not sure if the profile is correct but it fits the fuselage nicely so I guess that's a plus. Look at the Aeroclub blades and realise that the shafts are about 2.5mm thick, need to drill out the spinner. I put a drill the right size in the drill press and carefully drilled out the spinner. The blades were a tight fit but that was fine, add a little glue and fit them in. Then spend a few minutes checking to make sure I had them oriented correctly. It looks way better than the kit offerings so I'm happy with that.

Next up the landing gear! I added some Tamiya 2mm wide vinyl masking tape around the top and bottom of the oleos and drilled a hole to fit a copper wire loop that vaguely matches the tie down eyes on the real thing. Then added a coat of Humbrol metallisers Aluminium to blend it all together. This was perhaps the easiest part so far. Once dry I glued the gear doors on and set them aside for an oil wash tomorrow evening.


IMG_1982 by Chris WIlson, on Flickr

IMG_1983 by Chris WIlson, on Flickr

IMG_1981 by Chris WIlson, on Flickr

IMG_1986 by Chris WIlson, on Flickr

I've got the canopy masked next up a coat of paint!
greif8
_VISITCOMMUNITY
Bayern, Germany
Joined: January 17, 2006
KitMaker: 673 posts
AeroScale: 492 posts
Posted: Saturday, January 13, 2018 - 03:37 PM UTC
Chris, you are braver, and far more patient, man then me. You are doing yeoman's work on a pretty shoddy kit, with AM not purpose made for it to boot!

Ernest
c4willy
#305
_VISITCOMMUNITY
Christchurch, New Zealand
Joined: February 01, 2006
KitMaker: 1,673 posts
AeroScale: 1,517 posts
Posted: Thursday, January 18, 2018 - 12:23 PM UTC
My thanks Ernest, but I've seen your work (Damn fine work it is too) and you are a man after my own heart!

After a little research I discovered I couldn't use the fish tail exhausts of the Mk XIV as they were only used on the 3 prototypes. Fortunately the Falcon accessories came with round exhausts they needed drilling out however. So after a small amount of work I had them drilled out and fitted. They were perhaps a little small for the openings but I centered them as best I could and they don't look to bad. Next up a little filling and sanding then off the paint shops!

IMG_1991 by Chris WIlson, on Flickr

IMG_1990 by Chris WIlson, on Flickr

IMG_1989 by Chris WIlson, on Flickr

IMG_1988 by Chris WIlson, on Flickr

magnusf
_VISITCOMMUNITY
Stockholm, Sweden
Joined: May 02, 2006
KitMaker: 1,953 posts
AeroScale: 1,902 posts
Posted: Thursday, January 18, 2018 - 02:23 PM UTC
Seafire XV: coolest Seafire ever made and one of the few where you actually have a quite nice selection of different operators besides the FAA! Good choice Chris!


Magnus
c4willy
#305
_VISITCOMMUNITY
Christchurch, New Zealand
Joined: February 01, 2006
KitMaker: 1,673 posts
AeroScale: 1,517 posts
Posted: Thursday, January 18, 2018 - 04:07 PM UTC
Hi Magnus and my thanks. Isn't she though? This bird was a real hot rod 400mph top speed and an unbelievable 5000 feet per minute climb rate. To give you an idea that's 1500 feet faster than a P51D! And a 1000 faster than a p47 it was the fastest climbing fighter during WW2, not surprising in a C.A.P. fighter. From memory France, Canada and the Irish Aircorp flew the type.
c4willy
#305
_VISITCOMMUNITY
Christchurch, New Zealand
Joined: February 01, 2006
KitMaker: 1,673 posts
AeroScale: 1,517 posts
Posted: Friday, January 19, 2018 - 02:17 PM UTC
She's out of the paint shop and doesn't look half bad. A few touch ups here and there but overall I'm pretty happy. Also there's just something about the FAA colour scheme it's familiar yet the colours are totally different from your usual Spitfire. Next up gloss coat, decals, then a wash and some light weathering.

IMG_1998 by Chris WIlson, on Flickr

IMG_1999 by Chris WIlson, on Flickr

IMG_2000 by Chris WIlson, on Flickr
GazzaS
#424
_VISITCOMMUNITY
Queensland, Australia
Joined: April 23, 2015
KitMaker: 4,648 posts
AeroScale: 1,938 posts
Posted: Friday, January 19, 2018 - 02:42 PM UTC
Chris,
Wow! Your patience and effort have paid off! Great job on that oldie.

Gaz
c4willy
#305
_VISITCOMMUNITY
Christchurch, New Zealand
Joined: February 01, 2006
KitMaker: 1,673 posts
AeroScale: 1,517 posts
Posted: Friday, January 19, 2018 - 04:21 PM UTC
Hey thanks Gaz, but when it comes to patience you have it in spades after all you metal foiled a B-29!
c4willy
#305
_VISITCOMMUNITY
Christchurch, New Zealand
Joined: February 01, 2006
KitMaker: 1,673 posts
AeroScale: 1,517 posts
Posted: Thursday, February 01, 2018 - 11:03 PM UTC
Okay guys I've finally got her finished. There were some major hiccups along the way but they were of my doing not a fault of the kit or decals. I masked off the machine gun ports and lifted the paint and decal off the lower wing. The paint just hadn't adhered as well to the lower wing as the top.

I managed to rescue it with a re-coat of paint and cutting up another decal to cover the missing bits. Worked out reasonably well given what I did. I applied a panel line wash from Tamiya to highlight them using brown as the black would've been to harsh. It was then a light weather with Tamiya weathering products and a flat coat to seal everything in. Then unmask the canopy and we're done.

IMG_2023 by Chris WIlson, on Flickr

IMG_2022 by Chris WIlson, on Flickr

IMG_2019 by Chris WIlson, on Flickr

IMG_2018 by Chris WIlson, on Flickr

IMG_2017 by Chris WIlson, on Flickr

Joel_W
Staff MemberAssociate Editor
AUTOMODELER
_VISITCOMMUNITY
New York, United States
Joined: December 04, 2010
KitMaker: 11,666 posts
AeroScale: 7,410 posts
Posted: Friday, February 02, 2018 - 02:46 AM UTC
Chris,
Don't know how I missed your build, but better late then never.

Certainly a most impressive build of a not so great kit. As Ernest said, you got AM parts to fit that weren't meant for this kit, which is an amazing feat in itself considering that half the time I'm struggling with AM part that were designed for the kit I'm working on, and they don't come close to fitting.

the finished Seafire Mk XV really looks quite good.

Joel
c4willy
#305
_VISITCOMMUNITY
Christchurch, New Zealand
Joined: February 01, 2006
KitMaker: 1,673 posts
AeroScale: 1,517 posts
Posted: Friday, February 02, 2018 - 04:38 AM UTC
Hey thanks Joel! I agree with you I often struggle to get the aftermarket to work but his time it all fell into place with a little judicious application of force LOL.
magnusf
_VISITCOMMUNITY
Stockholm, Sweden
Joined: May 02, 2006
KitMaker: 1,953 posts
AeroScale: 1,902 posts
Posted: Saturday, February 03, 2018 - 02:48 AM UTC
Chris! Good work, you ended up with a really nice Seafire! If you want to give it a companion, I've been told that the Airfix Seafire XVII is a really nice build!


Magnus
c4willy
#305
_VISITCOMMUNITY
Christchurch, New Zealand
Joined: February 01, 2006
KitMaker: 1,673 posts
AeroScale: 1,517 posts
Posted: Saturday, February 03, 2018 - 03:17 AM UTC
Funny you should say that Magnus I'm currently eyeing one up on our local auction site and I must admit to being sorely tempted.
 _GOTOTOP