Cold War (1950-1974)
Discuss the aircraft modeling subjects during the Cold War period.
Hosted by Tim Hatton
Best Starfighter Ever?
SteveAndrews
_VISITCOMMUNITY
England - South East, United Kingdom
Joined: August 16, 2010
KitMaker: 693 posts
AeroScale: 551 posts
Posted: Monday, April 23, 2018 - 01:56 AM UTC
Consequences. It seems like everything in life has consequences. A consequence of test fitting the avionics pack inside the fuselage is the realisation that there’s a gaping hole once it is in place.

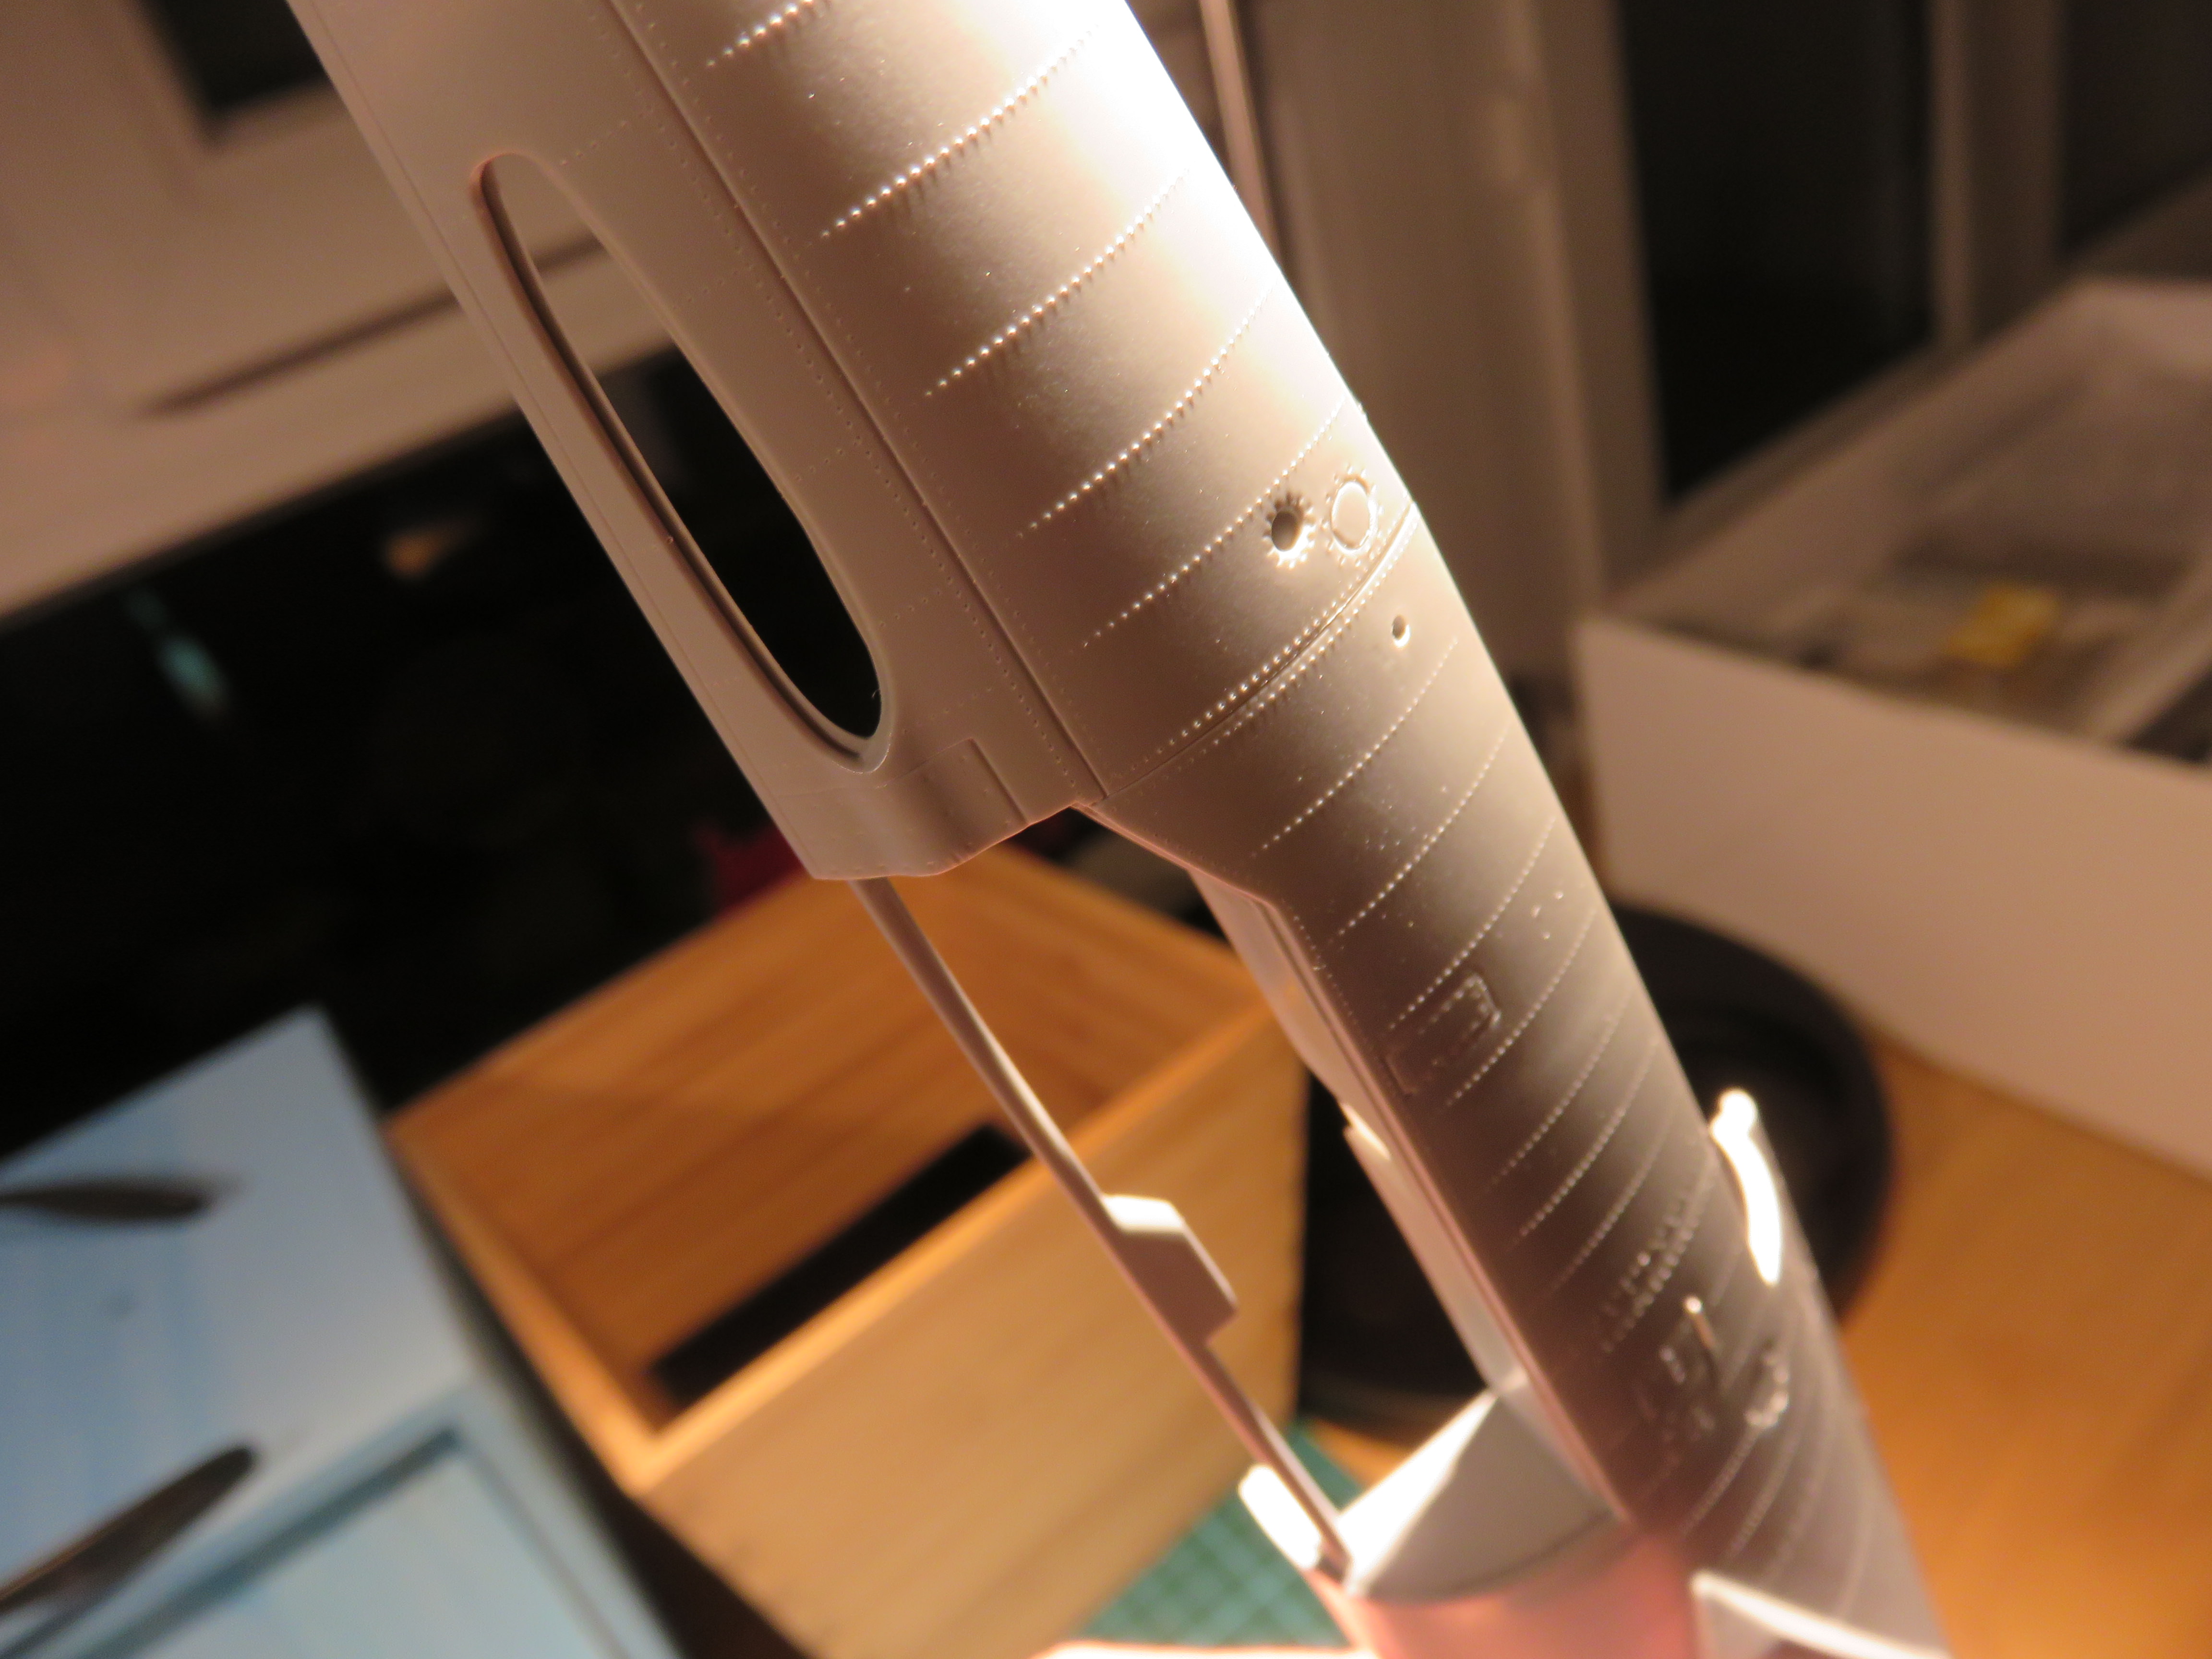
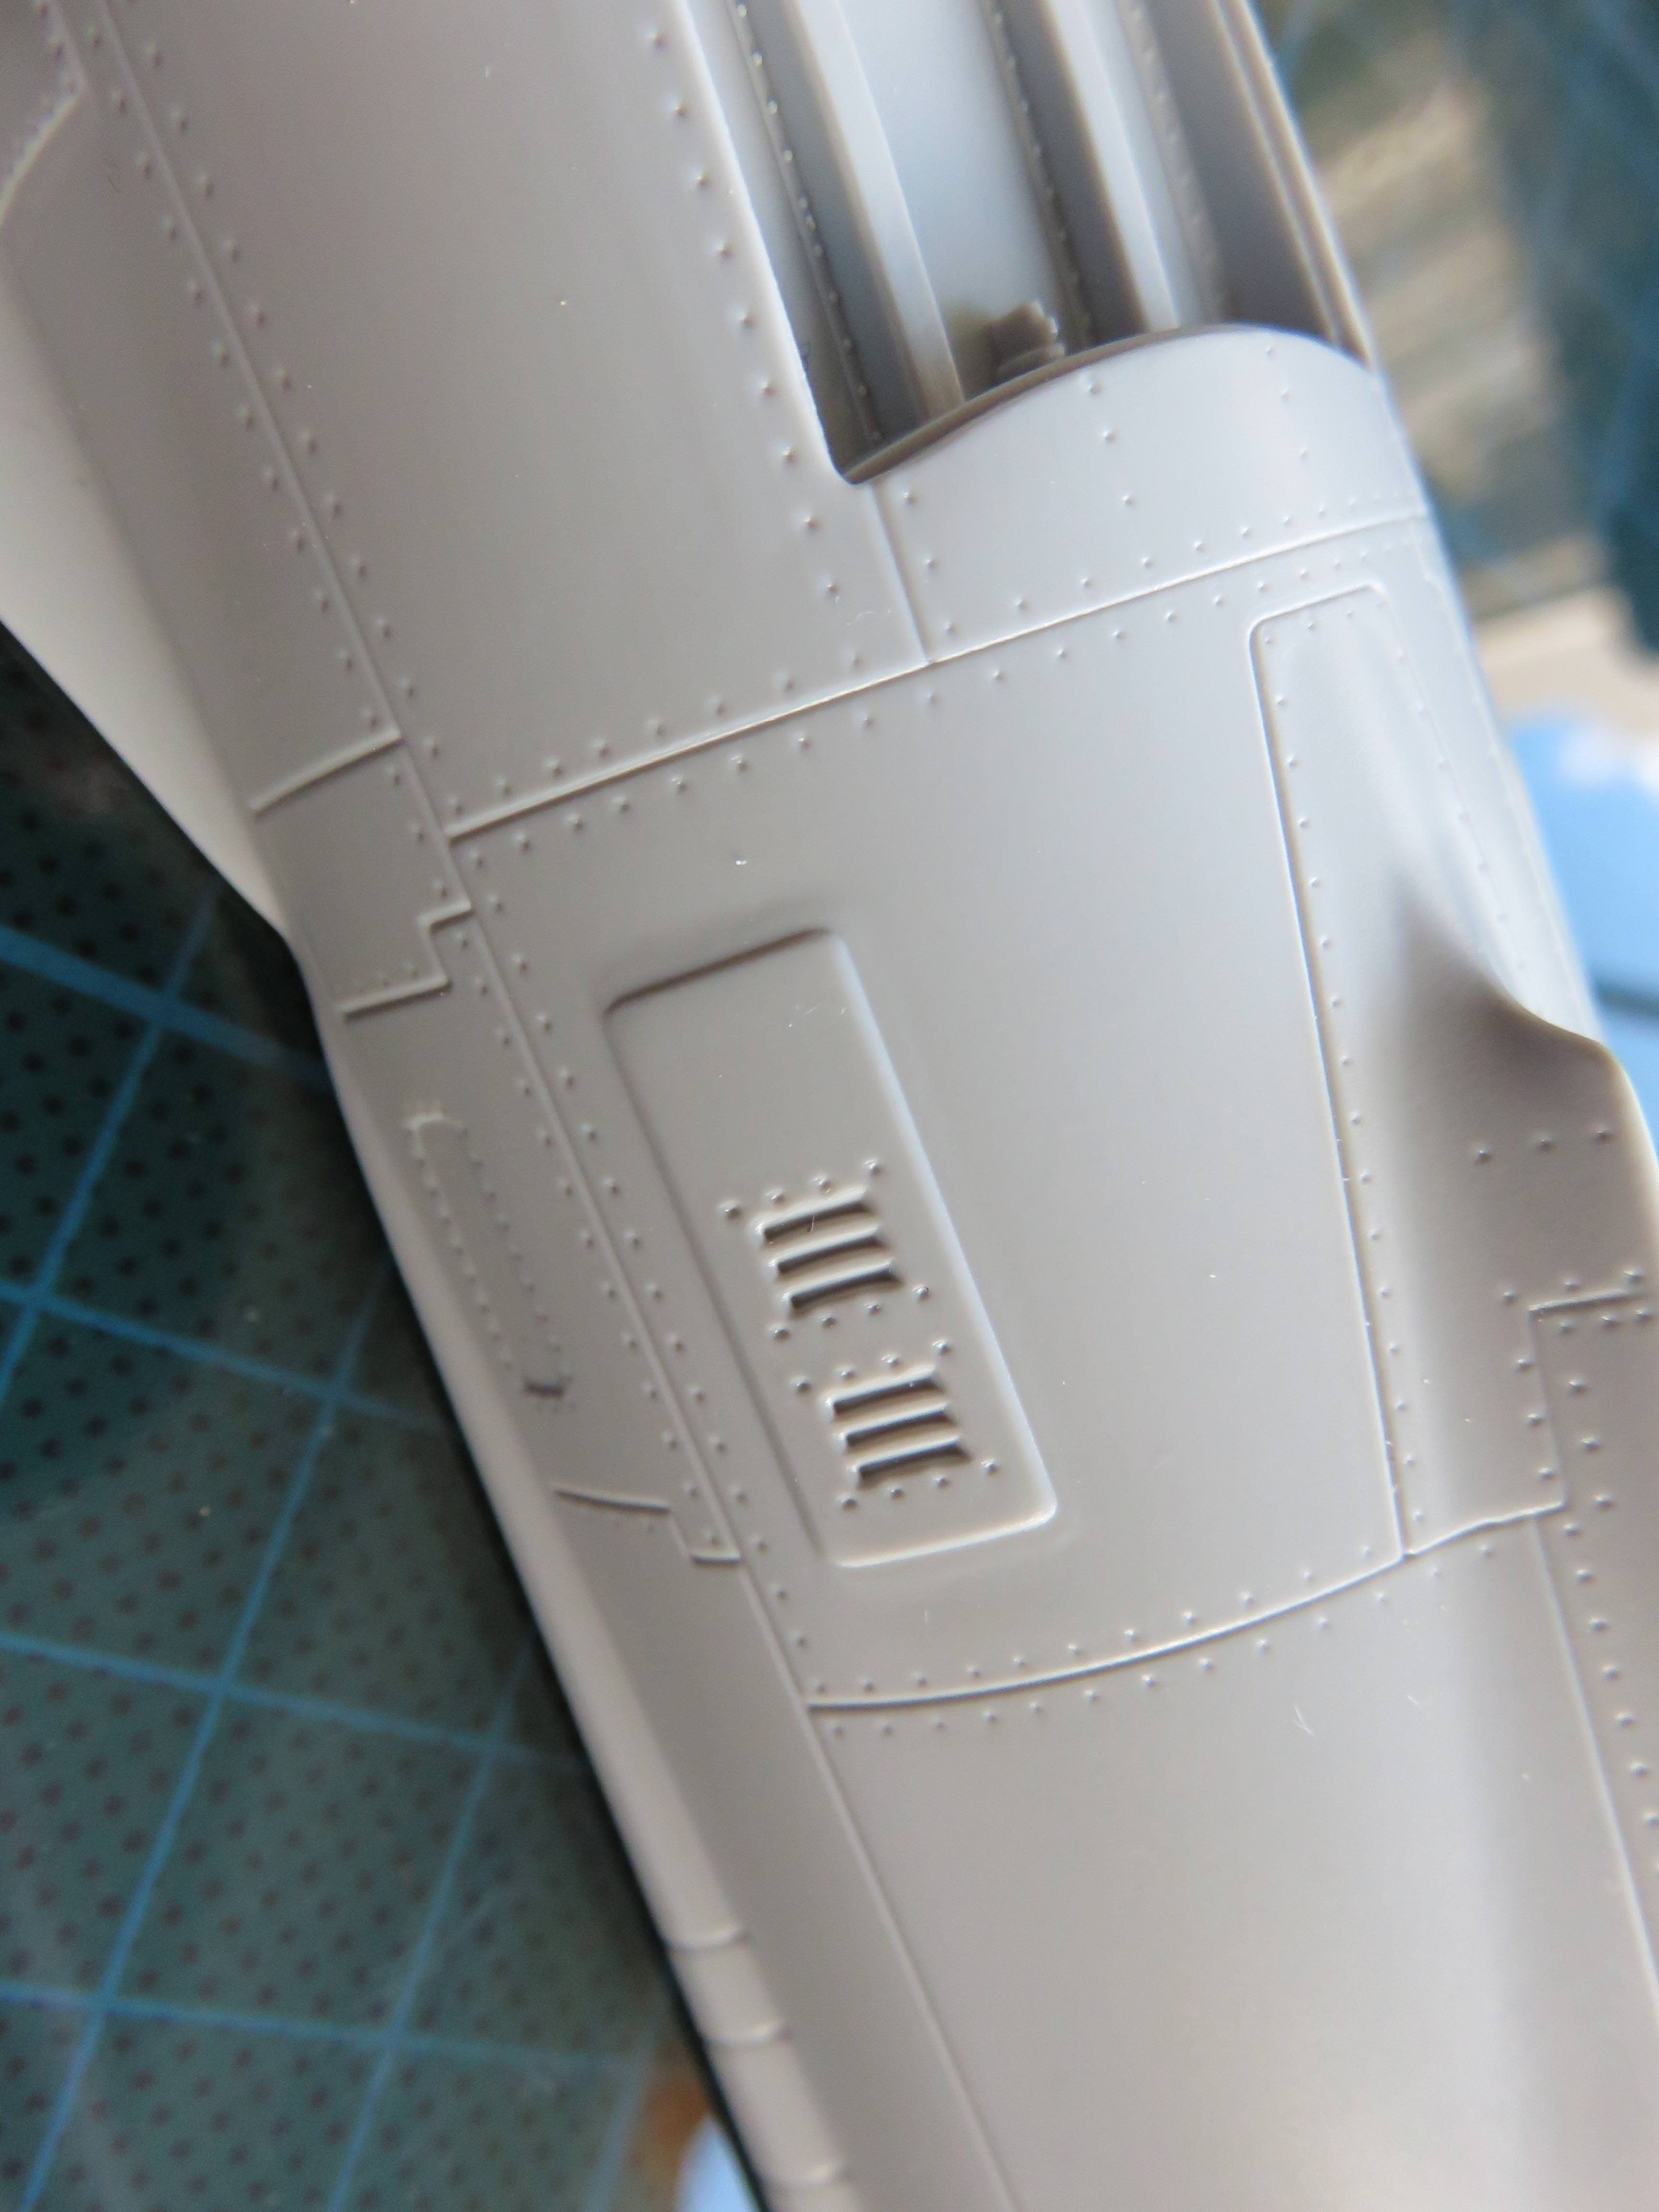
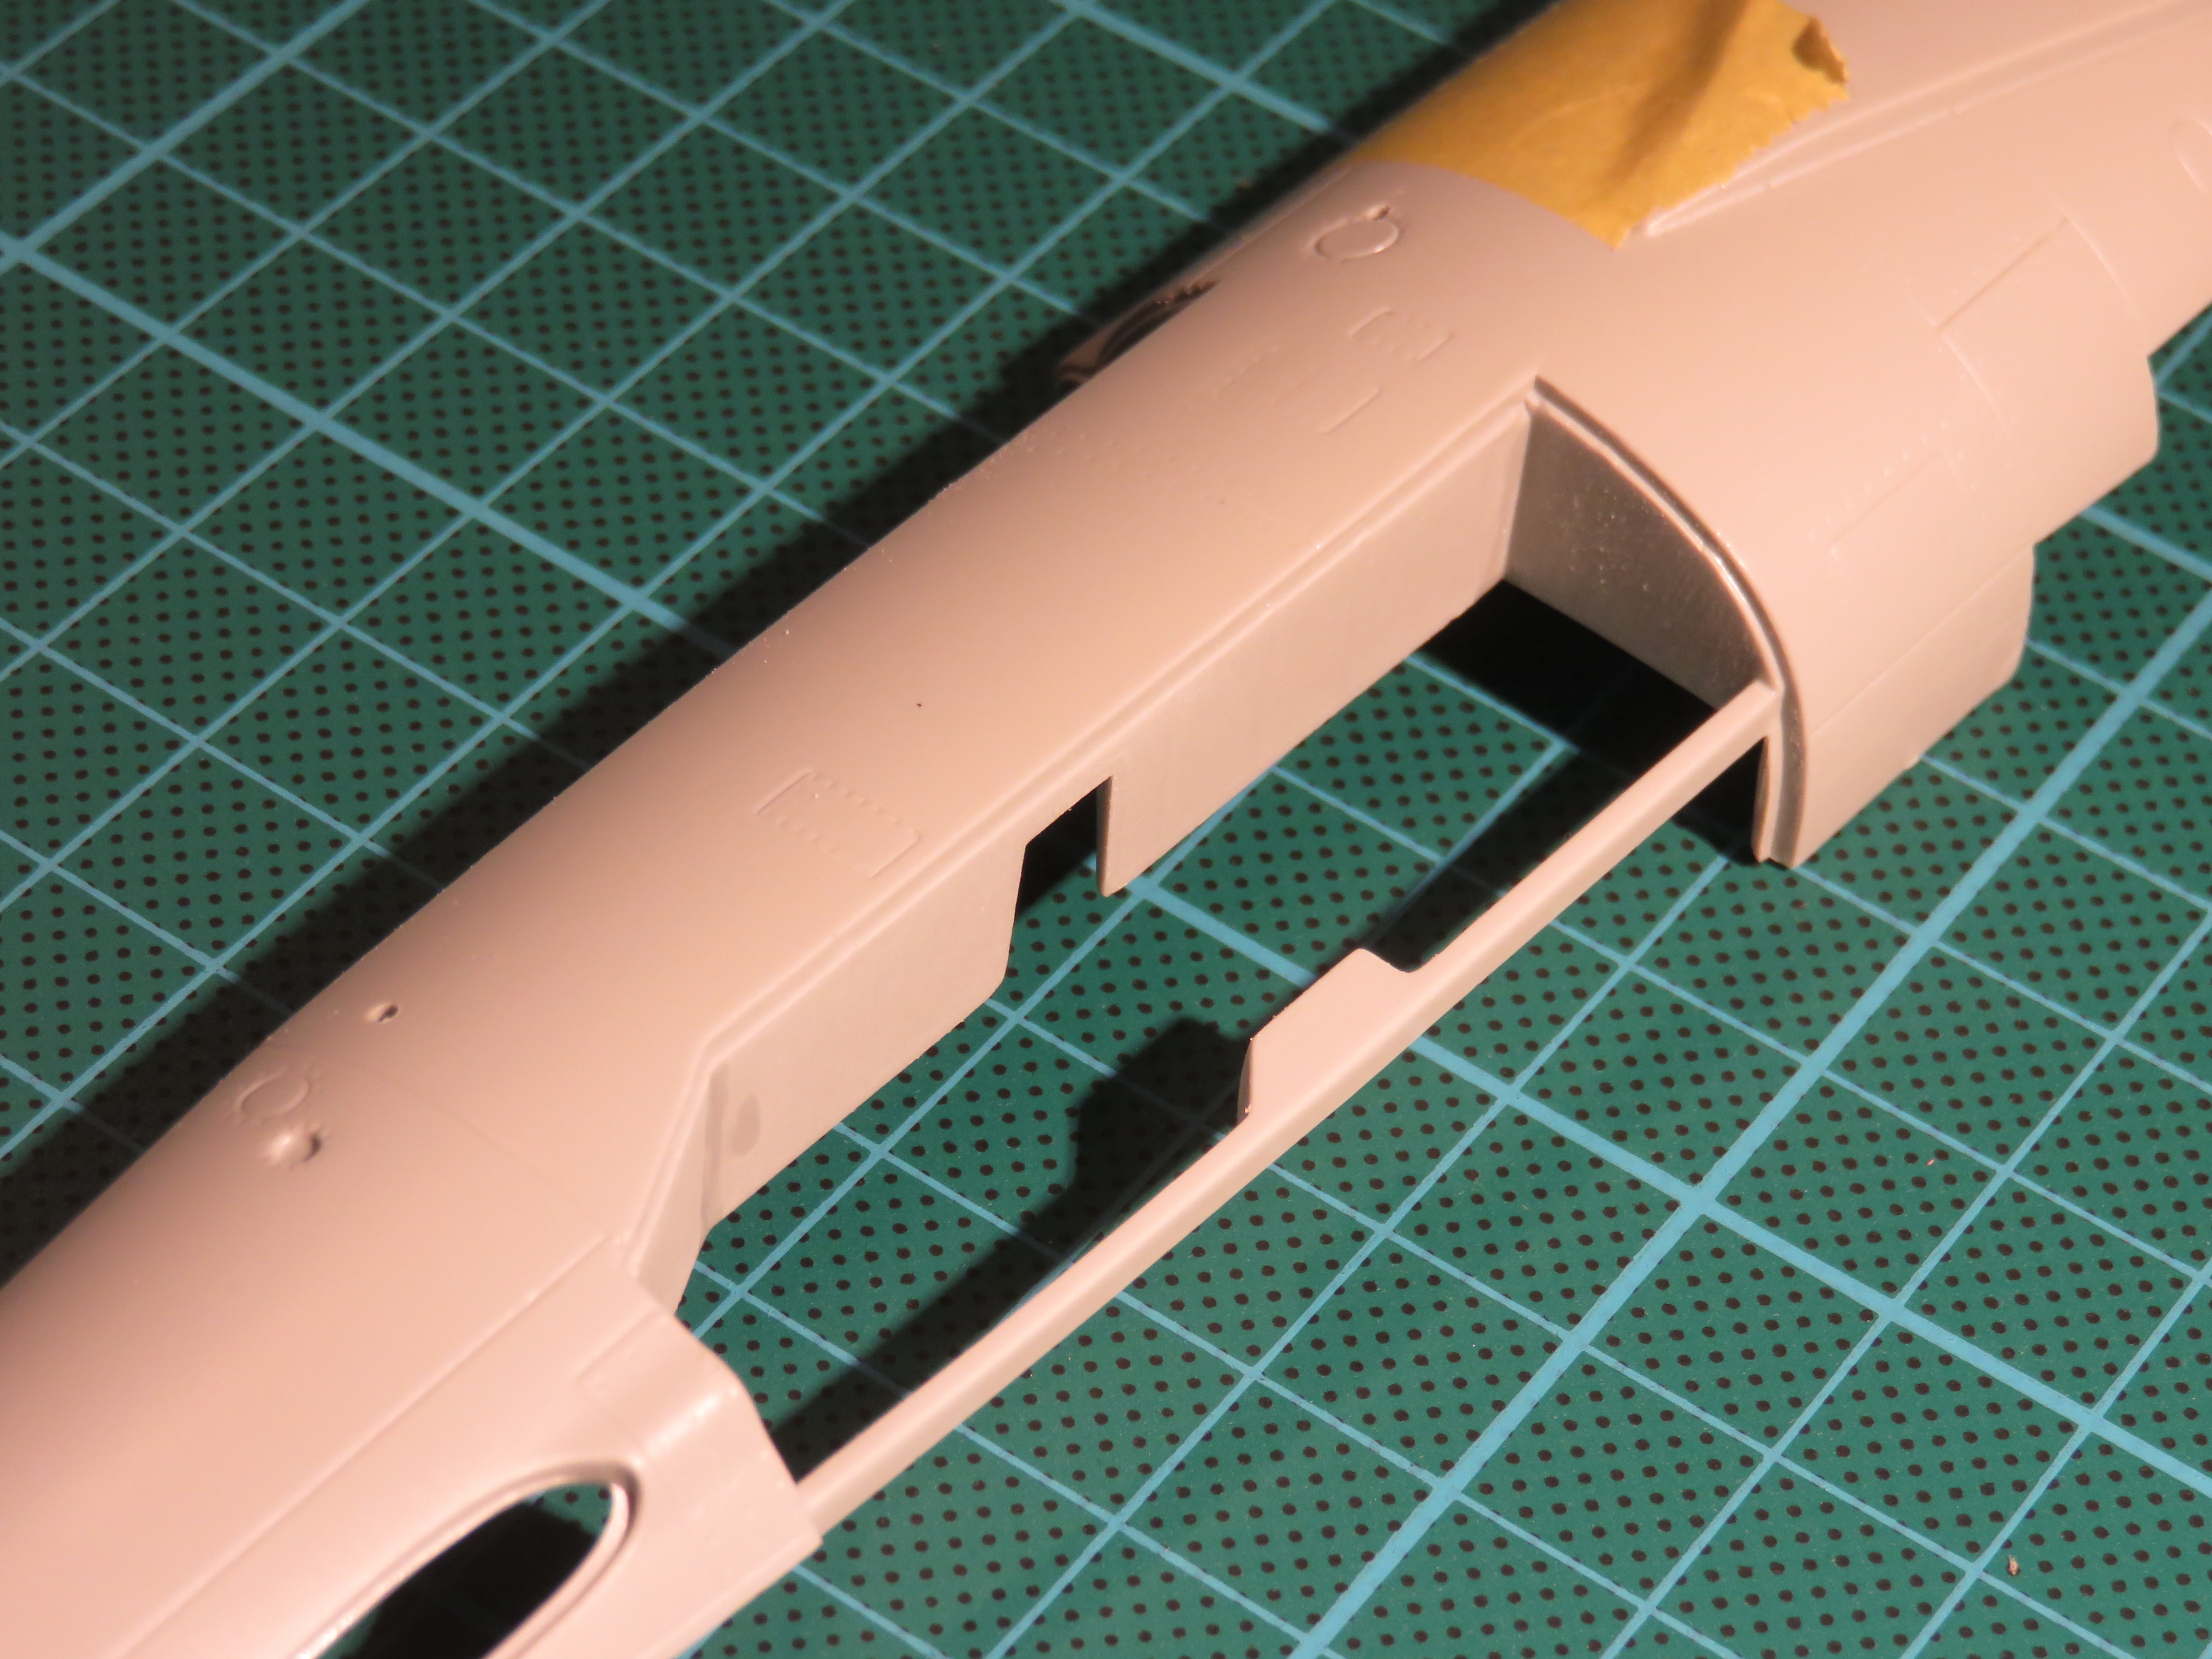
It's a bit exaggerated in this photo because I'm holding the parts together, but you can see the problem:


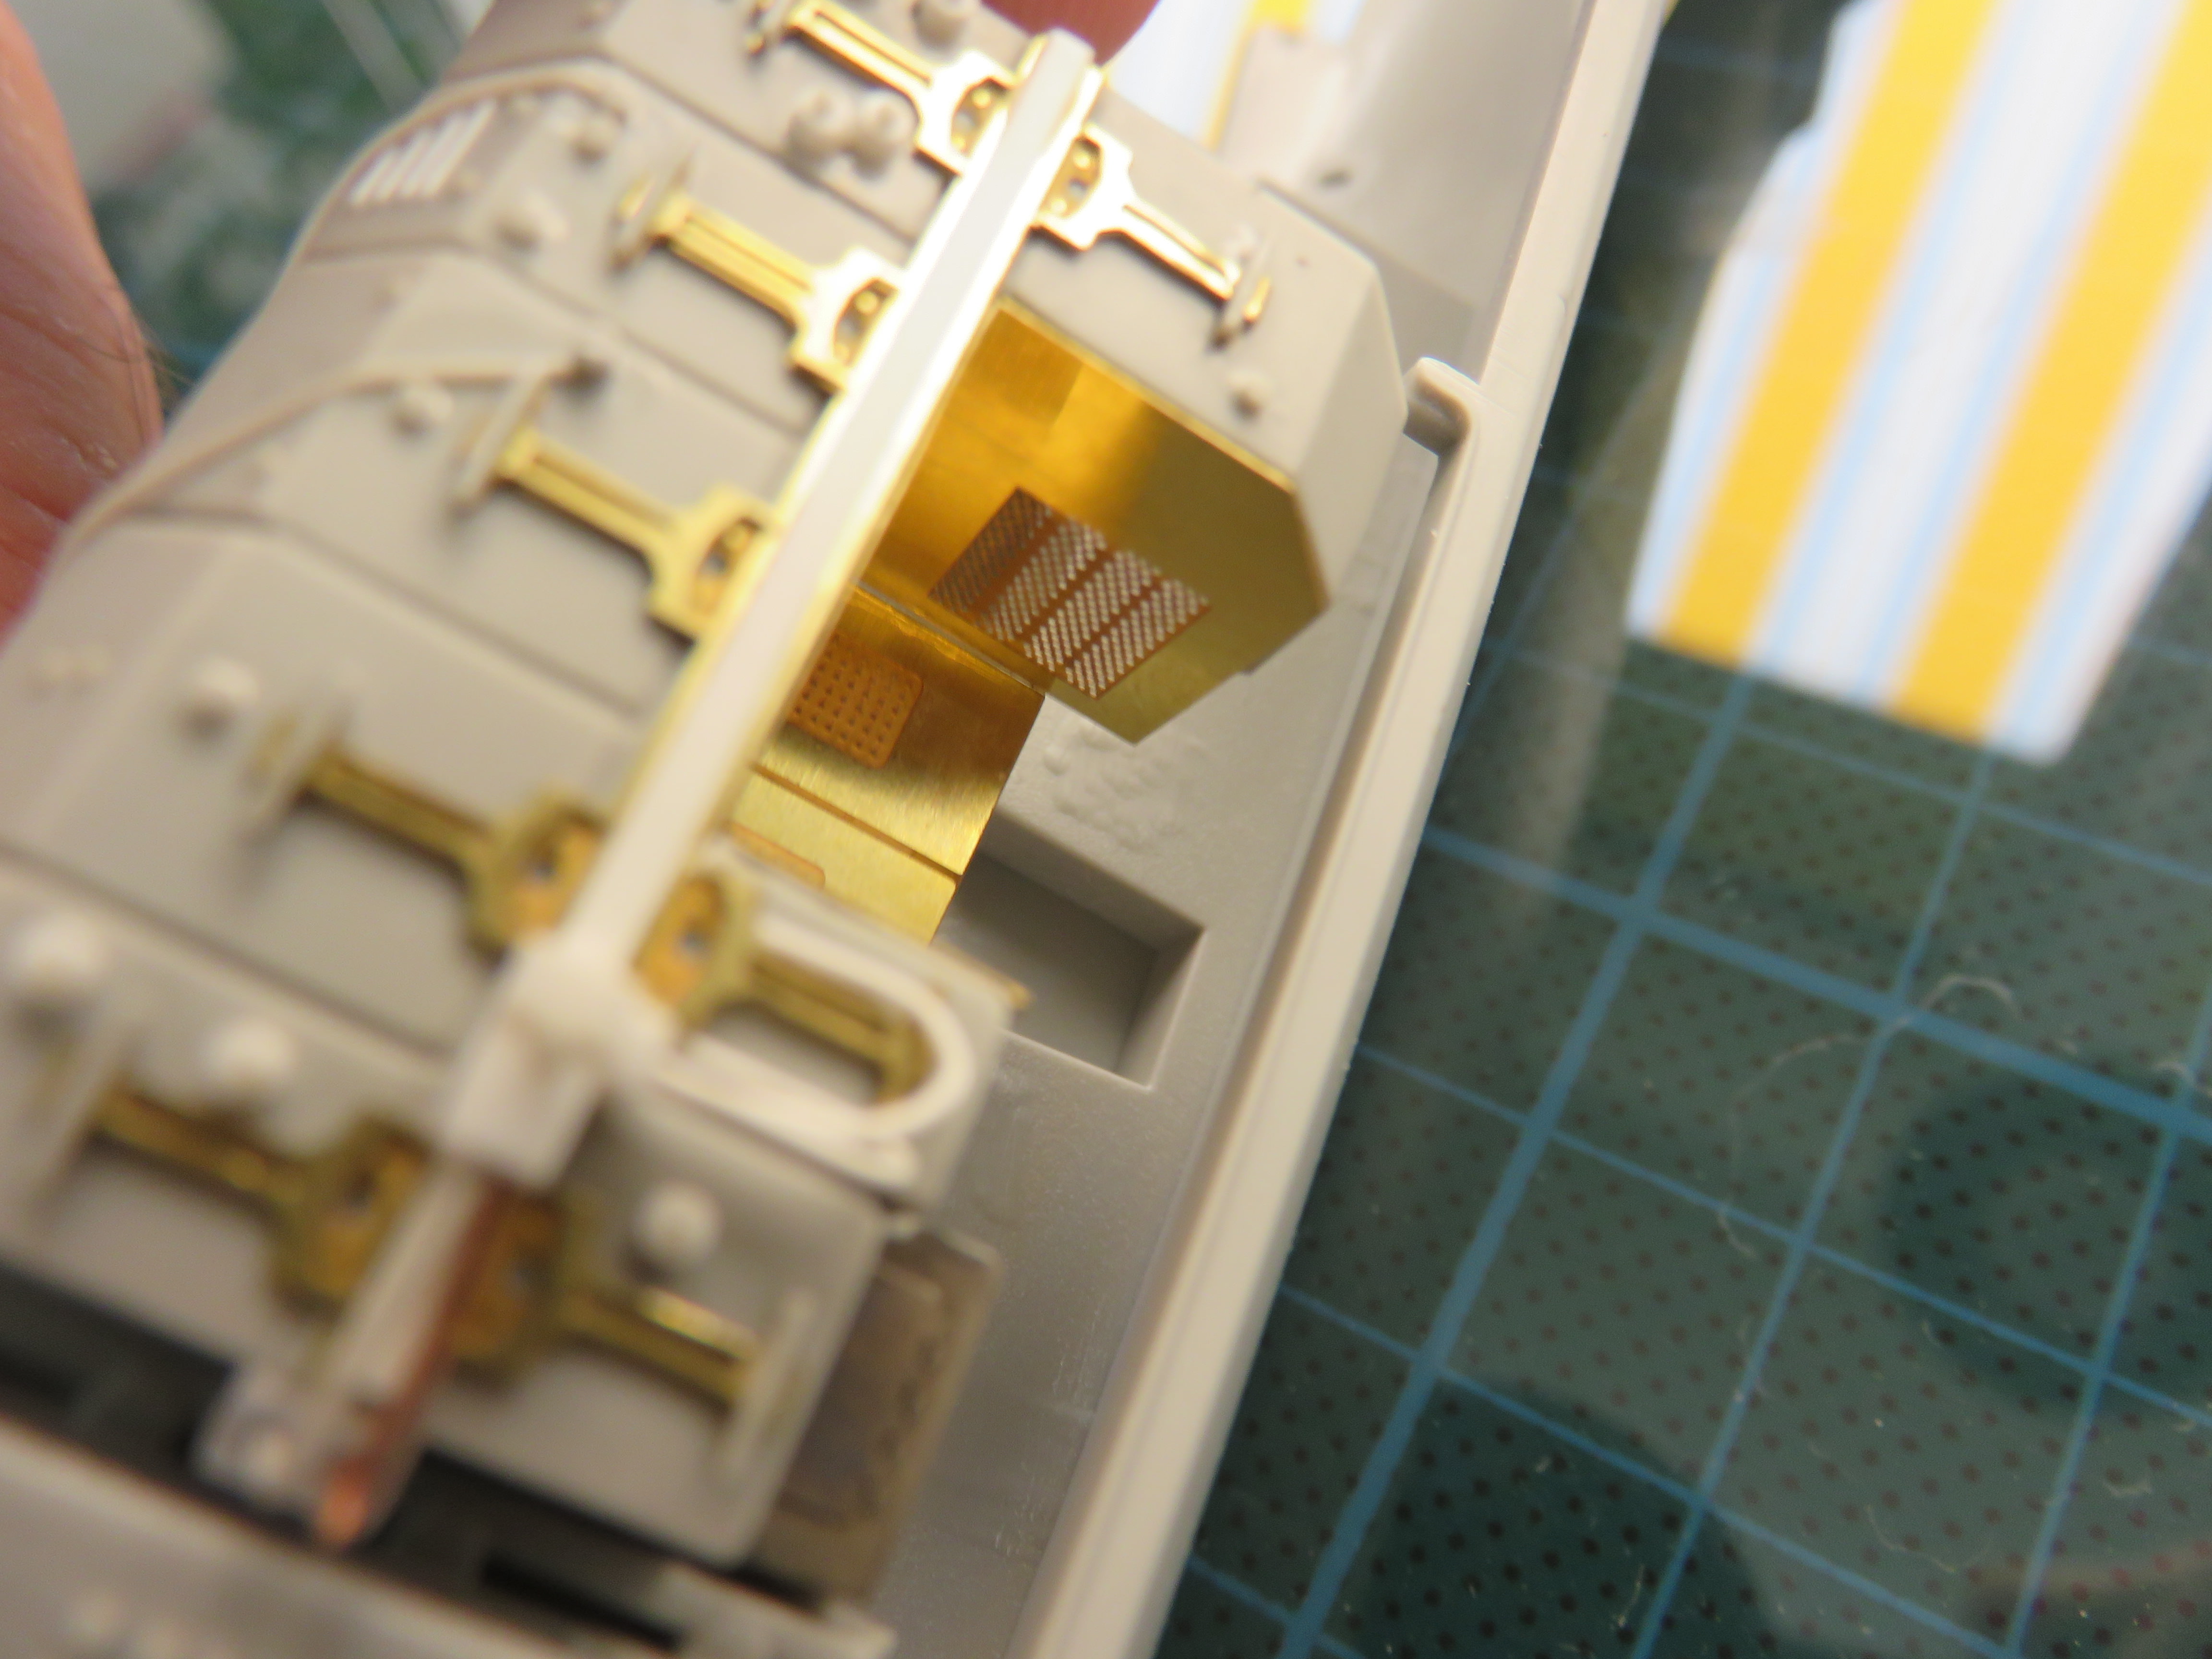
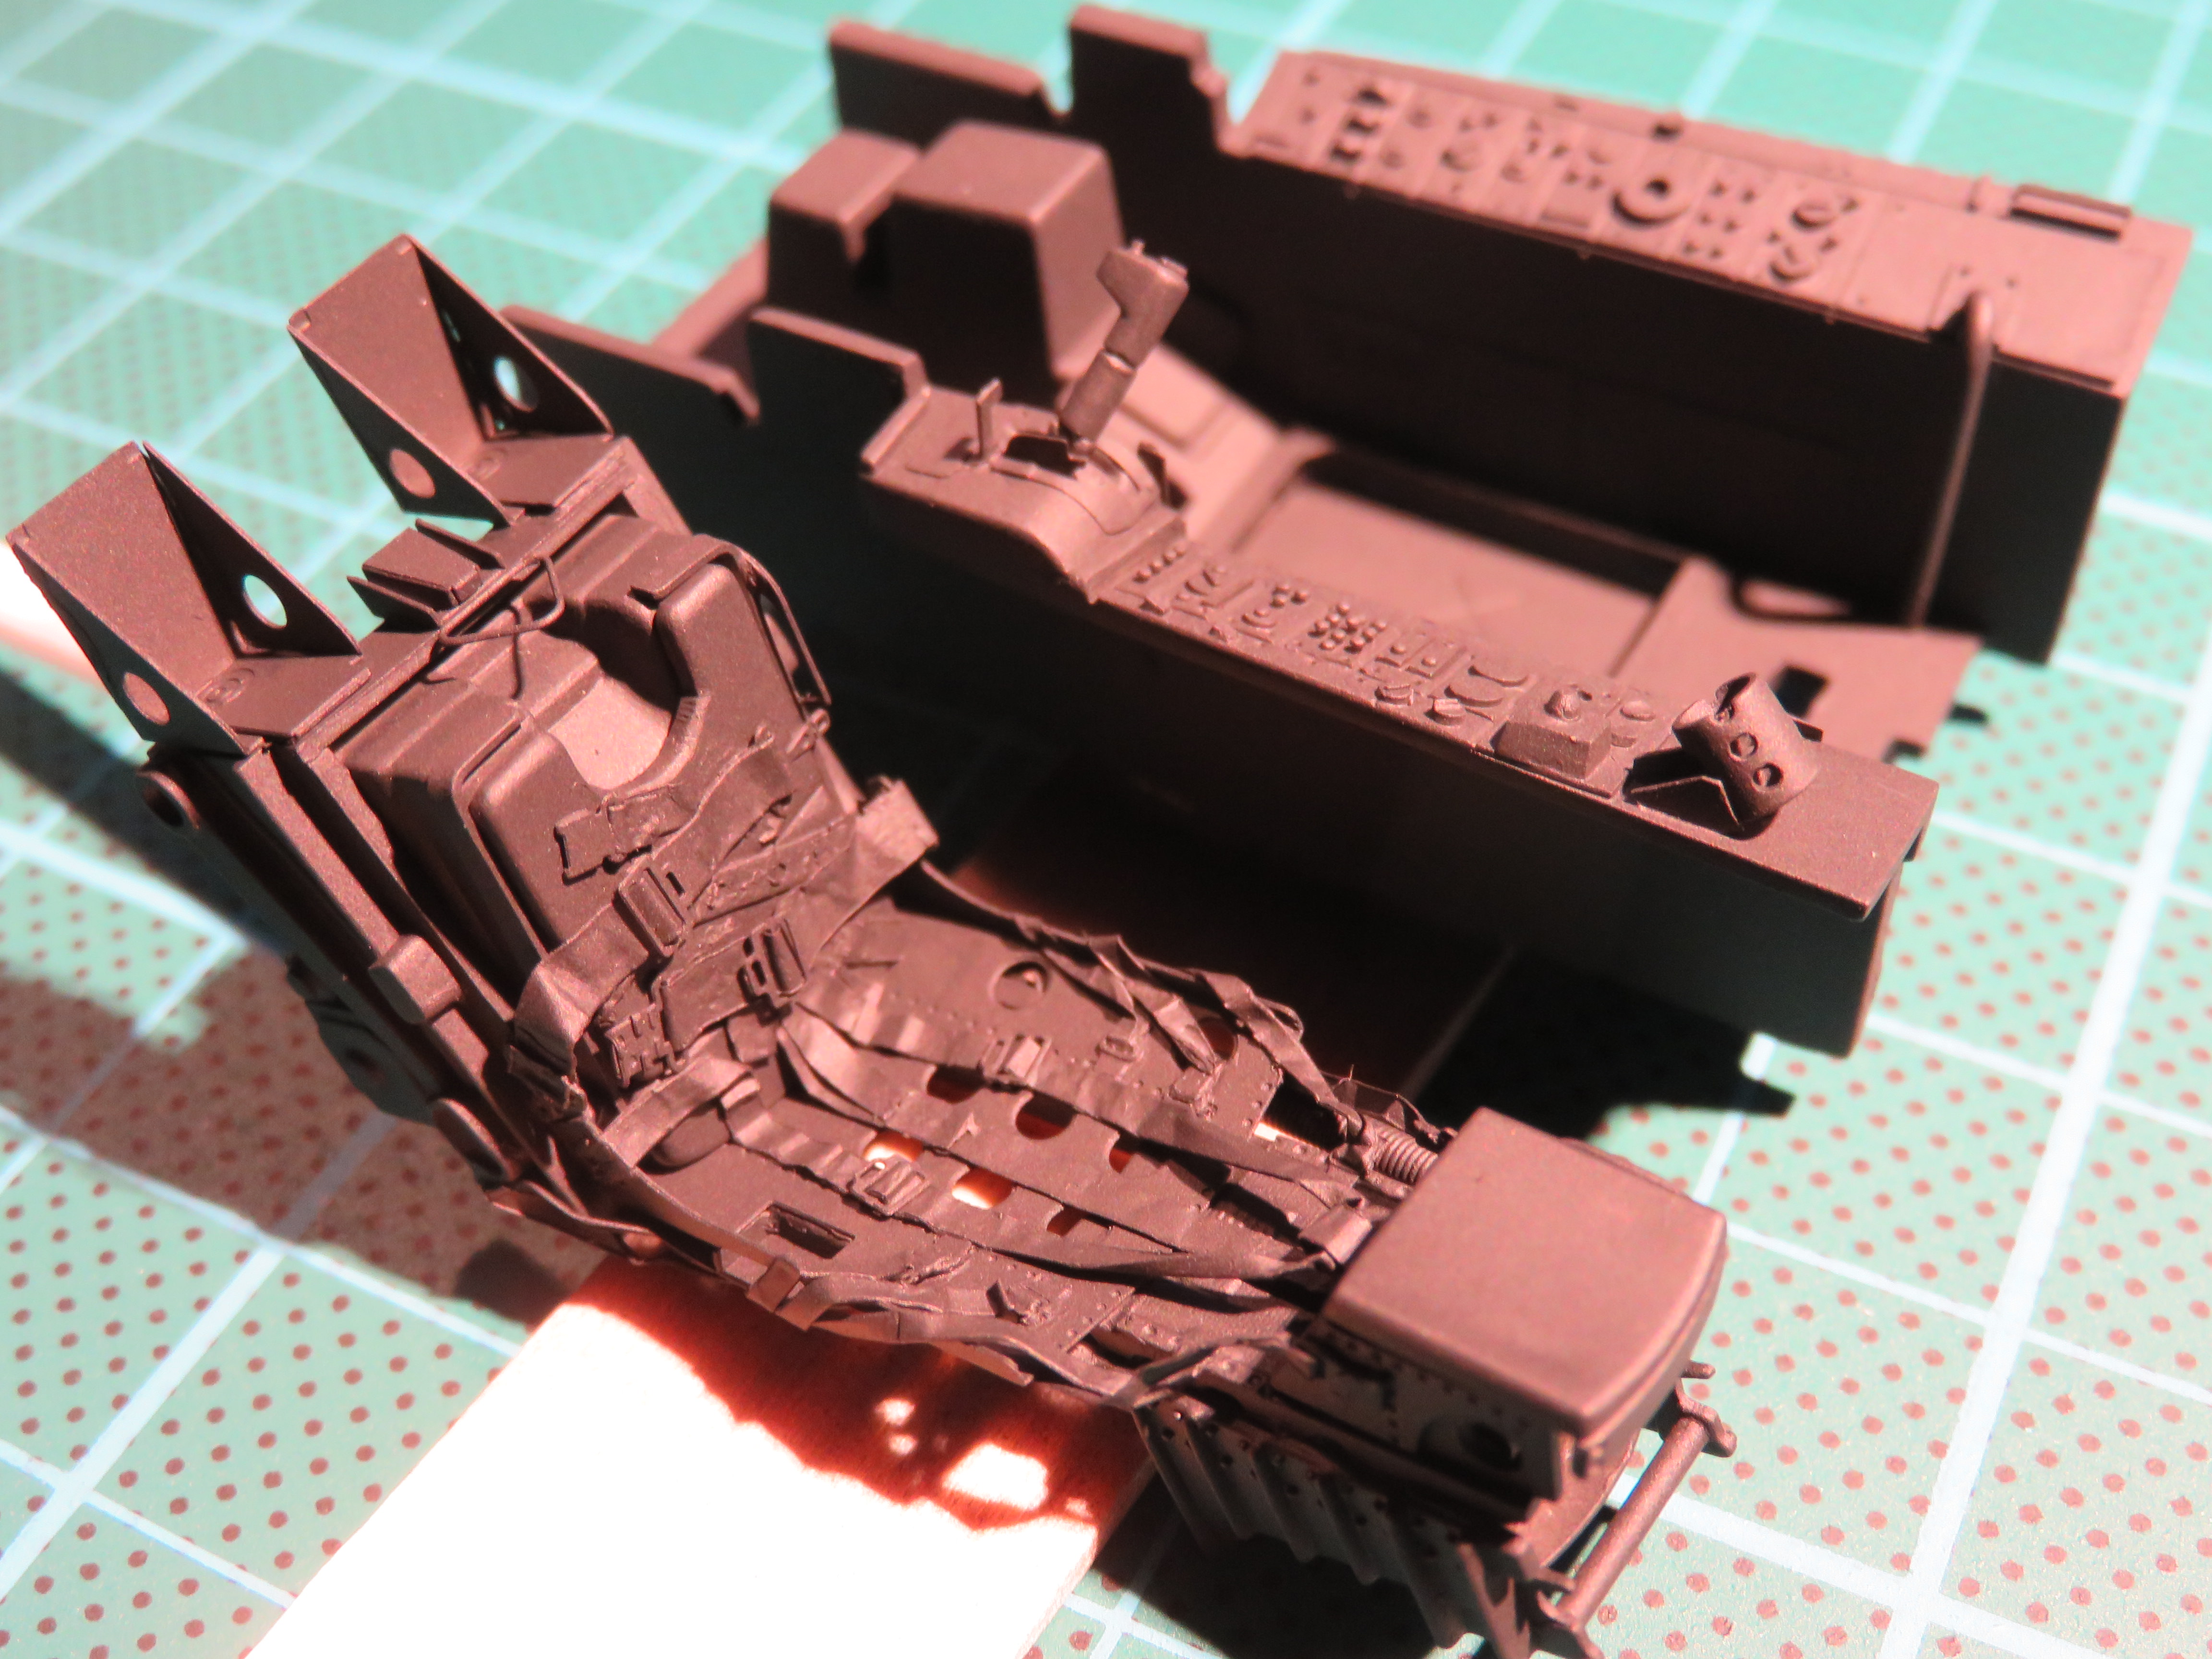
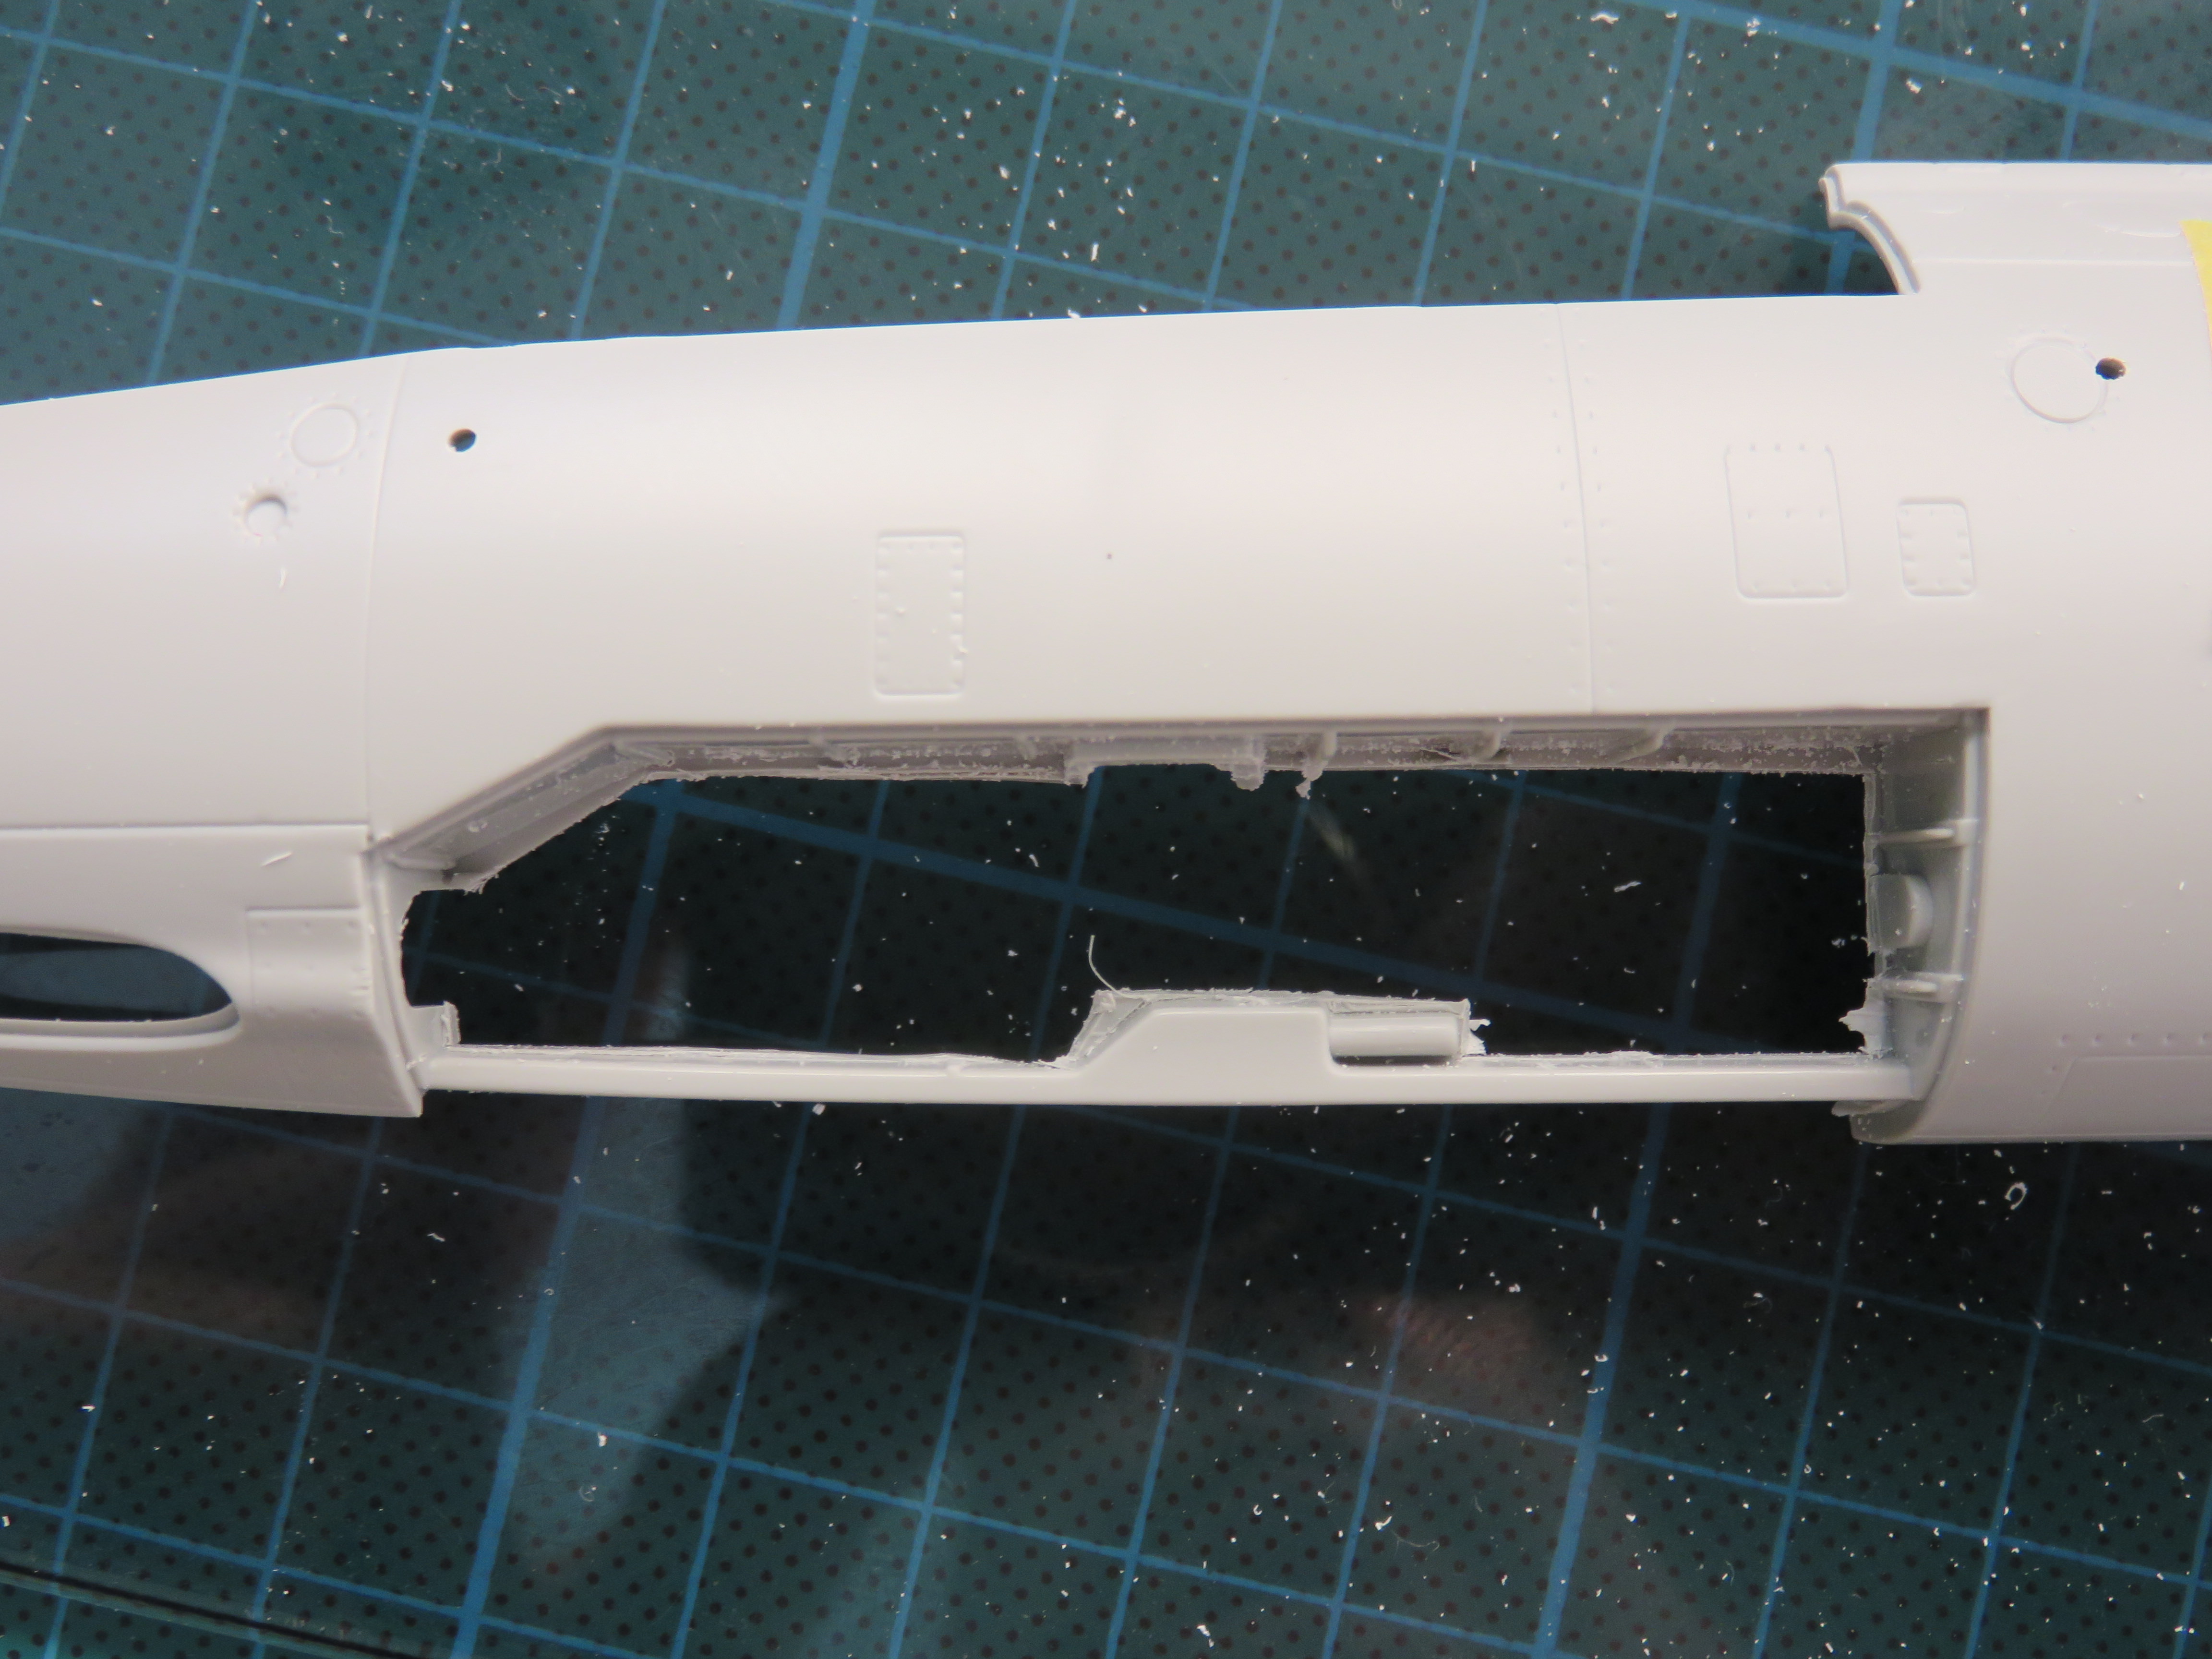
Neither the Italeri kit nor Eduard offer us anything to fill it. That left me thinking I’d have to scratch some details, and that in turn had me checking the gun bay area because it needs a lot of modification to fit the Eduard parts and it is right next to the area of fuselage I need to work on. I didn’t want to be hacking away removing chunks of plastic with delicate scratch building on the other side. One misplaced finger and details would be squashed. As a consequence of all that I made the major modifications needed to the gun bay before I started scratching the extra detail. The pictures below tell the story.

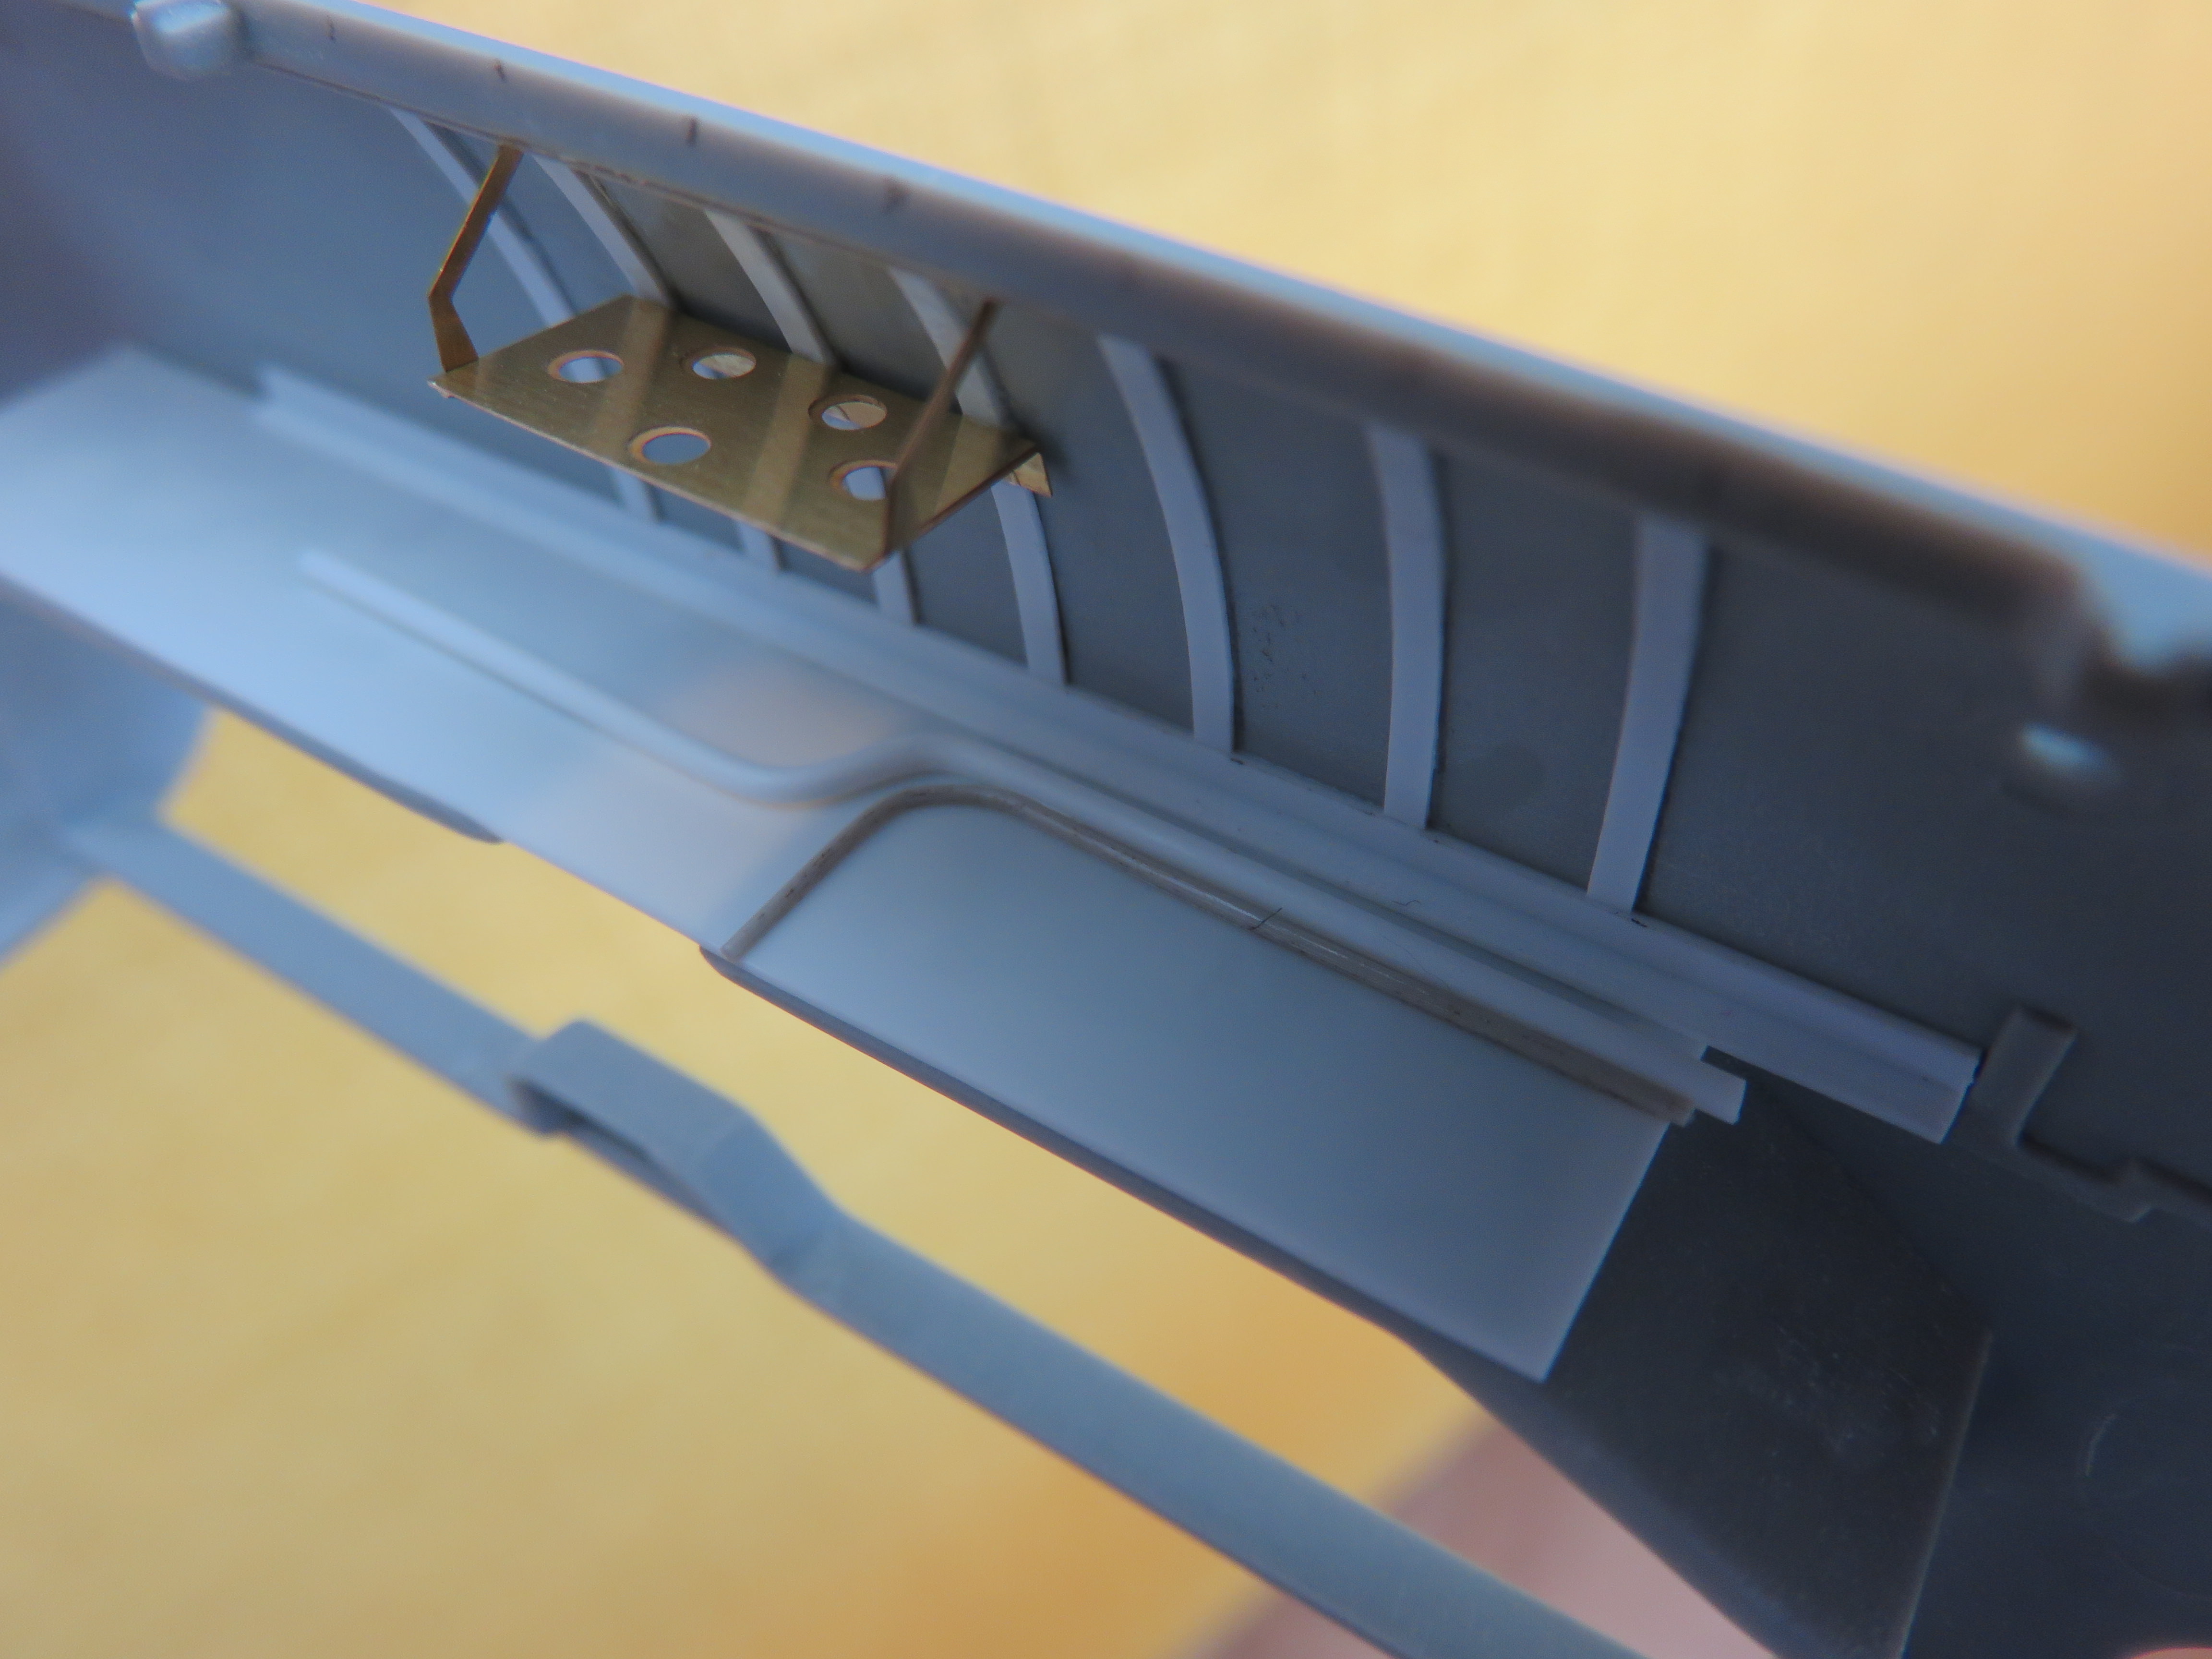
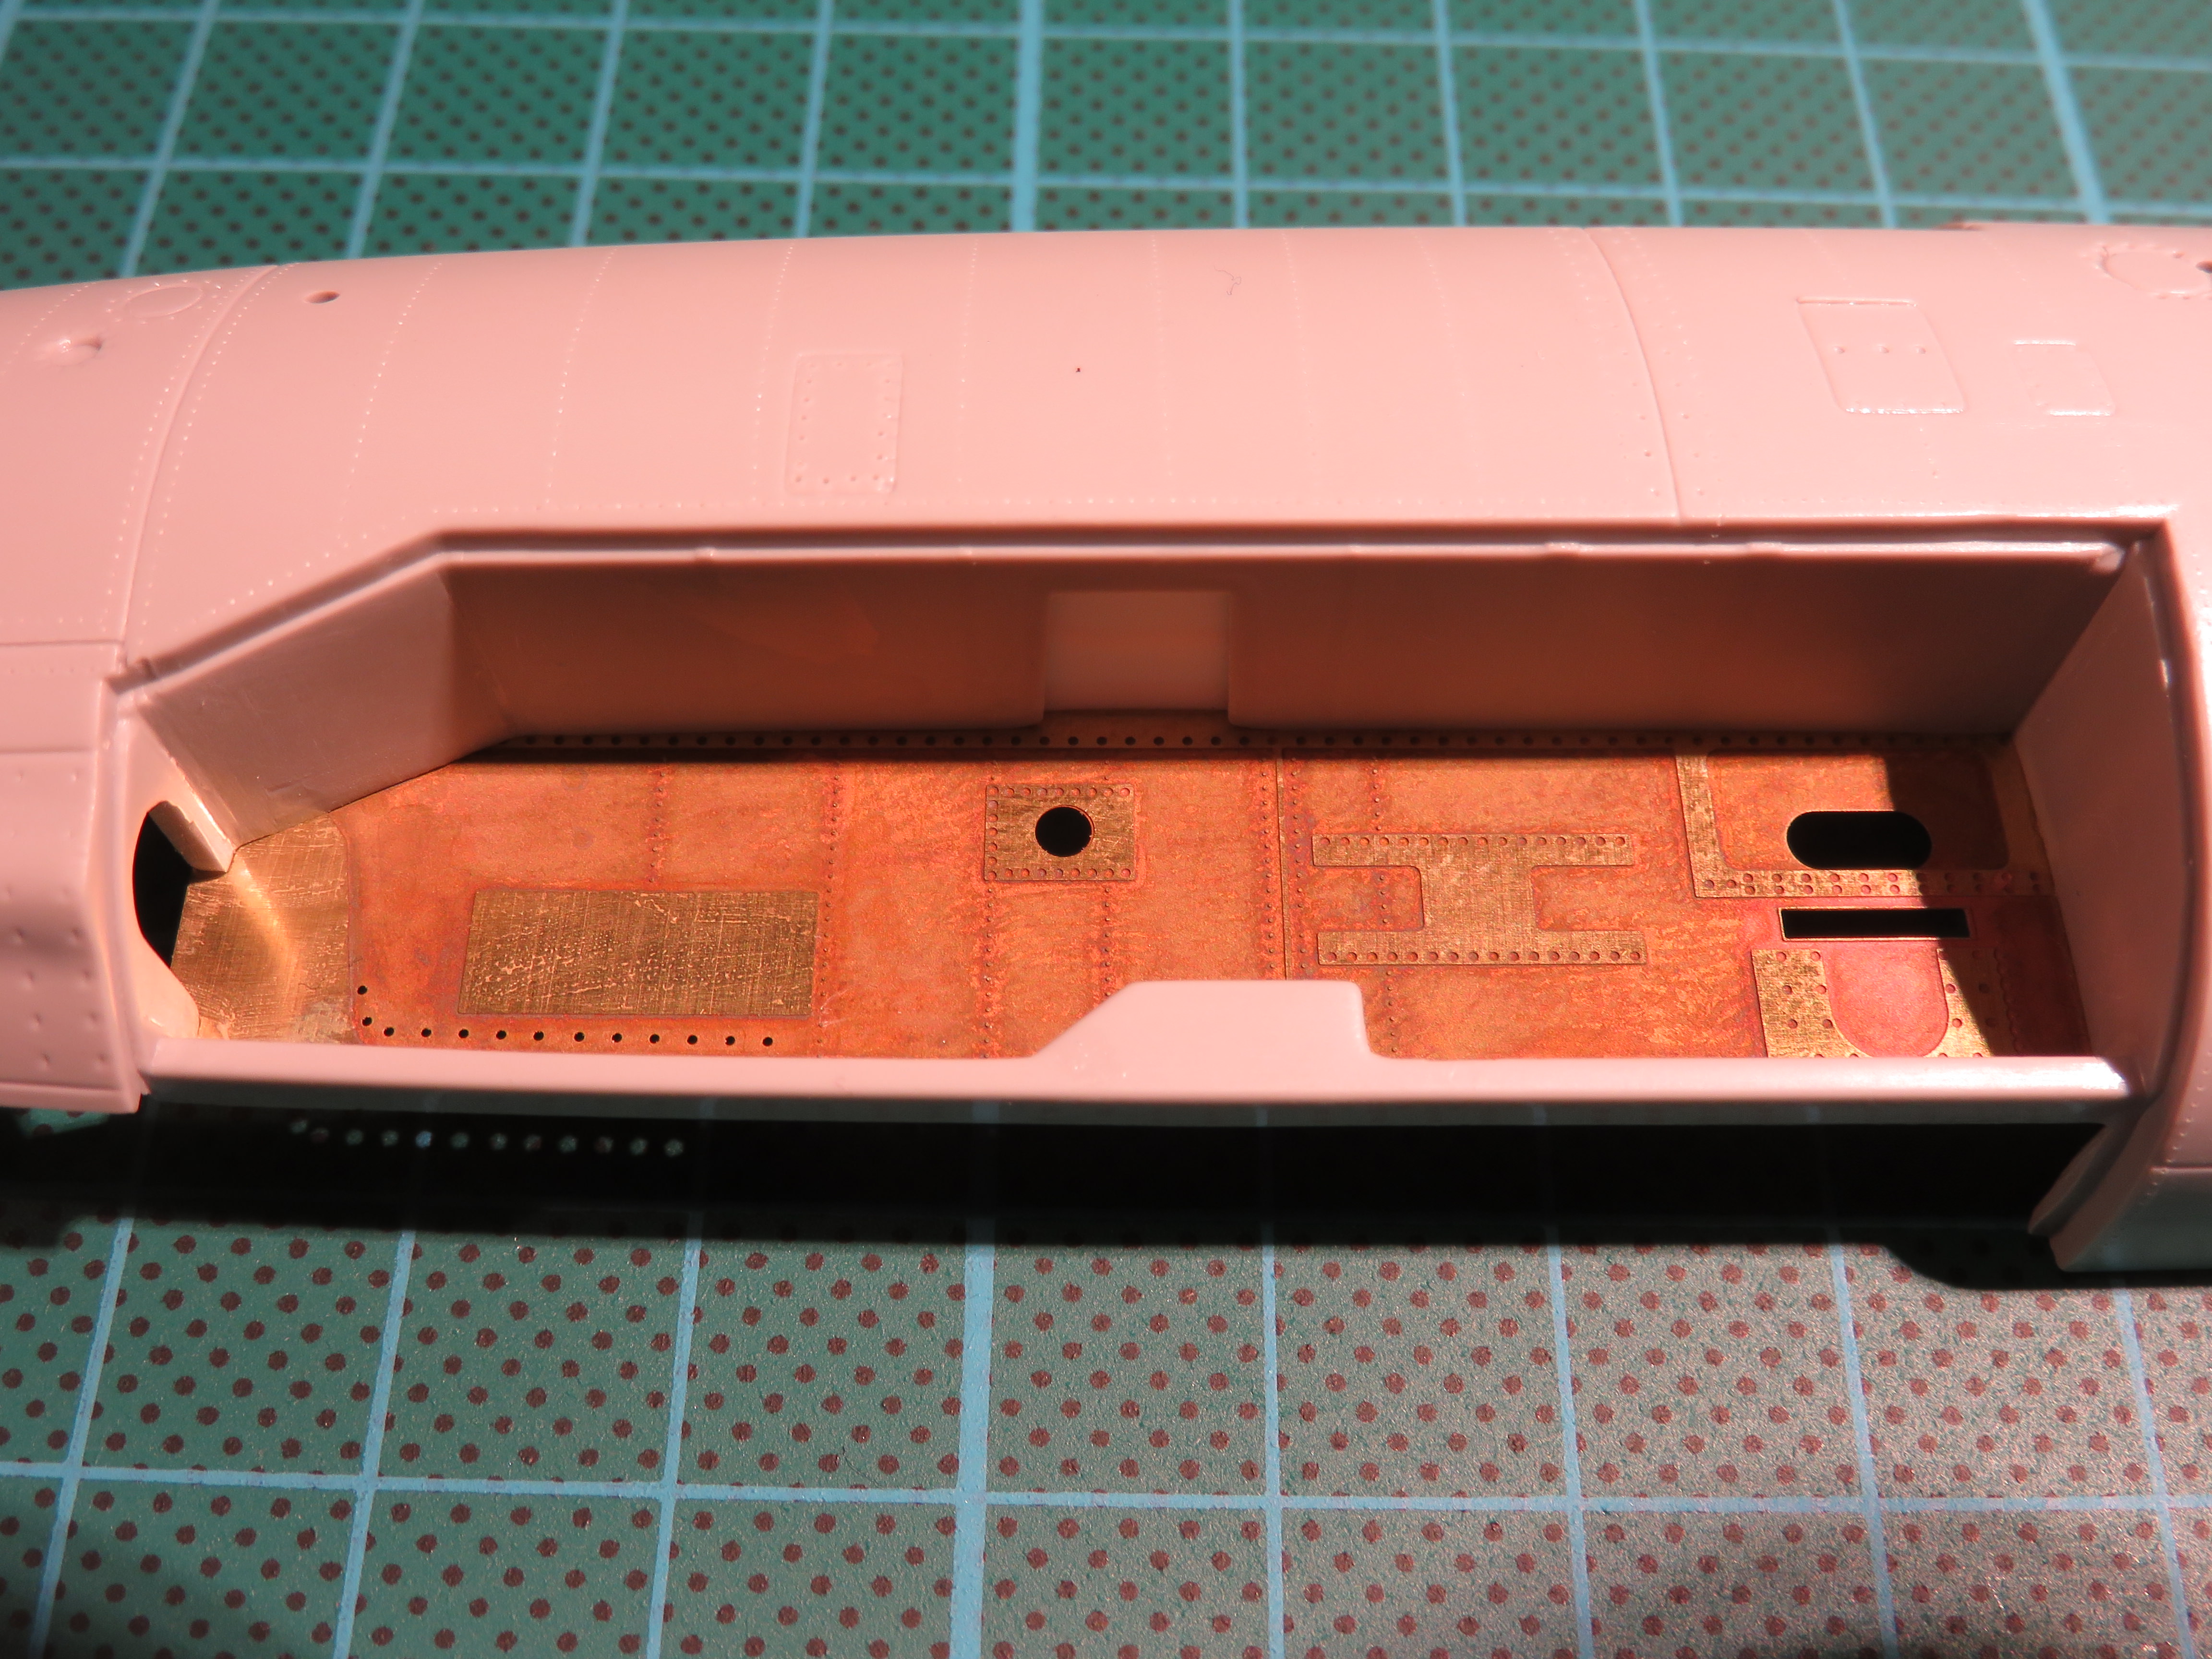
This one shows the reverse side of the gun bay - right where I need to scratch some extra interior details - and the Eduard instructions (showing the other side). Red means cut - serious surgery!


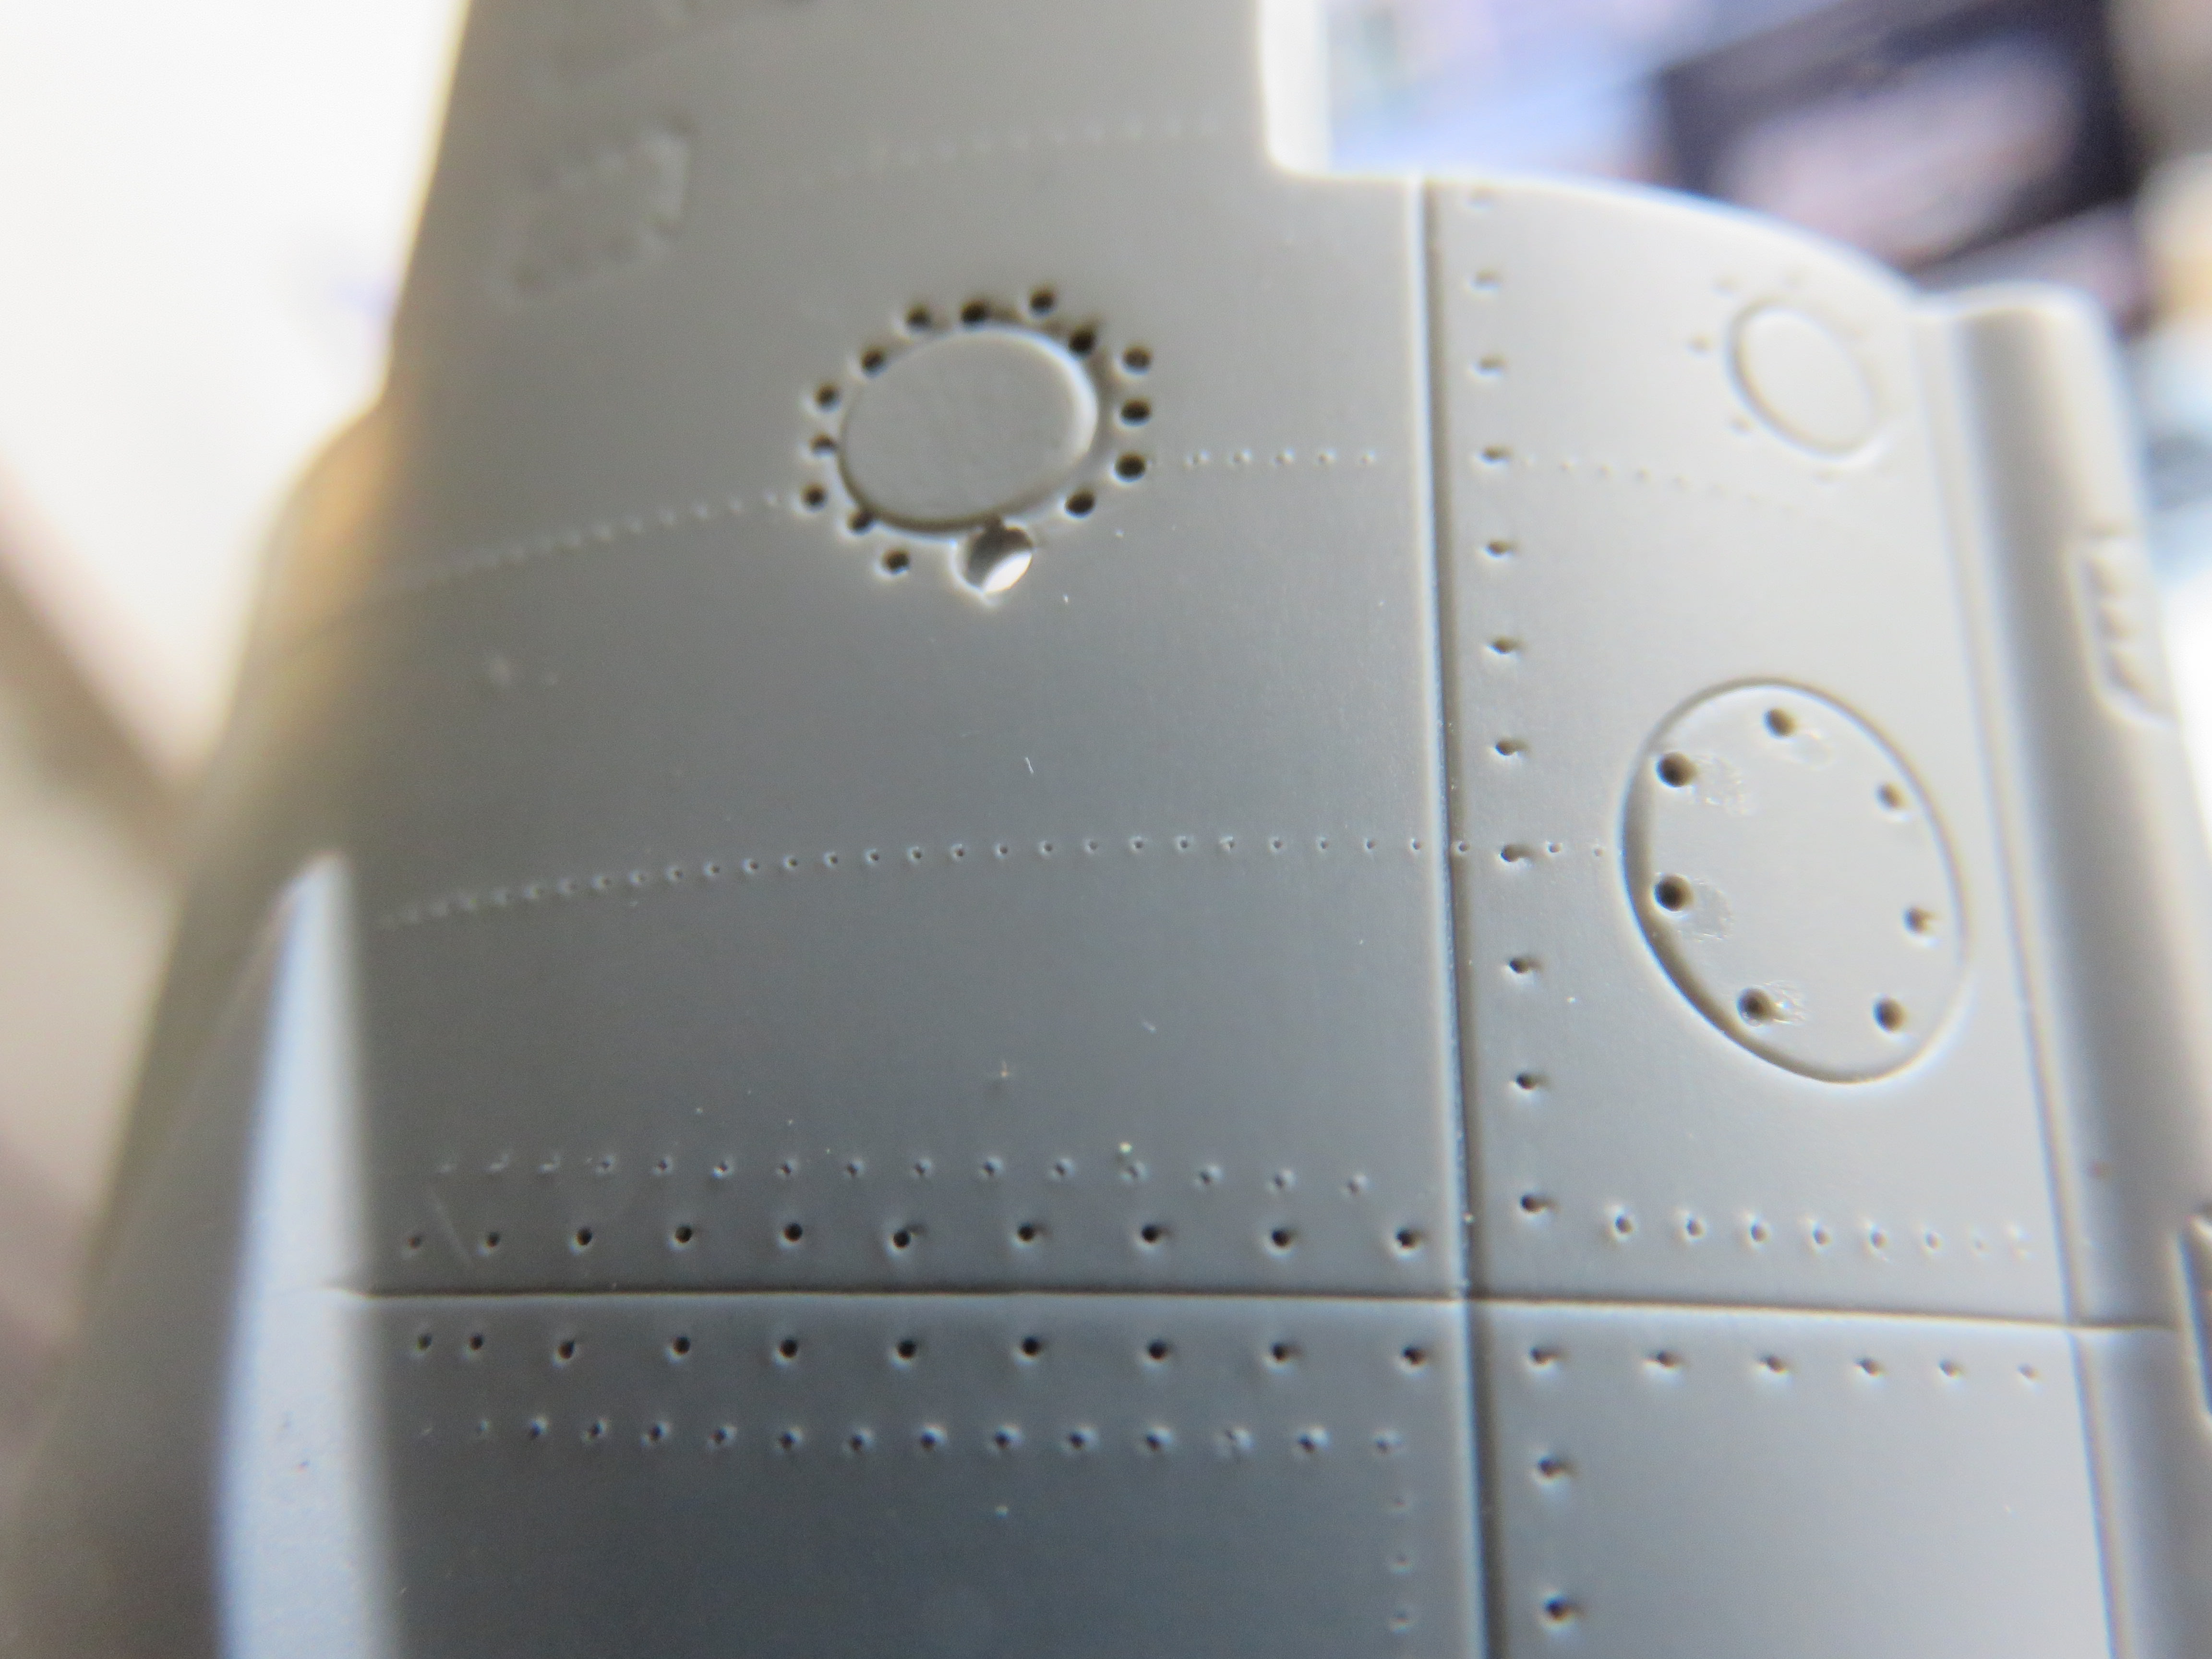
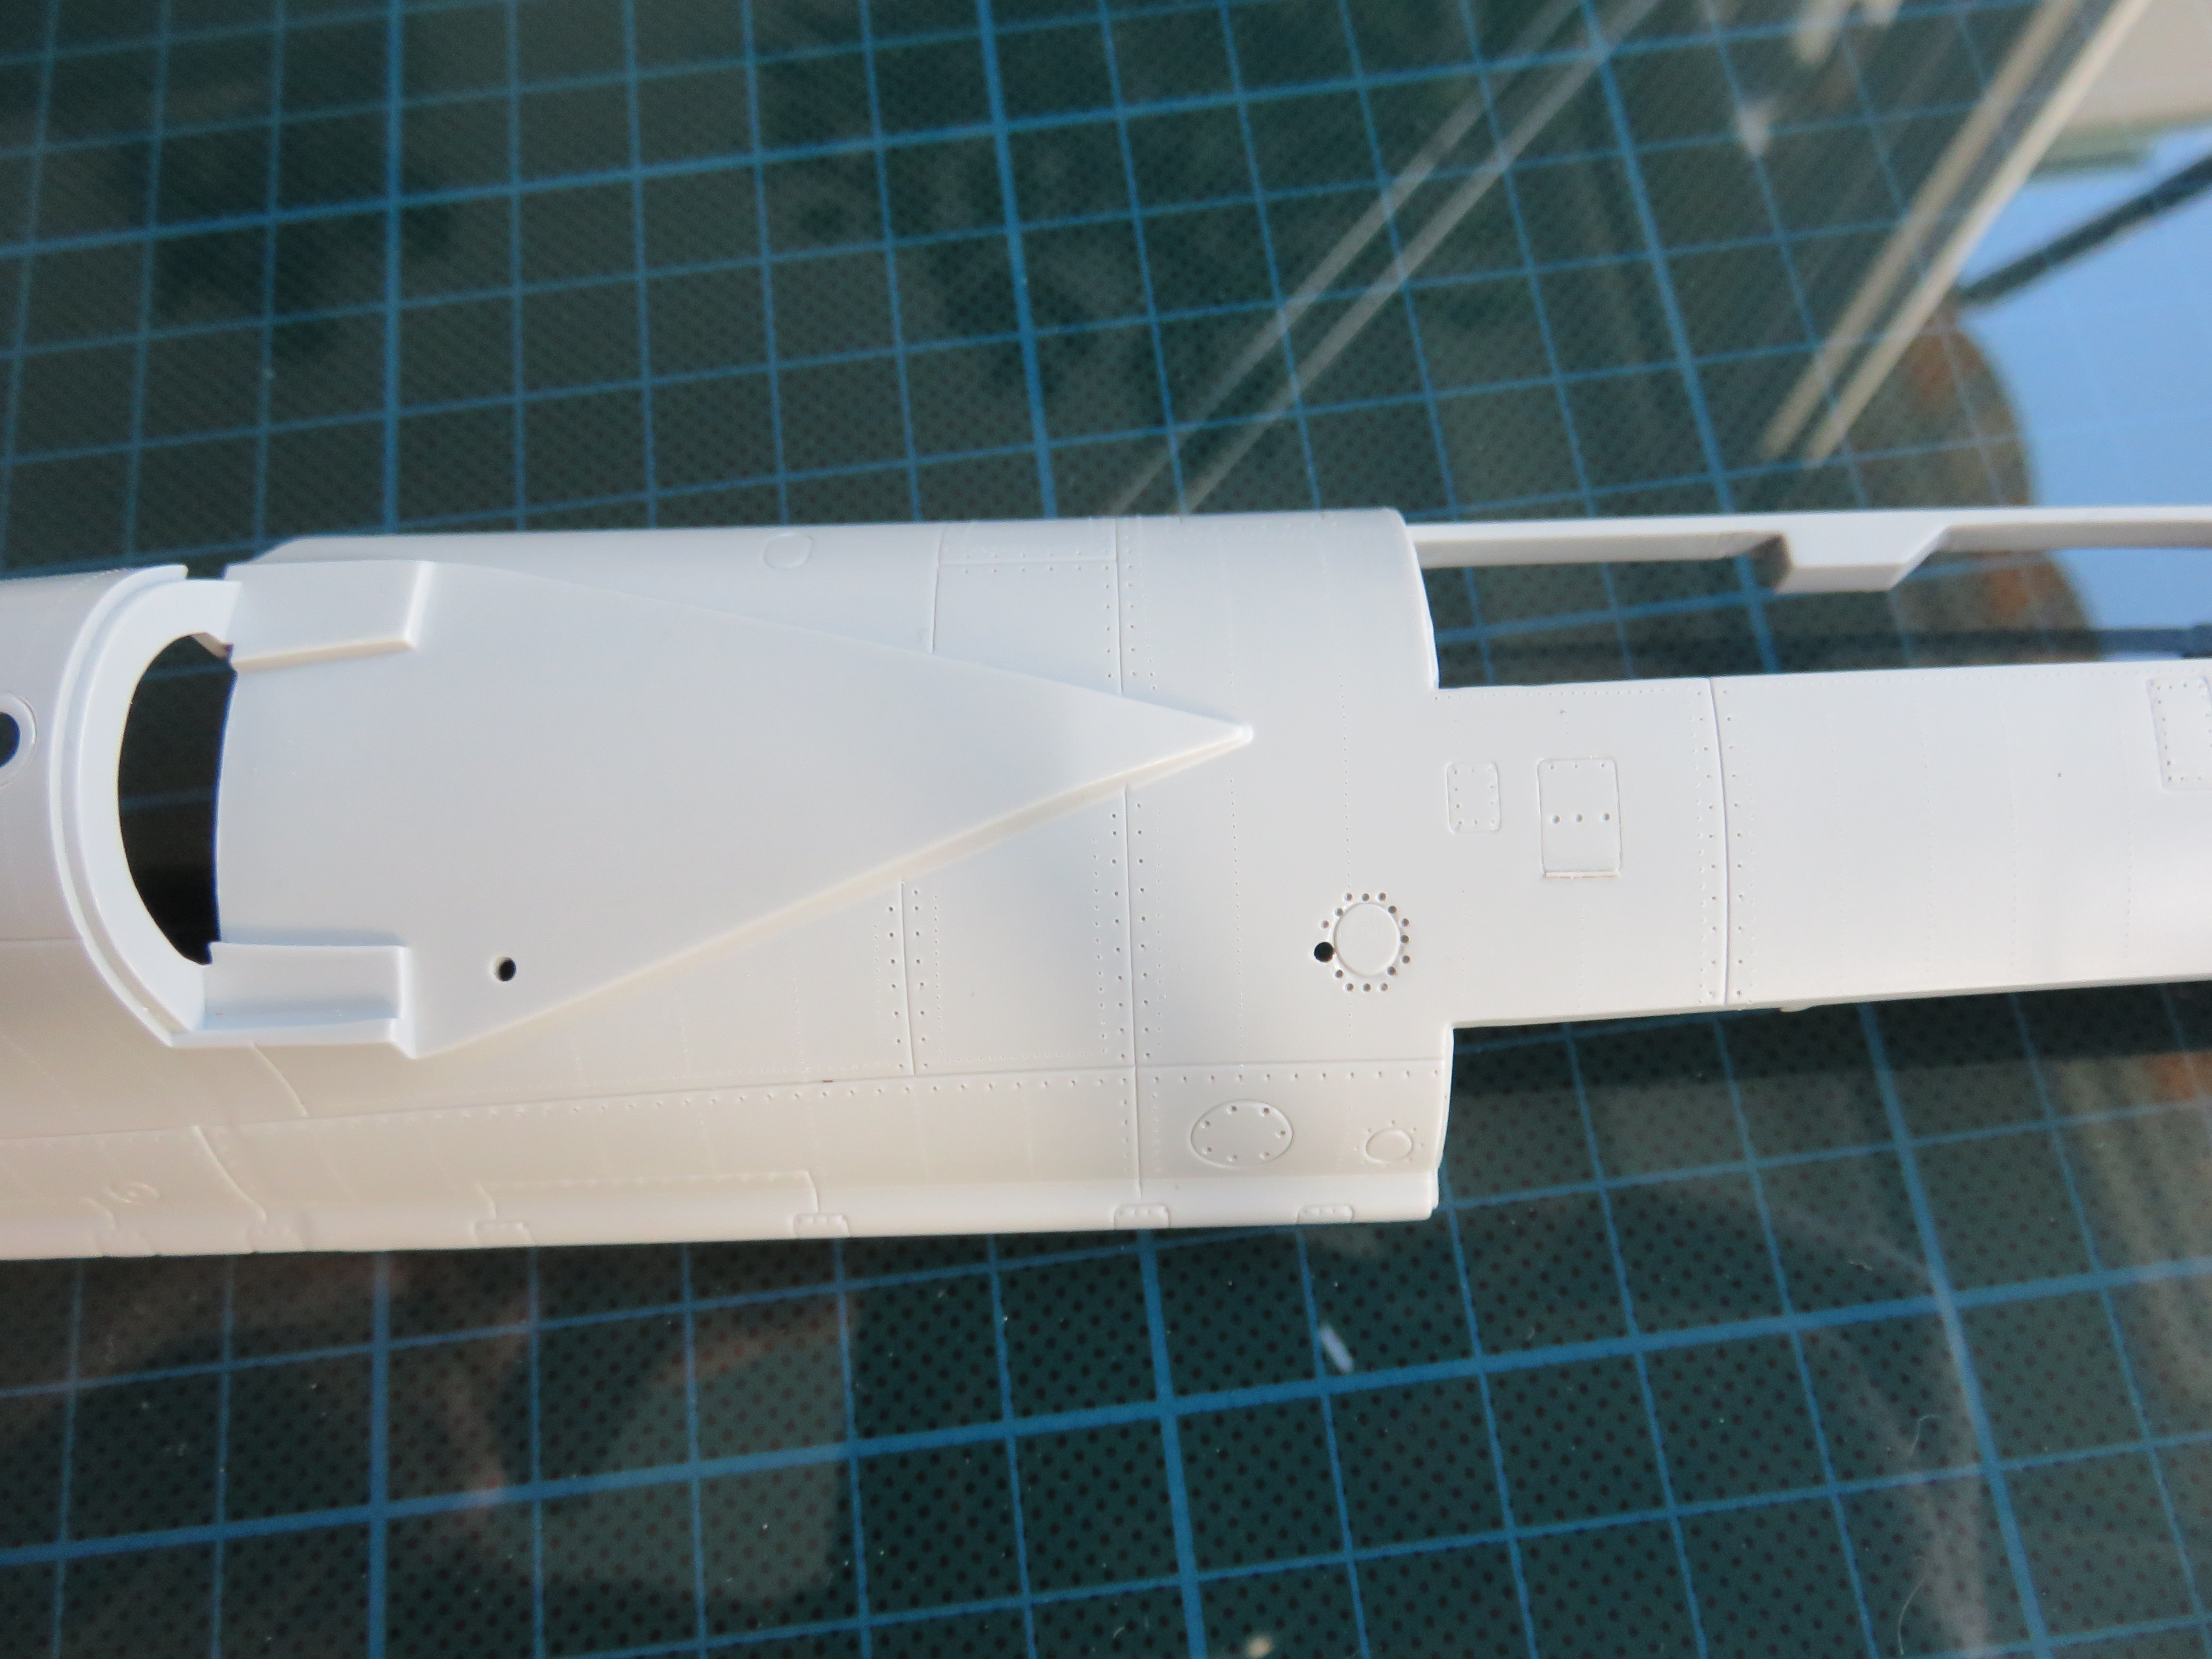
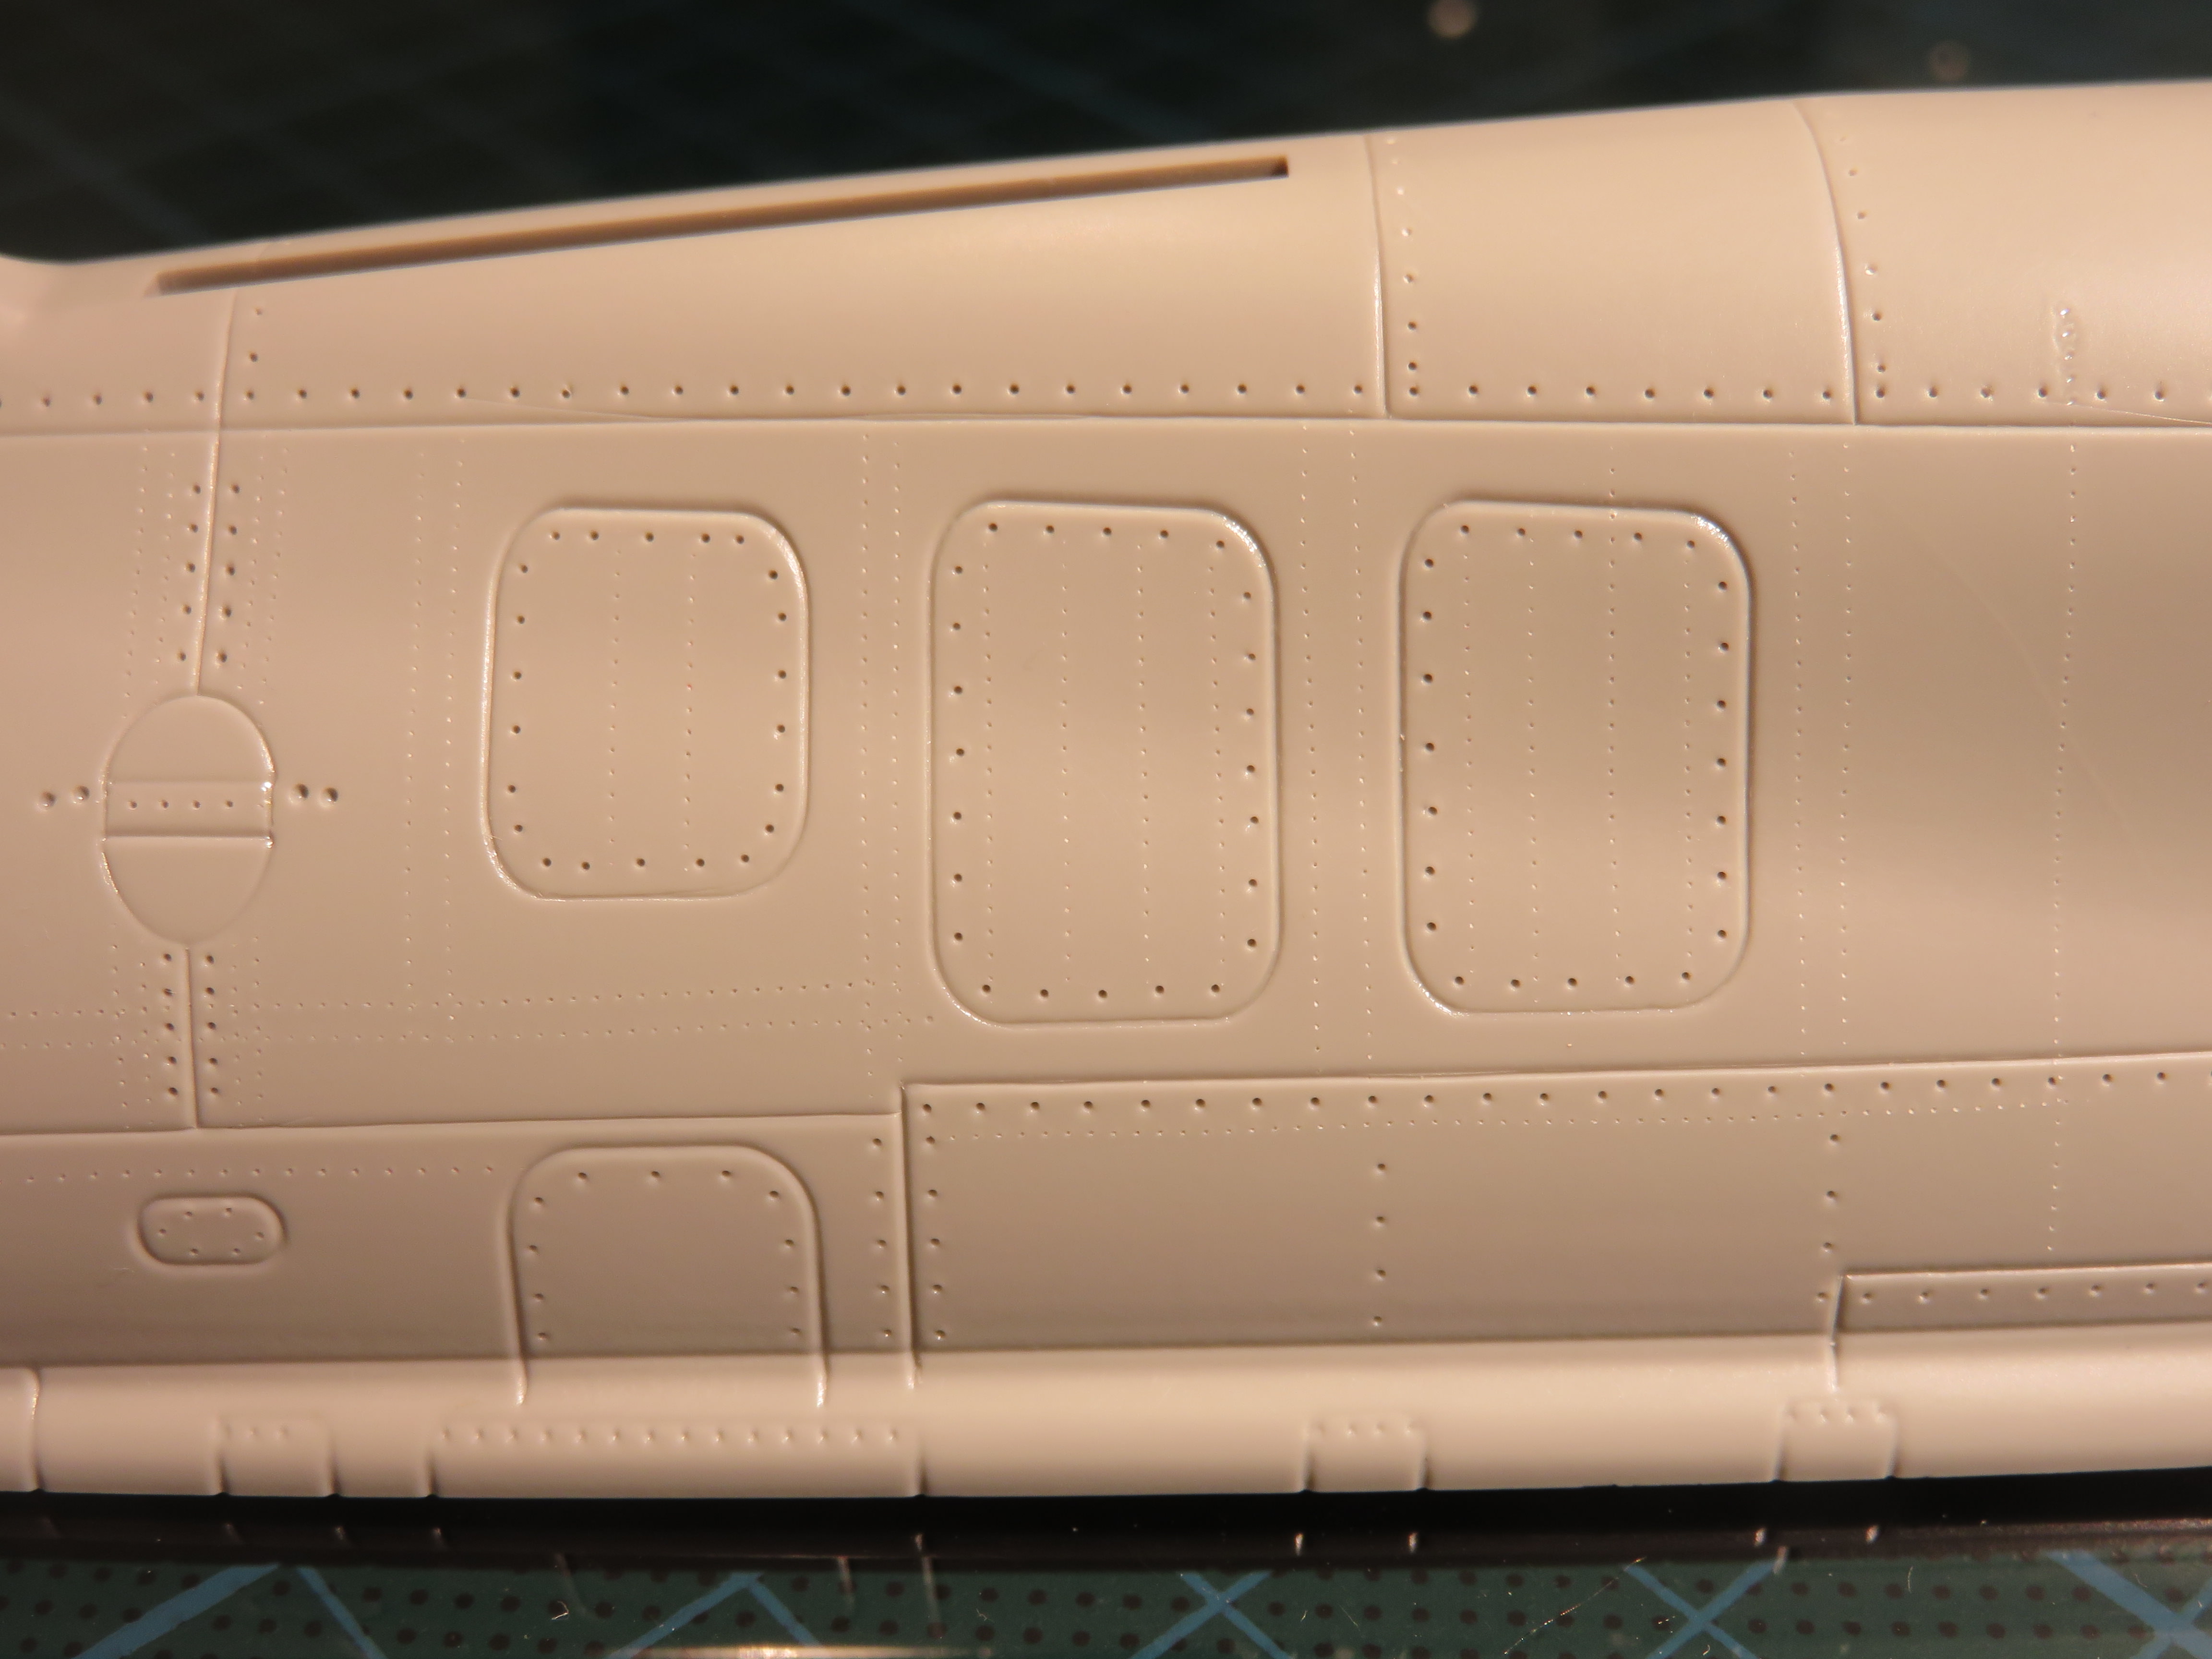
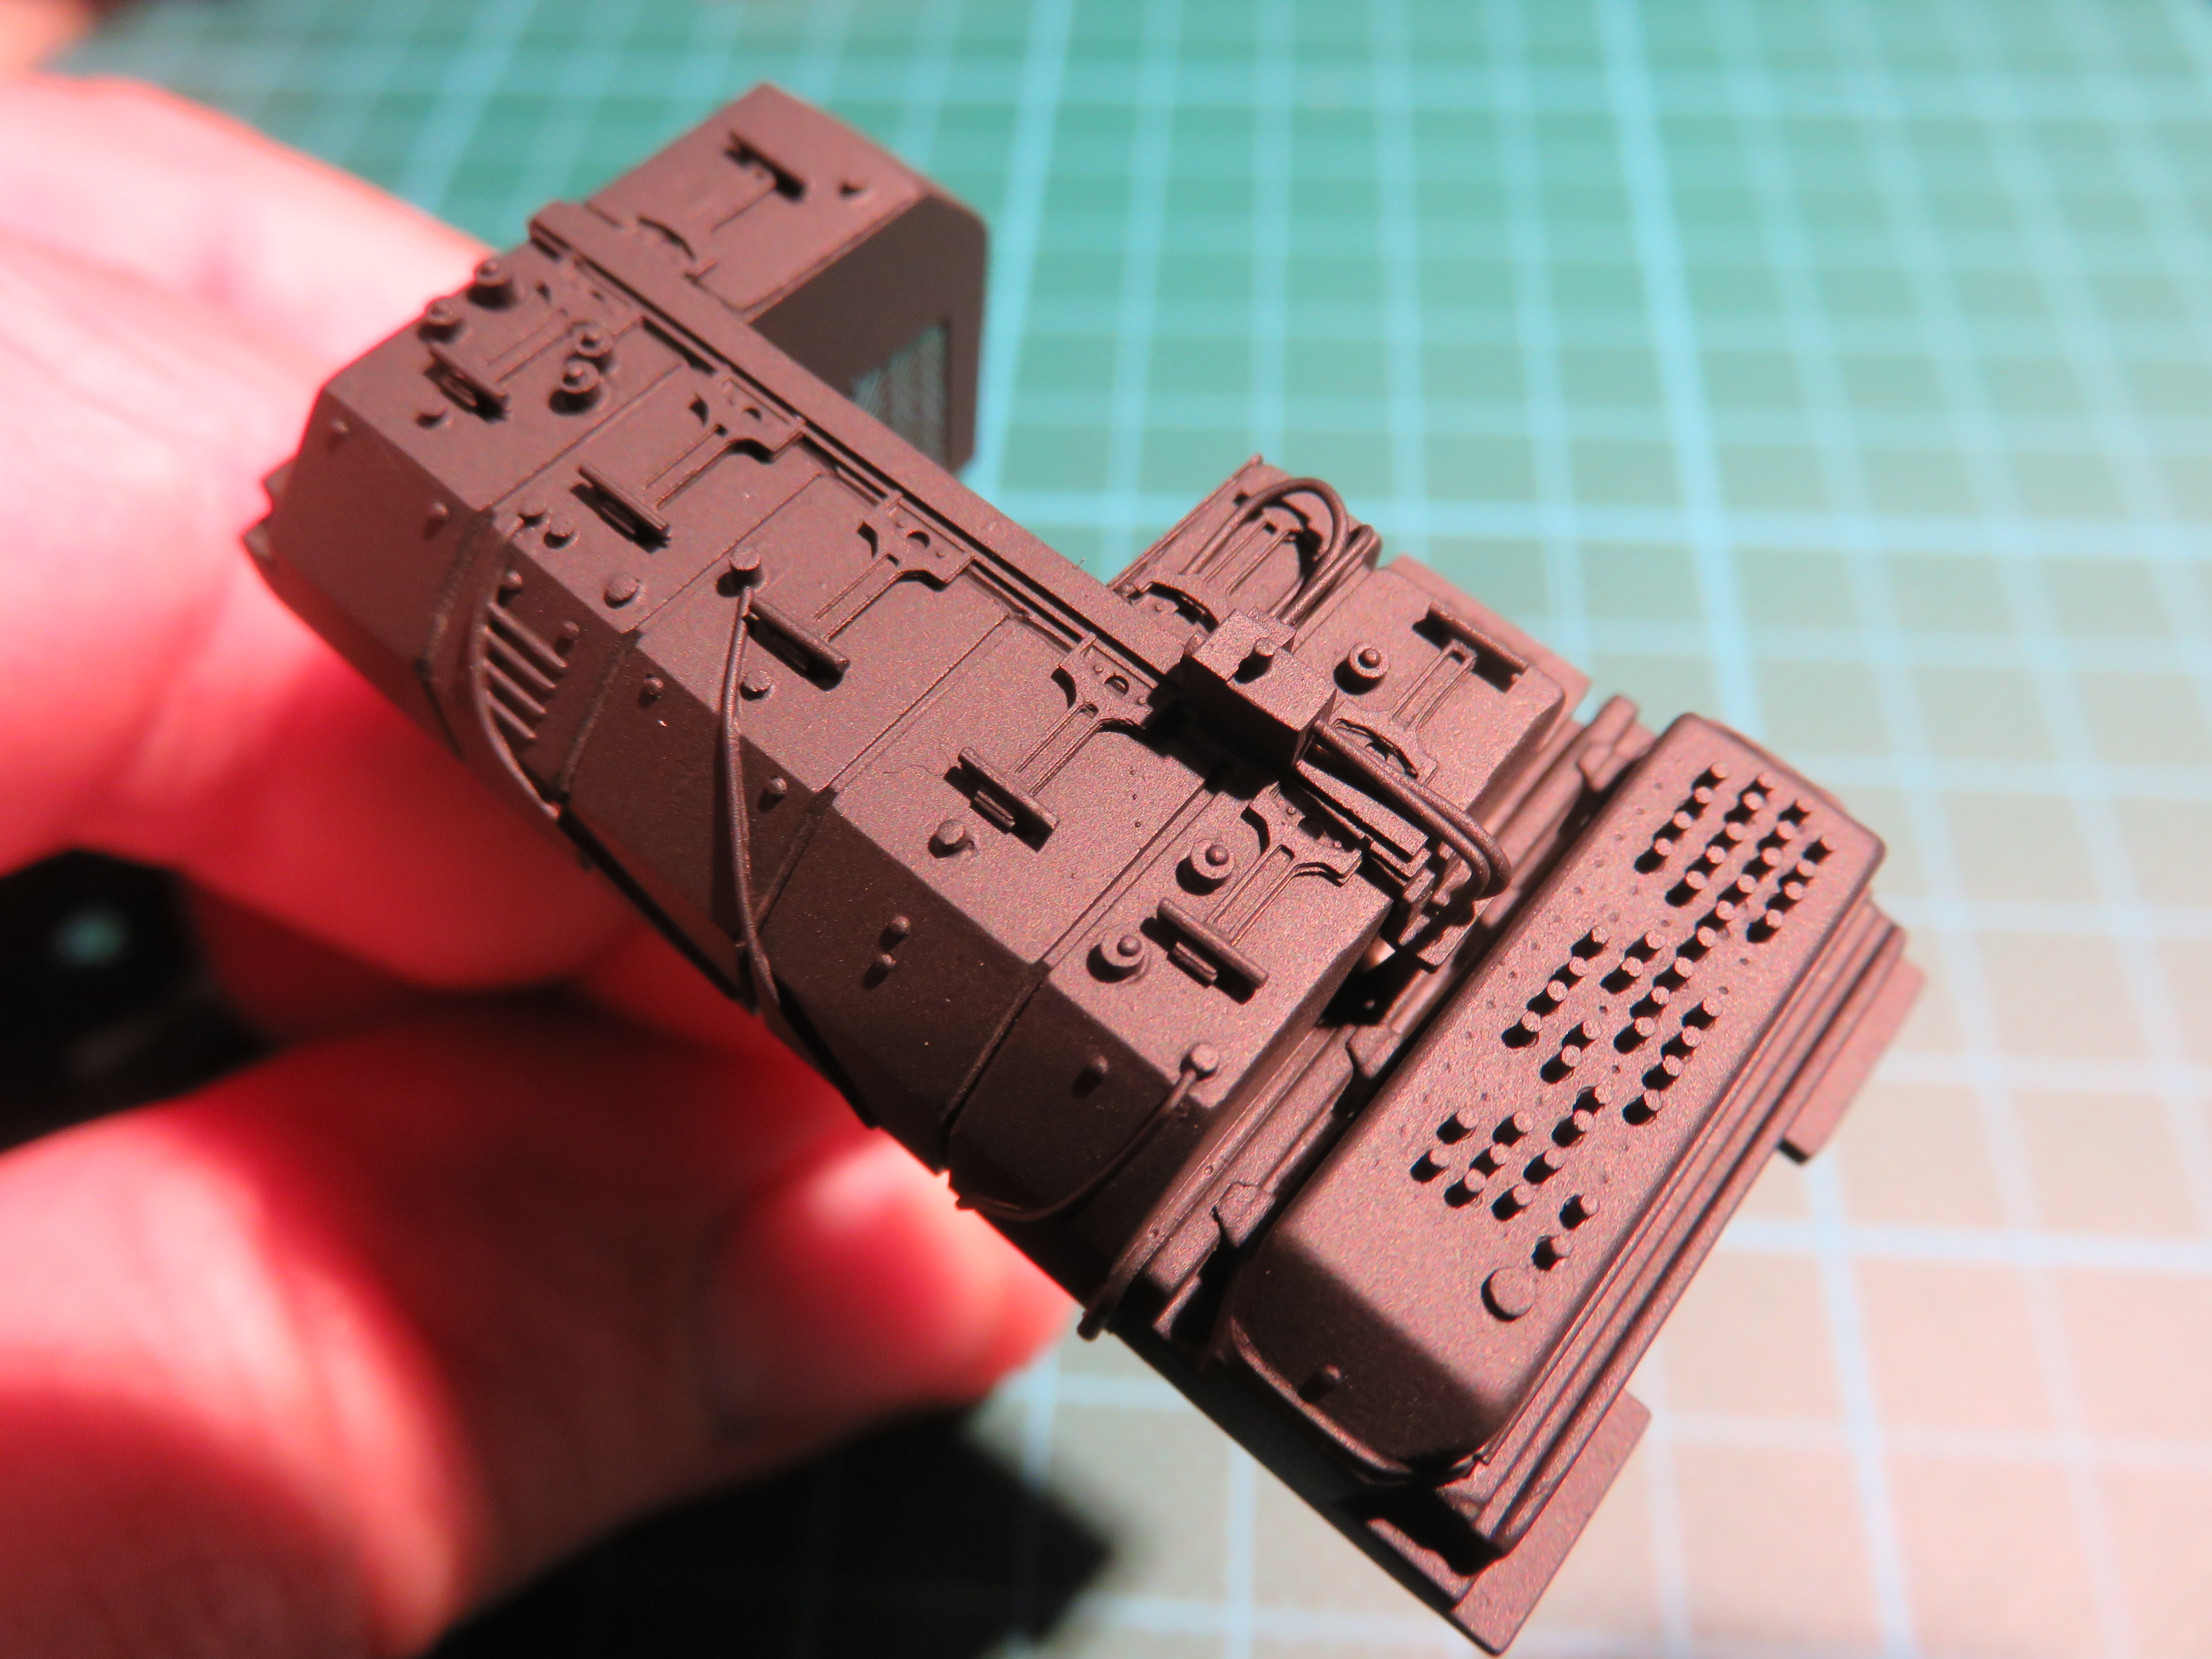
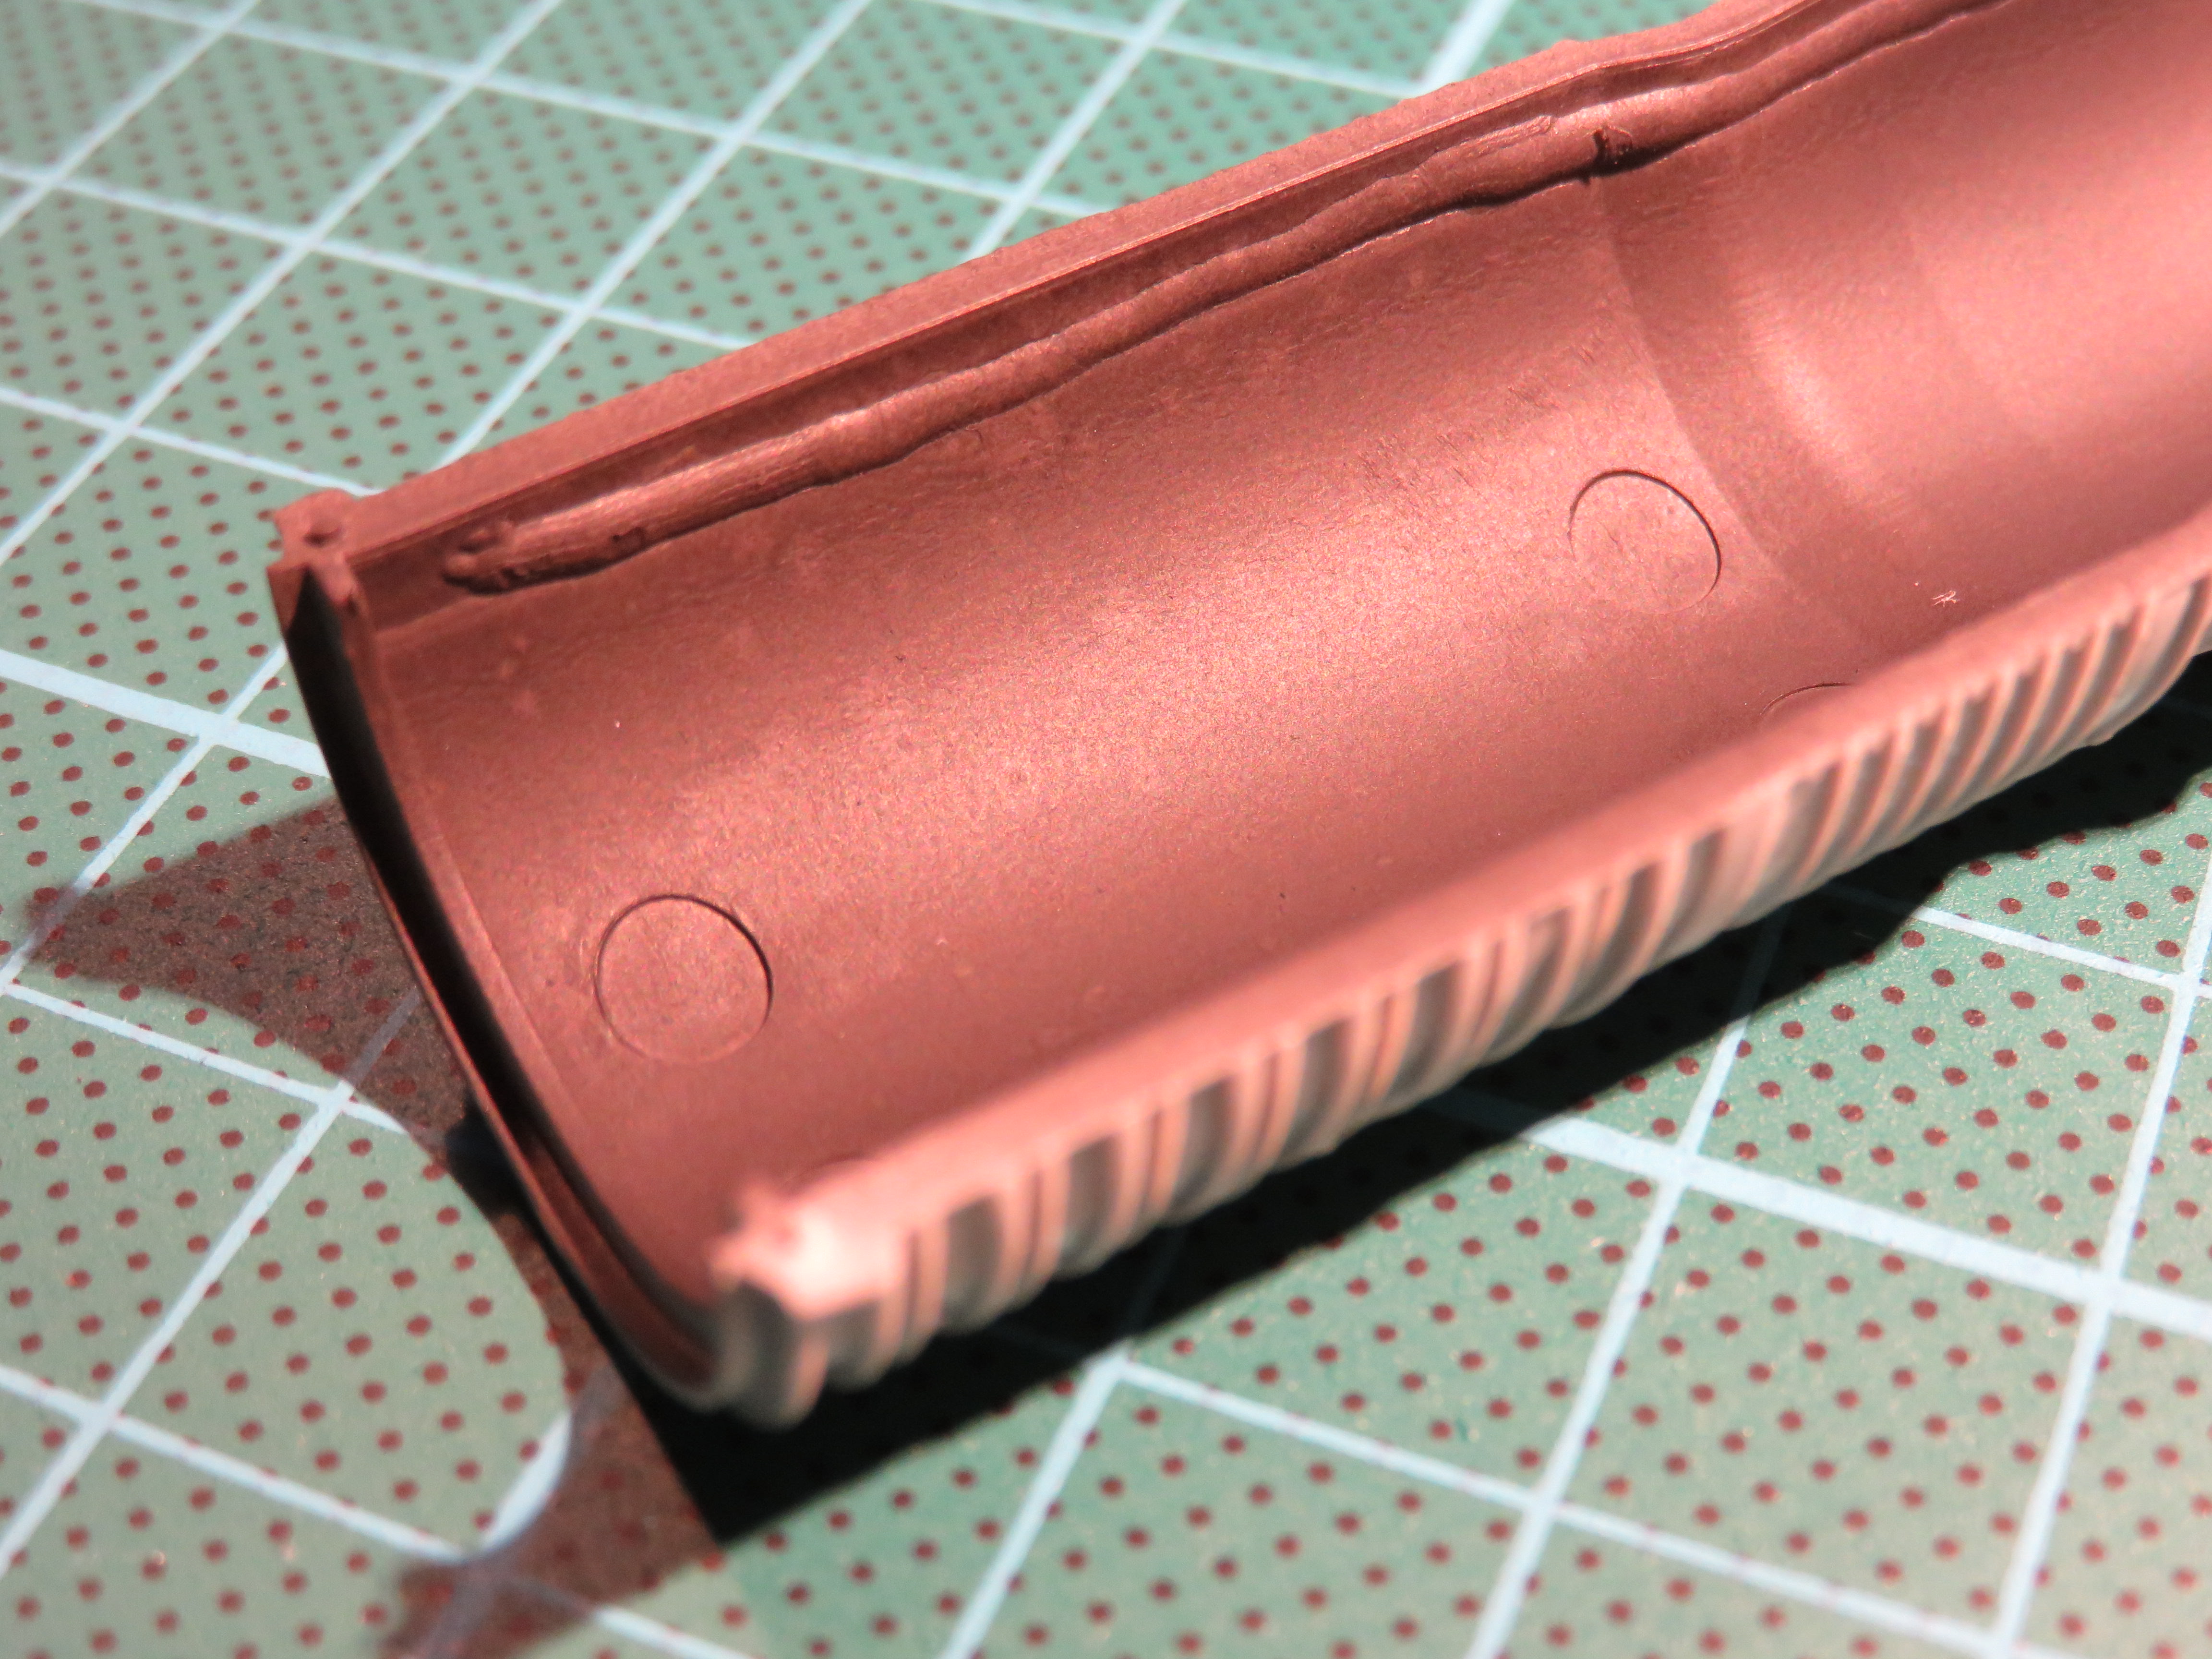
After sanding with 320 grit, 600 grit then 3000 grit sanding sticks and little bits of sanding sponge to get into the corners:


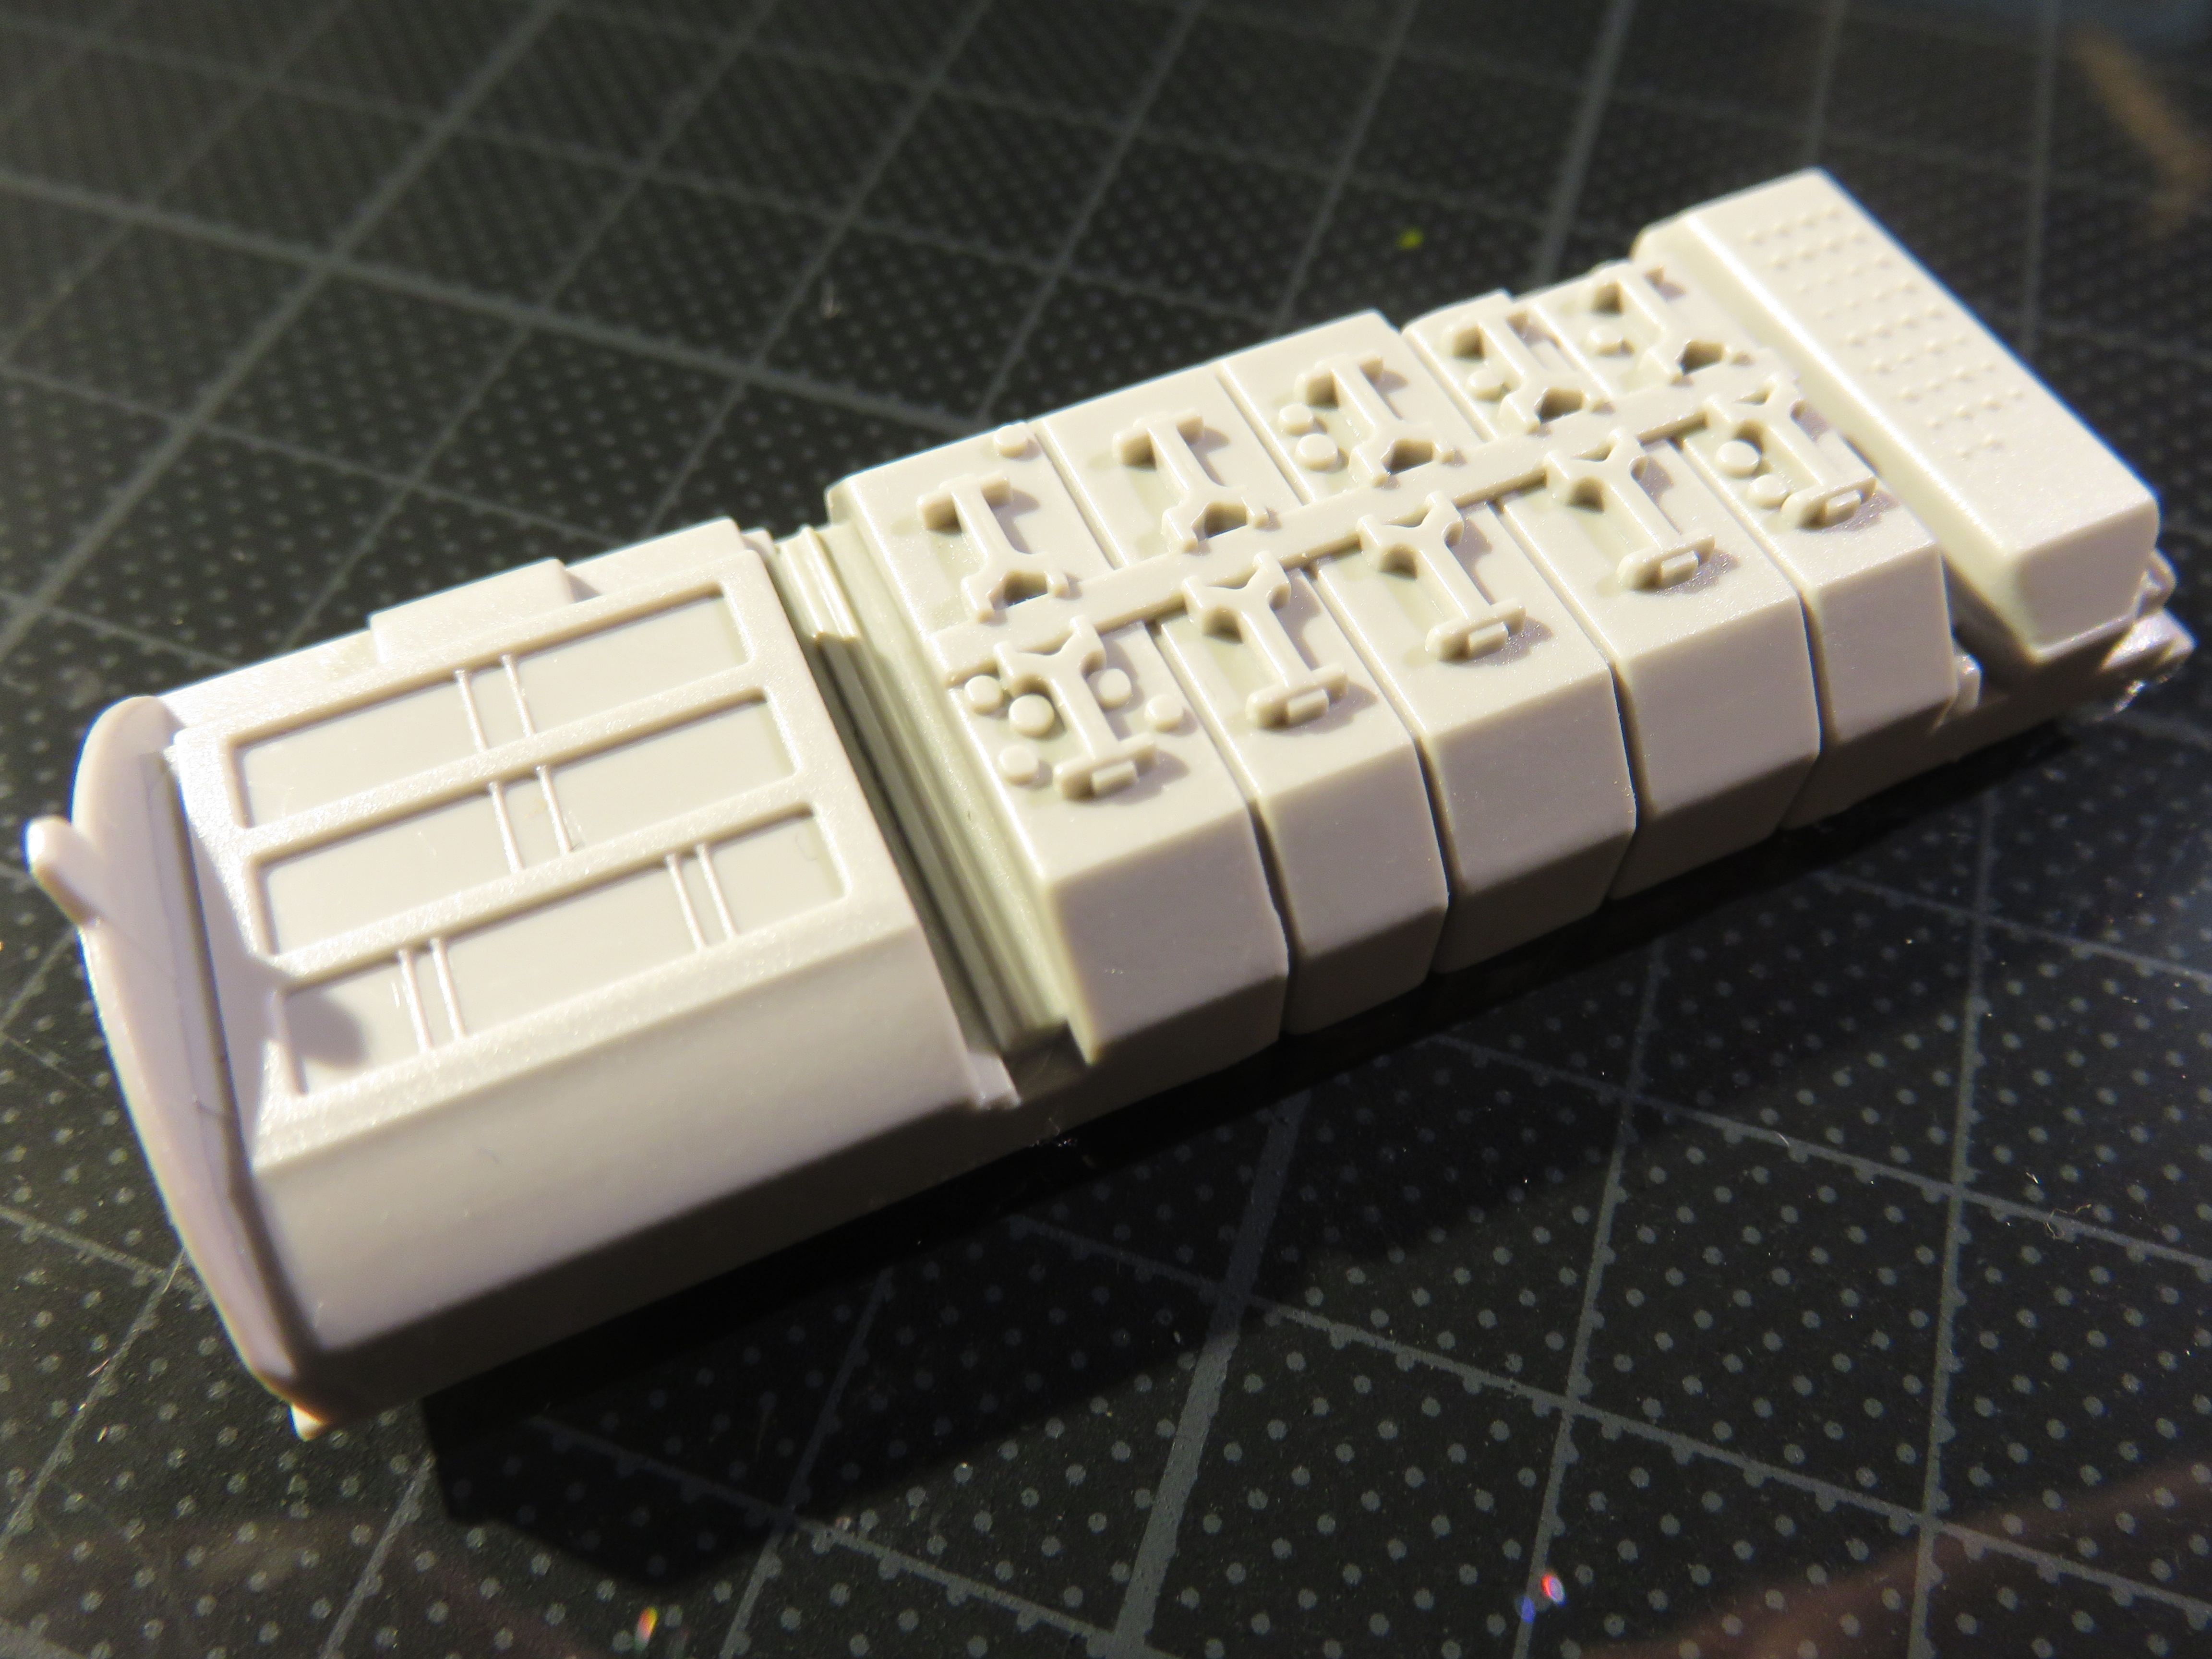
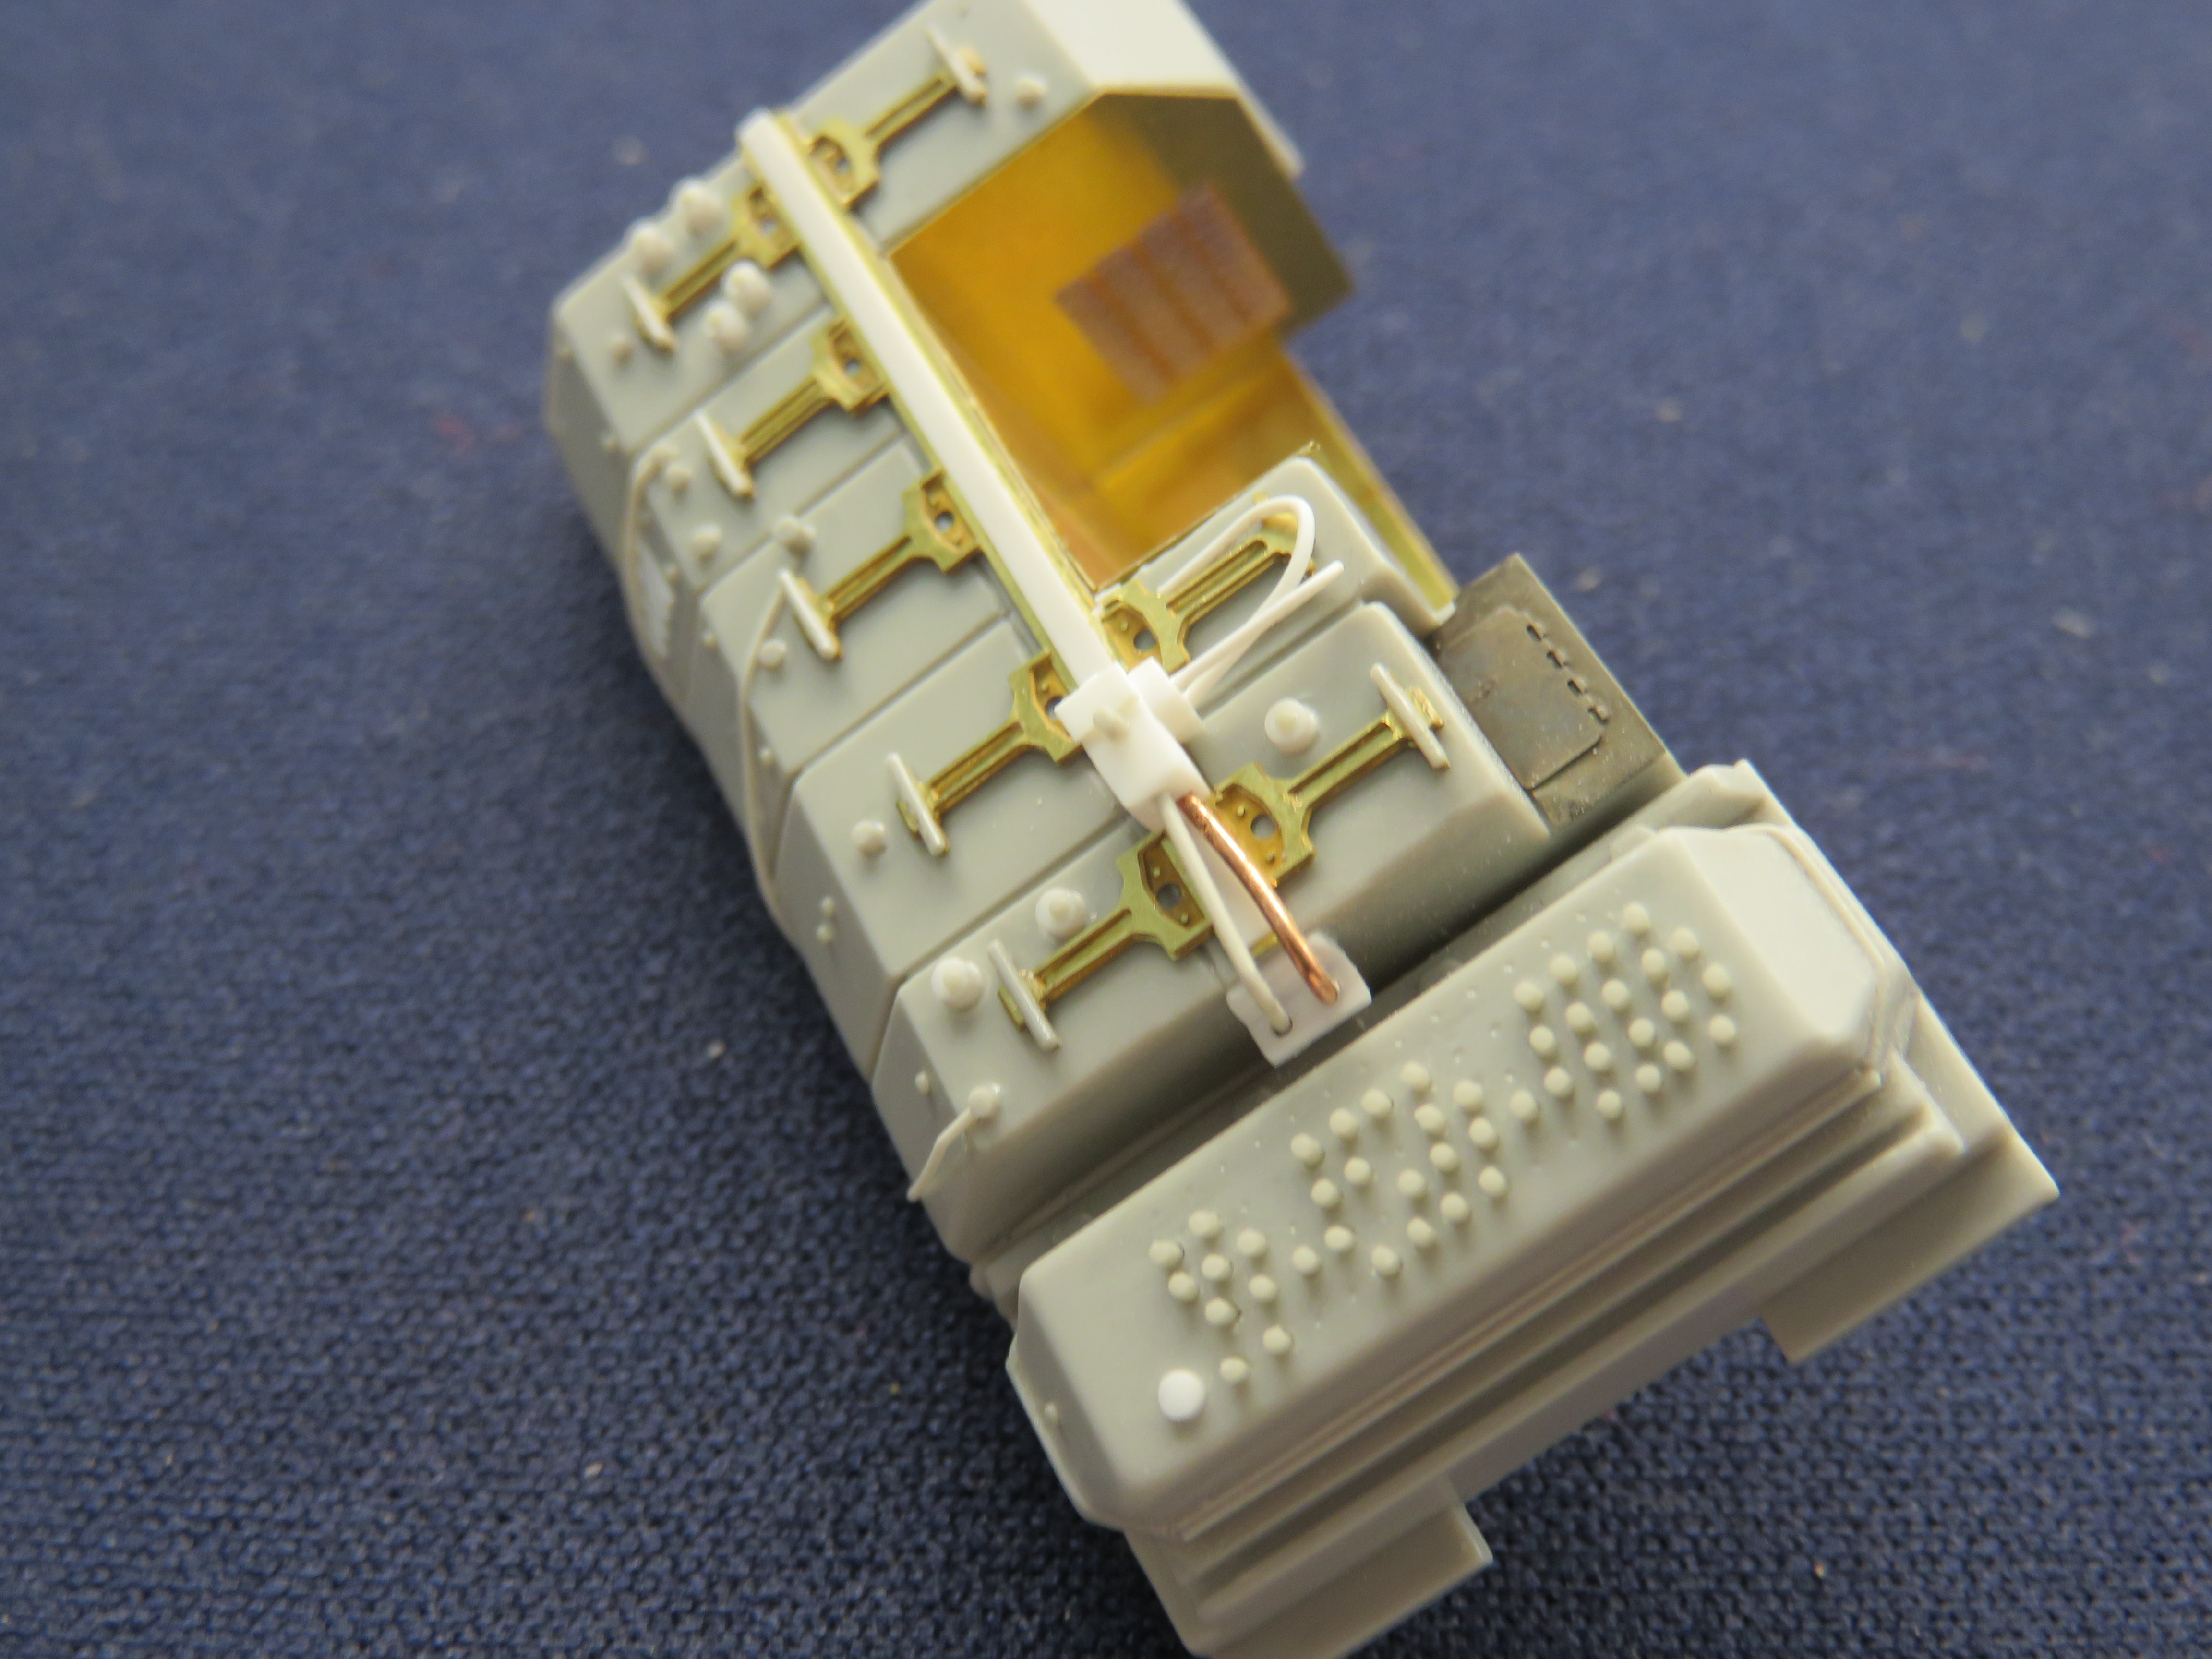
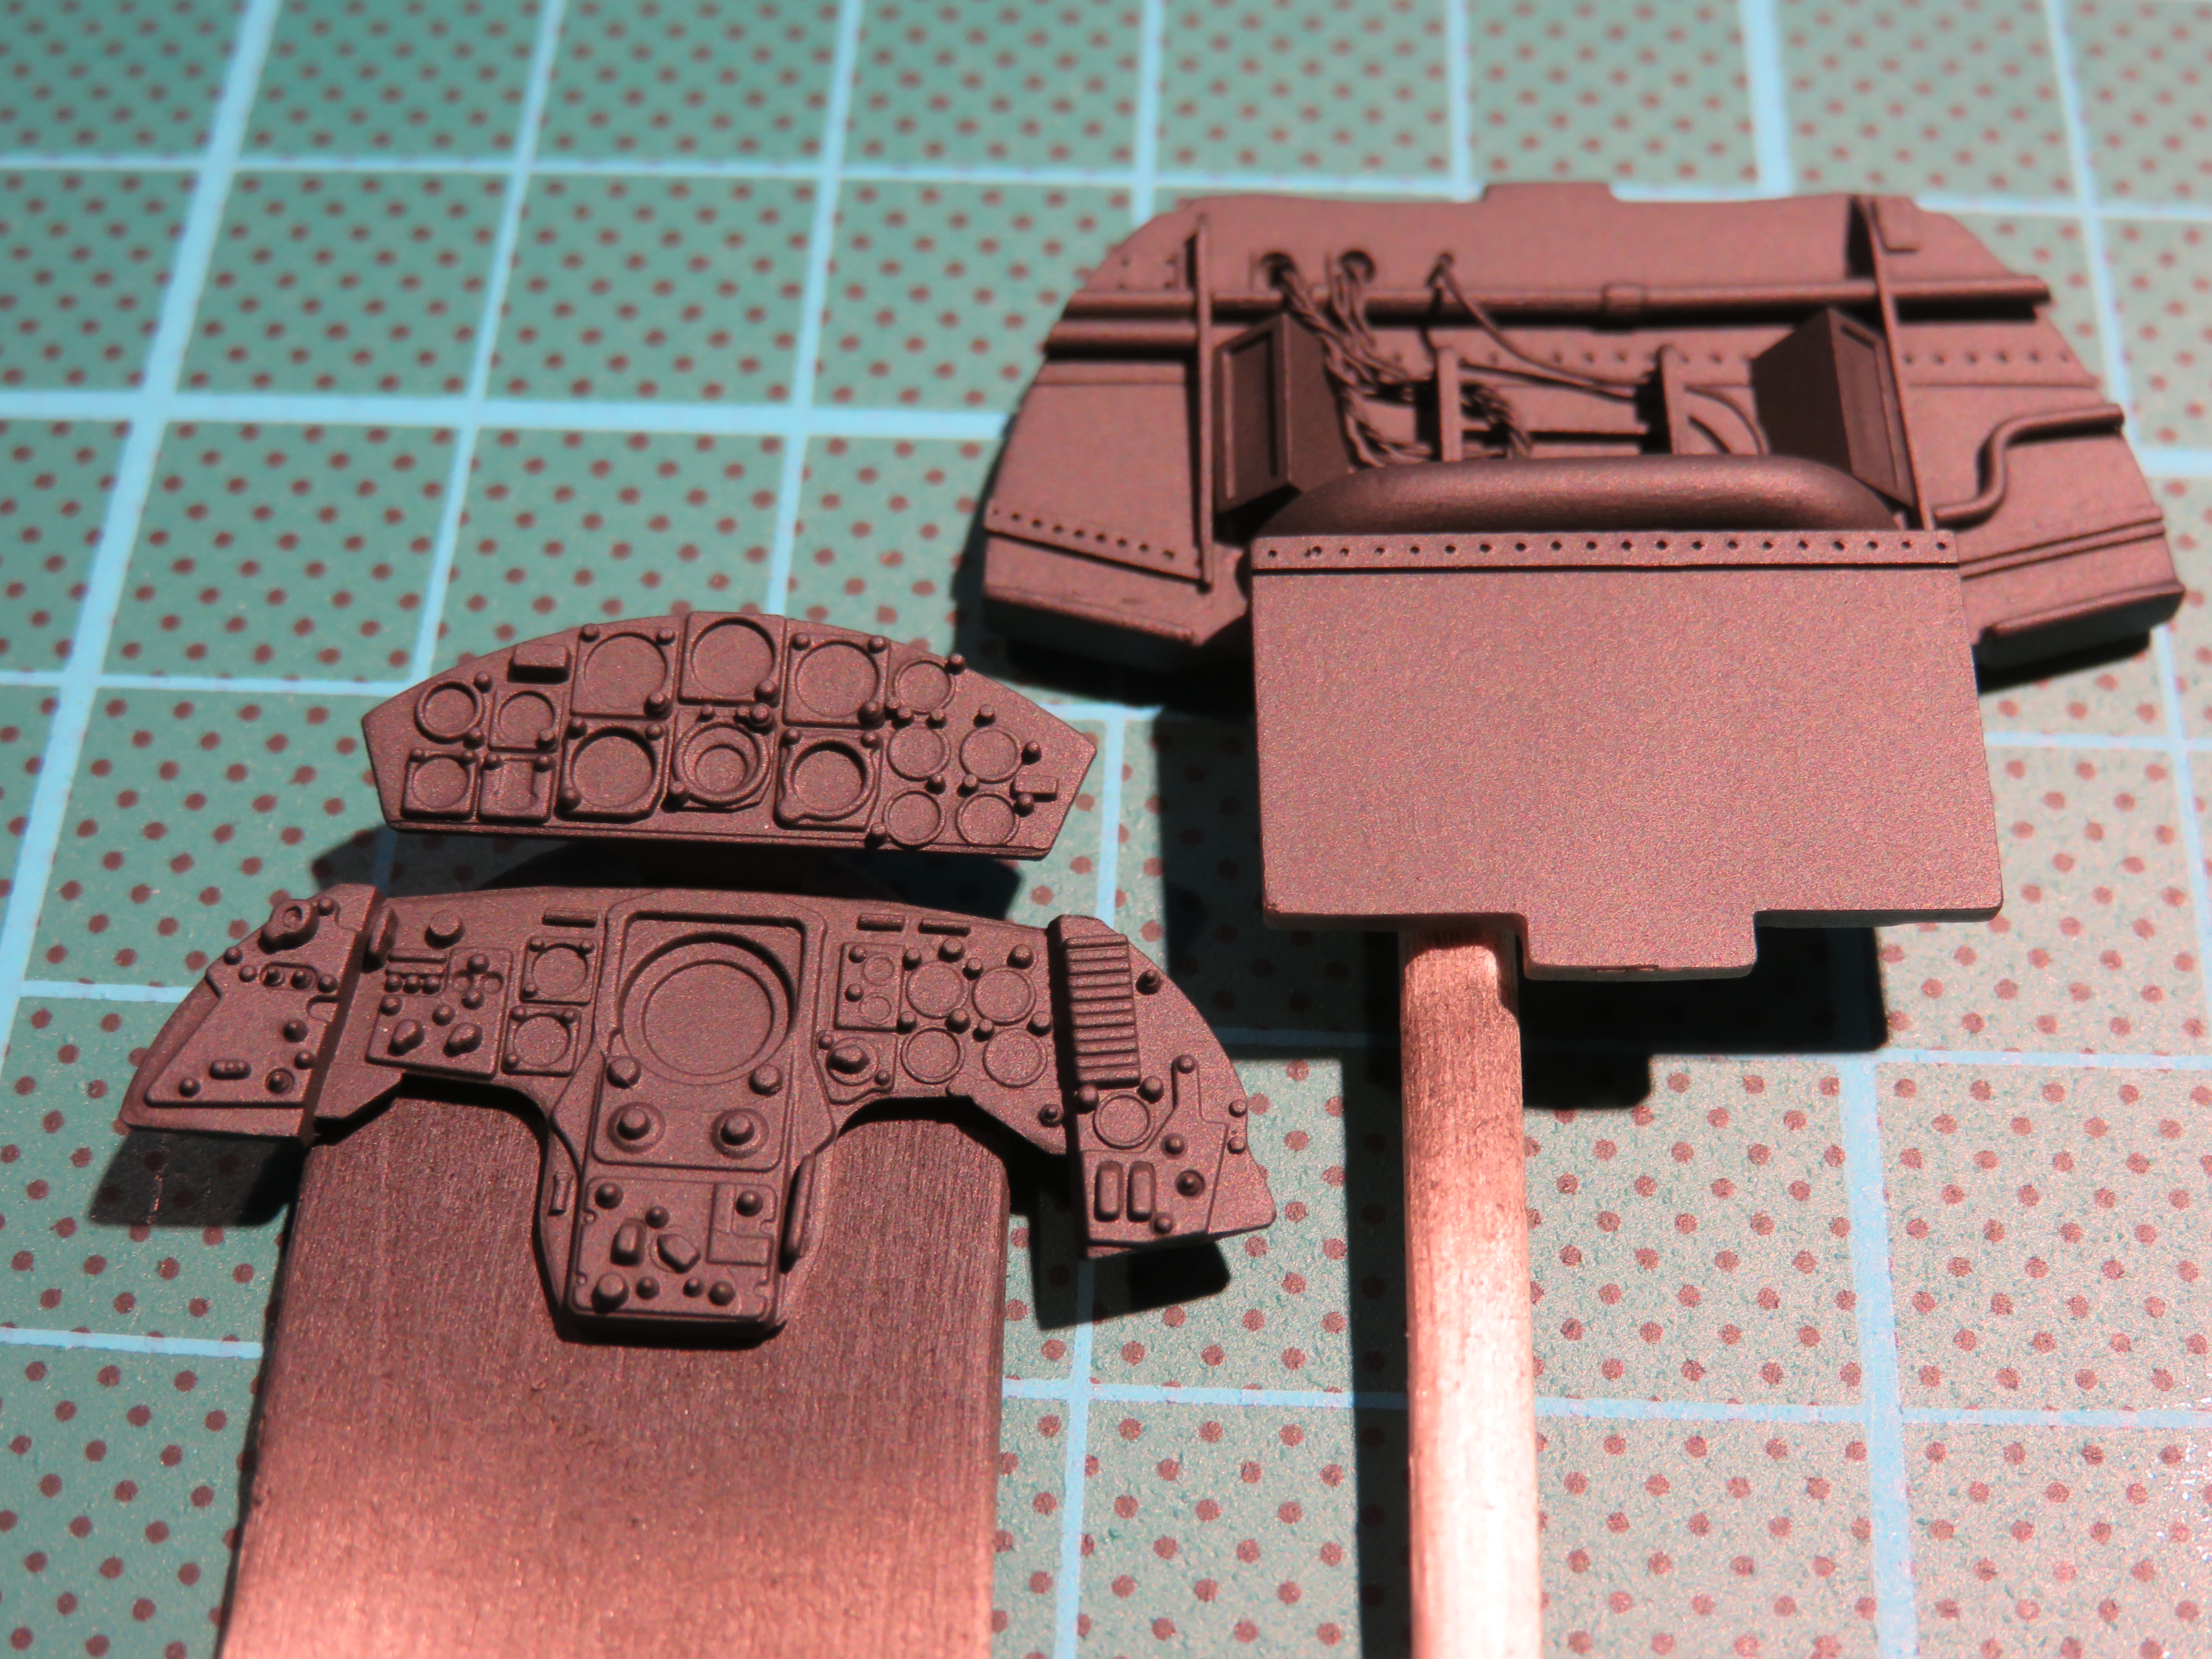
By the way, I finished off the switches on the junction box using the reverse end of my trusty rivets, supergluing them in place and then sanding them all down to the same height. That, combined with adding the last of the PE got me the finished thing. Here’s the item as it was and as it is now. It feels like it was worth the effort. Phew!


Joel_W
Staff MemberAssociate Editor
AUTOMODELER
_VISITCOMMUNITY
New York, United States
Joined: December 04, 2010
KitMaker: 11,666 posts
AeroScale: 7,410 posts
Posted: Tuesday, April 24, 2018 - 07:07 PM UTC
Steve,
You're certainly fearless when it comes to cutting out major sections. I'm not so sure I'd have the internal fortitude to do what you did.

Since the resulting cut leaves the area next to the electrical boxes open, I'm assuming that there is a PE plate that goes under it for the other side d etail. So you just fill it in with sheet and putty?

Joel
SteveAndrews
_VISITCOMMUNITY
England - South East, United Kingdom
Joined: August 16, 2010
KitMaker: 693 posts
AeroScale: 551 posts
Posted: Sunday, April 29, 2018 - 01:14 AM UTC
Hey Joel

Luckily most of what was taken out was simple flat planes. I think I could have repaired it if everything went wrong, so that got my confidence up as I reached for the razor saw.

It turns out that Eduard does provide a sort of shelf that fills most of the gap. I missed it when I was concentrating on avionics themselves. By the time I realised I had already scratched in some basic items so now there's enough detail to do the job.

Et voila...


Thanks for looking in and have a great day,

Steve.
Joel_W
Staff MemberAssociate Editor
AUTOMODELER
_VISITCOMMUNITY
New York, United States
Joined: December 04, 2010
KitMaker: 11,666 posts
AeroScale: 7,410 posts
Posted: Sunday, April 29, 2018 - 09:51 PM UTC
Steve,
The electronics bay is really starting to take shape with the combination of PE and your scratch building efforts. Impressive for sure.

Joel
SteveAndrews
_VISITCOMMUNITY
England - South East, United Kingdom
Joined: August 16, 2010
KitMaker: 693 posts
AeroScale: 551 posts
Posted: Tuesday, May 01, 2018 - 12:48 AM UTC
Rivets. Some people count them. Some people make them. Sometimes - in our world at least - they are a source of intense controversy. The F-104 it seems is covered in the blighters. They are not apparent in every shot you might look at, but a close up walk around reveals the extent to which the Starfighter relies on them to keep it together. Zoom in on some of the photos in the Prime Portal link below and you’ll see what I mean.

http://www.primeportal.net/hangar/luc_colin3/f-104g_fx-47/

A quick look at the Italeri fuselage parts reveals some pretty rudimentary attempts to replicate all this. After a bit of deliberation I decided that the only course of action appropriate was to do something. I had think about how. After all from a distance you can barely see the rivets and I suspect age has made them more visible in the references I was looking at. So the plan is to put them in with Rosie the Riveter but when it comes to painting I won’t use a very dark wash. I’m hoping this will add texture and interest to the look without over emphasising it. The shots below were taken after some fiddling around with light to make the work easier to see. I’m doing the work now because each fuselage half sits steadily on the desk. Once they are joined the tube shape formed will roll around and add to the difficulty. So here are the rivets. Anyone counting?


Have a great day,

Steve
Cosimodo
#335
_VISITCOMMUNITY
Auckland, New Zealand
Joined: September 03, 2013
KitMaker: 1,808 posts
AeroScale: 195 posts
Posted: Tuesday, May 01, 2018 - 03:05 PM UTC
I reckon you're at least a couple short but then I only have 8 fingers and two thumbs so may have lost track somewhere

They look great and probably even better under a coat of paint. I have never had the confidence to do that for a whole fuselage so bravo!

cheers
Michael
SteveAndrews
_VISITCOMMUNITY
England - South East, United Kingdom
Joined: August 16, 2010
KitMaker: 693 posts
AeroScale: 551 posts
Posted: Tuesday, May 01, 2018 - 06:54 PM UTC
Hi Michael

You may well be right about the number :-)

As for confidence, if you want to have a go, my advice is get a good tool and try on some scrap plastic first to teach yourself. There are some good videos as well, but there's really no substitute for having a go. I have a few beat up old kits that get used whenever I want to tray new technique or paint. I use plastic sheet too.

Good luck with all your builds whatever you decide, and thanks for looking in.

Steve.
Joel_W
Staff MemberAssociate Editor
AUTOMODELER
_VISITCOMMUNITY
New York, United States
Joined: December 04, 2010
KitMaker: 11,666 posts
AeroScale: 7,410 posts
Posted: Tuesday, May 01, 2018 - 11:59 PM UTC
Steve,
Outstanding effort on adding those rivets. Just the fact that you got them all straight and true is amazing.

Joel
SteveAndrews
_VISITCOMMUNITY
England - South East, United Kingdom
Joined: August 16, 2010
KitMaker: 693 posts
AeroScale: 551 posts
Posted: Monday, May 07, 2018 - 12:48 AM UTC
Hey Joel

Thanks very much. There are a few wonky lines but they are not so bad. I used masking tape to guide me and tried to sight along the riveting tool to stay true. When I messed up (as I did a couple of times) I went over the mistake with Mr Surfacer 500 and then made a new line right next to the old one. Luckily the mistakes were small. I sort of felt I was going wrong before I finished the line and stopped and cursed.

I just hope all this work shows up in the end. It's not much fun, although the end result is satisfying. I really hope there's a pay-off when the paint goes and washes go down. Fingers crossed!

Have a great day

Steve.

SteveAndrews
_VISITCOMMUNITY
England - South East, United Kingdom
Joined: August 16, 2010
KitMaker: 693 posts
AeroScale: 551 posts
Posted: Monday, May 07, 2018 - 12:51 AM UTC
Slowly but surely I’ve been working around one side of the fuselage adding rivets. In the process I’ve found other details that need improvement. There are a few examples below. I used a variety of tools including Rosie the Riveter, a very fine drill and a sharp tool designed for working clay. When you see the extras close up they can look over done, but at arms length they practically disappear. My painting choices are probably going to make or break the effect.


At the rear there’s a pair of vents. Italeri set them in a raised panel but in reality the panel is flush with the fuselage. So out came the sanding sticks and sponges. I masked off the surrounding area to preserve the detail, put on some music and relaxed into the sanding. After about 30 minutes of gently sanding and polishing I got from here:


to here.


Now I can start adding in the extra rivets and surface detail around the vents.

And here’s some Cuban music that kept me going (no link to 1962 and all that as far as I’m aware. The link is my head).

https://www.youtube.com/watch?v=JNYOVEXJBBM

Oh, and another one that's definitely more modern.

https://www.youtube.com/watch?v=HCjNJDNzw8Y

OK, I know - enough. This is a modelling site not a music show :-)
Cosimodo
#335
_VISITCOMMUNITY
Auckland, New Zealand
Joined: September 03, 2013
KitMaker: 1,808 posts
AeroScale: 195 posts
Posted: Monday, May 07, 2018 - 11:14 AM UTC
Excellent job on the vent but it looks like that area is now smoother than the surrounding styrene, a drawback with the slightly pebbly finish on the Starfighter, or is it just the close up photo? It may not matter under a coat of paint.

cheers
Michael
SteveAndrews
_VISITCOMMUNITY
England - South East, United Kingdom
Joined: August 16, 2010
KitMaker: 693 posts
AeroScale: 551 posts
Posted: Monday, May 07, 2018 - 03:18 PM UTC
Hey Michael

You're right. There is a slight texture. Either I'm going to have to sand down slightly being careful not to lose too much detail or live with it. I'd planned to do a natural metal finish so it matters. I'm still wondering.

Watch this space for news. Anyone got any advise or suggestions?

Have a great day

Steve

Joel_W
Staff MemberAssociate Editor
AUTOMODELER
_VISITCOMMUNITY
New York, United States
Joined: December 04, 2010
KitMaker: 11,666 posts
AeroScale: 7,410 posts
Posted: Tuesday, May 08, 2018 - 01:41 AM UTC
Steve,
I'll 2nd that on a job well done on the vents.
Joel
Kevlar06
_VISITCOMMUNITY
Washington, United States
Joined: March 15, 2009
KitMaker: 3,670 posts
AeroScale: 833 posts
Posted: Tuesday, May 08, 2018 - 01:59 AM UTC
I'll just add a "a job well done"-- everywhere! As far as I can see this is really going to be "the best Starfighter ever". I don't know though, I used to think the Hasegawa kit was outclassed by Italeri's F104, but it has the rivets in place (along with those pesky raised panel lines too). I'll have to rethink "sending down" the rivets now. The trick will be to keep the rivet and loose the panel lines! Anyway, excellent job Steve, you're certainly "raising the bar" for us!
VR, Russ
Scrodes
_VISITCOMMUNITY
Ontario, Canada
Joined: July 22, 2012
KitMaker: 771 posts
AeroScale: 763 posts
Posted: Tuesday, May 08, 2018 - 04:32 AM UTC
Beautiful display or skills.
SteveAndrews
_VISITCOMMUNITY
England - South East, United Kingdom
Joined: August 16, 2010
KitMaker: 693 posts
AeroScale: 551 posts
Posted: Tuesday, May 08, 2018 - 04:01 PM UTC
Hi Russ, Joel and Matt

Thanks so much for the encouragement guys. I have to admit there are times when the obsessive attention to detail here seems a bit mad. I guess we'll see if it is worth it when the kit is finished. Maybe I'll be done in time for Christmas. Wait... didn't someone promise that once before?

Happy modelling and thanks for dropping in.

Steve
SteveAndrews
_VISITCOMMUNITY
England - South East, United Kingdom
Joined: August 16, 2010
KitMaker: 693 posts
AeroScale: 551 posts
Posted: Wednesday, May 16, 2018 - 01:39 AM UTC
When I’m not in the mood for working on my own models I spend time looking at other people’s work, especially the various contributors on Youtube. One man I have a lot of admiration for is Paul Budzik. If you haven’t checked out his videos or his web-site then take a look.

http://paulbudzik.com

You’ll find an analytical, informed and well communicated approach to model making. Paul focuses primarily on making models with a very high degree of scale accuracy. You won’t find him discussing the latest washes or glues, but you will find him offering views about working with plastic and paint that are different from the frequently repeated techniques in ‘How to’ shows. I guess you could say I am a fan, even I haven’t tied all his techniques yet.

One thing I’ve learnt from Paul’s approach is not to be a slave to manufacturer supplied detail if it gets in the way of building a kit. So, it was that I found myself looking at the surface of Italeri’s F-104c and my own added detail. There was a problem nagging away at me. The plastic has too much surface texture to make a good base for the natural metal finish I have planned, and all my riveting and scribing had made it worse. I felt the urge to sand and smooth it out, but I was worried about losing the rivet detail I had just added. In the end the urge for a smooth surface won and I held my breath and started sanding. I tried the underside first in case I was on a path to disaster, using first 600 grit then 3,000 grit and then a polishing sponge, and all the time nervous that I was obliterating hours of work.

Once the dust had cleared (and been wiped off) I was left with a smooth surface but I had rivet holes clogged with dust. Well, at least there were holes to clog, I thought. After some cleaning up with a stiff brush and water I had holes and a smooth surface. Phew! It worked. The shot below shows how subtle the added rivets are now. You have to look hard to see the rows of smaller rivets. It also gives some idea of the smooth surface texture. It is easier to feel than it is to see. I can feel it is smoother when I run a finger across. I hope the rivets survive primer and paint well enough to take a wash, but so far it is job done, with thanks to Paul for his inspiring videos (even if he wouldn’t approve of my out of scale panel lines). Stay tuned dear viewers for the next instalment.


Happy modelling.

Steve
Joel_W
Staff MemberAssociate Editor
AUTOMODELER
_VISITCOMMUNITY
New York, United States
Joined: December 04, 2010
KitMaker: 11,666 posts
AeroScale: 7,410 posts
Posted: Wednesday, May 16, 2018 - 02:44 AM UTC
Steve,

I've gone down the same path as you several times trying to get a smooth surface so that the painting process wouldn't look like lizard skin. Why manufactures invest the time and then spend the money to produce these unnatural surface textures is beyond me.

As for Paul Budzik, I've followed his builds since the 70s when he regularly had them published in the model magazines. I've mentioned on every model build of late that my new decal procedures are a modification of his.

Joel
Kevlar06
_VISITCOMMUNITY
Washington, United States
Joined: March 15, 2009
KitMaker: 3,670 posts
AeroScale: 833 posts
Posted: Wednesday, May 16, 2018 - 05:32 AM UTC
Guys, Paul is an occasional contributor here as well, I haven't seen anything from him lately, but a couple of years ago I asked a question regarding what "the best M4A3 Sherman" was over on Armorama, and Paul chipped in! He has also tinkered around the Armor world as well. I agree, his techniques, videos and articles have been my go-to source for years as well. As for those rivets, I think they will really pop under a coat of Alclad, I'm assuming that's going to be your finishing choice?
VR, Russ
Joel_W
Staff MemberAssociate Editor
AUTOMODELER
_VISITCOMMUNITY
New York, United States
Joined: December 04, 2010
KitMaker: 11,666 posts
AeroScale: 7,410 posts
Posted: Wednesday, May 16, 2018 - 06:53 AM UTC

Quoted Text

Guys, Paul is an occasional contributor here as well, I haven't seen anything from him lately, but a couple of years ago I asked a question regarding what "the best M4A3 Sherman" was over on Armorama, and Paul chipped in! He has also tinkered around the Armor world as well. I agree, his techniques, videos and articles have been my go-to source for years as well. As for those rivets, I think they will really pop under a coat of Alclad, I'm assuming that's going to be your finishing choice?
VR, Russ


Russ,
Paul builds just about everything in plastic sooner or later. He's a Sherman specialist as far as armor goes, and has built just about every Tamiya F1 car to date.

His best known model is a 1/48 scale scratch built PBY-5A that he won the IPMS Nationals with as well as Best in Show back in the 1970s.
Joel
Kevlar06
_VISITCOMMUNITY
Washington, United States
Joined: March 15, 2009
KitMaker: 3,670 posts
AeroScale: 833 posts
Posted: Wednesday, May 16, 2018 - 10:23 AM UTC
Yep-- he also has at some models of various aircraft featured in the books "The Scratch Builders" and " Scratch Built" by John Alcorn (John was a member of our local modeling group until he passed away last year-- also well worth a look). Paul is a Dentist in Northern Californa, that's how he has such interesting tools-- but he tells you how to acquire them on his website. Well worth taking the time to visit.
VR, Russ
SteveAndrews
_VISITCOMMUNITY
England - South East, United Kingdom
Joined: August 16, 2010
KitMaker: 693 posts
AeroScale: 551 posts
Posted: Thursday, May 17, 2018 - 02:33 AM UTC
Hi guys

Well, I have to say I'm late to the party as far as Paul's work and techniques are concerned. His ideas seem very fresh to me and I really enjoy the thought he puts into building models.

As for a choice of paints, if I stick to my plan to reproduce a natural metal finish I'll reach for AK's Extreme Metal, simply because I have quite a few already. I tried them out on a 1/48 scale Starfighter I was working on a while ago with some good results:


And Joel, yes that crazy lizard skin is a pain. I'm in the 'hate' phase of my love/hate relationship with Italeri again.

Have a great day guys.

Steve
Joel_W
Staff MemberAssociate Editor
AUTOMODELER
_VISITCOMMUNITY
New York, United States
Joined: December 04, 2010
KitMaker: 11,666 posts
AeroScale: 7,410 posts
Posted: Thursday, May 17, 2018 - 04:19 AM UTC
Steve,
Your modeling skills are way above the level needed to tame that lizard skin to one that's silky smooth.

the absolutely worst case I've ever seen of Lizard Skin was Kitty Hawk's 1st release: the 1/48 scale F-94C. My God, I thought that I could have used it for sandpaper.

Joel
SteveAndrews
_VISITCOMMUNITY
England - South East, United Kingdom
Joined: August 16, 2010
KitMaker: 693 posts
AeroScale: 551 posts
Posted: Thursday, May 17, 2018 - 02:01 PM UTC
Joel, you are too kind - thank you.

I still find it frustrating though and I feel for people who buy a kit and expect too get a good result out of the box. That should be the minimum a manufacturer offers I think.

Anyhow, I went into this one with eyes wide open, so I can't moan too much. Just enough to feel a bit better :-)

Have a great day,

Steve
SteveAndrews
_VISITCOMMUNITY
England - South East, United Kingdom
Joined: August 16, 2010
KitMaker: 693 posts
AeroScale: 551 posts
Posted: Sunday, June 03, 2018 - 07:00 AM UTC
After a week at a work conference with morning to evening chatter, I’m delighted to be back with very silent plastic. Jeez, if talk saved the world we’d all be living in peace and prosperity. Anyhow, with the extra riveting done I can turn my attention to paint. Woo-hoo. This is my favourite bit. Having used so may different materials in the cockpit I decided a good primer was essential. My absolute favourite is Ultimate Primer. It’s almost foolproof and dries to a lovely satin sheen. I chose to spray black so that it will also act as shadow, reducing the air pressure to get close-up when I needed to get into all the nooks. I also did a little test, thinning the gloopy primer a bit and spraying an area of the engine that won’t show. It proved that there’s really no need to thin it, and in fact it doesn’t like to be thinned. You can see the little blotches thinning left.

While the primer was drying I fitted the rear wall of the gun bay. This is a big section of photo etch with some slim contact areas on the fuselage. I superglued it in place but I was worried that working on it later I might push it back inside, which would be a disaster once the fuselage is all glued together. To reinforce it I glued some ‘L’ shaped sections of evergreen strip around the edge. Hopefully that will avoid problems later. Here it all is in glorious technicolour.


And here’s what happens when the Ultimate Primer is thinned - you can see the little blotches.


And the rear wall of the gun bay…


reinforced.


That was fun. Happy modelling guys.

Steve.