Gabriel and Thomas! I'm happy to be of inspiration, you won't be disappointed with these kits

!
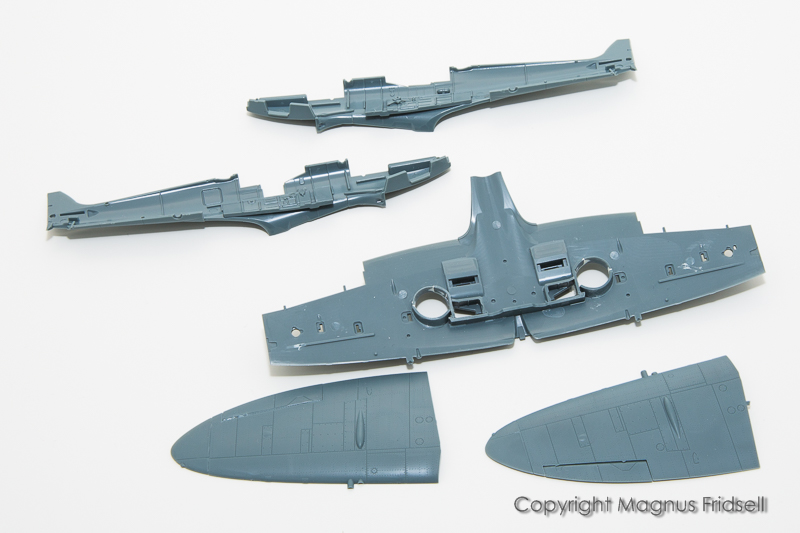
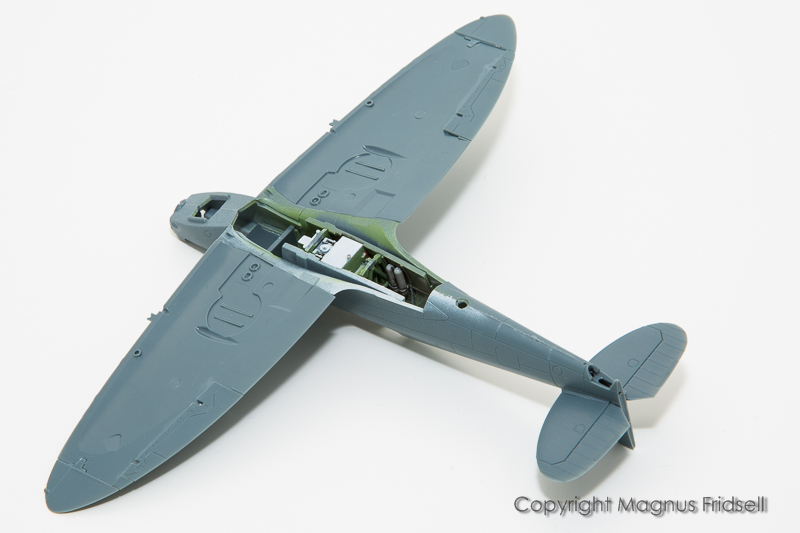
Joel! I'm so glad you're back! As for the wing trick: yes, it works best on a well-fitting kit like this and it probably wouldn't be necessary in this case if I could learn to be less sloppy when gluing
!
On the other hand, on an ill-fitting kit, if you can get a perfect fit between upper wing and fuselage there are many ways you can fix it out-of-sight on the lower surfaces. I remember discussing this with the guy who suggested the method many years ago and he said that in some extreme cases he had gotten the lower half of the wing-tips going a few mm beyond the upper ones and also badly mismatching ailerons between upper and lower wing halves. This was easily fixed by sanding the wingtips to contour and filling and rescribing the ailerons, probably a lot easier than fixing the wing-to-fuselage-joint and restoring lost detail in that area! Nowadays though, building modern kits, most fit very well so this is probably less of a problem!
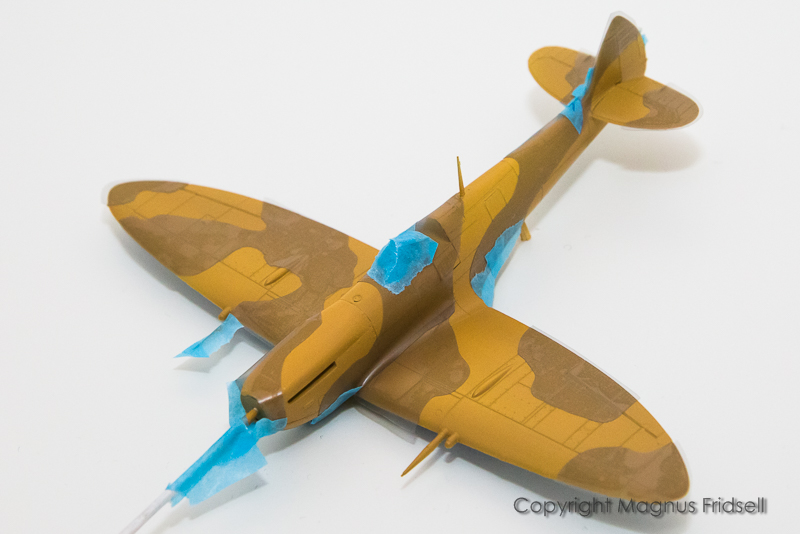
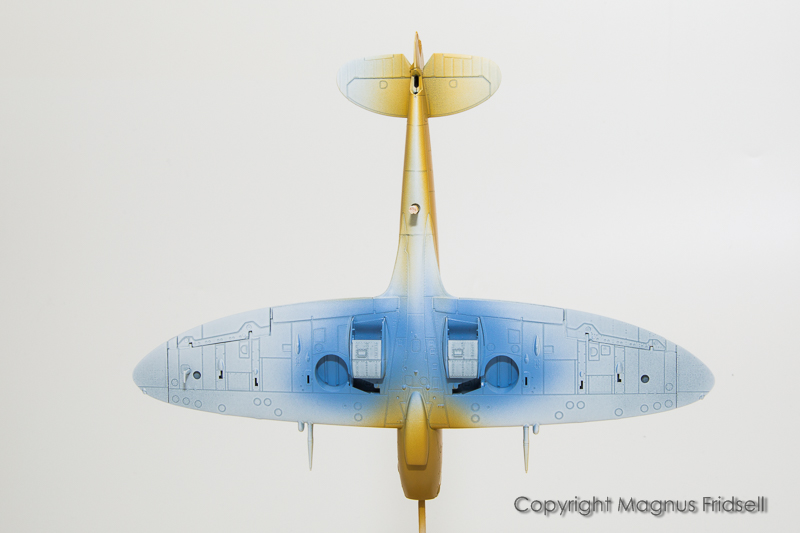
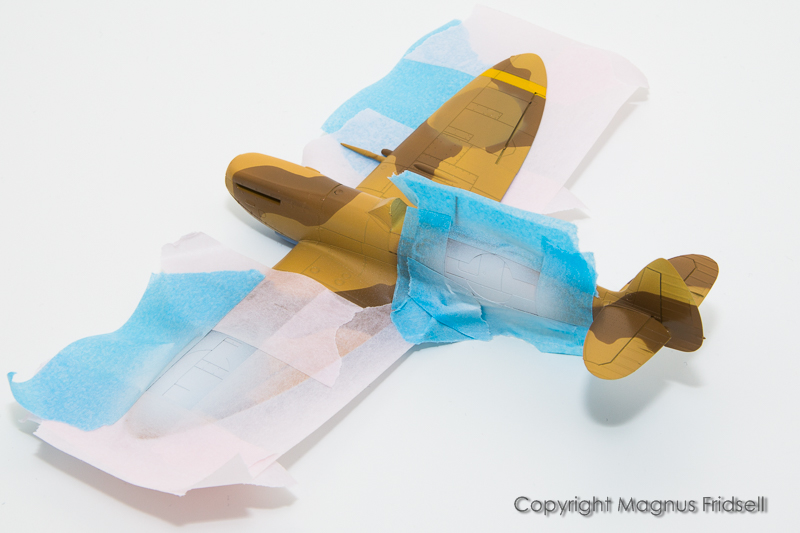
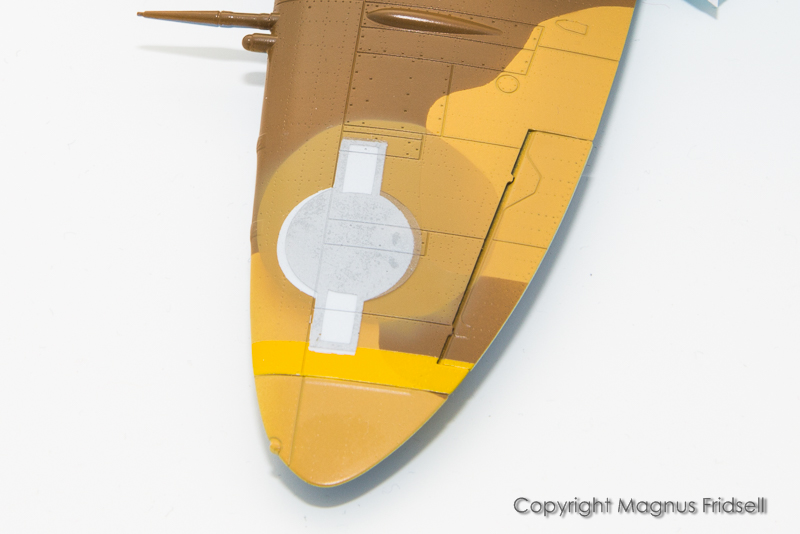
A bit of masking before painting the Dark Earth parts of the camouflage...
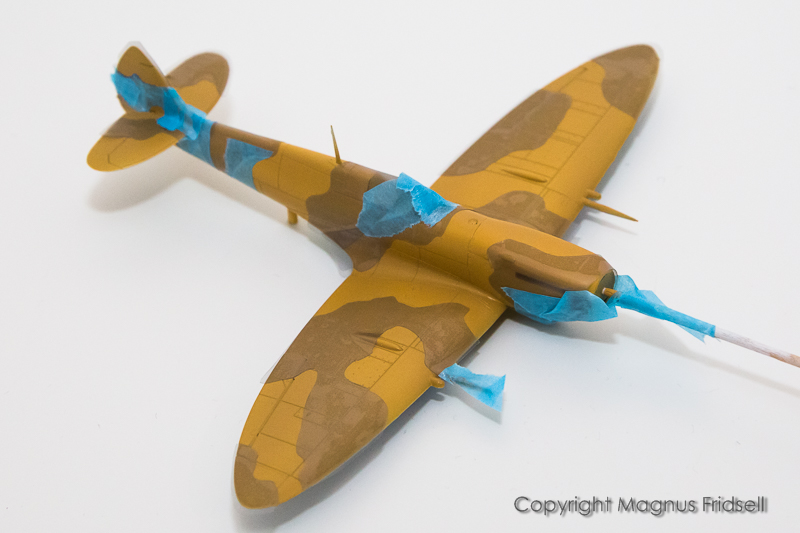
...using home-drawn masks cut with the Cameo plotter. That fit so-so, If I were more ambitious I would peal these off carefully after painting and put them in the scanner complete with the tape adjustments to update the masks...
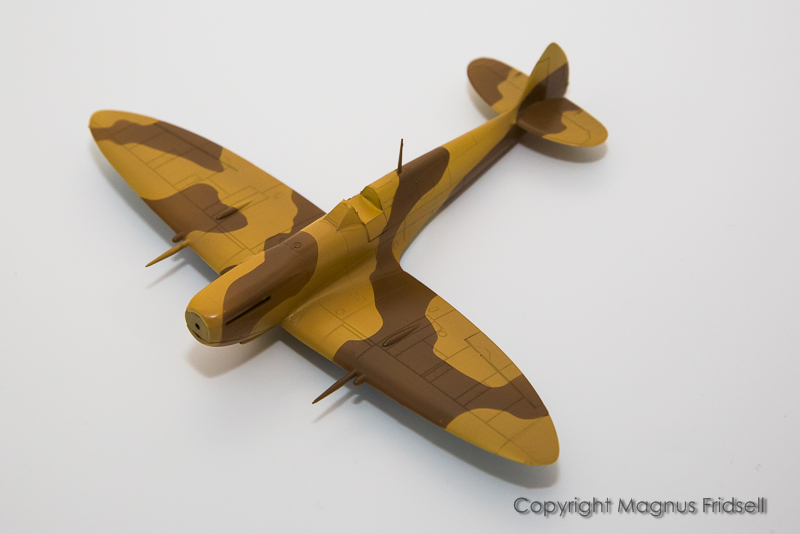
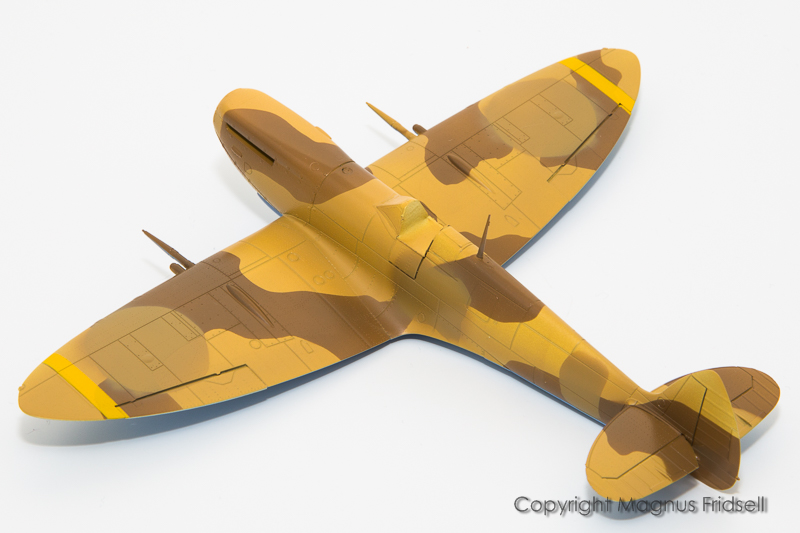
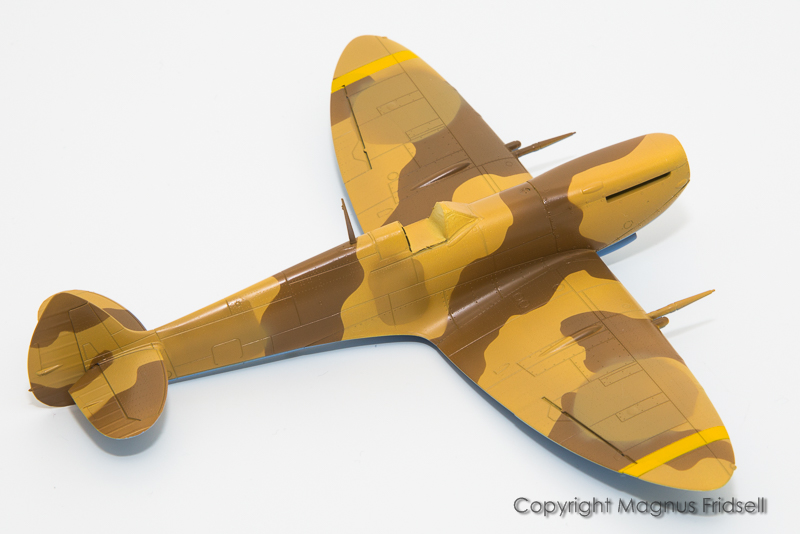
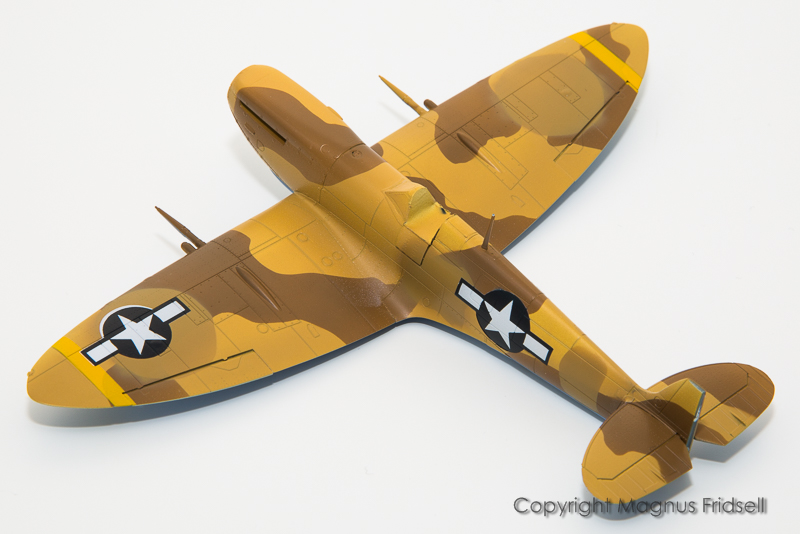
Not bad...
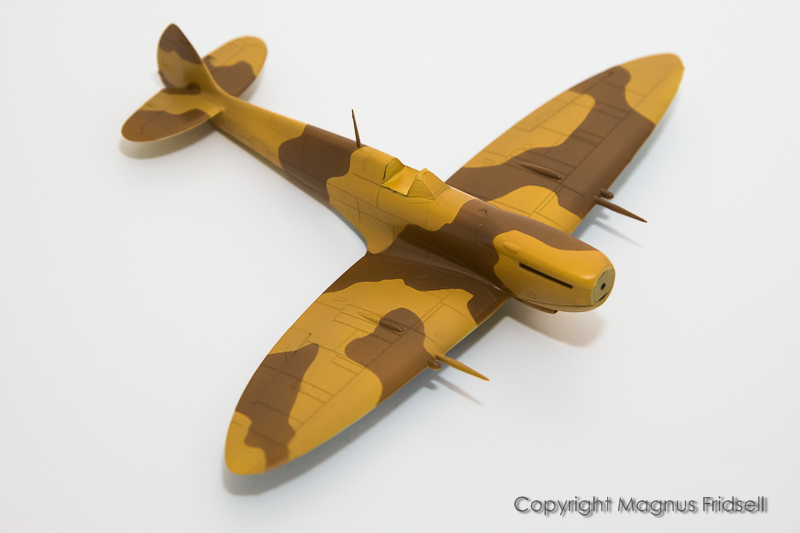
...I do get a bit of a salamander-feeling from this camo-scheme!

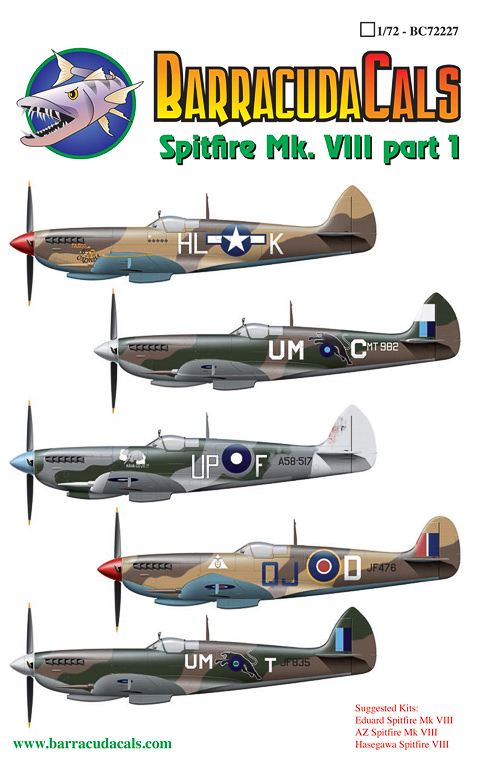
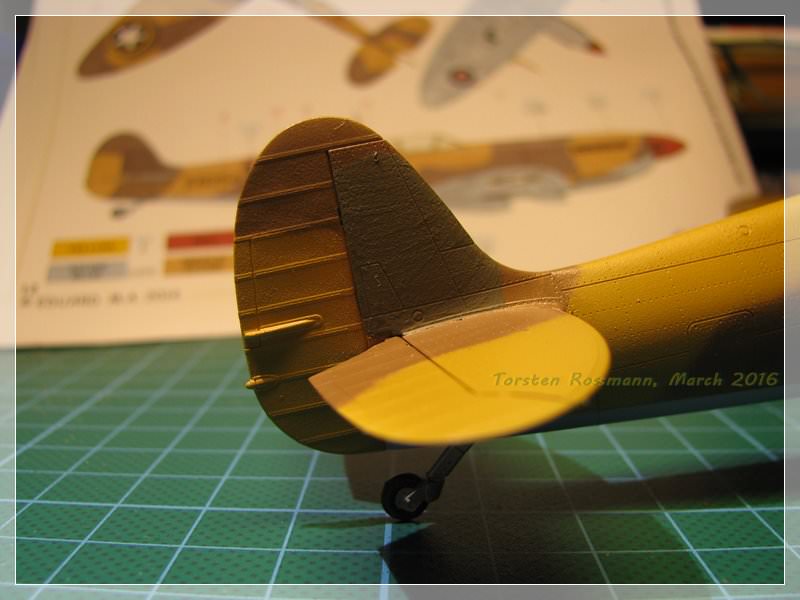
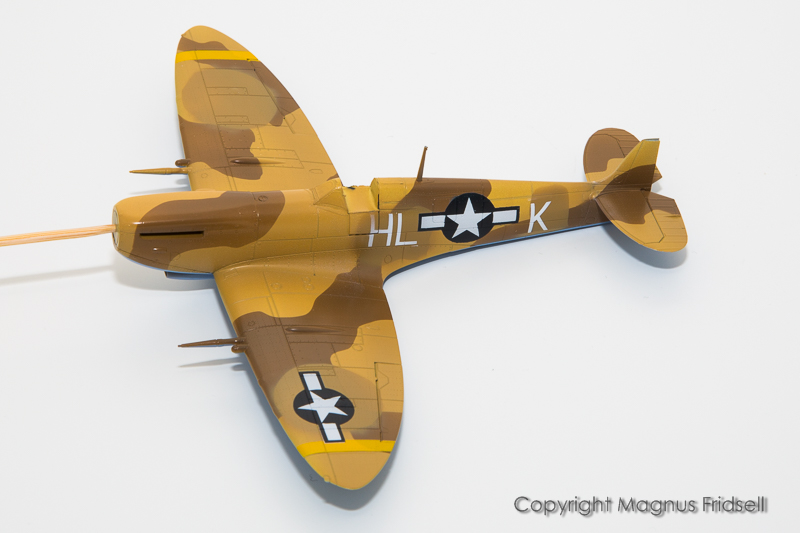
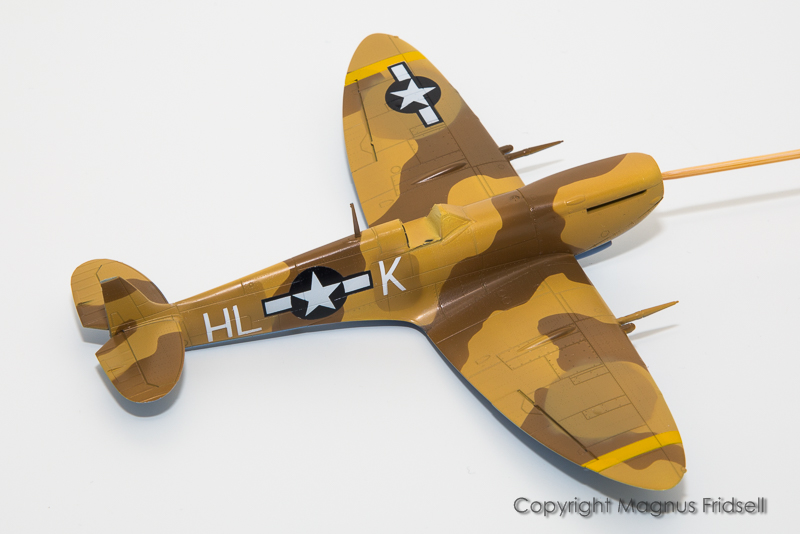
And finally, to add some interest. This one is going to be a USAAF machine, they were received second-hand from the RAF. The over-painted roundels can be seen in photos and this is my take on that. I'll probably do the same on the fuselage where the code letters had been.

Magnus