_GOTOBOTTOM
Modern (1975-today): USA
Modern aircraft of the United States.
Academy F-14 A Bombcat
c4willy
#305
_VISITCOMMUNITY
Christchurch, New Zealand
Joined: February 01, 2006
KitMaker: 1,673 posts
AeroScale: 1,517 posts
Posted: Saturday, August 05, 2017 - 03:02 PM UTC
Again not my usual subject but I've had a fascination for the Tomcat since it arrived on the scene all those years ago. I picked up the Academy kit for a fraction of it's retail price a number of years ago and I've entered into the terrible Teens campaign so this is a perfect chance to build it. I've Also got a 1/32 Revell F-15D/E as well but felt there wasn't enough time for one that big.

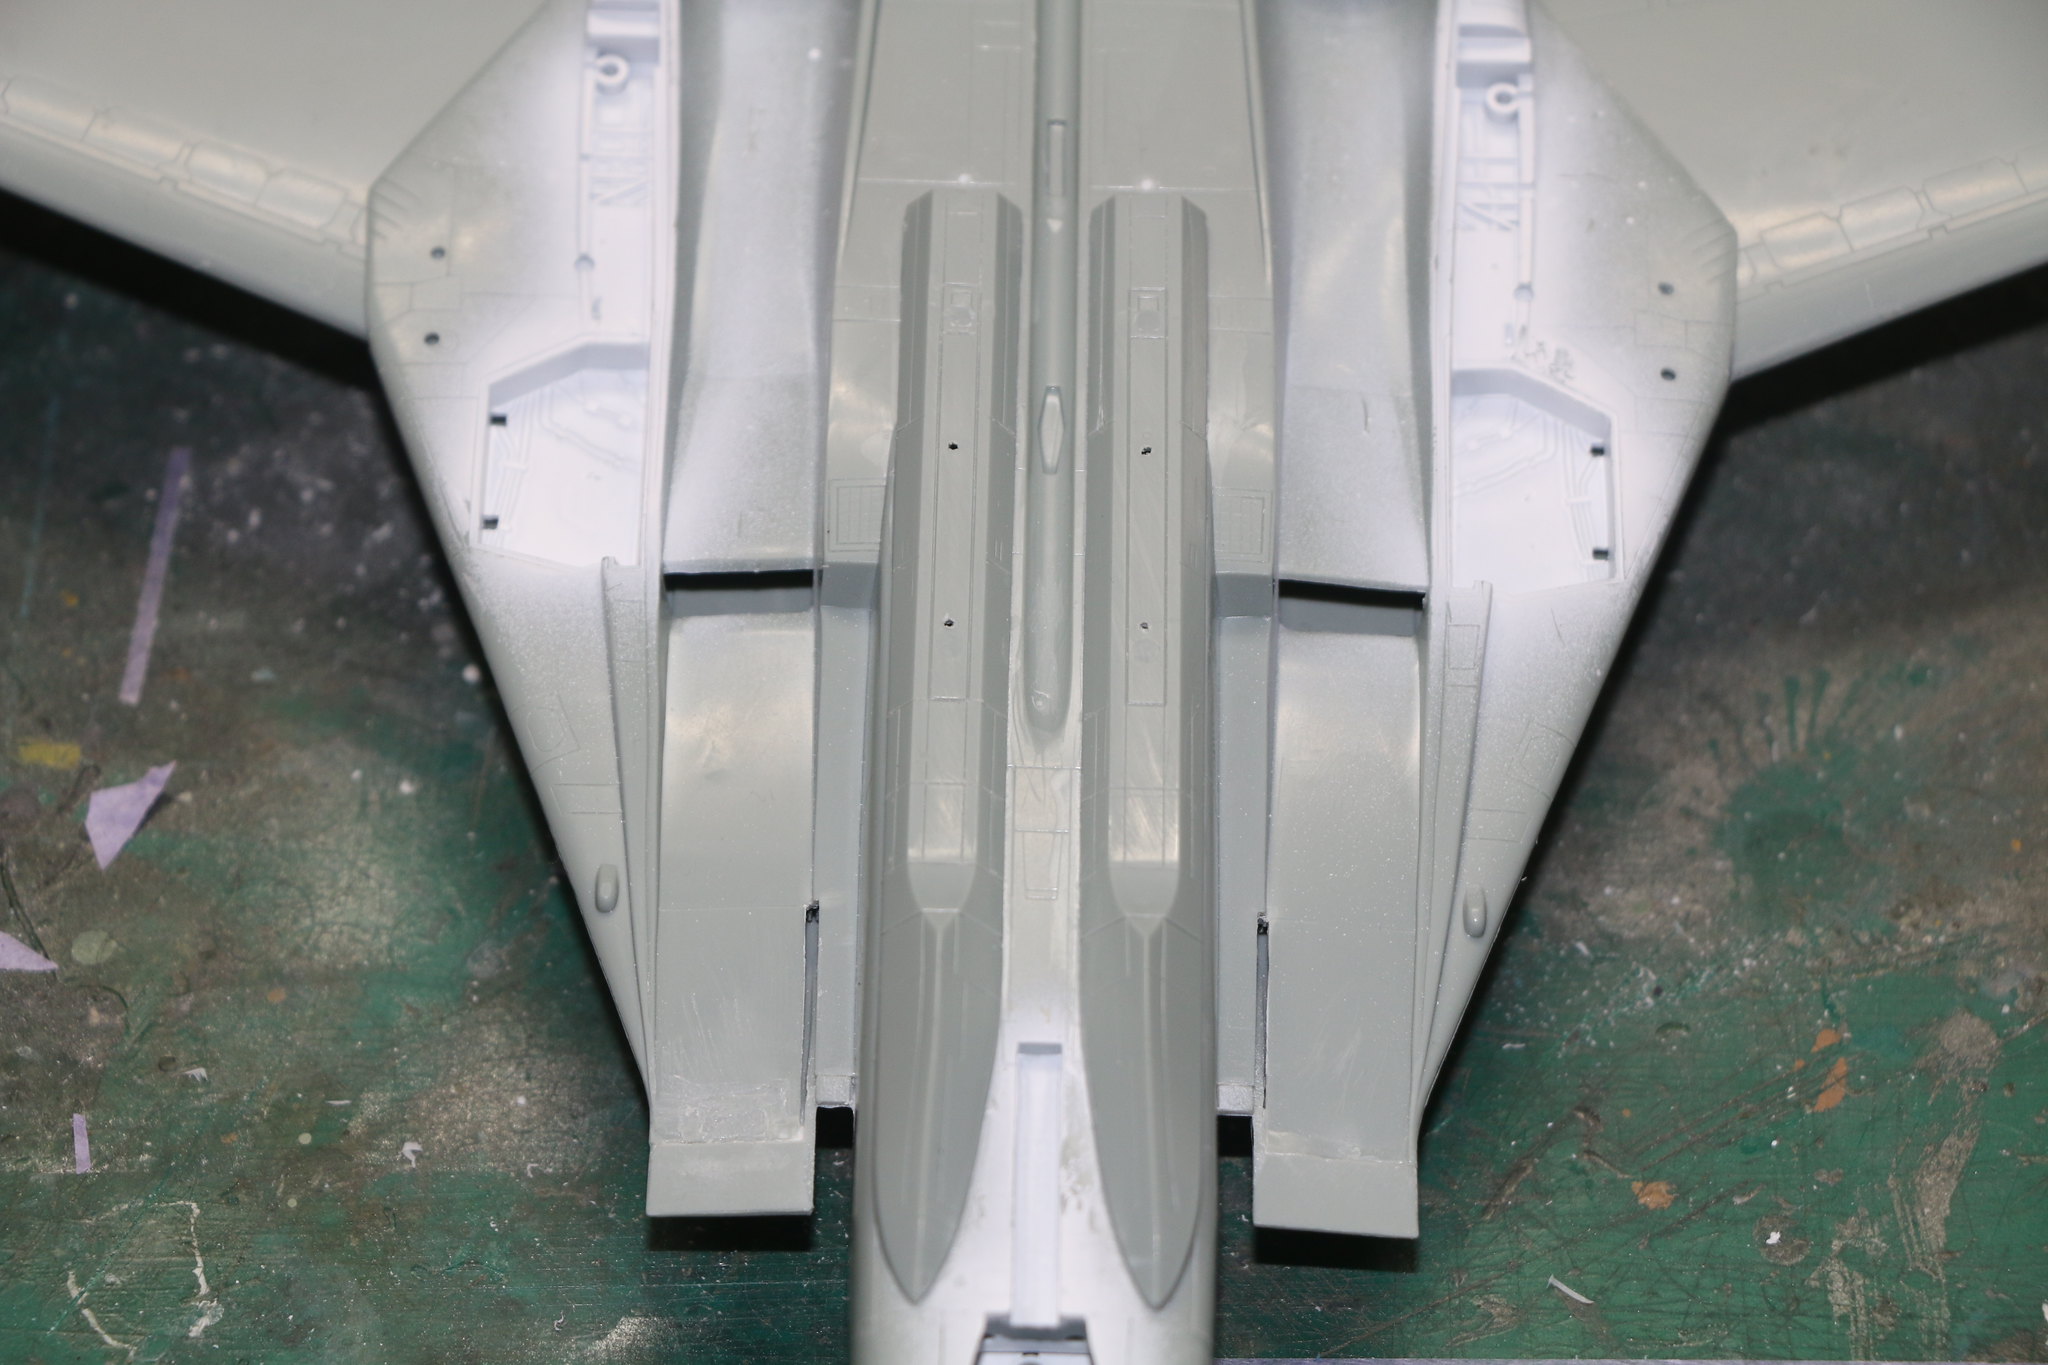
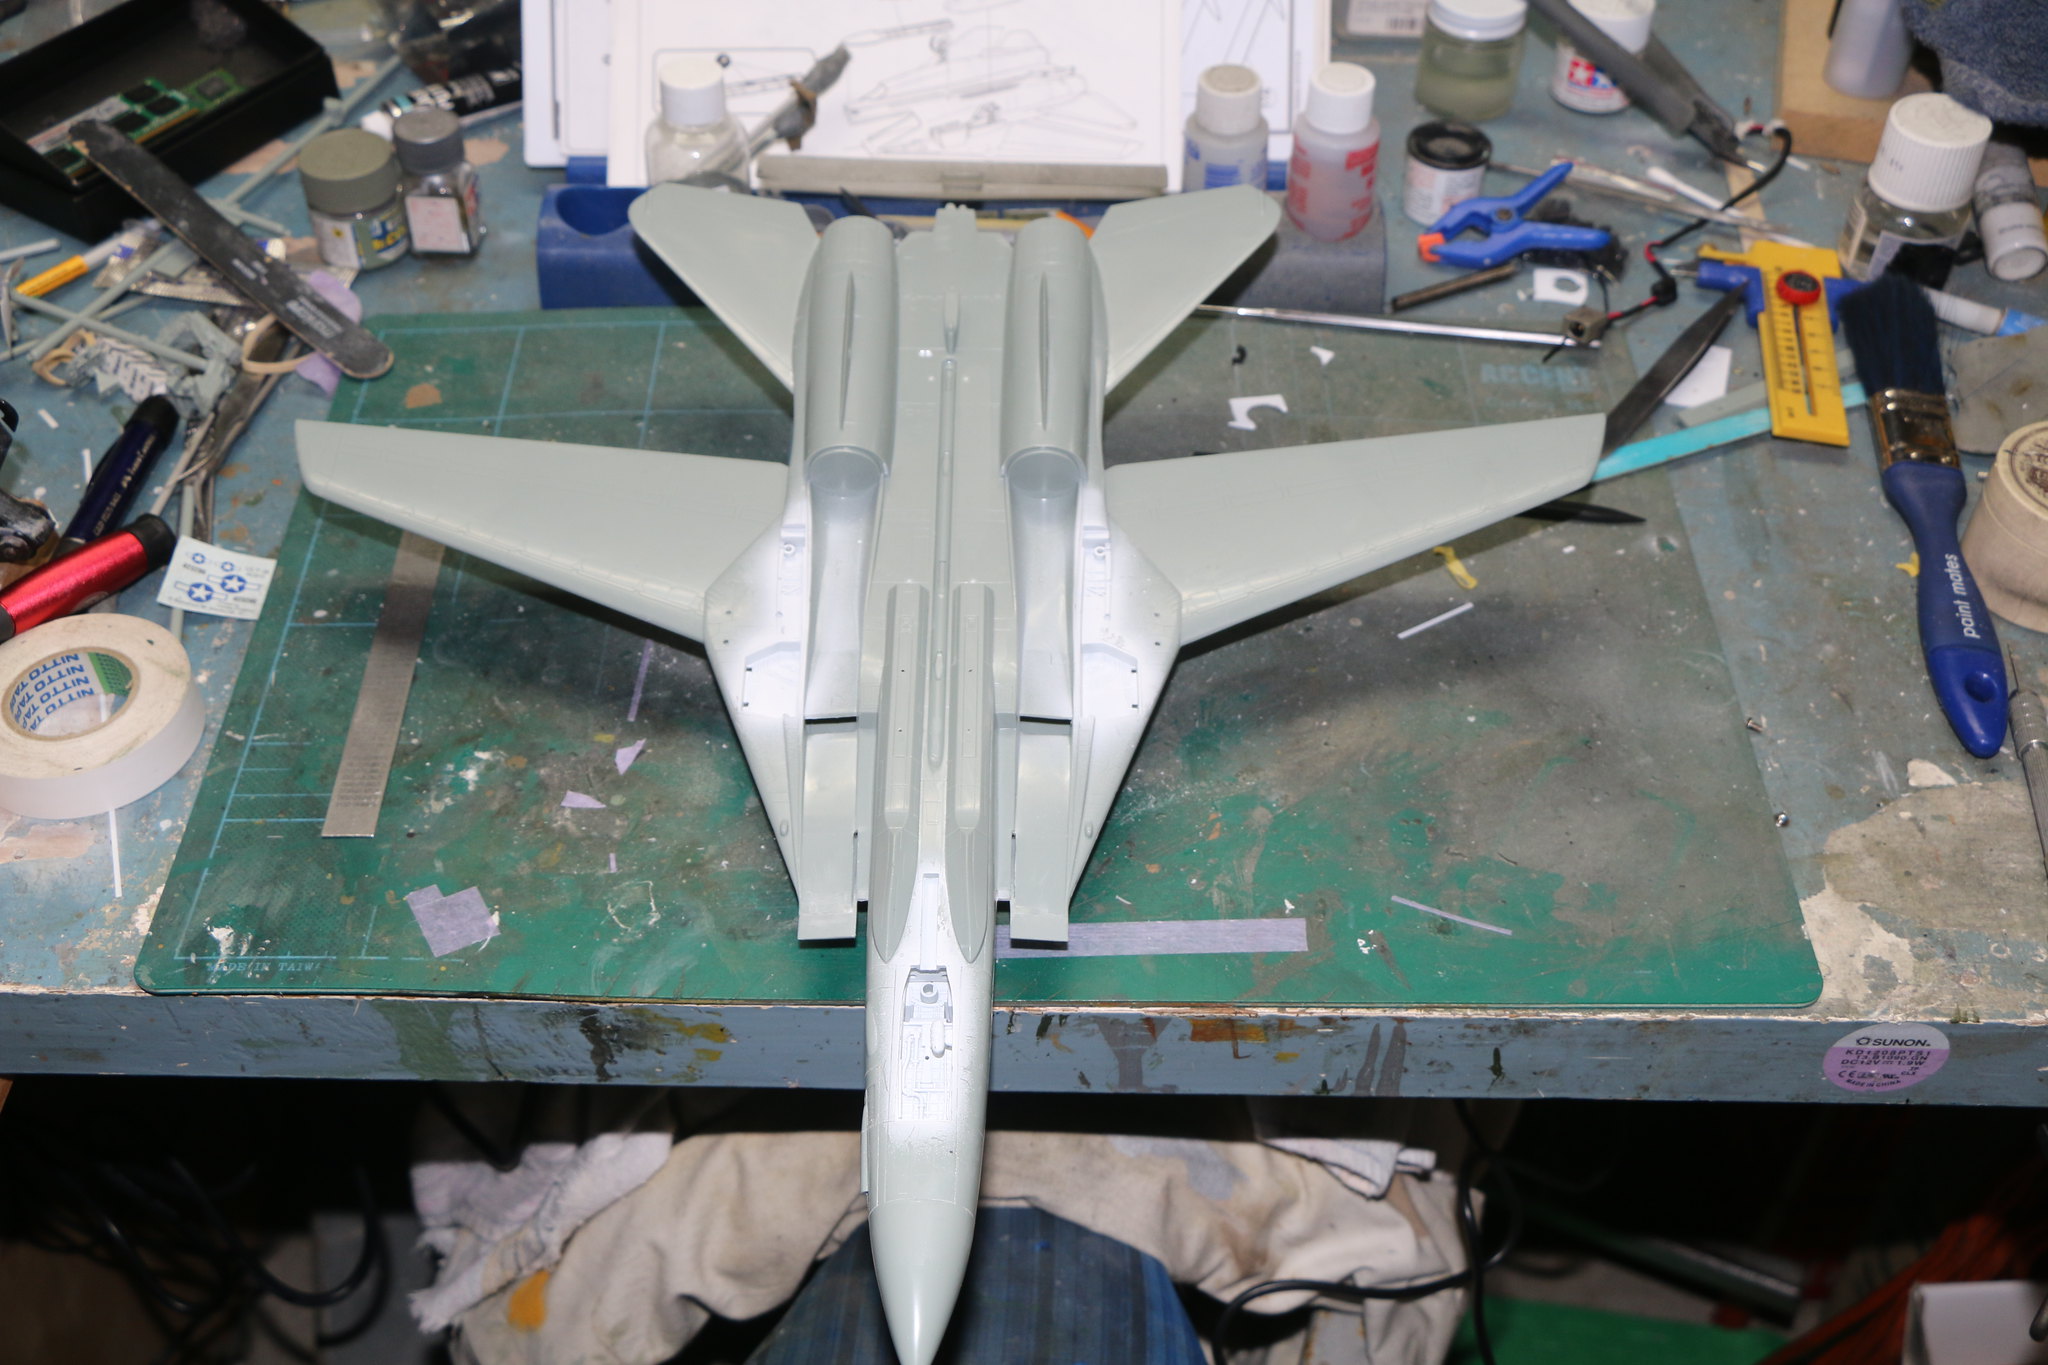
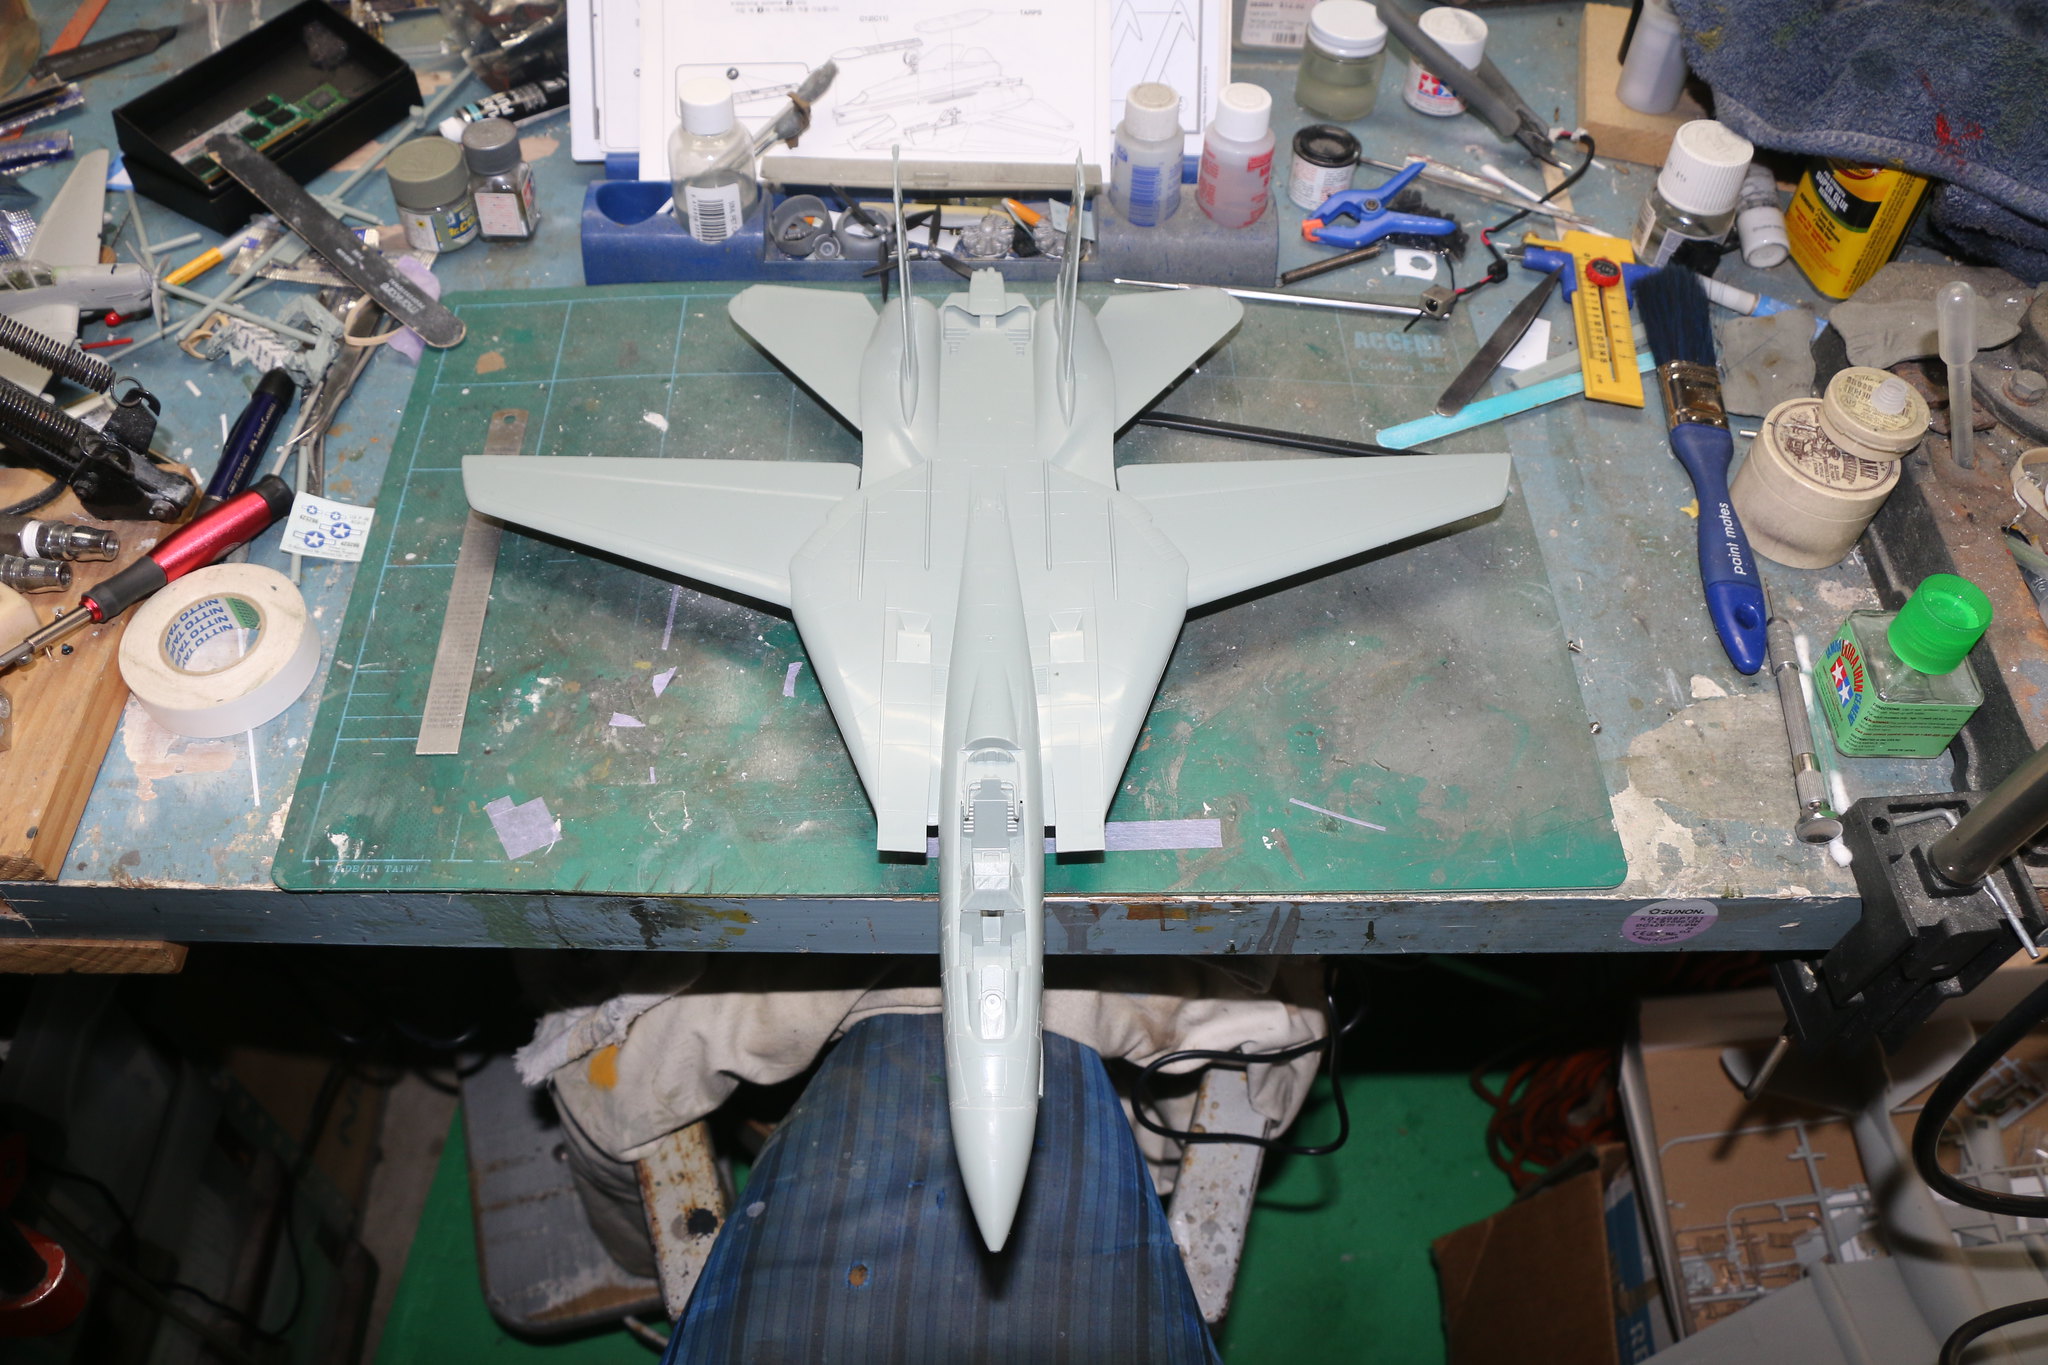
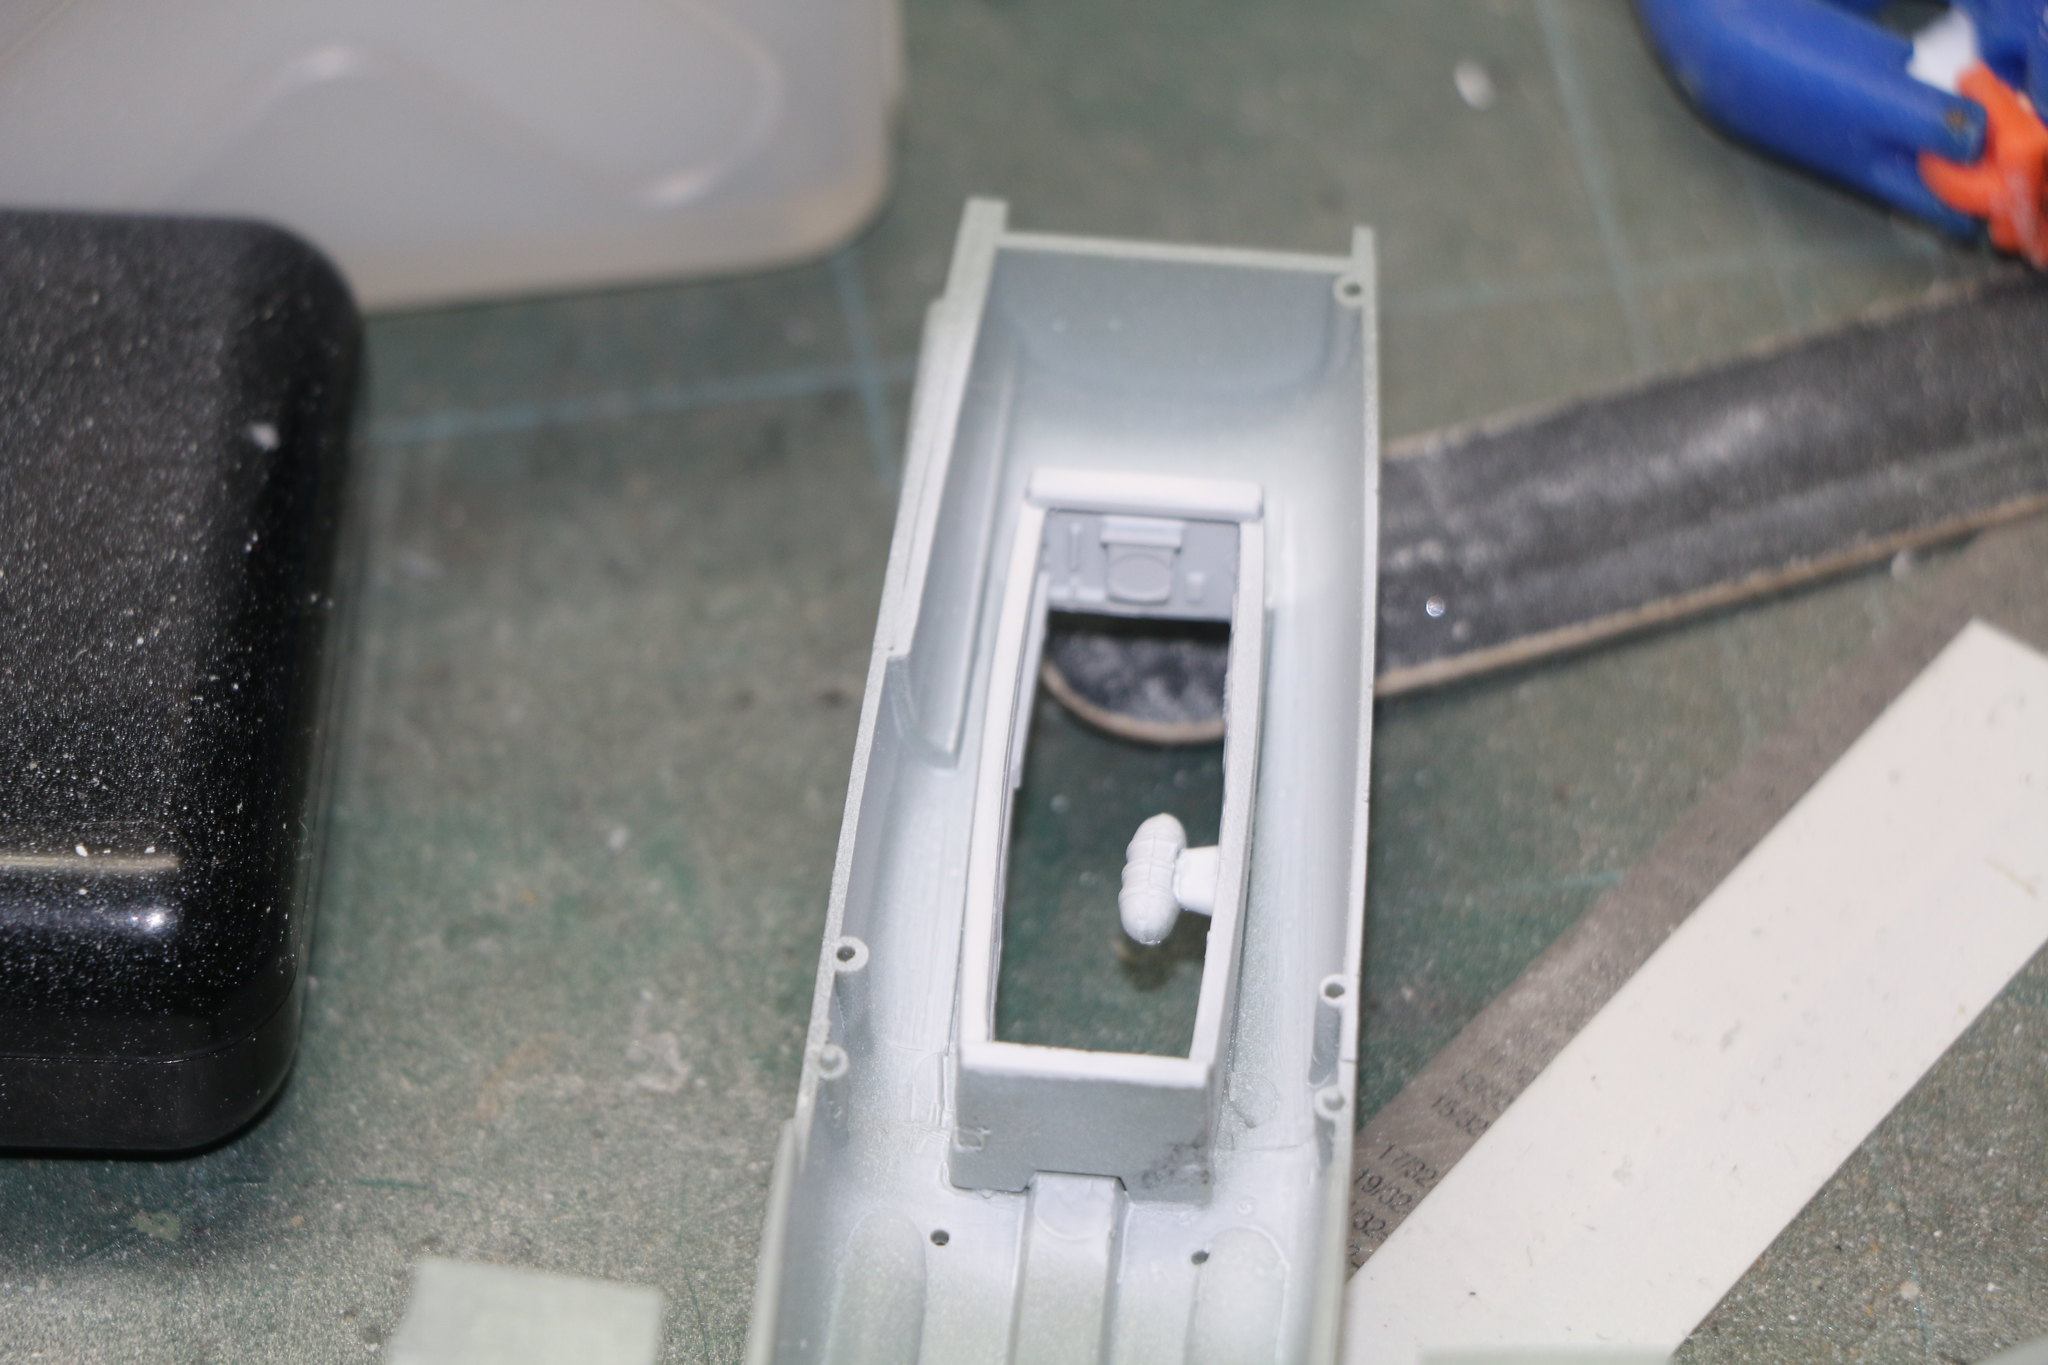
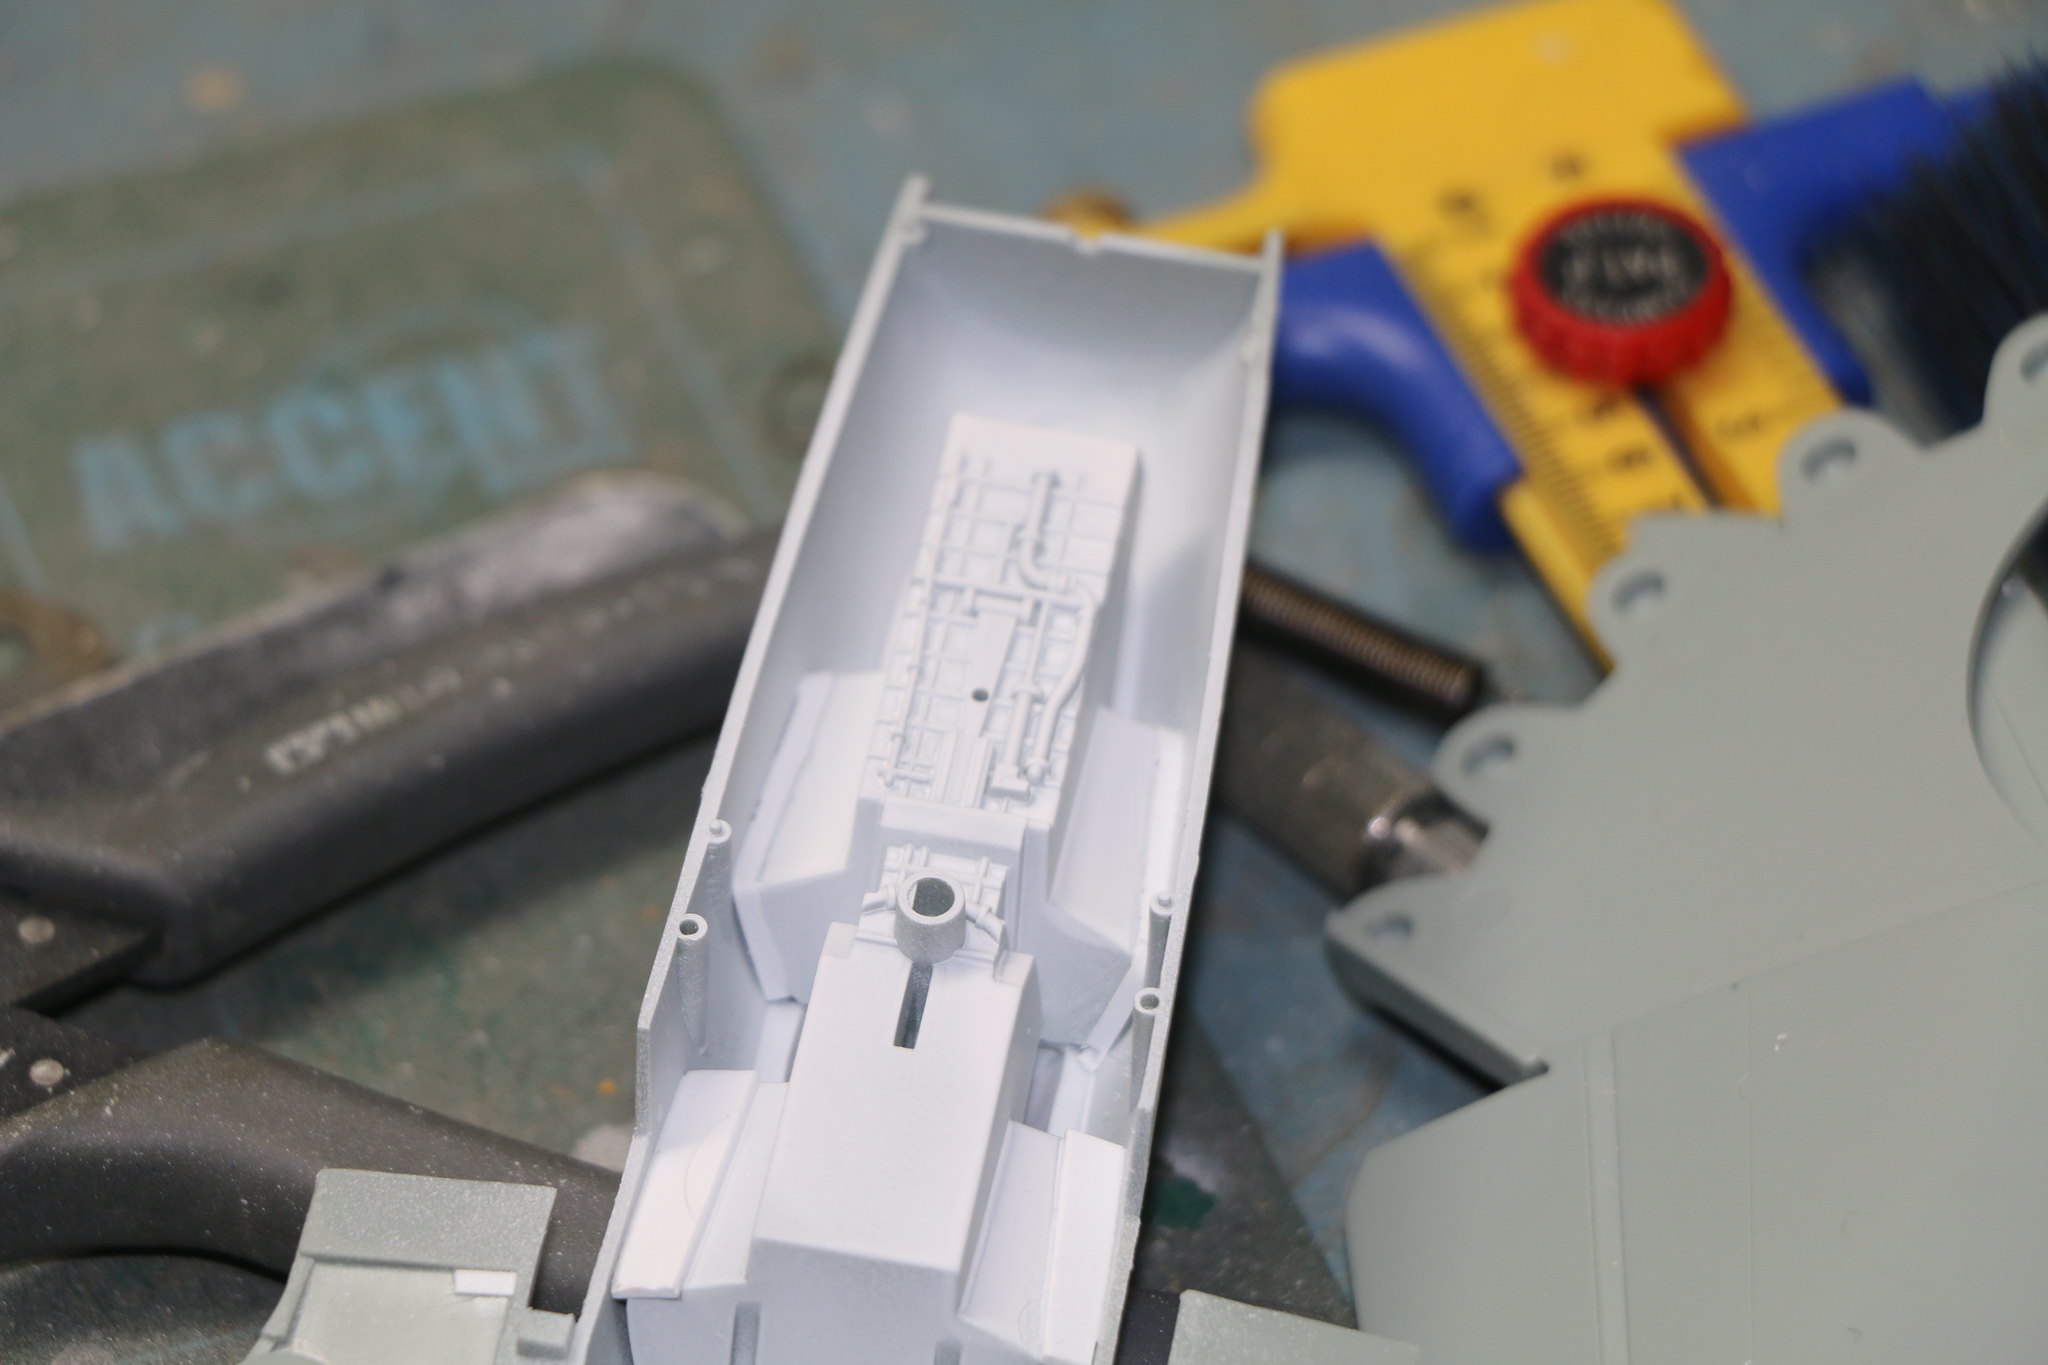
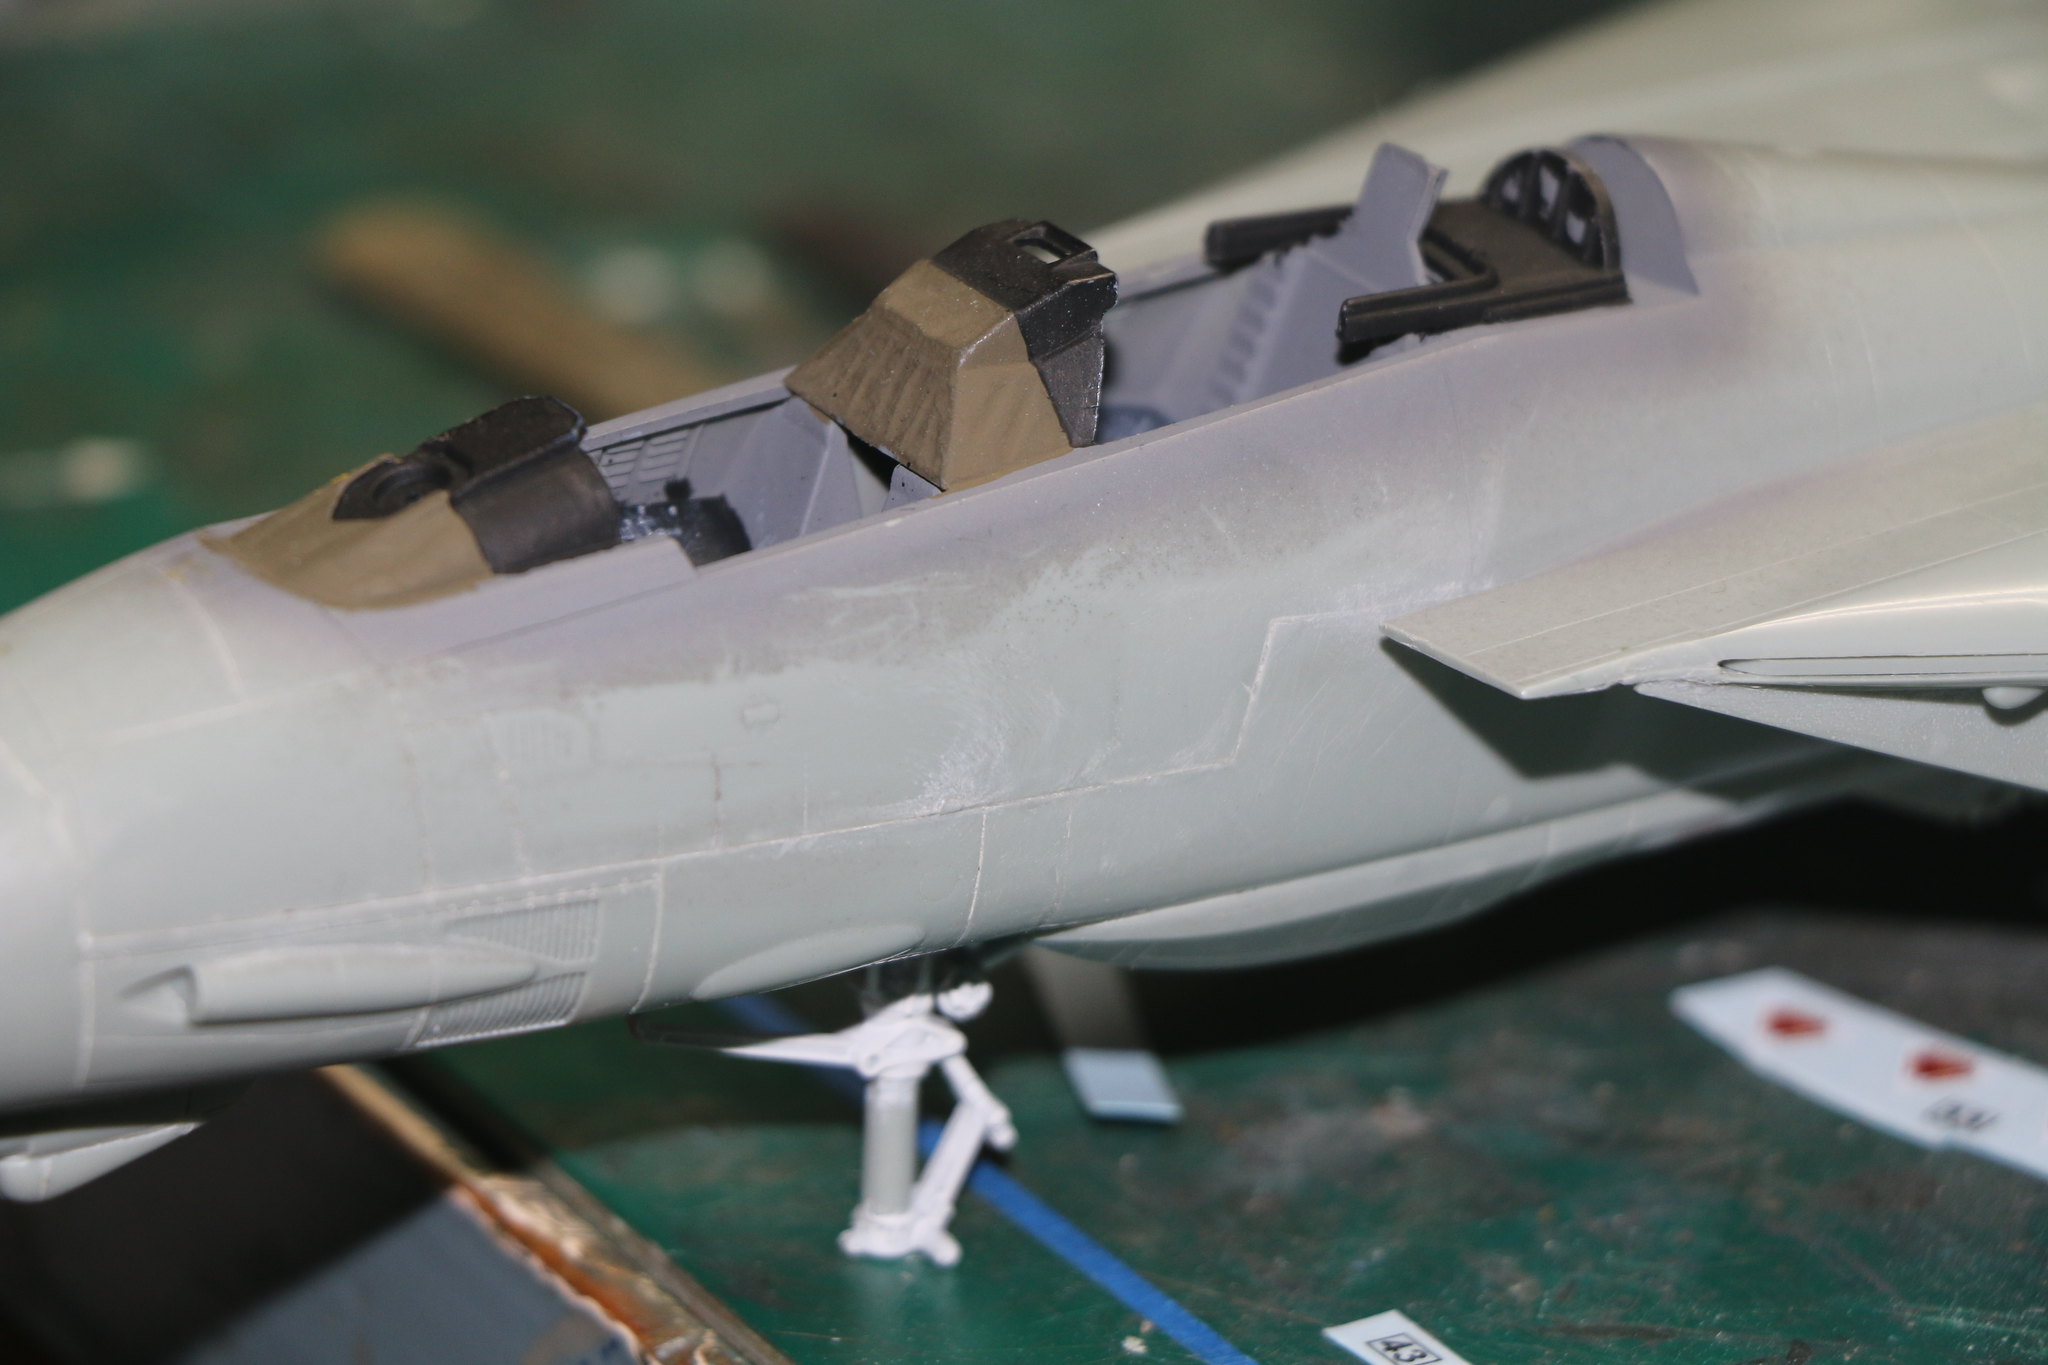
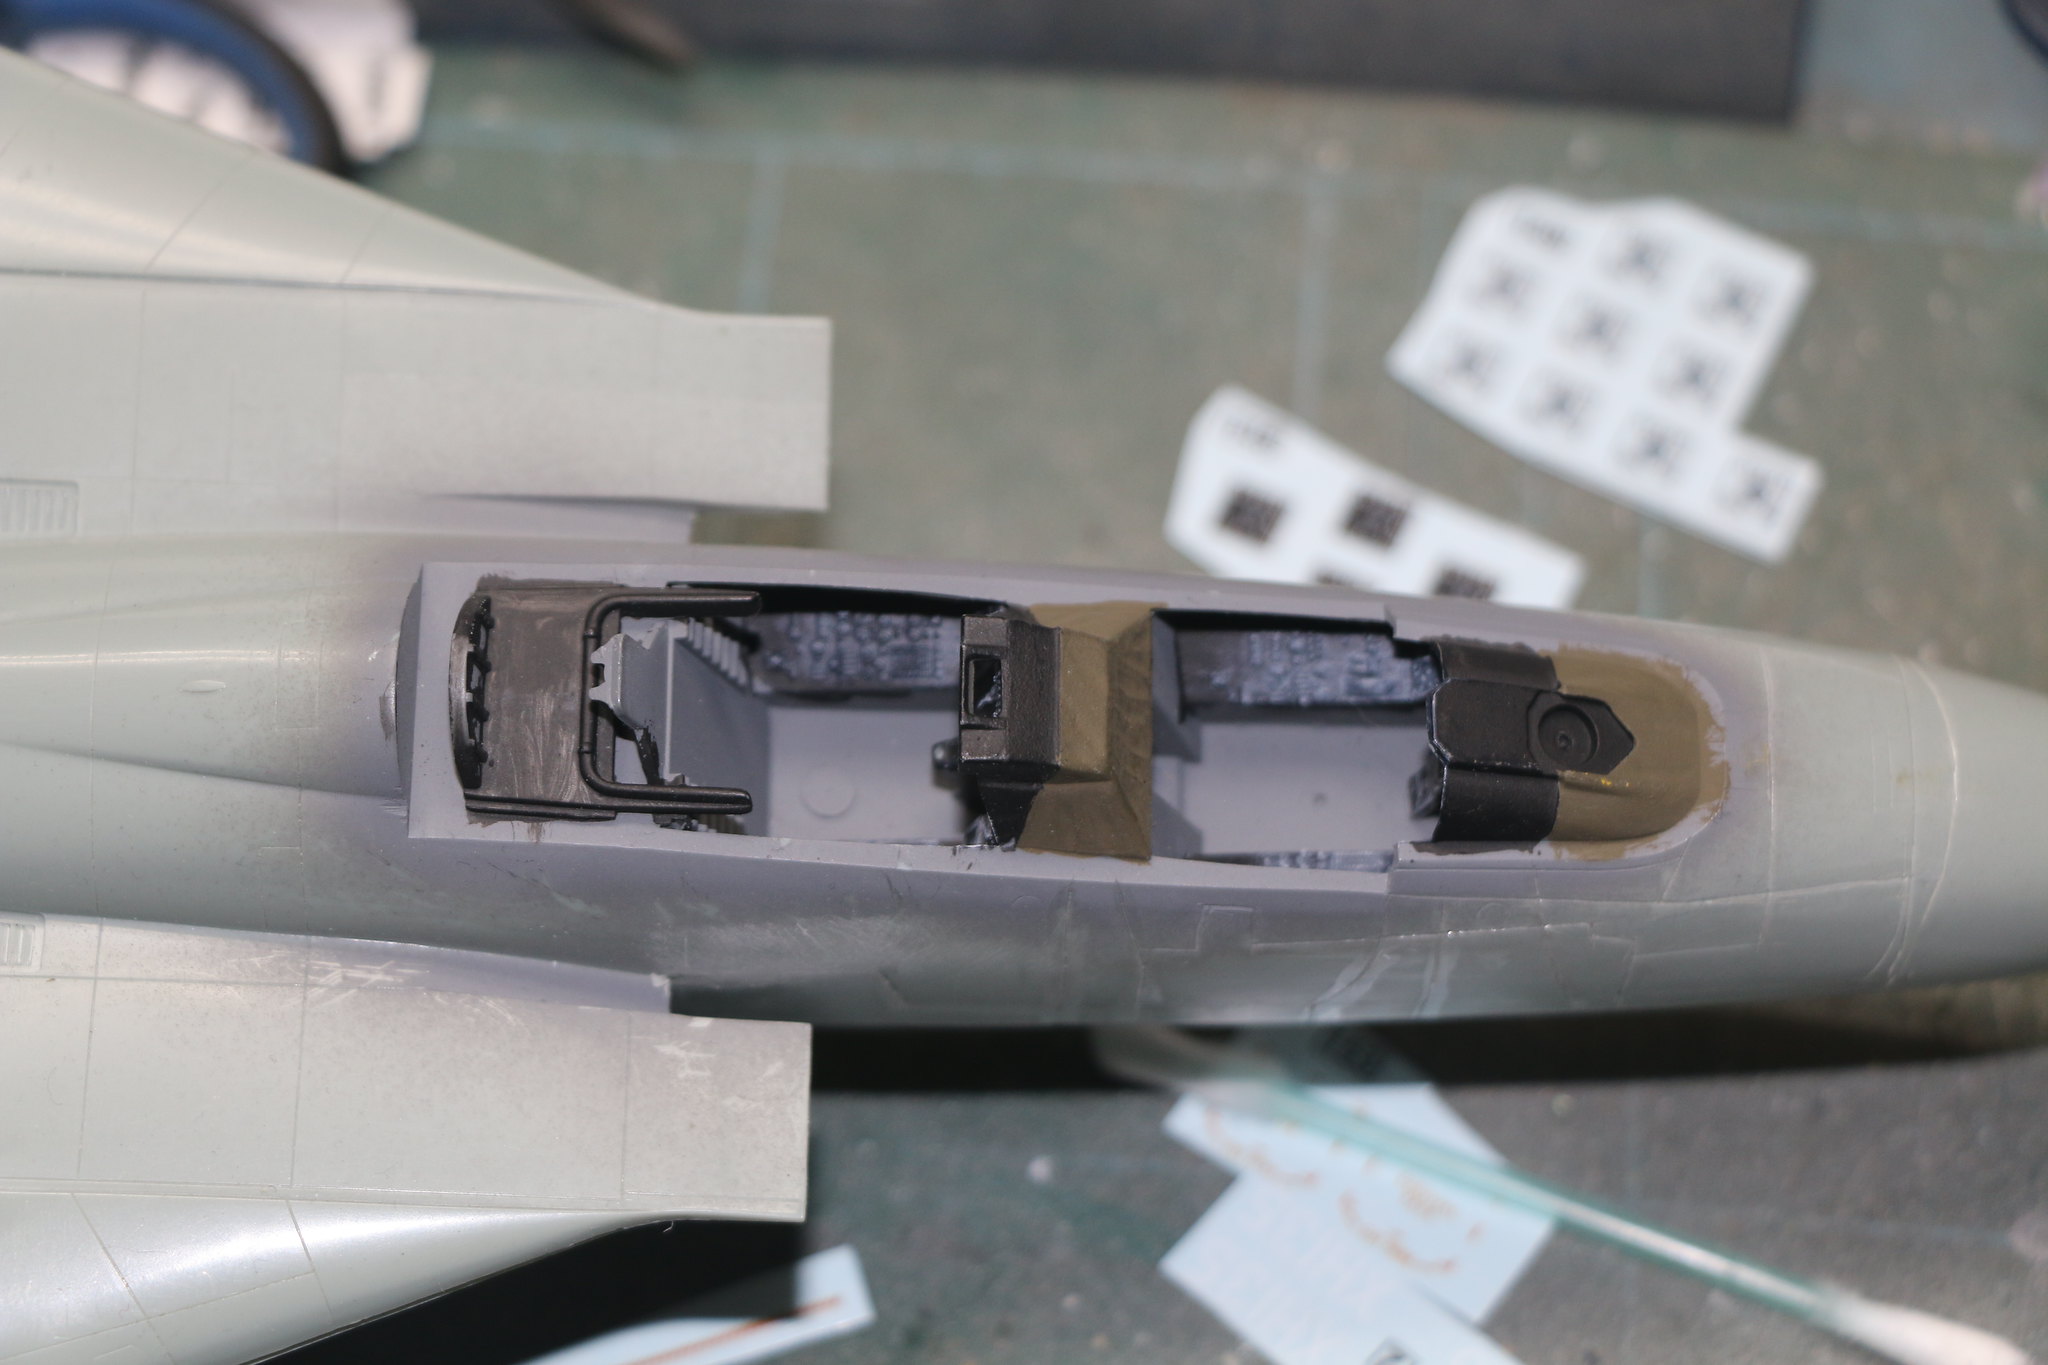
I've followed the instructions up to a certain point. I've built the nose wheel compartment and assembled some of the cockpit. The instructions would have you glue the cockpit to the wheel well but I wasn't sure that would fit particularly well once constructed and placed inside the Fuselage. Also the Cockpit and nose are a multi-part affair and they're notorious for a bad fit. In an effort to minimize filling and sanding later I glued the lower half of the cockpit and fuselage together then glued the wheel well to the assembled parts. Also there is a panel to glue into the fuselage for the rotary canon which required some beveling of the inside edge to get a good fit. There's also some sanding of the edge required once assembled to ensure a good fit between the upper and lower fuselage halves.

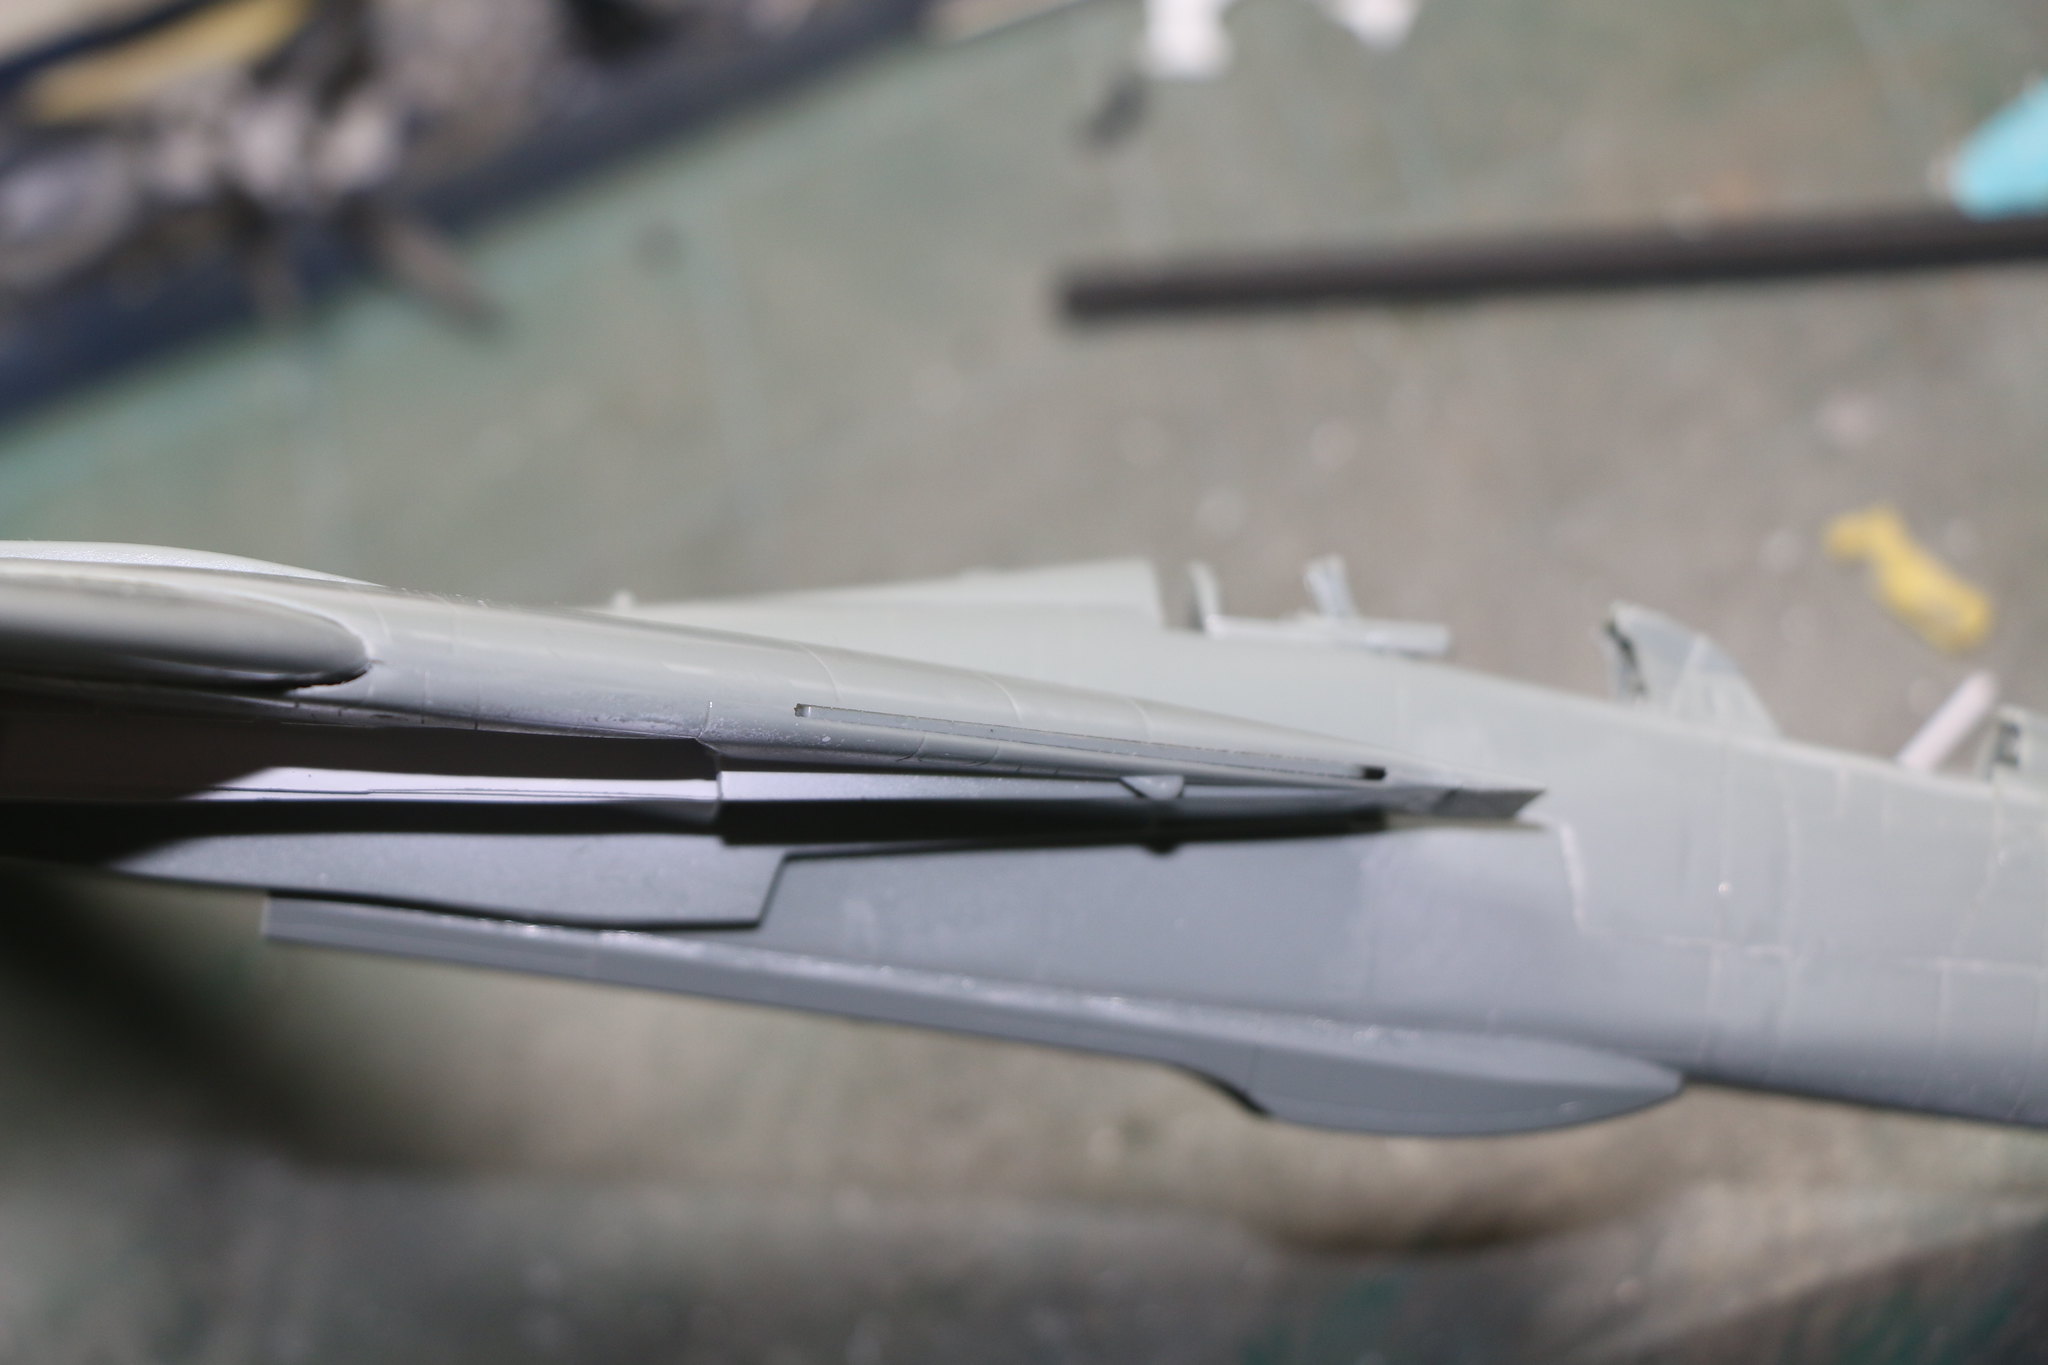
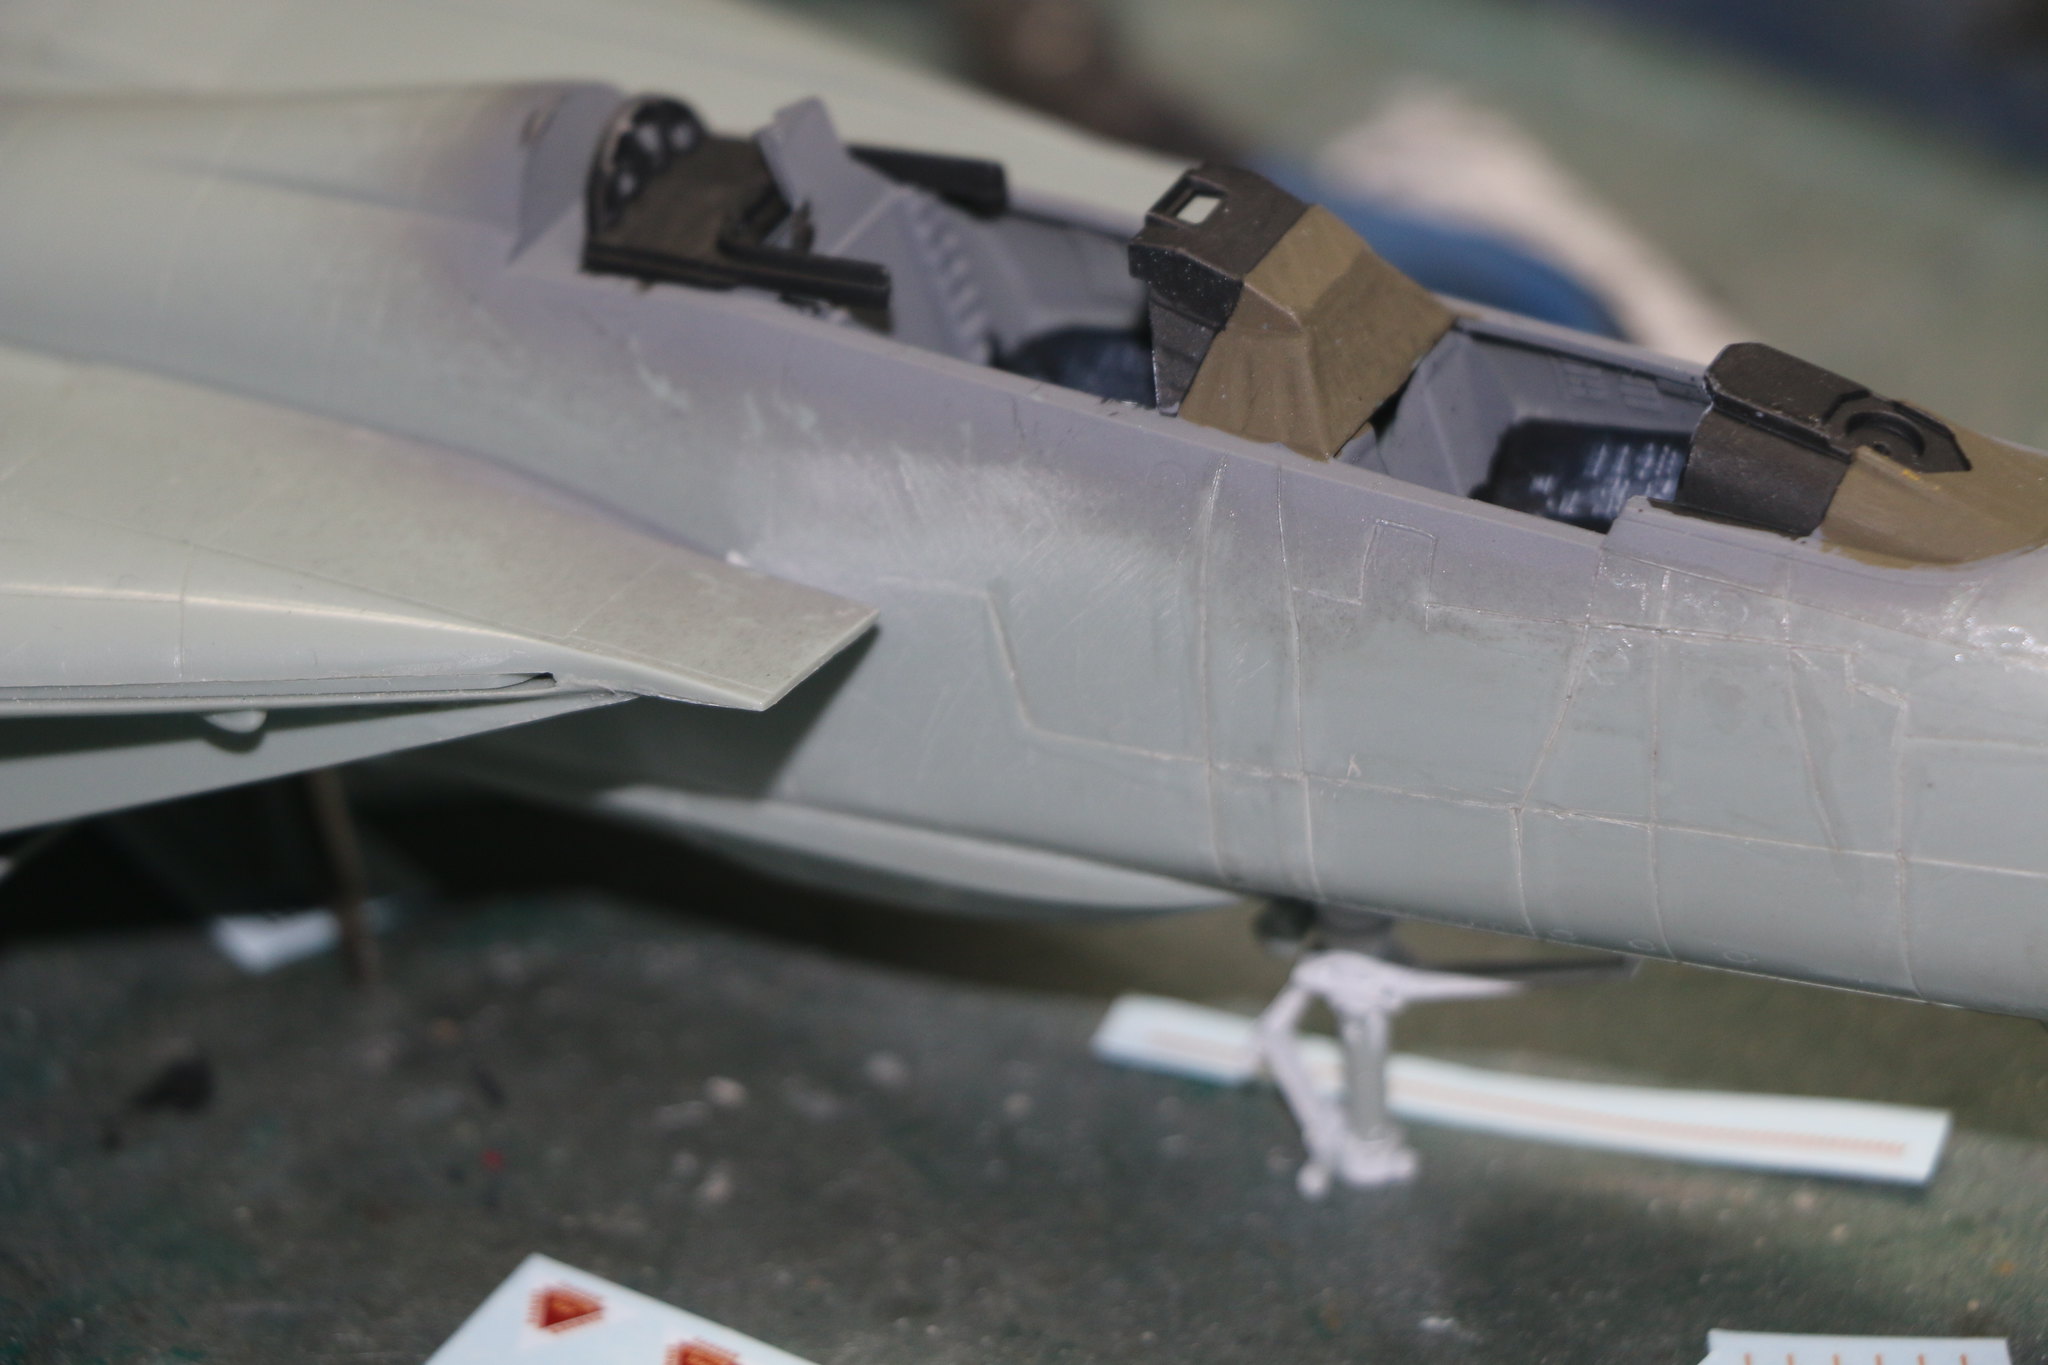
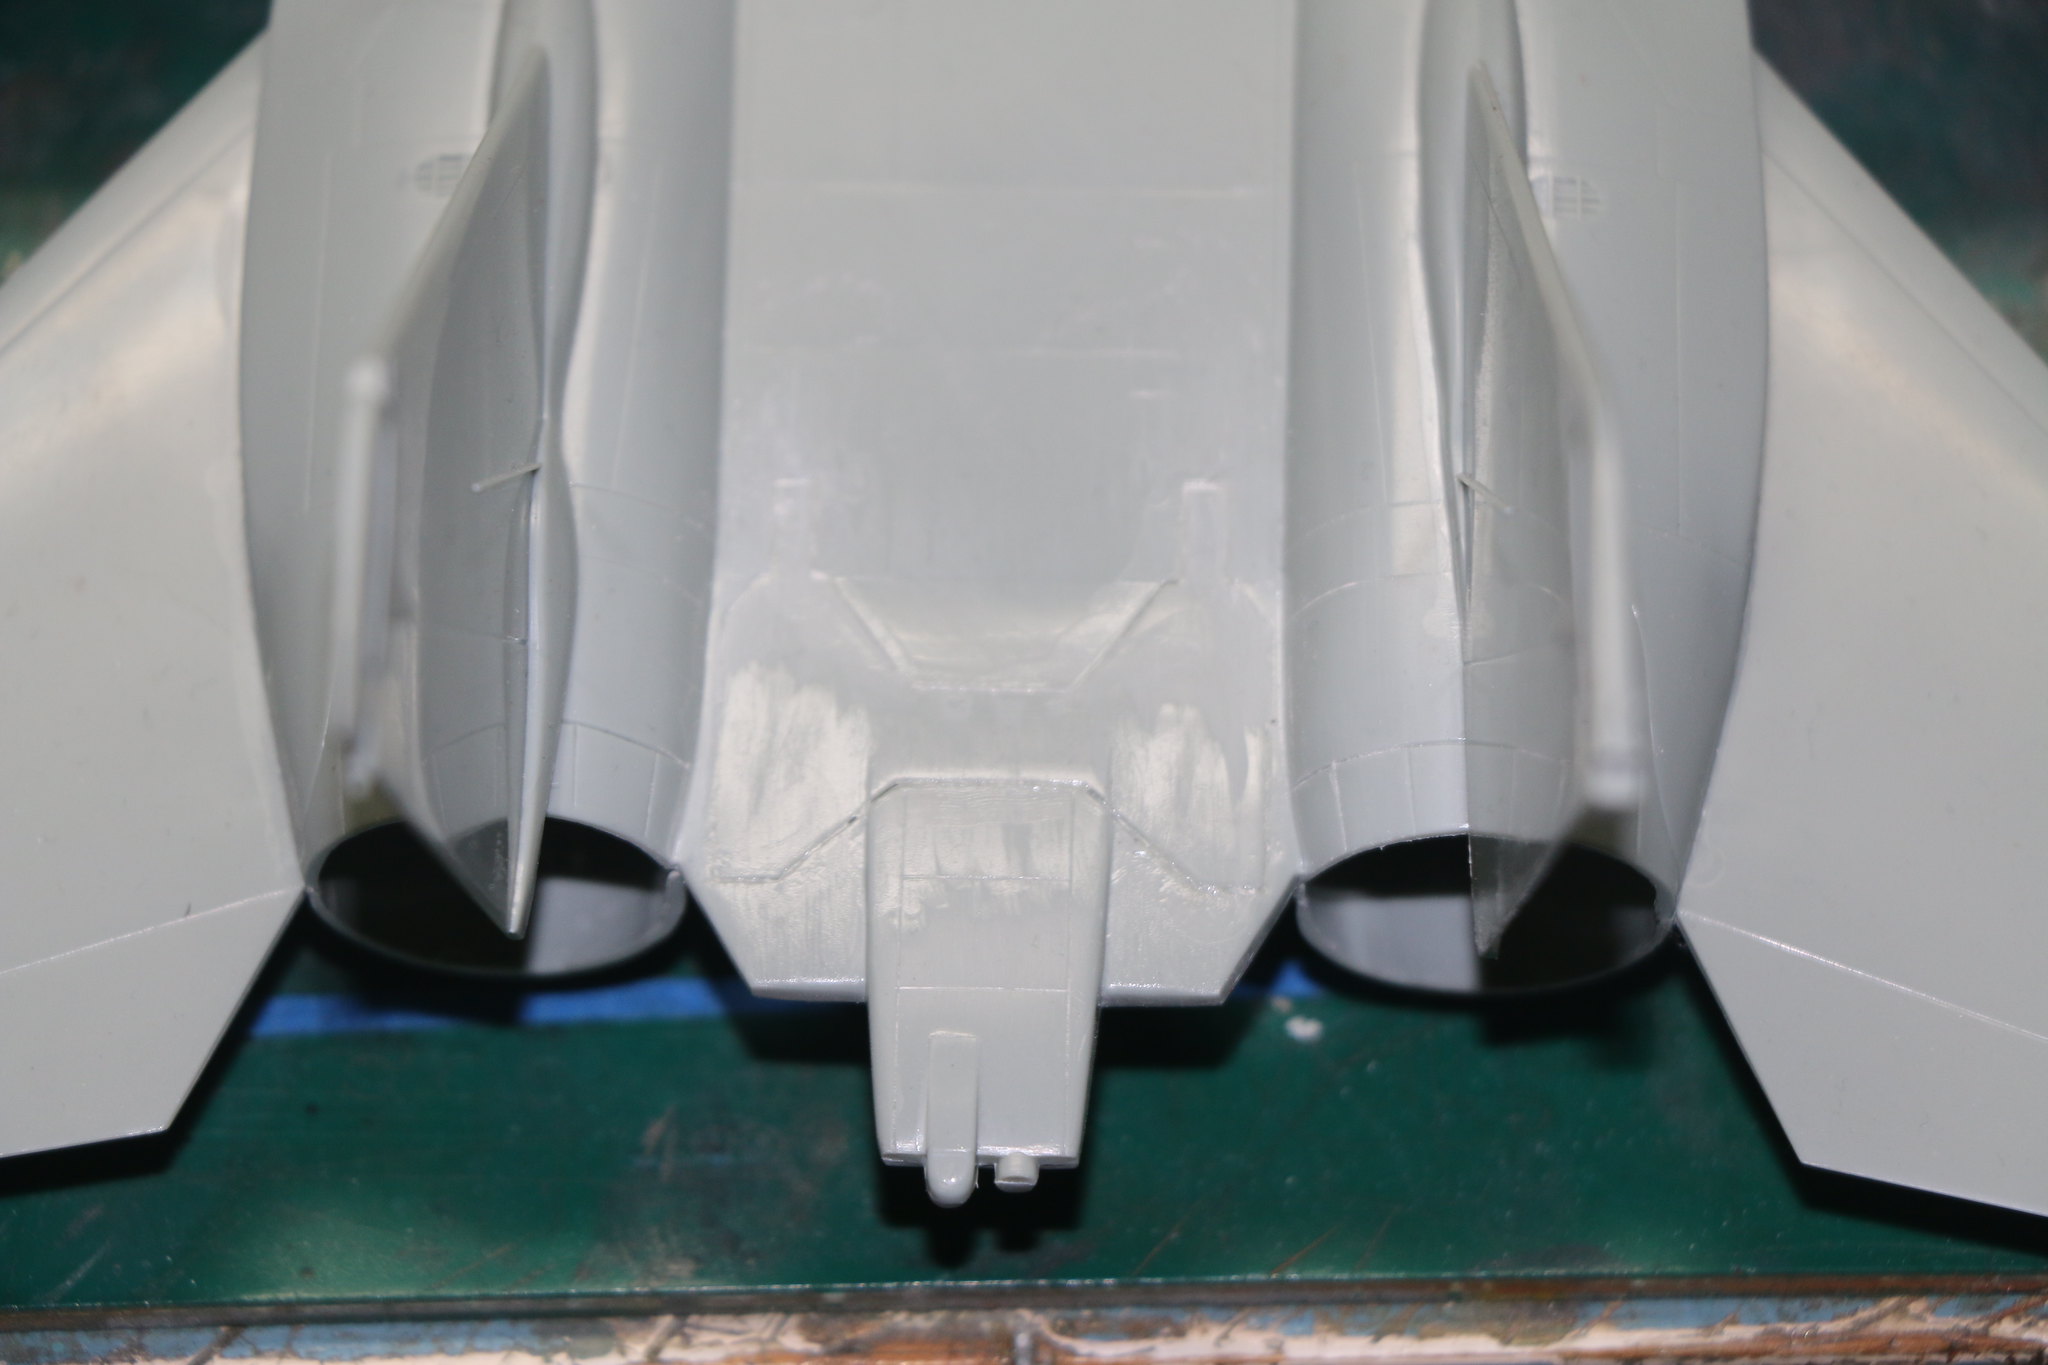
The walls of the well have a noticeable curve to them and not being familiar with this area wondered if it was correct? So rather than messing around too much I left them as they are but I cut recesses into the bottom of the wheel well where it meets the join between the two parts. So it would sit more or less flush against the bottom and support the join. This approach has worked rather well and there isn't much of a gap or misalignment in the join. I then glued the cockpit into the upper part of the fuselage and filed the IP and back of the cockpit to get a snug fit. Doing this may have raised the back of the cockpit up slightly but not to point where it interferes with canopy. I've noticed sizable gaps between the cockpit tub and fuselage walls so I'm going to glue plasticard onto the bottom of the cockpit to seal up the gaps and then I'll start painting.

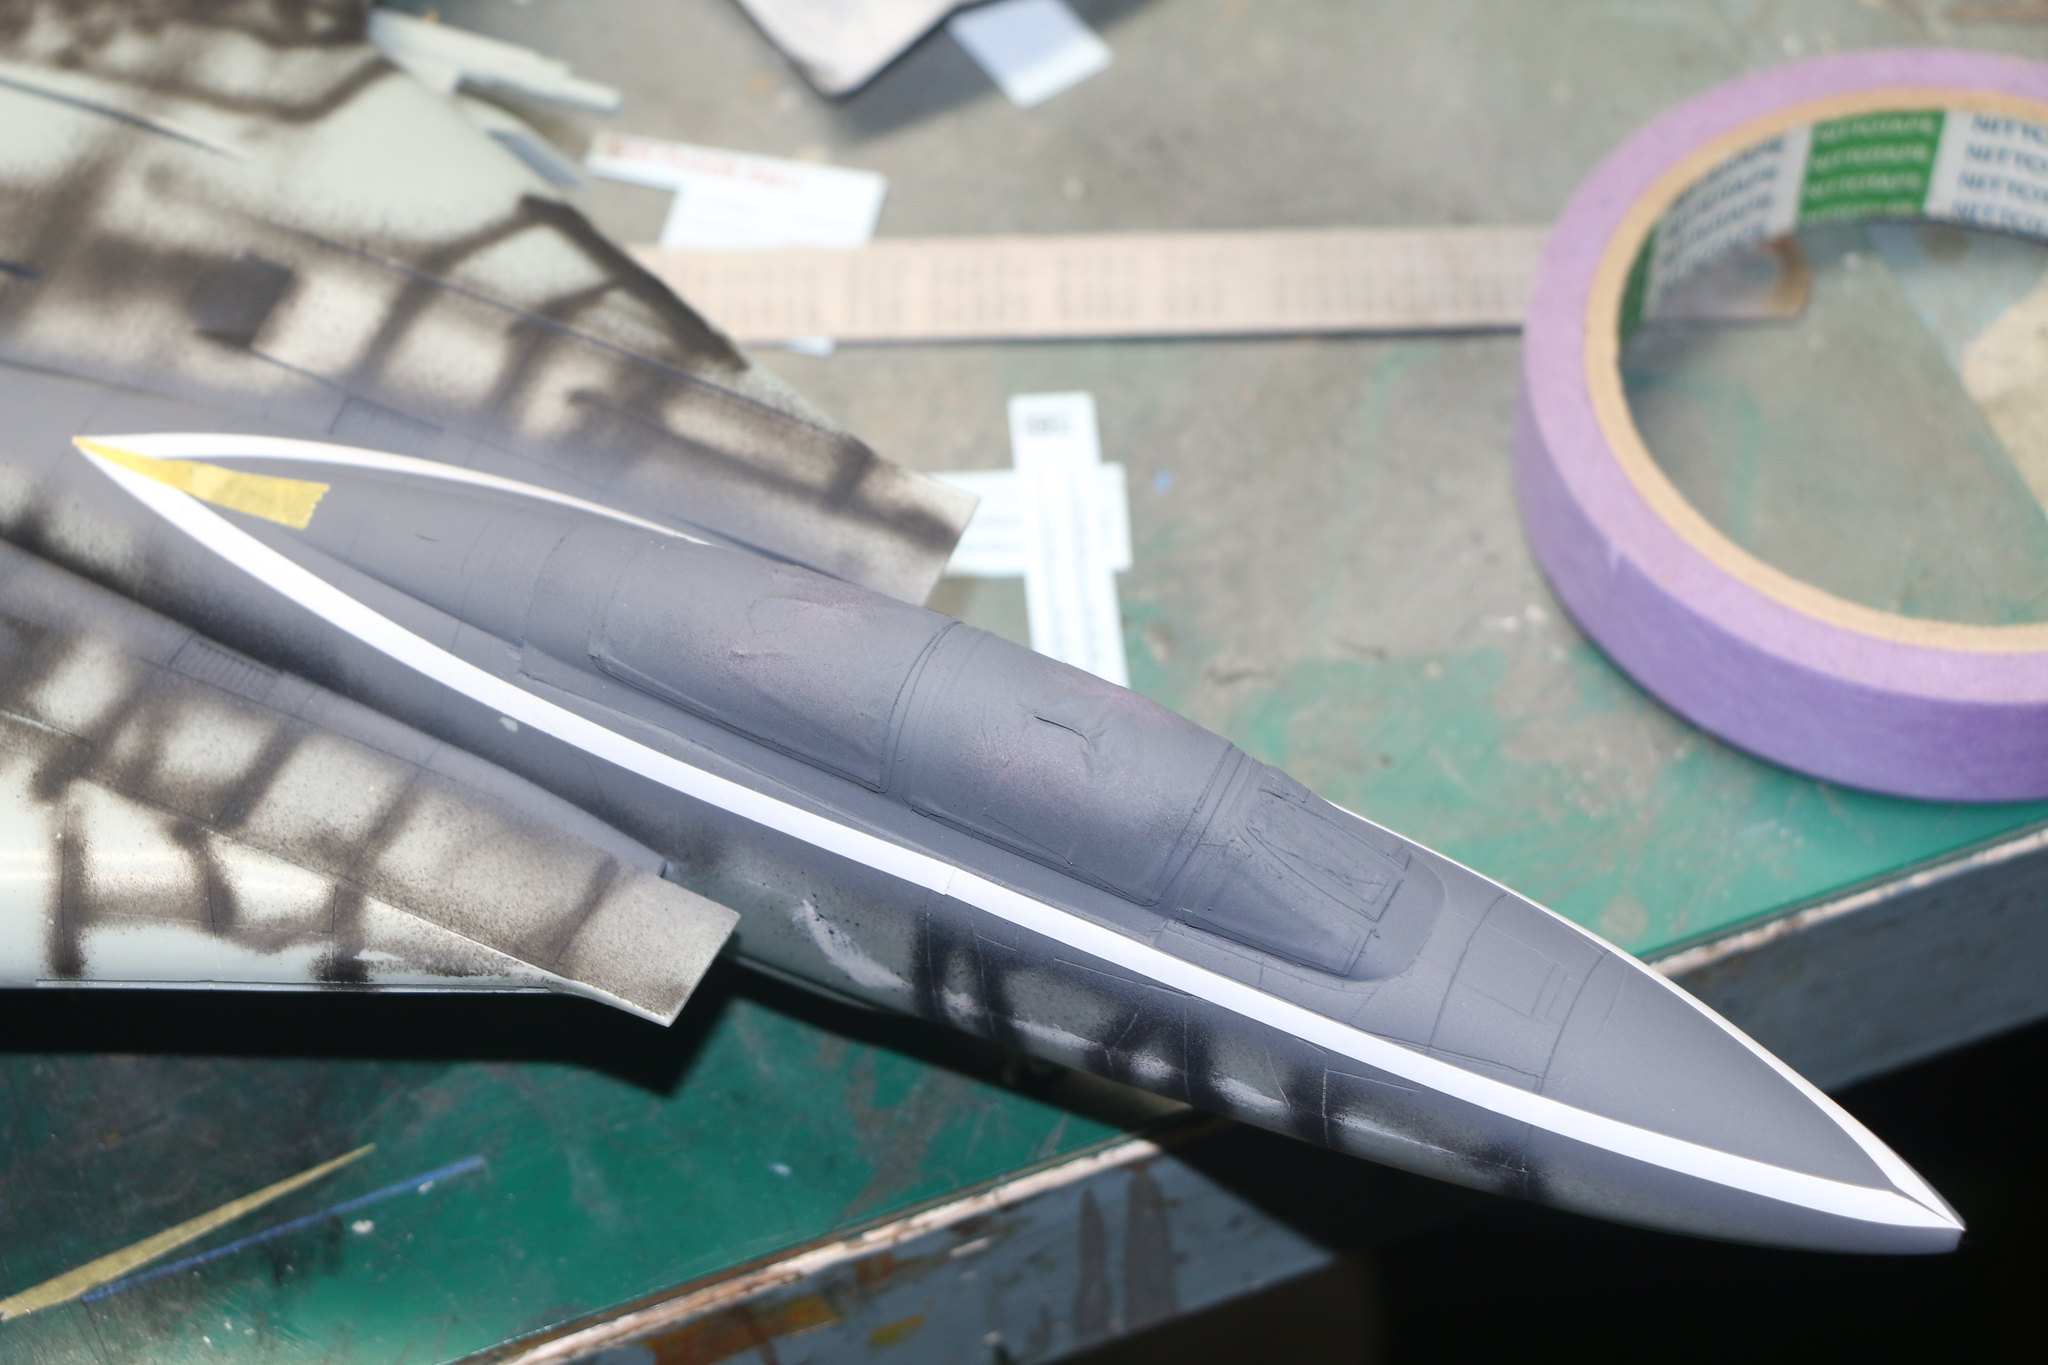
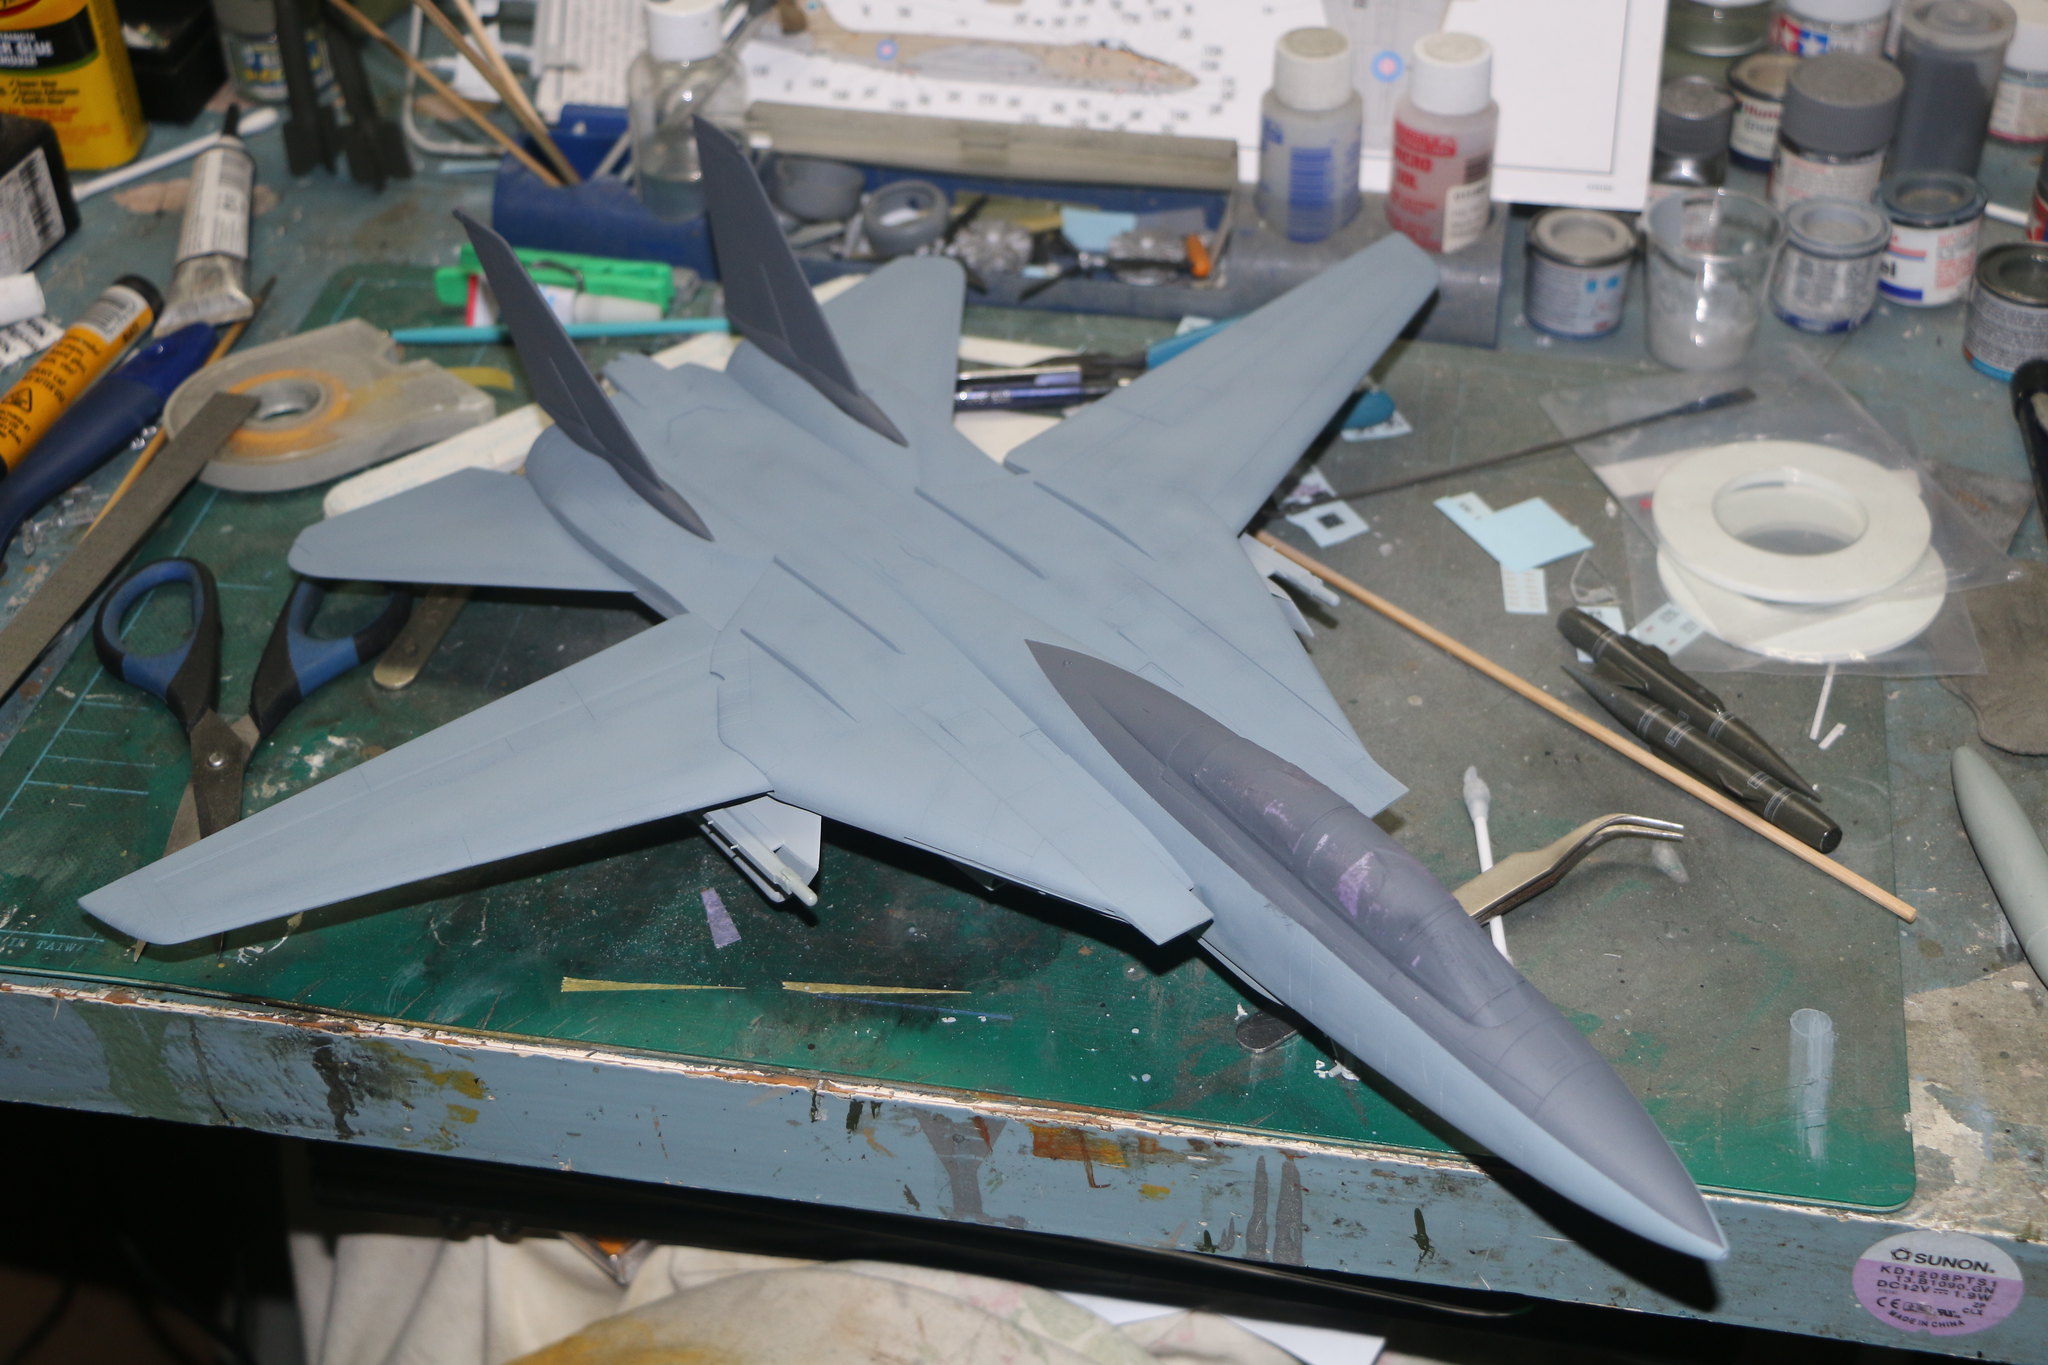
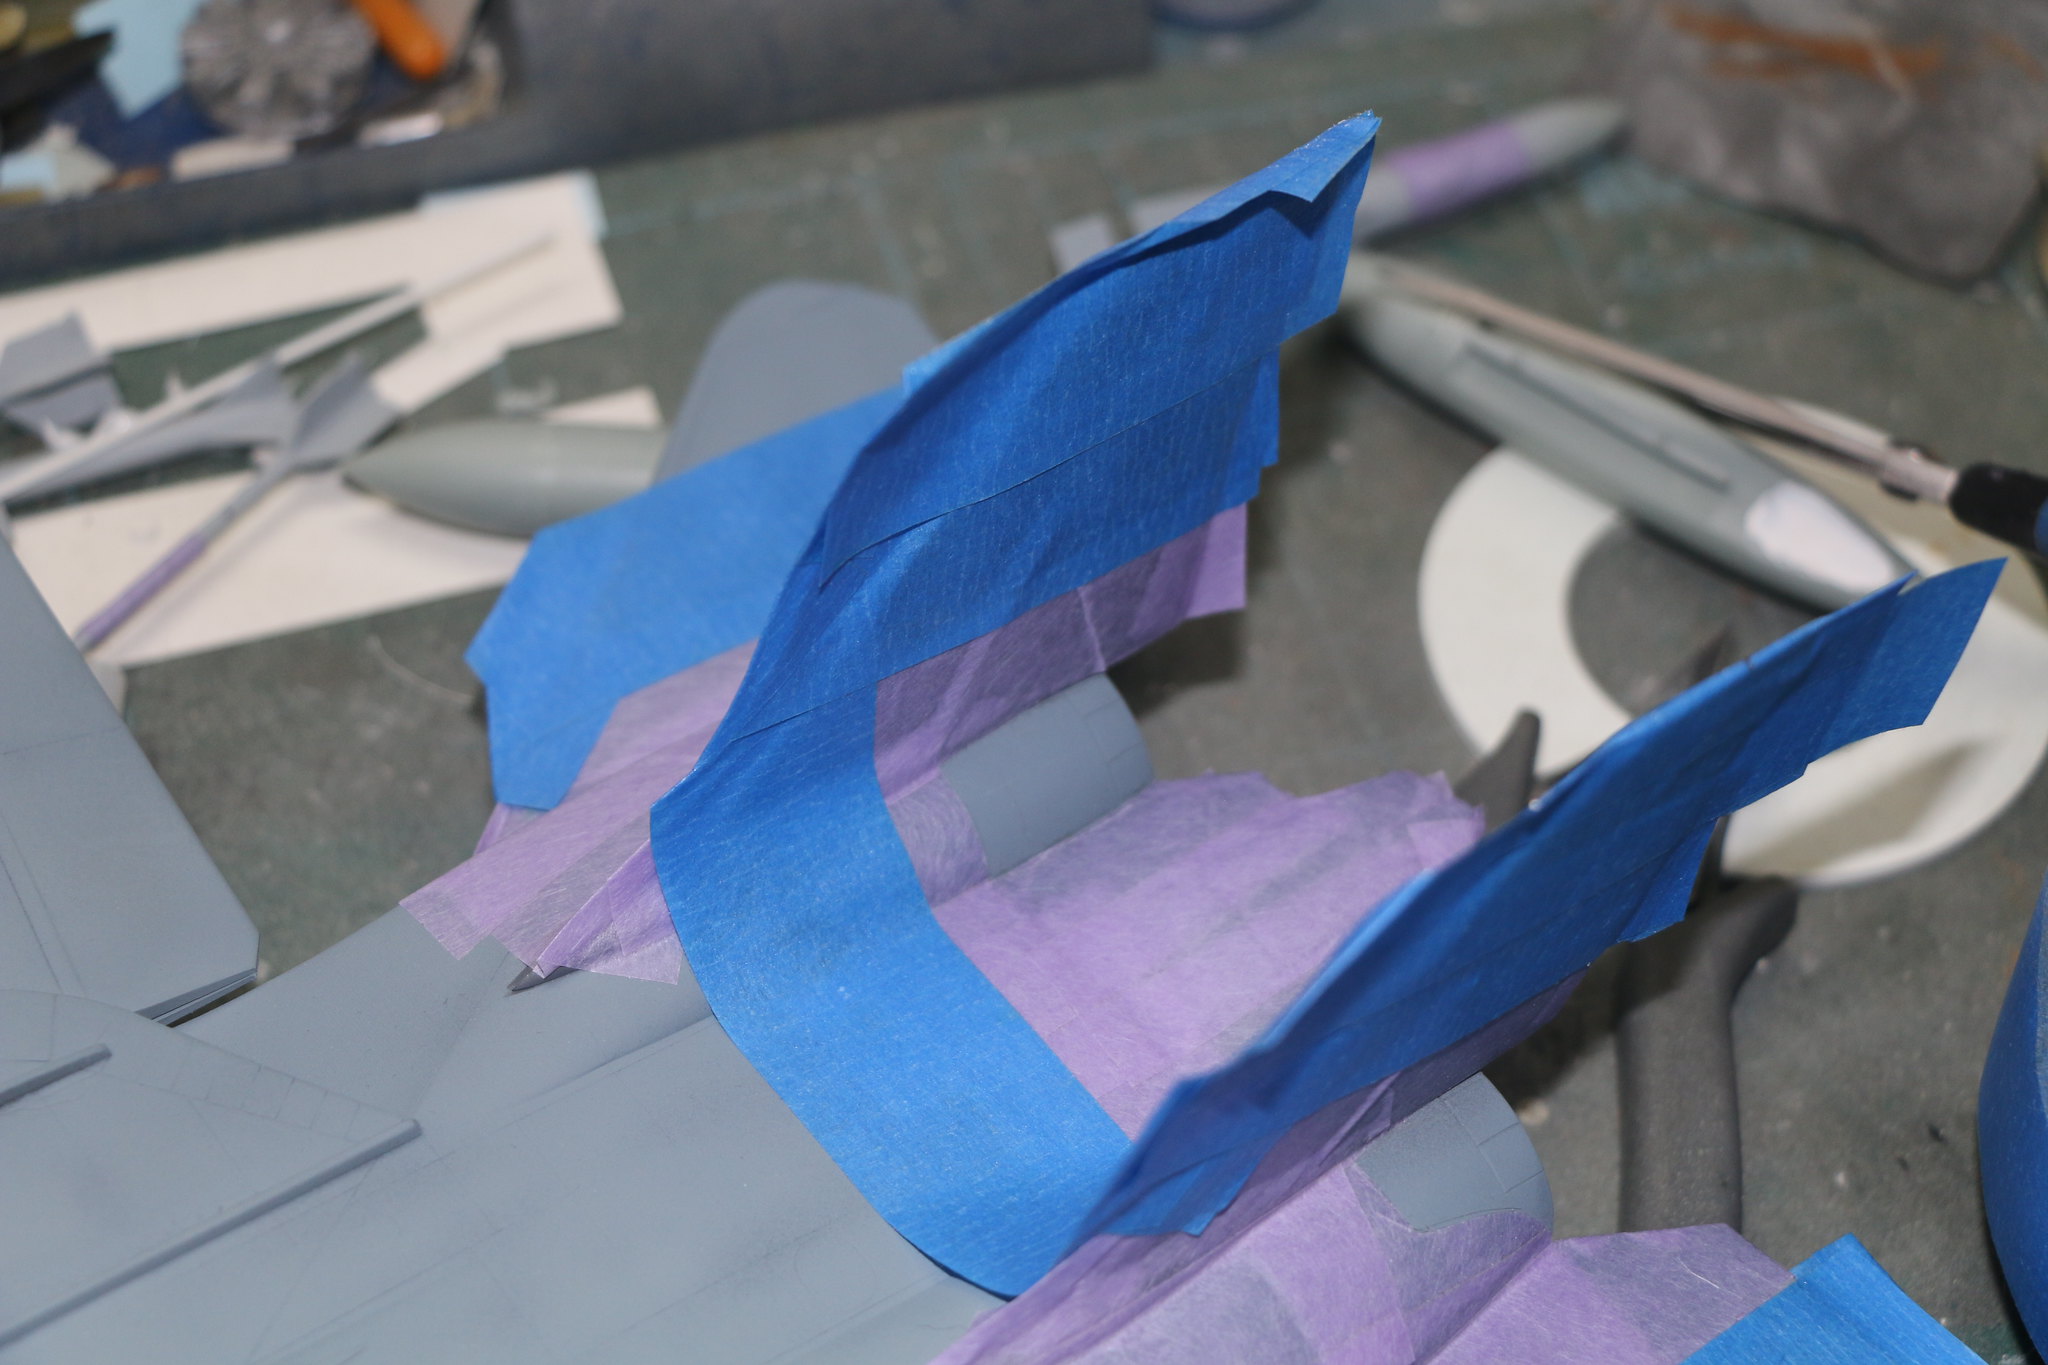
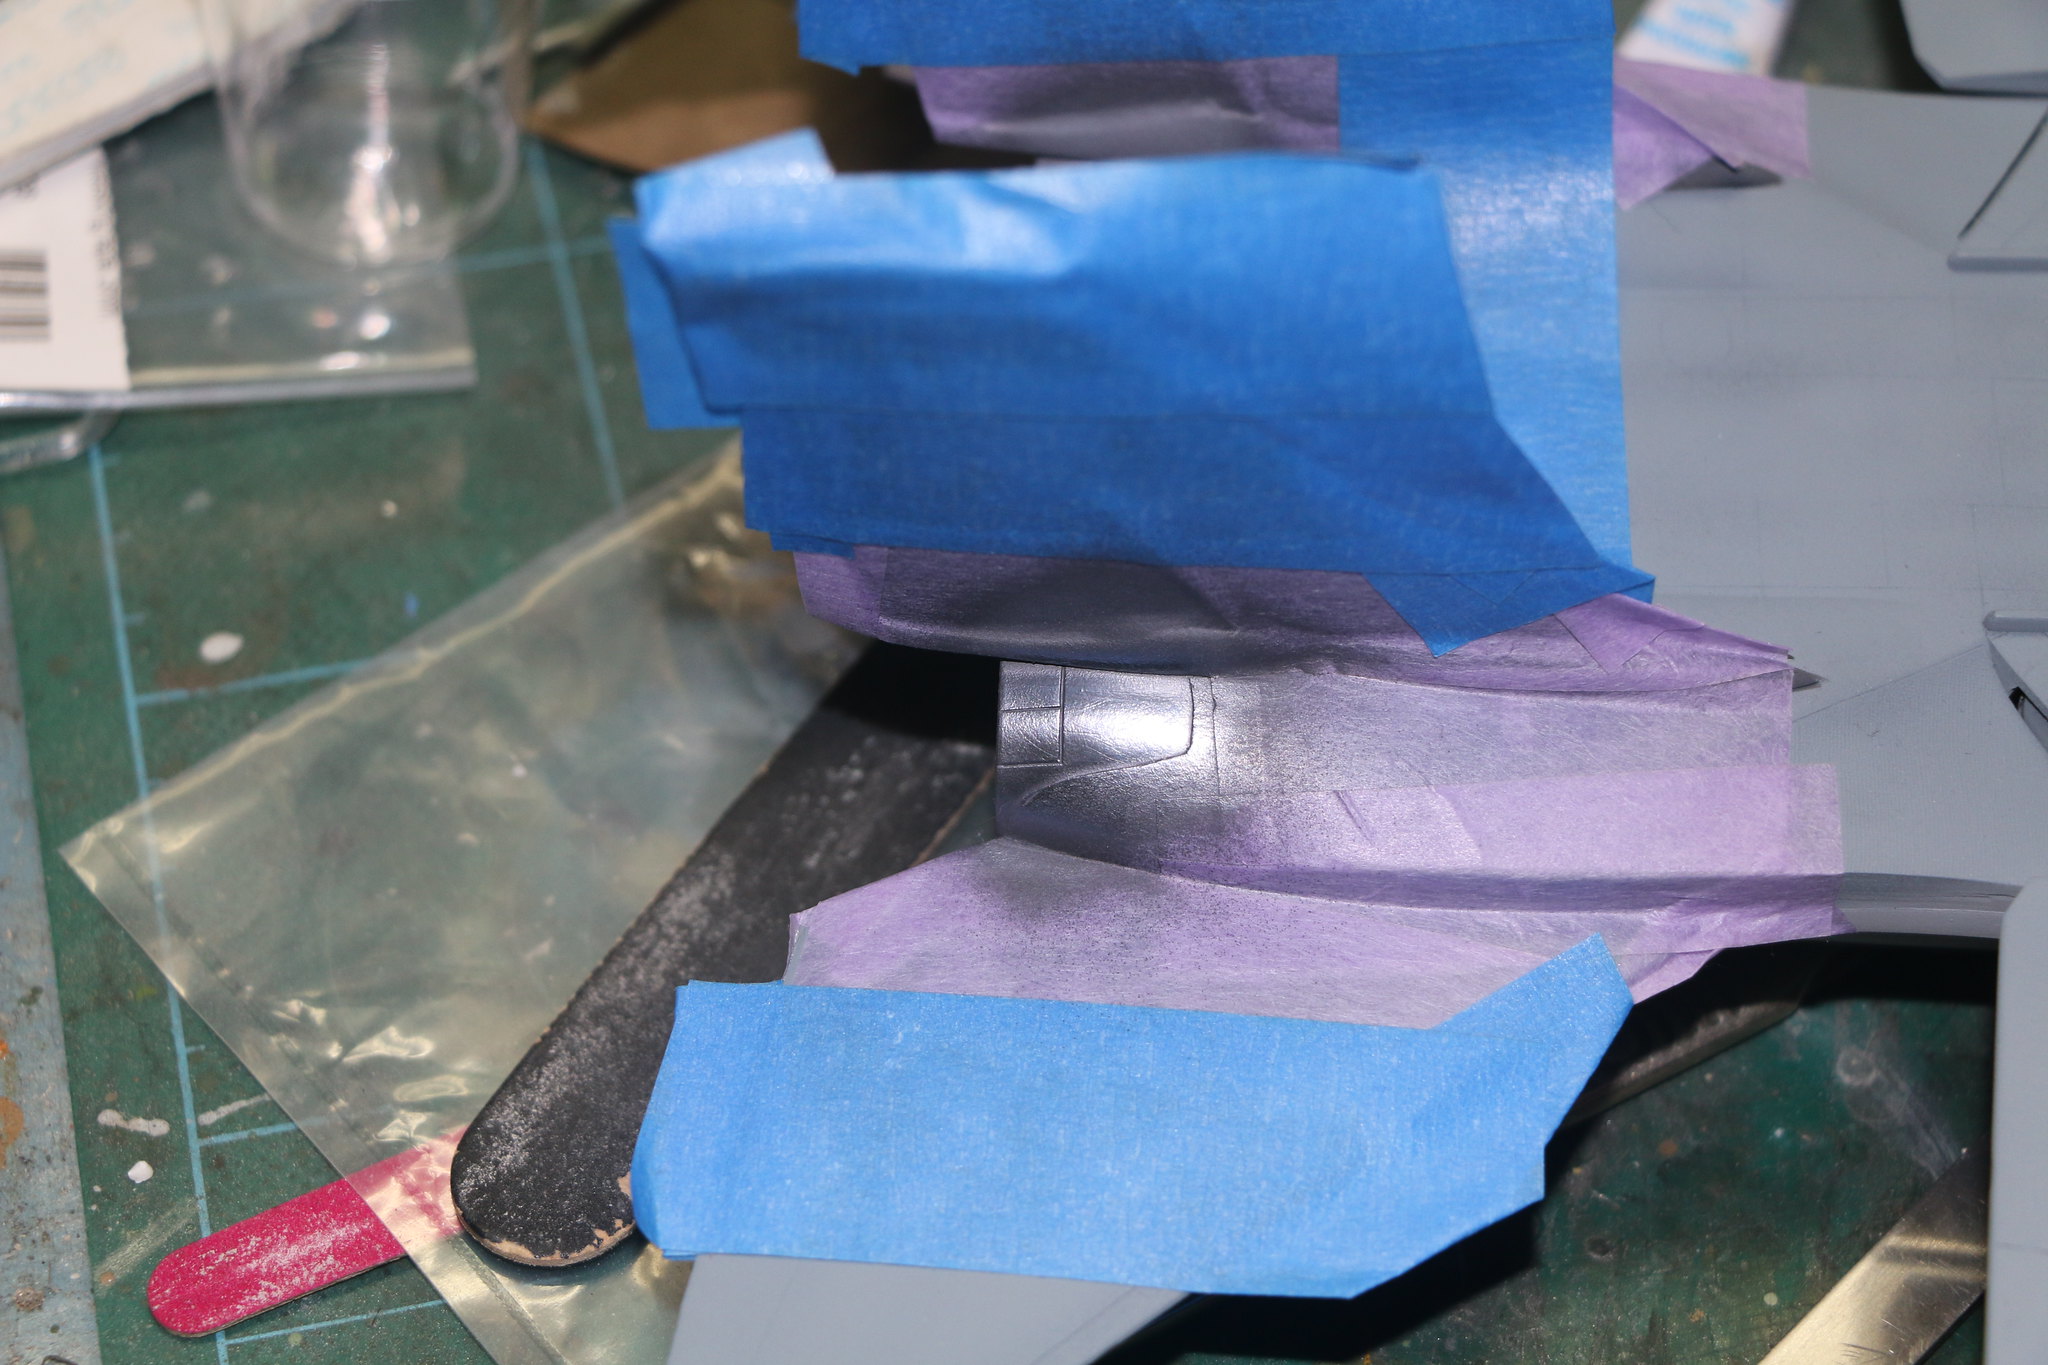
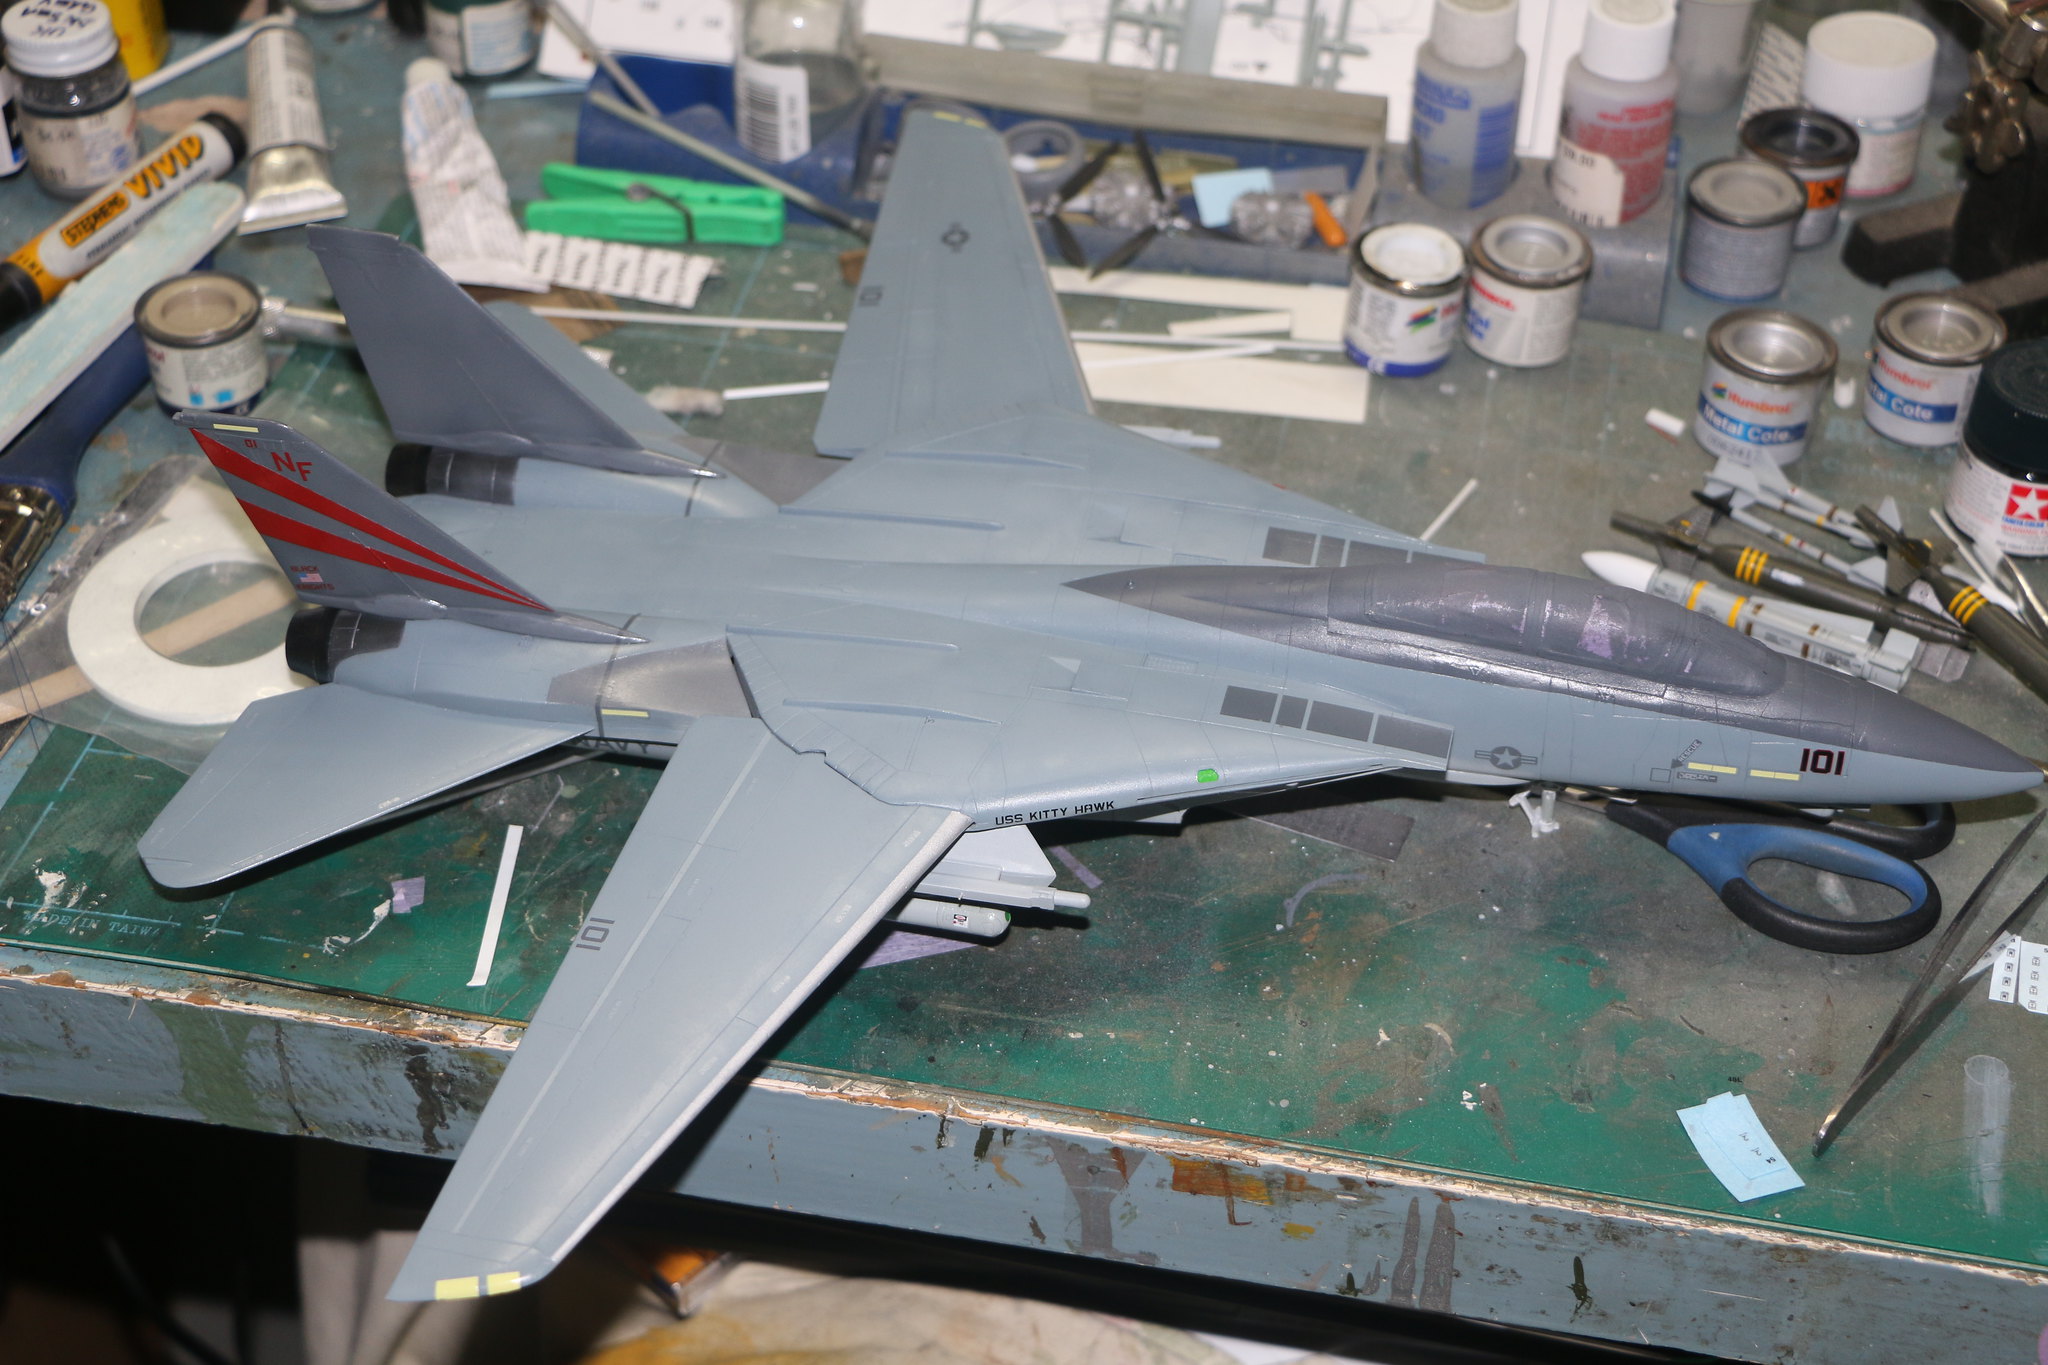
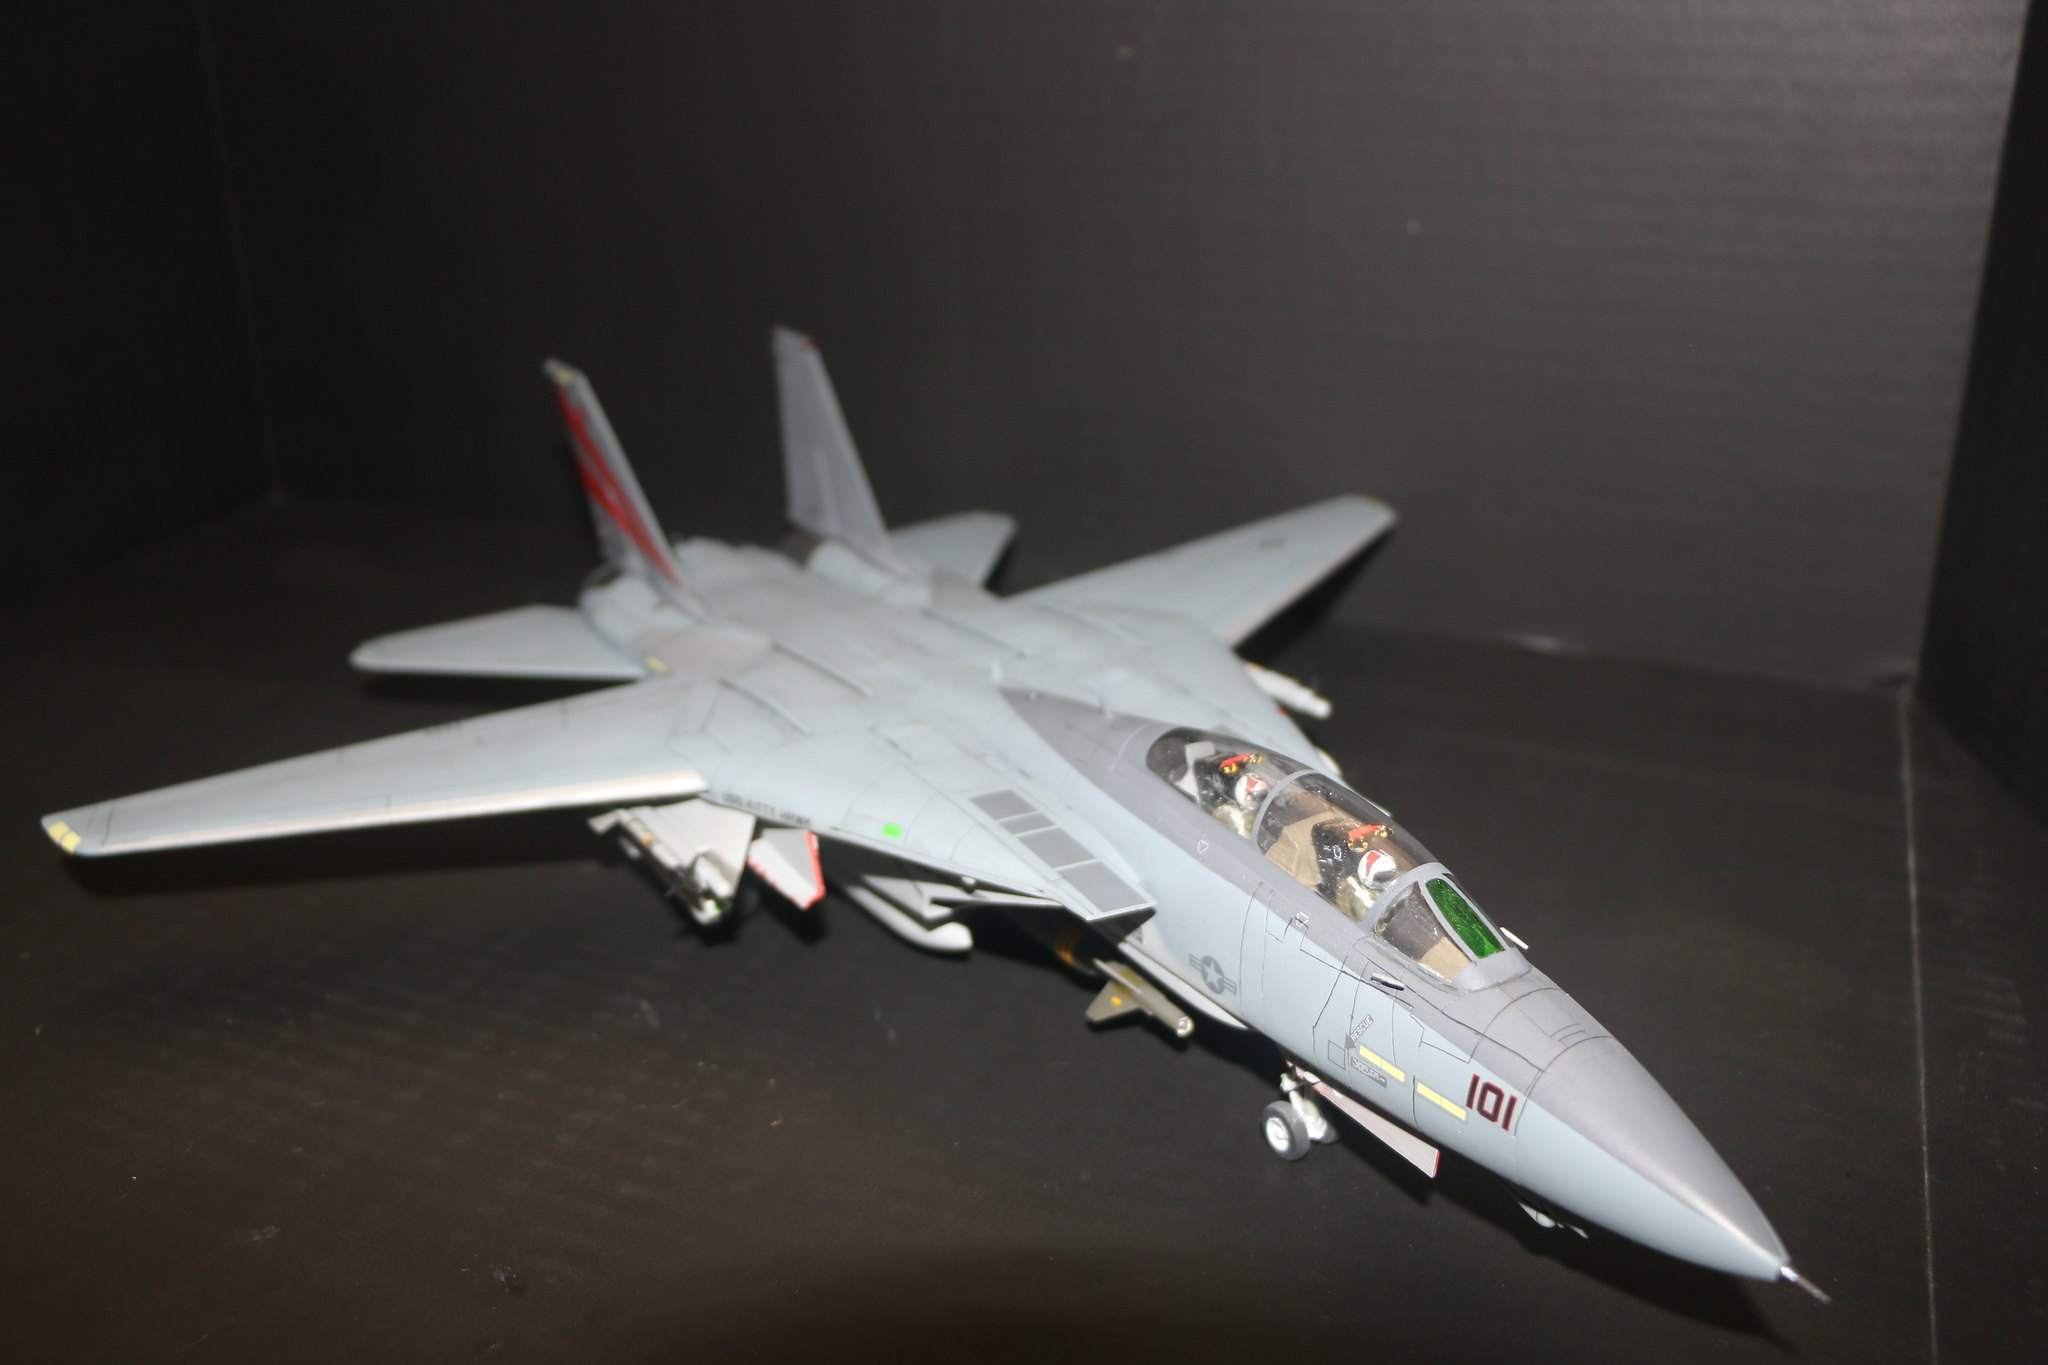
IMG_1618 by Chris WIlson, on Flickr

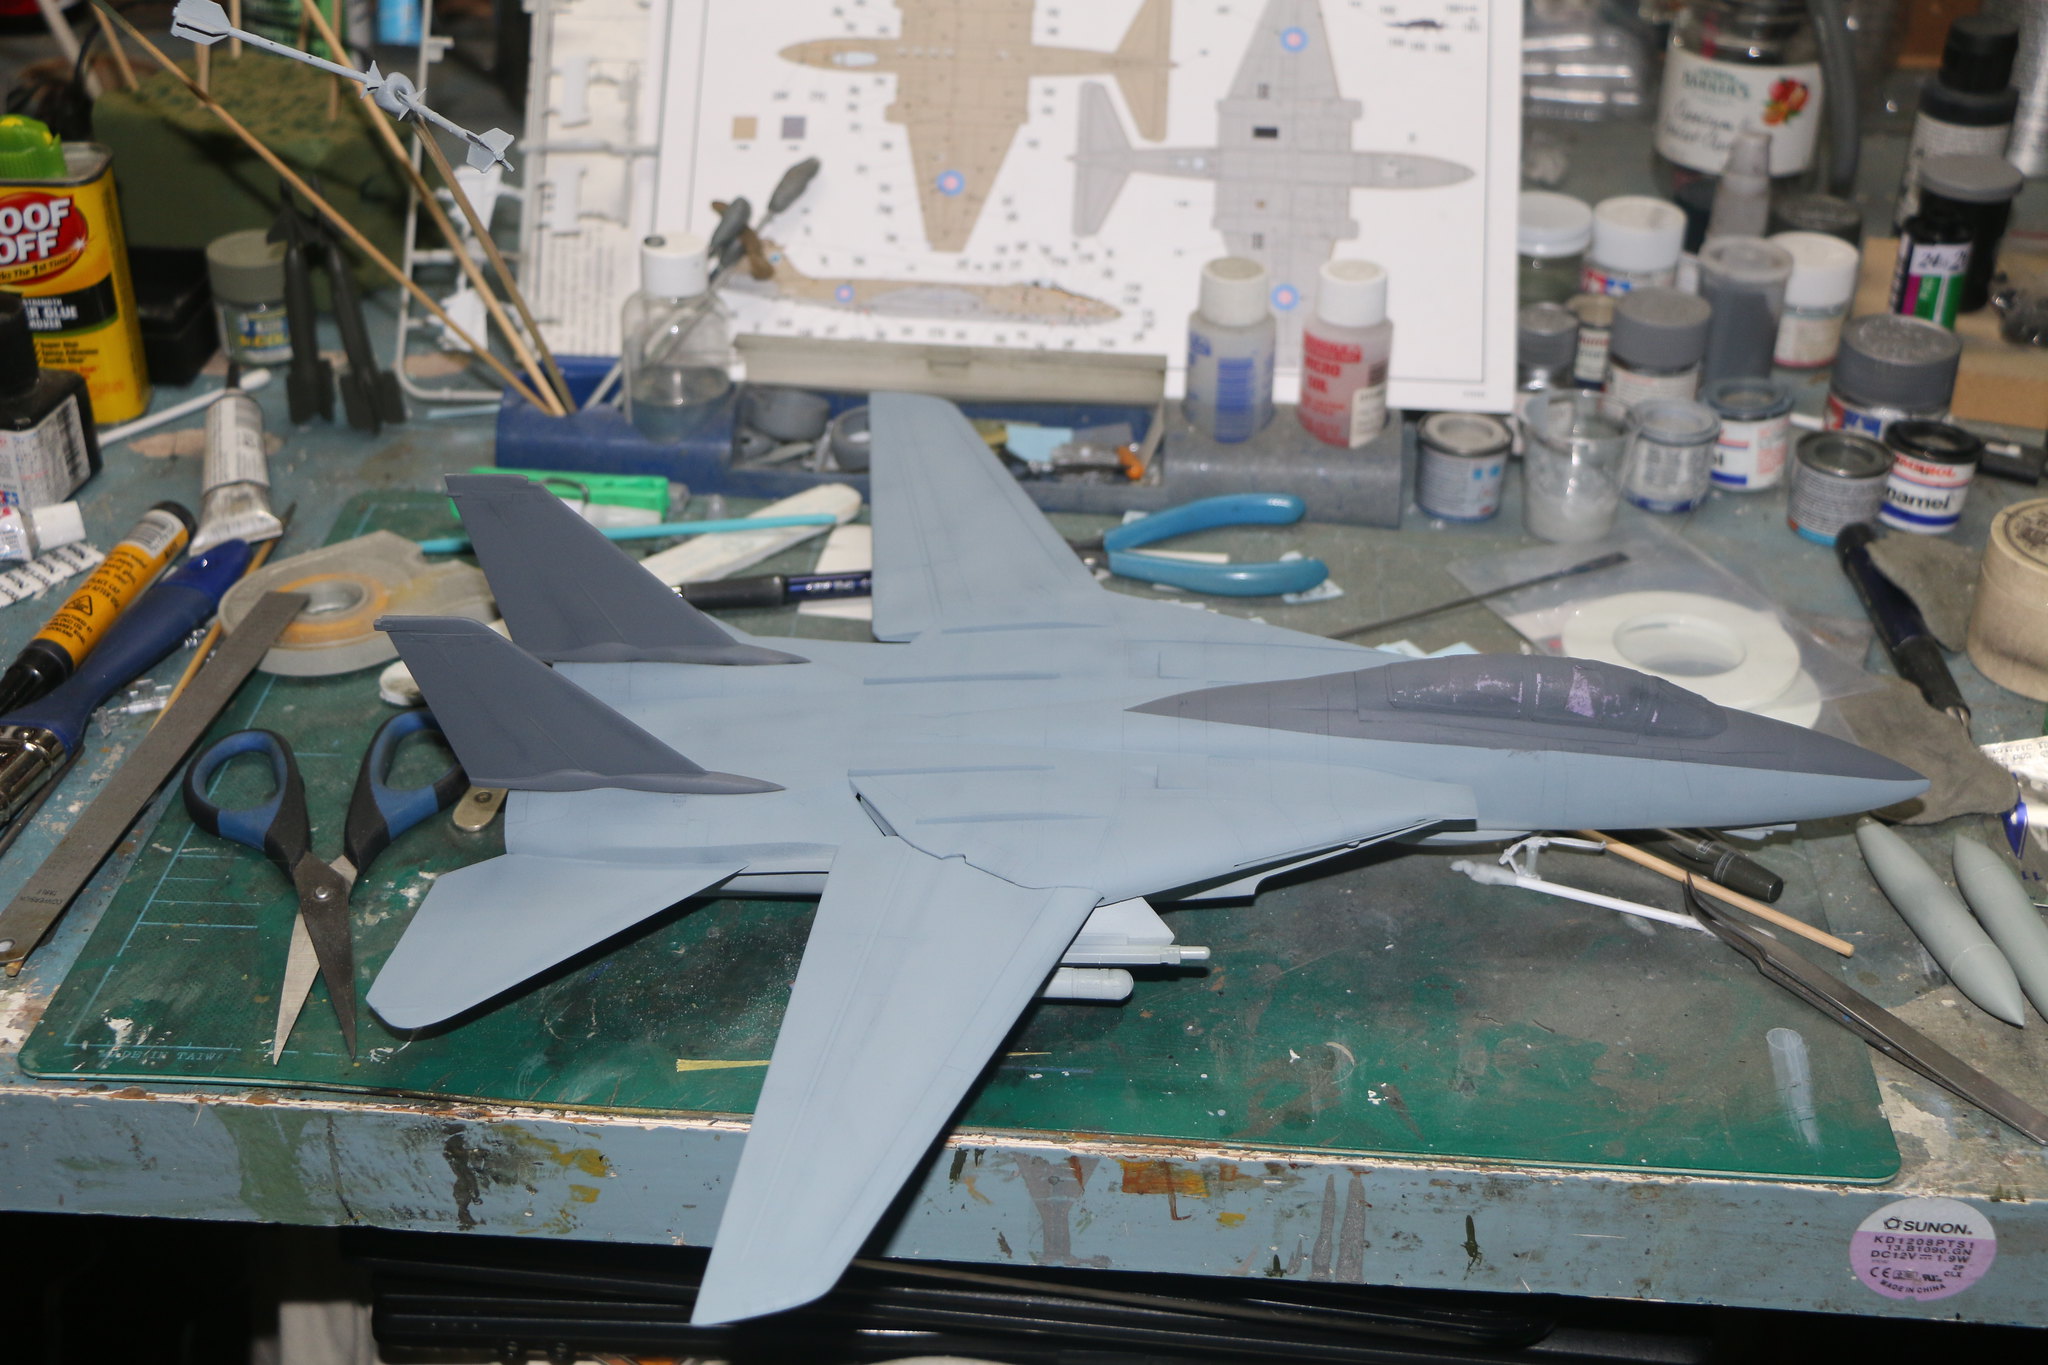
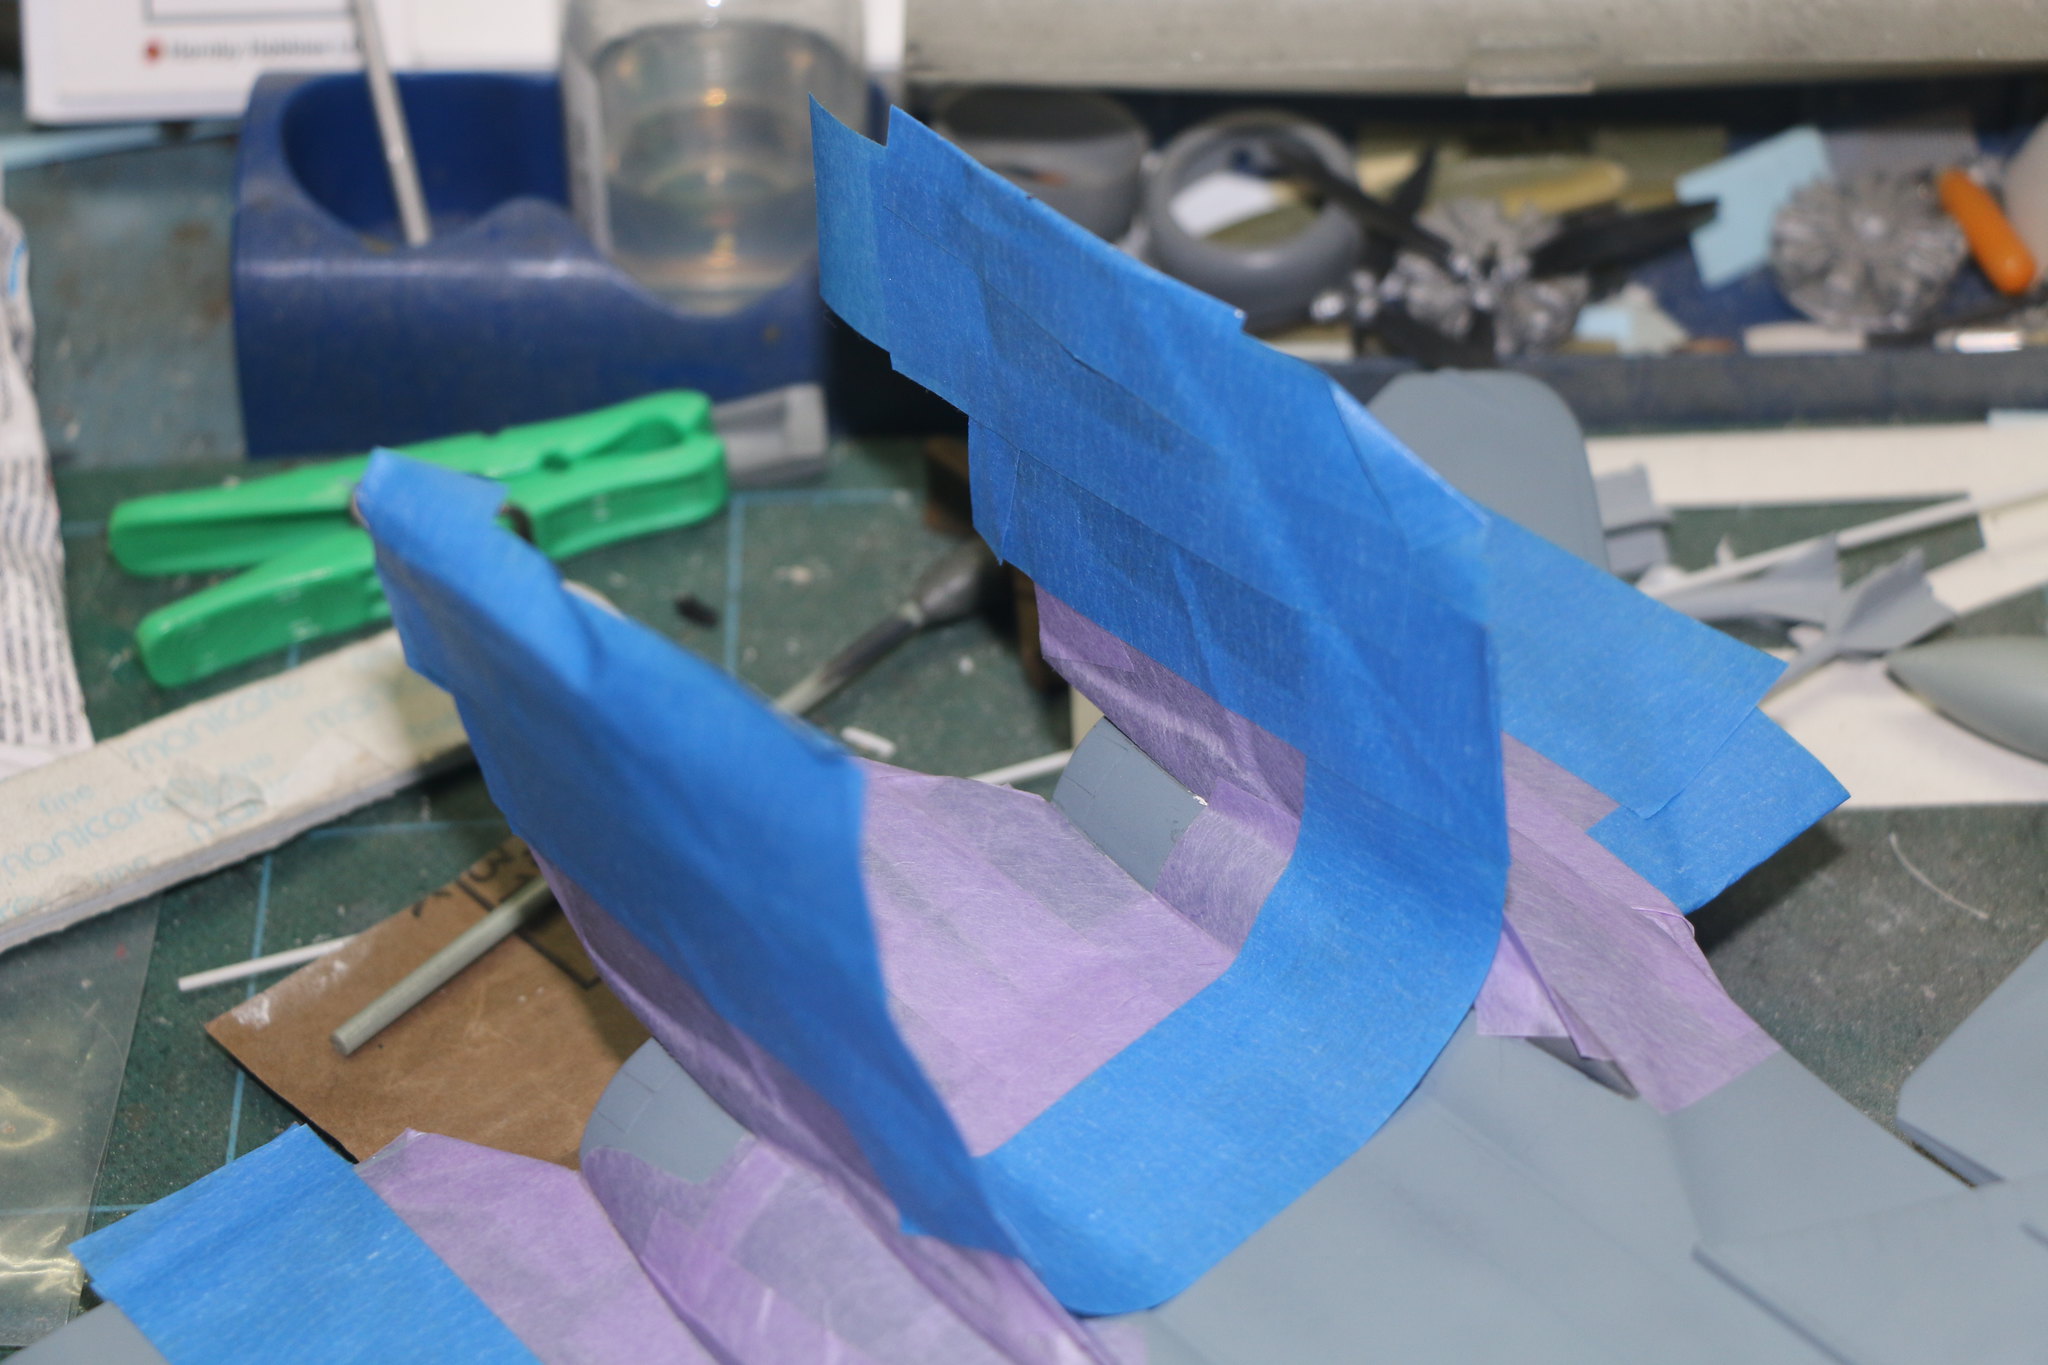
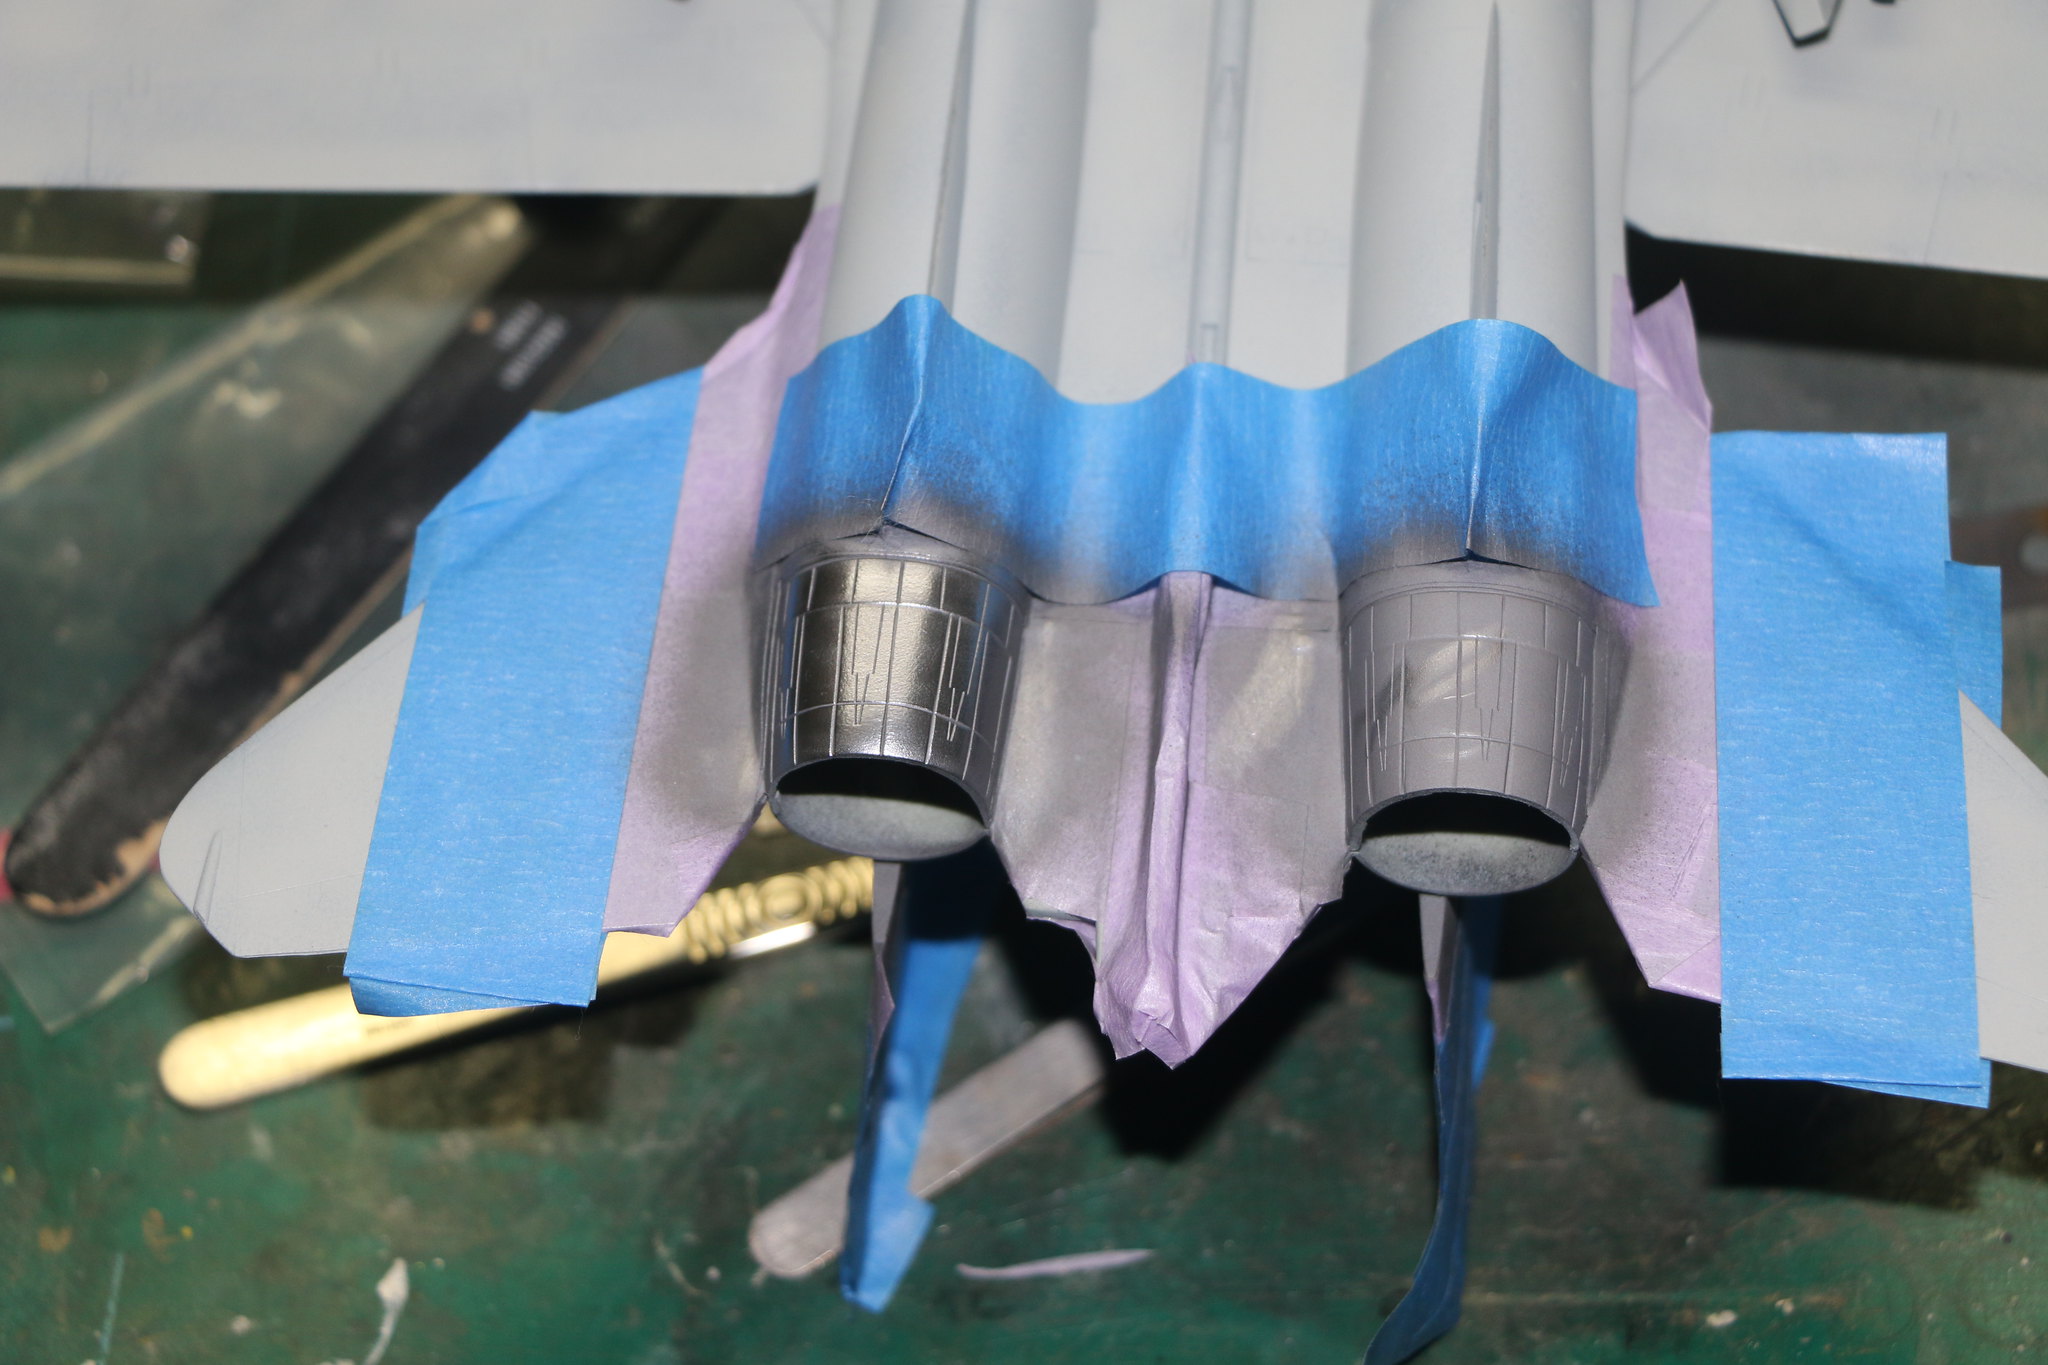
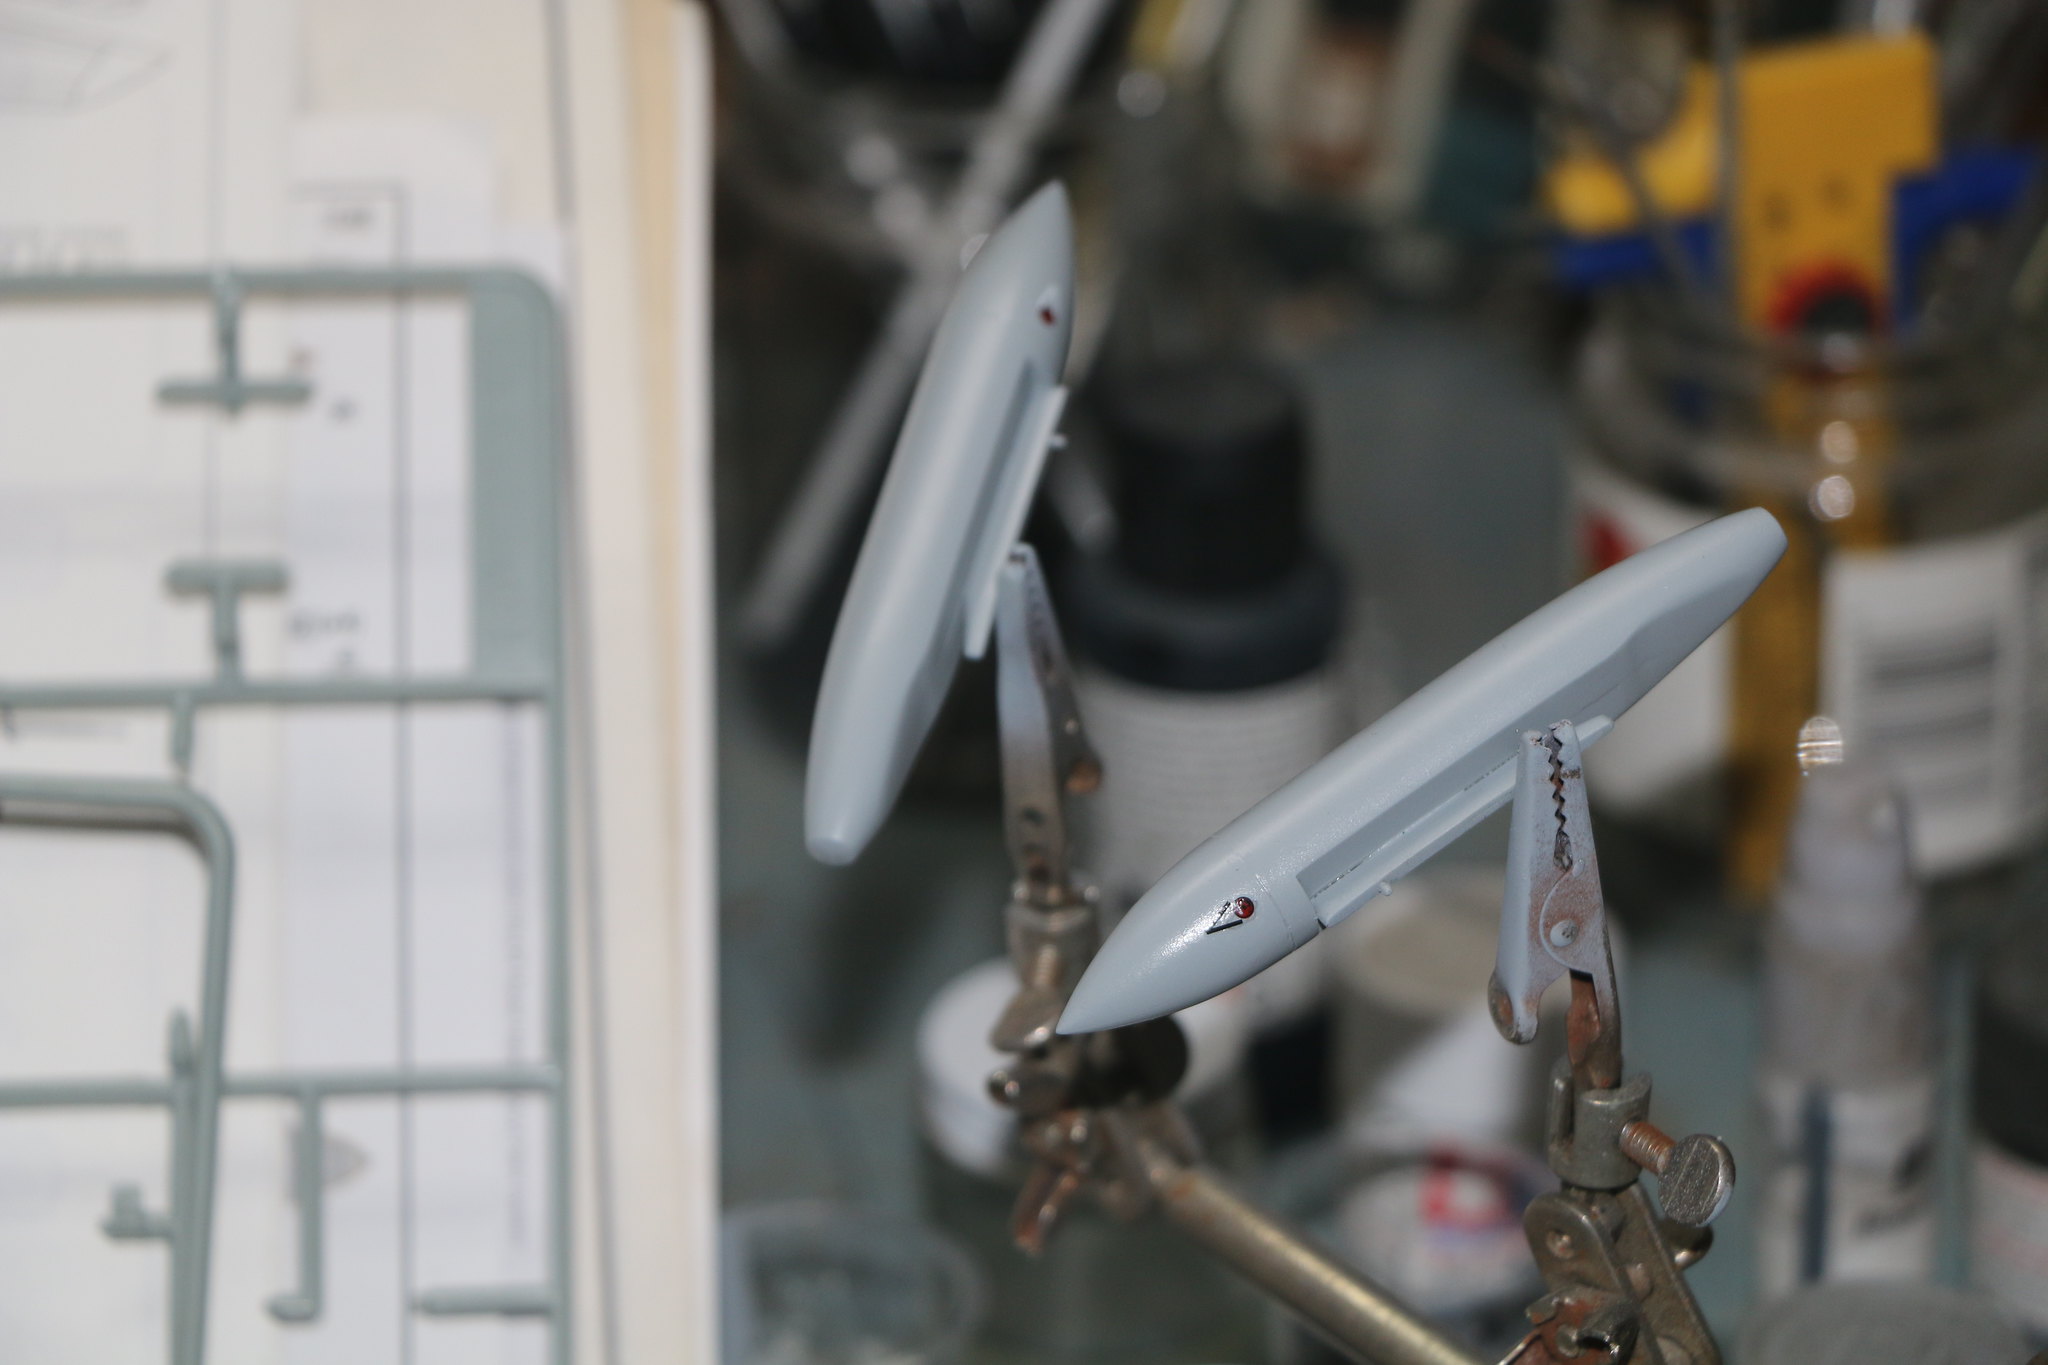
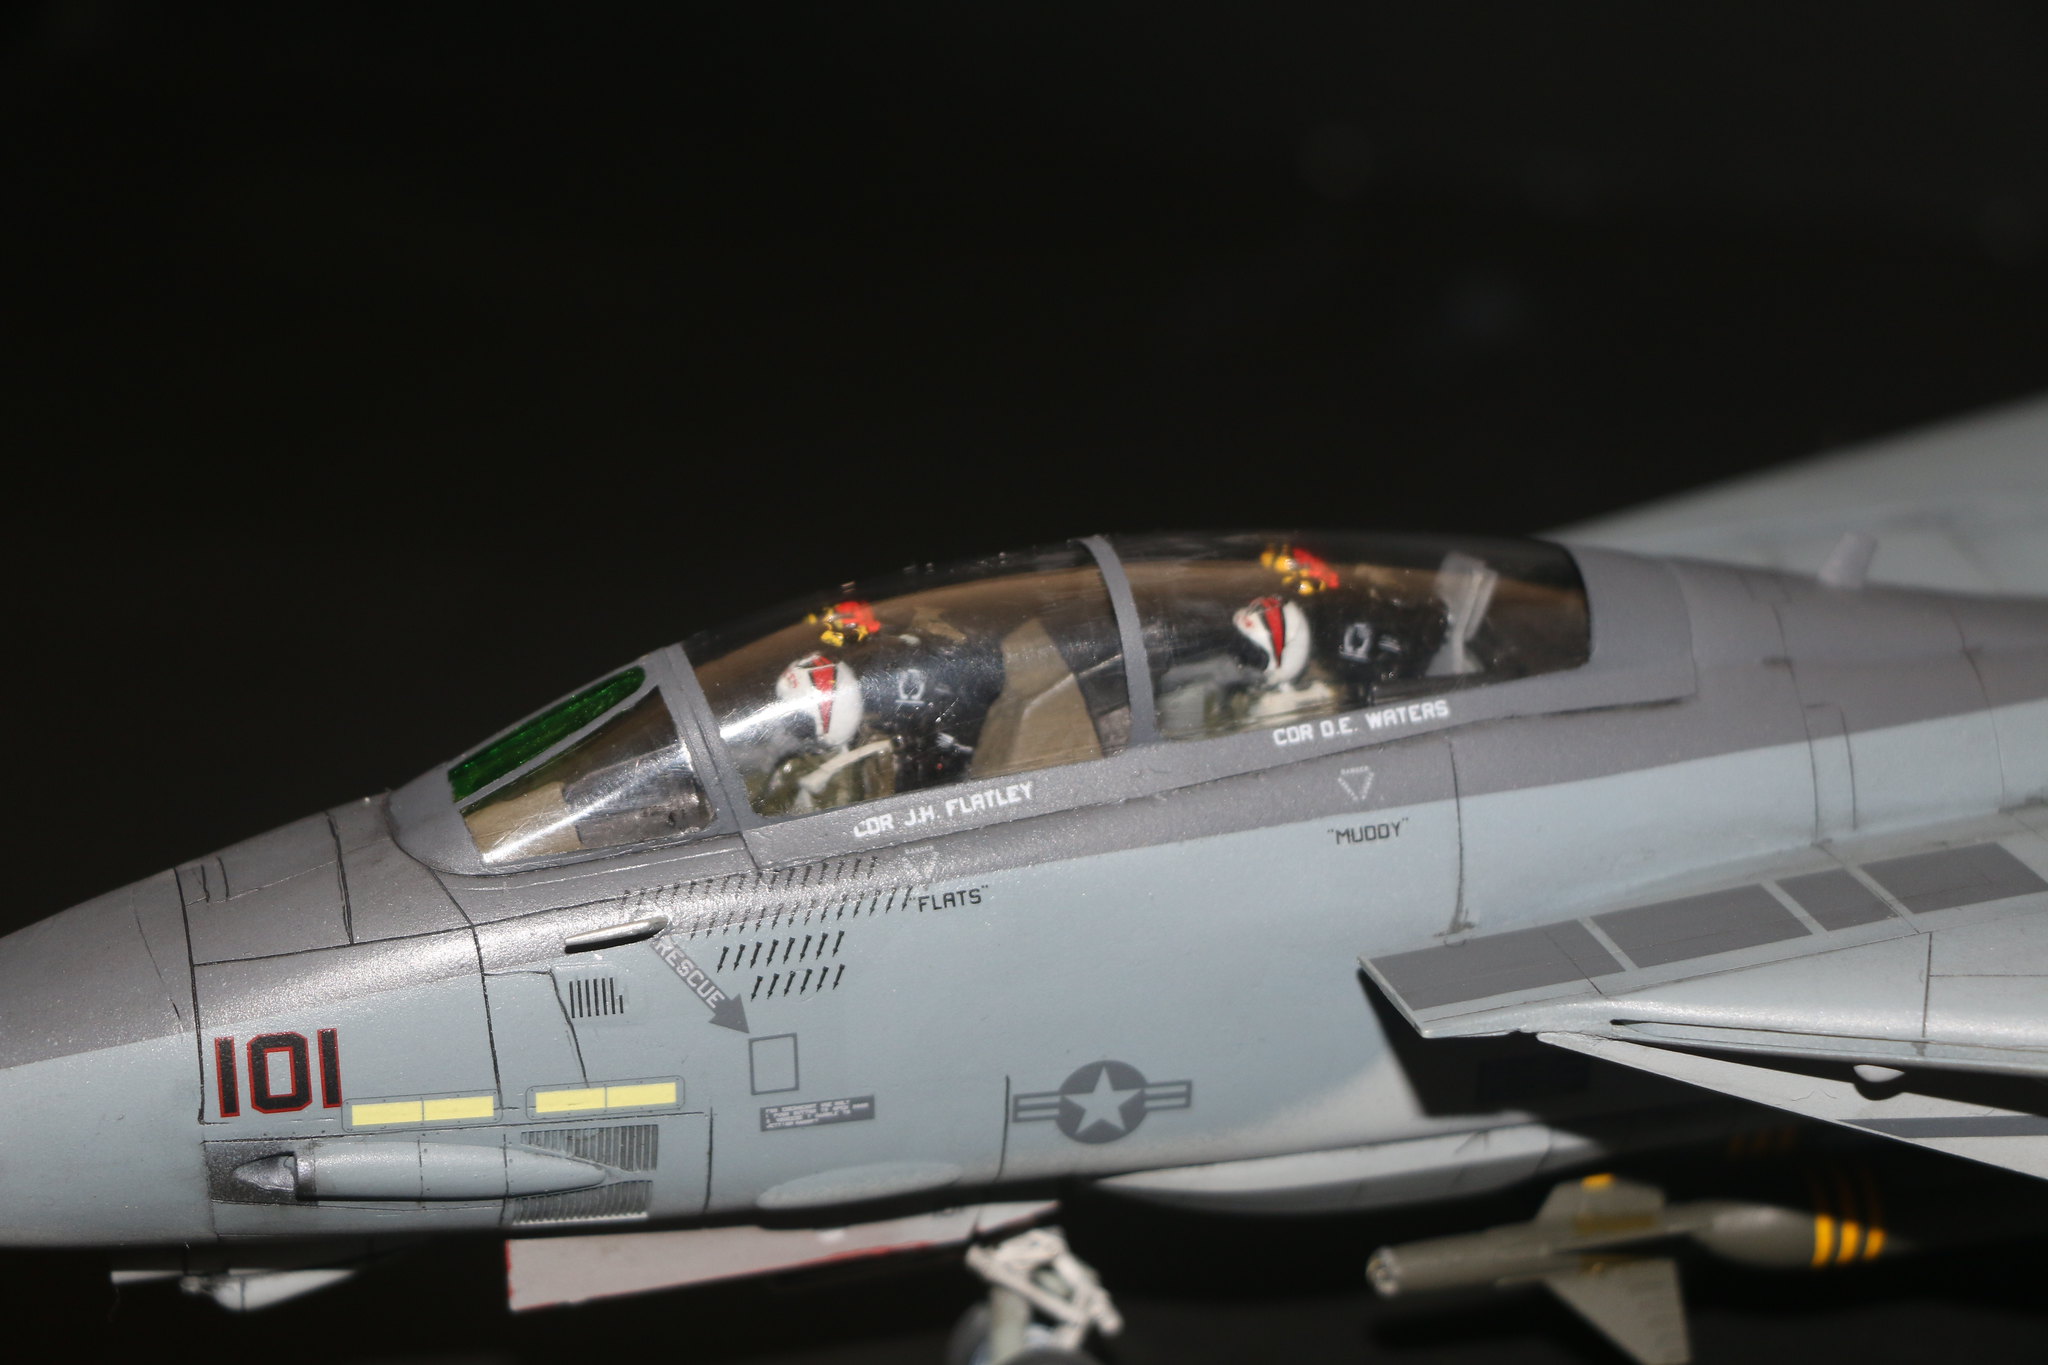
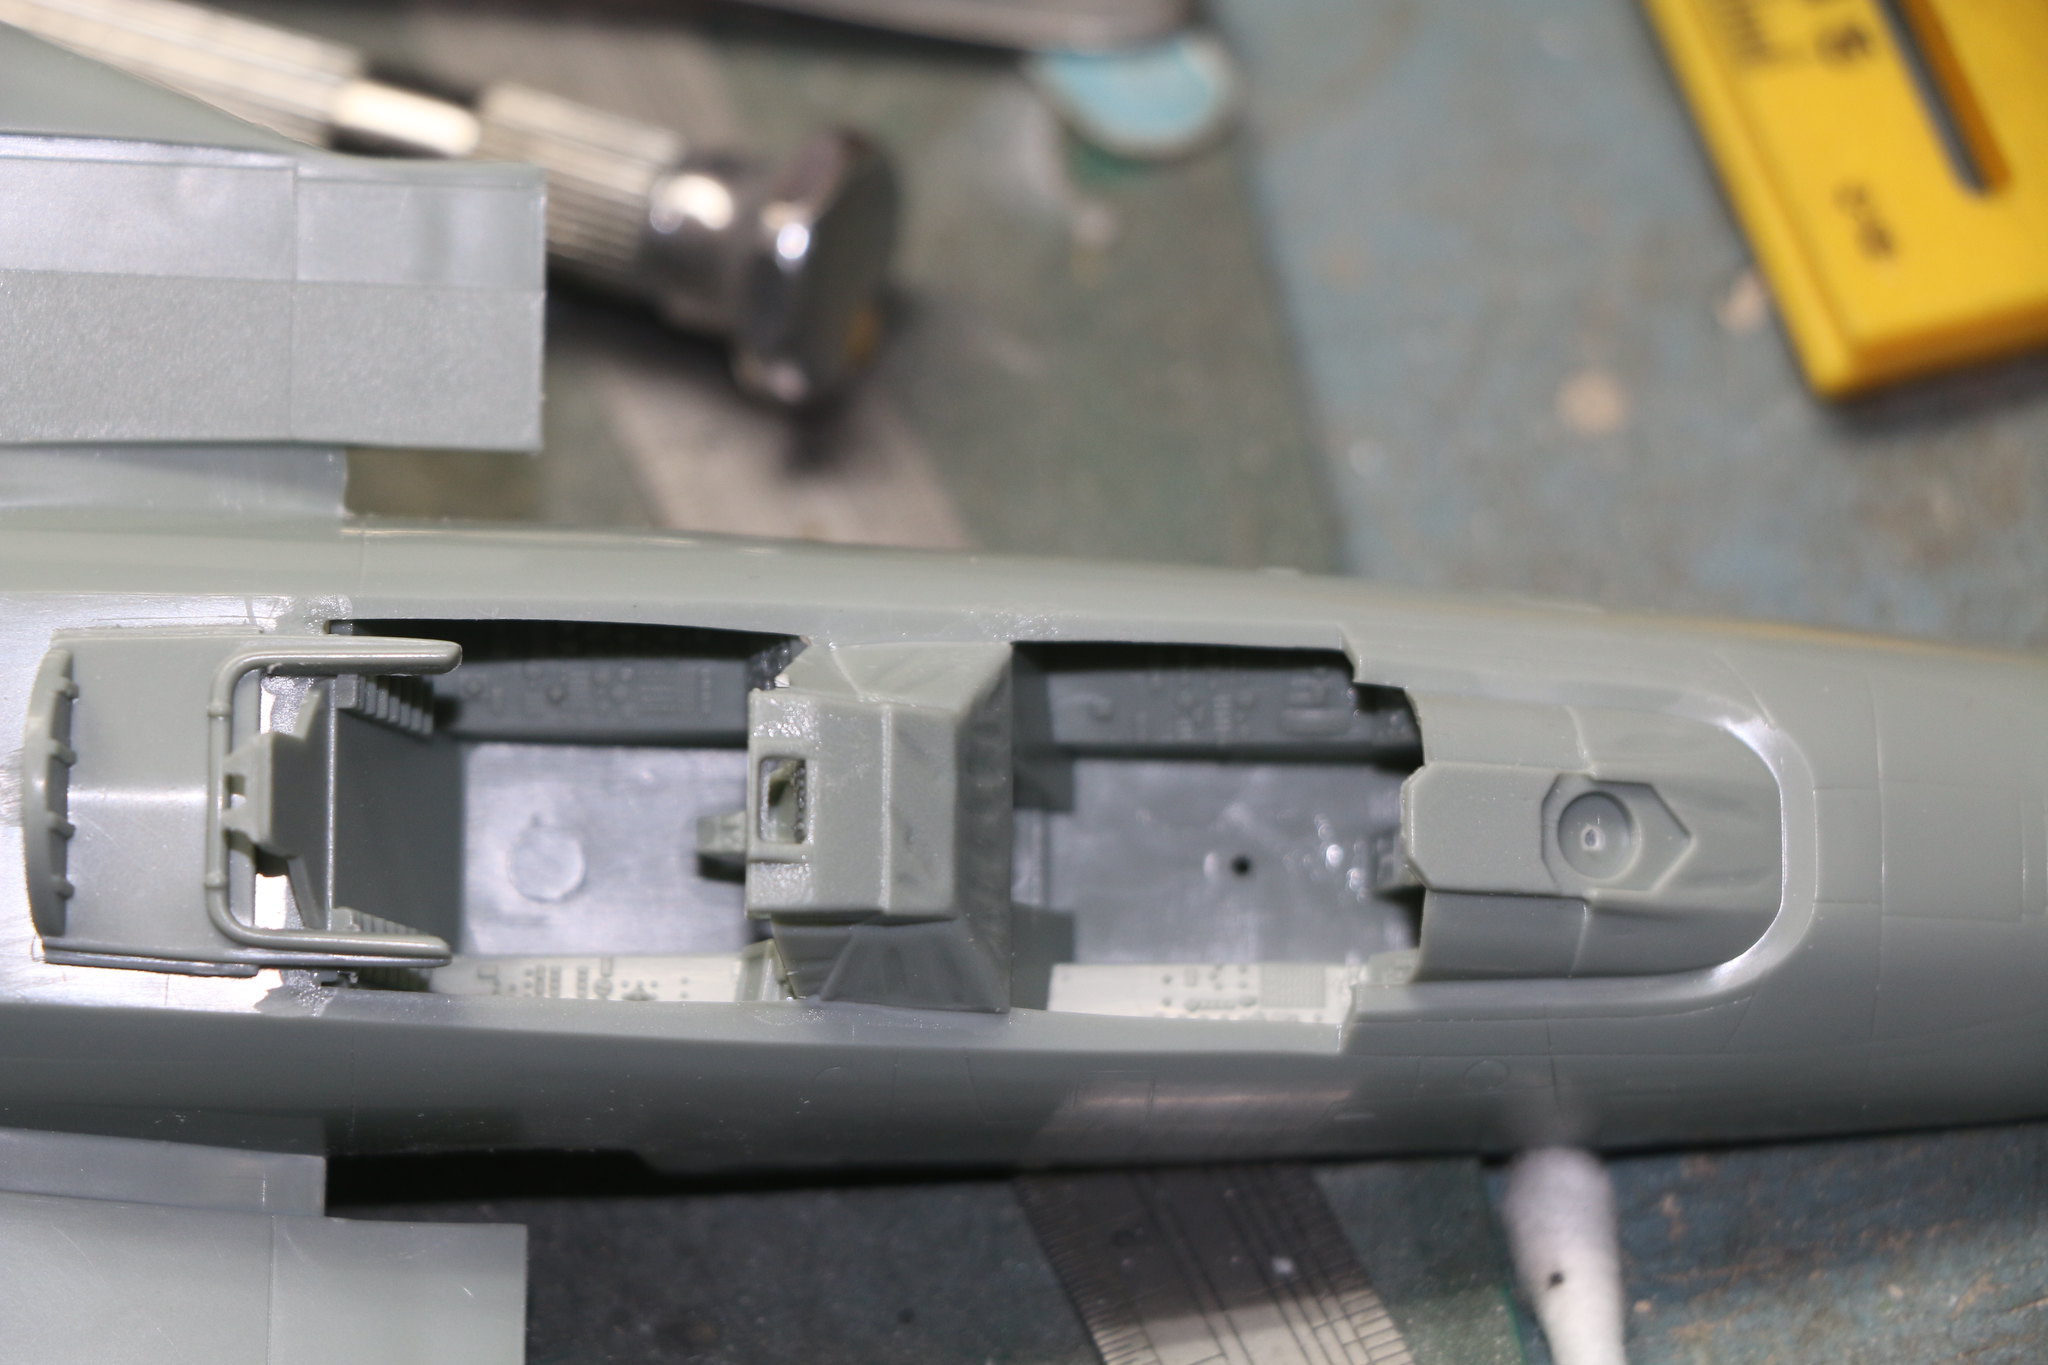
IMG_1616 by Chris WIlson, on Flickr

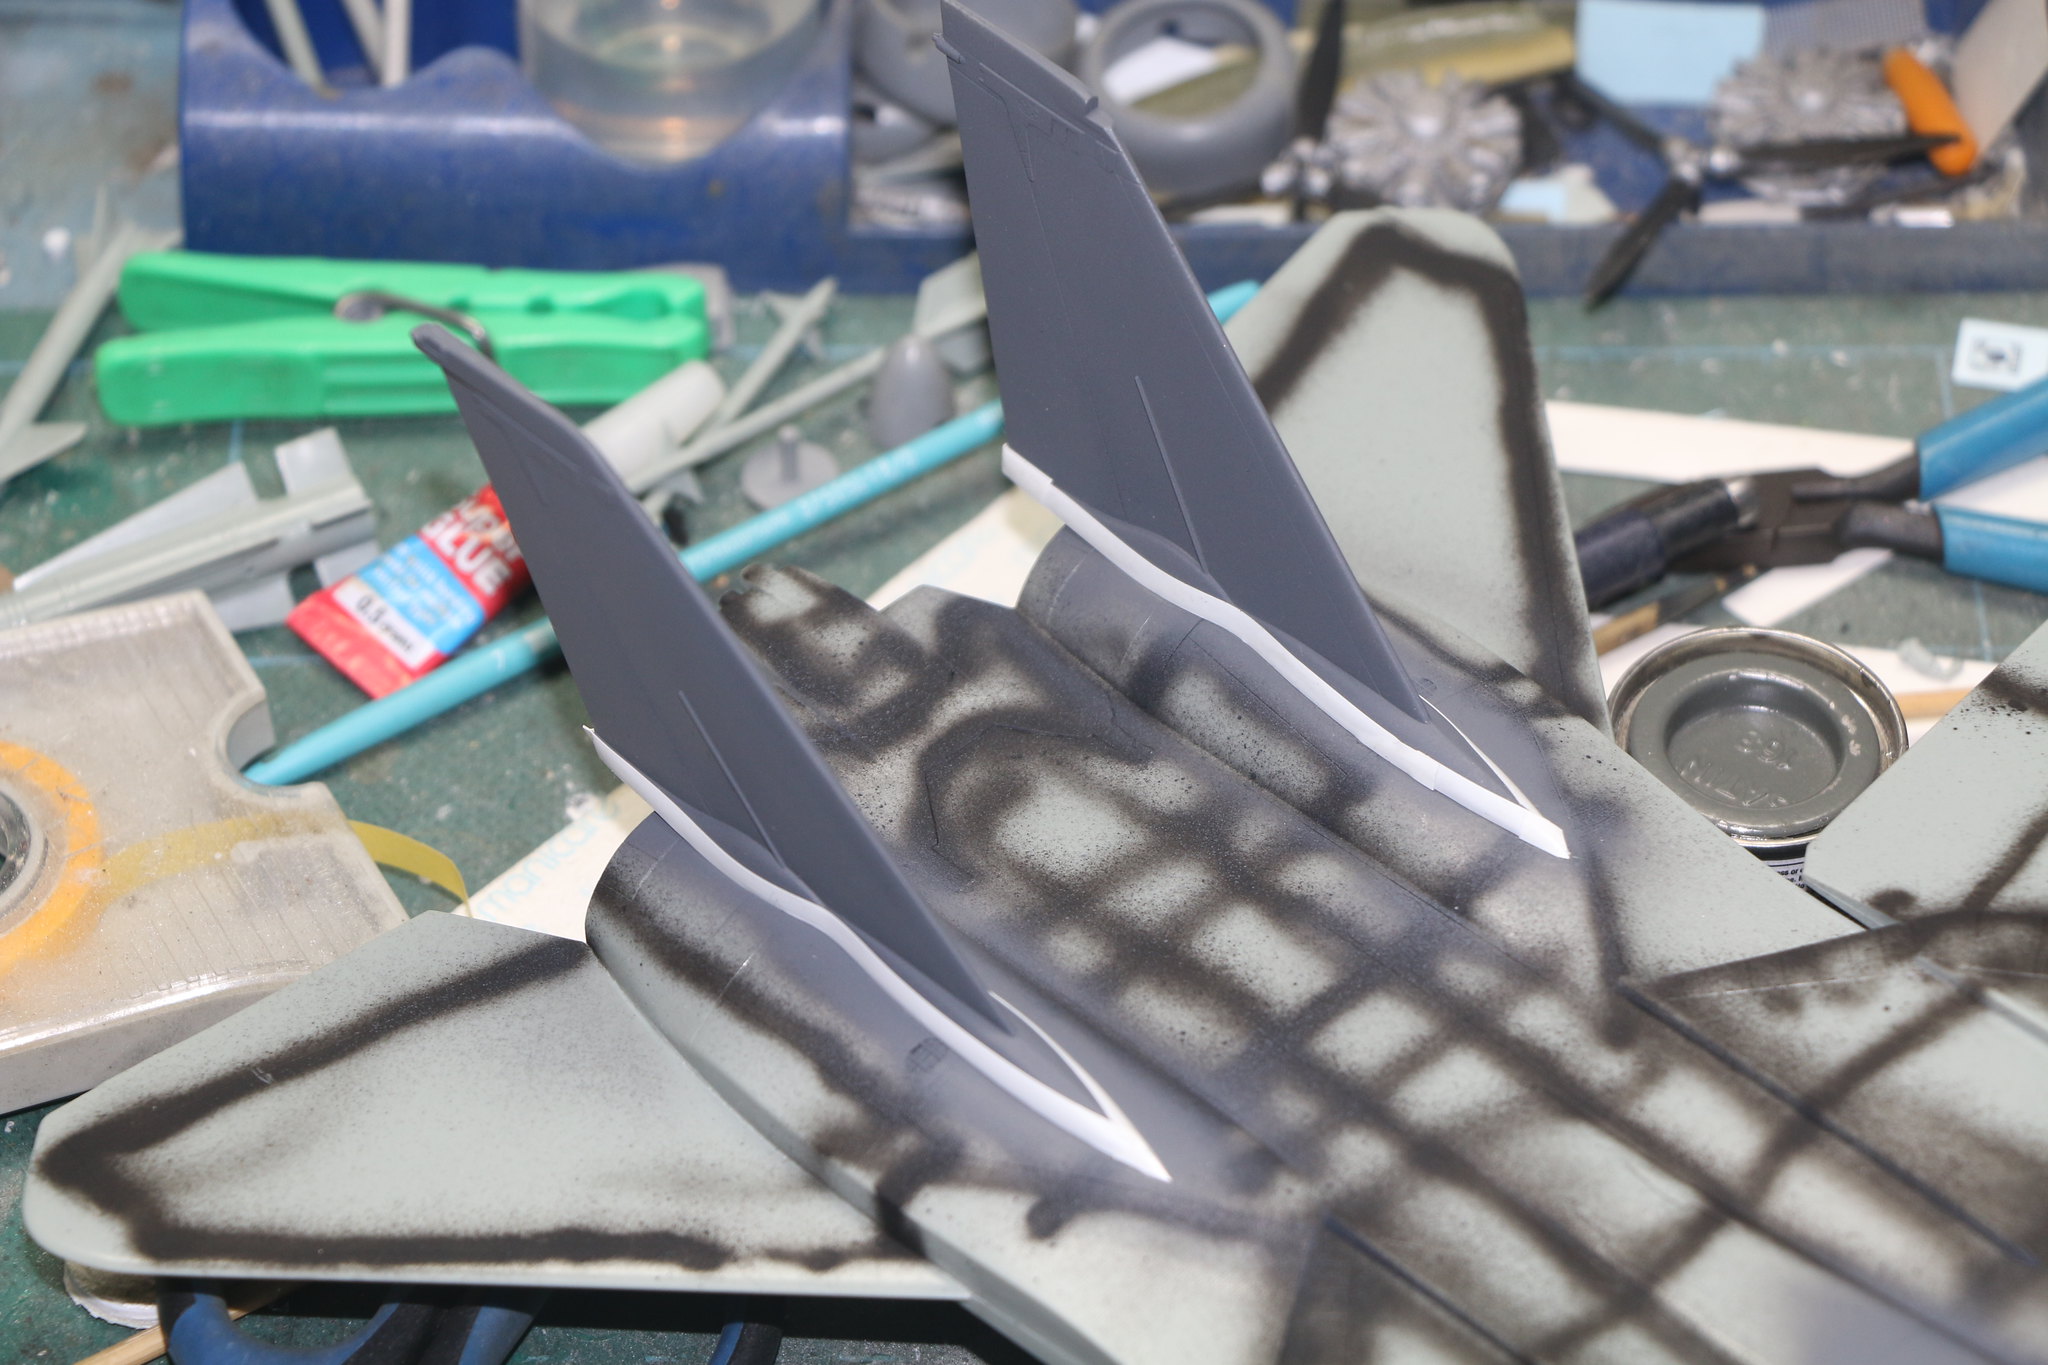
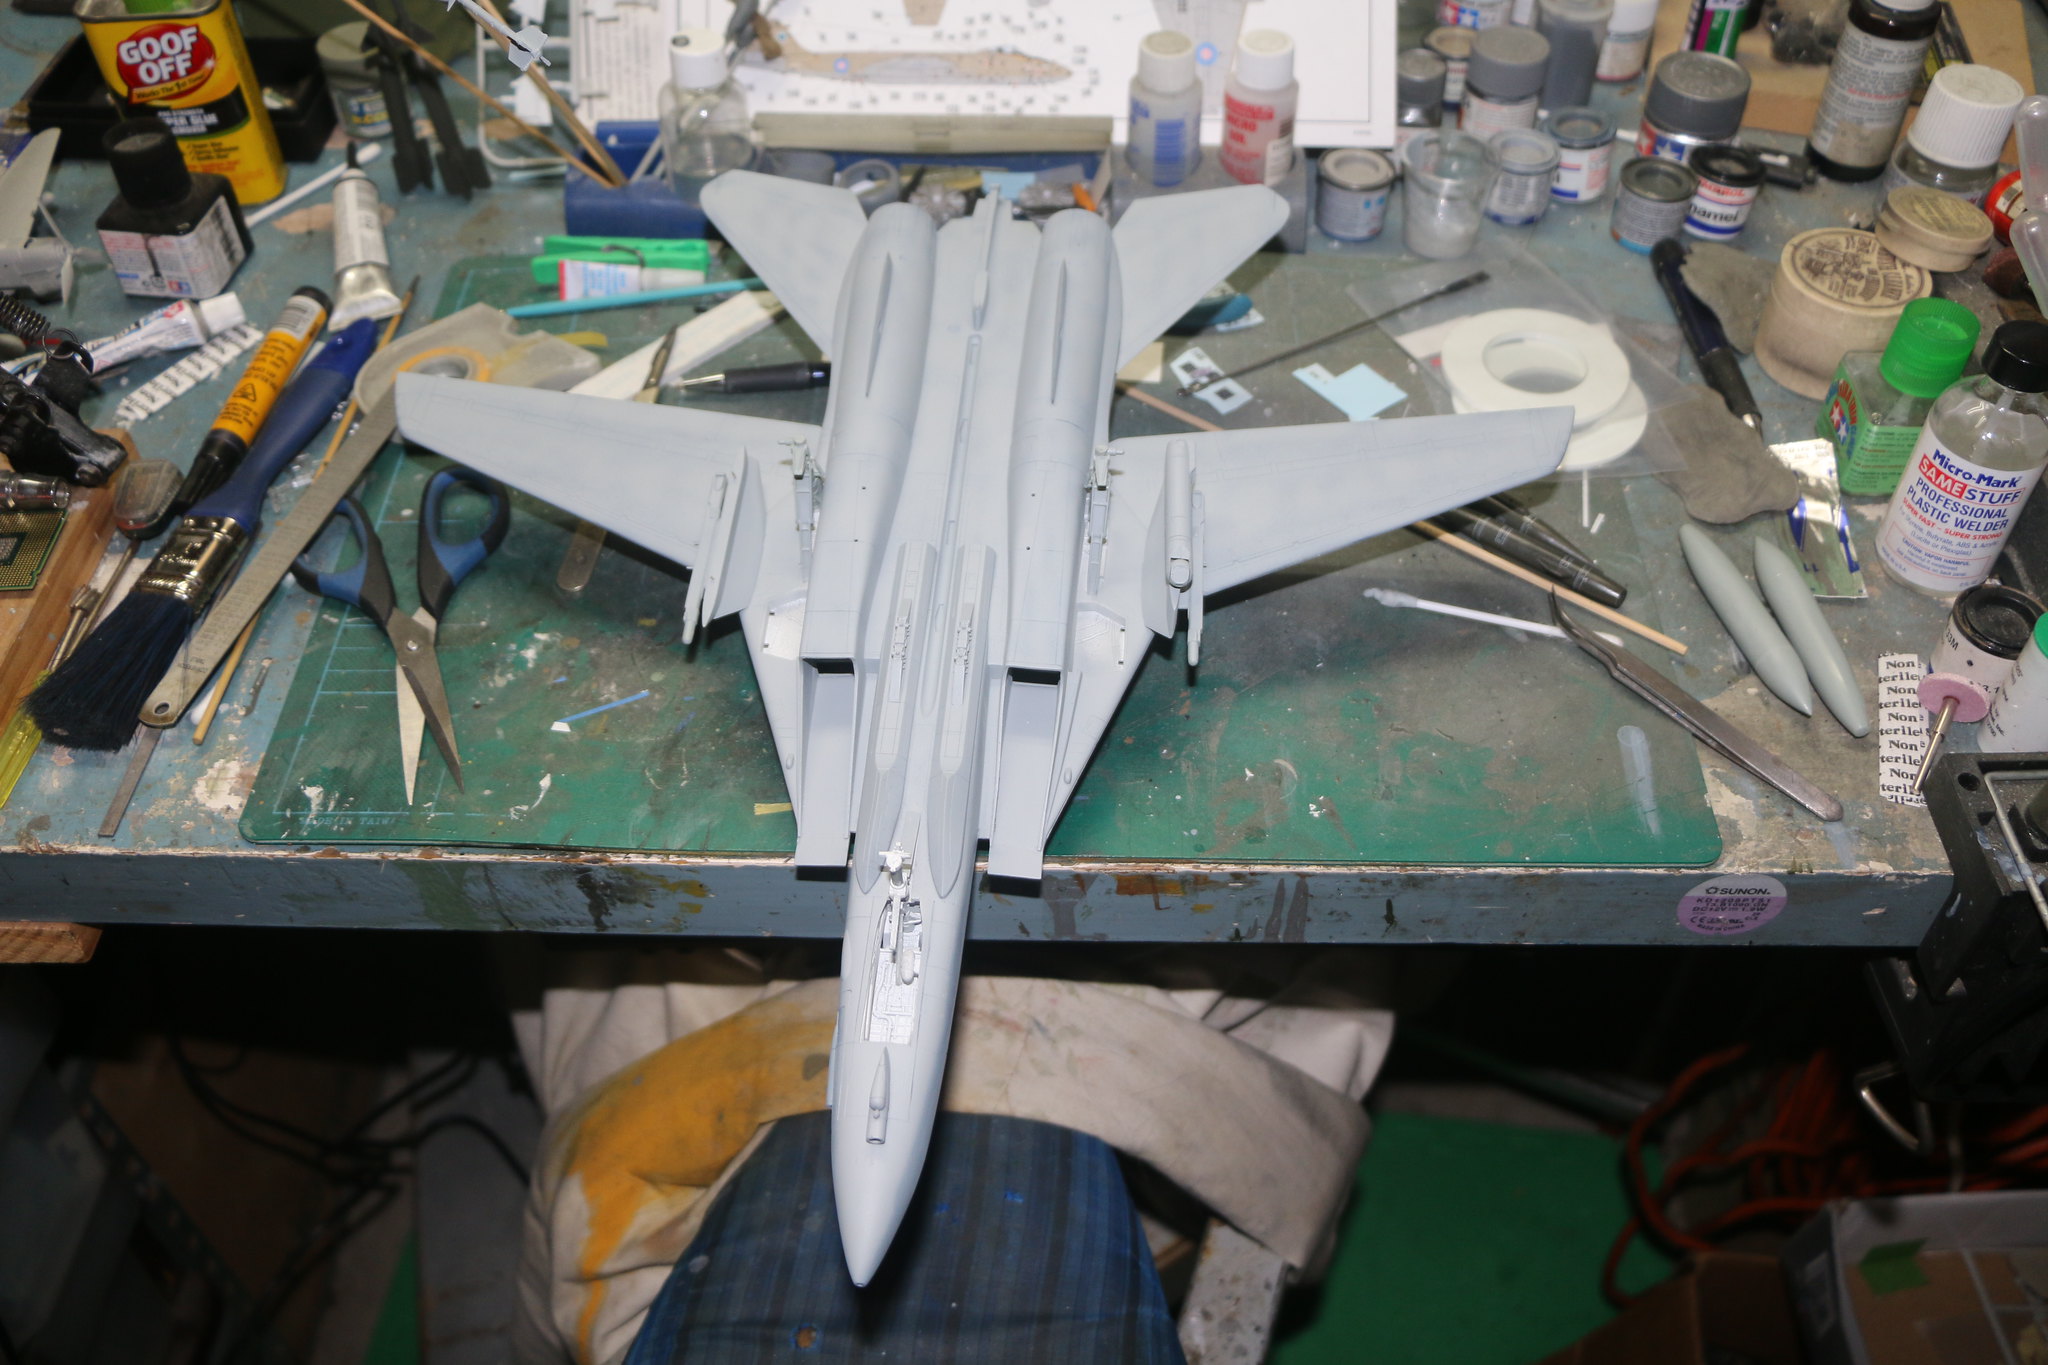
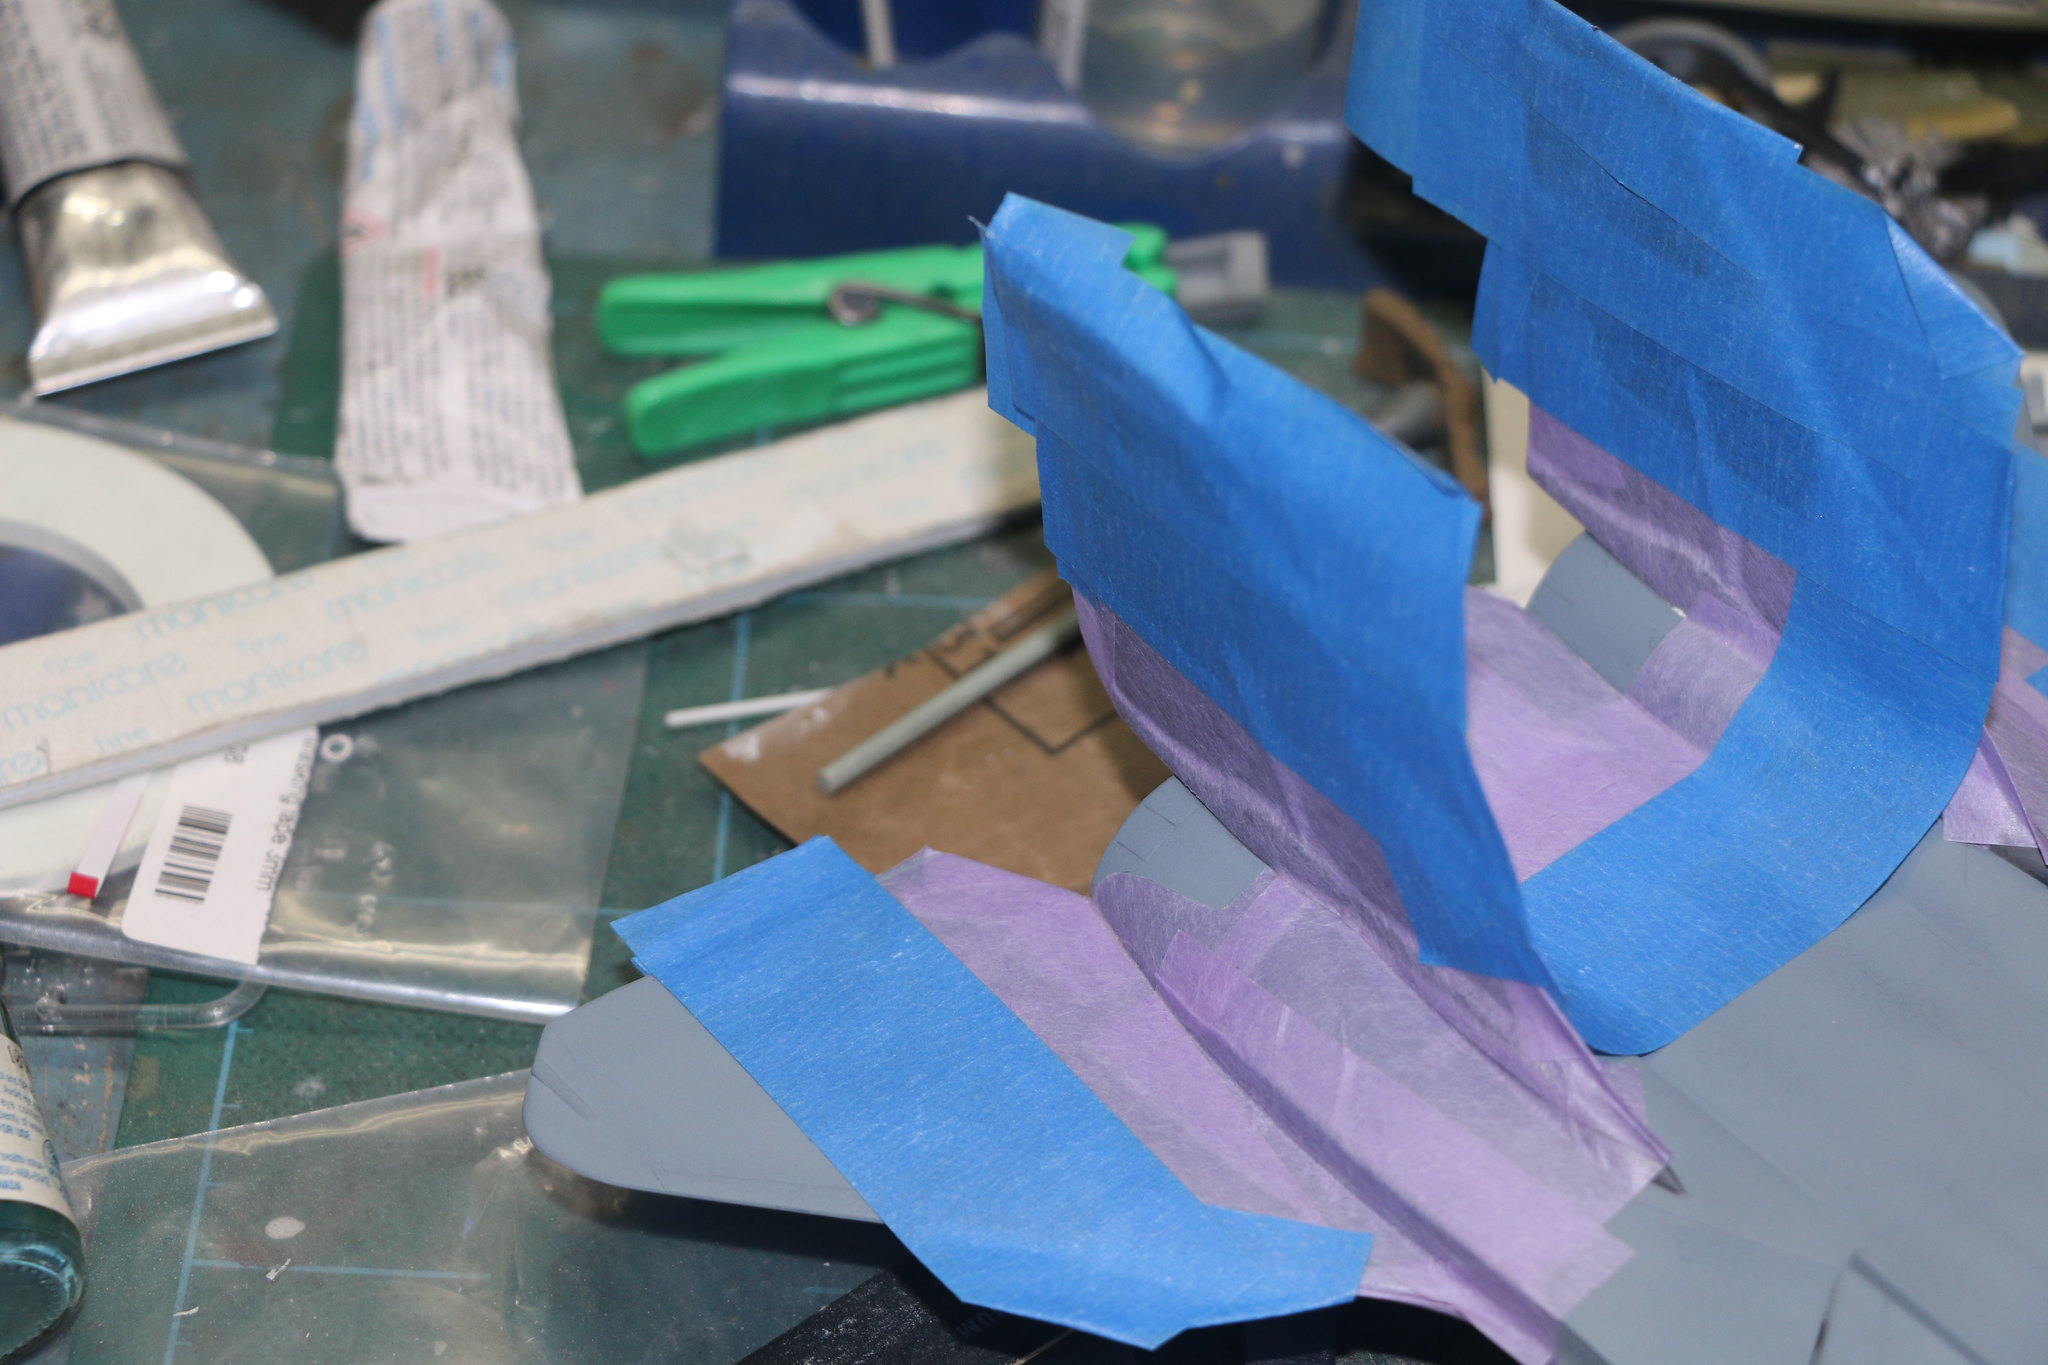
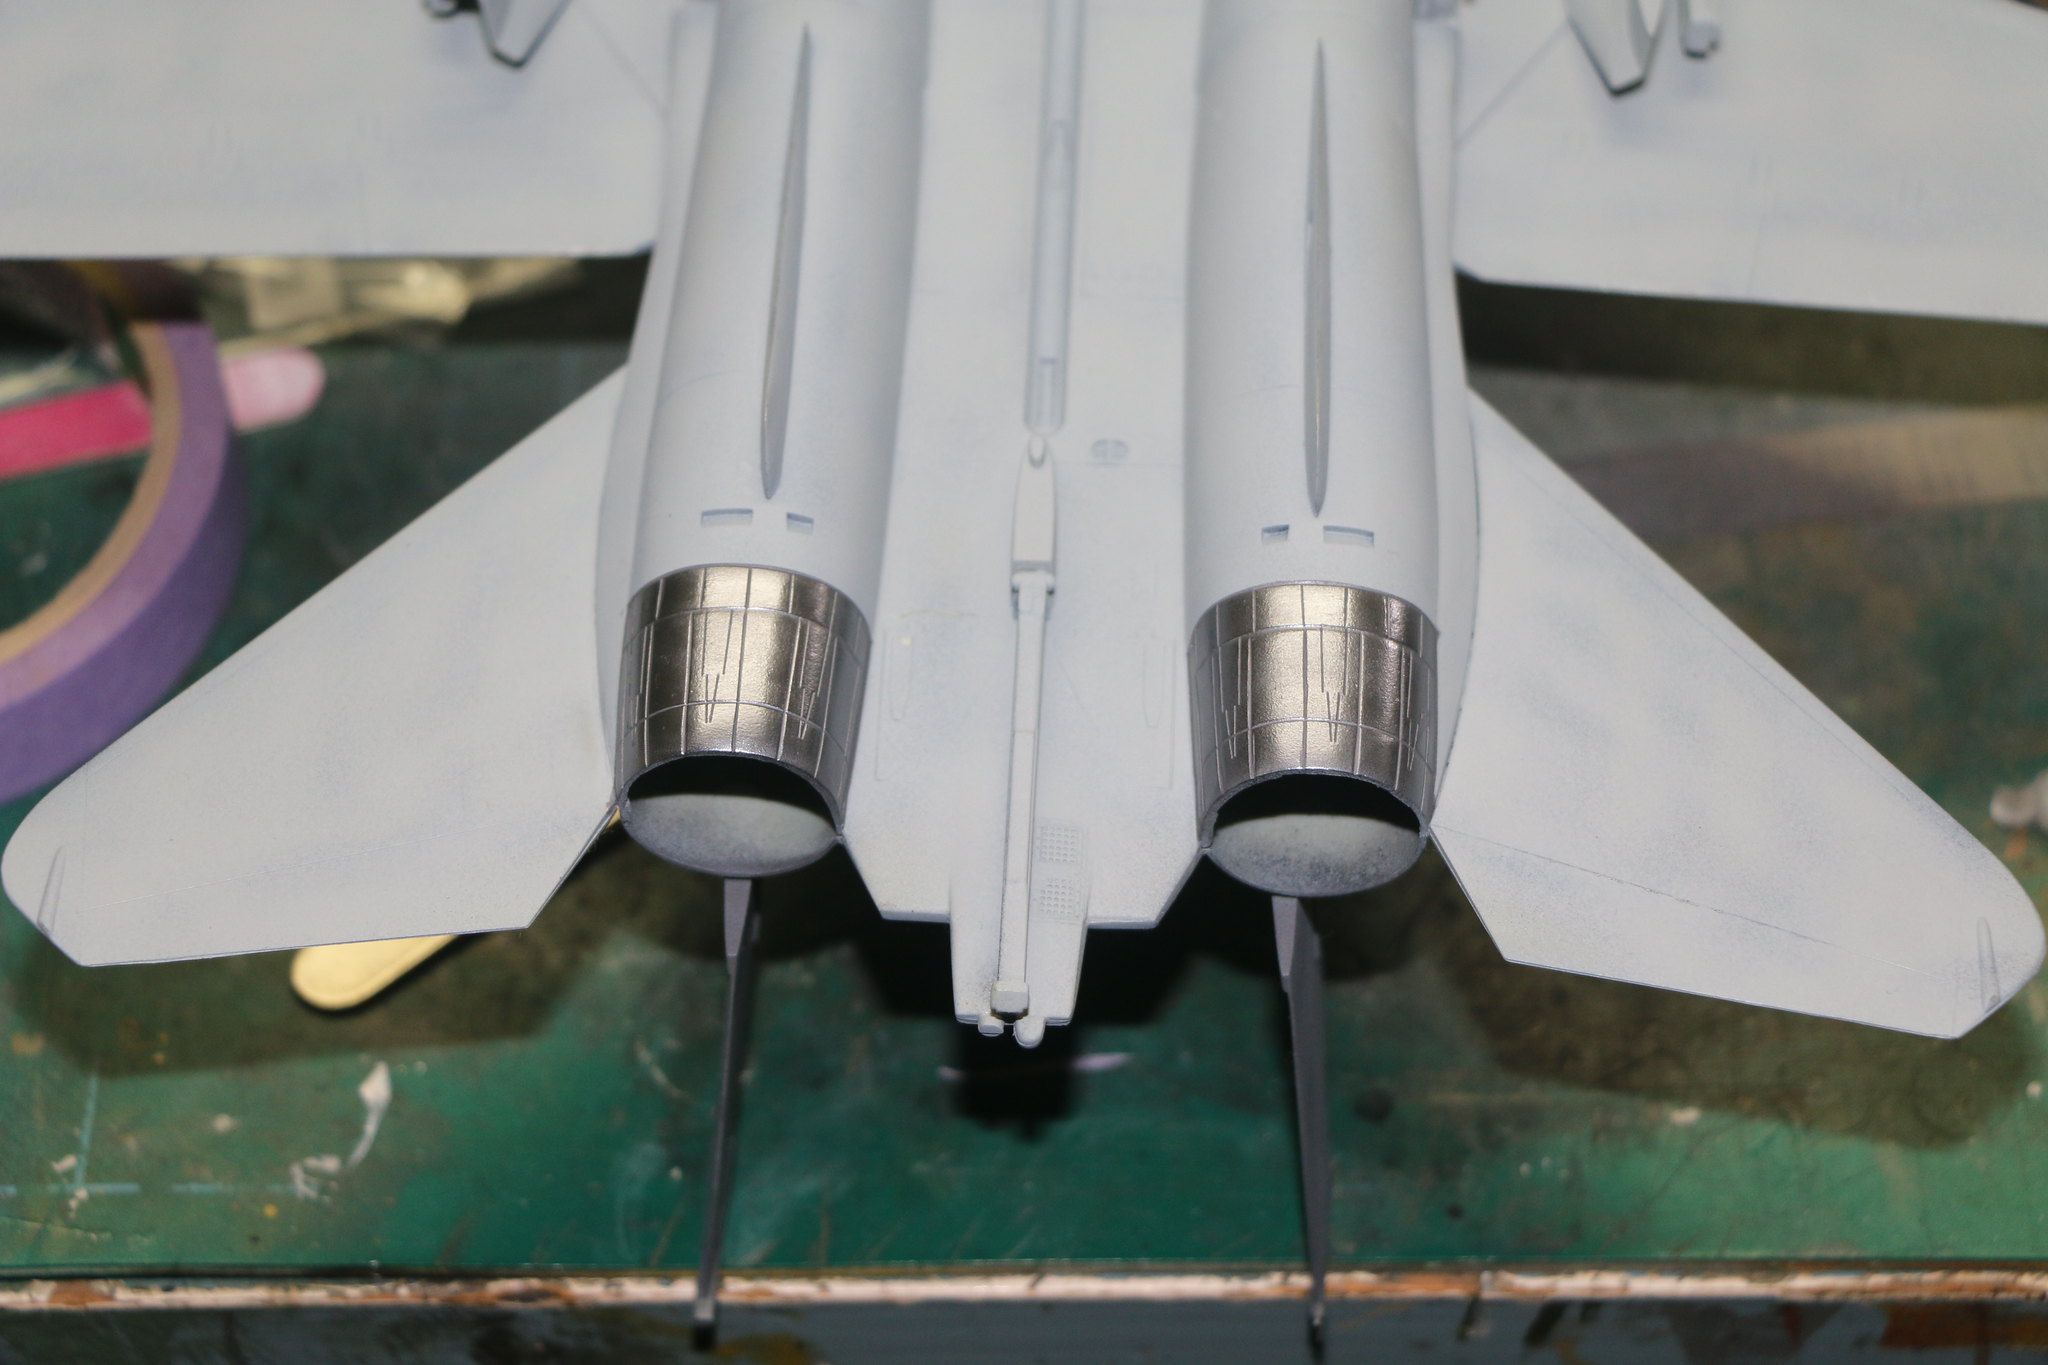
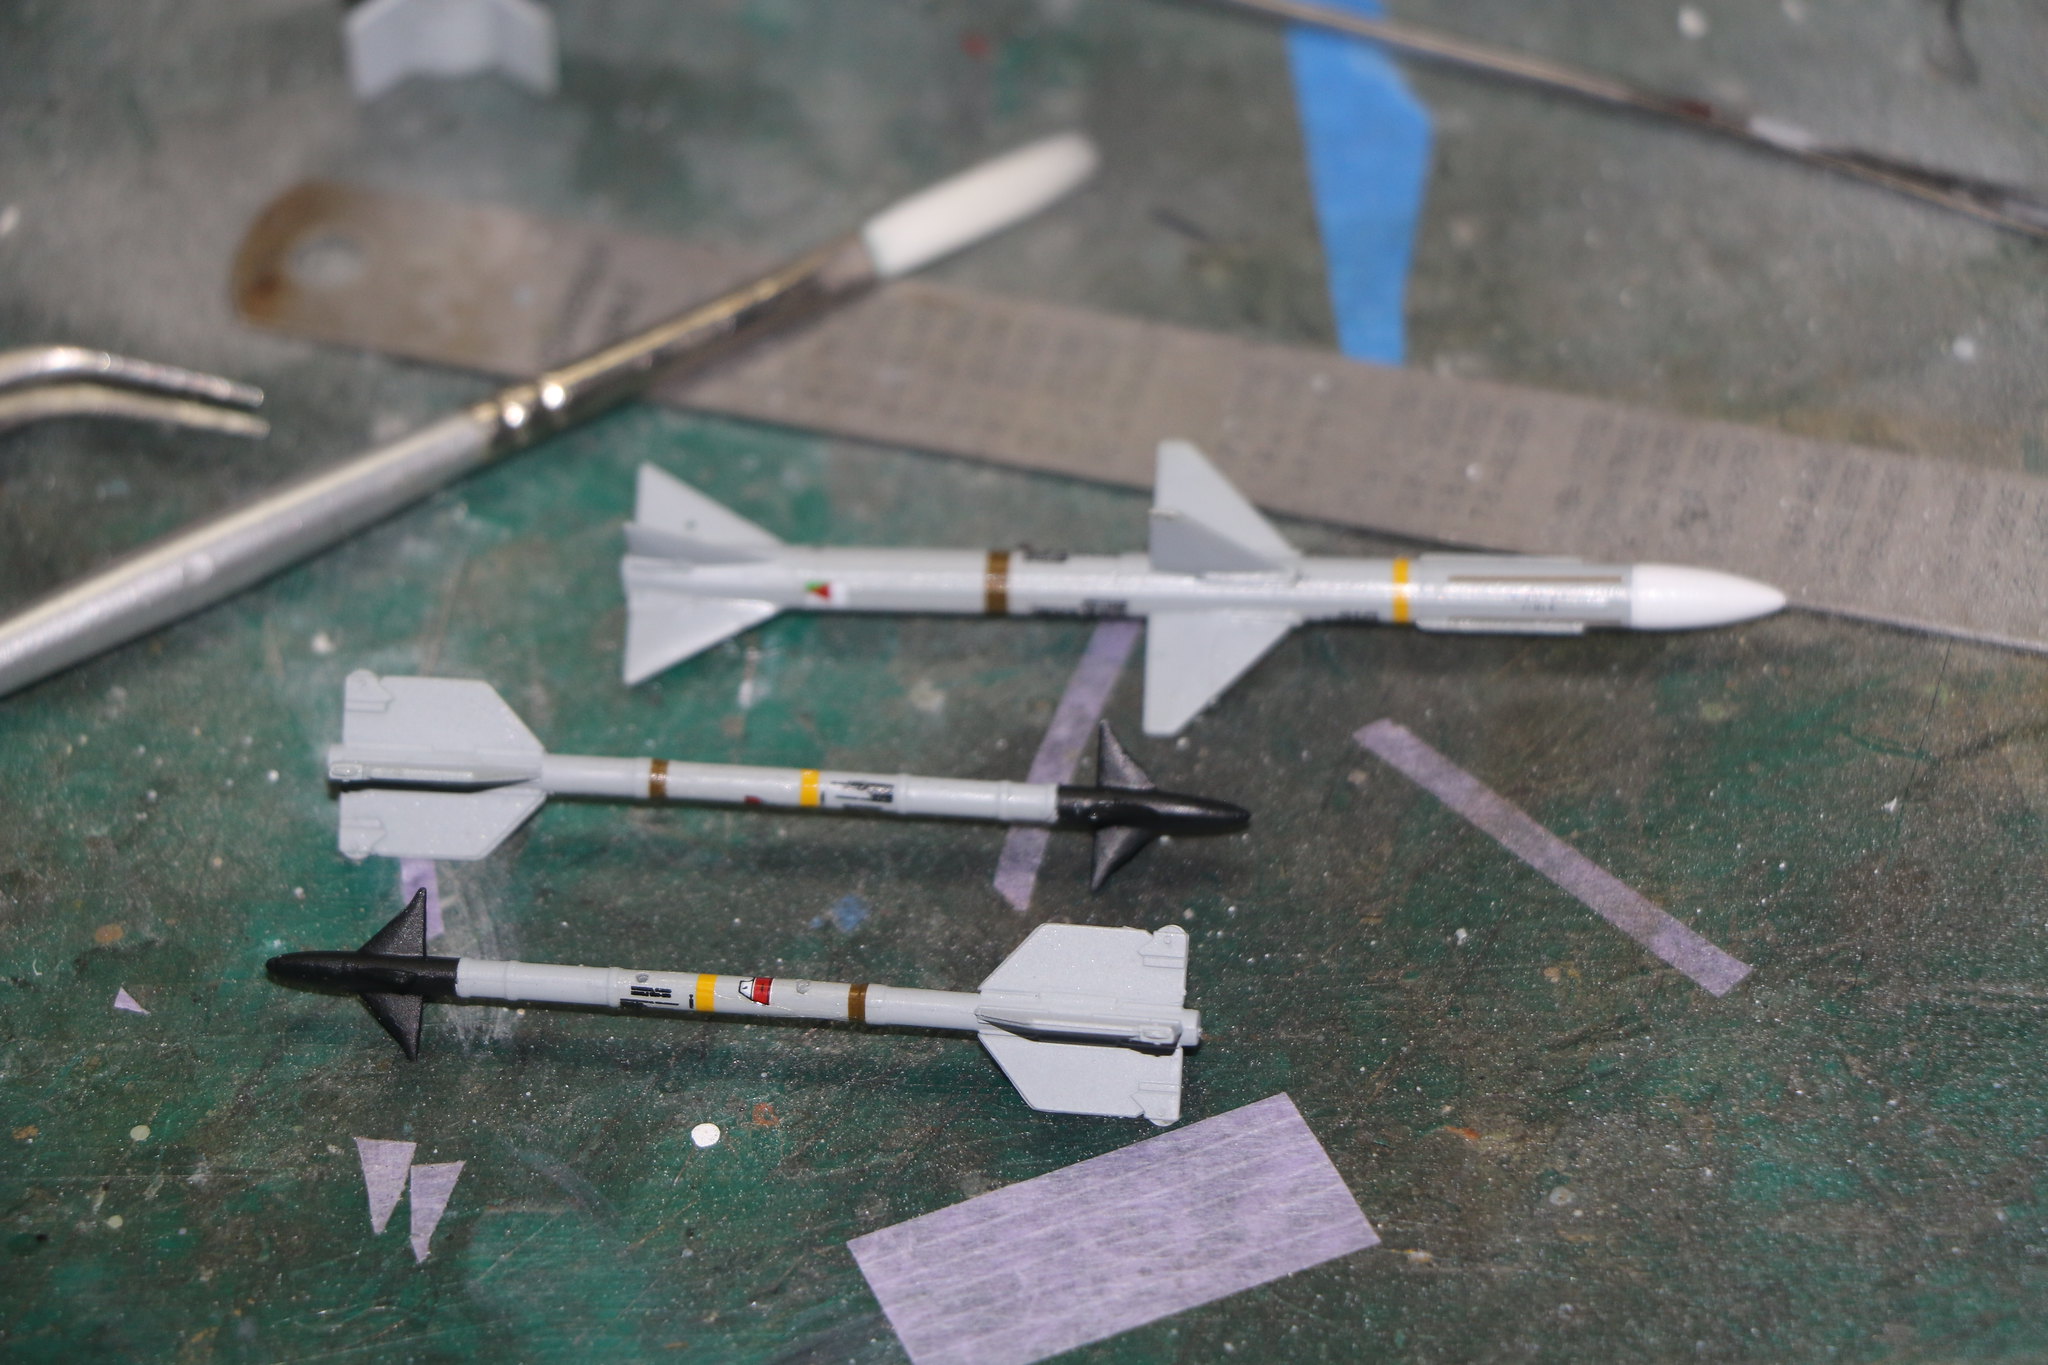
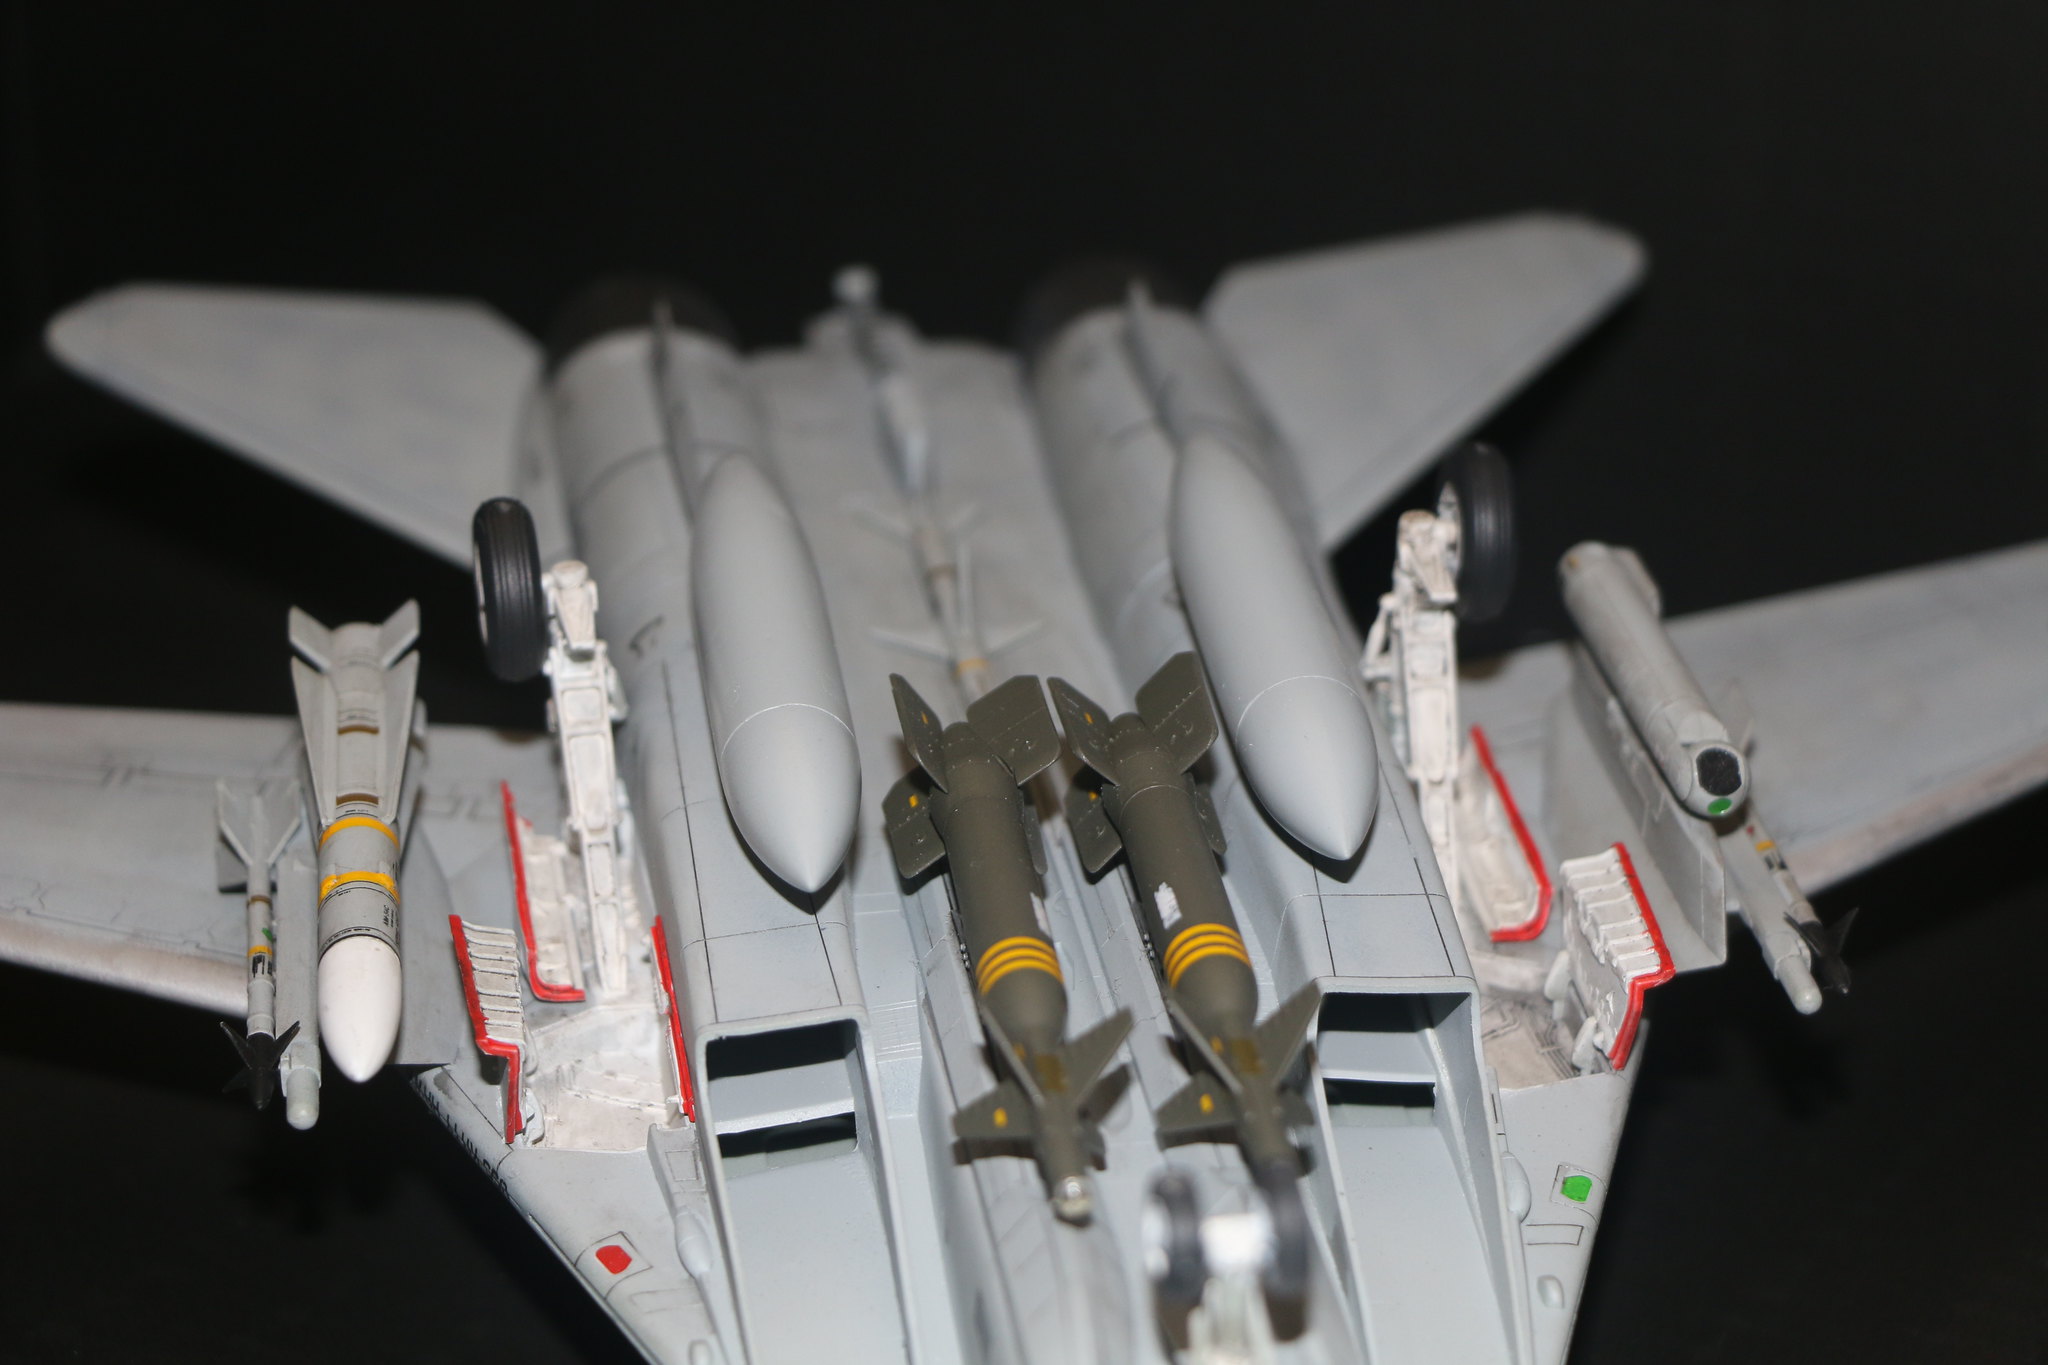
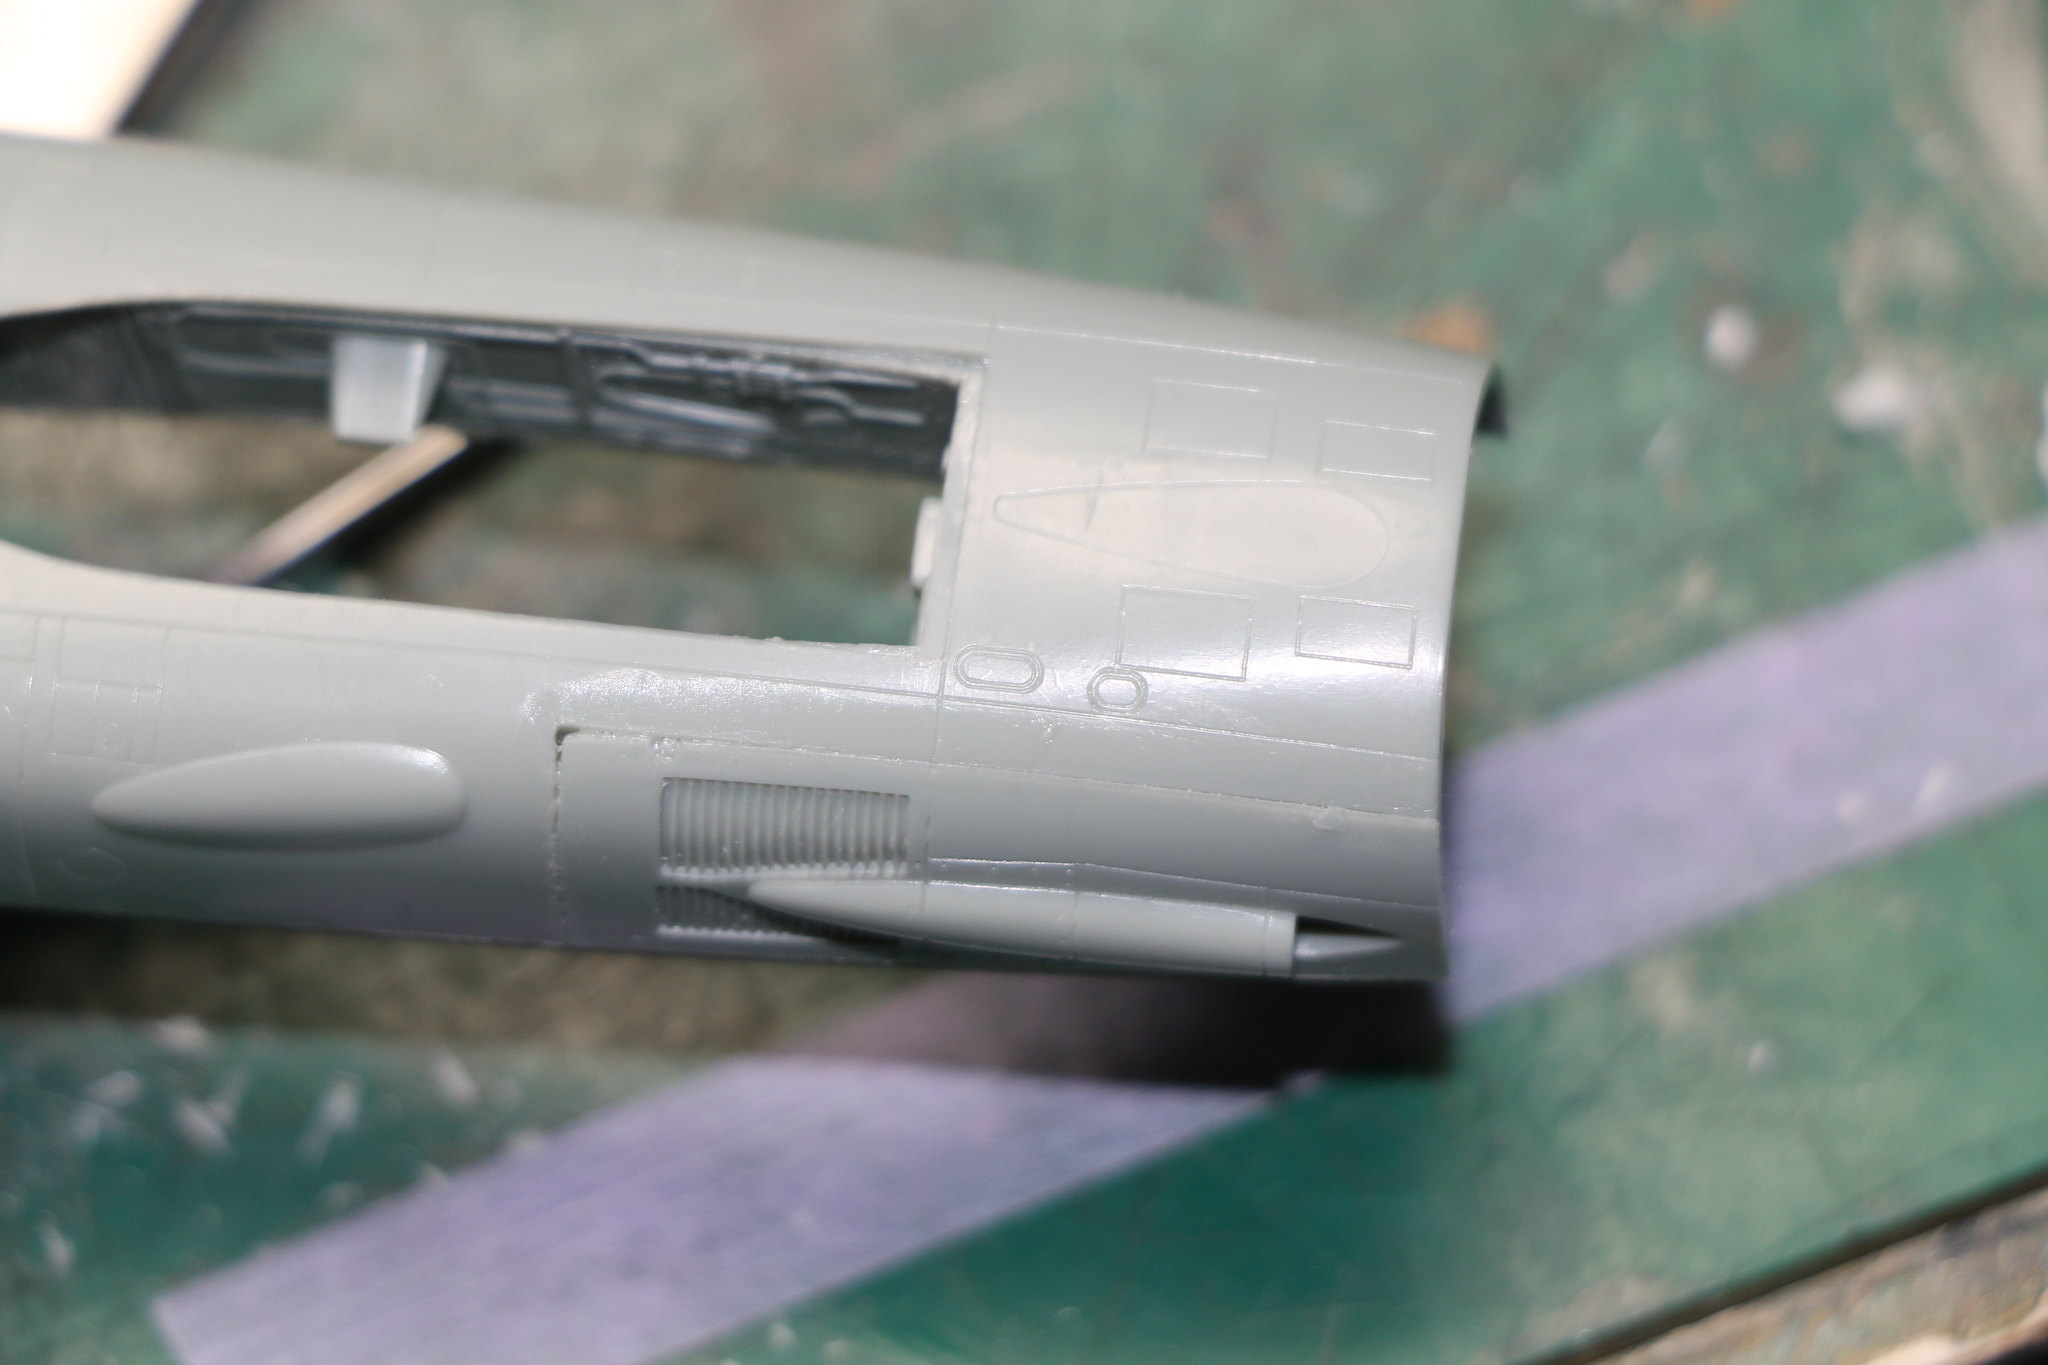
IMG_1613 by Chris WIlson, on Flickr

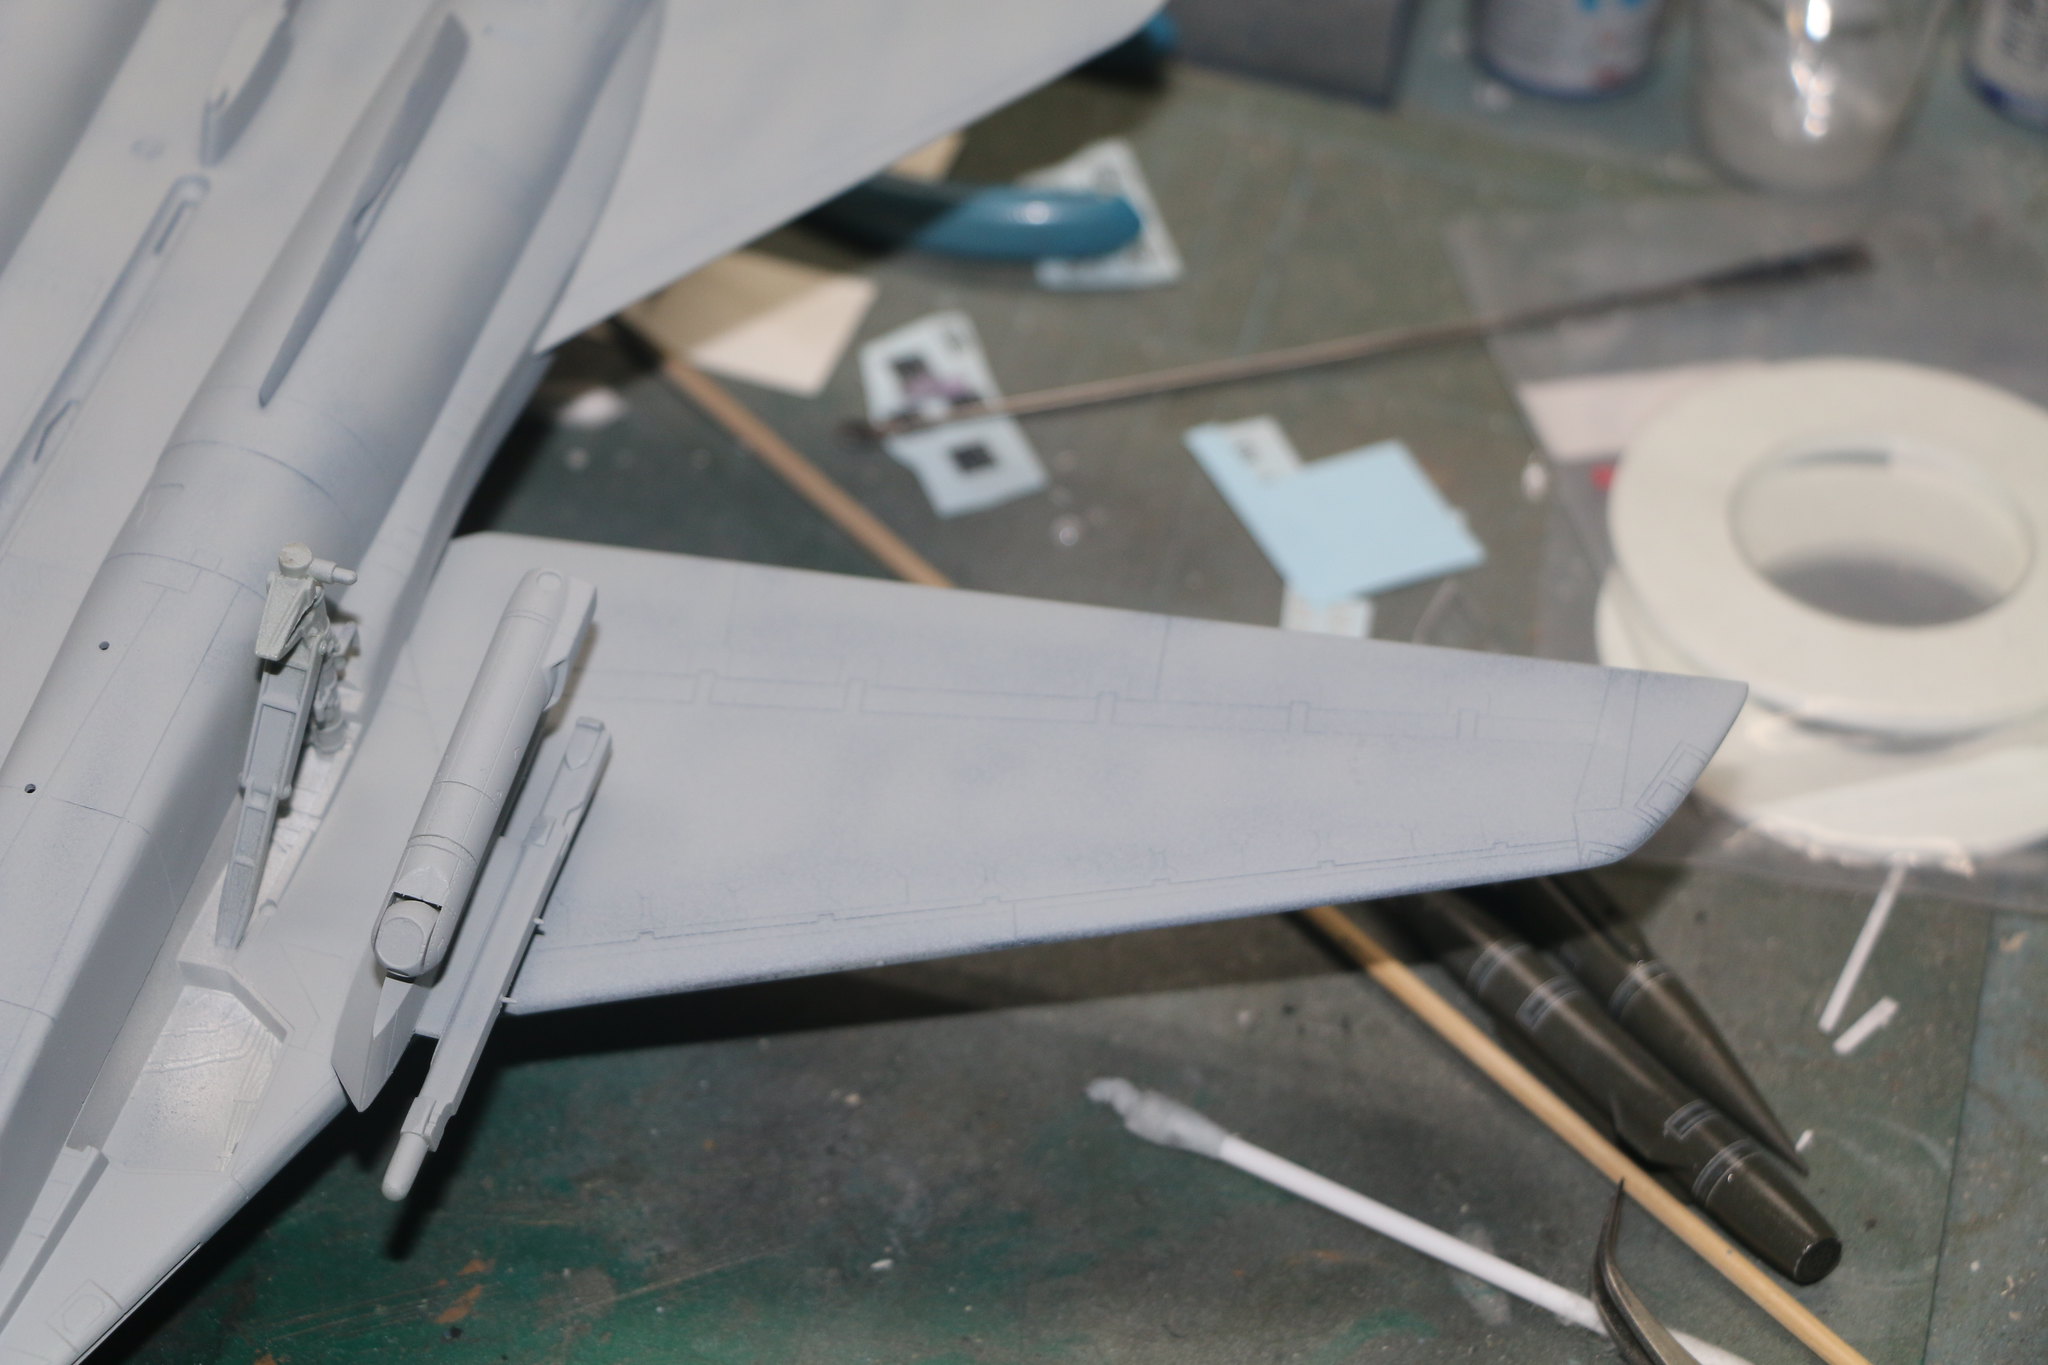
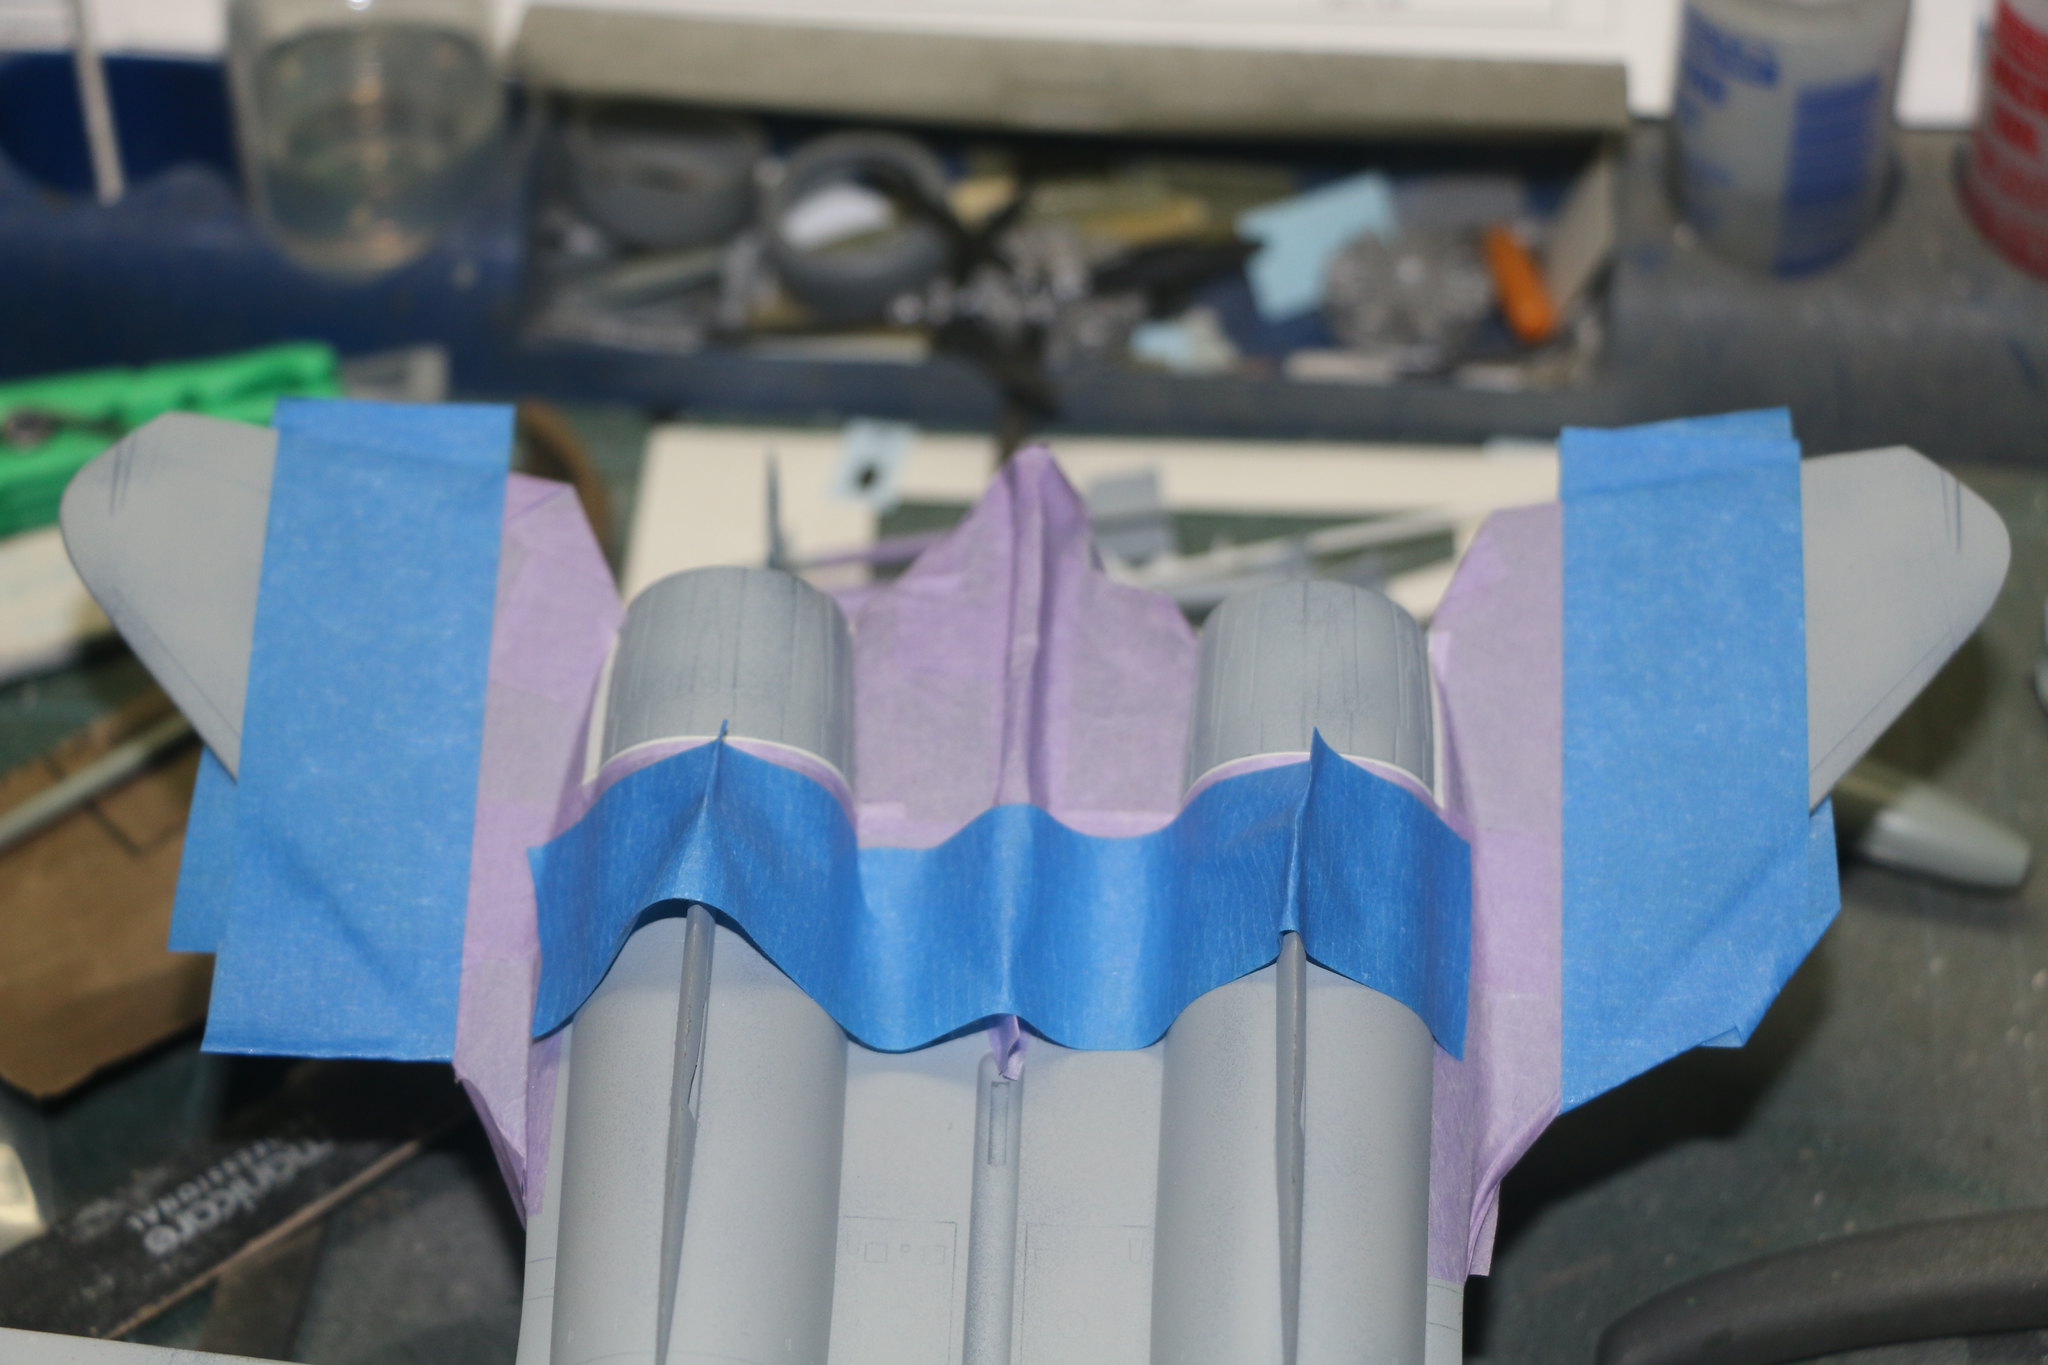
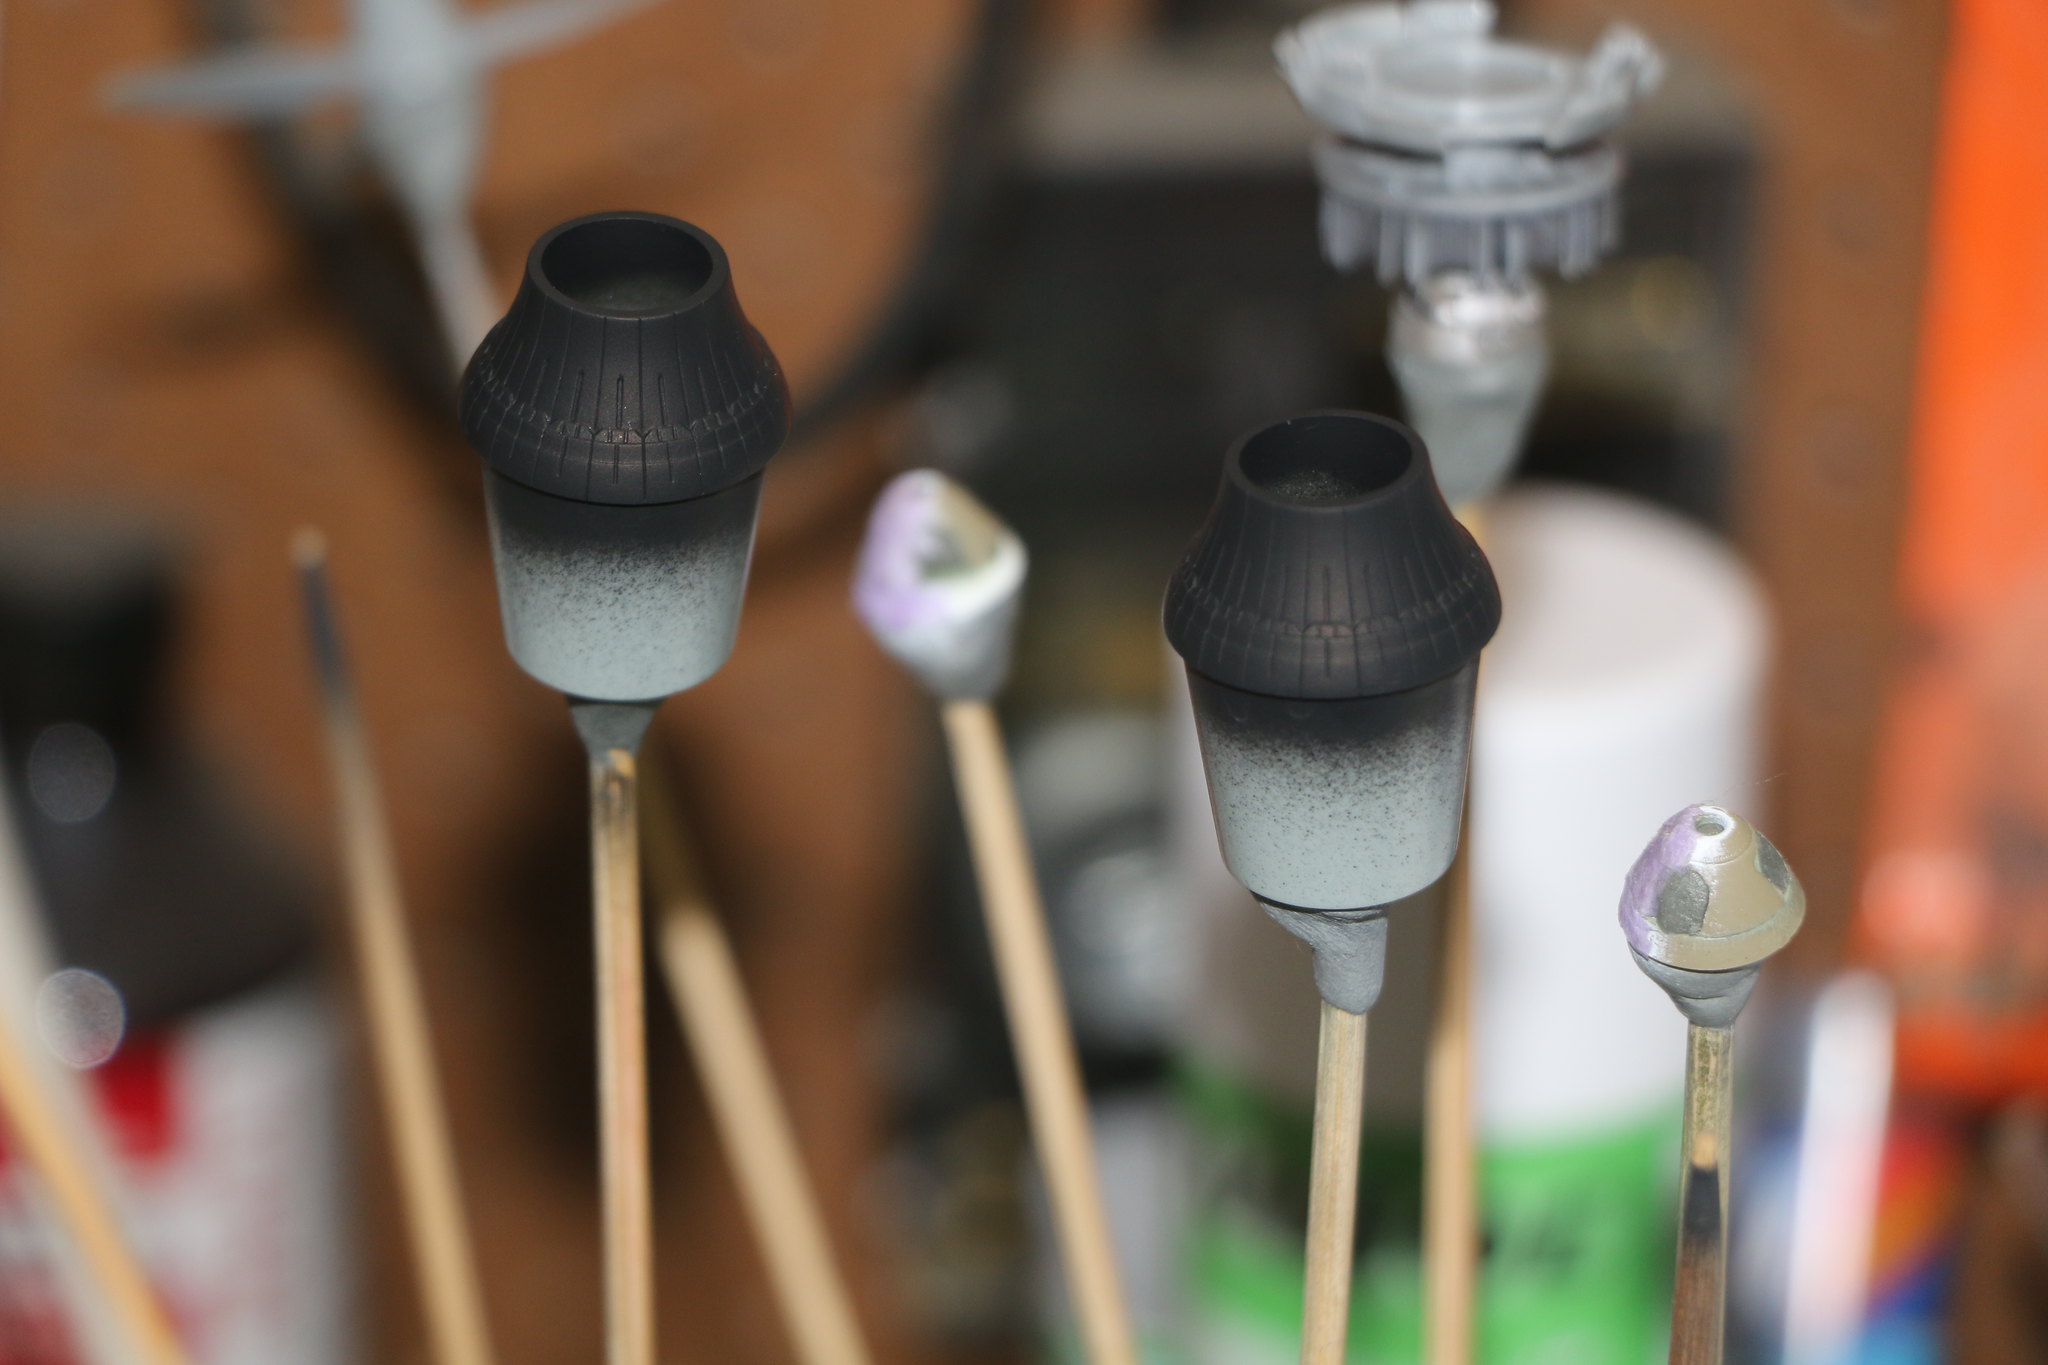
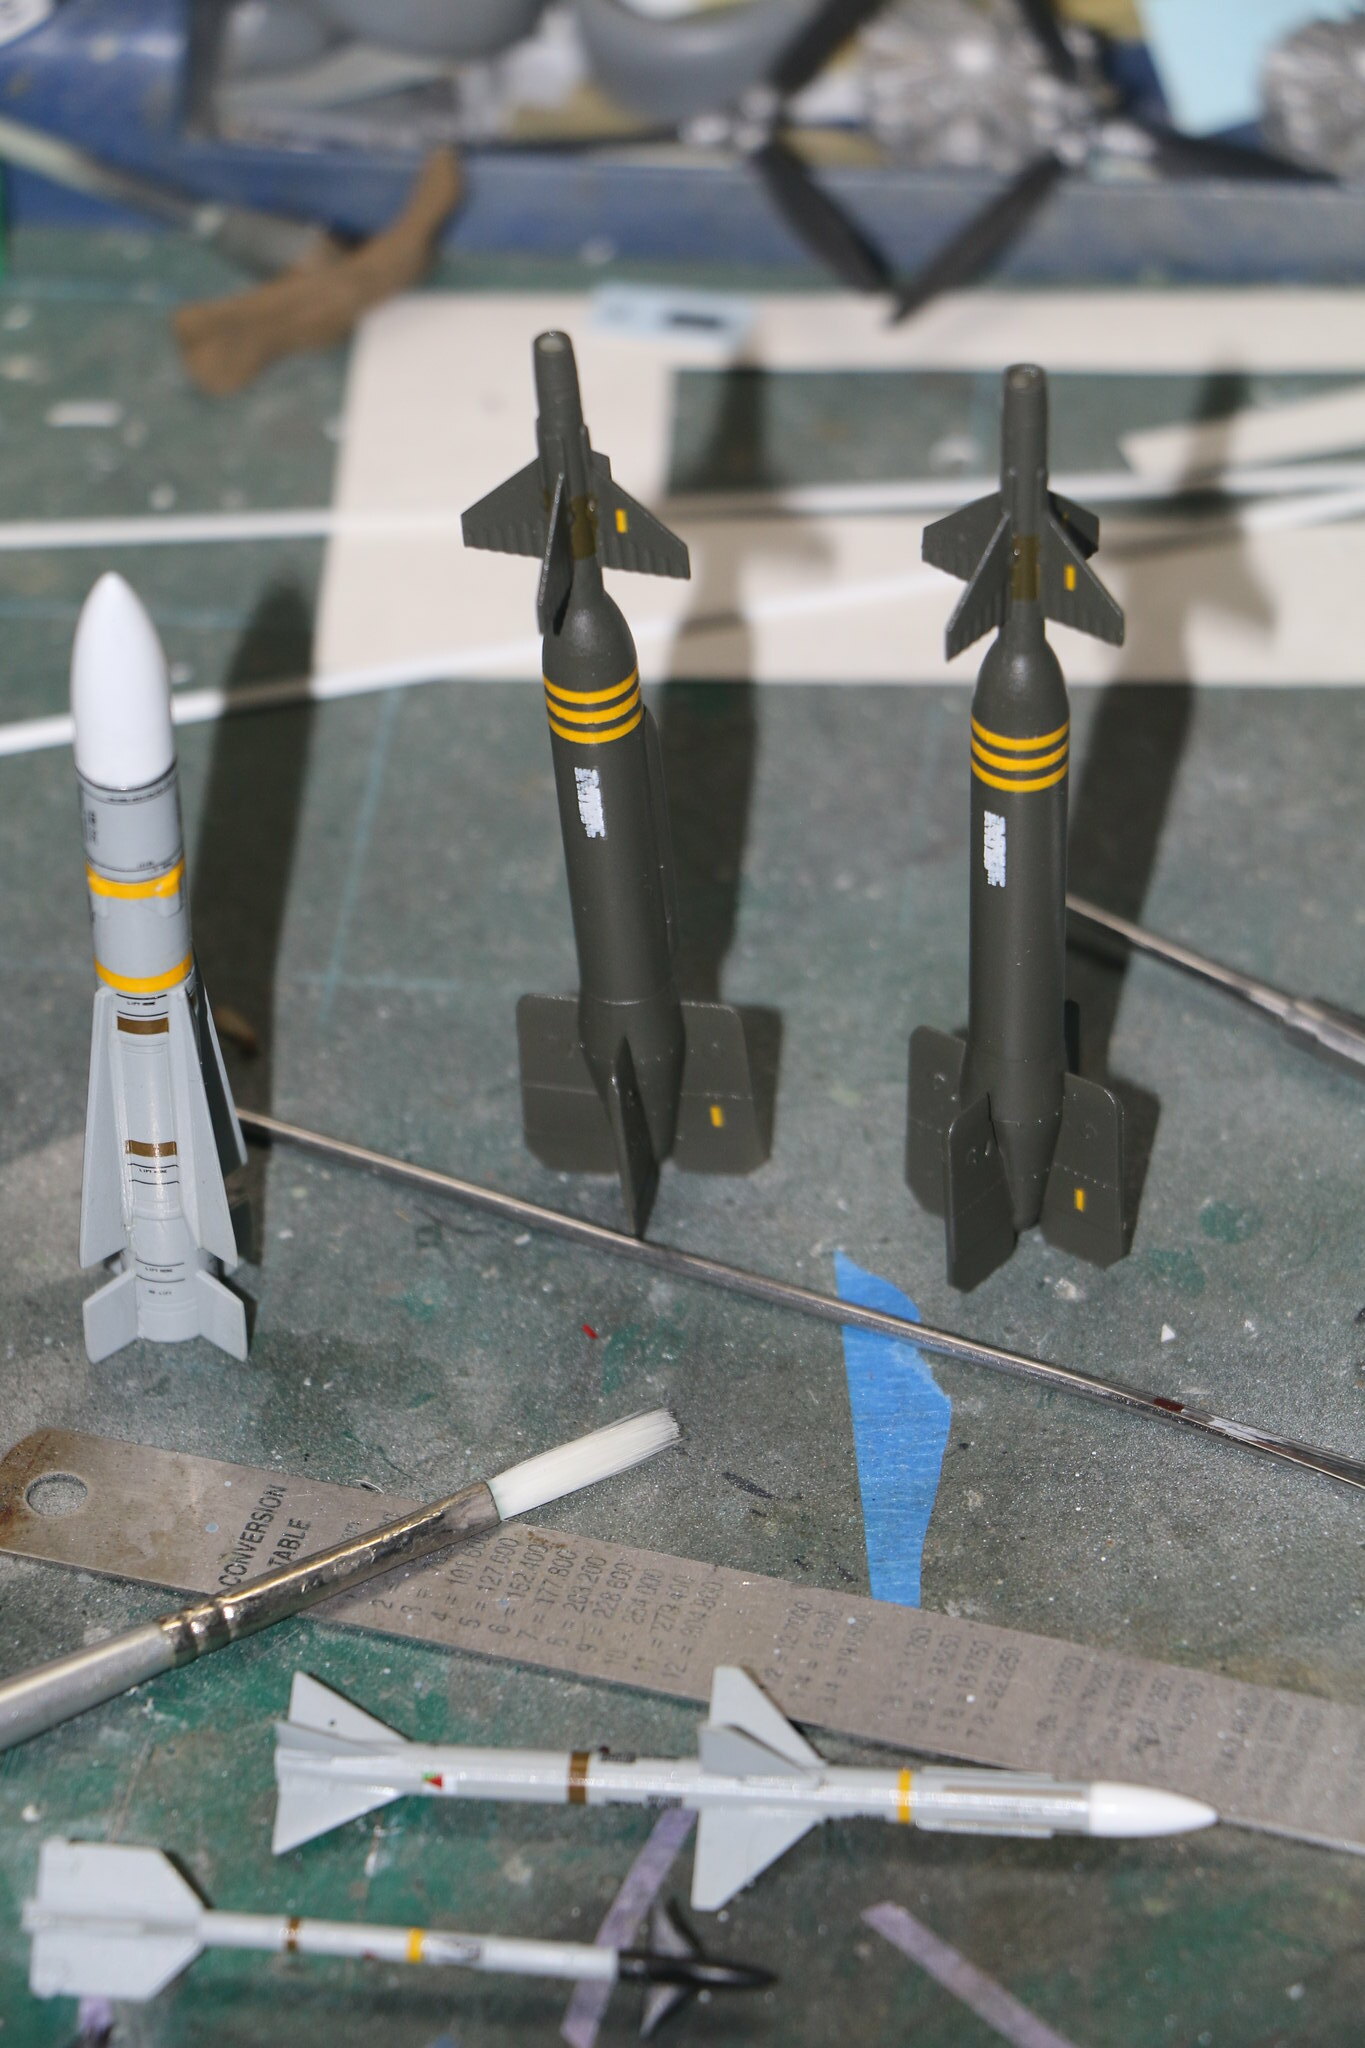
IMG_1612 by Chris WIlson, on Flickr

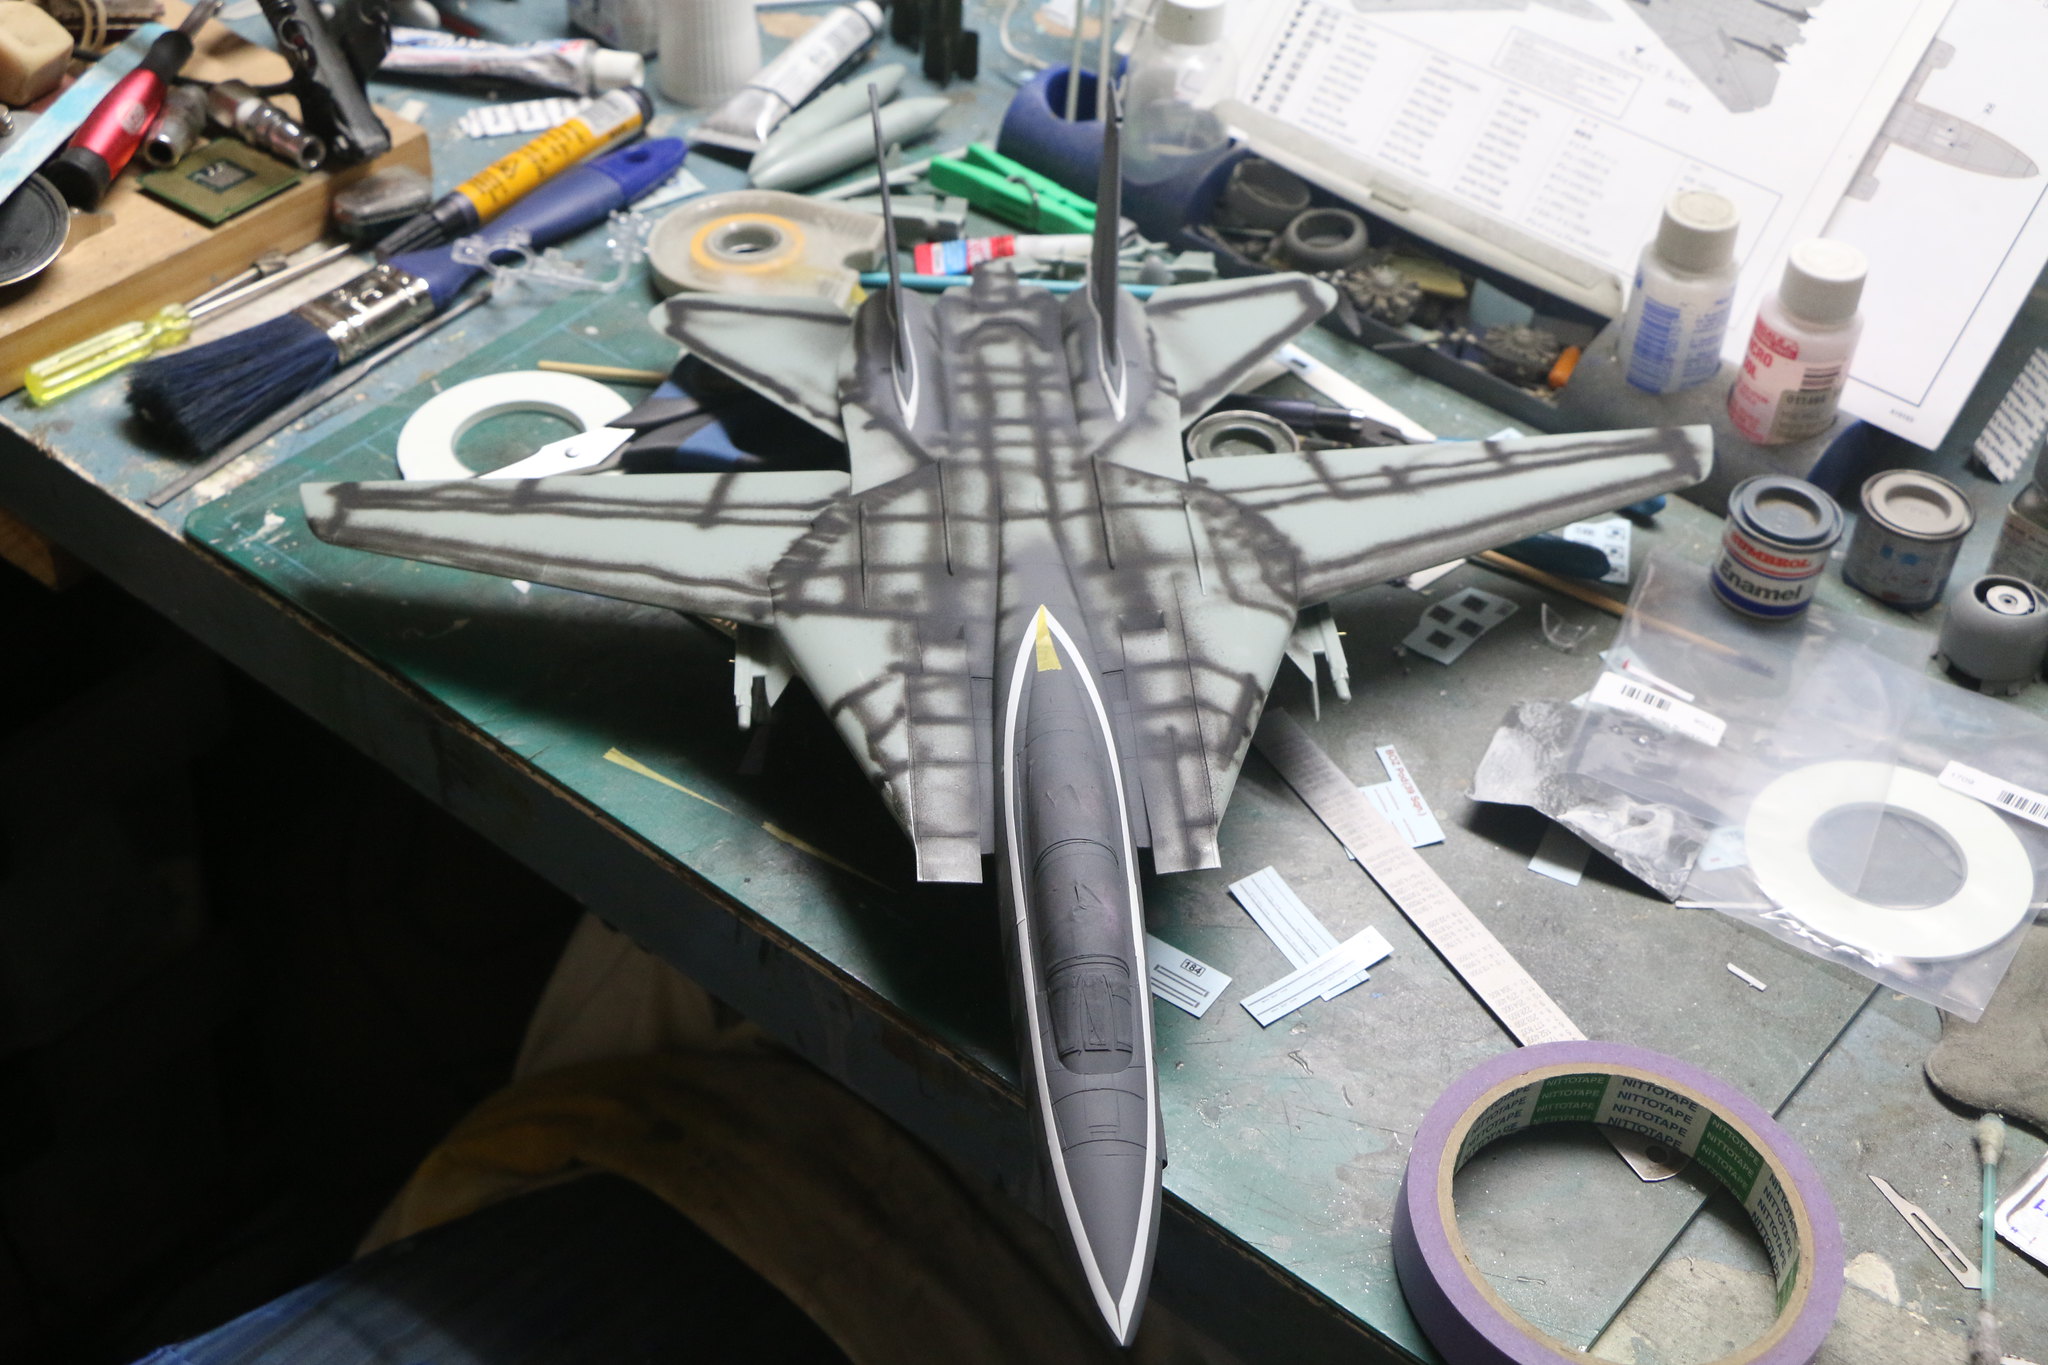
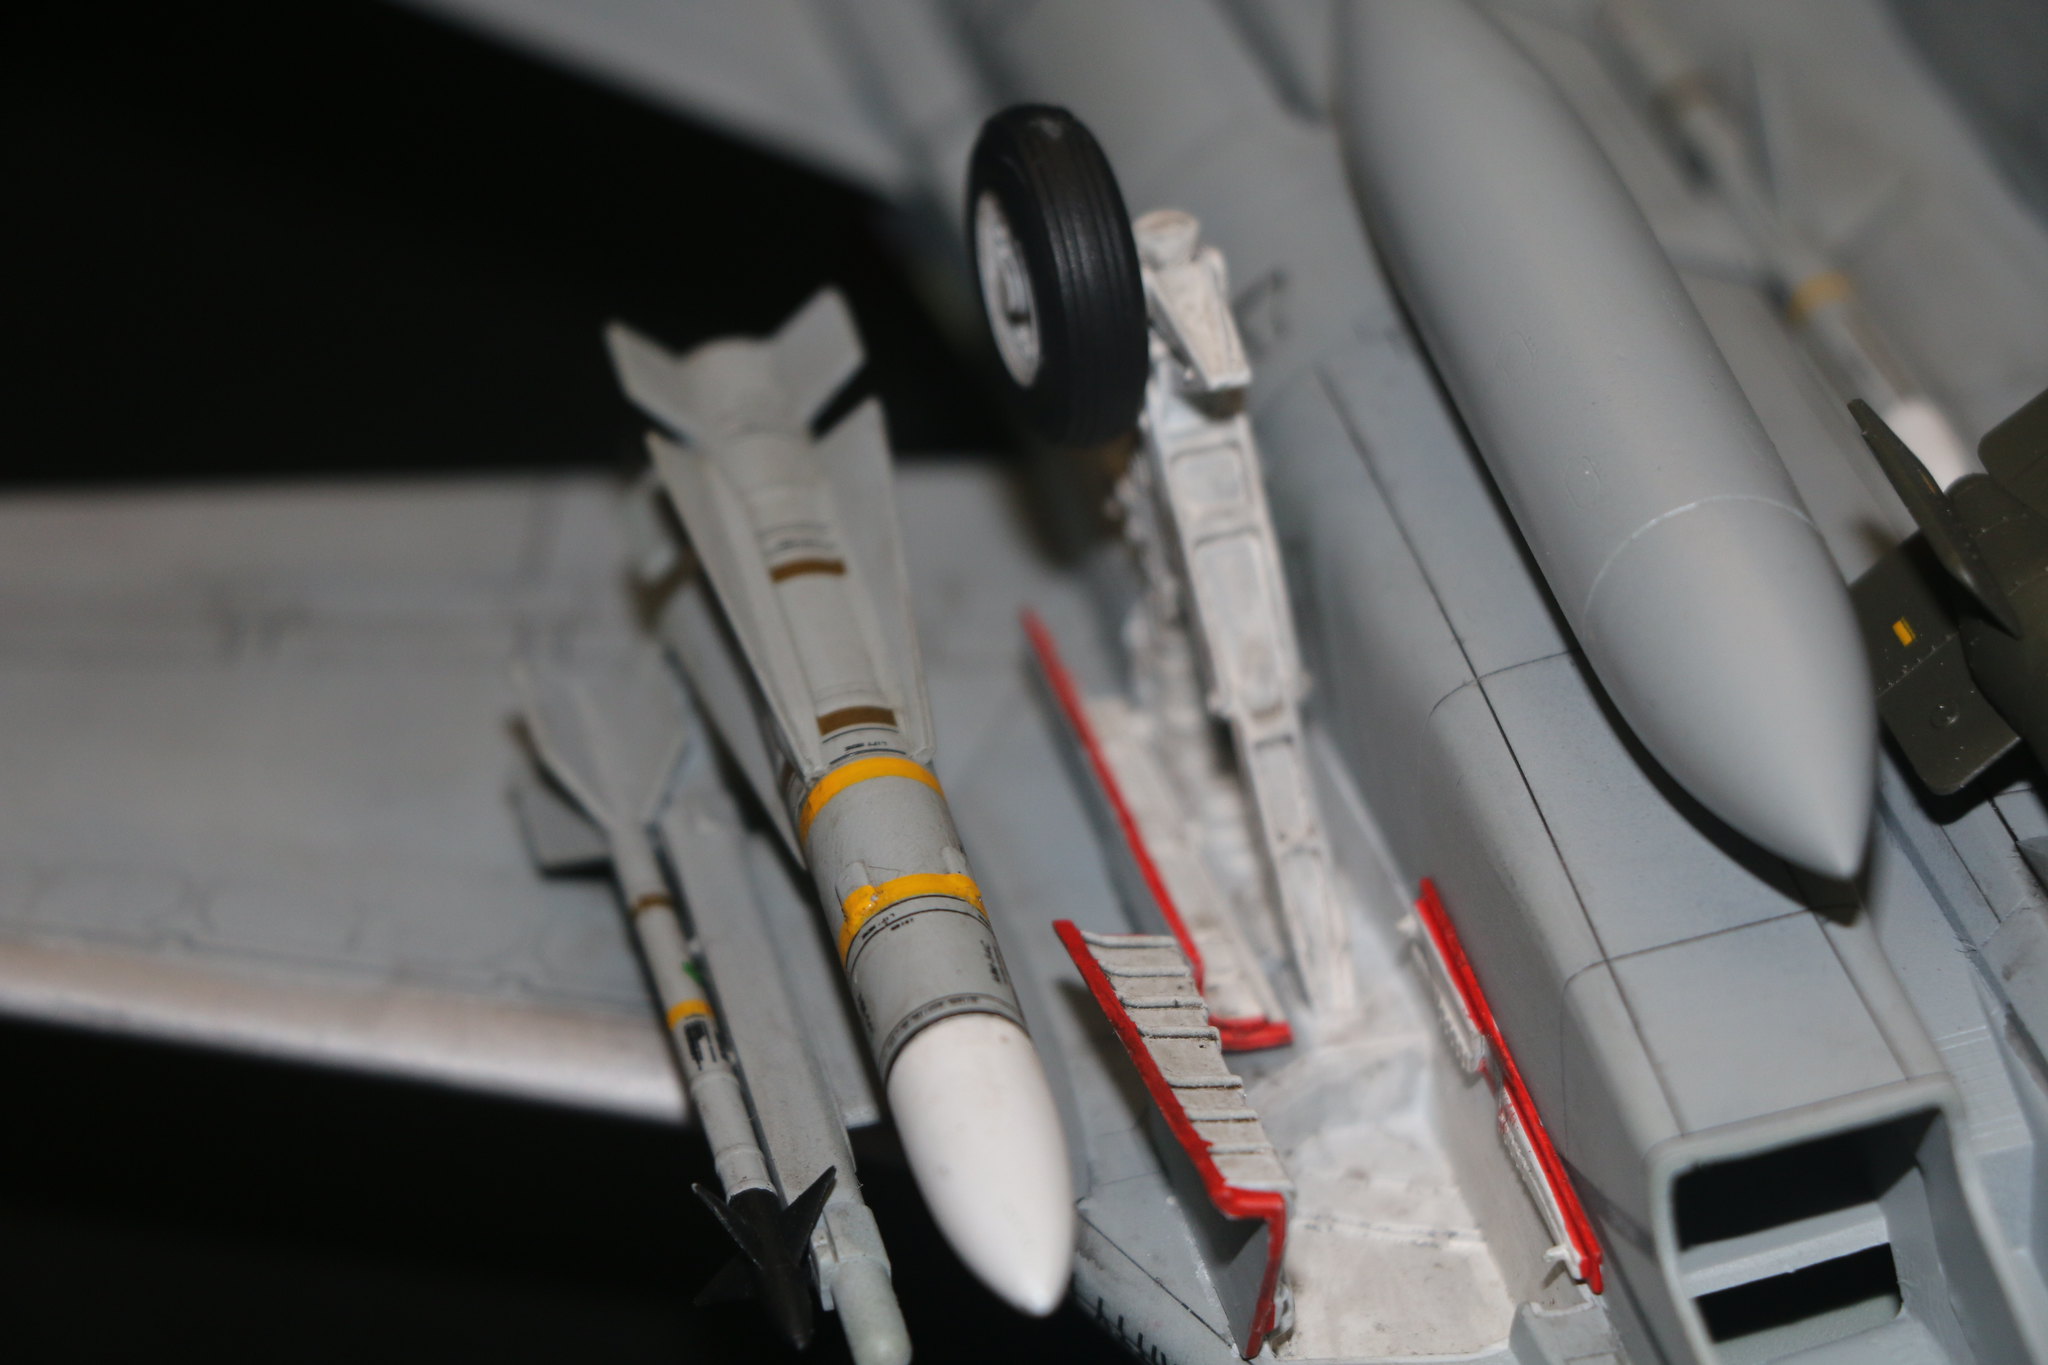
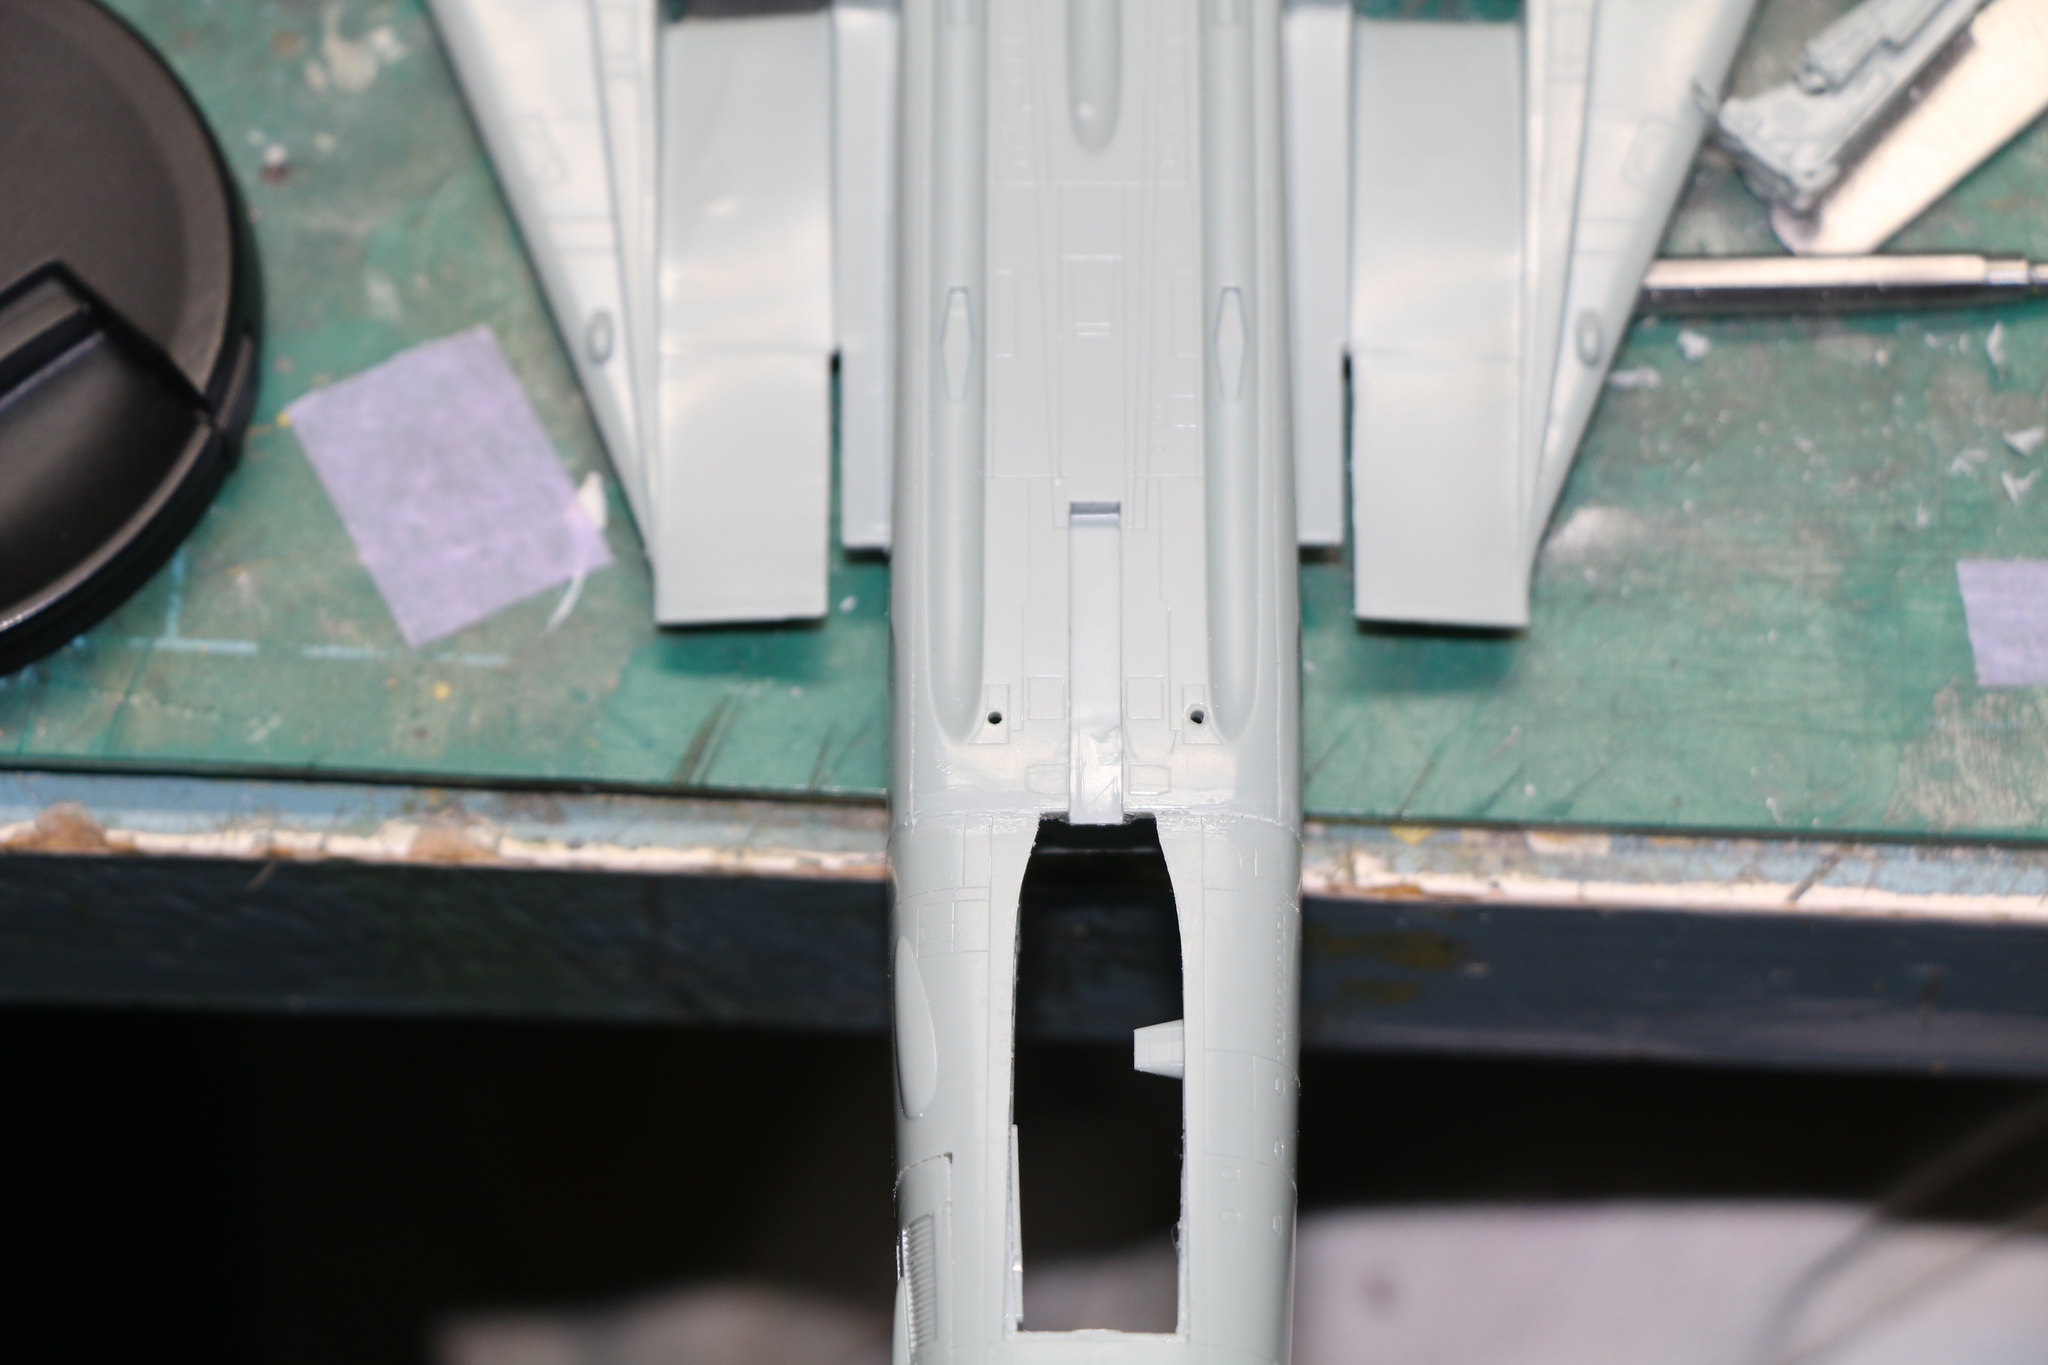
IMG_1610 by Chris WIlson, on Flickr

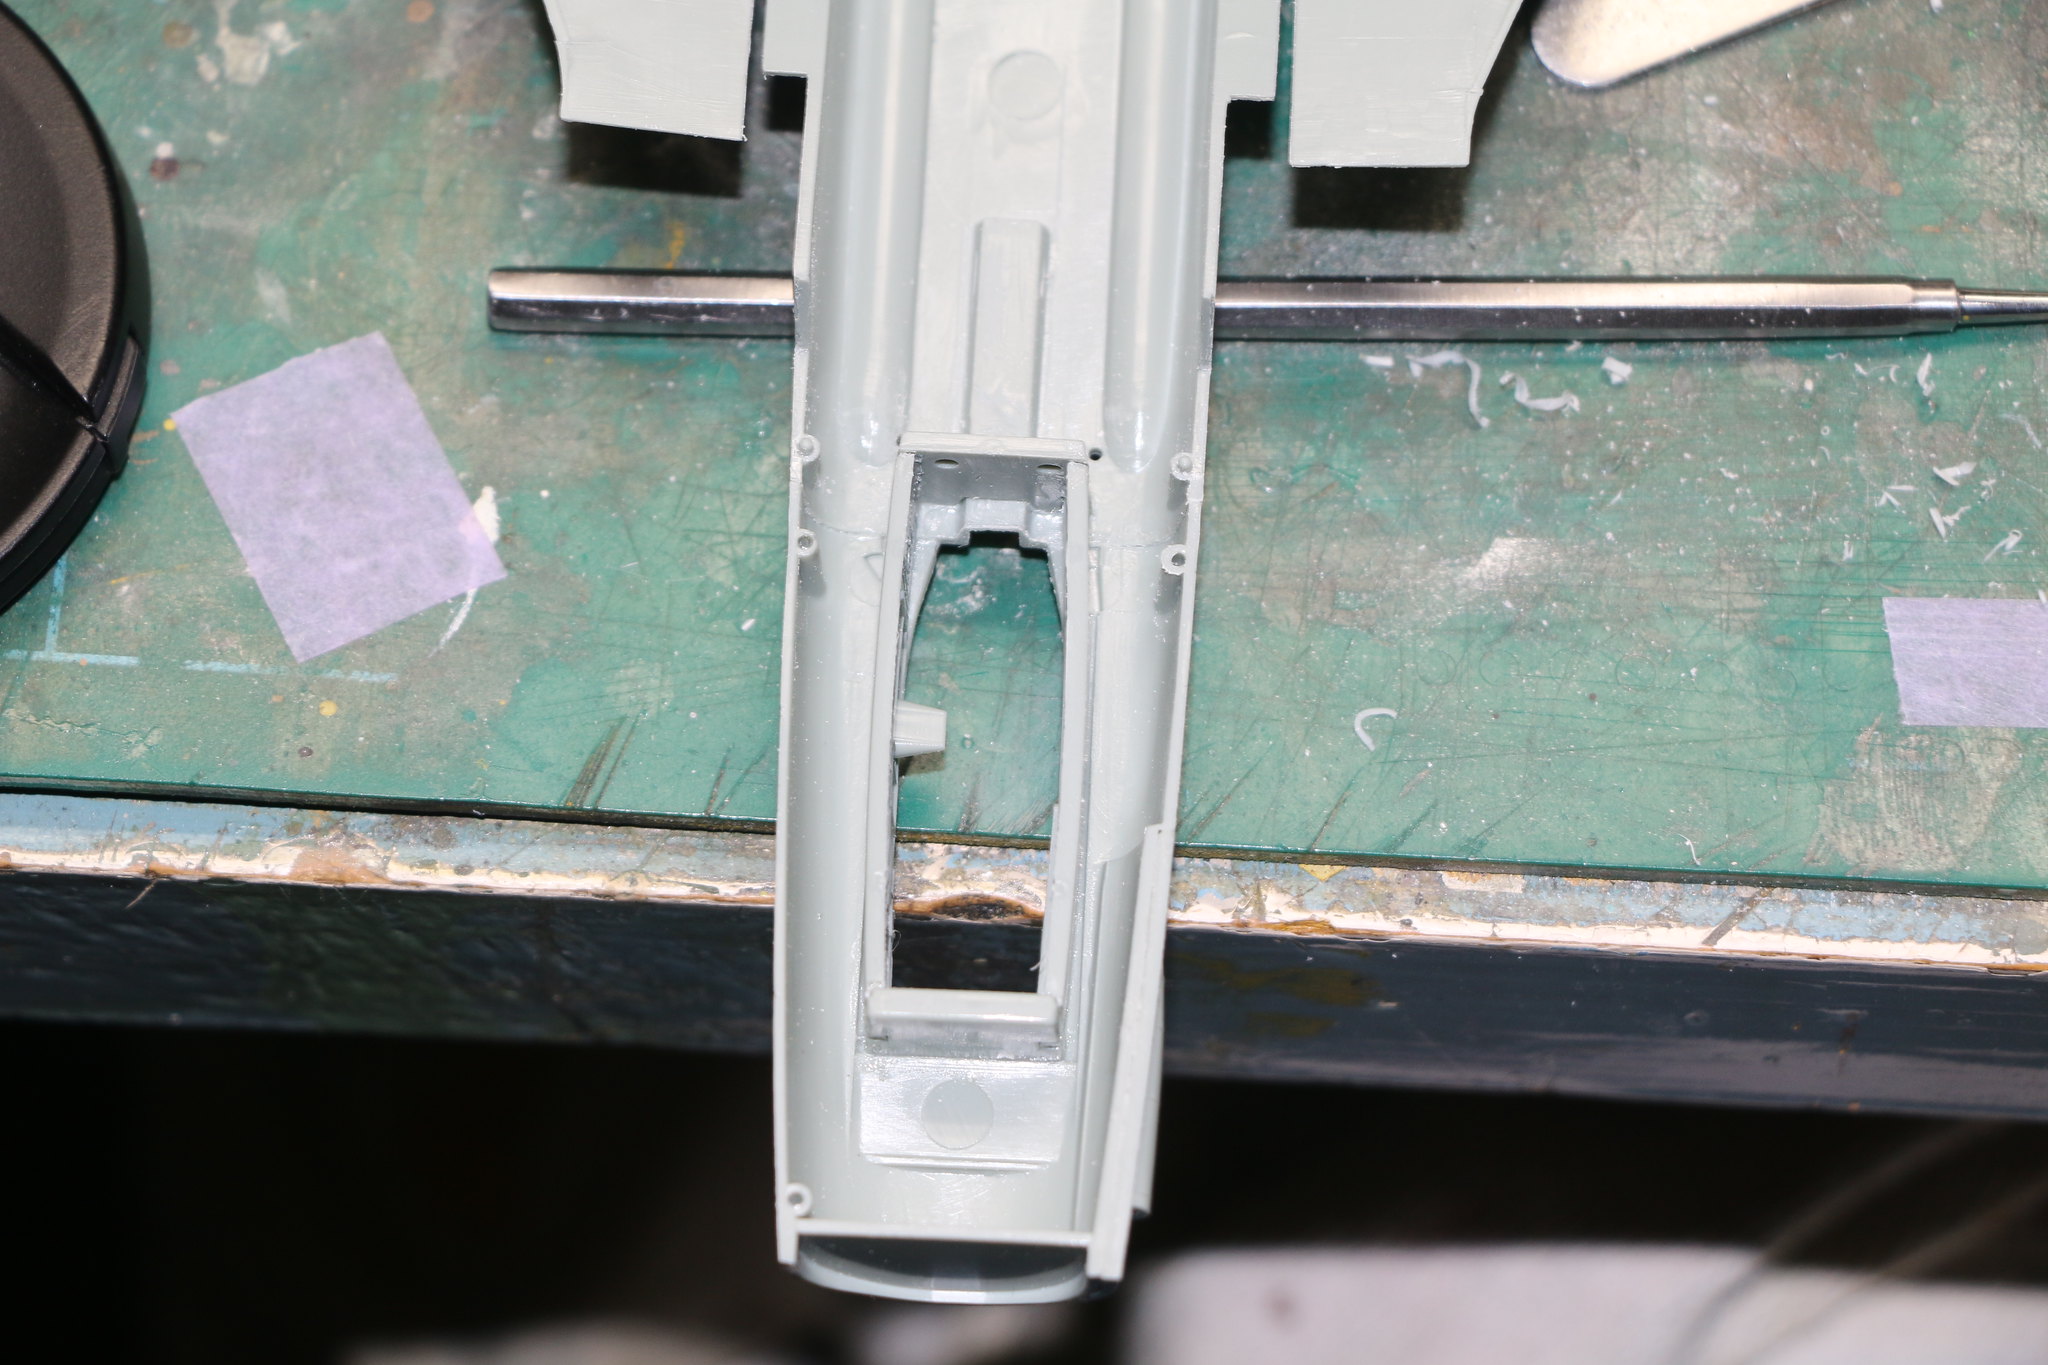
IMG_1609 by Chris WIlson, on Flickr

c4willy
#305
_VISITCOMMUNITY
Christchurch, New Zealand
Joined: February 01, 2006
KitMaker: 1,673 posts
AeroScale: 1,517 posts
Posted: Friday, August 25, 2017 - 05:55 AM UTC
Progress continues although slowly. The fit has been okay for the most part but the cockpit was a little of a mystery. But the way I approached it seems to have worked at least for me. (I'm no Tomcat expert)

I've got the fuselage halves together with the tails and horizontal stabilizers. I've decided which option to build and added the con-formal bomb racks for the laser guided 1000 pounders. I like the look of these munitions deadly and purposeful! I'll be adding laser targeting pods etc under the wings and I'm in the midst of sorting the under wing mounts.

I'm liking the kit so far but the cockpit is rather spartan but to help with this I'm going to add the two crew to make it a little more busy.

Progress pics for those who wish to see.

IMG_1629 by Chris WIlson, on Flickr

IMG_1627 by Chris WIlson, on Flickr

IMG_1626 by Chris WIlson, on Flickr

IMG_1625 by Chris WIlson, on Flickr

IMG_1623 by Chris WIlson, on Flickr

IMG_1630 by Chris WIlson, on Flickr

IMG_1622 by Chris WIlson, on Flickr

IMG_1620 by Chris WIlson, on Flickr

Joel_W
Staff MemberAssociate Editor
AUTOMODELER
_VISITCOMMUNITY
New York, United States
Joined: December 04, 2010
KitMaker: 11,666 posts
AeroScale: 7,410 posts
Posted: Wednesday, November 15, 2017 - 04:30 AM UTC
Chris,
It's Grumman aircraft, so I'm more then interested, and will be following along as you progress through the build.

So far the basics look pretty good with no real fit issues that I can see.

Joel
c4willy
#305
_VISITCOMMUNITY
Christchurch, New Zealand
Joined: February 01, 2006
KitMaker: 1,673 posts
AeroScale: 1,517 posts
Posted: Wednesday, November 15, 2017 - 07:09 AM UTC
Hi Joel it's great to see you here! I must admit to a little trepidation about the build as it's not my area of expertise. The fit problems ocurred around the multipart forward fuselage which will require some remedial work. And the panel lines are not particularly deep and need some rescribing.

I've got an update coming as I've made significant progress since I last posted.
c4willy
#305
_VISITCOMMUNITY
Christchurch, New Zealand
Joined: February 01, 2006
KitMaker: 1,673 posts
AeroScale: 1,517 posts
Posted: Wednesday, November 15, 2017 - 12:21 PM UTC
So as promised here is another update! As I mentioned to Joel the forward fuselage with the cockpit is a multi-part affair and tricky to get perfectly aligned. It also has rounded edges on the parts so it's not a simple butt joint and some filling must be done.

IMG_1683 by Chris WIlson, on Flickr

IMG_1684 by Chris WIlson, on Flickr

I've yet to fill the seams but overall it went together pretty well but careful dry fitting and filing was required to get the fit I did.

I painted the fan faces and the exhaust nozzles at the same time. I've glued the fan faces in place and then turned my attention to the intake trunks.

IMG_1681 by Chris WIlson, on Flickr

IMG_1699 by Chris WIlson, on Flickr

These proved to be a little misshapen and some work was required to get a decent fit. I actually just bent the intake trunks till they fitted and then glued them in place and held them in place as best I could till the glued dried. I've started trialing Micro-Mark's "same-stuff" a one shot plastics glue for styrene, butyrate, ABS and Acrylic (Lucite or Plexiglas). So far it's worked fairly well and dries hard quite quickly depending on how much you use. (I've also used it to repair laptop shells that were cracked and broken!)

IMG_1691 by Chris WIlson, on Flickr

IMG_1692 by Chris WIlson, on Flickr

I've pinned the weapons pylons for a positive fit of ordnance as the sidewinders had no mounting pins and the Phoenix missile's pins were tiny to non-existent. I also filled in the holes in the fuselage for the rear set of con-formal weapons pylons that won't be used in the load out I'm building. The shaded area for the T.A.R.P.S pod will need to be smoothed out as well. (See pic of front fans for how it looks)

IMG_1689 by Chris WIlson, on Flickr

IMG_1690 by Chris WIlson, on Flickr

I've painted the cockpit and the bang seats although I've yet to finish either. I've got the air brake in place and I had to remove the lugs for the actuators on the underside of it to get a good fit. I chose to close it up as there are open gaps in the fuselage which would be painfully visible otherwise.

IMG_1685 by Chris WIlson, on Flickr

IMG_1704 by Chris WIlson, on Flickr

IMG_1703 by Chris WIlson, on Flickr

IMG_1702 by Chris WIlson, on Flickr

IMG_1701 by Chris WIlson, on Flickr

So that's as far as I've gotten while the kit has it's problems (as all kits do) I'm enjoying the build! It's simple full of ordnance for the weapons pylons and looks like a Tomcat to me. There are full stencils for the weapons, pylons and stencils galore for the airframe so it'll be another decal fest coming up! (See the Canberra build for the decal fest I'm referring too!)
thegirl
_VISITCOMMUNITY
Alberta, Canada
Joined: January 19, 2008
KitMaker: 6,743 posts
AeroScale: 6,151 posts
Posted: Saturday, November 18, 2017 - 07:18 PM UTC
So this is what you have been up too of late . Coming along nicely so far Chris


Terri
Joel_W
Staff MemberAssociate Editor
AUTOMODELER
_VISITCOMMUNITY
New York, United States
Joined: December 04, 2010
KitMaker: 11,666 posts
AeroScale: 7,410 posts
Posted: Monday, November 20, 2017 - 01:20 AM UTC
Chris,
Just re-read your entire build once again, and you're doing a fantastic job on the Academy kit. My brother is building the Hobby Boss kit, and I'm planning on tackling the Tamiya kit some time in the future.

Being a Grumman fan, and while my favorite era is WWII, I have a real fondness for the F-14A. I lived in Newport News Va, in the 70's and worked in Virginia Beach, so I was treated to seeing F-14As coming and going from Oceania Naval Air Station on almost a daily basis.

The cockpit has always been one of my weaknesses, and a Jet's cockpit is not only super busy, but highly technical. You're doing an excellent job of detail painting to make what's there pop. Same with the bang seats.

As for the weaponry, It's mind boggling the varied ordnance that they could carry.

Joel
c4willy
#305
_VISITCOMMUNITY
Christchurch, New Zealand
Joined: February 01, 2006
KitMaker: 1,673 posts
AeroScale: 1,517 posts
Posted: Tuesday, November 21, 2017 - 03:52 PM UTC
More work this time in the cockpit and you can't actually see most of it. I painted the various screens with a clear green to give it a more realistic look. Then turned my attention to the pilot and RIO whom I proceeded to paint. Academy provide decals for the helmets which require a softening solution of some form to get them to conform to the helmet. But it certainly adds to the look of them. I then had to remove their feet as they weren't actually sitting on the bang seats!

After that corrective surgery I glued them in place and painted the handles on the bang seats a little heavy handed perhaps but it looks the part. I then cut some Tamiya masking tape very thinly so I could add it to the seats and crew to simulate the harness which while moulded onto the crew is painfully absent between the crew and seat.

With all that I'm almost ready to close up the cockpit and start painting! Almost!

IMG_1760 by Chris WIlson, on Flickr

IMG_1761 by Chris WIlson, on Flickr

IMG_1762 by Chris WIlson, on Flickr

Joel_W
Staff MemberAssociate Editor
AUTOMODELER
_VISITCOMMUNITY
New York, United States
Joined: December 04, 2010
KitMaker: 11,666 posts
AeroScale: 7,410 posts
Posted: Wednesday, November 22, 2017 - 05:20 AM UTC
Chris,
I'm not a figure man by any means, but those two really add that something extra. Love the helmets. WTG

Joel
Cosimodo
#335
_VISITCOMMUNITY
Auckland, New Zealand
Joined: September 03, 2013
KitMaker: 1,808 posts
AeroScale: 195 posts
Posted: Wednesday, November 22, 2017 - 02:18 PM UTC
Hi Chris,
Just caught up with this build. Looks great and the work on the pilots is excellent.

cheers
Michael
c4willy
#305
_VISITCOMMUNITY
Christchurch, New Zealand
Joined: February 01, 2006
KitMaker: 1,673 posts
AeroScale: 1,517 posts
Posted: Saturday, November 25, 2017 - 04:00 PM UTC
Joel my thanks! Yes it was a way to hide the less than stellar office.

Michael welcome, not my usual fare but it's making a nice change of pace.

So a little further on I bought myself some Tamiya vinyl masking tape for curves and after mixing the recommended paints (I used Humbrol equivalents) I sprayed the cockpit black and picked out some panel lines. Then sprayed the mixed paints over the canopy and twin tails.

Then it was time to mask off the areas with the Tamiya tape. I got it in two thicknesses 2 mm and 3 mm, I used the thicker of the two for this . Then I completed masking off the areas with conventional masking tape. Completely covering both the canopy and the tails. Next up was a coat of Hu145 (FS35327) trying to lay it down so as to not cover up the highlighted panel lines. Not particularly successful but we'll see how it looks tomorrow after it's had time to dry properly.

So here's where we are just now I'll post pics of the paint job tomorrow after I take pics.

IMG_1776 by Chris WIlson, on Flickr

IMG_1777 by Chris WIlson, on Flickr

IMG_1780 by Chris WIlson, on Flickr

I also took the opportunity to paint the GBU's I'll be loading her up with.

IMG_1782 by Chris WIlson, on Flickr

IMG_1783 by Chris WIlson, on Flickr

IMG_1791 by Chris WIlson, on Flickr

IMG_1793 by Chris WIlson, on Flickr


Joel_W
Staff MemberAssociate Editor
AUTOMODELER
_VISITCOMMUNITY
New York, United States
Joined: December 04, 2010
KitMaker: 11,666 posts
AeroScale: 7,410 posts
Posted: Saturday, November 25, 2017 - 11:56 PM UTC
Chris,
Now that's some masking job.

Before Tamiya vinyl tape came out, I use to struggle with thin strips of Tamiya masking tape I cut myself, but it wasn't always very cooperative on compound curves.

Can't wait to see the color coats on as pre-shading is certainly the ugly duck stage of any build.

Joel
c4willy
#305
_VISITCOMMUNITY
Christchurch, New Zealand
Joined: February 01, 2006
KitMaker: 1,673 posts
AeroScale: 1,517 posts
Posted: Sunday, November 26, 2017 - 03:36 PM UTC
Hi Joel yes preshading looks particularly messy but then I guess that's the point? Well Joel as per your request here she is with her coats on. The shading is subtle I'm going to lighten up the center of the panels with some of the base coat with white added and thinned down quite a bit to give it an oxidised look.

Then it's some detail painting of the bare metal panels around the motors, Vulcan canon and leading edges. After that it's gloss coat and decals time! Nowhere as many stencils as the Canberra but the ordnance and weapons pylons have decals too. Should look a million bucks when done. I really like this kit while it might not be as detailed or as accurate as the Hasegawa offerings I really like it's details and price.

IMG_1794 by Chris WIlson, on Flickr

IMG_1795 by Chris WIlson, on Flickr

IMG_1796 by Chris WIlson, on Flickr

IMG_1797 by Chris WIlson, on Flickr

IMG_1798 by Chris WIlson, on Flickr

IMG_1799 by Chris WIlson, on Flickr

I've got the ordnance painted as well now it's a matter of painting the details.

IMG_1800 by Chris WIlson, on Flickr
c4willy
#305
_VISITCOMMUNITY
Christchurch, New Zealand
Joined: February 01, 2006
KitMaker: 1,673 posts
AeroScale: 1,517 posts
Posted: Saturday, December 02, 2017 - 04:43 AM UTC
Things are progressing with the Tomcat and I thought that this time I'd re-introduce myself to Humbrol metalisers. I had mixed results with them prior to my getting and using an airbrush and felt the change in application and a greater level of patience I might get better results.

Well I was pleasantly surprised with the results it may actually just be a little to bright and shiny for the real thing but it looks great! I found that gentle buffing with a cotton bud (Q-tip for our American Brethren) rather than a piece of cloth works best. I also took the time to paint the gun port as it was stainless steel from memory.

First up was actually masking off the area a rather complex task with plenty of curves. Then I had to make sure I excluded over spray so once the masking of the curves was done a lot more masking tape was added. It was a relatively quick process to spray, buff and then removed the tape. The paint drys quite quickly and can be buffed immediately. With gentle buffing you can get it to a very shiny result.

IMG_1820 by Chris WIlson, on Flickr

IMG_1821 by Chris WIlson, on Flickr

IMG_1822 by Chris WIlson, on Flickr

IMG_1823 by Chris WIlson, on Flickr

IMG_1824 by Chris WIlson, on Flickr

Not much to look at once sprayed but when buffed the magic occurs!

IMG_1825 by Chris WIlson, on Flickr

IMG_1826 by Chris WIlson, on Flickr

IMG_1827 by Chris WIlson, on Flickr

IMG_1828 by Chris WIlson, on Flickr

IMG_1830 by Chris WIlson, on Flickr

IMG_1831 by Chris WIlson, on Flickr

IMG_1832 by Chris WIlson, on Flickr

IMG_1837 by Chris WIlson, on Flickr

IMG_1838 by Chris WIlson, on Flickr

IMG_1839 by Chris WIlson, on Flickr

c4willy
#305
_VISITCOMMUNITY
Christchurch, New Zealand
Joined: February 01, 2006
KitMaker: 1,673 posts
AeroScale: 1,517 posts
Posted: Thursday, December 07, 2017 - 12:03 PM UTC
So guess who in his haste didn't realise the leading edges of the Tomcats wings are natural Aluminium! This guy! So another semi-epic masking job ensued and they are now the right shade of alloy!

I've also sprayed the Humbrol metalisers with Tamiya gloss coat and feel I should have buffed the polished steel before application as it's returned a little to it's purple shade before being polished. Oh well we'll see how it turns out in the long run.

IMG_1858 by Chris WIlson, on Flickr

IMG_1859 by Chris WIlson, on Flickr

IMG_1860 by Chris WIlson, on Flickr

IMG_1861 by Chris WIlson, on Flickr

IMG_1862 by Chris WIlson, on Flickr

IMG_1863 by Chris WIlson, on Flickr

IMG_1864 by Chris WIlson, on Flickr

Joel_W
Staff MemberAssociate Editor
AUTOMODELER
_VISITCOMMUNITY
New York, United States
Joined: December 04, 2010
KitMaker: 11,666 posts
AeroScale: 7,410 posts
Posted: Friday, December 08, 2017 - 03:56 AM UTC
Chris,
Nice save. The leading edge looks really quite good.
Joel
c4willy
#305
_VISITCOMMUNITY
Christchurch, New Zealand
Joined: February 01, 2006
KitMaker: 1,673 posts
AeroScale: 1,517 posts
Posted: Monday, December 11, 2017 - 02:48 PM UTC
Hi Joel my thanks for your compliment my friend! Well Joel you'll be pleased to see some definite progress with the Tomcat.

I've got the decals on both the airframe and the ordnance. And surprisingly to me the ordnance is actually rather brightly coloured, it should look really great on the model. I've got some detail painting to accomplish and then it's a panel wash and weathering followed by the attachment of aerials and ordnance.

IMG_1876 by Chris WIlson, on Flickr

IMG_1875 by Chris WIlson, on Flickr

IMG_1874 by Chris WIlson, on Flickr

IMG_1873 by Chris WIlson, on Flickr

IMG_1872 by Chris WIlson, on Flickr

IMG_1870 by Chris WIlson, on Flickr

IMG_1869 by Chris WIlson, on Flickr

IMG_1868 by Chris WIlson, on Flickr

IMG_1866 by Chris WIlson, on Flickr

Joel_W
Staff MemberAssociate Editor
AUTOMODELER
_VISITCOMMUNITY
New York, United States
Joined: December 04, 2010
KitMaker: 11,666 posts
AeroScale: 7,410 posts
Posted: Tuesday, December 12, 2017 - 12:18 AM UTC
Chris,
The decaling looks great on the Big Cat. I did notice on the landing gear strut that you haven't painted the Oleo as yet, or is it that the angle of the picture is hiding it?

Your loads out looks spot on. Decaling looks like paint
And yes, they're super colorful. Each stripe signifies type of ordinance mission, type of bomb load, etc. The bright colors are used so it's easy to see and everyone knows what's what. Doesn't help the enemy all that much as once they're fired or dropped, the target is almost always a goner.

Joel
c4willy
#305
_VISITCOMMUNITY
Christchurch, New Zealand
Joined: February 01, 2006
KitMaker: 1,673 posts
AeroScale: 1,517 posts
Posted: Tuesday, December 12, 2017 - 12:32 AM UTC
Joel you're correct the oleos haven't been painted yet. One of the details that need painting as well as some of the blisters and antennas. So they'll be up next I've done it this way as I intend to use the metalisers to paint the oleo then mask and paint the bits that need painting. Possibly putting the cart before the horse but why change tactics this late in the build? Lol
c4willy
#305
_VISITCOMMUNITY
Christchurch, New Zealand
Joined: February 01, 2006
KitMaker: 1,673 posts
AeroScale: 1,517 posts
Posted: Friday, December 15, 2017 - 10:13 AM UTC
With the deadline fast approaching for the Terrible Teens campaign I've got the Tomcat finished barring some weathering and a wash on the external fuel tanks which I'll do as soon as I can but I want to get the pics up in the gallery pronto.

So here she is in all her glory, as far as kits go it wasn't difficult to assemble but there were fit issues. The panels lines were not exactly uniform but were adequate. The size of the kit and the complexity of the ordnance slowed down the process but only because I don't do jets that often. So here are the pics I hope she meets with your approval.

IMG_1906 by Chris WIlson, on Flickr

IMG_1905 by Chris WIlson, on Flickr

IMG_1904 by Chris WIlson, on Flickr

IMG_1903 by Chris WIlson, on Flickr

IMG_1902 by Chris WIlson, on Flickr

IMG_1900 by Chris WIlson, on Flickr

IMG_1899 by Chris WIlson, on Flickr

IMG_1898 by Chris WIlson, on Flickr

IMG_1896 by Chris WIlson, on Flickr

Joel_W
Staff MemberAssociate Editor
AUTOMODELER
_VISITCOMMUNITY
New York, United States
Joined: December 04, 2010
KitMaker: 11,666 posts
AeroScale: 7,410 posts
Posted: Saturday, December 16, 2017 - 03:41 AM UTC
Chris,
Your big cat is really looking quite good. Love the loads out.
Joel
c4willy
#305
_VISITCOMMUNITY
Christchurch, New Zealand
Joined: February 01, 2006
KitMaker: 1,673 posts
AeroScale: 1,517 posts
Posted: Sunday, December 17, 2017 - 10:09 AM UTC
Thanks Joel for your comments I appreciate them greatly.
Cosimodo
#335
_VISITCOMMUNITY
Auckland, New Zealand
Joined: September 03, 2013
KitMaker: 1,808 posts
AeroScale: 195 posts
Posted: Sunday, December 17, 2017 - 02:11 PM UTC
Great looking bird Chris. It looks ready for launch.

cheers
Michael
 _GOTOTOP