Air Campaigns
Want to start or join a group build? This is where to start.
OFFICIAL: 2nd Gen. Jet Fighters Campaign
madnursegaz
_VISITCOMMUNITY
England - North West, United Kingdom
Joined: March 21, 2010
KitMaker: 13 posts
AeroScale: 9 posts
Posted: Wednesday, July 05, 2017 - 07:16 PM UTC
As promised, here is where the 1/32 Hunter is up to as of now!

There'll be more to see, when there's more to see!
Removed by original poster on 07/10/17 - 09:14:51 (GMT).
Emeritus
_VISITCOMMUNITY
Uusimaa, Finland
Joined: March 30, 2004
KitMaker: 2,845 posts
AeroScale: 1,564 posts
Posted: Thursday, July 13, 2017 - 03:10 PM UTC
Yessss! Starting to get back on track. Indeed.


Having migrated the pictures and updated the links to them in many a build blog thread already, the enabling of all post editing means there's still quite a few links to update. This being my latest build in a non-buid blog thread, I naturally fixed this first.

And now for some progress again.

Underside color is on. The instructions pointed to use a mixture of white and silver (without rations, assumably implying a 1:1 mix?), likely to represent an already slightly worn coat of RAF high speed silver paint, as it tended to pretty quickly wear down to a duller finish, eventually appearing almost grey. I tested a few different mixing ratios of Citadel mitril silver and Vallejo's white before settling on 2 parts silver to 1 part white to use on the model. That ratio appeared to make a pretty good match for the finish seen on photos of active service Gnats - not quite brand new anymore, but still having a bit of metallic sheen to it.


The ventral antenna was to be attached with a simple butt joint, and while it probably would have been sufficient for such a small part, especially if glued in place with some flexbile adhesive like Gator's Grip, I still had to do a proper pinned joint for it. Eases painting the part too.

Next it's time for the upper surface colors.
Nito74
_VISITCOMMUNITY
Lisboa, Portugal
Joined: March 04, 2008
KitMaker: 5,386 posts
AeroScale: 635 posts
Posted: Thursday, July 13, 2017 - 07:18 PM UTC
Great work fellas !!

My Su-9, these photos were taken a few weeks ago,


Masking the canopy


Fuel tanks

goodn8
_VISITCOMMUNITY
Berlin, Germany
Joined: October 12, 2008
KitMaker: 709 posts
AeroScale: 651 posts
Posted: Saturday, July 15, 2017 - 12:27 PM UTC
Pretty good action here! Nice choice of kits, guys and some great work already going on.

Garry: Very well done pit!
Eetu: Coming along beautiful, paint looks great with that mix and flawless.

Started my next project with Heller's Mirage 1/72 and checked the parts. This kit is quite suffering from little to no details. First thought was to store it away and take something other. But started anyway...

The part for the pit/front wheelbay has nothing! So I decided to practise some addional parts.
After the bay I'll try to improve the pit a bit as well. There is only a basic seat, a simple joystick and a plain instrument panel. No engravings, no decals.


Thomas
Emeritus
_VISITCOMMUNITY
Uusimaa, Finland
Joined: March 30, 2004
KitMaker: 2,845 posts
AeroScale: 1,564 posts
Posted: Monday, July 17, 2017 - 03:52 AM UTC
Very nice scratch building on those gear bays!

I'm firmly in the painting stage with my entry.

Now who doesn't love Tamiya's masking tape? Cut it narrow enough and it'll probably conform to whatever you're masking.


Everything masked up.


RAF dark green painted and sprayed with a light coat of future to prevent scratches during handling.


Dark green areas on the wing tanks painted. I attempted to make those rounded corners by laying thin sausages of white tac over the masking tape, but on removing the masks it turned out I positioned them way too carefully and hardly got any roundness at all. Guess I'll have to mix up some of that aluminium paint and touch up with a brush.

Next it's time for the dark sea grey.
Bigrip74
_VISITCOMMUNITY
Texas, United States
Joined: February 22, 2008
KitMaker: 5,026 posts
AeroScale: 2,811 posts
Posted: Monday, July 17, 2017 - 07:37 AM UTC
@Eetu: nice job on painting the really little airplane.

@Thomas: I cannot believe the plumbing you've done in this scale, great job.

@John: I really like that airplane by the photos you've posted. I need to get one.
betheyn
Staff MemberSenior Editor
AEROSCALE
#019
_VISITCOMMUNITY
England - South East, United Kingdom
Joined: October 14, 2004
KitMaker: 4,560 posts
AeroScale: 2,225 posts
Posted: Wednesday, July 19, 2017 - 02:03 AM UTC
Well for once I have finished with plenty of time too spare.
F4-D Skyray, in the markings of VF-74, USS Intrepid.


Pics in the gallery.
Might even start another one for this great campaign.
Andy
Emeritus
_VISITCOMMUNITY
Uusimaa, Finland
Joined: March 30, 2004
KitMaker: 2,845 posts
AeroScale: 1,564 posts
Posted: Wednesday, July 19, 2017 - 02:39 AM UTC
That Skyray turned out nice!

Gnat's masked up for dark sea grey.
Emeritus
_VISITCOMMUNITY
Uusimaa, Finland
Joined: March 30, 2004
KitMaker: 2,845 posts
AeroScale: 1,564 posts
Posted: Wednesday, July 19, 2017 - 11:27 PM UTC
Camo painted.


Next: black for the nose cone, dorsal spine segment and fin tip. Then it'll be decaling time.

madnursegaz
_VISITCOMMUNITY
England - North West, United Kingdom
Joined: March 21, 2010
KitMaker: 13 posts
AeroScale: 9 posts
Posted: Friday, July 21, 2017 - 04:18 PM UTC
I've made a little progress with this . . .


I do get a bit carried away and forget to take pix!
madnursegaz
_VISITCOMMUNITY
England - North West, United Kingdom
Joined: March 21, 2010
KitMaker: 13 posts
AeroScale: 9 posts
Posted: Friday, July 21, 2017 - 04:26 PM UTC

Quoted Text

Pretty good action here! Nice choice of kits, guys and some great work already going on.

Garry: Very well done pit!

Thomas


Thank you very much, Thomas! I believe it's the best 'pit I've ever done. While searching the web for reviews of this kit, I found Ted Taylor's build review of Revell's 1/32 Hunter F.6.(http://tedtaylor.hobbyvista.com/89-revell-hunter-mk-6/page-89.html" TARGET="_blank"> http://tedtaylor.hobbyvista.com/89-revell-hunter-mk-6/page-89.html)The pictures of HIS 'pit were amazing and I just felt inspired to make an effort on it!

That 'pit for your Mirage looks good too!
Emeritus
_VISITCOMMUNITY
Uusimaa, Finland
Joined: March 30, 2004
KitMaker: 2,845 posts
AeroScale: 1,564 posts
Posted: Tuesday, July 25, 2017 - 11:26 PM UTC
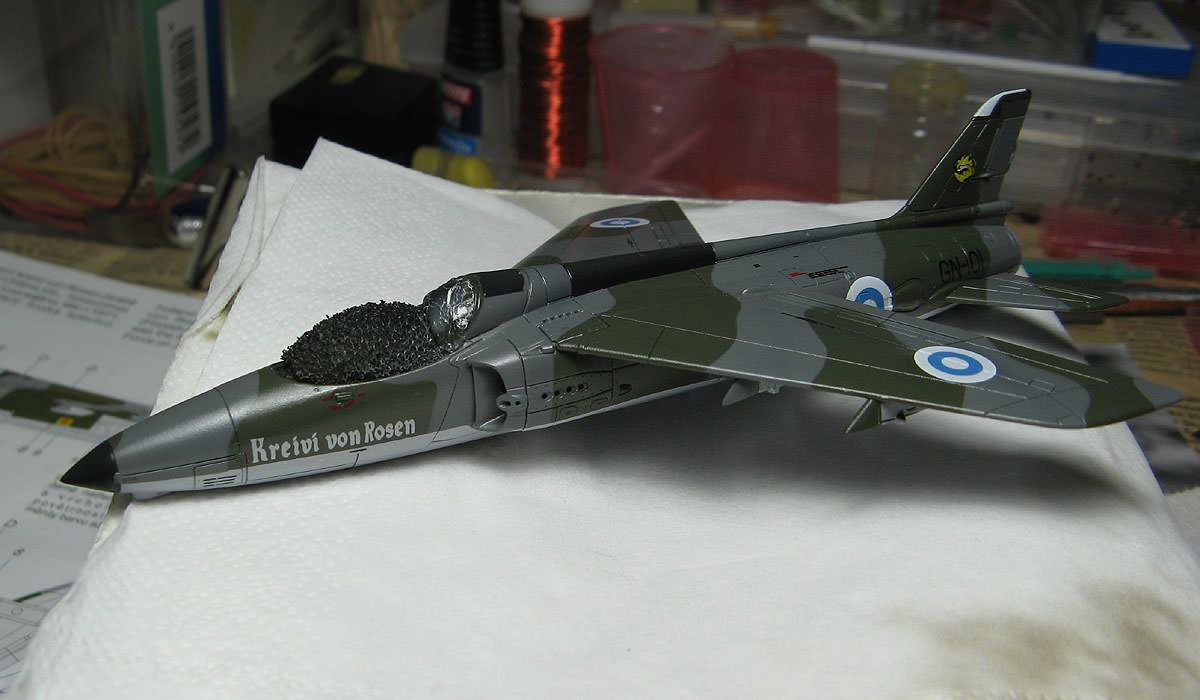
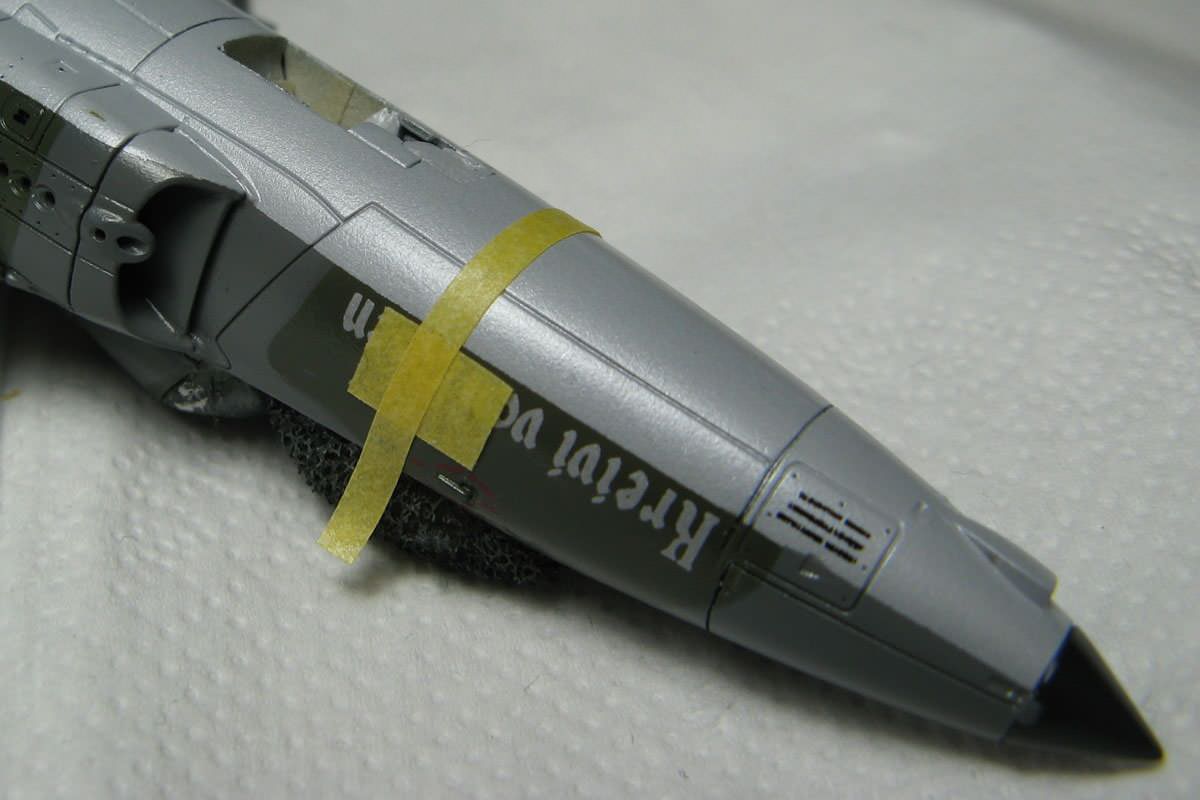
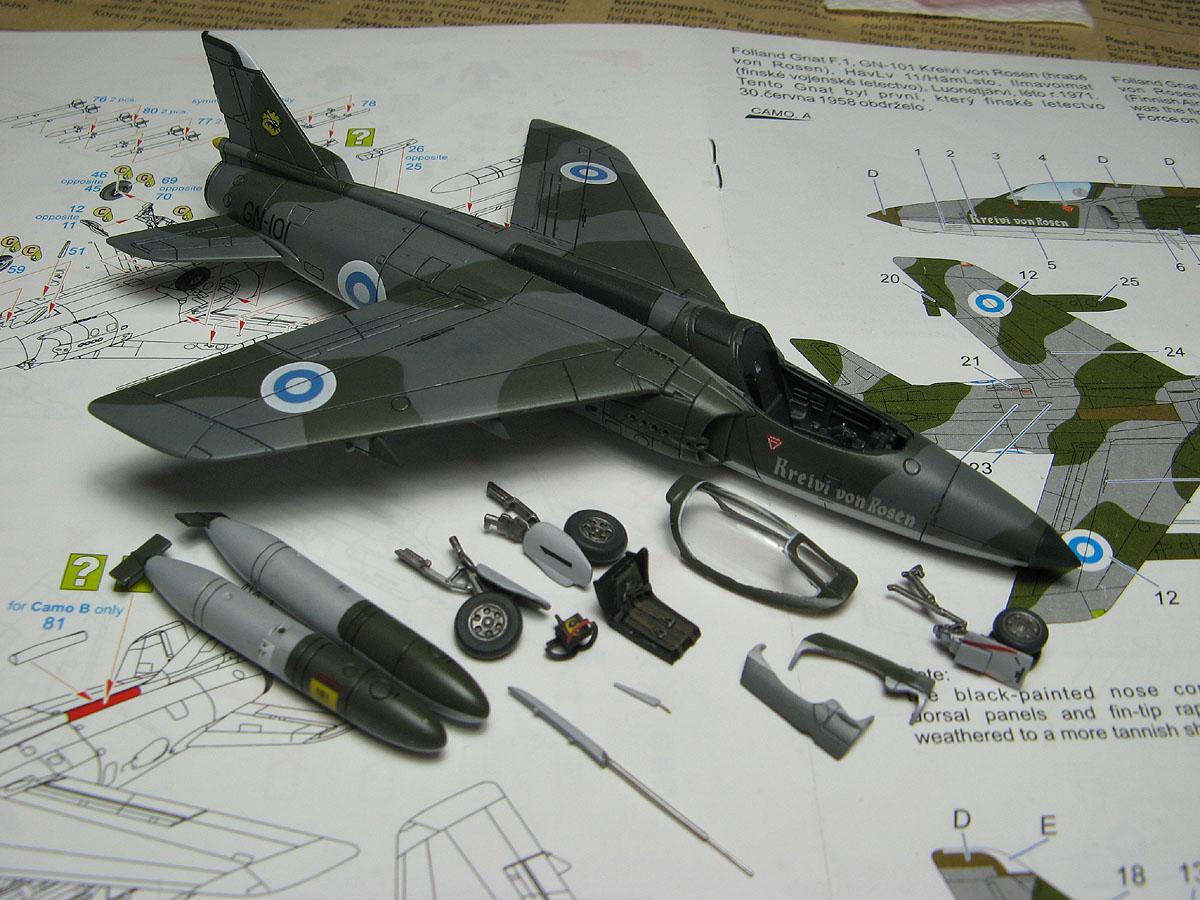
I've all but finished decaling at this point, but here's one update on that stage for starters.

The kit's decal sheet is by Aviprint, and while I do remember them having quite thin decal film, I don't recall it being this thin... Now a thin decal film is good for getting that painted-on look, but these were on the verge of being too thin. Sure, they look great when applied, but they're very delicate and prone to shattering and tearing, and like to cling to the model's surface quickly unless kept wet with water and/or Micro Set.

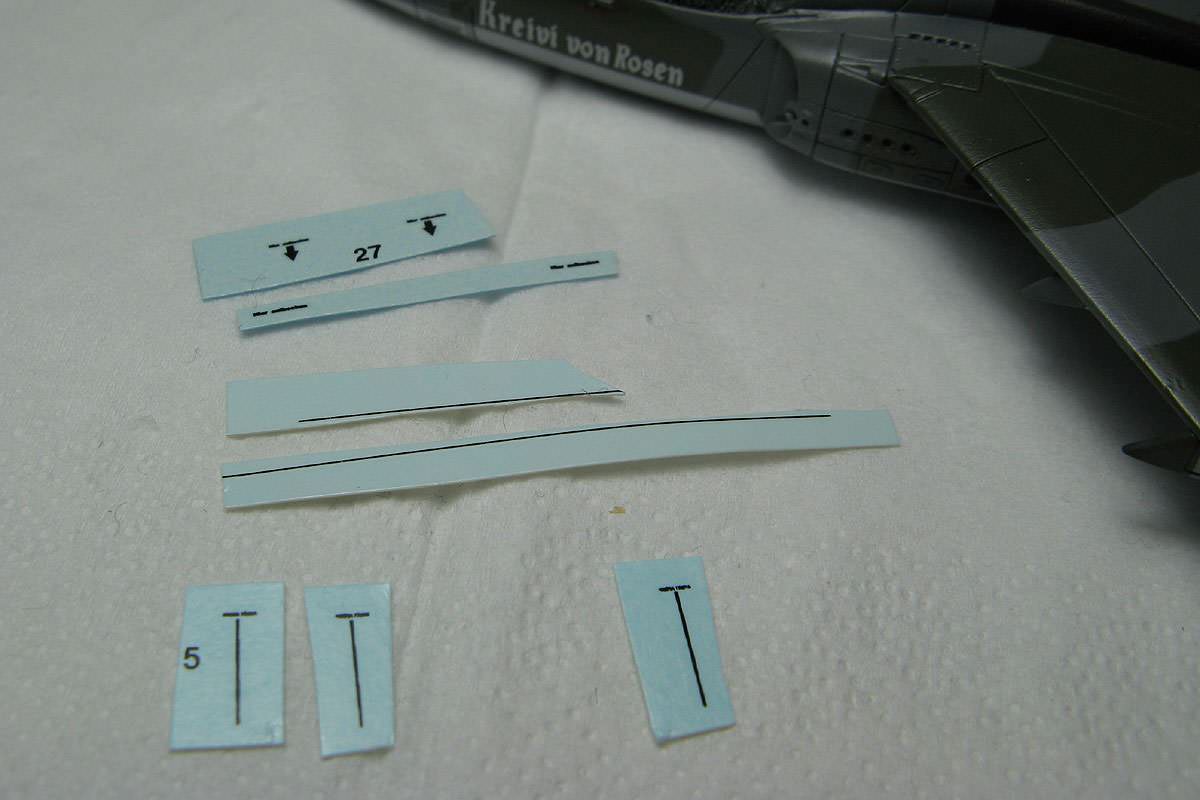
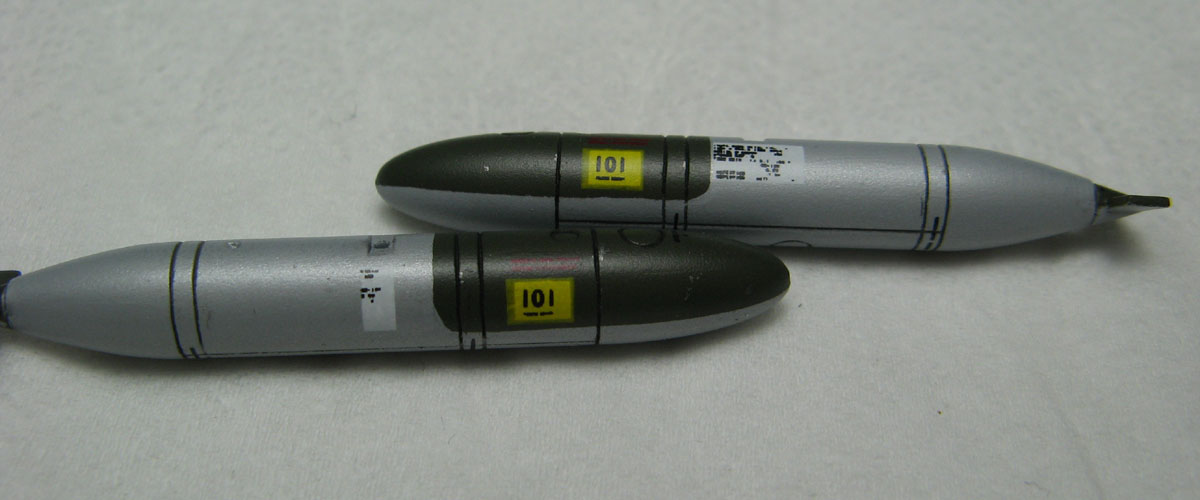
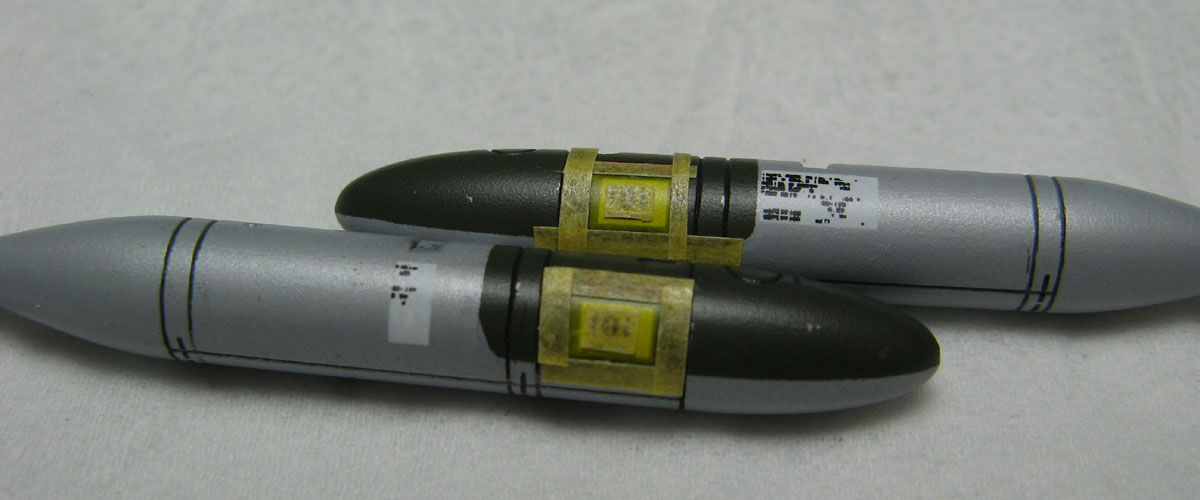
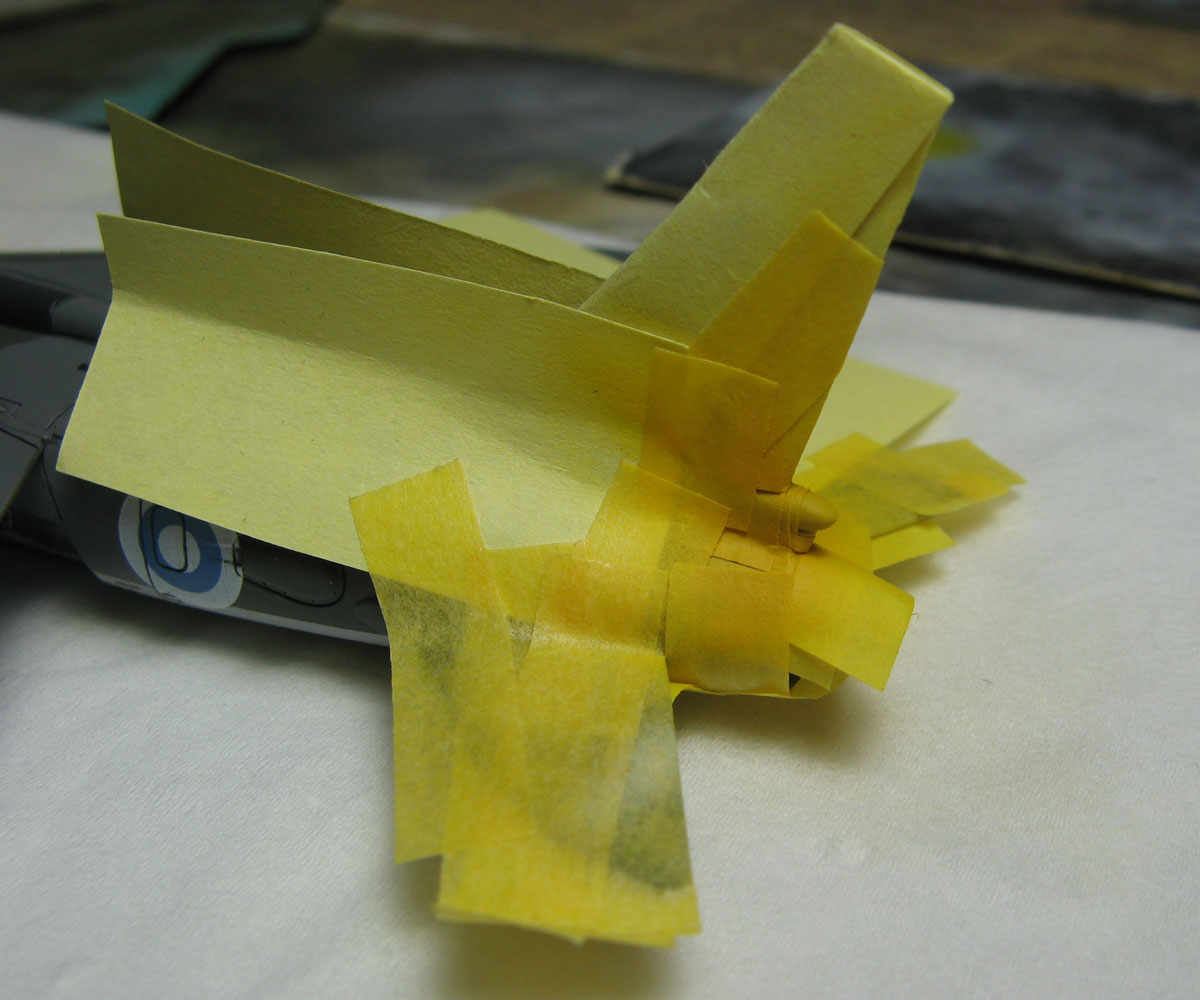
A bit of silly design on the nose gear door stencil ("max towing angle"). Printed as one single piece with continuous carrier film. There's it can be applied properly when building the model with landing gear down, due to the small front bay door being in the way.


Simple & easy solution: cut it in three pieces.


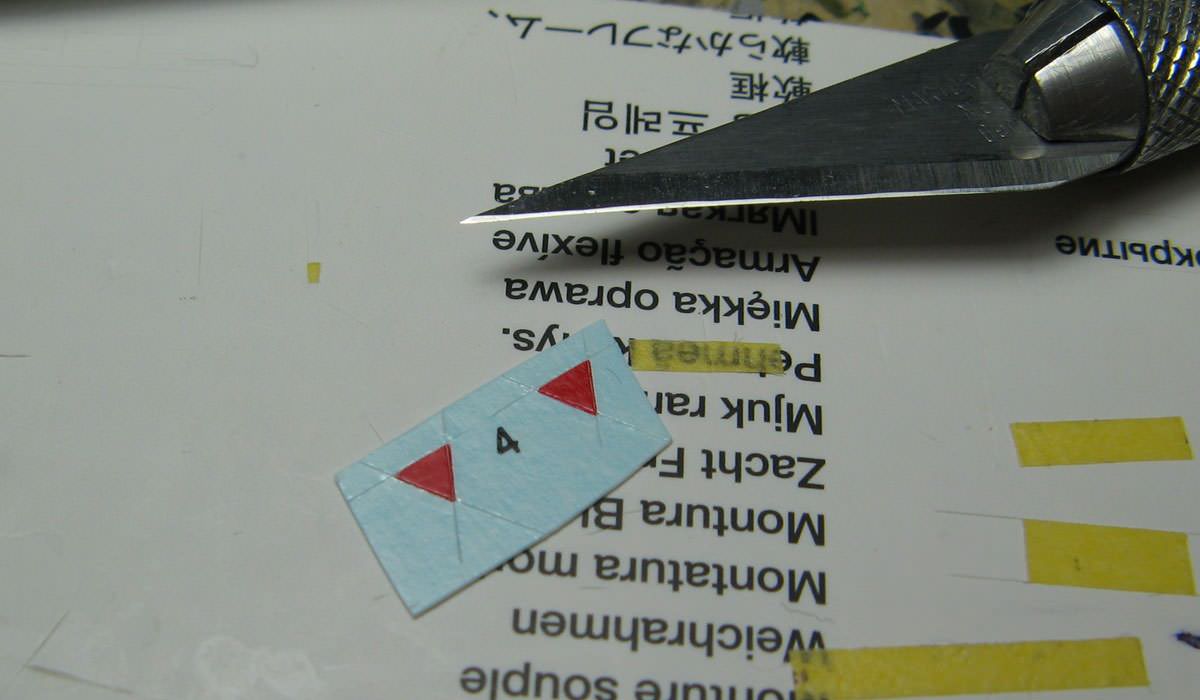
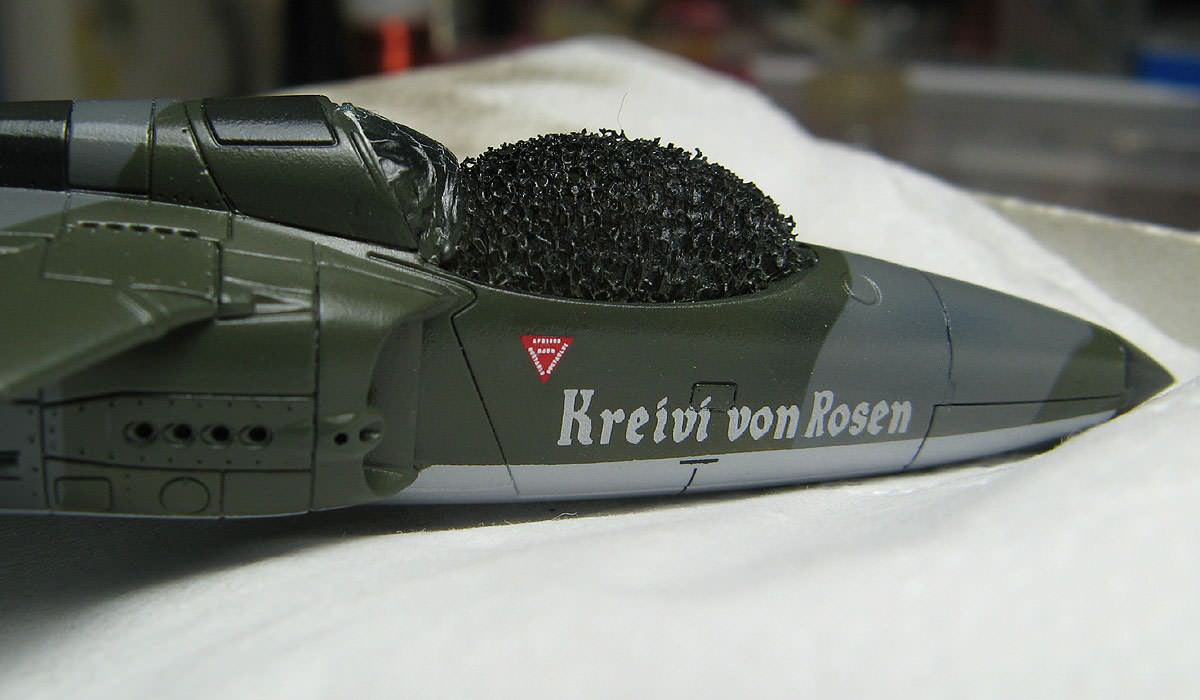
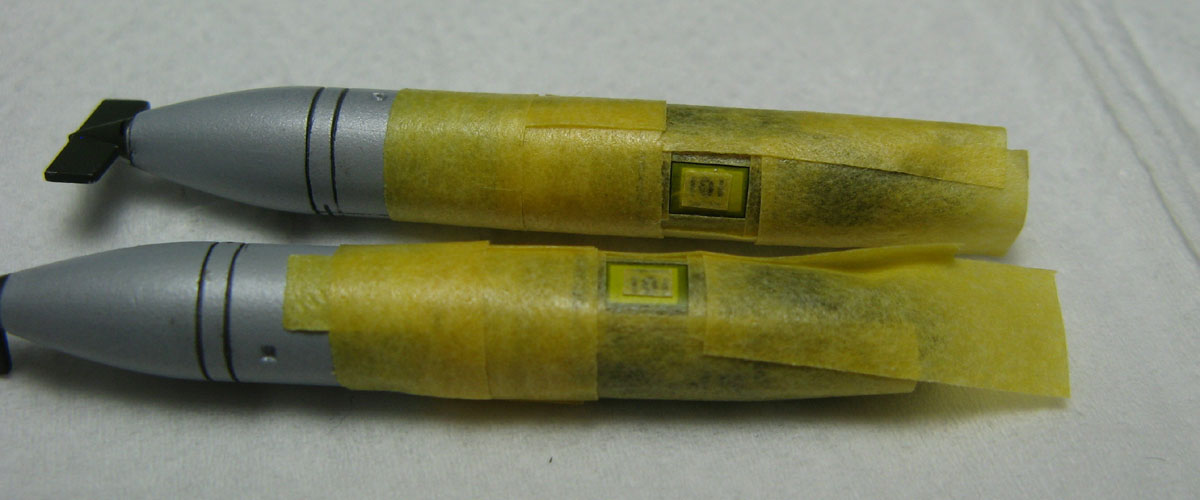
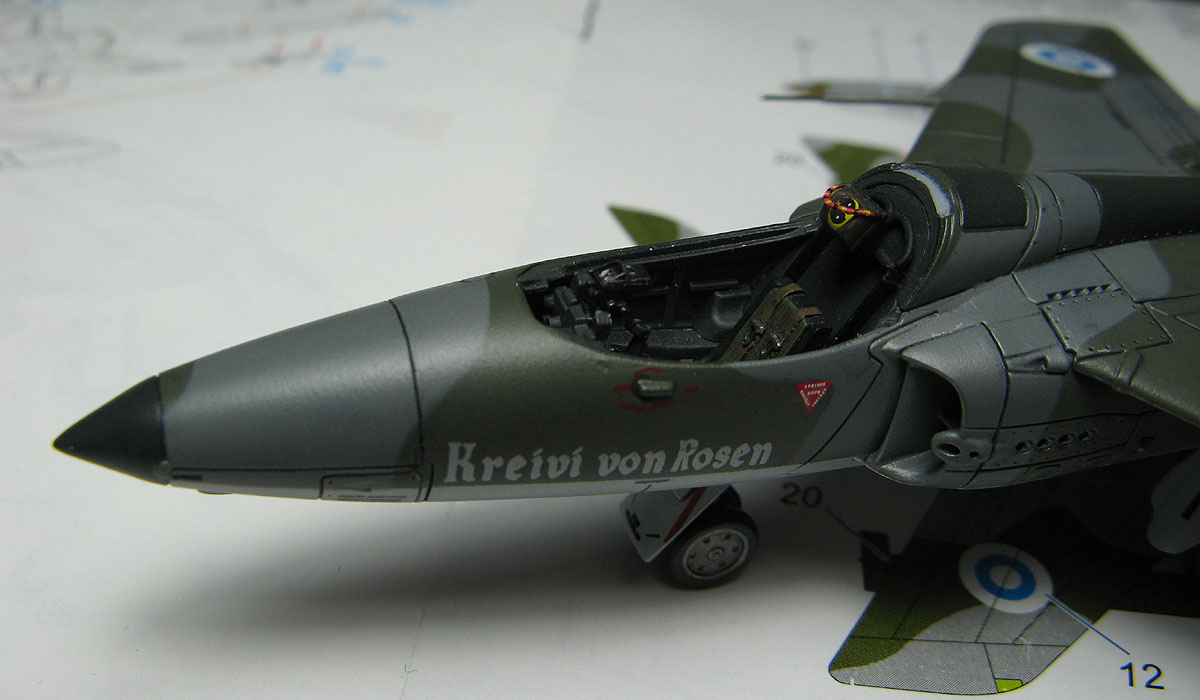
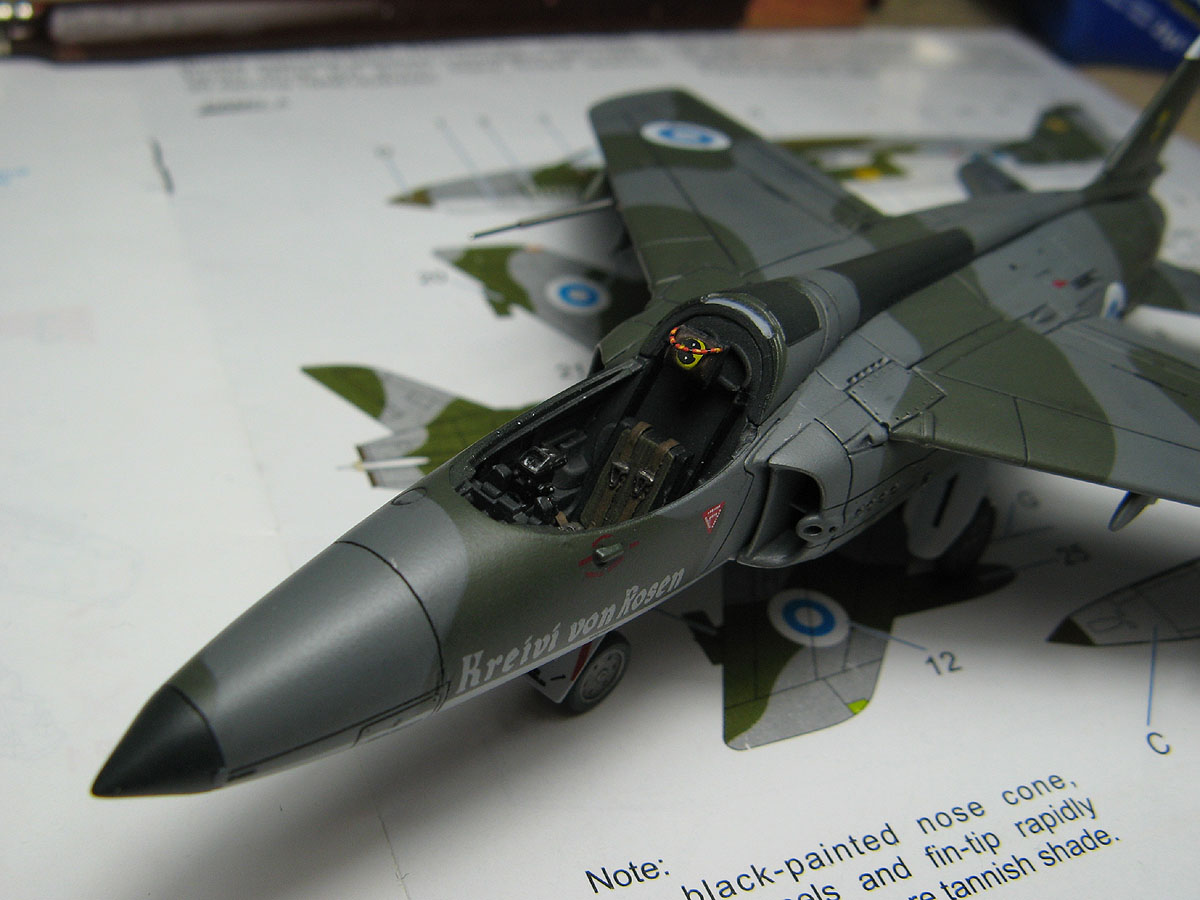
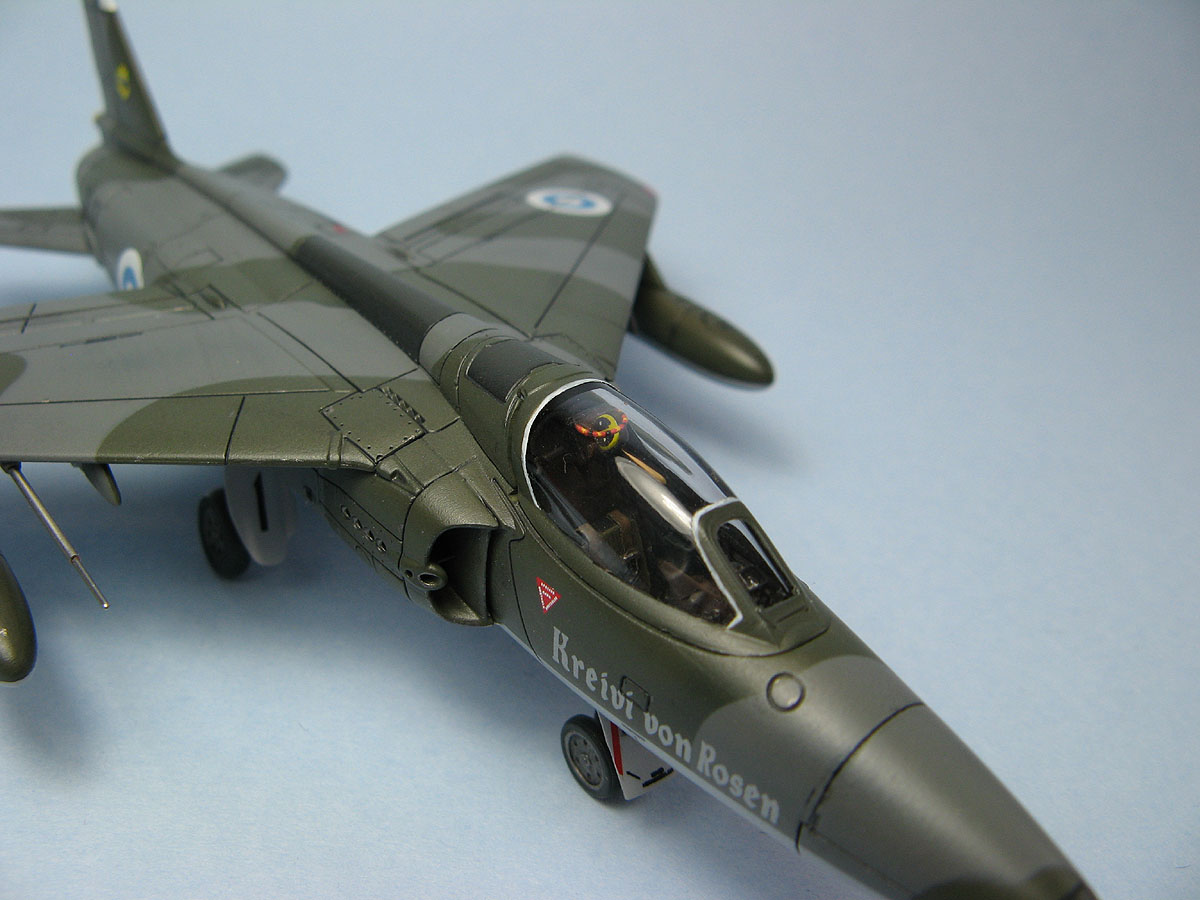
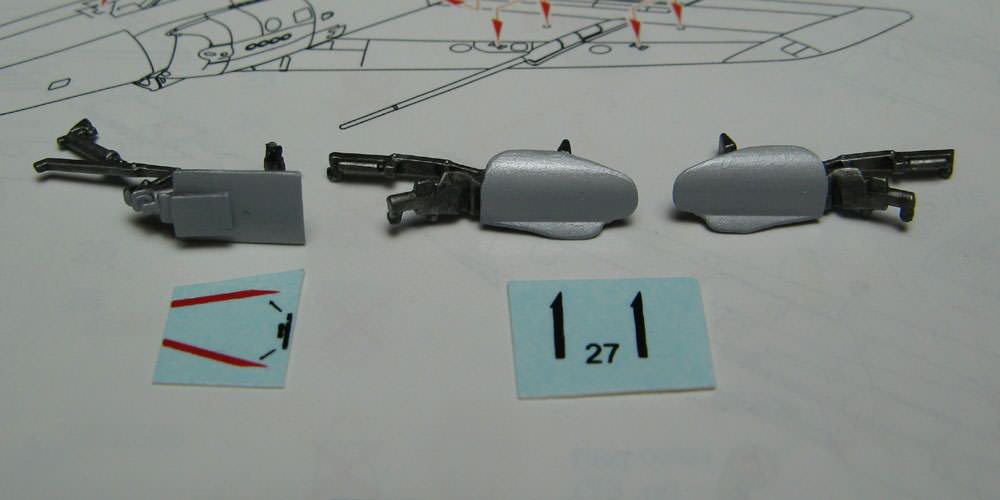
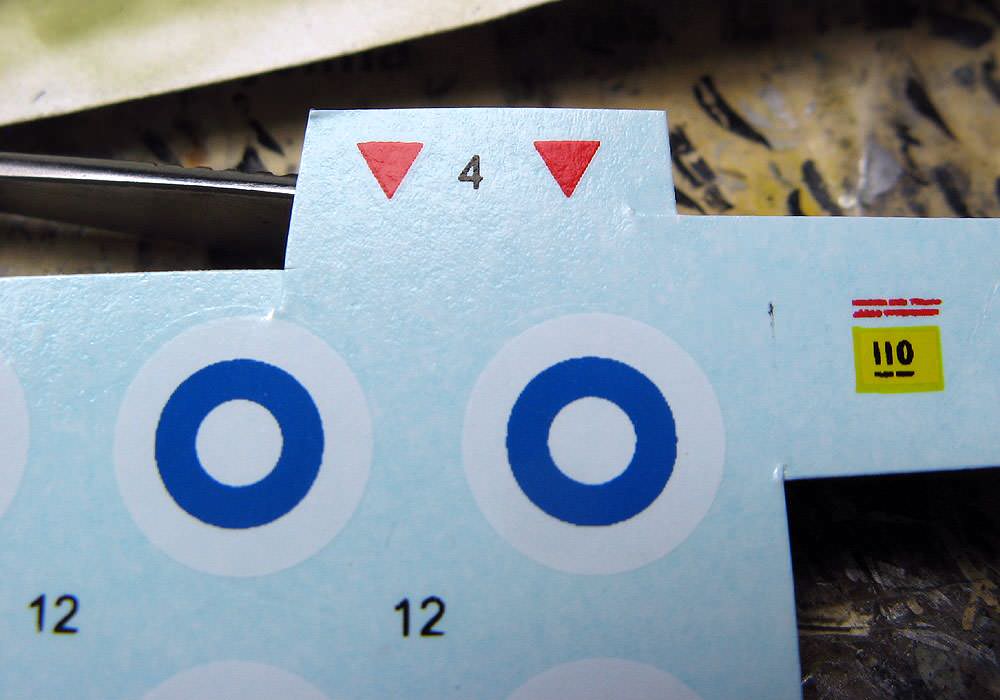
Another problem with the decal sheet: ejection seat triangles have no text at all. Sad.
Plus some roughness in the printing of the Finnish roundels.

I have no idea why the seat warning triangles have been left blank. And same for the pair meant for the Yugoslavian markings, so considering they made separate pairs, I'd presume they were meant to have different text? And they printed multi-color decals like the Yugoslav markings in two parts to ensure alignment & stuff. Thinking of sending email to Special Hobby and asking about this...
Of course, I dug through my decal storage binder and came across quite a plethora of seat triangles, but none with just that exact style. Bummer.

It's not like there's no references around, either...
...And actually I've already photoshopped a triangle based on that photo, but of course I happen to be out of two shades of toner on my printer at the moment.
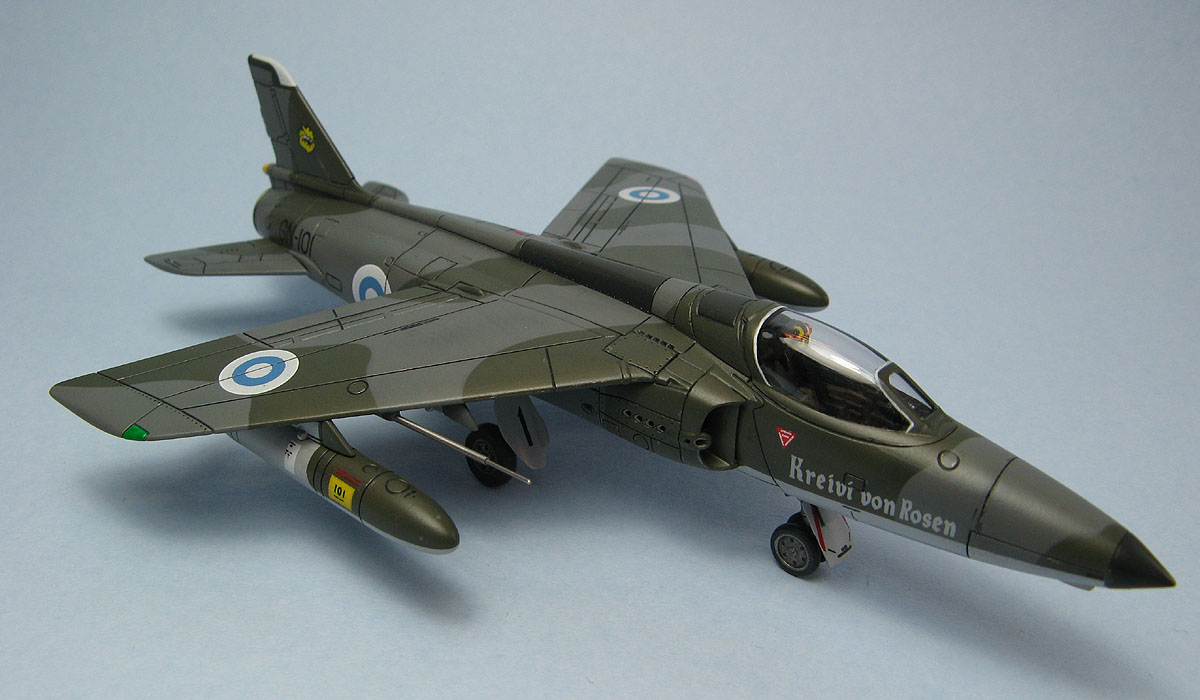
Btw, if someone's thinking of also building a Finnish Gnat, shoot me a message and I'll email you the .psd file so you can't print your own seat triangles in whatever scale your working in!

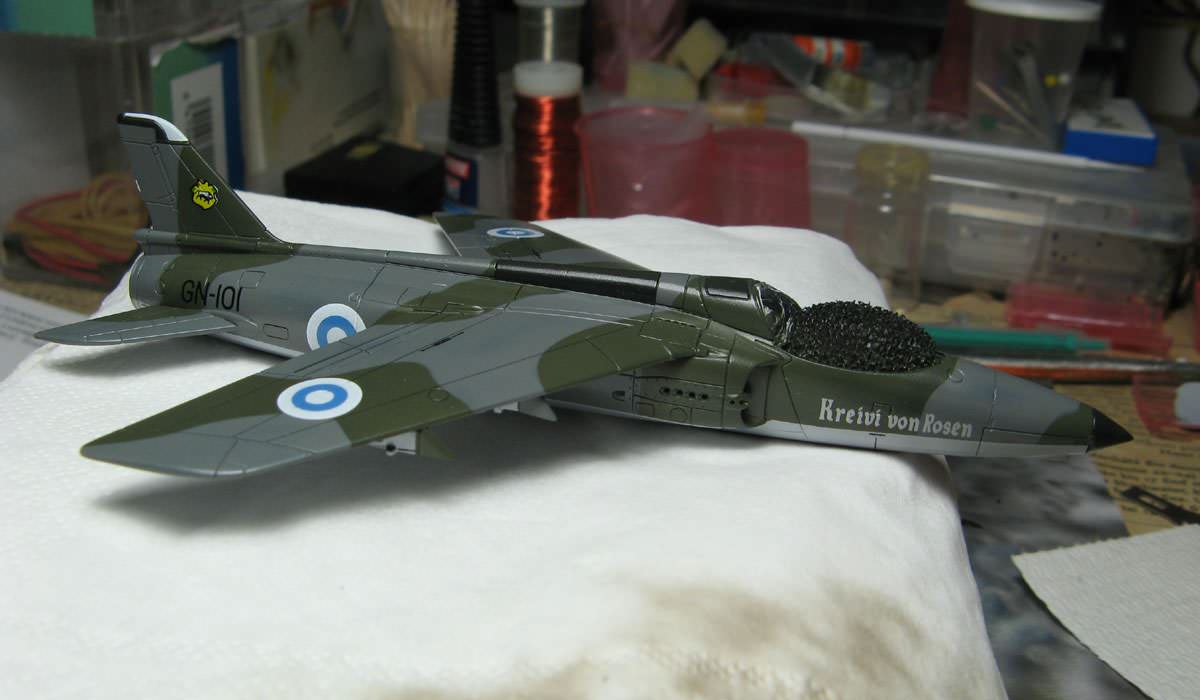
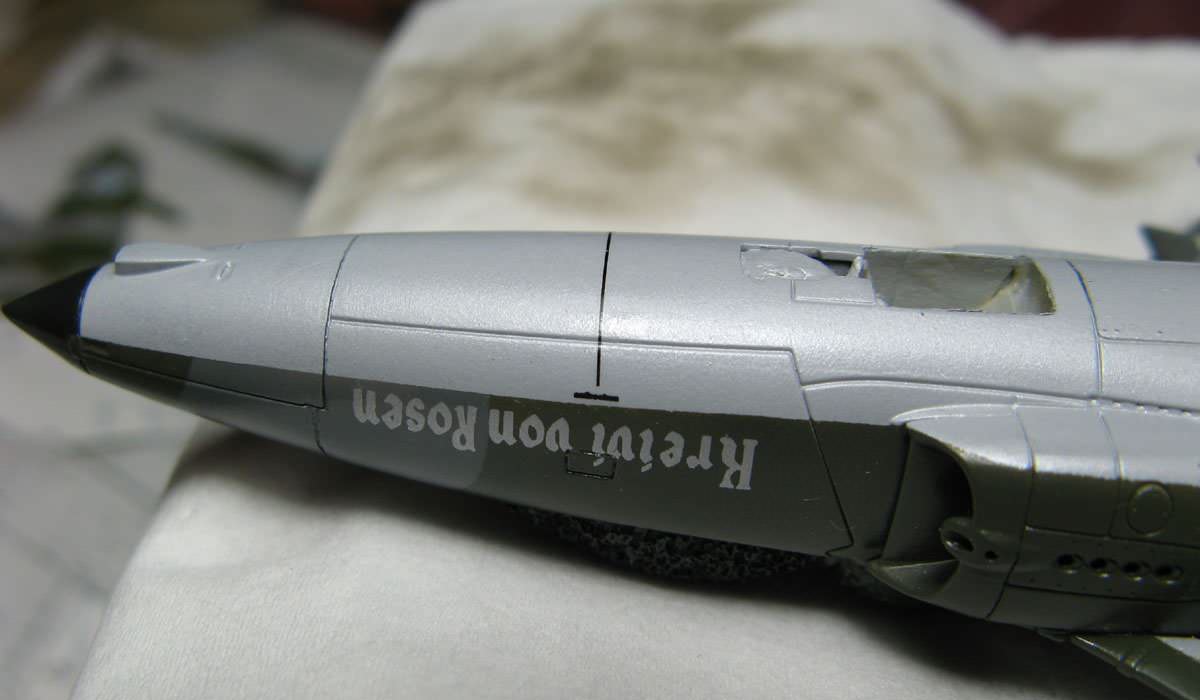
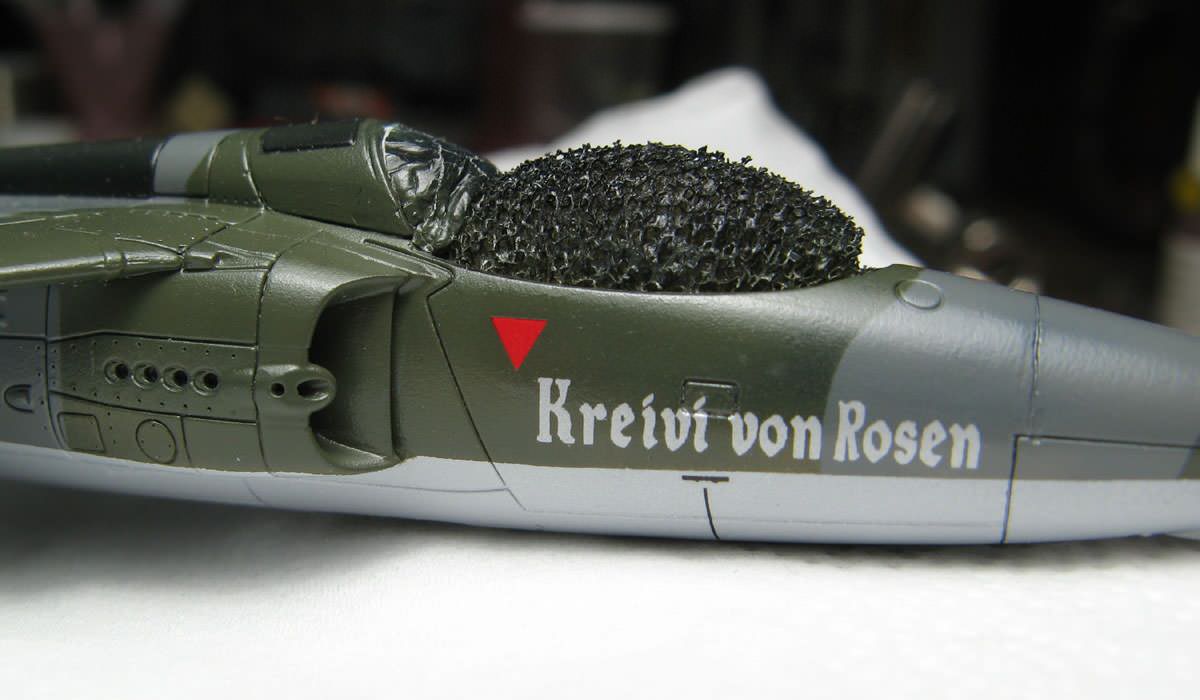
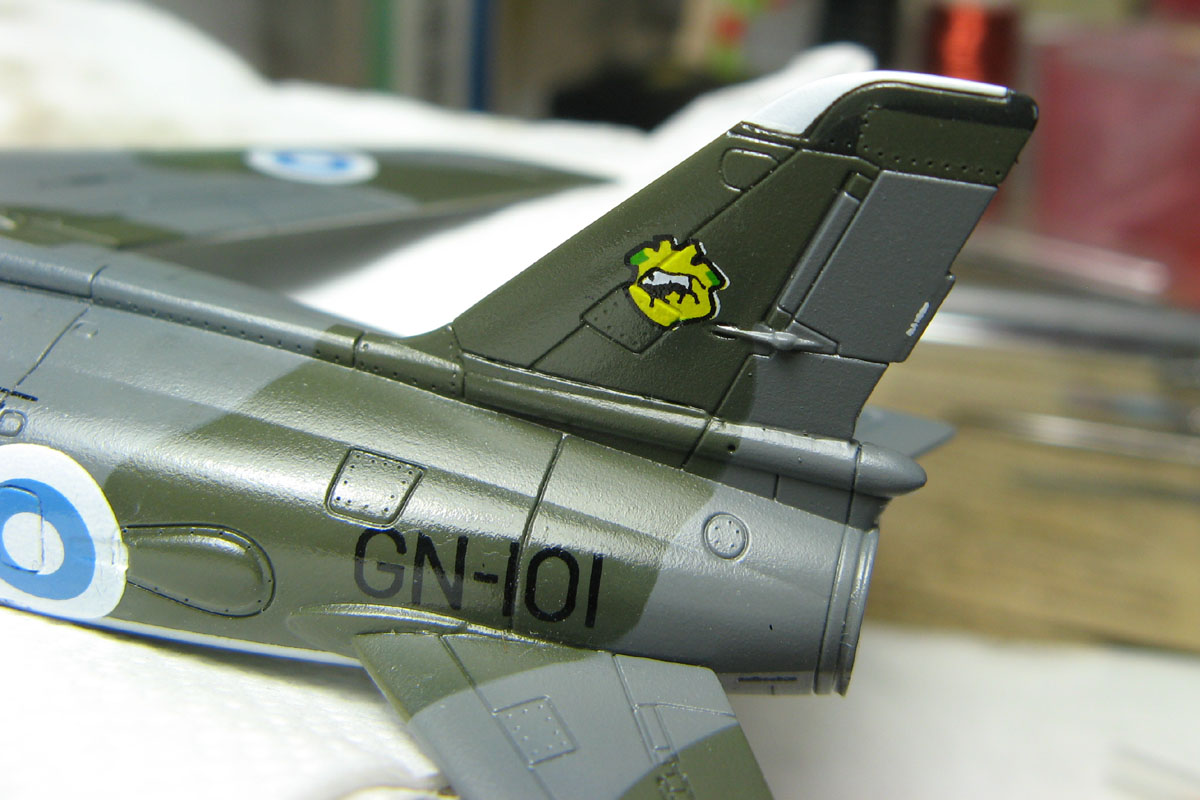
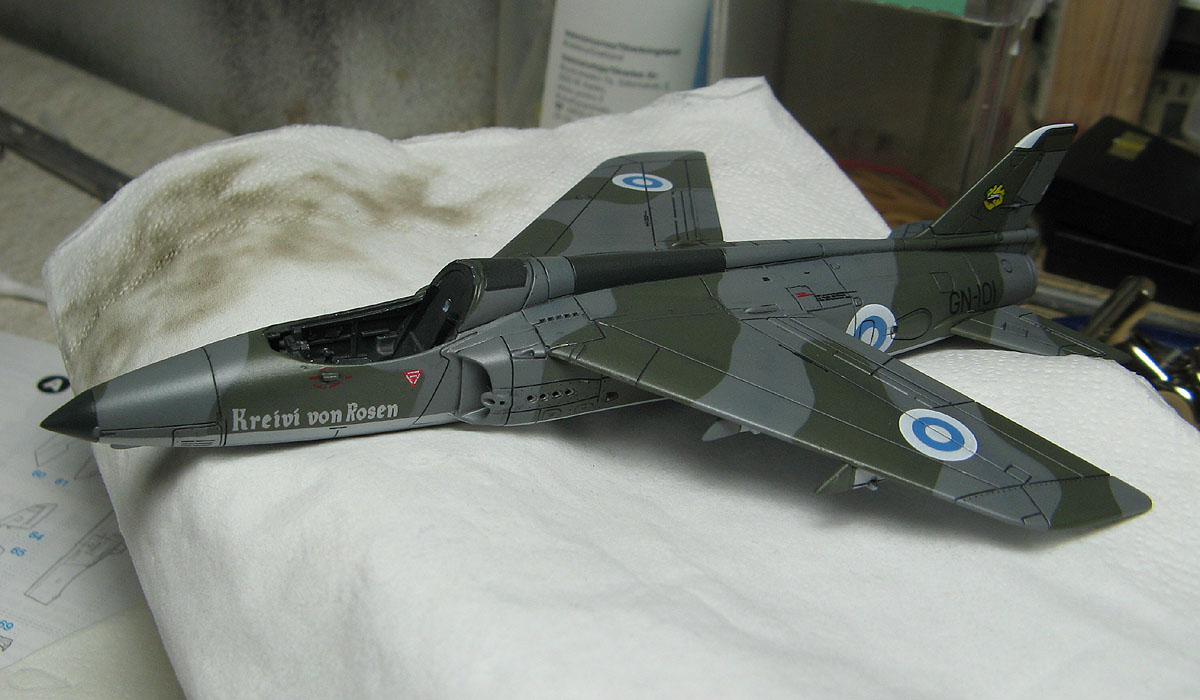
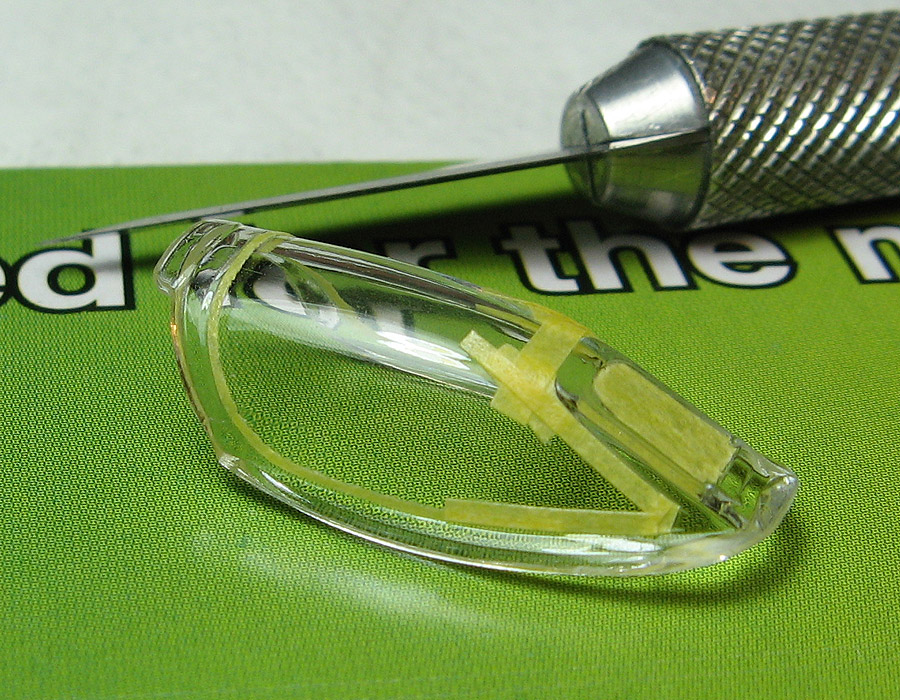
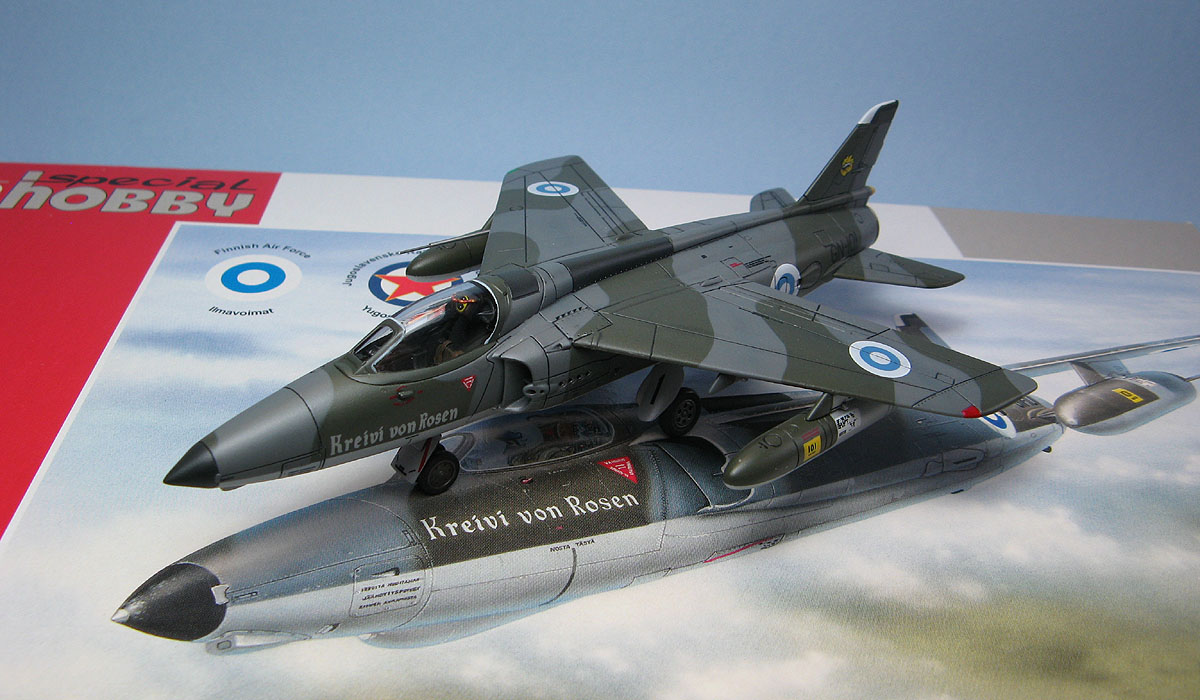
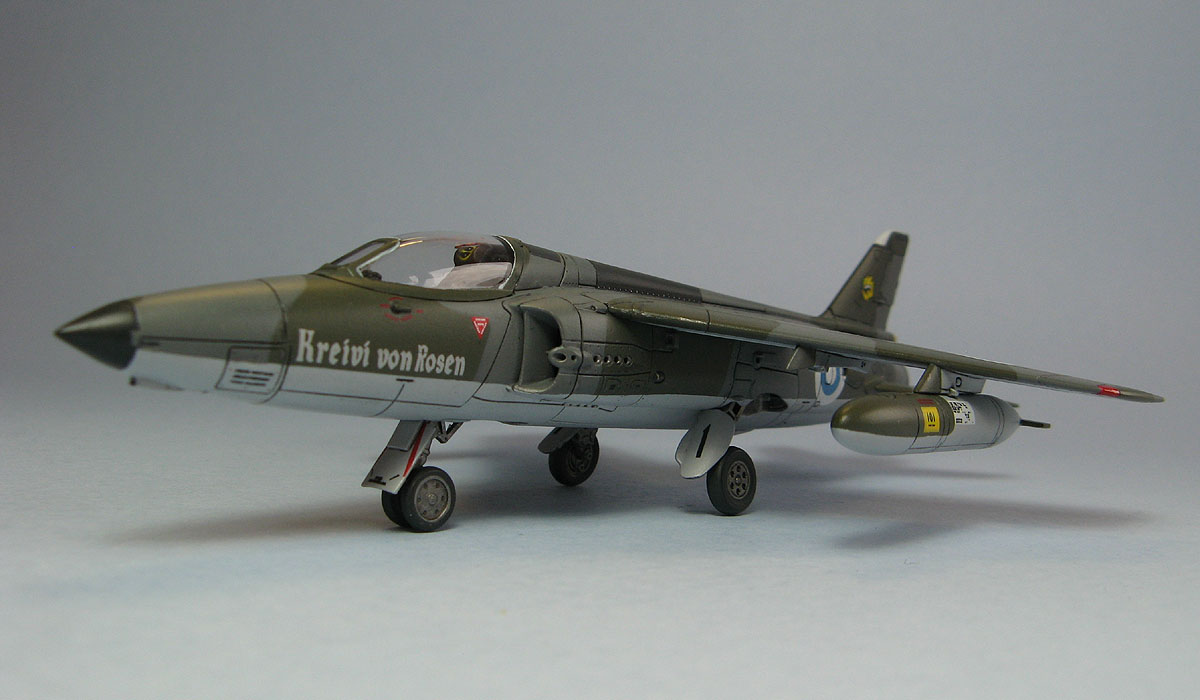
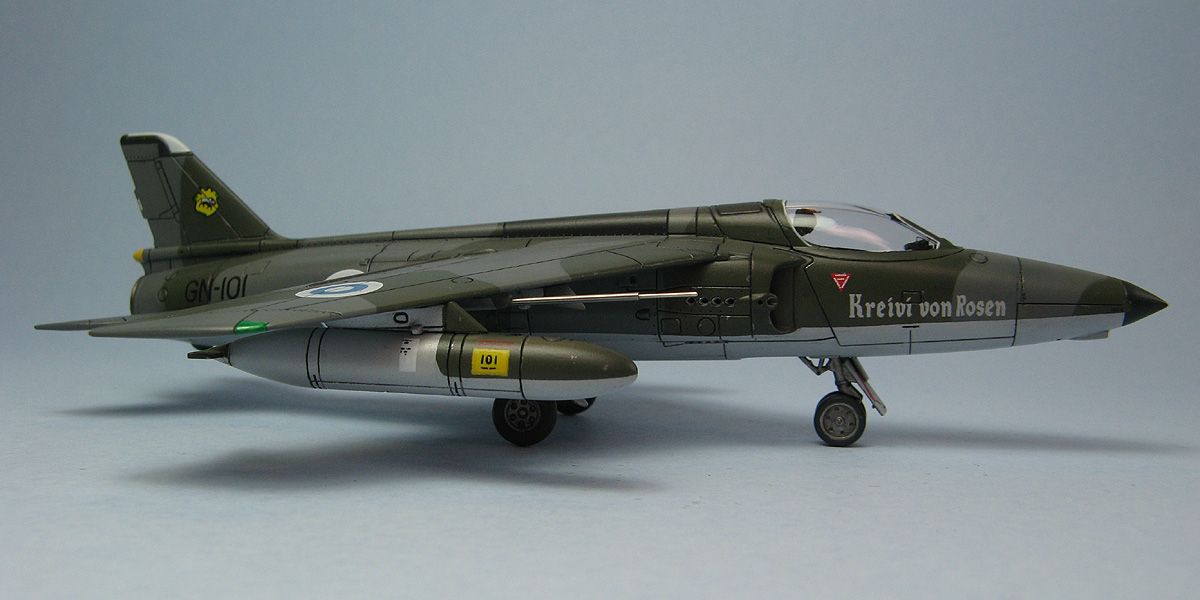
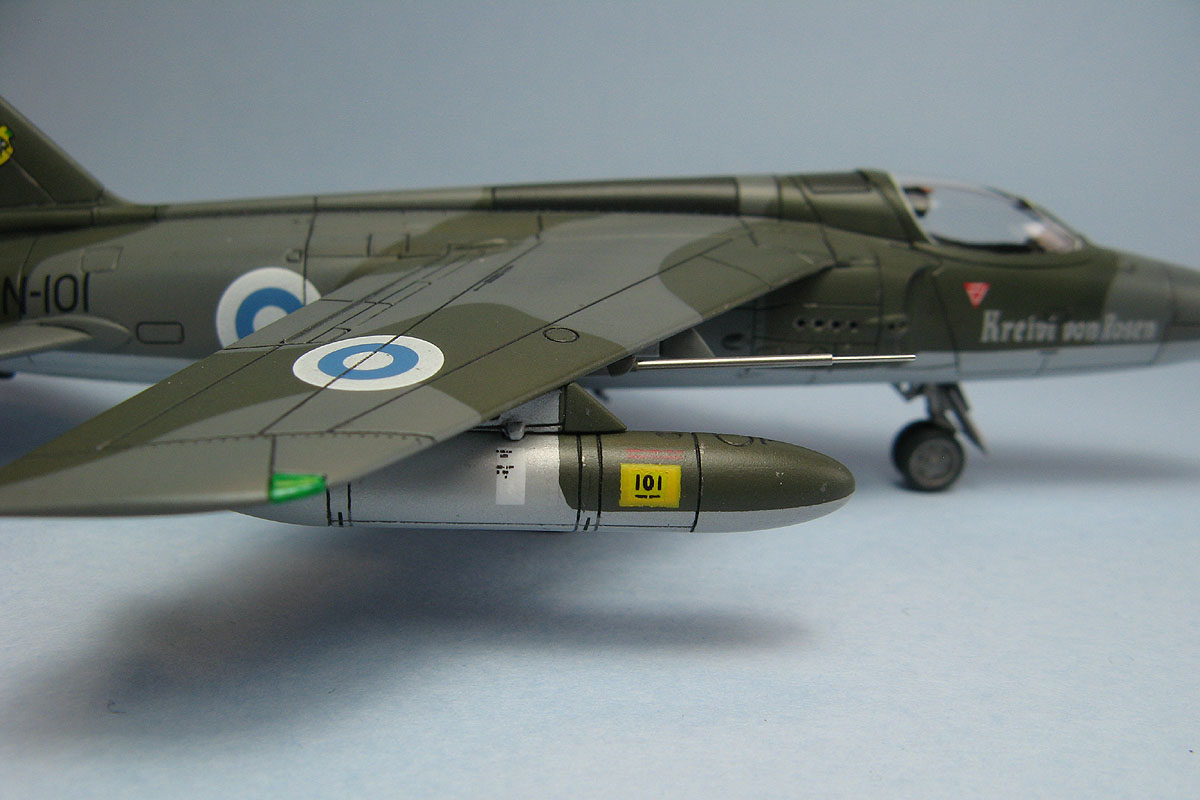
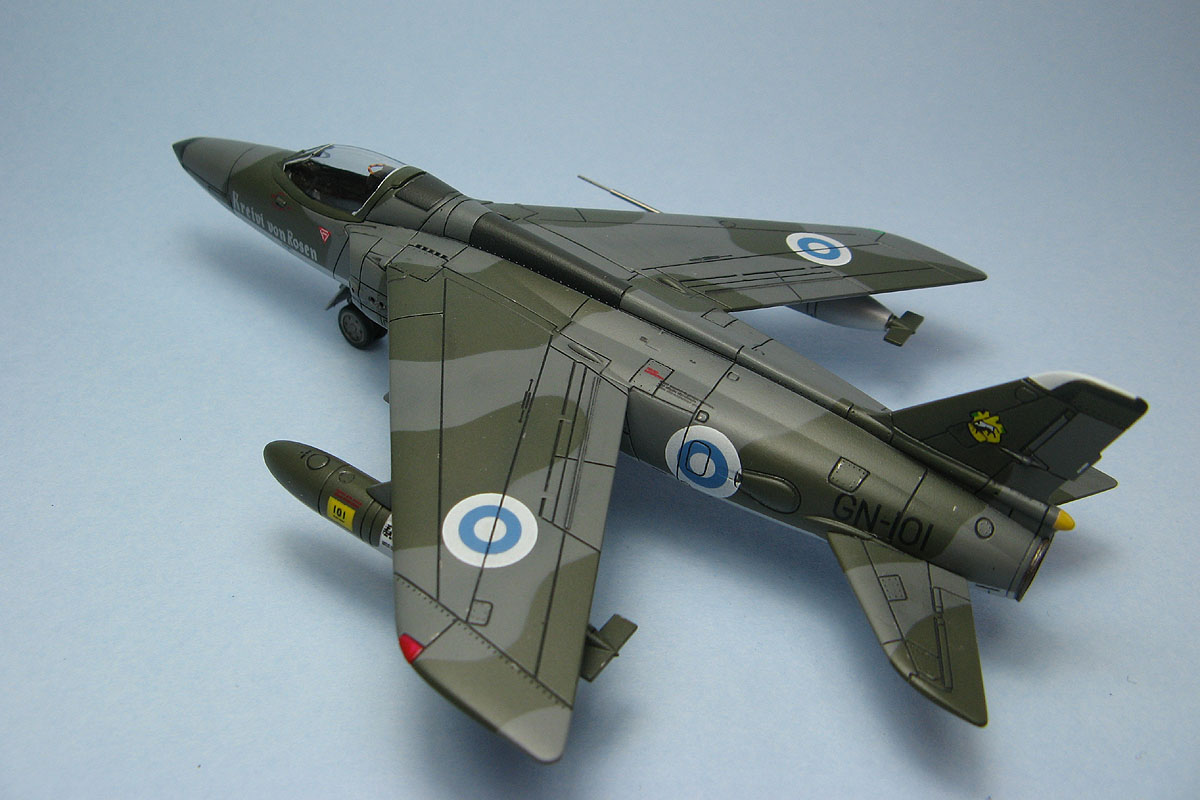
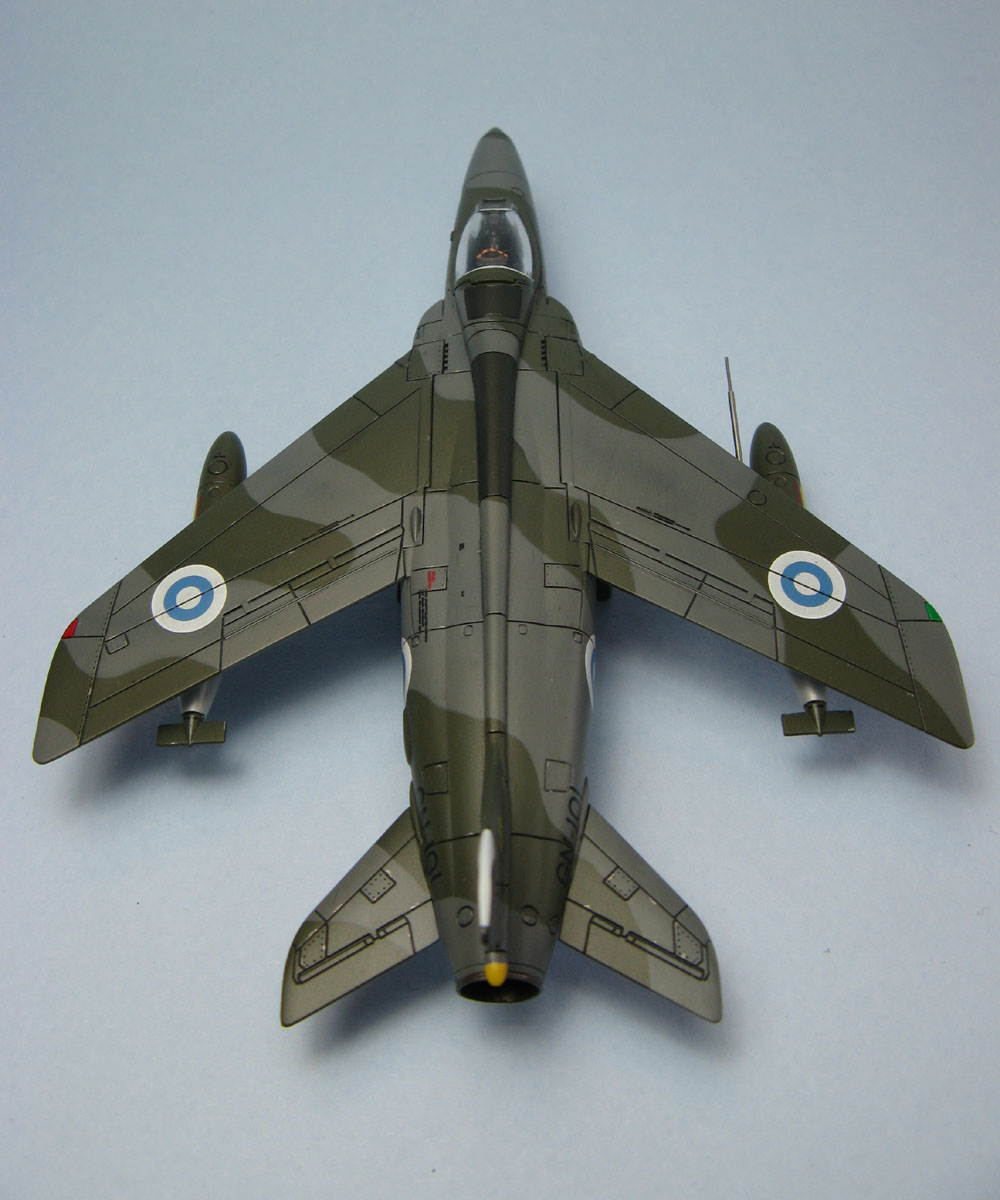
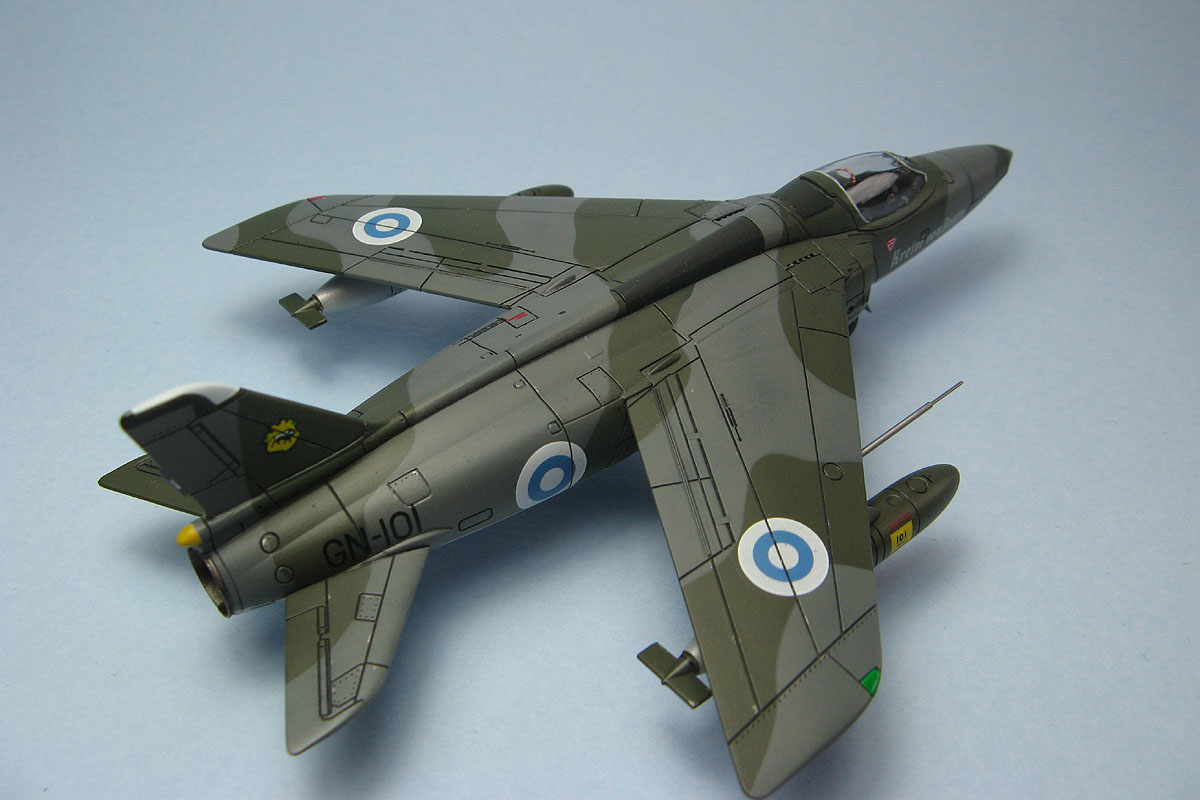
Lastly for this update, the roundels. As those on the kit sheet suffer from minor printing issues, and also had the blue shade a tiny bit off to my eye, I replaced them with items from an old (and presumably also long out of production) Kuivalainen Decals sheet.
These must be getting old by now, as I have only memories of them working all but flawlessly in the past. Anyway, now they seemed less responsive to Micro Sol and for some reason also wanted to developed small cracks when conforming over recessed detailing. Touching up with paint is no issue, but not conforming to details as well I'd like is, so I did some experimenting with a spare decal and Tamiya Extra Thin (I recalled reading about liquid cement being used for stubborn decals as a last resort) and Gunze's Mr Color Thinner. I settled on the latter, brushing it very quickly and sparingly over the roundels where they covered recessed detail. Worked beautifully.

Note that not all of the breaking is due to the thinner, but also from my previous attempts at getting the decal to conform.

Part of the decal odyssey coming soon.

Emeritus
_VISITCOMMUNITY
Uusimaa, Finland
Joined: March 30, 2004
KitMaker: 2,845 posts
AeroScale: 1,564 posts
Posted: Friday, July 28, 2017 - 02:10 AM UTC
Decaling and associated touch-ups done.


In addition to not having done their painting instruction sideview illustrations without the wings drawn in, ŕ la Hasegawa, requiring one to hunt for reference photos for camo demarcation lines where obscured by the wings and their associated hardware like the drop tanks and pylons, I also have to gripe about them misplacing the "Kreivi von Rosen" nose markings, putting them too low. Quite puzzling as the painting instructions appear accurate otherwise. The texts where place a little higher near the center line of the fuselage, as apparent in that particular aircraft currently in a museum (1 2). Guess I also have myself to partly blame, since I just followed the instructions blindly when decaling, despite the museum photos having been among my main references during the build...

Having mentioned what seemed like an almost-too-thin decal film in my previous update, I can now confirm that it is indeed way too thin. It made long and narrow decals all but unusable. Just what the "lift here" stencils are, consisting of the aforementioned text and a narrow black line. And the pairs for the front fuselage and tail needed to be positioned to have the black lines meet. Simply not doable on these decals. After breaking a couple of the decals, I realized I needed another way of doing those markings: cut up the decals and apply the text portions first (the broken ones replaced by similar-looking pieces of stencil decals scrounged from my collection of leftovers), then apply the black lines sourced from anything else but the kit decal sheet.

Donator for the black lines? Separator lines from the decal sheet of Airfix's Bristol Blenheim. Perfect width lines, and with carrier film underneath to boot!

Due to having that black line between them, the locations for the text parts of the front fuselage markings were crucial, so they were marked with masking tape. That second piece of tape is there to keep the tape from adhering to the already applied decal.


Perfect!


Hmm, seems this build is getting closer and closer to the finish line.
Emeritus
_VISITCOMMUNITY
Uusimaa, Finland
Joined: March 30, 2004
KitMaker: 2,845 posts
AeroScale: 1,564 posts
Posted: Monday, July 31, 2017 - 02:58 AM UTC
Now what was I talking about? I certainly wasn't done with decaling - I still had the ejection seat triangles to do...

Well anyway, due to not being able to do any decal printing at the moment, I figured I wanted to get this build done and decided to cobble together something passable from the simple red triangles from the kit decal sheet plus some white text from my leftover decal collection.

First step: cut along the edges of the kit triangles to get rid of the white backgrounds showing due to misalignment.


Next: apply the triangles, let dry, overcoat with Future.


Finally: apply suitable looking white text cut up into suitable lengths.


Now that's definitely not 100% accurate, right from the starters being taken from unused stenciling of an Airfix Hawk T.1, and having to settled for a single line of jibberish for the centers of the triangles, as a more accurate looking two lines looked way too crowded and wrong, and I just didn't have stencils with any smaller white text suitable for this. But as a whole, I think it's definitely better than the simple all-red triangles the kit provided.

Removed by original poster on 08/17/17 - 22:49:47 (GMT).
Emeritus
_VISITCOMMUNITY
Uusimaa, Finland
Joined: March 30, 2004
KitMaker: 2,845 posts
AeroScale: 1,564 posts
Posted: Thursday, August 17, 2017 - 03:49 AM UTC
Long time no update. High time for another one! Getting very near to the finish line with this one.

Yea, more out of register decal trouble!


For the tail emblem fixing it was a simple matter of grabbing some more RAF dark green and a small brush and touching up the areas where the misaligned white showed up, but on the wing tank register code / side indicator decals it was trickier as the white print under the yellow was undersized, meaning I had no choice but to very carefully mask over the edges and the text portion of the decals and airbrush some yellow for more coverage.


Gotta nitpick a bit about the decal design. With references readily available, I would have expected the left/right text under the aircraft code numbers to have been made to look like a single word. Something looking like the font used on the real thing wouldn't have hurt, either.

Working on the airframe, putting on some panel line accenting with ProModeller washes.


Painting the yellow rear cone and the exhaust pipe.


Seat painted.


Masking the canopy. Gotta love that Tamiya tape! When cut narrow enough, I could mask the sides and rear with a single piece. Still, I would appreciated some ready-made masks, but apparently so far only Montex has made a mask set for this kit, and unfortunately I'm not at all a fan of that thicker vinyl type (think of pre-kabuki tape Eduard masks) material they use.


About ready for final assembly! Now I only have the gunsight left to paint.


^ Take notice, Airfix. That's how you should do the maing landing gear doors on a Gnat! Moulded separately so that you can easily glue in the landing gear during final assembly, followed by dropping in the gear doors.


P.s. Now that was super weird... I thought I had all the image and link tags correct, but for some reason one whole text paragraph and one picture kept getting lost. Double checked the tags and everything, but couldn't figure out anything other than to try and redo the post without the Wikipedia link (I have a feeling the parentheses in the URL might have caused the issue...), and lo and behold, it works now! Go figure.
pkrasna
_VISITCOMMUNITY
Slovenia
Joined: April 20, 2013
KitMaker: 31 posts
AeroScale: 31 posts
Posted: Saturday, August 19, 2017 - 11:54 PM UTC
Hello!
My project is connected with Soviet aircraft history and design. I will be building Sukhoi Su-9B in 1/72 scale.

Removed by original poster on 08/20/17 - 22:06:48 (GMT).
pkrasna
_VISITCOMMUNITY
Slovenia
Joined: April 20, 2013
KitMaker: 31 posts
AeroScale: 31 posts
Posted: Sunday, August 20, 2017 - 03:15 AM UTC
First I measured the model and found out that the fuselage is too long ant the wings too big, to fit the scale. So cutting will be done at the beginning. It was easy to choose colour scheme and I went with bacic metal paint job. To prepare for the paint job, sketch was made:

Emeritus
_VISITCOMMUNITY
Uusimaa, Finland
Joined: March 30, 2004
KitMaker: 2,845 posts
AeroScale: 1,564 posts
Posted: Monday, August 21, 2017 - 08:39 PM UTC
Hmm, seems something went wrong with that second picture of yours, the box shot shows up OK, though.


Here's my last update post on my Gnat before posting pics of the finished model.


There's the wing tanks with the touch up spray of yellow. Far from perfect, but much better than without it, I think.

While the wing pylons had locator nubs for the tanks, I removed those and added copper wire pins to be extra sure they wouldn't get knocked off.

...and there's the finished cockpit before gluing the canopy in place, with the seat and its separate headrest and gunsight attached.


Next: pics of the finished thing.
Emeritus
_VISITCOMMUNITY
Uusimaa, Finland
Joined: March 30, 2004
KitMaker: 2,845 posts
AeroScale: 1,564 posts
Posted: Monday, August 21, 2017 - 09:17 PM UTC
And it's finished!

An excellent little kit, despite the slight hiccups with the decals. Chances are that nobody from the company is reading this, but if you are, do a 1:48 scale Gnat F.1 next, please!

Thanks for running the campaign, I had a great time.

Here's the full build gallery on Imgur, in case you want to see all the pics without the forum showing them smaller than they are.


goodn8
_VISITCOMMUNITY
Berlin, Germany
Joined: October 12, 2008
KitMaker: 709 posts
AeroScale: 651 posts
Posted: Monday, August 21, 2017 - 10:17 PM UTC
Great work, Eeetu!
Really nice build, especially on that scale. Nice to see a lot of details thrugh that fine canopy. Very well done pics as well! You did a beautiful job on building and painting and touching up the decals despite the issues you had - congrats for finishing! C[

Thomas
goodn8
_VISITCOMMUNITY
Berlin, Germany
Joined: October 12, 2008
KitMaker: 709 posts
AeroScale: 651 posts
Posted: Monday, August 21, 2017 - 11:17 PM UTC
Go on with your great work, guys!

Moving on with my Mirage - slowly as real life needs attention.
Some more gizmos on the rear side of the cockpit to improve a bit. Wasn't lazy but quite time consuming tiny bits...


Next will be the seat and interior of the pit

Started a single build log

Thomas
Emeritus
_VISITCOMMUNITY
Uusimaa, Finland
Joined: March 30, 2004
KitMaker: 2,845 posts
AeroScale: 1,564 posts
Posted: Wednesday, August 23, 2017 - 12:48 AM UTC

Quoted Text

Great work, Eeetu!
Really nice build, especially on that scale. Nice to see a lot of details thrugh that fine canopy. Very well done pics as well! You did a beautiful job on building and painting and touching up the decals despite the issues you had - congrats for finishing! C[

Thomas


Thanks! Glad to hear you like how it turned out.