

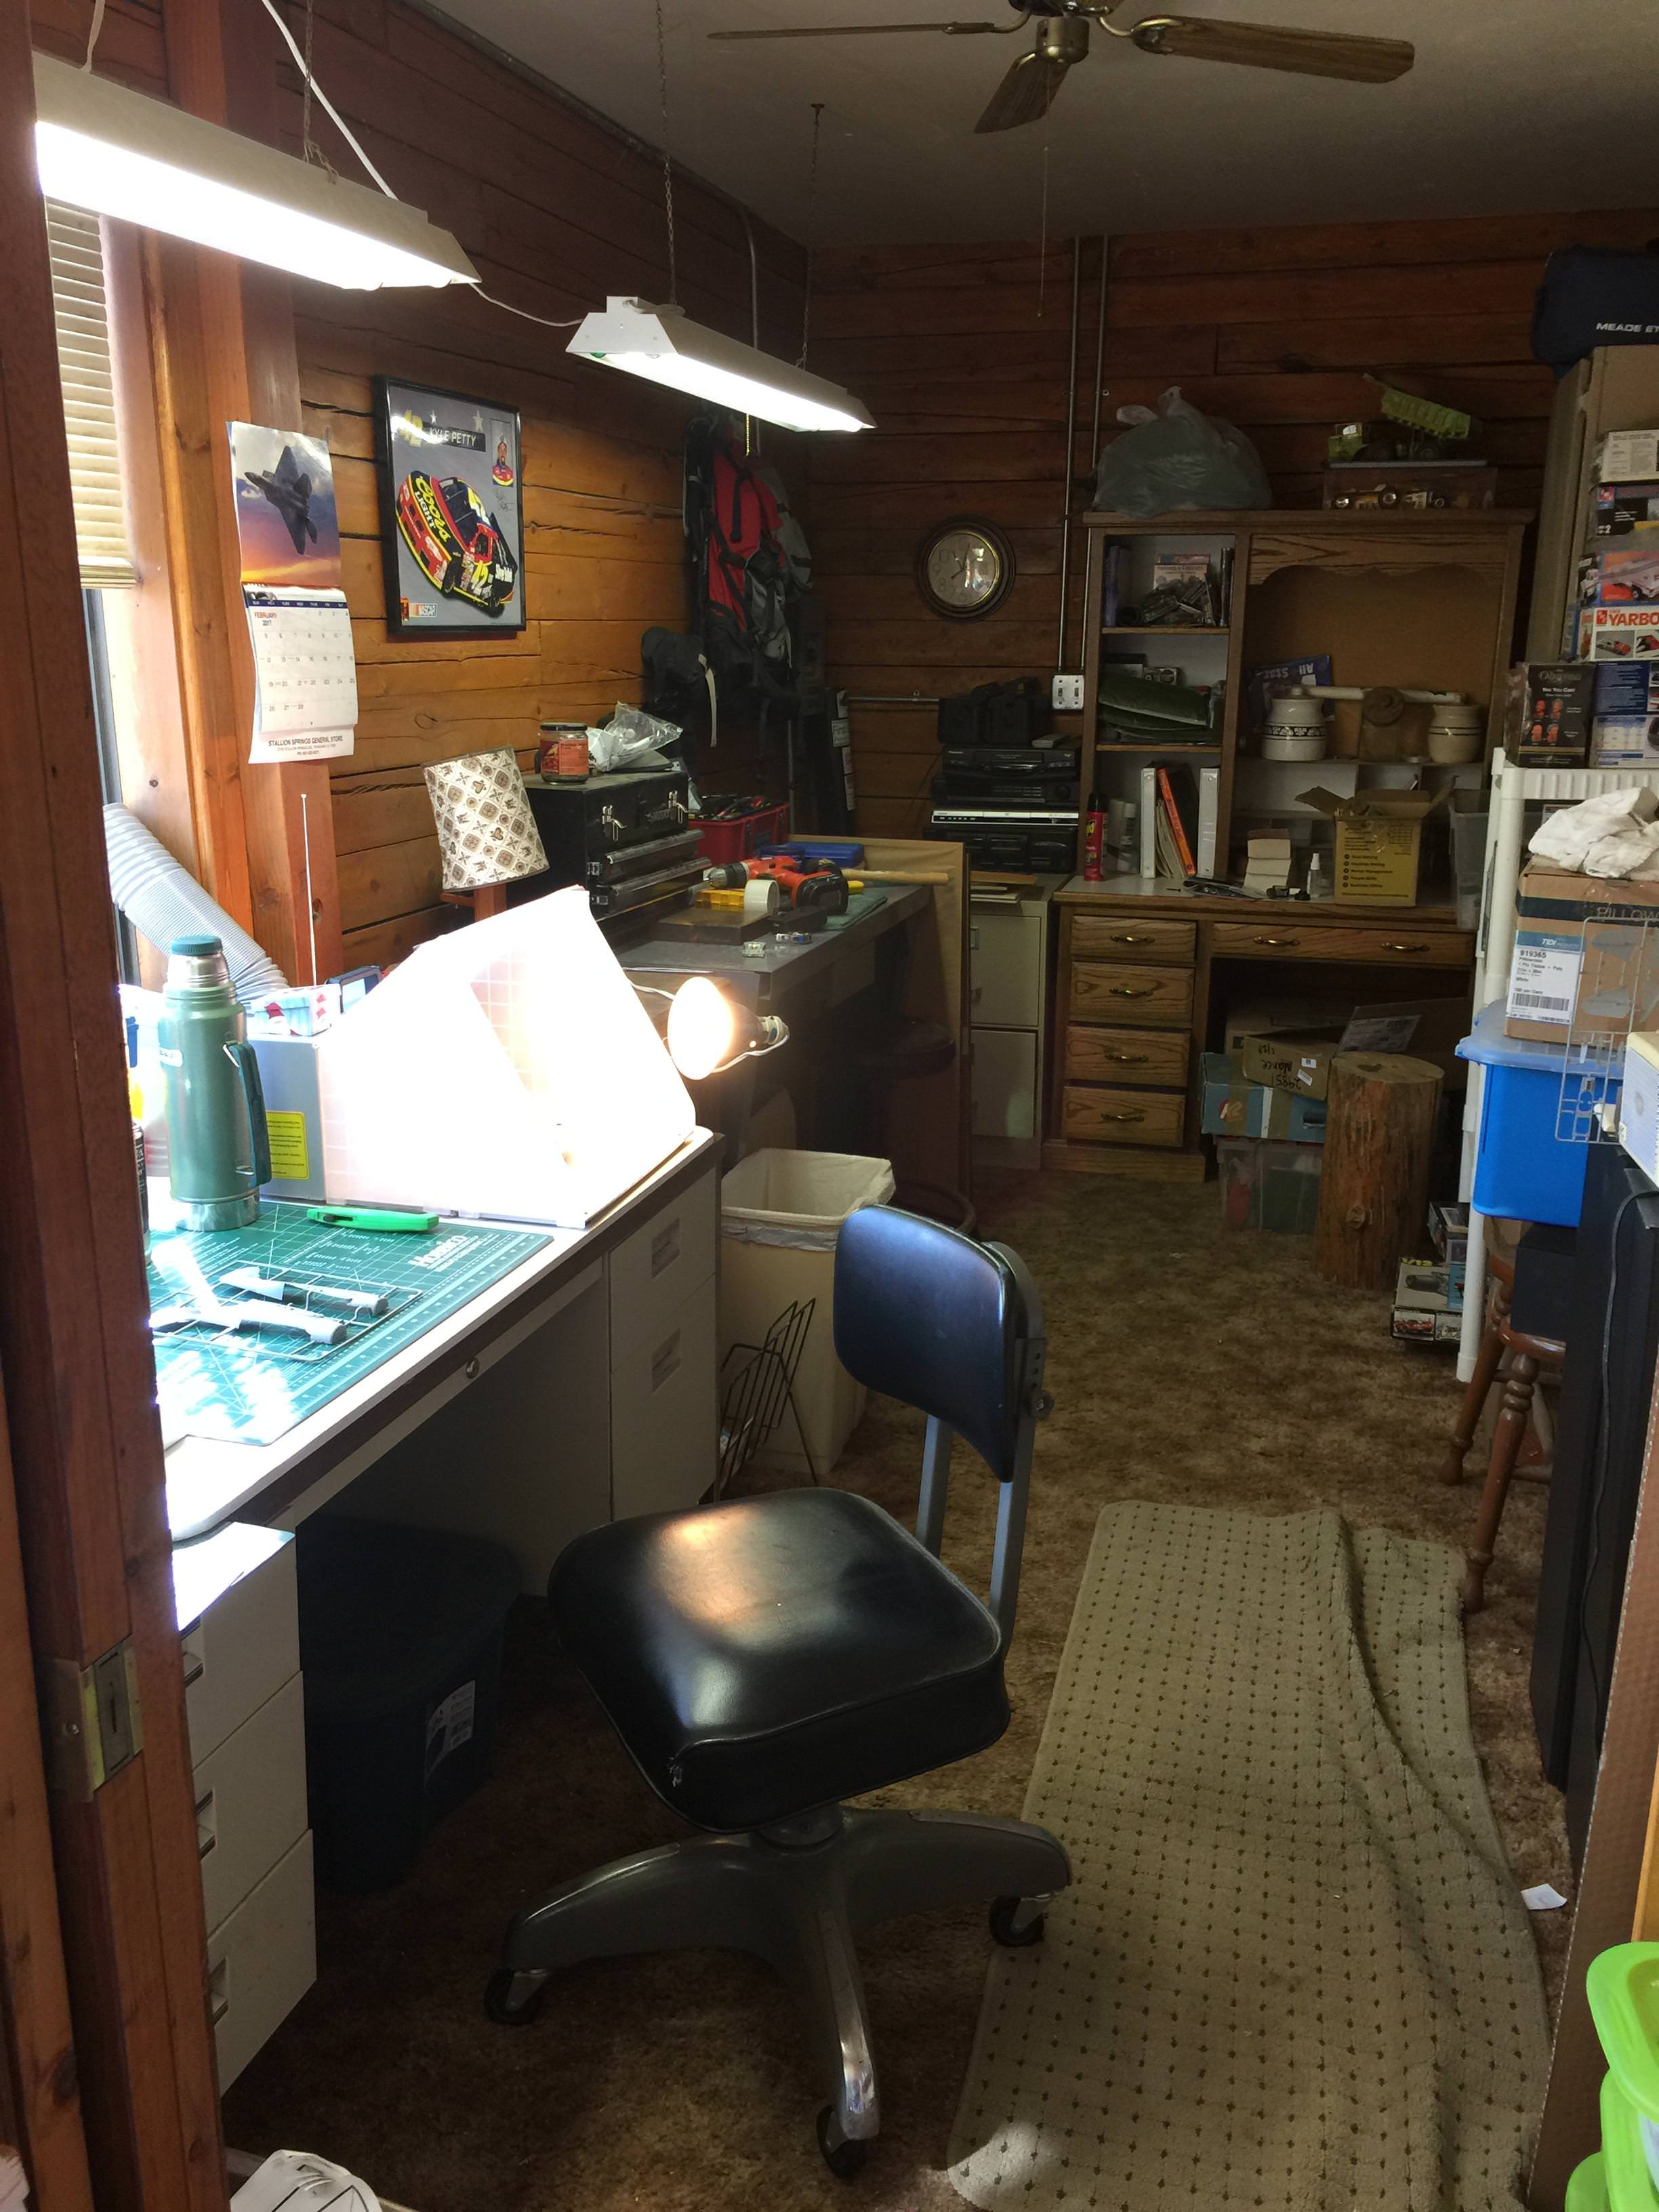
First of all a view of my all new workspace which is a work in progress...
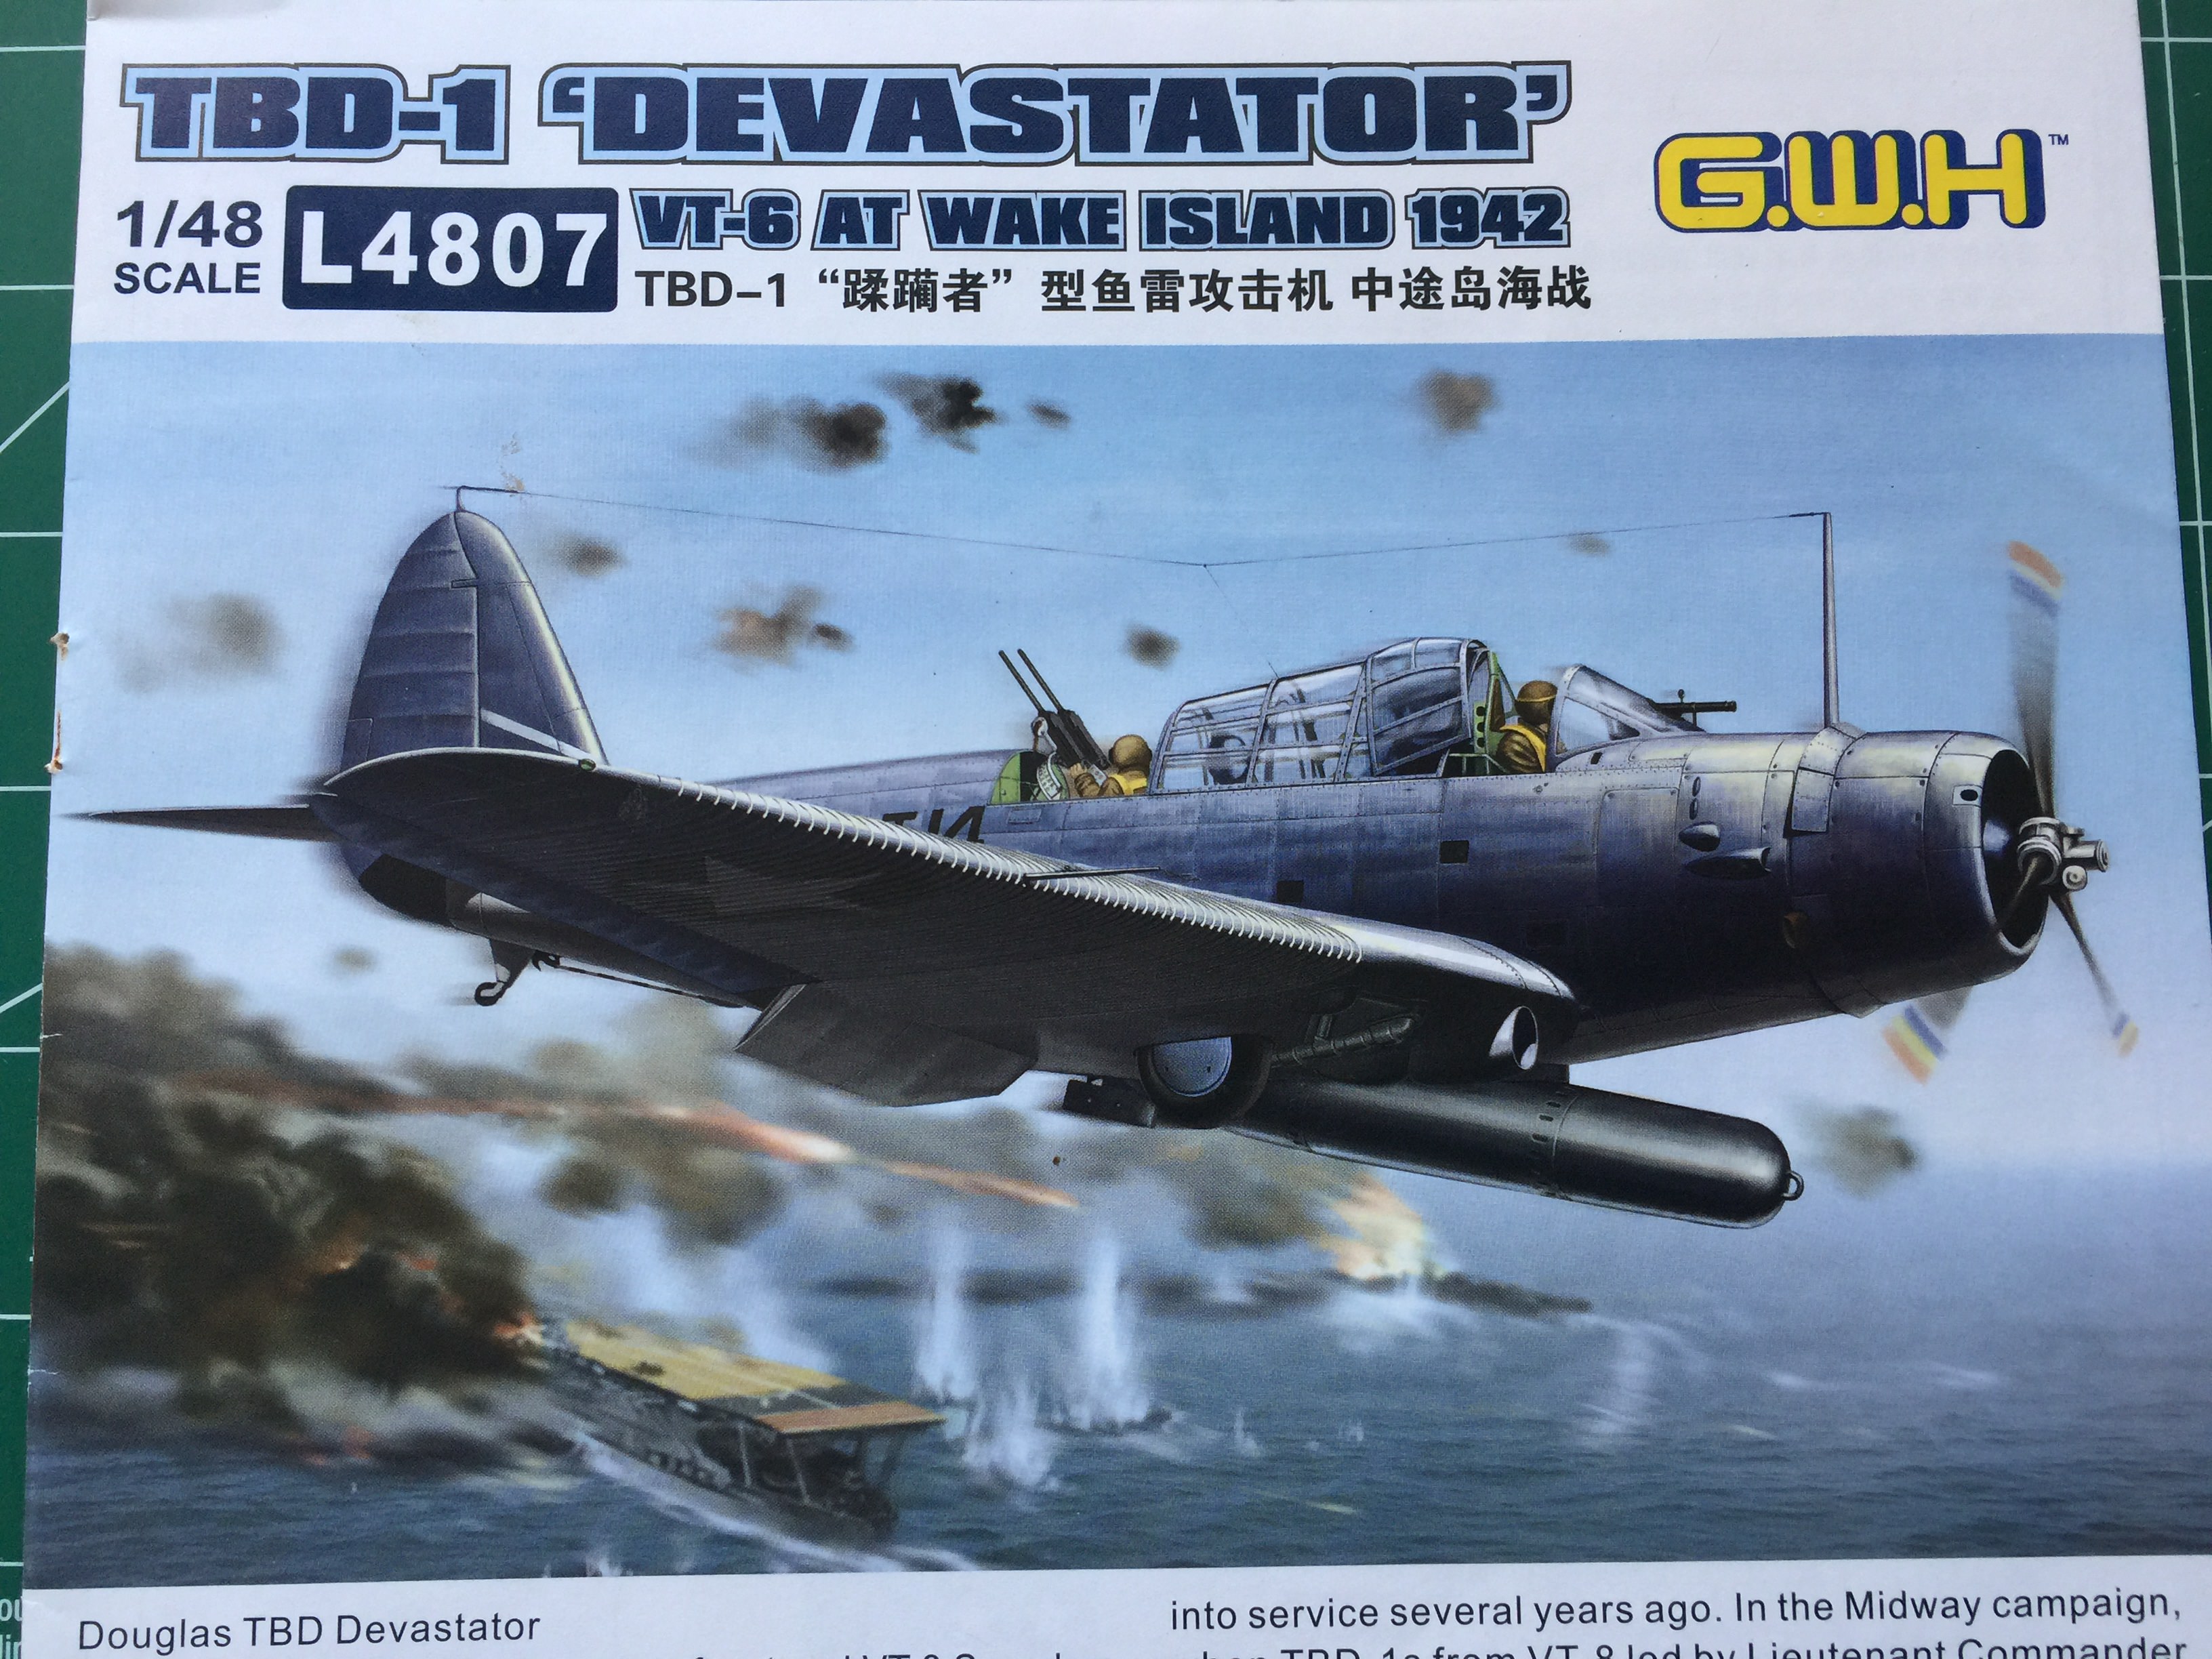
The kit...
Your comments are always welcome!


I'm actually relieved/surprised that this isn't a thread about the old Monogram kit.


....I got about 1/2 of one step done today in about 3 hours ....


This is one of my favorite aircraft. The interior colors have always been a source of frustration. I did one in bluegray with light gray undersides and a aluminum cockpit (because that was the thinking at the time, before certain other photographic evidence came to light)
The "better thinking" now is that shortly after the aluminum interiors went into active service sunlight reflections resulted in the upper cockpit interior sides being painted in flat black to reduce reflection. Now there are pictures showing "interior green" in these aircraft, and the thinking is that this was done during depot overhauls.
When I haven't seen is the difference in color between floor and the seats that you are showing in your build. Since this is on my to do list one of these years I'd appreciate any info you can provide.

So did I make a major error by not painting the PE seat belts? How does one do that and not destroy the look?
Your advice and comments are always welcome.
So... a couple of pieces of info on the GWH kit...
In the third assembly step, two decals are called out for the back of the pilot headrest/bulkhead... Decal #39 and Decal #40. Too bad the decal sheet only goes to 38!
Also, the photoetch sheet is misnumbered for the seat belts. Being as this aircraft never used shoulder straps during its service life, they are a nice leftover for another day! Too bad the kit doesn't come with figures. They could and would be a welcome addition.
Also, you'd better watch everything that you do as some of the assembly such as the rudder control rod is a tiny piece of very fragile (I mean I broke it) rod that is attached at FOUR places on the sprue. Same for the rudder pedals (which I managed to keep intact).
Maybe I am not used to the scale but it seems very small bits should have one maybe two sprue attachment points. I have broken (and mended) three pieces now. Thank goodness I have that ability.
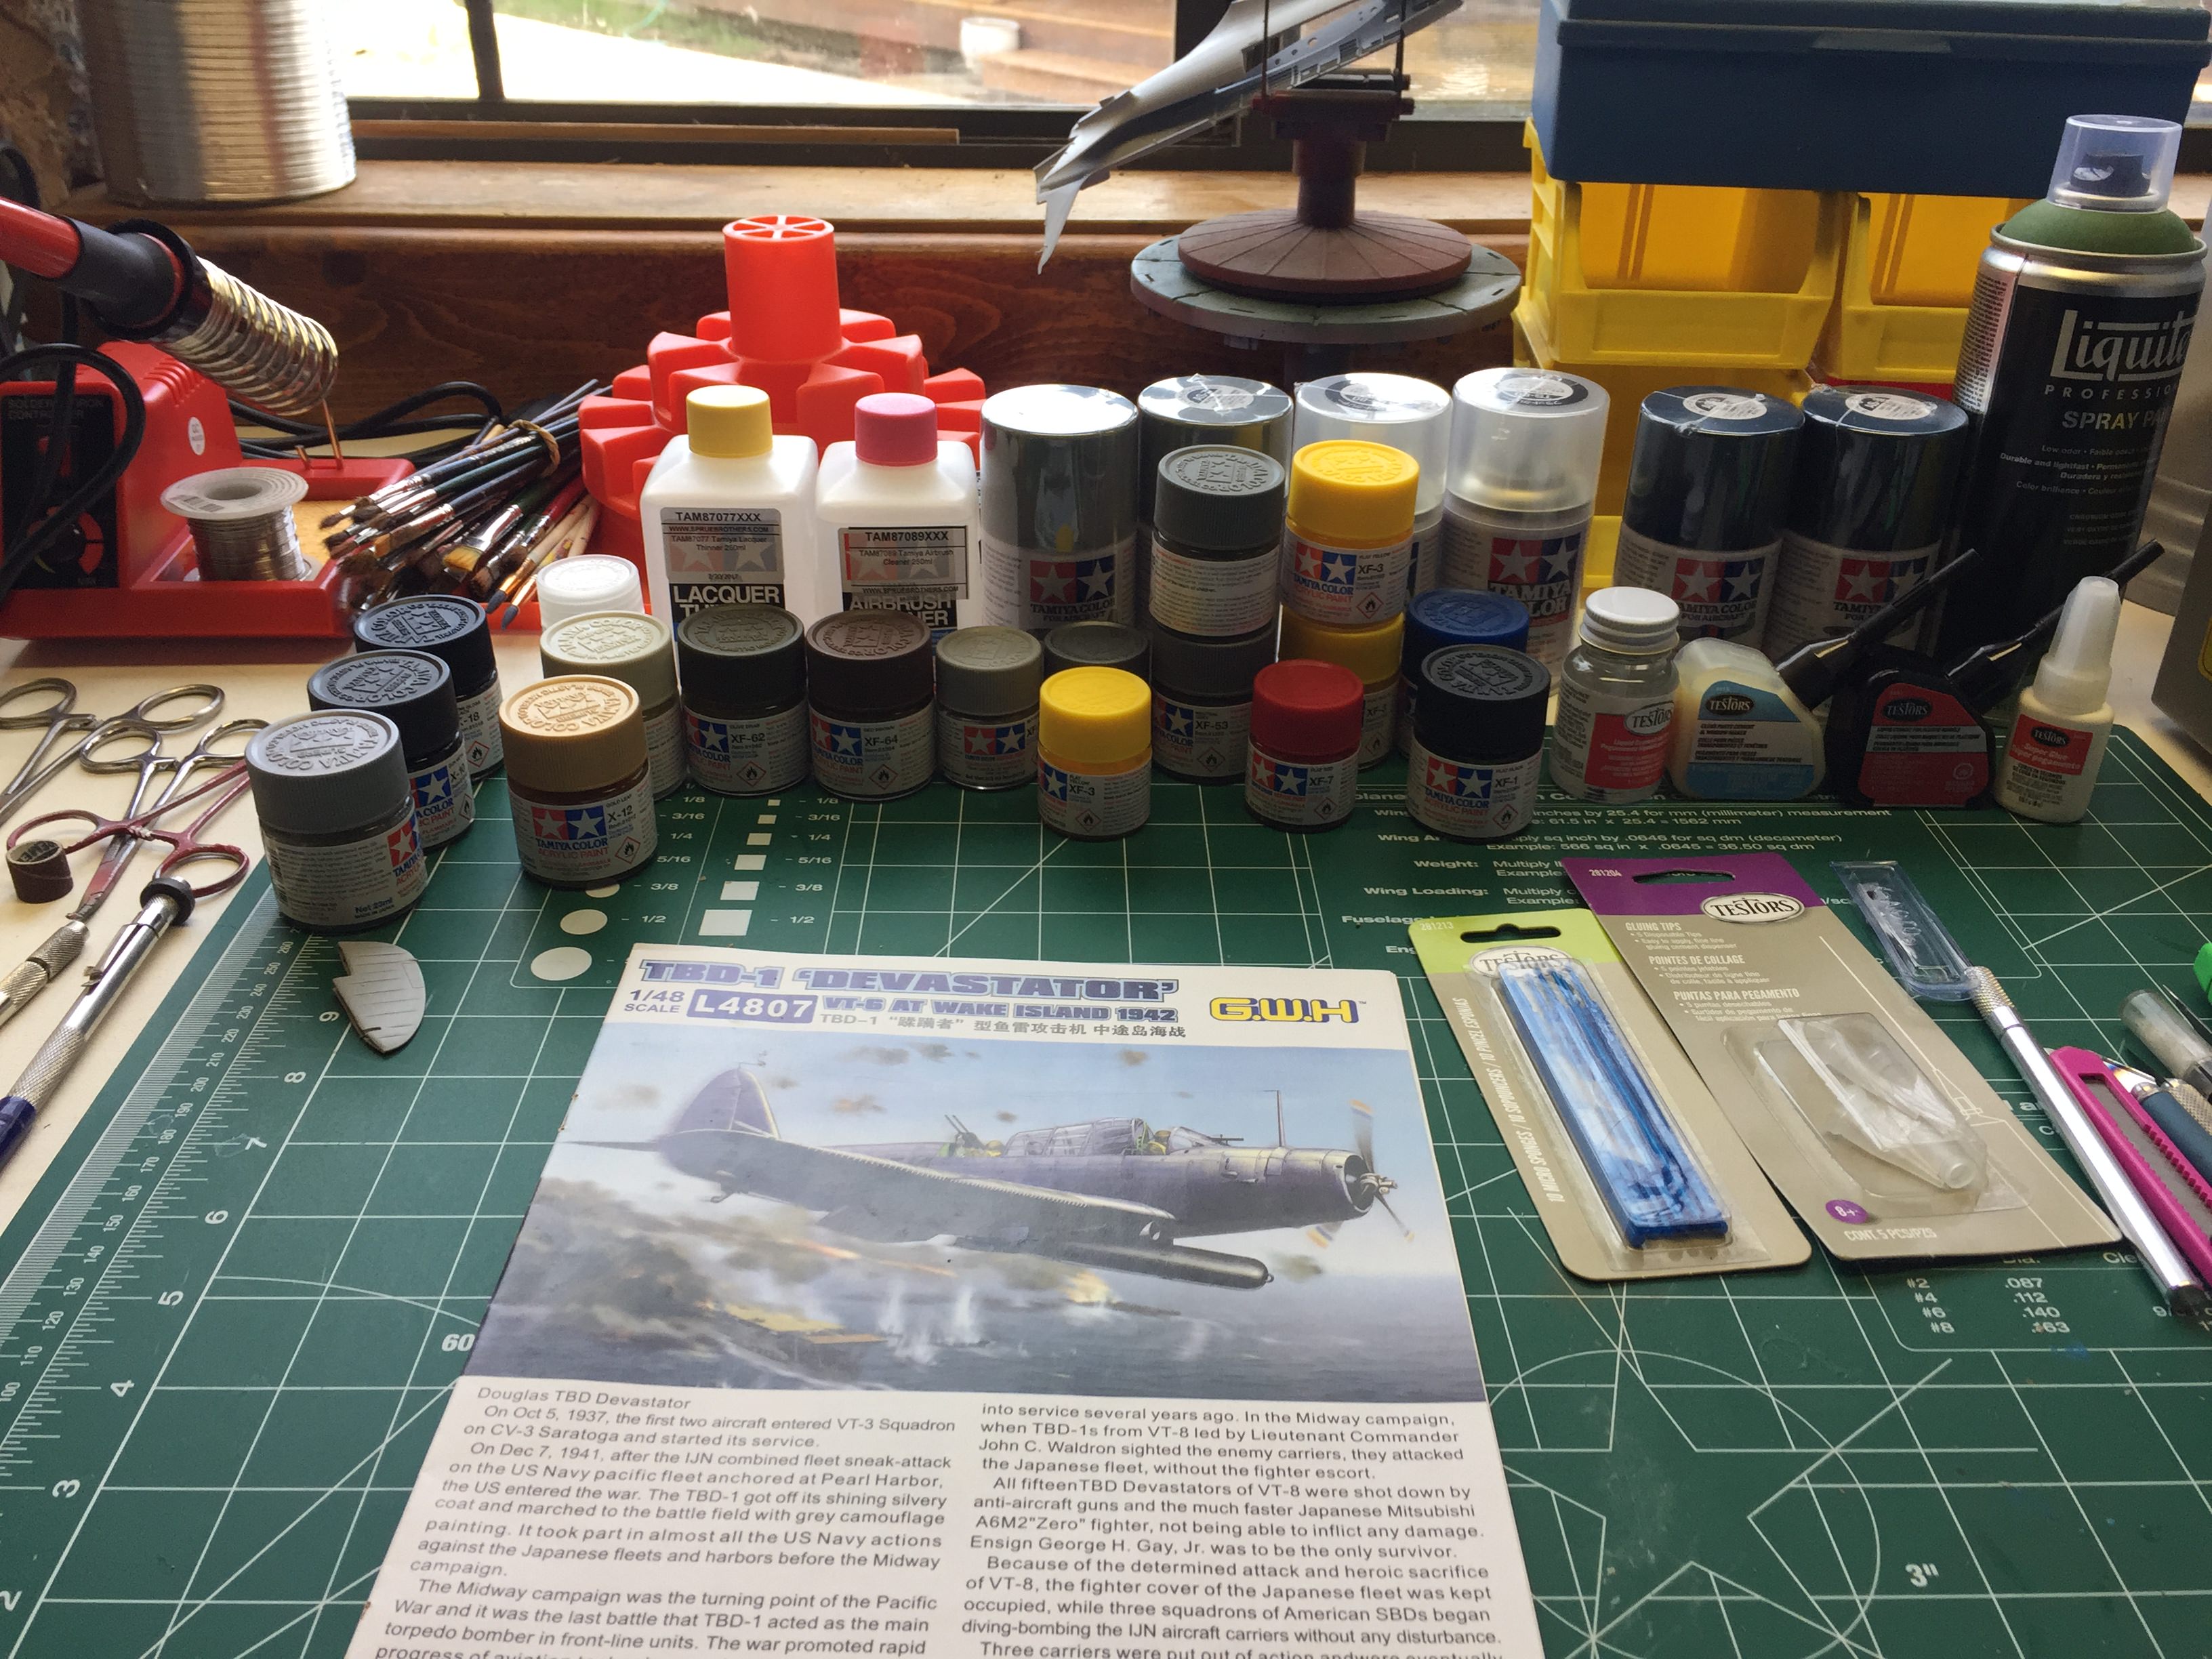
Will post more on other deficiencies... but as you can see by the photos above, there is a lot going on in this kit!
 |


