

All the best.
tim


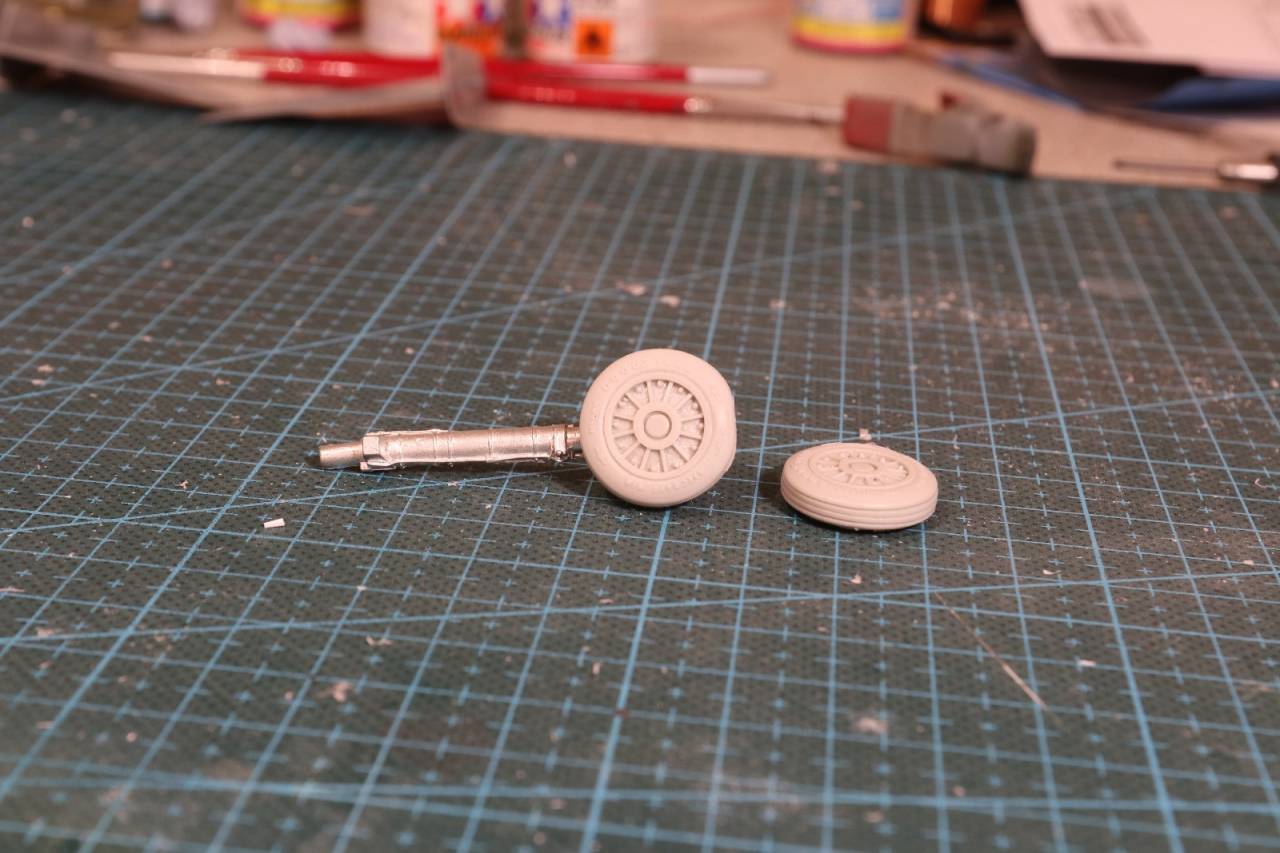
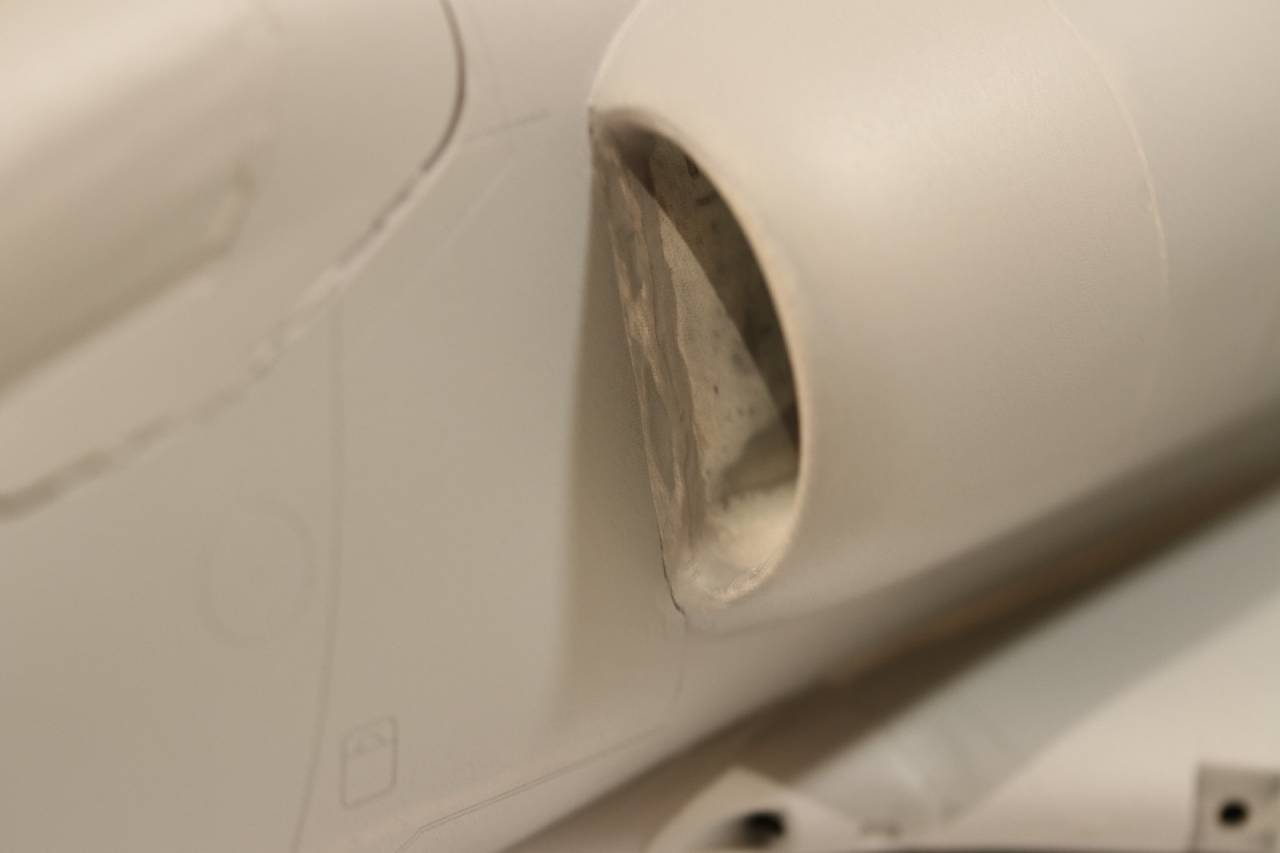
Very impressive progress Michael. A really useful build log so far. It certainly is not putting me of acquiring the kit in the near future. As the other build followers have already stated, your blending of the resin and plastic parts is very well done. Looking forward to more progress.
All the best.
tim


Hi Michael,
not sure how I missed this one, but I'm all caught up now and on board for the ride!
A great build so far & I'm looking forward to seeing more!


Lots of Scooters being built these days.
You're making a good go of it! I just finished a conversion myself and I know how much of a struggle it can be - no matter how clean the conversion looks to fit!


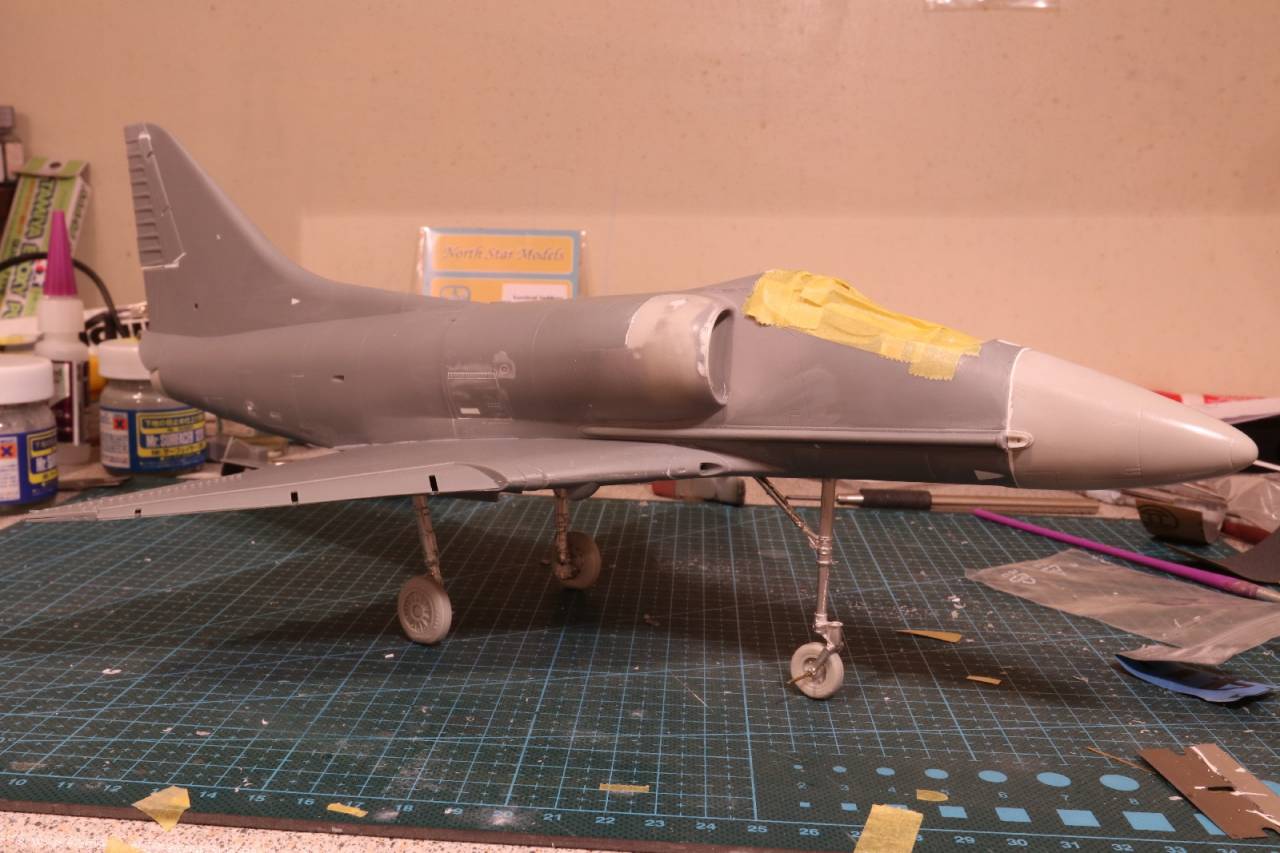
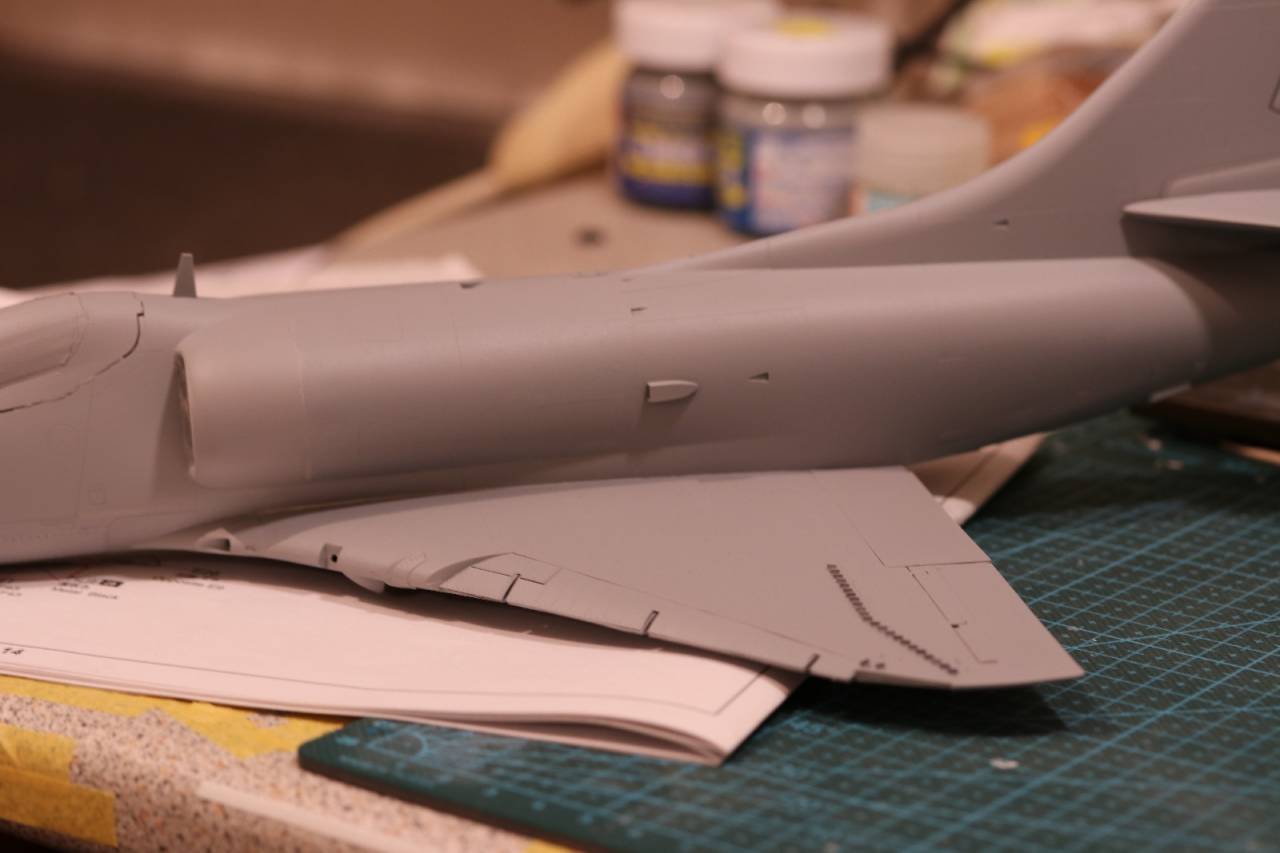
Great work Michael and it is all coming together nicely now.
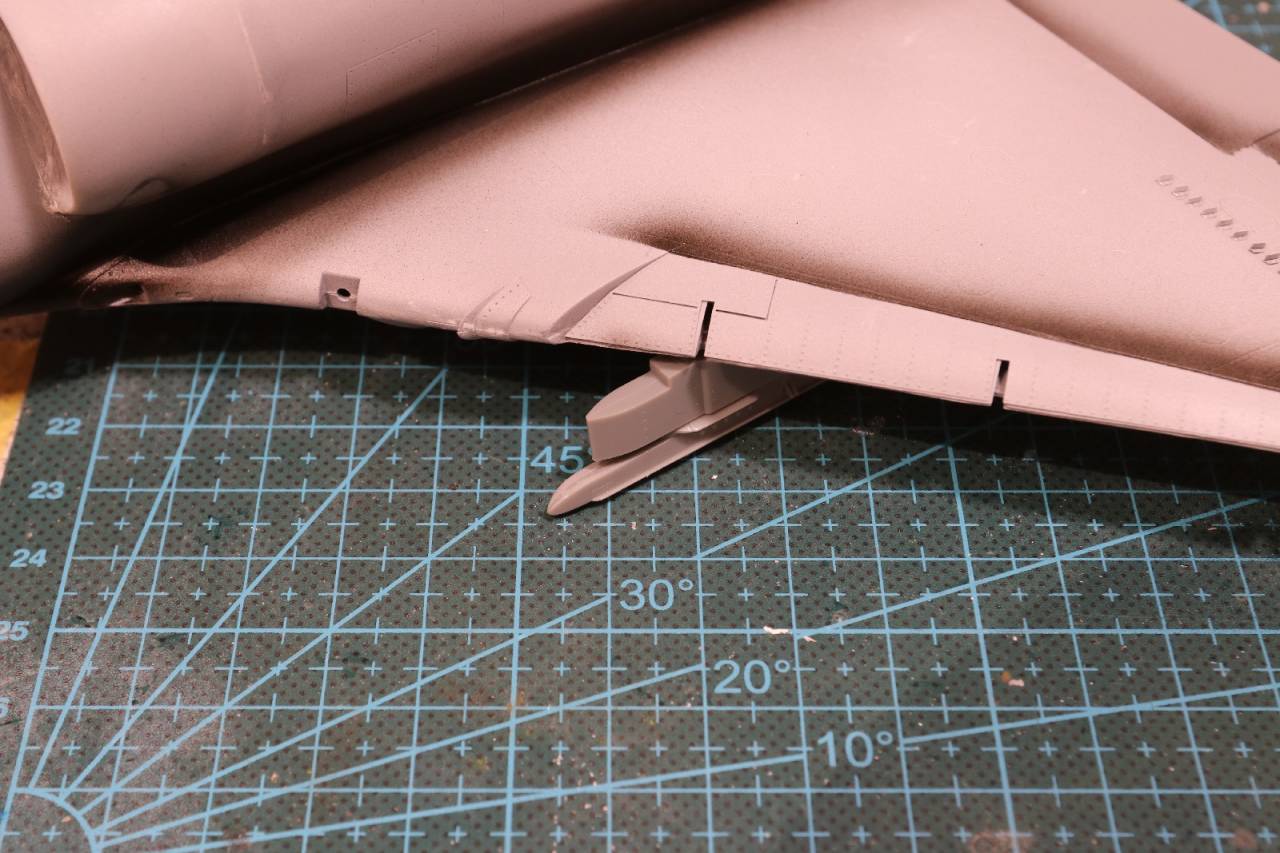
That rudder fit is just outrageous - shame on Trumpeter in this day and age. I have this kit also so I am taking notes on the build and your resolving of problems encountered along the way; thank you!
Gary
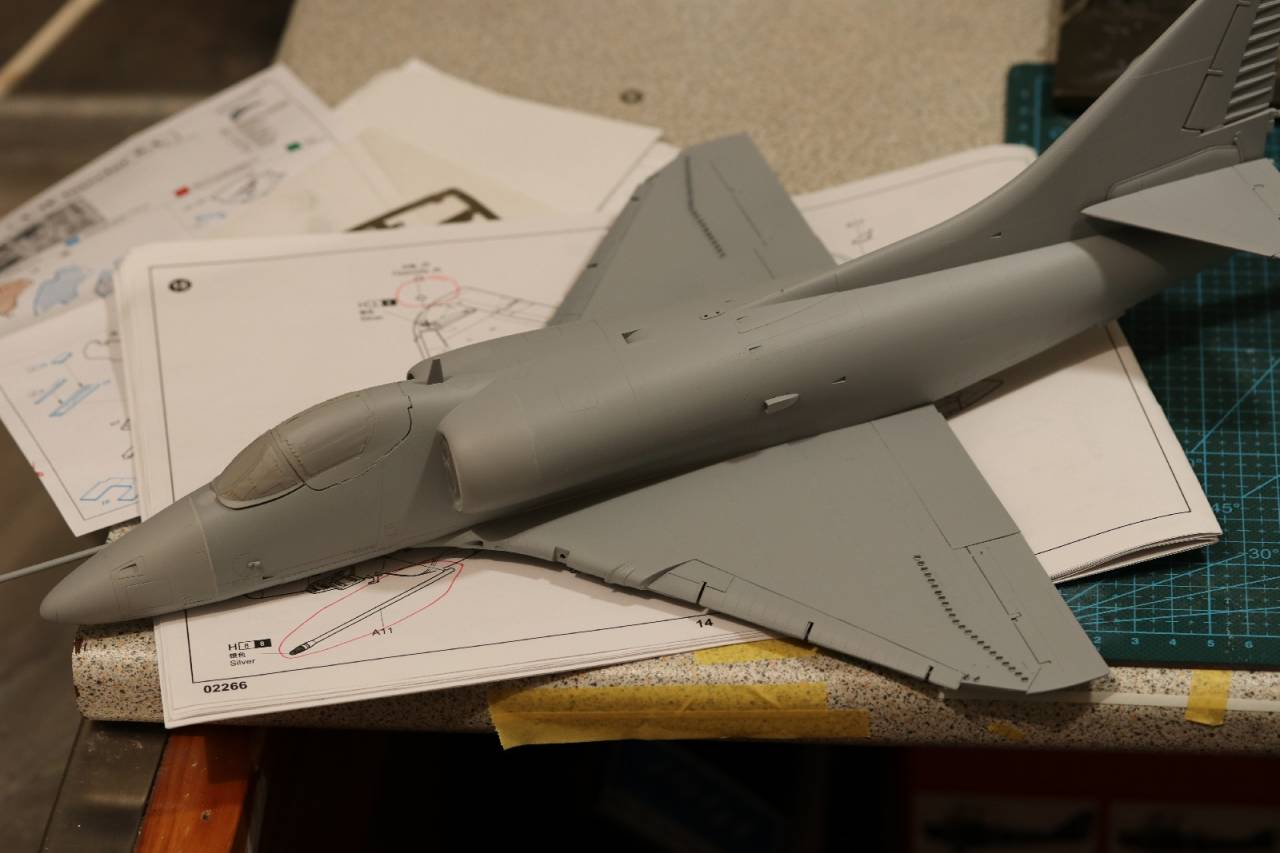
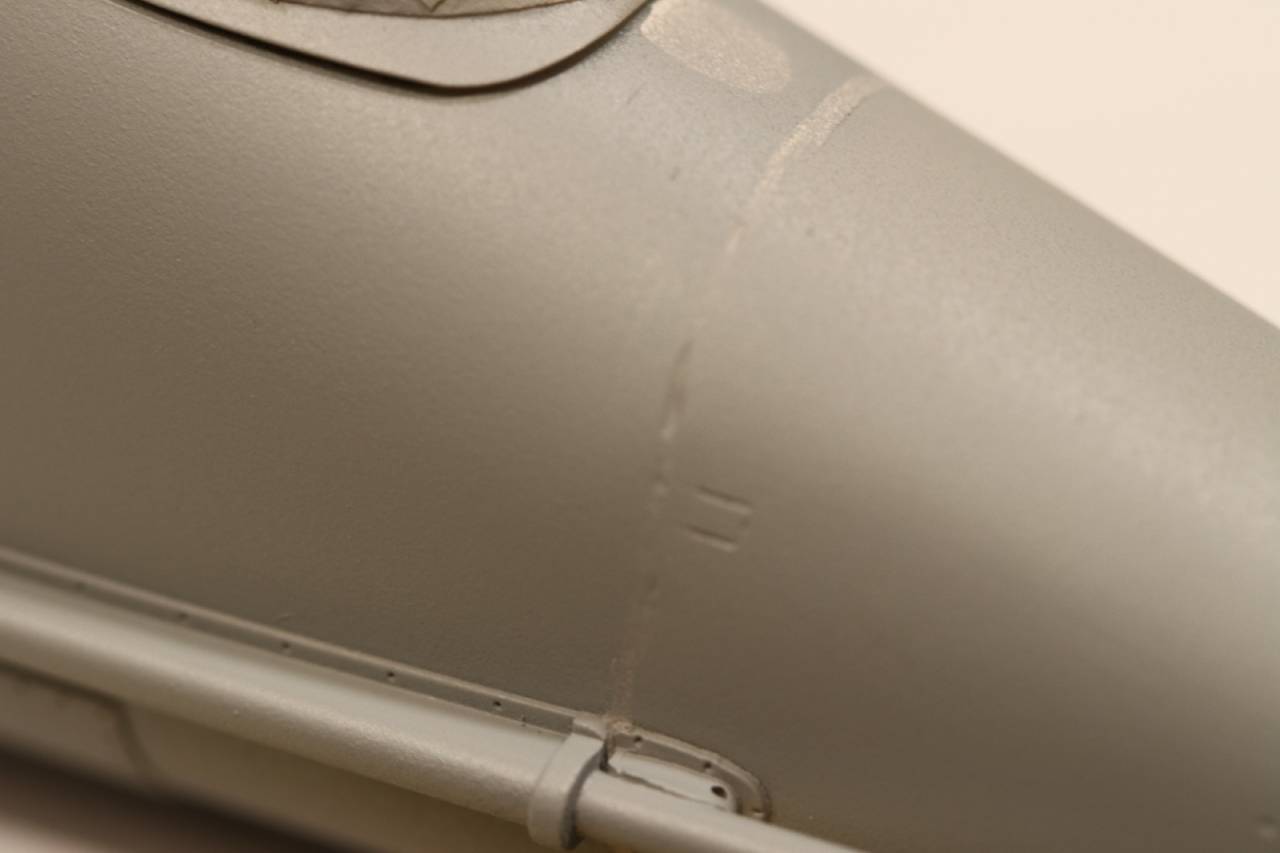
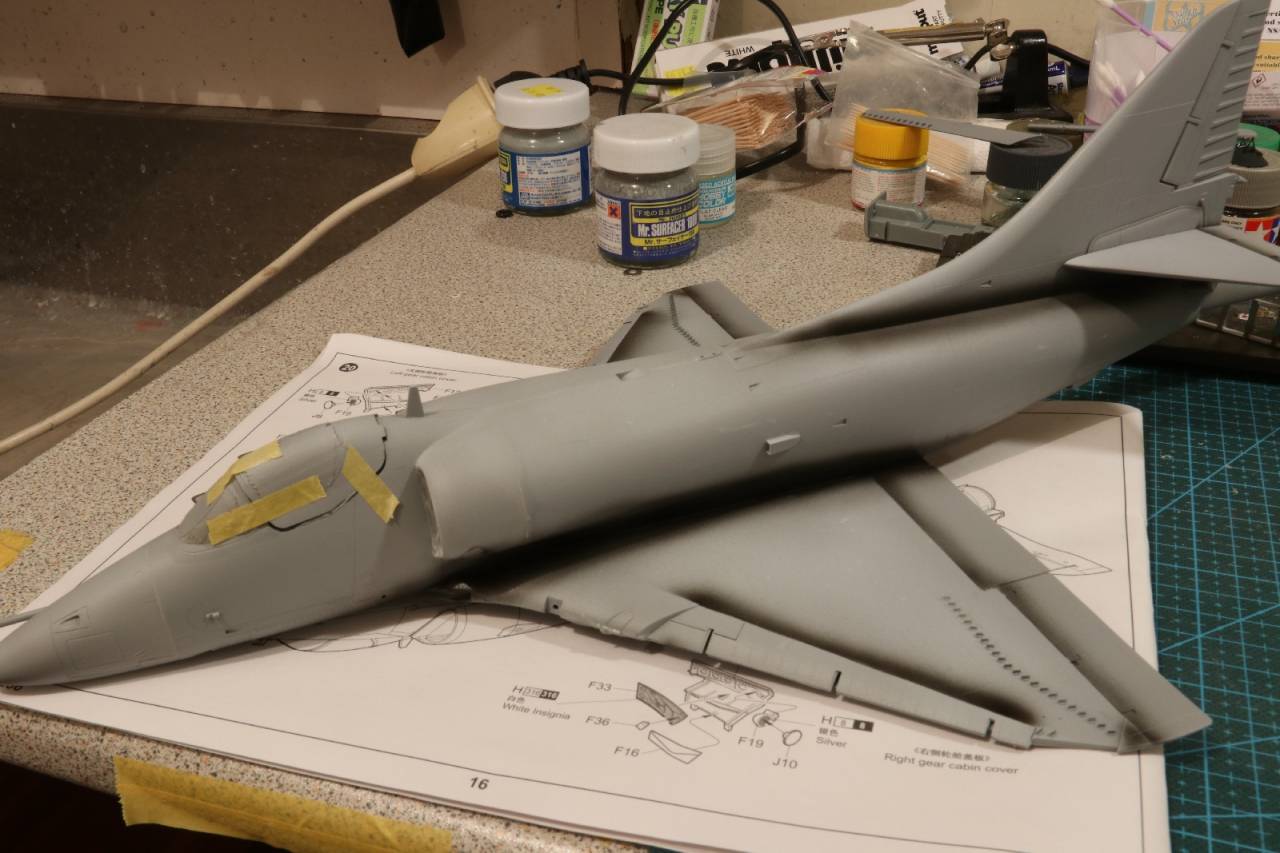
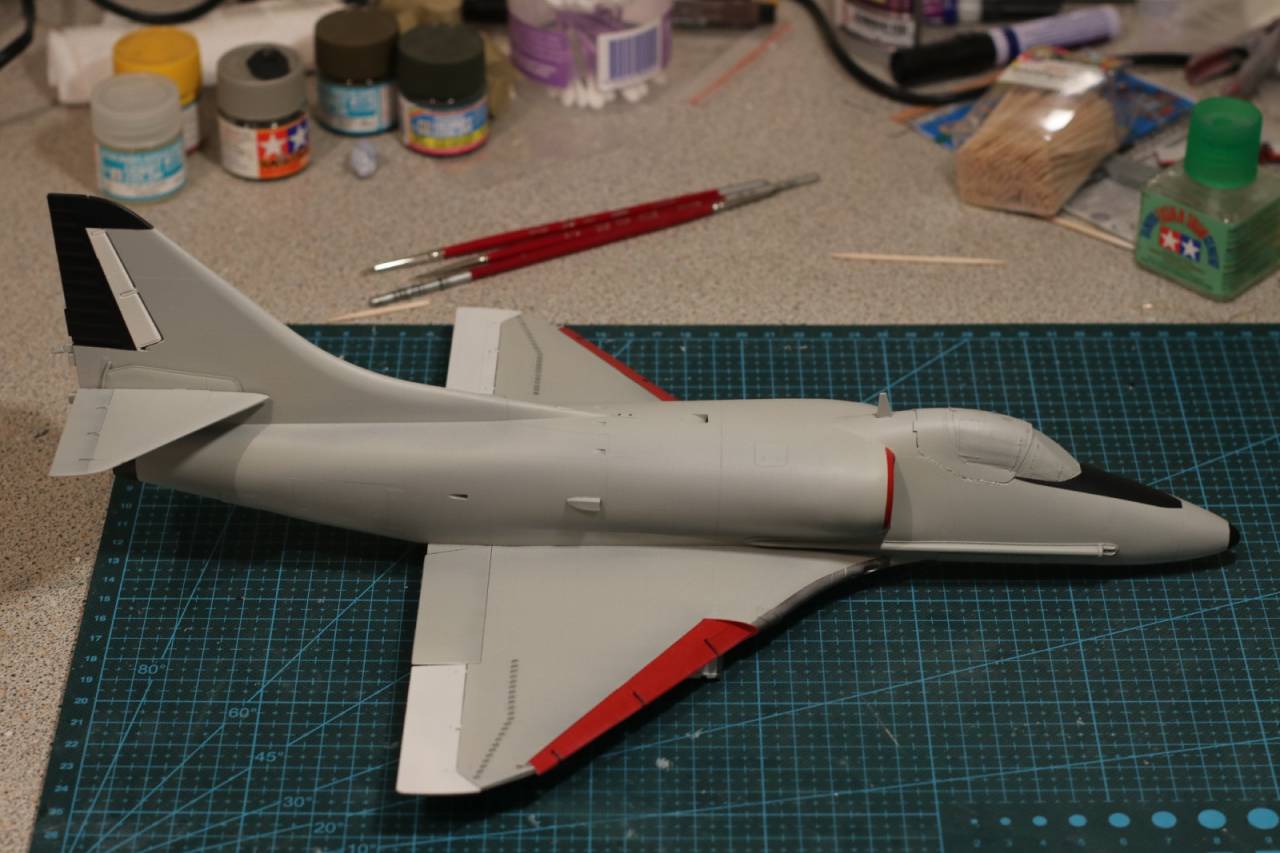
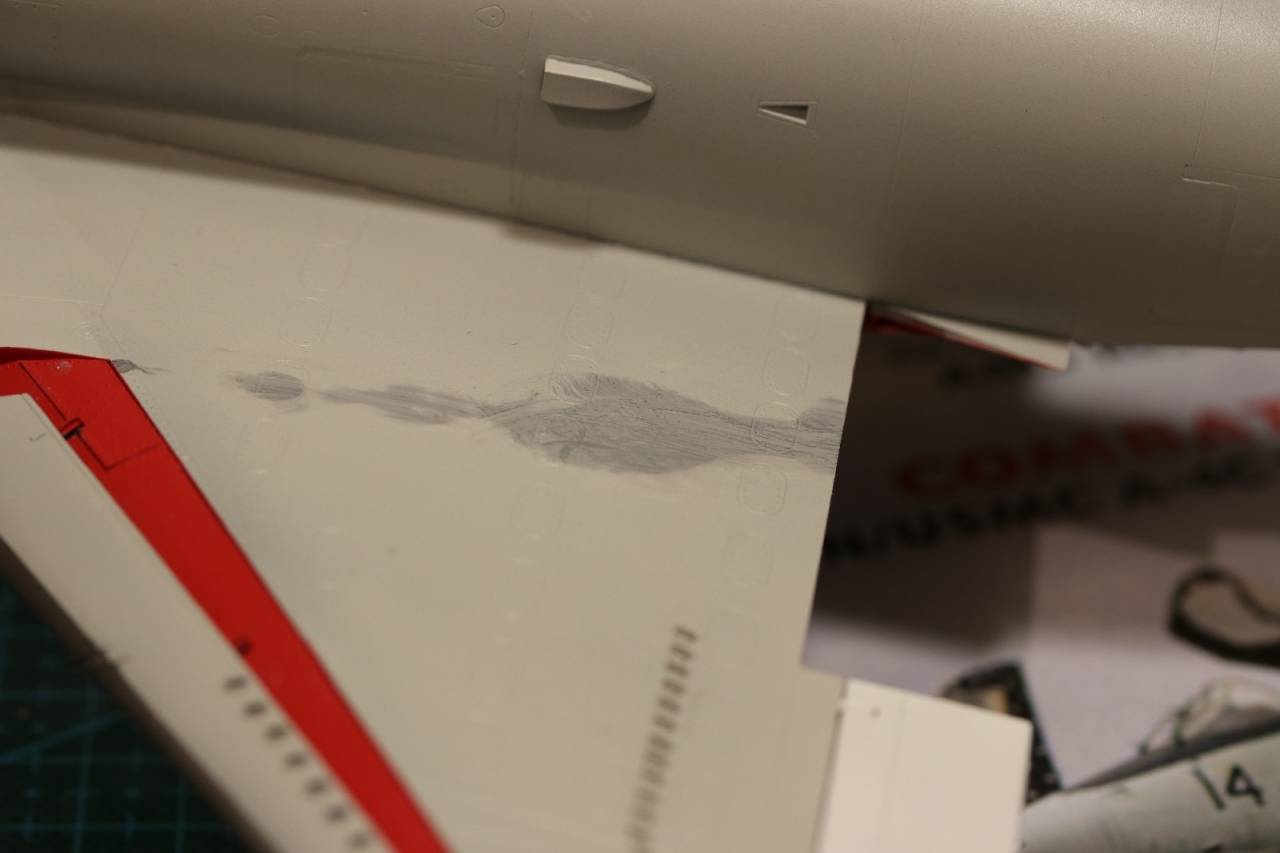
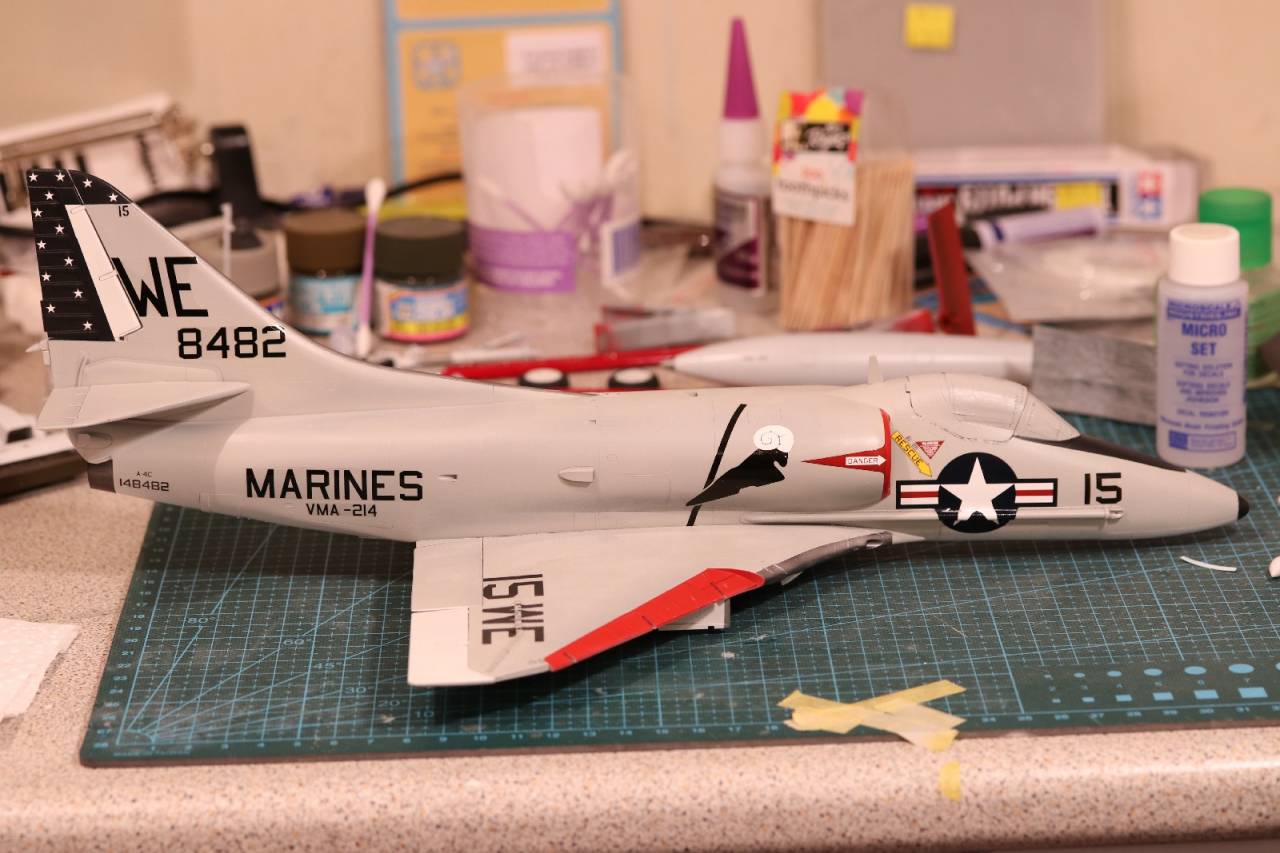
Construction is all finished.
cheers
Michael


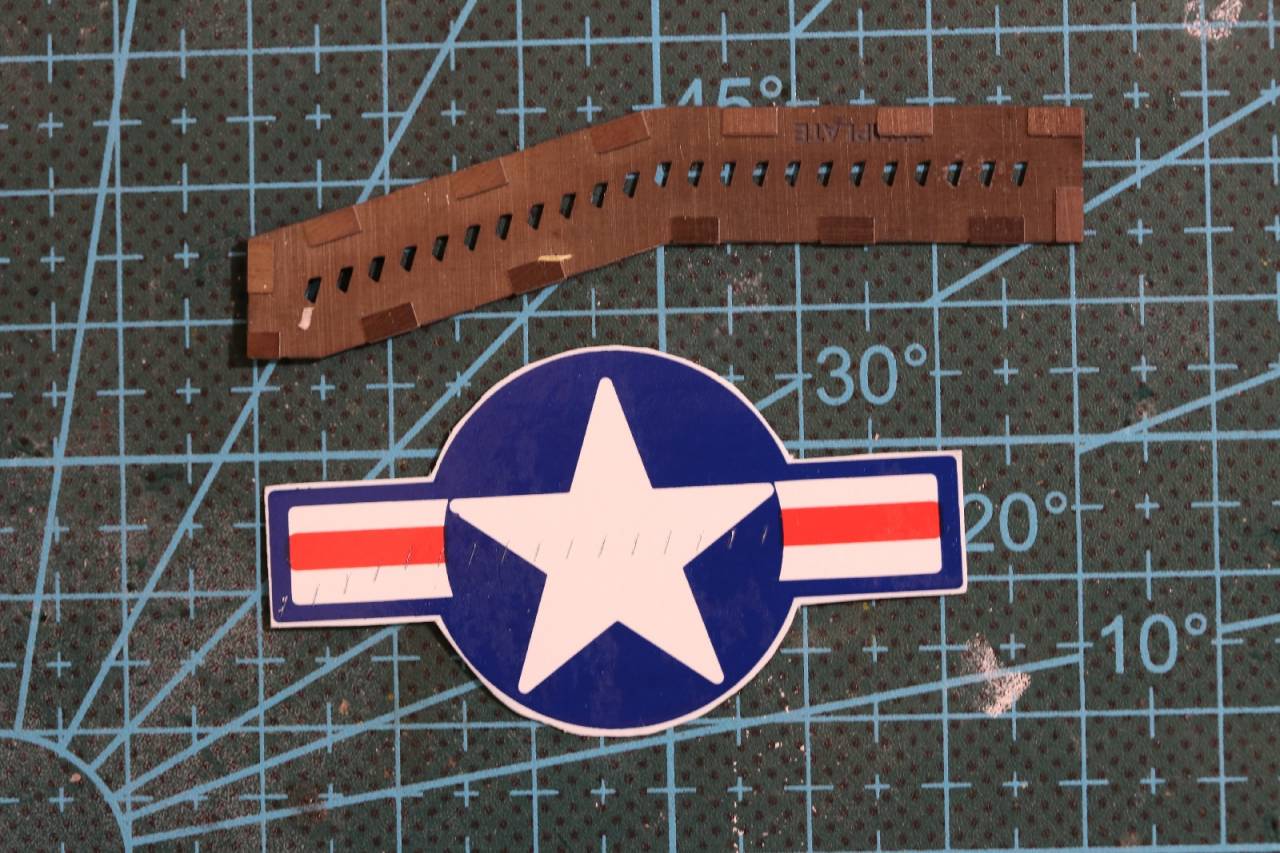
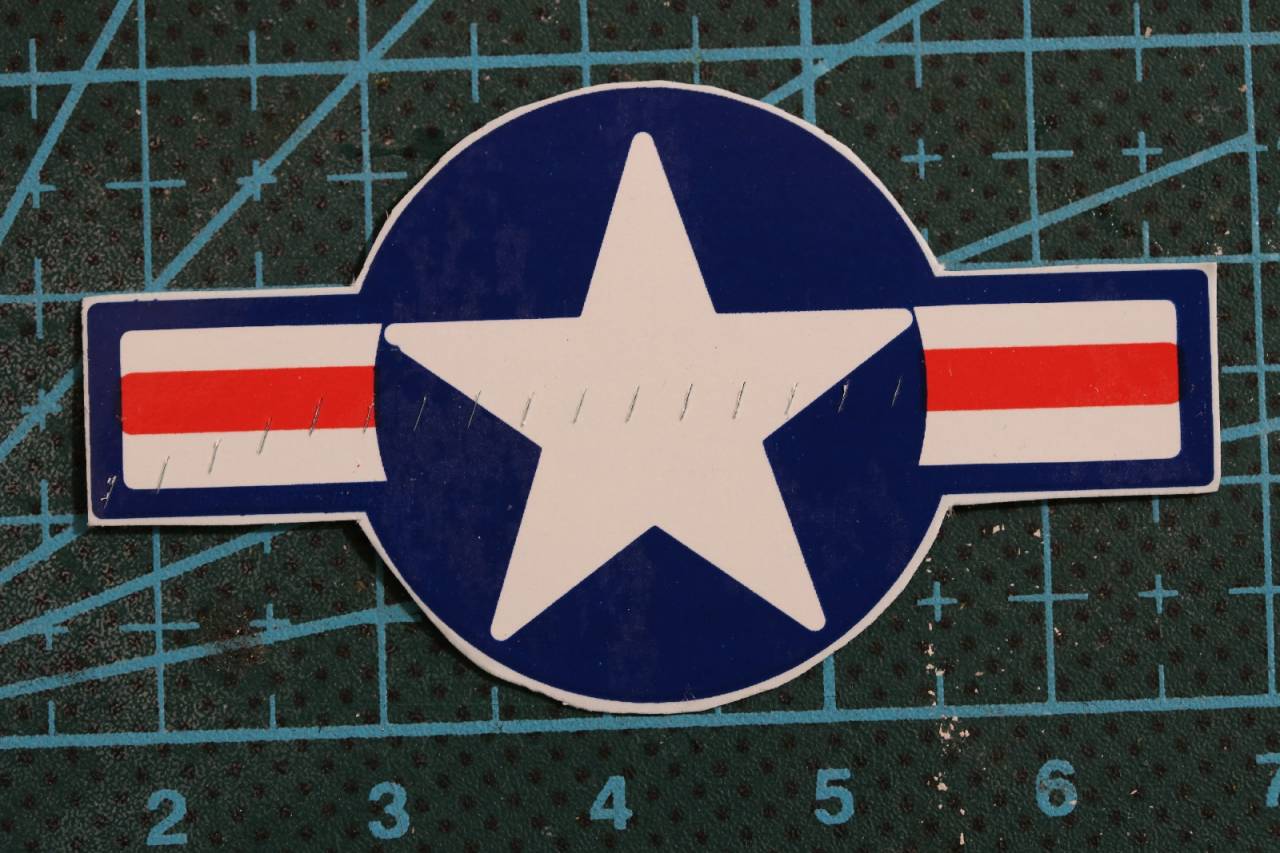
Hi Michael- Very nice work - glad to see it back. How about laying out the locations of the generators in question on the decal and slitting the ink / slash film before wetting ? Make a paper copy of the decal sheet and use it for test fitting until you are satisfied with the locations of the slits then lay it over the actual decal and transfer the slits- worth a shot - at least to the paper copy stage .
Cheers - Richard


Not sure how it happened either Michael-these last few weeks have raced by! Seems to go faster the older we get
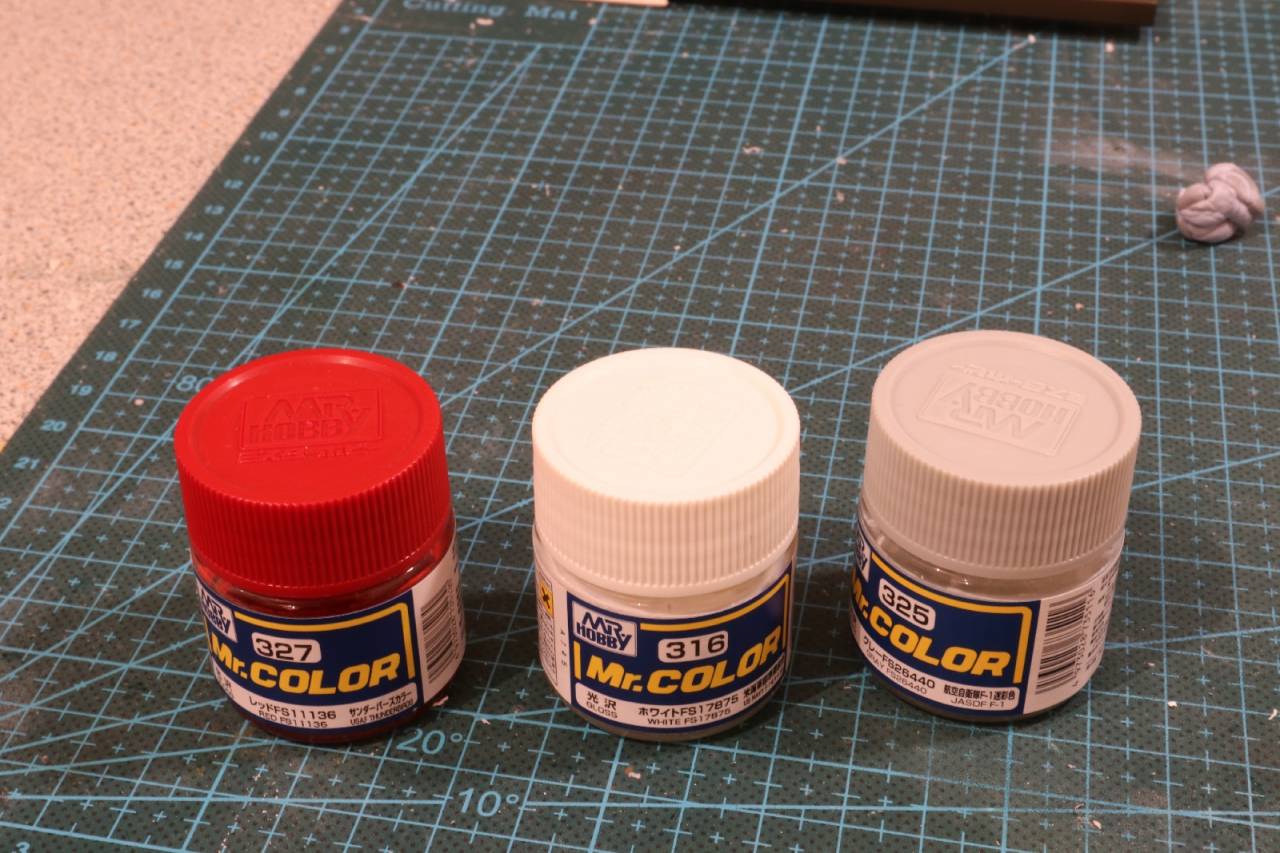
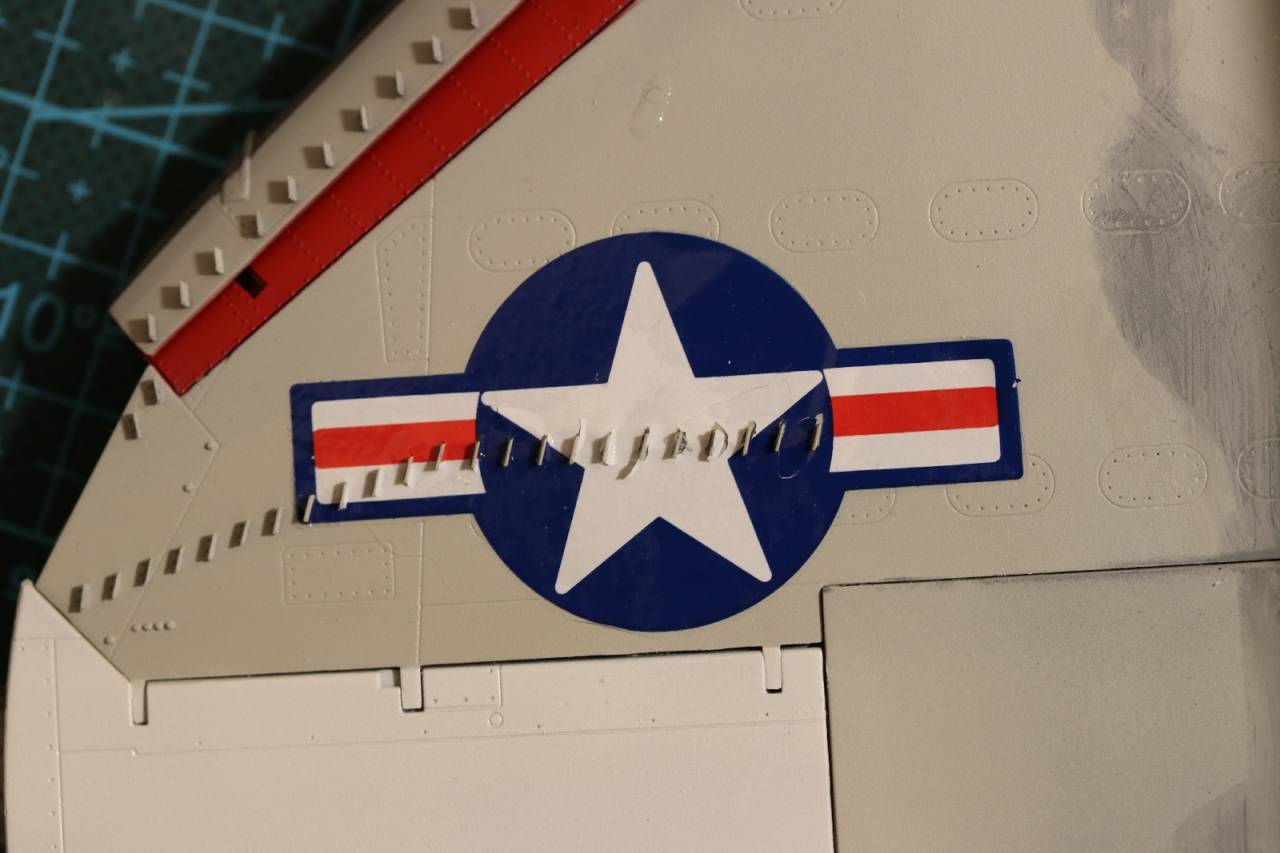
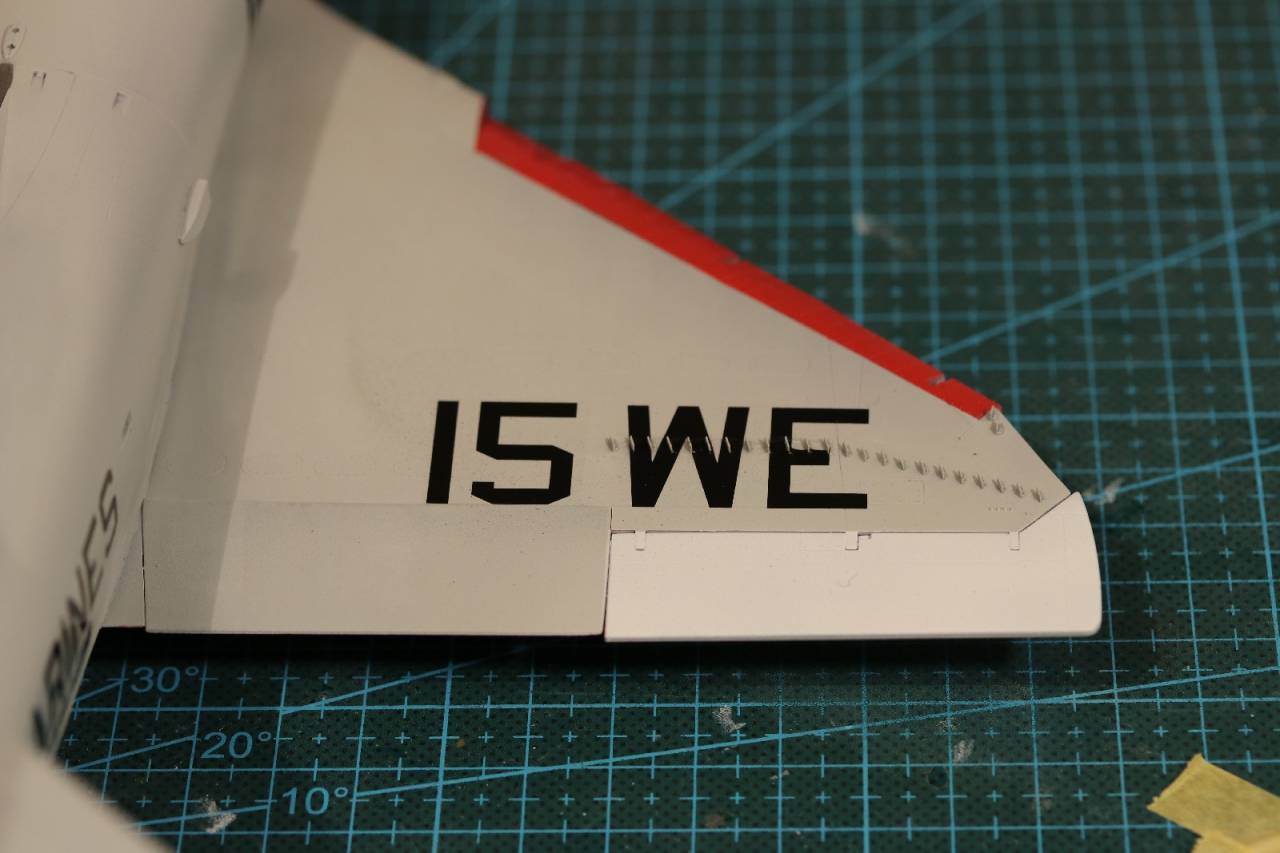
Your Skyhawk is looking the business now with colours and decals going!
Great effort mate.
 |


