Air Campaigns
Want to start or join a group build? This is where to start.
OFFICIAL: Soviet Phoenix Campaign
EHAM0624
_VISITCOMMUNITY
Noord-Holland, Netherlands
Joined: January 27, 2014
KitMaker: 200 posts
AeroScale: 85 posts
Posted: Tuesday, March 07, 2017 - 03:27 AM UTC
Nice!! love the Petlyakov.

I'm joining this campaign with this "Red star"(whats in the name) gem,..
This is 1984 release and i must have bought it in the mid 80's but i guess even then not up to standard, not sure why i kept it all those years.


It's lacking details, so i really fast came with the idea to hide the non-existent cockpit


I removed the chunky wheel doors by some home made doors and added some more details


Some live in the green with oils


Now on it's base, i will add some scenery to finish it.


More to follow
LinusB
_VISITCOMMUNITY
Western Australia, Australia
Joined: March 21, 2016
KitMaker: 247 posts
AeroScale: 105 posts
Posted: Saturday, March 11, 2017 - 03:08 PM UTC
My completed Airacobra.


Shrimpman
_VISITCOMMUNITY
Dublin, Ireland
Joined: August 14, 2016
KitMaker: 148 posts
AeroScale: 123 posts
Posted: Saturday, March 11, 2017 - 04:03 PM UTC
Wow! Linus, the finish on your Airacobra is stunning! My model looks like a child toy next to yours! Amazing job!
MichaelSatin
Staff MemberCampaigns Administrator
AEROSCALE
_VISITCOMMUNITY
Colorado, United States
Joined: January 19, 2008
KitMaker: 3,909 posts
AeroScale: 2,904 posts
Posted: Saturday, March 11, 2017 - 07:33 PM UTC
Nice work Linus!

I have got to get going on mine.

Michael
BlackWidow
_VISITCOMMUNITY
European Union
Joined: August 09, 2009
KitMaker: 1,732 posts
AeroScale: 1,336 posts
Posted: Saturday, March 11, 2017 - 07:50 PM UTC
Linus, beautiful winter Cobra there! Should also build one in the near future. Congrats on finishing your campaign build, too.

Torsten
Lakota
#123
_VISITCOMMUNITY
New Mexico, United States
Joined: November 17, 2008
KitMaker: 1,202 posts
AeroScale: 292 posts
Posted: Saturday, March 11, 2017 - 08:25 PM UTC
Way to go Linus, that's a sharp looking plane!
I need to get busy on my I-16.
Take care,
Don "Lakota"
RhinoSpit
_VISITCOMMUNITY
Bas-Rhin, France
Joined: September 22, 2016
KitMaker: 224 posts
AeroScale: 191 posts
Posted: Monday, March 13, 2017 - 12:35 AM UTC
Some photos from my LA-7:


LinusB
_VISITCOMMUNITY
Western Australia, Australia
Joined: March 21, 2016
KitMaker: 247 posts
AeroScale: 105 posts
Posted: Monday, March 13, 2017 - 09:16 AM UTC
Hey thanks everyone for the more than kind comments. I need to take better photographs. I was pretty chuffed with the outcome.
BlackWidow
_VISITCOMMUNITY
European Union
Joined: August 09, 2009
KitMaker: 1,732 posts
AeroScale: 1,336 posts
Posted: Tuesday, March 14, 2017 - 01:27 AM UTC
Yes you can, Linus. The Cobra came out really nice.

I've now uploaded 2 photos of my Peshka to the gallery and last weekend added another episode to my Assembly Line thread. Have a look if you like.

Happy modelling!
Torsten
c4willy
#305
_VISITCOMMUNITY
Christchurch, New Zealand
Joined: February 01, 2006
KitMaker: 1,673 posts
AeroScale: 1,517 posts
Posted: Saturday, March 18, 2017 - 07:14 AM UTC
So my photo-etch for the cooling shutter and bracing wires has finally arrived from the Ukraine and I've built up the shutter and applied it after removing most of the kit cowl. Leaving just enough of a lip to glue it too. But because of it's thinness I had to build up around the prop shaft so it would sit evenly.

Next up to glue it in place came the fun of fitting the top section of the cowl meaning I had to glue the cowl ring and the top part of the back of the cowl. Which was relatively easy as the air intake made it easy to line the parts up. I then had to glue the first of the exhaust pipes in place wait till they were sufficiently set and then slide the whole assembly over them, the prop shaft and get the exhaust pipes through the holes made for them. Actually much easier than it sounds, it was just a matter of the pipes coming more or less straight out of the mounts and a little judicious work with a thin wire on the one that was slightly out of place to get them to slip into place. The process was then repeated for the other two parts of the cowl. It was relatively pain free given the nature of the parts and the possibility of things being out of true. So now there's a little filling to do and some light sanding and then it's onto applying the paint.


EHAM0624
_VISITCOMMUNITY
Noord-Holland, Netherlands
Joined: January 27, 2014
KitMaker: 200 posts
AeroScale: 85 posts
Posted: Sunday, March 19, 2017 - 01:53 AM UTC
The Airacobra is really nice, i need to pick-up one of those
My end result of the "Red Star" yak-3, i lost the original decals bud found out that the replacement found some ware in a shoe box were old and "horrible" fragile decals, the remainder of the set went in the trash bin, but appropriate for the model i guess,..


Thanks
mrockhill
_VISITCOMMUNITY
Pennsylvania, United States
Joined: June 17, 2009
KitMaker: 566 posts
AeroScale: 507 posts
Posted: Sunday, March 19, 2017 - 03:20 AM UTC
Nice job on your little scene Jan! That was definitely a good way to hide the empty cockpit!

Finally some reportable progress on my end. After some minor filling, sanding, scribing and adding other minor details my eduard yak 3 is ready for paint! For now I have the full canopy tacked in place with white glue to block off the cockpit. I will be using the separate canopy sections and displaying this build opened up. They will be masked and painted separately and have more fragile details to be added yet.

Under the canopy also needs finishing up. I've assembled and am painting the head armor assembly. I also need to rig an antenna wire and run it through the rear section to the radio shelf. But the biggest project here has been making a new gunsight from styrene bits to replace eduards malnourished blob (seen here still attached to its clear sprue). So far im pleased. It may end up a touch big but we still have a ways to go, alot of this will get cut and sanded away.


The most fiddly bit of this kit is the landing gear. It doesnt have positive joins for any of the involved pieces, so care will be needed to ensure things are strong enough to support the kit and stay somewhat symmetrical. Ive elected to replace the featureless kit wheels (right) with some nice resin units from Armory (left). The detail is very subtle but should look just right with careful washes and dry brushing.


And just to ensure I dont lack for things to do I've decided to shorten the landing gear oleos a touch as they are portrayed at full entension. Not sure which way to go about this yet but Ive got some workable idea's
RhinoSpit
_VISITCOMMUNITY
Bas-Rhin, France
Joined: September 22, 2016
KitMaker: 224 posts
AeroScale: 191 posts
Posted: Sunday, March 19, 2017 - 03:36 AM UTC
Good news: i've finally my lightbox, so i can make good shots

I've closed my LA-7 and tadaam:

SP-4 by RhinoSpit
MichaelSatin
Staff MemberCampaigns Administrator
AEROSCALE
_VISITCOMMUNITY
Colorado, United States
Joined: January 19, 2008
KitMaker: 3,909 posts
AeroScale: 2,904 posts
Posted: Sunday, March 19, 2017 - 06:53 PM UTC
Looking good everyone!

Some progress on the 1/32 Special Hobby P-39Q. It's green (and gray)!

 photo 20170319_125036_zpshvbqbb24.jpg

Michael
nico37
_VISITCOMMUNITY
Indre-et-Loire, France
Joined: May 23, 2011
KitMaker: 651 posts
AeroScale: 181 posts
Posted: Wednesday, March 22, 2017 - 06:55 PM UTC
Hi all,

thought it was to late for me in this campaign, i was a bit disappointed by the kit details quality low level so i let it down in his box, but i recently saw i was wrong so, i took it back and went on ..... here is my (little) progress since the beginning, i closed the fuselage:


cheers
nico

mrockhill
_VISITCOMMUNITY
Pennsylvania, United States
Joined: June 17, 2009
KitMaker: 566 posts
AeroScale: 507 posts
Posted: Sunday, April 02, 2017 - 06:21 AM UTC
I finally got some paint on my 1/48 eduard yak-3 a couple days ago. Naturally there were some blems to address but after the repairs and a 2nd coat I now have a base color. I used aeromaster russian light gray.
Ive also begun working on the landing gear and hope to have it done in the next couple days so I can spray it aeromaster russian light blue with the rest of the under side and gear bays.
Removed by original poster on 04/09/17 - 07:59:22 (GMT).
mrockhill
_VISITCOMMUNITY
Pennsylvania, United States
Joined: June 17, 2009
KitMaker: 566 posts
AeroScale: 507 posts
Posted: Saturday, April 08, 2017 - 07:26 PM UTC
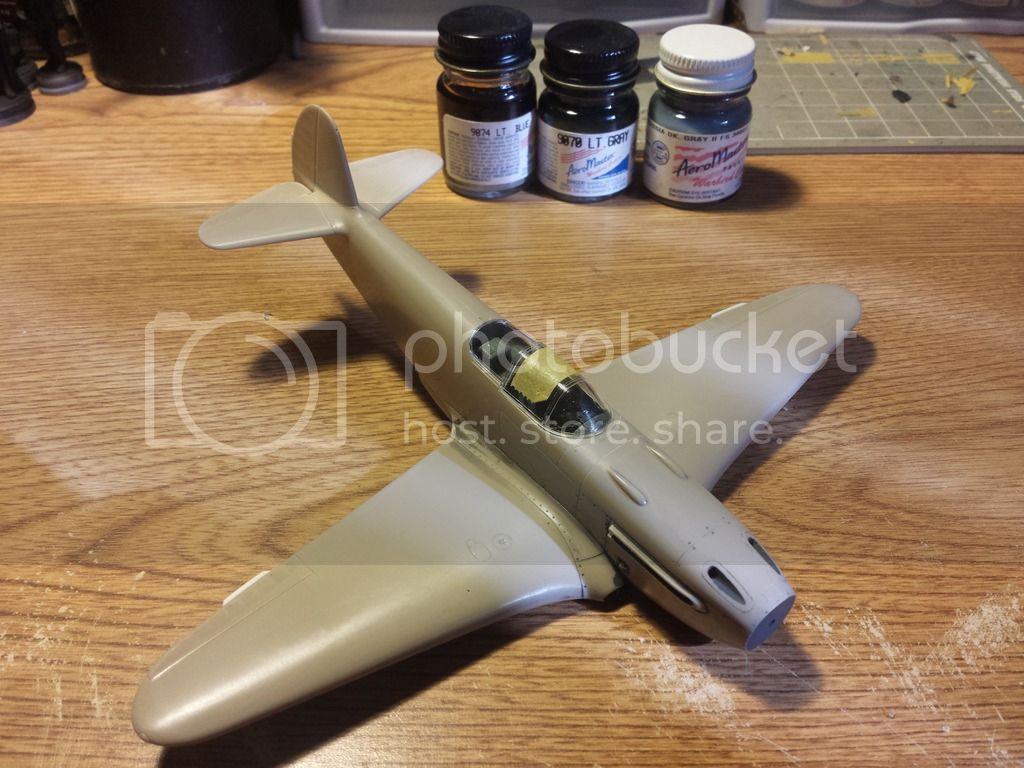
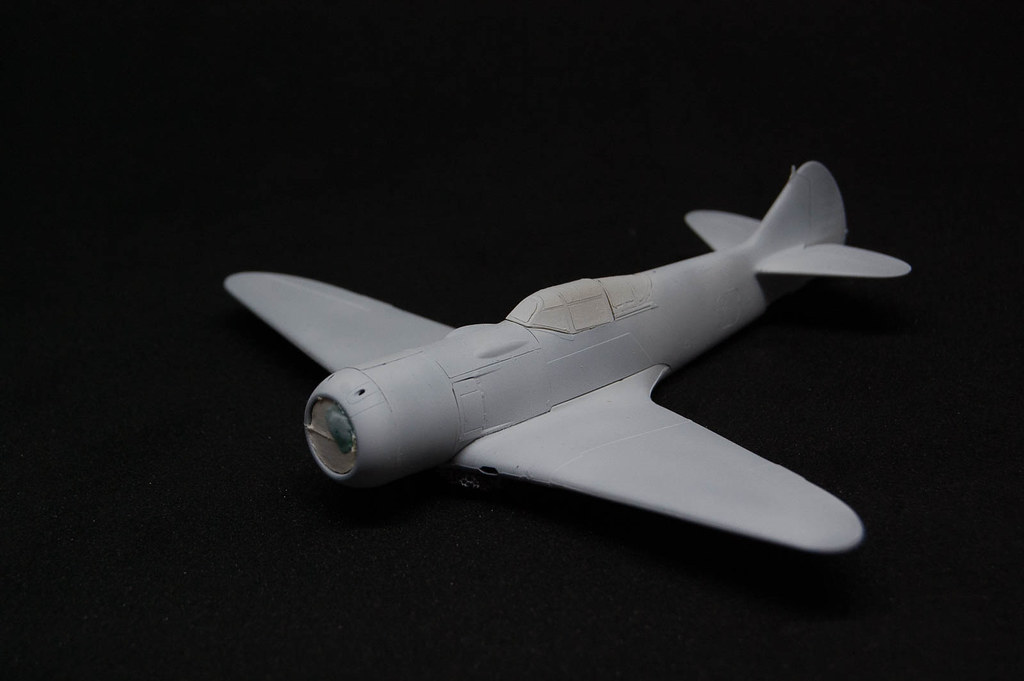
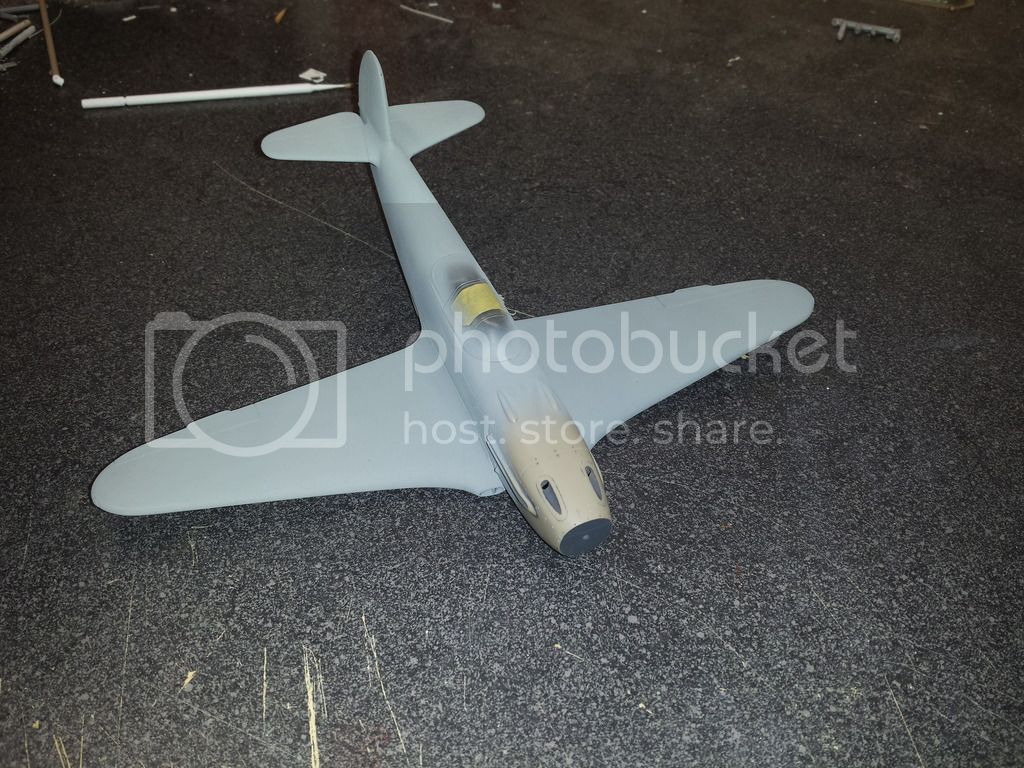
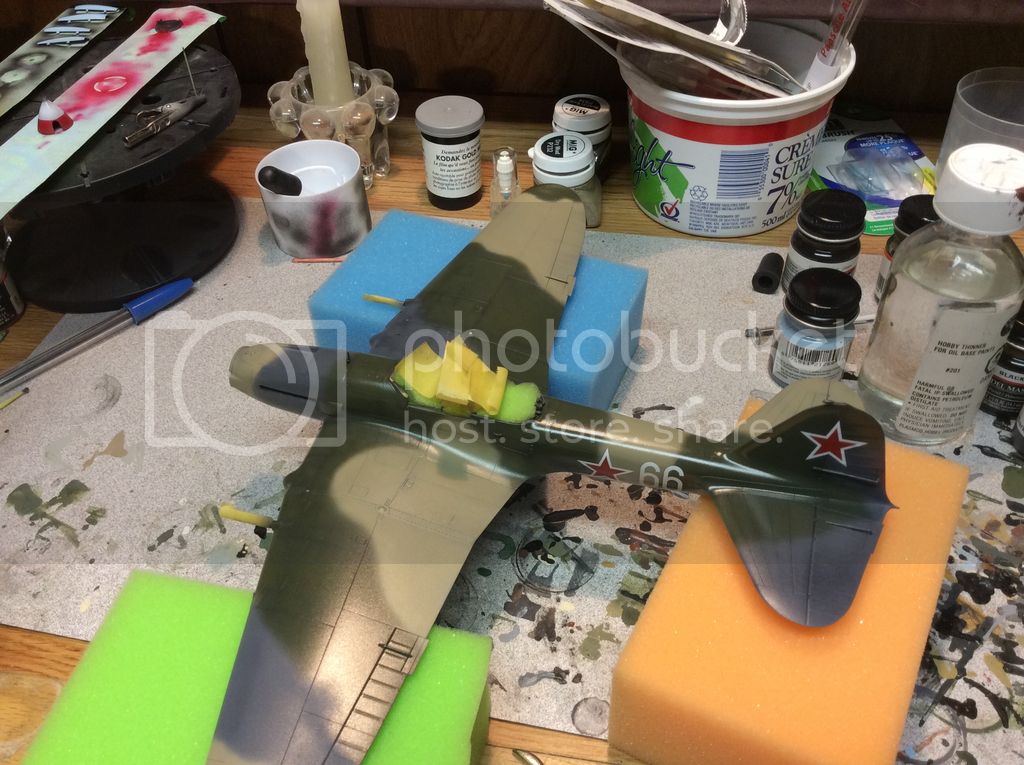
The clock is winding down and there is much to do yet but if the weather stays nice for a bit may get this painting all done soon. Im just about ready for paint on the underside and the landing gear. The eduard yak-3s undercarriage looks to be a fiddly bit of assembly as there are many pieces and no solid joins.
I was successful in my shortening of the gear leg oleos. To do this I first drilled a hole up from the bottom of the wheel yoke into the oleo.

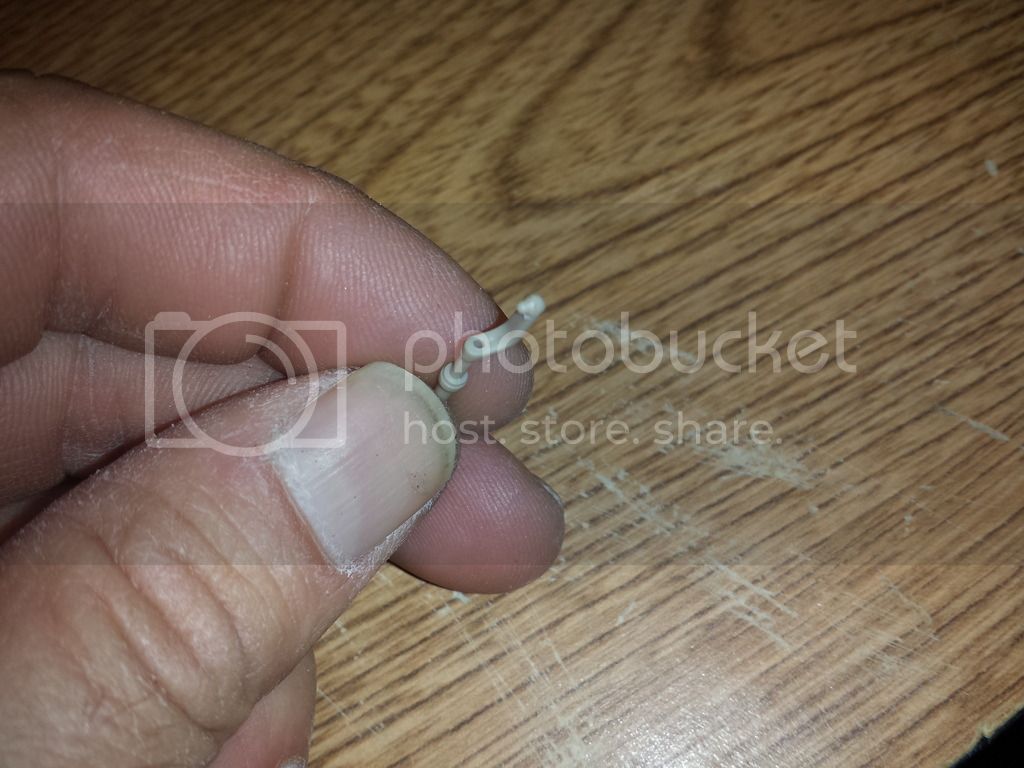
Next I may an index line with a sharp pencil do they can be realigned correctly. Then using a brass rule along with my mini saw, whose combined width was about 1mm, exactly what I wanted to remove, I cut through the bottom of the oleo.

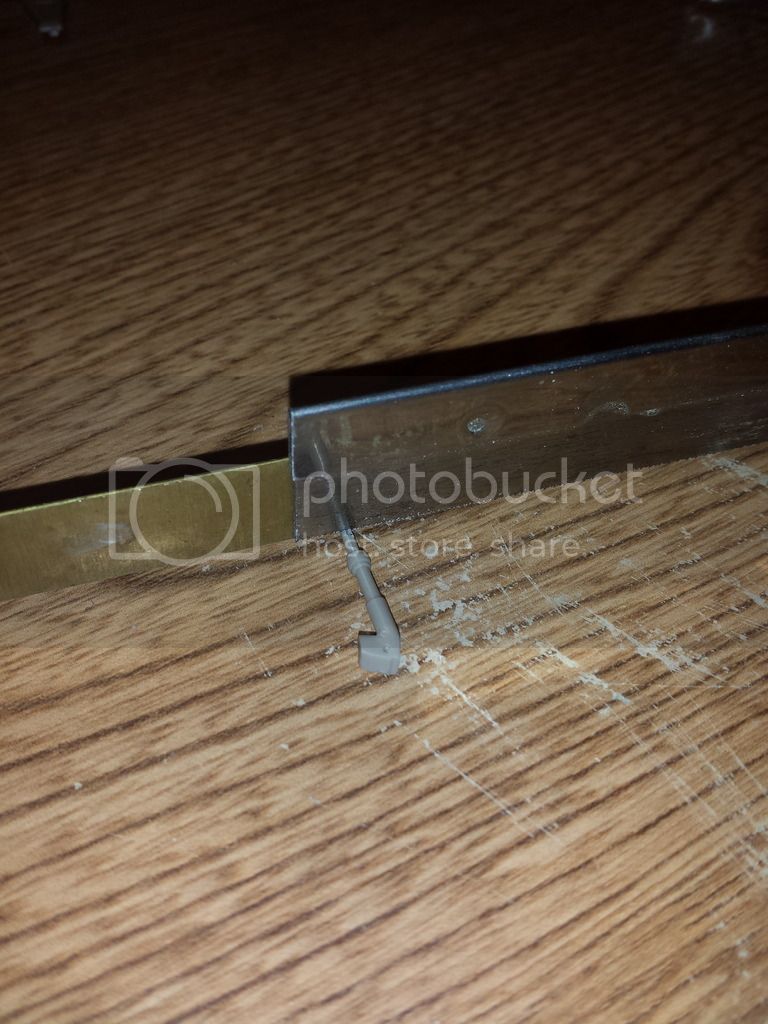
After a clean up with sanding sticks I cut some small brass dowels and pinned them back together using CA making sure the were properly aligned beforehand and voila' shortened gear legs!!!

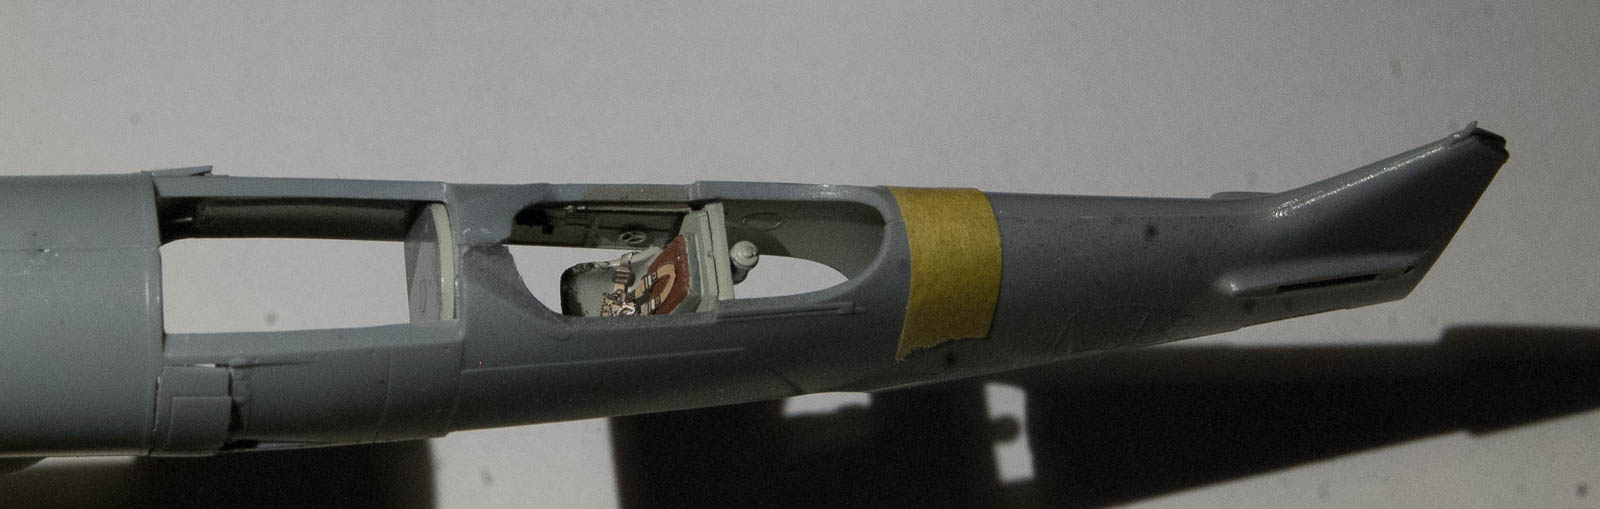
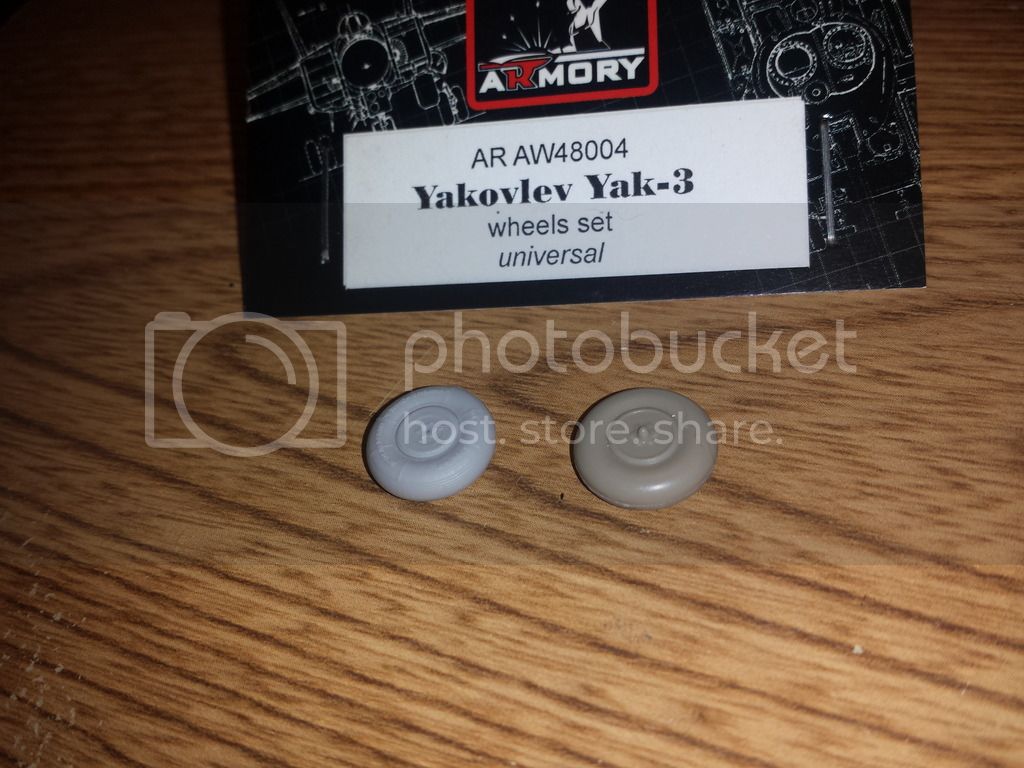
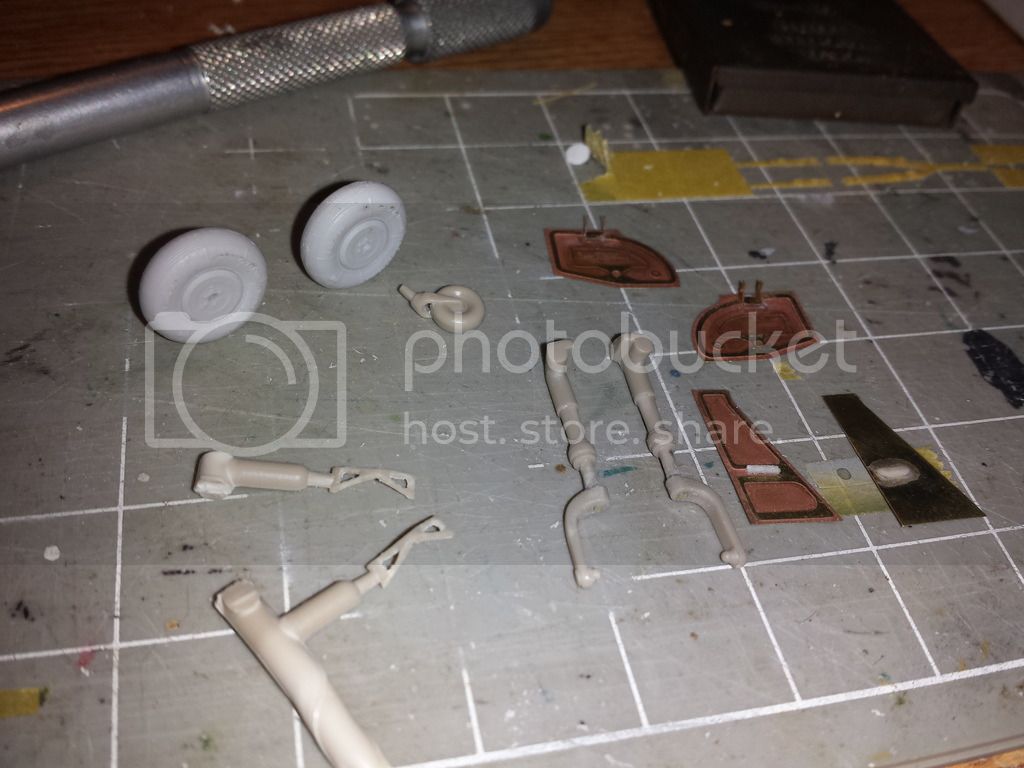
I also got my resin wheels flattened nice and evenly, my oleo struts thinned and hollowed out (Id like to try these before resorting to the photo etched ones) and I used my drills and xacto to sharpen up my tail wheel a bit.

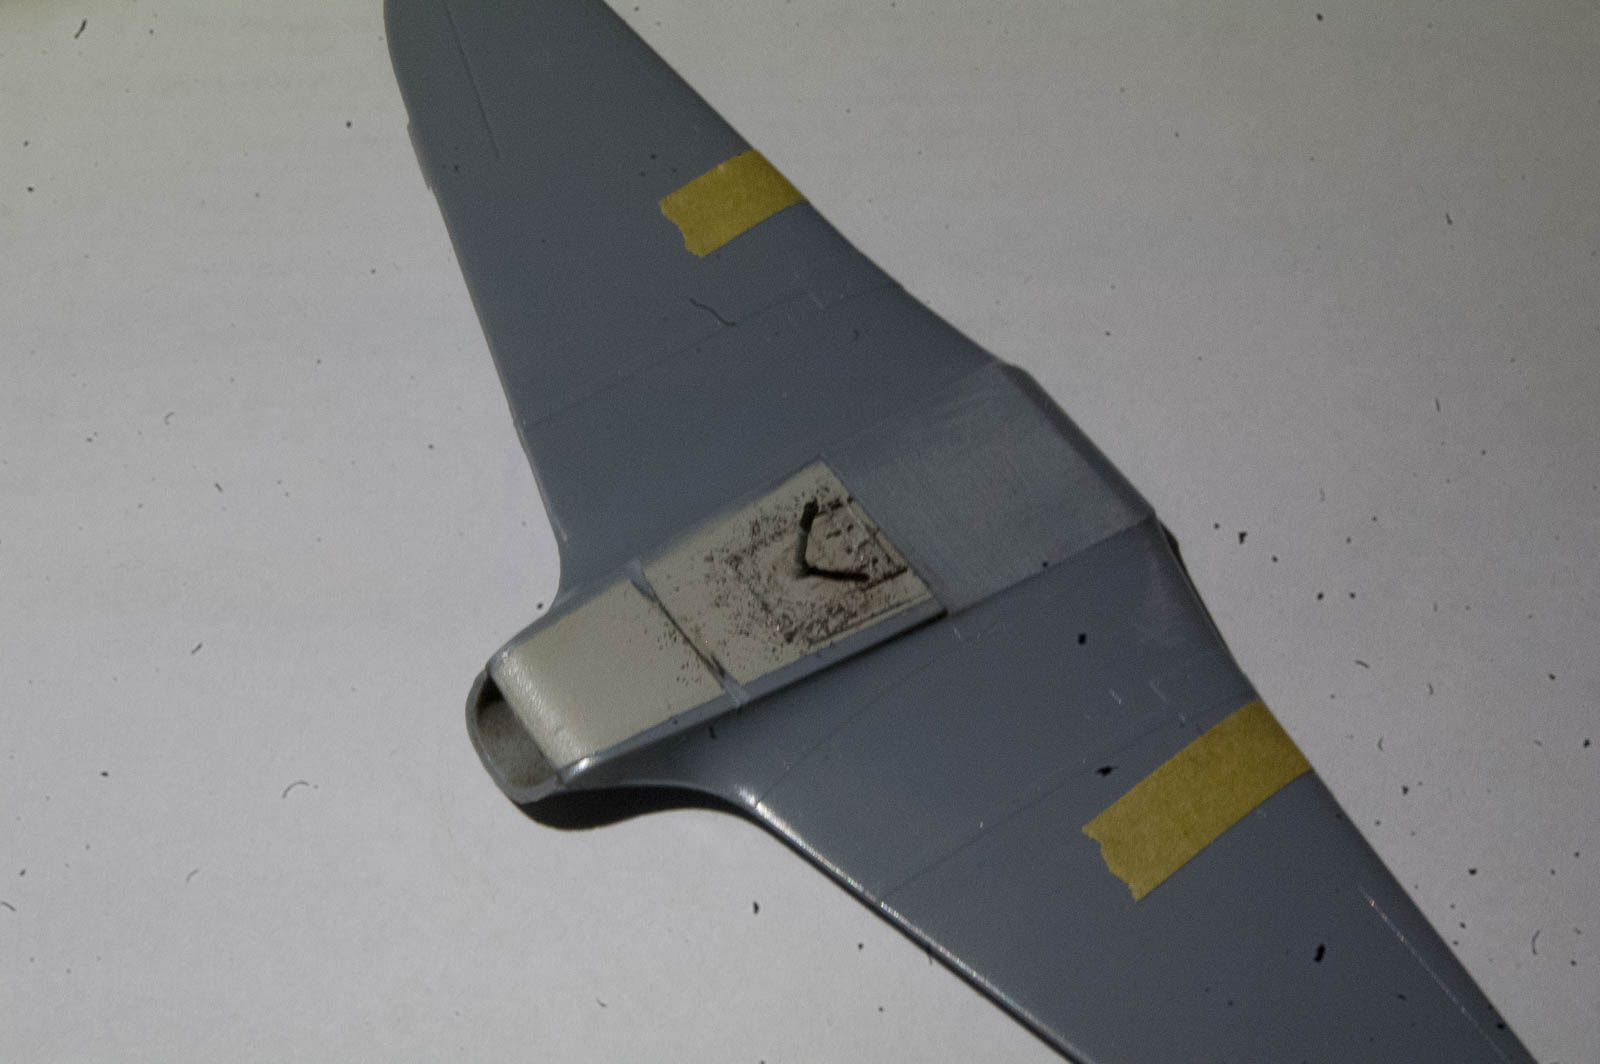
The etched gears doors lacked a bulge that was found on the plastic parts and the real thing. So I shaved these of the plastic bits and CA'd them to the doors and some more CA later to help fair them in. Followed by some careful sanding. These doors are super thin!! Possibly too thin but Im using them now, Im commited
MichaelSatin
Staff MemberCampaigns Administrator
AEROSCALE
_VISITCOMMUNITY
Colorado, United States
Joined: January 19, 2008
KitMaker: 3,909 posts
AeroScale: 2,904 posts
Posted: Saturday, April 08, 2017 - 08:10 PM UTC
Nice work all! I've made some progress on the 1/32 Special Hobby P-39Q. Decals and dull coat on, landing gear (which looks pretty fiddly) next.


Michael
Removed by original poster on 04/09/17 - 16:47:01 (GMT).
Removed by original poster on 04/09/17 - 16:48:29 (GMT).
mrockhill
_VISITCOMMUNITY
Pennsylvania, United States
Joined: June 17, 2009
KitMaker: 566 posts
AeroScale: 507 posts
Posted: Sunday, April 09, 2017 - 12:13 AM UTC
Looking good Michael! Im thinking I may built a P-39 myself for the eastern front portion of our 75th anniversary campaigns


Naturally subject to several changes
LinusB
_VISITCOMMUNITY
Western Australia, Australia
Joined: March 21, 2016
KitMaker: 247 posts
AeroScale: 105 posts
Posted: Sunday, April 09, 2017 - 04:46 AM UTC
Jan that Yak 3 diorama is great. Must have a crack at doing a diorama at some point.

Michael the P39Q is looking very nice indeed.
BlackWidow
_VISITCOMMUNITY
European Union
Joined: August 09, 2009
KitMaker: 1,732 posts
AeroScale: 1,336 posts
Posted: Monday, April 10, 2017 - 12:48 AM UTC
Michael, your Cobra comes out really nice, indeed! I like it.

Torsten
wrenchy
_VISITCOMMUNITY
Saskatchewan, Canada
Joined: April 23, 2006
KitMaker: 140 posts
AeroScale: 89 posts
Posted: Monday, April 10, 2017 - 09:30 AM UTC
Builds are looking good! I ran into a problem with the Authentic Decal sheet I'm using. The red stars disintegrated after being dunked in water.

Thankfully, the white numbers worked better. I ended up using the stars from the kit sheet. Almost ready for some weathering and final assembly.