OFFICIAL: Hot Wars of the Cold War Campaign
Indre-et-Loire, France
Joined: May 23, 2011
KitMaker: 651 posts
AeroScale: 181 posts
Posted: Tuesday, September 06, 2016 - 12:23 PM UTC
Indre-et-Loire, France
Joined: May 23, 2011
KitMaker: 651 posts
AeroScale: 181 posts
Posted: Thursday, September 08, 2016 - 11:00 AM UTC
Hi all,
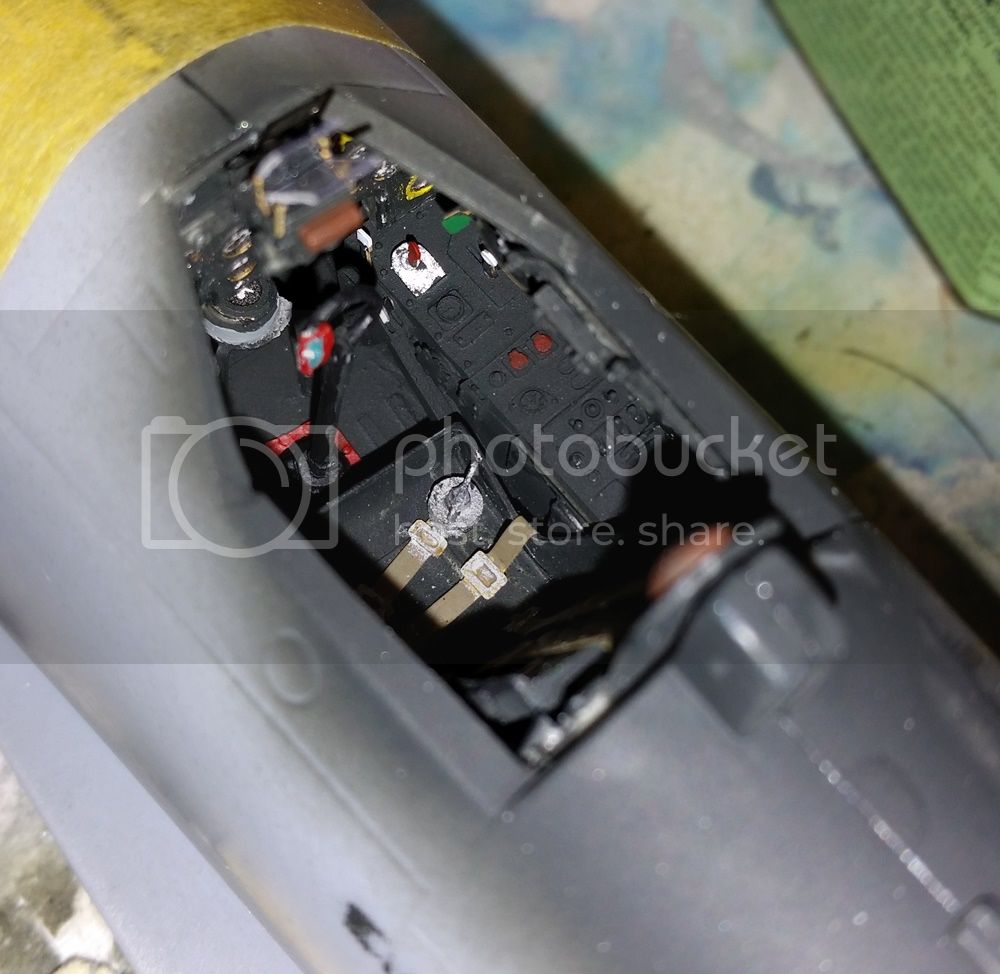
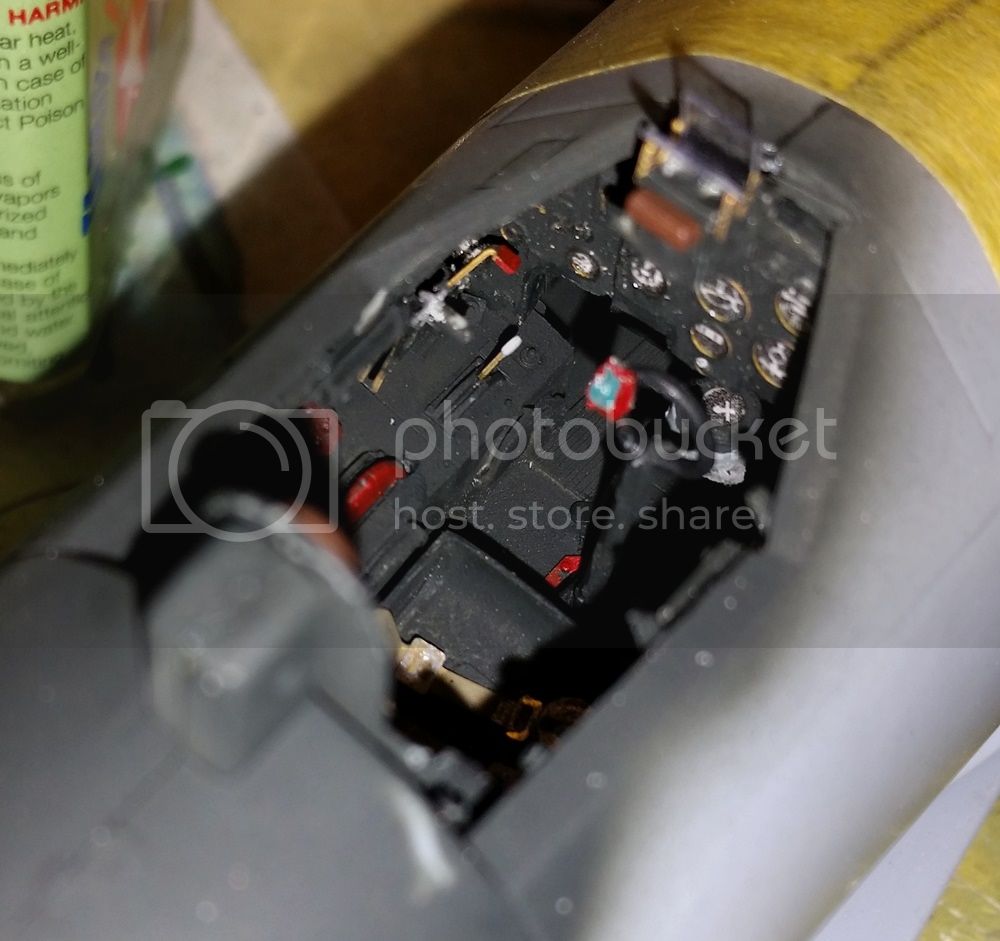
the yesterday evening work was dedicated to the internal sides structures (the original kit is completly empty).
I also began the side command panels :


cheers
nico
United States
Joined: February 01, 2009
KitMaker: 1,233 posts
AeroScale: 663 posts
Posted: Saturday, September 10, 2016 - 07:53 PM UTC
Nico----Great work on the AT-6 thus far.
I began work on my project, the Bay of Pigs Sea Fury, using the 1/48th scale Hobbycraft kit. There were bad injection pin marks in the wheel bay so I covered them with squares of 3M 2090 tape.

I then painted the wheel bays "Hawker Yellow". I based the color on some Sea Fury restoration photos where parts had been stripped down to the original primer. The yellow appeared much more brown than Chromate Yellow and I created this color by lightening Tamiya Buff with white and yellow. The wash is Pledge Floor Wax tinted with Acrylic Black Paint.

Fuselage assembly begins:

And she's together:


More to follow!
Best wishes,
Ian
It is a fact that under equal conditions, large-scale battles and whole wars are won by troops which have a strong will for victory, clear goals before them, high moral standards, and devotion to the banner under which they go into battle.
-Georgy Zhukov
Indre-et-Loire, France
Joined: May 23, 2011
KitMaker: 651 posts
AeroScale: 181 posts
Posted: Sunday, September 18, 2016 - 04:07 PM UTC
Hi all,
thanks a lot Ian, and good job too on your Sea Fury !
I've finished my cockpit scratchbuilt (but for the seat belts which can wait a little for the paint work to be done).
So, i began the interior painting in "US interior green" which in Humbrol Enamel equivalence chart is the number 226.....so i just bought one for this kit. But after 2 coats with brushes (highly diluted as my habits) it seemed a lot to green :

Then i remembered i altready bought that color for an US HRS-1 few years ago, so i opened it and compared.....and i was really really disppointed !!!
The old one is on the left :

And even after diluting it with White-Spirit :

So i continued with the old one which seems to match much better with the real "interior green", doesn't it ? (Some more coats are needed anyway) :


cheers
nico
Wisconsin, United States
Joined: March 17, 2009
KitMaker: 156 posts
AeroScale: 153 posts
Posted: Sunday, October 02, 2016 - 01:51 AM UTC
Hi all-
After a several-year hiatus, I've signed up for this campaign!
I'll be building the Tamiya 1/48 Mig-15 from the Korean War (or police action)
.because, frankly - I need something relatively easy.
The Pacific Coast Ta152H in the background just about killed me (and nearly wound up in the bin) after a 6 month struggle.
So
I'm looking forward to pouring a little glue in the box, shaking, and having a finished result in short order. Alternatively, we'll get to see me manage to botch even a Tamiya kit


On the workbench:
WNW 1/32 Fokker E.II for Canvas Falcons III
Trumpeter 1/32 MiG-21F-13 for 2nd Gen Jets Campaign
Alvsborgs, Sweden
Joined: October 05, 2016
KitMaker: 19 posts
AeroScale: 10 posts
Posted: Tuesday, October 04, 2016 - 02:55 PM UTC
Getting started on Tarangus 1/72 J29A/B, bane of the Katangan air force.

Indre-et-Loire, France
Joined: May 23, 2011
KitMaker: 651 posts
AeroScale: 181 posts
Posted: Wednesday, October 05, 2016 - 12:42 PM UTC
Bas-Rhin, France
Joined: September 22, 2016
KitMaker: 224 posts
AeroScale: 191 posts
Posted: Friday, October 07, 2016 - 12:52 PM UTC
Now i'm enlisted

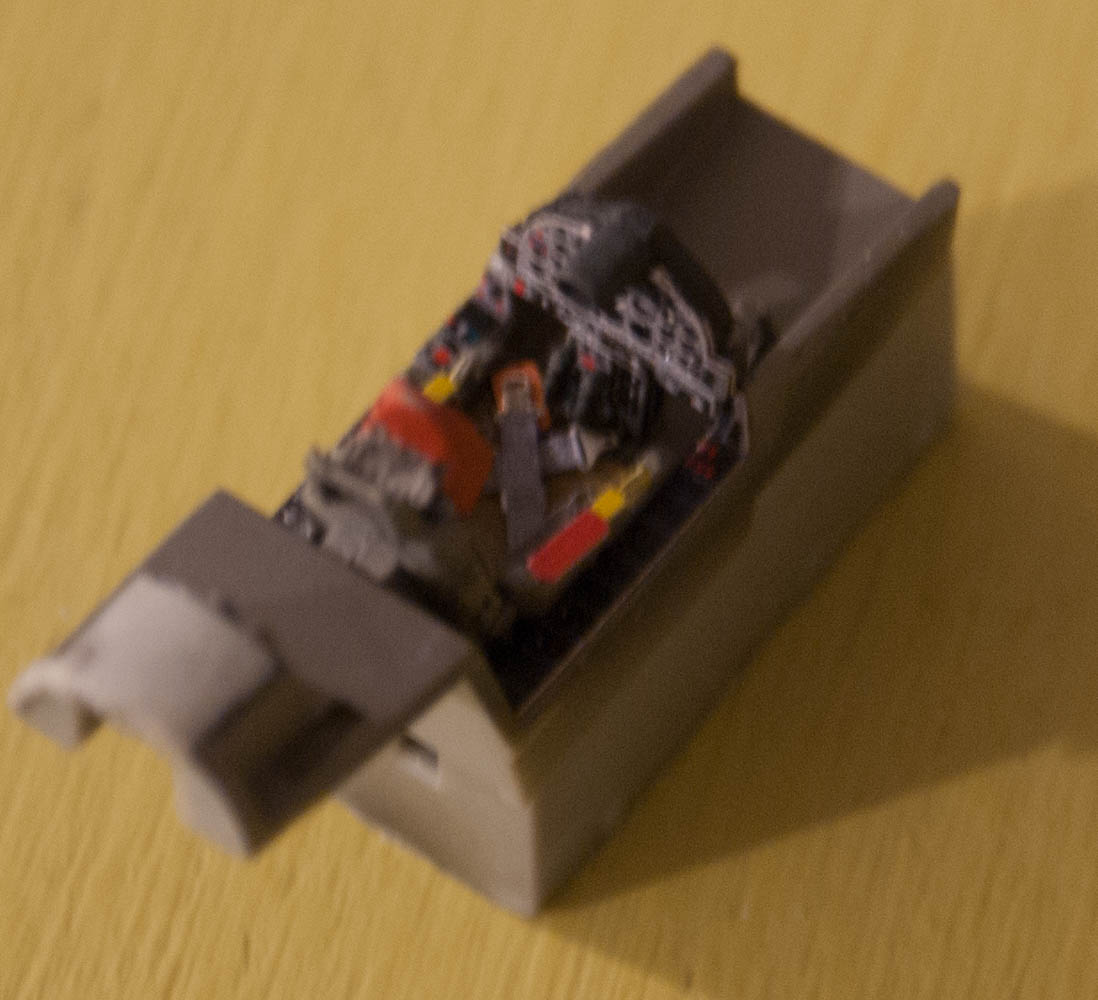
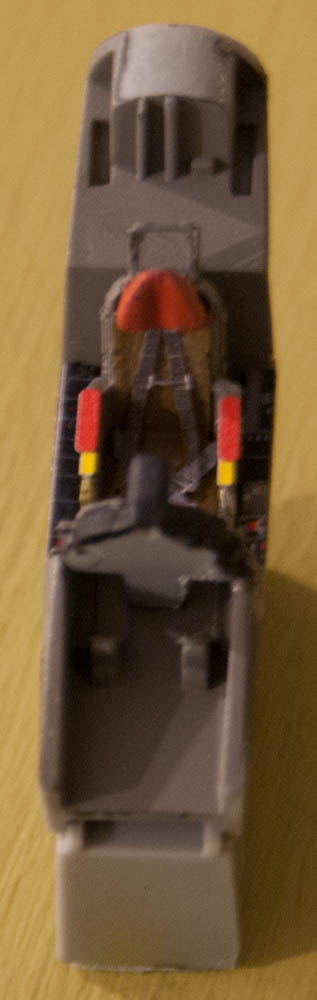
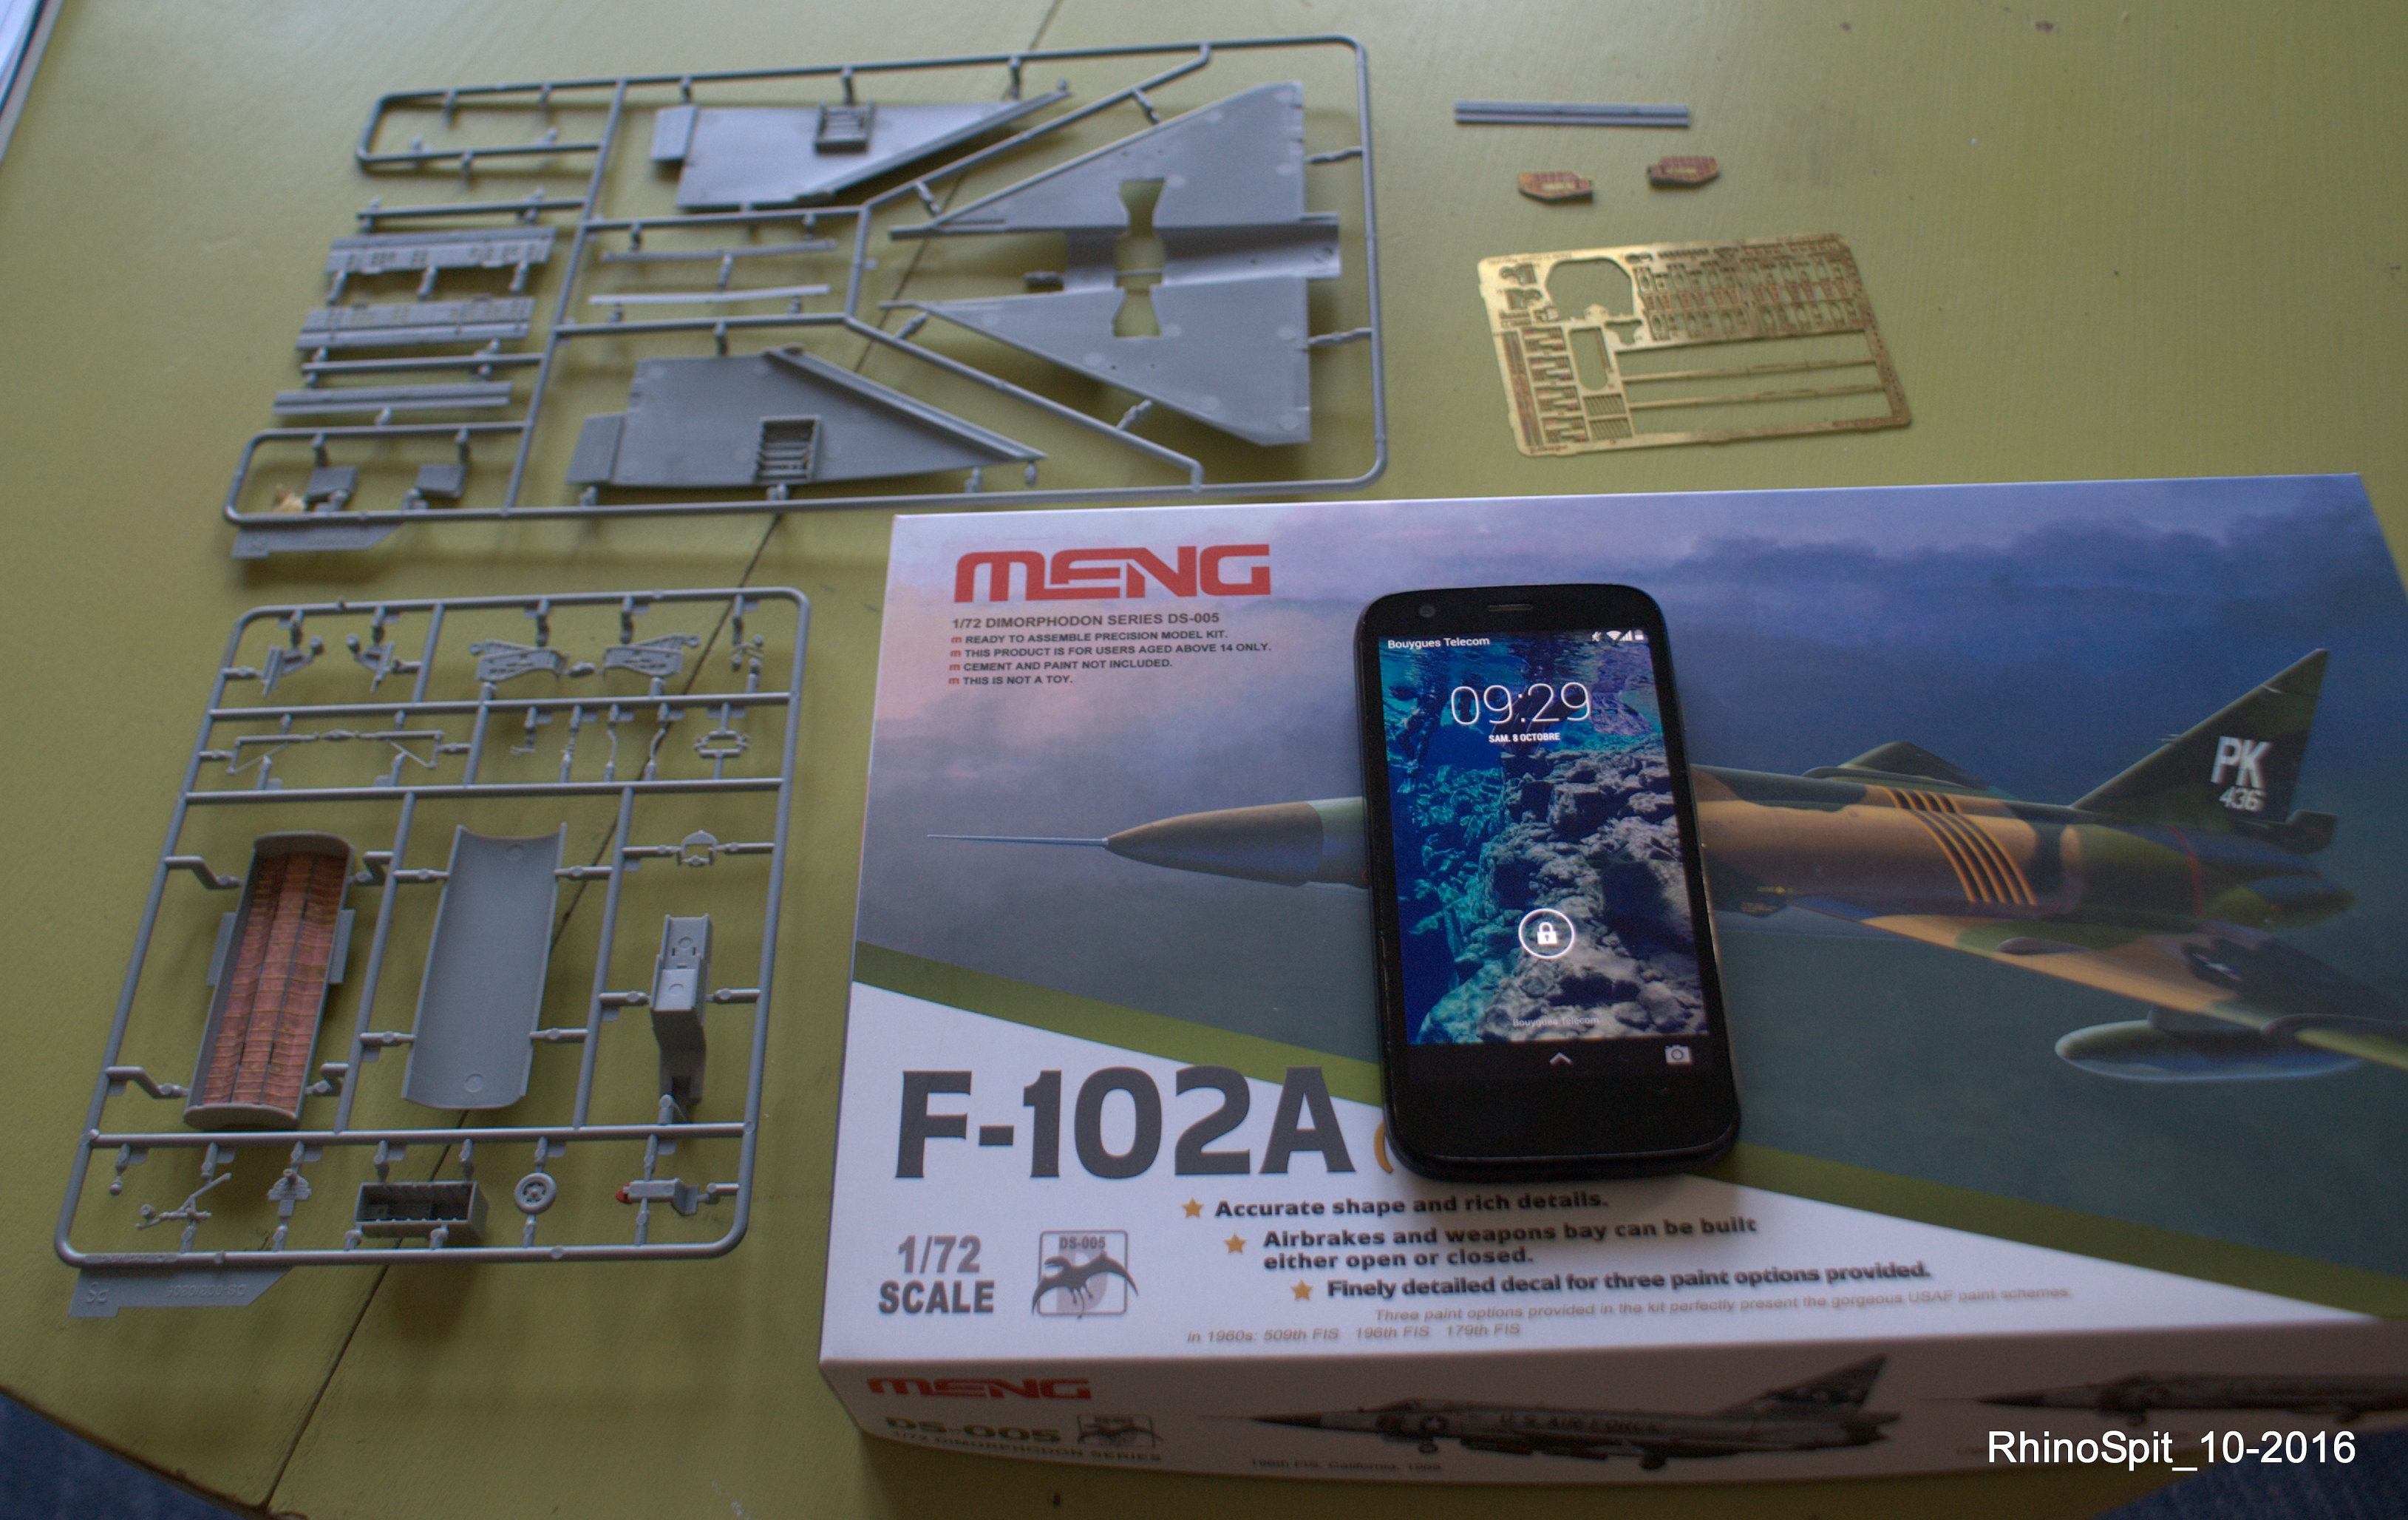
My project for this campaign is a F-102a Case XX dagger from meng models. He will wear the color of a dagger stationed in Thailand during 1969 who took part to the Vietnam War.
To enhance the kit, i added photoetch from eduard.
Here are the firsts photos from the kit. I've started the kit this morning, and a few photoetch parts are glued.
Alvsborgs, Sweden
Joined: October 05, 2016
KitMaker: 19 posts
AeroScale: 10 posts
Posted: Friday, October 07, 2016 - 09:26 PM UTC
Plodding along.
Some Maestro Models photetch to spice things up, even though it's probably a very "creative" colour choice they have there for the cockpit. And naturally I forgot the seat belts until the cockpit was in place and the fuselage glued. That got fiddly.
And with Nicolas' build I finally remembered what was so familiar sounding about AT-6. Luckily(?) a different war.
Alvsborgs, Sweden
Joined: October 05, 2016
KitMaker: 19 posts
AeroScale: 10 posts
Posted: Saturday, October 08, 2016 - 02:44 PM UTC
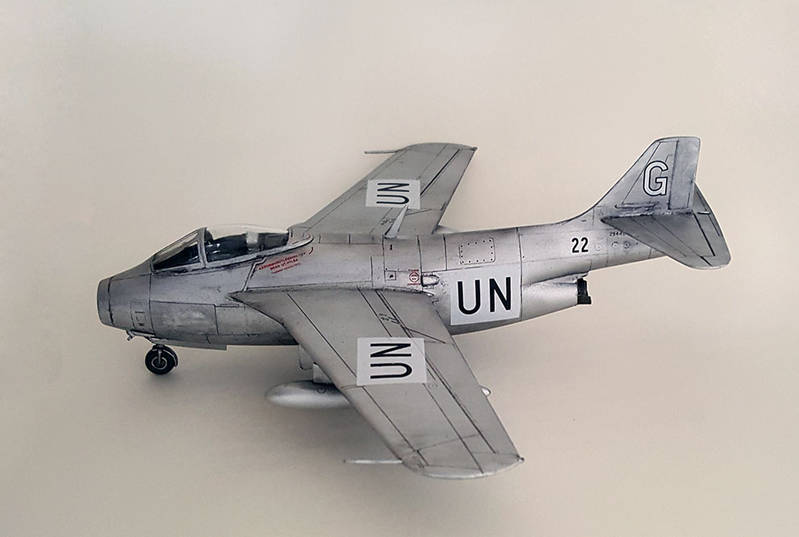
Not the most complex of paint schemes, so this would be about done for me.
White Gustav got beaten up by a bad landing (when aborting a landing, make sure you're pulling the landing gear lever and not the flaps one), and was re-purposed as camo scheme mannequin and strafing run practice target.
Wisconsin, United States
Joined: March 17, 2009
KitMaker: 156 posts
AeroScale: 153 posts
Posted: Monday, October 10, 2016 - 03:22 AM UTC
Nico - The AT-6 interior looks good!
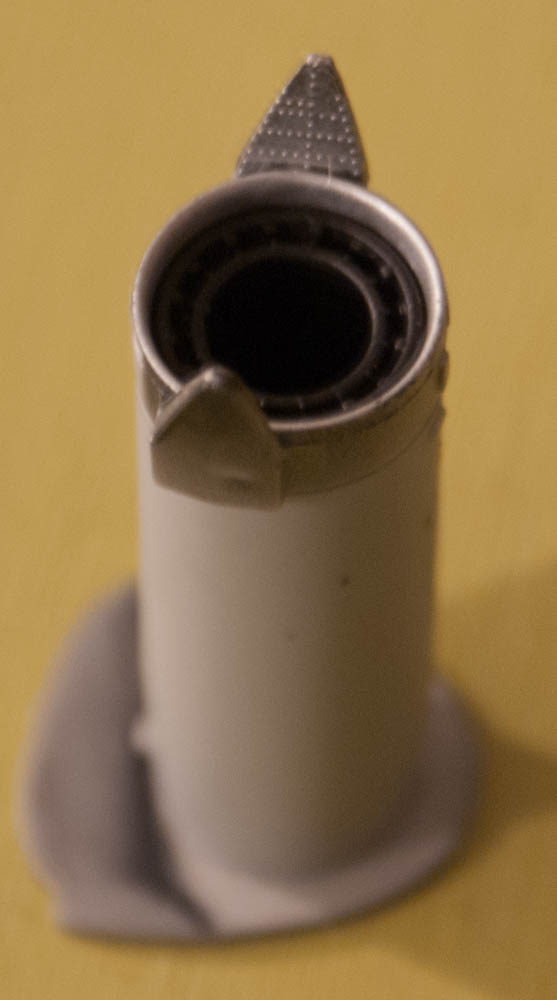
Erik - Nice job on the Barrel!
I made some progress on the MiG-15 this weekend. I added a Quickboost seat, but otherwise she will be OOB. I'm also not going to add additional paint or detail to the engine, as I do not plan to display it open. I'm going for the closed-up look - assuming the fuselage halves fit together well.
Tom
On the workbench:
WNW 1/32 Fokker E.II for Canvas Falcons III
Trumpeter 1/32 MiG-21F-13 for 2nd Gen Jets Campaign
Saskatchewan, Canada
Joined: November 14, 2012
KitMaker: 142 posts
AeroScale: 12 posts
Posted: Wednesday, October 12, 2016 - 02:26 AM UTC
Some men aren't looking for anything logical, like money. They can't be bought, bullied, reasoned, or negotiated with. Some men just want to watch the world burn.
MichaelSatin
 Campaigns Administrator
Colorado, United States
Joined: January 19, 2008
KitMaker: 3,909 posts
AeroScale: 2,904 posts
Posted: Saturday, October 29, 2016 - 05:22 AM UTC
Finally, a start on the Wingman 1/48 Nesher:
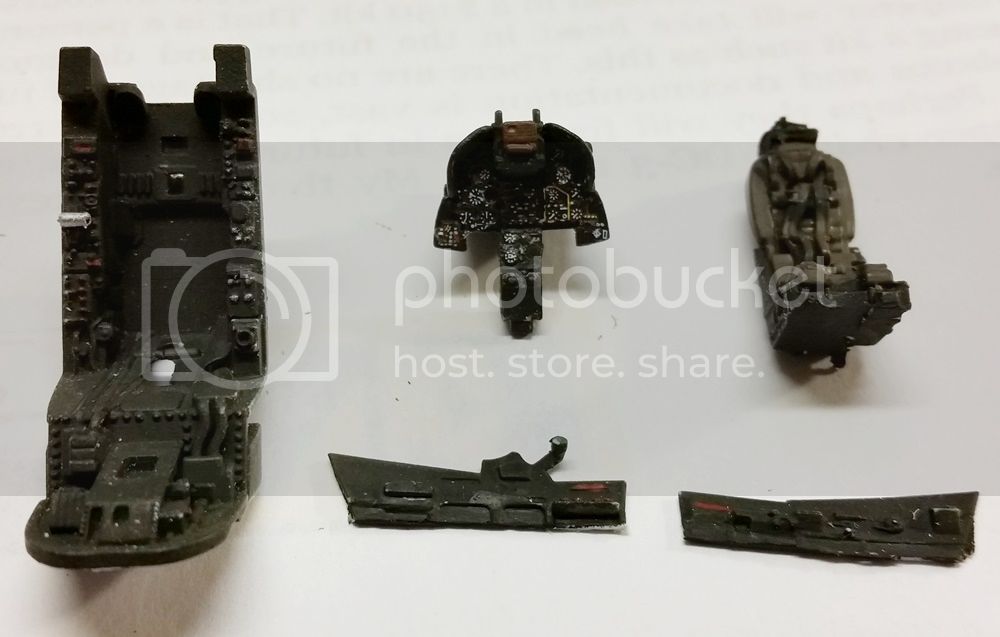
Nice resin cockpit, seat, etc. The instrument panel decals are a bit tricky as they're very small and mostly clear, but look nice once in place.
Michael
On the bench:
Sorta depends on your definition of "on the bench"...
Ontario, Canada
Joined: February 04, 2008
KitMaker: 2,507 posts
AeroScale: 1,814 posts
Posted: Tuesday, November 01, 2016 - 06:04 AM UTC
This will be my entry for this campaign:-


" The Die Hards"
43rd MIDDLESEX REGIMENT
MACHINE GUN CORPS
XXX CORP
The most effective way to do it, is to do it.
- Amelia Earhart
Ontario, Canada
Joined: February 04, 2008
KitMaker: 2,507 posts
AeroScale: 1,814 posts
Posted: Wednesday, November 16, 2016 - 05:00 AM UTC
Open box start photo-

" The Die Hards"
43rd MIDDLESEX REGIMENT
MACHINE GUN CORPS
XXX CORP
The most effective way to do it, is to do it.
- Amelia Earhart
MichaelSatin
Campaigns Administrator Colorado, United States
Joined: January 19, 2008
KitMaker: 3,909 posts
AeroScale: 2,904 posts
Posted: Sunday, November 20, 2016 - 04:08 AM UTC
I fear the Wingman Nesher has decided to be, shall we say, uncooperative. Sigh.
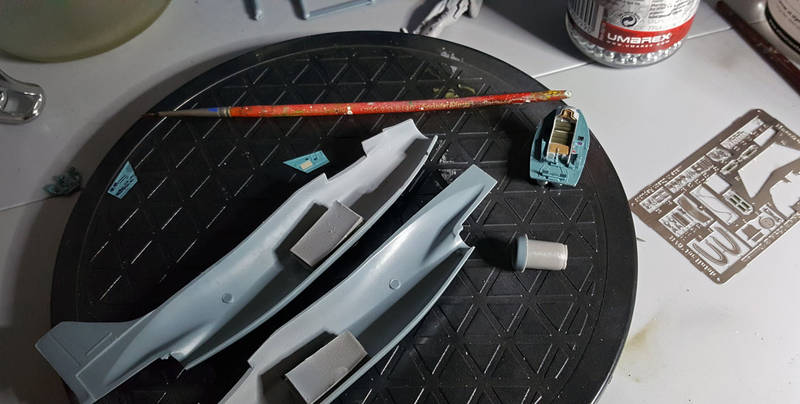
Right, it's not too late for a substitute. So here I go:
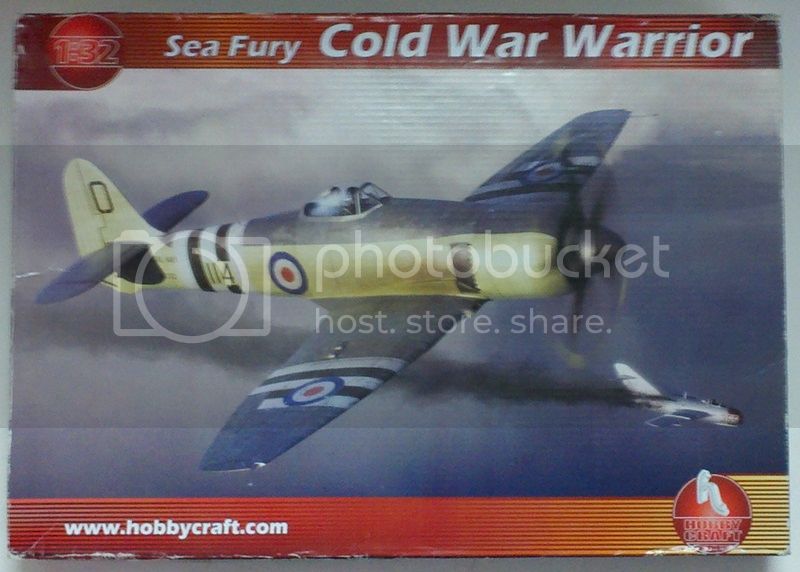
See, it says "Cold War Warrior" right on the box!
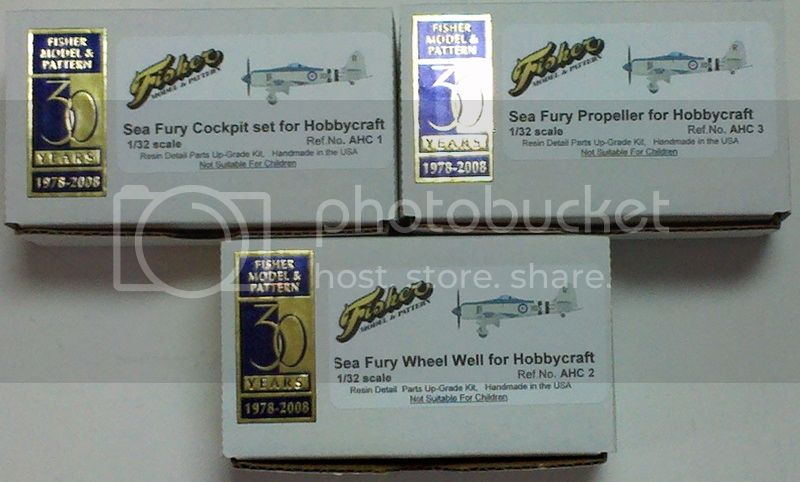
I'll be adding a little help from Paul Fisher:
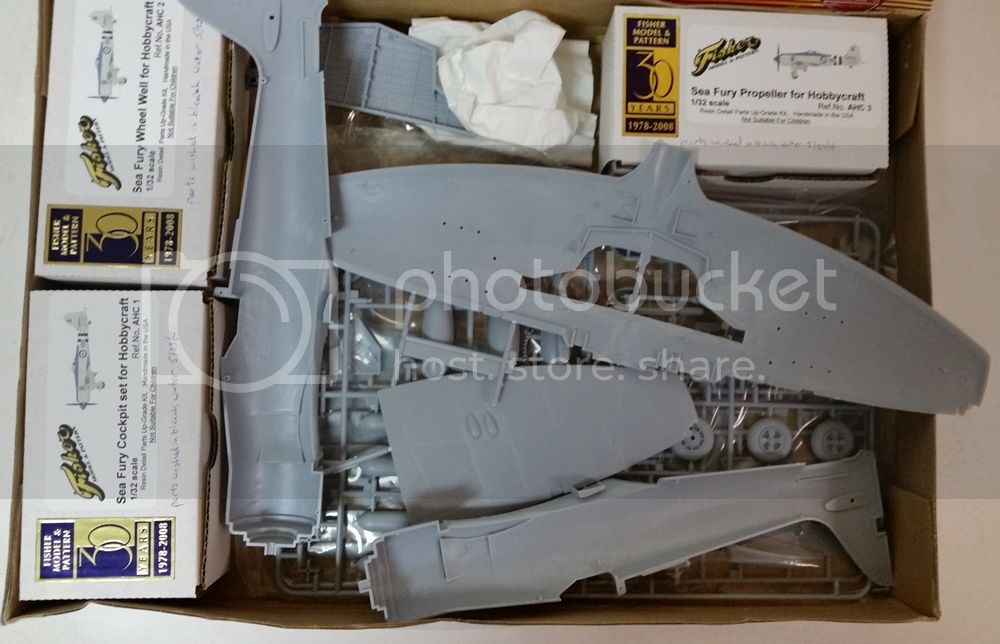
I made a small start grinding and carving away areas on the lower wing and fuselage halves for the update sets:
Now let's see if this goes better! I'm going to be boring and do Lt. Carmichael's MiG killer.
Michael
On the bench:
Sorta depends on your definition of "on the bench"...
Ontario, Canada
Joined: February 04, 2008
KitMaker: 2,507 posts
AeroScale: 1,814 posts
Posted: Monday, November 21, 2016 - 12:55 AM UTC
Started light clean up and the wings half's and tanks joined:-

" The Die Hards"
43rd MIDDLESEX REGIMENT
MACHINE GUN CORPS
XXX CORP
The most effective way to do it, is to do it.
- Amelia Earhart
MichaelSatin
Campaigns Administrator Colorado, United States
Joined: January 19, 2008
KitMaker: 3,909 posts
AeroScale: 2,904 posts
Posted: Friday, November 25, 2016 - 05:23 AM UTC
Nice MiG Richard, but watch your six, here I come!
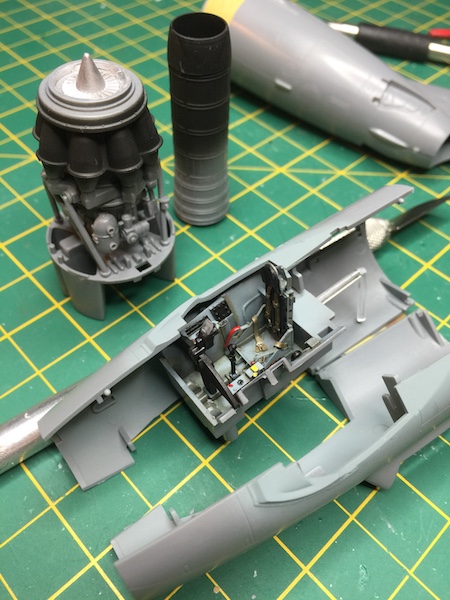
Got the cockpit and fuselage halves together on the 1/32 Sea Fury:
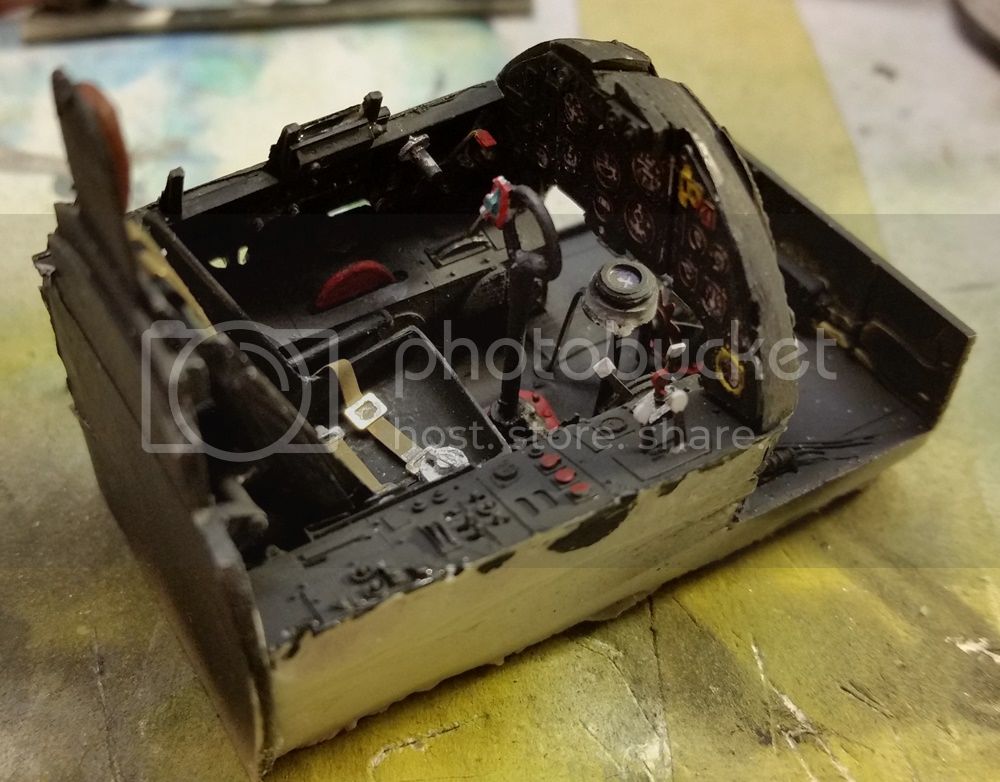
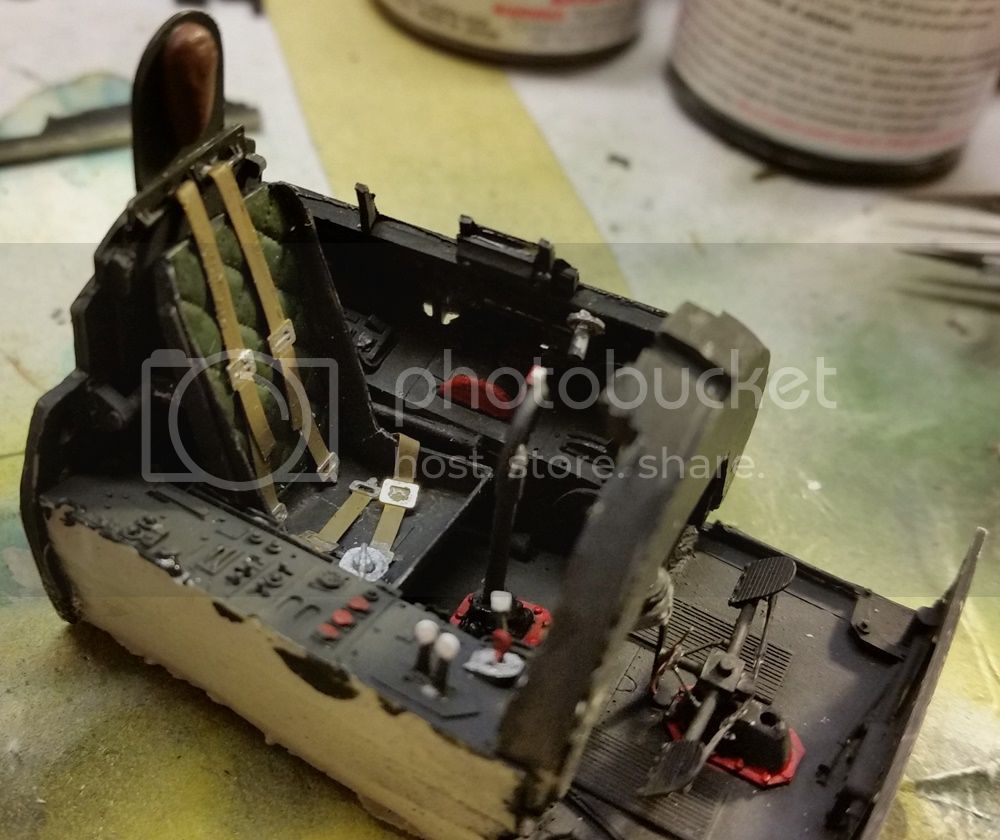
I do like Paul Fisher's stuff, not overly complex but looks very nice when done and it fits (if you follow his directions)!
Michael
On the bench:
Sorta depends on your definition of "on the bench"...
United States
Joined: February 01, 2009
KitMaker: 1,233 posts
AeroScale: 663 posts
Posted: Sunday, November 27, 2016 - 01:54 AM UTC
It is a fact that under equal conditions, large-scale battles and whole wars are won by troops which have a strong will for victory, clear goals before them, high moral standards, and devotion to the banner under which they go into battle.
-Georgy Zhukov
Wisconsin, United States
Joined: March 17, 2009
KitMaker: 156 posts
AeroScale: 153 posts
Posted: Sunday, December 04, 2016 - 10:12 AM UTC
Ian - Good finish on that Sea Fury! I had not seen that scheme before.
Michael - Nice work on that cockpit!
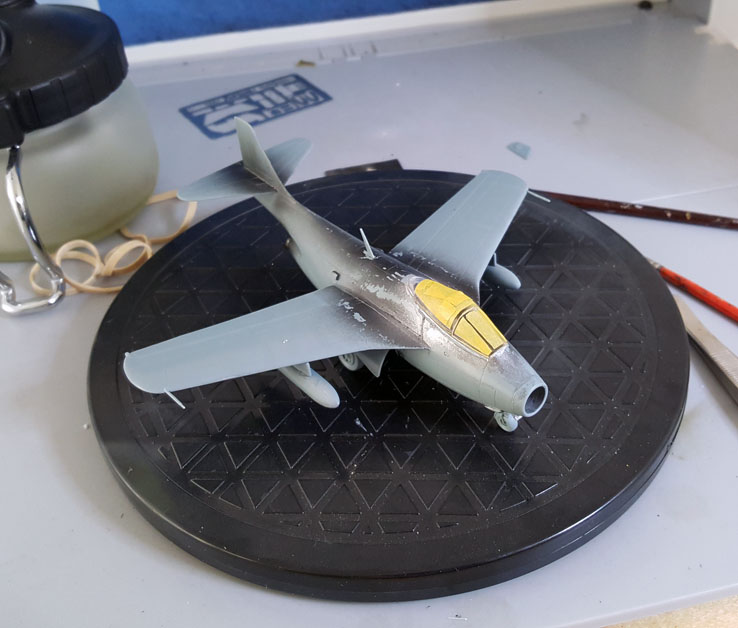
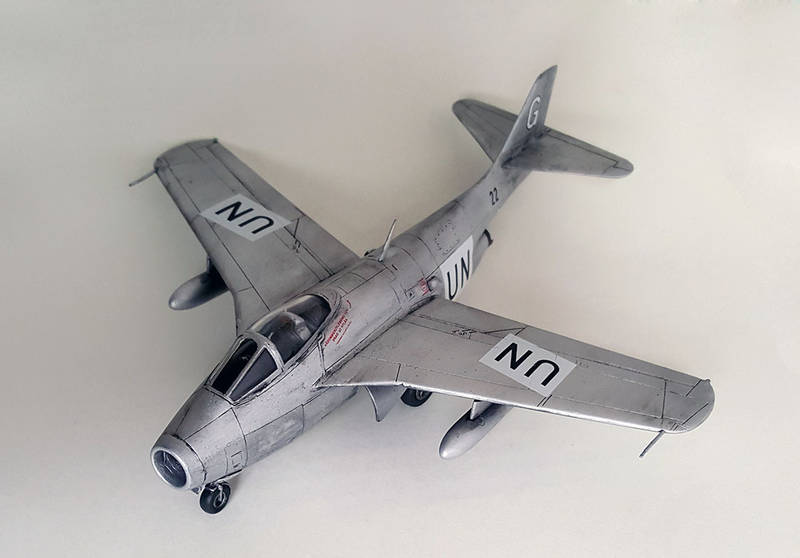
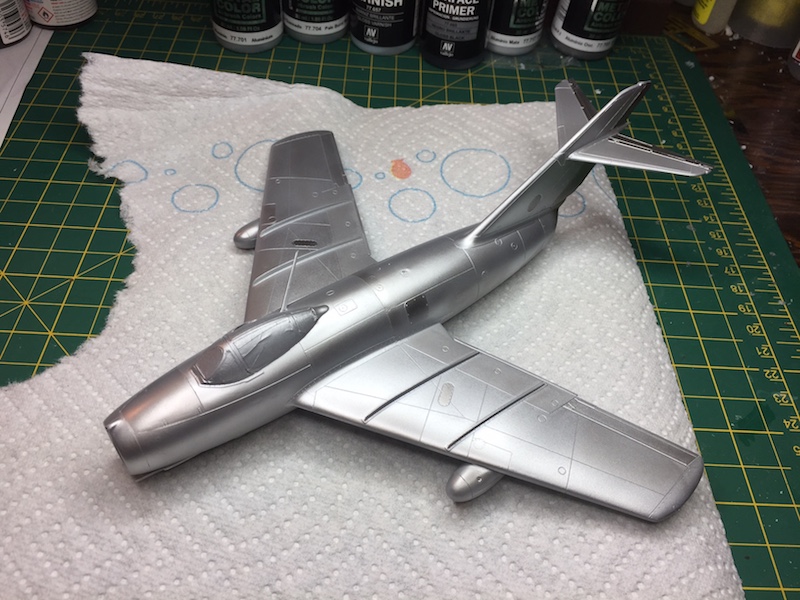
I've gotten through the basic painting process on my 1/48 Mig-15bis. It's been a while since I've done a NMF, so there are a few problems but I'm plowing ahead. I tried Vallejo Metal colors in 3 shades; they were OK paints - definitely need light, light coats.
On the workbench:
WNW 1/32 Fokker E.II for Canvas Falcons III
Trumpeter 1/32 MiG-21F-13 for 2nd Gen Jets Campaign
Indre-et-Loire, France
Joined: May 23, 2011
KitMaker: 651 posts
AeroScale: 181 posts
Posted: Monday, December 12, 2016 - 06:39 PM UTC
Hi all,
well done Erik and Ian for your finish

Mine is far more frome the finish line....


cheers
nico

#523
Idaho, United States
Joined: February 28, 2014
KitMaker: 342 posts
AeroScale: 250 posts
Posted: Sunday, December 18, 2016 - 11:50 PM UTC
Michael,
Once again, Outstanding cockpit!
Bas-Rhin, France
Joined: September 22, 2016
KitMaker: 224 posts
AeroScale: 191 posts
Posted: Monday, December 19, 2016 - 02:09 AM UTC
Indre-et-Loire, France
Joined: May 23, 2011
KitMaker: 651 posts
AeroScale: 181 posts
Posted: Monday, December 19, 2016 - 12:38 PM UTC
Hi,
nice progress Franck
nico
Bas-Rhin, France
Joined: September 22, 2016
KitMaker: 224 posts
AeroScale: 191 posts
Posted: Monday, December 19, 2016 - 01:18 PM UTC
Thanks

Sorry for the bad photo quality.
Tomorrow, i will prime the model and i hope that thurdsay i can make the first layer of the camo

Cheers Franck