_GOTOBOTTOM
Air Campaigns
Want to start or join a group build? This is where to start.
56th FG P-47 Operation - john41492
john41492
#442
_VISITCOMMUNITY
Malacca, Malaysia
Joined: July 20, 2015
KitMaker: 363 posts
AeroScale: 335 posts
Posted: Sunday, April 02, 2017 - 10:49 PM UTC


Next up were the decals! I had purchased a really nice set before this project began and looking all over the place for them I couldn’t find them. That’s when it hit me that the decals were enjoying themselves in the company of my lovely wife in Malaysia. I was able to find a new set, though the register was off a little. With the clock ticking I pressed on, opting to use only the nose art and tail numbers from the set. The remaining decals were scrounged from my future projects box.


Despite the appearance that the insignia is off kilter, it's really not. An angle of the camera I suppose. Overall they went down nice, though in hindsight the “no push” stencils on the tail seemed to have slightly silvered and should of been dealt with.
john41492
#442
_VISITCOMMUNITY
Malacca, Malaysia
Joined: July 20, 2015
KitMaker: 363 posts
AeroScale: 335 posts
Posted: Sunday, April 02, 2017 - 11:17 PM UTC
I then weathered it lightly with some Model Master burnt umber mixed with some gloss black to bring out the panels.

Prior to this I had been test fitting the engine/cowl and also the landing gear.


The engine fit nicely into the cowling after a bit of sanding, and soon after weathering it was time to attach the cowling to the bird! My first attempt wasn't what the team had hoped for, with it appearing a bit cattywhompus. Fortunately my first attempt was done with superglue, and a slight amount of pressure and little twist, it came away with no effort or damage. I then corrected the area with the addition of real thin stock sheet cut smaller than the original. This was glued down with 5 minute epoxy.


Final gluing with 5 minute epoxy sealed the fate, the stock pushed the cowling out enough that the entire thing thumped right in place and looks as it should.
john41492
#442
_VISITCOMMUNITY
Malacca, Malaysia
Joined: July 20, 2015
KitMaker: 363 posts
AeroScale: 335 posts
Posted: Sunday, April 02, 2017 - 11:31 PM UTC
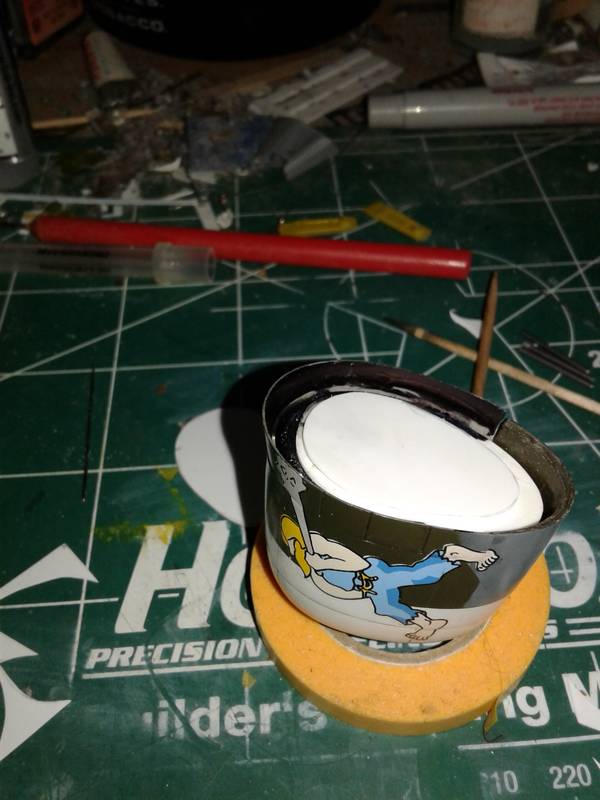
Having dipped the vac-u-form canopy in future I was not concerned with using superglue to attach it. This has worked for me plenty of times, though I will use white glue to position the canopy and then use the superglue more as a tack. This time was no exception regarding any clear part crazing. However, my applicator had a minor incident. While putting down the ultra thin stuff the fine wire moved in the tweezers… needless to say there was the smallest of superglue spots on the windscreen. Thinking I could live with it I moved on… 
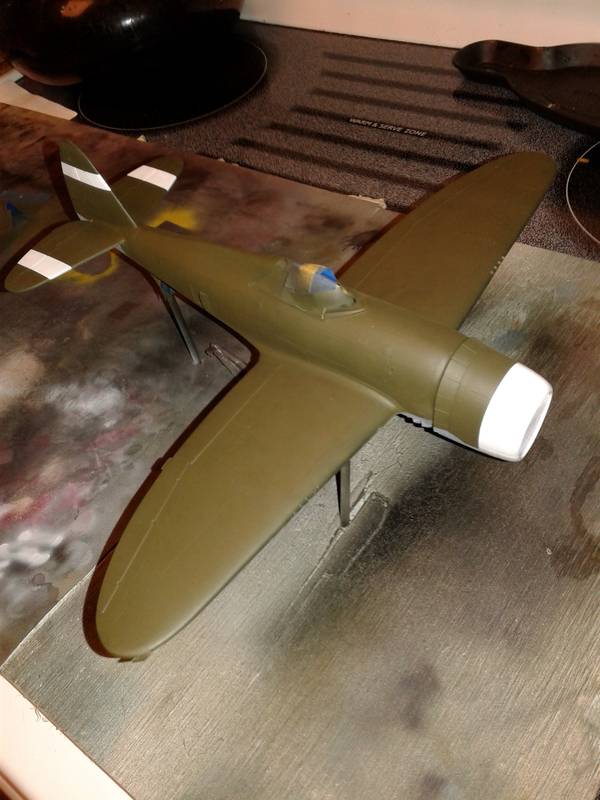
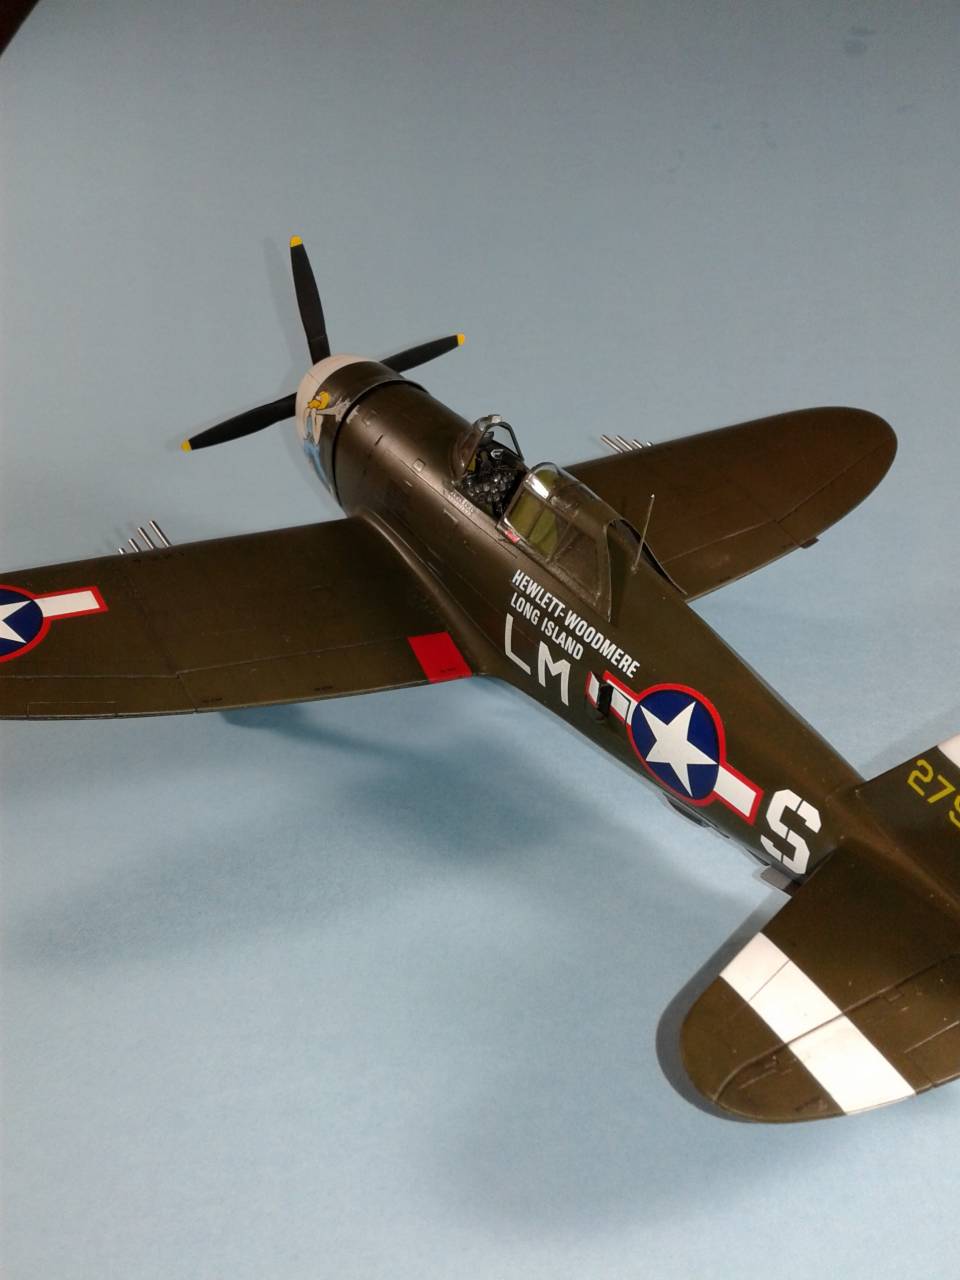
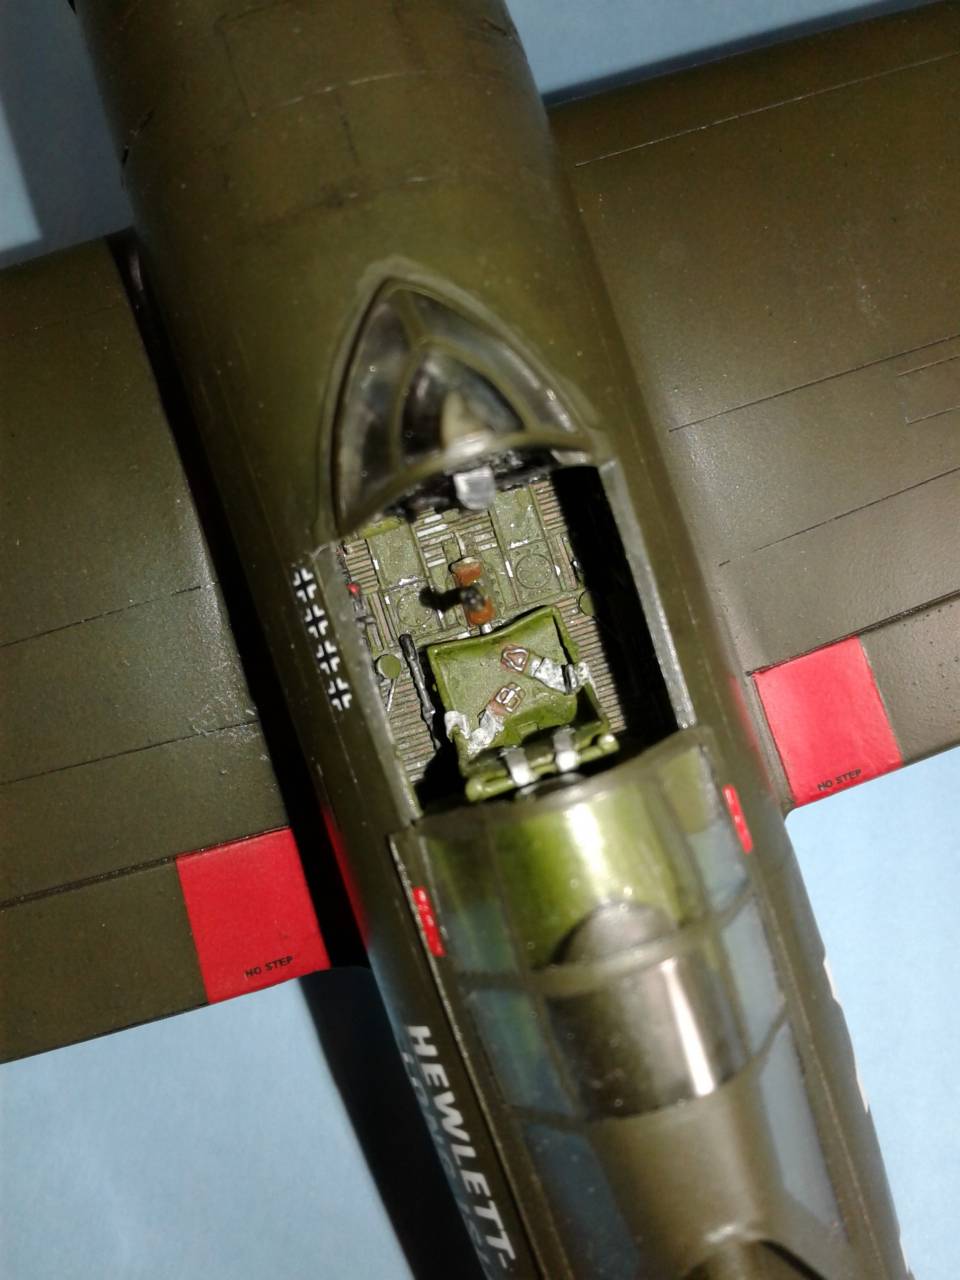
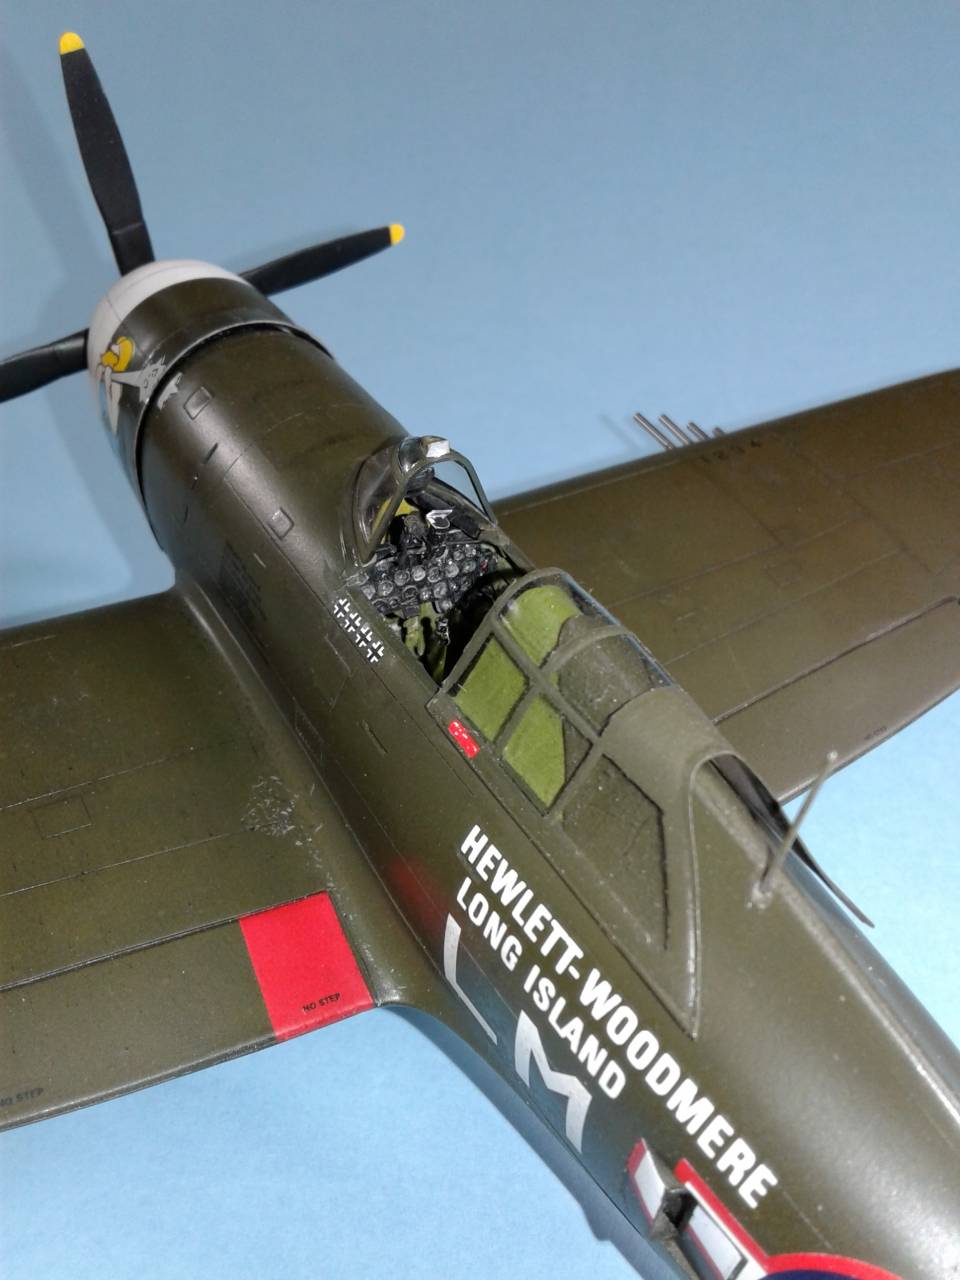
I was wrong. Seems that the spot of glue was in a place that no matter where in the room I was, it stared back at me! Off with the windscreen and masking up a discarded spare. The main reason for the vac-u-form canopy was to replace the overly thick rear portion of the kit part, and this looks good, so I wasn’t too broke up over the windscreen. I did have a bear of a time attaching the manual gun sight, and nearly left it off. I finally did one, painted it and attached with 5 min epoxy and let gravity do the work. It turned out nice, but unless you look for it you won't see it. Here's a first attempt. I did this six different times, and the size really hampered things. There are 5 PE rings somewhere inside the cockpit, for the life of me I couldn't find them.


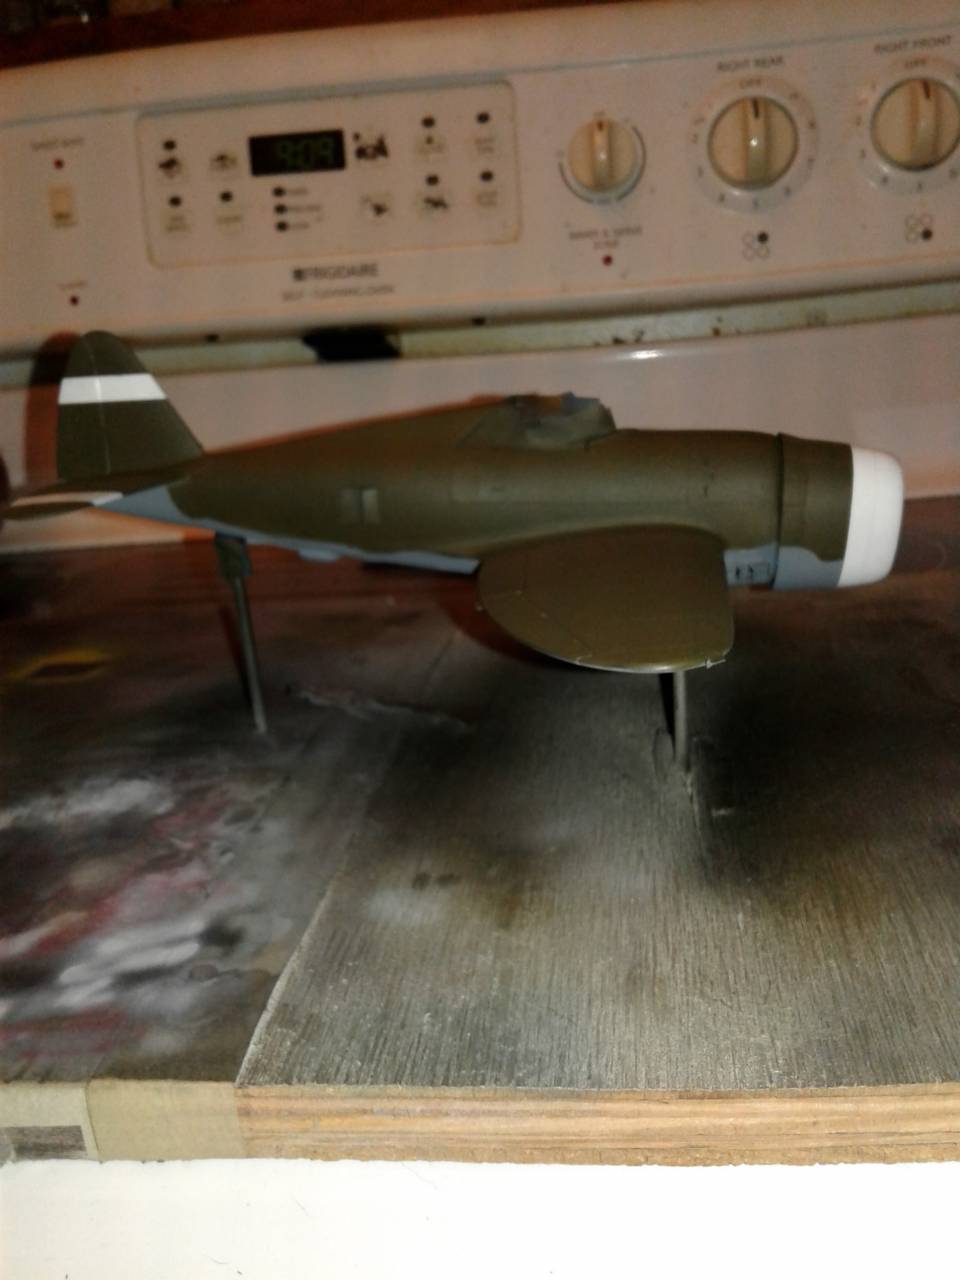
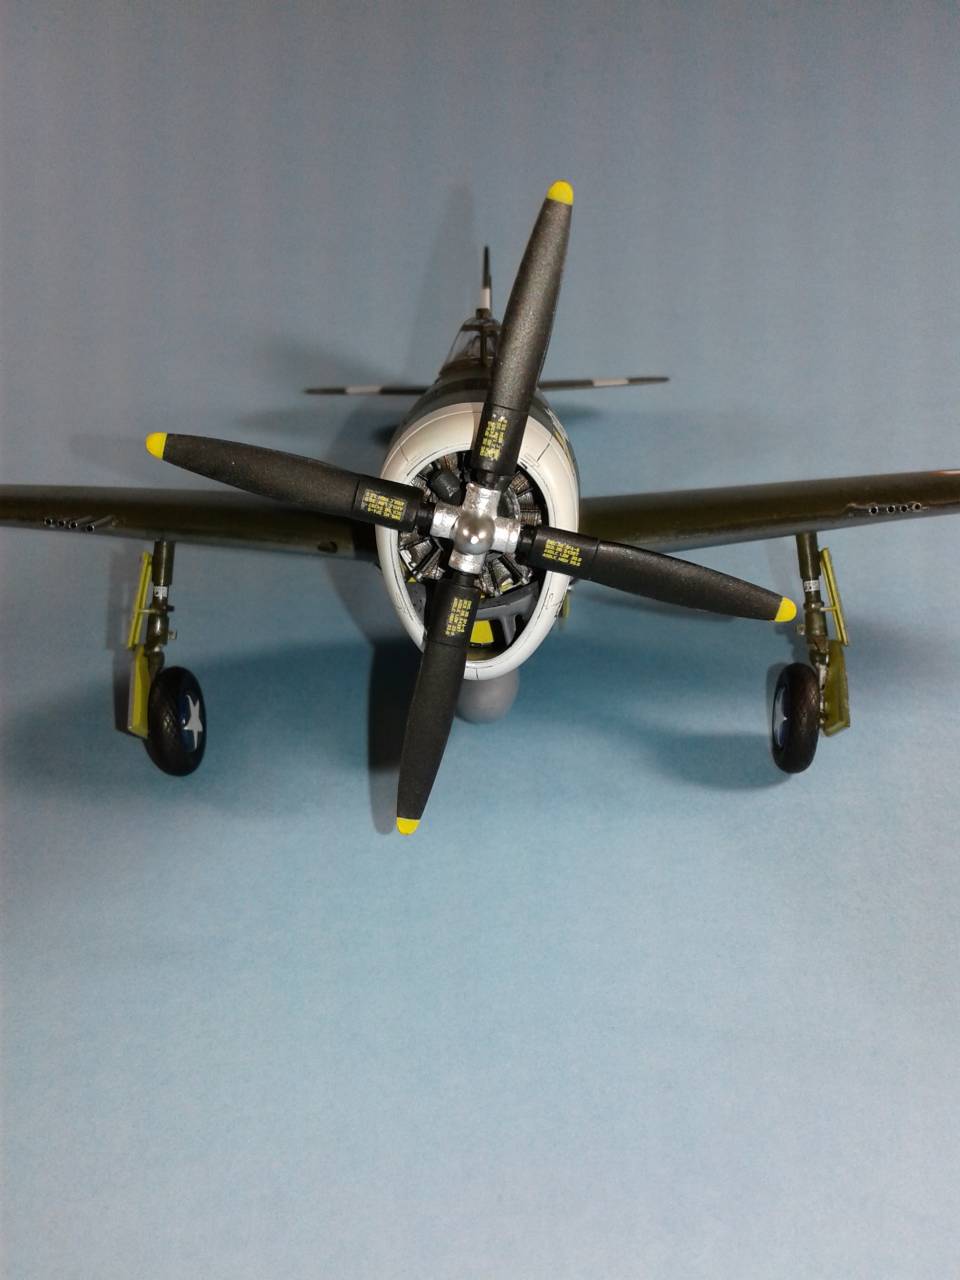
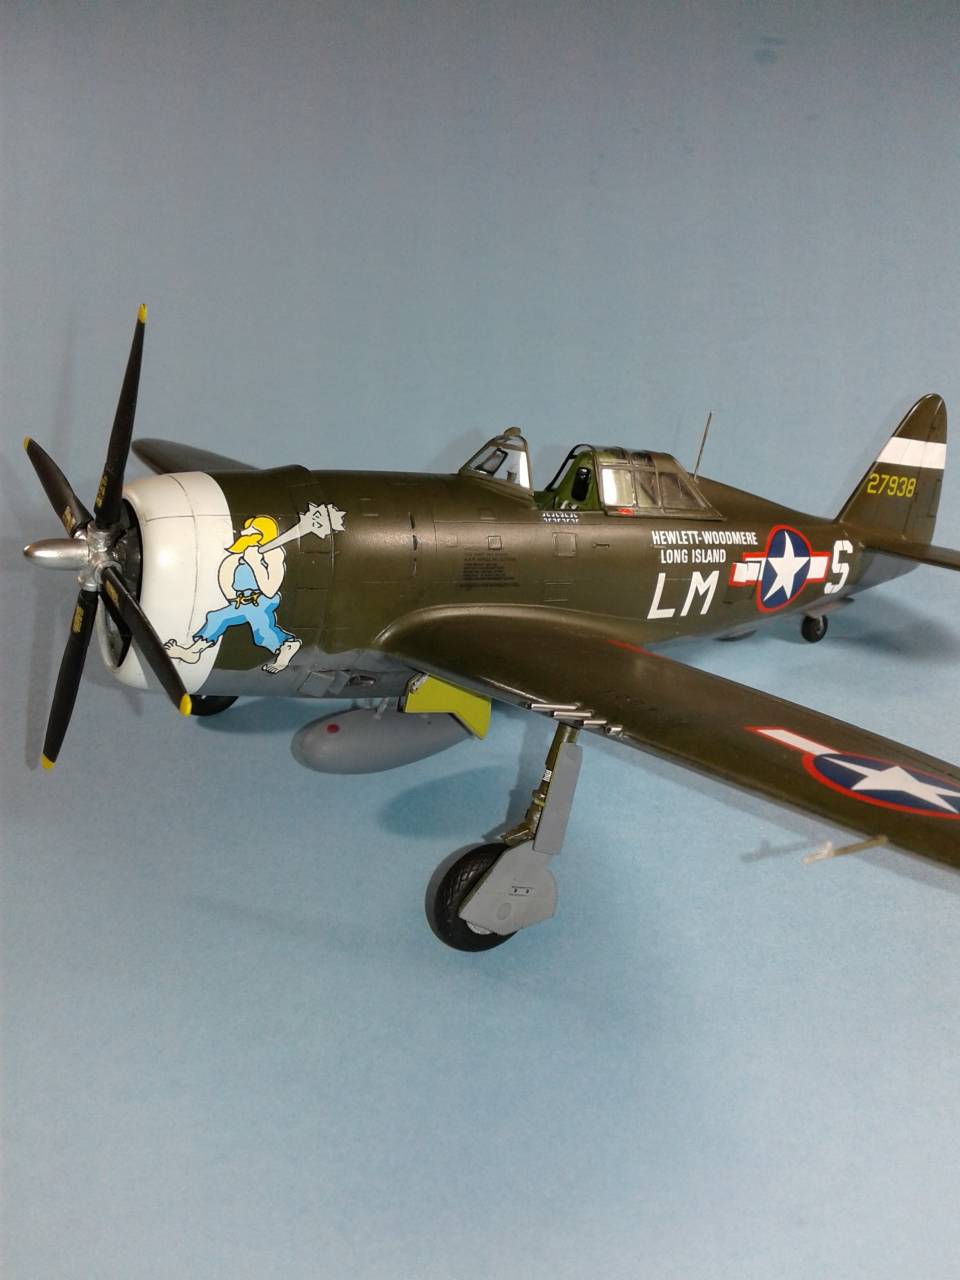
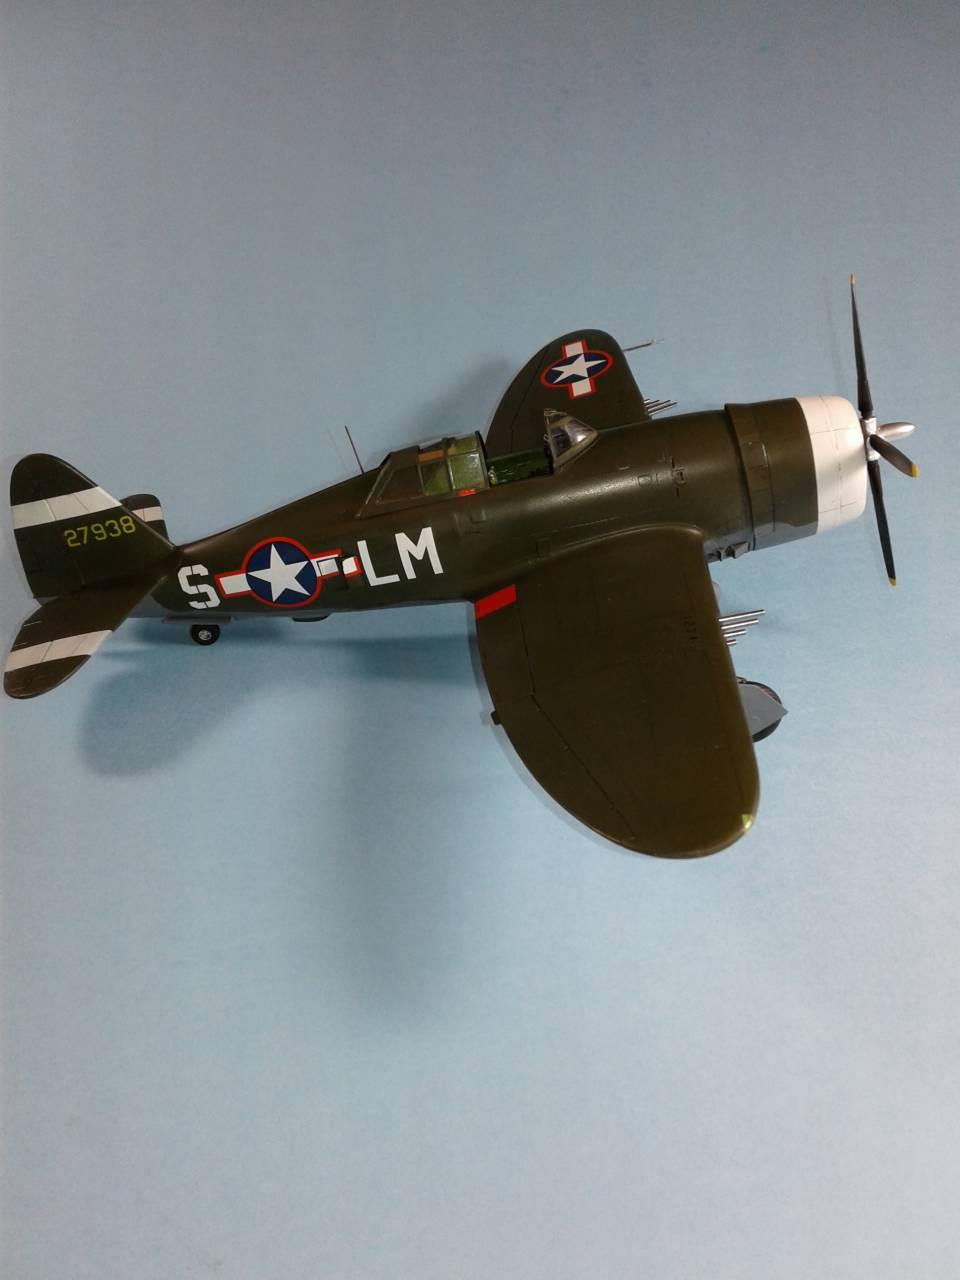
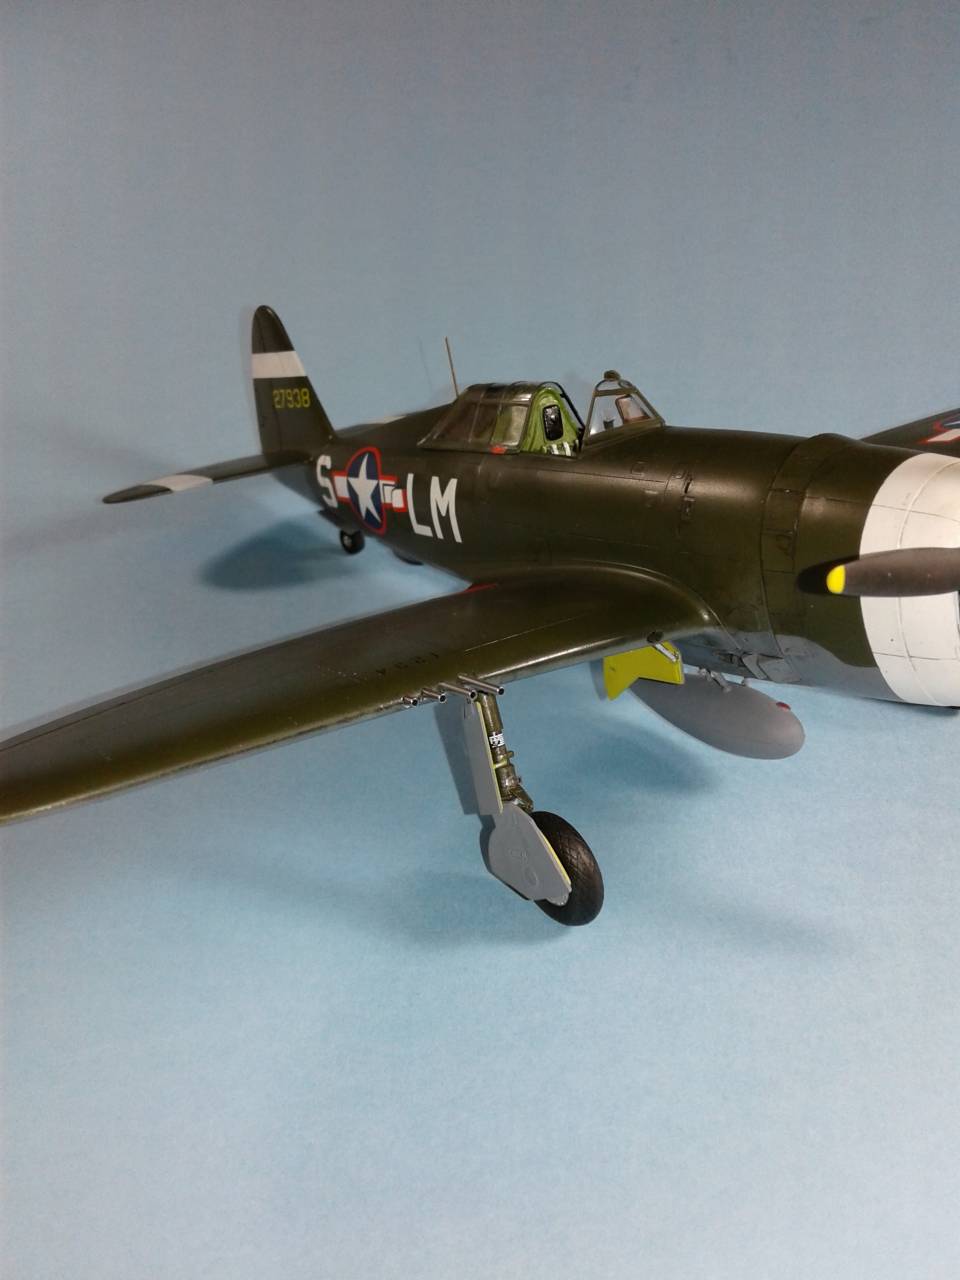
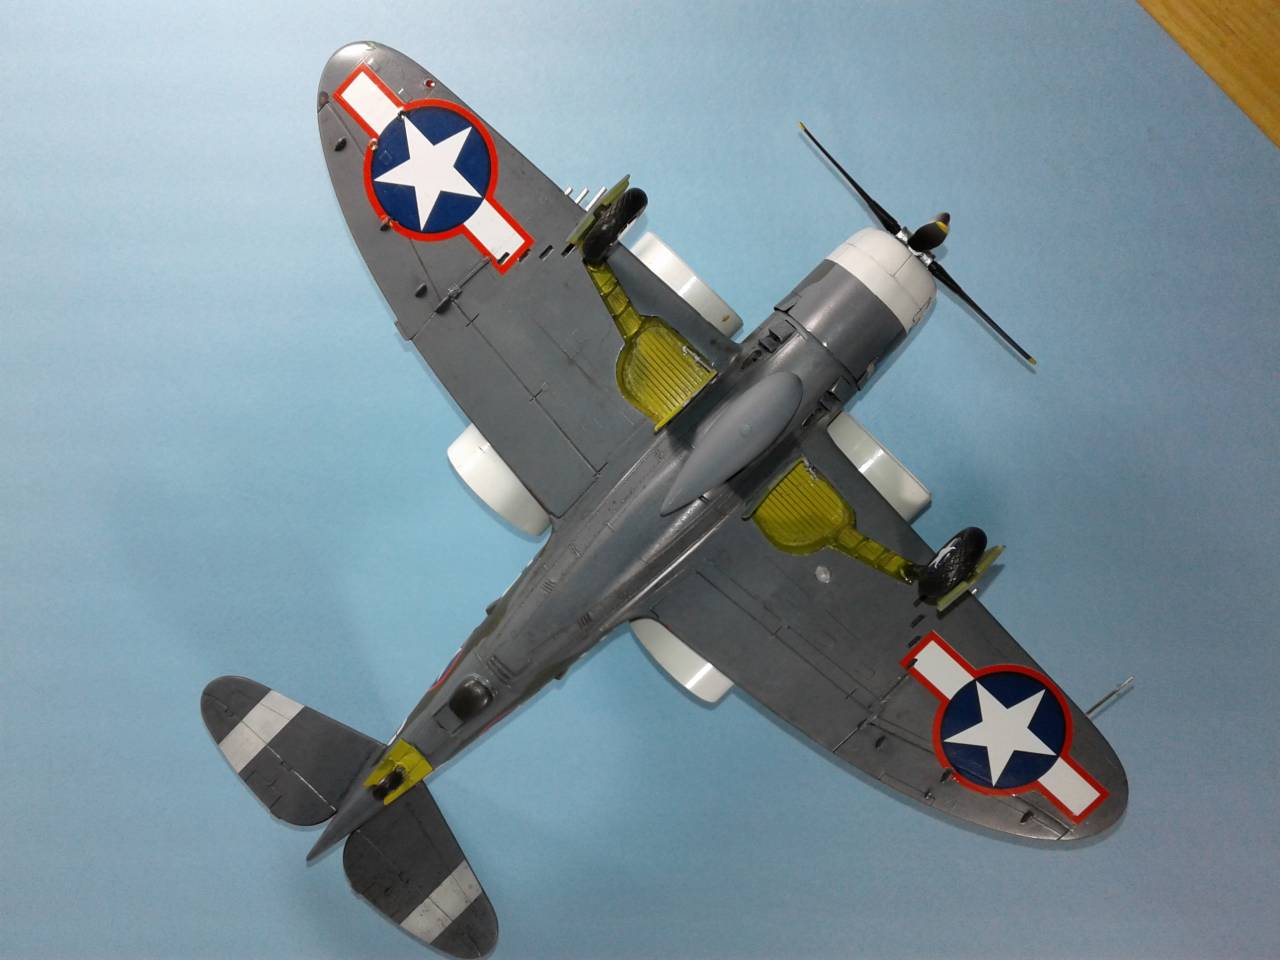
Next came the gear and the other little bits. A bit of warning! When scratching out 2 sets of landing gear, put the less pretty ones away. Some time back I switched to 5 minute epoxy on landing gear that would present problems attaching. Being brass tubing this project qualified. The gear went on fine and as the epoxy cured I noted that I was using the gear reserved for the concept II (not so nice). Using some creative placement of the covers it got rid of most of the glaring first try at doing the landing gear. Oh well.

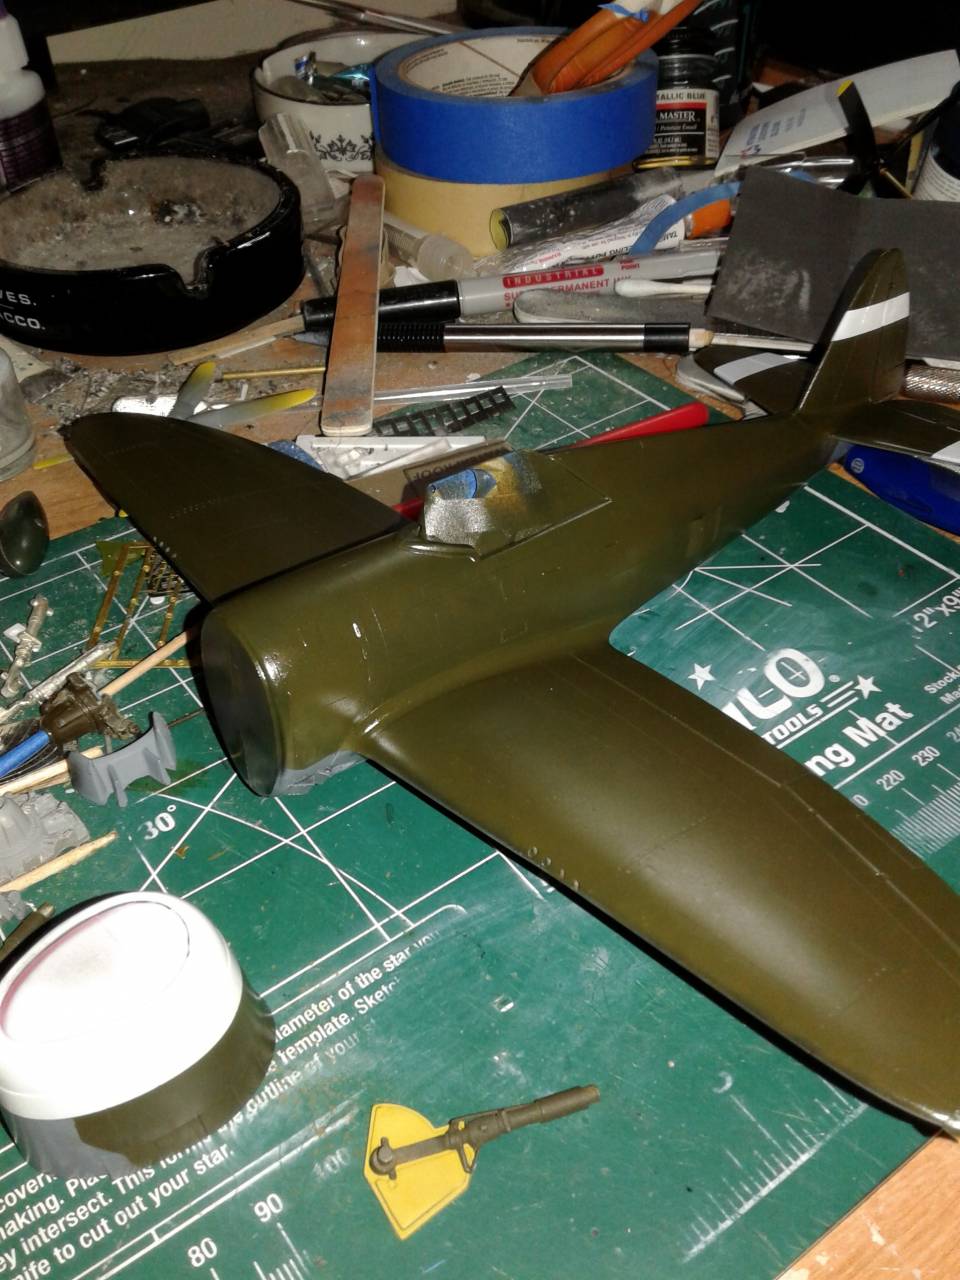
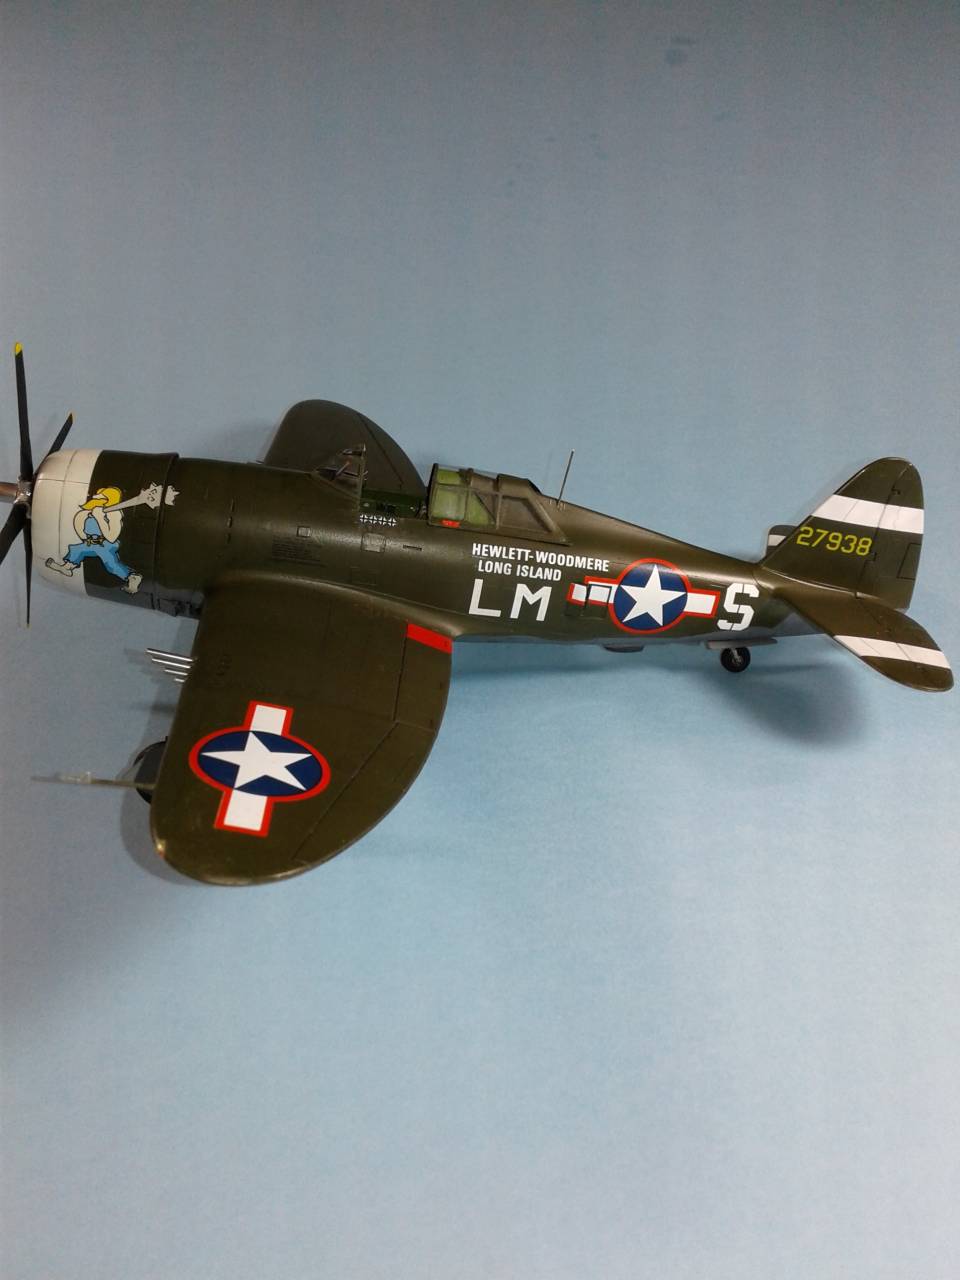
Unfortunately, or fortunate, depending on your point of view, I neglected to do much photography till the end of the build.

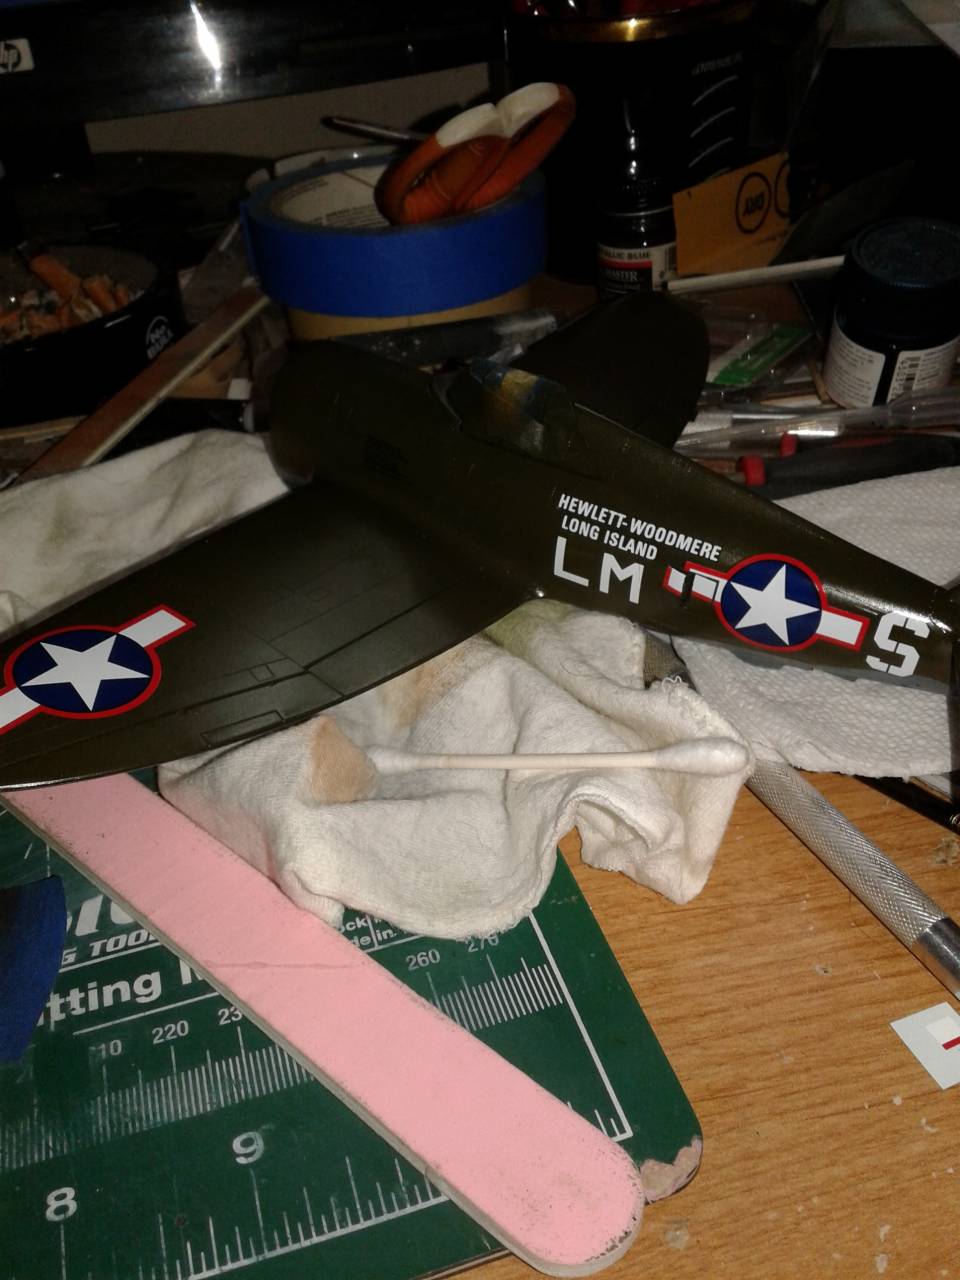
After a few passes with a touch up brush, and the addition of the drop tank this bird was done.
john41492
#442
_VISITCOMMUNITY
Malacca, Malaysia
Joined: July 20, 2015
KitMaker: 363 posts
AeroScale: 335 posts
Posted: Sunday, April 02, 2017 - 11:46 PM UTC
Finally, I set up the kitchen table to photograph the completed project.


While this was a bit of a lengthy build, for me it was a big learning experience. Having dabbled in resin and scratching things, this was way out of my comfort zone. I learned a lot! Overall, I’m pleased with the outcome. From a cost perspective the resin goodies kick it up a notch. This project was not a money saver. However, adding a cockpit and scribing the lines would be a great compromise. For a project that will get some of the old Monogram P-47’s off the shelf it can’t be beat. Good fits and it looks the part when done. I recommend this kit to all modelers! A special thanks to AussieReg (Damian) for all his upbeat moral support and to greatgonzo ( Radek) for his technical assistance, without it, this wouldn’t look as accurate.
 _GOTOTOP