

Link to Item

If you have comments or questions please post them here.
Thanks!


I am AMAZED they picked this as a kit subject!


 I hope to have a bit more progress to show soon.
 Cheers Joel
I've always had a soft spot for weird and wonderful, lesser-known aircraft.
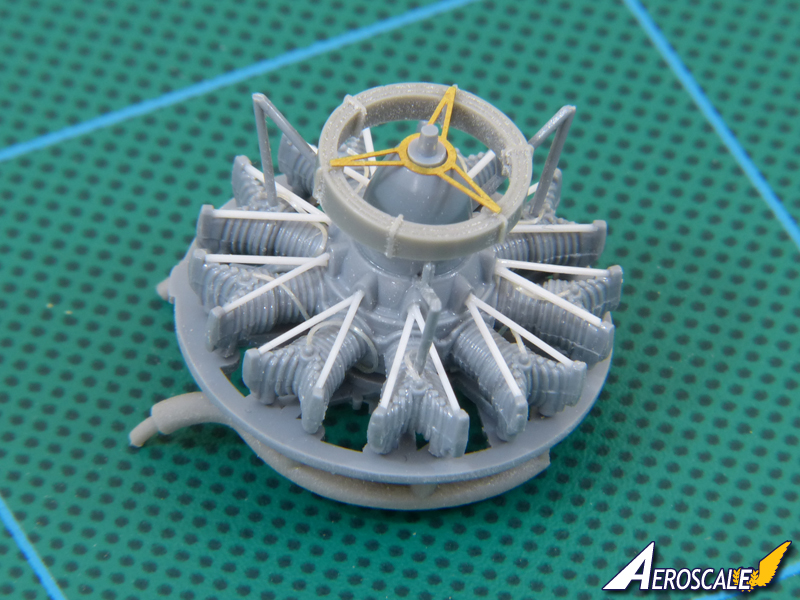
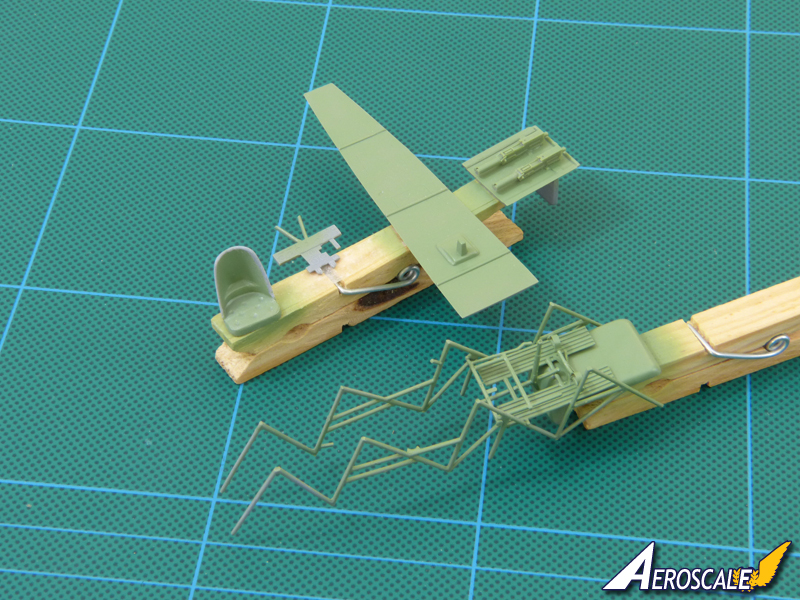
The wiring is knitting elastic. I tried it as an experiment instead of the wire I normally use.
All the best
Rowan

Hi Joel
I don't know how well it'll take paint yet, so it may be a dead-end. We'll see soon. Fingers firmly crossed...
All the best
Rowan
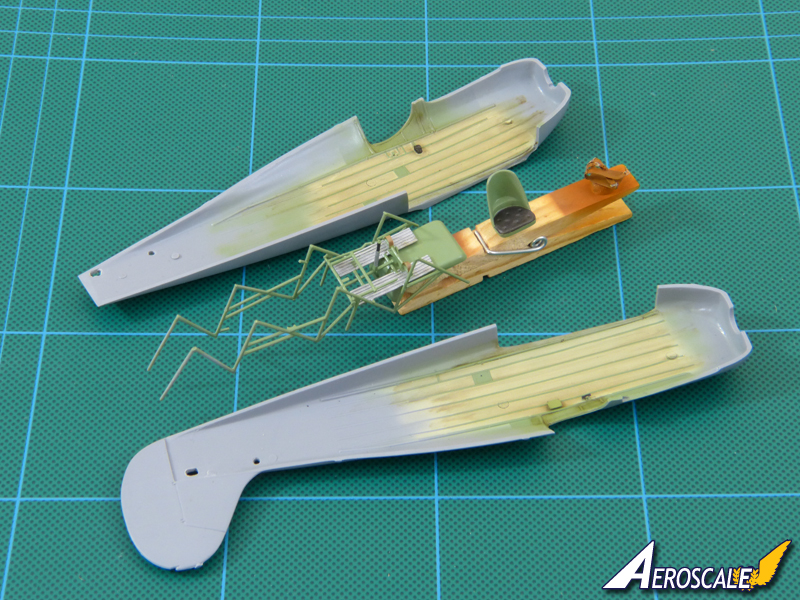
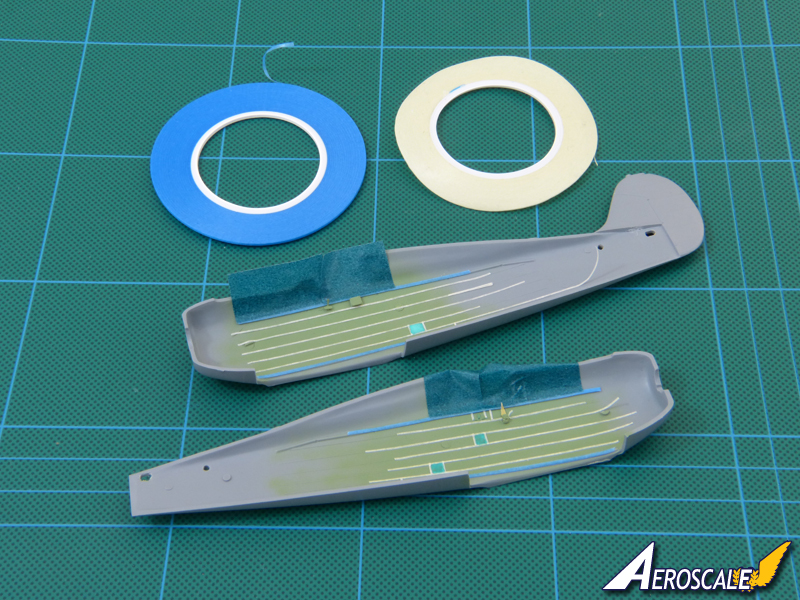
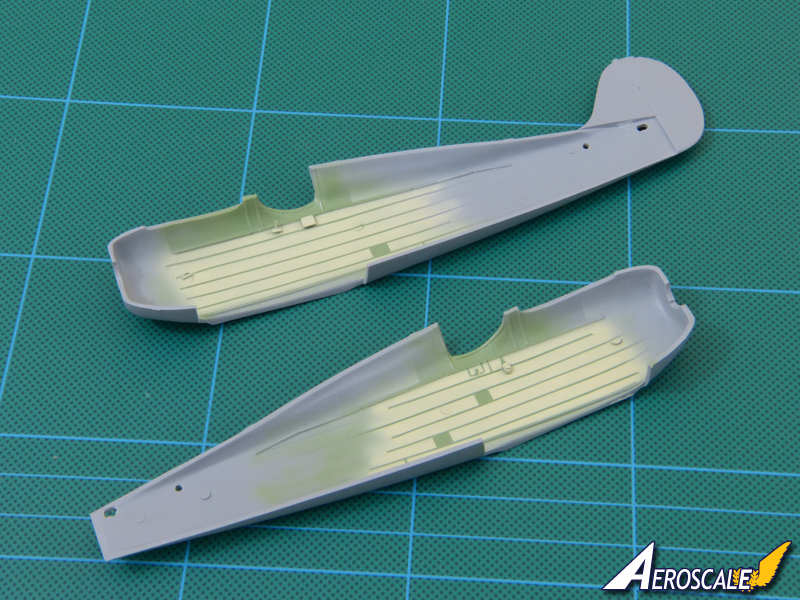
 So, bye-bye verde anticorrosione - even the seat appears to be aluminium in the reference noted above.
  |


