Air Campaigns
Want to start or join a group build? This is where to start.
OFFICIAL: Fork Tailed Devil Campaign
Bigrip74
_VISITCOMMUNITY
Texas, United States
Joined: February 22, 2008
KitMaker: 5,026 posts
AeroScale: 2,811 posts
Posted: Monday, May 04, 2015 - 08:02 PM UTC
Paul, thanks for the offer of the material. It may be a "no no" so just offer it as an email item only. As for being 6'2" I am 6'1" and would not want to sit hunched over the radar screen for any length of time.

I am still waiting on my kit to arrive so I will just have to watch everyone else have fun for the moment.

Bob
scribbles101
_VISITCOMMUNITY
United Kingdom
Joined: May 25, 2013
KitMaker: 137 posts
AeroScale: 103 posts
Posted: Wednesday, May 06, 2015 - 08:30 PM UTC
Another quick update on my F-5E, the 'office' is now basically finished, I did make one small addition to the seat, in that I made a seat harness out of masking tape, but that is all really, also I weathered the radio equipment behind the seat a little and I have glued the whole lot into place on the lower wing section


that it for now

Cheers, Simon
Bigrip74
_VISITCOMMUNITY
Texas, United States
Joined: February 22, 2008
KitMaker: 5,026 posts
AeroScale: 2,811 posts
Posted: Wednesday, May 06, 2015 - 10:34 PM UTC
Simon, you are really going to town with your build. Nice job so far.

My Hobby Boss P-38L-5-LO (the nomenclature on the box) just arrived:


Bob
PeeJay74
#363
_VISITCOMMUNITY
Pennsylvania, United States
Joined: January 08, 2014
KitMaker: 425 posts
AeroScale: 401 posts
Posted: Thursday, May 07, 2015 - 02:41 AM UTC
Academy 1:48 P-38M Night Lightning

Build Log

Well a few weeks turned into a few days. I had some down time waiting for enamels to dry on the YP-80 so I made a start.


Everything washed and laid out to dry.

I'm curious to see how that Hobby Boss goes together, Bob. I have been debating buying one myself.
Bigrip74
_VISITCOMMUNITY
Texas, United States
Joined: February 22, 2008
KitMaker: 5,026 posts
AeroScale: 2,811 posts
Posted: Thursday, May 07, 2015 - 03:24 AM UTC
Paul, the kit is unique in that the top wing, center pod, and both fuselage booms are molded as one part. The bottom is the same, while looking for a pdf version of the instructions I came across this video on the HobbyBoss kit:

https://www.youtube.com/watch?v=qnHejJy6grc

Bob
md72
#439
_VISITCOMMUNITY
Washington, United States
Joined: November 05, 2005
KitMaker: 4,950 posts
AeroScale: 3,192 posts
Posted: Thursday, May 07, 2015 - 09:39 AM UTC
Does anyone know if this is an Airfix tool or one from Heller?

Bigrip74
_VISITCOMMUNITY
Texas, United States
Joined: February 22, 2008
KitMaker: 5,026 posts
AeroScale: 2,811 posts
Posted: Thursday, May 07, 2015 - 10:07 AM UTC
Mark, nice box art, but I cannot help with the origins of the kit.

Bob
c4willy
#305
_VISITCOMMUNITY
Christchurch, New Zealand
Joined: February 01, 2006
KitMaker: 1,673 posts
AeroScale: 1,517 posts
Posted: Thursday, May 07, 2015 - 01:12 PM UTC
Hi Bob to the best of my knowledge it's the Airfix kit repackaged, I've compared the sprues a long time ago and they're the same plastic, Heller and Airfix had a mould exchange going for a while and released each others kits or possibly it was just Heller re-boxing Airfix's product, either way it's the venerable Airfix kit.
md72
#439
_VISITCOMMUNITY
Washington, United States
Joined: November 05, 2005
KitMaker: 4,950 posts
AeroScale: 3,192 posts
Posted: Thursday, May 07, 2015 - 08:23 PM UTC
Thanks folks. I've tracked down from some other sources that this is indeed an Airfix tool that probably dates back to 1958. The plastic is most likely an 'E' with some 'J' features. It may require a bit of backdating.
29Foxtrot
_VISITCOMMUNITY
Victoria, Australia
Joined: September 19, 2003
KitMaker: 708 posts
AeroScale: 674 posts
Posted: Sunday, May 10, 2015 - 09:50 PM UTC
Hi All,

My entry for this campaign will be the P-38F modified into the RAAF Photo Recon version.


The Kit.


Conversion Instructions.


The Livery.
PeeJay74
#363
_VISITCOMMUNITY
Pennsylvania, United States
Joined: January 08, 2014
KitMaker: 425 posts
AeroScale: 401 posts
Posted: Monday, May 11, 2015 - 02:50 AM UTC
Oh nice Rob! Red Roo make some great products. I am pretty sure your camo livery will be one of the more unique schemes in this campaign.
Bigrip74
_VISITCOMMUNITY
Texas, United States
Joined: February 22, 2008
KitMaker: 5,026 posts
AeroScale: 2,811 posts
Posted: Monday, May 11, 2015 - 08:50 AM UTC
Rob, nice kit and I remember watching a documentary on the Glacier Girl which was pretty interesting story.

Bob
29Foxtrot
_VISITCOMMUNITY
Victoria, Australia
Joined: September 19, 2003
KitMaker: 708 posts
AeroScale: 674 posts
Posted: Friday, May 15, 2015 - 11:59 PM UTC
Hi All,

Thanks Rob and Paul for the kind words on the selected entry.

Having done a little more to the kit, mainly scratch built levers and handles, adding the PE harness and now for the fixing of the resin nose section, which I think I'll add in two parts.


c4willy
#305
_VISITCOMMUNITY
Christchurch, New Zealand
Joined: February 01, 2006
KitMaker: 1,673 posts
AeroScale: 1,517 posts
Posted: Sunday, May 17, 2015 - 03:30 PM UTC
Love the kit so far Rob! I see parallels with the Italeri kit but it has issues of it's own to overcome. I've got the kit assembled and painted I'm proceeding with the decaling which has gone quite well given that the invasion stripes are given as decals! They were quite stiff but settled very well with Microsol as can be seen in the pics, I also used future underneath the decal to act as a glue. I've reworked the props and spinners as they were hopeless. The profile of the props is wrong and I don't feel like reworking them so I'll leave them as is. I used the spare props from the Eduard P-39 I built, they look pretty good compared to the previous offerings. Which were one piece offerings with the spinner back-plate. I snipped off the blades and ground troughs for the replacement blades with a drill bit and a drill press. It was a fairly easy process to accomplish. I held the back-plate against the drill bit and used it like a milling machine. I'll post a few pics of the progress so far.


PeeJay74
#363
_VISITCOMMUNITY
Pennsylvania, United States
Joined: January 08, 2014
KitMaker: 425 posts
AeroScale: 401 posts
Posted: Sunday, May 17, 2015 - 09:27 PM UTC
Looking good Chris. The stripes came out great for decals, especially over all of the complex curves on the booms.
c4willy
#305
_VISITCOMMUNITY
Christchurch, New Zealand
Joined: February 01, 2006
KitMaker: 1,673 posts
AeroScale: 1,517 posts
Posted: Monday, May 18, 2015 - 11:53 AM UTC
Thanks Paul they were two part affairs one for the radiators and the other for the boom .... they still conformed very poorly and took substantial amounts of Microsol to settle but settle they did and the future underneath the decal made sure it's damn well stuck down! The wing invasion stripes are also a two piece affair one part for the air-brake and the other for the wing. I found the best way to deal with it is to put the wing stripes on first and then adjust the air-brake to suit. the shark mouth also didn't want to conform over the very complex nose shapes I had to slice the decal in a couple of places each side to get it to settle properly but the cuts are barely noticeable. And it looks damn good! I've always liked the shark mouth on aircraft especially the Desert camouflaged Kittyhawks of 112 Squadron, the later marks looked really good with the longer cleaned up airframe. still got to weather and apply some finishing touches to the airframe so a little way off completing the first of my P-38s.
scribbles101
_VISITCOMMUNITY
United Kingdom
Joined: May 25, 2013
KitMaker: 137 posts
AeroScale: 103 posts
Posted: Saturday, May 23, 2015 - 09:16 PM UTC
Hi all, more progress has been made on my F5E lightening


I made up the jig that Paul linked earlier for the tail booms, and left them drying in the shed over night, this is an example of how they came out, with the undercarriage well dry fitted


Here are both booms fitted to the wing/office pod, not bad dare I say so myself


My very scientific method of ensuring a good fit for the elevator section

So far so good (I think) I have a bit of work to do filling small gaps, especially around the undercarriage wells, so I think it is time to break out the filler and make some mess

more progress to come, feedback is very welcome
Cheers, Simon
PeeJay74
#363
_VISITCOMMUNITY
Pennsylvania, United States
Joined: January 08, 2014
KitMaker: 425 posts
AeroScale: 401 posts
Posted: Sunday, May 24, 2015 - 01:19 AM UTC
Nice! Everything looks straight to me Simon, it came out well.
scribbles101
_VISITCOMMUNITY
United Kingdom
Joined: May 25, 2013
KitMaker: 137 posts
AeroScale: 103 posts
Posted: Sunday, May 24, 2015 - 02:48 AM UTC
Cheers Paul, and thanks again for the link, that really helped!
Bigrip74
_VISITCOMMUNITY
Texas, United States
Joined: February 22, 2008
KitMaker: 5,026 posts
AeroScale: 2,811 posts
Posted: Monday, May 25, 2015 - 03:35 AM UTC
You guy's are really taking off and I have not even taken my kit out of the box to wash the mold release yet

I have a paint application question for yall: I have never airbrushed Future/Klear and would like to get some advice.

Bob
scribbles101
_VISITCOMMUNITY
United Kingdom
Joined: May 25, 2013
KitMaker: 137 posts
AeroScale: 103 posts
Posted: Monday, May 25, 2015 - 06:31 PM UTC
A little more progress on my build,
the nose section is now in place, the fit was somewhat short of good, but hey, I had a happy time with a tube of squadron products' white putty putting that right

The nose is rammed full of as much Milliput as I could fit in thereto stop this bird being a tail sitter. I tried to give the impression of there being a camera behind the clear panels by drilling down into the milliput once it went off, then painting it silver and building up several layers of clear cote to imitate a lens, it didn't really work though.


Here is a little alteration that I made to the office, the slightly make-shift seat harness that I made was not attached to the seat properly before, so I have modified it so that while it is no less Heath Robinson than before, it is at least fitted right this time.

that's it for now, I'm nearly ready to start painting this bird now, which could be interesting as I have very little experience with bare metal finishes.

Cheers, Simon
scribbles101
_VISITCOMMUNITY
United Kingdom
Joined: May 25, 2013
KitMaker: 137 posts
AeroScale: 103 posts
Posted: Sunday, May 31, 2015 - 01:04 AM UTC
More progress!
wow, I think I have too much free time on my hands atm....
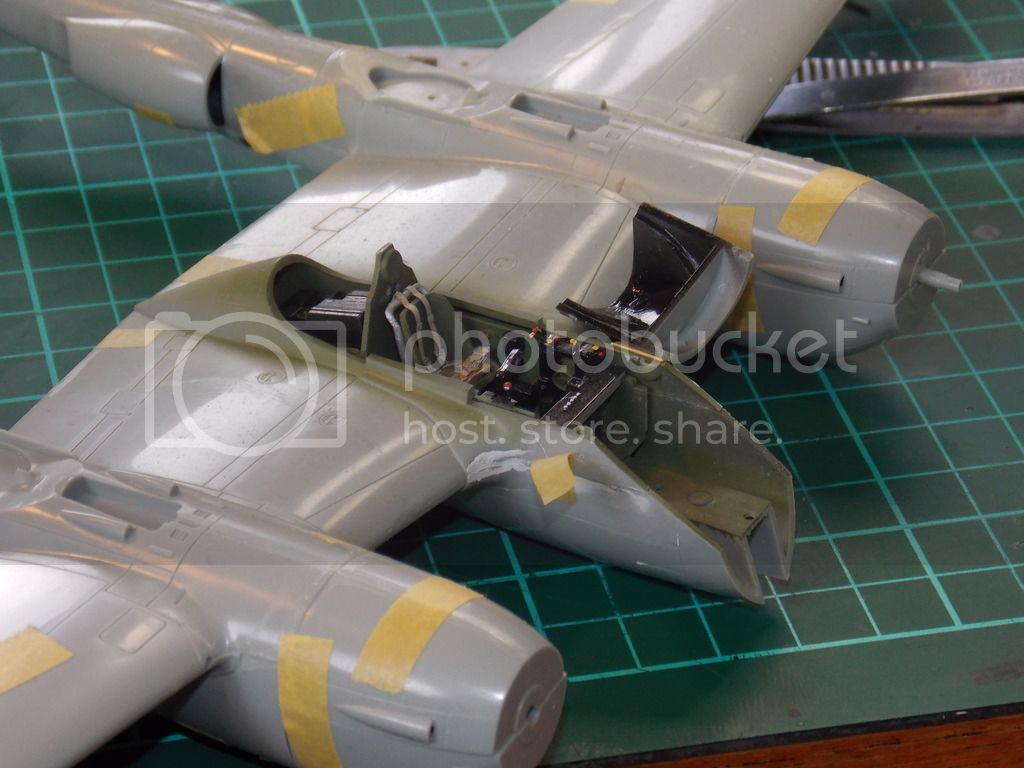
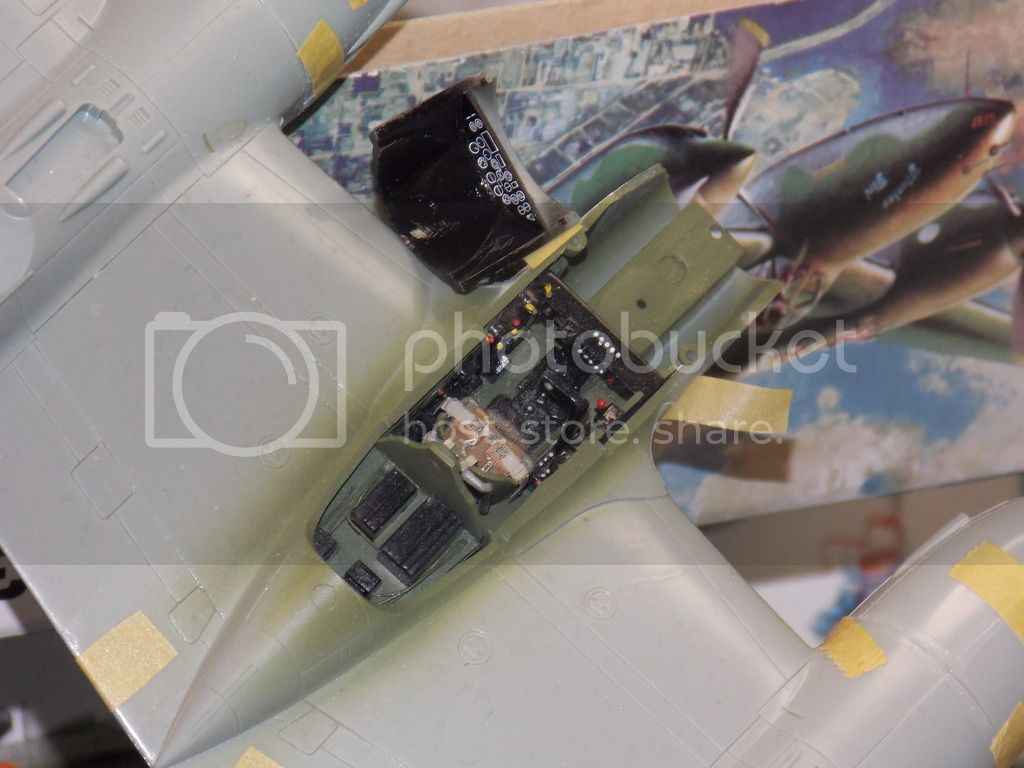
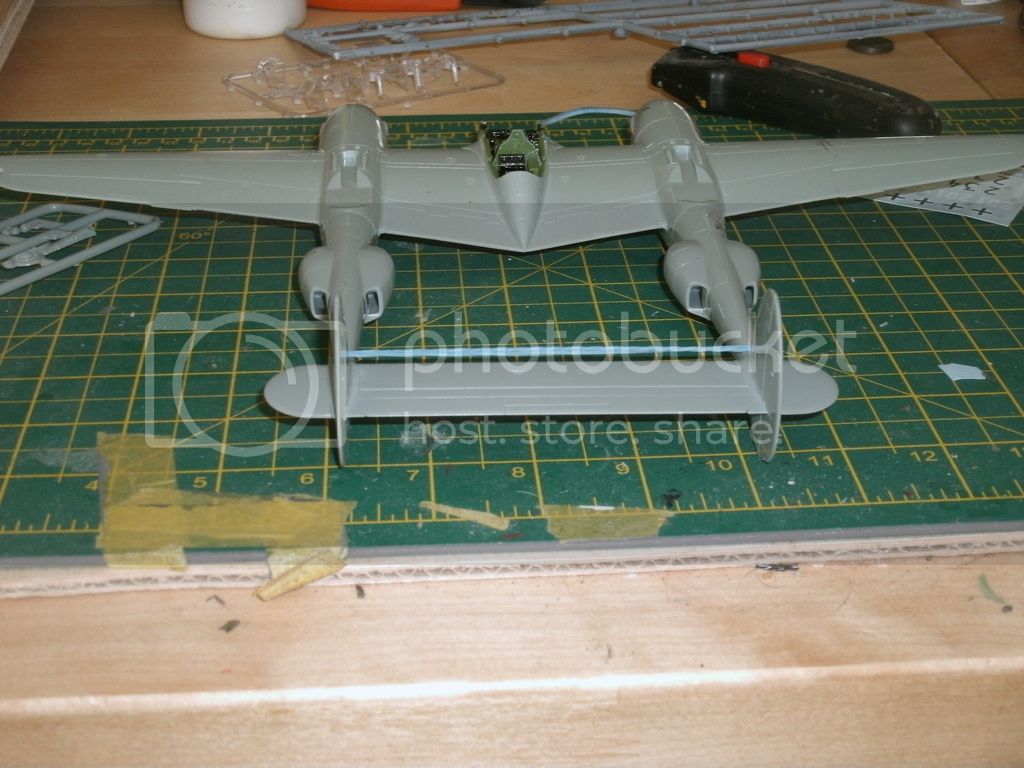
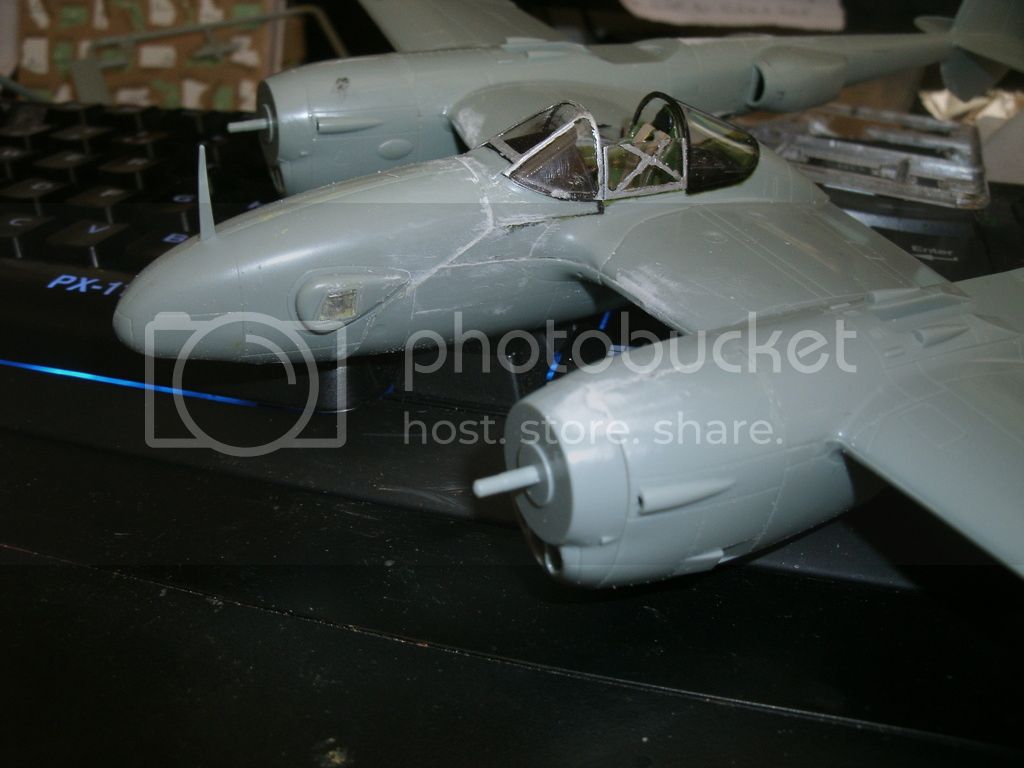
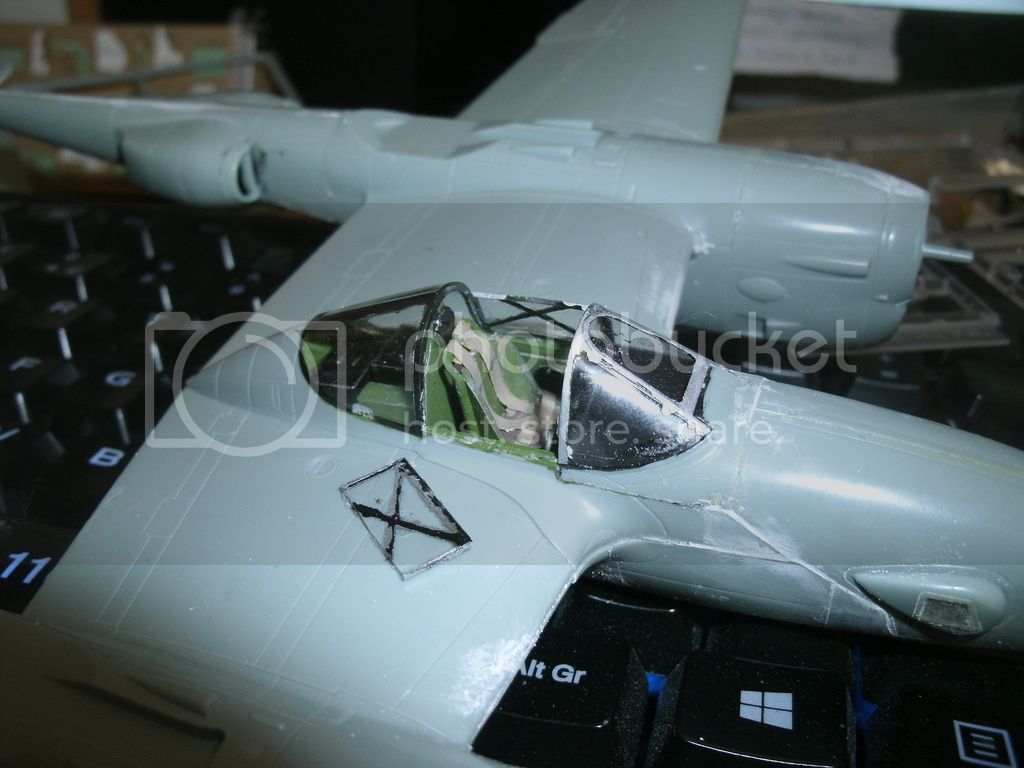
anyway, here are the pics


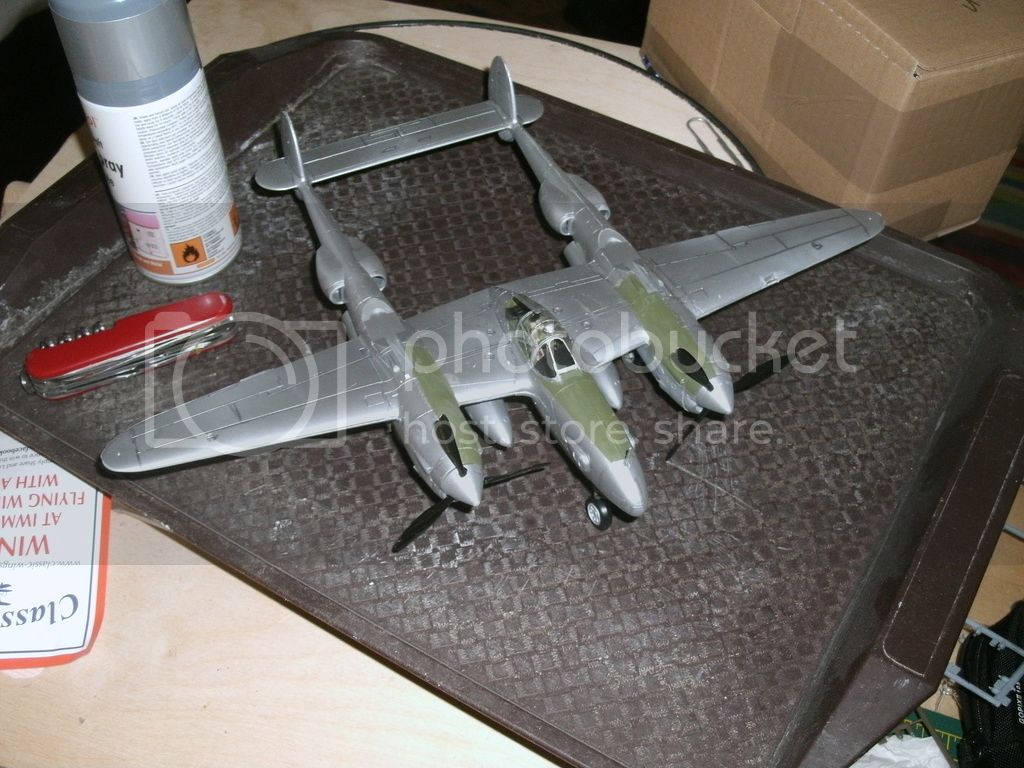
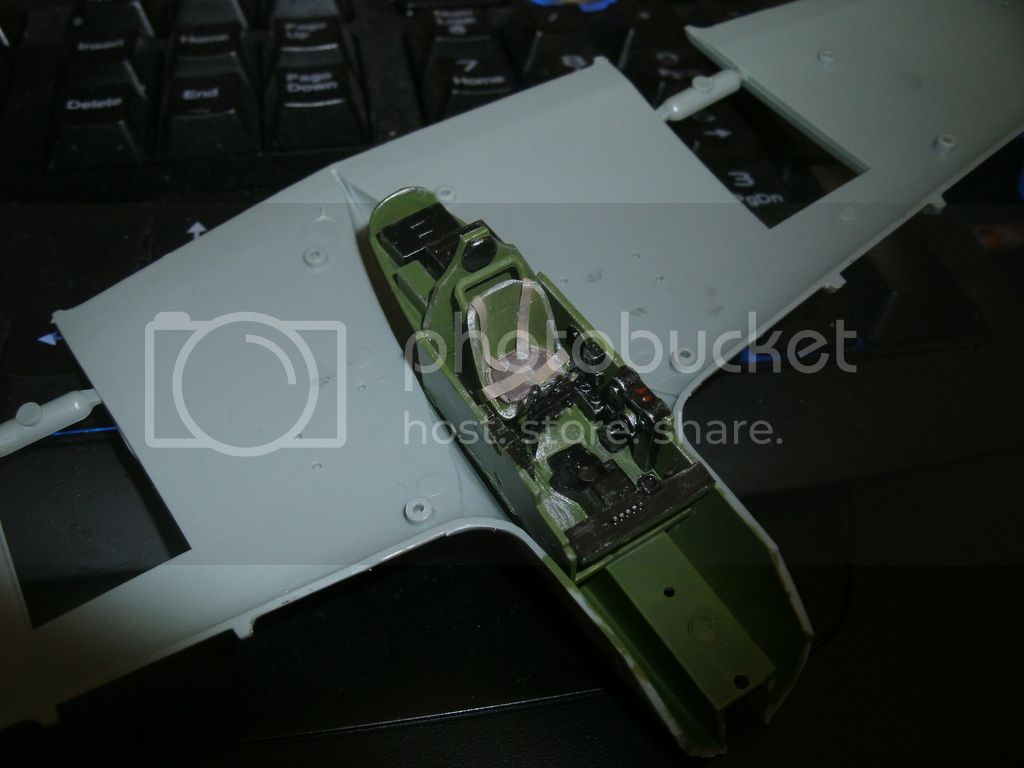
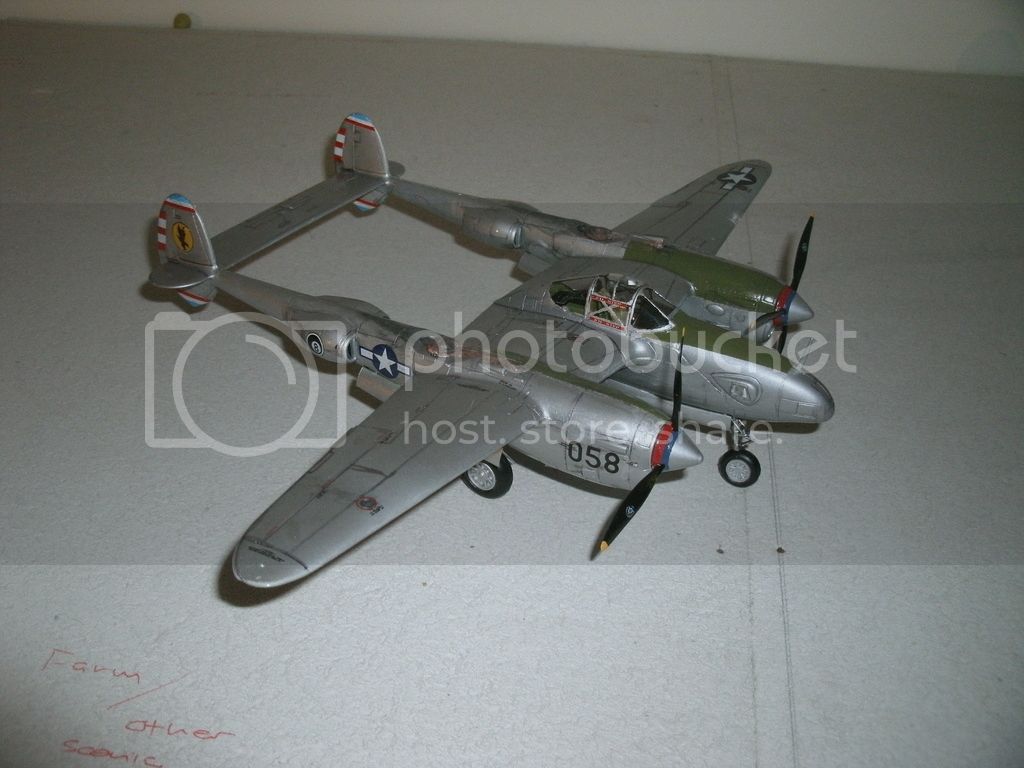
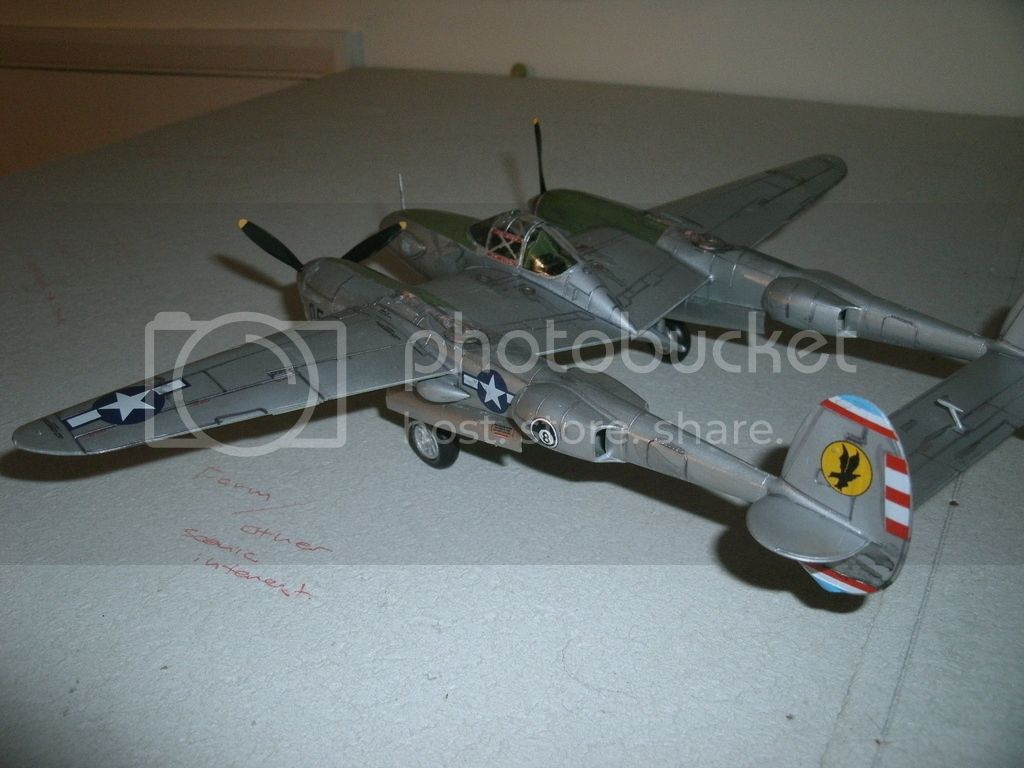
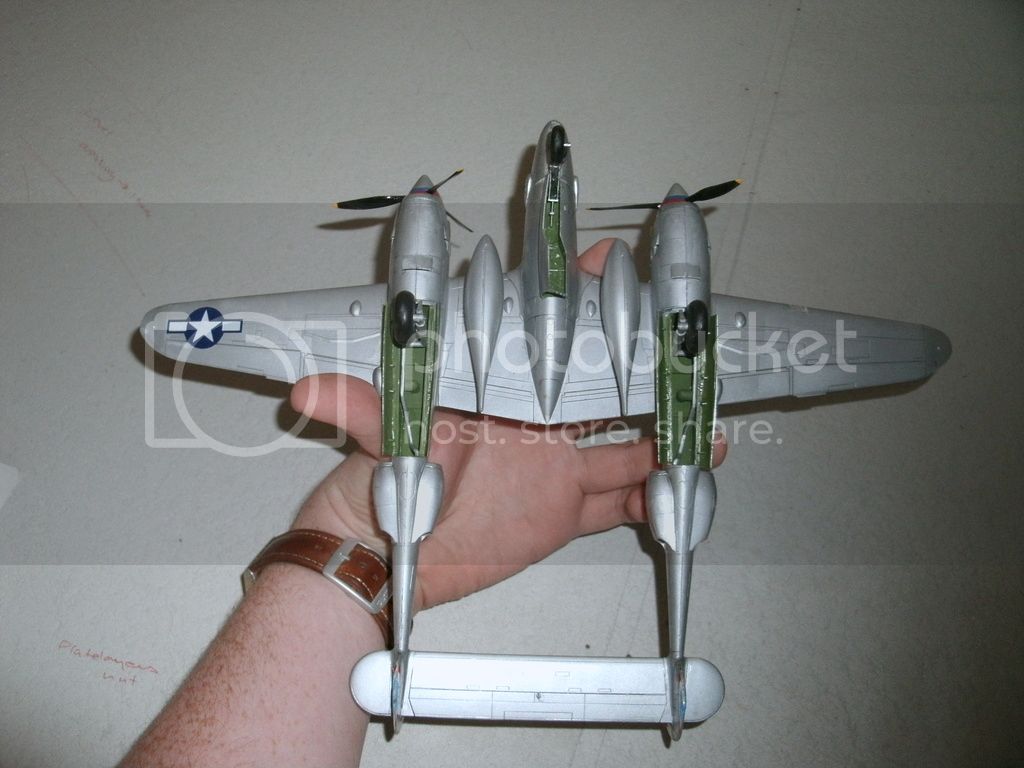
All painted with humbrol metal cote aluminium finish, and some olive drab on the nose and engine cowlings


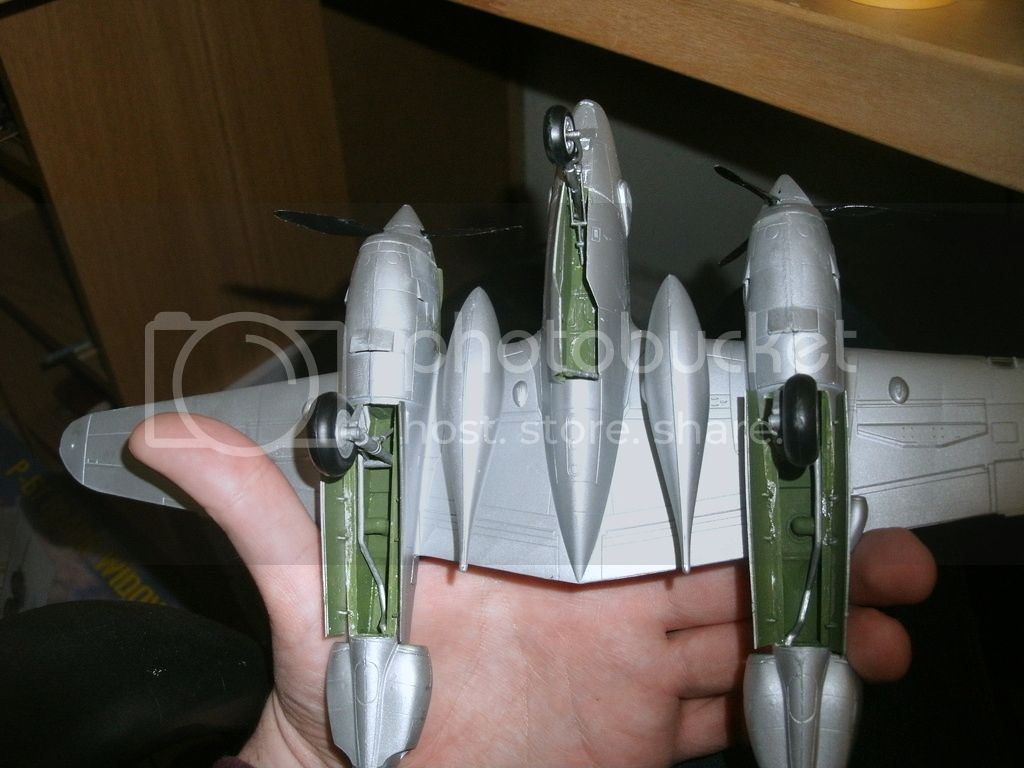
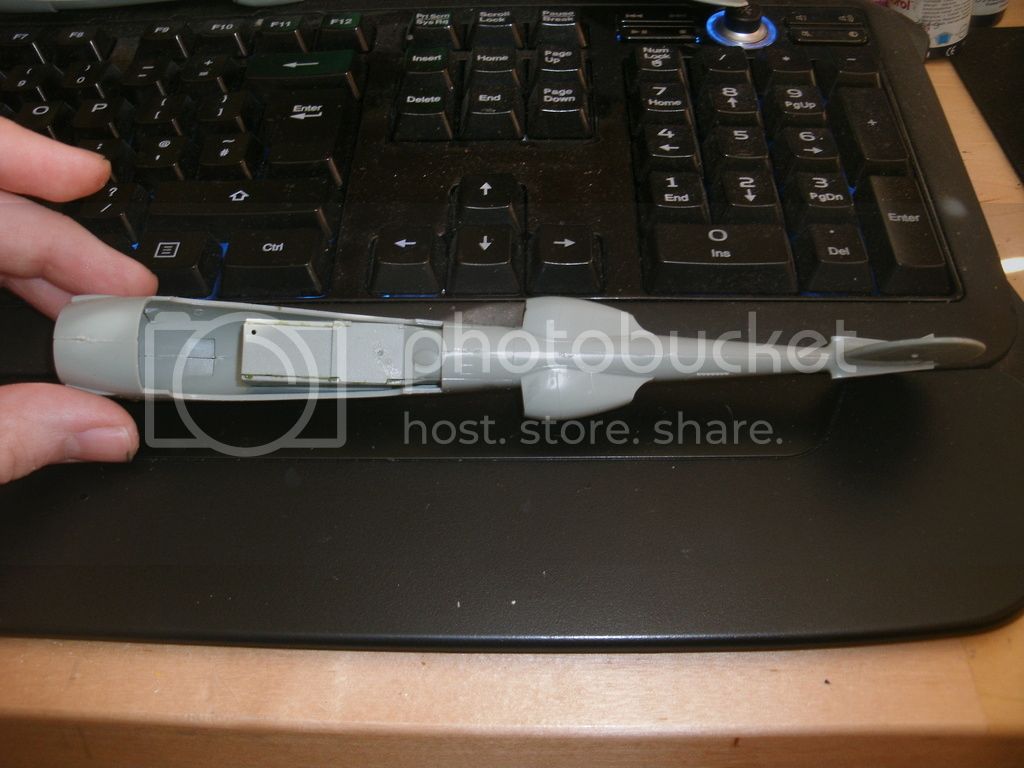
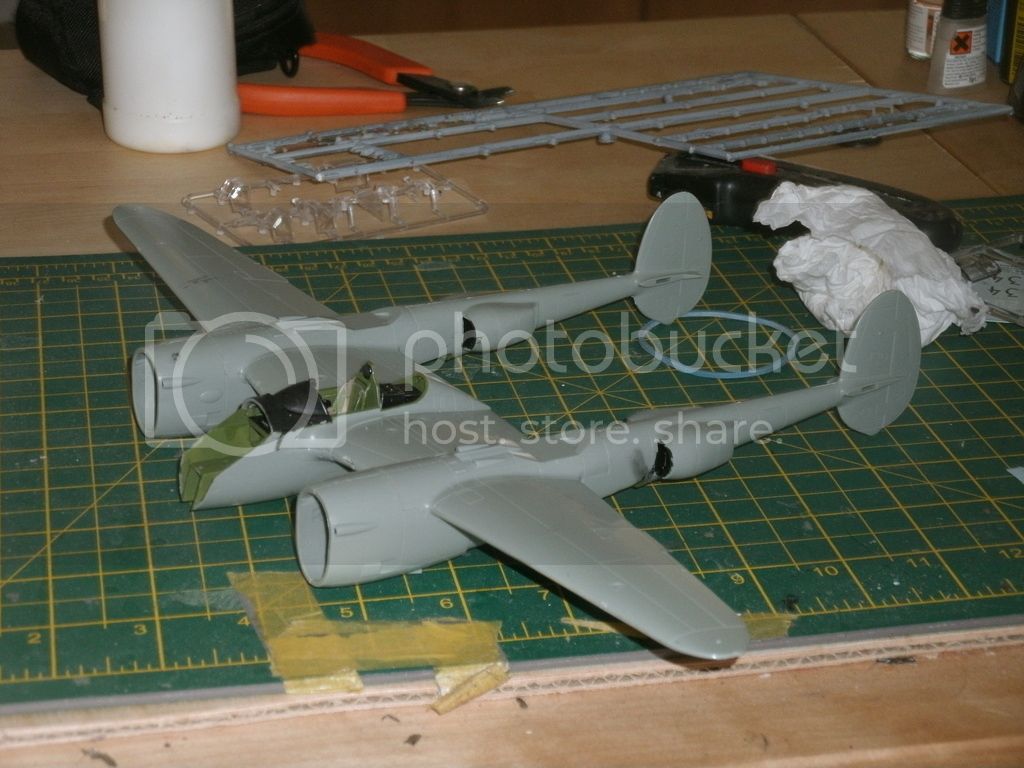
undercarriage all set in place, after taking this shot, I found that despite all the milliput I shoved in the nose, I still had a tail sitter on my hands, so I pried the ends off the booms and rammed even more milliput in where the engines would be on the real thing, that solved the problem!


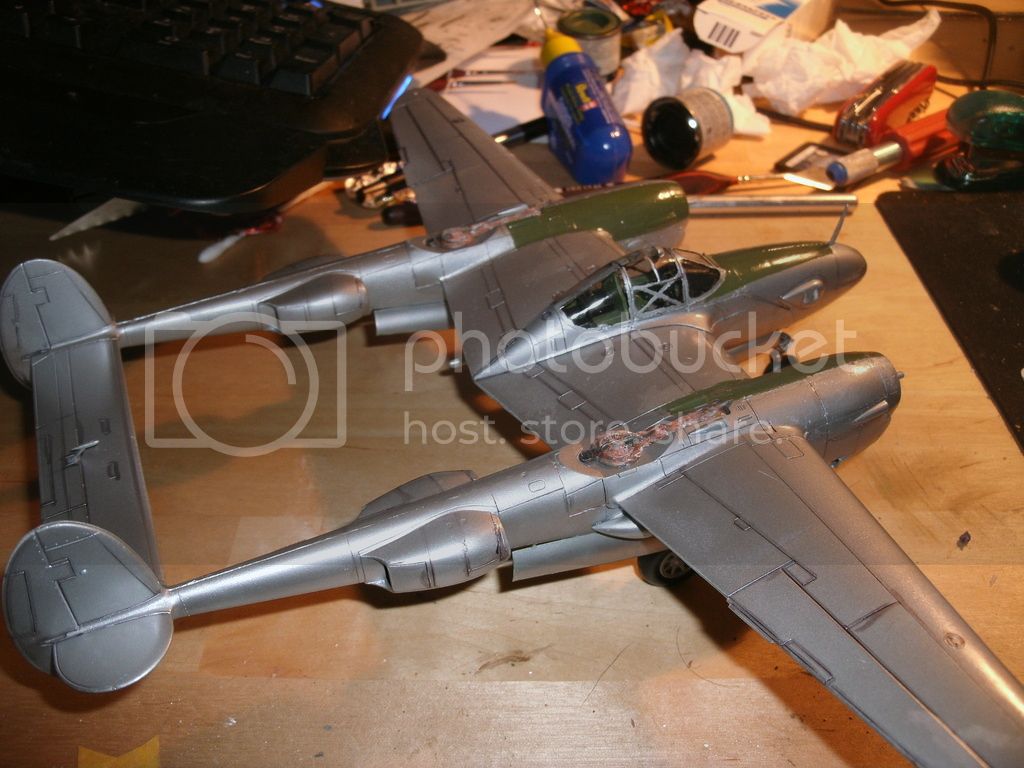
Here is a little something that I would like a second opinion on if possible, I have tried to apply a sort of rusted finish to the exhausts, it may look a bit too over the top, but feedback would be much appreciated!

thats it for now, more to come
Cheers, Simon
Bigrip74
_VISITCOMMUNITY
Texas, United States
Joined: February 22, 2008
KitMaker: 5,026 posts
AeroScale: 2,811 posts
Posted: Sunday, May 31, 2015 - 02:09 AM UTC
Simon, I like what you did to the super charger.

Bob
SGTJKJ
#041
_VISITCOMMUNITY
Kobenhavn, Denmark
Joined: July 20, 2006
KitMaker: 10,069 posts
AeroScale: 3,788 posts
Posted: Wednesday, June 17, 2015 - 05:01 PM UTC
Simon, looks good. I might add a thinned wash of black or gun metal to tone it down slightly and blend it together, but you can also easily leave it as it is.

Chris, great work on the invasion stripes and the shark teeth. Looks great!

Looking forward to see more
scribbles101
_VISITCOMMUNITY
United Kingdom
Joined: May 25, 2013
KitMaker: 137 posts
AeroScale: 103 posts
Posted: Wednesday, June 17, 2015 - 05:05 PM UTC
Ok, here it is, the finished product!


Before that, here it is with the gloss cote on


Here is the final product, hope you like it!


I will take some good pics for the gallery over the next couple of days, thoroughly enjoyed this build, and will follow the rest your builds with interest!

Cheers, Simon