

A bit late but I´m in.
So this will be my second campaign I start. Please be gentle with me.
Air Campaigns
Want to start or join a group build? This is where to start.
Want to start or join a group build? This is where to start.
Hosted by Frederick Boucher, Michael Satin
75 Years Mighty Mustang Campaign

Mascharius

Joined: March 05, 2015
KitMaker: 28 posts
AeroScale: 28 posts
Posted: Friday, April 10, 2015 - 08:36 PM UTC

bdanie6

Joined: November 09, 2008
KitMaker: 615 posts
AeroScale: 459 posts

Posted: Saturday, April 11, 2015 - 01:22 AM UTC
JStreet, considering what you had to start with, that is a great looking Mustang...so far. Great job, I'm looking forward to what you do next
Later
Later

b17-peter

#392
Joined: January 09, 2013
KitMaker: 696 posts
AeroScale: 608 posts

Posted: Saturday, April 11, 2015 - 02:56 AM UTC
JStreet, looks great so far! I watched her flying at Reno last year, awsome!
Keep going
Keep going
b17-peter
#392
Joined: January 09, 2013
KitMaker: 696 posts
AeroScale: 608 posts
Posted: Saturday, April 11, 2015 - 03:02 AM UTC
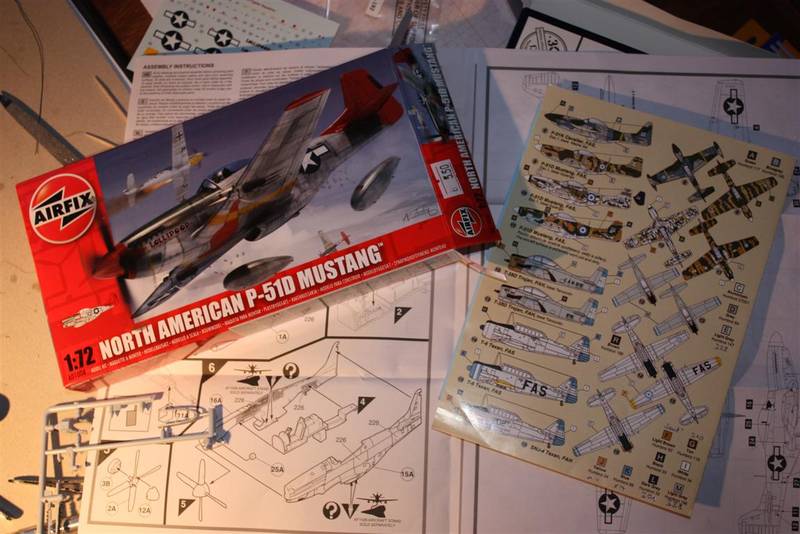
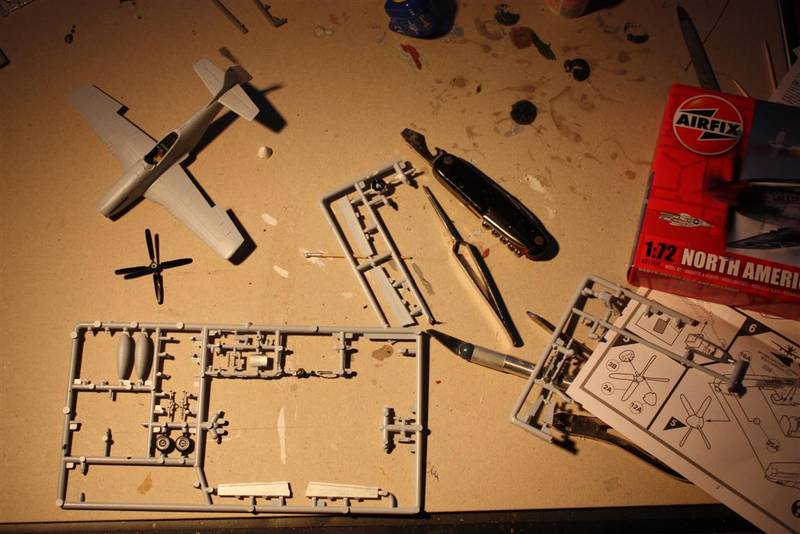
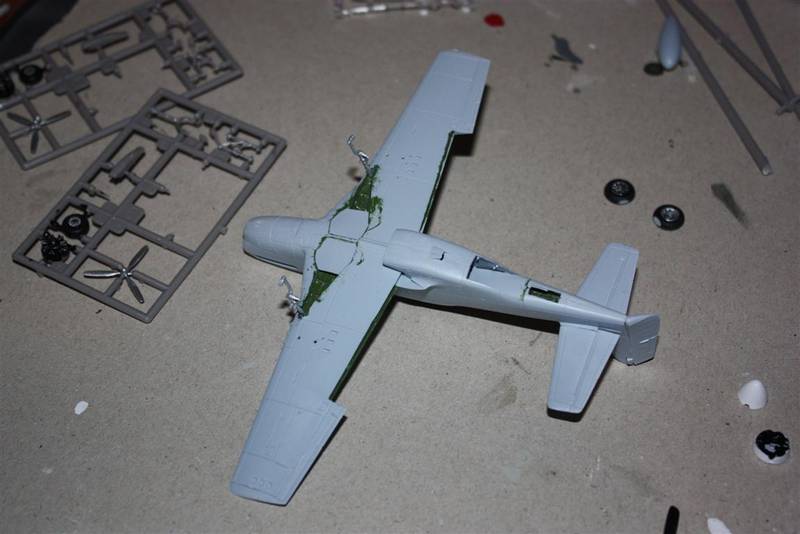
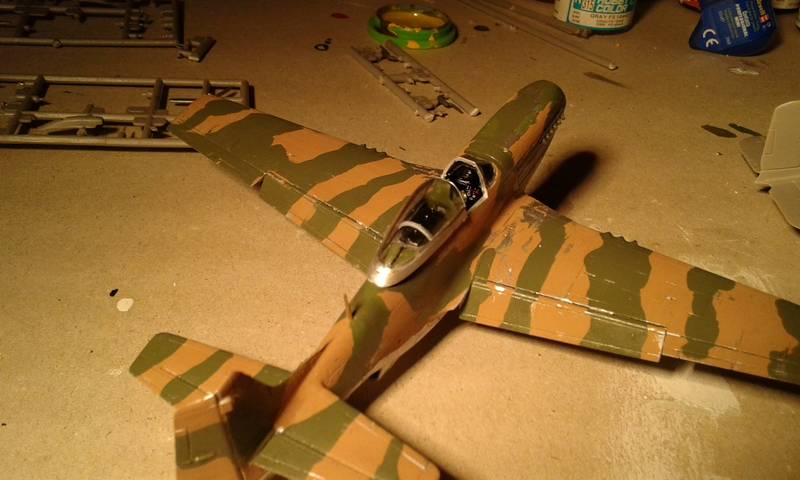
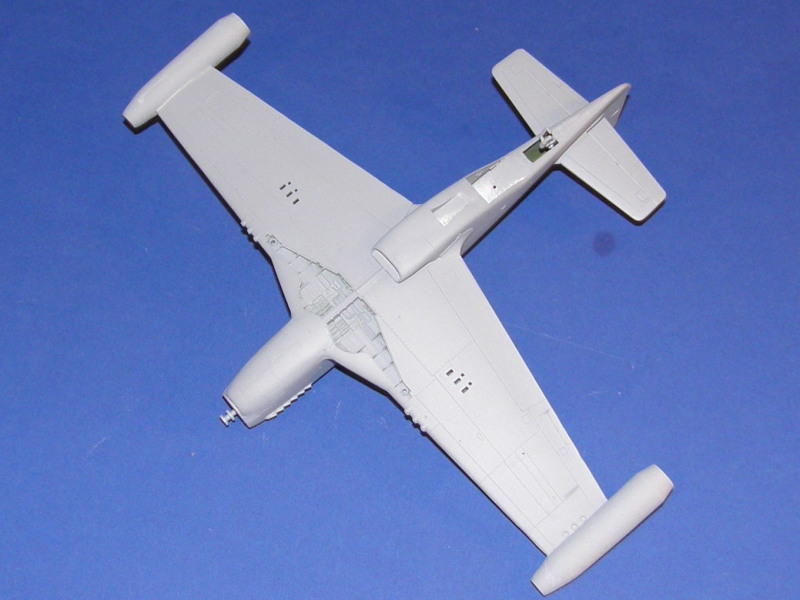
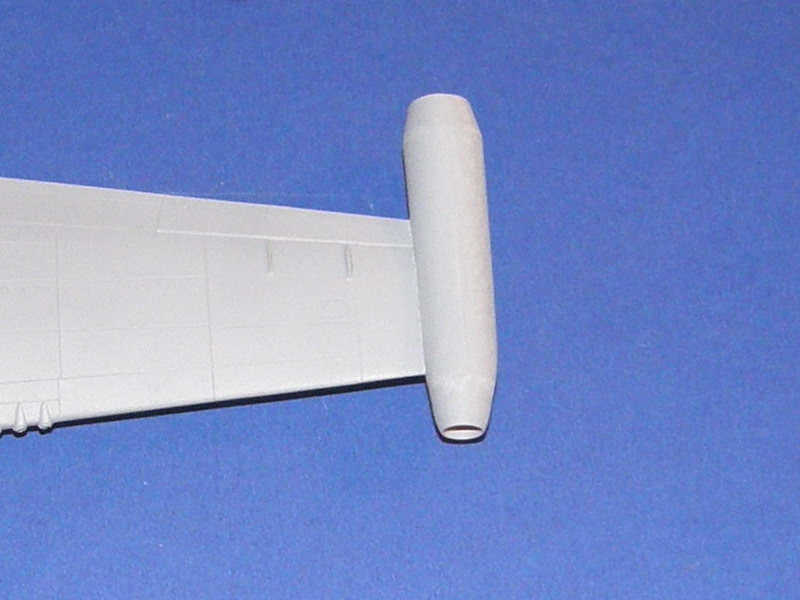
Well, a fortnight ago I got me this nice Airfix kit, so I'm using it as a warm-up for my RB-51 Racer here and started it right away after taking a closer look at the parts 
b17-peter
#392
Joined: January 09, 2013
KitMaker: 696 posts
AeroScale: 608 posts
Posted: Saturday, April 11, 2015 - 03:06 AM UTC
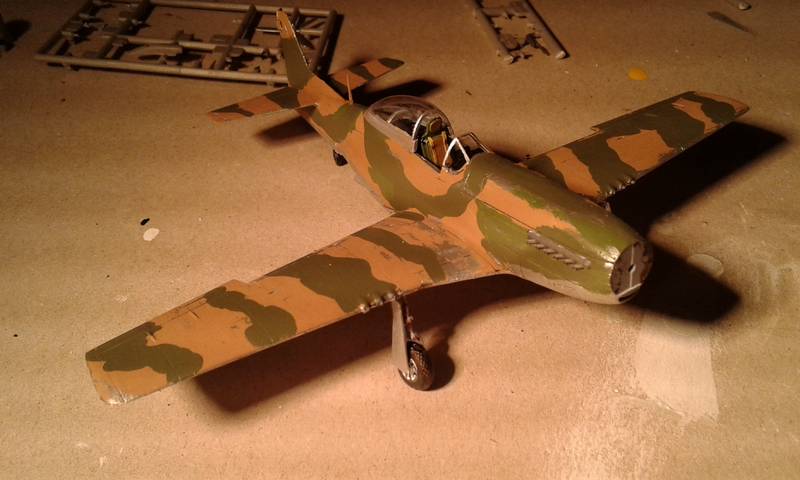
It will be representing a Mustang of El Salvador Air Force during the so-called "Soccer War" in 1969.
b17-peter
#392
Joined: January 09, 2013
KitMaker: 696 posts
AeroScale: 608 posts
Posted: Saturday, April 11, 2015 - 03:10 AM UTC
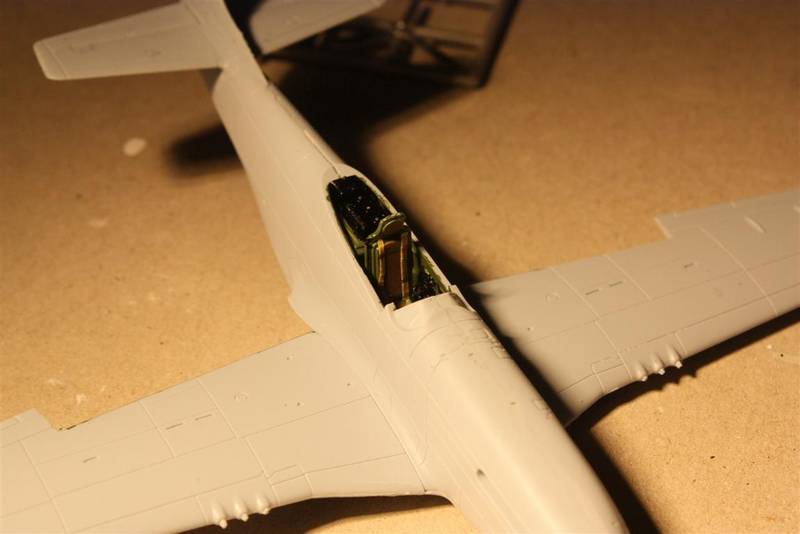
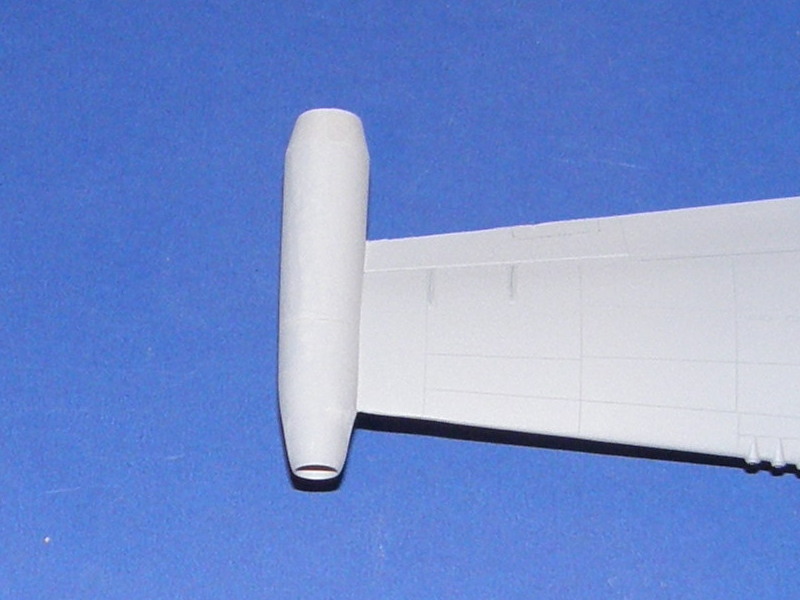
The kit is really good for that price and there are few fitting issues. No need for filler yet.
Have a nice (and productive?)weekend!

Have a nice (and productive?)weekend!

Jessie_C


Joined: September 03, 2009
KitMaker: 6,965 posts
AeroScale: 6,247 posts

Posted: Saturday, April 11, 2015 - 03:17 AM UTC
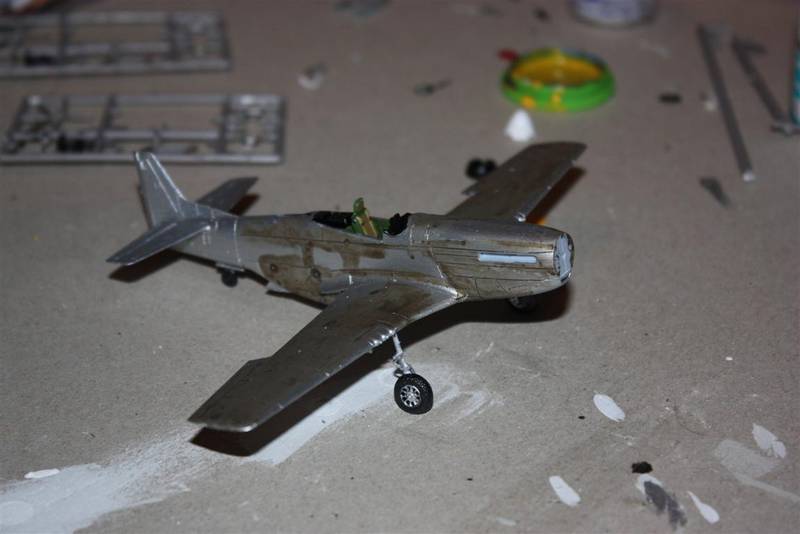
Peter, don't forget that with the rudder kicked over, the tail wheel always turned to follow it.
F1Boomer
Joined: April 06, 2015
KitMaker: 32 posts
AeroScale: 13 posts
Posted: Saturday, April 11, 2015 - 11:57 AM UTC
Thanks Peter and Bruce, it's a handful, but should be cool when finished, Currently finished modifying leading edge of tail (original kit is VooDoo with a different angle that had to be whittled on), Also had to add to wing root extensions with plastic sheet trimmed and super glued in place, then final shaped and filled, Strega's extensions go back to edge of wheel well, while VooDoo's stops at back end of wing. Will upload pics tomorrow. Think I'm about ready for base coat of white. Currently using metal foil for insides of gear doors and spinner (maybe). By the way, I knew what I was getting into when I bought the Heritage resin kit. It really is a great model in 1/32nd, am learning alot, I read a couple reviews of VooDoo builds and they were very positive, so far, I am positive as well,
Joe
Joe
b17-peter
#392
Joined: January 09, 2013
KitMaker: 696 posts
AeroScale: 608 posts
Posted: Saturday, April 11, 2015 - 03:33 PM UTC
Quoted Text
Peter, don't forget that with the rudder kicked over, the tail wheel always turned to follow it.
Thanks a lot, Jessica!
I've overlooked that indeed, so I'm going to correct it before I take the final photos ;-)
SGTJKJ

#041

Joined: July 20, 2006
KitMaker: 10,069 posts
AeroScale: 3,788 posts

Posted: Sunday, April 12, 2015 - 05:36 PM UTC
Quoted Text
Peter, don't forget that with the rudder kicked over, the tail wheel always turned to follow it.
That is a new one for me as well. Thanks for sharing


Mascharius
Joined: March 05, 2015
KitMaker: 28 posts
AeroScale: 28 posts
Posted: Monday, April 13, 2015 - 11:57 PM UTC
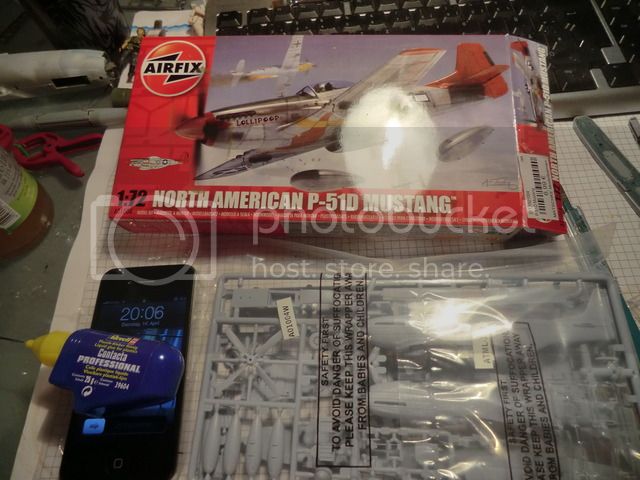
So I´m going to start today.
My choice is the Airfix P-51. It´s been years since i build my last airfix kit. I can say I´m pretty pleased with the new kit.
My choice is the Airfix P-51. It´s been years since i build my last airfix kit. I can say I´m pretty pleased with the new kit.
b17-peter
#392
Joined: January 09, 2013
KitMaker: 696 posts
AeroScale: 608 posts
Posted: Thursday, April 16, 2015 - 01:28 AM UTC
Congratulations Jan, you'll like that kit!
Mine is getting ready for the decals now..

Peter
Mine is getting ready for the decals now..
PeterF1Boomer
Joined: April 06, 2015
KitMaker: 32 posts
AeroScale: 13 posts
Posted: Friday, April 17, 2015 - 09:34 AM UTC
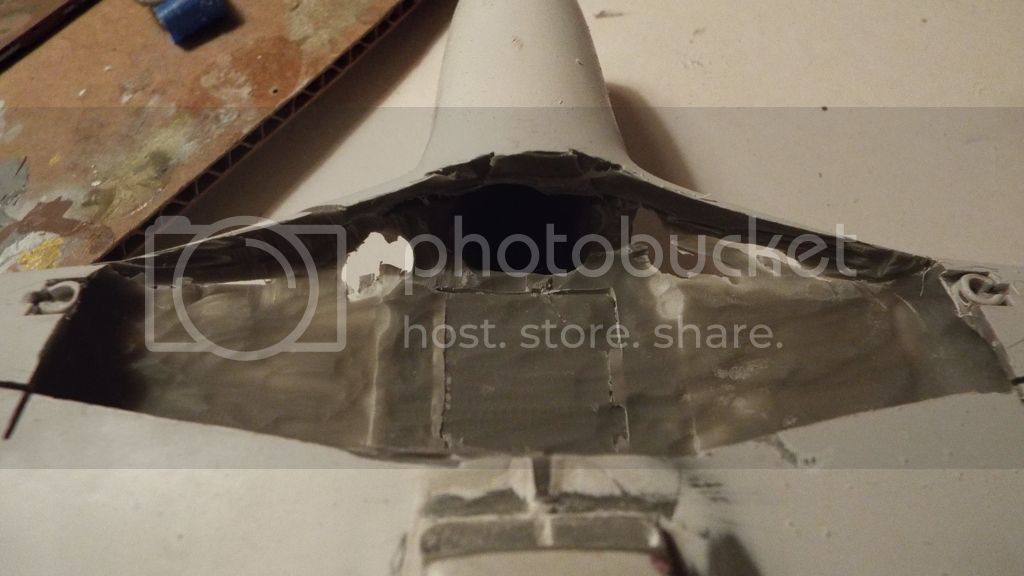
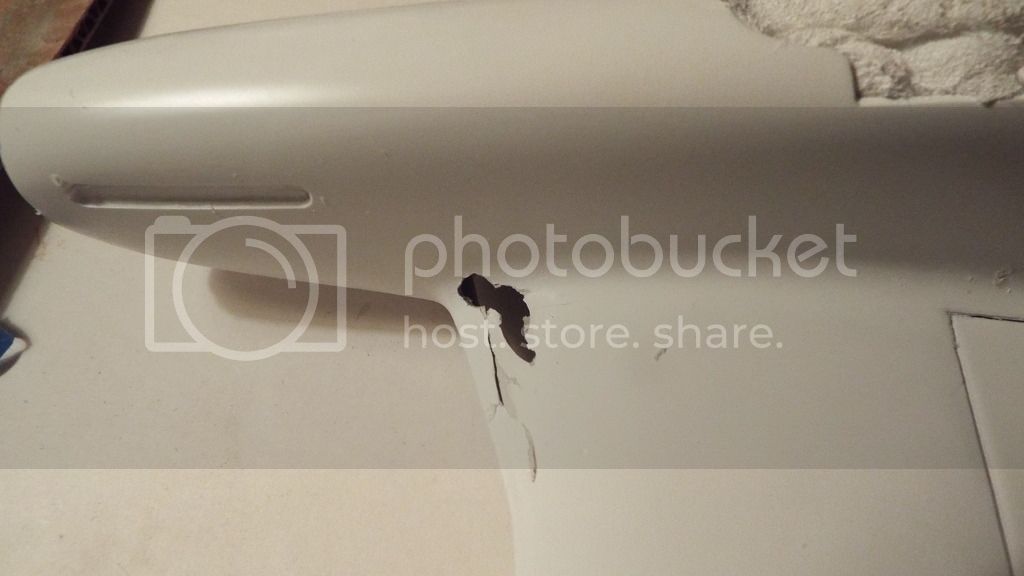
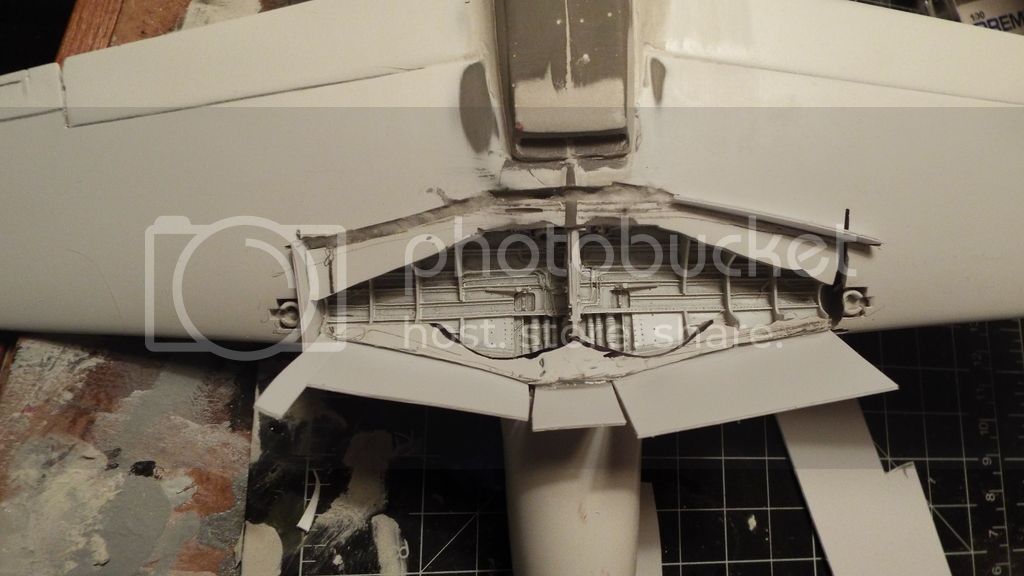
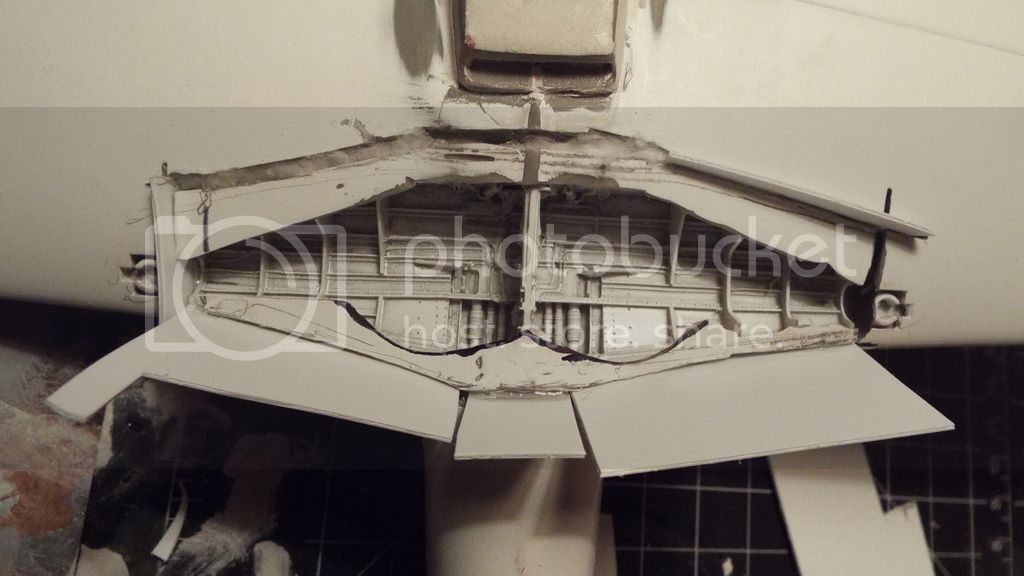
1/32nd Heritage Strega-
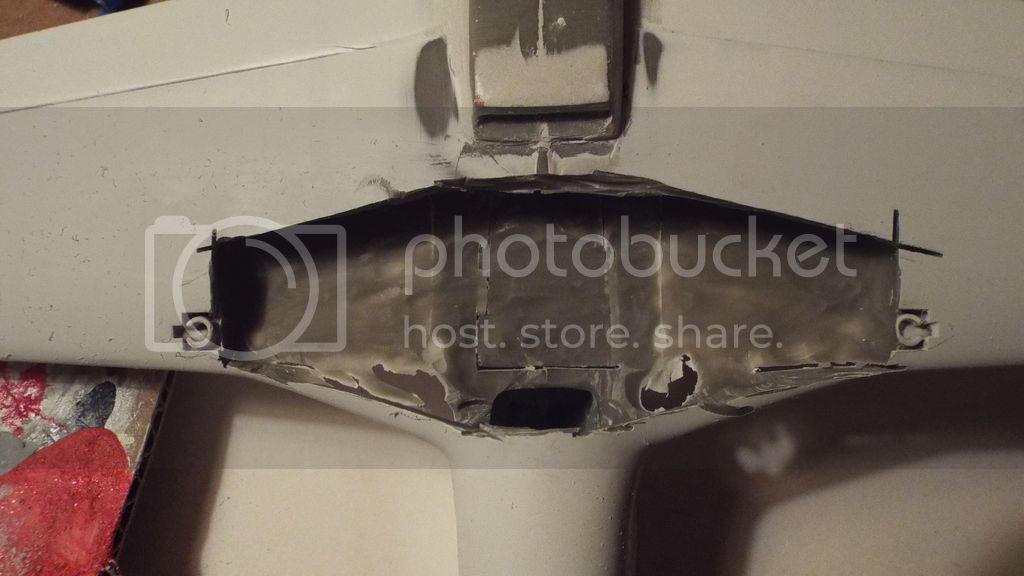
So when I started the kit, I had a great idea to add some after market details, so I bought a wheel well set. Then I realized the resin kit has a one piece wing, so I scrapped the idea of the addon and decided I'd detail it myself. Then yesterday I got to looking at the well and thought, dang, that's cool, I wanna use it afterall. Course, not only is it a one piece wing, now it's also installed. What the heck, that's what they make Dremels for. So much for being ready for a white base coat. In the pics, you'll also see my modifications to the scoop.
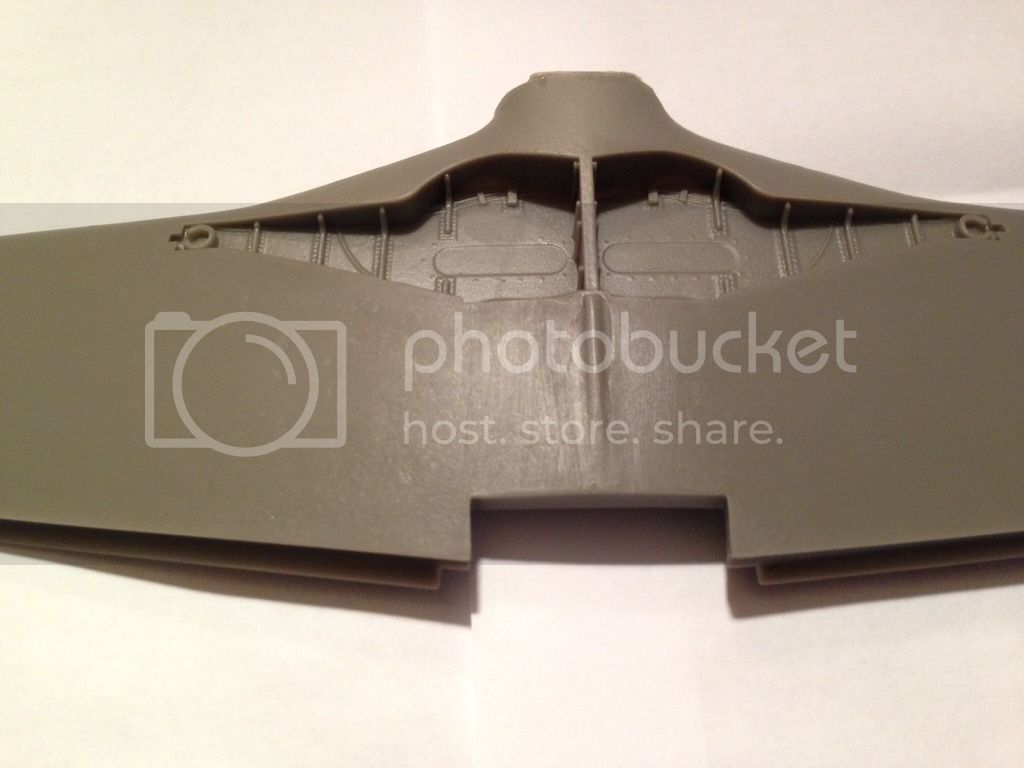

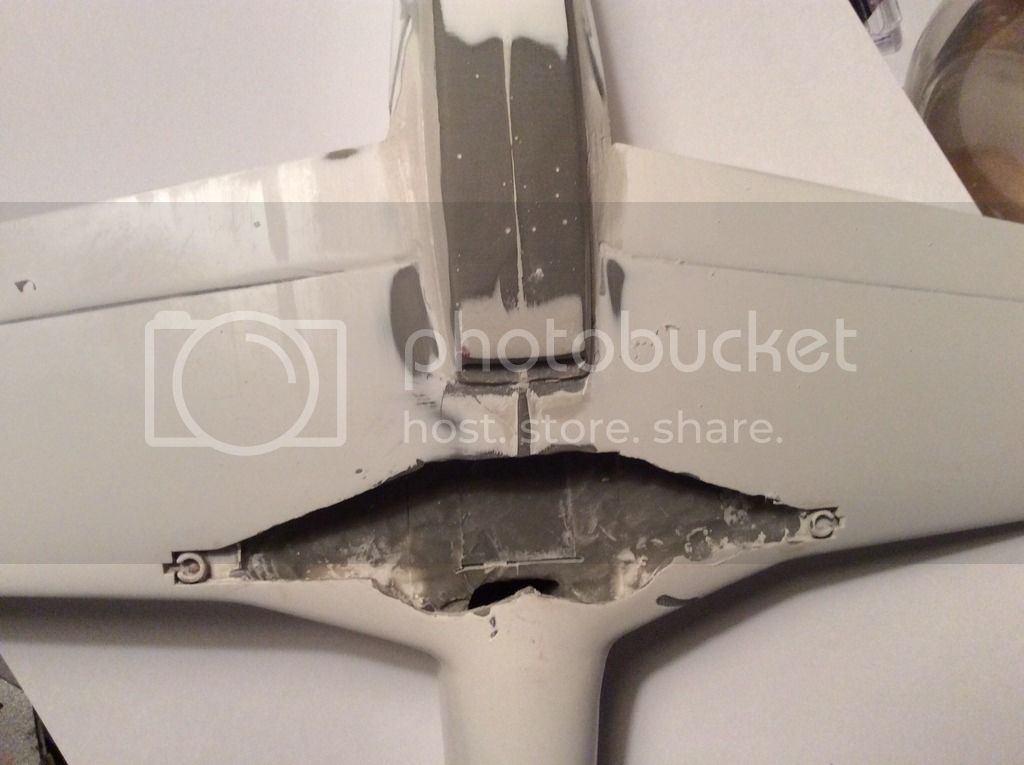
Not sure how I'm going to get this size 6 part in that size 5 hole, but it's sure to be fun.
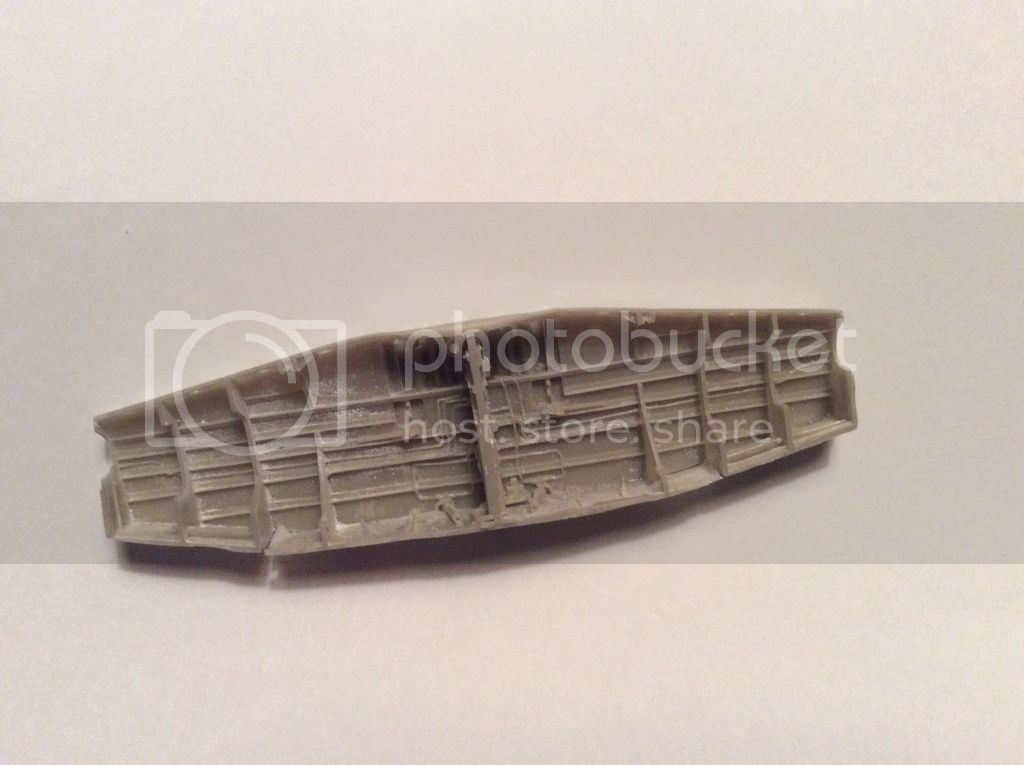
So when I started the kit, I had a great idea to add some after market details, so I bought a wheel well set. Then I realized the resin kit has a one piece wing, so I scrapped the idea of the addon and decided I'd detail it myself. Then yesterday I got to looking at the well and thought, dang, that's cool, I wanna use it afterall. Course, not only is it a one piece wing, now it's also installed. What the heck, that's what they make Dremels for. So much for being ready for a white base coat. In the pics, you'll also see my modifications to the scoop.


Not sure how I'm going to get this size 6 part in that size 5 hole, but it's sure to be fun.

b17-peter
#392
Joined: January 09, 2013
KitMaker: 696 posts
AeroScale: 608 posts
Posted: Saturday, April 18, 2015 - 03:13 AM UTC
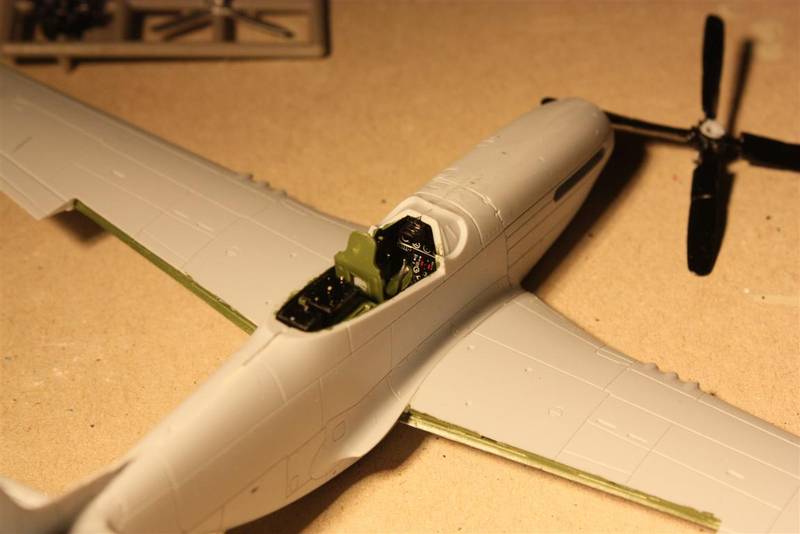
Hi friends, got my Salvadorian Mustang nearly ready. It needs only the varnish yet. Then I'll take photos for the gallery 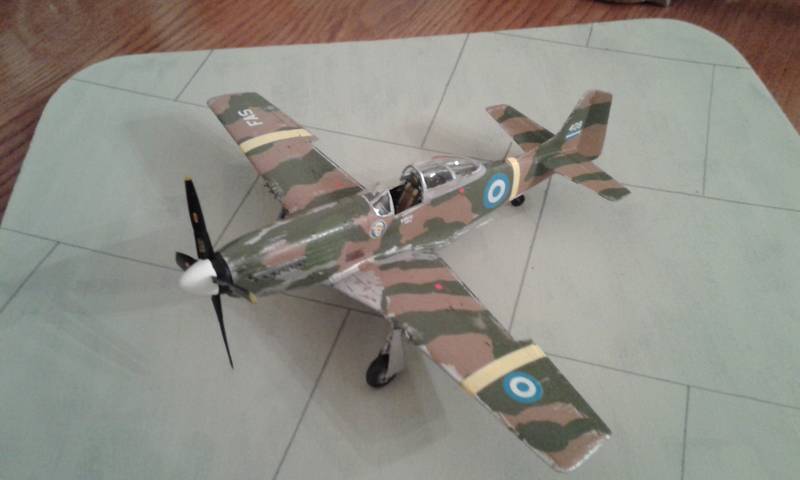


b17-peter
#392
Joined: January 09, 2013
KitMaker: 696 posts
AeroScale: 608 posts
Posted: Saturday, April 18, 2015 - 03:16 AM UTC
BTW, Joe, you're doing great with your Strega/Voodoo!! 
Jessie_C
Joined: September 03, 2009
KitMaker: 6,965 posts
AeroScale: 6,247 posts
Posted: Saturday, April 18, 2015 - 04:09 AM UTC
Quoted Text
Not sure how I'm going to get this size 6 part in that size 5 hole, but it's sure to be fun.
The first thing I'd suggest is that you trace the outline of the wheel well on the lower wing surface, and cut it out. Fit the wheel well into place, sand the lower wing part you cut out thinner (so that it fits over top), and then glue it in place, fill and make good the surface again. You may need to grind away at the inside of the upper wing as well, to make it all fit properly.
F1Boomer
Joined: April 06, 2015
KitMaker: 32 posts
AeroScale: 13 posts
Posted: Saturday, April 18, 2015 - 06:59 AM UTC
Yep, thanks Jessica, confirmed my "Nah, I don't want to do that" as the "Yep, that's what you need to do". Knew that was the right way to do it, just couldn't bring myself to cut up that wing any more. You're right, that's the best way to do it I think. Will tackle it tomorrow, was working on a Tamiya 1/48th A-1H Skyraider that I am testing some airbrushing on today.

lfetz145
Joined: May 18, 2014
KitMaker: 69 posts
AeroScale: 67 posts
Posted: Saturday, April 18, 2015 - 08:53 PM UTC
Does anyone know how to get replacement decals from Revell Germany, and how to remove the one I already put on? I was trying to clear coat it, and it flaked off the bottom.
Jessie_C
Joined: September 03, 2009
KitMaker: 6,965 posts
AeroScale: 6,247 posts
Posted: Saturday, April 18, 2015 - 09:13 PM UTC
Quoted Text
Does anyone know how to get replacement decals from Revell Germany, and how to remove the one I already put on? I was trying to clear coat it, and it flaked off the bottom.
Visit Revell's Customer Support page and follow their directions. It may take a couple of weeks for them to mail you your decals, but if they have it, they'll send it.
If your decal is a generic one, you may be able to replace it by using an aftermarket sheet.
Removing decals can be tricky, especially if you've already clear coated it. You may need to sand it off and re-paint the area.
Jessie_C
Joined: September 03, 2009
KitMaker: 6,965 posts
AeroScale: 6,247 posts
Posted: Sunday, April 19, 2015 - 02:59 AM UTC
My Ramjet Mustang looks much better now that the first round of filling and primer is done. There's still much to do, but it looks like it's one piece rather than unrelated chunks of plastic.
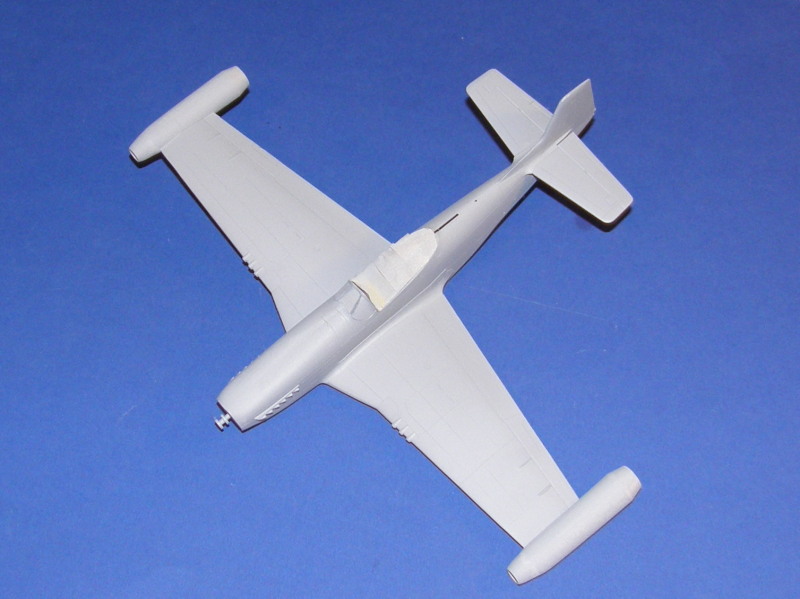
The Marquardt company would no longer be ashamed to look at the ramjets
The Marquardt company would no longer be ashamed to look at the ramjets
F1Boomer
Joined: April 06, 2015
KitMaker: 32 posts
AeroScale: 13 posts
Posted: Sunday, April 19, 2015 - 06:17 AM UTC
Very nice looking Mustang Jessica.
F1Boomer
Joined: April 06, 2015
KitMaker: 32 posts
AeroScale: 13 posts
Posted: Sunday, April 19, 2015 - 08:50 AM UTC
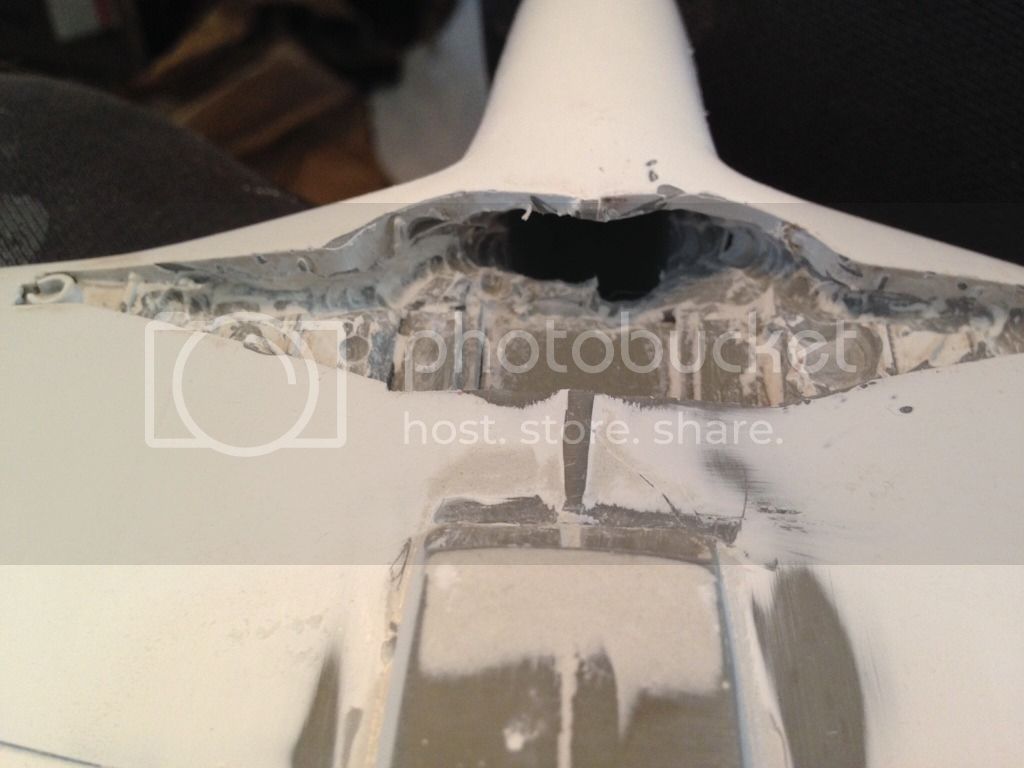
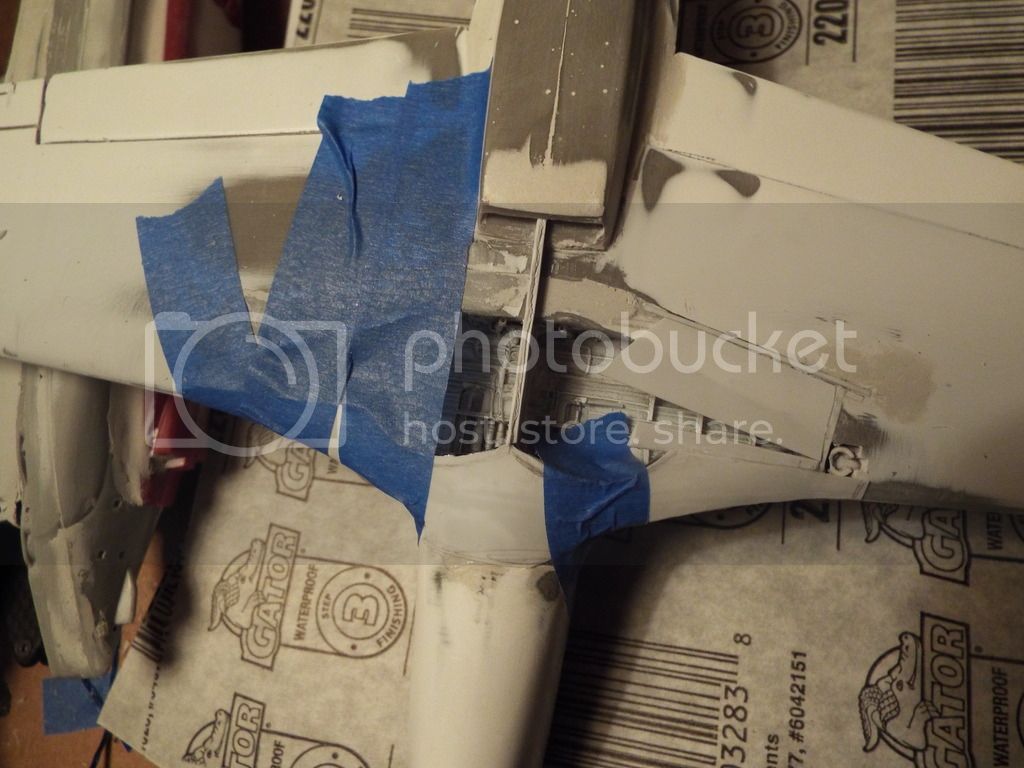
1/32nd Heritage Strega-
Stayed up till 1AM last night cutting open the wing, grinding away, fitting the well, grinding some more. Finally got the well in, took the cut pieces and sanded them to fit, then installed them. Installed shims and backing to fill gaps around well.Long story short, finally got well installed, now for the cleaning up of the shims, more shims, putty, sanding, putty, sanding, you know the drill. Also during the grinding of the inside of the wing, I cut thru in a couple places on the upper wing. Started filling to repair those. Well is not a perfect fit, but some sanding and grinding and some Army language and it is in. More work today, cutting shims, sanding, adding more shims, sanding, filling.


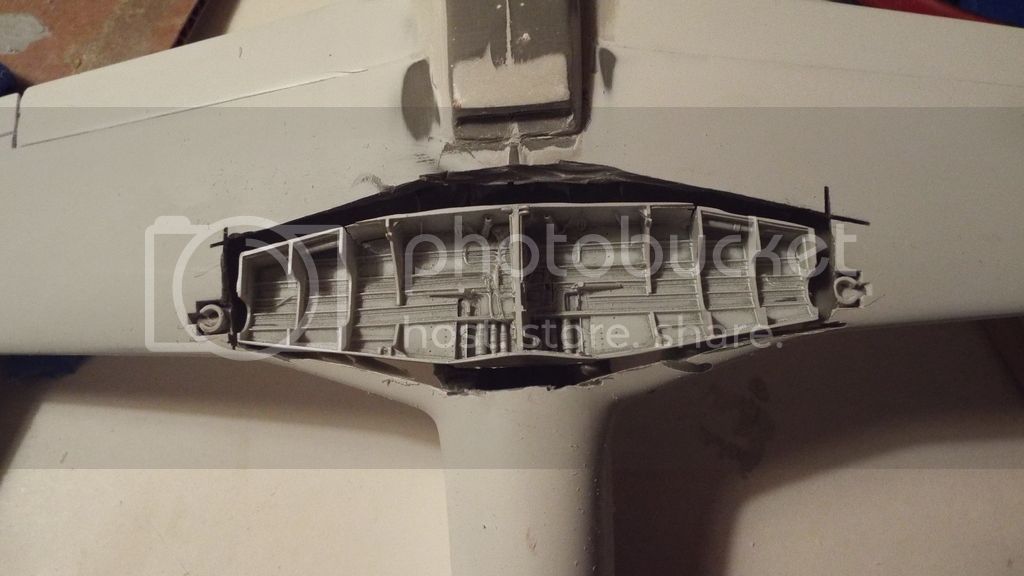
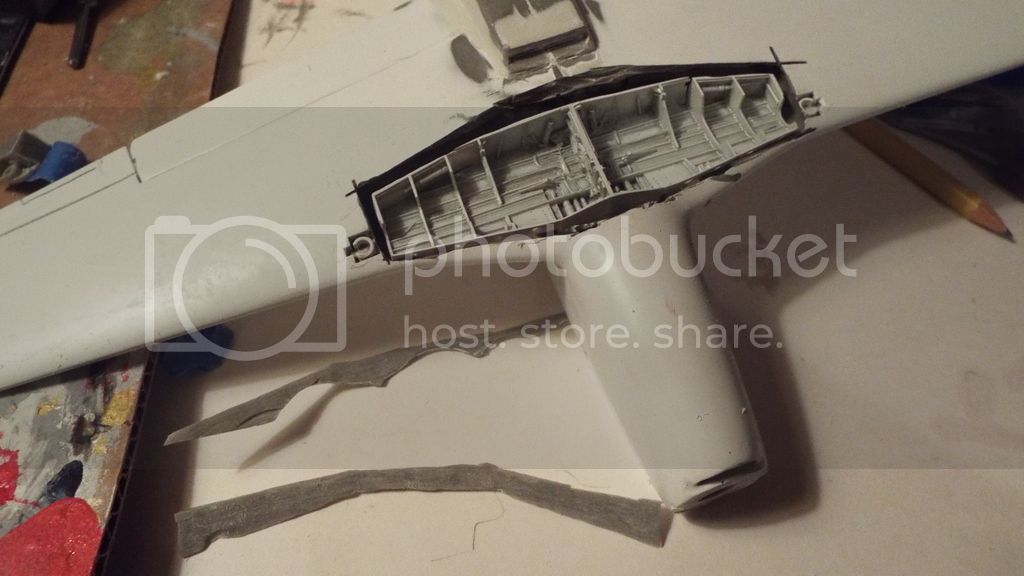
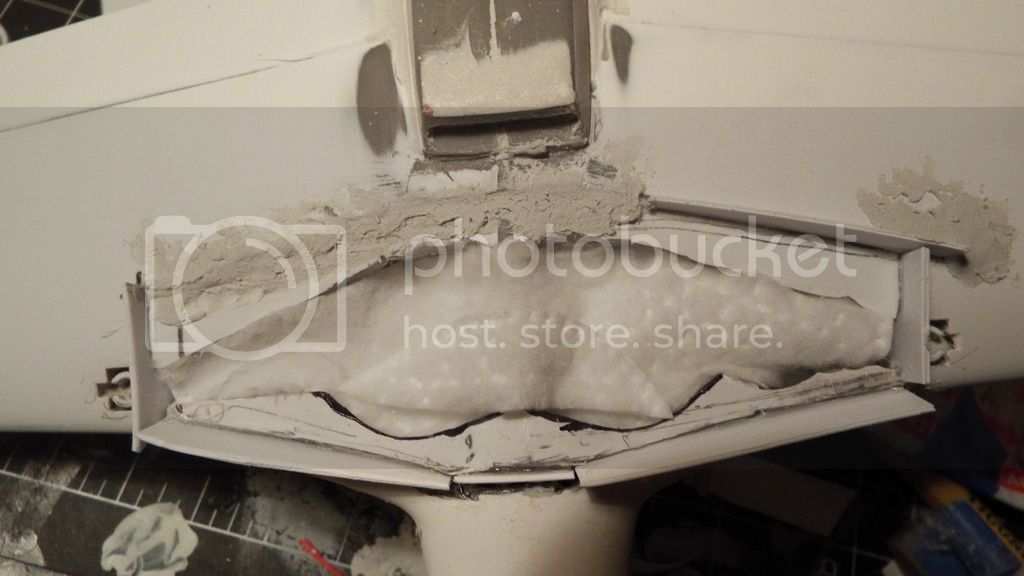
More work today, cutting shims, sanding, adding more shims, sanding, filling.
Stayed up till 1AM last night cutting open the wing, grinding away, fitting the well, grinding some more. Finally got the well in, took the cut pieces and sanded them to fit, then installed them. Installed shims and backing to fill gaps around well.Long story short, finally got well installed, now for the cleaning up of the shims, more shims, putty, sanding, putty, sanding, you know the drill. Also during the grinding of the inside of the wing, I cut thru in a couple places on the upper wing. Started filling to repair those. Well is not a perfect fit, but some sanding and grinding and some Army language and it is in. More work today, cutting shims, sanding, adding more shims, sanding, filling.


More work today, cutting shims, sanding, adding more shims, sanding, filling.

Jessie_C
Joined: September 03, 2009
KitMaker: 6,965 posts
AeroScale: 6,247 posts
Posted: Sunday, April 19, 2015 - 09:05 AM UTC
But think of how good it's going to look when you're finished! And you'll know what you had to do to get it there
F1Boomer
Joined: April 06, 2015
KitMaker: 32 posts
AeroScale: 13 posts
Posted: Sunday, April 19, 2015 - 09:21 AM UTC
Hopefully I won't do all this work and it look bad too. It's a real learning experience. I used to get all worried when I'd make a mistake on a kit, now it's grab the plasticard and putty and fix it, or modify it, or both. It's a hobby I love.
lfetz145
Joined: May 18, 2014
KitMaker: 69 posts
AeroScale: 67 posts
Posted: Tuesday, April 21, 2015 - 06:52 AM UTC
Jessie, my decal that got torn up was just a generic 1/48th roundel on the topside of the wing, and I guess I hadn't really thought of the aftermarket route. I was going to ask around a little bit, and see if anyone had any spare roundels that they would be willing to part with? I would be willing to pay for the decal, and shipping and handling for the U.S.
 |

WEB HOSTING BY


Copyright ©2021 AeroScale and Kitmaker Network, a subsidiary of Silver Star Enterprises
All Rights Reserved. Please read our Conditions of Use and Privacy Policy.
All Rights Reserved. Please read our Conditions of Use and Privacy Policy.