OFFICIAL:1st Generation Jet Fighters Campaign
Oregon, United States
Joined: January 13, 2014
KitMaker: 107 posts
AeroScale: 105 posts
Posted: Thursday, January 15, 2015 - 11:13 AM UTC
On the WIF Workbench: 1/72 IL-2 Sturmovik (Cuban Air Force)
"I shall either find a way or I shall make one." - supposedly, Hannibal Barca

#041
Kobenhavn, Denmark
Joined: July 20, 2006
KitMaker: 10,069 posts
AeroScale: 3,788 posts
Posted: Thursday, January 15, 2015 - 06:40 PM UTC
Nice little build, Martyn.
Campaign'oholic - 252+ campaigns completed
#363
Pennsylvania, United States
Joined: January 08, 2014
KitMaker: 425 posts
AeroScale: 401 posts
Posted: Tuesday, January 20, 2015 - 05:03 AM UTC
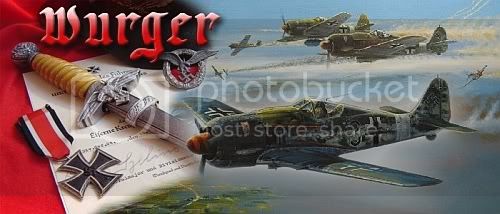
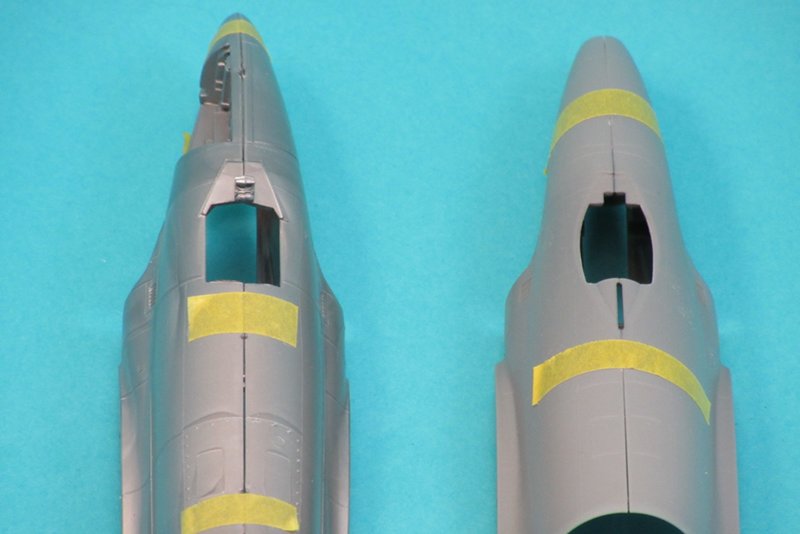
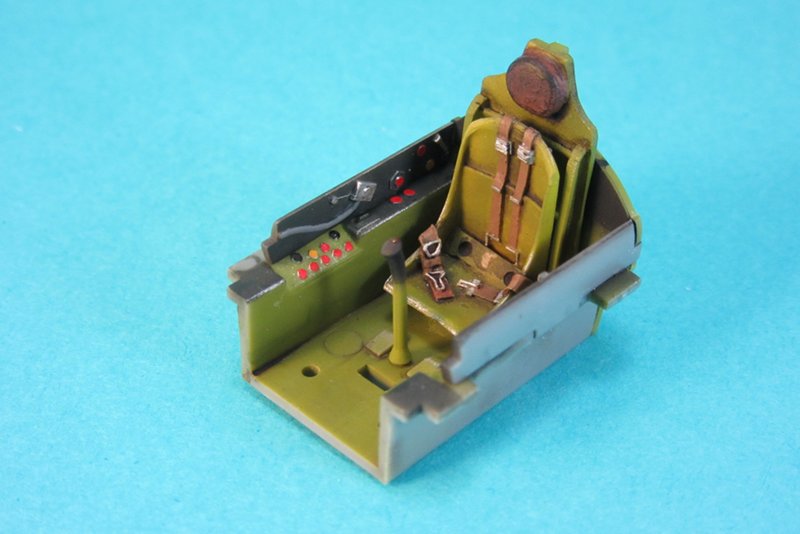
1/48 Hobby Boss F-80A as Project ExtraversionI got started on the cockpit this past week. The YP-80 had a P-38 style seat and armor plate rather than the bang seat the kit comes with. I sourced one from a True Details P-38 resin cockpit set. I cut it apart to keep the seat and armor, and tossed the rest. Here is also where the first major shape issue of the kit rose its ugly head. The cockpit opening is entirely too narrow on the Hobby Boss kit, and misshapen to boot. It is pinched at the front and back, with curved sides that should be straight. I ended up shaving about 1mm from the back on each side to widen it a bit. The armor plate was still far too wide so I removed everything outboard of the seat rails. A little surgery later and she fit nicely. Its not perfectly accurate but at least its now the correct seat type.
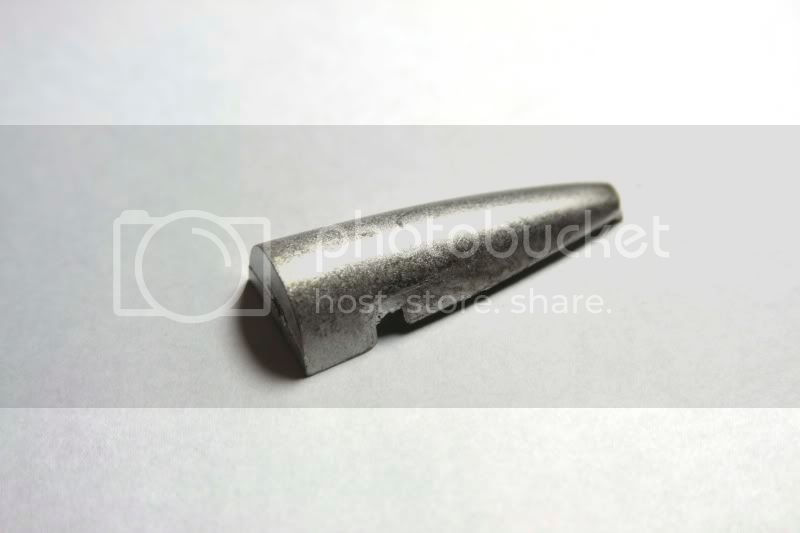
 The Monogram kit, which is considered accurate in shape, is on the left; Hobby Boss on the right, after I removed 1mm from each side at the rear. It was much narrower originally.
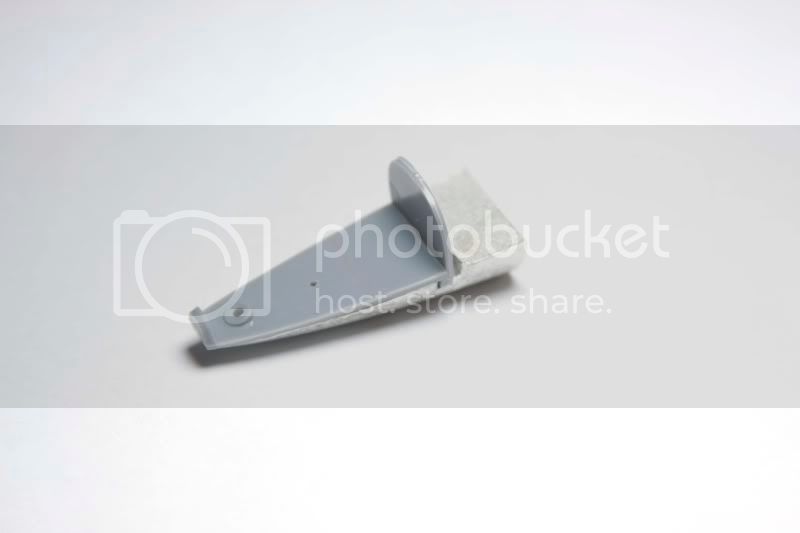
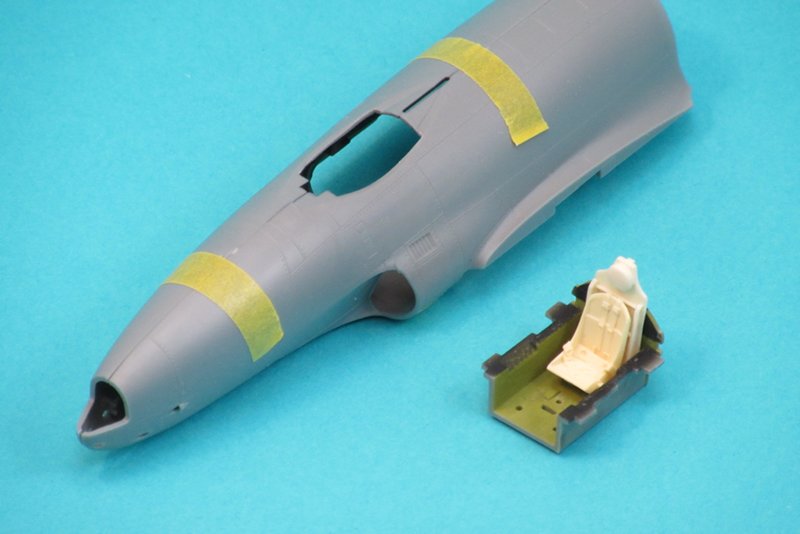 The resin seat and armor after some major trimming down. It will look much better than the kit's completely incorrect ejection seat.
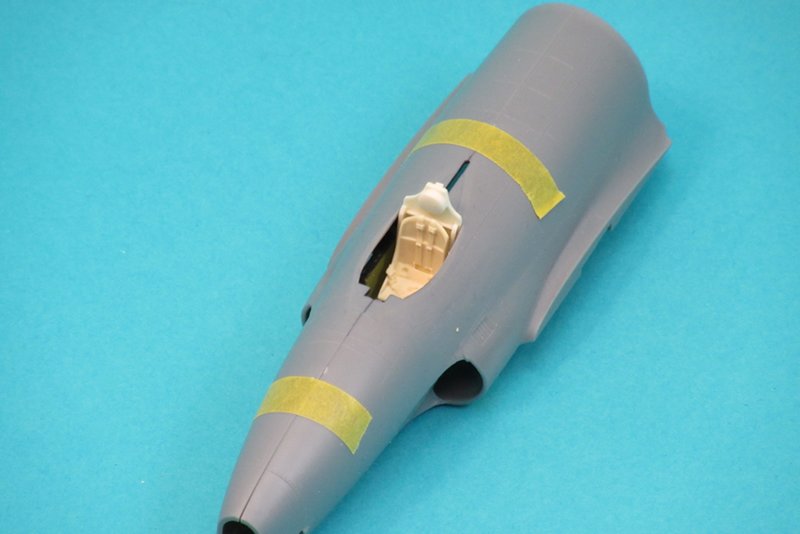 Frankenstein's creation all sealed up for test fitting. Not perfect but it will work.
I need to finish the cockpit painting and detail work, then get it all put together. I didn't bother with any other AMS goodies like the new Eduard PE interior set, the cockpit is so tight you wouldn't be a able to see much at all. More to come soon.
On the Bench:
The Big Three: Eduard 1:48 Bf 109G-2 Trop
Radial Fighters: Hasegawa 1:48 Ki84 Frank
The Mighty Eighth: Eduard 1:48 P-51D-10
New Jersey, United States
Joined: July 25, 2006
KitMaker: 1,139 posts
AeroScale: 53 posts
Posted: Friday, January 23, 2015 - 01:59 PM UTC
Well folks if you remember I switched from the F86D to the F86H because I lost the canopy of the D. Well I found a replacement so the F86D is back on. It will be a little easier to build then the limited run H. Worked a bit on it tonight.
Tom
"ALLONS" 11TH ACR BLACKHORSE
"Death Before Dismount"
19K40/ Dino Rider 19F10
#439
Washington, United States
Joined: November 05, 2005
KitMaker: 4,950 posts
AeroScale: 3,192 posts
Posted: Friday, January 23, 2015 - 08:27 PM UTC
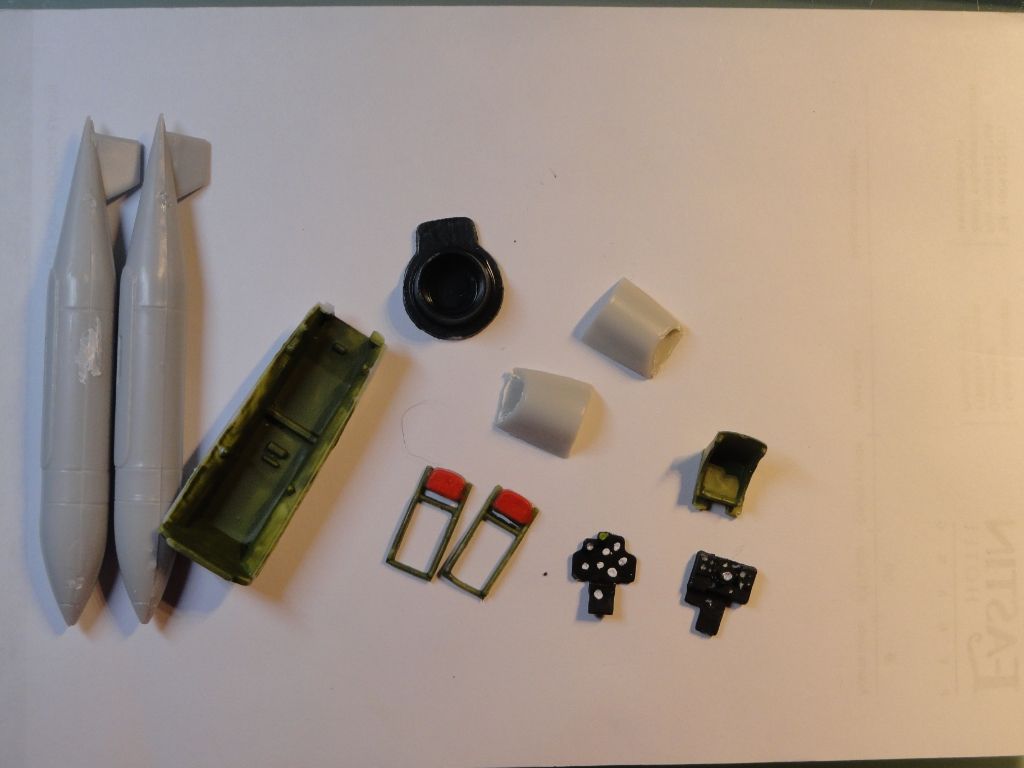
Got some bits worked on for my F-94.
Hanger Queens in Waiting:
Monogram 1/72 F8F-1
Corsair the Sky Pirate - 1/72 Ace A-7D
Century Series - Airfix 1/72 F-105G
Anti Shipping - Academy 1/72 PBJ-1D
Academy 1/72 F-84E
#439
Washington, United States
Joined: November 05, 2005
KitMaker: 4,950 posts
AeroScale: 3,192 posts
Posted: Saturday, January 24, 2015 - 06:24 PM UTC
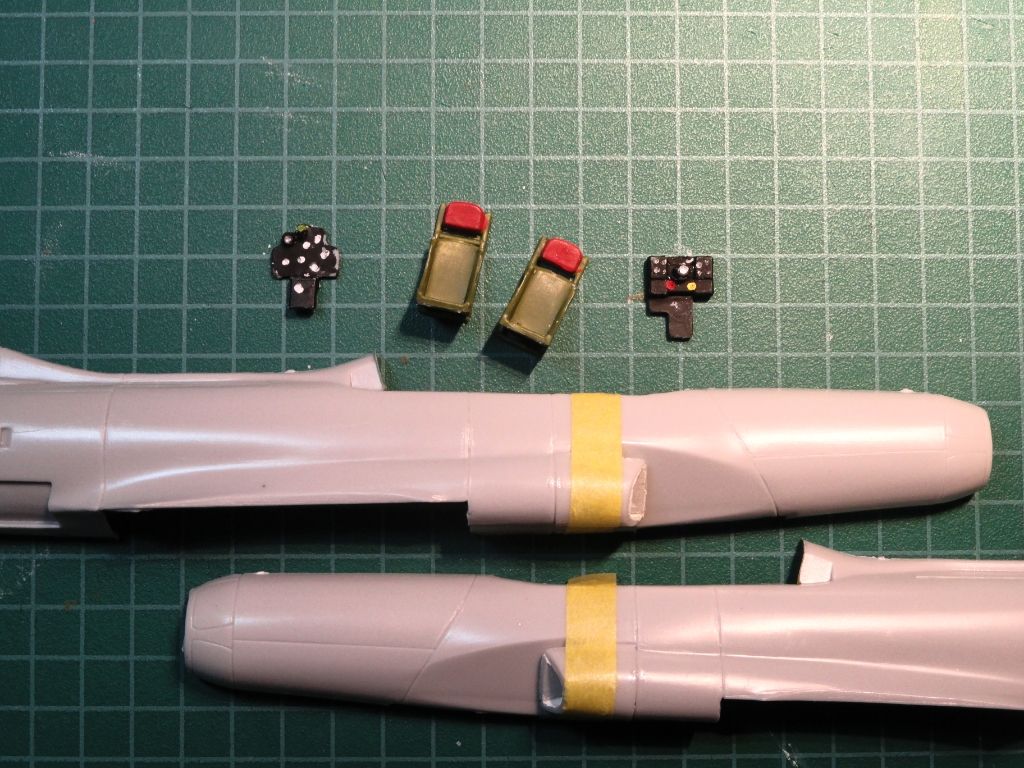
A little more progress:
Hanger Queens in Waiting:
Monogram 1/72 F8F-1
Corsair the Sky Pirate - 1/72 Ace A-7D
Century Series - Airfix 1/72 F-105G
Anti Shipping - Academy 1/72 PBJ-1D
Academy 1/72 F-84E
#226
British Columbia, Canada
Joined: February 20, 2012
KitMaker: 1,909 posts
AeroScale: 508 posts
Posted: Monday, January 26, 2015 - 08:37 AM UTC
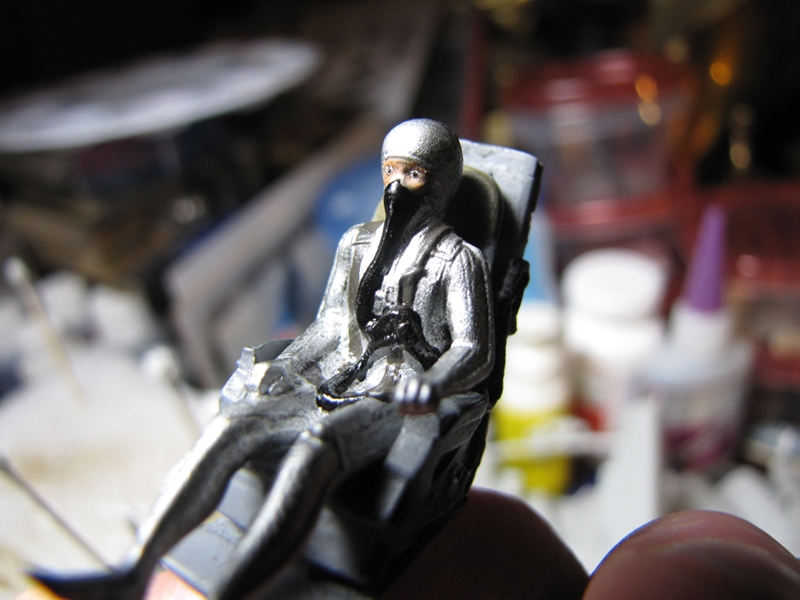
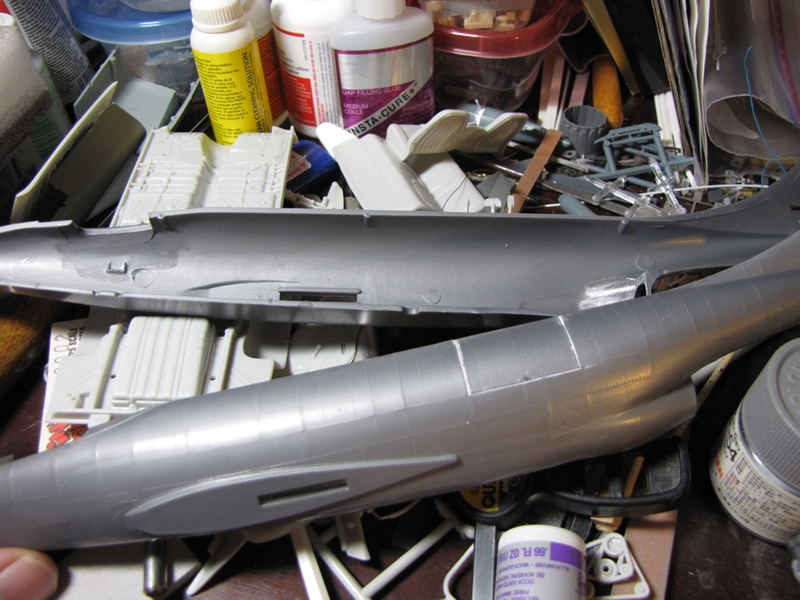
There is not much of a cockpit to this kit, virtually none really

and I am not going to worry about it for this build.

I have painted the pilot and seat as well as some interior areas and the engine exhausts, I added a mild wash to the pilot after these pics

and glued the fuse together.
Cheers Rob.
Anything without guns is a target!
27 completed campaigns and counting :)
#439
Washington, United States
Joined: November 05, 2005
KitMaker: 4,950 posts
AeroScale: 3,192 posts
Posted: Monday, January 26, 2015 - 10:12 AM UTC
Wow Rob, I had to go back into pre-history to figure out what kit you were working on.

Pilot looks pretty good, has a real scared spitless look in his eyes.

Hanger Queens in Waiting:
Monogram 1/72 F8F-1
Corsair the Sky Pirate - 1/72 Ace A-7D
Century Series - Airfix 1/72 F-105G
Anti Shipping - Academy 1/72 PBJ-1D
Academy 1/72 F-84E
#226
British Columbia, Canada
Joined: February 20, 2012
KitMaker: 1,909 posts
AeroScale: 508 posts
Posted: Monday, January 26, 2015 - 11:39 AM UTC
Thanks Mark,
I think he looks like me while I was trying to paint him.
Cheers Rob.
Anything without guns is a target!
27 completed campaigns and counting :)
Buenos Aires, Argentina
Joined: September 07, 2006
KitMaker: 918 posts
AeroScale: 688 posts
Posted: Friday, January 30, 2015 - 05:35 AM UTC
Ecuador
Joined: March 25, 2004
KitMaker: 84 posts
AeroScale: 42 posts
Posted: Friday, January 30, 2015 - 07:30 PM UTC
Buenos Aires, Argentina
Joined: September 07, 2006
KitMaker: 918 posts
AeroScale: 688 posts
Posted: Saturday, January 31, 2015 - 08:41 PM UTC
#363
Pennsylvania, United States
Joined: January 08, 2014
KitMaker: 425 posts
AeroScale: 401 posts
Posted: Saturday, January 31, 2015 - 08:45 PM UTC
1/48 Hobby Boss F-80A as Project ExtraversionI finished up the paint work in the cockpit and assembled the tub. The P-38 seat and armor look the part after a wash with Tamiya's dark brown panel accent. I picked out various dials and lights with Sharpie oil paint markers. Comparing the kit cockpit features to a SSP reference, Hobby Boss did an OK job putting things in their correct place on the sidewalls. It's not super accurate but it looks the part. I need to add an oxygen hose, I forgot to do that before I started making things cramped.
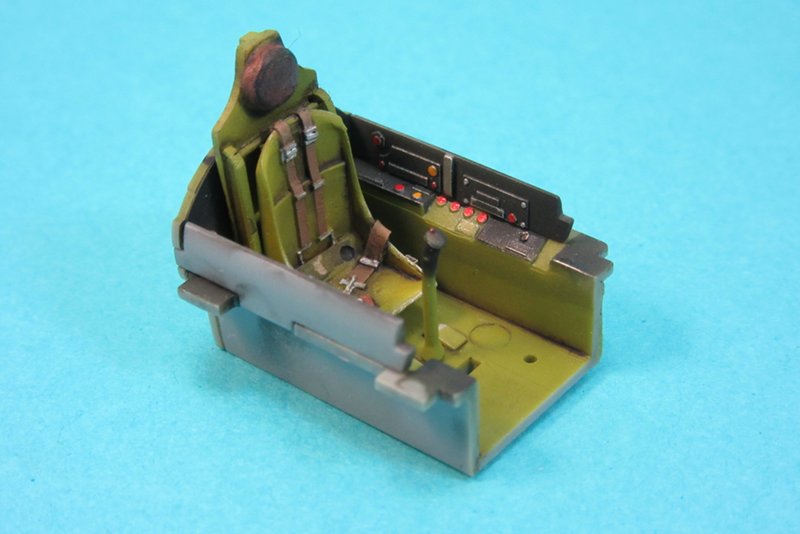
Next I need to rework the nose glass to resemble a landing light rather than the radar.
On the Bench:
The Big Three: Eduard 1:48 Bf 109G-2 Trop
Radial Fighters: Hasegawa 1:48 Ki84 Frank
The Mighty Eighth: Eduard 1:48 P-51D-10
Buenos Aires, Argentina
Joined: September 07, 2006
KitMaker: 918 posts
AeroScale: 688 posts
Posted: Friday, February 06, 2015 - 03:20 AM UTC
Some advances,
New Jersey, United States
Joined: July 25, 2006
KitMaker: 1,139 posts
AeroScale: 53 posts
Posted: Friday, February 06, 2015 - 06:05 PM UTC
Good news more progress on my reborn F86D. I added a pilot since I like my aircraft to have that lived in look. I finished to night with the fuselage halves joined and now begins the filling and the sanding one reason why I don't build a lot of planes. This is an older kit and needs some work.


The pilot has a biue flight jacket over an OD flight suit.
Tom
"ALLONS" 11TH ACR BLACKHORSE
"Death Before Dismount"
19K40/ Dino Rider 19F10
Buenos Aires, Argentina
Joined: September 07, 2006
KitMaker: 918 posts
AeroScale: 688 posts
Posted: Saturday, February 14, 2015 - 11:51 PM UTC
Buenos Aires, Argentina
Joined: September 07, 2006
KitMaker: 918 posts
AeroScale: 688 posts
Posted: Thursday, February 26, 2015 - 08:35 PM UTC
Spain / España
Joined: February 28, 2012
KitMaker: 103 posts
AeroScale: 102 posts
Posted: Tuesday, March 03, 2015 - 01:18 AM UTC
Hello Everyone,
Great builds so far. I am a long term beginner but I will try my best.
I started yesterday with a Tamiya 1/48 He 162A-2. I love the model and this is the first time I build a 1/48.
I have started looking at instructions and so far I haven't made any mistakes.

England - West Midlands, United Kingdom
Joined: August 01, 2012
KitMaker: 960 posts
AeroScale: 391 posts
Posted: Tuesday, March 03, 2015 - 01:38 PM UTC
I've gotten a little ways on my Airfix Gloster MeteorIII. Sanding and filling to do next.

New Jersey, United States
Joined: July 25, 2006
KitMaker: 1,139 posts
AeroScale: 53 posts
Posted: Wednesday, March 04, 2015 - 05:43 PM UTC
Just a small up date progress is slow and this kit needs quite a bit of seam work.

Tom
"ALLONS" 11TH ACR BLACKHORSE
"Death Before Dismount"
19K40/ Dino Rider 19F10
#439
Washington, United States
Joined: November 05, 2005
KitMaker: 4,950 posts
AeroScale: 3,192 posts
Posted: Thursday, March 05, 2015 - 05:05 AM UTC
Gosh, I hope I can get back to mine this weekend.
Hanger Queens in Waiting:
Monogram 1/72 F8F-1
Corsair the Sky Pirate - 1/72 Ace A-7D
Century Series - Airfix 1/72 F-105G
Anti Shipping - Academy 1/72 PBJ-1D
Academy 1/72 F-84E
Buenos Aires, Argentina
Joined: September 07, 2006
KitMaker: 918 posts
AeroScale: 688 posts
Posted: Thursday, March 05, 2015 - 04:56 PM UTC
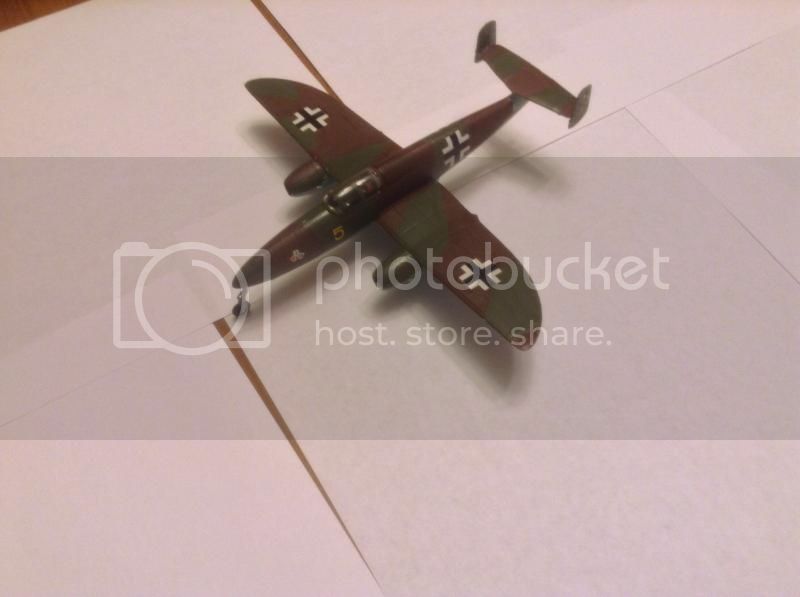
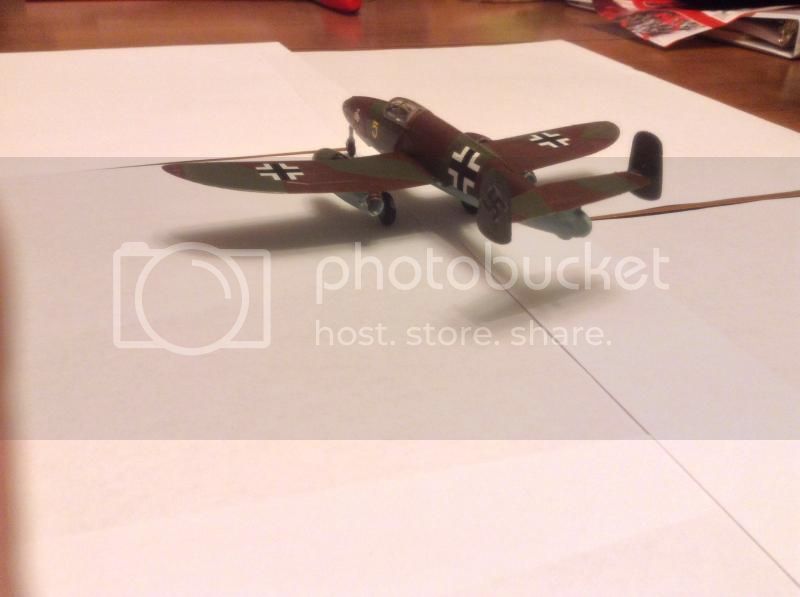
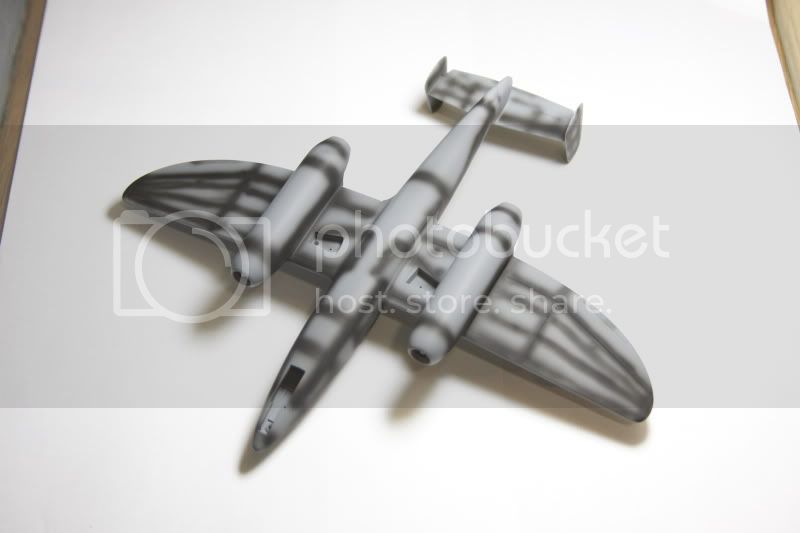
I´d painted the panels with black to give a shadow efect,
Buenos Aires, Argentina
Joined: September 07, 2006
KitMaker: 918 posts
AeroScale: 688 posts
Posted: Thursday, March 05, 2015 - 05:01 PM UTC
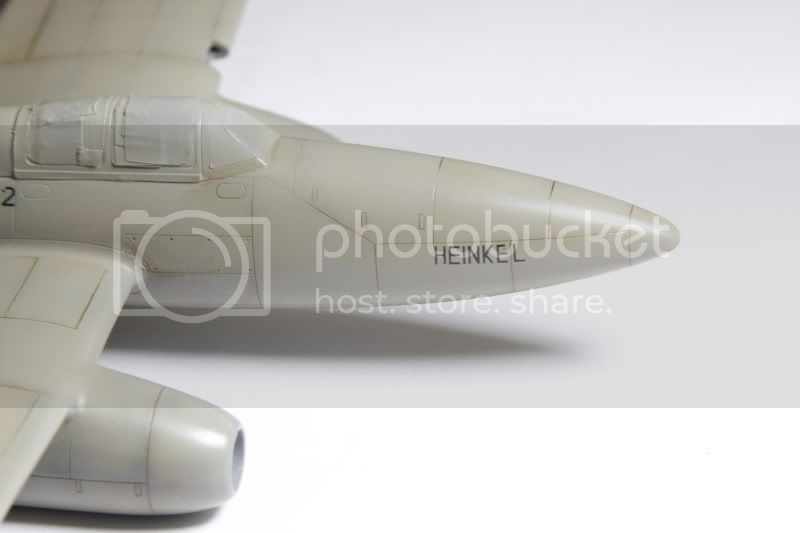
After it was dry I painted the planewith RLM 02,
Buenos Aires, Argentina
Joined: September 07, 2006
KitMaker: 918 posts
AeroScale: 688 posts
Posted: Thursday, March 05, 2015 - 06:54 PM UTC
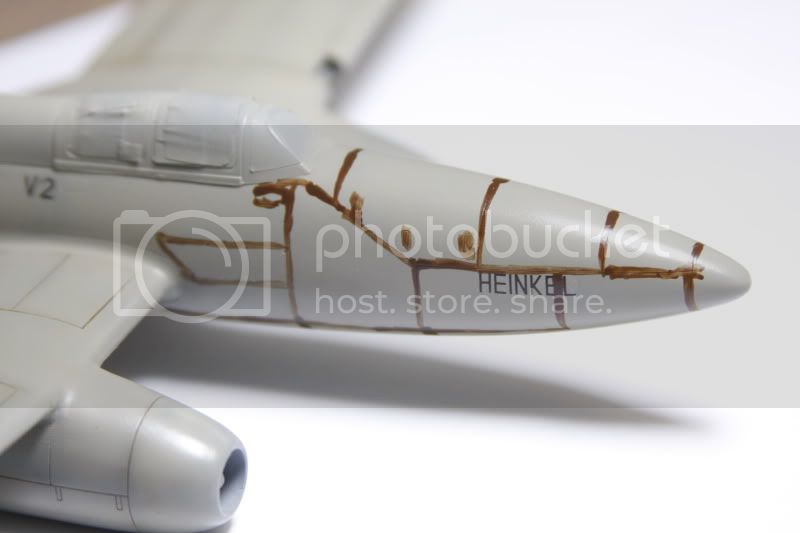
After I painted it with RLM 02 and it was dry I began marking the panels,
MichaelSatin
 Campaigns Administrator
Colorado, United States
Joined: January 19, 2008
KitMaker: 3,909 posts
AeroScale: 2,904 posts
Posted: Thursday, March 05, 2015 - 09:12 PM UTC
Nice Daniel! What are you using to mark the panels with and then wiping off?
Michael

On the bench:
Sorta depends on your definition of "on the bench"...