Air Campaigns
Want to start or join a group build? This is where to start.
OFFICIAL: National Pride Campaign
JClapp
#259
_VISITCOMMUNITY
Massachusetts, United States
Joined: October 23, 2011
KitMaker: 2,265 posts
AeroScale: 1,715 posts
Posted: Thursday, December 11, 2014 - 10:39 PM UTC

Quoted Text

Glad your started, Jonathan. 1/144 airliners are where my interest seems to be steering, as I get older.

Nice home movie clip, too. Are you the deep in thought blond kid wearing white, wondering how he can hook-up with that cute teacher?


I have lots of airliners on my list, including - especially - that Air Micronesia 727, of which I have a hanger queen several years old already.

I cant identify myself in that film, can't even say if I am in it. So much old stuff, and no one left who remembers.
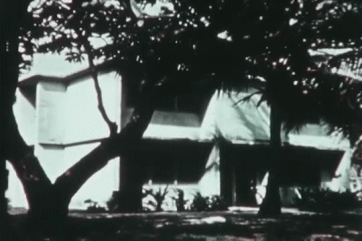
Here's another clip showing our neighborhood.
enough of that.


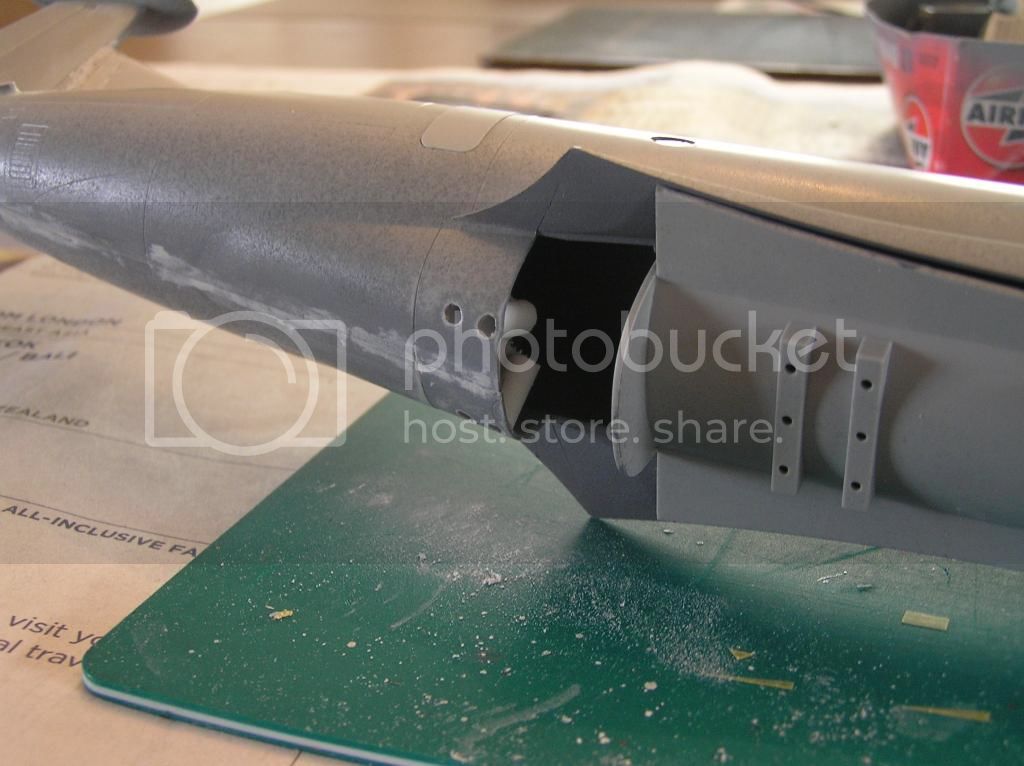
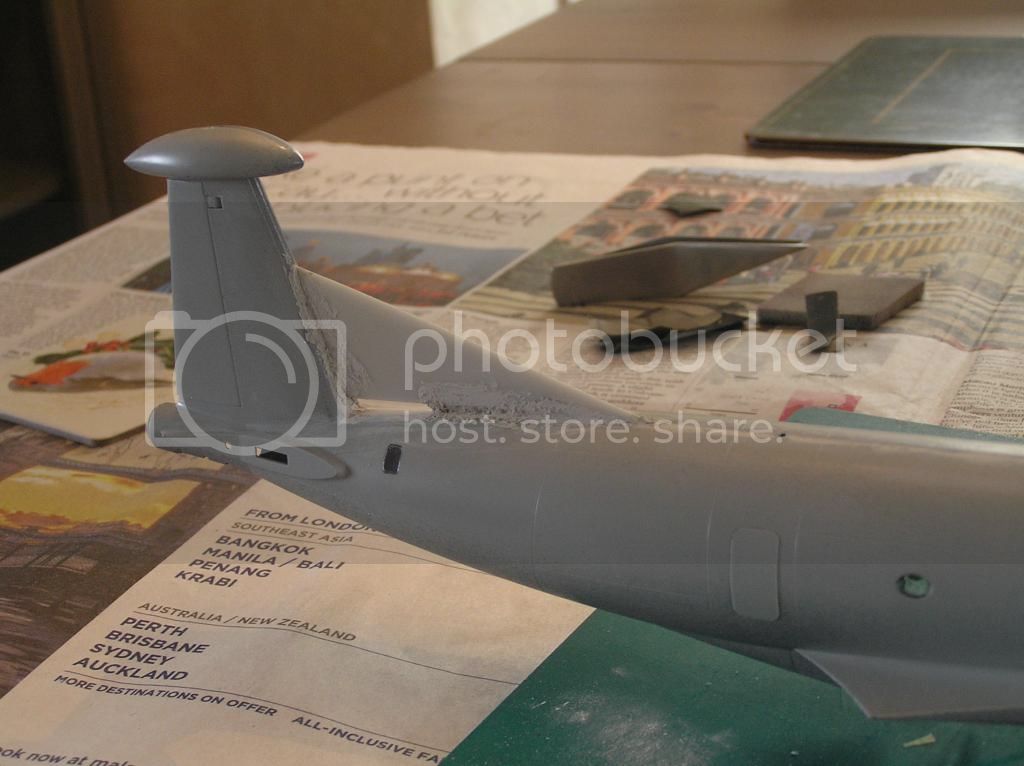
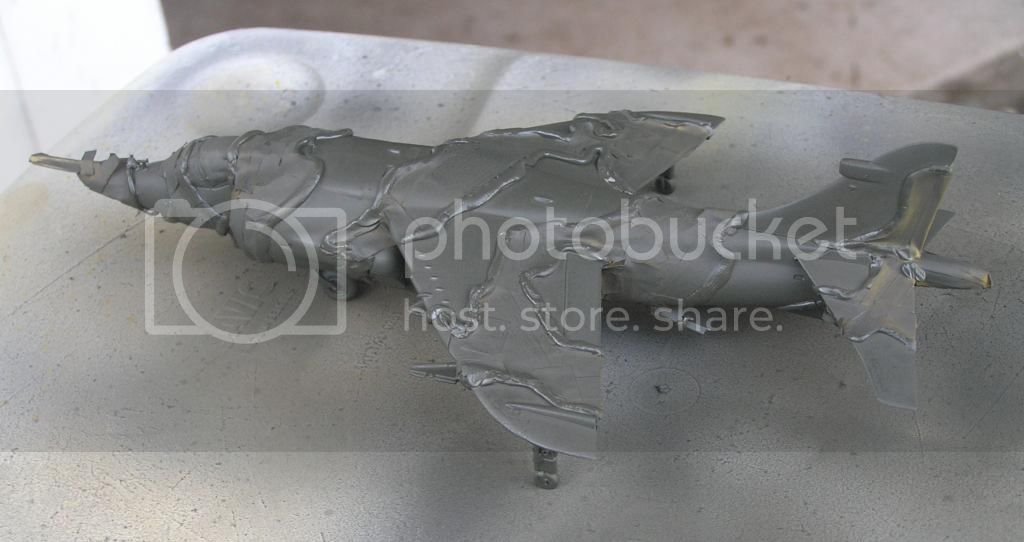
Hey Joel, we meet again. nice looking F-15 you've got going!


Joel_W
Staff MemberAssociate Editor
AUTOMODELER
_VISITCOMMUNITY
New York, United States
Joined: December 04, 2010
KitMaker: 11,666 posts
AeroScale: 7,410 posts
Posted: Friday, December 12, 2014 - 08:32 PM UTC
I just posted an update to the F-15C, as I finally finished the Aces 11 ejection seat, started work on the IP, as well as the cockpit, which is a mini kit all by itself. The detail is simply amazing.

Here's the link to the full build blog

F-15C


Joel

Mcleod
_VISITCOMMUNITY
Alberta, Canada
Joined: April 07, 2010
KitMaker: 1,028 posts
AeroScale: 939 posts
Posted: Friday, December 12, 2014 - 09:47 PM UTC
Joel, the cockpit module looks great.

Admittedly, I would have liked to see a photo of how the completed IP turned out, after you drilled and backed the instrument faces. Having tried variations of the technique myself, I'm always interested in this type of work.
Looking forward to your next update
Joel_W
Staff MemberAssociate Editor
AUTOMODELER
_VISITCOMMUNITY
New York, United States
Joined: December 04, 2010
KitMaker: 11,666 posts
AeroScale: 7,410 posts
Posted: Friday, December 12, 2014 - 11:05 PM UTC

Quoted Text

Joel, the cockpit module looks great.

Admittedly, I would have liked to see a photo of how the completed IP turned out, after you drilled and backed the instrument faces. Having tried variations of the technique myself, I'm always interested in this type of work.
Looking forward to your next update


Ben,
Checkout the full build thread for more pictures with descriptions of the associated work. As for the IP, it's still a work in progress. Just test fitted at this point.
Joel
Mcleod
_VISITCOMMUNITY
Alberta, Canada
Joined: April 07, 2010
KitMaker: 1,028 posts
AeroScale: 939 posts
Posted: Saturday, December 13, 2014 - 12:05 AM UTC

Quoted Text

Checkout the full build thread for more pictures with descriptions of the associated work. As for the IP, it's still a work in progress. Just test fitted at this point.


I do follow your blog, Joel; didn't realize the IP wasn't set in for good. So, it looks like we might get an opportunity to see the photo.
Joel_W
Staff MemberAssociate Editor
AUTOMODELER
_VISITCOMMUNITY
New York, United States
Joined: December 04, 2010
KitMaker: 11,666 posts
AeroScale: 7,410 posts
Posted: Saturday, December 13, 2014 - 12:50 AM UTC

Quoted Text


Quoted Text

Checkout the full build thread for more pictures with descriptions of the associated work. As for the IP, it's still a work in progress. Just test fitted at this point.


I do follow your blog, Joel; didn't realize the IP wasn't set in for good. So, it looks like we might get an opportunity to see the photo.


Ben,
I certainly hope so.
Joel
Dragon164
#226
_VISITCOMMUNITY
British Columbia, Canada
Joined: February 20, 2012
KitMaker: 1,909 posts
AeroScale: 508 posts
Posted: Saturday, December 13, 2014 - 09:01 AM UTC
Here is what I will be building for the campaign ,just need to dig it out of the stash.

Cheers Rob.


Mcleod
_VISITCOMMUNITY
Alberta, Canada
Joined: April 07, 2010
KitMaker: 1,028 posts
AeroScale: 939 posts
Posted: Saturday, December 13, 2014 - 09:56 AM UTC
Nice one, Rob. The 1/48 Monogram F-101B is quite a large model. I've seen it built into an impressive and proud display, raised detail and all.

I have one in the stash myself, with the Leading Edge decals.
Good luck
Dragon164
#226
_VISITCOMMUNITY
British Columbia, Canada
Joined: February 20, 2012
KitMaker: 1,909 posts
AeroScale: 508 posts
Posted: Saturday, December 13, 2014 - 01:16 PM UTC
Ben,
I too have the Leading Edge decals but am saving them for a new Voodoo hopefully.

Cheers Rob.
scribbles101
_VISITCOMMUNITY
United Kingdom
Joined: May 25, 2013
KitMaker: 137 posts
AeroScale: 103 posts
Posted: Saturday, December 13, 2014 - 05:39 PM UTC
Right, well here is some progress on the mosquito. I did intend to build this as a F.B VI variant, but the decals that I have for the F.B VI are RAAF markings, meaning tat they can't be used for this campaign since I am British, so I have decided instead to build an N.F MkII in the full black scheme of RAF night fighters of the period, simply because I have the correct markings for that variant. That and I currently have no night fighters in my collection

so here are some pics thus far

did some work to the kit cockpit by making the navigator/radar operators seat out of some plasticard, then I cut some small sections off the sprue from a Gloster Gladiator kit I am building for the over shadowed fighters campaign and re shaped them to make the radio equipment. The figures came with the kit.


Wings and tail plane assembled and fitted to the fuselage halves, then I primed and painted the inside faces of the fuselage halves ready for the cockpit and tail wheel to be fitted


Engine nacelles and undercarriage fitted as well as the props and nose detail. These are the earlier 'needle' type propellers, before the blunt ended 'shovel' type props were fitted to the Mosquito.


Just a quick shot to show the cockpit in place along with the radar antenna and the 4 7.62mm machine guns. I noticed that the figures needed a little sprucing up after this shot was taken before I could glue the canopy in place.

So, that is all there is of the Mosie so far, more on the way, I am waiting for the primer to dry for the all black paint scheme as I type this. Pics will follow at some point
Joel_W
Staff MemberAssociate Editor
AUTOMODELER
_VISITCOMMUNITY
New York, United States
Joined: December 04, 2010
KitMaker: 11,666 posts
AeroScale: 7,410 posts
Posted: Saturday, December 13, 2014 - 07:23 PM UTC
Rob,
Looking forward to your build of the Monogram kit. With all that's been recently written about the Kitty Hawk release, I'm curious as to your thoughts on the Monogram offering.

Joel
Mcleod
_VISITCOMMUNITY
Alberta, Canada
Joined: April 07, 2010
KitMaker: 1,028 posts
AeroScale: 939 posts
Posted: Saturday, December 13, 2014 - 08:09 PM UTC
Nice job on the Mosquito, Simon. I'm no expert, but, I think your prop blades are right. I always thought they only used the paddle blades for the coastal command birds. Don't know for sure, though.
JClapp
#259
_VISITCOMMUNITY
Massachusetts, United States
Joined: October 23, 2011
KitMaker: 2,265 posts
AeroScale: 1,715 posts
Posted: Saturday, December 13, 2014 - 11:37 PM UTC
Minicraft's instructions call for 15g nose weight. that hardly seems credible. these 1/2" cap screws weight 35g.

that should do it!
scribbles101
_VISITCOMMUNITY
United Kingdom
Joined: May 25, 2013
KitMaker: 137 posts
AeroScale: 103 posts
Posted: Sunday, December 14, 2014 - 12:26 AM UTC

Quoted Text

I think your prop blades are right. I always thought they only used the paddle blades for the coastal command birds. Don't know for sure, though.


yup, definately the right blades, and the paddle, shovel whatever you want to call them blades, (the blunt ones ) were fitted to some of the later production mosies, not just the coastal command variants, in addition to the prototype W4050, (which will eventually be fitted with the needle blades) we also have a B.35 and an F.B VI both of which have the blunt blades at the De Havilland Aircraft Museum where I volunteer

If you are ever in England in the London/Saint Albans area you should check it out - its a small place but well worth a visit
SGTJKJ
#041
_VISITCOMMUNITY
Kobenhavn, Denmark
Joined: July 20, 2006
KitMaker: 10,069 posts
AeroScale: 3,788 posts
Posted: Sunday, December 14, 2014 - 02:50 PM UTC

Quoted Text

Minicraft's instructions call for 15g nose weight. that hardly seems credible. these 1/2" cap screws weight 35g.

that should do it!


Jonanthan, seems like to halves will not fit together with the screws in them? Maybe it is just the picture....
JClapp
#259
_VISITCOMMUNITY
Massachusetts, United States
Joined: October 23, 2011
KitMaker: 2,265 posts
AeroScale: 1,715 posts
Posted: Sunday, December 14, 2014 - 04:51 PM UTC
They fit up nicely.

Joel_W
Staff MemberAssociate Editor
AUTOMODELER
_VISITCOMMUNITY
New York, United States
Joined: December 04, 2010
KitMaker: 11,666 posts
AeroScale: 7,410 posts
Posted: Monday, December 15, 2014 - 06:57 PM UTC
Well, I finally finished up the IP, and cockpit. Glued up the side walls, and test fitted the Aces 11 seat. I do have to say that it does look rather nice. Unfortunately, my photography skills dealing with lighting are pretty poor, and no matter how I tried, I just couldn't get the reflections in the Pledge instrument lenses to look any thing like they do up close and personal.


I then installed the cockpit front fuselage halves.


So far GWH kit has been everything it's been advertised to be, outstanding detail, nearly a perfect fit of every part to date, and no surprises.

Joel
ljames0874
_VISITCOMMUNITY
England - South East, United Kingdom
Joined: August 15, 2012
KitMaker: 408 posts
AeroScale: 365 posts
Posted: Monday, December 15, 2014 - 09:09 PM UTC
[quote we also have a B.35 and an F.B VI both of which have the blunt blades at the De Havilland Aircraft Museum where I volunteer

If you are ever in England in the London/Saint Albans area you should check it out - its a small place but well worth a visit[/quote]

I studied Model Design up in Hatfield (2006-2009 De Havilland Campus natch!) and visited the museum a fair few times, and it is excellent, I'd highly recommend it to anyone!
Mcleod
_VISITCOMMUNITY
Alberta, Canada
Joined: April 07, 2010
KitMaker: 1,028 posts
AeroScale: 939 posts
Posted: Monday, December 15, 2014 - 10:05 PM UTC
Cockpit looks great, Joel. The GWH Eagle appears to be an impressive kit.

Jonathan, you seem to be building in pairs of late. Well done!!
JClapp
#259
_VISITCOMMUNITY
Massachusetts, United States
Joined: October 23, 2011
KitMaker: 2,265 posts
AeroScale: 1,715 posts
Posted: Monday, December 15, 2014 - 10:10 PM UTC

Quoted Text

Cockpit looks great, Joel. The GWH Eagle appears to be an impressive kit.


agreed - lots of eye candy in there.


Quoted Text


Jonathan, you seem to be building in pairs of late. Well done!!


yes indeed. a new front in the Stash Wars. More on this soon.
Bushioka
_VISITCOMMUNITY
Oregon, United States
Joined: January 13, 2014
KitMaker: 107 posts
AeroScale: 105 posts
Posted: Tuesday, December 16, 2014 - 05:48 AM UTC
I might be able to fit in a Curtiss XP-55 Ascender for this campaign. Just got the Czech Model 1/48 kit for my birthday and it looks very nice.
Mcleod
_VISITCOMMUNITY
Alberta, Canada
Joined: April 07, 2010
KitMaker: 1,028 posts
AeroScale: 939 posts
Posted: Tuesday, December 16, 2014 - 06:22 AM UTC
The XP-55 will certainly work here, Martyn. All you have to do is press the enlist button here, and build it for pleasure and a ribbon.
ljames0874
_VISITCOMMUNITY
England - South East, United Kingdom
Joined: August 15, 2012
KitMaker: 408 posts
AeroScale: 365 posts
Posted: Wednesday, December 17, 2014 - 11:27 PM UTC
A little more progress to report. The Nimrod's fuselage is closed, but before I closed it up, I drilled out the Sonobuoy launchers, and glued some styrene tubes on the inside:

The resin replacement fin fillet has been fitted, and needs a fair amount of filling and sanding:

The Harrier GR3 has been primed, sprayed Medium Sea Grey, camouflage pattern masked using the blu tack snake technique, and sprayed with Nato Dark Green:

As the GR3 is nearly finished, I am adding a third build to the campaign, and that is..... wait for it ... an Esci 1/72 BAe Harrier GR5!

I acquired this kit second hand, for not very much money, and when I went to wash the parts off, I discovered that the kit had been stripped of its weapons. Luckily, I have suitable spares.
Oh, watch this space, because I'm not done with the Harrier motif yet. Assuming there is time, I have a GR7 in the stash too.

Cheers Everybody!
Mcleod
_VISITCOMMUNITY
Alberta, Canada
Joined: April 07, 2010
KitMaker: 1,028 posts
AeroScale: 939 posts
Posted: Thursday, December 18, 2014 - 12:17 AM UTC
Great work, Lee.
In my time here, I don't believe I've seen anyone suggest four models in a single campaign. Your efforts are certainly an inspirational treat. Well done, indeed!
ljames0874
_VISITCOMMUNITY
England - South East, United Kingdom
Joined: August 15, 2012
KitMaker: 408 posts
AeroScale: 365 posts
Posted: Thursday, December 18, 2014 - 11:28 AM UTC
Cheers Ben! As I said many moons ago (when the campaign was first proposed) this campaign was a complete no brainer for me, as British Military aircraft is my main interest, and I'd be doing this stuff anyway. Having recently tried to drum up interest for a Ground Attack aircraft campaign, and failed miserably to do so, I really wanted to build some Harriers - I guess you could say they're my all time favourite aircraft.

Cheers Everybody!