OFFICIAL: Ronnie RAAF Campaign II
South Australia, Australia
Joined: July 09, 2014
KitMaker: 327 posts
AeroScale: 41 posts
Posted: Sunday, October 19, 2014 - 10:17 AM UTC
Jclapp I didn't realise the scale of your orions until you put the coin beside them...
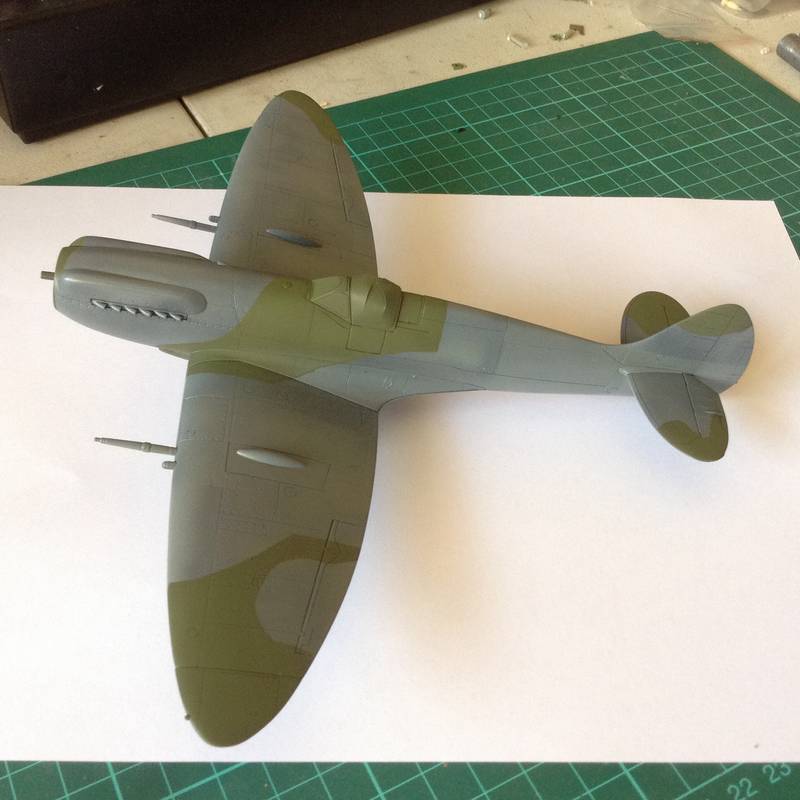
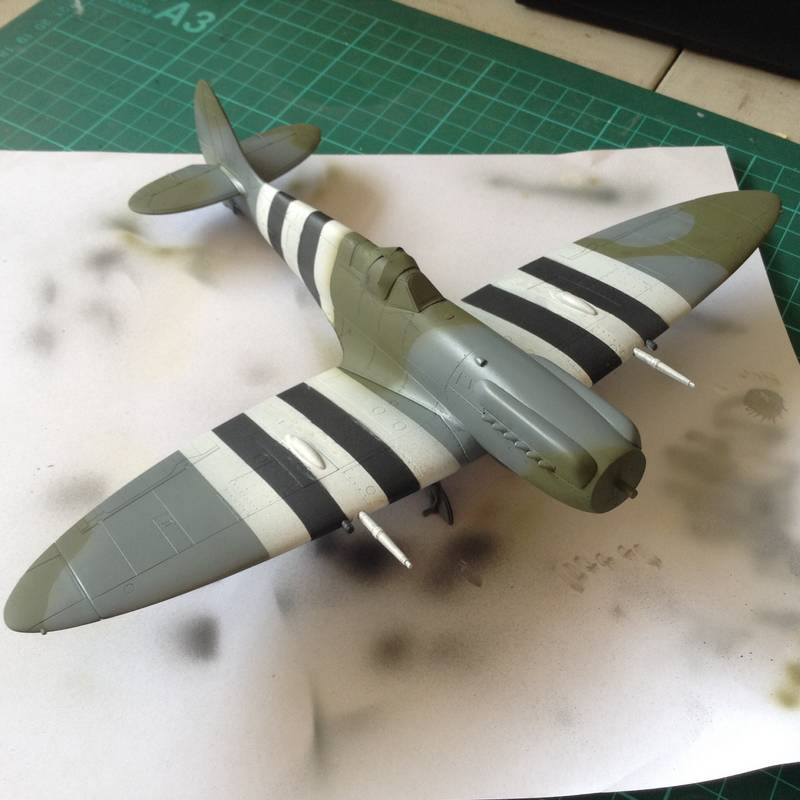
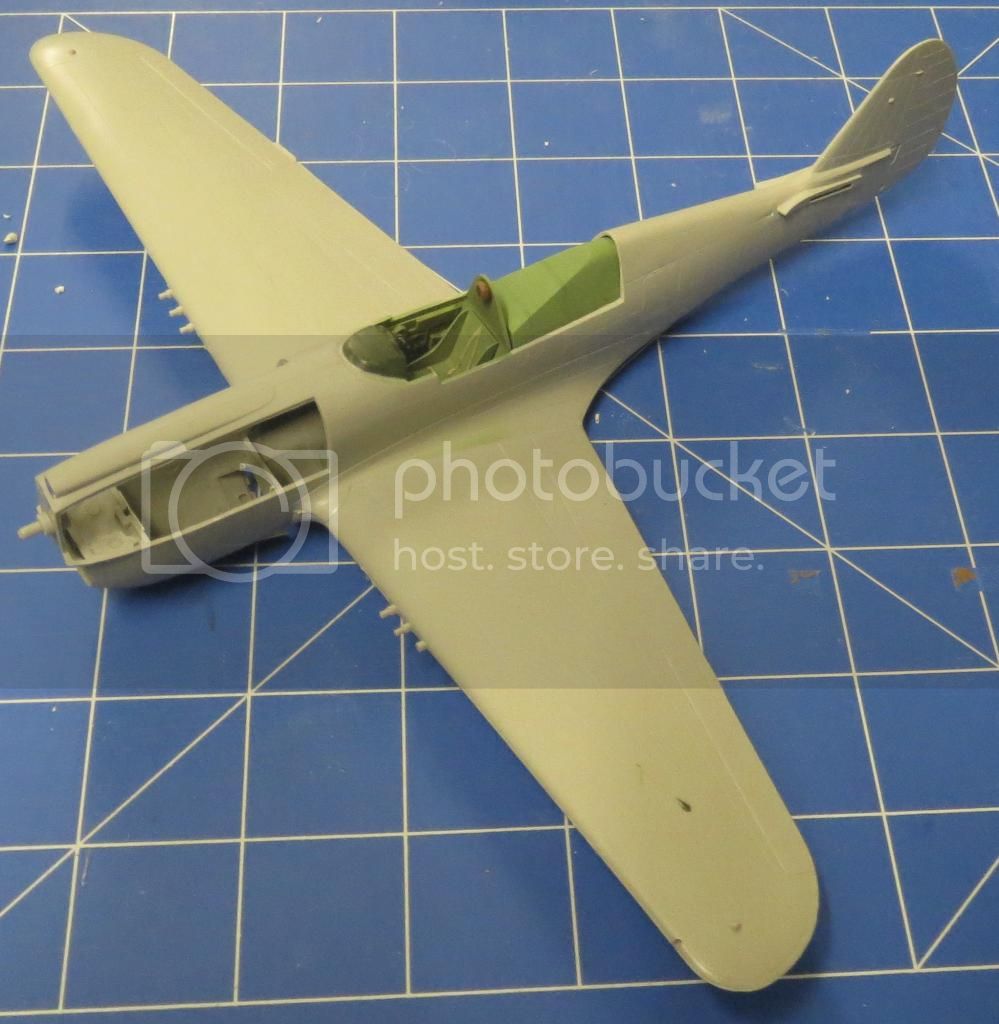
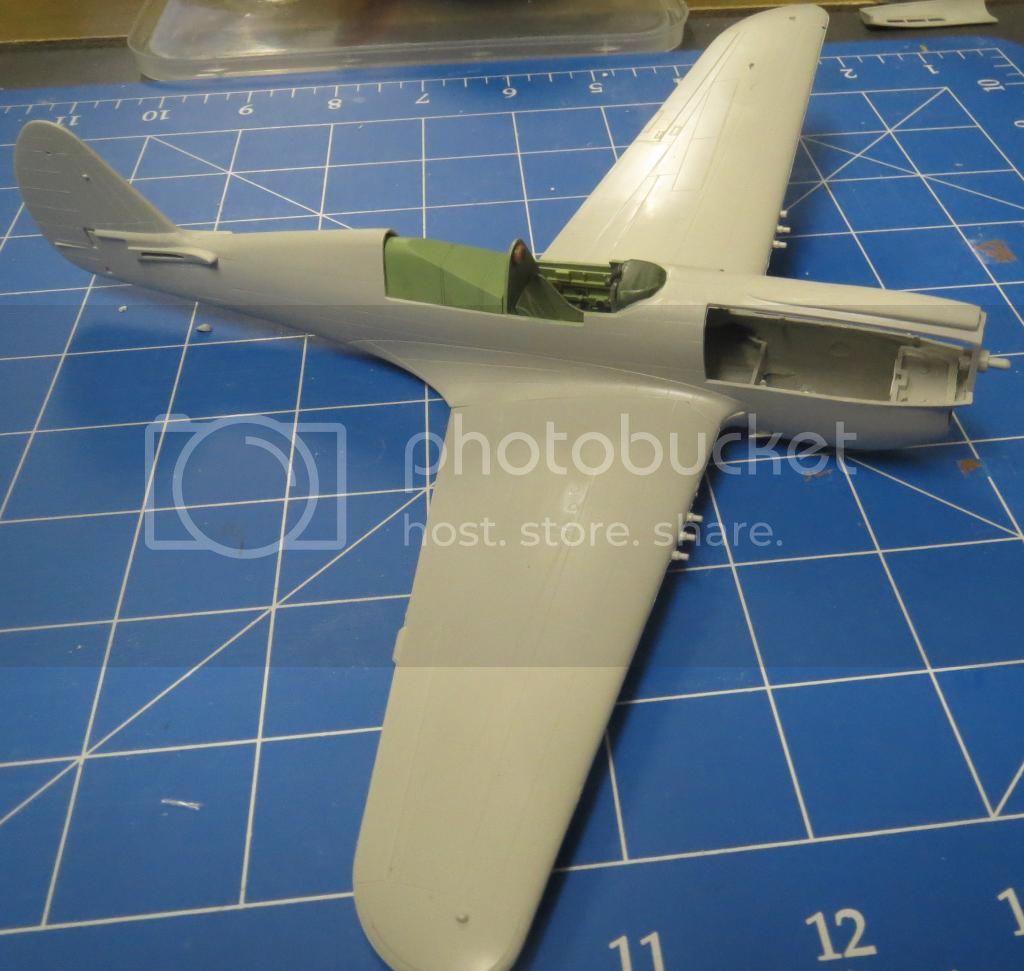
Just an update, last night I painted the spit medium sea gray (raf)(Tamiya xf-82) all over, this morning I masked up the plane ready for a camo spray of dark green 2 (raf)(Tamiya xf-81).
This is the first plane I've done since I was a kid and am quite happy with the results. The sharp edges and large blank areas on the wings and fuselage is where the D-Day stripes will be painted on.
South Australia, Australia
Joined: July 09, 2014
KitMaker: 327 posts
AeroScale: 41 posts
Posted: Sunday, October 19, 2014 - 01:25 PM UTC
So I have an RDO today and am going to make the most of it hahaha... This just happened. D-day stripes have been painted on, top and bottom. Thoughts??
Texas, United States
Joined: February 22, 2008
KitMaker: 5,026 posts
AeroScale: 2,811 posts
Posted: Sunday, October 19, 2014 - 03:19 PM UTC
Nick, you are really going to town on your build. Nice work.
Bob
If it aint broke dont fix it.

#330
Queensland, Australia
Joined: July 15, 2011
KitMaker: 175 posts
AeroScale: 103 posts
Posted: Sunday, October 19, 2014 - 08:06 PM UTC
Nick
D-Day stripes look good. Man I've got an RDO this Friday, cant wait!
South Australia, Australia
Joined: July 09, 2014
KitMaker: 327 posts
AeroScale: 41 posts
Posted: Sunday, October 19, 2014 - 08:30 PM UTC
Quoted Text
Nick, you are really going to town on your build. Nice work.
Bob
Hi Bob, yeah no mucking around here...moving house in under two weeks, need to get it finished so I can pack my area up....
South Australia, Australia
Joined: July 09, 2014
KitMaker: 327 posts
AeroScale: 41 posts
Posted: Sunday, October 19, 2014 - 08:33 PM UTC
Quoted Text
Nick
D-Day stripes look good. Man I've got an RDO this Friday, cant wait!
Hi John, thanks for that, first time I've ever painted a plane, little own D-Day stripes.yeah its great having a long weekend every 2nd weekend...get a fair bit done!!
#041
Kobenhavn, Denmark
Joined: July 20, 2006
KitMaker: 10,069 posts
AeroScale: 3,788 posts
Posted: Monday, October 20, 2014 - 08:23 AM UTC
Nice job on the Spitfire.
Looking forward to see more.
Campaign'oholic - 252+ campaigns completed
South Australia, Australia
Joined: July 09, 2014
KitMaker: 327 posts
AeroScale: 41 posts
Posted: Monday, October 20, 2014 - 09:34 AM UTC
Quoted Text
Nice job on the Spitfire.
Looking forward to see more.
Thanks Jesper. I should hopefully have the leading edges on the wings and the prop tips painted yellow by the end of the day, also the spinner and rear fuselage band painted sky as well.
South Australia, Australia
Joined: July 09, 2014
KitMaker: 327 posts
AeroScale: 41 posts
Posted: Monday, October 20, 2014 - 07:15 PM UTC
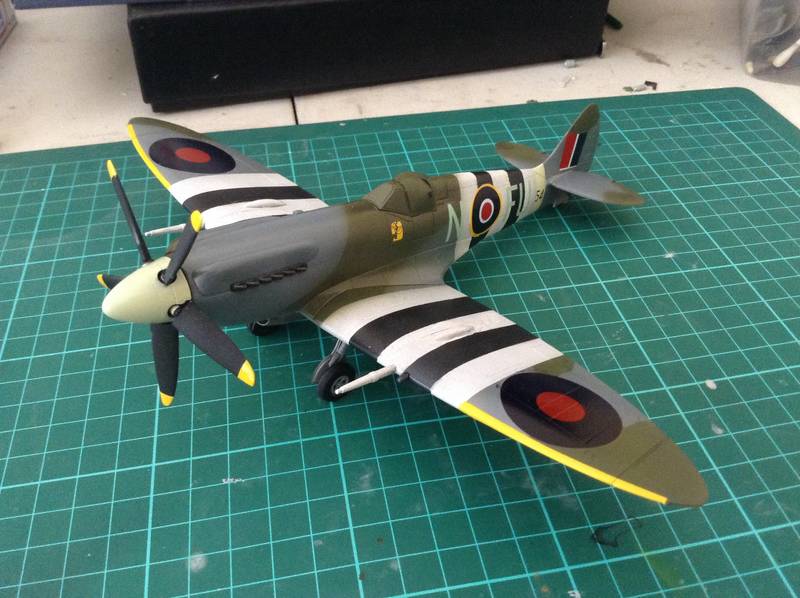
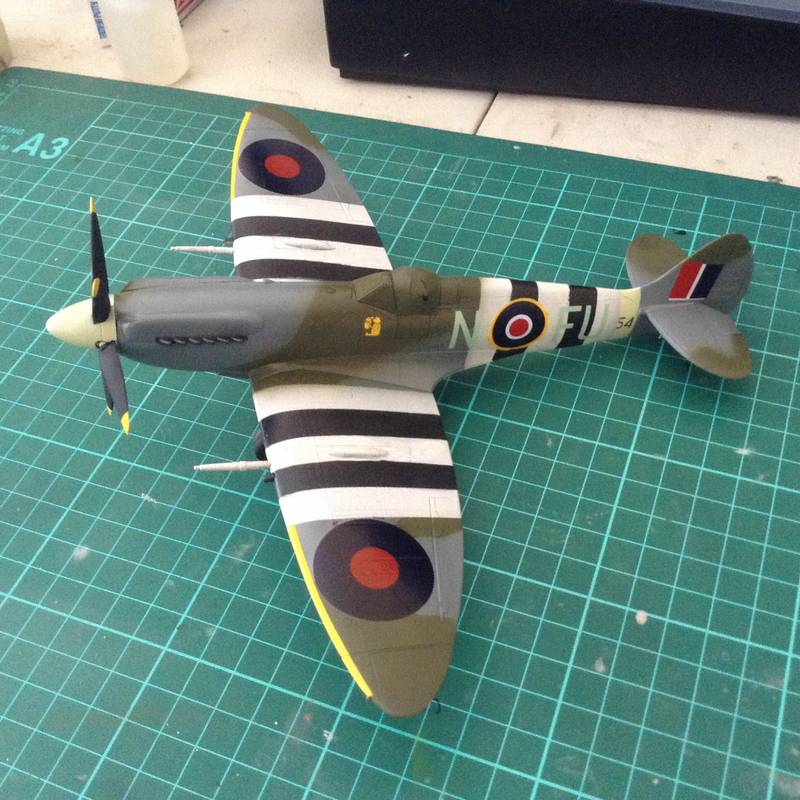
So after a few hours I have managed to paint the leading edge on the wing yellow, as well as the prop tips. I also painted the spinner and rear I.d band sky.
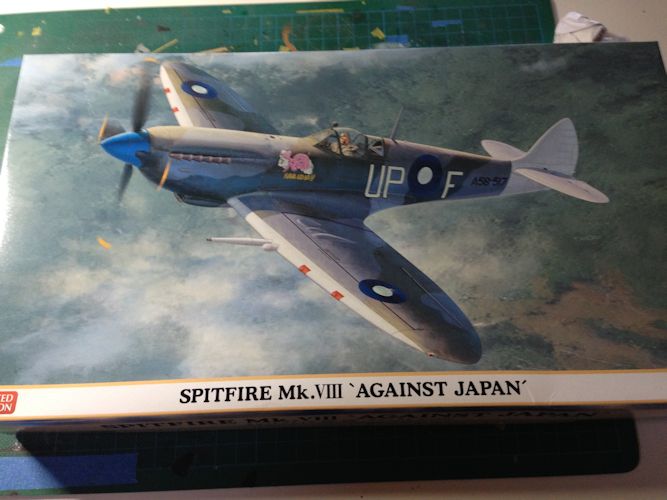
Thanks to the 37oC day and the dry air temp the paint dried in no time at all, so I moved on with the decals. I used the kit roundels, which are way to thick, so I set them down with some mr hobby mr mark softer. Then for the letters i used the Ventura decal set as seen in my starting pic. After reading a few reviews and a test of a spares decal...I agreed with the reviews, that these are thin fragile decals..maximum care needed.
I feel as though I should have bought different roundels, but as I wanted to build this kit OOB as much as possible I went with the kit ones.has it let the model down??
South Australia, Australia
Joined: July 09, 2014
KitMaker: 327 posts
AeroScale: 41 posts
Posted: Monday, October 20, 2014 - 10:48 PM UTC
I still haven't quite finished. Still to do is a few touch ups on the props, a few decals, coat of gloss followed by a pin wash for the panel lines, then spray it clear matt. Im undecided about weathering at this stage... I'll see how the pin wash comes up first.
South Australia, Australia
Joined: July 09, 2014
KitMaker: 327 posts
AeroScale: 41 posts
Posted: Thursday, October 23, 2014 - 01:57 PM UTC
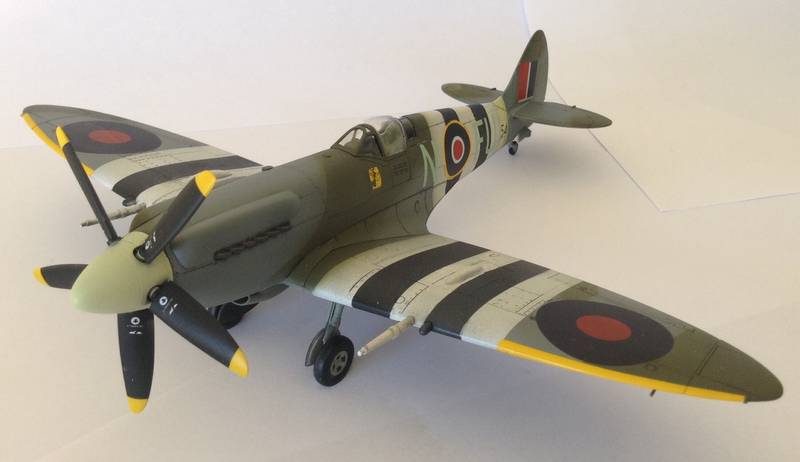
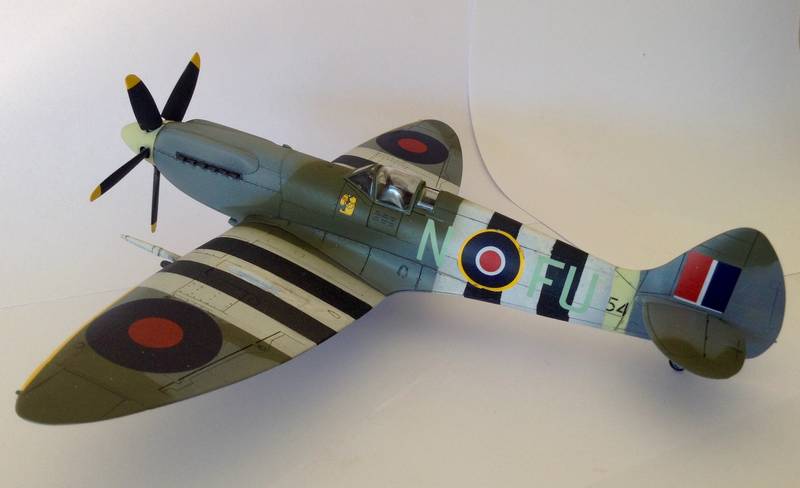
Completed!! Here are the two completed images I have uploaded. Final thoughts??
#259
Massachusetts, United States
Joined: October 23, 2011
KitMaker: 2,265 posts
AeroScale: 1,715 posts
Posted: Thursday, October 23, 2014 - 04:02 PM UTC
You've made a fine job of it, Nick

A nice opening to the campaign gallery.
I hope you find reason to build some more planes in future, all our campaigns are in need of folks who finish their projects!
South Australia, Australia
Joined: July 09, 2014
KitMaker: 327 posts
AeroScale: 41 posts
Posted: Thursday, October 23, 2014 - 04:40 PM UTC
Quoted Text
You've made a fine job of it, Nick
A nice opening to the campaign gallery.
I hope you find reason to build some more planes in future, all our campaigns are in need of folks who finish their projects!
Cheers Jonathan. Yeah I quite enjoyed it, I wasn't my most detailed build, and I really wanted to get it done before I move into my new house, otherwise whod know when it would get finished.... I have a few other planes amongst my dominantly armour stash. I just purchased dragons 1/32 bf110 c7, and also have revells Lancaster which I'm going to build for my dad. I purchased some Aussie decals for it.
South Australia, Australia
Joined: July 09, 2014
KitMaker: 327 posts
AeroScale: 41 posts
Posted: Tuesday, October 28, 2014 - 06:01 PM UTC
How's everyone progressing. Keen to see some more photos!!
Queensland, Australia
Joined: January 23, 2010
KitMaker: 156 posts
AeroScale: 139 posts
Posted: Friday, October 31, 2014 - 07:35 PM UTC
Looks like a great job there Nick, all the more impressive that it happened so quickly.
Photos of my Kittyhawk very soon...
Currently building:
F4F-4
B-17
Queensland, Australia
Joined: January 23, 2010
KitMaker: 156 posts
AeroScale: 139 posts
Posted: Friday, October 31, 2014 - 11:38 PM UTC
About half way through construction. Hardly any filler needed, just paying attention to the seems to make sure they are removed, along with a few ejector pin marks.
Cheers
Simon
Currently building:
F4F-4
B-17
South Australia, Australia
Joined: July 09, 2014
KitMaker: 327 posts
AeroScale: 41 posts
Posted: Saturday, November 01, 2014 - 09:03 AM UTC
Looking good simon. The gaps on the front fuselage I'm guessing are for the exhaust covers? Be good if there was an engine and you could remove those panels to show them
Queensland, Australia
Joined: January 23, 2010
KitMaker: 156 posts
AeroScale: 139 posts
Posted: Saturday, November 01, 2014 - 02:39 PM UTC
You're right, I saw some pics of P-40 models yesterday with the engine showing. I think it looks quite powerful in profile with a long nose and bulges above and below. This kit is pretty basic though - no engine included - so I will be closing it up soon.
Simon
Currently building:
F4F-4
B-17
#523
Idaho, United States
Joined: February 28, 2014
KitMaker: 342 posts
AeroScale: 250 posts
Posted: Wednesday, November 12, 2014 - 08:54 AM UTC
here is the start of my MB-326. This is a basic build since it will be inflight with the pilot in and all wheels up.
I still have to make the Roulette decals. But here it is primed and ready for the white coat.

South Australia, Australia
Joined: August 14, 2007
KitMaker: 5,926 posts
AeroScale: 2,201 posts
Posted: Friday, November 28, 2014 - 03:34 PM UTC
Hello everyone.
Finally I am back online and will be able to start building 'stuff' very soon as the new hobby cave is almost ready. All I really have to do it unpack my paints and Bob's your Uncle!
So keep up the good work. 4 months to go until the end of the campaign.
Now to find something to build!

Cheers
Warren
You may be right, I may be crazy.
#259
Massachusetts, United States
Joined: October 23, 2011
KitMaker: 2,265 posts
AeroScale: 1,715 posts
Posted: Friday, November 28, 2014 - 08:49 PM UTC
Good to have you back Warren. Glad to know all is well and model airplanes are top of your agenda again!

Ontario, Canada
Joined: February 04, 2008
KitMaker: 2,507 posts
AeroScale: 1,814 posts
Posted: Friday, November 28, 2014 - 09:58 PM UTC
Welcome back Warren!, actually Bob is my brother!

Great work Nick!
" The Die Hards"
43rd MIDDLESEX REGIMENT
MACHINE GUN CORPS
XXX CORP
The most effective way to do it, is to do it.
- Amelia Earhart
South Australia, Australia
Joined: August 14, 2007
KitMaker: 5,926 posts
AeroScale: 2,201 posts
Posted: Saturday, November 29, 2014 - 01:26 AM UTC
Quoted Text
Welcome back Warren!, actually Bob is my brother!
Great work Nick!
Lol.. and I have an Uncle Bob.... oh and a Father as well by that name.. except when he is in trouble, then he is Robert..
You may be right, I may be crazy.
Western Australia, Australia
Joined: December 31, 2013
KitMaker: 338 posts
AeroScale: 190 posts
Posted: Saturday, December 06, 2014 - 03:18 PM UTC
In the Hangar:
- 1/48 Hasegawa P-38J/L
In the Workshop
-1/35 Tamiya Mobelwagen
Ontario, Canada
Joined: February 04, 2008
KitMaker: 2,507 posts
AeroScale: 1,814 posts
Posted: Sunday, December 07, 2014 - 01:57 AM UTC
Aftre doing some R&D got started on the wedge tail,wings together and tail cut off!:-

New resin tail over kit tail to show difference:-


.
Next up glue fuselage together and then chop it to shorten.
" The Die Hards"
43rd MIDDLESEX REGIMENT
MACHINE GUN CORPS
XXX CORP
The most effective way to do it, is to do it.
- Amelia Earhart