OFFICIAL: Big Bad Bombers Campaign
England - East Midlands, United Kingdom
Joined: April 27, 2013
KitMaker: 450 posts
AeroScale: 387 posts
Posted: Friday, October 10, 2014 - 06:13 AM UTC
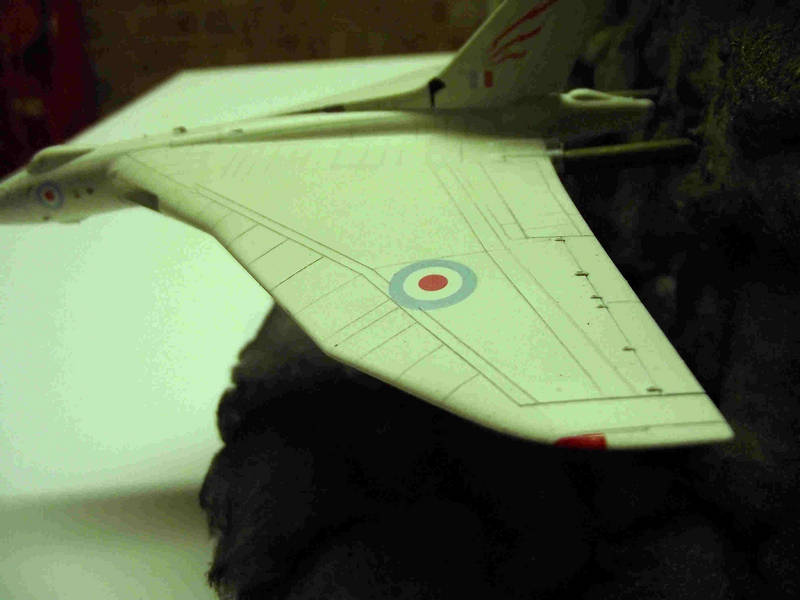
The base is a Black Polystyrene Pizza pack cut in half and glued to a Balsa backing. The 'Clouds' are Cotton Wool pulled into small pieces and rattle can sprayed, I used Grey car primer and Citadel Chaos Black from another can. It is glued to the base using PVA Wood Glue. The Vulcan is mounted on 2 cut-down 4mm knitting needles pushed through the back and inserted into the outer tailpipes. The Blue Steel is on a plastic rod inserted into one of the lower fin holes, one of the reasons for this is that Cyber-Hobby provide a folded fin with lugs but the unfolded version does not have them

The rod just pushes into the base and 'rests' on the clouds. This is actually the second Blue Steel' as for some strange reason (possibly of a purring furry variety) it has flown away.
To do:-
1 Paint the needles to match the clouds
2 Add further colour to the clouds, Jeff, I was thinking of coloured highlights of the Red/Orange variety but I may dab using a stencil brush
3 Final Satin Varnish coat on the Blue Steel
I do not mind if anyone copies/uses/plagiarises my idea, after all, this is an open forum

Buenos Aires, Argentina
Joined: May 21, 2012
KitMaker: 765 posts
AeroScale: 316 posts
Posted: Friday, October 10, 2014 - 07:37 PM UTC
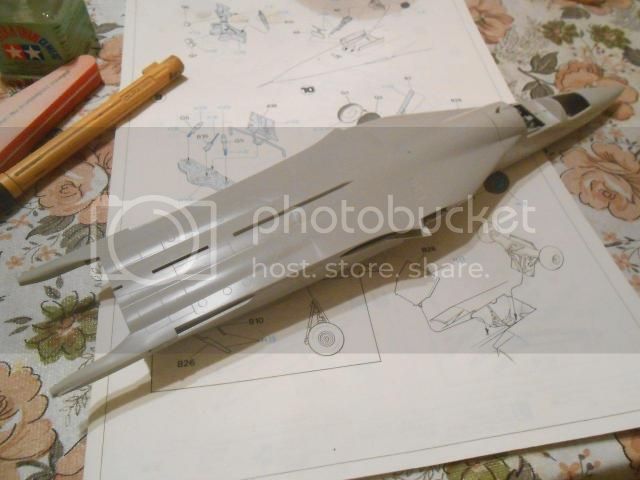
Here my entre, an F-111A Giant Voice from Hasegawa
Those Radial Fighters Campaign: 1/72 FW 190 A5
Delta 2 Campaign: 1/48 Hobby Boss Mirage IIIC
Navy Boys on those Postage Stamps 1/72 Airfix Sea Harrier FA2
Working: Trumpeter A-5 Vigilante
Waiting: Phantom 60 Campaign
England - East Midlands, United Kingdom
Joined: April 27, 2013
KitMaker: 450 posts
AeroScale: 387 posts
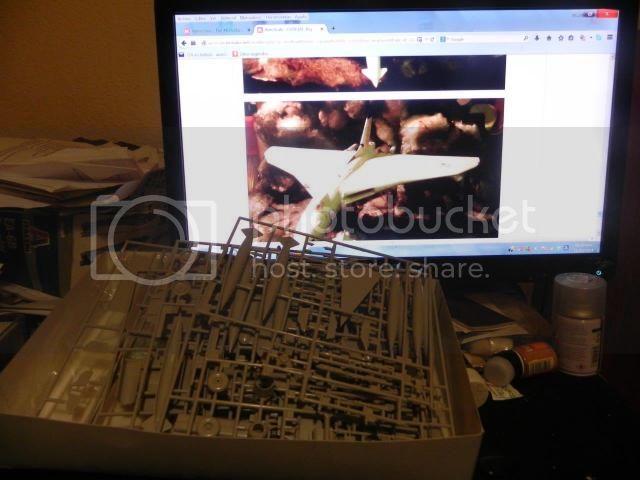
Posted: Sunday, October 12, 2014 - 11:32 AM UTC
I have, to (mis(quote the words of that Oklahoma resident Will Parker 'Gurn about as fur as I can go'
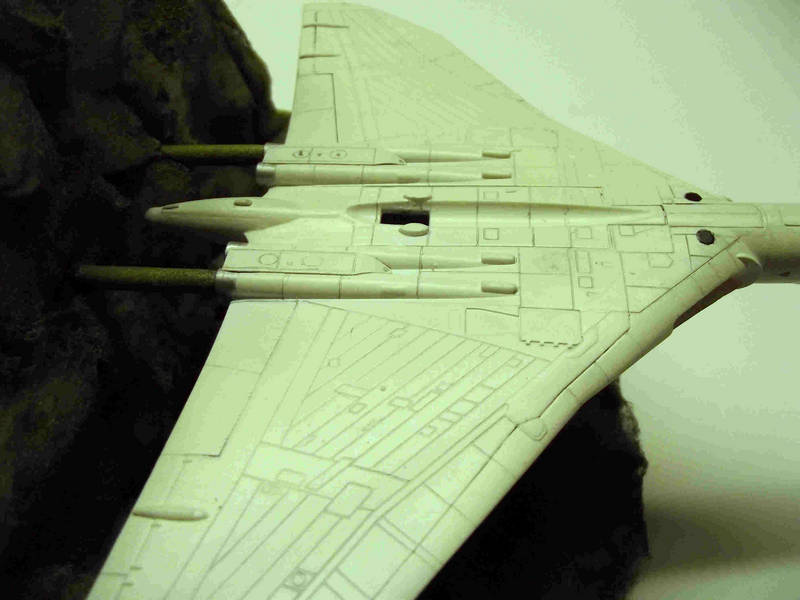
This is my Cyber Hobby 1/200 Avro Vulcan B2 launching a Blue Steel, whether it is practice or an act of aggression I'll leave that for you to decide.
The kit was modified by removing the low level radar protrusion and filling the refuelling probe hole on the nose, the rest of the kit is as is.
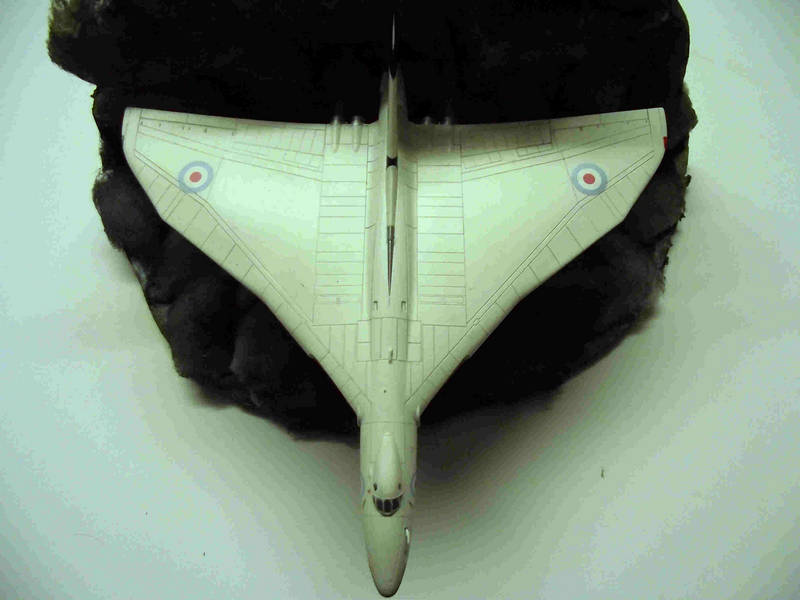
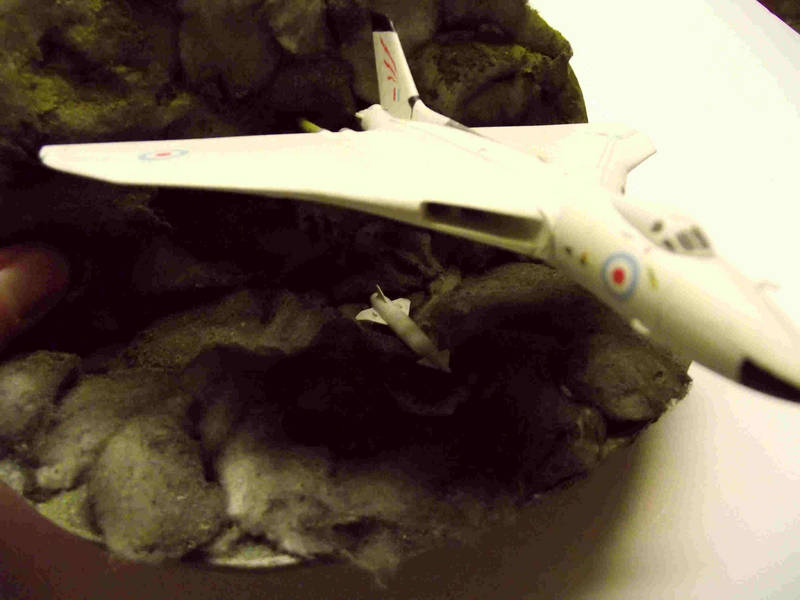
The photos aren't brilliant but what the heck. Enjoy

Georgia, United States
Joined: January 07, 2013
KitMaker: 572 posts
AeroScale: 130 posts
Posted: Monday, October 13, 2014 - 08:00 AM UTC
Hello all I have enlisted and shall attempt my first build in 1/144 scale its a Minicraft B24J should have the Kit pic and starting Shot tomorrow when I start building.
Sascha(Ironowl)


#243
England - North East, United Kingdom
Joined: March 21, 2008
KitMaker: 996 posts
AeroScale: 915 posts
Posted: Monday, October 13, 2014 - 11:13 AM UTC
Sorry folks, I'm going to have to withdraw from this one, family problems mean my modelling is at a stop, I was looking forward to the O-400 as well. I don't think I'll be back to any regular modelling till the new year at least.
Andrew
Pfalz DIIIa, Eduard 1/48 Uffz Max Hitschler Jasta 18 Late 1917
Georgia, United States
Joined: January 07, 2013
KitMaker: 572 posts
AeroScale: 130 posts
Posted: Tuesday, October 14, 2014 - 09:52 AM UTC
Hello Here is my start pic actual construction is on hold until Thursday or Monday

Sascha(Ironowl)
England - West Midlands, United Kingdom
Joined: August 01, 2012
KitMaker: 960 posts
AeroScale: 391 posts
Posted: Wednesday, October 15, 2014 - 01:01 PM UTC
Texas, United States
Joined: February 22, 2008
KitMaker: 5,026 posts
AeroScale: 2,811 posts
Posted: Friday, October 17, 2014 - 01:41 PM UTC
Mike, I love what you have done with your Vulcan.
I have a couple of questions re: the lower surface on Bomber Command a/c.
1. was the black under surface gloss, semi gloss, or just flat?
2. HP Hampden, were the landing gear bays chromate or the same color as the lower surface of the wing?
3. HP Hampden, were the landing gear itself left natural or painted the same as the lower surface?
Bob
If it aint broke dont fix it.
#330
Queensland, Australia
Joined: July 15, 2011
KitMaker: 175 posts
AeroScale: 103 posts
Posted: Saturday, October 18, 2014 - 09:14 PM UTC
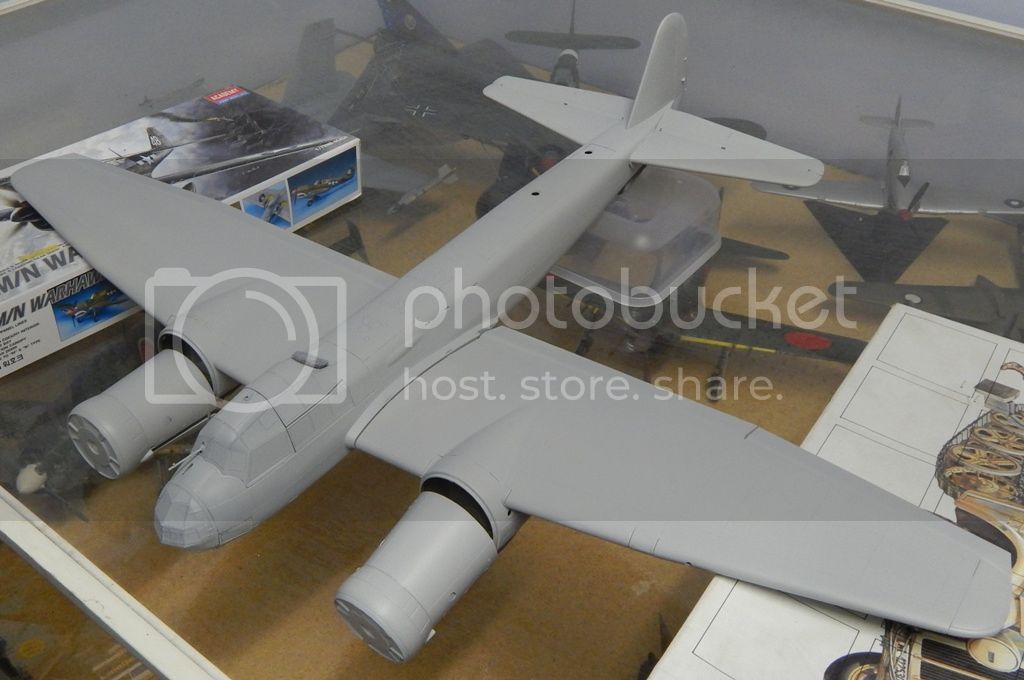
Some undercoat on the JU-88.
England - East Midlands, United Kingdom
Joined: April 27, 2013
KitMaker: 450 posts
AeroScale: 387 posts
Posted: Sunday, October 19, 2014 - 09:06 AM UTC
Quoted Text
I have a couple of questions re: the lower surface on Bomber Command a/c.
1. was the black under surface gloss, semi gloss, or just flat?
2. HP Hampden, were the landing gear bays chromate or the same color as the lower surface of the wing?
3. HP Hampden, were the landing gear itself left natural or painted the same as the lower surface?
Bob
Thanks for your comment on the Vulcan. In answer to your questions. In my humble opinion the Black underside would be matt, the early 'Night' was easily worn away with use and the formula changed later to a more resilient paint. I suspect the wheel wells would be natural metal but I may be wrong on that score. The landing gear would be left unpainted. Hope this helps

Georgia, United States
Joined: January 07, 2013
KitMaker: 572 posts
AeroScale: 130 posts
Posted: Tuesday, October 21, 2014 - 05:26 AM UTC
wow this thing is small 1/144 scale B24J detail seems good enough have started the 1st step a pic or two to follow shortly

Sascha(Ironowl)
#501
Kerala, India / भारत
Joined: August 25, 2009
KitMaker: 292 posts
AeroScale: 194 posts
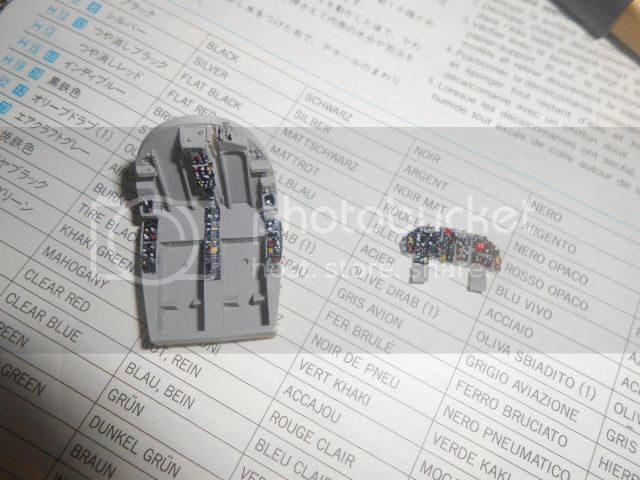
Posted: Wednesday, October 22, 2014 - 11:23 AM UTC
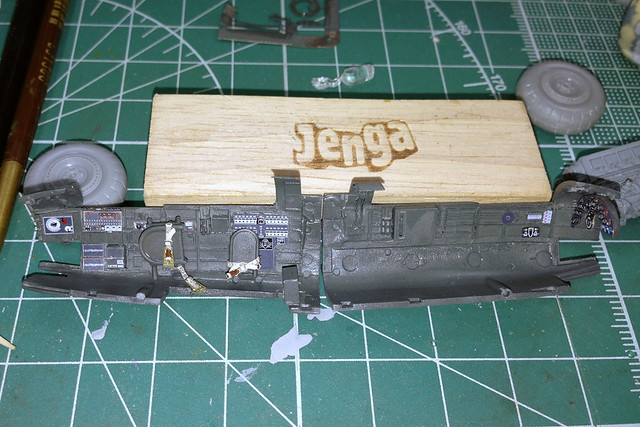
Been a while since I posted here. Was away from the bench for almost 2 months due to work and family issues. So enough talking and time to start posting
 PE work commences
 Like i said in the beginning, this is THE most ambitious project for me till date. The entire cockpit has been rebuilt using PE. Before this I used to use colored self adhesive PEs.
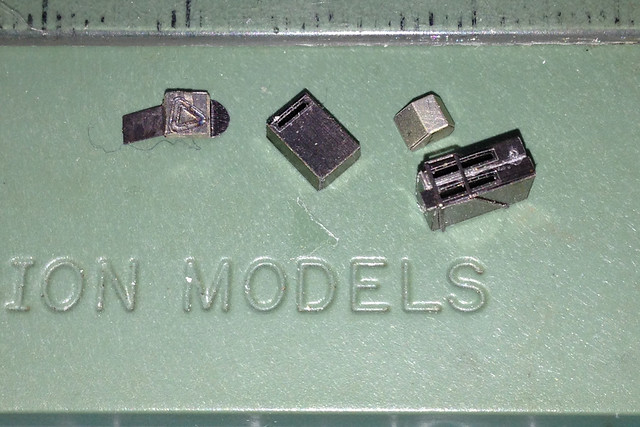
Some of the parts are really small and i had to battle the carpet monster almost every hour.
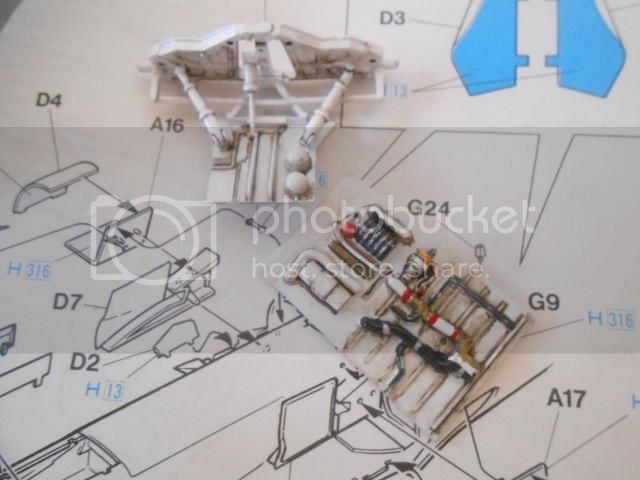
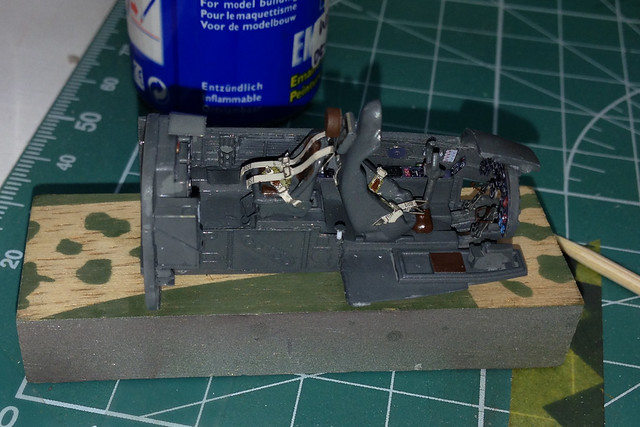 Cockpit completed
My mix of cockpit grey does not match the one from the PE set, but once the canopy is in place the difference hopefully wont be that easy to spot.
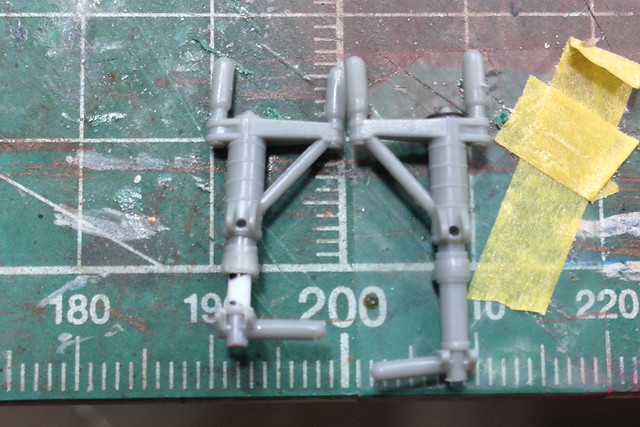
I also modified the oleos to give a loaded appearance to the aircraft.
Hope to finish rest of the construction during the weekend. Stay tuned for more.
#298
Hong Kong S.A.R. / 繁體
Joined: August 08, 2002
KitMaker: 1,182 posts
AeroScale: 351 posts
Posted: Wednesday, October 22, 2014 - 02:18 PM UTC
This is my entry for the campaign, Trumpeter 1/72 Tu-16K-26 Badger G.

#523
Idaho, United States
Joined: February 28, 2014
KitMaker: 342 posts
AeroScale: 250 posts
Posted: Friday, October 24, 2014 - 10:37 AM UTC
Ontario, Canada
Joined: March 29, 2010
KitMaker: 1,151 posts
AeroScale: 985 posts
Posted: Friday, October 24, 2014 - 12:04 PM UTC
British Columbia, Canada
Joined: September 03, 2009
KitMaker: 6,965 posts
AeroScale: 6,247 posts
Posted: Friday, October 24, 2014 - 12:55 PM UTC
Quoted Text
BTW- I did not see a Campaign gallery to put 2 images....am I blind?
The gallery lives
here When once you have tasted flight you will walk the Earth with your eyes turned skyward.
For there you have been, and there you will always long to return.
-Leonardo Da Vinci
Buenos Aires, Argentina
Joined: May 21, 2012
KitMaker: 765 posts
AeroScale: 316 posts
Posted: Friday, October 24, 2014 - 05:01 PM UTC
@Jeff,
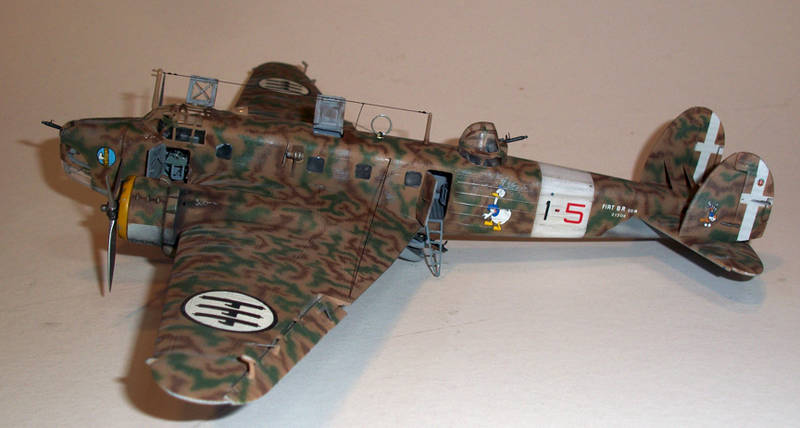
The Cigogna is amazing!!!!!!!!!!!!!
Congratulations
Here a little update in my work
Those Radial Fighters Campaign: 1/72 FW 190 A5
Delta 2 Campaign: 1/48 Hobby Boss Mirage IIIC
Navy Boys on those Postage Stamps 1/72 Airfix Sea Harrier FA2
Working: Trumpeter A-5 Vigilante
Waiting: Phantom 60 Campaign
#330
Queensland, Australia
Joined: July 15, 2011
KitMaker: 175 posts
AeroScale: 103 posts
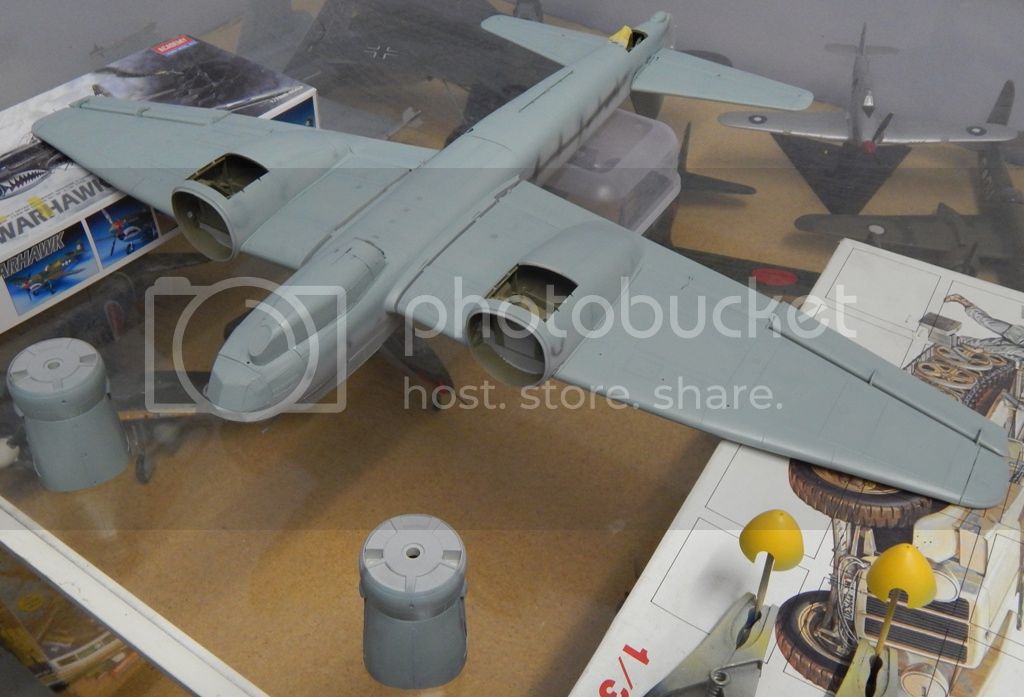
Posted: Saturday, October 25, 2014 - 11:28 PM UTC
I have painted RLM65 to the lower surfaces of th JU-88.
Lisboa, Portugal
Joined: March 04, 2008
KitMaker: 5,386 posts
AeroScale: 635 posts
Posted: Tuesday, October 28, 2014 - 04:01 AM UTC
I won't make it in time, I have a ton of plastic on my bench, I guess my Tu-16 will be going to some Shelf-Hangar Queen Campaigns in the future...
Active Builds: 0
Active Campaigns: 0
#392
Hessen, Germany
Joined: January 09, 2013
KitMaker: 696 posts
AeroScale: 608 posts
Posted: Tuesday, October 28, 2014 - 09:40 AM UTC
Hi everybody,
here is my rather late entry into this great campaign, the Revell/Monogram Boeing B-17G in 1:48.
Got it from good friends as a wedding gift in 2005(!), so it's about time to put it together! Watch out for this big bird, Marian & Iveta!

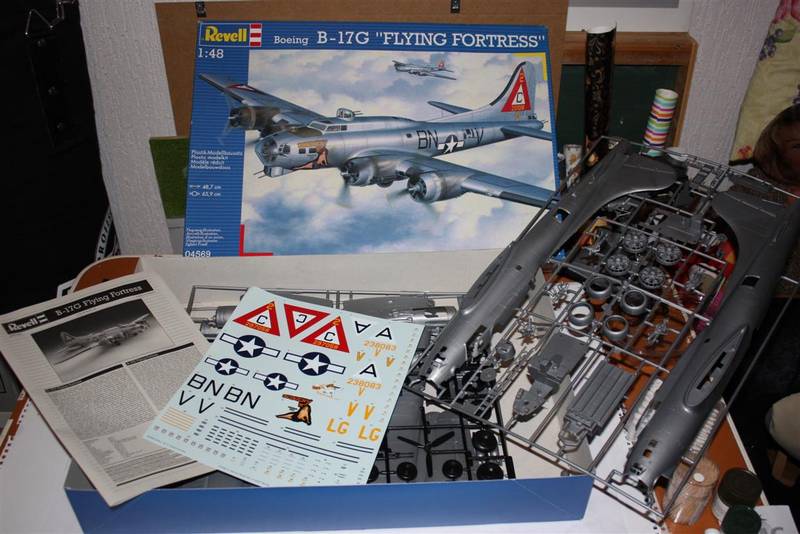
I only hope I can finish in time

Cheers
Peter
On the bench:
EE(BAC) Lightning F.2A (Airfix 1:72)
Buenos Aires, Argentina
Joined: May 21, 2012
KitMaker: 765 posts
AeroScale: 316 posts
Posted: Wednesday, October 29, 2014 - 06:36 AM UTC
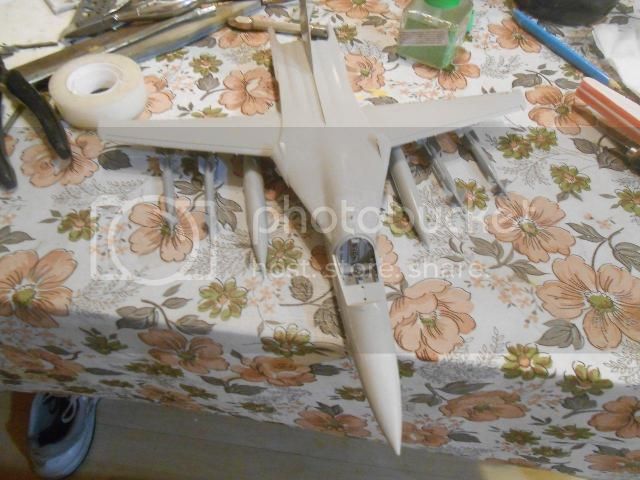
A little update
Those Radial Fighters Campaign: 1/72 FW 190 A5
Delta 2 Campaign: 1/48 Hobby Boss Mirage IIIC
Navy Boys on those Postage Stamps 1/72 Airfix Sea Harrier FA2
Working: Trumpeter A-5 Vigilante
Waiting: Phantom 60 Campaign
Georgia, United States
Joined: January 07, 2013
KitMaker: 572 posts
AeroScale: 130 posts
Posted: Wednesday, October 29, 2014 - 11:21 AM UTC
Hello all my B24J is on the production line heres the first update pic main fuselage and 1 wing cleaned and glued

Sascha(Ironowl)
this kit is a 1/144 scale minicraft kit my 1st one to build in that scale and I must say that I am very happy so far with all aspects of this build.
Buenos Aires, Argentina
Joined: May 21, 2012
KitMaker: 765 posts
AeroScale: 316 posts
Posted: Saturday, November 01, 2014 - 09:54 AM UTC
A little advance..... ready to paint!!!!
Those Radial Fighters Campaign: 1/72 FW 190 A5
Delta 2 Campaign: 1/48 Hobby Boss Mirage IIIC
Navy Boys on those Postage Stamps 1/72 Airfix Sea Harrier FA2
Working: Trumpeter A-5 Vigilante
Waiting: Phantom 60 Campaign
#330
Queensland, Australia
Joined: July 15, 2011
KitMaker: 175 posts
AeroScale: 103 posts
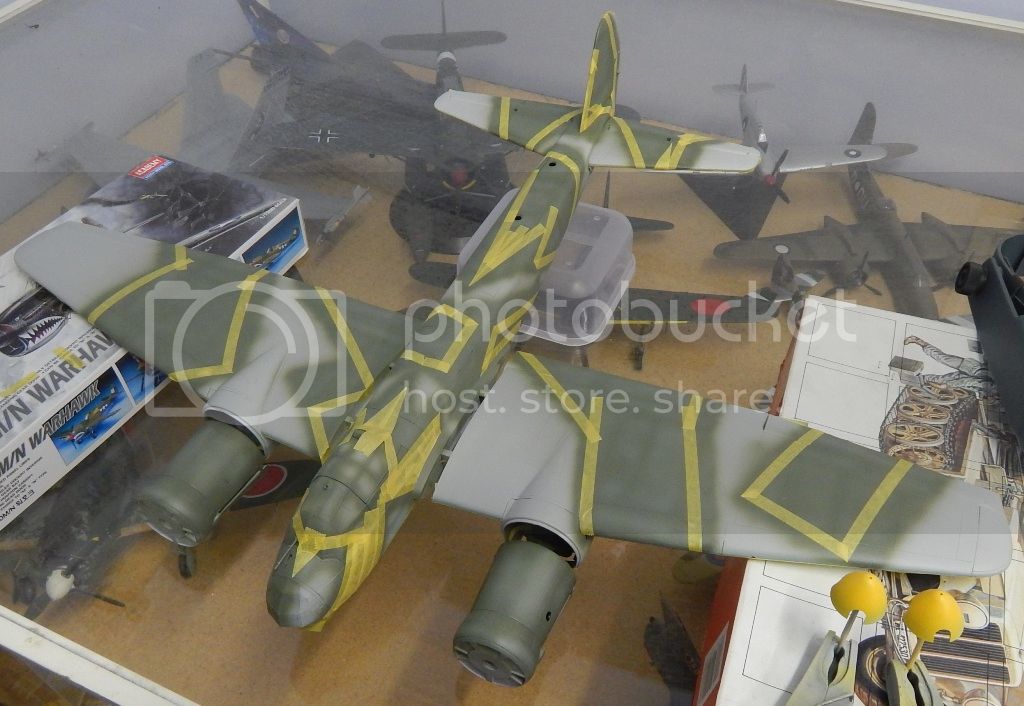
Posted: Saturday, November 01, 2014 - 09:05 PM UTC
Masked the under side of the JU-88 and applied first camo colour, RLM71. Started to mask for RLM70 but have run out of time this weekend. Getting this thing done by end of month is going to be close!
#226
British Columbia, Canada
Joined: February 20, 2012
KitMaker: 1,909 posts
AeroScale: 508 posts
Posted: Sunday, November 02, 2014 - 12:18 PM UTC
I am going to have to un-enlist from this campaign,

the way I was doing the panel lines is taking a lot of work. I have a better way but fixing what is done already is taking a long time.
Cheers Rob.
Anything without guns is a target!
27 completed campaigns and counting :)