

Quoted Text
Sorry to hear about your friend.
Rob.
Thank you. He's only 63 years old, too. I've known him since the early 80s, so this is hard to "process," as it were.


Sorry to hear about your friend.
Rob.
Brian,
I'm truly saddened to hear about Art's declining health.
And I'm looking forward to seeing your duel builds of those massive Grumman Guardians. Sure hope that your glass display cases have the room for both.
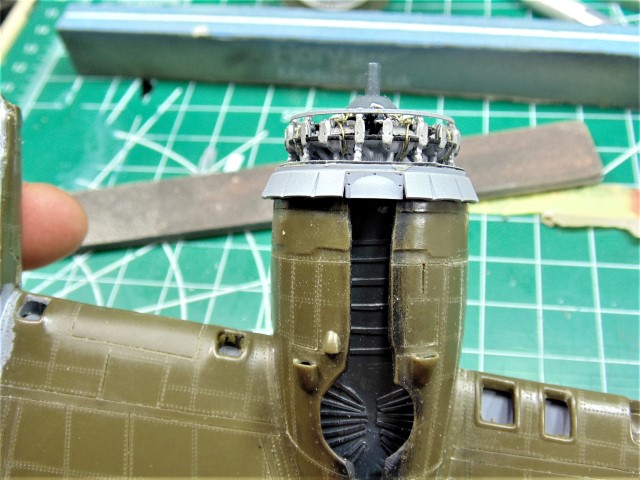
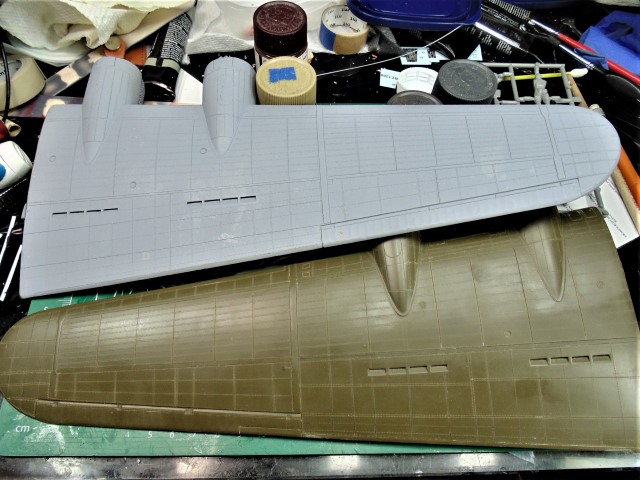
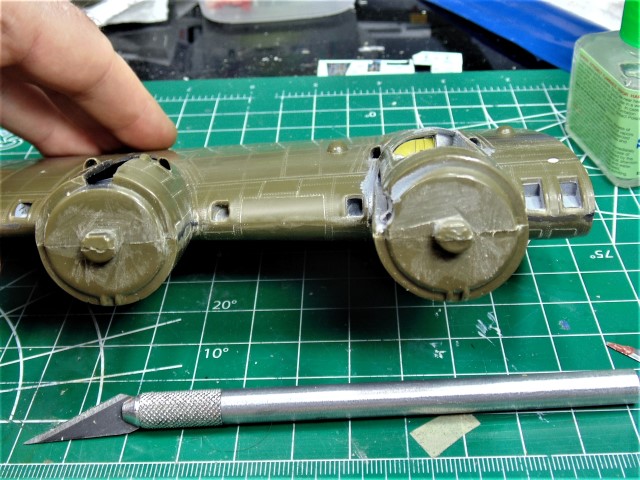
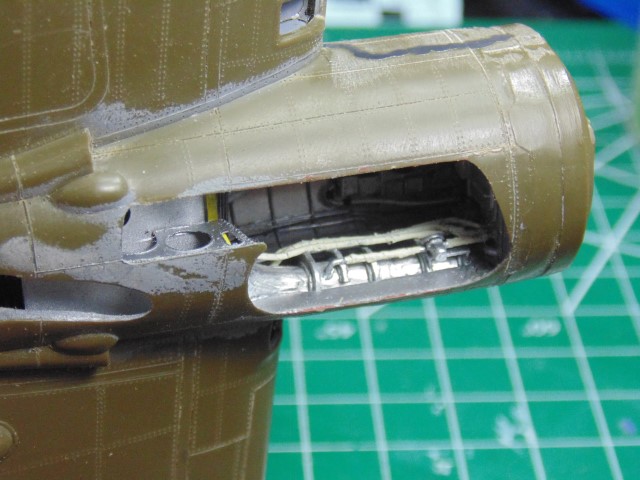
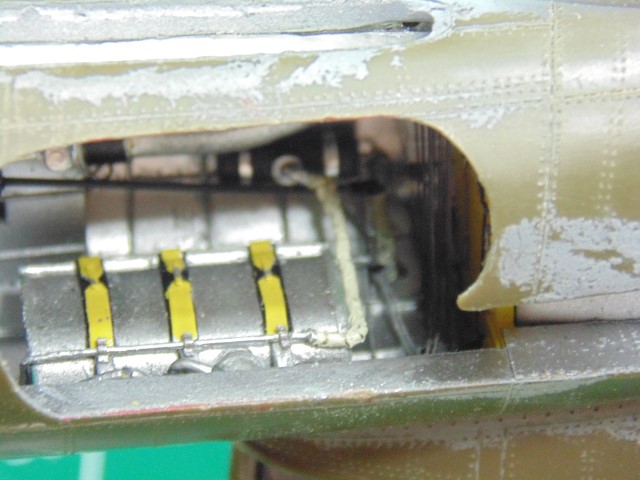
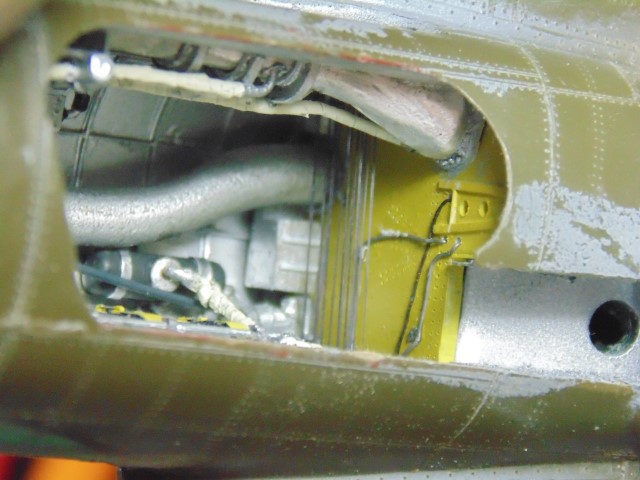
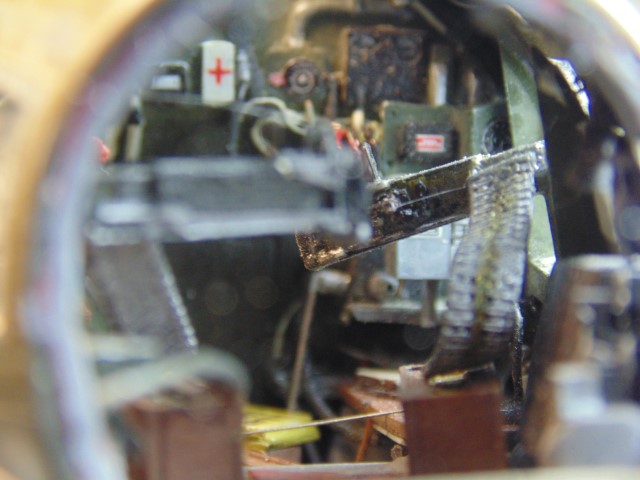
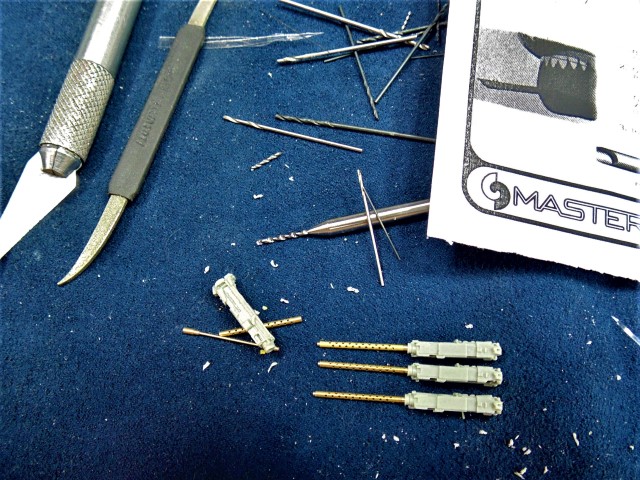
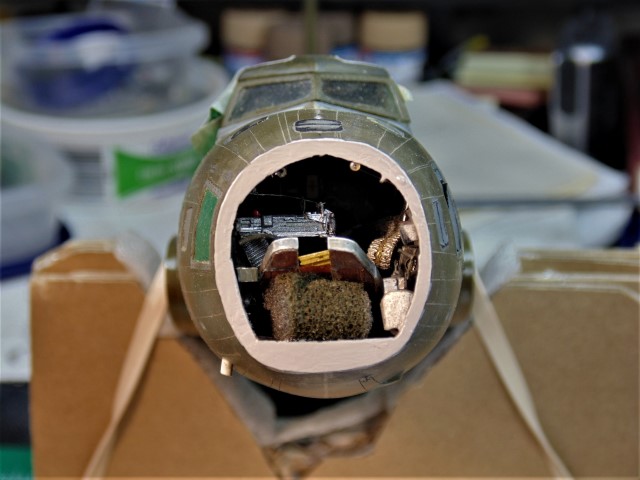
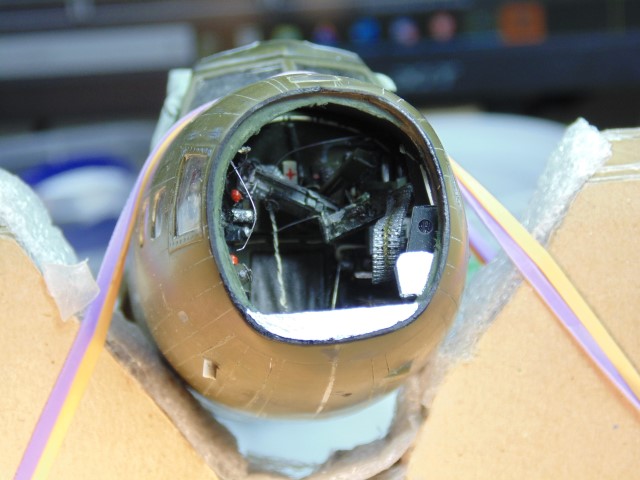
HG's work continues to be on a scale that few if any ever attain. That wheel well is truly amazing in scope and detail.
Joel
"We're not sure how much time he has left" is the best way to put it.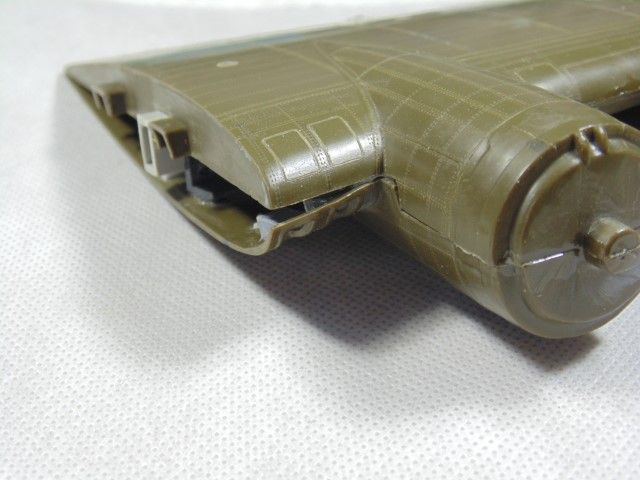
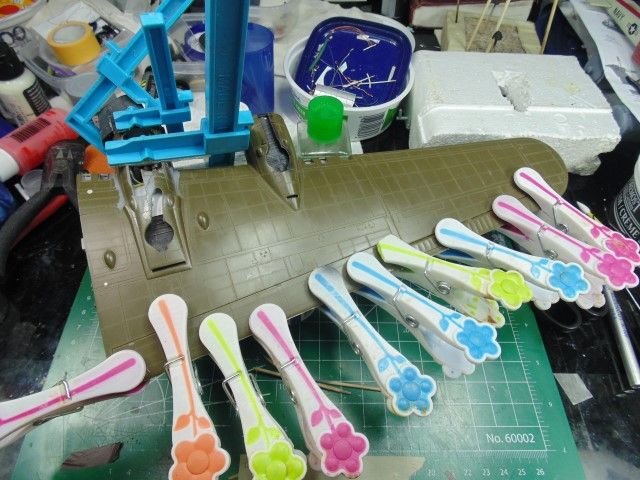

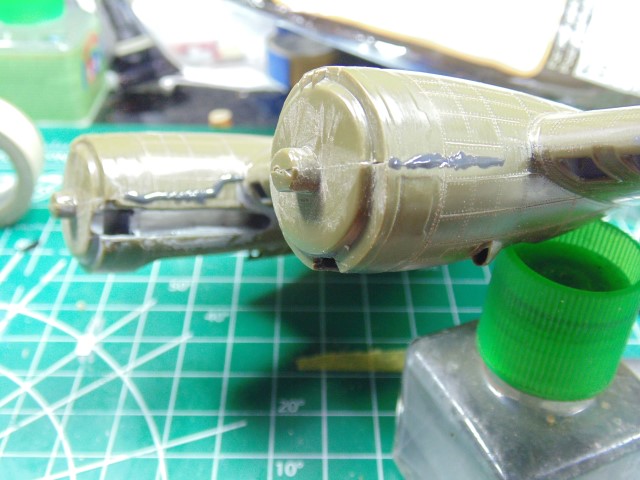
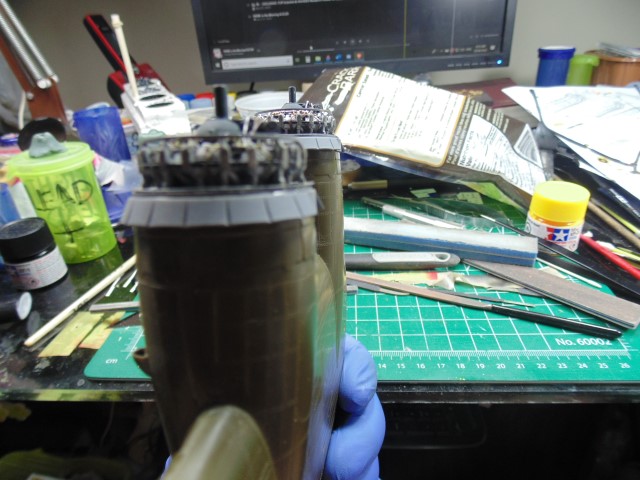
My day is going to consist of clamping and holding this wing for a minimum of six hours. Yup you heard me right, 6 hours. If the cement weld pops off while still curing it will be an absolute mess to fix. I'll watch a few movies or shows or something... It may be 10PM your time before I can take a photo.

Brian,
It's hard to realize that your journey is into year 6, but by now all of us that have stayed the course, can see a small light at the end of the tunnel.
It's been a very special journey, and I've been honored to have been along with you from day one. With HG at the helm, I can't imagine just where it will end up.
Joel
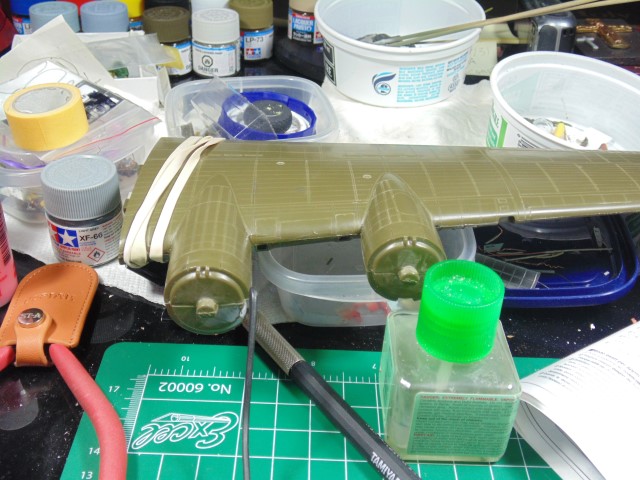
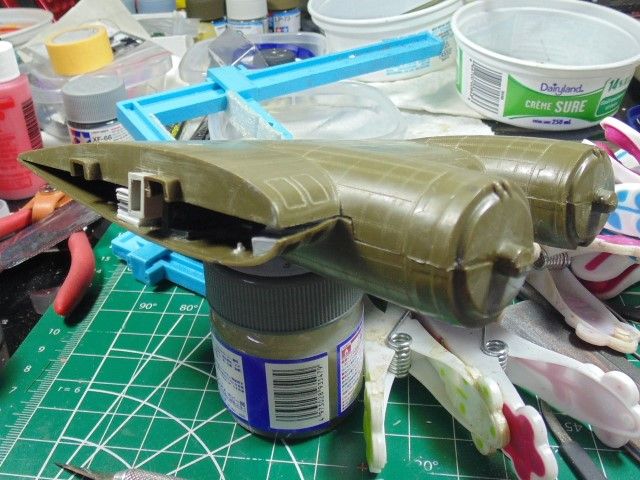
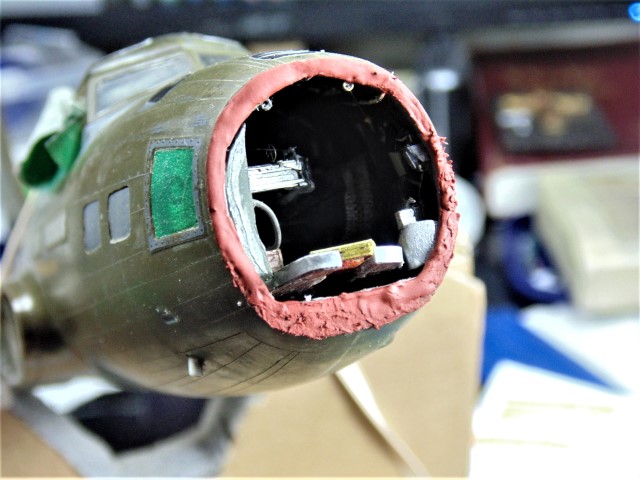
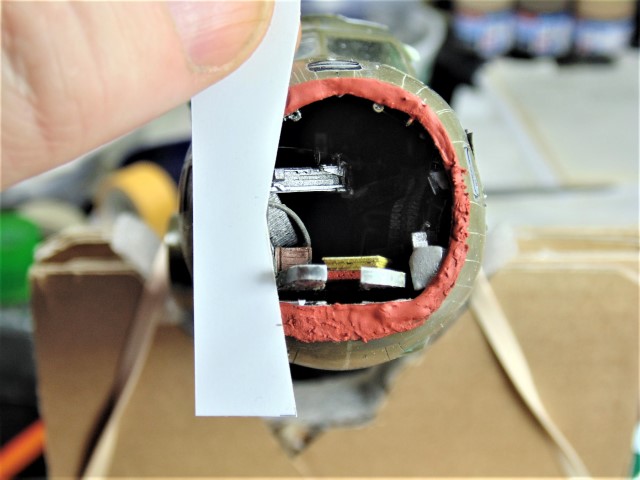
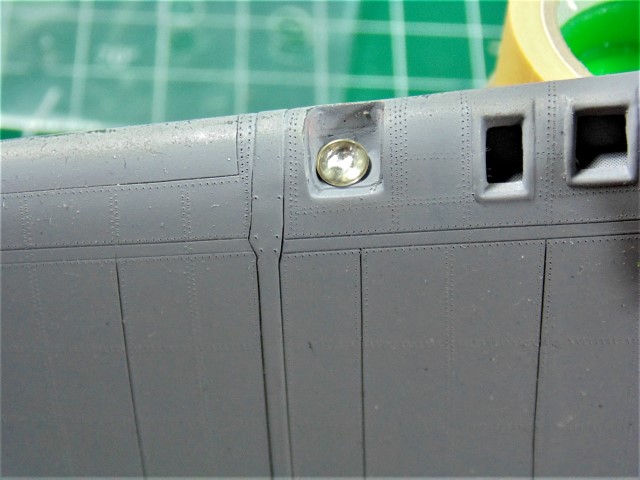
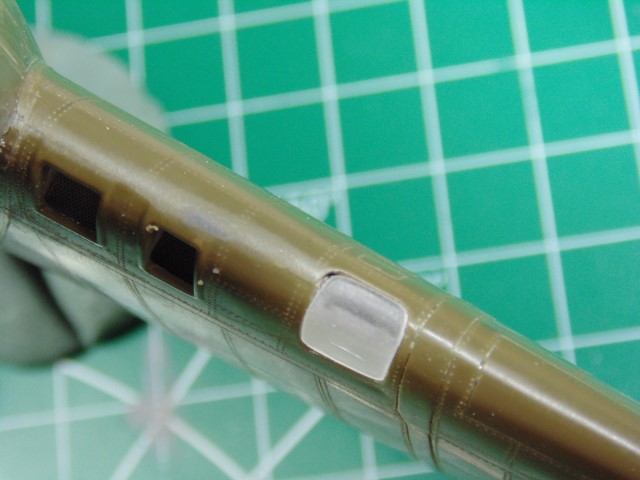
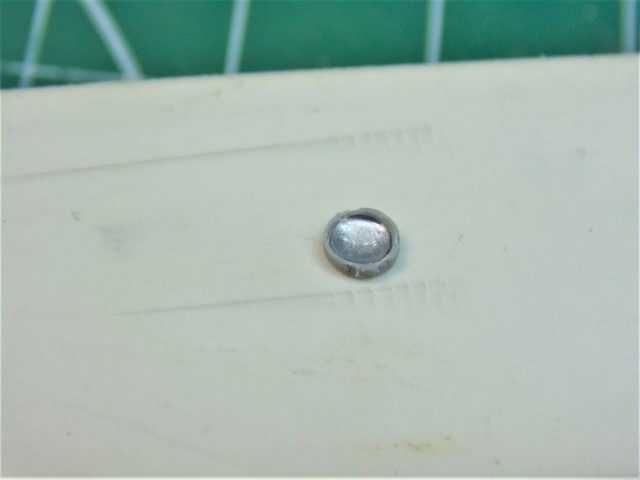
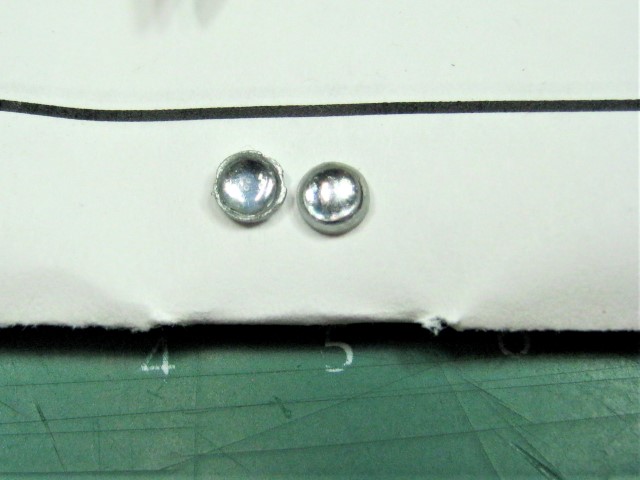
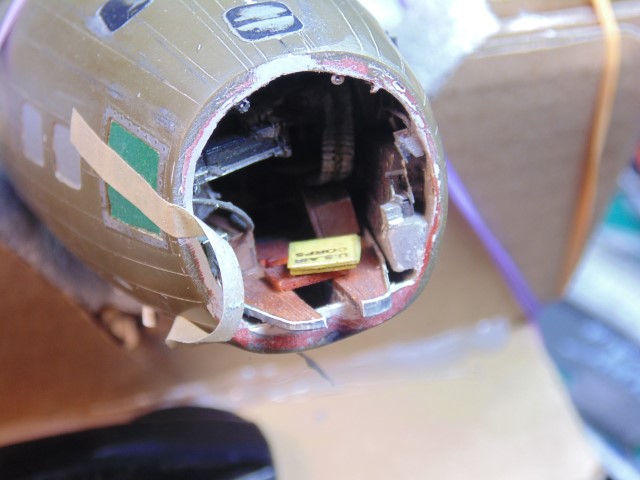
This will sit for a couple of days then get the sanding and filling treatment.


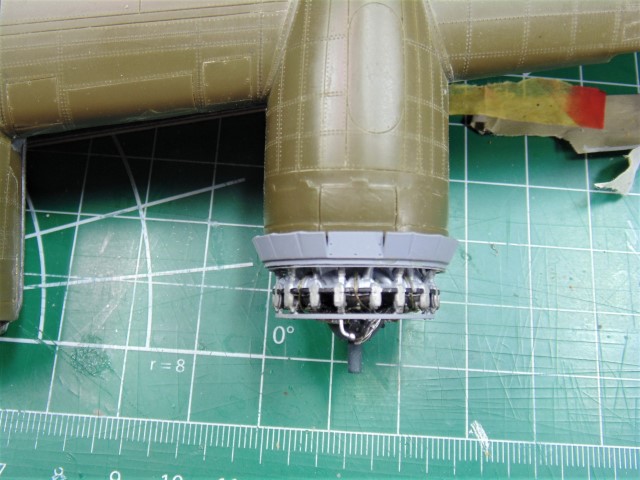
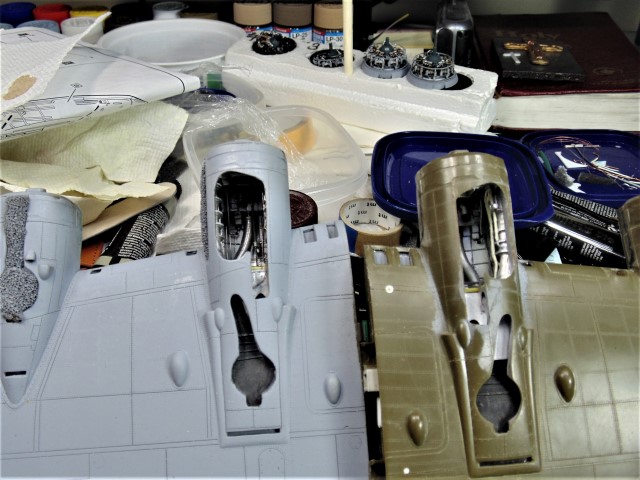
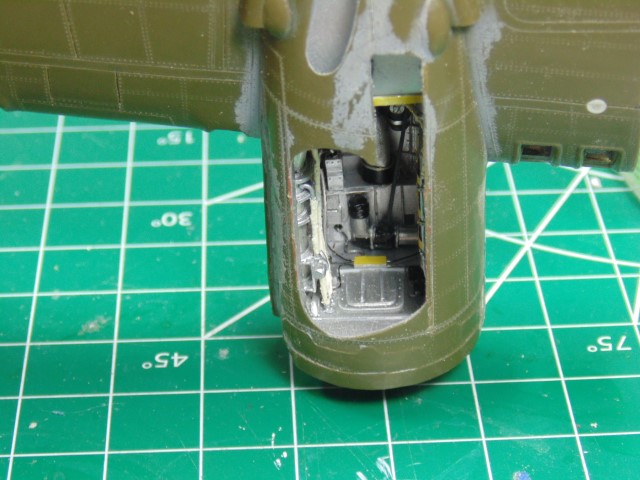
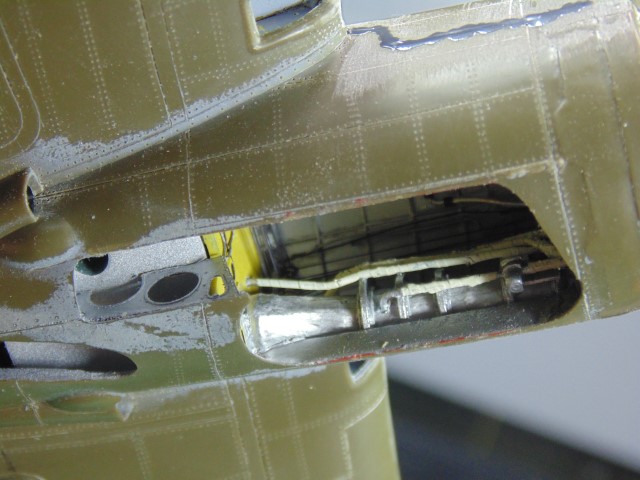


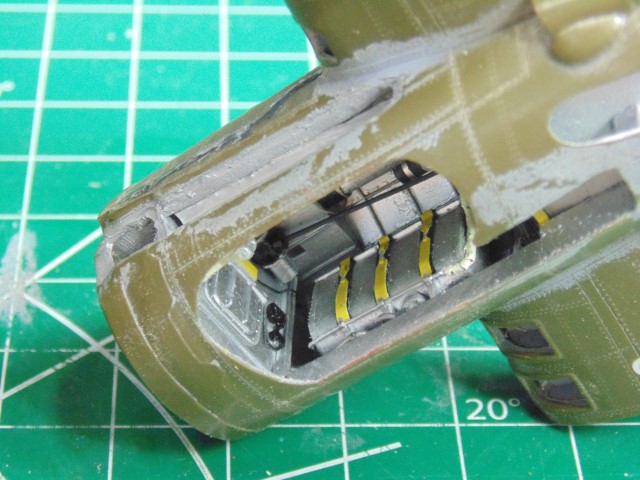
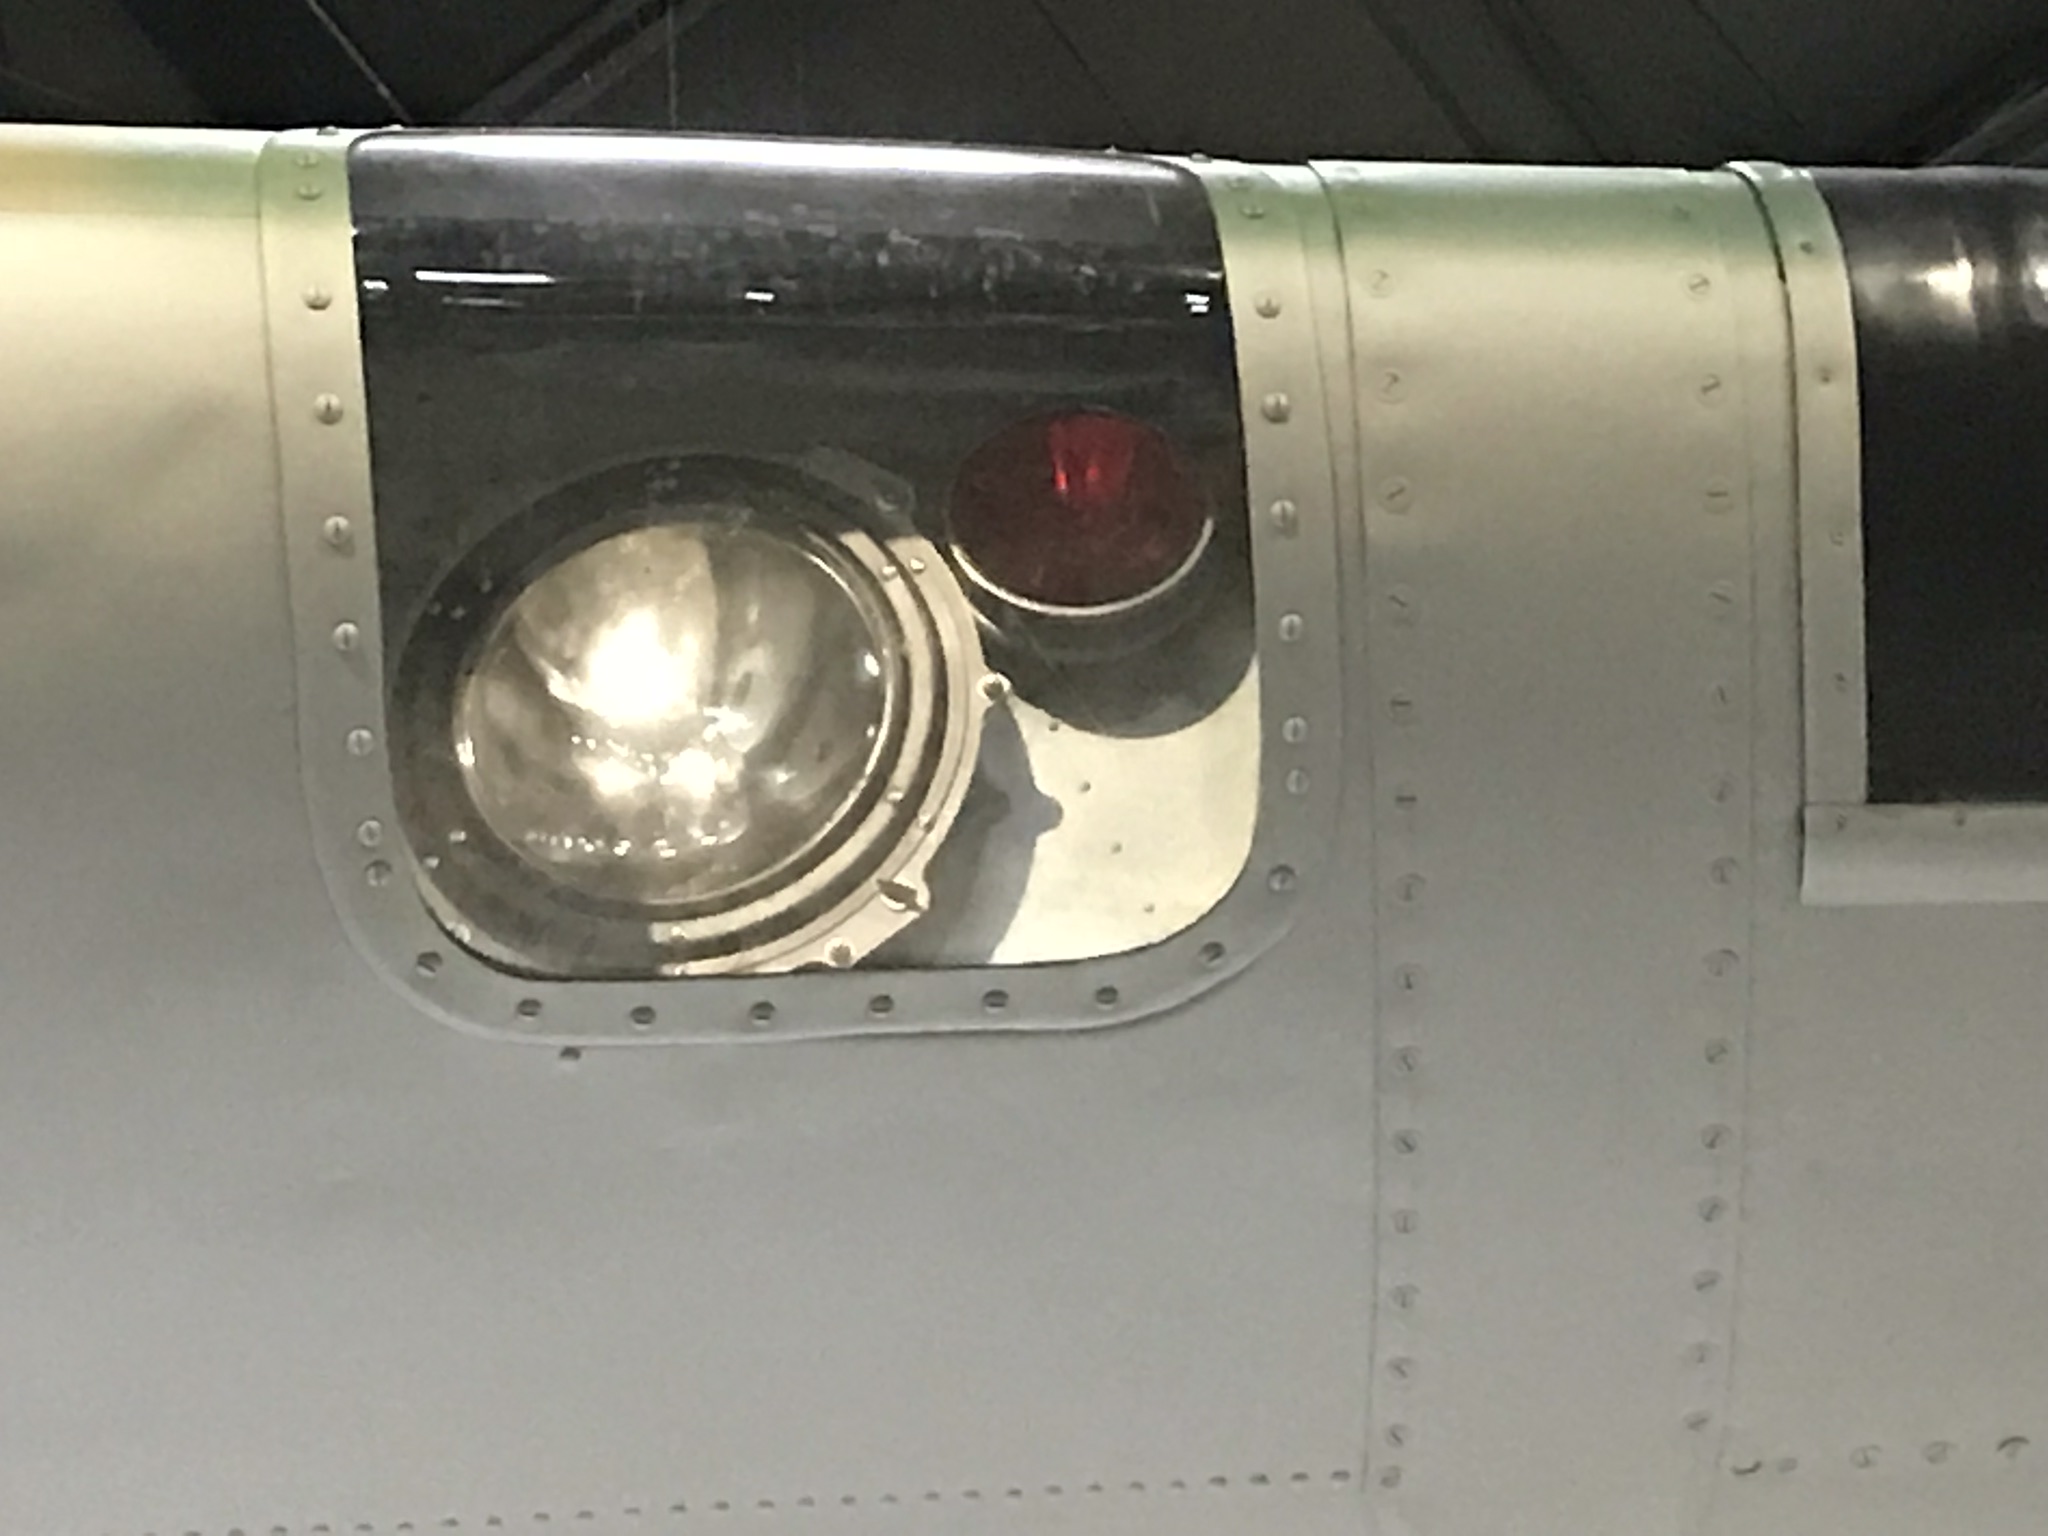

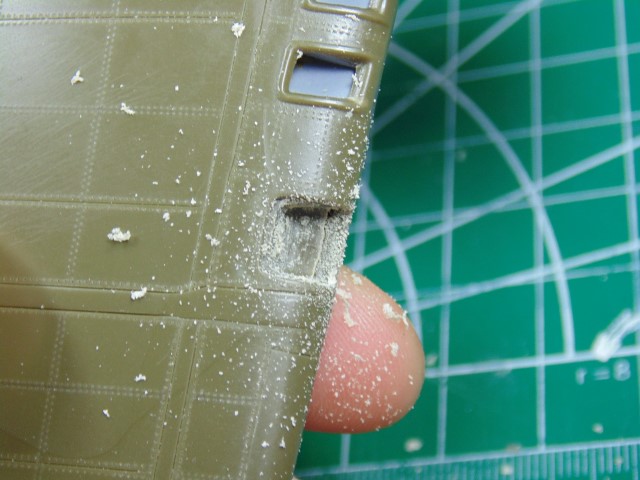
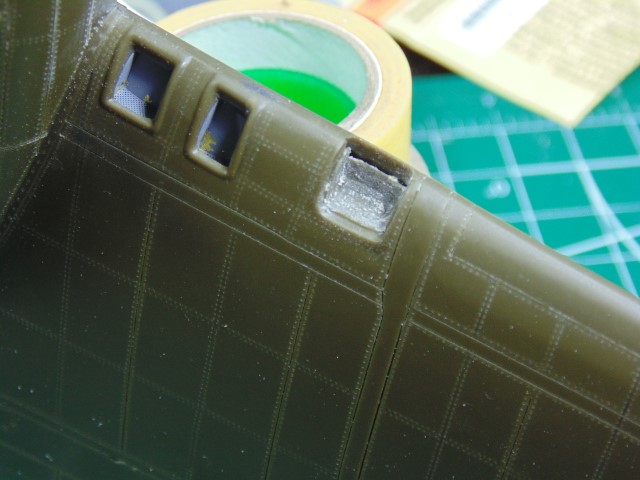
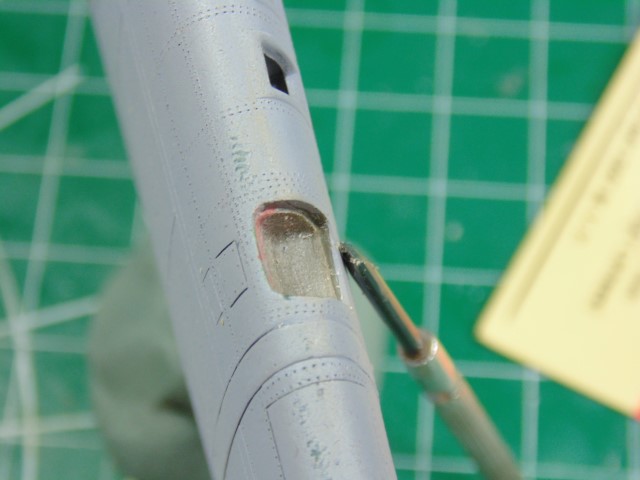
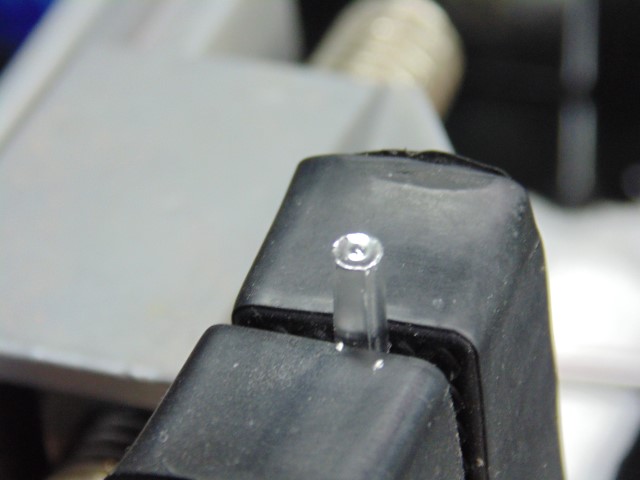
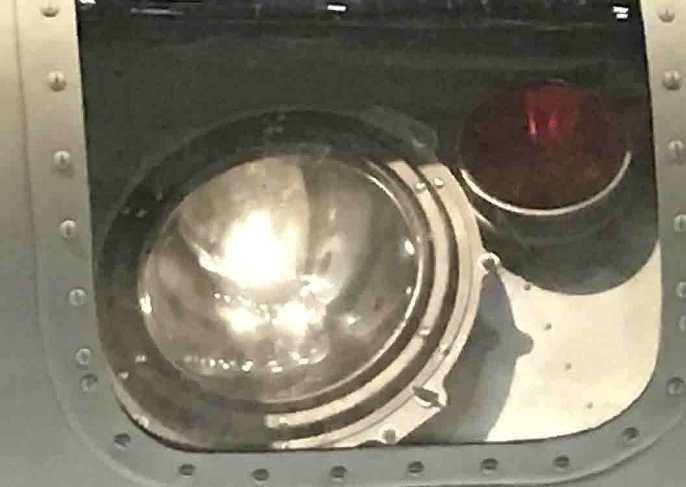
Looking good. I presume at some point he will want to address the landing lights. In the left one ONLY, there was a red passing light

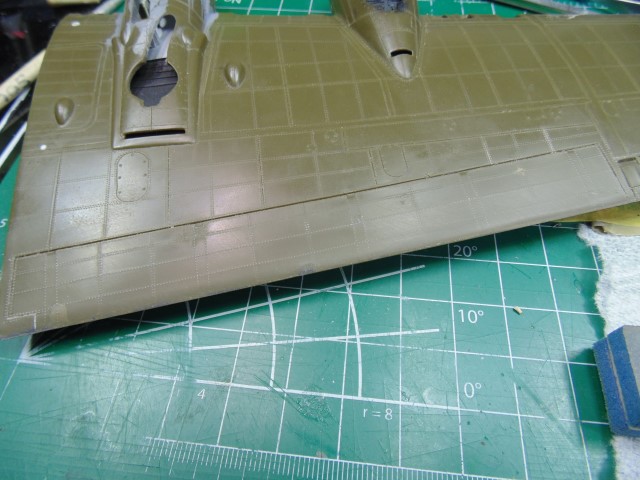
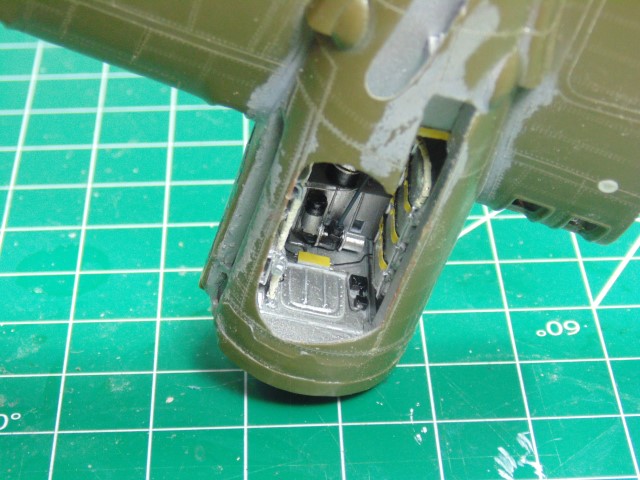
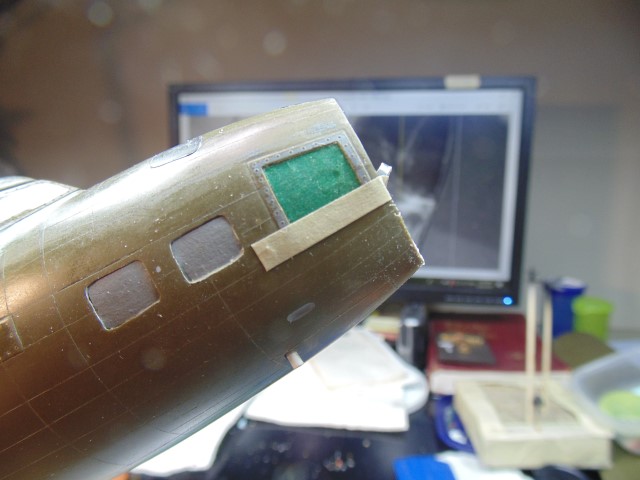
Still following this Brian - very nice work indeed!
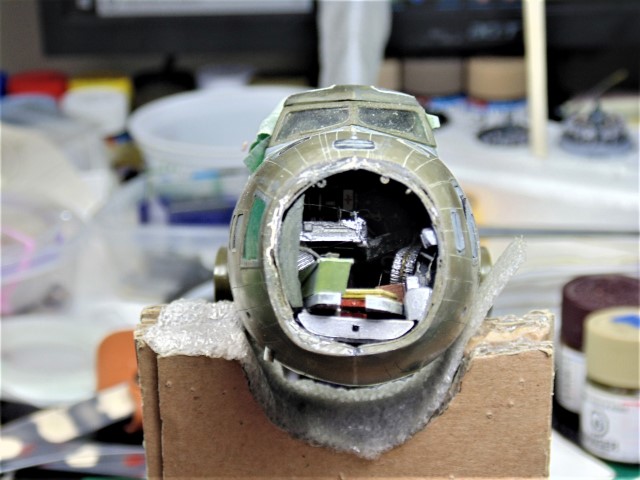

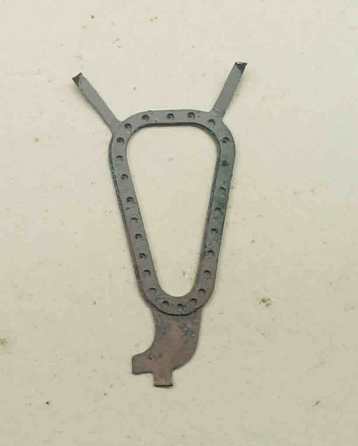
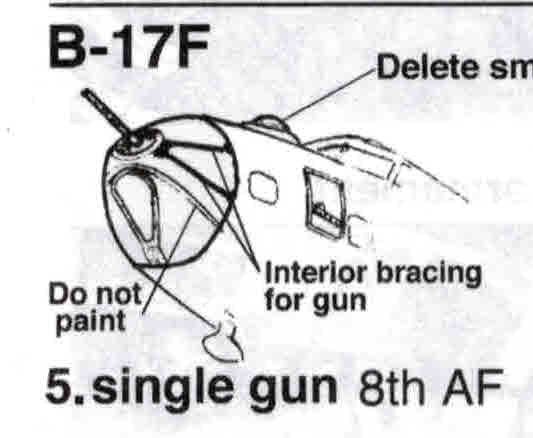

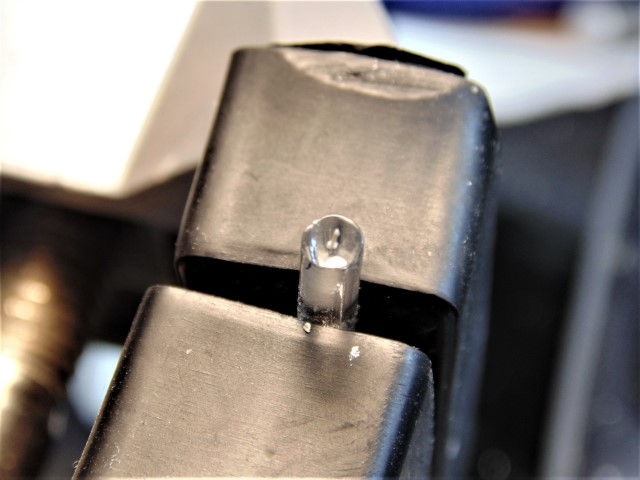

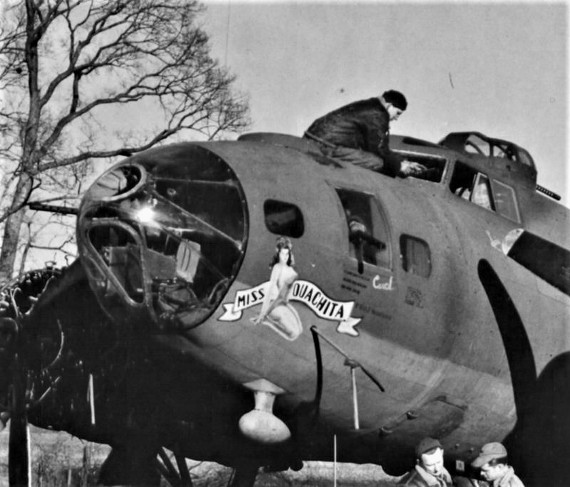
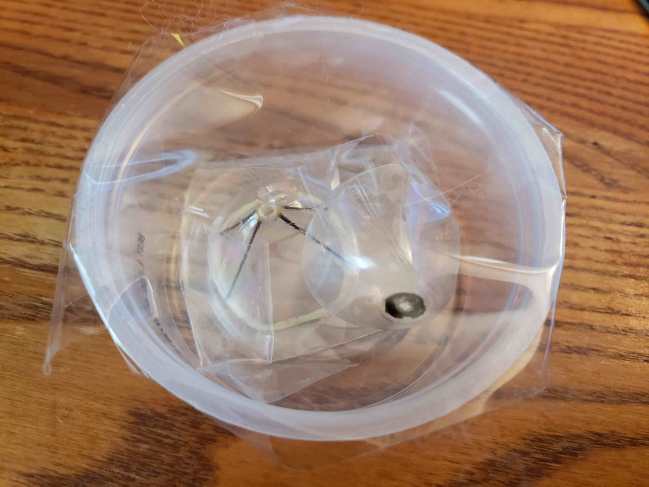
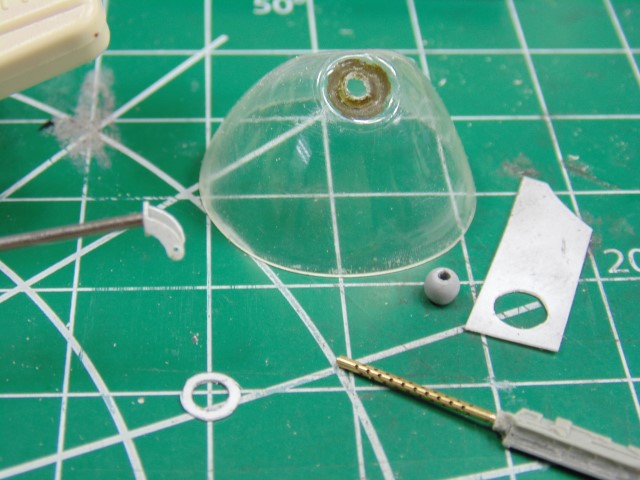

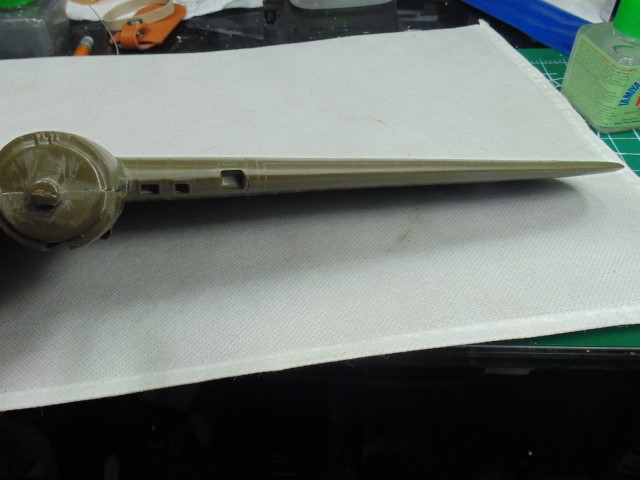
Before you go too much further: The nose cone and mount on "Miss Ouachita" is not the same as what was on "Luscious Lady". You need the deeper recessed mount as seen here:
 |


