

Air Campaigns
Want to start or join a group build? This is where to start.
Want to start or join a group build? This is where to start.
Hosted by Frederick Boucher, Michael Satin
OFFICIAL: The Great Build Off Campaign

md72

#439

Joined: November 05, 2005
KitMaker: 4,950 posts
AeroScale: 3,192 posts

Posted: Friday, March 21, 2014 - 10:06 AM UTC
Getting into the boom sub assembly. Wow, there's a lot of engineering going on in there. Fit is crisp, but it may need a littl sanding to makes sure everything mates up smoothly.

raypalmer

Joined: March 29, 2010
KitMaker: 1,151 posts
AeroScale: 985 posts

Posted: Tuesday, March 25, 2014 - 12:40 PM UTC
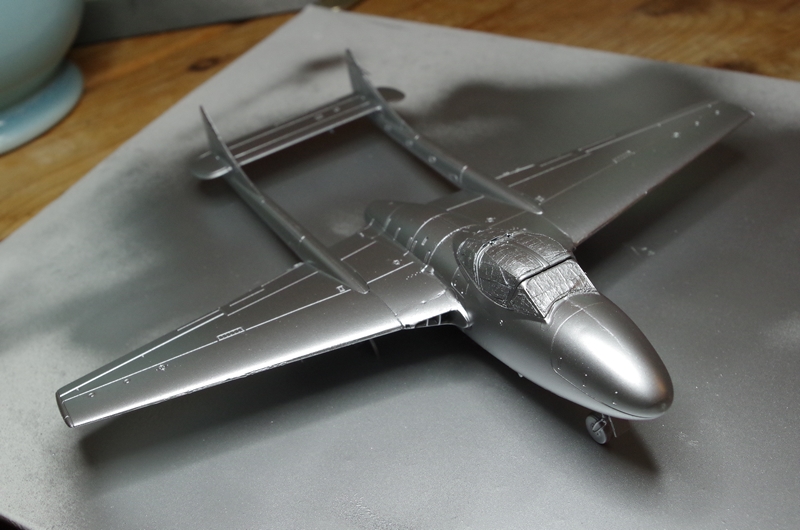
These silver vampires are definitely an example of the Herman Melville school of stencilling...
Have to approach this piecemeal.
I was about to compliment airfix on their decals when suddenly the roundels betrayed their transparency.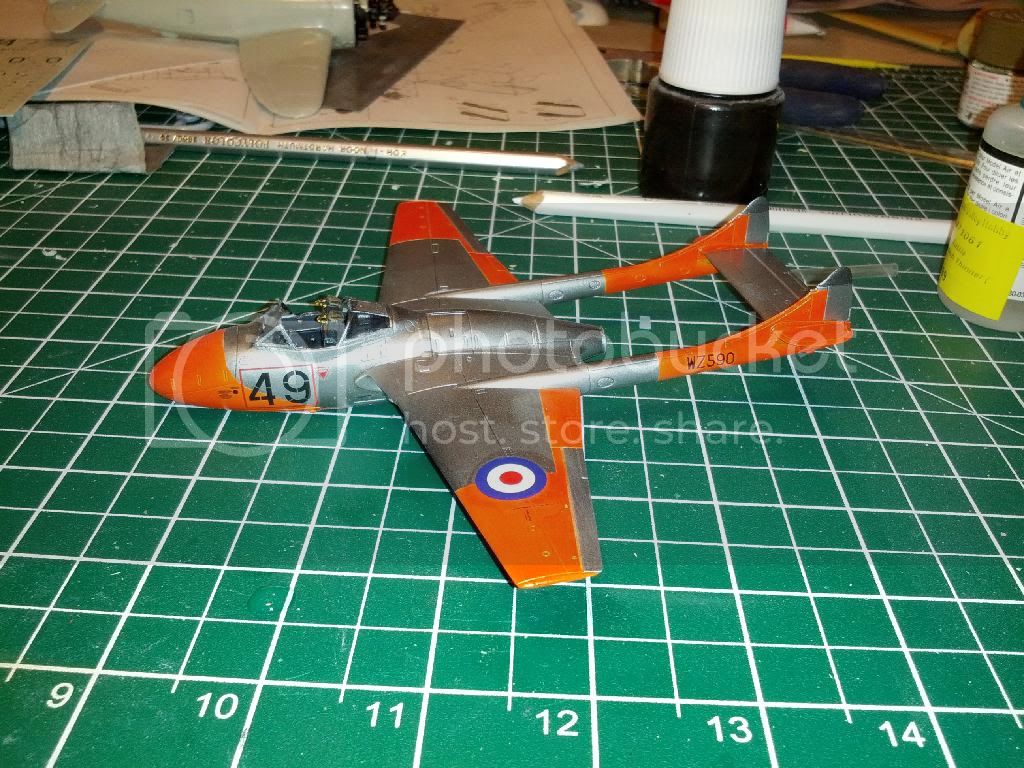
Have to approach this piecemeal.
I was about to compliment airfix on their decals when suddenly the roundels betrayed their transparency.
raypalmer
Joined: March 29, 2010
KitMaker: 1,151 posts
AeroScale: 985 posts
Posted: Friday, March 28, 2014 - 05:03 PM UTC
So many decals... I would love to do the new airfix gnat up to match this one but I can't see myself starting another kit from this golden age of stencils... 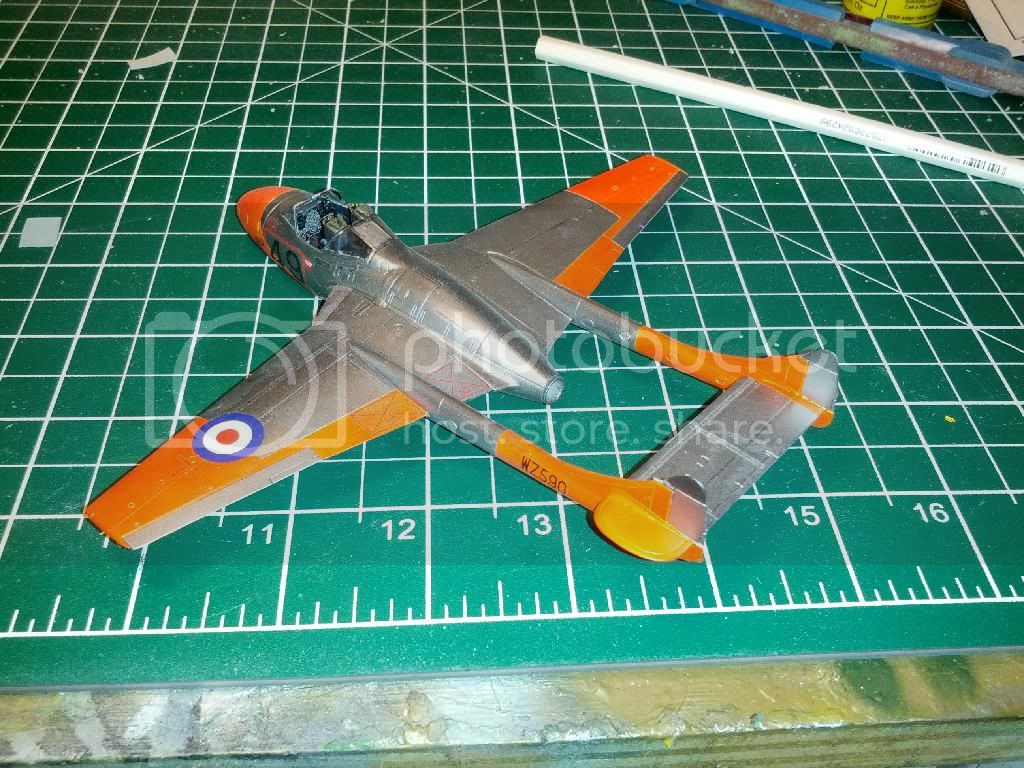

anselneo

Joined: January 23, 2013
KitMaker: 20 posts
AeroScale: 13 posts
Posted: Friday, March 28, 2014 - 11:21 PM UTC
Hi All,
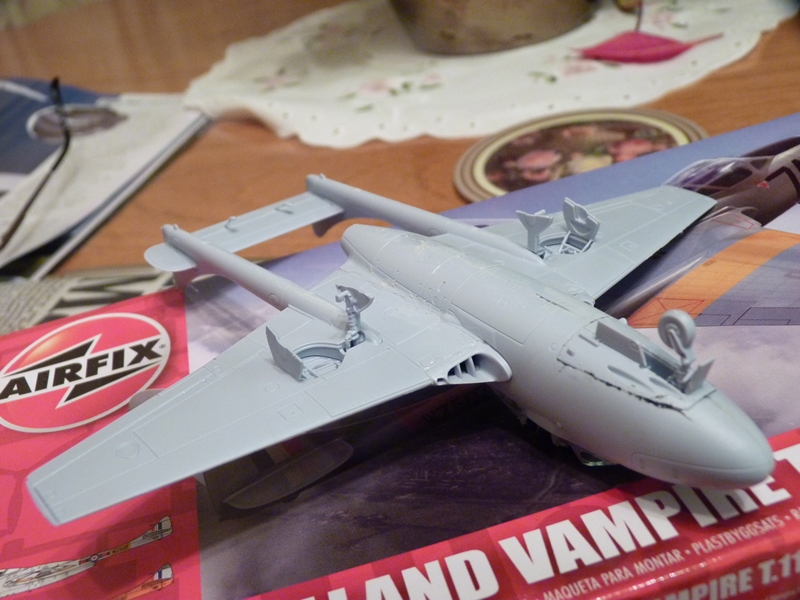
Just joined. Here's my start picture.
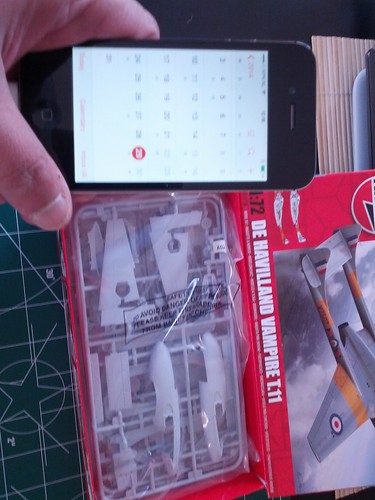
Just joined. Here's my start picture.
anselneo
Joined: January 23, 2013
KitMaker: 20 posts
AeroScale: 13 posts
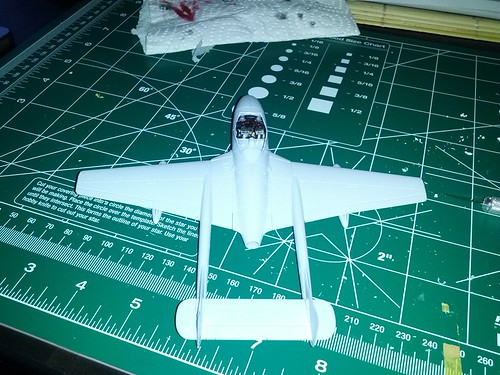
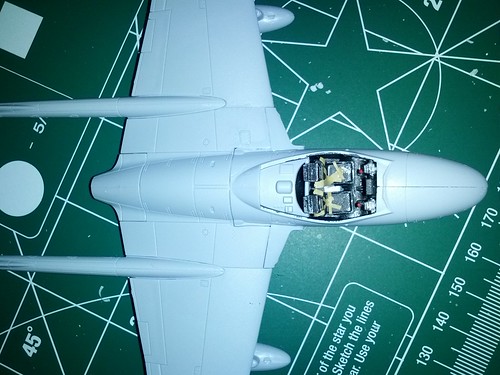
Posted: Saturday, March 29, 2014 - 06:15 AM UTC
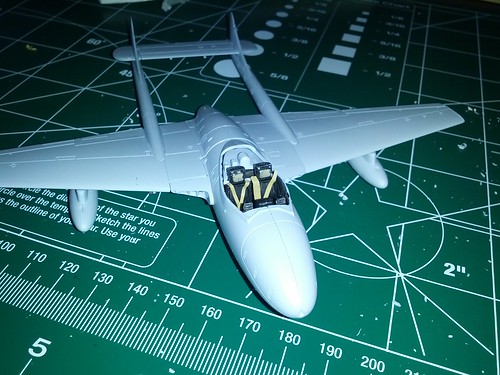
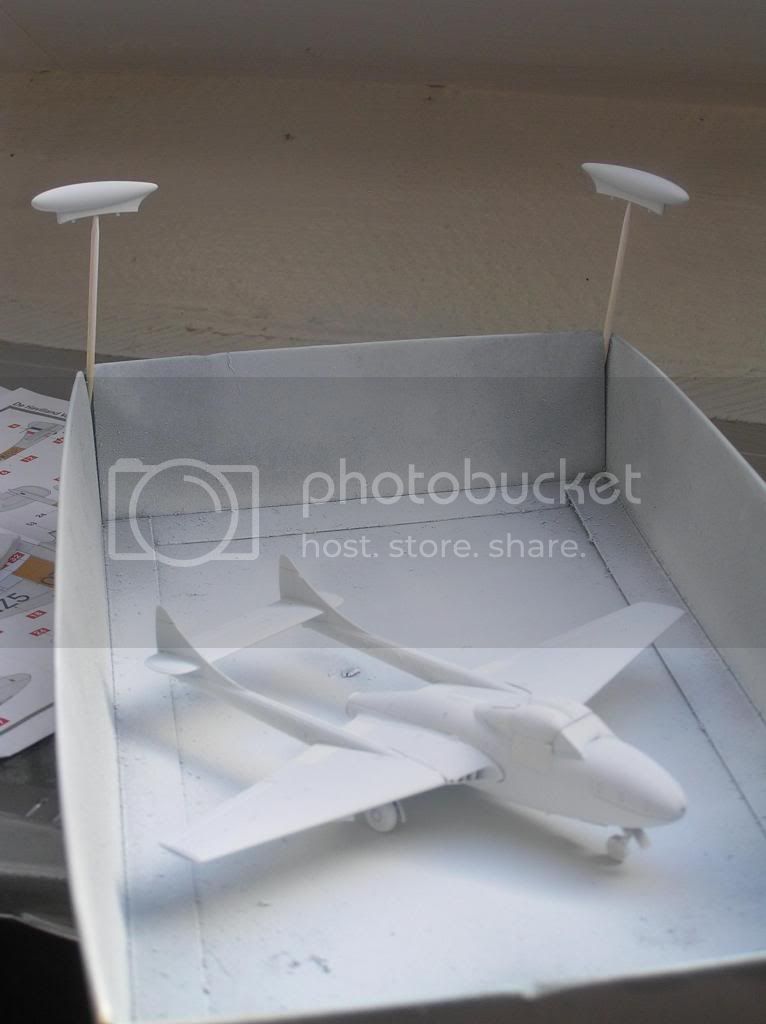
Made some quick progress.

windysean
Joined: September 11, 2009
KitMaker: 1,917 posts
AeroScale: 563 posts
Posted: Saturday, March 29, 2014 - 02:19 PM UTC
Ansel, that is coming along well. I like your cockpit detail, and the booms didn't seem to slow you down! Keep it up.
Thanks,
Sean H
Thanks,
Sean H

ljames0874

Joined: August 15, 2012
KitMaker: 408 posts
AeroScale: 365 posts

Posted: Tuesday, April 01, 2014 - 03:32 AM UTC
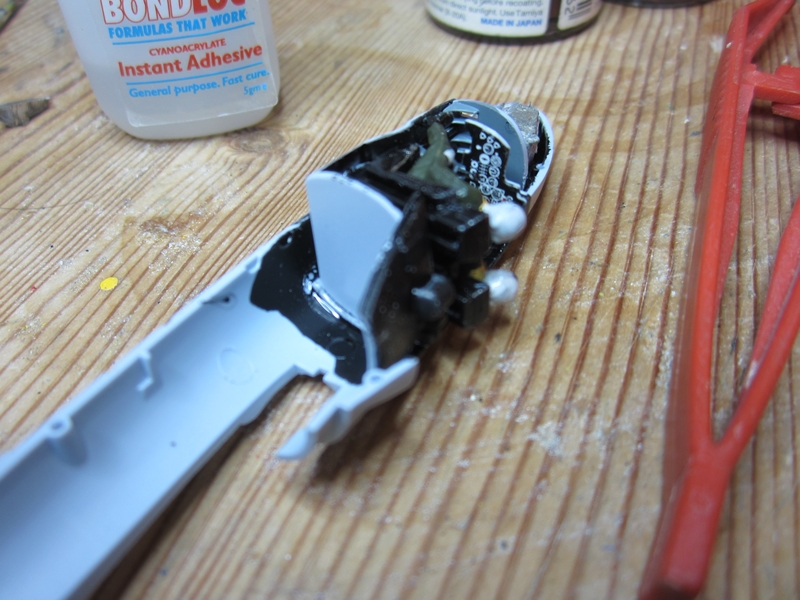
With 3 months to go, I thought I'd better get started on this build. This first pic shows some of the unpainted PE that has gone into the cockpit.
This one shows the colour in the cockpit, Dark grey and Black mix, highlighted with Shadow Grey (citadel), and then washed with black ink.
Next, weights added:
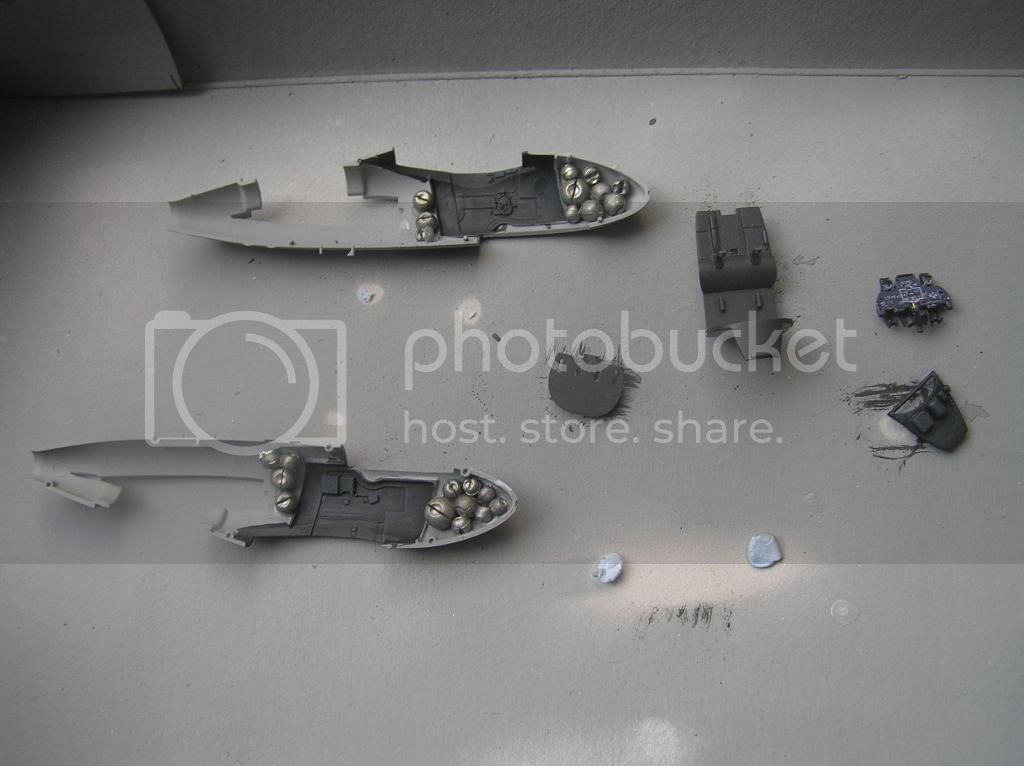
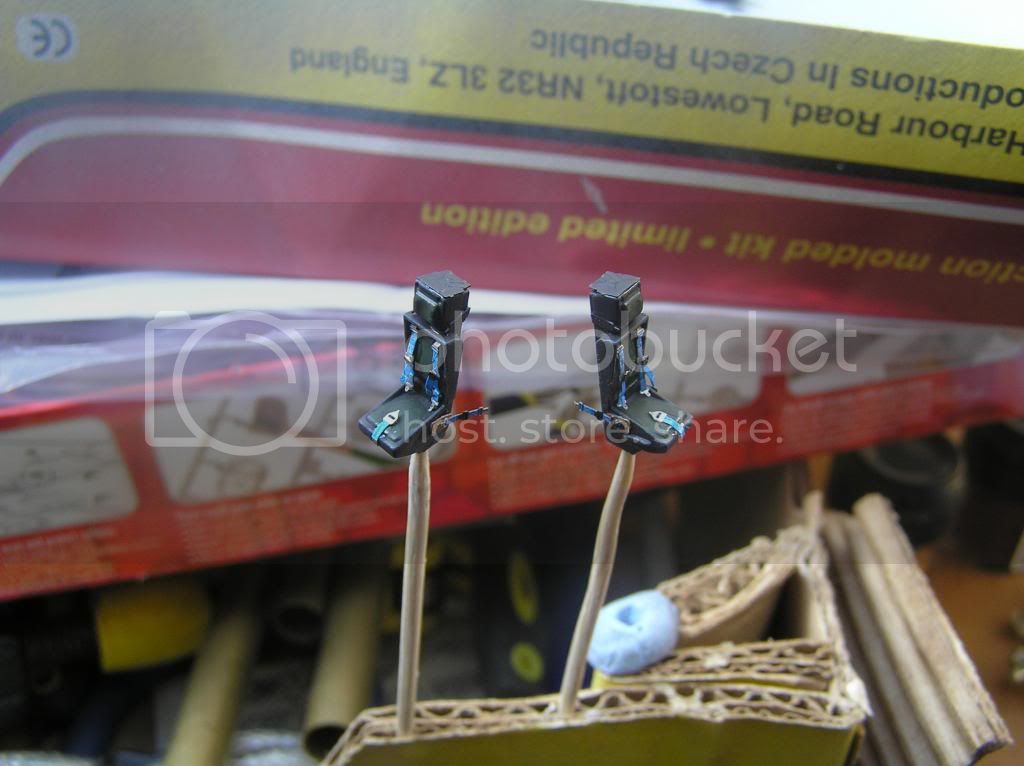
Bang seats with belts added, and holes for the ejector seat handles, which I will add right at the end of the build.
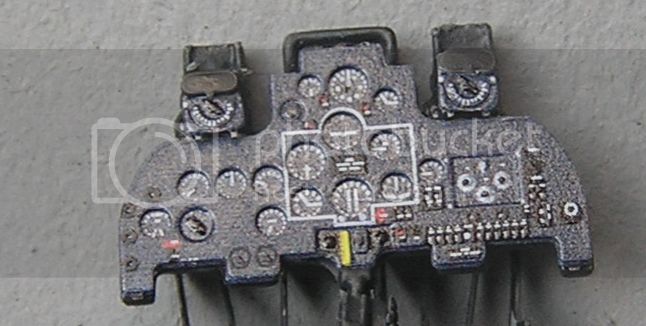
Here is a close up of the printed PE instrument panel.
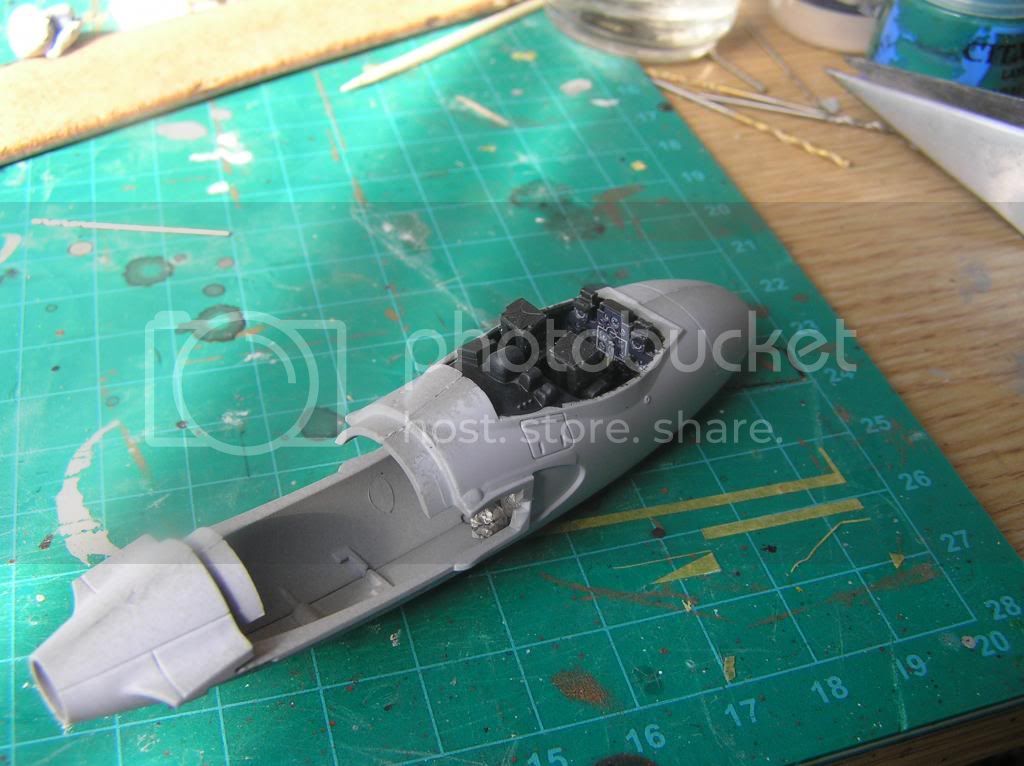
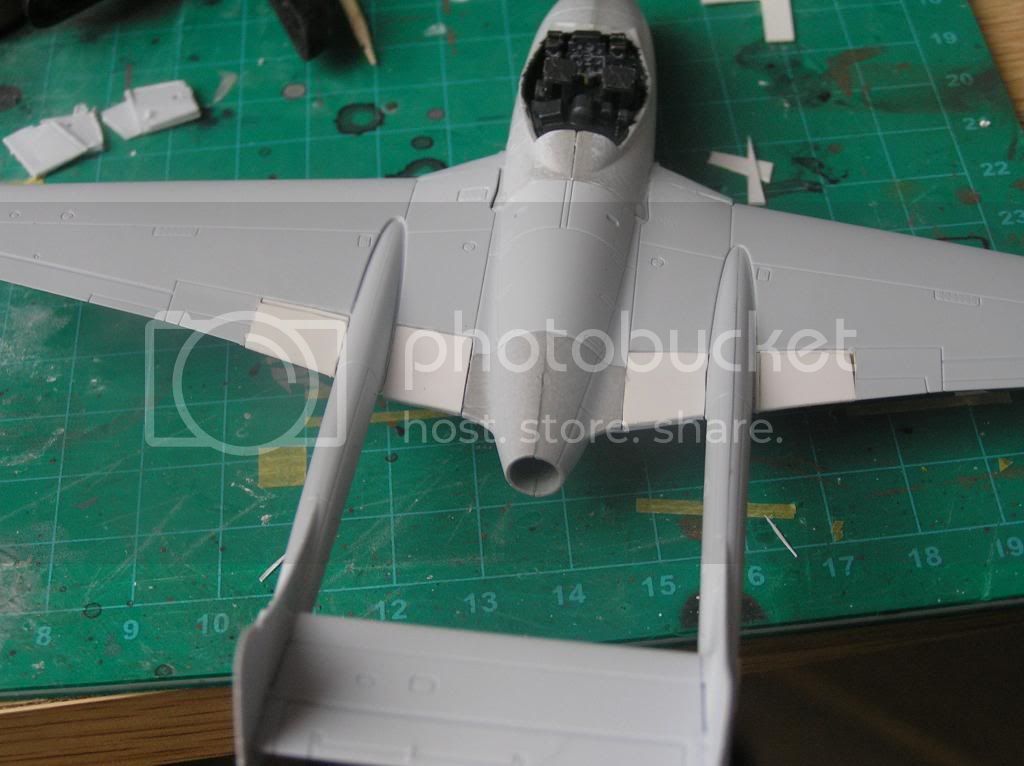
And finally, the fuselage is together!
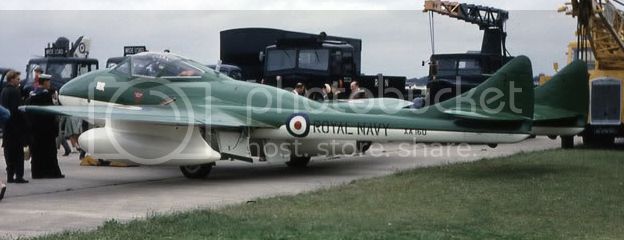
Oh yes, I found a better picture of the airframe I am doing, and coincidentally, it is flaps down.
Cheers everyone!
This one shows the colour in the cockpit, Dark grey and Black mix, highlighted with Shadow Grey (citadel), and then washed with black ink.
Next, weights added:
Bang seats with belts added, and holes for the ejector seat handles, which I will add right at the end of the build.
Here is a close up of the printed PE instrument panel.
And finally, the fuselage is together!
Oh yes, I found a better picture of the airframe I am doing, and coincidentally, it is flaps down.
Cheers everyone!
md72
#439
Joined: November 05, 2005
KitMaker: 4,950 posts
AeroScale: 3,192 posts
Posted: Tuesday, April 01, 2014 - 03:45 AM UTC
Nice! The seat belts are fantastic. How much weight did you use? The kit calls for 7 gr, I put in 9, figuring that the instructions assumed that I'd be installing the crew, so I added some to replace their weight.
ljames0874
Joined: August 15, 2012
KitMaker: 408 posts
AeroScale: 365 posts
Posted: Tuesday, April 01, 2014 - 05:25 AM UTC
I used 7gms just as the instructions suggested, but I will be using white metal replacement undercarriage, which will add to the weight.
Cheers!
Cheers!
ljames0874
Joined: August 15, 2012
KitMaker: 408 posts
AeroScale: 365 posts
Posted: Sunday, April 06, 2014 - 07:56 AM UTC
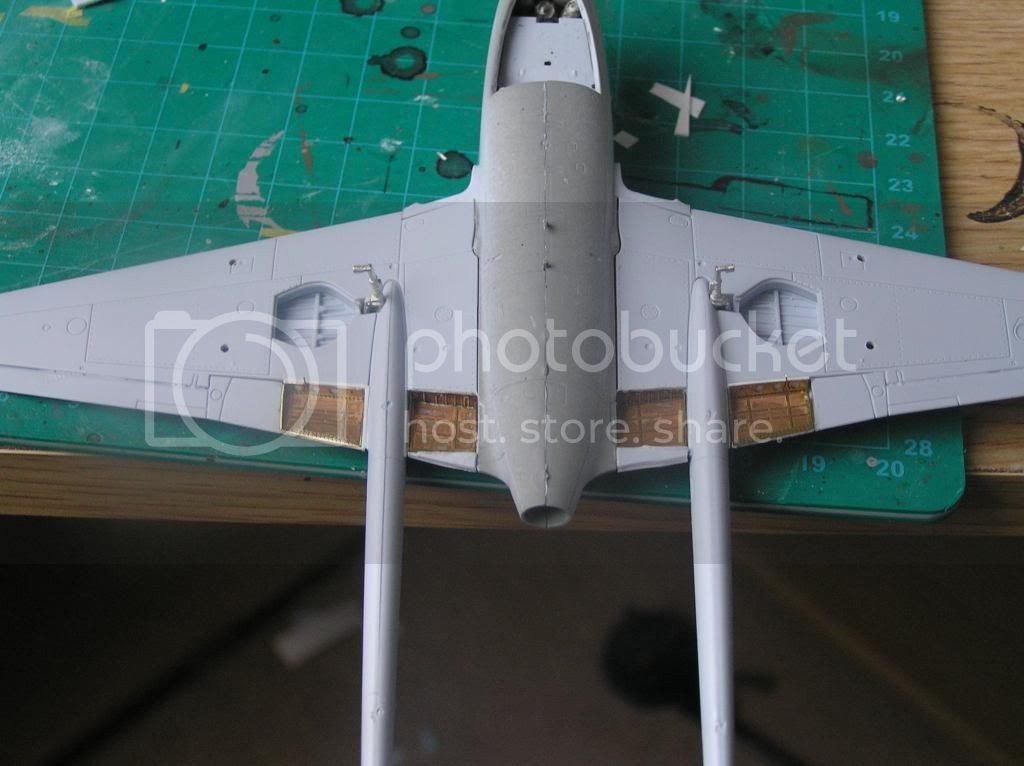
I've done a little work on the flaps today. Eduard's instructions for the PE would have you thin the top section of the wing and then install the PE flap boxes. Instead, what I have done is to completely remove the areas from the upper wing, build the boxes and then glue them onto some thin plasticard, and then cut them out and install them into the wing spaces. After a tiny amount of filling and sanding I will scribe the new plastic parts to blend in with the rest of the wing.
raypalmer
Joined: March 29, 2010
KitMaker: 1,151 posts
AeroScale: 985 posts
Posted: Sunday, April 06, 2014 - 03:19 PM UTC
Lee you're really giving us it with both barrels eh! Can't believe that instrument panel.
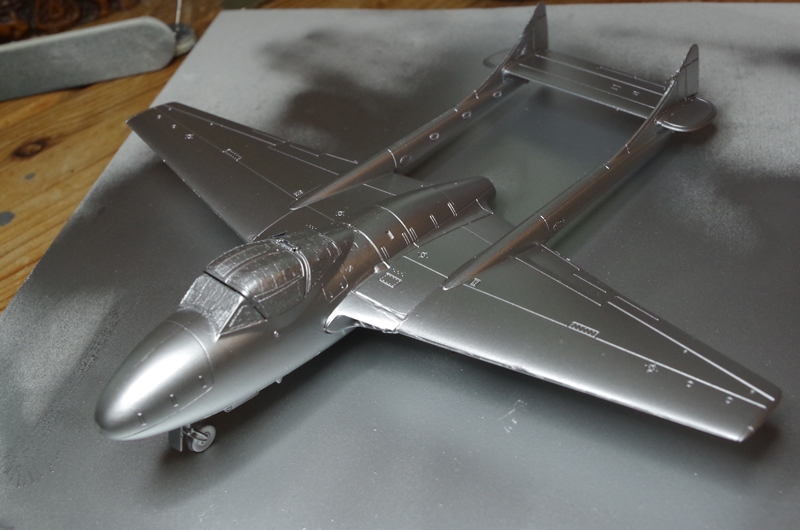
Here's mine. Virtually finished. Just need to get one of the roundels to settle down and I can clearcoat it.
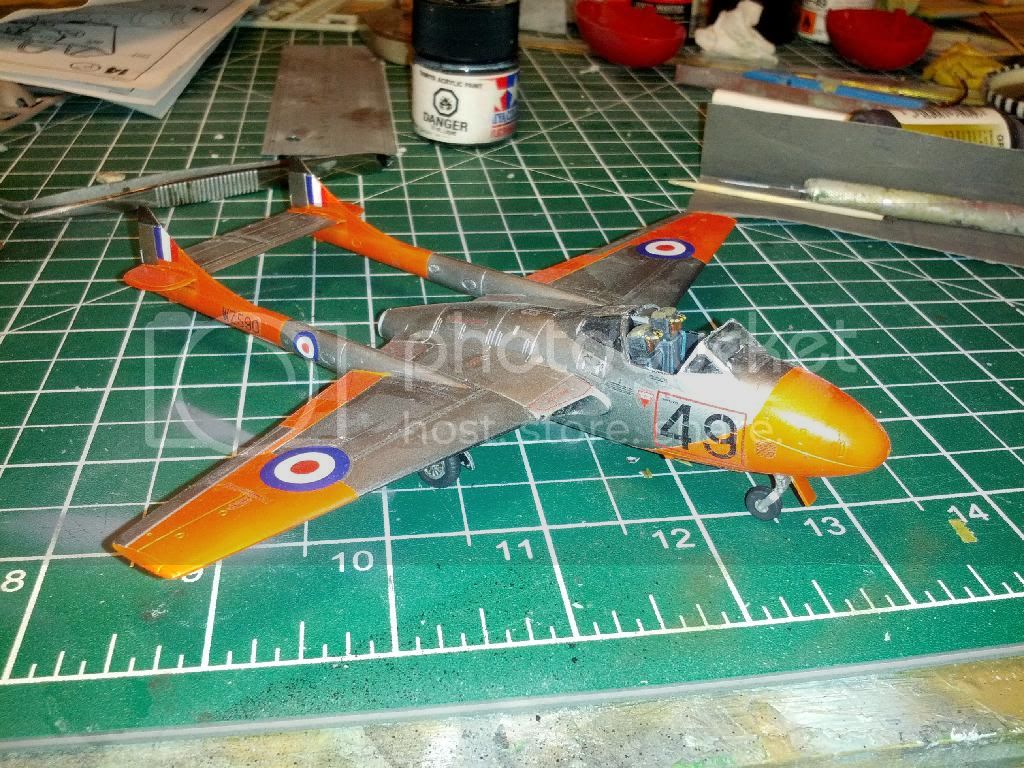
Here's mine. Virtually finished. Just need to get one of the roundels to settle down and I can clearcoat it.
raypalmer
Joined: March 29, 2010
KitMaker: 1,151 posts
AeroScale: 985 posts
Posted: Tuesday, April 08, 2014 - 04:14 PM UTC
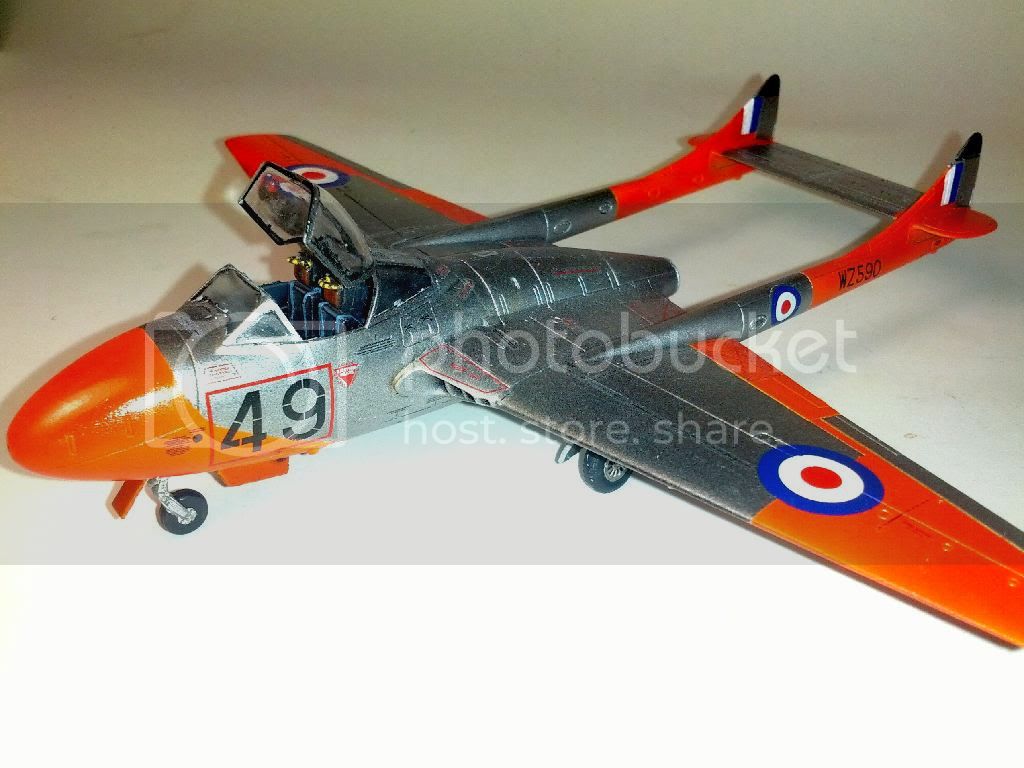
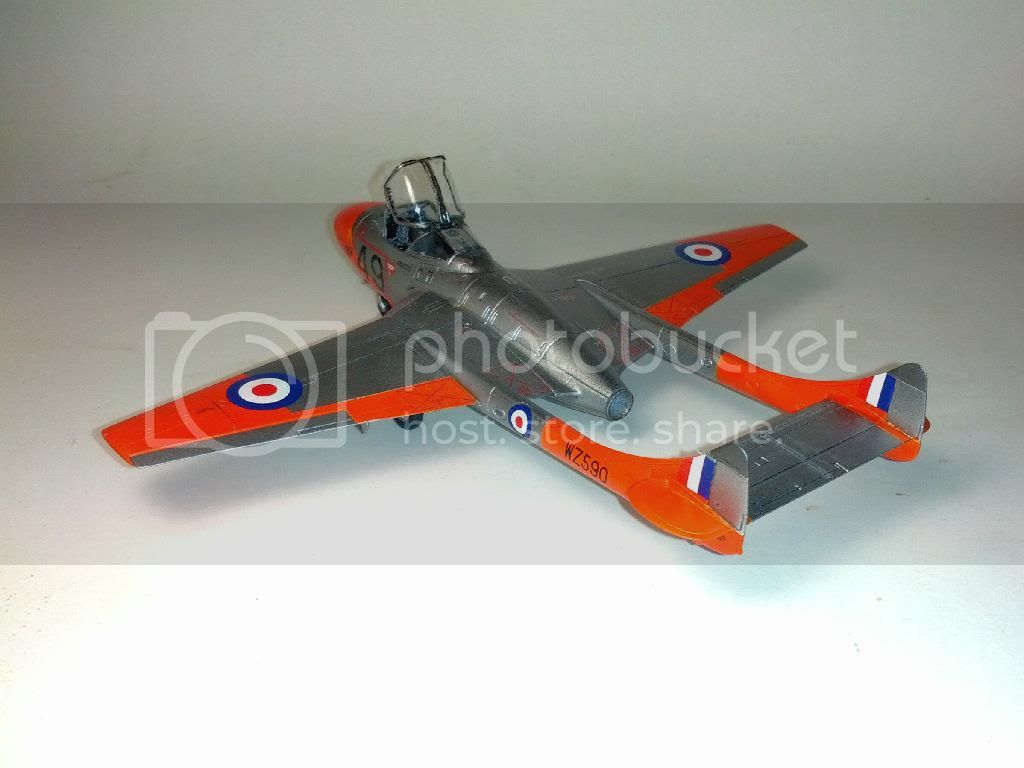
That's as done as its going to get!
ljames0874
Joined: August 15, 2012
KitMaker: 408 posts
AeroScale: 365 posts
Posted: Tuesday, April 08, 2014 - 06:05 PM UTC
Looking good there Richard, that orange really pops!
MichaelSatin

Joined: January 19, 2008
KitMaker: 3,909 posts
AeroScale: 2,904 posts
Posted: Friday, April 18, 2014 - 12:37 AM UTC
Looking great everyone!
Just a friendly nudge here, but your campaign still doesn't have a ribbon.
Michael
Just a friendly nudge here, but your campaign still doesn't have a ribbon.
Michael

amegan
#243

Joined: March 21, 2008
KitMaker: 996 posts
AeroScale: 915 posts

Posted: Tuesday, April 22, 2014 - 08:43 AM UTC
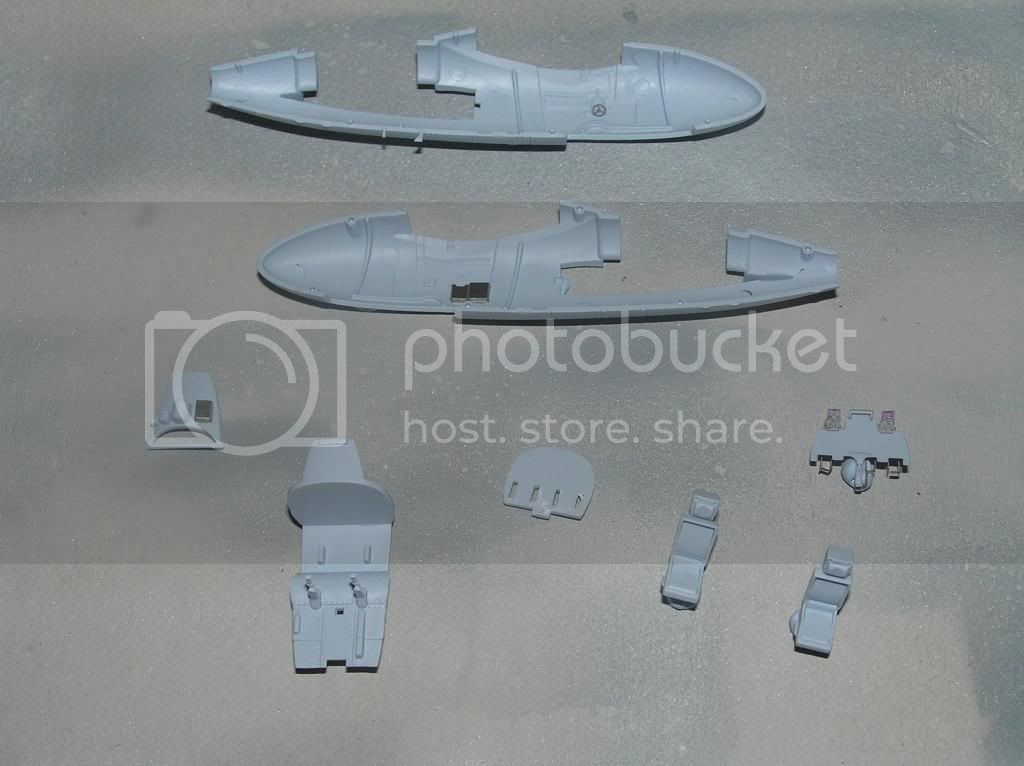
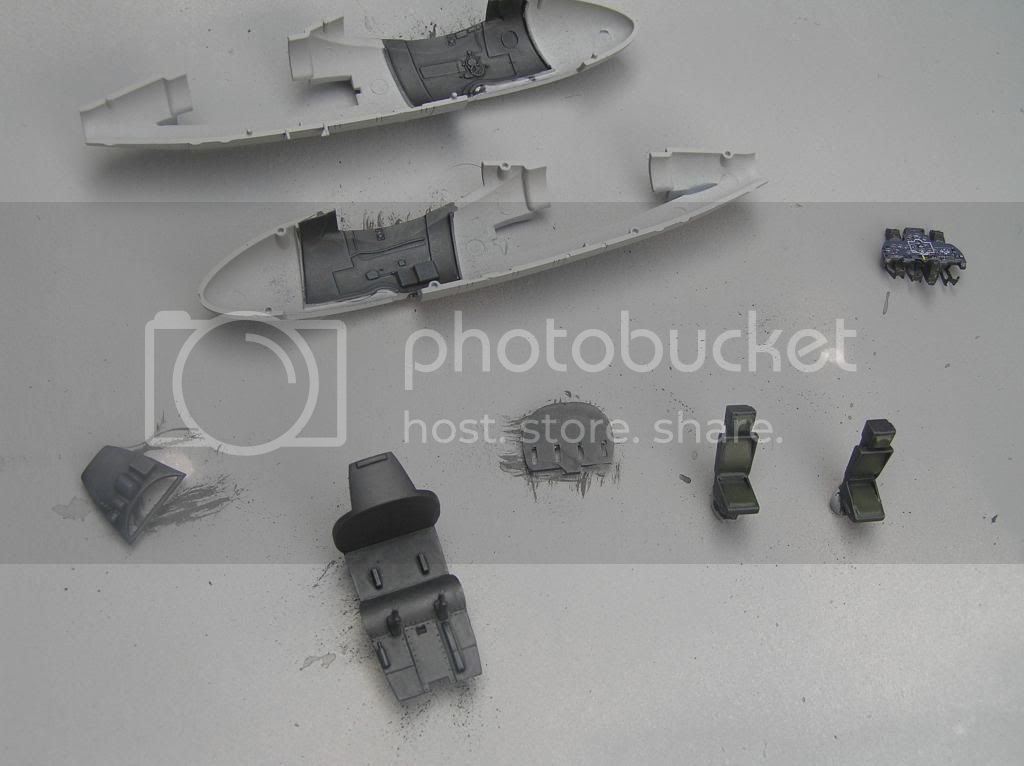
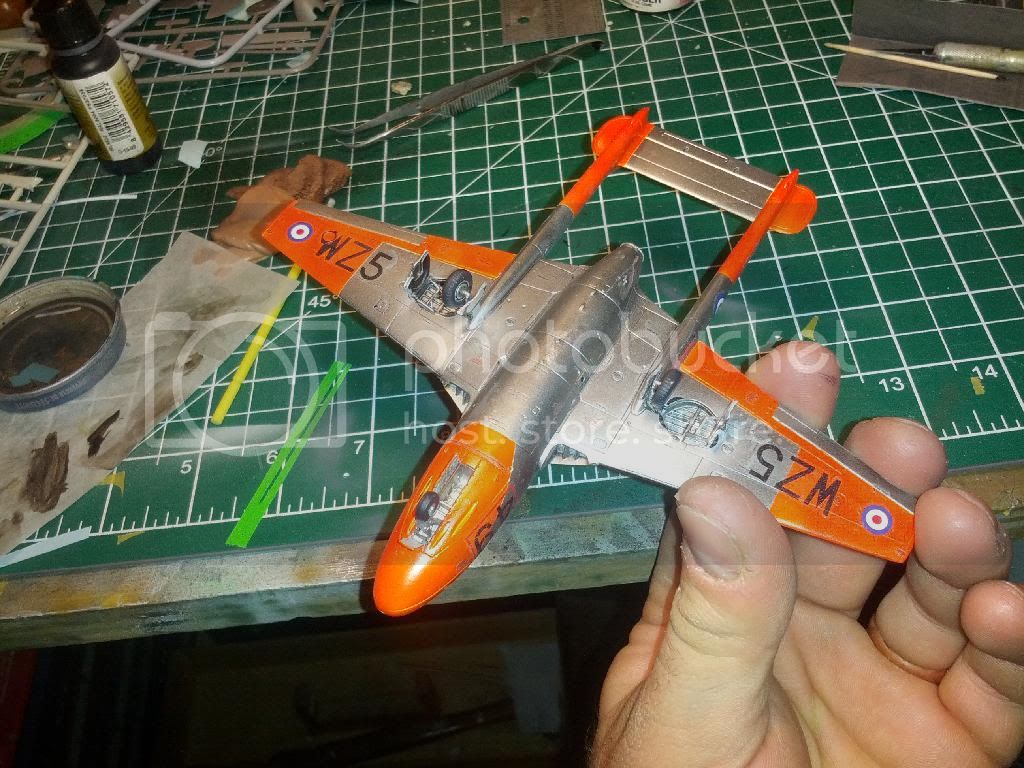
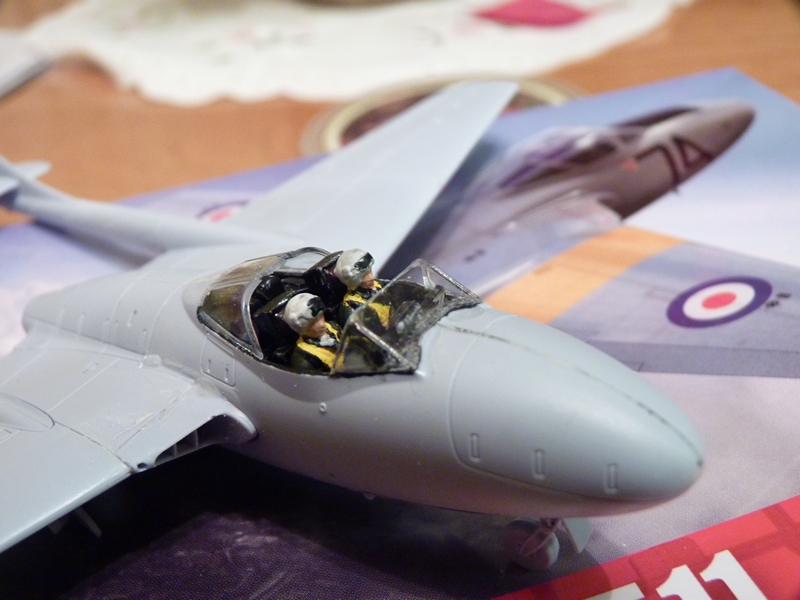
I said I was slow, got a few family things going on and it is eating my build time. Decided to build this one OOB because otherwise I'll never get it done.
OOB means including the crew, not my best photos

Nose weight os a convenient lump of lead, I didn't weigh it but it will be way over 7g
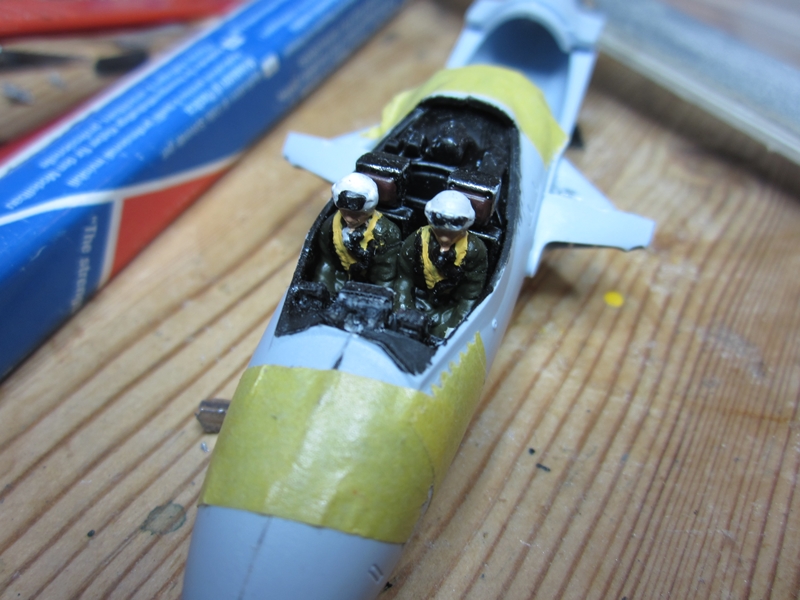
Cockpit together, air intake in and intakes added to the front.
Next installment soon(ish)
OOB means including the crew, not my best photos
Nose weight os a convenient lump of lead, I didn't weigh it but it will be way over 7g
Cockpit together, air intake in and intakes added to the front.
Next installment soon(ish)
md72
#439
Joined: November 05, 2005
KitMaker: 4,950 posts
AeroScale: 3,192 posts
Posted: Tuesday, April 22, 2014 - 08:45 AM UTC
Hey, any progress counts. I'm guessing you're at the toughest part of the build anyway, I spent a couple of sessions trying to get the booms to mate to the top wing smoothly. 
amegan
#243
Joined: March 21, 2008
KitMaker: 996 posts
AeroScale: 915 posts
Posted: Tuesday, April 22, 2014 - 09:35 AM UTC
Thanks for the warning, and there's me thinking this is a well fitting kit
md72
#439
Joined: November 05, 2005
KitMaker: 4,950 posts
AeroScale: 3,192 posts
Posted: Tuesday, April 22, 2014 - 10:31 AM UTC
maybe it's just my example, but there are a couple of wedges on the booms that caused the booms to set well below the upper wing. I sanded them down quite a bit til the top wing matched the 'wing root' on the boom.
amegan
#243
Joined: March 21, 2008
KitMaker: 996 posts
AeroScale: 915 posts
Posted: Wednesday, April 23, 2014 - 10:29 AM UTC
Quoted Text
maybe it's just my example, but there are a couple of wedges on the booms that caused the booms to set well below the upper wing. I sanded them down quite a bit til the top wingg matched the 'wing root' on the boom.
Thanks for the warning but assembly completed tonight with no problems, photos taken but will have to wait till the weekend to upload. Next stop, paint shop
md72
#439
Joined: November 05, 2005
KitMaker: 4,950 posts
AeroScale: 3,192 posts
Posted: Wednesday, April 23, 2014 - 11:08 AM UTC
Just my luck, I get the clinker.......
Can't wait to see the photos.
Can't wait to see the photos.
anselneo
Joined: January 23, 2013
KitMaker: 20 posts
AeroScale: 13 posts
Posted: Saturday, May 10, 2014 - 08:50 PM UTC
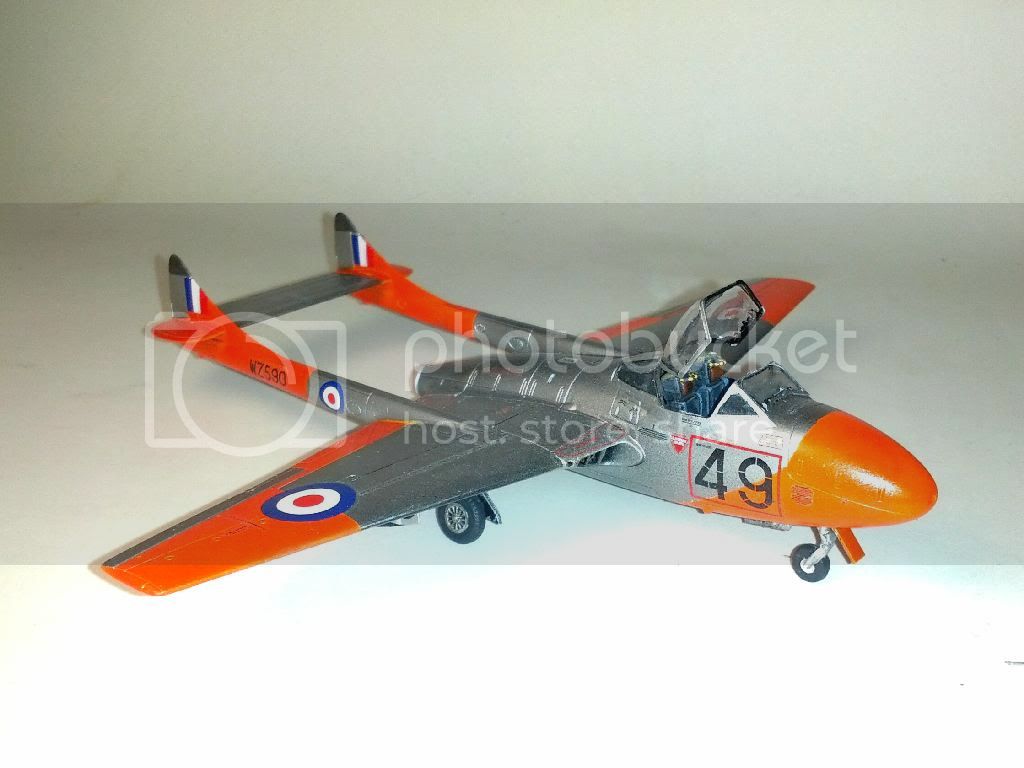
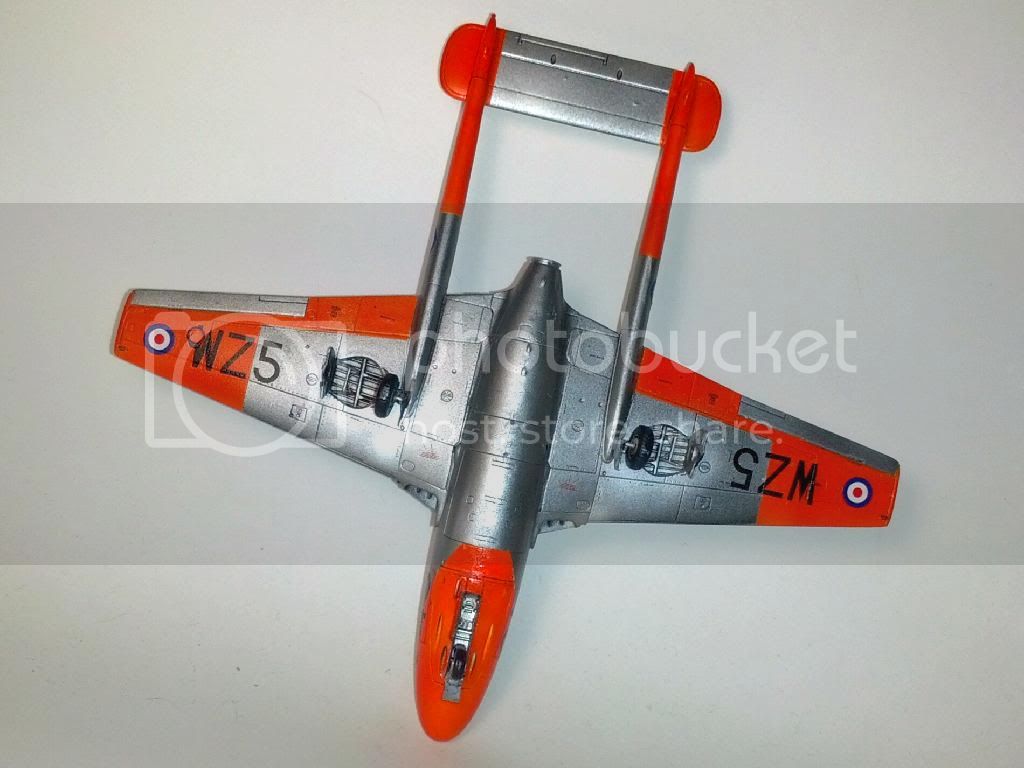
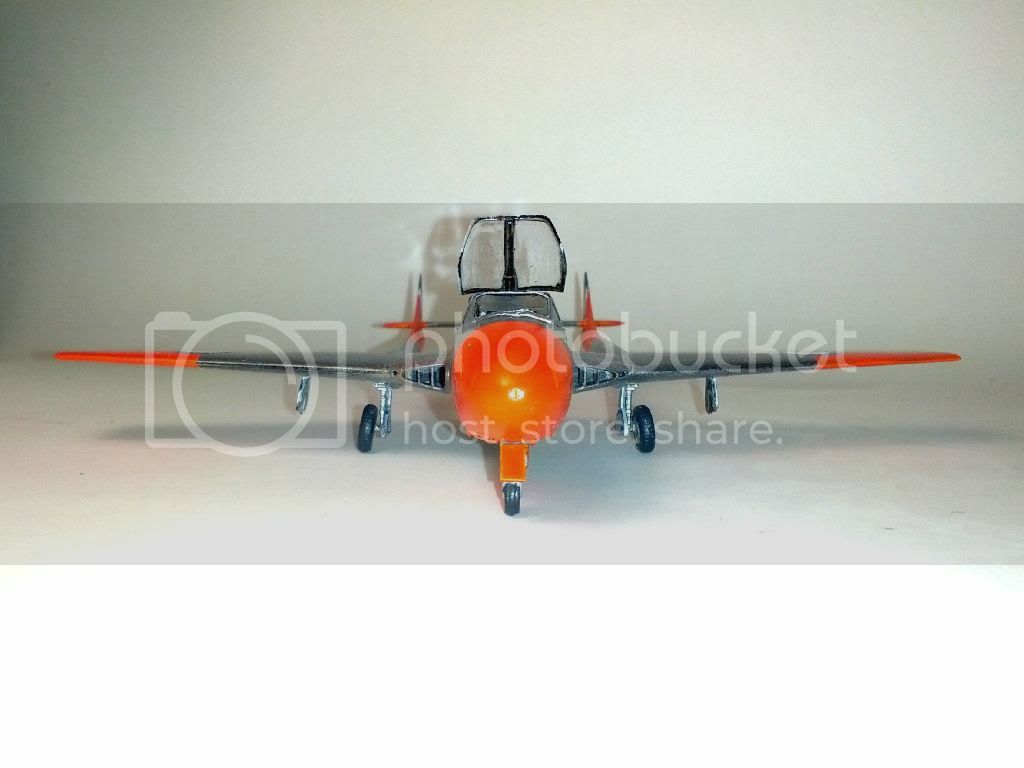
Calling this one as complete.
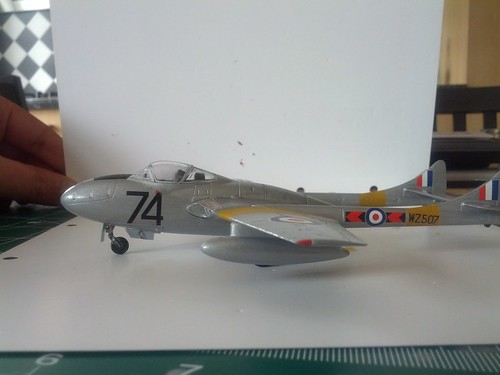 Vampire by anselneo, on Flickr
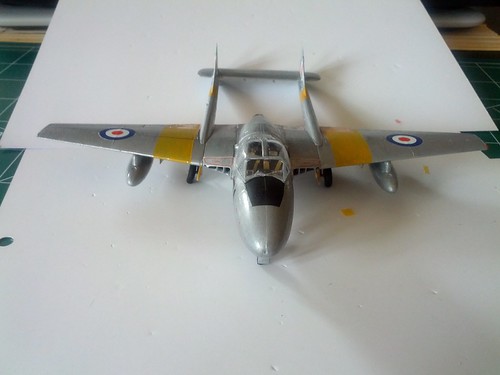 IMG_20140511_104139 by anselneo, on Flickr
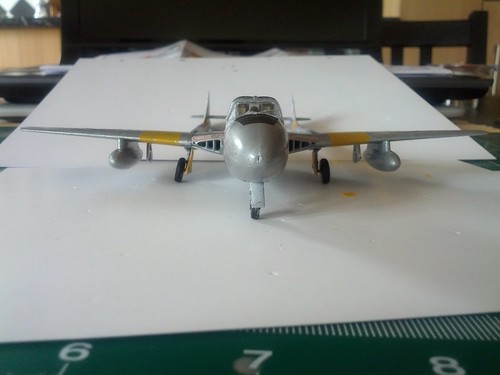 IMG_20140511_104152 by anselneo, on Flickr
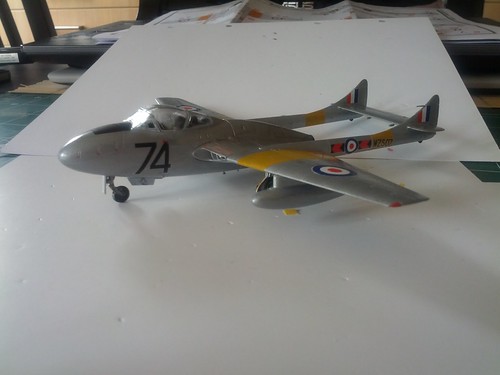 IMG_20140511_104101 by anselneo, on Flickr
Vampire by anselneo, on FlickrIMG_20140511_104139 by anselneo, on FlickrIMG_20140511_104152 by anselneo, on FlickrIMG_20140511_104101 by anselneo, on Flickramegan
#243
Joined: March 21, 2008
KitMaker: 996 posts
AeroScale: 915 posts
Posted: Monday, May 19, 2014 - 09:03 AM UTC
Sorry for the absence, my mother had a stroke in early March so my build almost stopped. Anyway she is improving slowly so I'm also back to the bench, slowly!

windysean
Joined: September 11, 2009
KitMaker: 1,917 posts
AeroScale: 563 posts
Posted: Monday, May 19, 2014 - 09:37 AM UTC
Andrew,
Best wishes for a good recovery for your mother.
As for your plane, the gap in the front of the canopy makes me nervous. Any chance some touch-up will be required when you check inside?
...and you haven't broken off the pitot tube on the tail yet! I was so paranoid about that throughout my build-- bent it pretty badly a few times, but never broke it off.
-Sean H.
Best wishes for a good recovery for your mother.
As for your plane, the gap in the front of the canopy makes me nervous. Any chance some touch-up will be required when you check inside?
...and you haven't broken off the pitot tube on the tail yet!
I was so paranoid about that throughout my build-- bent it pretty badly a few times, but never broke it off.-Sean H.
ljames0874
Joined: August 15, 2012
KitMaker: 408 posts
AeroScale: 365 posts
Posted: Monday, May 19, 2014 - 05:39 PM UTC
Nice work Andrew, that Hi speed silver has gone on very smoothly. Fingers crossed for your Mother's speedy recovery.
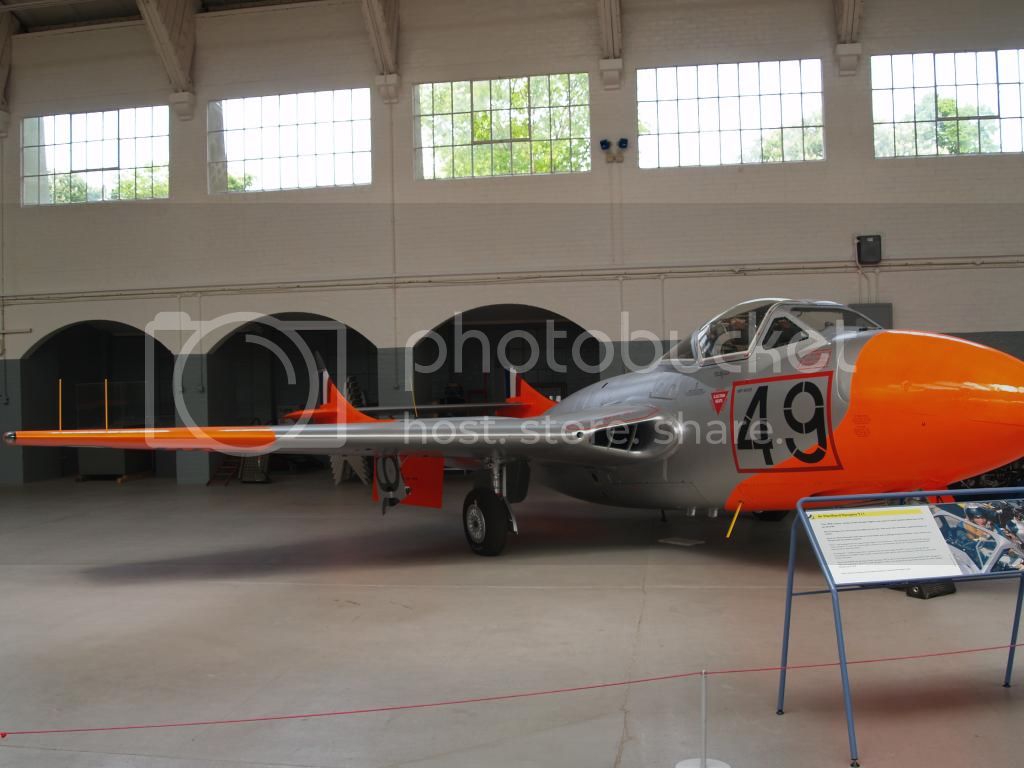
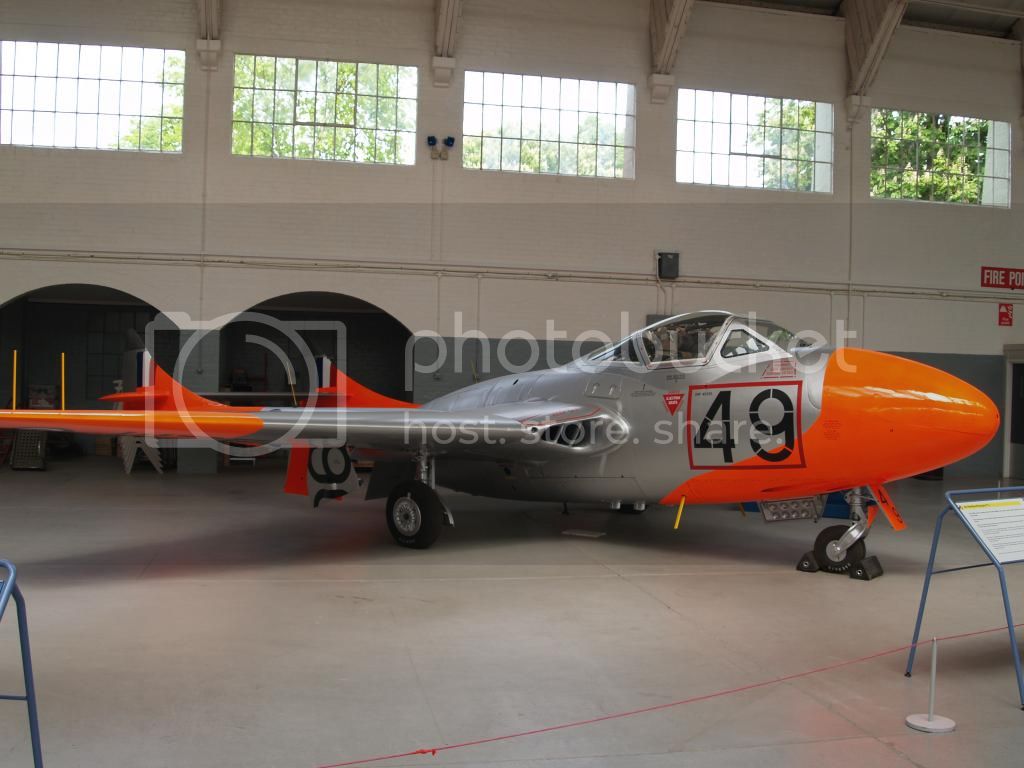
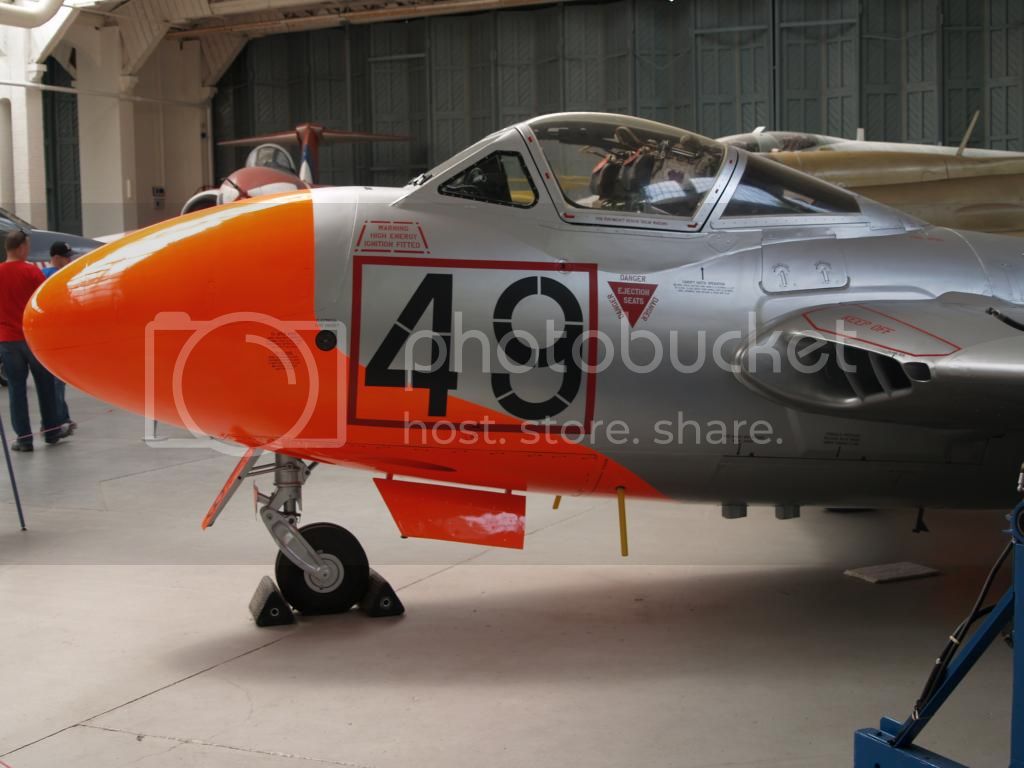
Now, a little something for everyone. I took a trip to Duxford last week, where they have this:
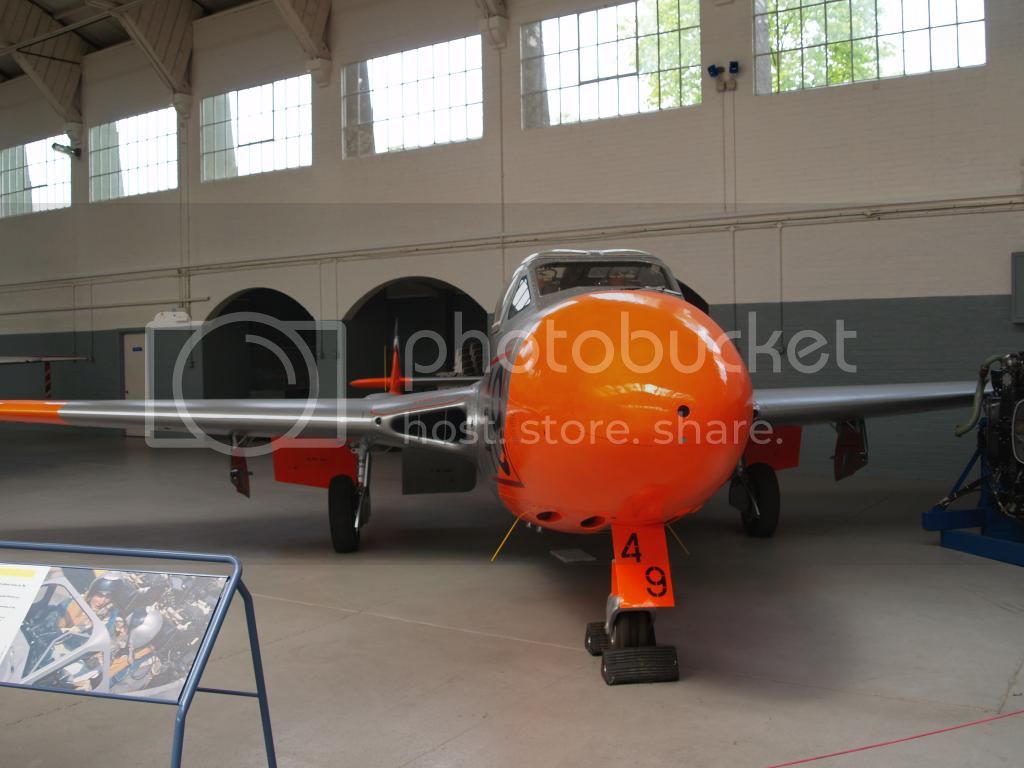
As for my effort, I should be ready for the paintshop tomorrow. Cheers!
Now, a little something for everyone. I took a trip to Duxford last week, where they have this:
As for my effort, I should be ready for the paintshop tomorrow. Cheers!
ljames0874
Joined: August 15, 2012
KitMaker: 408 posts
AeroScale: 365 posts
Posted: Thursday, May 22, 2014 - 07:23 AM UTC
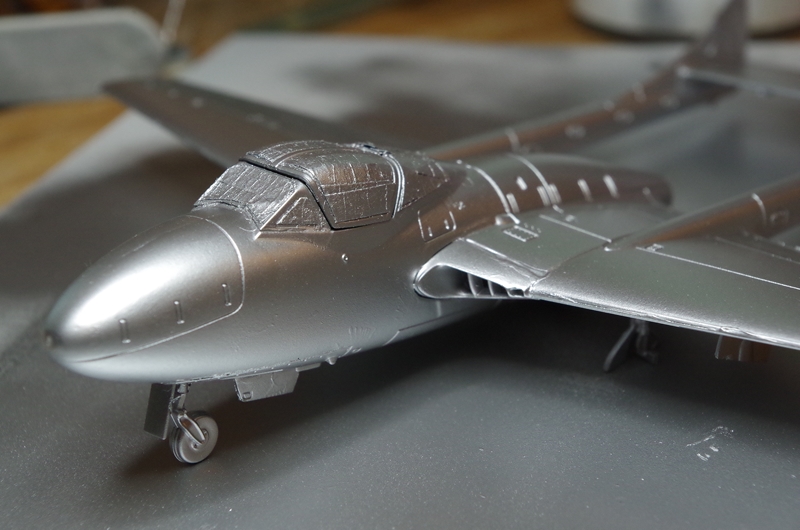
A bit more progress - I really am a glutton for punishment as far as PE goes. Check out the inside of the canopy - believe it or not, there are 5 separate bits of PE on there!
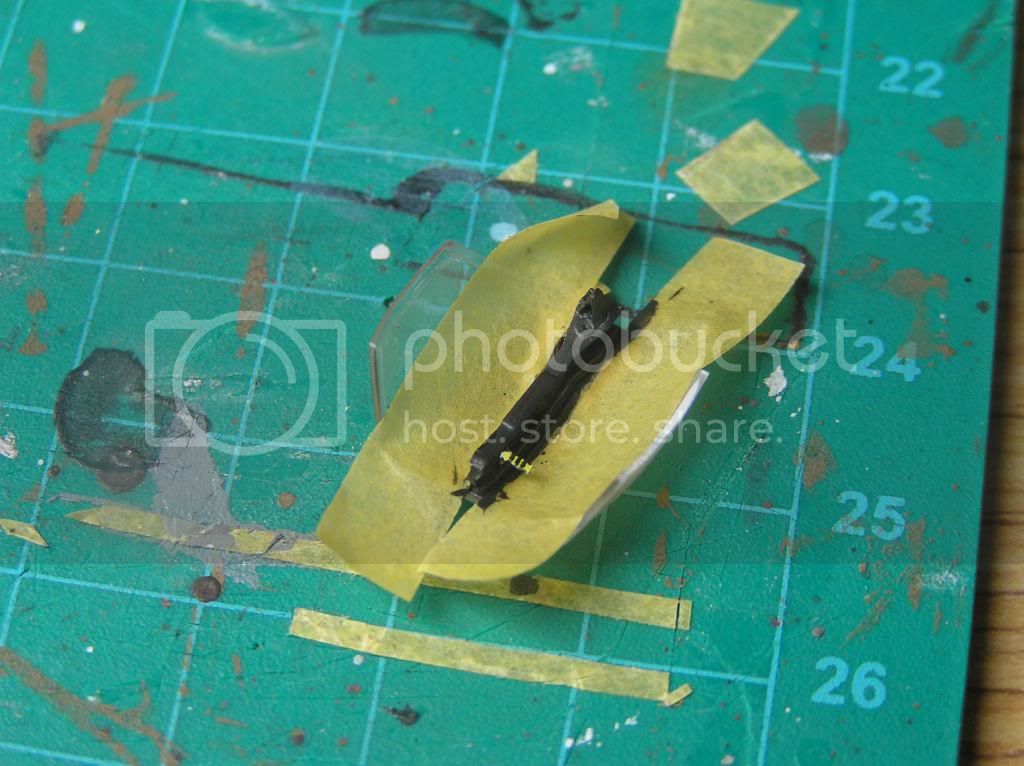
I think I'm ready for some masking and spraying!
I think I'm ready for some masking and spraying!
 |

WEB HOSTING BY


Copyright ©2021 AeroScale and Kitmaker Network, a subsidiary of Silver Star Enterprises
All Rights Reserved. Please read our Conditions of Use and Privacy Policy.
All Rights Reserved. Please read our Conditions of Use and Privacy Policy.