Air Campaigns
Want to start or join a group build? This is where to start.
OFFICIAL: De Havilland Campaign
Merlin
Staff MemberSenior Editor
AEROSCALE
#017
_VISITCOMMUNITY
United Kingdom
Joined: June 11, 2003
KitMaker: 17,582 posts
AeroScale: 12,795 posts
Posted: Thursday, September 12, 2013 - 07:00 PM UTC
Hi again

A bit of company arrived for my Trumpy Vampire:


It's so lovely, I might just end up building them together!

All the best

Rowan
Shanghaied
_VISITCOMMUNITY
Schleswig-Holstein, Germany
Joined: June 30, 2011
KitMaker: 189 posts
AeroScale: 82 posts
Posted: Sunday, September 15, 2013 - 07:14 PM UTC
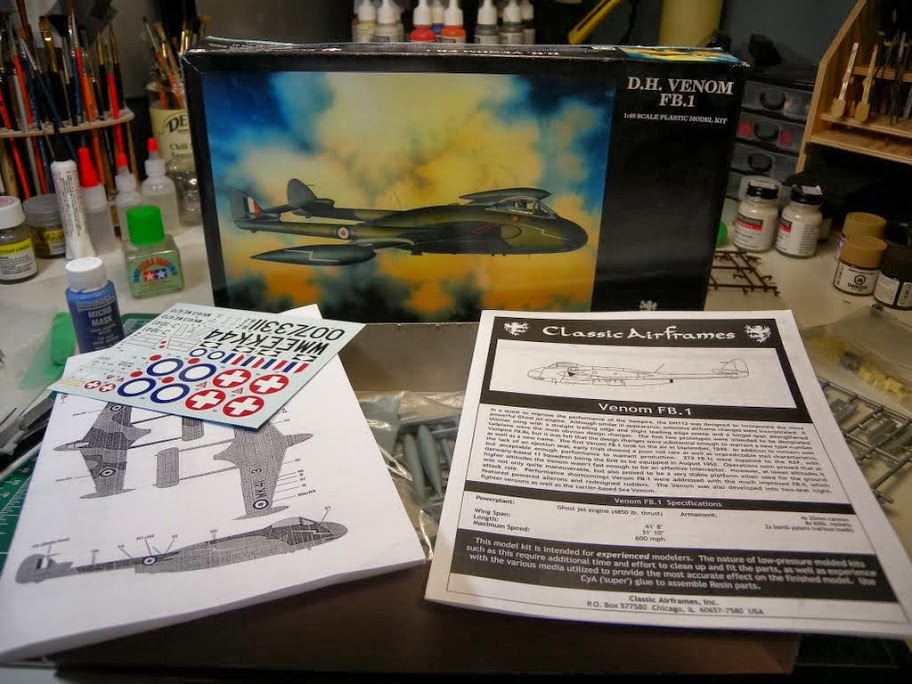
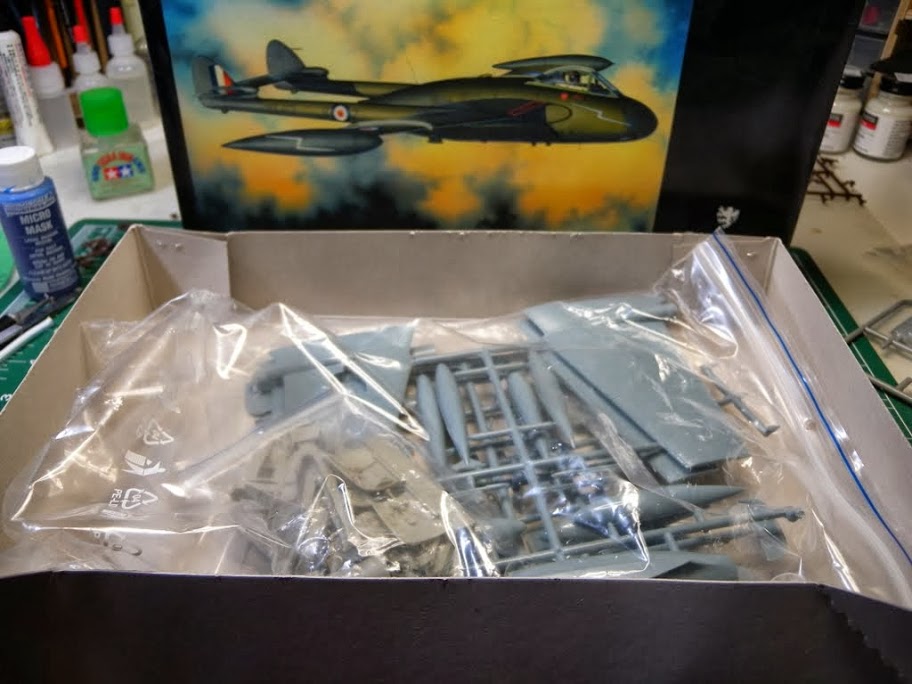
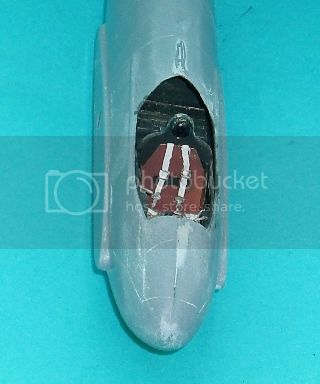
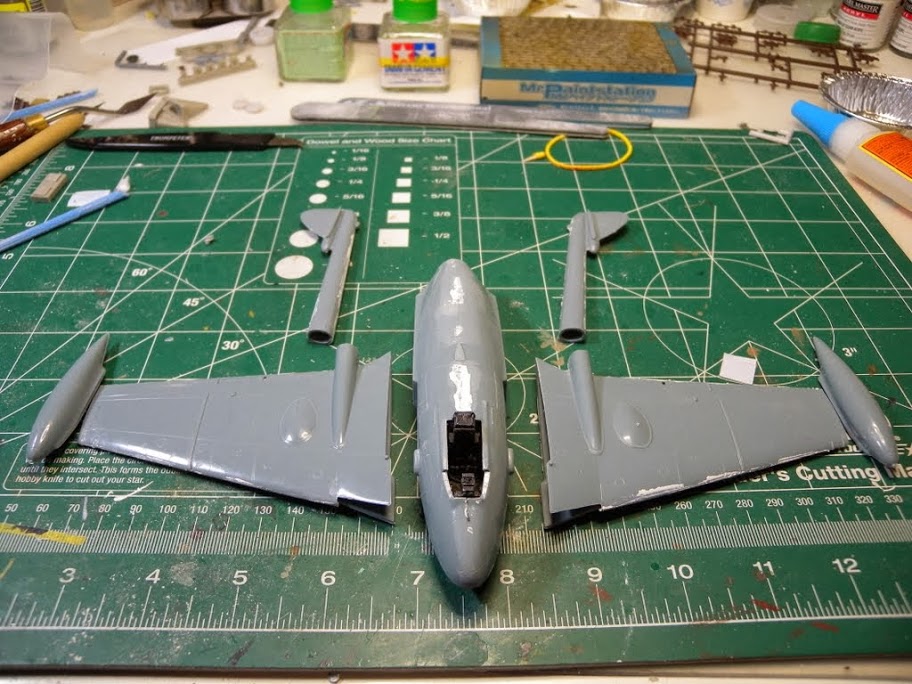
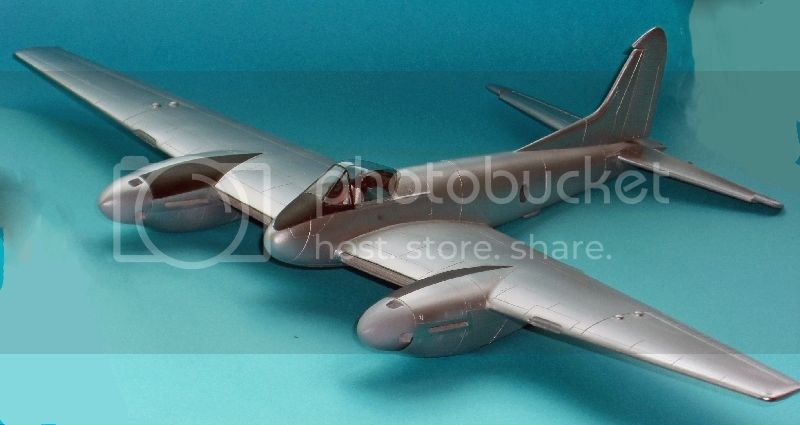
I started my Hornet not with the cockpit, but with the wings
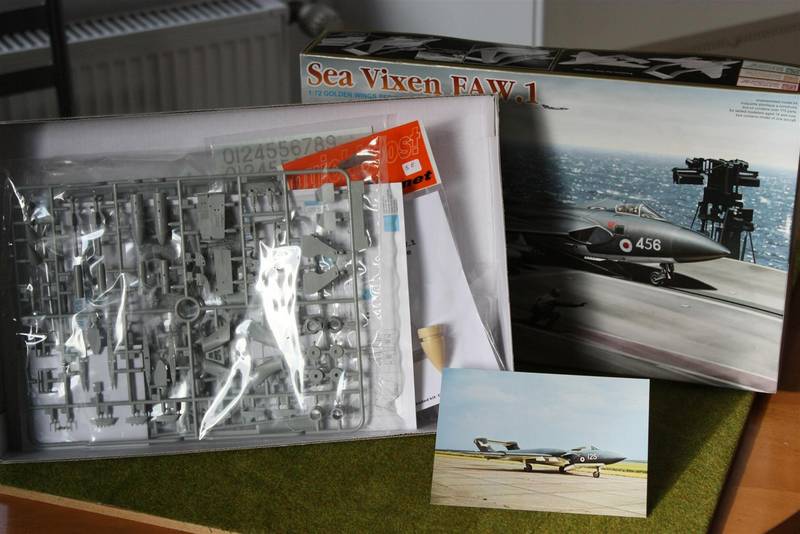
Simple reason: I still have not decided yet, which version. The CA kit basically allows you to do every Hornet and Sea Hornet, you just need the decals.

So I started with the wings, heavily influenced by two great builds on Britmodeller.

I opened the cooler outlets and the wing under the nacelles for further detailing.


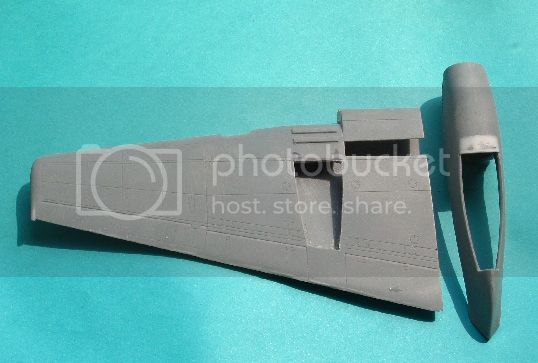
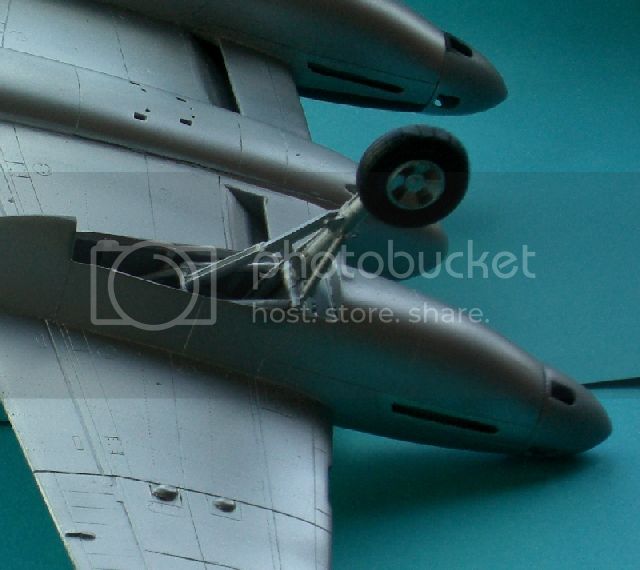
It seems, that the position of the landing gear is slightly wrong. It should be on the main wing spar (logically), which can be clearly seen under the wing, so it is more aft then int he kit. So I had to move the opening backwards This will give at the end little steeper position of the plane.
While doing, I started to detail the gearbay with some pipework, frames and slightly narrowed Mosquito oil tanks.


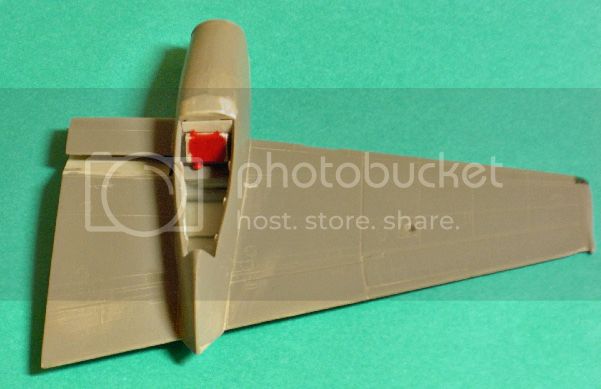
Cut out the position lamps and replaced them with clear plastic, and prepared the landing light for glazing.
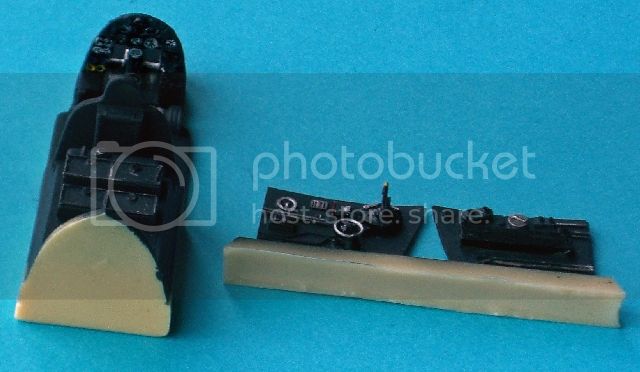
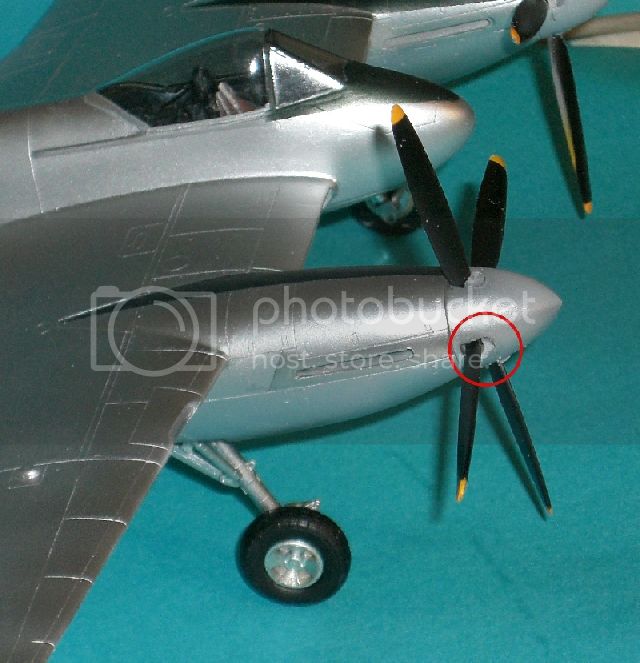
I already installed the spinner back plates and covered the exhaust openings from the inside, because I prefer to install the exhausts last and needed to close the nacelles.

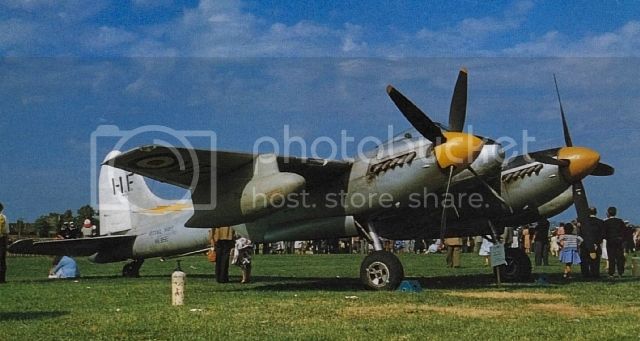
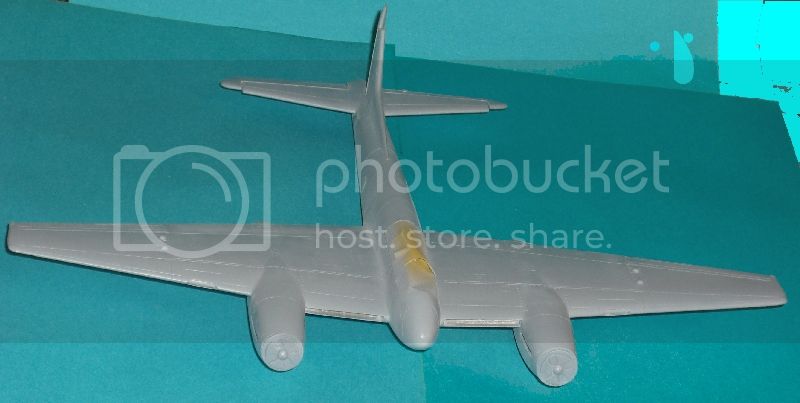
As mentioned before there are discussions of people who have original drawings from de Havilland, that the nacelles have different length due to the handed engines. However as these plans are not published, I will not do it. The plans in the Warpaint book should be not really correct.
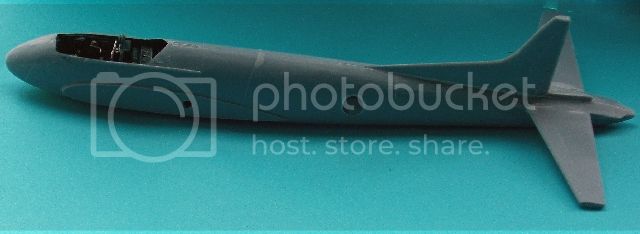
Seems also that the spinners and the fuselage are to short.
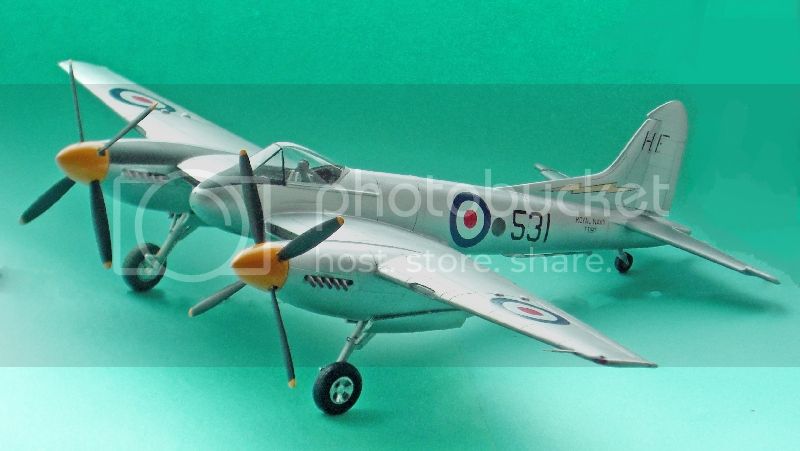
The usual problem, you want to do your best and then somebody comes and tell you the drawings are wrong However until better drawings are out, there is not much you can do. No real plane left.
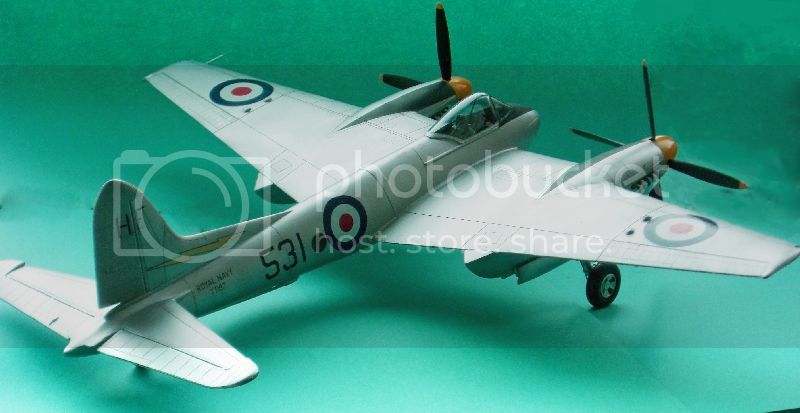
At the end I build for fun

Greetings from Shanghai
SgtRam
Staff MemberEditor-at-Large
AEROSCALE
#197
_VISITCOMMUNITY
Ontario, Canada
Joined: March 06, 2011
KitMaker: 3,971 posts
AeroScale: 511 posts
Posted: Thursday, September 19, 2013 - 12:24 PM UTC
Here is my entry into the campaign the Classic Airframe D.H. Venom FB.1


Shanghaied
_VISITCOMMUNITY
Schleswig-Holstein, Germany
Joined: June 30, 2011
KitMaker: 189 posts
AeroScale: 82 posts
Posted: Saturday, September 21, 2013 - 01:34 AM UTC
short update:

had do add the small teardrop shaped covers for the wingfolding. Difficult to sand 8 similar pieces, so I had the following idea: I bent a wire in the teardrop shape and then presed it on the end of a heated piece of sprue. Result: very nice round half teardrops


After fitting the 8 pieces close to the wingfold I had to fill the already opened landing light again. Sea Hornet seem to have no landing lights.

Then I started painting and gluing together the cockpit. Quite nice, so detailing was just improving some handles and levers and adding instrument decals


I used a PE-seat and PE seatbelts and then glued the walls t the floor. I hope this will give a better fit then gluing to the fuselage.

More soon

Greetings form Shanghai
Merlin
Staff MemberSenior Editor
AEROSCALE
#017
_VISITCOMMUNITY
United Kingdom
Joined: June 11, 2003
KitMaker: 17,582 posts
AeroScale: 12,795 posts
Posted: Sunday, September 22, 2013 - 03:18 AM UTC
Hi Tom

Nice start - you're leaving us all behind. I have the pilot's notes for the Hornet and they mention the landing lamp, but I don't have any for the Sea Hornet, so you may well be right.

I hope to make a start on my builds this week. I've just been measuring up the mods I'll do to the Trumpeter Vampire's tail and, in doing so, surprisingly stumbled across a problem with the Alley Cat one's too. So, it's time to put my thinking cap on for two different issues.

All the best

Rowan
phantom_phanatic309
#372
_VISITCOMMUNITY
United Kingdom
Joined: March 10, 2010
KitMaker: 2,568 posts
AeroScale: 1,619 posts
Posted: Sunday, September 22, 2013 - 09:46 AM UTC
Some interesting builds. Nice to see plenty of Vampire's and Venom's.
I'm in with the Airfix DH.4.


It looks like a nice little model, certainly better than most of their other efforts in WW1 aircraft. For starters, the props a decent shape and the guns actually look like Vickers and Lewis guns! I plan on building it mostly OOB with some additions from the spares box to improve some of the clunkier detail.


Decals are provided for the DH.4 Majors Robert Leckie and Egbert Cadbury (of the chocolate empire) used to bring down Zeppelin L70 in August 1918 off the Norfolk coast.
Shanghaied
_VISITCOMMUNITY
Schleswig-Holstein, Germany
Joined: June 30, 2011
KitMaker: 189 posts
AeroScale: 82 posts
Posted: Sunday, September 22, 2013 - 06:18 PM UTC
Thanks Rowan,

In the Warpaint book are some underwing photos and on http://www.dhhornet50.net is a very clear pic , confirming that at least this MK20 had no landing light. I read that even the nightfighters MK21 had none which sounds strange.

Actually I am very slow, spend a lot of time with the nacelles. The fuselage is fortunately very simple.
If I make a silver or a two-tone one will at the end be decided how good i can polish it

Greetings from Shanghai
Merlin
Staff MemberSenior Editor
AEROSCALE
#017
_VISITCOMMUNITY
United Kingdom
Joined: June 11, 2003
KitMaker: 17,582 posts
AeroScale: 12,795 posts
Posted: Sunday, September 22, 2013 - 09:08 PM UTC
Hi again Tom

That's a great shot on the Hornet website. I wonder why they deleted the lamp?

All the best

Rowan
Shanghaied
_VISITCOMMUNITY
Schleswig-Holstein, Germany
Joined: June 30, 2011
KitMaker: 189 posts
AeroScale: 82 posts
Posted: Sunday, September 22, 2013 - 09:30 PM UTC
Hi Rowan

I heard it interfered with the folding mechanism.
However why they were not able to find a different position especially for the nightfighter is not really clear. Looks all a bit makeshift.

Greetings from Shanghai
Shanghaied
_VISITCOMMUNITY
Schleswig-Holstein, Germany
Joined: June 30, 2011
KitMaker: 189 posts
AeroScale: 82 posts
Posted: Monday, September 23, 2013 - 06:14 PM UTC
Here the cockpit with the new seat already in the fuselage


Fitting is ok, cockpit walls required nearly no sanding. The camera windows and the resin gun-panel need a bit more sanding and putty, but as there are very few panel lines on the wooden structure, its quite easy.
I installed tailfin and rudder fin first as they are in right angles and can give later some optical guidance when adjusting the main wings.
I cut the rudder and the elevators off to show them slightly deflected, adds a bit interest.


Next is joining fuselage and wings. Not exactly sure yet how to ensure the perfect dihedral and strengthening of the wing.

Greetings from Shanghai
Merlin
Staff MemberSenior Editor
AEROSCALE
#017
_VISITCOMMUNITY
United Kingdom
Joined: June 11, 2003
KitMaker: 17,582 posts
AeroScale: 12,795 posts
Posted: Monday, September 23, 2013 - 06:35 PM UTC
Hi Tom

Looking at the shots of my old build, I added plastic card at the roots of the elevators. It's so long ago, I can't remember clearly, but I'm presuming CA must have moulded part of the root on the tailplane parts, so it needed restoring when I drooped the elevators.

All the best

Rowan
Shanghaied
_VISITCOMMUNITY
Schleswig-Holstein, Germany
Joined: June 30, 2011
KitMaker: 189 posts
AeroScale: 82 posts
Posted: Tuesday, September 24, 2013 - 05:25 PM UTC
Hi Rowan

Yes, saw it too on a photo in the warpaint book, working on it already

Greetings from Shanghai
Removed by original poster on 09/27/13 - 06:41:01 (GMT).
Shanghaied
_VISITCOMMUNITY
Schleswig-Holstein, Germany
Joined: June 30, 2011
KitMaker: 189 posts
AeroScale: 82 posts
Posted: Thursday, September 26, 2013 - 06:43 PM UTC
Does anybody know, if the silver doped Hornets were really completely silver doped, or if some metal panels were left bare?


Looks a bit like the motorpanels have a different shape, maybe even nose and rudder.

Greetings from Shanghai
Merlin
Staff MemberSenior Editor
AEROSCALE
#017
_VISITCOMMUNITY
United Kingdom
Joined: June 11, 2003
KitMaker: 17,582 posts
AeroScale: 12,795 posts
Posted: Thursday, September 26, 2013 - 08:41 PM UTC
Hi Tom

I've always read that the finish was silver paint overall. The rudder looks bright in your photo because it's offset slightly and reflecting the sunlight towards the camera. Similarly, there's a "hot-spot" on the nose and each spinner.

All the best

Rowan
SgtRam
Staff MemberEditor-at-Large
AEROSCALE
#197
_VISITCOMMUNITY
Ontario, Canada
Joined: March 06, 2011
KitMaker: 3,971 posts
AeroScale: 511 posts
Posted: Wednesday, October 02, 2013 - 12:10 PM UTC
Just a little update, going together as well as Classic Airframes kit can, just a little bit of putty and sanding.

b17-peter
#392
_VISITCOMMUNITY
Hessen, Germany
Joined: January 09, 2013
KitMaker: 696 posts
AeroScale: 608 posts
Posted: Friday, October 04, 2013 - 08:47 PM UTC
Hello, count me in with this one. By the way, I'm looking forward to see the finished Hornet

ludwig113
_VISITCOMMUNITY
England - South East, United Kingdom
Joined: February 05, 2008
KitMaker: 1,381 posts
AeroScale: 1,110 posts
Posted: Saturday, October 05, 2013 - 01:16 AM UTC
sorry but i've had to pull out of this campaign, too much going on at the moment, in general, to concentrate on this properly.

all the best to everyone else

paul
md72
#439
_VISITCOMMUNITY
Washington, United States
Joined: November 05, 2005
KitMaker: 4,950 posts
AeroScale: 3,192 posts
Posted: Monday, October 07, 2013 - 06:21 PM UTC
not much but it is progress:


I guess a bit of filler is in my future.
c4willy
#305
_VISITCOMMUNITY
Christchurch, New Zealand
Joined: February 01, 2006
KitMaker: 1,673 posts
AeroScale: 1,517 posts
Posted: Monday, October 07, 2013 - 06:51 PM UTC
Okay guys and gals here's my entry for the De Havilland campaign the Tasman Models DH89A Dragon Rapide. The basic kit is from the Heller stable with aftermarket parts supplied. These consist of decals, cast metal instrument panel, vac-formed canopy and some copper wire for bracing. The kit comes complete with very thorough construction instructions and plenty of detail pics to see how the actual aircraft looked. I got mine directly from John Stone at Tasman Models off of our local auction website TradeMe. Very helpful fella, John has acquired the Tasman models moulds etc and is marketing them through the Jays model kits site .


Shanghaied
_VISITCOMMUNITY
Schleswig-Holstein, Germany
Joined: June 30, 2011
KitMaker: 189 posts
AeroScale: 82 posts
Posted: Tuesday, October 08, 2013 - 03:05 AM UTC
For all friends of the Sea Hornet:
Primed,to find all the small and big bugs:


One week later after sanding, sanding....rescribing.

The wingroots were really difficult. Topside ok, but bottom in the front the wing was higher, in the aft part the stub at the fuselage. Biggest problem is actually that the wingroot has a real sharp corner, not at all faired in.
I closed the air-intakes in the wings, scribed the airfilter-inlet in the underside of the wings and faired in the spinners. I lengthened the spinners, because they are bit short and faired them in as good as possible.
The canopy has a little wrong shape at the rear part, should be shorter and more pointy. Was a bit difficult, because it sits not well at all and is very soft and even prone to crack if cut.

Thats the result:


Really like it with the anti-glare panels. Not as flashy as the one with the red chevrons, but elegant

More soon.

Greetigns from Shanghai
Shanghaied
_VISITCOMMUNITY
Schleswig-Holstein, Germany
Joined: June 30, 2011
KitMaker: 189 posts
AeroScale: 82 posts
Posted: Sunday, October 13, 2013 - 12:29 AM UTC
Finally finished the landing gear. Unfortunately i Have no photos separately. I put the struts together and then it wasn't fitting in the nacelle anymore
So had to take it apart and make it a bit slimmer.Also had to make some long struts like on a mosquito to support ti to the aft. I am not sure if this is 100% correct as I have no pic of a hornet gear bay. I increased the rake of the legs a bit to make it more like on my photos.


Then I added the propeller blades. I had lengthened and faired in the spinners, so the opening for the blades wa now bigger. The blades can be put in , turned 90 deg and glued in the lock. After that I closed the opening with some small half-moon shaped pieces of sprue. I think this more easy to smooth out. Just the painting requites more masking later.


More soon

Greetings from Shanghai
b17-peter
#392
_VISITCOMMUNITY
Hessen, Germany
Joined: January 09, 2013
KitMaker: 696 posts
AeroScale: 608 posts
Posted: Wednesday, October 16, 2013 - 07:25 PM UTC
@ Tom
That Hornet will be a real beautie! I like that scheme with the anti-glare areas, too. Looking forward to see the finished model. Good luck!
North4003
_VISITCOMMUNITY
England - West Midlands, United Kingdom
Joined: August 01, 2012
KitMaker: 960 posts
AeroScale: 391 posts
Posted: Thursday, October 17, 2013 - 04:02 PM UTC
Very nice campaign entries being built. I might as well continue my current trend and build the Airfix Mosquito VI.


Shanghaied
_VISITCOMMUNITY
Schleswig-Holstein, Germany
Joined: June 30, 2011
KitMaker: 189 posts
AeroScale: 82 posts
Posted: Monday, October 21, 2013 - 07:24 PM UTC
Here is the (nearly finished Hornet:


For the landing gear covers I had to build some small hinges to make them halfway fitting. On the real plane they are parallel to the ground when open. The spinners fought me too with painting and smoothing.
I am not sure, if the anti-glare panels on the nacelles are correct like this. On the two pics I have they cannot be seen completely.
The decals were bad. Very thin, some cracked, the yellow flashes so bad, that I had to make them new. Could barely save one of the roundels. They also didn't react much to my Mr Mark softener.
I give the plane a very slight treatment with Tamiya panel line black stuff. Its not dirty, but not polished either.

Remains now only to make a little exhaust staining and maybe build the drop tanks. Unfortunately they seem to have a unique shape,neither fitting from my Mosquito nor from a Wyvern


When I have some sun, I will try to make some better pic.

Greetings from Shanghai