OFFICIAL: Delta Dawn Campaign Thread
United States
Joined: October 30, 2011
KitMaker: 84 posts
AeroScale: 81 posts
Posted: Wednesday, February 22, 2012 - 05:51 PM UTC
United States
Joined: October 30, 2011
KitMaker: 84 posts
AeroScale: 81 posts
Posted: Thursday, February 23, 2012 - 06:59 AM UTC

#041
Kobenhavn, Denmark
Joined: July 20, 2006
KitMaker: 10,069 posts
AeroScale: 3,788 posts
Posted: Friday, February 24, 2012 - 06:57 AM UTC
Nice Mirage, Ken. It looks great.
Thanks for sharing

Campaign'oholic - 252+ campaigns completed
#330
Queensland, Australia
Joined: July 15, 2011
KitMaker: 175 posts
AeroScale: 103 posts
Posted: Friday, February 24, 2012 - 06:16 PM UTC
My Eduard Mirage is just about ready to under coat. I hade a few problems with the air intakes but I'm really enjoying this kit.


Kuching, Malaysia
Joined: June 19, 2002
KitMaker: 216 posts
AeroScale: 128 posts
Posted: Friday, February 24, 2012 - 09:59 PM UTC
Thanks, Jesper.
Great progress of your mirage, John.
Winston, your mig is looking good.
#041
Kobenhavn, Denmark
Joined: July 20, 2006
KitMaker: 10,069 posts
AeroScale: 3,788 posts
Posted: Sunday, February 26, 2012 - 11:19 AM UTC
Nice office in the Mirage, John.
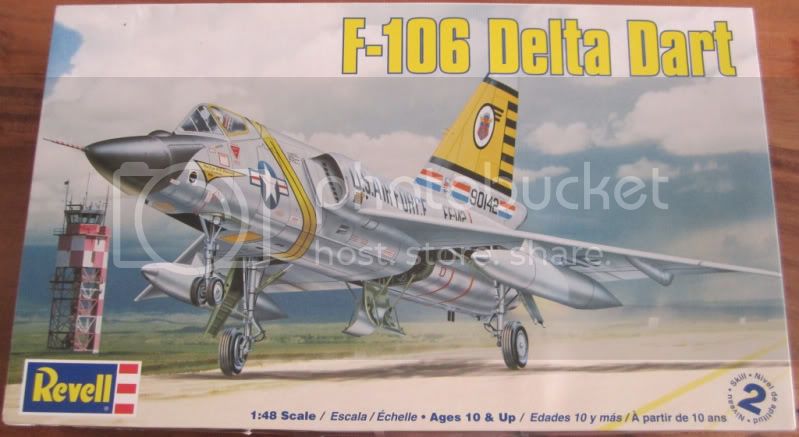
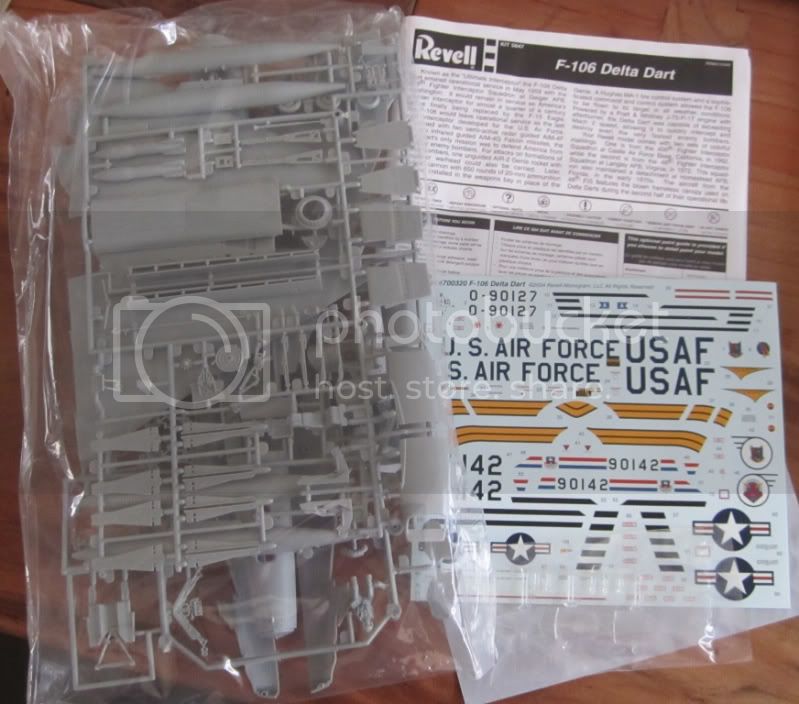
I have decided on a "true" delta wing, the F-106 Delta Dart.
More to follow
Campaign'oholic - 252+ campaigns completed
#439
Washington, United States
Joined: November 05, 2005
KitMaker: 4,950 posts
AeroScale: 3,192 posts
Posted: Monday, February 27, 2012 - 09:00 AM UTC
Definitely going with the F-102. Old hase kit, Mini Craft boxing.

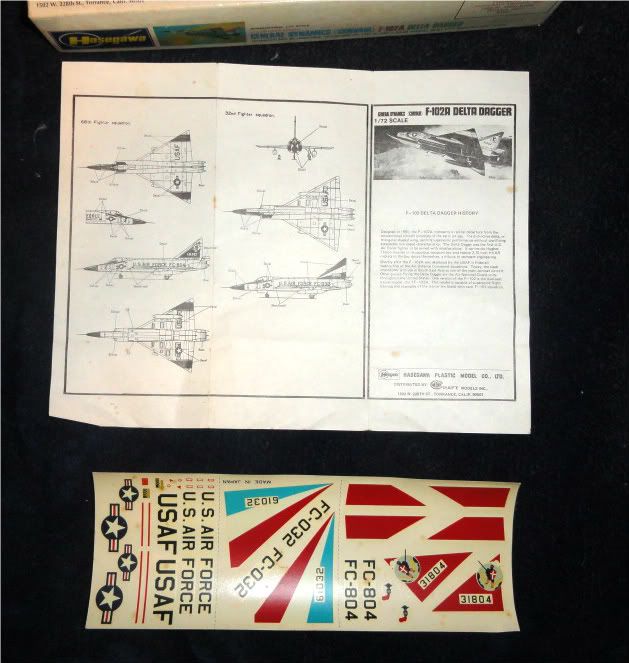
Decals are of dubious quality, they're what 30 years old?
Years ago someone suggested that the best way to build this kit included cutting off the short chunk of rudder on one fuselage half and glueing it place on the other half. Then do all of the filling and sanding on the rudder / fuselage intersection. Anyone tried that lately?
Hanger Queens in Waiting:
Monogram 1/72 F8F-1
Corsair the Sky Pirate - 1/72 Ace A-7D
Century Series - Airfix 1/72 F-105G
Anti Shipping - Academy 1/72 PBJ-1D
Academy 1/72 F-84E
Merlin
 Senior Editor
#017
United Kingdom
Joined: June 11, 2003
KitMaker: 17,582 posts
AeroScale: 12,795 posts
Posted: Monday, February 27, 2012 - 10:02 AM UTC
Hi all
Great work on show all round!

It's really interesting to see the impressive Brassin cockpit in the MiG-21 - I thoroughly enjoyed the standard kit, even though I "don't build modern jets".
A close family bereavement has meant any thoughts of modelling have been all but forgotten for the last few weeks, but I'm slowly beginning to refocus and hope to get started on the Lippisch this week. It'll be the first build in a new workshop and a new beginning, so this'll be a nice way to kick things off.
All the best
Rowan
BEWARE OF THE FEW...
As I grow older, I regret to say that a detestable habit of thinking seems to be getting a hold of me. - H. Rider Haggard
MichaelSatin
Campaigns Administrator Colorado, United States
Joined: January 19, 2008
KitMaker: 3,909 posts
AeroScale: 2,904 posts
Posted: Monday, February 27, 2012 - 10:18 AM UTC
Rowan,
Sorry for your loss. Hopefully some time at the bench will help you to feel a little more back to "normal" (whatever that is).
Michael
On the bench:
Sorta depends on your definition of "on the bench"...
Merlin
Senior Editor #017
United Kingdom
Joined: June 11, 2003
KitMaker: 17,582 posts
AeroScale: 12,795 posts
Posted: Monday, February 27, 2012 - 10:40 AM UTC
Hi Michael
Thank you. As silly as it sounds, it will be such a treat to get back to building something again.
All the best
Rowan
BEWARE OF THE FEW...
As I grow older, I regret to say that a detestable habit of thinking seems to be getting a hold of me. - H. Rider Haggard
United States
Joined: October 30, 2011
KitMaker: 84 posts
AeroScale: 81 posts
Posted: Thursday, March 01, 2012 - 07:34 PM UTC
Utah, United States
Joined: May 27, 2003
KitMaker: 1,026 posts
AeroScale: 215 posts
Posted: Sunday, March 04, 2012 - 03:06 PM UTC
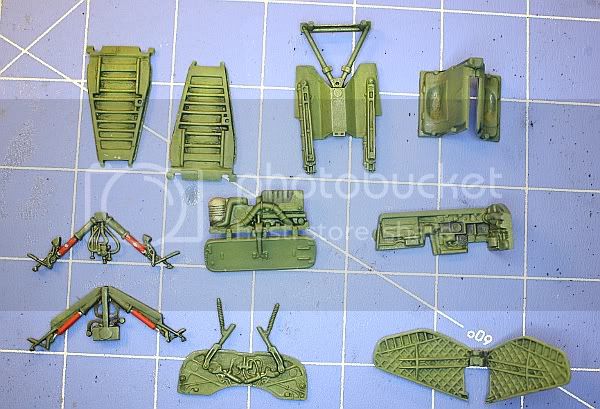
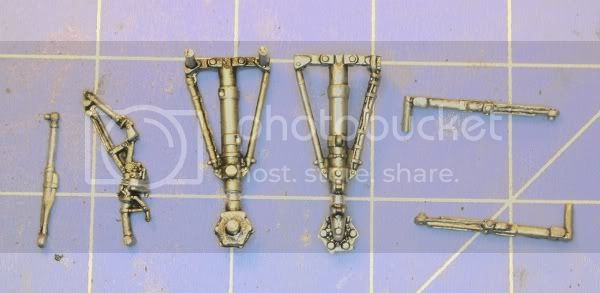
A little progress on my F-106. I decided to go with an early model Dart--bare 'steel' landing gear, 'interior green' interior, old style canopy, etc.
Keith
Build 'em better than the box art!
Florida, United States
Joined: January 14, 2009
KitMaker: 2,798 posts
AeroScale: 2,443 posts
Posted: Sunday, March 04, 2012 - 03:16 PM UTC
Looking good guys good work on the gear

"From time to time, the tree of liberty must be watered with the blood of
tyrants and patriots."
- Thomas Jefferson
IPMS#47611
#057
Bayern, Germany
Joined: May 11, 2010
KitMaker: 248 posts
AeroScale: 123 posts
Posted: Monday, March 05, 2012 - 06:56 AM UTC
My F-16 ready for paint:
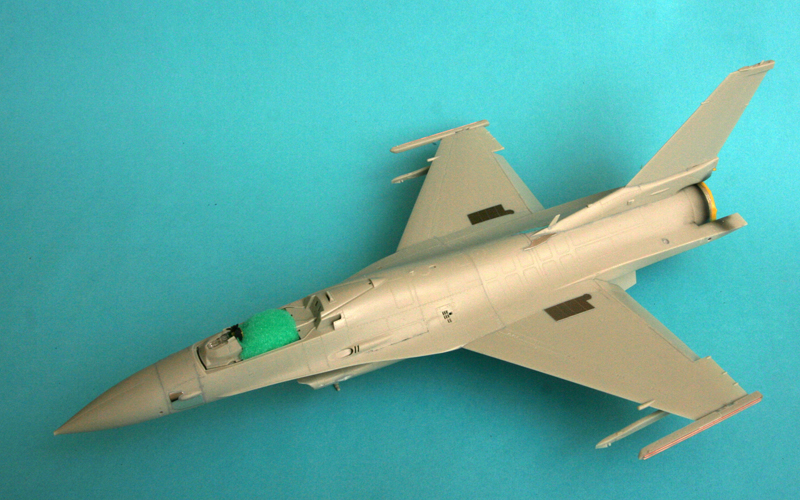
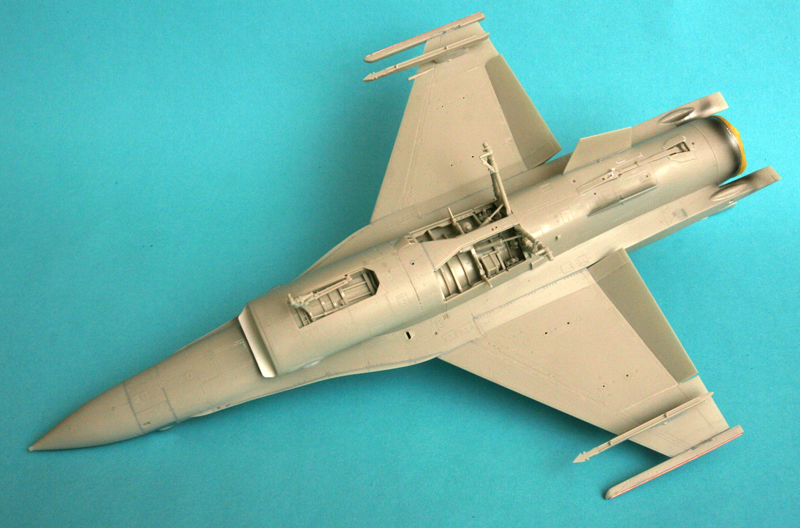
Awesome kit, slapped most of it together within a week. But really had to focus all the way. No give, no room for error.
What really hurt was cleaning up the intake. Used my trusty dental motor and the pouring technique.
Again: awesome kit but slip once somewhere and you're in for a lot of pain...
If thou art pained by any external thing, it is not this that disturbs thee, but thy own judgment about it.
Marcus Aurelius
Florida, United States
Joined: January 14, 2009
KitMaker: 2,798 posts
AeroScale: 2,443 posts
Posted: Wednesday, March 14, 2012 - 12:35 PM UTC
"From time to time, the tree of liberty must be watered with the blood of
tyrants and patriots."
- Thomas Jefferson
IPMS#47611
Utah, United States
Joined: May 27, 2003
KitMaker: 1,026 posts
AeroScale: 215 posts
Posted: Monday, March 19, 2012 - 01:14 AM UTC
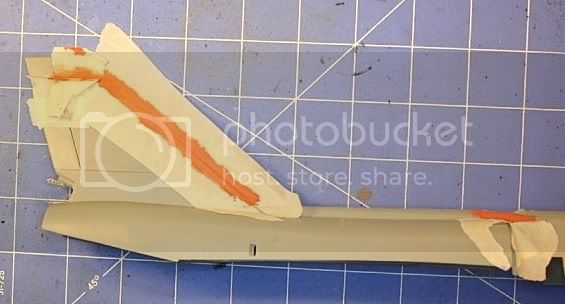
A little more completed. Installed some shims from scrap styrene stock to fix a 'step' in the vertical tail and the wing halves:
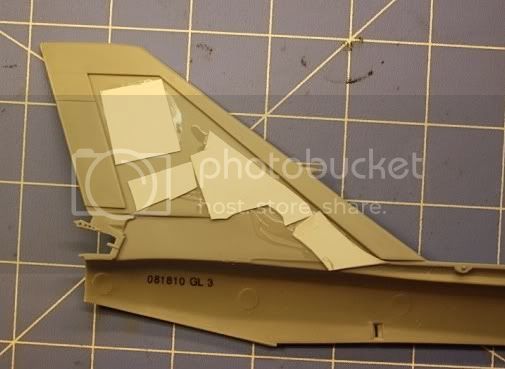
Glued the fuselage halves together and putties the significant seam on the starboard side:
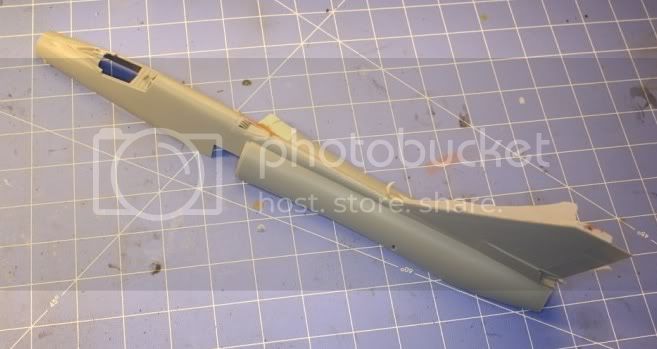
And the wing halves:
Not very exciting, but it should get interesting soon.
Keith
Build 'em better than the box art!
#439
Washington, United States
Joined: November 05, 2005
KitMaker: 4,950 posts
AeroScale: 3,192 posts
Posted: Monday, March 19, 2012 - 04:20 AM UTC
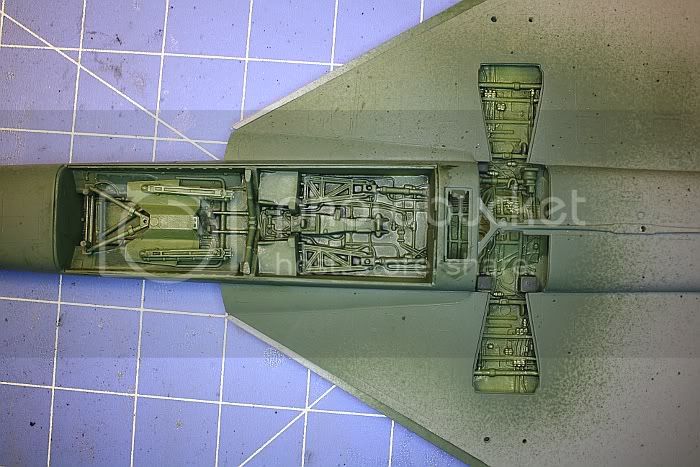
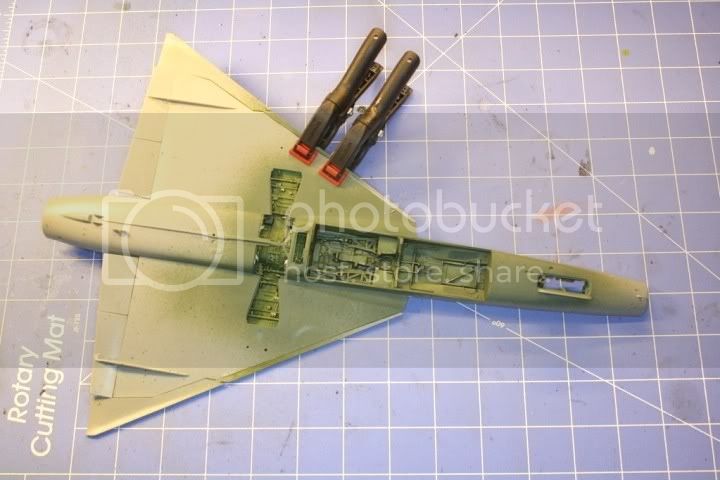
Painfully slow progress. Finally got the fuselage halves glued together. Wheel well / cockpit floor installed and seat in place.
Hanger Queens in Waiting:
Monogram 1/72 F8F-1
Corsair the Sky Pirate - 1/72 Ace A-7D
Century Series - Airfix 1/72 F-105G
Anti Shipping - Academy 1/72 PBJ-1D
Academy 1/72 F-84E
Utah, United States
Joined: May 27, 2003
KitMaker: 1,026 posts
AeroScale: 215 posts
Posted: Monday, March 19, 2012 - 11:36 AM UTC
Quoted Text
Painfully slow progress. Finally got the fuselage halves glued together. Wheel well / cockpit floor installed and seat in place.
Mark,
Your build is mirroring mine! (See the post above yours)
And it's only taken me since mid-January to get to this point. At this rate I'll be enlisting it in the "Hangar Queen III" campaign.

Good luck to us!,
Keith
Build 'em better than the box art!
#439
Washington, United States
Joined: November 05, 2005
KitMaker: 4,950 posts
AeroScale: 3,192 posts
Posted: Tuesday, March 20, 2012 - 03:59 PM UTC
I've got enough fodder for hanger queen III, IV, V, VI,.........
You at least have a lot of paint laid down, I forgot to paint the interior of the fwd wheel bay before I glued it up.

Hanger Queens in Waiting:
Monogram 1/72 F8F-1
Corsair the Sky Pirate - 1/72 Ace A-7D
Century Series - Airfix 1/72 F-105G
Anti Shipping - Academy 1/72 PBJ-1D
Academy 1/72 F-84E
MichaelSatin
Campaigns Administrator Colorado, United States
Joined: January 19, 2008
KitMaker: 3,909 posts
AeroScale: 2,904 posts
Posted: Wednesday, March 21, 2012 - 08:40 AM UTC
Well, given the time and my other commitments, I've decided the 1/32 Academy F-16I is biting off more than I can chew. But I want to do something here, so I'm "scaling" back a bit in size and time. Here's my plan:
Hope this meets with everyone's approval. I have a couple of days off here, let's see what I can do!
Michael
On the bench:
Sorta depends on your definition of "on the bench"...
British Columbia, Canada
Joined: September 03, 2009
KitMaker: 6,965 posts
AeroScale: 6,247 posts
Posted: Wednesday, March 21, 2012 - 12:10 PM UTC
It's time to throw my hat in the ring. I'm going to build one of the most impressive triangles ever to fly. The
Tu-144.
Sure it was pretty much a politically-motivated failure, but that didn't stop it from being impressive. Even 3 decades after it was removed from service, it's still evocative. Oh, what might have been...
I'm starting by painting the insides of the clear parts black, since ICM didn't include window decals. It's going to be a fiddly masking job...

When once you have tasted flight you will walk the Earth with your eyes turned skyward.
For there you have been, and there you will always long to return.
-Leonardo Da Vinci
MichaelSatin
Campaigns Administrator Colorado, United States
Joined: January 19, 2008
KitMaker: 3,909 posts
AeroScale: 2,904 posts
Posted: Thursday, March 22, 2012 - 10:48 AM UTC
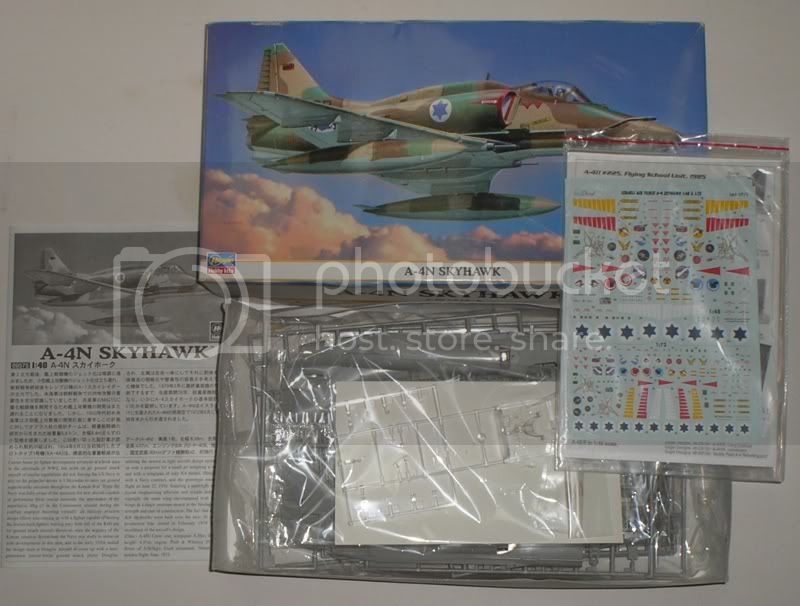
So far so good with the Hasegawa 1/48 A-4N:
Added a True Details seat and an extended tail pipe from I'm-not-quite-sure-where. The seat needed to be sanded down a bit on the sides (which you can't see) and the tail pipe doesn't fit exactly (probably my fault)so some puttying is going on.
Michael
On the bench:
Sorta depends on your definition of "on the bench"...
AussieReg
Associate Editor #007
Victoria, Australia
Joined: June 09, 2009
KitMaker: 8,156 posts
AeroScale: 3,756 posts
Posted: Saturday, March 24, 2012 - 08:52 PM UTC
Progress on the Academy Mirage, main assemble complete now and it went together quite well. The wing root was almost perfect, no putty required, and the main fuselage seams will need just a touch between the tail and the cockpit. I had to use a small piece of evergreen to fill a gap at the rear of the wing assembly/fuselage join on the underside.
I'm going to give the cokpit a quick sludge wash then close it up, then it's off to the paint shop !
BTW, everybody is going really well. Winston, stunning cockpit interior. Keith, that u/c is superb. Shorty, your cockpit detail leaves mine in the dust mate.
Cheers, D

ON the bench
Revell 1/24 '53 Corvette (building as '54)
Revell 1/24 BMW 507 Coupe and Cabrio
Italeri 1/48 Me262 B-1a/U1 Nightfighter
Monogram 1/24 '57 Chevy Nomad
Dragon 1/350 USS Frank Knox DD-742
MichaelSatin
Campaigns Administrator Colorado, United States
Joined: January 19, 2008
KitMaker: 3,909 posts
AeroScale: 2,904 posts
Posted: Sunday, March 25, 2012 - 09:25 AM UTC
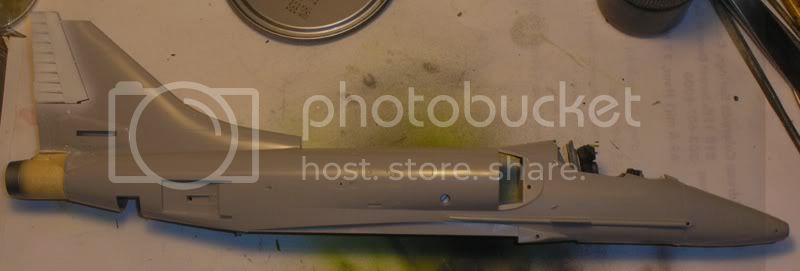
Starting to look like a Skyhawk!
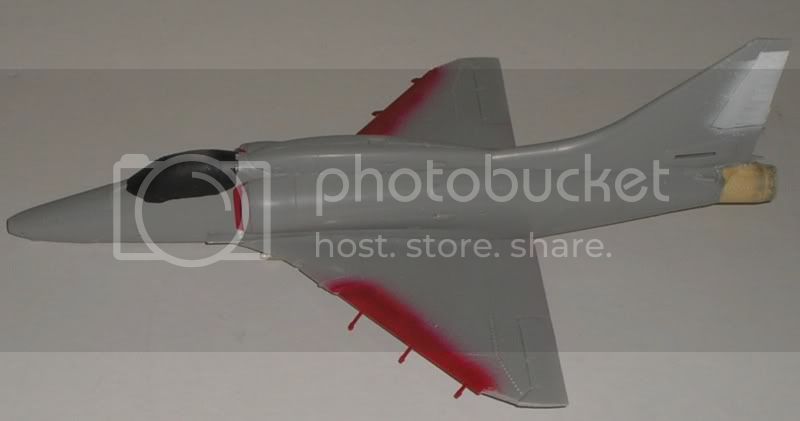
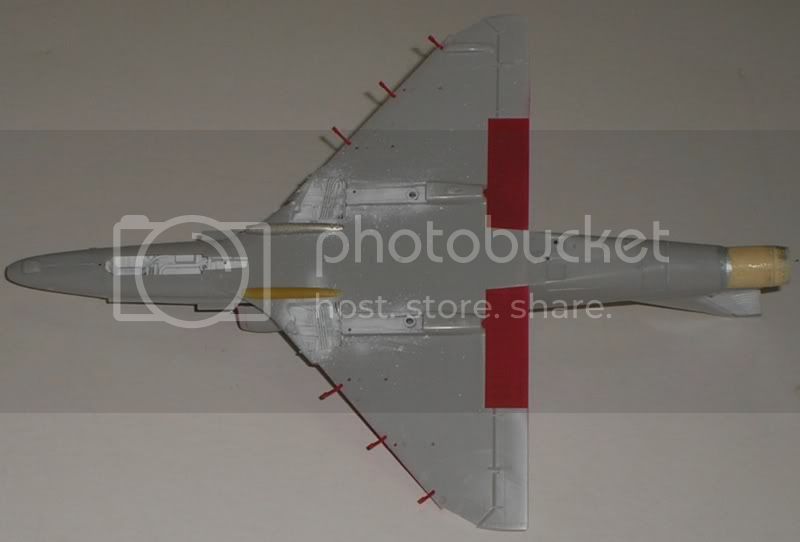
Pretty typical Hasegawa 1/48 jet, tricky fit in places and hard to eliminate seams, but it's coming together!
Unfortunately it's back to work tomorrow so progress will slow drastically from here.

Michael
On the bench:
Sorta depends on your definition of "on the bench"...
British Columbia, Canada
Joined: September 03, 2009
KitMaker: 6,965 posts
AeroScale: 6,247 posts
Posted: Sunday, March 25, 2012 - 04:28 PM UTC
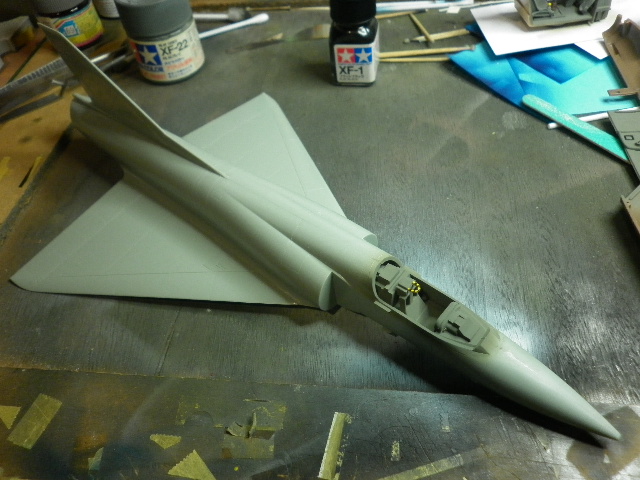
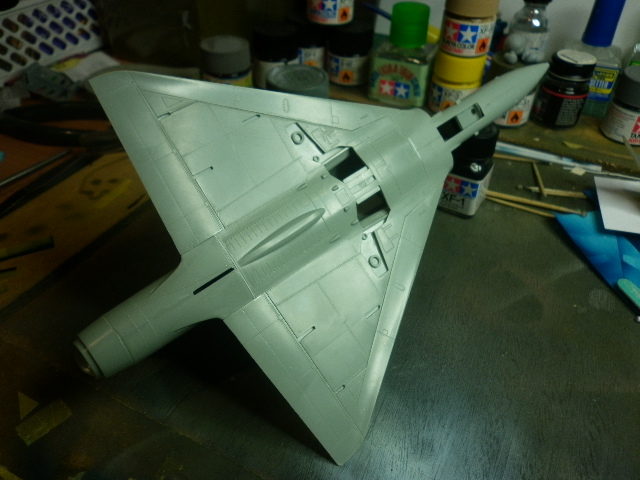
The major subassemblies


Test fit


The elevons are designed to fit only in the neutral position. This is a pity, since they're most often drooped on the ground, and especialy when the canards are deployed; the elevons were designed to act as flaps, so they were always drooped at least 10 degrees when the canards were out.
Making them fit while drooped would be a chore, involving quite a bit of sanding and chopping all 16 actuator fairings.
When once you have tasted flight you will walk the Earth with your eyes turned skyward.
For there you have been, and there you will always long to return.
-Leonardo Da Vinci