_GOTOBOTTOM
World War II: Soviet Union
Russian aircraft of WWII
Hosted by Rowan Baylis
1/32 Montex Yak 1b
DougN1
_VISITCOMMUNITY
Georgia, United States
Joined: August 08, 2011
KitMaker: 410 posts
AeroScale: 409 posts
Posted: Friday, February 10, 2012 - 07:33 AM UTC
Good news, looks like I have some decals on the way. Once they get here, I can finish up this bird

Doug
Merlin
Staff MemberSenior Editor
AEROSCALE
#017
_VISITCOMMUNITY
United Kingdom
Joined: June 11, 2003
KitMaker: 17,582 posts
AeroScale: 12,795 posts
Posted: Friday, February 10, 2012 - 09:23 AM UTC
Hi Doug

Sorry - I've rather lost touch with this build amid all the upset at home. It is looking really tasty! Once again this is a great thread illustrating some very useful techniques - it's obvious I really do have to master using Mr Surfacer to its fullest effect!

All the best

Rowan
DougN1
_VISITCOMMUNITY
Georgia, United States
Joined: August 08, 2011
KitMaker: 410 posts
AeroScale: 409 posts
Posted: Friday, February 17, 2012 - 09:40 AM UTC
Yes, Rowan, Mr. Surfacer is the miracle solution for lazy modelers like me Lots of things I can be used for!

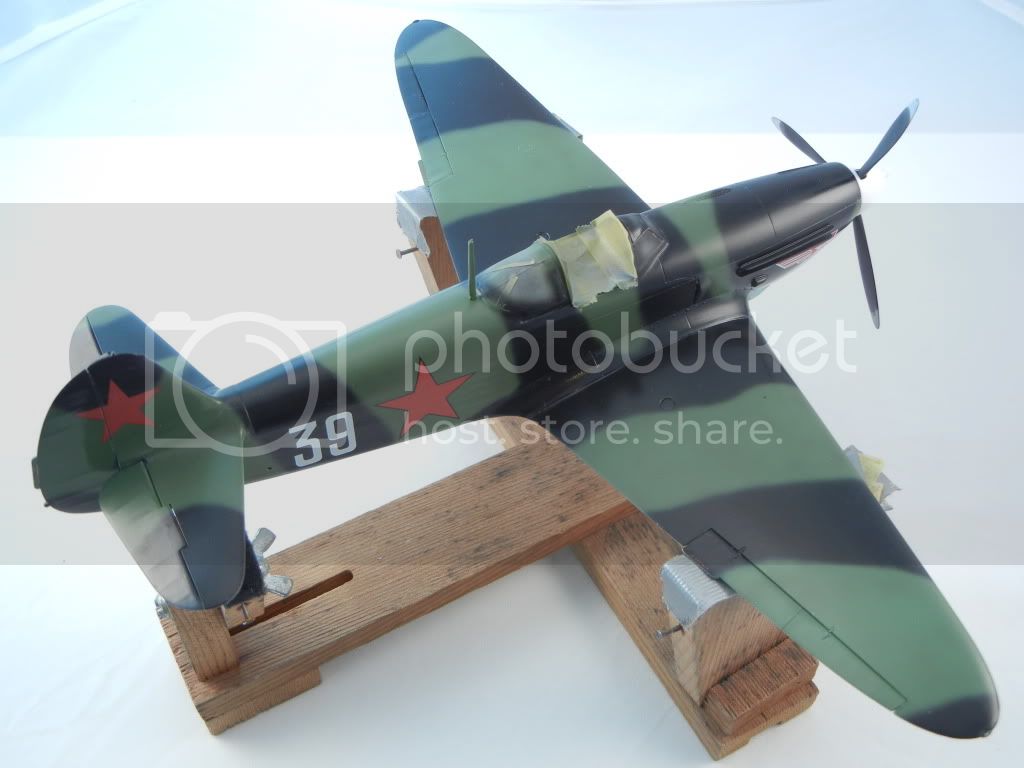
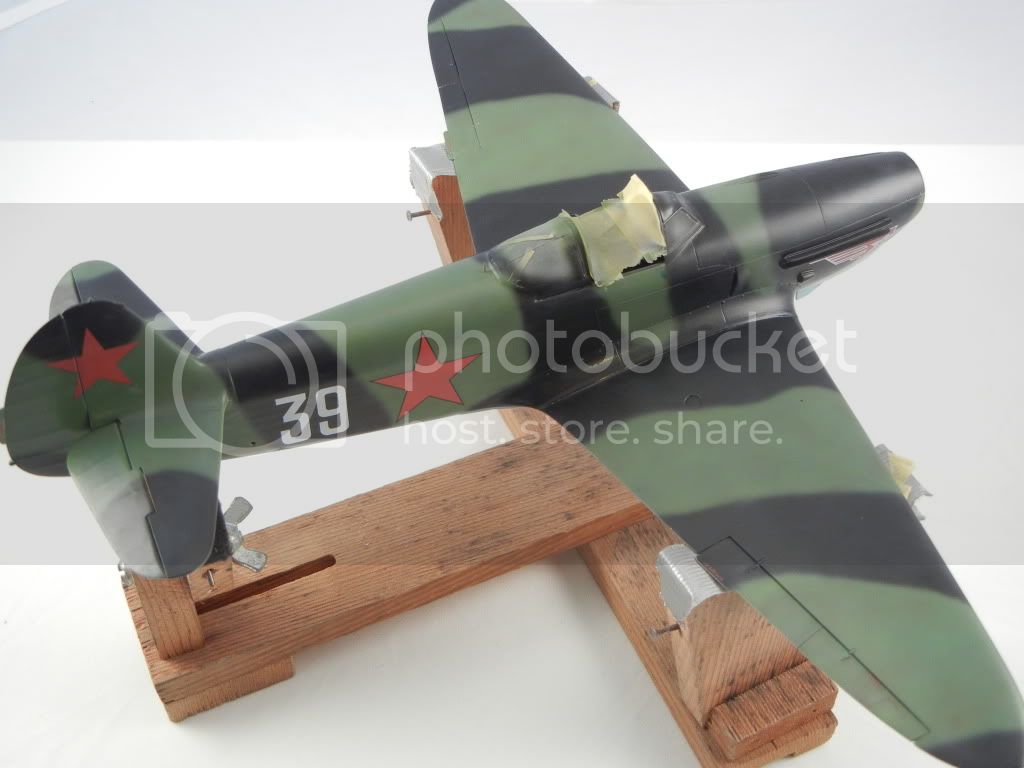
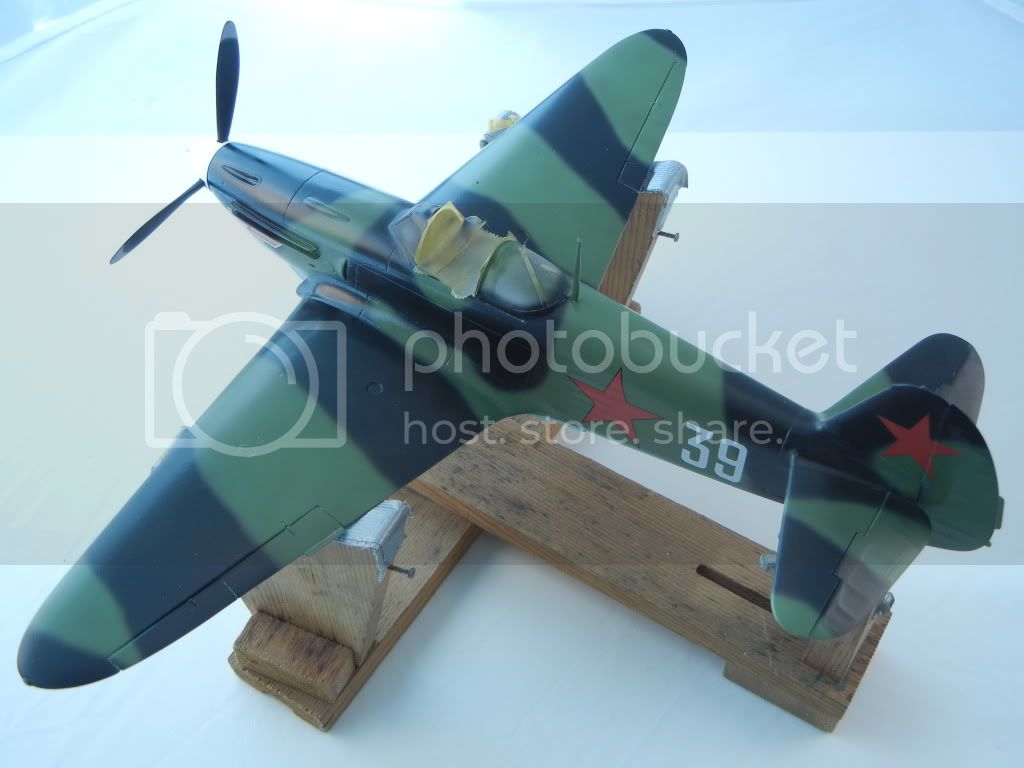
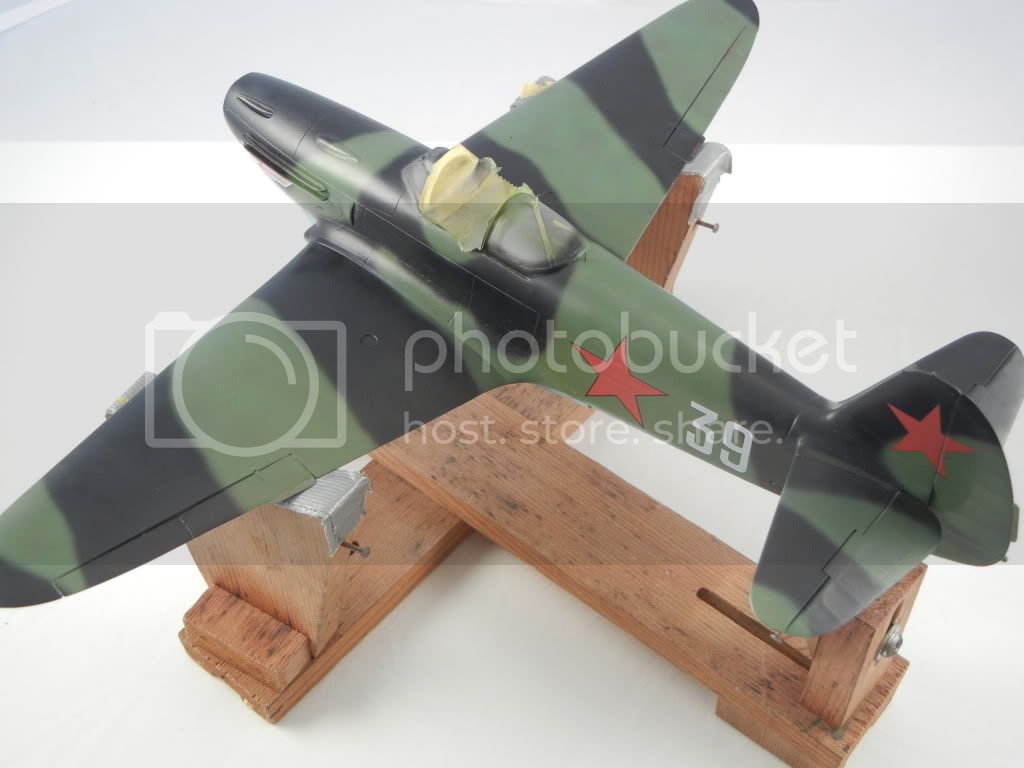
Ok back on track! Got some replacement decals, and got them on the model today Not too exciting, but at least I can get moving again on this build! Here is how she looks with her markings on:
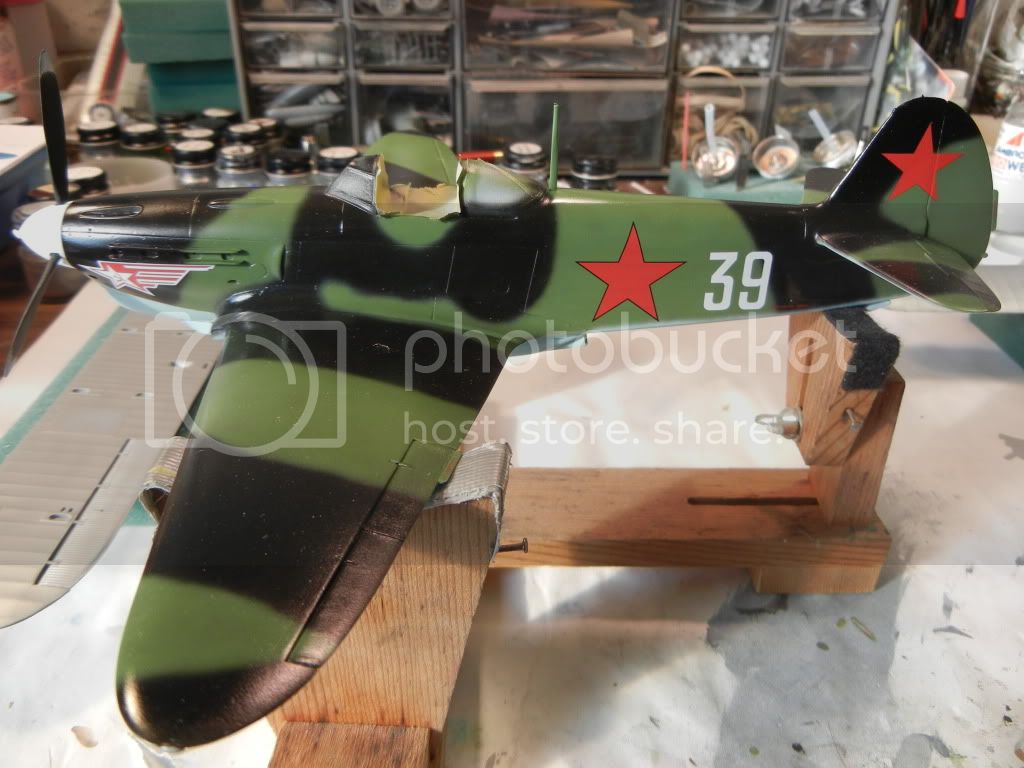
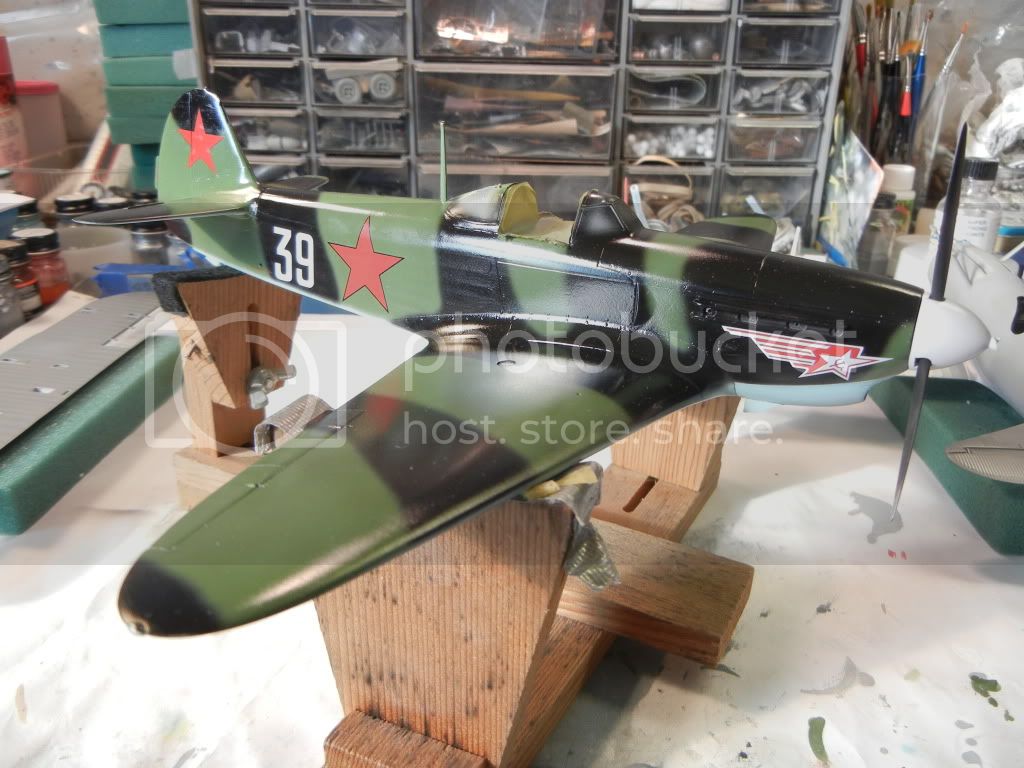


Prop is just stuck together and on the model for the photo op Next up clearcoat, and then on to a little weathering using the dot filter method.

Thanks for looking!

Doug
AussieReg
Staff MemberAssociate Editor
AUTOMODELER
#007
_VISITCOMMUNITY
Victoria, Australia
Joined: June 09, 2009
KitMaker: 8,156 posts
AeroScale: 3,756 posts
Posted: Friday, February 17, 2012 - 11:51 PM UTC

Quoted Text

and then on to a little weathering using the dot filter method.


Lots of detail on this please Doug, I've seen some sensational results from it but I'm not brave enough to try it just yet !

You build here is looking great, thanks for sharing so much detail with us.

Cheers, D
DougN1
_VISITCOMMUNITY
Georgia, United States
Joined: August 08, 2011
KitMaker: 410 posts
AeroScale: 409 posts
Posted: Friday, February 24, 2012 - 10:01 AM UTC
Spent a little time on the Yak, and applied the dot-filter method with oil paints to the uppersurface. As a prep, I sprayed Future/Kleer over the entire model after the decals were set and dry. I gave it a light sanding with a polishing pad to smooth the surface as well as give the oil paint something to hold to.

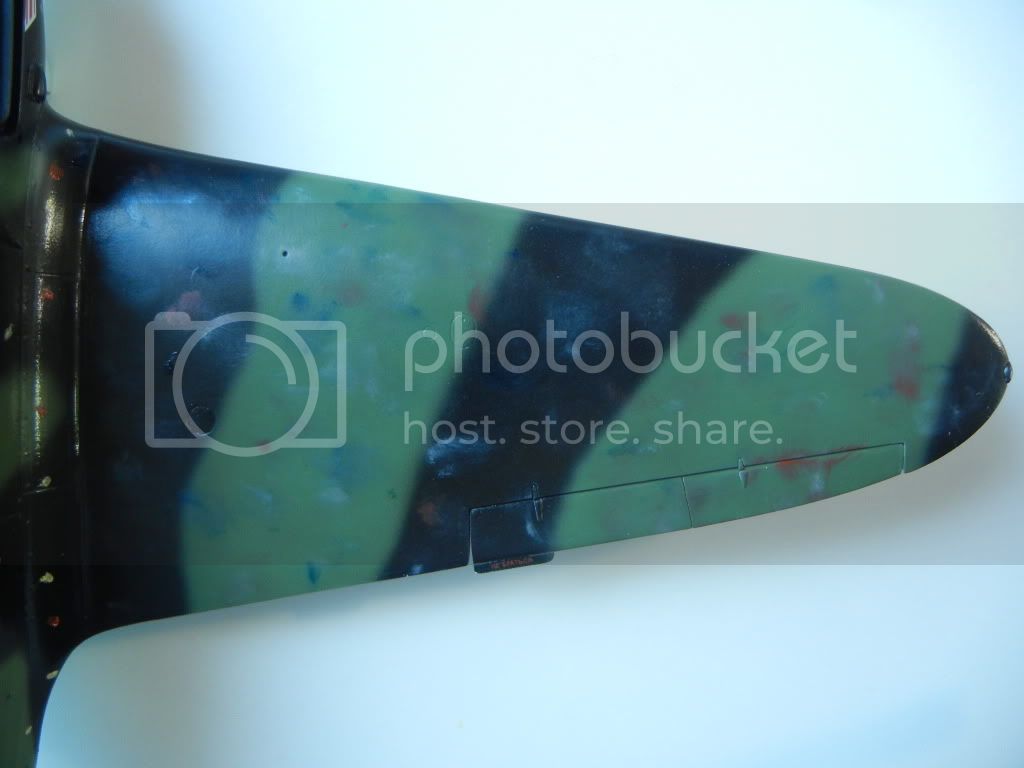
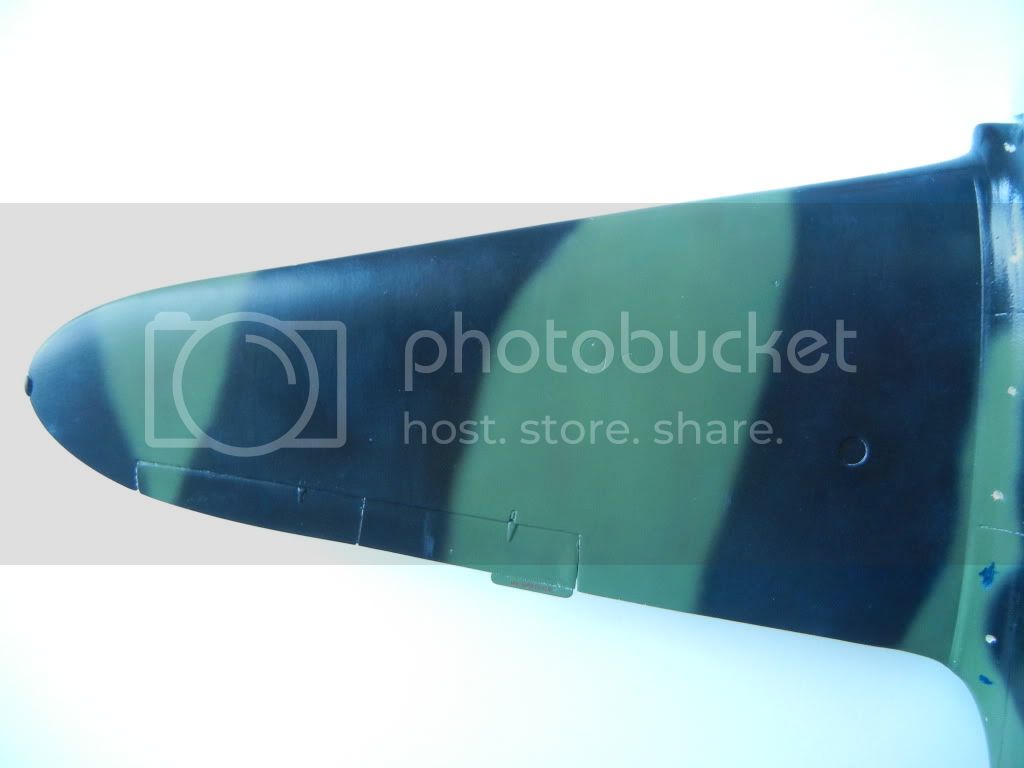
Here are a couple of "before and after photos" - note the change can be hard to capture with photos as it is very subtle:

Before:

After:

Before:

After:


While I am by no means an expert on this technique (I am still learning), as requested by Damian, I will attempt to share the process in case anyone is interested

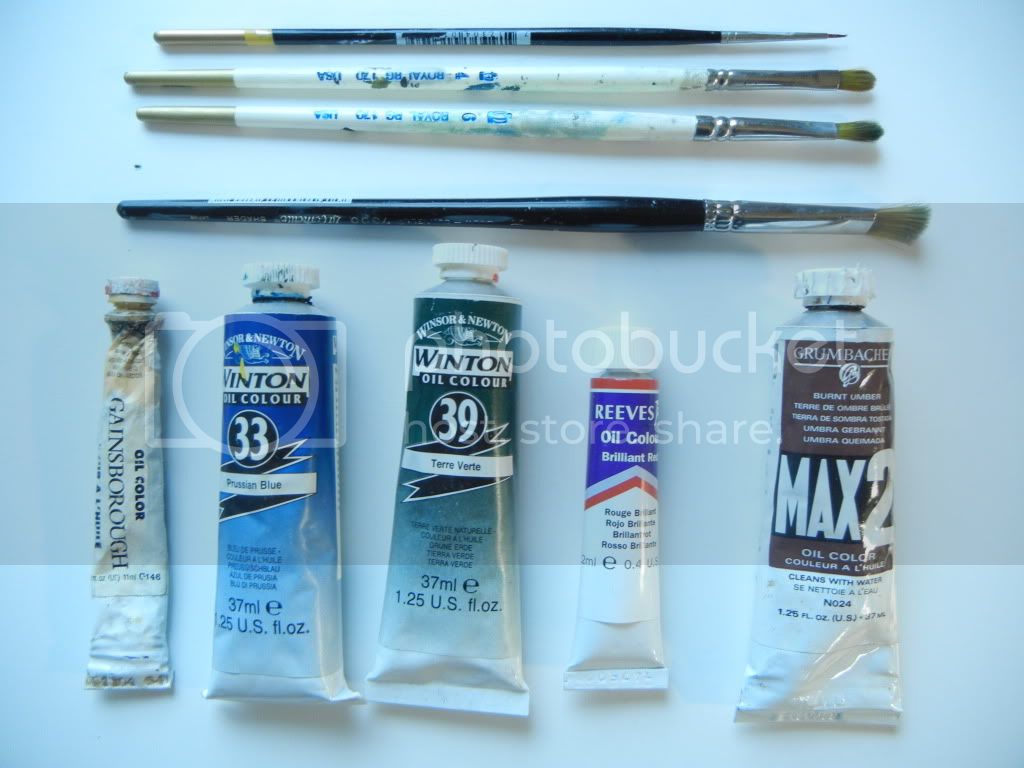
First up, here are the supplies I used:


I used the small point brush to apply the oil paint. I used the middle flat brushes to blend the dots, and the large flat brush to blend out anything left over (as the smaller flat brushes can get loaded up with paint towards the end).

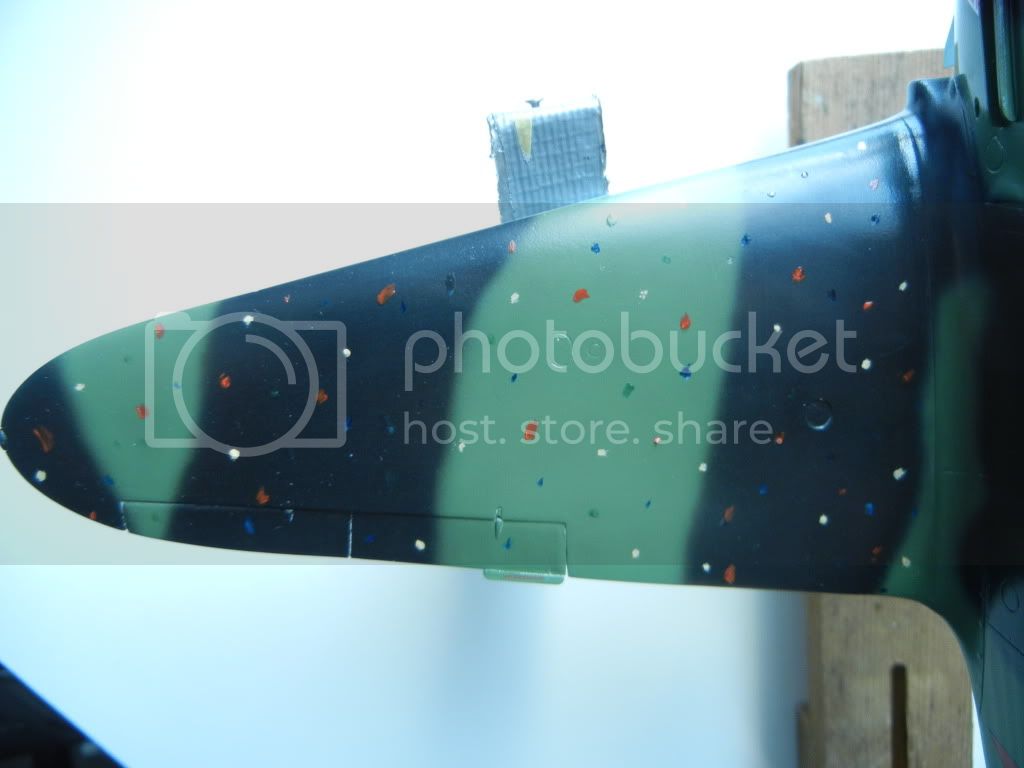
First, I apply small dots of each of the colors (yellow orche, green, blue and red in this case) to the surface:


Then I start blending them with the dry, flat, brush using a circular motion:


Then I blend a little more until they just about "disappear":


Then a little final work with the large flat brush and we'll call it finished:


The hard part of this technique is stopping at the right time. It is VERY easy to go to the point where you really have nothing left. To complicate things, that point is different for every color (more blending for lighter, less for darker).

I'll let this dry over the weekend, and then do the underside next week. After that, a burnt umber wash will be applied to the panel lines, and then the whole thing will get a coat of flat clear (probably Dullcoat). Then a little more work with some very thin (90%) red brown and black mix (and more flat clear) and it should be wrapped up.

Thanks for looking, comments/questions welcome!

Doug
AussieReg
Staff MemberAssociate Editor
AUTOMODELER
#007
_VISITCOMMUNITY
Victoria, Australia
Joined: June 09, 2009
KitMaker: 8,156 posts
AeroScale: 3,756 posts
Posted: Friday, February 24, 2012 - 06:14 PM UTC

Quoted Text

as requested by Damian, I will attempt to share the process in case anyone is interested


Thank you sir, I love the effect this technique produces and your tutorial here is very clear. Now I just have to work up the courage to give it a try.

Cheers, D
MVTBorges
_VISITCOMMUNITY
Sao Paulo, Brazil
Joined: April 04, 2007
KitMaker: 80 posts
AeroScale: 6 posts
Posted: Saturday, February 25, 2012 - 05:32 AM UTC
Good work Doug!!!
DougN1
_VISITCOMMUNITY
Georgia, United States
Joined: August 08, 2011
KitMaker: 410 posts
AeroScale: 409 posts
Posted: Sunday, February 26, 2012 - 01:17 PM UTC

Quoted Text


Quoted Text

as requested by Damian, I will attempt to share the process in case anyone is interested


Thank you sir, I love the effect this technique produces and your tutorial here is very clear. Now I just have to work up the courage to give it a try.

Cheers, D


Thanks I suggest you have at it sir! The good thing is that if you put oils over an acrylic clear coat, you can just wipe them off if you don't like it

Doug
P.S. this is only my 3rd time with this technique, so you can see it is not too hard to learn
DougN1
_VISITCOMMUNITY
Georgia, United States
Joined: August 08, 2011
KitMaker: 410 posts
AeroScale: 409 posts
Posted: Thursday, March 08, 2012 - 02:17 PM UTC
I guess it's time for an update!

I've spent the last couple of weeks sorting out a couple of self-imposed issues on this build (and working on the F4B-4) I finished up the oil dot weathering, as seen above, and then let it dry for a few days. I decided to use a different flat coat (Mr. Color instead of my usual Testor's Dullcoat). I mixed some up, and then tried it on a test piece, which looked good - so I grabbed the model since I had the airbrush all set up and started spraying! All was well until I ended up putting a gouge in the wet flatcoat on the uppersurface of one of the wings
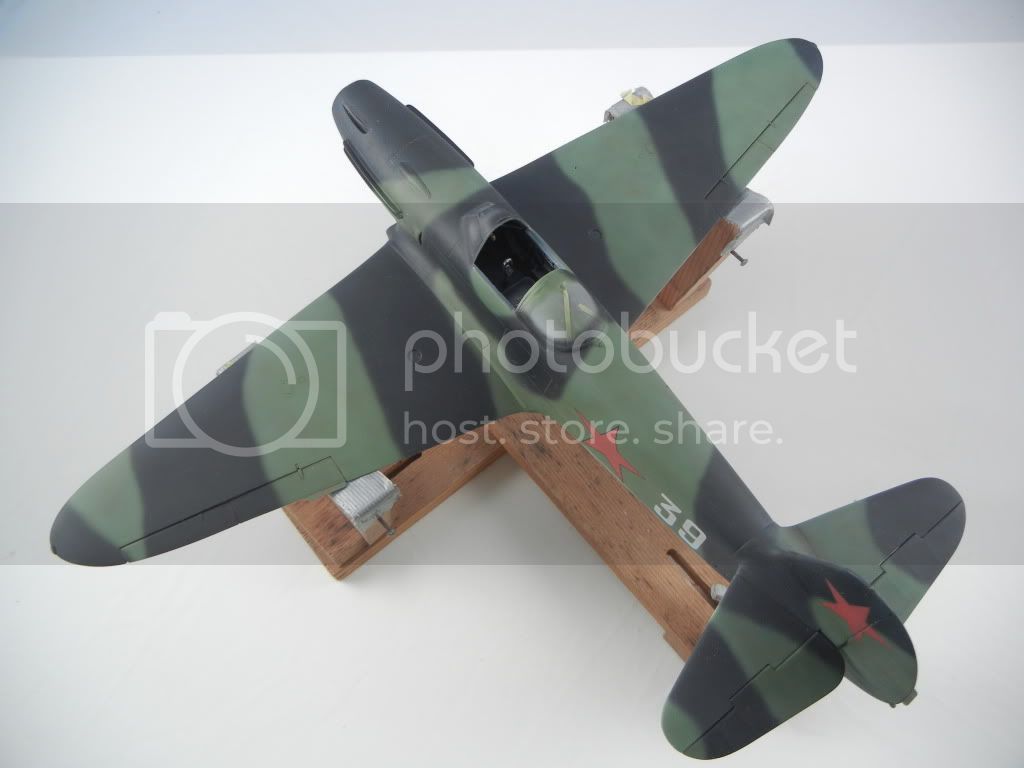
|:(

So, it was sand, sand and sand some more to get rid of the gouge. Then I had to build it back up again. I also had to repaint that area and re-apply the oil-dot weathering, let it dry and then put some flatcoat over it. Of course, while I had the sanding sticks out, I noticed that one side of the tail had some oil paint that did not get blended in enough (but now had flatcoat on it) - so I foolishly thought I could sand it out and re-apply the oil paints to blend better. Of course I messed up the decal, so I tried to use the one spare I had (from the extra sheet I got) but of course that one did not want to cooperate either! So, I ended up masking and painting that star, and then also re-applied the oil dot weathering etc.

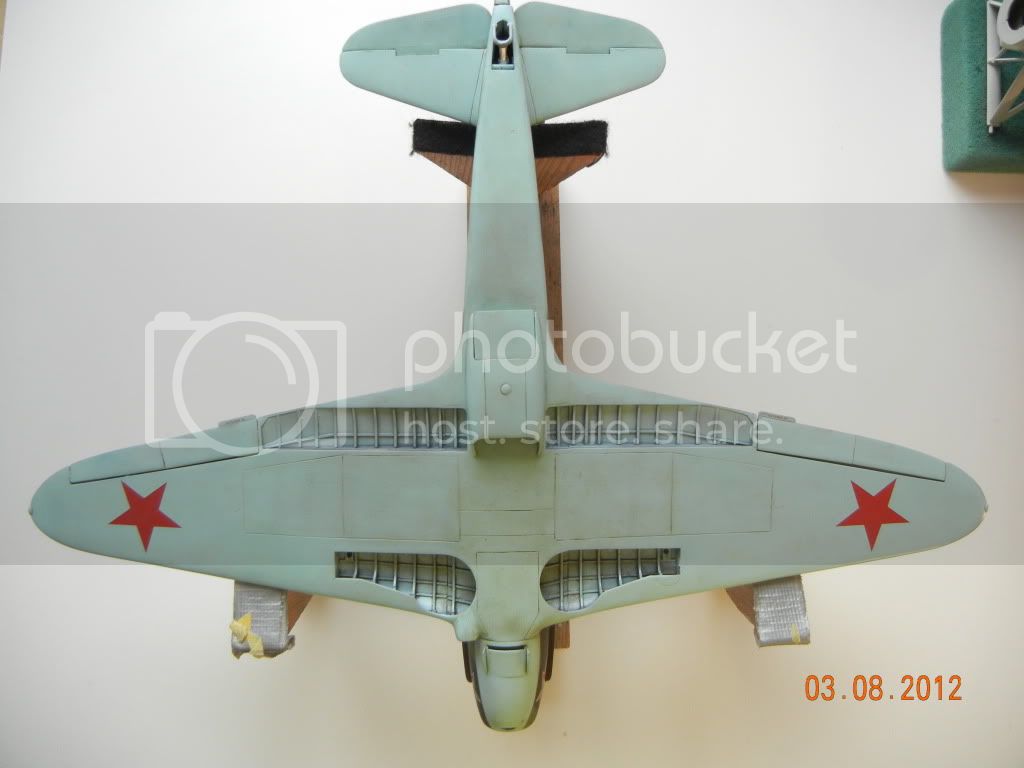
So, here are some interim shots I took to show how the weathering looks after some flat coat (which is a little too flat for my tastes, so I'll address that before finished it off):


(bottom is not flat coated yet - also needs the few panel lines there highlighted)


I've got all the bits painted and ready to attach, so I'll be working on that once I get the flat coat a little less flat

Thanks for looking! Comments/questions welcome!

Doug
Merlin
Staff MemberSenior Editor
AEROSCALE
#017
_VISITCOMMUNITY
United Kingdom
Joined: June 11, 2003
KitMaker: 17,582 posts
AeroScale: 12,795 posts
Posted: Friday, March 09, 2012 - 08:25 AM UTC
Hi Doug

Very tasty! It's certainly coming together with the markings on and some weathering. I don't think I've ever come across the dot-filtering before - it looks a very interesting technique and definitely worth trying. Are you planning any paint chipping on the metal areas?

Is the jig you use home made or a commercial product? - it looks really handy.

All the best

Rowan
DougN1
_VISITCOMMUNITY
Georgia, United States
Joined: August 08, 2011
KitMaker: 410 posts
AeroScale: 409 posts
Posted: Friday, March 09, 2012 - 01:38 PM UTC
Thanks Rowan! Good to hear from you

No chipping on the metal areas for me, I find that it is very difficult to pull off so I don't bother with it

This is my third model with using this oil-dot filter method, so I am still learning, but it seems to do a very good job varying the colors slightly as one would see on a real combat aircraft exposed to all the dirt, grime, etc. It is especially useful on single color schemes, as it really can break up the otherwise monotone finish.

Interestingly, my jig was the first prototype of what you see very often these days: http://www.victorymodels.com/sf6/images/Products/Miscellaneous/JHM48001.jpg
The creator (Tim Hogan) of the original jig like the one in the link made the first few like the one he sold me (very cheap), then when asked to make a more commercial product, came up with the basic 4 legged design that is copied by these guys and some others. Unfortunately, he has been out of the hobby for a number of years now. Probably more than you wanted to know But, it's very handy to keep models on while working on them, so you can move it around without touching it.

Anyway, should have this thing wrapped up soon!

Doug
AussieReg
Staff MemberAssociate Editor
AUTOMODELER
#007
_VISITCOMMUNITY
Victoria, Australia
Joined: June 09, 2009
KitMaker: 8,156 posts
AeroScale: 3,756 posts
Posted: Friday, March 09, 2012 - 04:54 PM UTC

Quoted Text

Very tasty! It's certainly coming together with the markings on and some weathering. I don't think I've ever come across the dot-filtering before - it looks a very interesting technique and definitely worth trying.


I totally agree Rowan, it's looking superb. I remembered seeing the dot-filter technique used before in one of the Aeroscale threads, but I couldn't quite pinpoint it. Until now that is ! Take a look at the post on THIS PAGE dated July 11 in Chuk W's incredible Me 410 build.

Cheers, D

DougN1
_VISITCOMMUNITY
Georgia, United States
Joined: August 08, 2011
KitMaker: 410 posts
AeroScale: 409 posts
Posted: Tuesday, March 13, 2012 - 08:46 AM UTC
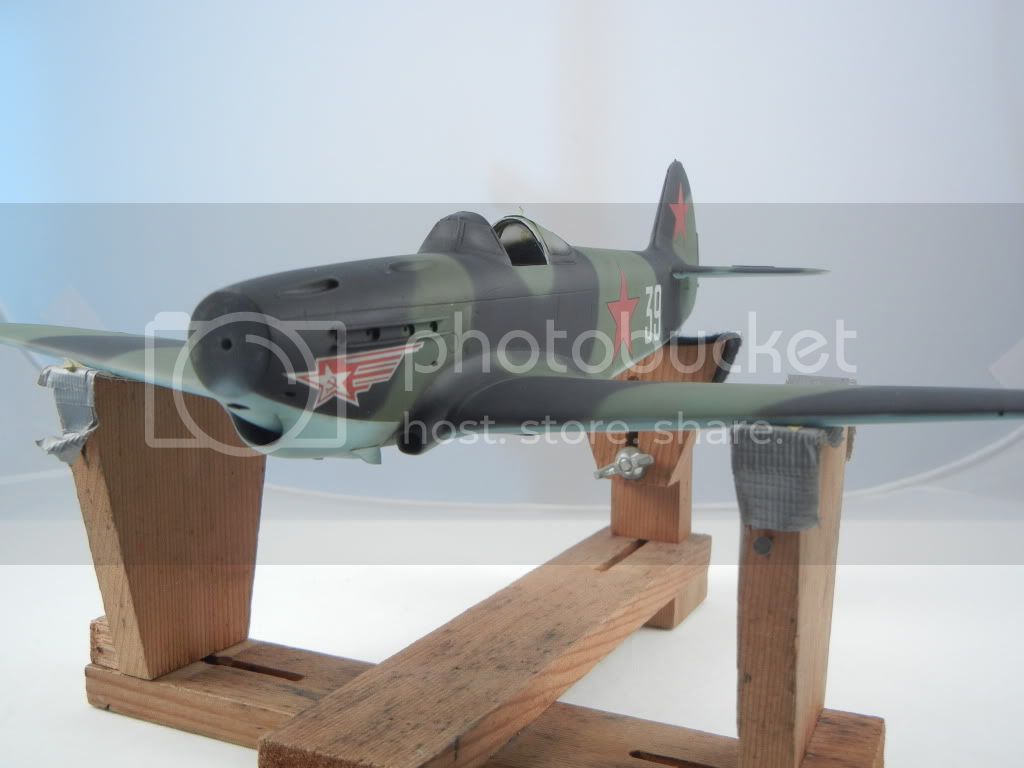
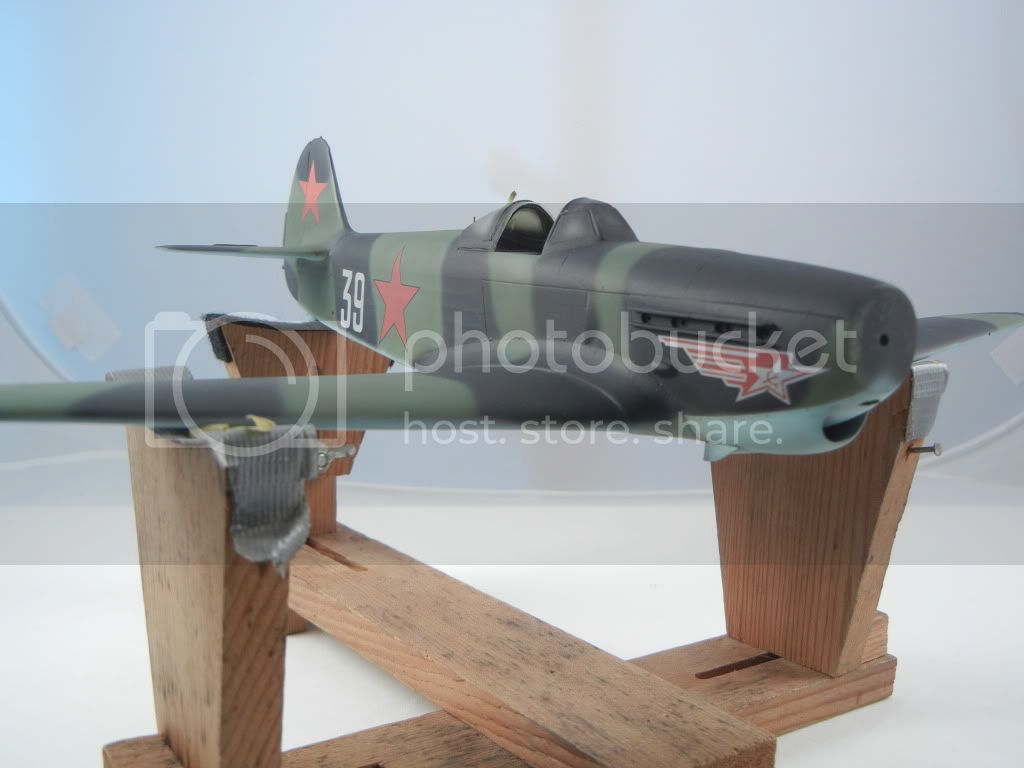
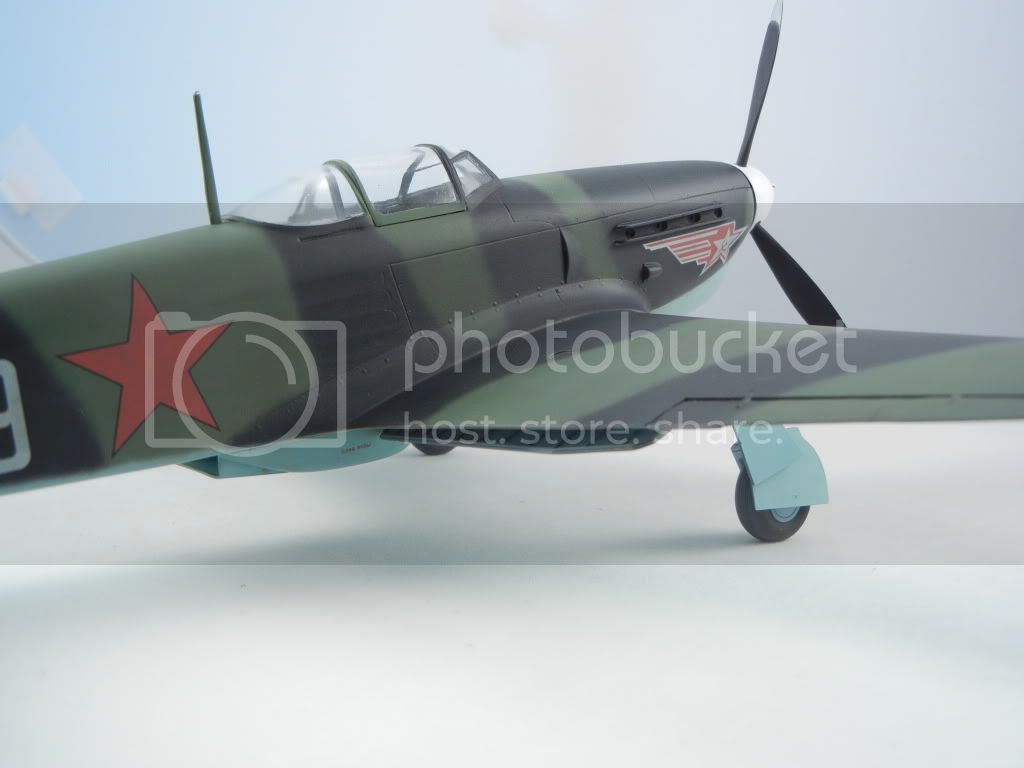
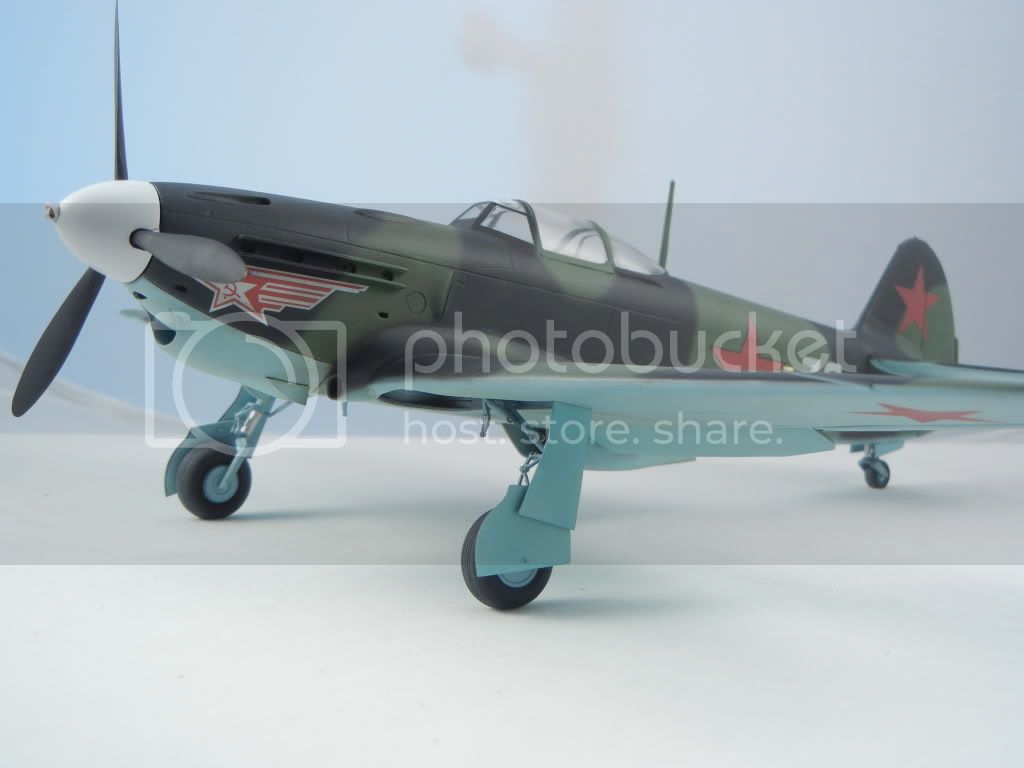
Quick update, got the Yak up on it's legs! The gear doors did not fit well at all, but I got them lined up reasonably well in the end (oops I see the bottom doors shifted forward in the pics - fixed!). Also unmasked the canopy, assembled the prop, etc. after I resprayed the flat coat with something a little less flat. Here are some pics:


So far I am happy with the results! Just need to put on the exhaust and aerial wires as well as a couple other small things and this one should be wrapped up. As I mentioned in the F4B-4 post, I have to report for Jury Duty tomorrow, so it may be awhile before I can get back to finish off this bird!

Thanks for looking! Comments/questions welcome!

Doug
DougN1
_VISITCOMMUNITY
Georgia, United States
Joined: August 08, 2011
KitMaker: 410 posts
AeroScale: 409 posts
Posted: Monday, April 02, 2012 - 07:57 AM UTC
Since it's been a few weeks, I figured it was time for a quick update to show I am still working on this model!

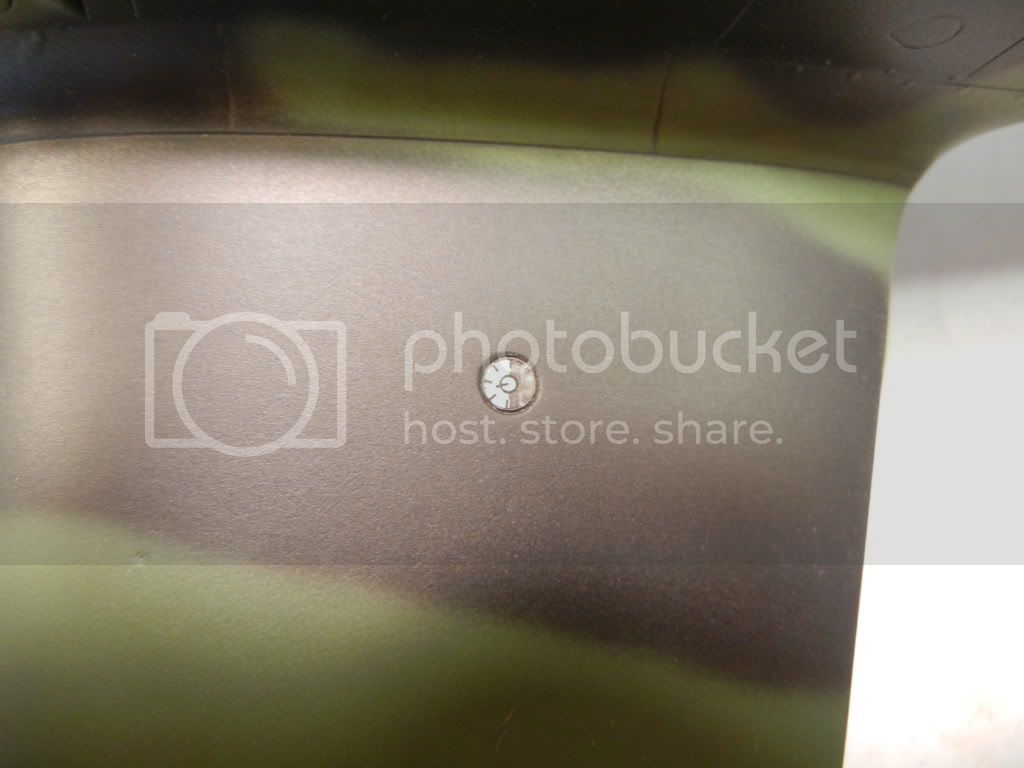
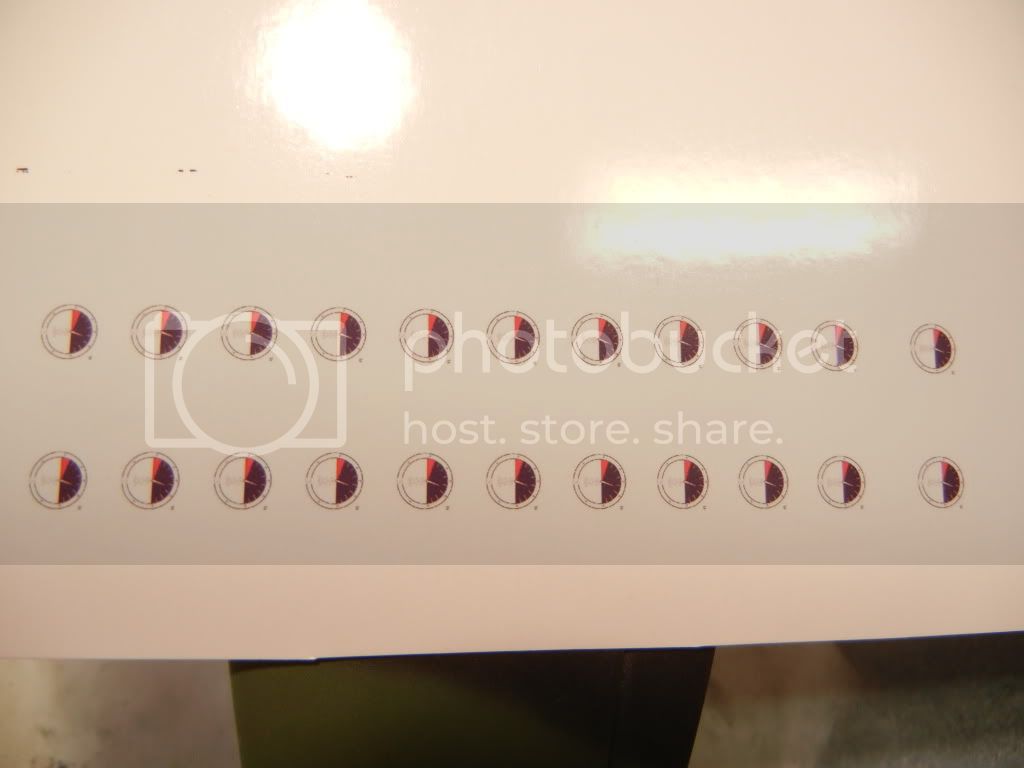
One thing that bothered me was the wing fuel gauges. The kit gives you some acetate gauges which are clear with black printing. The instructions say to paint them silver behind the clear part and attach them to the wings. Unfortunately, this is not at all what they really looked like. I painted them half silver, and punched them out with my 4mm waldron punch, here is what they looked like:


I managed to find a nice image of what the gauge actually looked like, and using my primitive photo editing software/skills got it re-sized to the correct diameter. I printed out a bunch of them on some gloss photo paper:


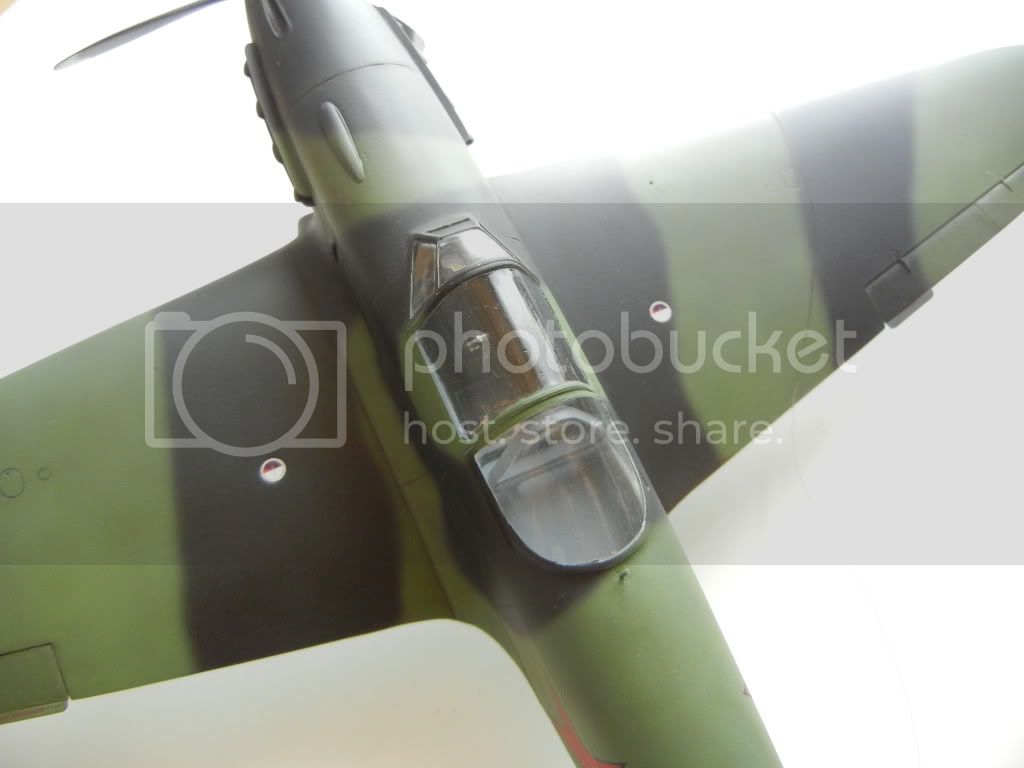
I then punched these out, cleaned them up a bit and attached them to the model in the correct positions:


I've gathered the materials for the aerial wires, and figured out how I am going to attach them all, which I hope to do tomorrow

Thanks for looking, comments/questions always welcome!

Doug
raypalmer
_VISITCOMMUNITY
Ontario, Canada
Joined: March 29, 2010
KitMaker: 1,151 posts
AeroScale: 985 posts
Posted: Monday, April 02, 2012 - 11:04 AM UTC
This is such a clean build. I admire your patience.

Be sure to mention what method you use for the aerials!
DougN1
_VISITCOMMUNITY
Georgia, United States
Joined: August 08, 2011
KitMaker: 410 posts
AeroScale: 409 posts
Posted: Wednesday, April 04, 2012 - 12:17 PM UTC
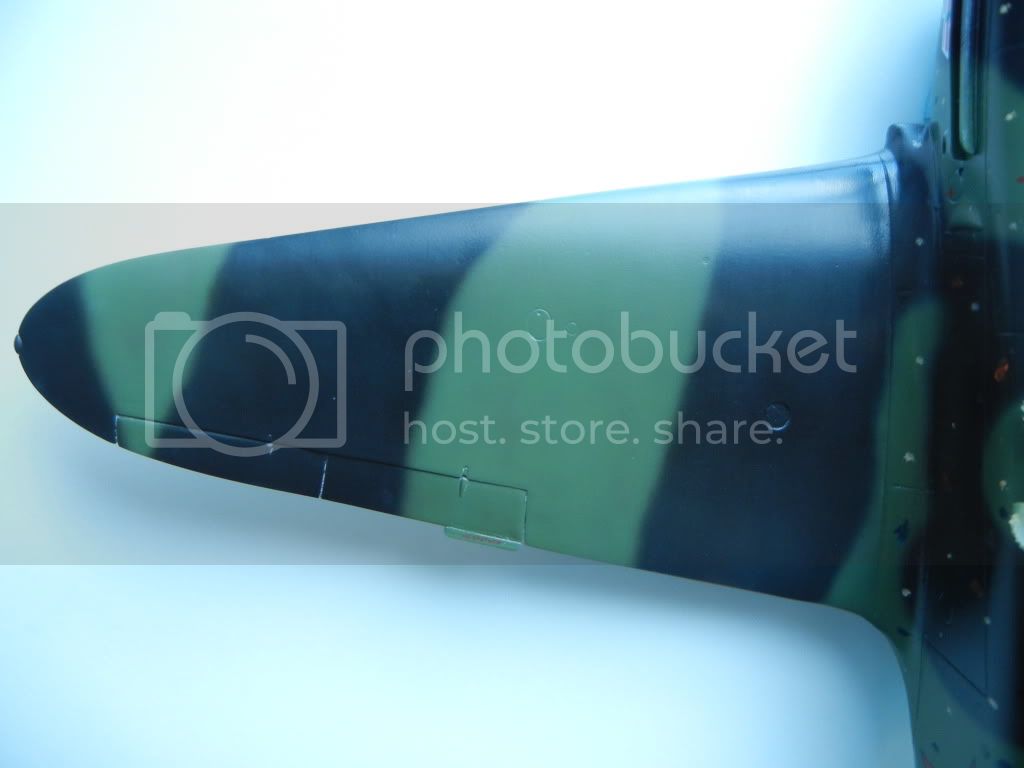
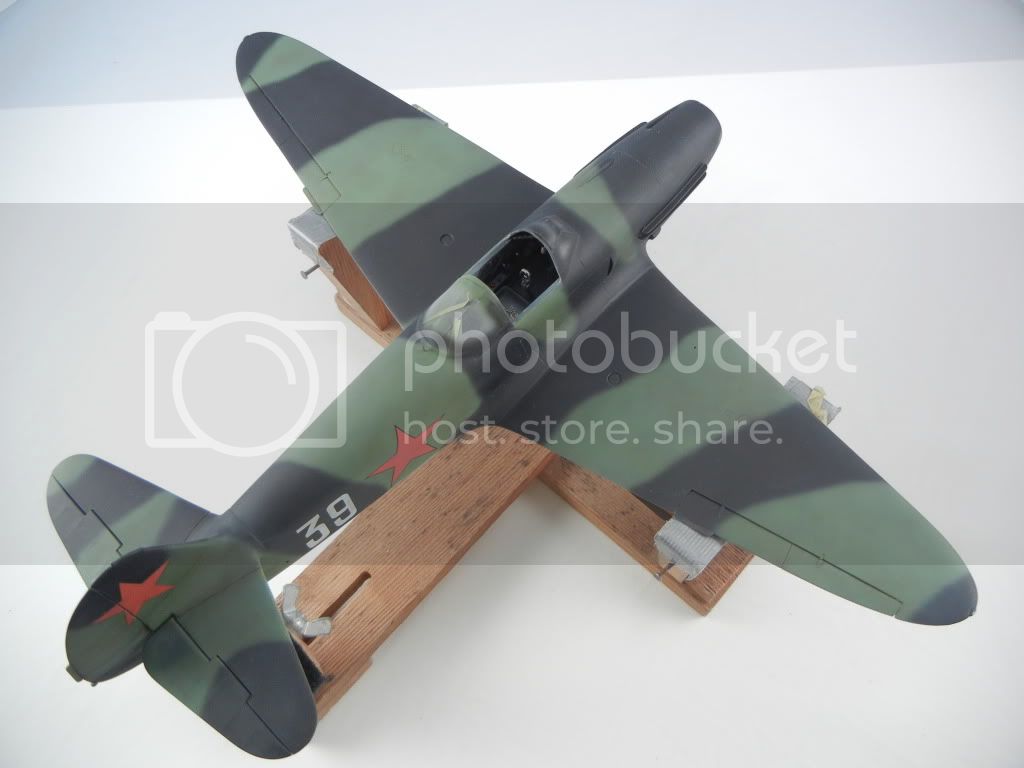
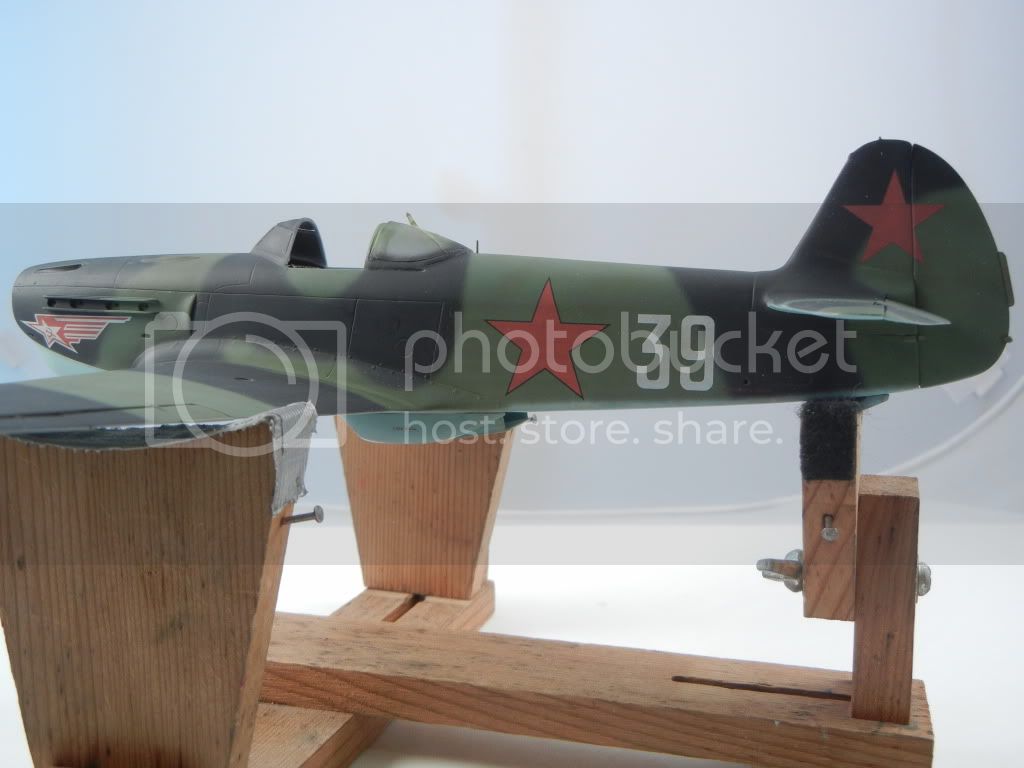
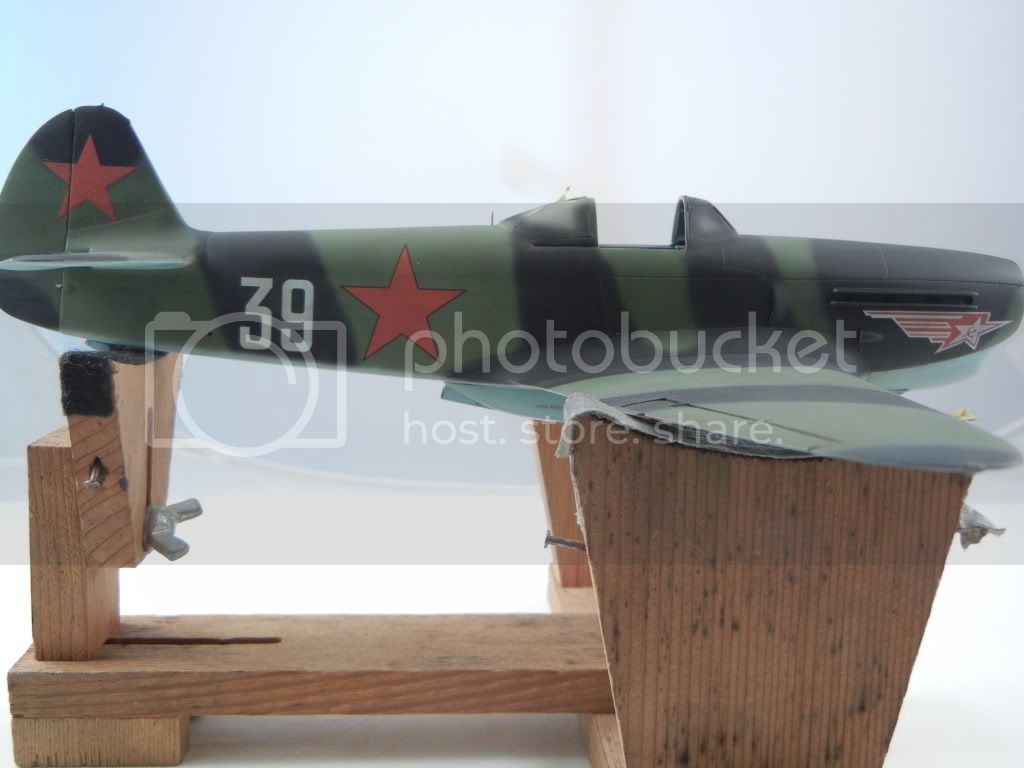
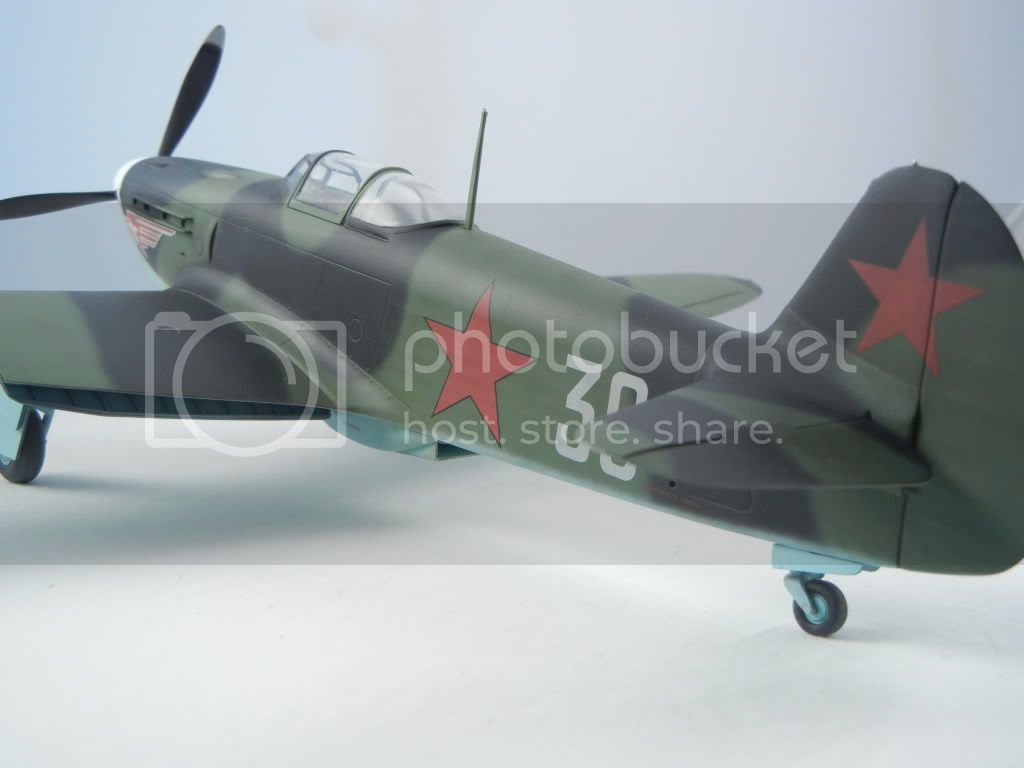
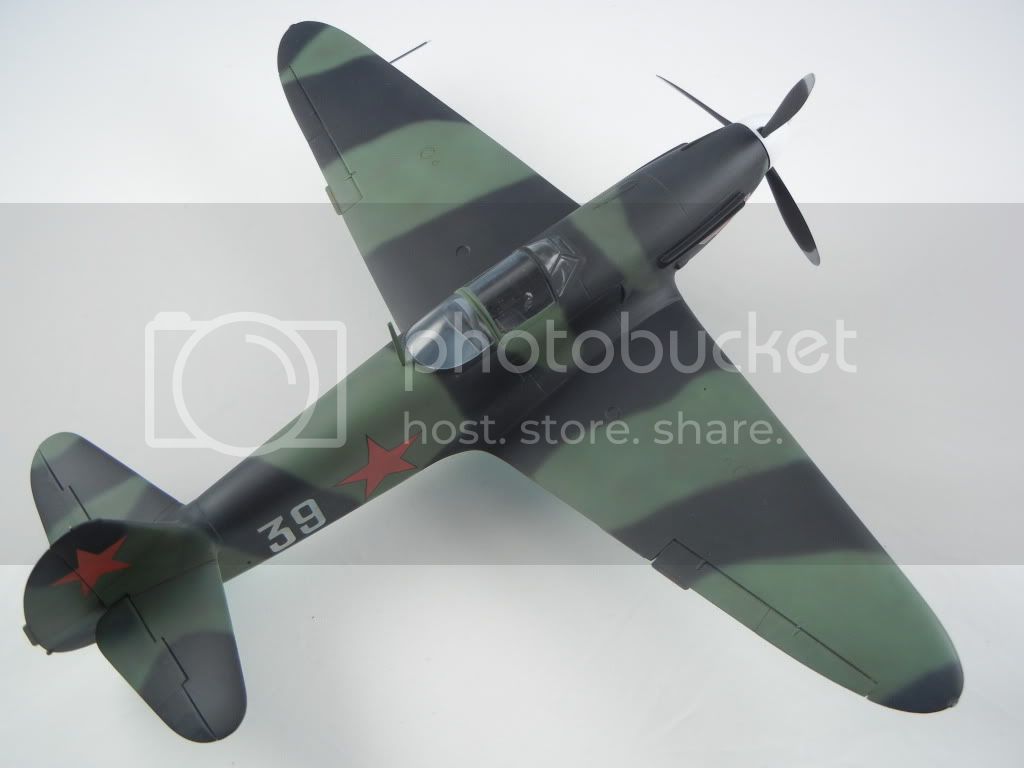
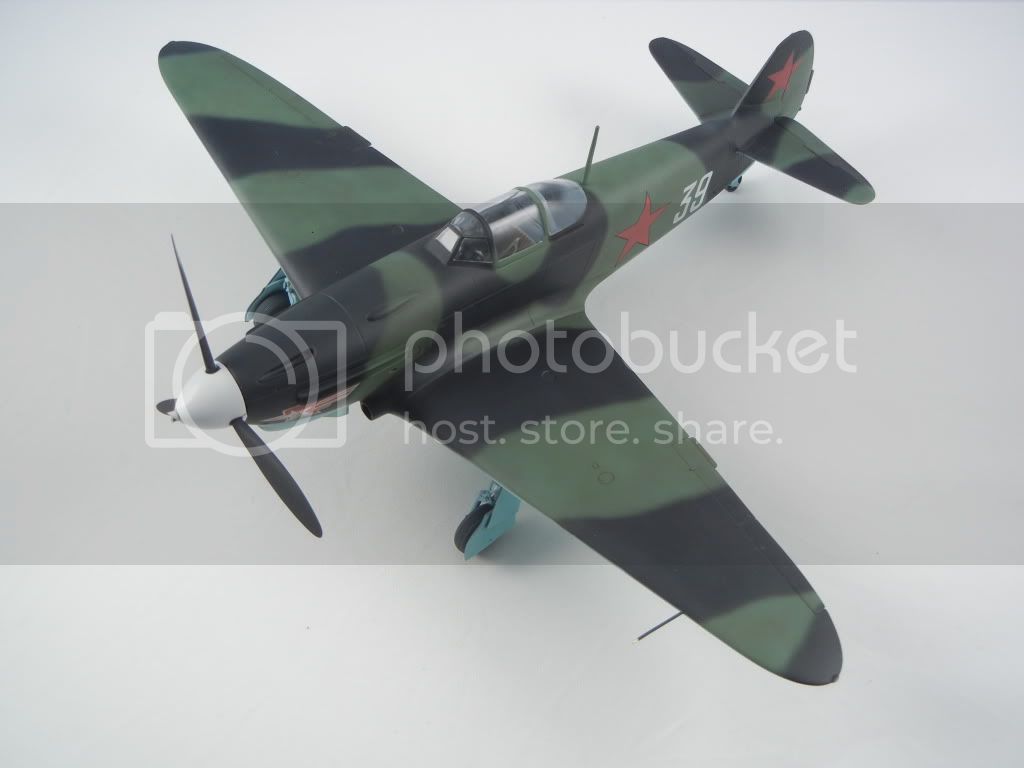
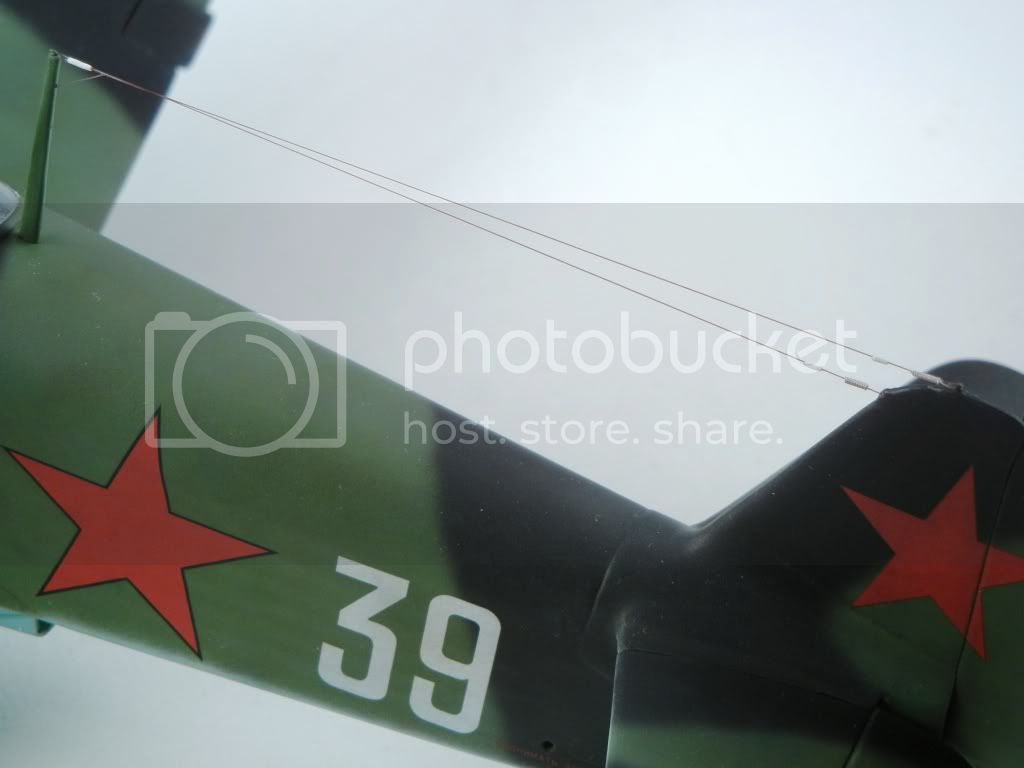
Put the finishing touches on this one. Added the aerial wires, with springs, etc; added the gear indicators on the wings, added a small bit of dirt to the wheels and painted the formation lights:


I need to get that dust off the model

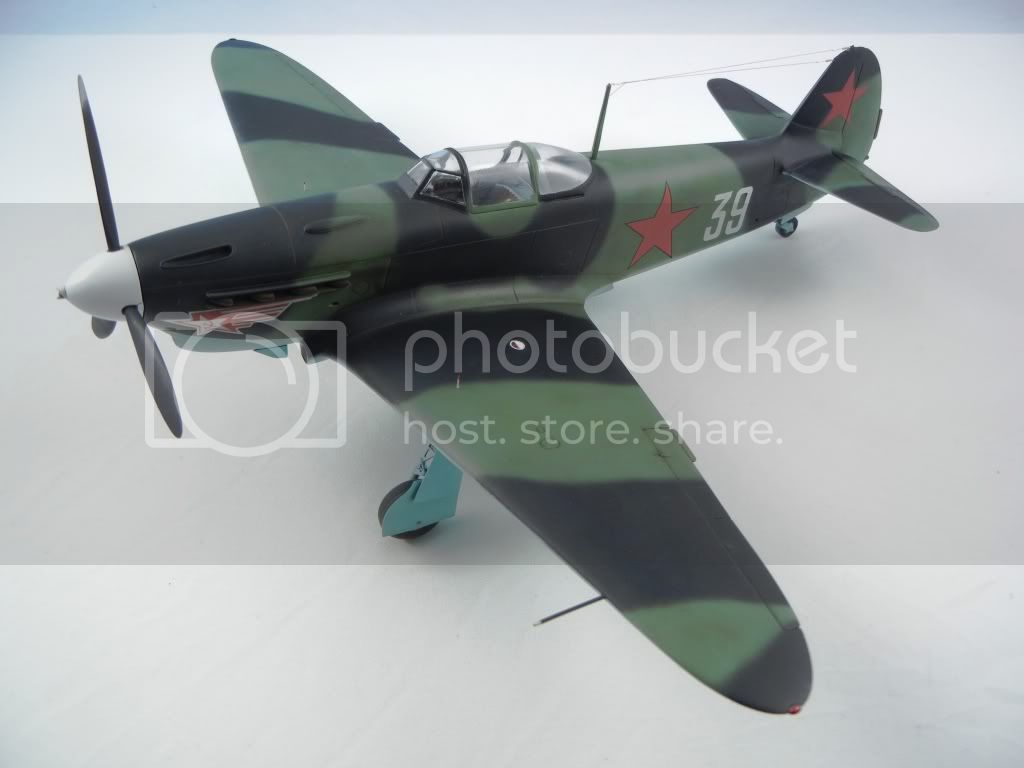
Here is a shot of the finished model:


I've been asked to send some "glamour shots" of the finished model in for a Feature, so look for more there

Hope you've enjoyed following along! Thanks again to all who commented!!

Doug
 _GOTOTOP