_GOTOBOTTOM
Modern (1975-today)
Discuss the modern aircraft age from 1975 thru today.
MQ-1 Predator - 1/48 Bronco
alpha_tango
_VISITCOMMUNITY
Germany
Joined: September 07, 2005
KitMaker: 5,609 posts
AeroScale: 5,231 posts
Posted: Saturday, January 16, 2010 - 09:24 AM UTC
Hi all

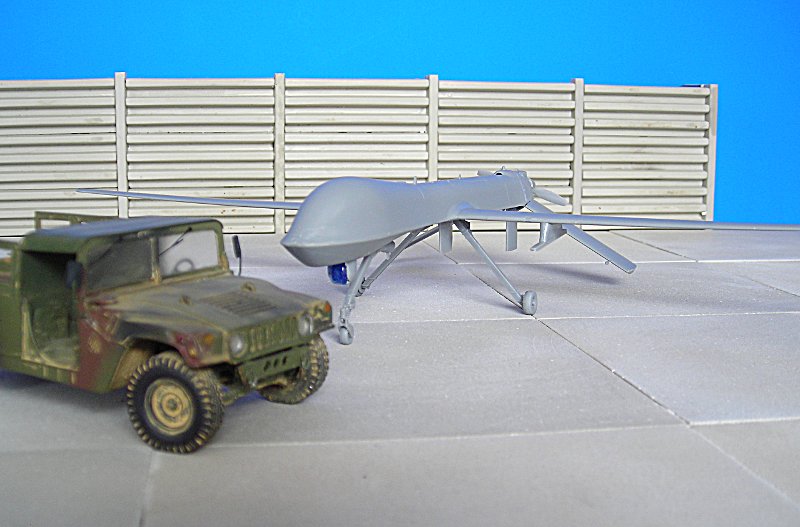
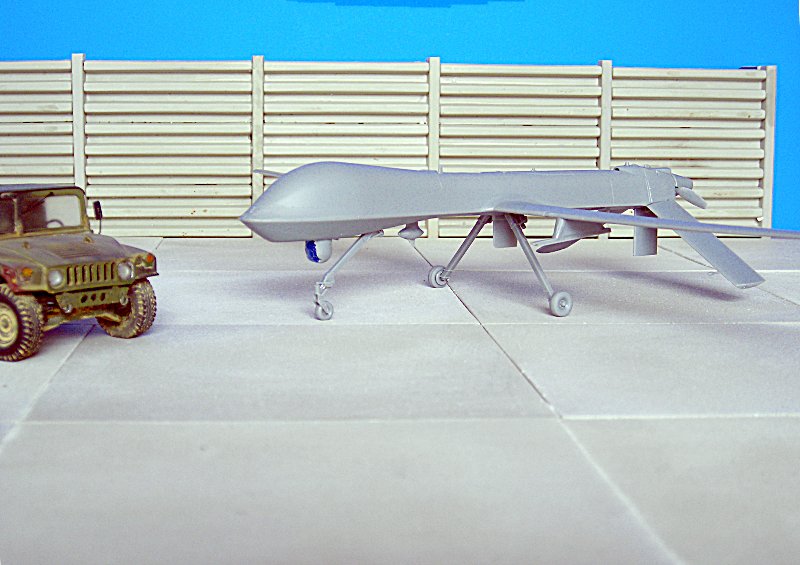
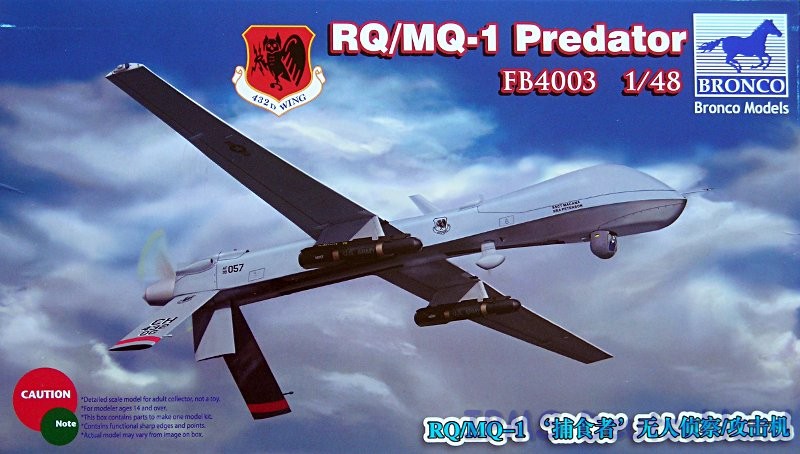
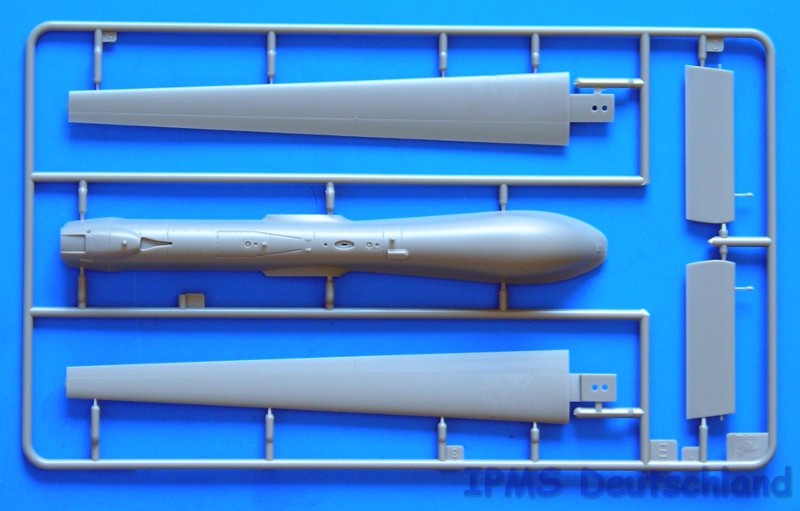
today I got this kit from Lucky and it looks pretty nice. As nice that I want to start it right away to break my actual block/deadlock (not only modelling).

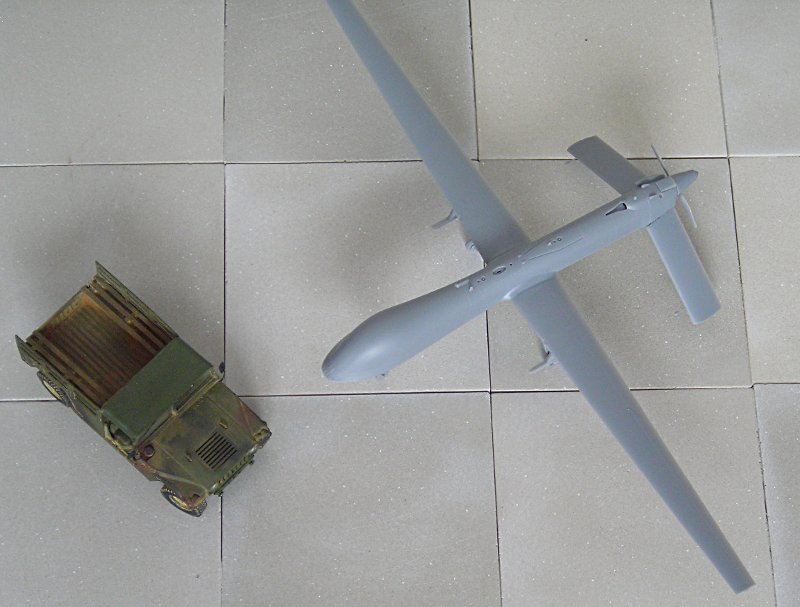
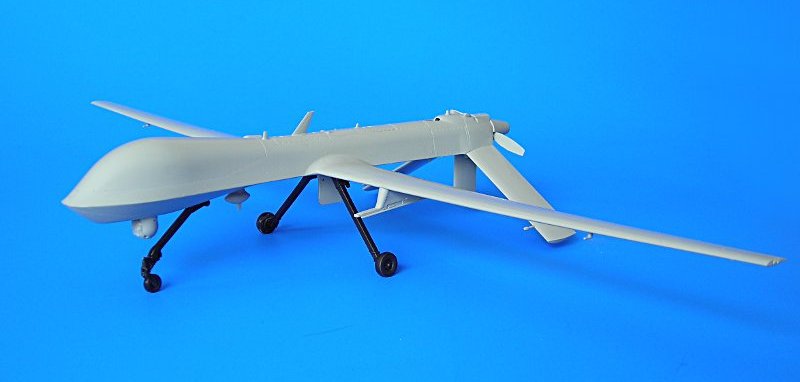
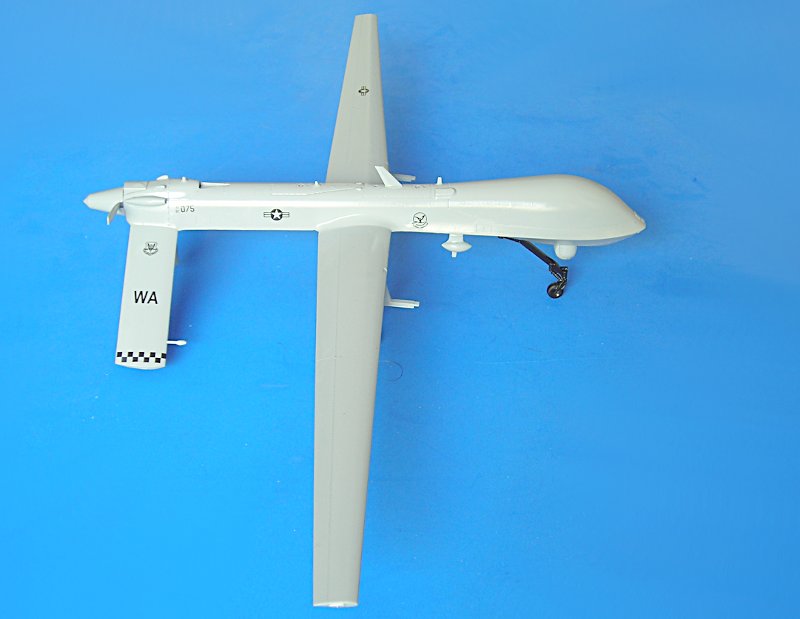
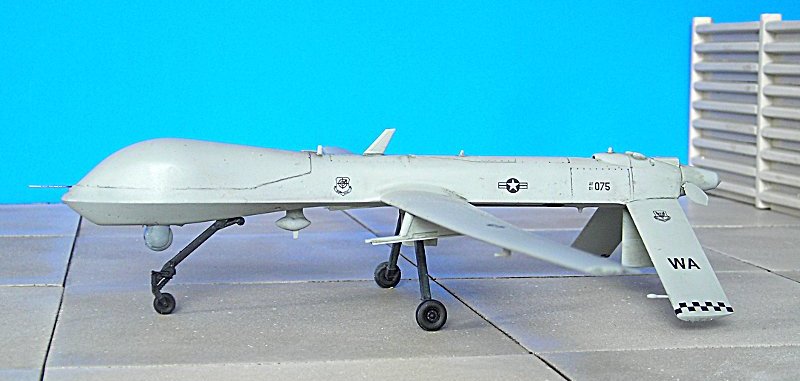
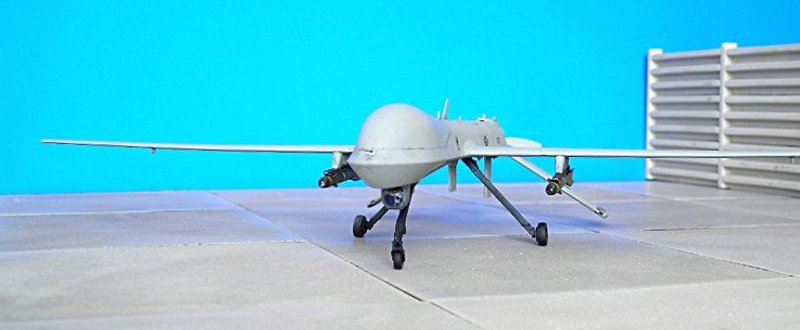
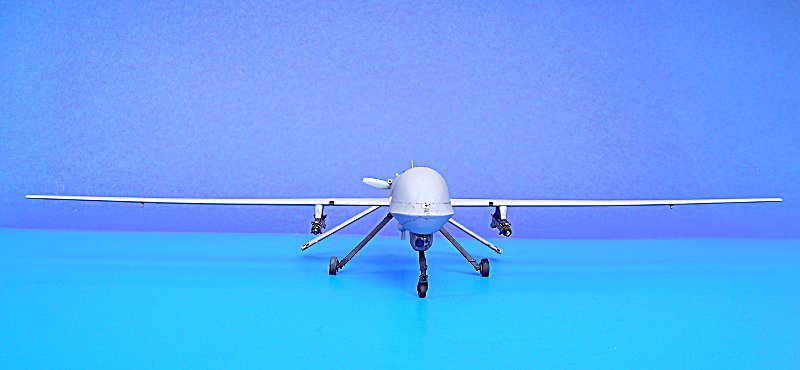
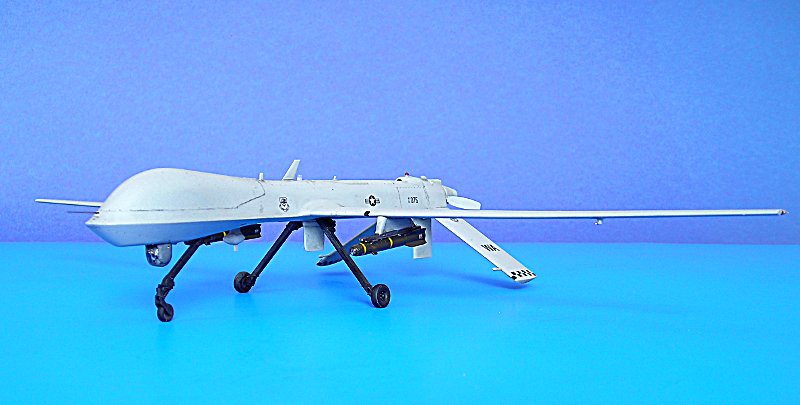
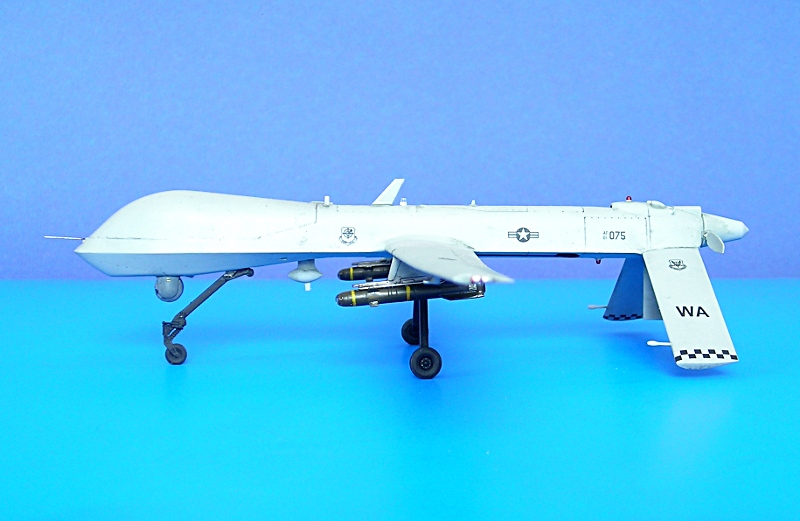
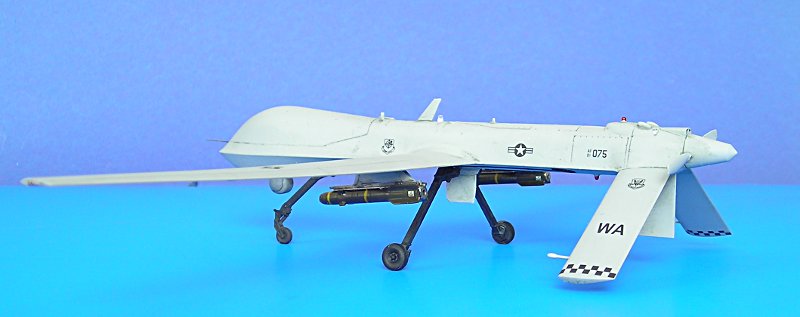
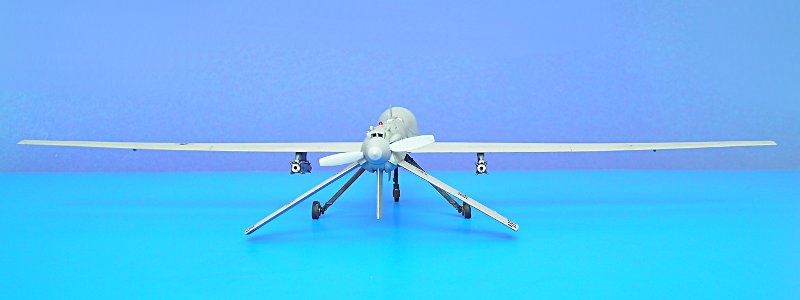
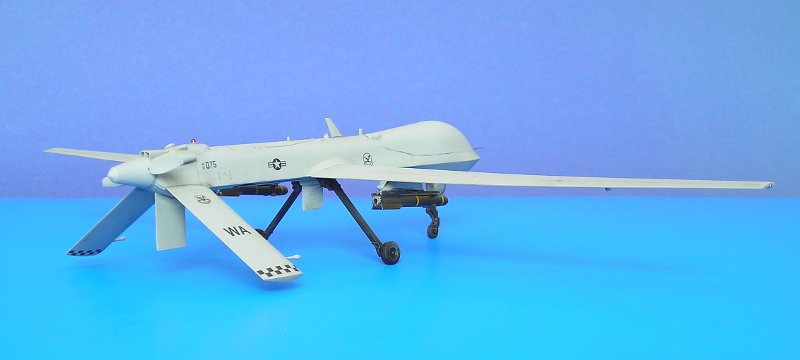
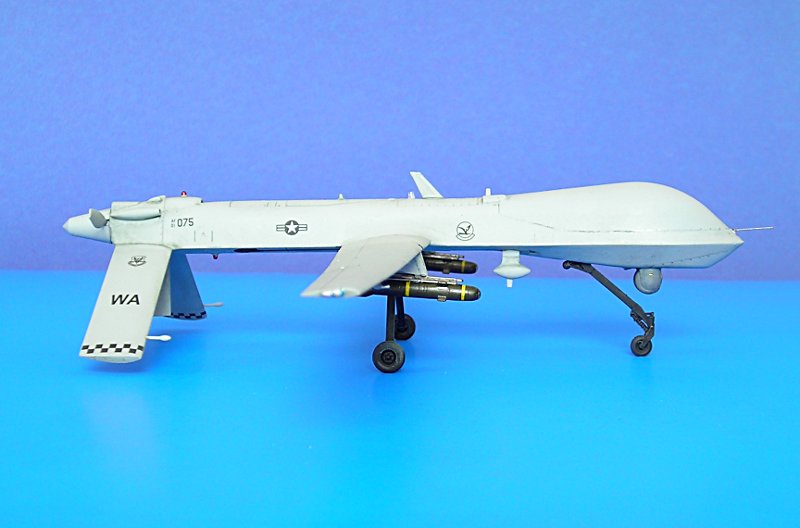
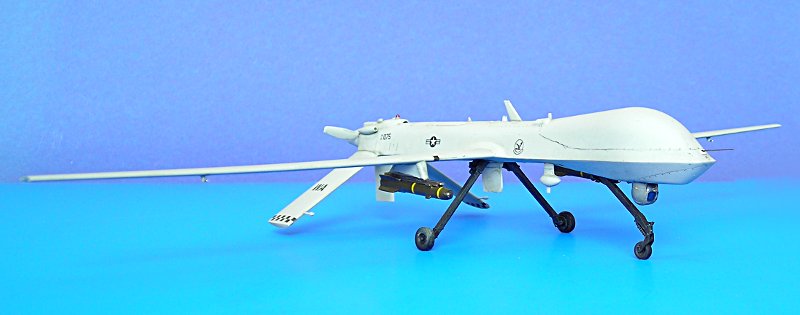
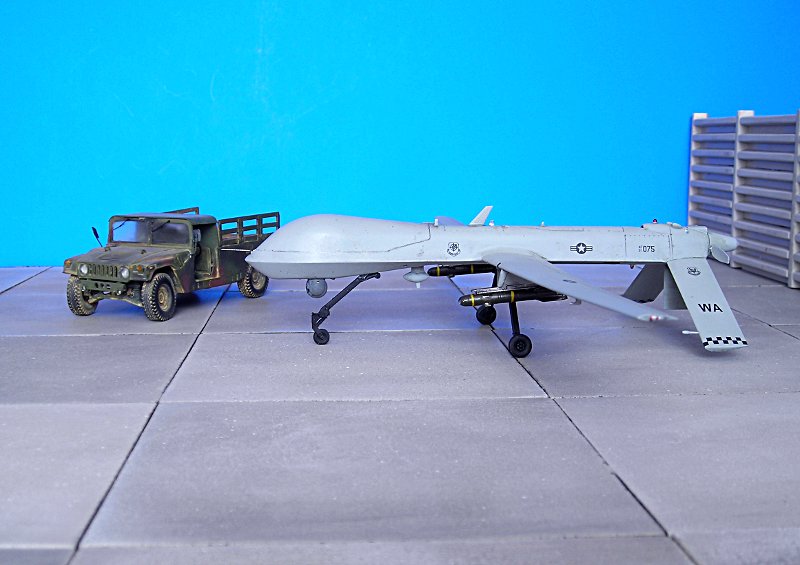
I want to do the MQ-1 armed aircraft. Sadly I have no idea about the original. The kit contains 2 lower halfs for the fuselage. One has a blade antenna between the u/c legs and a different chin bulge. The instructions are not clear in what to use.

Is there any source where I can find some good information (yes I know google is my friend... but I would prefer a more precise hint)

many thanks in advance

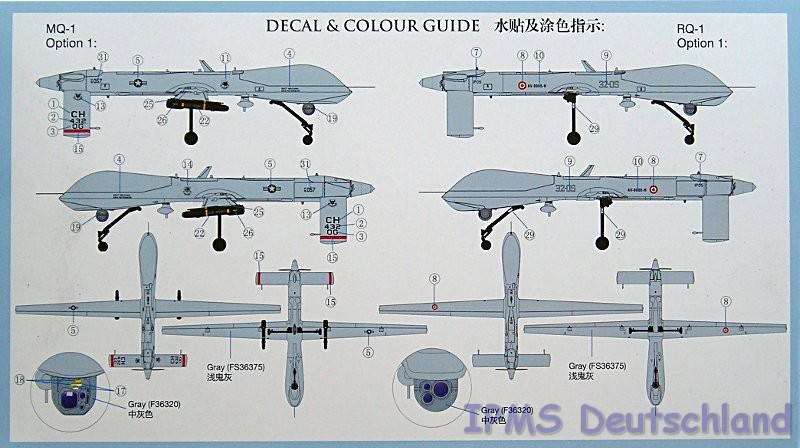
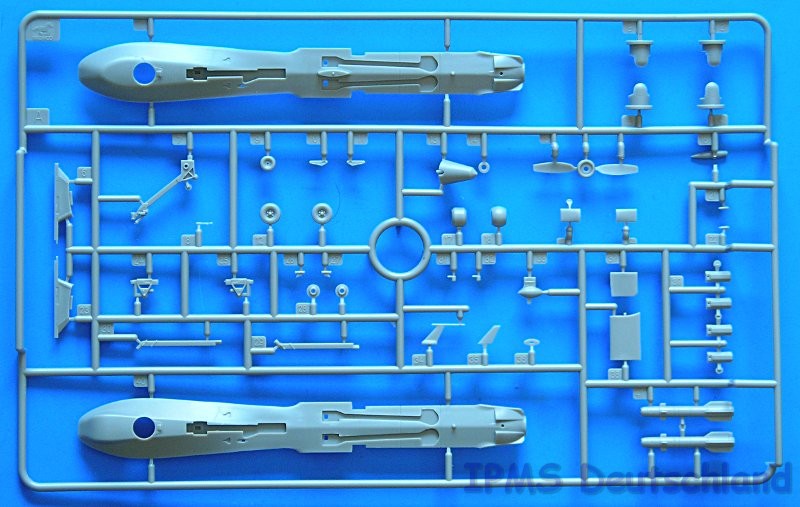
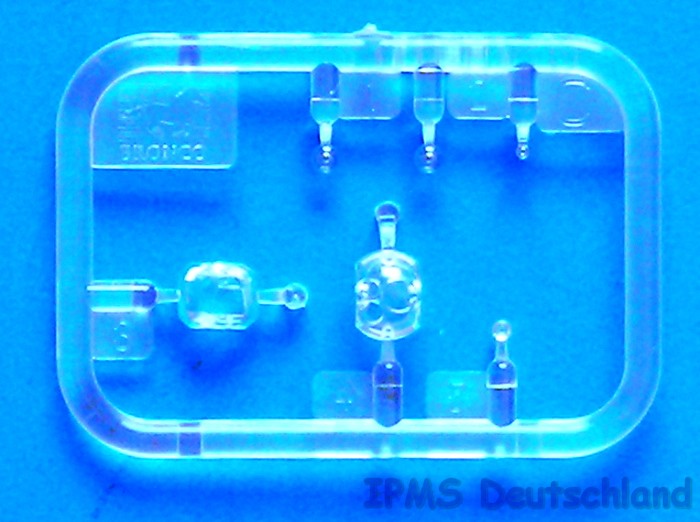
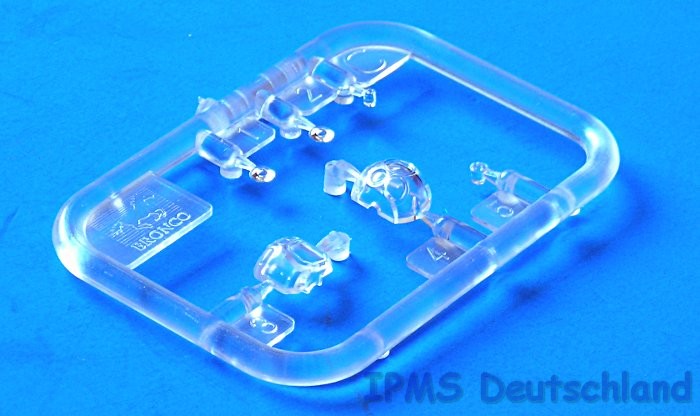
Here are a few shots of the kit contents
forgot the decals. 4 markings options included: 2 RQ(1 US/1 Italy)+ 2 MQ (2 US).

Bro_Predator_cover_01.jpg
Bro_Predator_cover_02.jpg
Bro_Predator_01.jpg
Bro_Predator_02.jpg
Bro_Predator_03.jpg
Bro_Predator_04.jpg


all the best

Steffen
tmeyer
_VISITCOMMUNITY
Colorado, United States
Joined: February 03, 2008
KitMaker: 101 posts
AeroScale: 79 posts
Posted: Monday, January 25, 2010 - 03:14 PM UTC
Hi Steffen,

Here's a web site with a nice underbelly shot of an armed MQ-1 Predator http://www.af.mil/information/factsheets/factsheet_media.asp?fsID=122. It shows (although it's kind of shaded) that additional antenna under the belly near the rear wheels. Looks like that's the lower part you use for an armed aircraft.

Tom
alpha_tango
_VISITCOMMUNITY
Germany
Joined: September 07, 2005
KitMaker: 5,609 posts
AeroScale: 5,231 posts
Posted: Thursday, April 15, 2010 - 05:29 AM UTC
Hi all

well, as I want to just finish this build I asked Rowan to convert this to a build thread. The kit is since a while now in this state:


Today I looked a bit around for some information to finish this. I found a picture of a similar marked machine and chose the antenna accordingly. I have to adjust a few things but I think I can paint it tomorrow.

all the best

Steffen
alpha_tango
_VISITCOMMUNITY
Germany
Joined: September 07, 2005
KitMaker: 5,609 posts
AeroScale: 5,231 posts
Posted: Friday, April 16, 2010 - 02:55 AM UTC
Hi all

I am still trying to free some space in my "In progress"-cabinet, which means I have to finish some older stuff. Today I painted the model. Until then it only had a primer coat on. I used Xtracrylix FS 36375 that I bought for my Raptor. I am still not fully used to this paint and for future projects I will rather rely on the Lifecolor range which is more like the former Gunze stuff....


as you see I also painted the u/c and bays black. I will have to do some touch up before I give it a nice Klear coat.

all the best

Steffen
NickZour
_VISITCOMMUNITY
Attica, Greece / Ελλάδα
Joined: May 01, 2008
KitMaker: 1,437 posts
AeroScale: 1,241 posts
Posted: Friday, April 16, 2010 - 11:42 AM UTC
I think that the cockpit needs some wiring & a pair of seat-belts

Keep going Mr. Steffen, I like it (well, I don't like it )


Cheers Nick
alpha_tango
_VISITCOMMUNITY
Germany
Joined: September 07, 2005
KitMaker: 5,609 posts
AeroScale: 5,231 posts
Posted: Friday, April 16, 2010 - 08:17 PM UTC

Quoted Text

I think that the cockpit needs some wiring & a pair of seat-belts

Keep going Mr. Steffen, I like it (well, I don't like it )


Cheers Nick


Cheers Nick

yes I thought about scratchbuilding a cockpit, but it would destroy the "Alien"-like bow of the machine

May I ask you what this "Mr. Steffen" thing means? .. I am not a GSI product ...

all the best

Steffen
alpha_tango
_VISITCOMMUNITY
Germany
Joined: September 07, 2005
KitMaker: 5,609 posts
AeroScale: 5,231 posts
Posted: Friday, April 16, 2010 - 10:59 PM UTC
The few decals included in the kit are on


This was fun ... yesterday evening I placed around 20 small decals on my JF-17 and that was only a fraction of what is left to do

this model will get anothe Klear layer and then some washing to accentuate the panel lines tomorrow (maybe) ... BTW I already broke the prop 3 or 4 times.

all the best

Steffen
NickZour
_VISITCOMMUNITY
Attica, Greece / Ελλάδα
Joined: May 01, 2008
KitMaker: 1,437 posts
AeroScale: 1,241 posts
Posted: Friday, April 16, 2010 - 11:45 PM UTC
Mr. Is for respect to an older than me, I'm 14 years old


Cheers Nick
alpha_tango
_VISITCOMMUNITY
Germany
Joined: September 07, 2005
KitMaker: 5,609 posts
AeroScale: 5,231 posts
Posted: Friday, April 16, 2010 - 11:57 PM UTC
Hi Nick

Wow, too much of an honor. There is really no need to do such thing .. even if I am a bit older (from the outside)

thanks for watching!

all the best

Steffen
alpha_tango
_VISITCOMMUNITY
Germany
Joined: September 07, 2005
KitMaker: 5,609 posts
AeroScale: 5,231 posts
Posted: Sunday, April 18, 2010 - 05:55 AM UTC
getting there


washes and flat coat are on. I attached the pitot on the bow and demasked the optics dome. Still need to attach a few decals there.... and on the Hellfires

all the best

Steffen
alpha_tango
_VISITCOMMUNITY
Germany
Joined: September 07, 2005
KitMaker: 5,609 posts
AeroScale: 5,231 posts
Posted: Monday, April 19, 2010 - 08:41 PM UTC
Hi all

just a few position lights and this thing is done:


When working on the photo I niticed there is something wrong with one of the rockets. It sits slightly offset on the rail. Hopefully not too hard to correct (I used Gator's glue for attaching these)

all the best

Steffen
alpha_tango
_VISITCOMMUNITY
Germany
Joined: September 07, 2005
KitMaker: 5,609 posts
AeroScale: 5,231 posts
Posted: Monday, April 19, 2010 - 10:55 PM UTC
Hi again

well, there really is very few interest in drones (as mentioned yesterday in Rowand RQ-4 thread) .... so it is good to have this one finished. It can now rip back in the display cabinet ...


It is really a quick project if you know the real thing or do not care. Bronco provides quite a few option that you have to decide about. All in all fun, but a little better instructions would have been nice...

all the best

Steffen
 _GOTOTOP