_GOTOBOTTOM
Early Aviation
Discuss World War I and the early years of aviation thru 1934.
REVIEW Eduard1:48 Albatros D.II
JackFlash
_VISITCOMMUNITY
Colorado, United States
Joined: January 25, 2004
KitMaker: 11,669 posts
AeroScale: 11,011 posts
Posted: Tuesday, February 05, 2008 - 03:10 PM UTC
Originally posted on Tuesday, February 05, 2008 - 07:10 PM GMT and titled Tested in Combat. . .


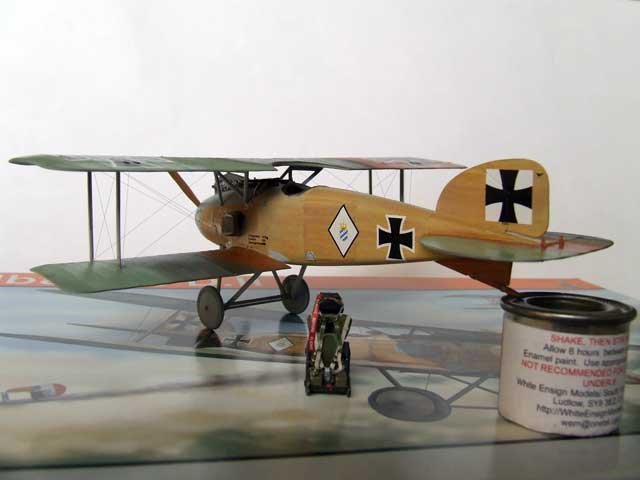
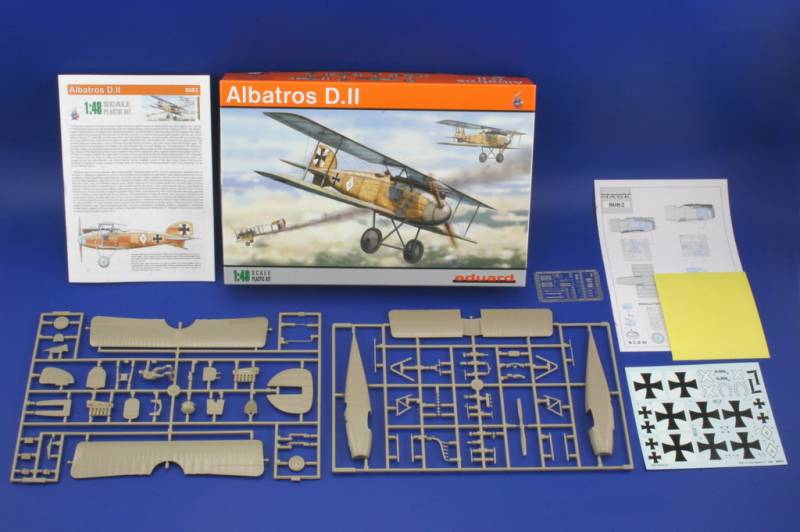
Also as promised the reissued Eduard Albatros D.II as kit # 8082 is looked at. Also some images of a build from Srecko Bradic, a Serbian modeler were graciously offered to be included. It is a good basic kit that has a large overall appeal especially with the release of the Osprey book, "Aircraft of the Aces #77- Albatros Aces of WWI part 2" by Greg VanWyngarden (Also reviewed here at Aeroscale)

Link to kit review Item

If you have comments or questions please post them here.

Thanks!
JackFlash
_VISITCOMMUNITY
Colorado, United States
Joined: January 25, 2004
KitMaker: 11,669 posts
AeroScale: 11,011 posts
Posted: Tuesday, August 17, 2010 - 06:59 PM UTC
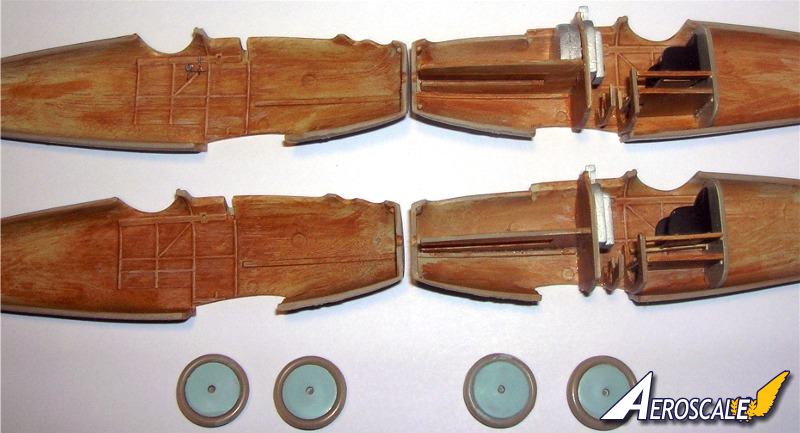
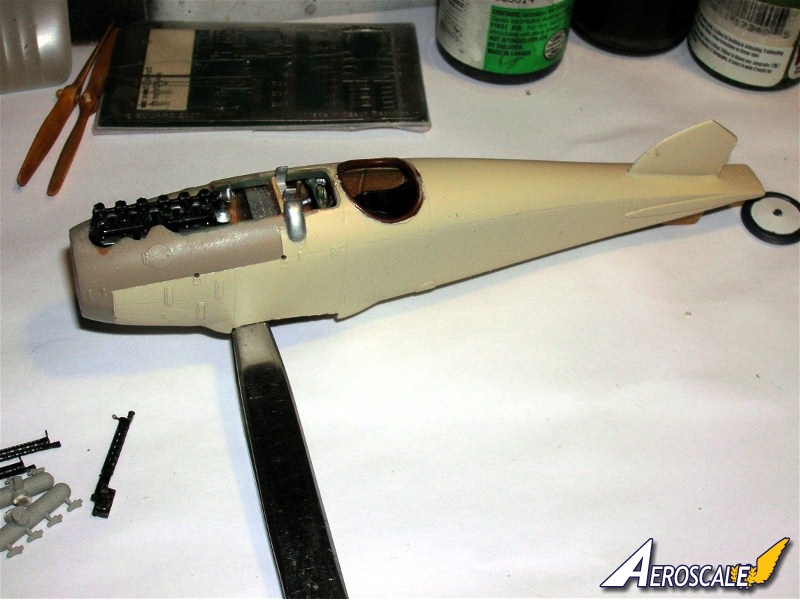
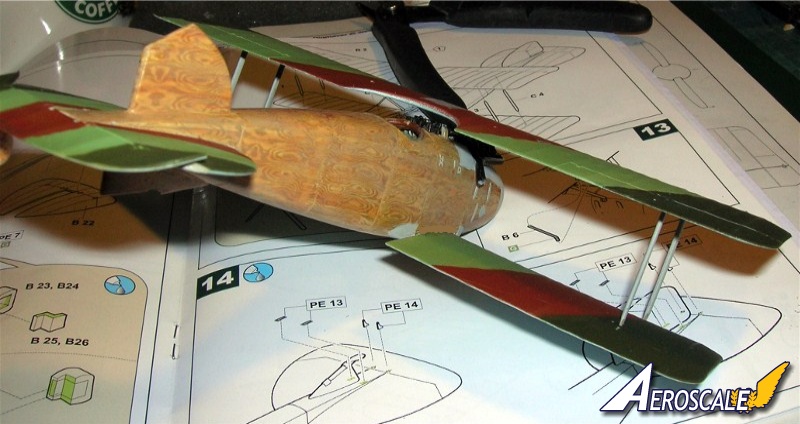
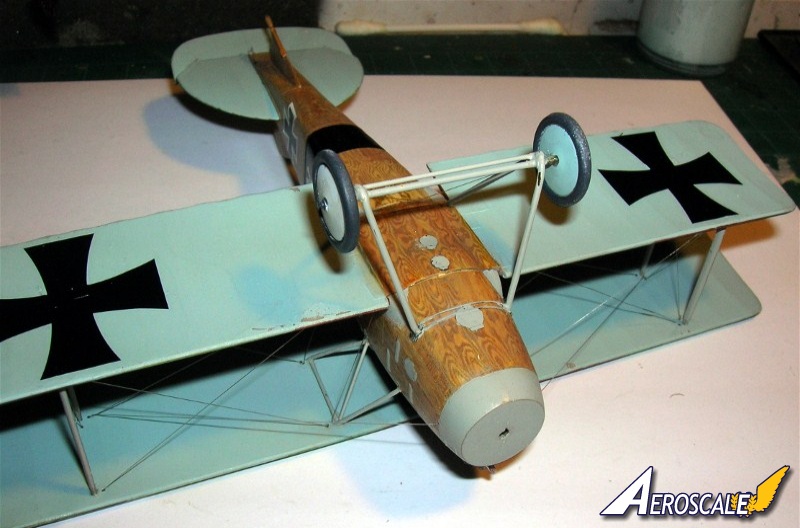
A bit of fun on the subject. First a bit of simulated wood colour.

JackFlash
_VISITCOMMUNITY
Colorado, United States
Joined: January 25, 2004
KitMaker: 11,669 posts
AeroScale: 11,011 posts
Posted: Tuesday, August 17, 2010 - 07:01 PM UTC
Note I went back and dry brushed a bit of lighter colour on the raised portions of the simulated wood.


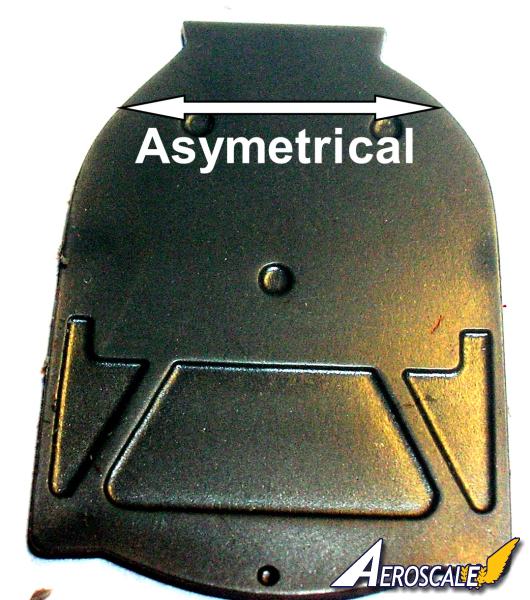
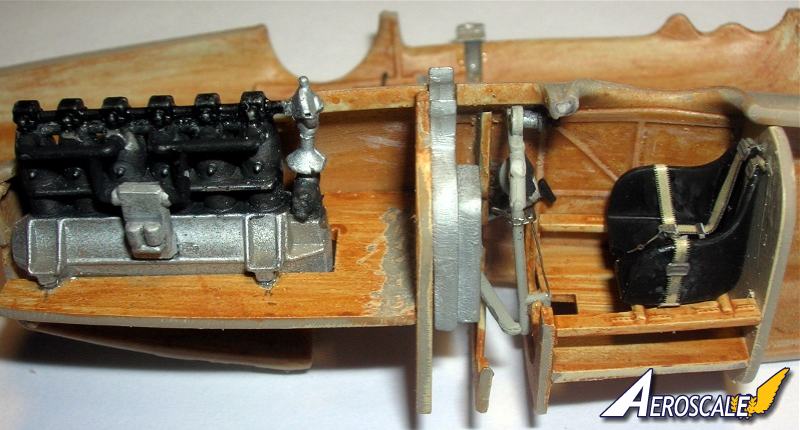
The forward cokpit bulkhead / former is asymeterical in shape. This is the bare plastic item in a high contrast resolution.


JackFlash
_VISITCOMMUNITY
Colorado, United States
Joined: January 25, 2004
KitMaker: 11,669 posts
AeroScale: 11,011 posts
Posted: Tuesday, August 17, 2010 - 07:02 PM UTC
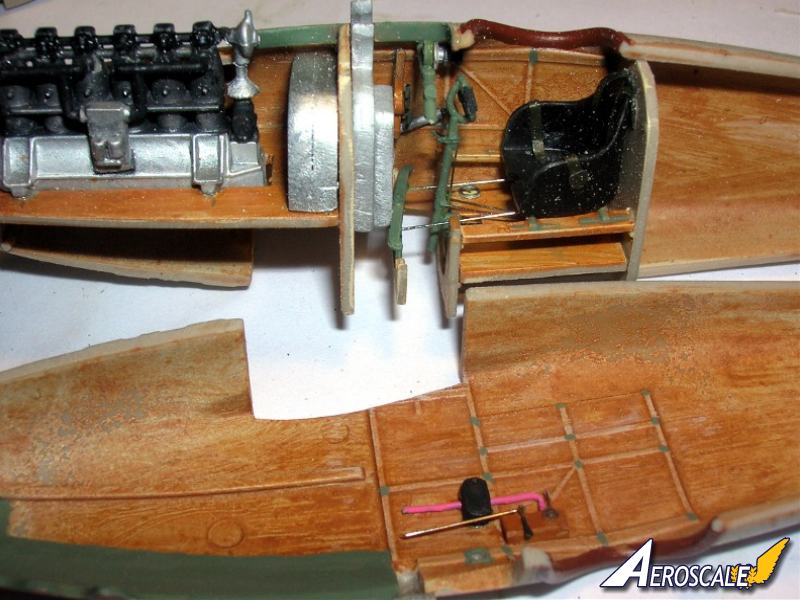
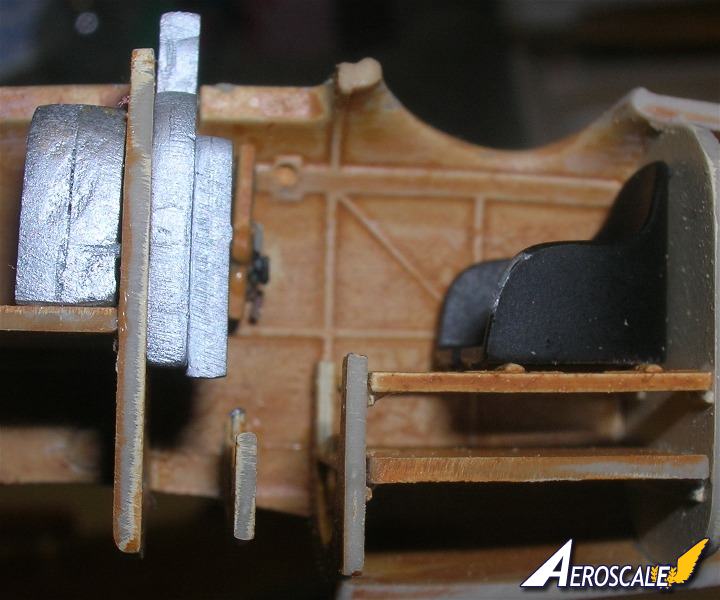
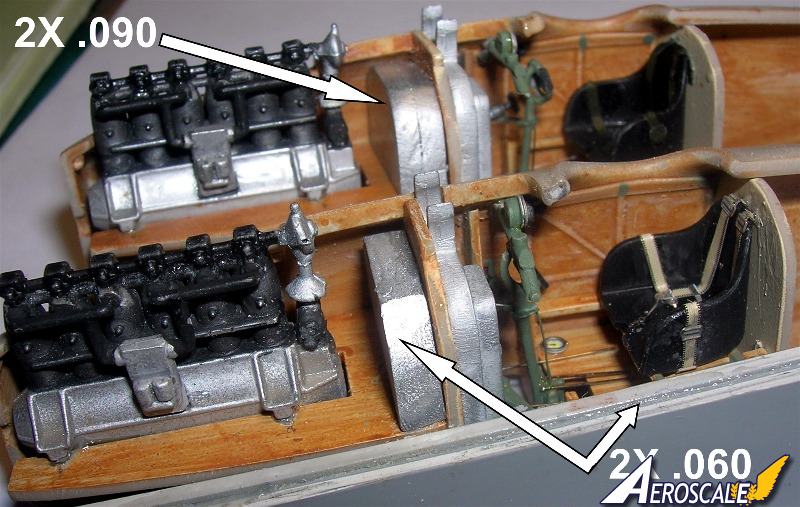
Here I have added the faux fuel cell in using two pices of laminated sheet plastic. Then carve to shape. Note the laminate 2 X 0 .60 at the bottom of the image.


JackFlash
_VISITCOMMUNITY
Colorado, United States
Joined: January 25, 2004
KitMaker: 11,669 posts
AeroScale: 11,011 posts
Posted: Tuesday, August 17, 2010 - 07:03 PM UTC
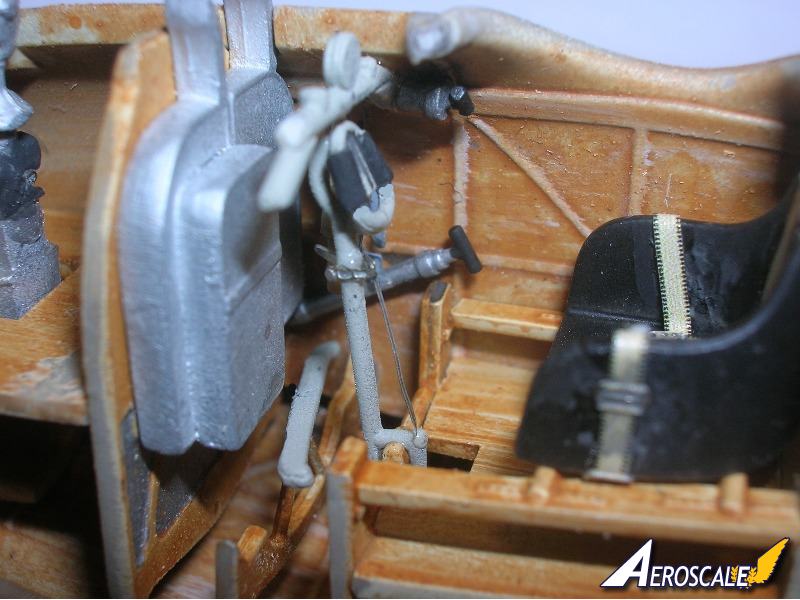
Here is one with some PE bits. Note I have painted the metal work of one kit grey (8081) and the others (Gavia D.I & Eduard D.II 8082) grey-green.


JackFlash
_VISITCOMMUNITY
Colorado, United States
Joined: January 25, 2004
KitMaker: 11,669 posts
AeroScale: 11,011 posts
Posted: Tuesday, August 17, 2010 - 07:22 PM UTC
Here is the Black dog Detail set.
thegirl
_VISITCOMMUNITY
Alberta, Canada
Joined: January 19, 2008
KitMaker: 6,743 posts
AeroScale: 6,151 posts
Posted: Wednesday, August 18, 2010 - 05:08 AM UTC
Coming along very well Stephen . I like how you painted the cut outs in the forward bulkhead alum to represent the tank on the other side .
thegirl
_VISITCOMMUNITY
Alberta, Canada
Joined: January 19, 2008
KitMaker: 6,743 posts
AeroScale: 6,151 posts
Posted: Wednesday, August 18, 2010 - 05:10 AM UTC

Quoted Text

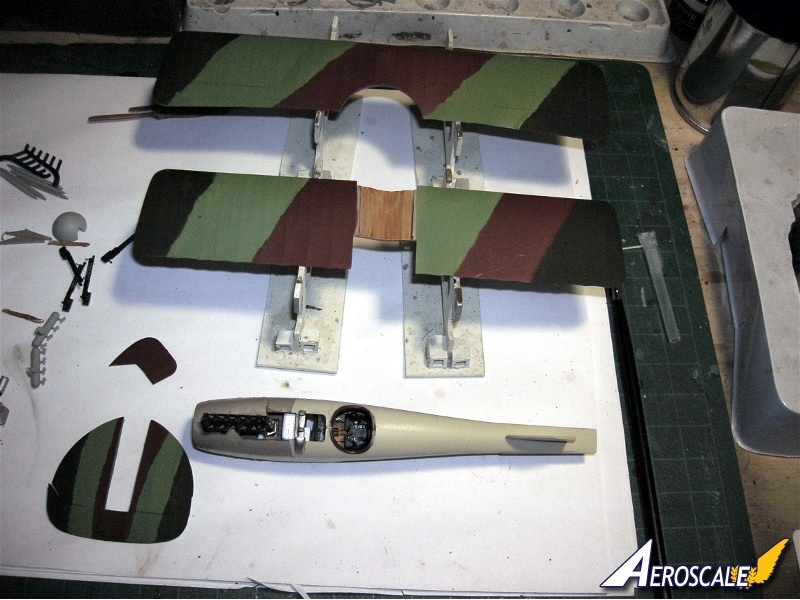
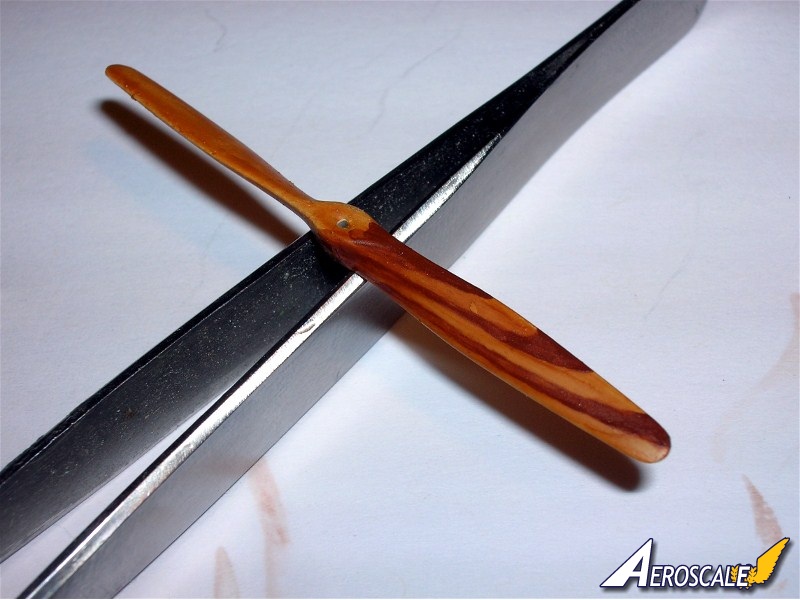
Adding simulated wood to the lower wing bridge. Note the propellers in both images. The colour in the lower image was instensified by computer as an experiment. The upper image is truth on my monitor.


Interesting .
JackFlash
_VISITCOMMUNITY
Colorado, United States
Joined: January 25, 2004
KitMaker: 11,669 posts
AeroScale: 11,011 posts
Posted: Saturday, August 20, 2011 - 03:39 PM UTC


JackFlash
_VISITCOMMUNITY
Colorado, United States
Joined: January 25, 2004
KitMaker: 11,669 posts
AeroScale: 11,011 posts
Posted: Wednesday, August 24, 2011 - 09:09 AM UTC


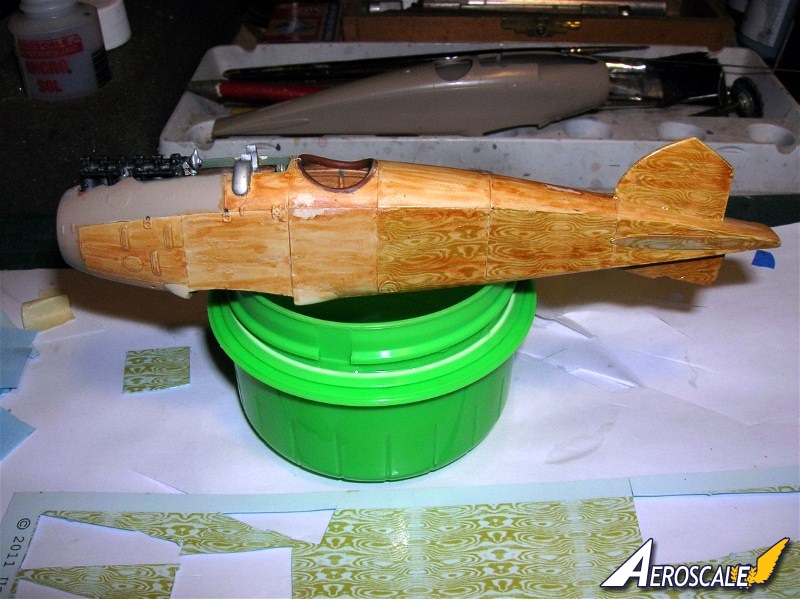
Of course this build was used in the recent review on the "Uschi" brand wood grain decals.

Click here.
JackFlash
_VISITCOMMUNITY
Colorado, United States
Joined: January 25, 2004
KitMaker: 11,669 posts
AeroScale: 11,011 posts
Posted: Wednesday, August 24, 2011 - 05:48 PM UTC
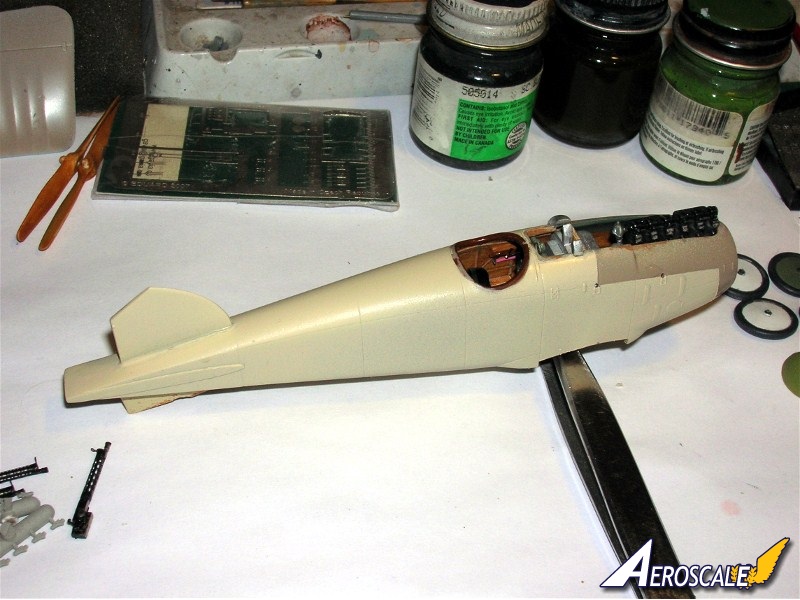
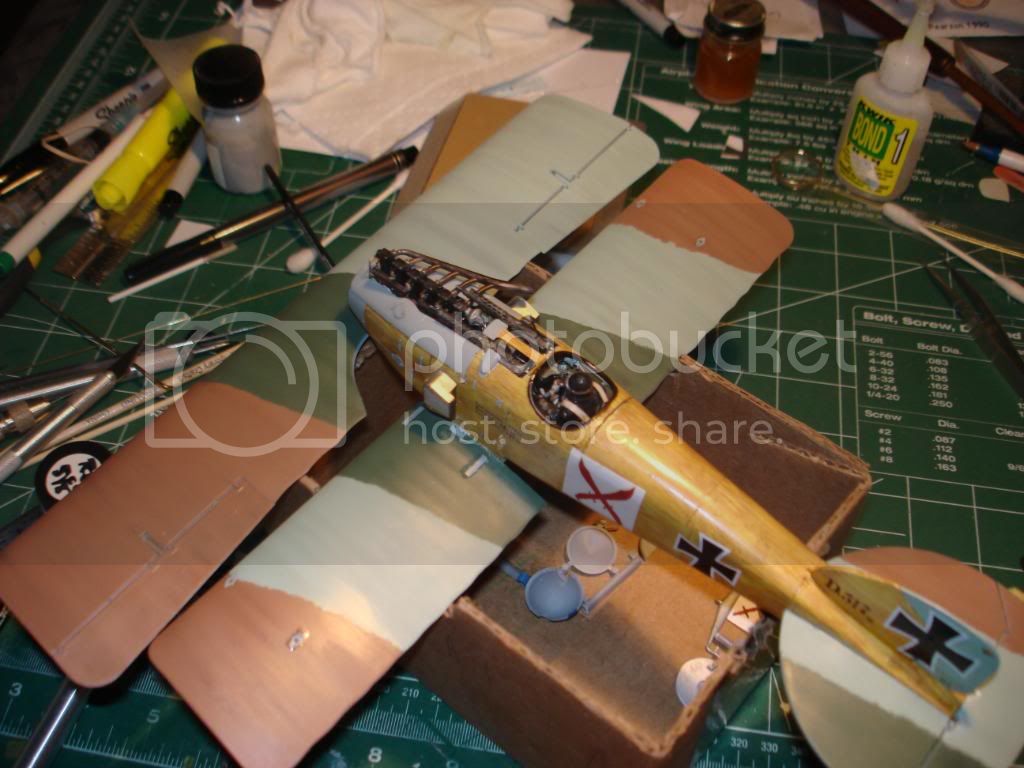
Almost covered. Then and over spray. so far there is about 6 hours into the fuselage grain decals application.


JackFlash
_VISITCOMMUNITY
Colorado, United States
Joined: January 25, 2004
KitMaker: 11,669 posts
AeroScale: 11,011 posts
Posted: Monday, October 03, 2011 - 02:40 PM UTC
Greetings all;

I have been drilling out some pilot holes for the rigging and next the guns, their details, radiator and the header tank on top of the cylinders. I will usually do the rigging between the wings first. Next I will add the tail control cables and finally add the landing gear with its stay wires. Then the laminates in the propeller.

JackFlash
_VISITCOMMUNITY
Colorado, United States
Joined: January 25, 2004
KitMaker: 11,669 posts
AeroScale: 11,011 posts
Posted: Sunday, October 09, 2011 - 03:23 PM UTC
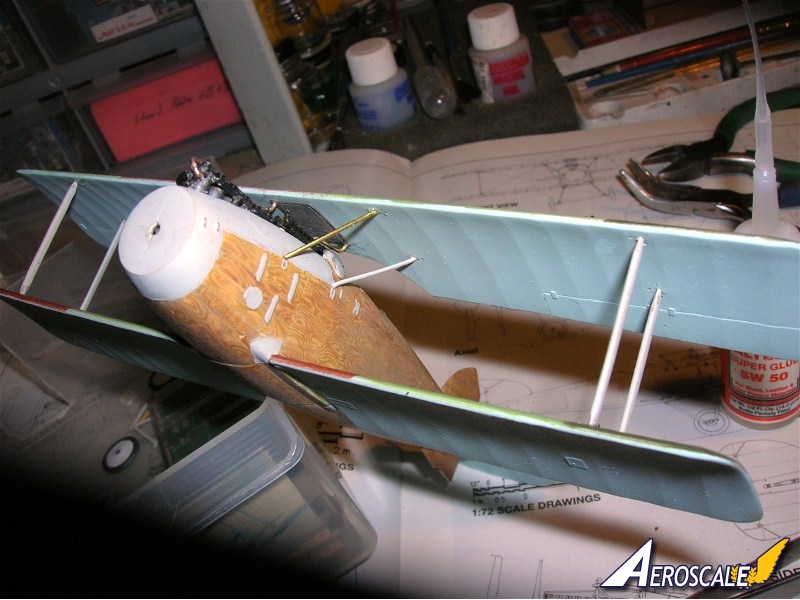
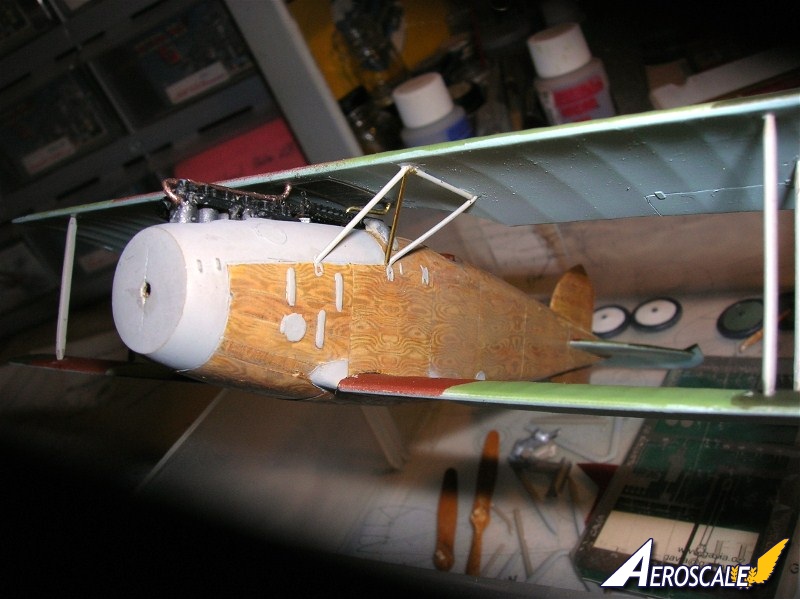
I'll post some images here later tonight but lets talk about detailing the Eduard D.II. Adding the pair of "N" cabane struts is not too difficult. The plastic Eduard cabane struts are a bit thick and I will replace them with brass rod. My best source on this is the Albatros Ltd. Datafile #100 on the Alb. D.I - II.

My choice here for the D.II is representative of one of the late production machines with the water header tank & radiator in the top wing. The water plumbing leads from the top wing inset radiator to the front and rear of the motor.

Attach the Spandau Maxim guns now. These should be thoroughly set before you continue.

If you are building the early version of the D.II note that placing the ear radiators that the upper cowling edges left and right are slighly off. the pilot's left being marginally higher than the right. so to match them so they look even from the front view you will need to use a small straightedge held across the front face of the cowling ring.

If you are doing the late version as I am here note that the water plumbing on some versions of the D.II do not attach to the same areas as the D.III types. On some the rear water tube / pipe attaches to the rear edge on the pilot's left. The front water tube / pipe attaches to the front edge on the pilot's right. The Datafile 100 plan drawings have omitted this rear attachment in their profile drawing.
JackFlash
_VISITCOMMUNITY
Colorado, United States
Joined: January 25, 2004
KitMaker: 11,669 posts
AeroScale: 11,011 posts
Posted: Tuesday, October 11, 2011 - 07:26 PM UTC


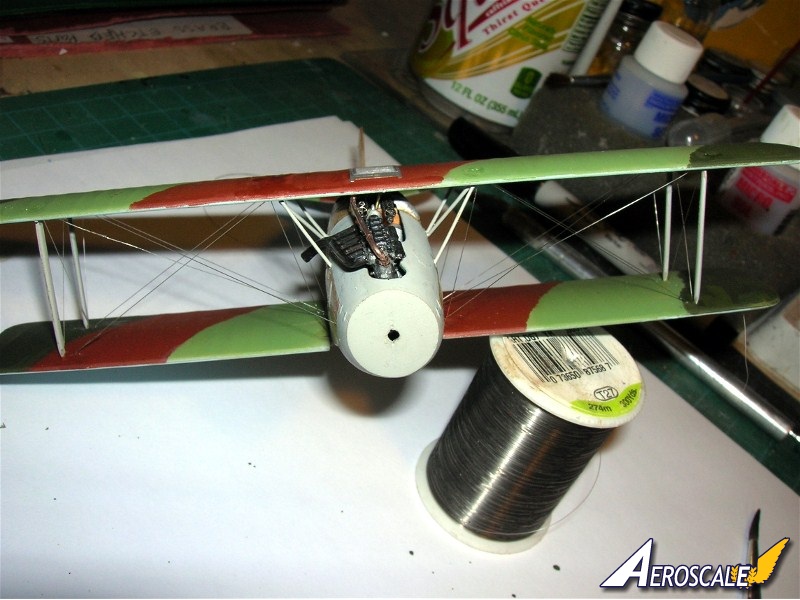
Here the top wing is in place but I and still have to finish scratch building the "N" Cabane struts.
JackFlash
_VISITCOMMUNITY
Colorado, United States
Joined: January 25, 2004
KitMaker: 11,669 posts
AeroScale: 11,011 posts
Posted: Wednesday, October 12, 2011 - 07:10 PM UTC


Here I use Red tipped "STRUTZ" from Aeroclub in scratch building the "N" Cabane struts.


JackFlash
_VISITCOMMUNITY
Colorado, United States
Joined: January 25, 2004
KitMaker: 11,669 posts
AeroScale: 11,011 posts
Posted: Sunday, October 16, 2011 - 05:32 PM UTC
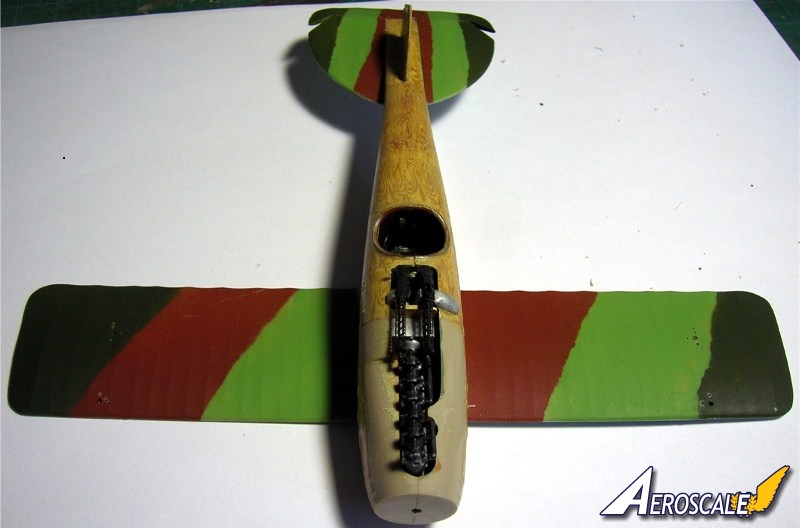
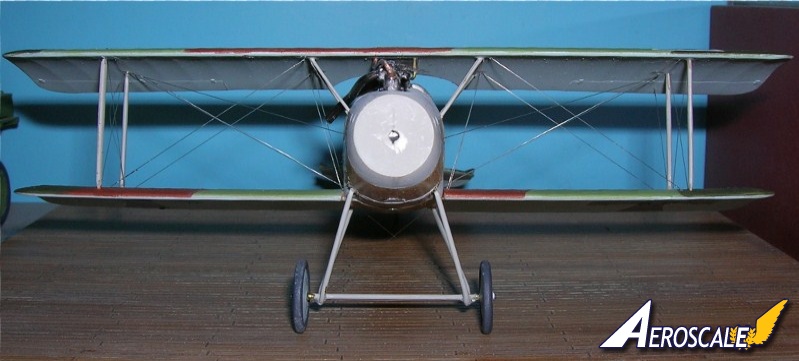
Rigging between the wings is done. Next the tail, landing gear propeller and spinner. And in between these will be the decals and some touch up.
JackFlash
_VISITCOMMUNITY
Colorado, United States
Joined: January 25, 2004
KitMaker: 11,669 posts
AeroScale: 11,011 posts
Posted: Thursday, October 20, 2011 - 05:08 PM UTC
Now here is a bit of history for you. The remaining Alb. D.I & all of the Alb. D.II airframes were built side by side on the factory floor because the up grades to the D.II were developed from the first frontline experiences of the very first Alb. D.I aircraft. From the factory the fuselage and rudder crosses were not the same size. They all were on the white fields.


From the factory the fuselage cross was slightly smaller in size than the rudder cross. This became the standard proportion through out the D.I - Va productions.


In the field it was not usual, but not totally uncommon to see both fuselage and rudder cross altered to match the other due to a damaged rudder or orders from Idflieg that changed the cross fields to borders.


JackFlash
_VISITCOMMUNITY
Colorado, United States
Joined: January 25, 2004
KitMaker: 11,669 posts
AeroScale: 11,011 posts
Posted: Saturday, October 22, 2011 - 10:25 PM UTC
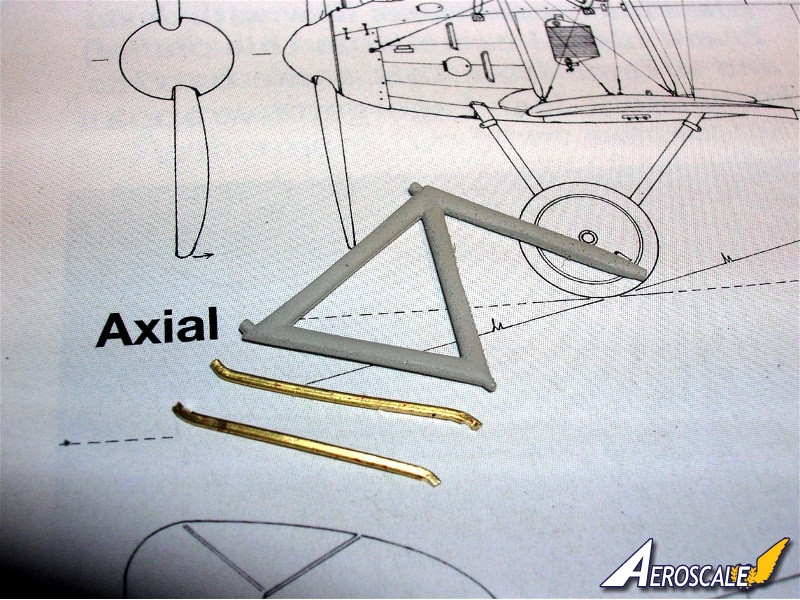
Here I scratch build the undercarriage from brass rod.


lcarroll
_VISITCOMMUNITY
Alberta, Canada
Joined: July 26, 2010
KitMaker: 1,032 posts
AeroScale: 1,025 posts
Posted: Sunday, October 23, 2011 - 02:42 AM UTC
Question, Stephen,
Scratch building with brass rod; which portions of the undercarriage are done with brass and do you use solder or CA or some other joining technique? The undercarriage seems to be the weak link in most WWI kits; metal would certainly fix that situation and retain the scale dimensions.
Nice work and pretty to look at for sure.
Cheers,
Lance
JackFlash
_VISITCOMMUNITY
Colorado, United States
Joined: January 25, 2004
KitMaker: 11,669 posts
AeroScale: 11,011 posts
Posted: Sunday, October 23, 2011 - 08:02 AM UTC

Quoted Text

Question, Stephen,
Scratch building with brass rod; which portions of the undercarriage are done with brass and do you use solder or CA or some other joining technique? The undercarriage seems to be the weak link in most WWI kits; metal would certainly fix that situation and retain the scale dimensions.
Nice work and pretty to look at for sure.
Cheers,
Lance


Greetings Lance,

I started replacing most 1:48 kit landing gear parts with brass rod or extruded brass many years ago. With the Eduard Albatros kits you can go to my past Feature here at Aeroscale and see the differences it makes. Wish I had done it to all of them. Both the Gavia & Eduard 1:48 Alb. D.I & D.II kits I have worked on here use this technique.

The whole undercarriage is replaced with brass. Vee-strut legs, stabilizer behind the axle and the axle. I include my technique in most of the kit reviews on my site and have mentioned it a few times here in my reviews. I use Cyano & when sitting at the right angle I add some Zip kicker accelerant. When the whole affari is solid I tightly wrap the axle and the undercarriage in upholstery thread and use a small drop of Cyano to permantently bond the threads. Tremendouly strong. I'll include some shots in my next post.
lcarroll
_VISITCOMMUNITY
Alberta, Canada
Joined: July 26, 2010
KitMaker: 1,032 posts
AeroScale: 1,025 posts
Posted: Sunday, October 23, 2011 - 11:30 AM UTC
Stephen,
Thanks for the reply, sounds like it's doable given there's no real metal work (soldering) involved. I'll look forward to the photos on your next project & Thanks much.

Cheers,
Lance
JackFlash
_VISITCOMMUNITY
Colorado, United States
Joined: January 25, 2004
KitMaker: 11,669 posts
AeroScale: 11,011 posts
Posted: Monday, October 24, 2011 - 06:06 PM UTC
Now, lets discuss the German "Death's Head".

"Use of the symbol as a military insignia began with the cavalry of the Prussian army under Frederick the Great. Frederick formed Husaren-Regiment Nr. 5 (von Rüsch), a Hussar regiment commanded by Colonel von Rüsch. These Hussars adopted a black uniform with a Totenkopf emblazoned on the front of their mirlitons and wore it on the field in the War of Austrian Succession and in the Seven Years' War.

In 1808, when the regiment was reformed into Leib-Husaren Regiments Nr.1 and Nr.2, the Totenkopf remained a part of the uniform. During the Napoleonic Wars, when Frederick William, Duke of Brunswick-Wolfenbüttel, was killed in battle, his troops changed the colour of their uniforms to black, with a Totenkopf on their shakos in mourning their dead leader (Other sources claim that the "Black Brunswickers" were so equipped while Friedrich Wilhelm of Brunswick lived, as a sign of revenge on the French.

The "death's head" continued to be used throughout the Prussian and Brunswick Armed forces until 1918, and some of the stormtroopers that led the last German offensives on the Western Front in 1918 used Death's Head badges . . ."

It is applicable to my builds here as Both the Gavia Alb. D.I kit and the Eduard Alb. D.II offer profiles with the "Deaths head". I chose to build these kits with these profiles.
JackFlash
_VISITCOMMUNITY
Colorado, United States
Joined: January 25, 2004
KitMaker: 11,669 posts
AeroScale: 11,011 posts
Posted: Wednesday, October 26, 2011 - 05:17 AM UTC
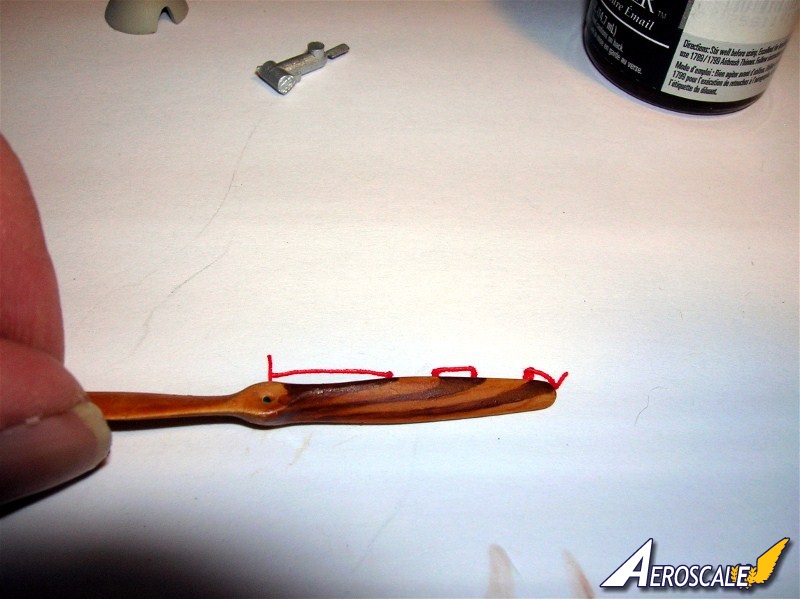
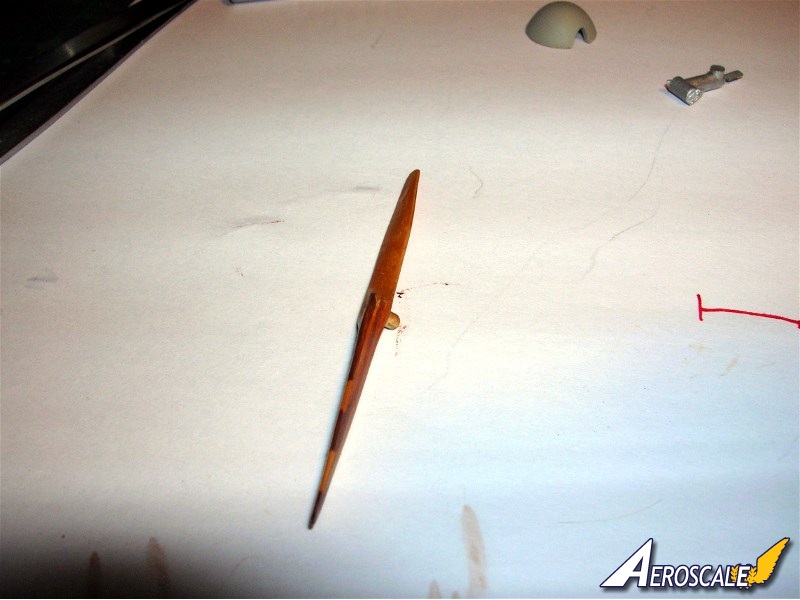
Here Is a quick set of images to show the basic colour applications to the propeller. There is more you need to do but this shows the start,


JackFlash
_VISITCOMMUNITY
Colorado, United States
Joined: January 25, 2004
KitMaker: 11,669 posts
AeroScale: 11,011 posts
Posted: Wednesday, October 26, 2011 - 05:34 AM UTC
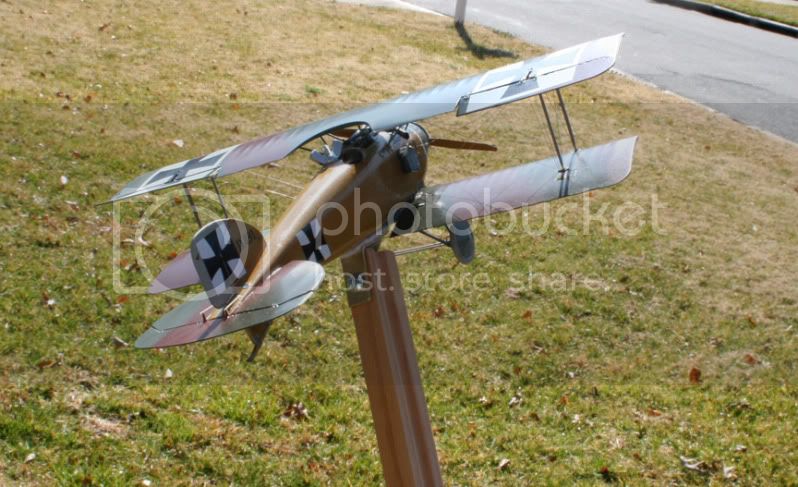
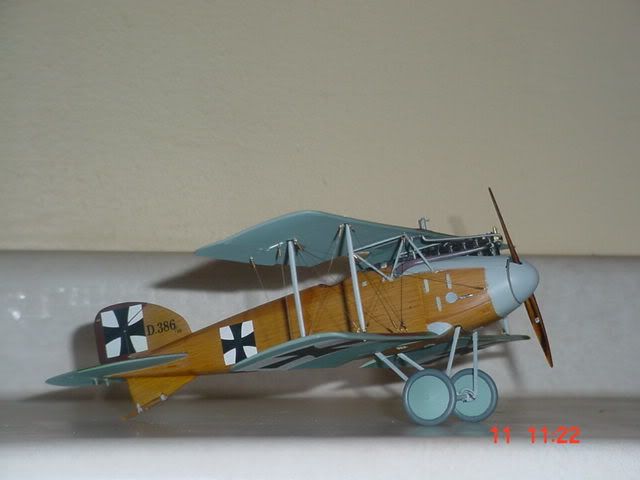
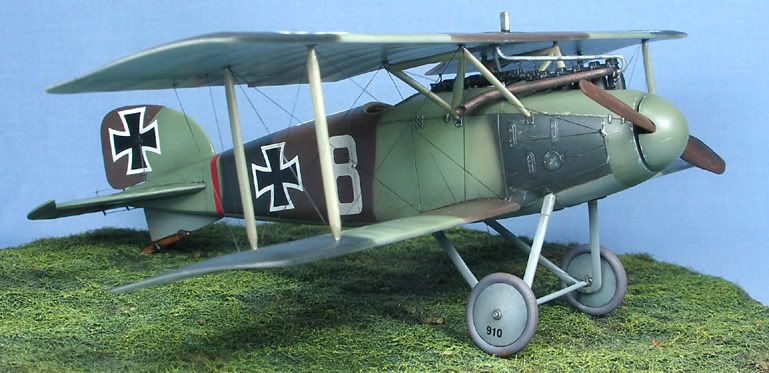
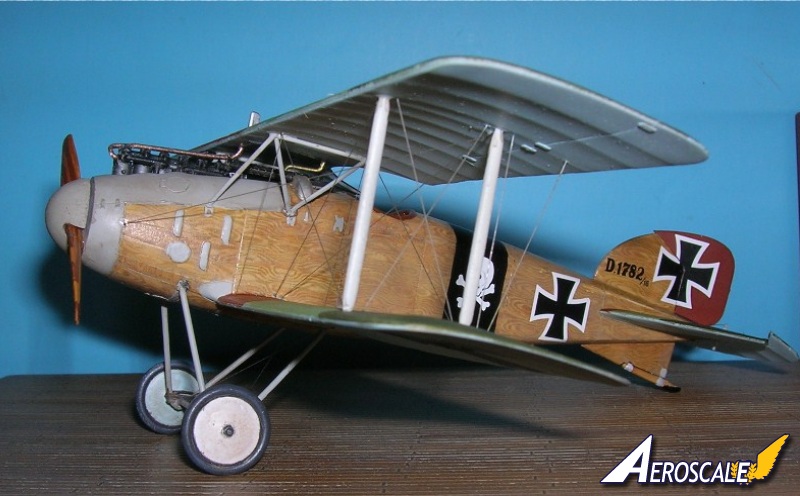
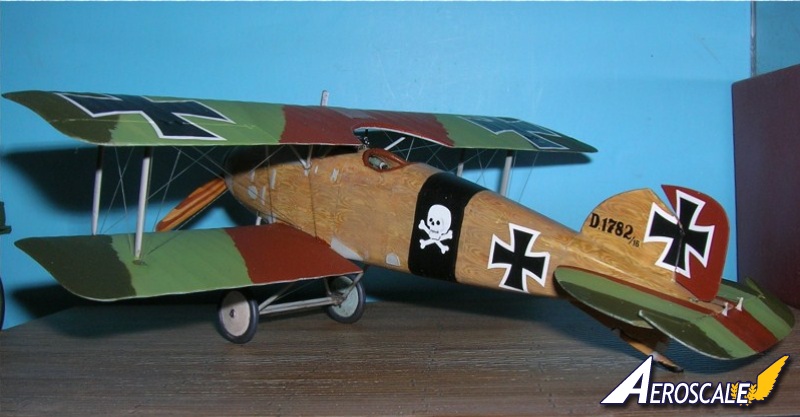
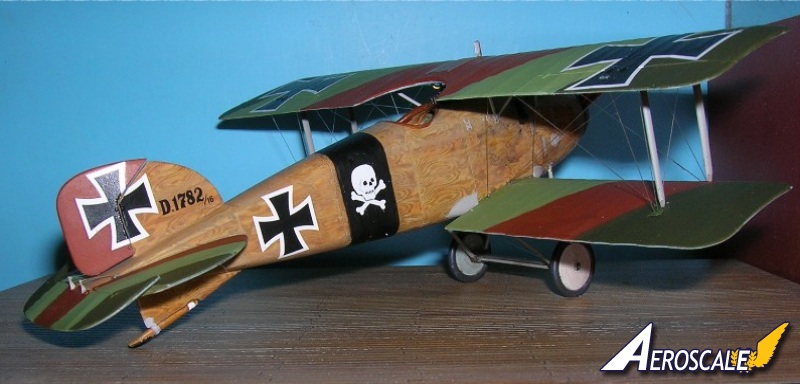
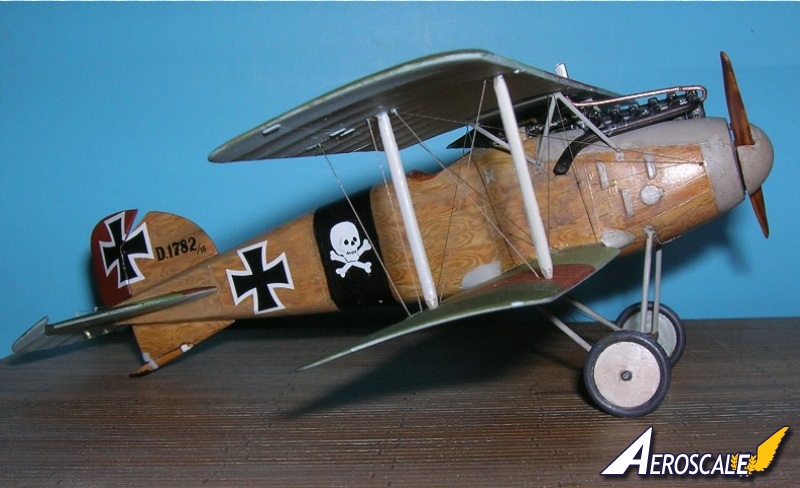
Here it is folks the Alb. D.II 1782/16 profile "A" from the Eduard kit #8081. Eduard says it is from Sept 1916. But that is when this series (1700/16 -1799/16) was ordered by contract.

This machine was used by Vzfw. (Vizefeldwebel = acting sergeant) Otto Gerbig after he came from Jasta 4 to Jasta 14 on 11 February 1917. He transferred out on15 August 1917 going to Jasta 18. So you can see he could not have flown this machine in Jasta 14 in Sept 1916.


The fuselage band that was part of the kit's profile for this machine was not provided. I did use another band from an Eduard Alb. D.III "Profipack" as a pattern for the needed band cut from a sheet of black decal film.


It is possible that the machine carried the Totenkopf (similar to 17th Brunswick Hussars) insignia before Gerbig was assigned to fly it some time after 11 February 1917.

Eduard says also that the band serving as the background for theTotenkopf was red. I believe it was black in keeping with the Brunswick regimental colours.
Kornbeef
_VISITCOMMUNITY
England - South East, United Kingdom
Joined: November 06, 2005
KitMaker: 1,667 posts
AeroScale: 1,551 posts
Posted: Wednesday, October 26, 2011 - 08:24 PM UTC
Beautiful work Stephen.

On the radiator pluming (upper wing models) there seems to be several different methods for sure, I hadn't seen that config but chhecked what ref I have and see pics that support it. Another seemed favoured by OAW for a while at least was to route the pipe from the front of the engine along the carb side of the block and dogleg over behind the engime... not I imagine good for vision for the pilot. It took some head scratching on my part till the penny dropped Pics 89 92, 94 in the Windsock Albi DI/DII datafie show this arrangement.

Keith
 _GOTOTOP