I bought the Predator on a whim. It was a very interesting subject from an unknown brand (at least to me) but buying it ruined my New Years resolution of not buying any model until the notorious stash was beaten to death.
Still, I dont regret it because all in all it was a very good purchase.
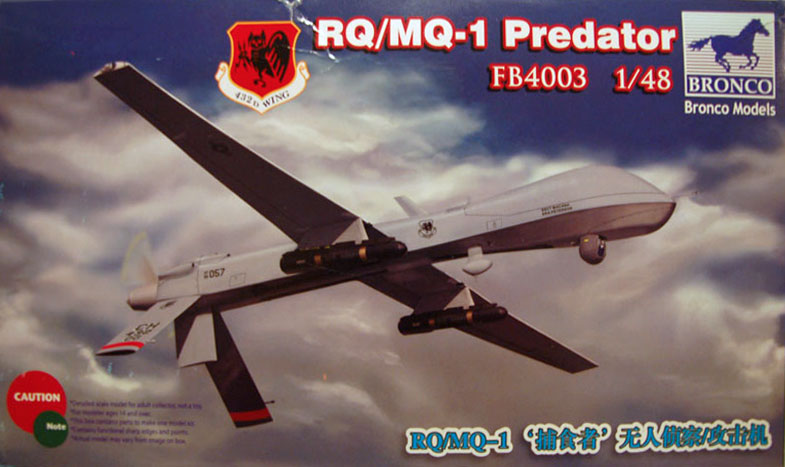
The box
The box was small, so small that the plastic sprues barely fitted in, but the box art (not that this holds any importance) was nice and the back of the box gave me detailed painting instructions which gave an immediate idea what to expect.
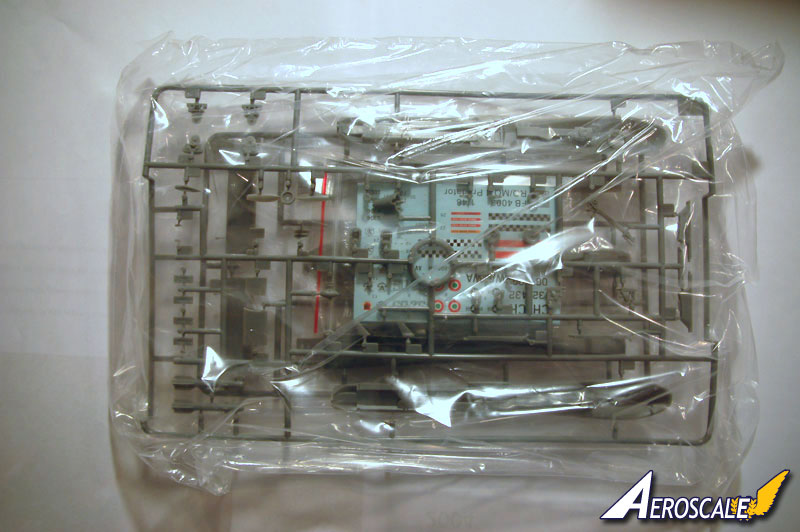
Inside I found a plastic bag containing 3 more plastic bags. Two of those contained the pieces in grey plastic, the third one gave me the clear parts and a set of very nice looking decals. Add to that a beautiful instruction paper on high quality glossy paper and it was clear that I would not be able resist to start building it immediately.
Here the problems started
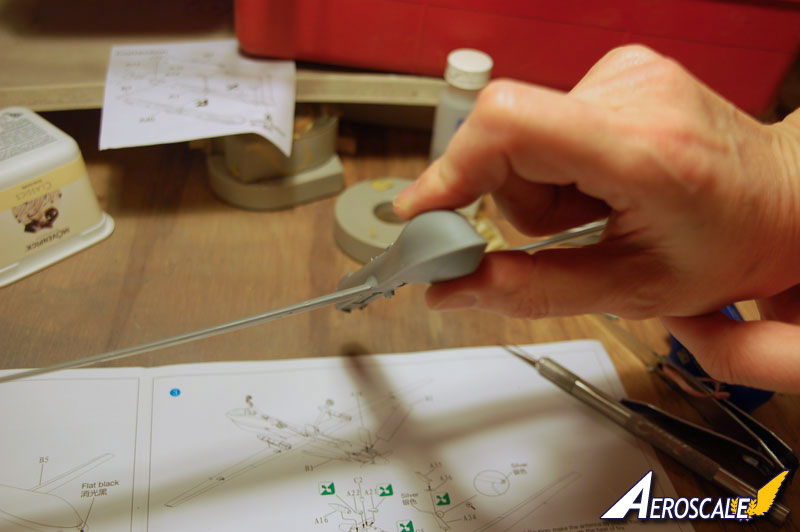
Assembly
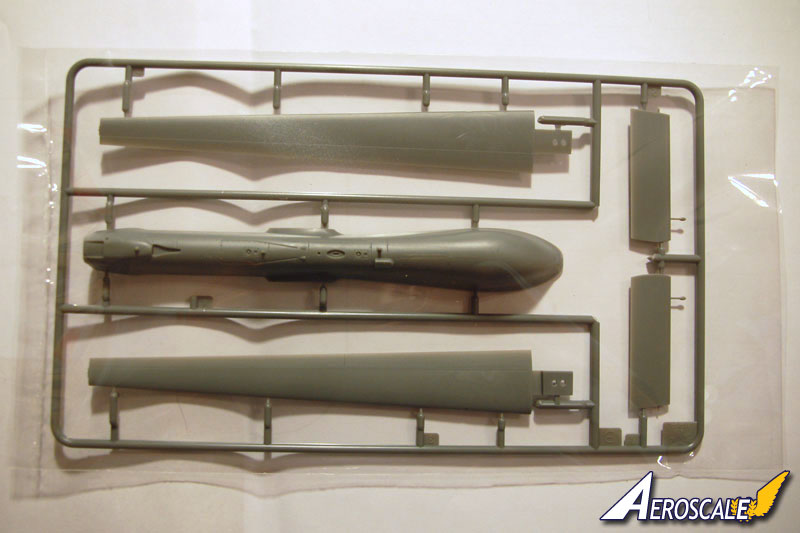
Not with the plastic pieces, oh no, the molding is very nice, no sight of any flash or other shortcomings.
The fit is perfect and reminds me in some cases of the high quality molding practiced by Tamiya. Actually, it is this high quality which justifies forking out 27 euro for this relatively simple model.
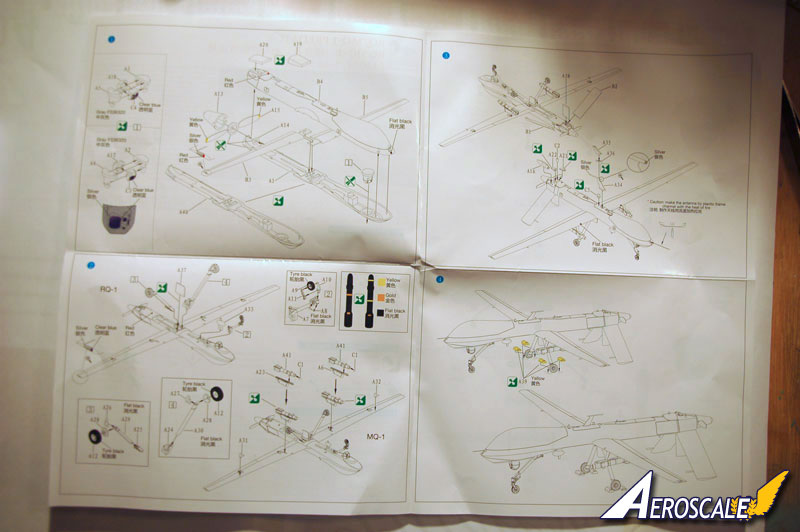
The instructions
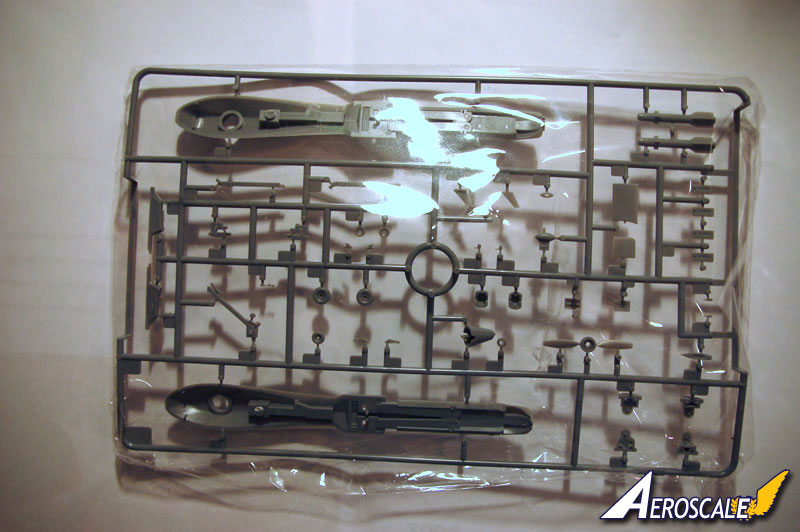
The instructions on the other hand give little information on how to build this devious machine. The kit lets you choose between a RQ-1 and an MQ-1 version. This means that you have the choice between different fuselage parts, and a range of antennae or sight turrets.
The problem is that at no point it is made clear which ones to pick for which version. You need to guess, or study the drawings to "estimate" what to do.
Finally, I took a logical step and went searching on the internet for pictures. Usually, this does the trick. However, this time was different. It only got me wondering if they ever made two Predators the same. I found many possible combinations of antennae and the like, and am happy to report that the Bronco kit allows for making any of them.
Finally, I have chosen a combination which I have seen come back on a number of pictures but there are surely other possibilities.
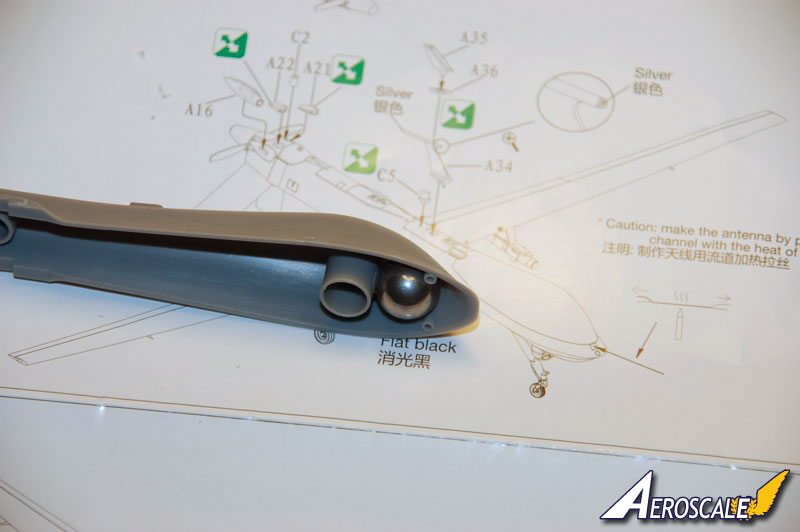
Points of attention
I have hidden a steel bearing ball in the front of the fuselage. This time with a bit of superglue because once that the fuselage is closed the ball will be held in position, even without glue. This step is not recommended by the instructions but I am quite convinced, considering the positions of the wheels and the relatively heavy plastic tail, that without weight in the front I would have ended up with a stubborn tail sitter.
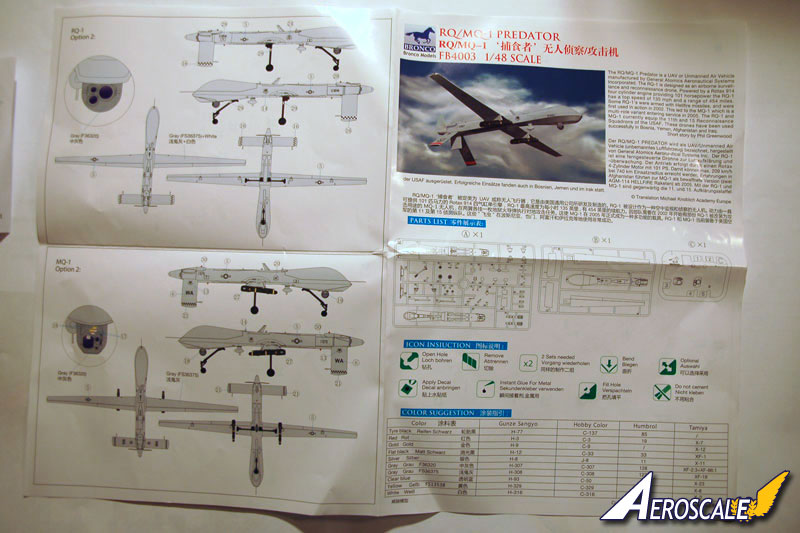
The finish
The kit comes with two paint options, one in "FS 36 375" and another one with "FS 36 375 white". Again, no indication how much white to add.
I decided on applying "FS 36 375". Once dry I covered it with a layer of future and started on the decals. These decals do not give any problems and for once the instructions are clear.
The end result
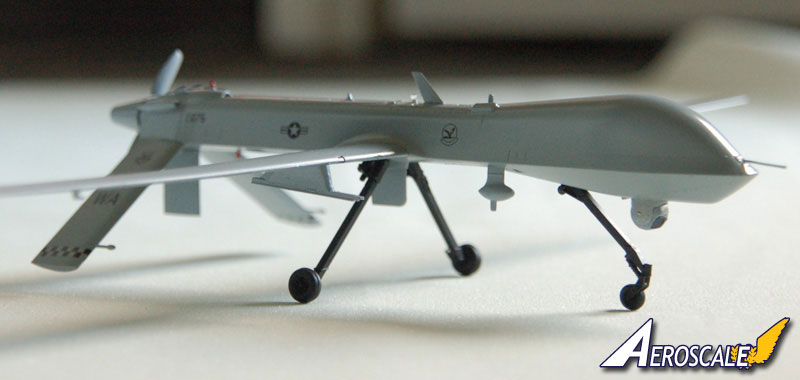
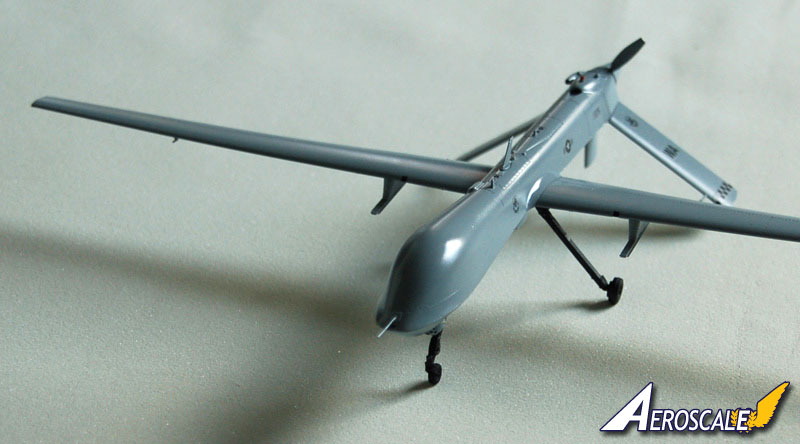
Already during building it was clear that I have always underestimated how big a predator really is.
Its huge wingspan and sleek form indicates that it is primarily built for endurance, not for performance or fancy flying. I wonder what impact it would have in an environment where the enemy is flying real planes or has at least WWII quality anti aircraft artillery.
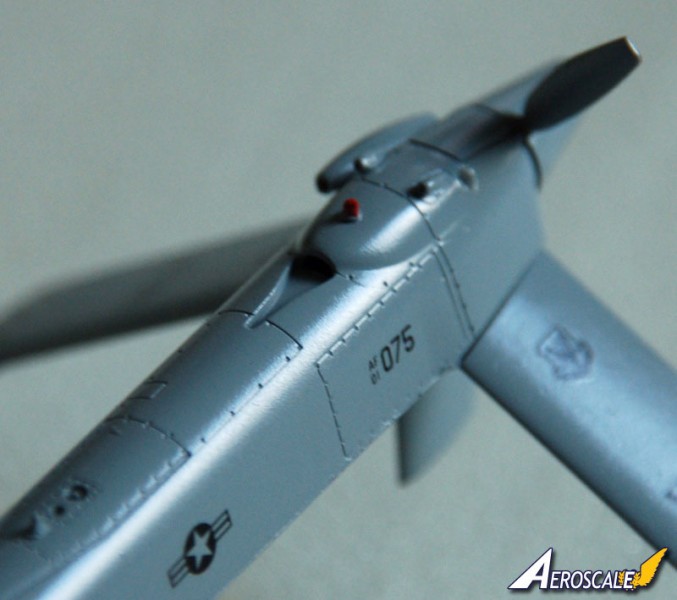
It looks very strange, this aircraft without pilot. The bump on its forehead, where on conventional planes one finds a cockpit seems to suggest that the developers felt also some nostalgia when designing this thing. Still, "flying" a plane from an armchair in some bunker somewhere, no matter how complicated, just isn't what it takes to be calling oneself a pilot, is it?
Should I hate it, or should I admire the phenomenal progress technology has made in barely one century?
Please remember, when contacting retailers or manufacturers, to mention that you saw their products highlighted here - on AEROSCALE.
SUMMARY
Highs: A rare subject. High quality molding leads to an excellent kit.Lows: Instruction sheet forgets to instruct. A bit expensiveVerdict: A very interesting subject, a very nice kit which delivers a remarkably big model. Just a pity that the instruction sheet is more beautiful than informative.
Still, highly recommended for those in love with modern aircraft.
I made my first airplane models when I was about 11, a Mistubishi Zero, a Messerschmidt BF 109 and of course, a Spitfire. They were all Airfix and all 1/72. Sounds familiar? I remember I could not even pronounce Mitsubishi, I used to call it Mutsibutsi.
I continued building mostly airplanes until...


Comments