Sweden faced a serious shortage of modern fighter aircraft during WW2, being unable to import suitable aircraft. Those fighters that were available were considered largely as stopgaps and the authorities decided to overcome the problem by designing and building an indigenous fighter. The resulting J-22 was built primarily of plywood over a steel frame, with the narrow track undercarriage retracting backwards into the fuselage. The engine was an unlicensed copy of the Pratt & Whitney Twin Wasp (Sweden paid for the rights in full later) and first flew in 1942. A total of 198 were built, the last in 1946.
The J-22 proved popular, possessing good manoeuvrability and a top speed of around 360 mph on its 1,065hp engine, comparing well with better known fighters with similar power. Despite its obvious obsolescence, the J-22 flew on into the 'Fifties, finally retiring in 1952.
The kit
I spotted Kora Models' J-22A on
Modelimex, who are specialists in Czech short-run kits and accessories, and it's such a fascinating aircraft that I couldn't resist it! As usual, the mail order service from ModelImex was excellent, with the kit arriving safe and sound just a few days later.
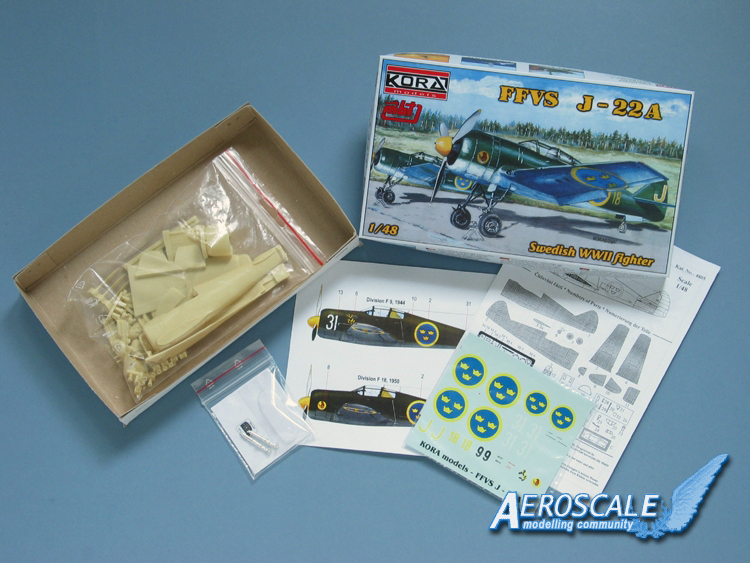
Kora Models' J-22A arrives in a neat little top-opening box. The lid is rather flimsy, but this is compensated for by a sturdy interior liner to protect the parts.This style of packaging is identical to LF Models' Bf 109 V-21 and, sure enough, the contact details on the kit's instructions show the two companies are linked.
The kit comprises:
70 x beige resin parts
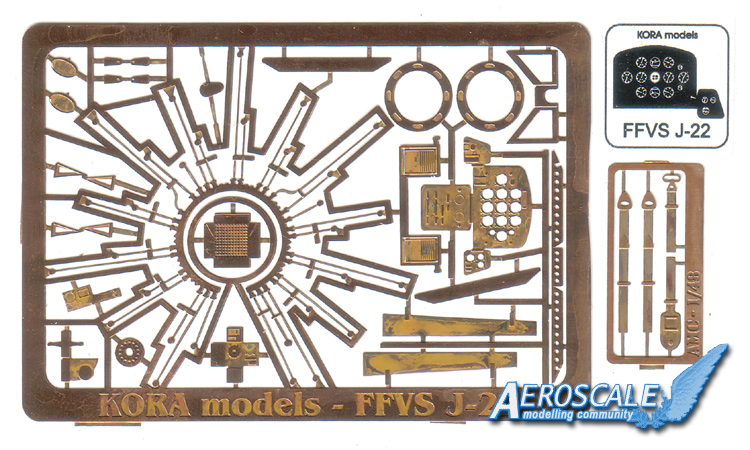
25 x etched copper parts, plus printed instruments
2 x white metal parts
1 x vacuformed canopy
Decals for 2 x colour schemes
Now the first thing to note is that the parts-count above is based on the diagram in the instructions - my kit actually arrived missing a couple of items. It lacks an undercarriage door (but this is very small and easy to replace) and, more significantly, the pilot's seat. The superb
J-22A Walkaround on IPMS Stockholm shows the original was quite distinctive and shouldn't be too hard to scratchbuild if I can't get a replacement, but it is a sign that Kora Models do need to keep a closer eye on their quality-control.
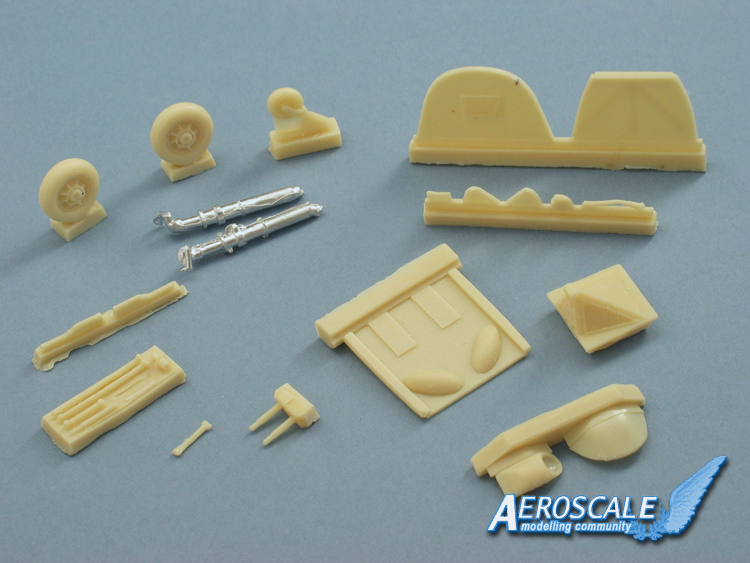
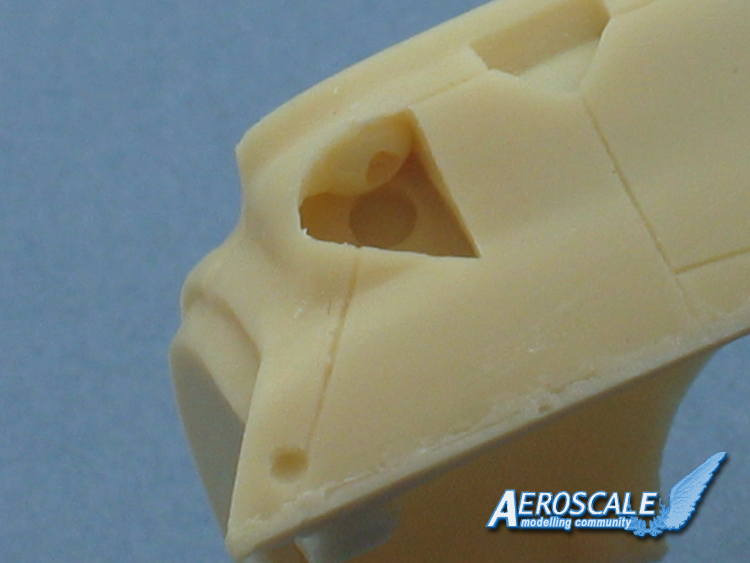
The model itself is reasonably cast. It reminds me of resin kits produced about 5 to 10 years ago - perfectly buildable in experienced hands, but with a fair bit of clean-up needed to tackle some surface blemishes, a few bubbles here and there and "globules" filling in some of the smaller openings. The vanes in the air intakes at the wing roots are poorly cast on my kit and will need replacing. Surface detail consists of scribed panel lines and fasteners and very nicely depicted fabric surfaces, which should look excellent when painted, but there are what appear to be signs of tool-marks here and there, so some sanding and polishing will be needed.
Test Fit
The fuselage is cast as hollow halves with a hefty pour-stub to remove at the tail. Once this is cleaned-up, the halves fit together quite well, with the few panel lines matching up. The wings are a simple butt-joint and are a good match for chord, but you'll need to sand the roots flat very carefully to ensure the correct dihedral. The airfoil is unusual towards the tips (almost the reverse of the norm), so I'll need to check references carefully before I can comment on the accuracy of that, but at least the wings match. The tailplanes and fin and rudder are also butt-joined to the fuselage and look like that should fit well enough.
Construction
Despite the quite high number of parts, the instructions are pretty basic, with simple illustrations breaking the assembly down into just 6 stages.
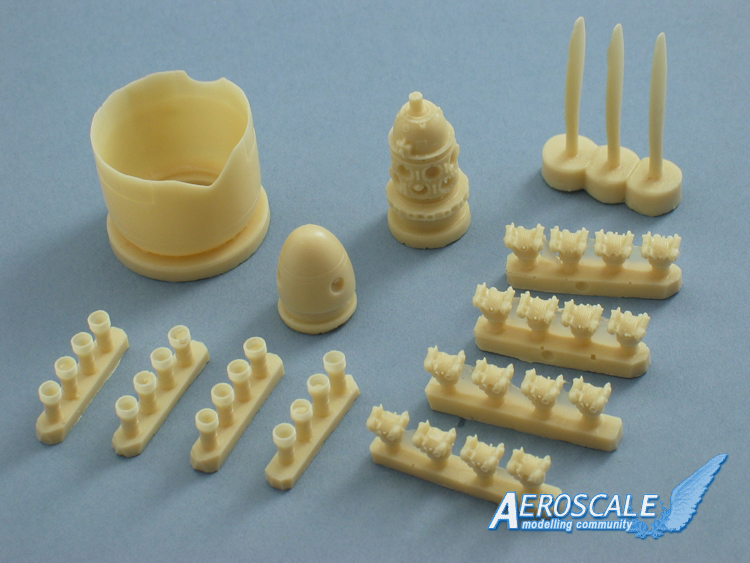
Stage 1 deals with a very nicely detailed engine. Each cylinder is cast in 2 parts with a separate crankcase. There's an etched wiring harness and once the pushrods (which must be scratchbuilt) are added, a quick estimate shows the engine will be built up from no less than 45 parts!
Stages 2 & 4 covers the cockpit. The diagram for Stage 2 seems to be drawn from the original pilot's notes, so the actual positioning of items is going to need a bit of trial and error before attaching them permanently. There are basically 20 parts for the cockpit, including a neat etched instrument panel with a printed sheet for the faces, plus an etched seat harness.
Stage 3 deals with the propeller and spinner. The separate blades are well cast and the spinner should look fine once the holes for the blades are drilled deeper.
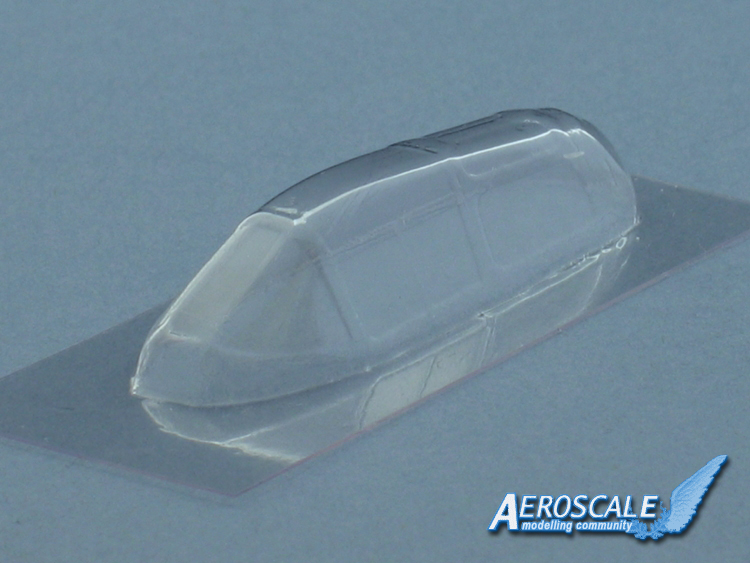
Stage 5 adds the wings and canopy, plus some smaller items like etched trim tabs. The canopy is quite well moulded, with well-defined frames (sharper in real life than they appear in the photo here), but it does have a few small blemishes, so a good polishing and a dip in Future/Klear are the order of the day.
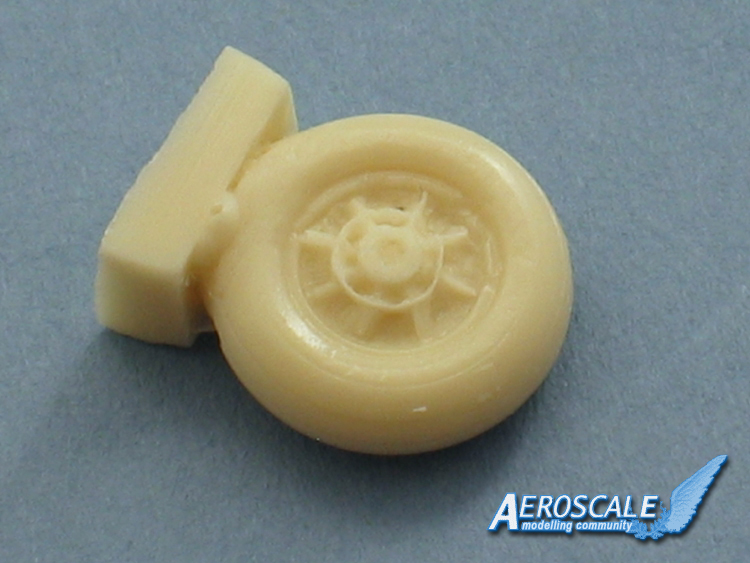
Stage 6 brings in the engine and propeller completed earlier and also deals with the undercarriage. The gear legs are white metal, so they're plenty strong enough to take the weight of of the model. In fact, they do look rather too "chunky" compared with photos of the full-sized aircraft. The wheels are "weighted" and have correct detail on the distinctive hubs, but the casting is unfortunately a bit ragged, so some repair work will be needed.
Painting and decals
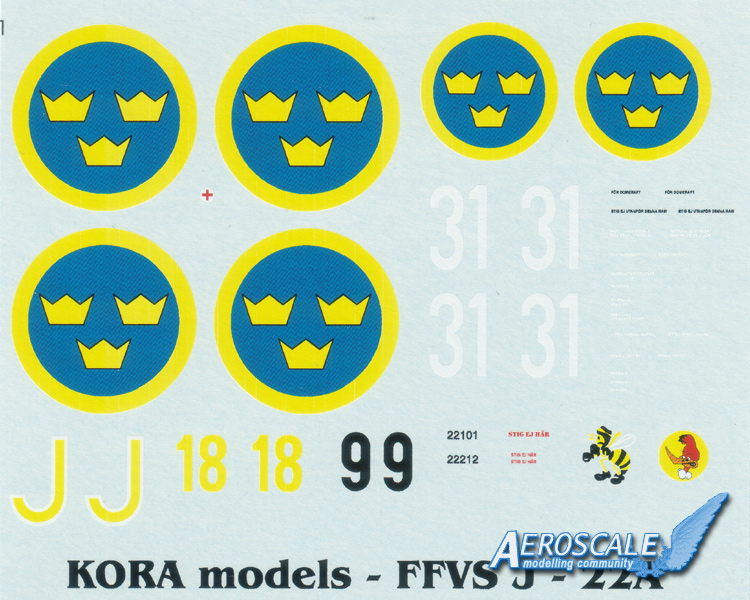
Kora Models provide a nice colour painting guide for two attractive aircraft:
1. "White 31" of Division F9, 1944 - with a wasp mascot on the forward fuselage
2. "Yellow J" of Division F18, 1950 - with what looks like Woody Woodpecker on the cowling.
The painting instructions give Humbrol paint matches and FS equivalents for the colours.
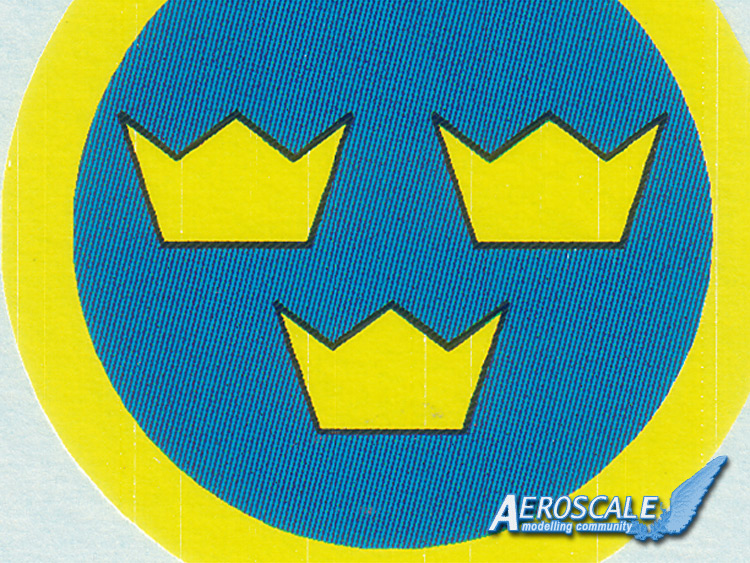
Sadly, the decals have a few problems which make them largely unusable. The blue of the national insignia too dark and is printed as tiny dots which are clearly visible and lead to a rather ragged edges, while the yellow used seems far too pale (a sort of lemon yellow).The sheet includes a number of stencils and a numbered placement chart - which sounds great, except for one problem... the stencils aren't numbered on the decal sheet, so you'll have to rely on references to figure out what goes where... If you do decide to use the kit's decals, you'll need to trim each item carefully because the gloss carrier film is printed across the whole sheet. Personally, I'll try to find suitable replacements for the national insignia and just use the unit numbers and mascot for "White 31".
Conclusion
Kora Models' FFVS J-22A is very much a curate's egg - a really exciting subject let down by poor quality control and the decals. It's certainly not a kit for beginners and even experienced modellers will find plenty to challenge them. That said, you will be rewarded with a really unique model that is guaranteed to stand out in any collection of WW2 aircraft.
The FFVS J-22A is available from MODELIMEX
Please remember, when contacting retailers or manufacturers, to mention that you saw their products highlighted here - on
AEROSCALE.


Comments